The Use of a Balancer
A model airplane must be properly balanced to fly well. Most importantly, the center of gravity (CG) must fall directly below the design center of lift. Most planes are laterally (side to side) symmetrical, so the CG naturally falls close to the center line. It is the longitudinal (fore and aft) CG location we are concerned with. If the CG is too far forward, the plane will dive and if the CG is too far aft, the plane will stall and fall.
The CG position is usually described as being at a certain location along the wing chord at the center line. Kit plans or instructions will often tell you to support the airplane with your finger tips under a certain location on the wing to verify that the pane will hang level. If it doesn’t hang level, you are instructed to add weight to the high side until it balances, or to move the wing toward the low side where that is appropriate. When we do flight tests to trim an airplane, we will want to record the best CG location so we can put it on our plans and set up the plane quickly when changing the motor weight or flying another example of the same plane. A balancer allows us to quickly and accurately find or adjust the CG of an airplane.
Making a Balancer
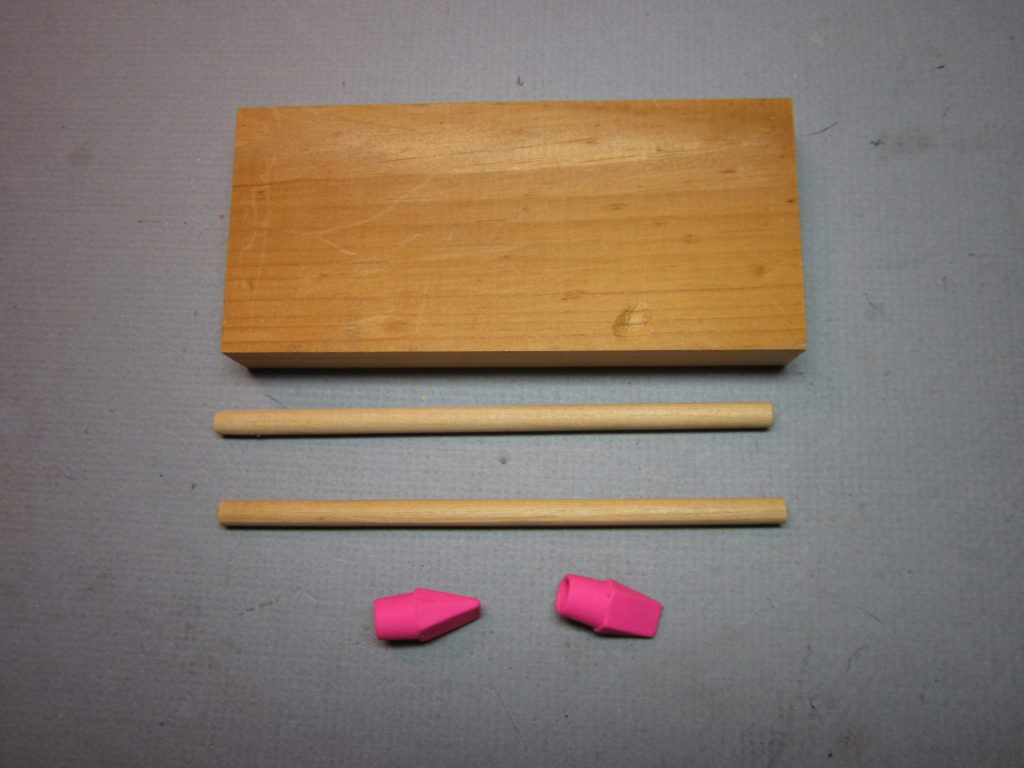
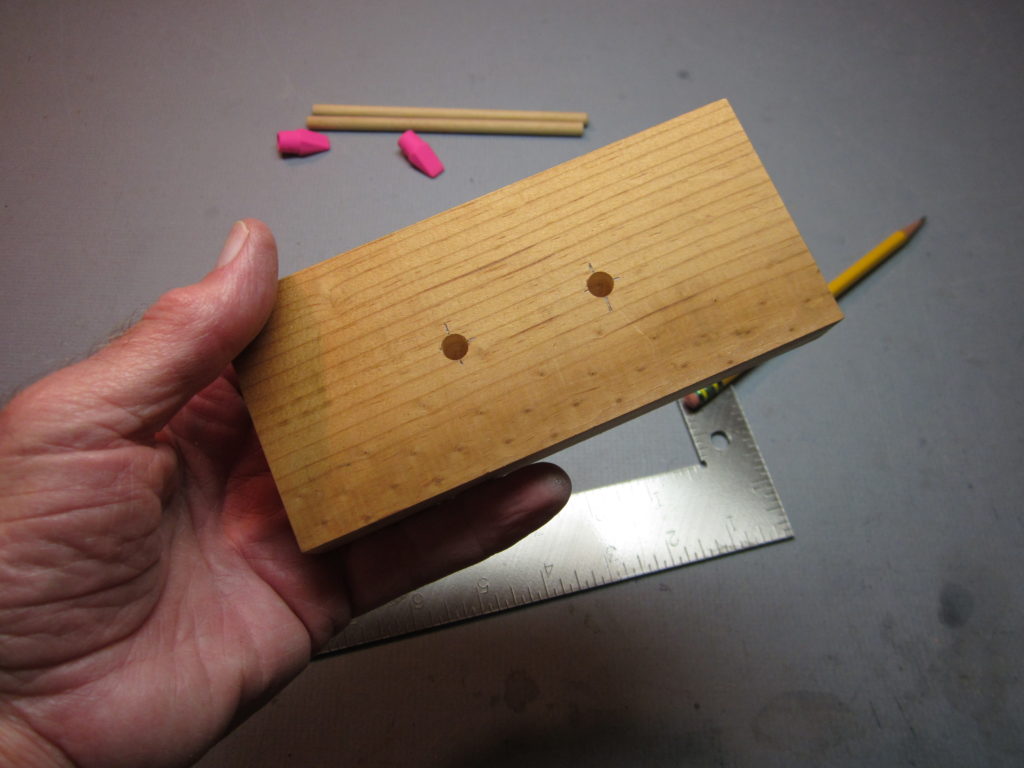
This balancer is made from five parts; a 3/4″ x 2 1/2″ x 5 1/2″ pine block, two 5 1/2″ pieces of 1/4″ birch dowel and two pencil erasers. The dimensions are not critical and you may choose to vary them. The block dimensions are the same as the ones for the foot stooge. I was cutting out blocks for foot stooges and used the same setting on the table saw to make more blocks for the balancers. The important thing is that the base be large enough to be stable. I made a balancer from a 3/4″ x 1 1/2″ x 3″ block and found that it tipped over too easily. Since I had the jig on my saw set at 5 1/2″, I cut the dowels to the same length. You can get six pieces from a 3′ dowel. The pencil erasers have a somewhat pointed tip which allows a more precise location than a fingertip, and the rubber keeps the wing from slipping around on the point.
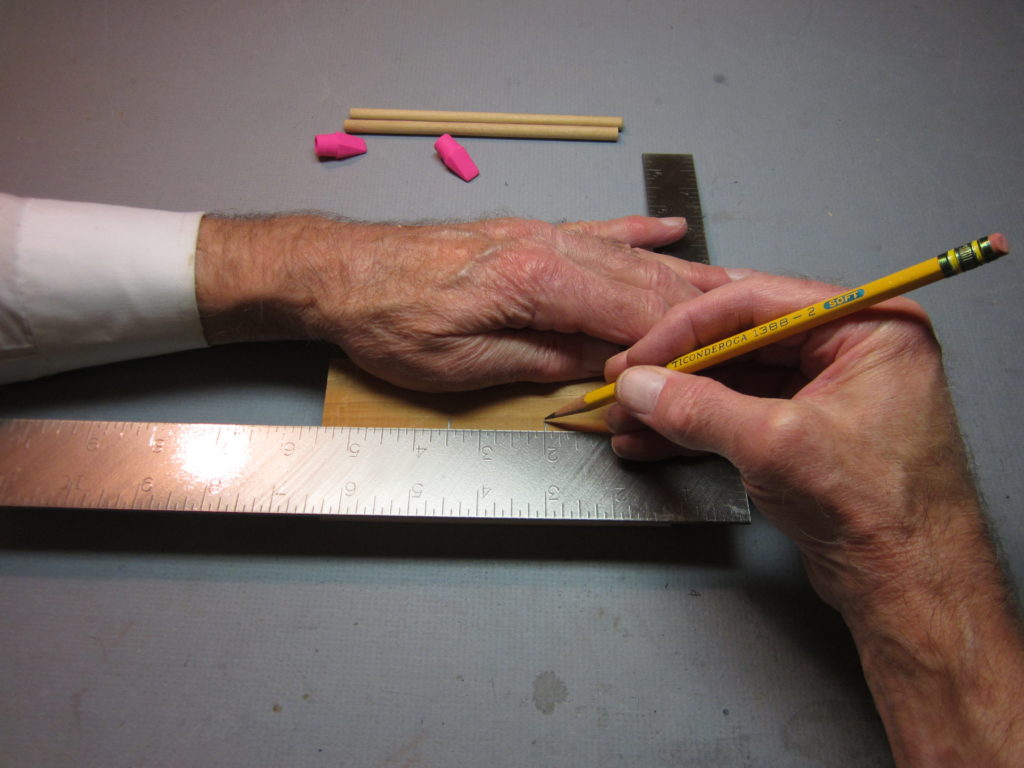
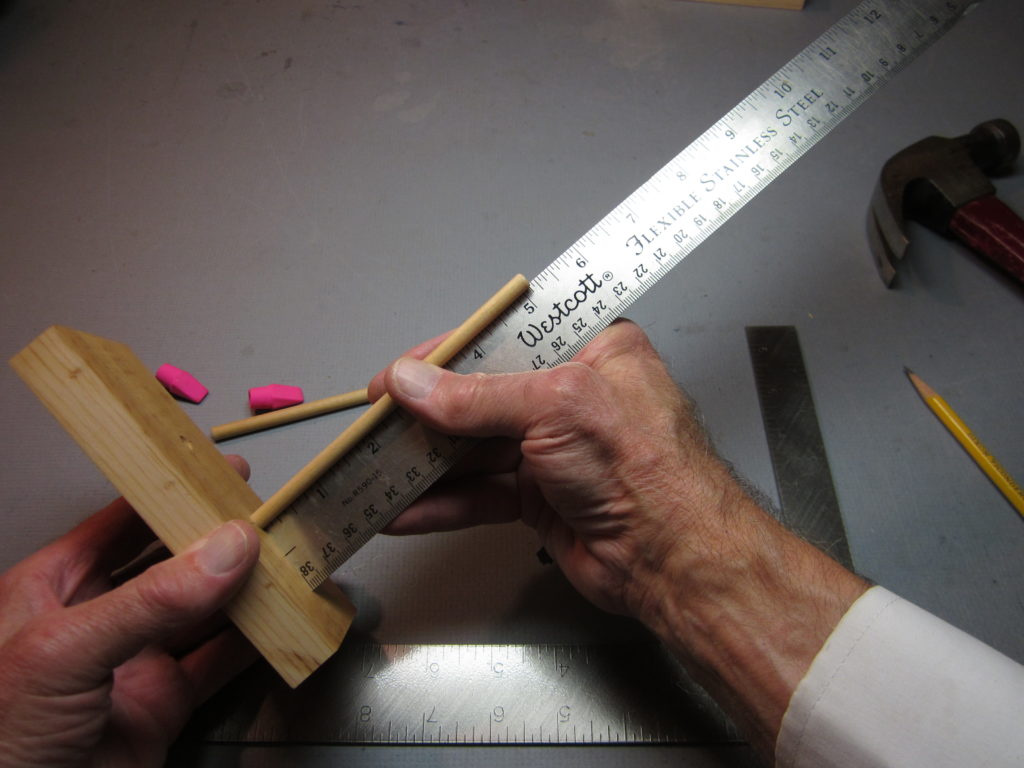
Set the edge of your square 1 1/4″ from one long edge and mark at 2″ and 3 1/2″. Also draw a bar along the edge of the square at each mark.
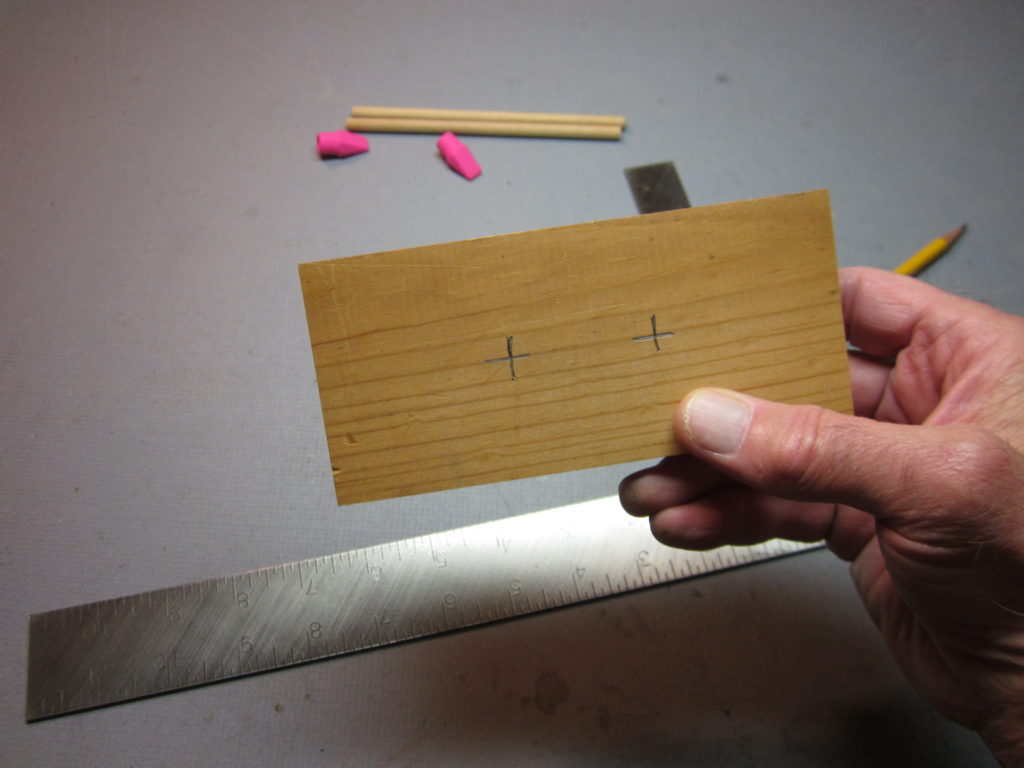
Extend the 2″ and 3 1/2″ marks to make crosses like these.
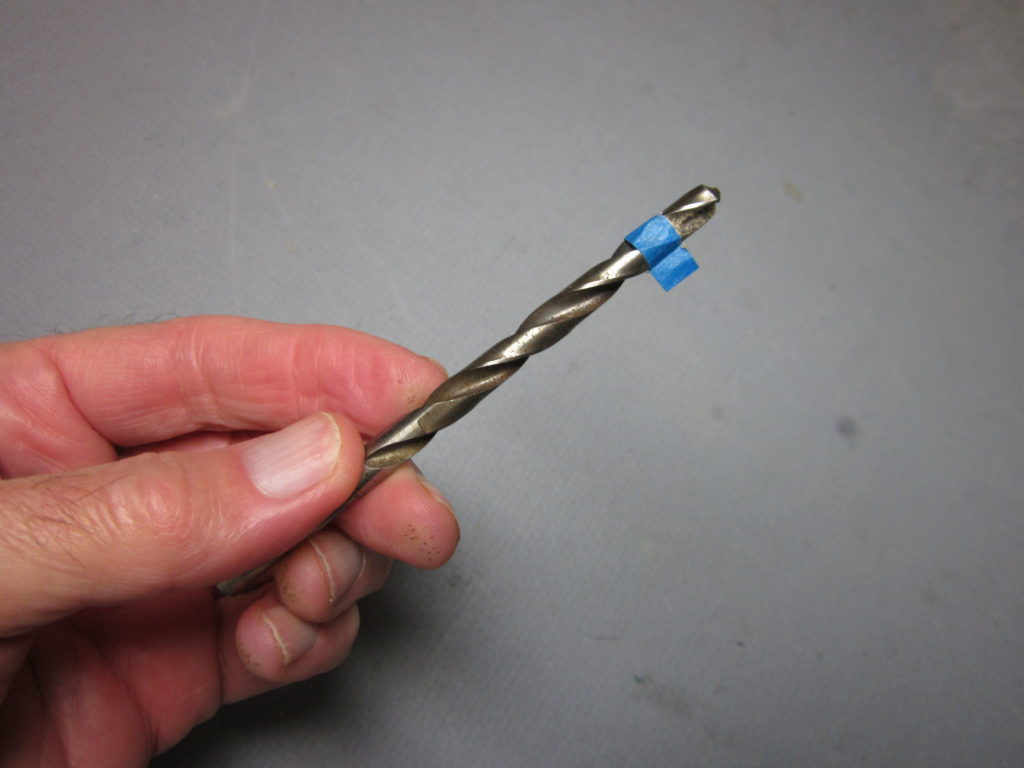
We want 1/4″ diameter holes drilled to consistent depth so the top ends of the dowels will be a consistent distance from the top of the board. To do this, I wrapped tape around the drill 3/8″ from the tip.
Drill holes centered on the crosses.
If you don’t have access to a drill press in your neighborhood or school, you will have to use a hand drill. You can make a drill guide to assist. You may want an assistant to hold the guide while you work the drill.
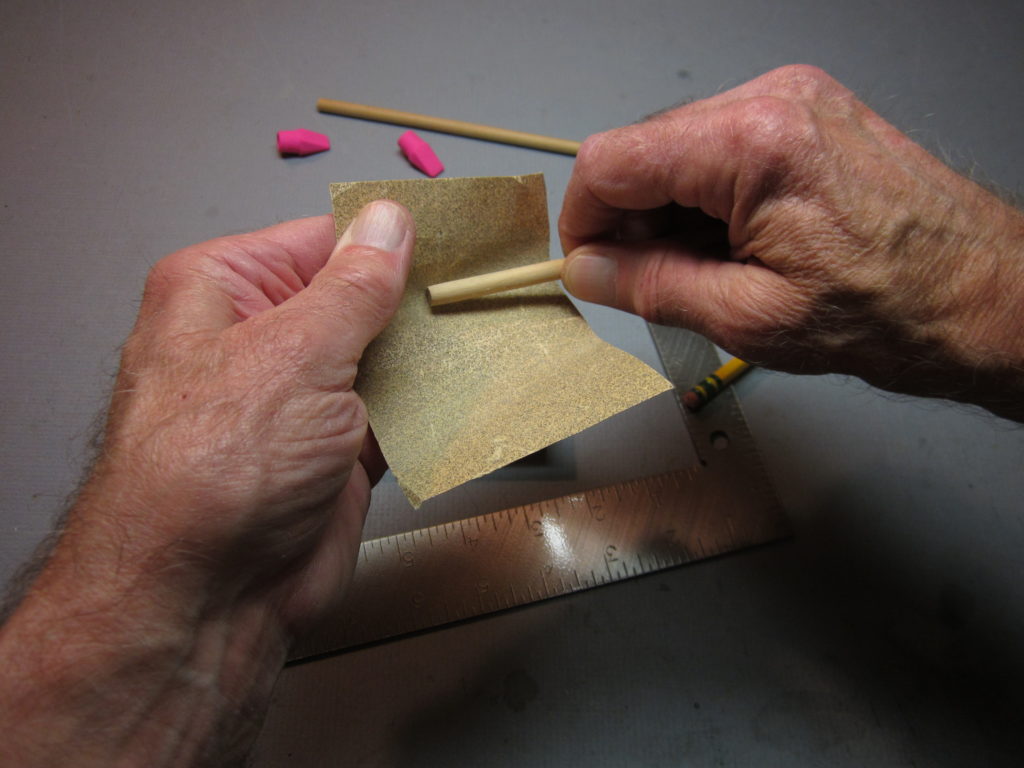
Use sandpaper to take the sharp corners off the dowel ends.

I found that it was necessary to slightly sand the dowels to get them into the holes. Don’t sand too much; we want a tight fit.
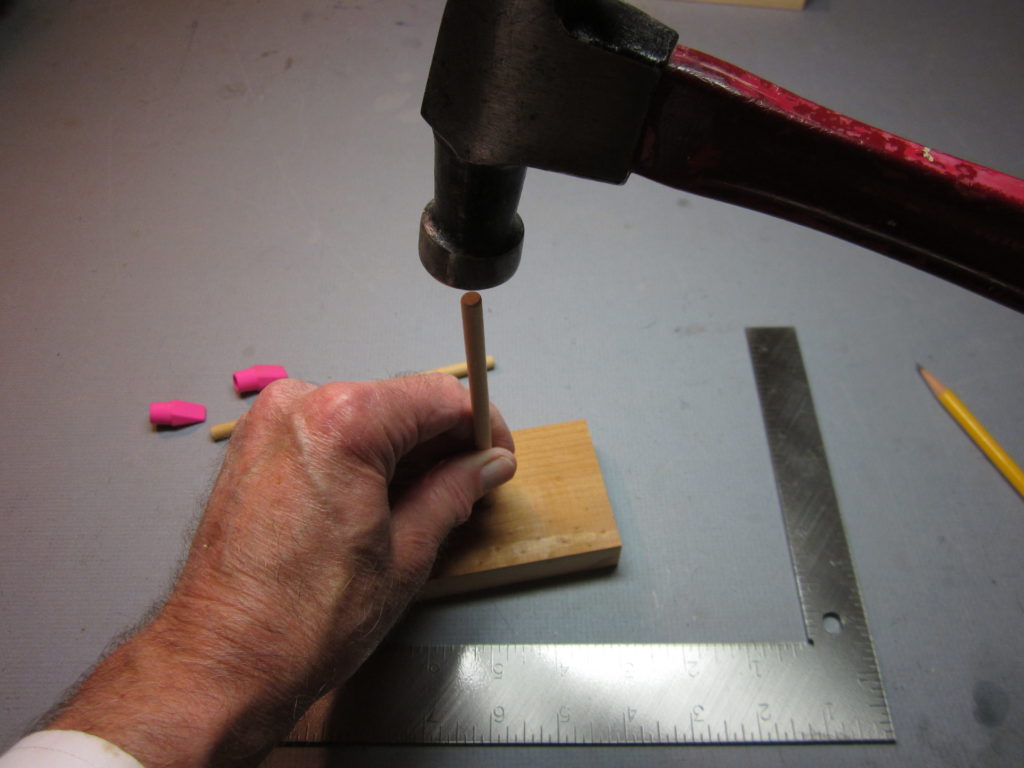
We want a tight fit that requires slight tapping with a hammer to get the dowels all the way down in the holes.
Check the height of the dowels. These were a uniform 5 1/8″ high.
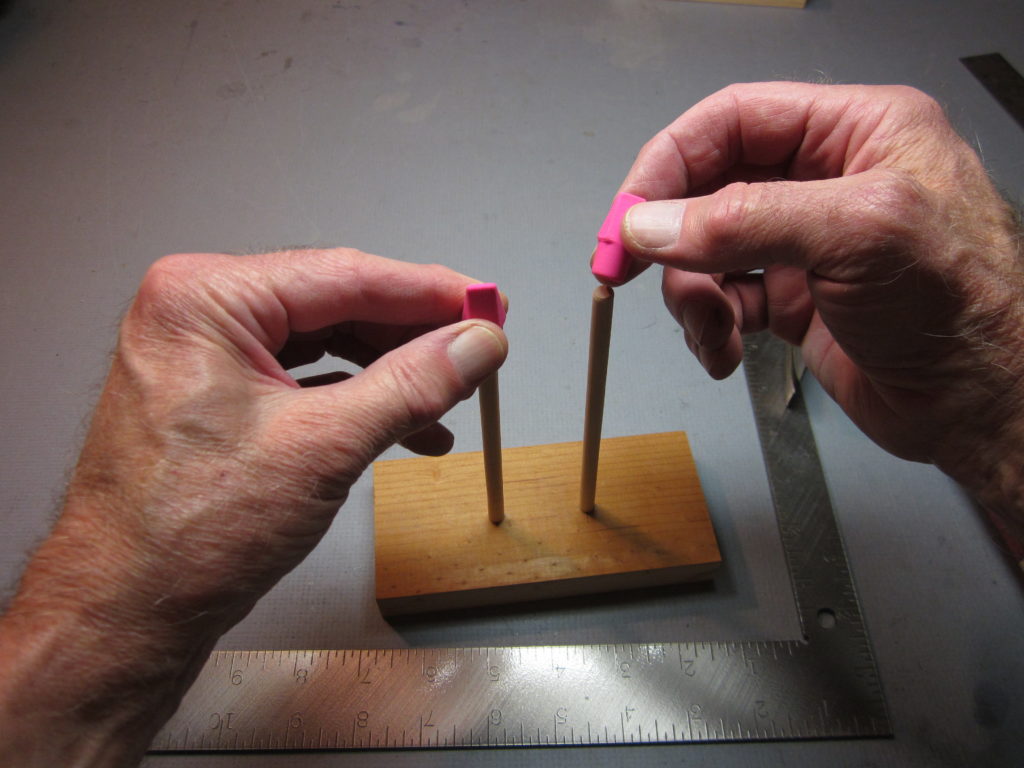
After tapping the second dowel into place and checking its height, we add the erasers. Align the tip edges with each other.
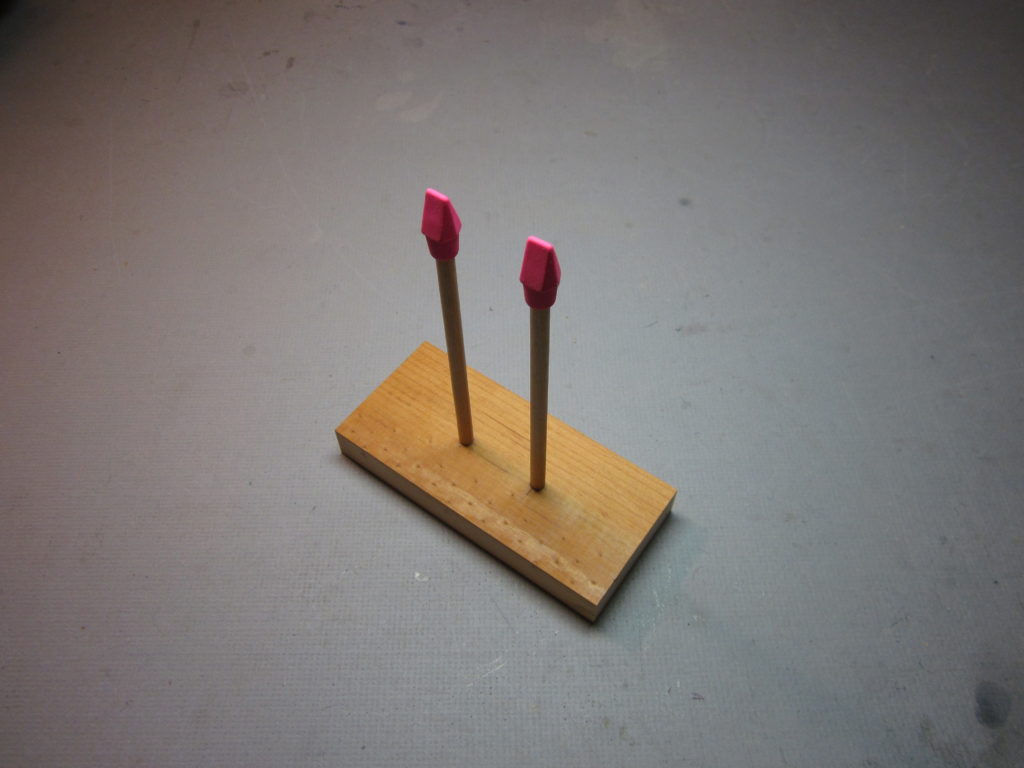
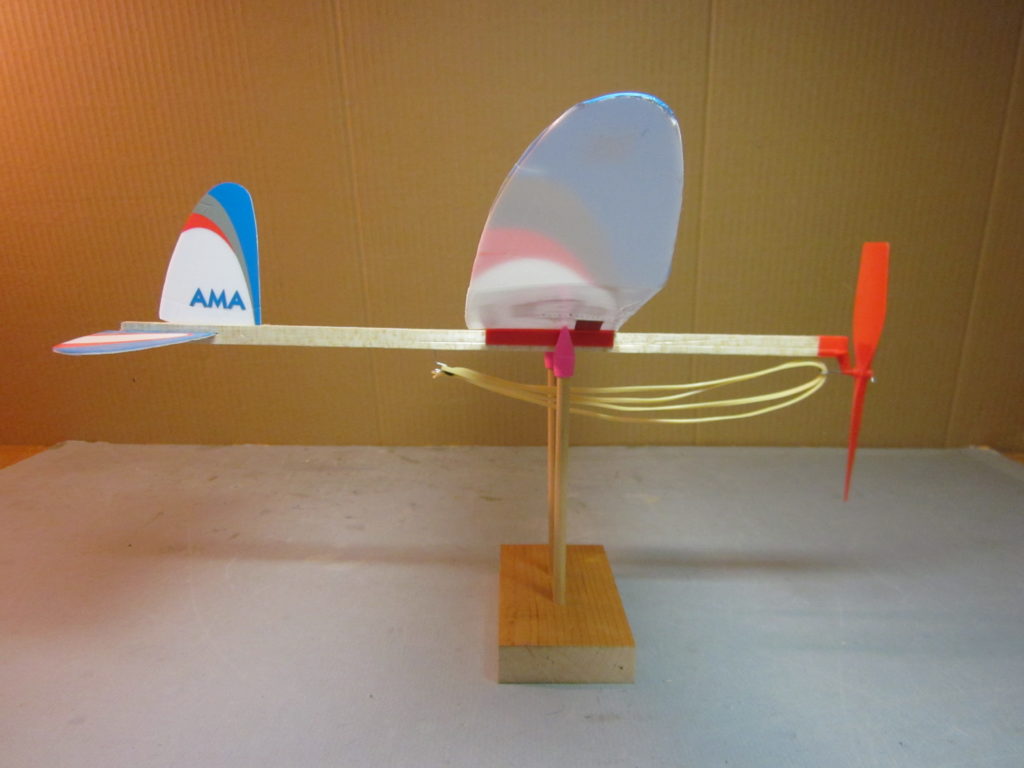
That completes our balancer, it is ready to go to work.
Using the Balancer
The balancer can be used to locate the CG or to adjust the CG on an airplane.
To locate the CG, place the airplane on the balancer with the stick midway between the supports and the wingspan aligned with the posts. If the tail hangs down, move the airplane forward. If the nose hangs down, move the airplane aft. If you overshoot, move it half way back to the previous position. Move it until the stick is level. You may mark the wing at the positions of the supports and measure to the marks.
It may be desirable to double the motor to keep it from hanging down too much and swinging back and forth, which makes it difficult to get a stable balance.
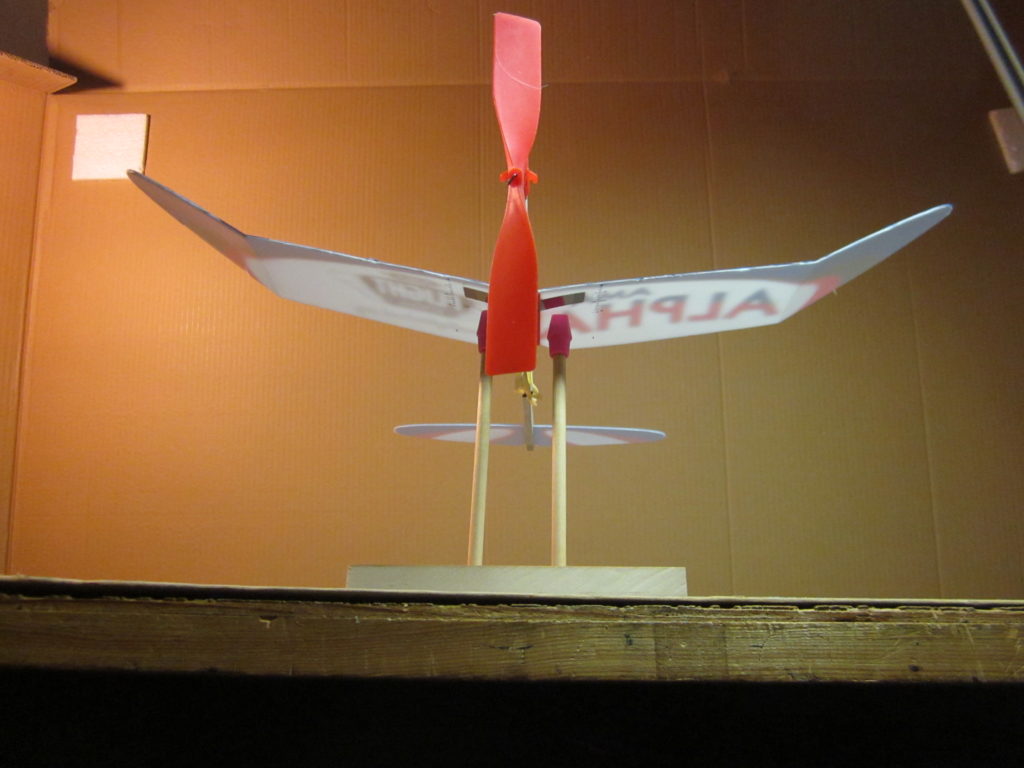
You can set the balancer on the edge of the table and look up from below to get a better view of the underside of the wing.
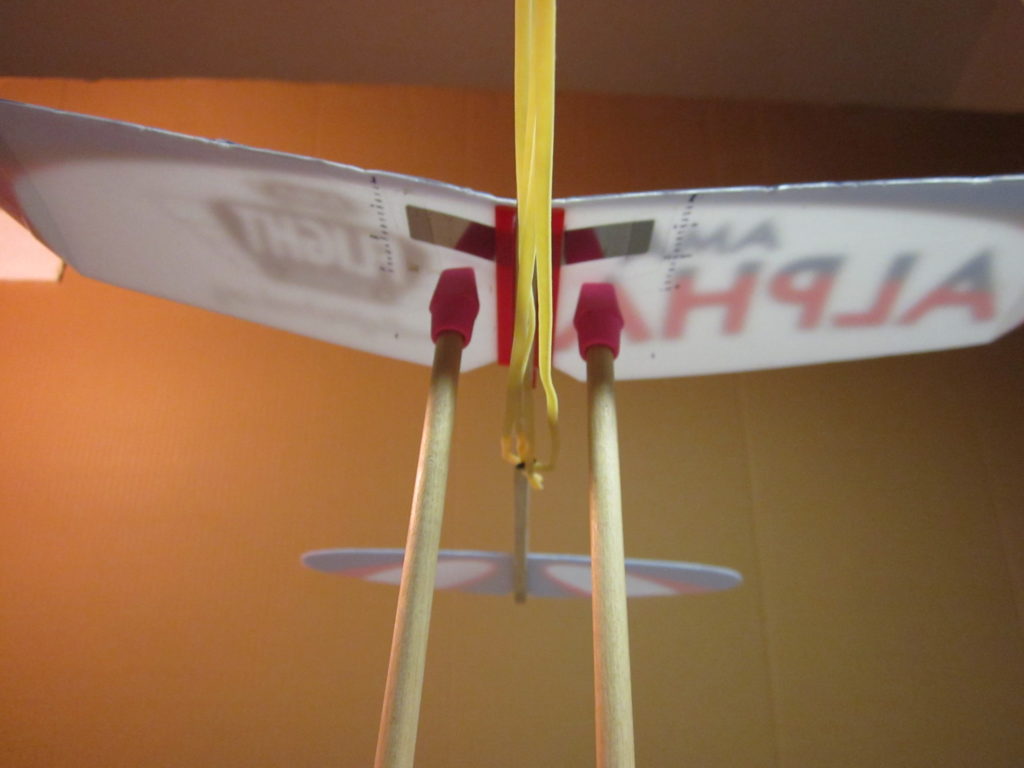
You can lightly mark the positions of the erasers with a felt tip pen. Measure both and average them. You can put ruler marks under the wing. The marks you see here were made for a balancer whose posts were farther apart. I have also made paper copies of a ruler, cut out strips from the copy and tack glued them to the underside of the wing.
To set the CG of an airplane, mark the intended position of the CG under the wing and place the plane on the balancer with the marks on the supports. If the tail hangs down, add weight to the nose or move the wing aft. If the nose hangs down, add weight to the tail or move the wing forward.
A minor refinement is to place the balancer on a mirror, I use an old shaving mirror. It makes it a bit easier to place the wing in the right place without having to crouch down.