The Useful Foot Stooge
When winding a rubber motor, someone turns the winder while someone or something else holds the opposite end of the motor. On stick models, the winder will be at the back end of the motor while someone holds the propeller and front end of the airplane in their fingers. The person holding the propeller is called the stooge. Stretch winding is necessary to get the most turns smoothly into the motor. What if you are flying by yourself? It is difficult to work at both ends of even a moderately stretched motor.
You can use a foot stooge.

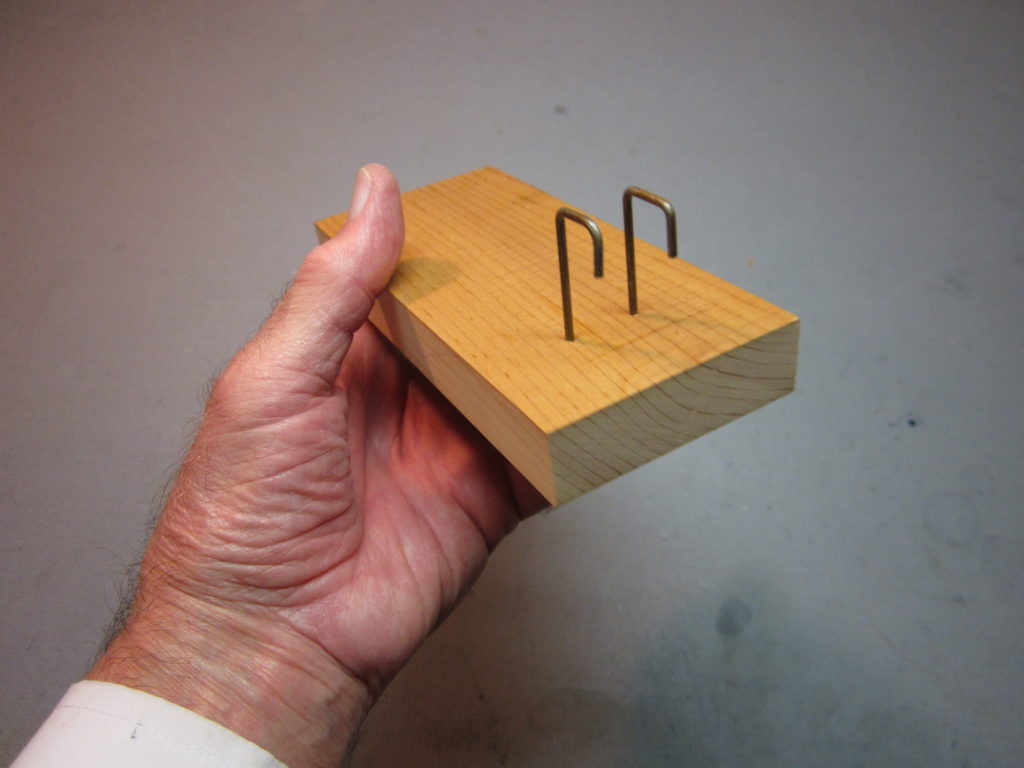
This is a simple, two part foot stooge. You hold the block to the ground with your foot while the propeller is held by the wire hooks. It was sized to fit in a pocket so it would be convenient to carry while following your flying airplane.
Making the Simple Foot Stooge
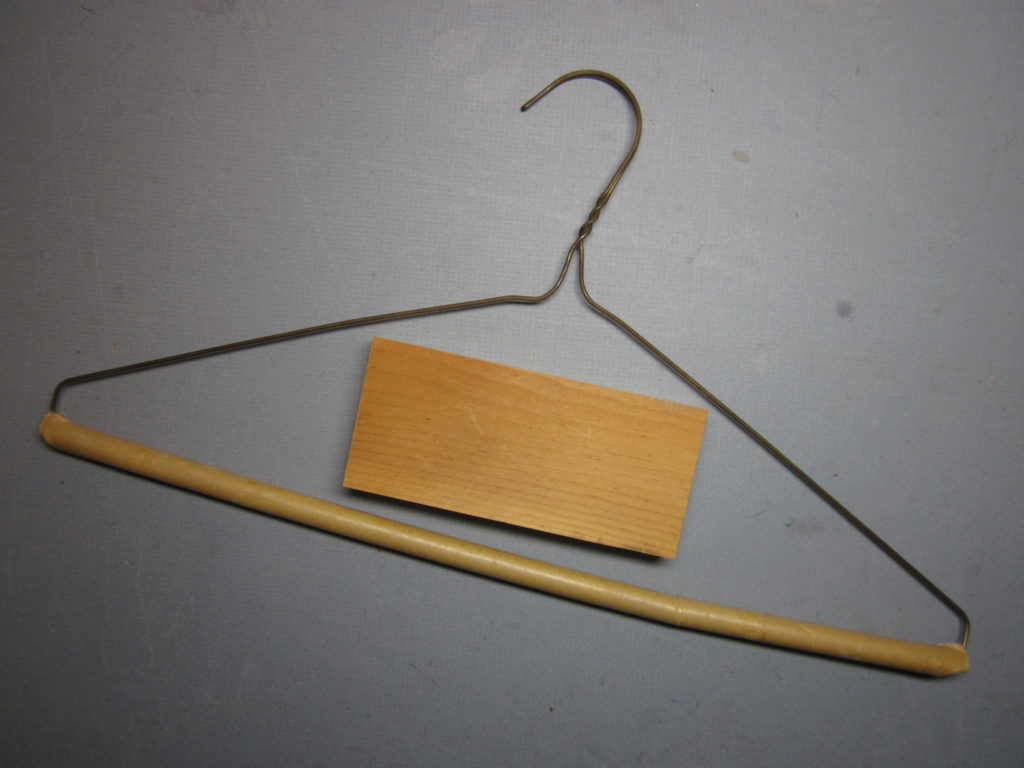
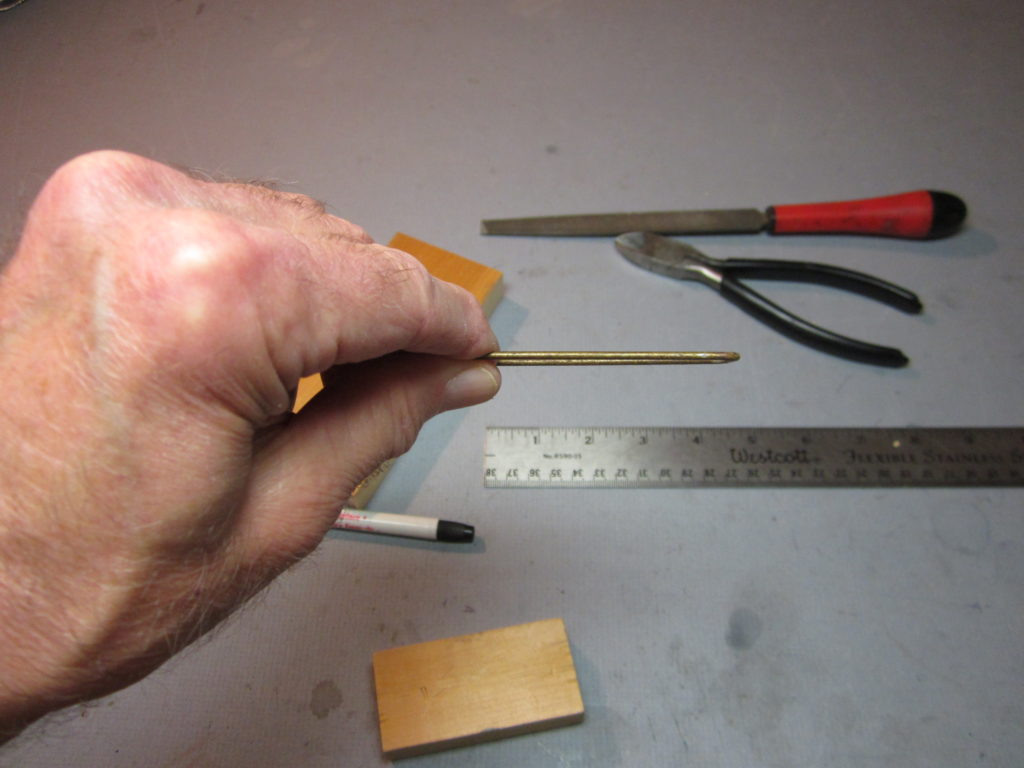
This stooge is made from a 3/4″ x 2 1/2″ x 5 1/2″ block of pine and a 6 1/8″ length of coat hanger wire. There is no particular reason for the exact dimensions of the block; I picked it out of my scrap box. I chose it because it was the right width to fit comfortably in my pocket and long enough to hold firmly with my foot.
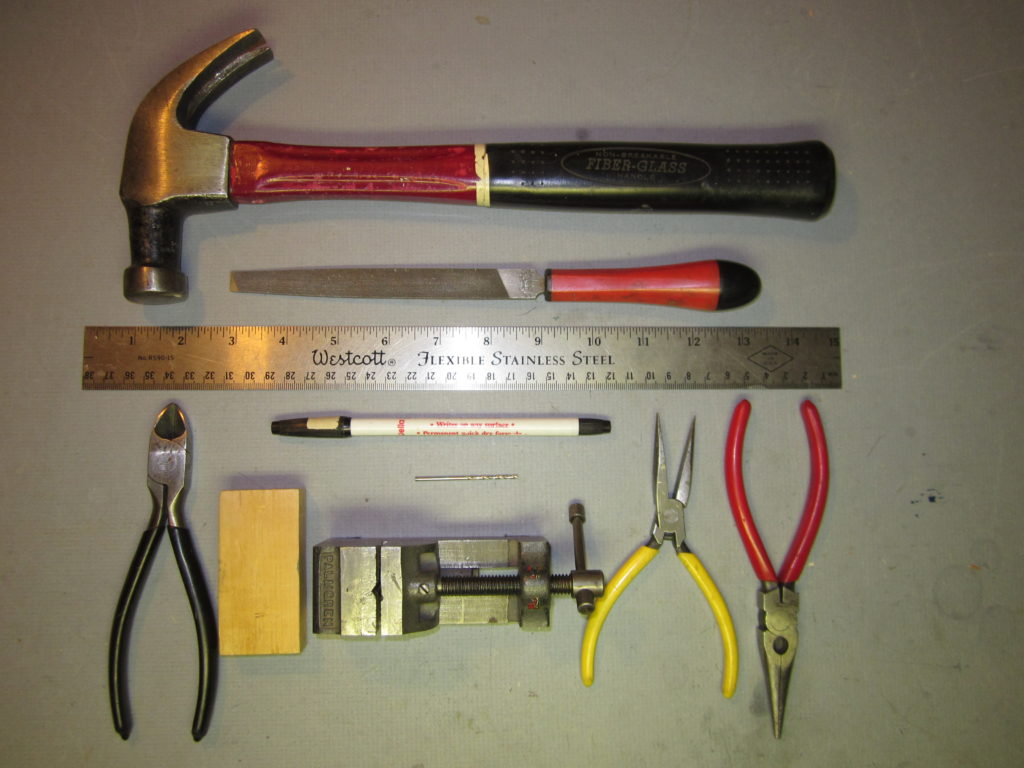
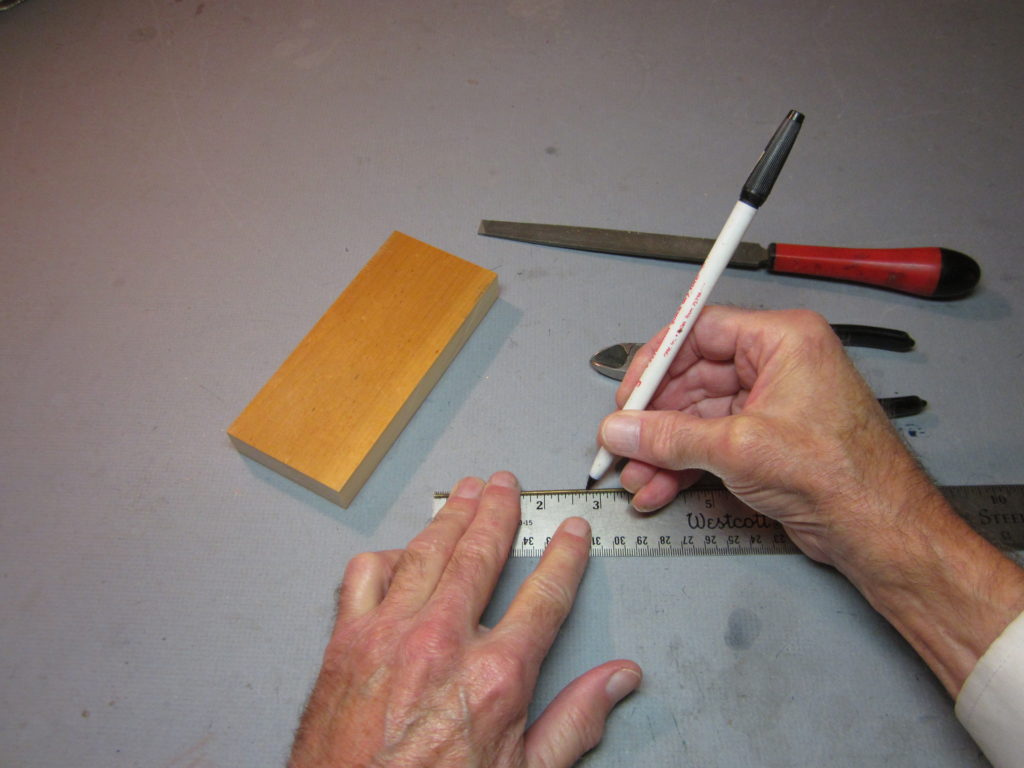
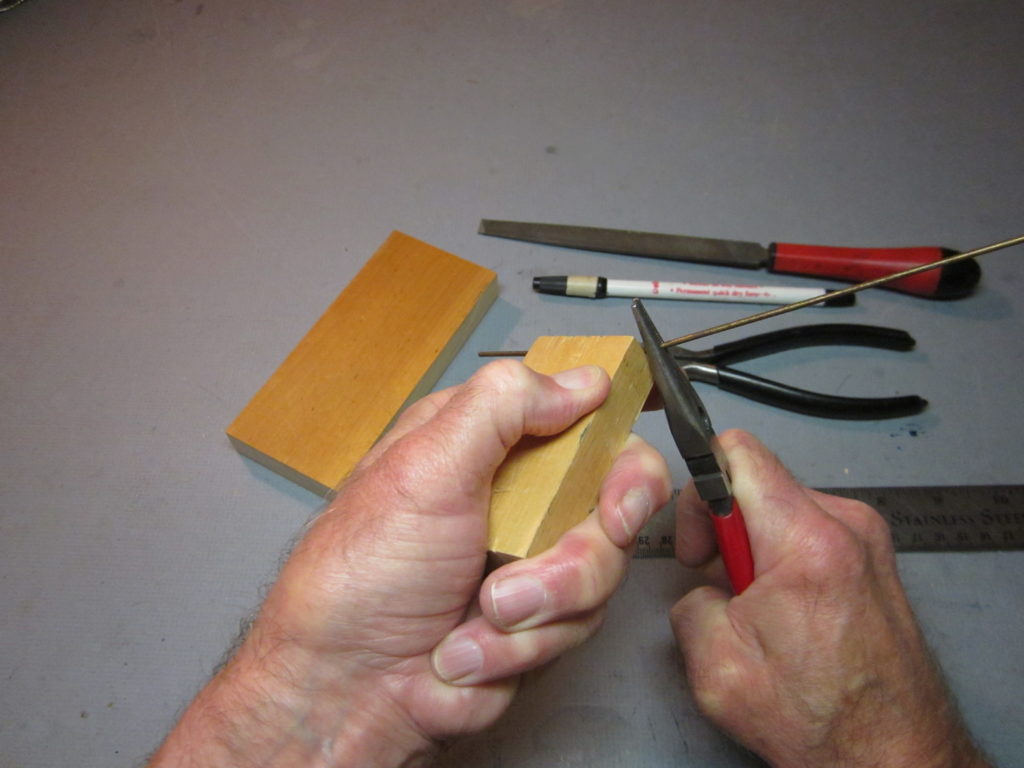
These are the tools I used. I didn’t need the yellow handled pliers. I also used a pencil and a drill press. Let’s get started.
Cut the wire at the end of a straight run and remove the other end from the cardboard tube. It may require a little straightening. The cut leaves a sharp chisel point on the end which must be removed. We are going to be working around the ends of the wire with our fingers and don’t want to get cut.
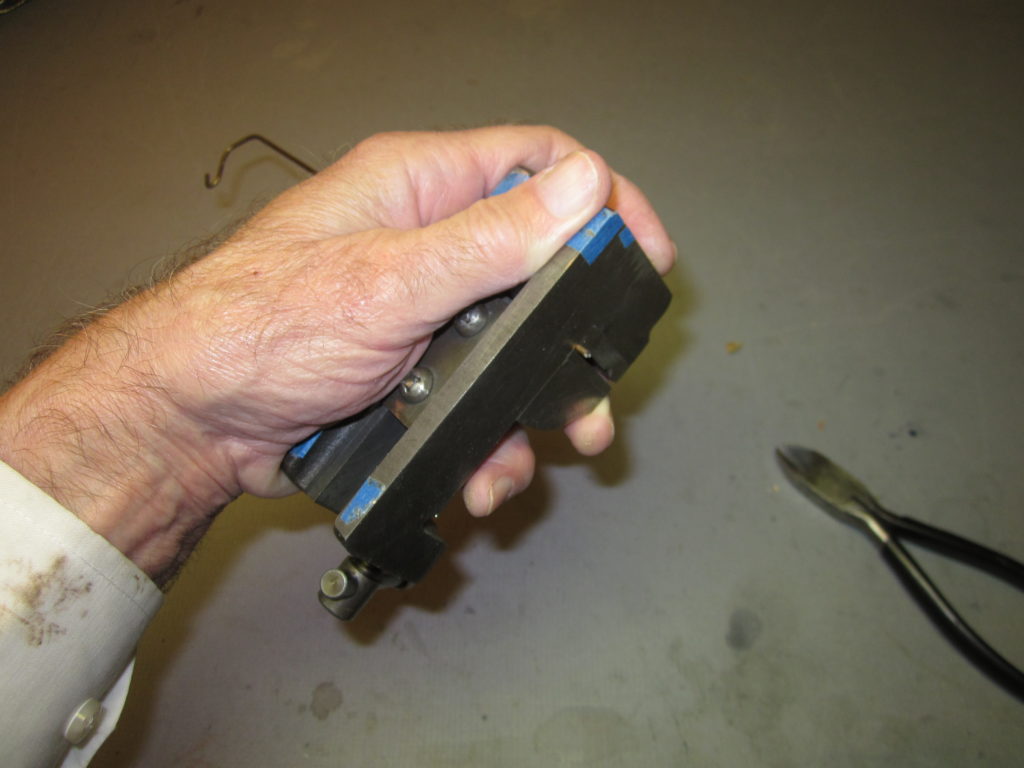
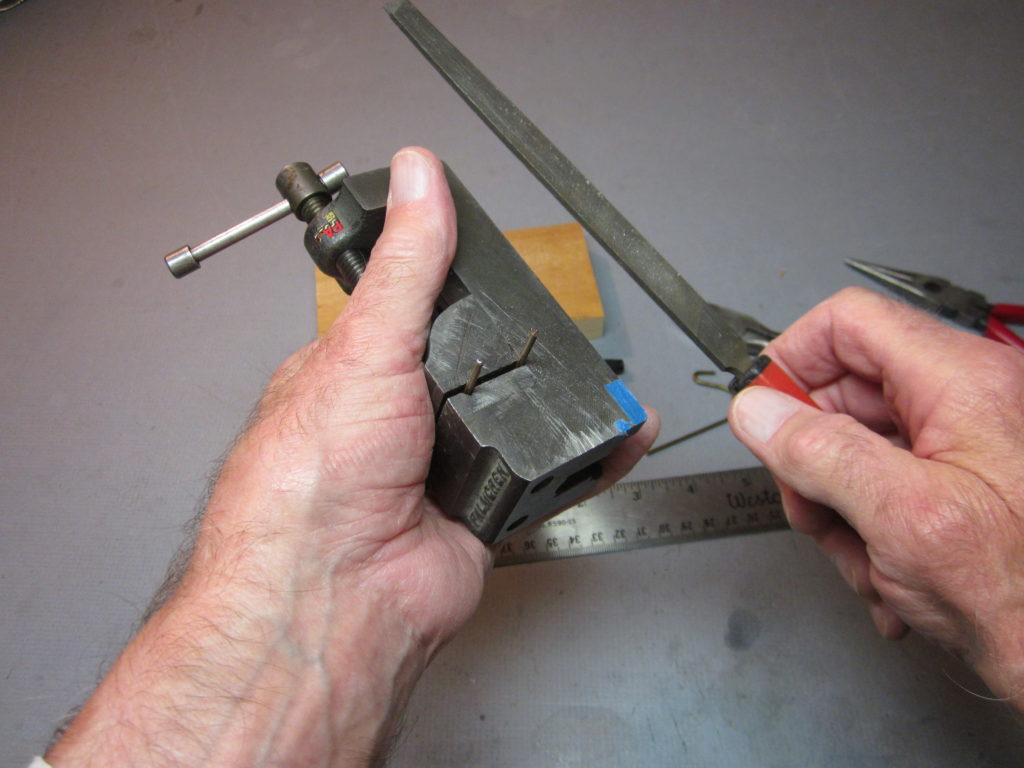
Put the wire in a vise so it protrudes slightly. If you try to file the end while holding it in your fingers, you are likely to bend it.
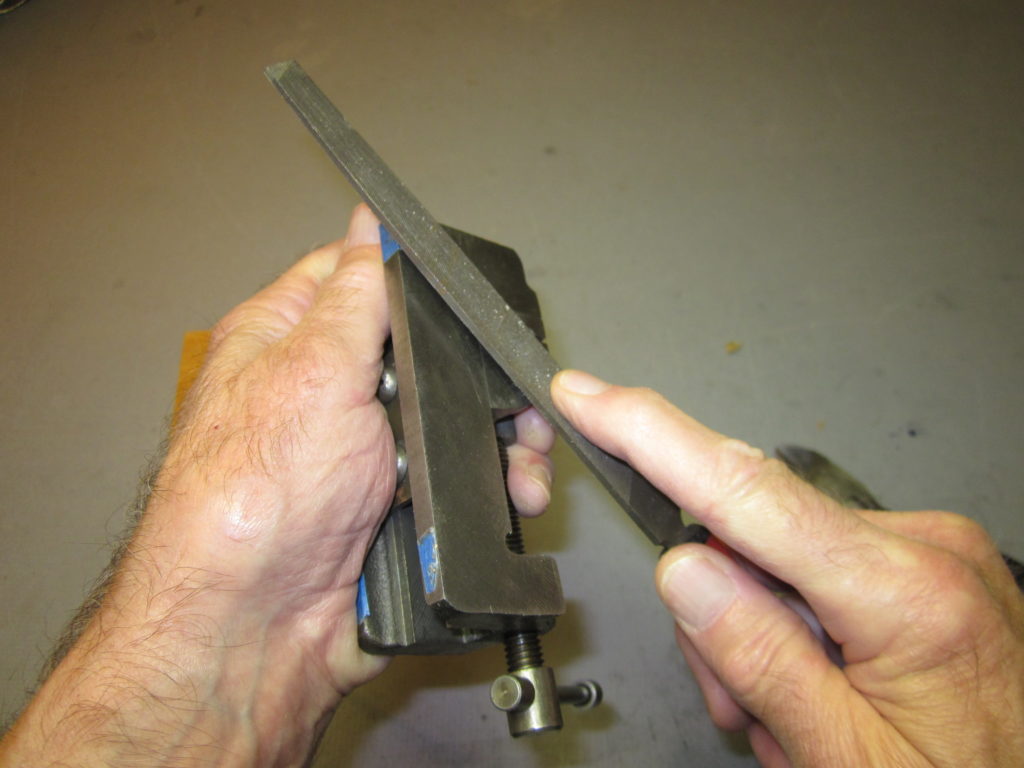
File the chisel point away.
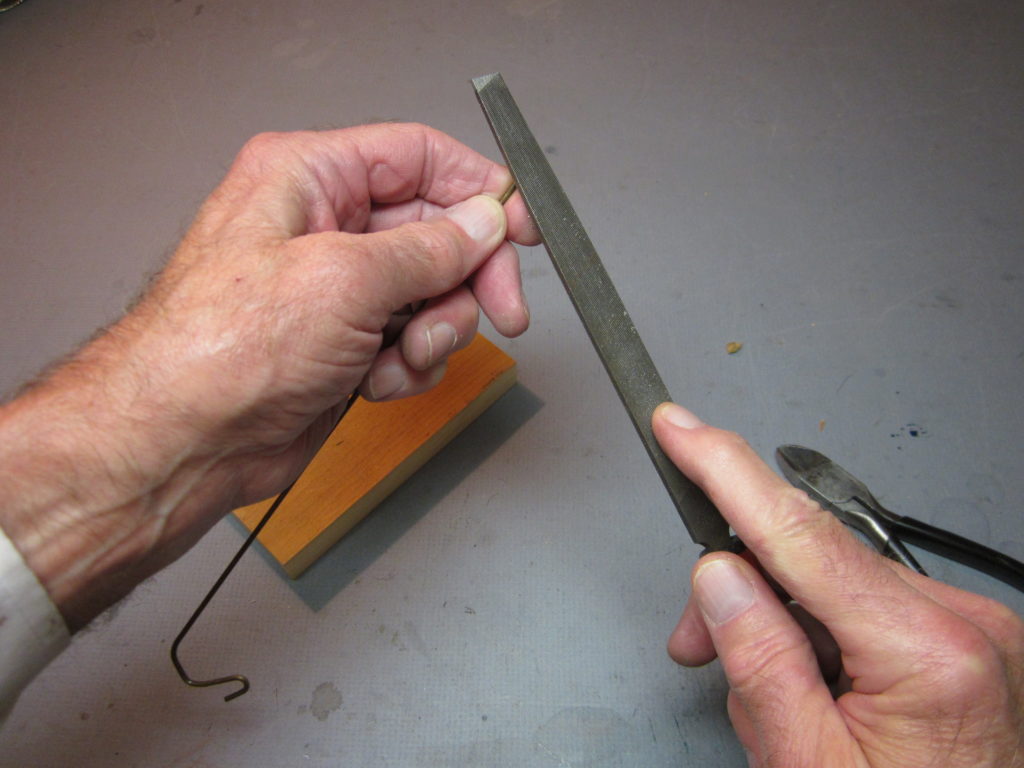
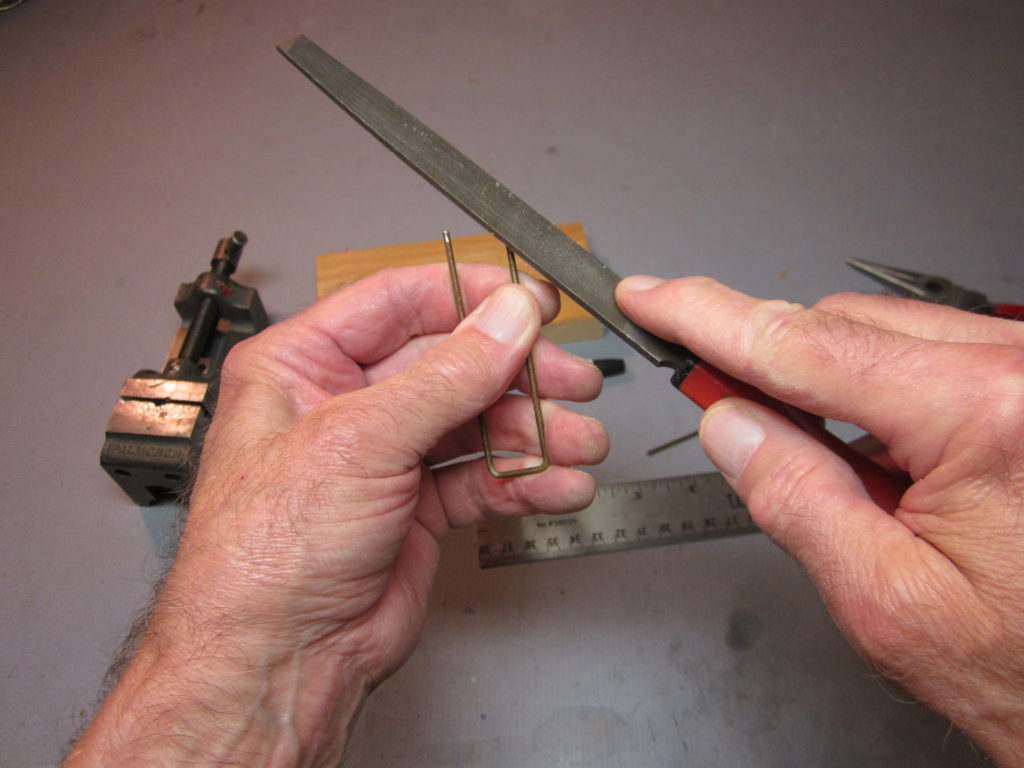
Twirl it and file off the sharp corners of the flattened end. We will cut the other end to final length later.
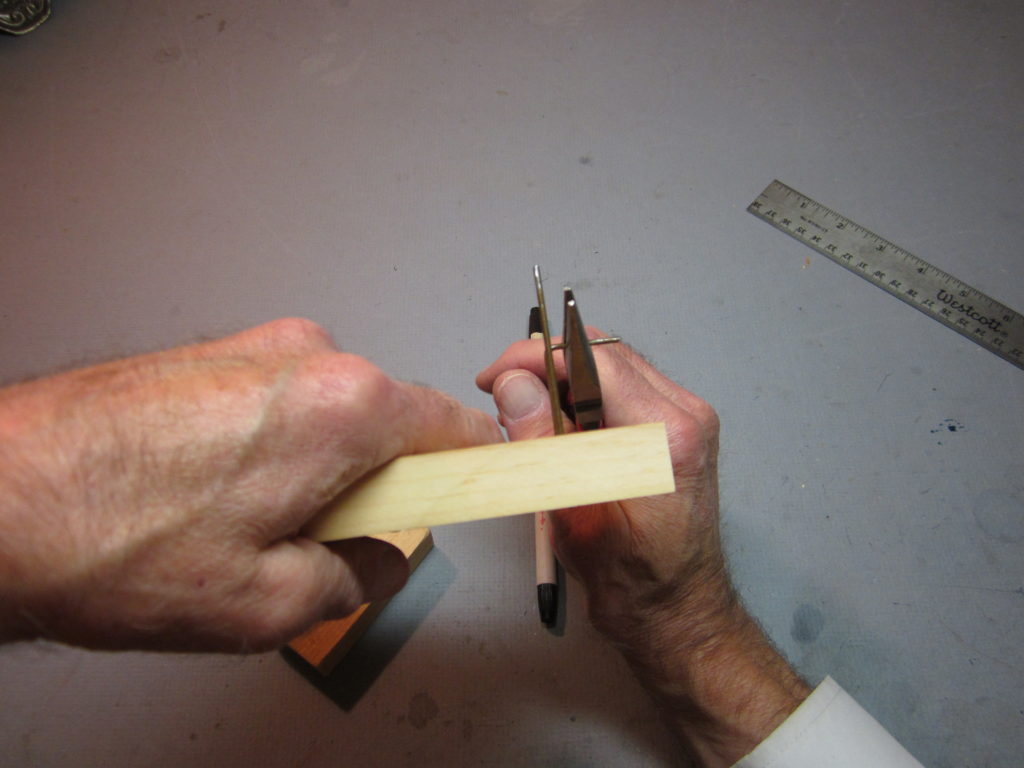
Mark 2 3/4″ from the end of the wire.

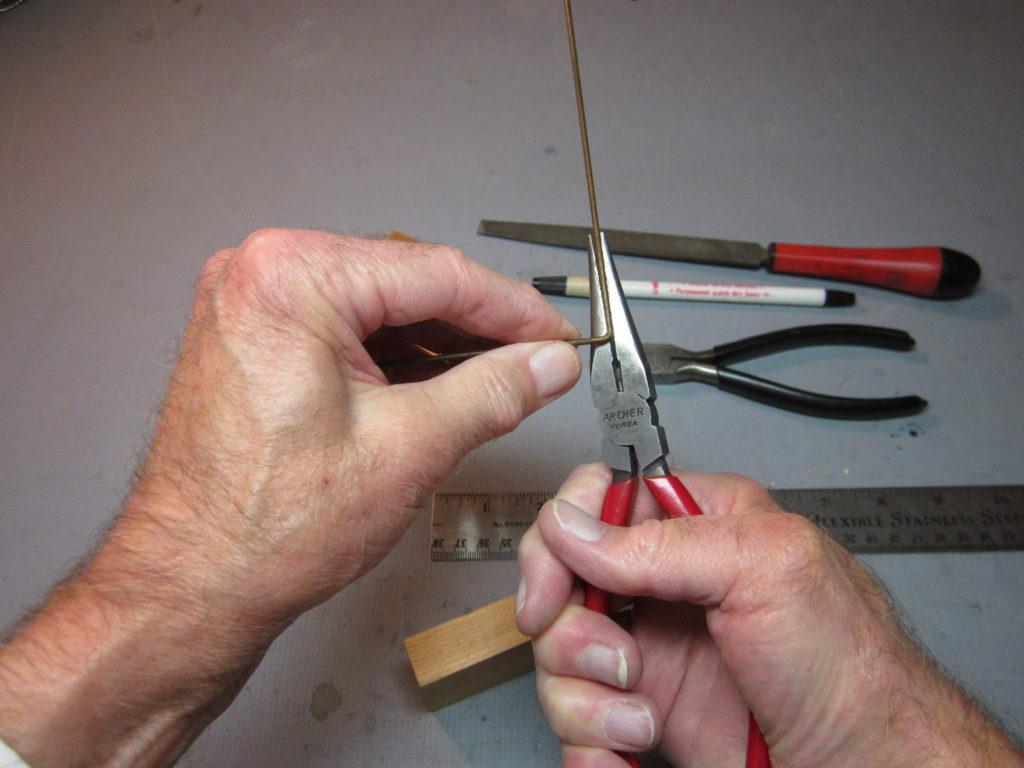
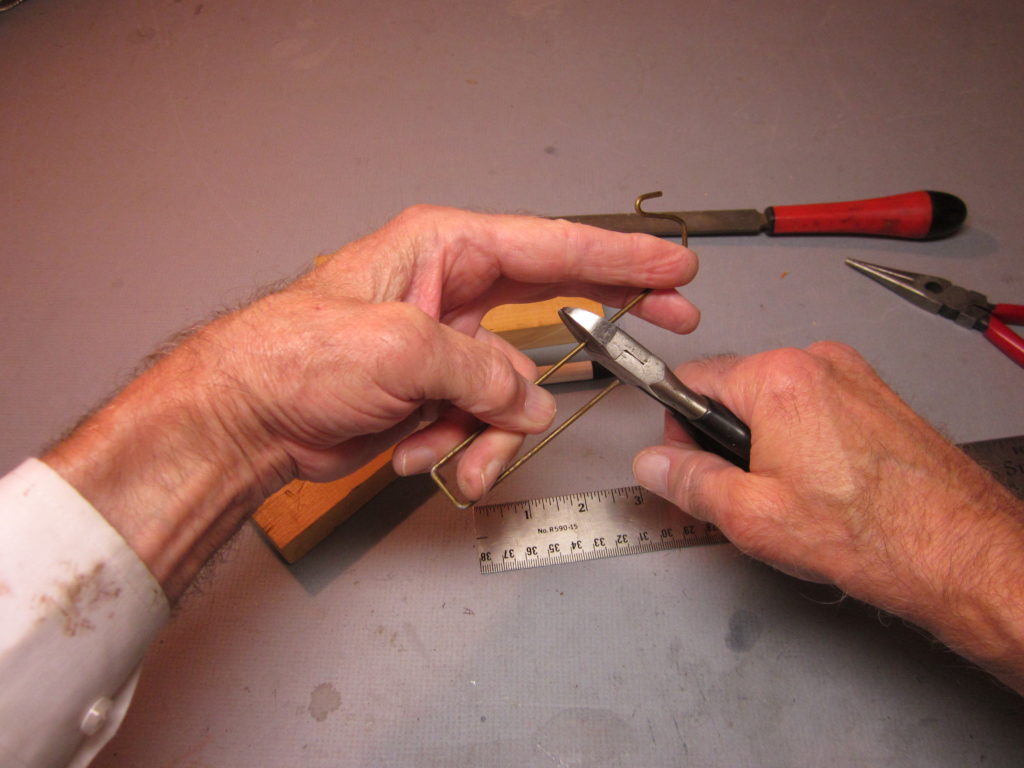
Grip the wire about one diameter past the mark.
Bend the wire by pressing it with a block of wood. If you bend it in your fingers, you are likely to put a curve in the part we want to keep straight.
Adjust as necessary to get it square.
Mark the wire 5/8″ away from that first leg.

Bend the next piece so it is parallel with the first.
Adjust as necessary.
The whole thing should lie in the same plane.

Mark 2 3/4″ up from the last bend.
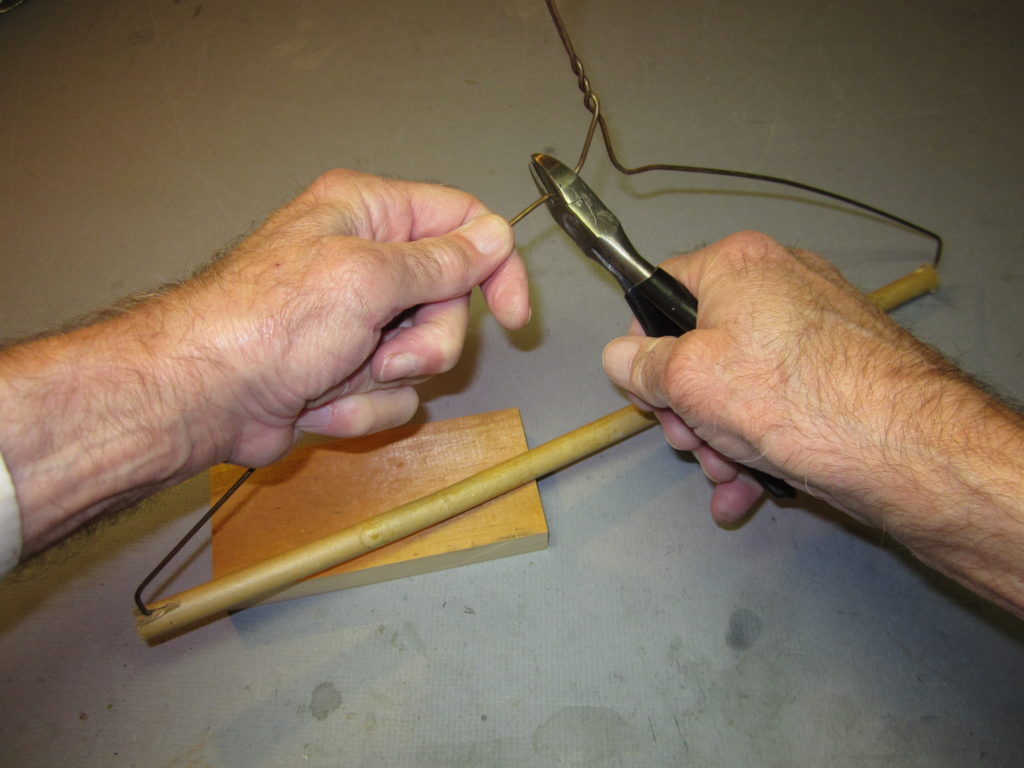
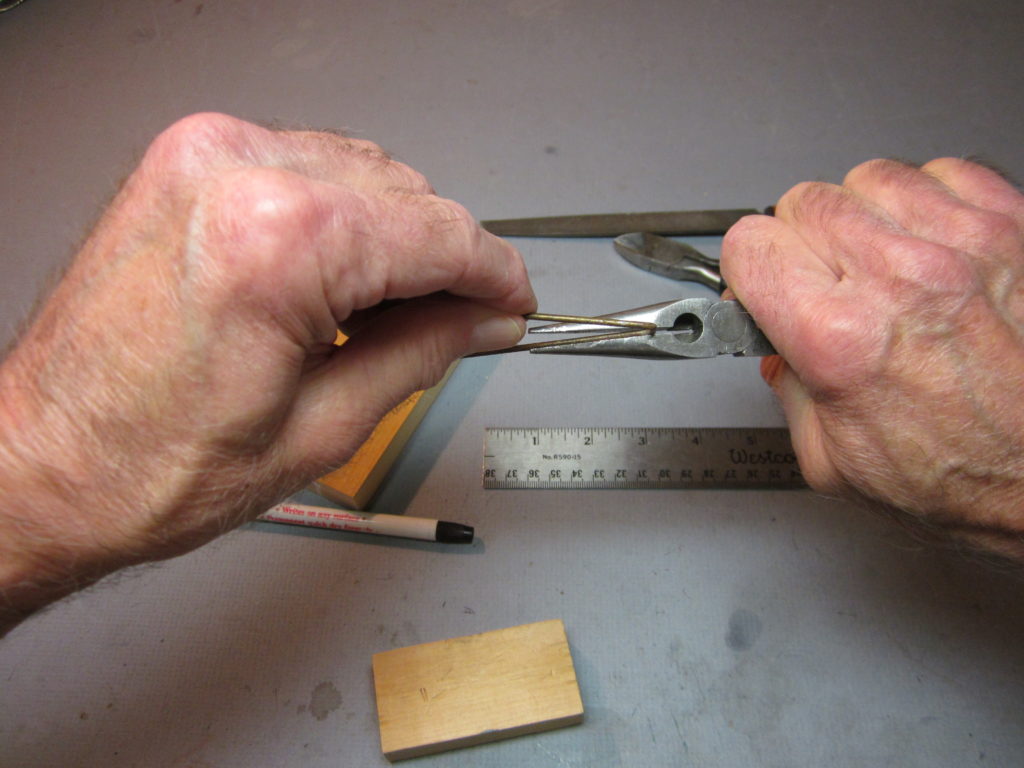
Cut the wire at the mark. Hold both parts of the wire between fingers to keep anything from flying off.
Remove the chisel point…
and round off the edge, the same as you did on the first cut.
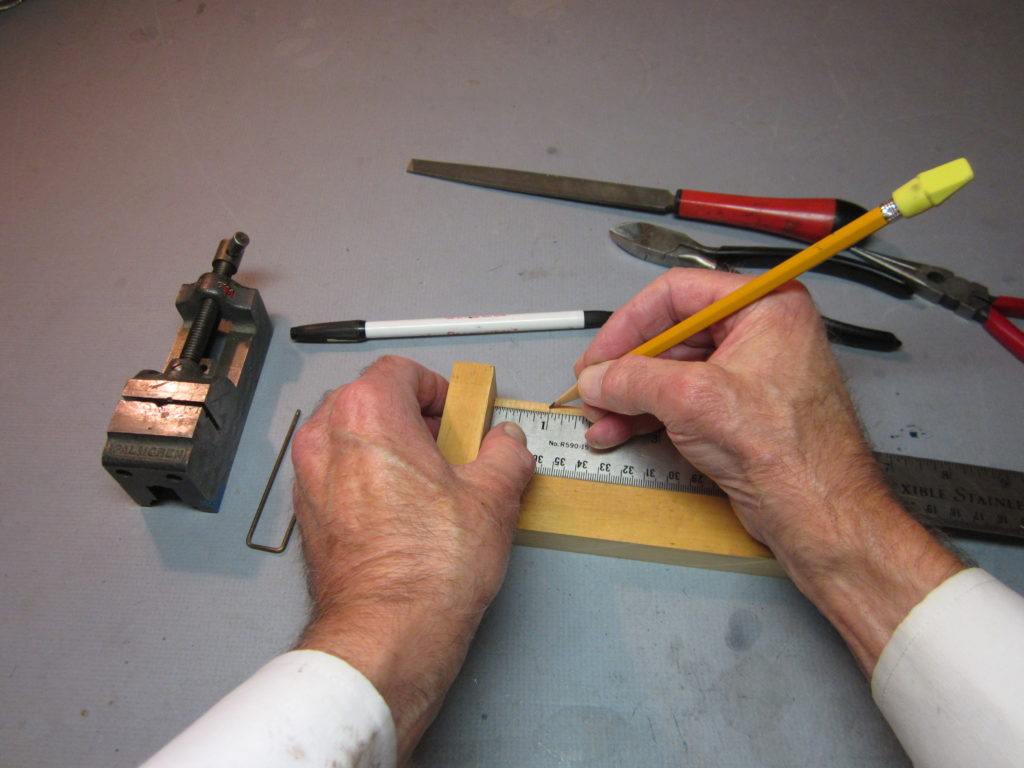
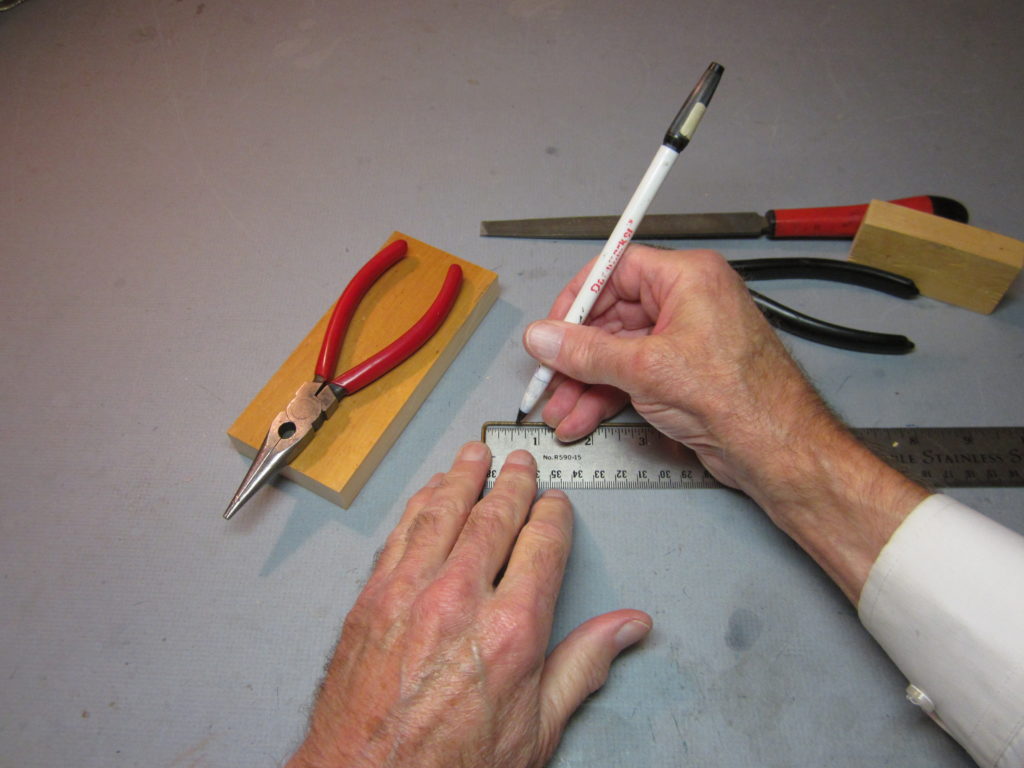
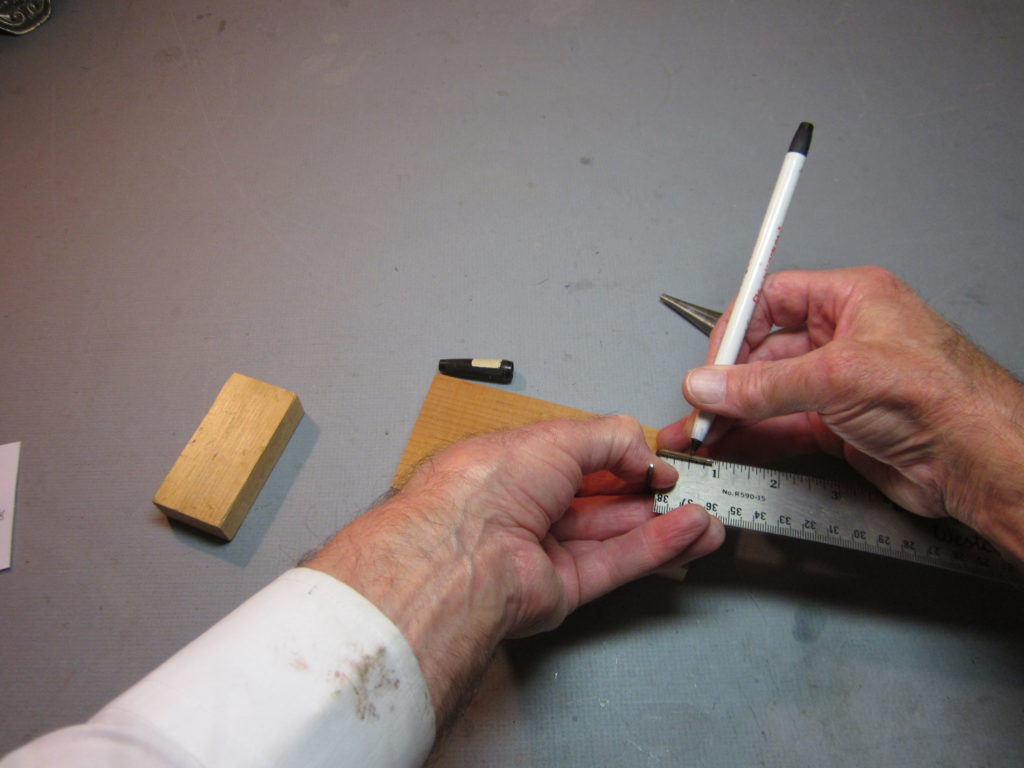
Mark 1″ from the end along one long edge of the block.
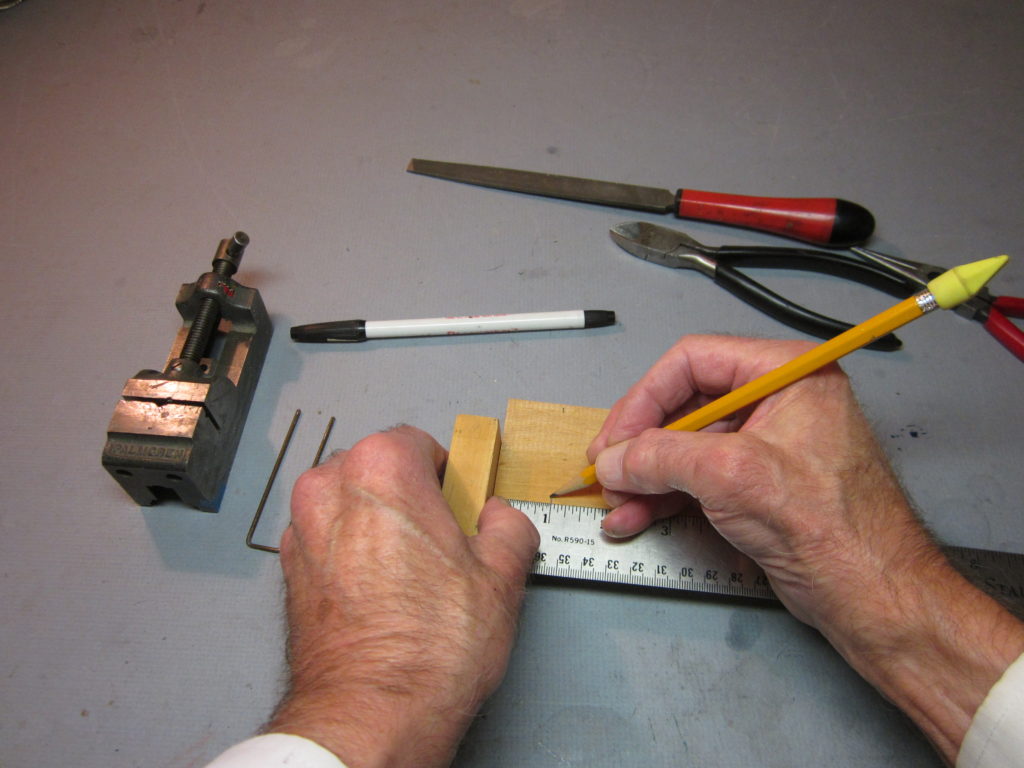
Mark 1″ from the end along the opposite edge of the block.
Draw a line between those two marks.
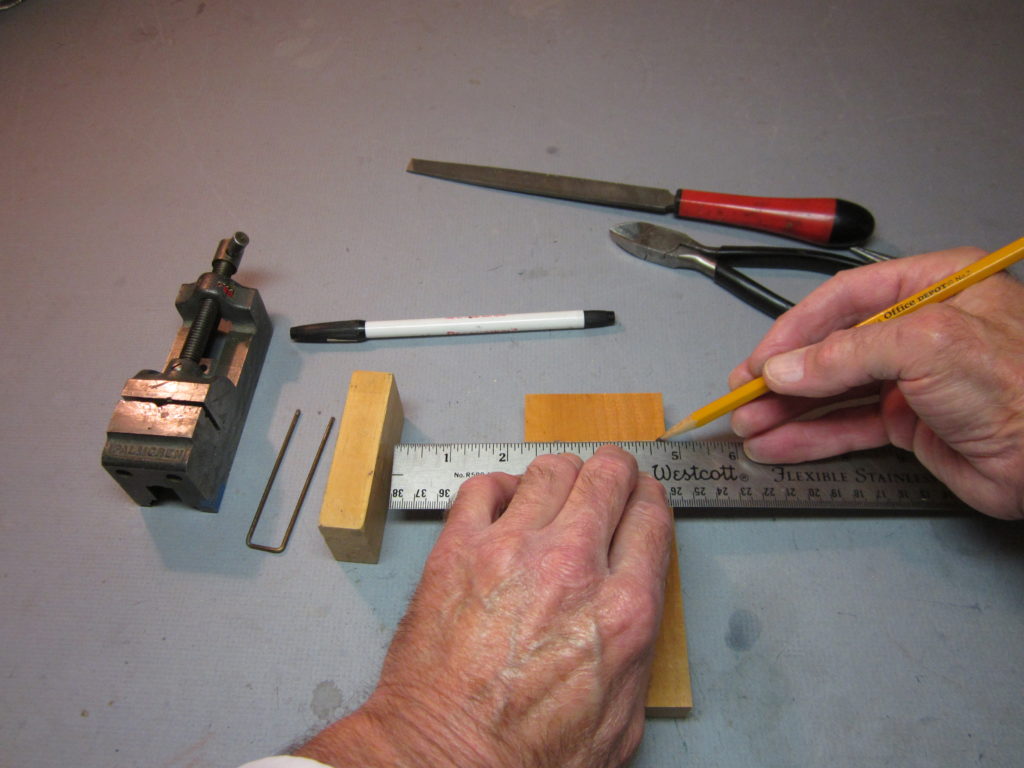
The midpoint of this line is at 1 1/4″. Make a mark 5/16″ on each side of that point.
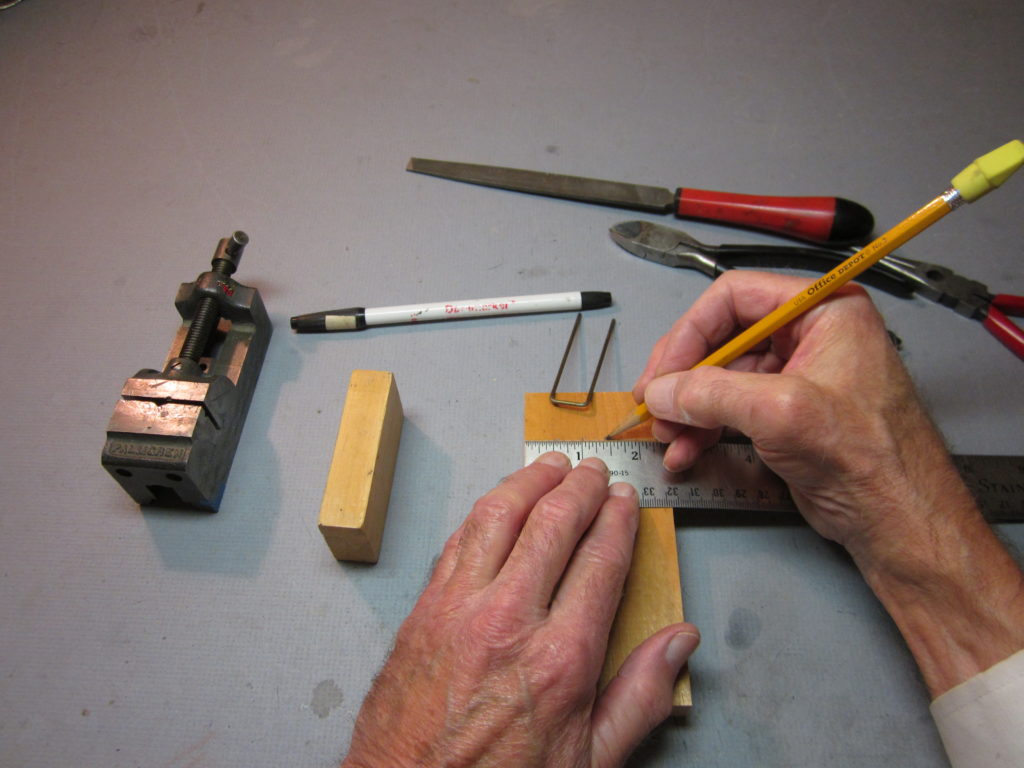
Place the wire so its legs are evenly disposed among the marks and mark across the line on each side of both wires.

It will look like this.
Using a drill with the same diameter as your wire, drill holes on the line, all the way through the block, centering them between each of the two pairs of marks.
I happen to have access to a drill press, which makes it easy to get the holes perpendicular to the surface. If you are using a hand drill, do your best to get the holes perpendicular to the faces. You can make a drill guide to help align the drill. Even the corner between two blocks of wood can help guide the drill. Once you have a starter hole, you can finish without the guide.
Push the legs of the wire through the holes. If there is resistance it may help to run the drill back and forth a few times to remove any remaining wood dust.
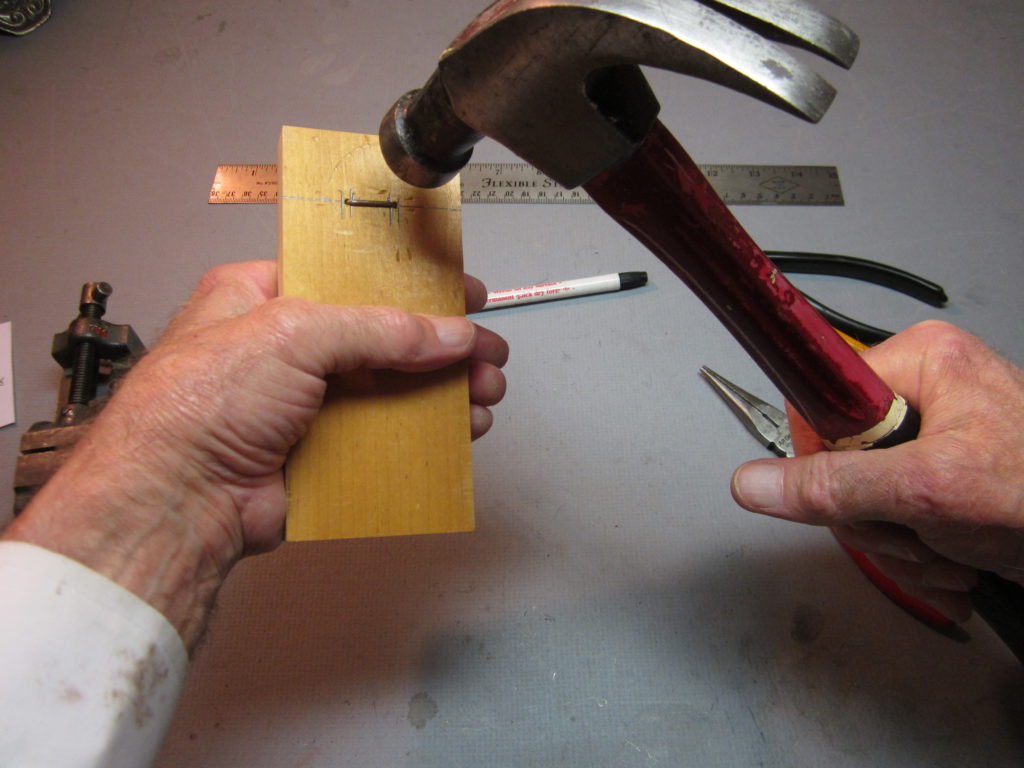
Pound it down tight.
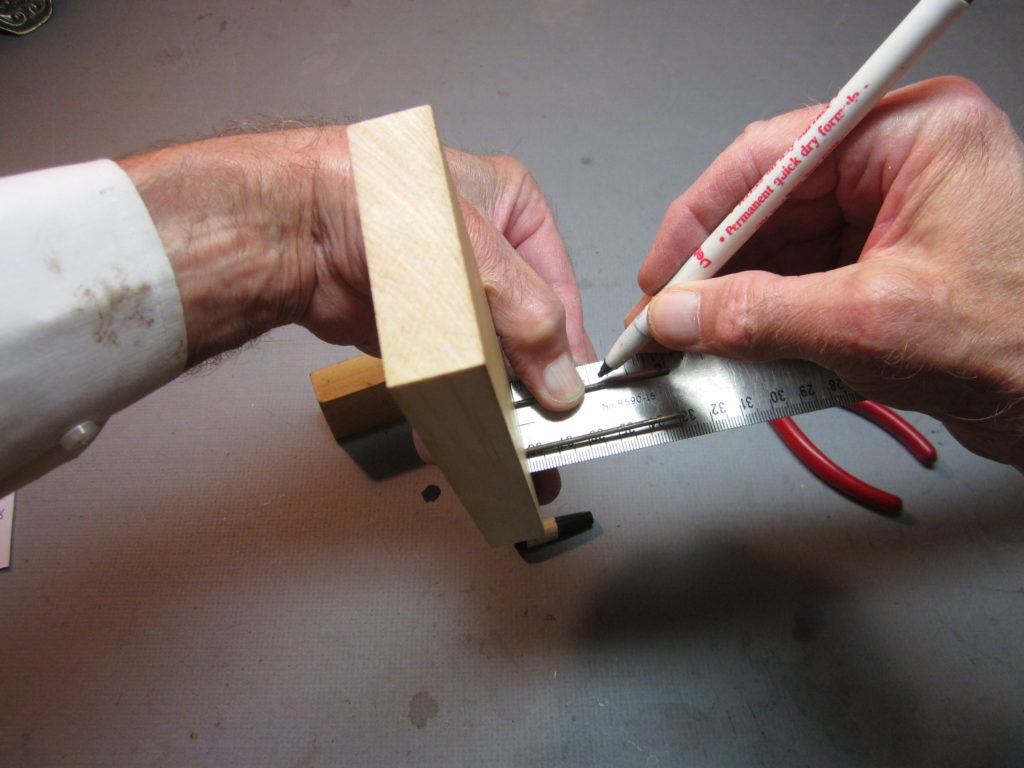
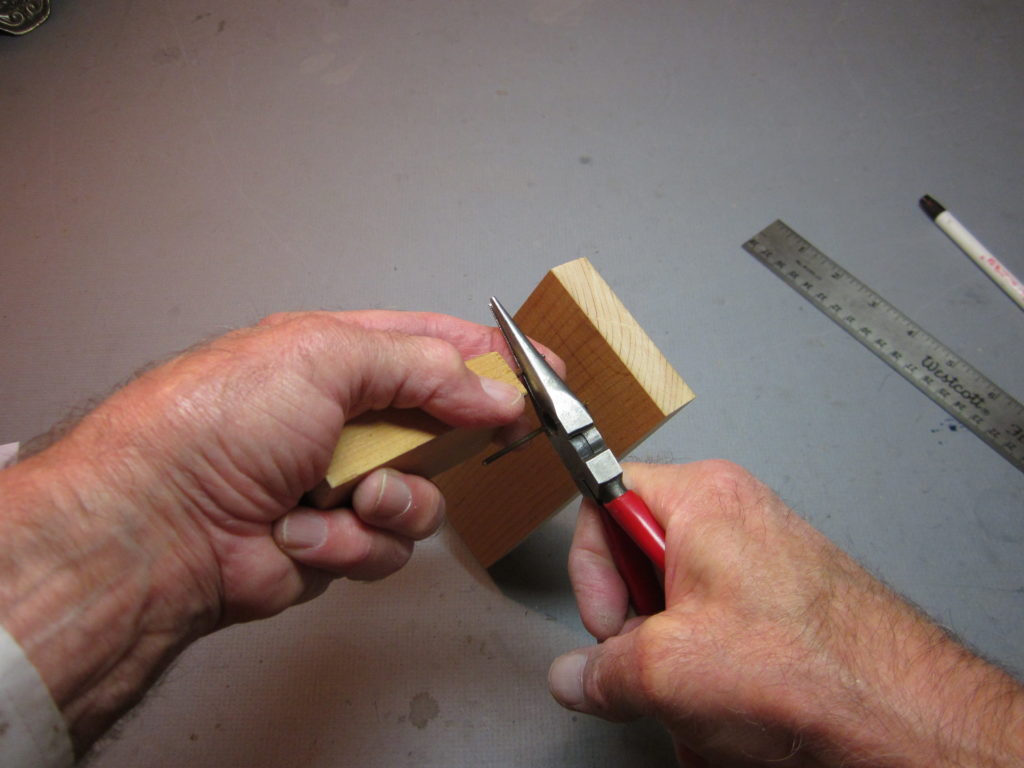
Mark the wire 1 1/8″ up from the face of the board.
Use the block of wood to bend the end of the wire at a right angle out over the short end of the block.
Adjust as necessary to get it parallel with the sides of the board.
Adjust as necessary to make it a right angle.
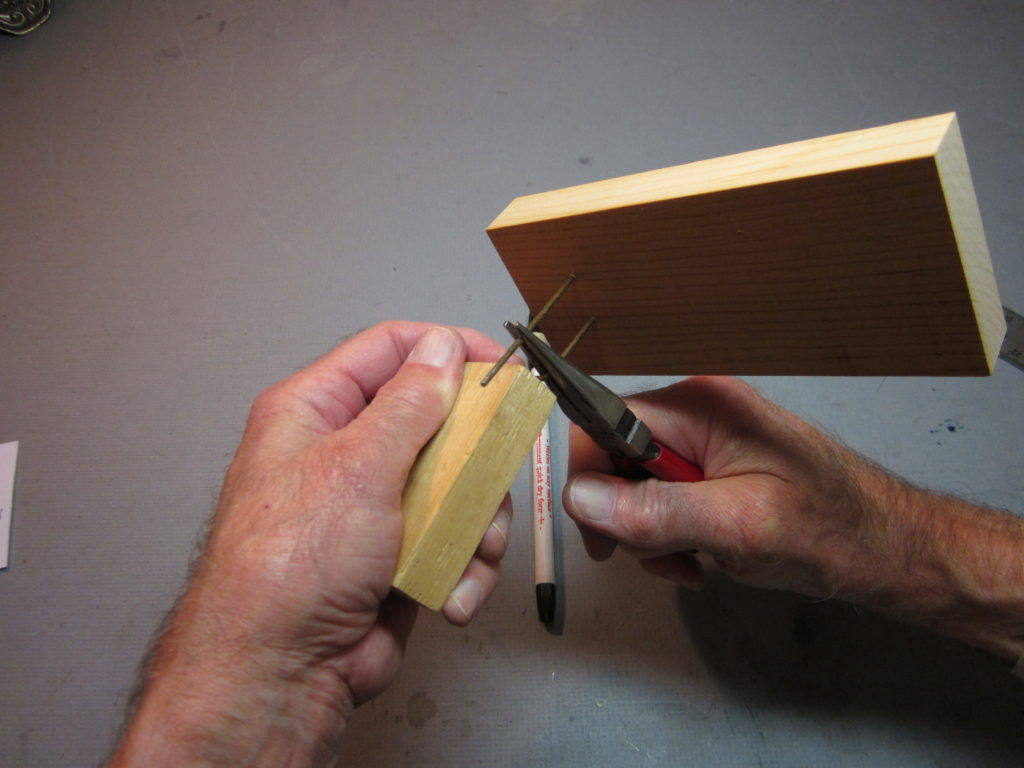
Mark 1/2″ from the last bend.
Bend the end down at a right angle to point at the board.
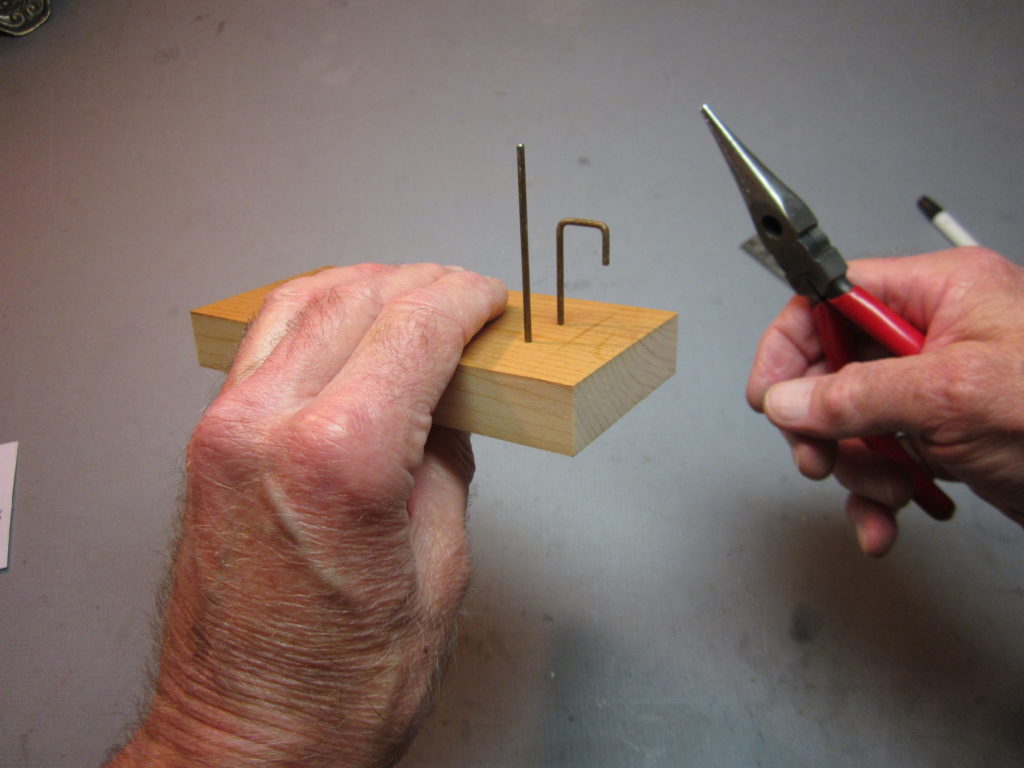
That completes the first hook.
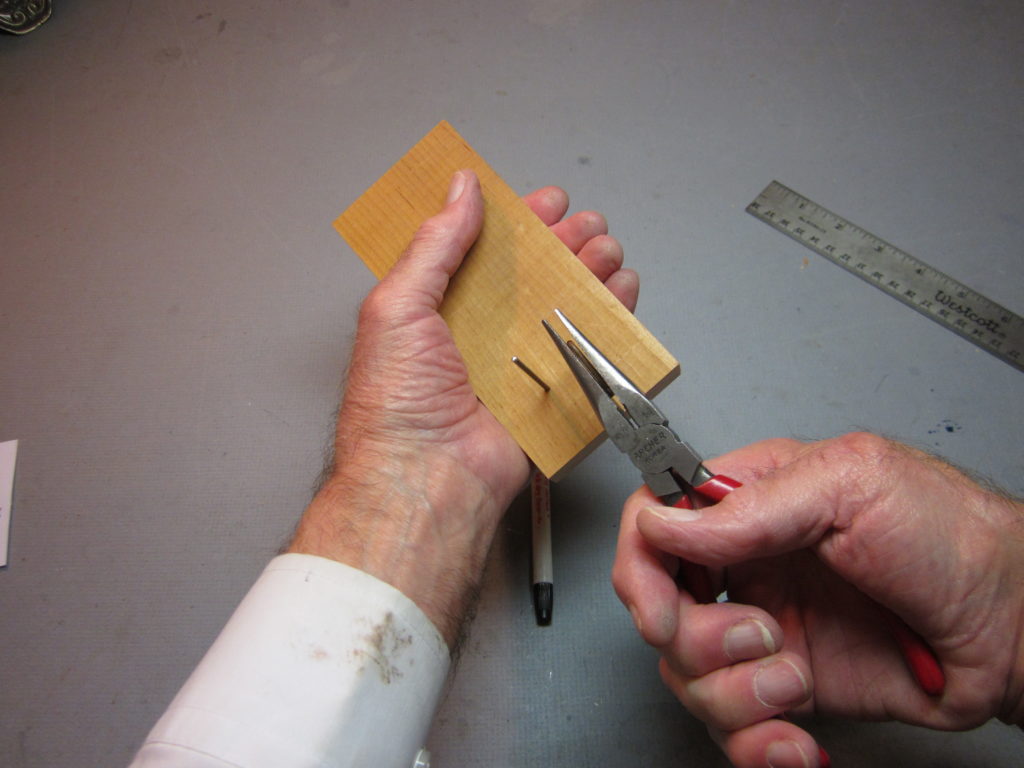
Bend the second hook in the same way. That completes the construction of the simple foot stooge.
It has been suggested that the foot stooge should be painted a bright color to make it easier to find on the dirt or among dry weeds. I put mine in my pocket as soon as winding is completed and carry it with me, so I have not lost it, yet.
Using the Foot Stooge
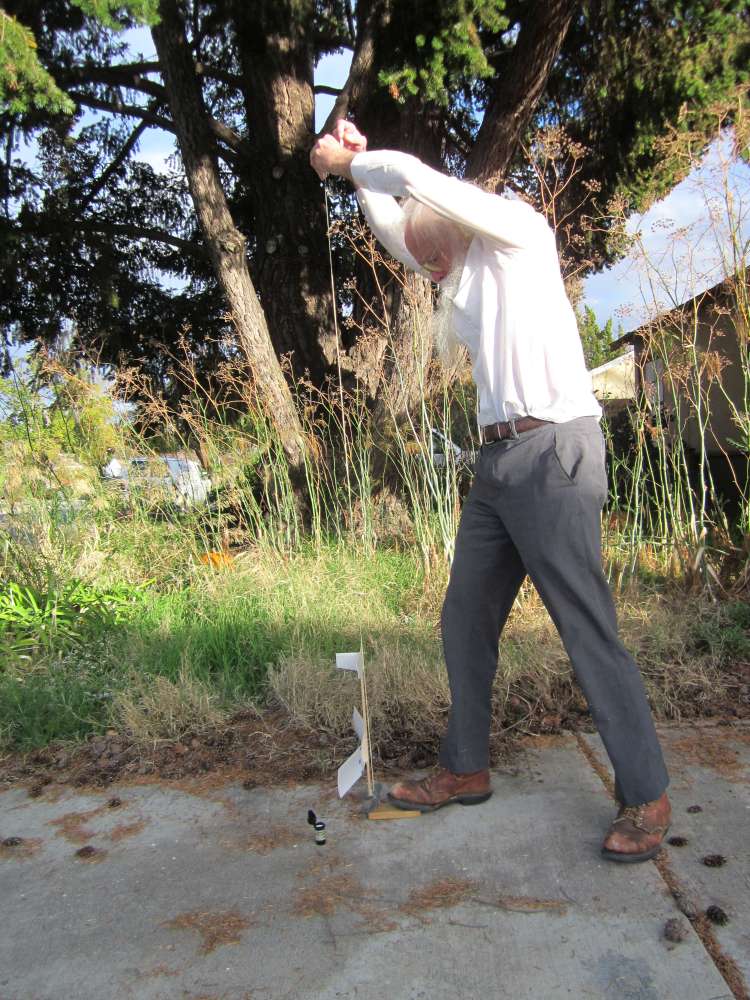
The first photo shows the foot stooge in use and is self explanatory. However, there is a caution. You must keep a firm grip on the foot stooge when stretch winding. If it gets away from you while the rubber is stretched, it can be propelled with considerable velocity and there is a danger of injury or or at least a painful impact and a strong likelihood of serious damage to your airplane.
Just made one! What is nice about this design is you can make it with what you have on hand. I had 1/2″ baltic birch and 1/16 welding rod. Works like a charm!
Funny, I have the same hammer, ruler, and Palmgren vise. I’ll be making one of these today..
Here in the UK our hardware stores sell large screw-in cuphooks. Using a couple of those instead of the coat-hanger wire avoids all that cutting, filing and bending! Good enough for smaller stuff.
re: foot stooge
No need for the wood base. You can just put a similar hook in your shoe laces. I seem to recall winding my twin pusher this way. Except for large models, coat hangar wire is overkill. A regular or large paper clip ought to be enough,for most models.