By Gary Hinze
This was originally published in the Drachen Foundation Discourses from the End of the Line, April, 2009, Volume 1, Number 4, page 57.
Aeromodelers are familiar with towed gliders. The model glider is towed to some height and released from the towline to glide down. Rather than run with the towline, the glider could be launched into a wind and flown at the end of the line as a kite, without releasing it from the line.
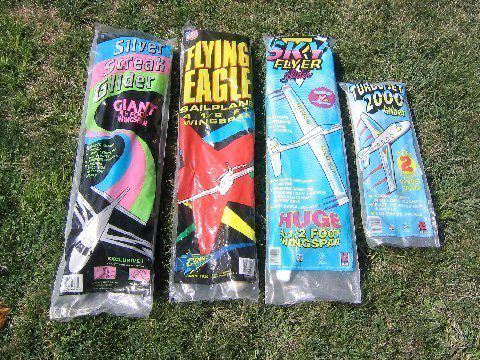
Thirty years ago, the availability of inexpensive, expanded polystyrene gliders of four and a half foot wingspan gave me the opportunity to try this idea without risking the destruction of a meticulously constructed balsa and tissue glider. Several such gliders were available, and they may still be found in hobby shops, toy stores, and on the internet.
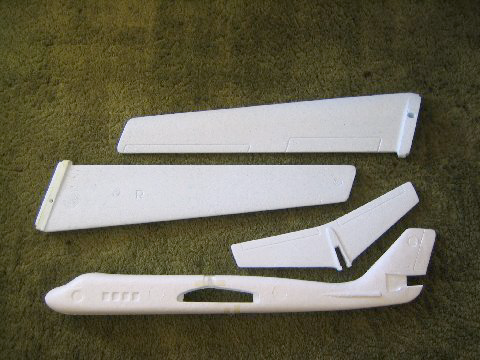
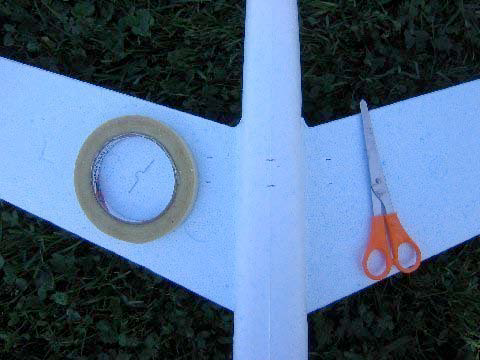
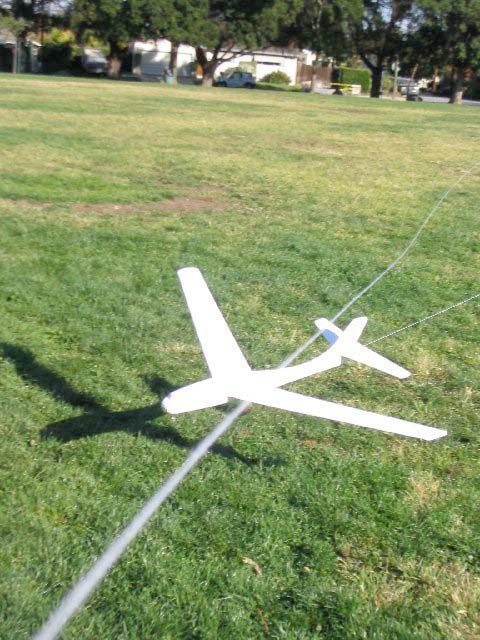
The four parts that slip together: a fuselage, a tailplane, and two wings.
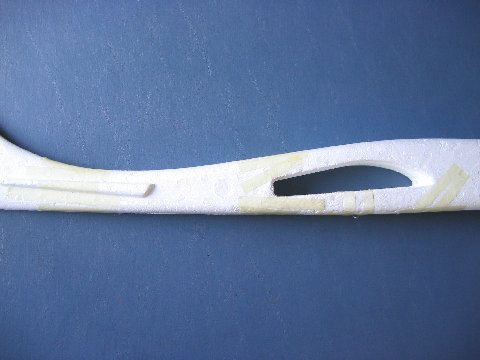
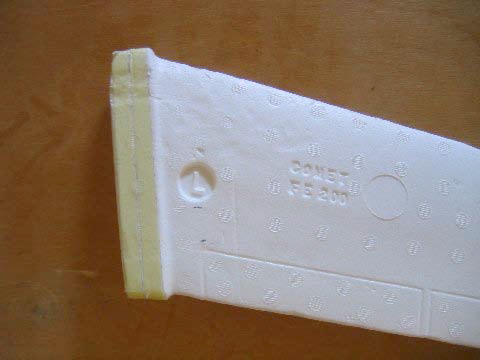
It is advisable to reinforce weak spots with strapping tape. The narrowest part of the tail boom and the fuselage at the wing leading and trailing edge are the most likely places for breaks. Breaks are easily repaired with white glue and strapping tape.
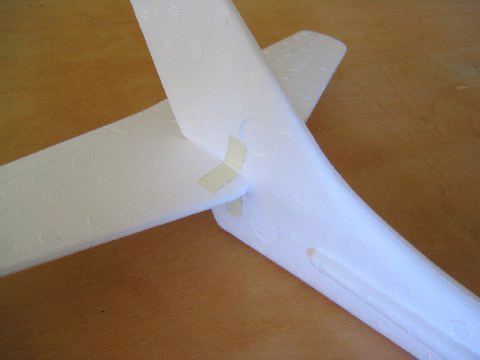
The tailplane slides into its slot and should be taped in four places to keep it from moving during flight. Be careful to get it square with the fin. It should not tip to one side. That will make the glider turn.
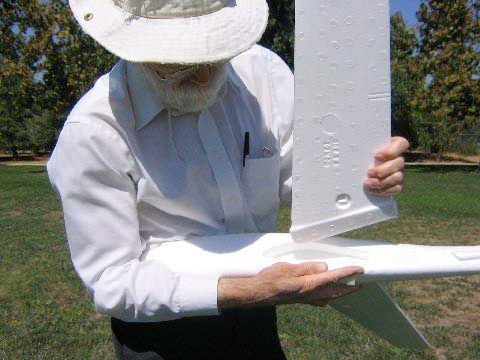
The wings are a friction fit in the fuselage cut out. Make sure they are firmly seated in the slot and symmetrical.
After some use, they may become loose. A couple wraps with strapping tape will tighten them up. For long, high flights, you may want to run three or four pieces of strapping tape across under the join between the wings, to keep them from working loose during flight.
These are intended to be flown as gliders. They are tail heavy. They nose up, slow down, and drop to the ground.
To get it to fly properly, we must tape some weights to the nose. Originally I used US quarters that weigh 5.65 grams each. Recently I have used 1” steel washers that weigh 7.22 grams each. It is necessary to test glide it to locate the tow point. This corresponds to the center of gravity that gives the longest glide. It is also necessary to find a center of gravity for it as a kite. This will be further aft. It should be where the glider makes its slowest descent.
Add weights until you get the longest steady glide over level ground from as high as you can reach in still air. The idea is not to throw it as far as you can. The idea is to get it to glide at a steady speed on a straight path. Pacing off the distance to where it landed is sufficiently precise. Counting seconds is also good enough. You can use a tape and stopwatch if you want to be more precise. Make enough glides with each set of weights until you have a half dozen steady glides. Write the results down in a little notebook. Also note how the glider behaved. If it turns, straighten out anything that is not symmetrical.

With the weights that gave the longest glide taped to the nose, find the balance point and mark it. I found that three washers gave the longest glide. This is where the bridle point will go.
Some weight must be removed to fly it as a kite. Enough weight must be removed so the kite will nose up slightly when the wind drops, rather than over flying the line. But putting the kite center of gravity farther aft of the tow point can increase stability problems. You can test fly it as a kite to decide how much weight is safe to remove. I found that it flew well with two washers taped to the nose.
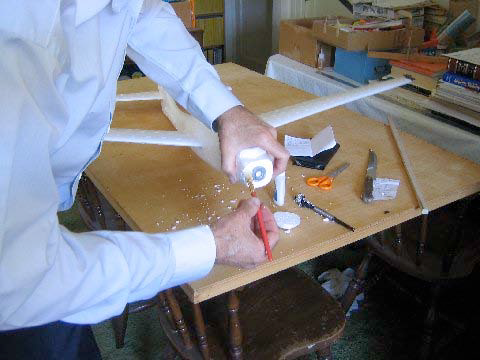
Rather than leave the nose weights taped to the nose, they may be put inside the nose. First cut the nose off straight across to expose a flat surface. Use a wood bit the same diameter as the nose weights to drill a hole just deep enough to contain the weights. Press the weights into the hole to check fit. If they are a snug fit, apply glue around the opening.
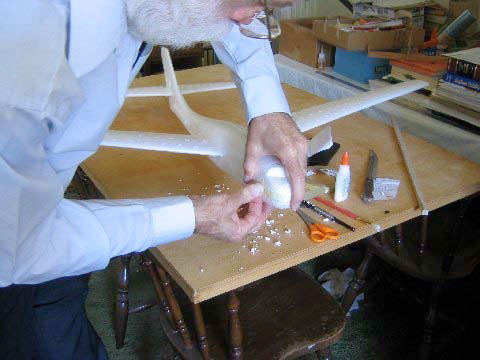
Spread the glue evenly over the whole exposed surface. Press the cutoff nose piece into the glue. To be sure it stays on, also tape it in place.
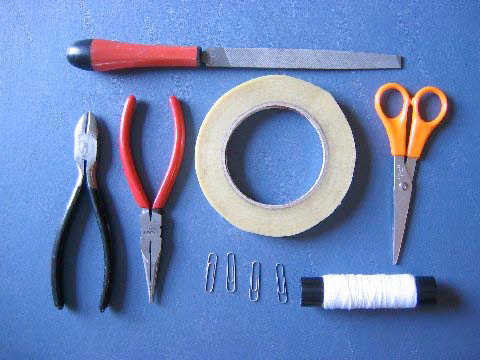
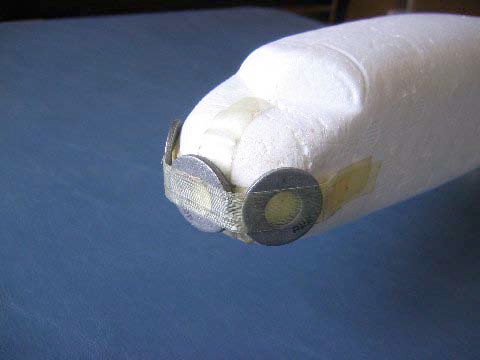
Make a tow ring and bridle loop from a paperclip. The picture shows what you will need.
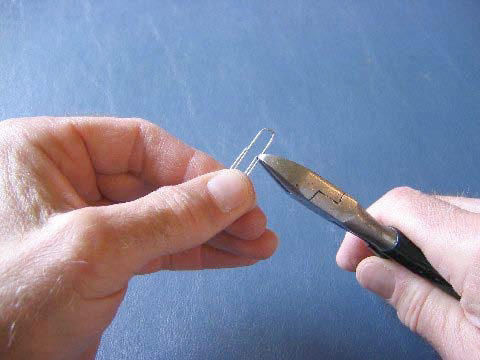
Cut one end off the paperclip to make a U shaped piece and a complete loop of wire.
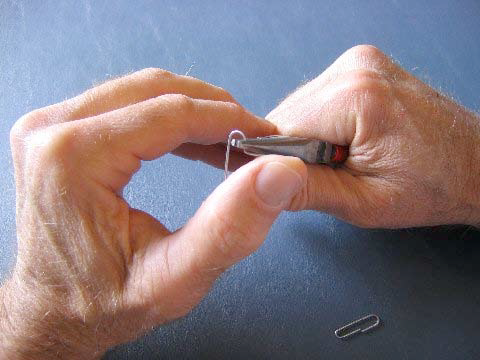
Bend the ends of the U out to form the bridle loop, keeping everything in the same plane.
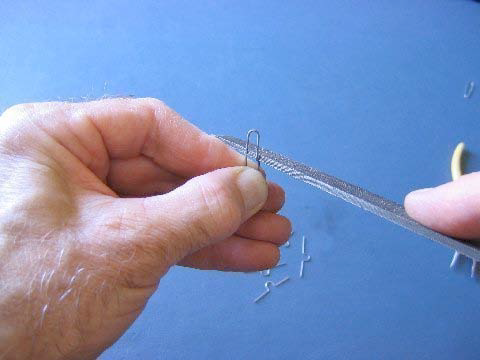
File the cut ends of the wire to remove the sharp ends.
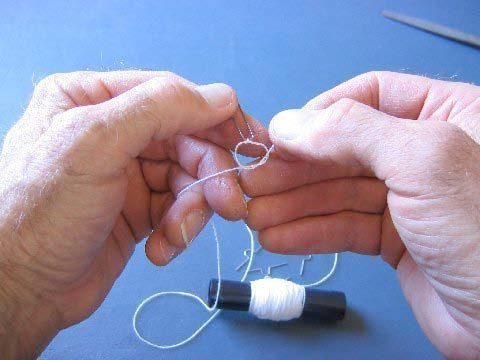
Tie the string to the tow ring.
The bridle loop is taped to the bottom of the fuselage at the point corresponding to the longest glide. That is the forward point. The aft point is the center of gravity with the kite nose ballast in place.
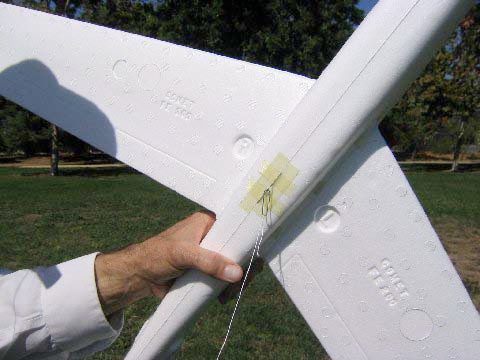
Align the bridle loop with the centerline and tape across the ends. Then put additional tape across the first tape to keep the loop in place. The tow ring clips onto the bridle loop.
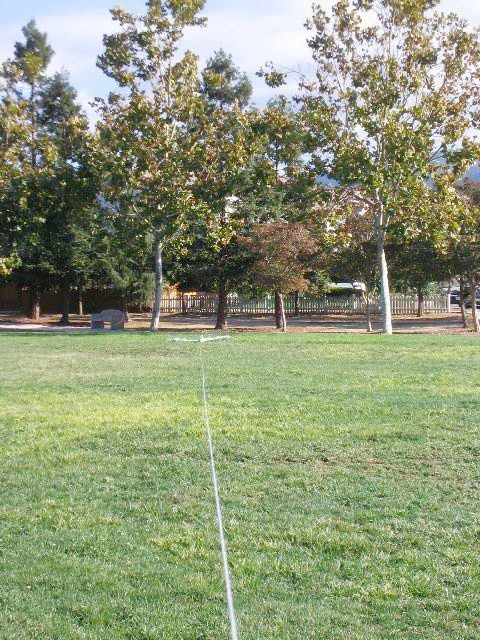
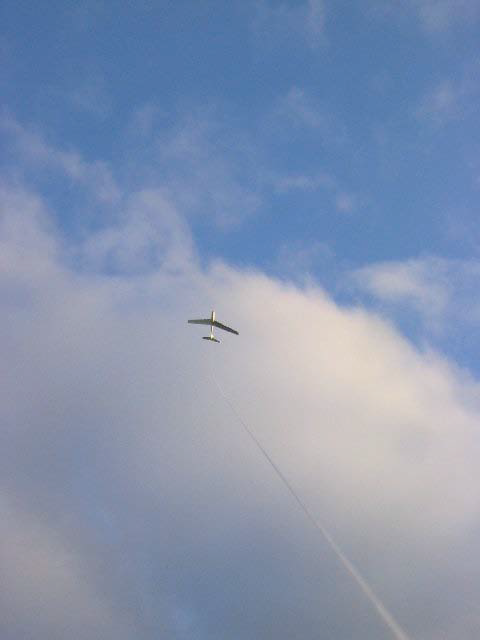
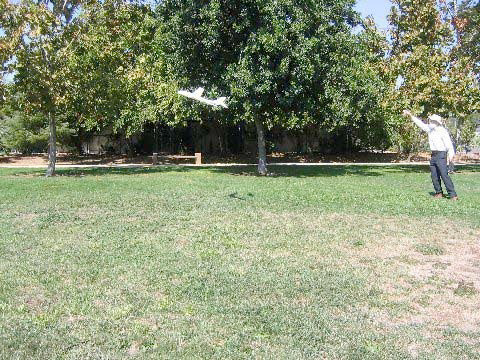
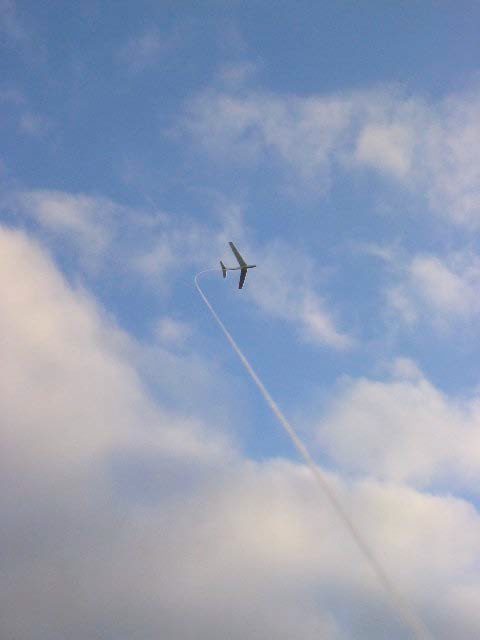
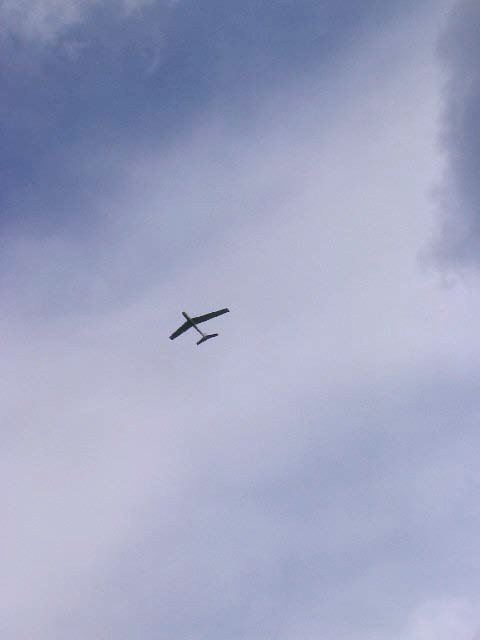
These gliders are somewhat heavy as kites. They need a lot of wind to fly. In the glide tests, I estimated the gliding speed to be about 10 miles per hour. There must be somewhat more wind than that, or the glider will glide toward you after being towed up. In a good, strong wind, it can be launched from the hand. I estimate that it takes at least a 15 mile per hour wind. If you are down between trees, you may need to let the line out and tow it up. Be sure the wind is not from the side, or it will get under one wing and the opposite wing will hit the ground, causing the kite to tumble. With the wind directly behind, the flying line is straight.
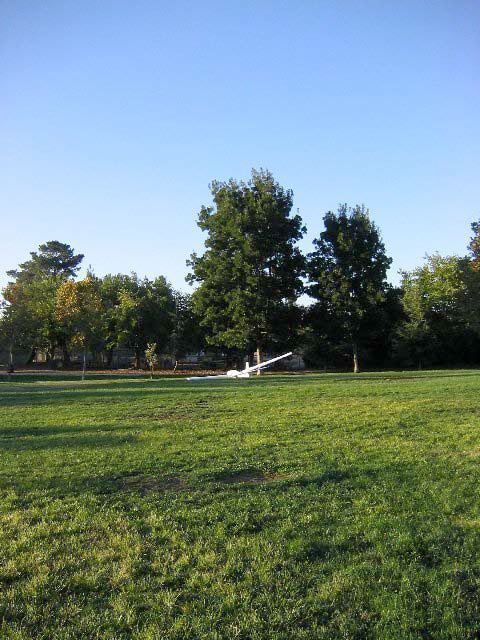
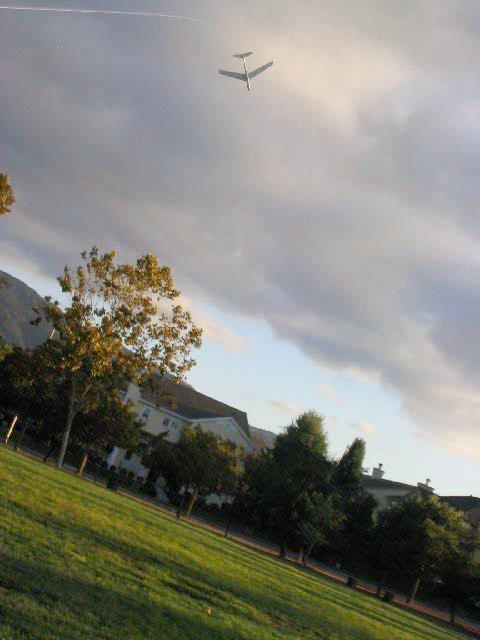
In this flight, I was able to tow the kite up, but ran out of running room, and there was insufficient wind to keep it up, so it glided toward me and landed. That can be a fun way to fly the kite, if you like running. I have run all the way around the field, towing the kite behind me.
These gliders are rather dense. They have a high moment of inertia. It takes a lot of wind to stabilize them. In insufficient wind, they will turn to the side, presenting one wing to the wind and rolling downwind.
Sometimes you can pull them back to windward, but if the yaw is too great, the wind gets under one wing. When the wind gets under one wing like that, it will roll off center and zoom into the ground at high speed…

…and crash. Good thing the wings can pop out in the test flight. Strapping tape alone fixed these breaks in the wing and tailplane.
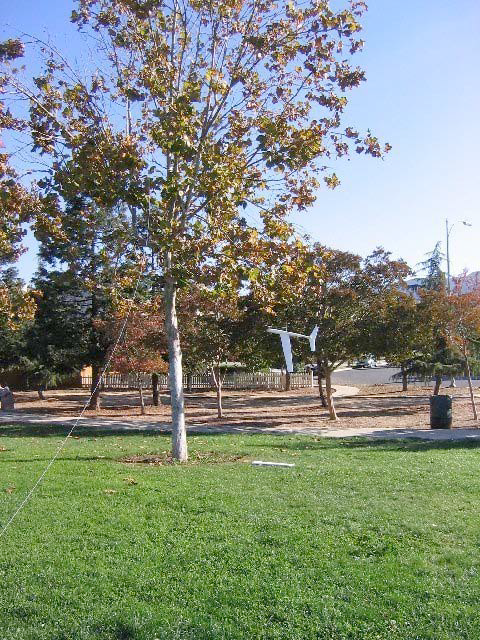
Or it might end its flight in a tree. In that case, work the kite free by pulling and releasing the line. Let it drop through the branches, then slip the knot off the tow ring and pull the string out of the tree. If you can arrange it, let the kite come down behind the tree. This can be a difficult kite to fly in marginal wind. It requires some of the skills of a fighter kite flier to keep it in line.
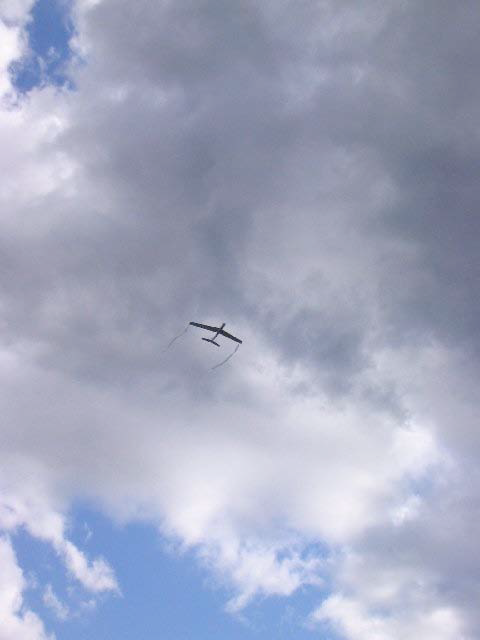
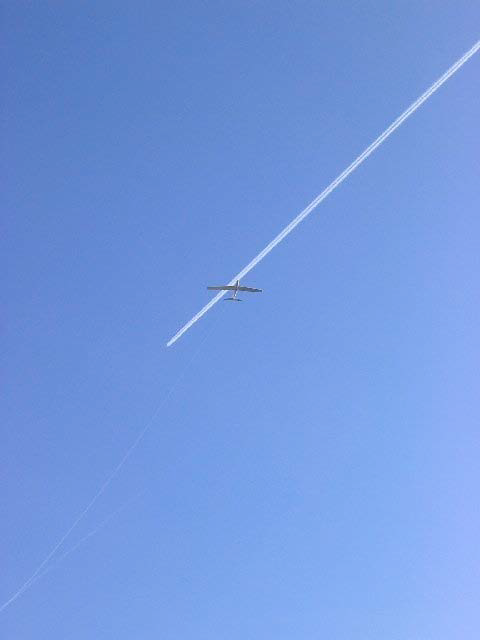
Crepe paper streamers at the wingtips can help stabilize the kite in marginal wind, and look like contrails. This one came right out of the box from thirty years ago.
After a few crashes, you will have a pretty good idea how much wind the kite needs and you will see some successful flights. With enough wind, you can release it from your hand and let the line out gradually.
I hope you will have many happy flights with your foam plastic glider.

Tal vez se puede hacer un motovelero,con un motor eléctrico y r/c también.
Para eso reforzaría las semi alas y el fuselaje de cola , hacer el timon de dirección y alerones en las alas.
Pero si ,para el él que quiere algo sencillo y divertido me parece muy bien,los concejo el cuidado y centrado del planeador y como volarlo , Felicitaciones ,muy práctico.
Google Translate: Maybe you can make a motorsailer, with an electric motor and r/c too.
To do this, I would reinforce the semi-wings and the tail fuselage, make the rudder and ailerons on the wings.
But yes, for him who wants something simple and fun it seems very good to me, I advise you on the care and centering of the glider and how to fly it, Congratulations, very practical.
I am starting to do some testing using EPP Shockflyer kits as the starting point. EPP is much more damage proof than EPS. Here in Germany there is a company called Causemann Modellbau that sells kits for the equivalent of about $25 – $30. Thanks for the great article!!
Hello It was a very nice explanation. There will be a kite festival here in the coming days. Tomorrow I will buy styrofoam, which is used as insulation material, and I will try to make a glider kite by trying what you have told.
One of my dim childhood memories is of a “kite” that was molded polystyrene foam in the shape of a seagull. I think it was intended to be flown on fishing line. I don’t remember if it actually flew, but it would make a great toy. At 4, though, I wasn’t ready.
I had a Styrofoam kite in the form of an eagle.
I had some of these EPS gliders but never had the fun you have with yours. Thanks for sharing. Now I know a lot more is possible!