By Gary Hinze
This was originally published in the Drachen Foundation’s Discourse:
from the end of the line, December 2008, Volume 1, Number 3, page 31.
A Cyanokite is a kite made from a cyanotype. A cyanotype is an art print made with blueprint chemistry.
The Drachen Foundation’s August 2008 Discourse: from the end of the line featured kites made from cyanotype prints [1]. The prints were made by Susan Robb and they were made into kites by Scott Skinner and Nobuhiko Yoshizumi.
My daughter Jessica was an art student with an interest in alternative photographic processes. She had wanted to try the cyanotype process. I had wanted to make some kites from materials given to me by Japanese kite maker Minoru Matsui. I forwarded the Discourse URL to her. We got together to do this project. Jessica had the chemicals and I had the paper and bamboo.
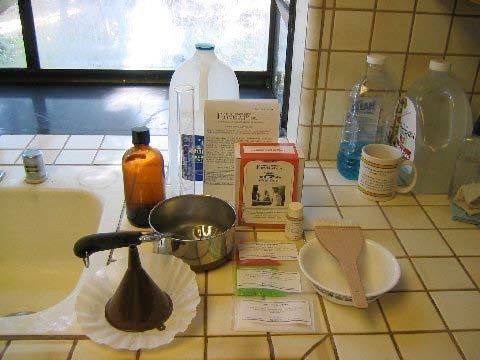
The first step was to mix the chemicals. Wear clothes you don’t mind staining. The Photographers’ Formulary produces a New Cyanotype Kit containing all the necessary chemicals [2]. The kit comes with complete
instructions, also available on their web site. All you need to add is distilled water. (You can also get the solution pre-mixed.) I dampened the chemical before grinding, to prevent dust spreading.
The coating of the paper with light sensitive chemical was done under subdued light. The windows in direct sunlight were covered with sheets of cardboard. I went around the neighborhood on garbage night to collect
discarded boxes. Curtains were drawn over the other windows. There was still plenty of light to see. These indoor pictures were made with flash.
The printing paper was placed on a board covered with a plastic garden bag. (Newspaper will absorb too much of the solution.) This is a lightweight, 24 3/4” x 36 3/4”, Kozo paper, 26 grams per square meter, handmade in Japan from mulberry bark. You can get similar papers from Hiromi Paper International [3]. The solution was put in a wide bowl and brushed onto the paper using a wide Japanese sumi brush. The paper may be air dried in a dark place, but we used a hair dryer.

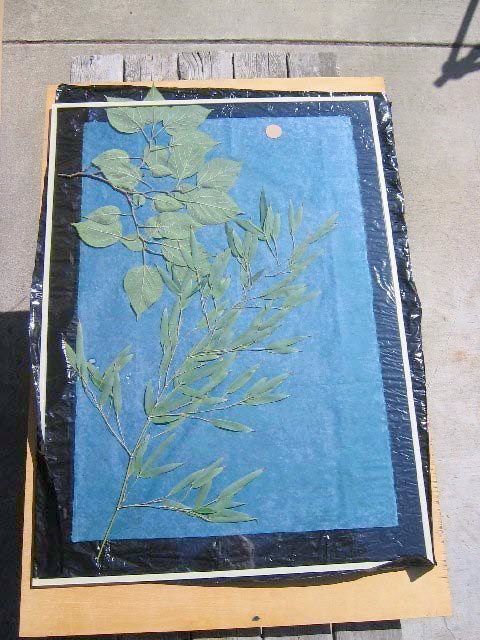
A cyanotype is a shadowgraph. Somewhat flat objects are needed to make a silhouette. My concept for this print was a reference to the materials from which Japanese kites are made, mulberry bark paper and bamboo sticks. I collected samples of each from the garden. I cut out a cardboard disk to represent the sun.
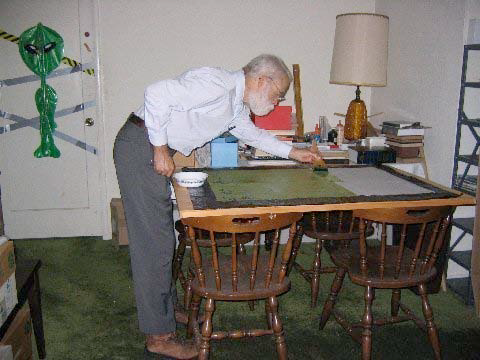
The flat objects were arranged on the paper according to my design. Everything was covered with a sheet of glass to hold it in position as it was taken outdoors where wind was blowing. The materials must be kept still
to get a sharp image. A sheet of cardboard was placed over the glass to protect the sensitized paper from light during the maneuvering to get
it out into the sunlight.
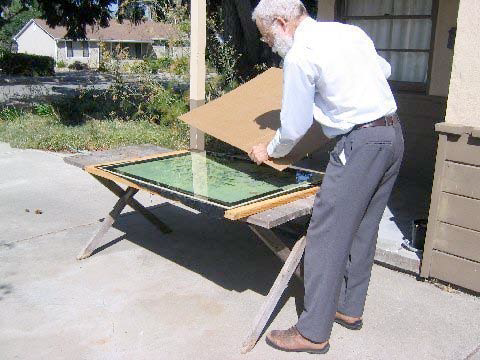
The printing board was placed on a table in bright sunlight. Printing is best done in the middle of the day when the sun is directly overhead. The cardboard cover was removed to expose the sensitized paper to sunlight. At this time the paper is yellow.
On exposure to sunlight, the yellow quickly turns blue. Those parts of the paper that are covered will not turn blue. The depth of the blue is determined by the length of time in the sun. You must allow the blue to fade completely away before development, to get the deep blue that I desired in the final print. This took 16 to 20 minutes. You may want to make a test strip, exposing sections of a coated strip for different times like 1, 2, 4, 8, 16, and 32 minutes. Also experiment with different dilutions of the chemical. At full strength, the coating was self blocking. The top layer of blue blocks light from getting through to the deeper layers.
The print was covered with the cardboard and brought back into the house. The cardboard, glass and plants were removed.
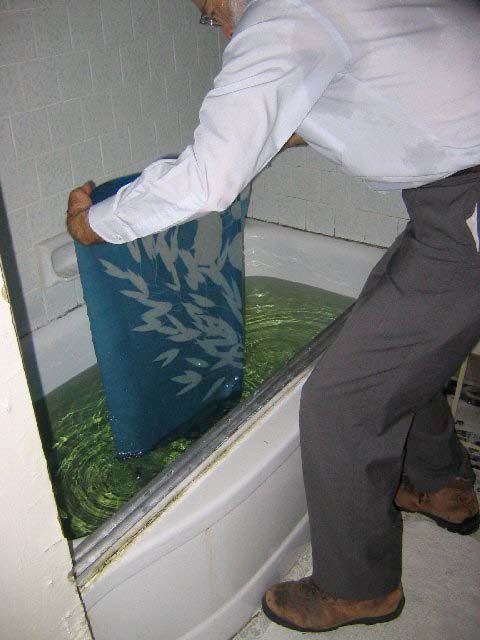
The glass and the print were taken into the bathroom where the window had been covered and the tub filled with water. The paper was placed in the bathtub full of water and soaked for several minutes, until all the
yellow chemical washed out of the white areas and a deep blue developed in the exposed areas.
The paper was gently lifted from the water by gripping as much of the top edge as possible. It was held momentarily at a slight angle to allow much of the water to drain. The wet paper is soft, so it must be handled carefully to prevent tears. Later I found that the paper could be picked up by rolling a couple inches onto a 3/4″ aluminum tent pole.
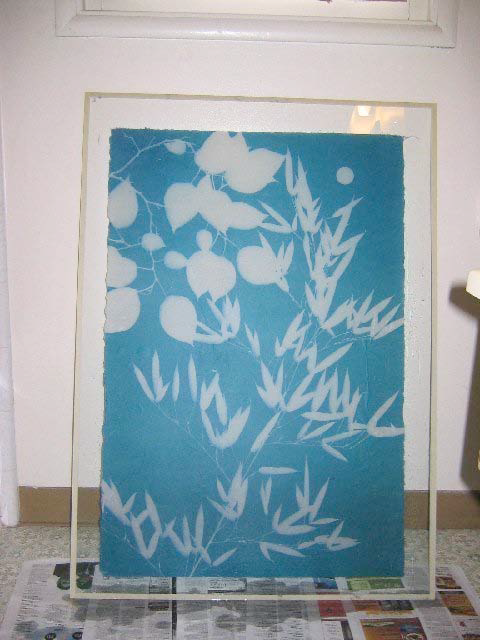
The bottom edge of the print was gently touched to the glass, slowly laying the whole length against the glass. Water was gently blotted off with a damp sponge. This is the back side of the print. The print was dried with the hair dryer. It worked very well, and quickly.
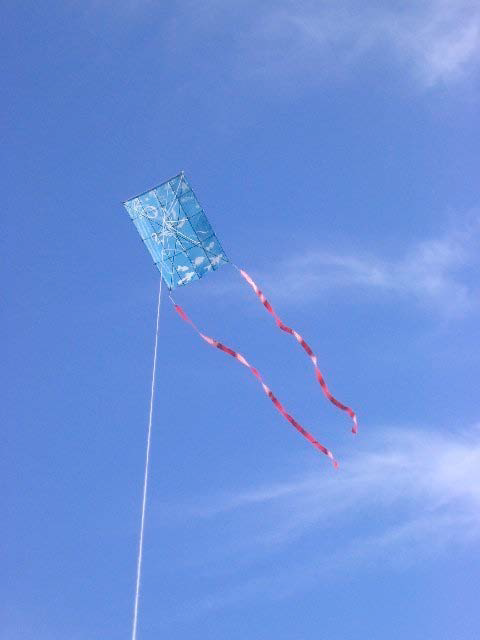
The print I picked to make a kite is Mulberry and Bamboo in the Sun. To be effective, art must say something or evoke an emotion. Keep it clear and simple. The kite will be up in the sky, so small detail will not be discernible.
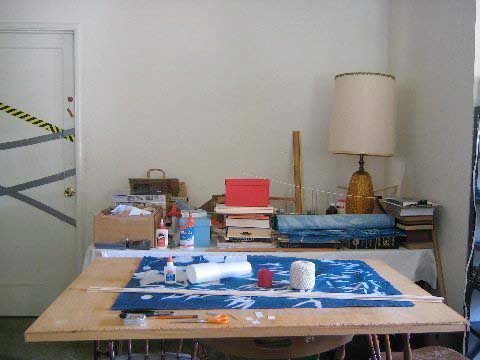
The tools and materials required to make the kite were collected on the work table.
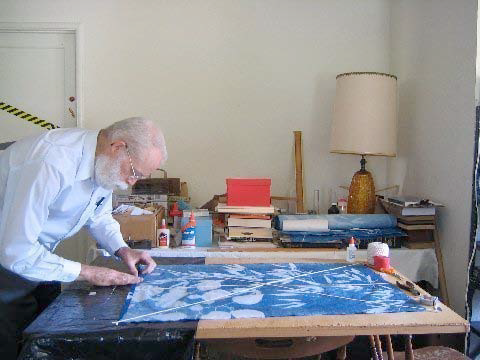
The sticks were glued to the back of the paper.
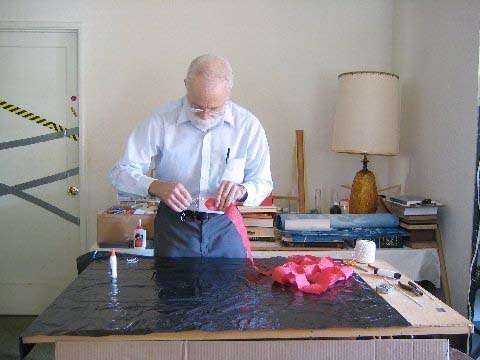
This kite does not require tails, but tails add color and activity to a kite. I made tails from 2” strips of crepe paper. They are attached to the kite with large loops of string, the free ends of which are glued inside the folded over corners of the crepe paper strips.
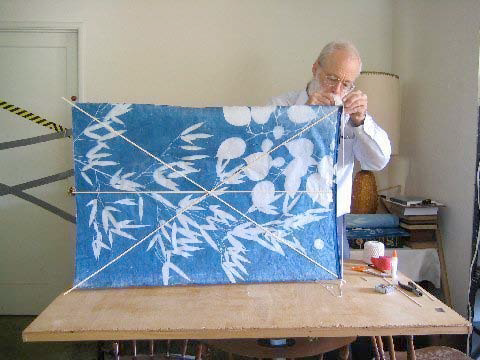
The bow was strung.
The bridle was rigged and the flying line tied to the bridle loop with a slip knot. This is so if the wind dies and I have to drop the kite on the other side of a tree, I can untie the knot easily and pull the string through the tree.
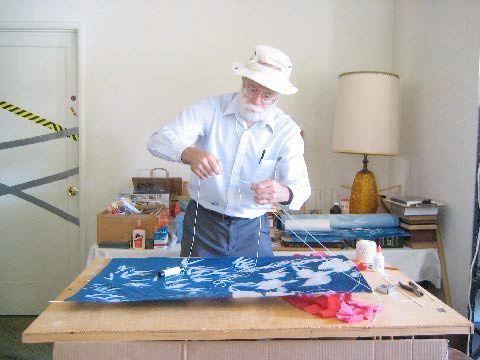
This is a very light kite, 2.5 ounces per square yard. It is lighter than some light cloth. With this light kite, flying in light winds, there won’t be much tension in the line. A simple slip knot in cotton will hold.
With a kite as light as this one, I shouldn’t have any trouble keeping the kite in the air by reeling in the line if the wind dies. You can see I was already eager to get out on the flying field, with my sun hat on.

I took it to the park and flew it. I exhibit my kite art in the sky. It attracted some attention from the people in the park. Maybe somebody else enjoyed seeing it.
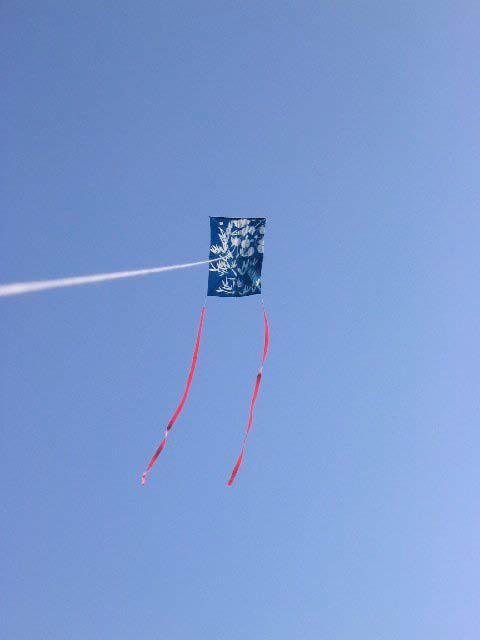
I added the tails to put two red lines in the sky, like Tal Streeter. I ran it up to the end of the line, which wasn’t very far on this little spool, but you can’t see the details way up. Art kites are best flown close to the ground where they can be seen.
In the tradition of Japanese woodblock print artists, I wrote a poem for this kite.
MULBERRY AND BAMBOO IN THE SUN
Mulberry paper,
bamboo sticks. Skilled hands and eyes.
A kite in the sky.
The Drachen Foundation produced several kite kits, some designed by Nobuhiko Yoshizumi. I made four cyanokites from the Yoshizumi Two-in-
One Kite Kits [4].
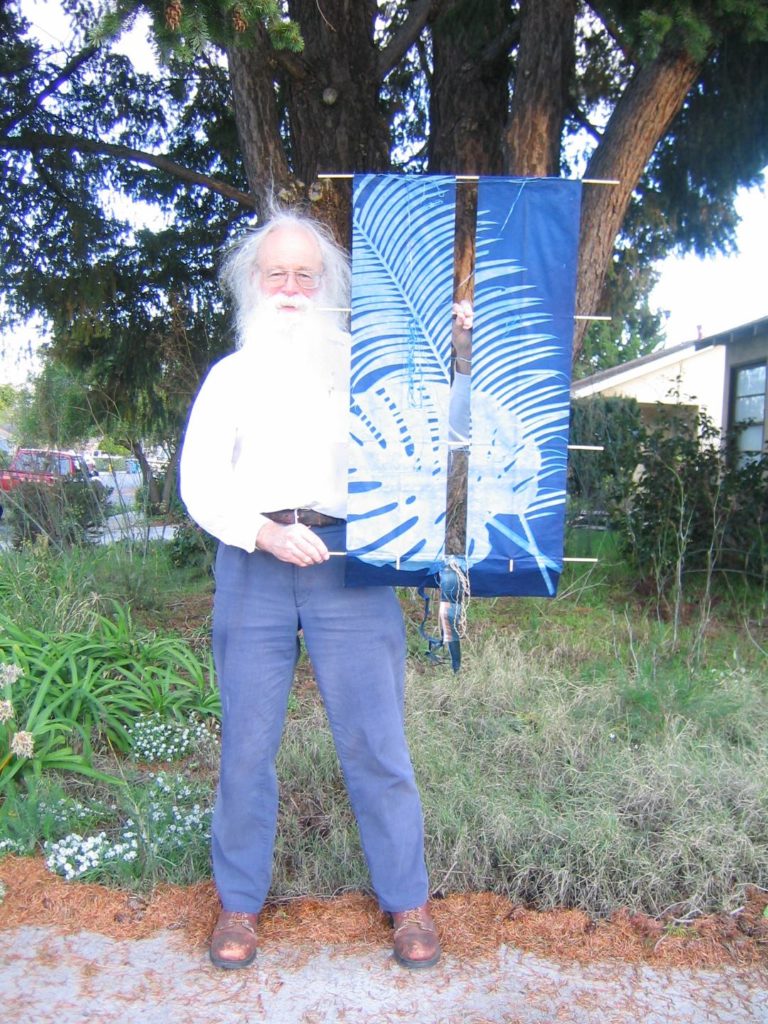
I made a print with Liquidambar leaves for the Sode (sleeve) kite kit. Sode often have leaf designs on them, sometimes even being made with a cyanotype process. I used Liquidambar leaves because I used to climb the tree in front of our house on summer evenings to get up into the cool breeze. This tree has associations of height and breezes appropriate for a kite.
LIQUIDAMBAR LEAVES IN THE BREEZE
Liquidambar leaves
now fly in the wind on my
kite, high in the sky.
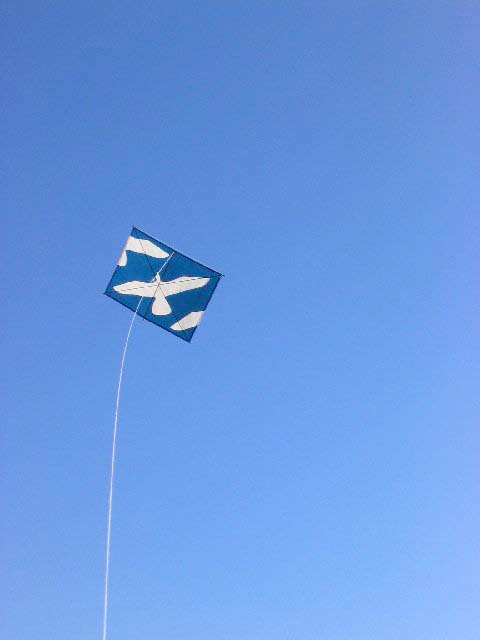
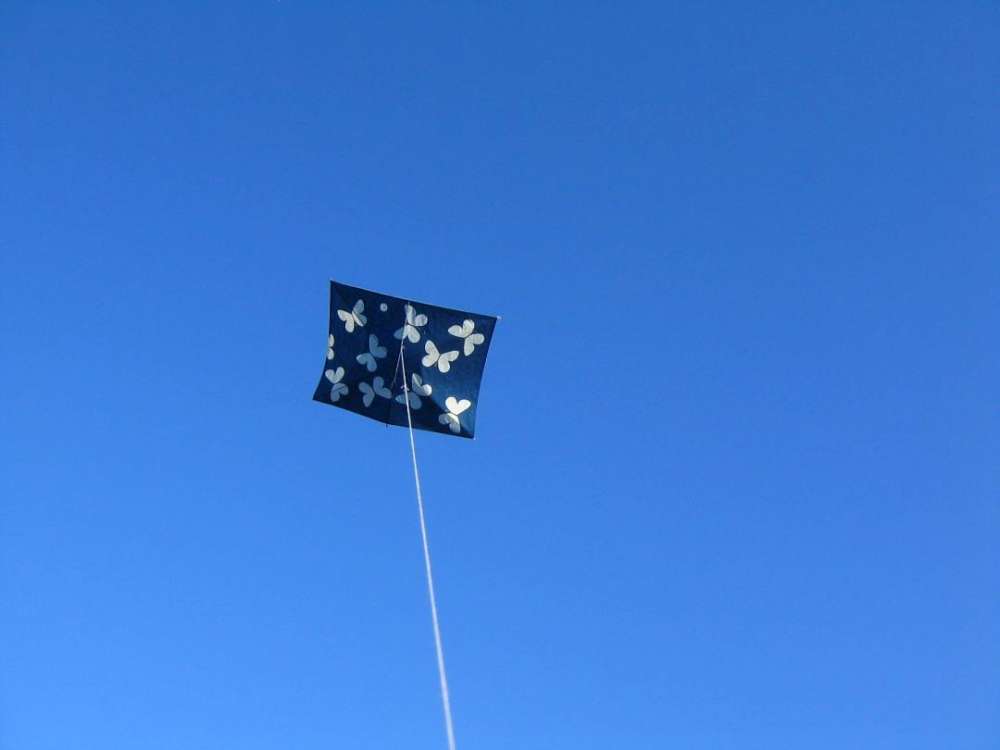
I printed, built and flew a Buka with a theme of seagulls that came to find the thermal when I put up my first 6’ seagull kite. I am also playing with the concept of the picture window. The seagull patterns were cut from thin cardboard from cereal boxes.
WINDOW ON THE SKY
Seagulls circled my
kite. Now they fly on
my kite in the sky.
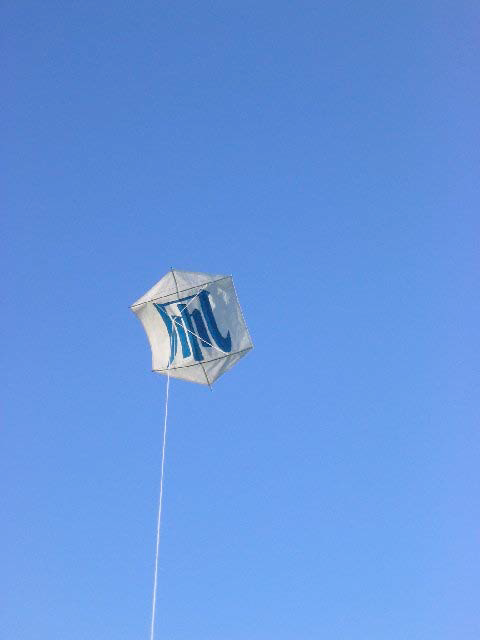
With the Rokkaku print, I am playing with levels of reality, symbol, meaning and self reference. The ideograph means “kite.” The stencil was cut from brown grocery bag paper.
WHAT IS THE NAME OF THE NAME?
The object is named,
the name is an object, too.
This kite names itself.
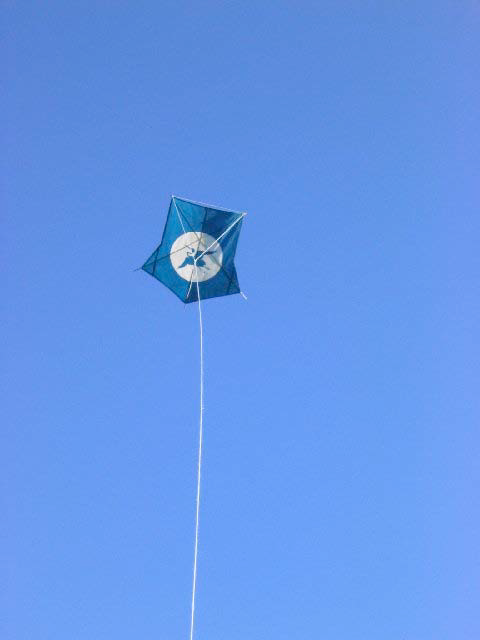
For the Suruga kite I chose a traditional Japanese theme, a crane flying in front of a full moon. This stencil was cut from a cereal box.
A CRANE FLIES ON THE MOON
The sun has gone down,
full moon in dark eastern sky,
a crane flies across.
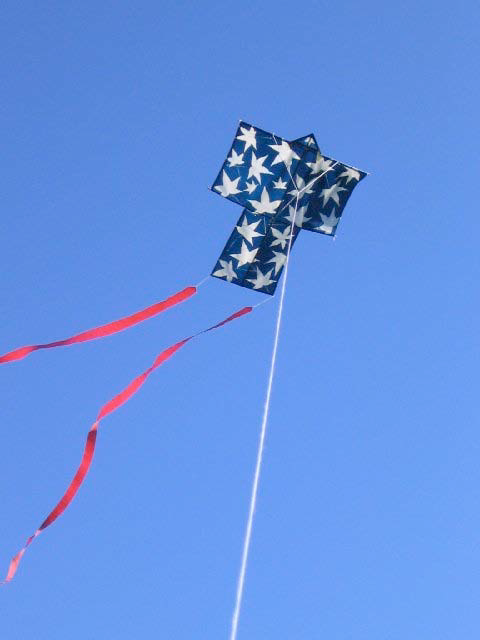
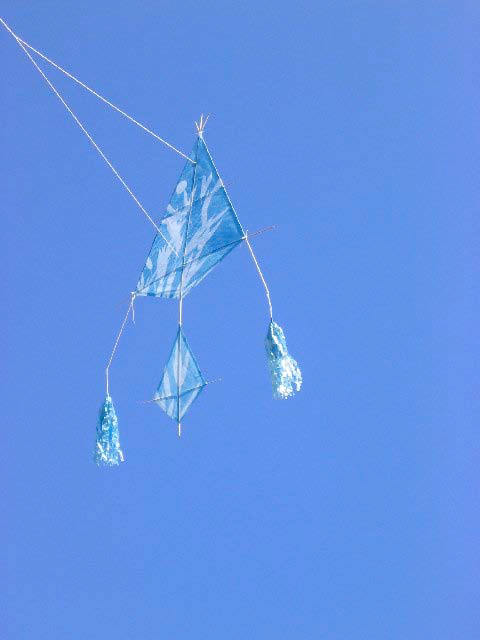
I made an Edo kite from my daughter’s print. I spaced the lateral spars logarithmically, rather than uniformly. This puts more strength where the pressure is greatest and moves the center of gravity forward, improving stability. The bow sticks are at 0.0000, 0.1892, 0.4142, and 0.6818 of the full 1.0000 length. This makes an interesting pattern of rectangles and triangles on the back of the kite.
Some of the cyanotype kites from the exhibit at the Hui were available for purchase from the Drachen Foundation Store [5]. I made a copy of kite #5 from one of my mulberry and bamboo proof prints. Scott Skinner made the original kite to reflect the forms of Polynesian fishing kites.
As I was flying this kite at the park, a woman came over and told me it was a very beautiful kite.
I am very pleased with the results. I hope this will inspire someone else to make a cyanokite.
I thank Susan Robb, Scott Skinner, Nobuhiko Yoshizumi, and the Drachen Foundation for inspiring me to make these cyanokites.
[1] Scott Skinner and Susan Robb, “Two Weeks at the Hui,” Discourse:
from the end of the line, August 2008, Volume 1, Number 2, page 21.
www.drachen.org/pdf/Discourse2.2.pdf
[2] The Photographers’ Formulary: www.photoformulary.com
[3] Hiromi Paper International: www.hiromipaper.com
[4] Yoshizumi Two-In-One Kite Kits:
drachenstore.easystorecreator.net/items/diy-kite-kits-and-materials/
yoshizumi-two-in-one-kite-kit-e033-detail.htm
[5] Robb/ Skinner/ Yoshizumi Cyanotype Kites:
These are no longer available. You must make your own!
POSTSCRIPT
Finished this Tuesday, 20 June, 2015, just in time for lunch. Took it over to the park and it went right up to the end of the line, high angle, no adjustments needed. 24″ x 33″. 66.2 grams. Cyanotype with woodblock. Kids loved it. Moms loved it.
BITS OF CLOUD
In forest or field,
little bits of white cloud have
fallen from the sky.
I have had innumerable difficulties in making these kites. Seems like everything that can go wrong, has. Latest is that the printed paper has shrunk by about 1/2″, so my planned paper layouts won’t work. I have reconfigured the dimensions and will redraw the lines. The edge margins will be slightly smaller than original and only two strips for tail material instead of three. The Buka does not need tails, but I had some extra paper, just in case the next two do need some “help”.
I was going to put yellow dye in the sun. But the sun is white! That’s where white light comes from. So I left it white.
This pattern was suggested by the Hui Discourse cover.
I bought a second kite from the Drachen Foundation collection of Susan Robb prints made into kites by Scott Skinner and Nobuhiko Yoshizumi, this is #15. I also made a copy to test fly.
