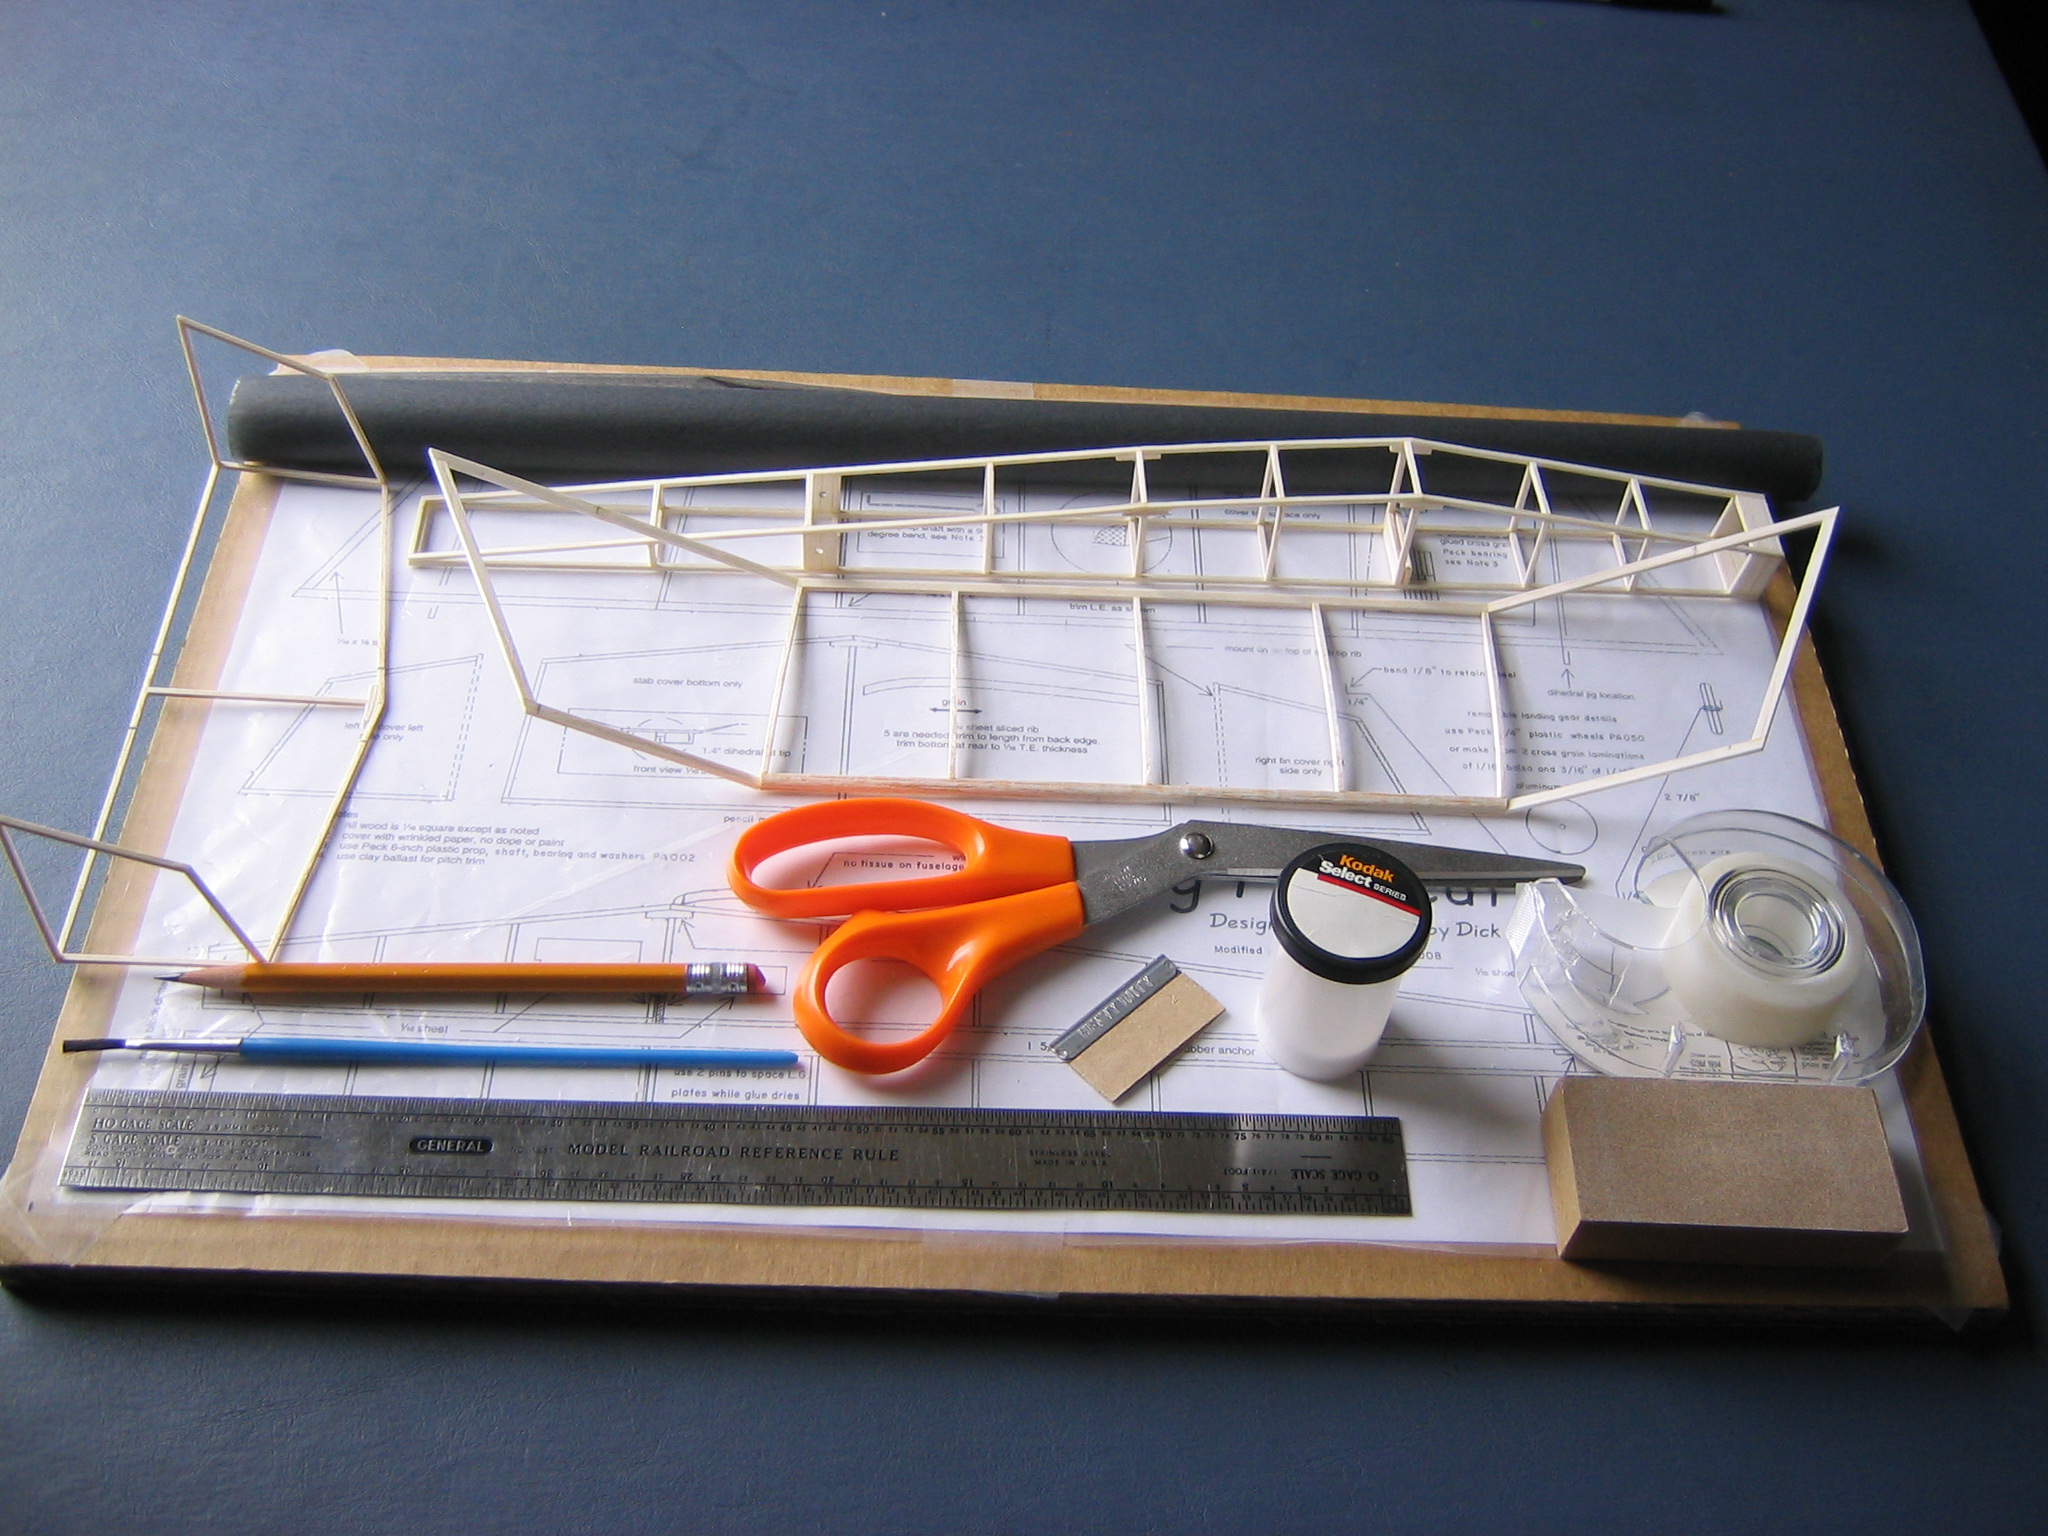
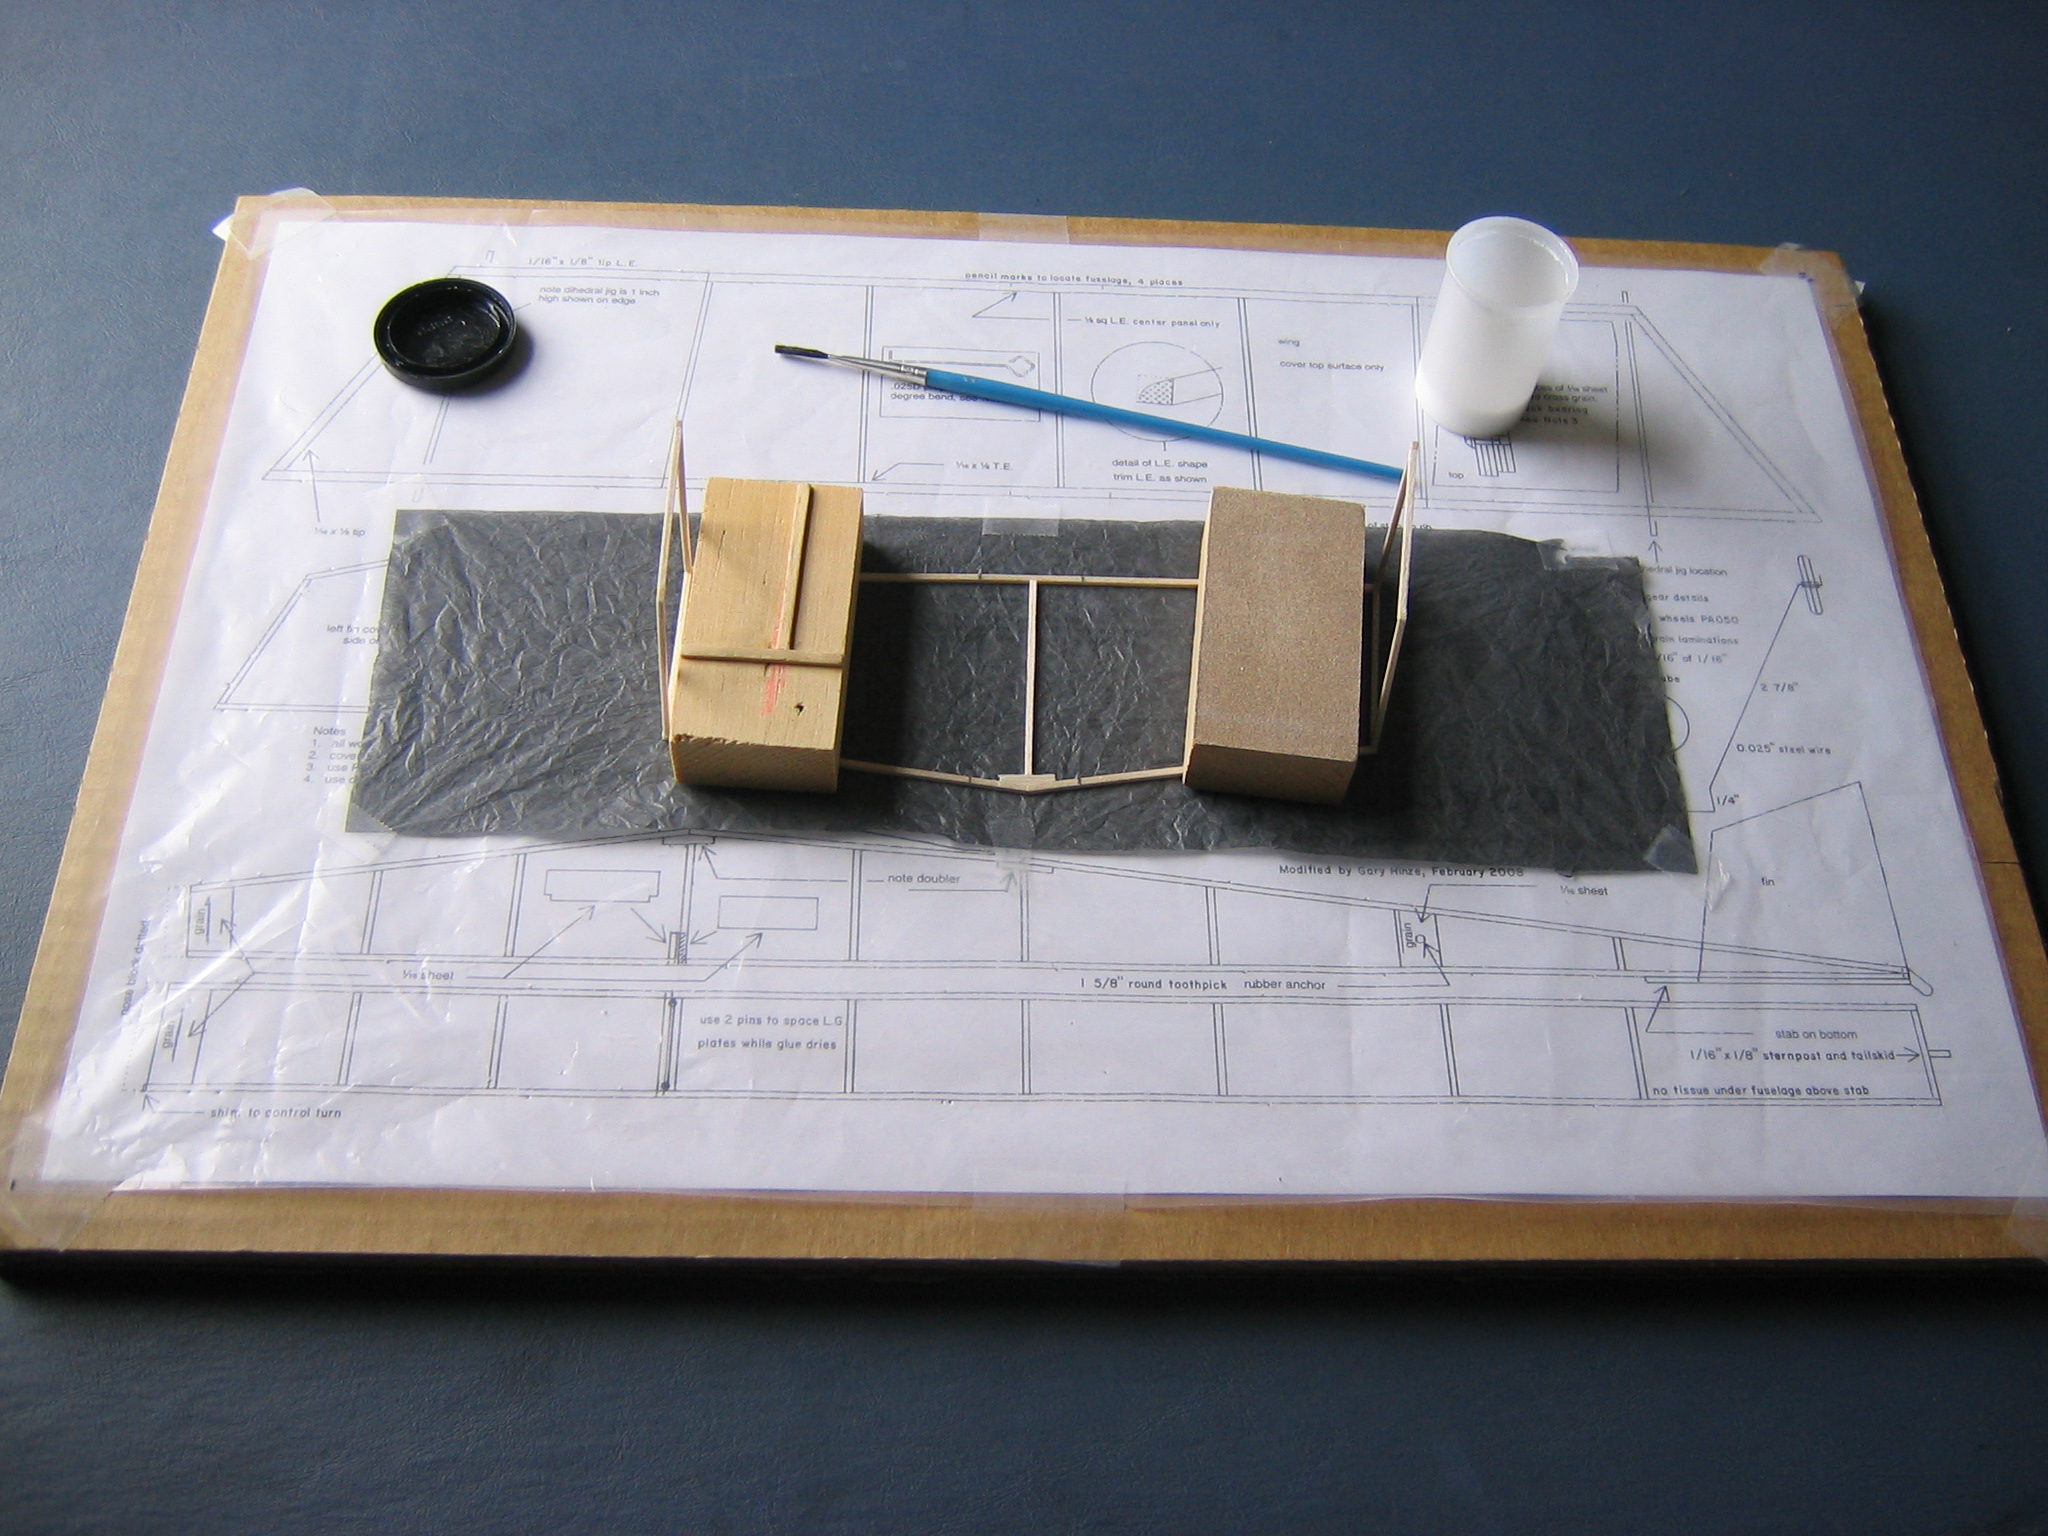
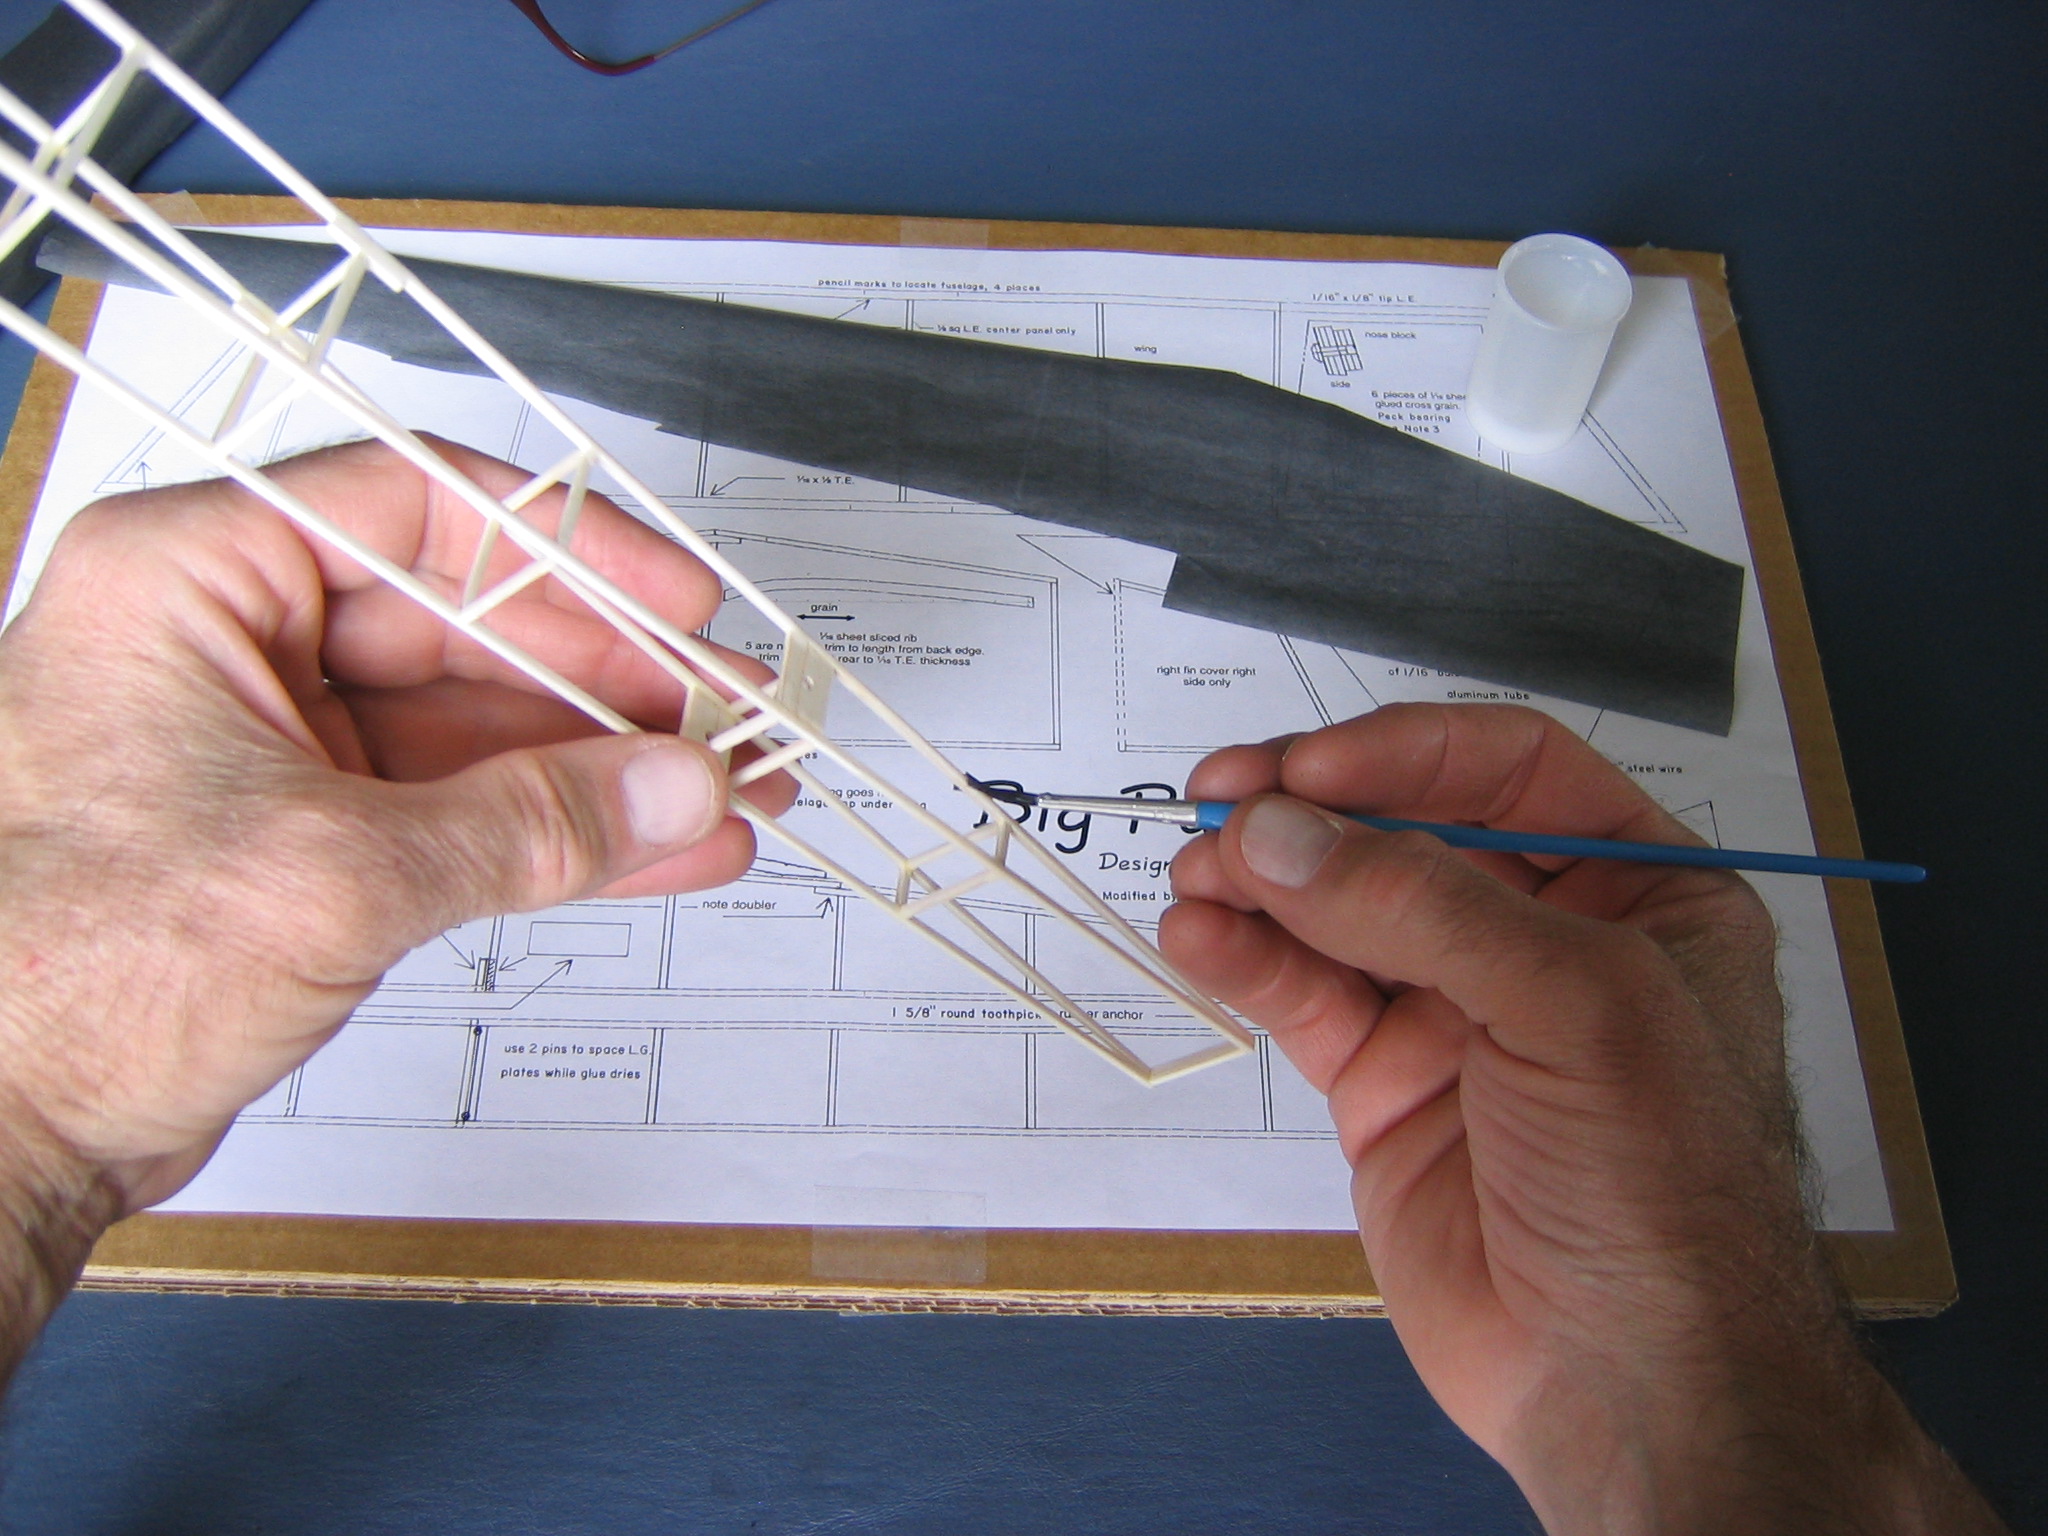
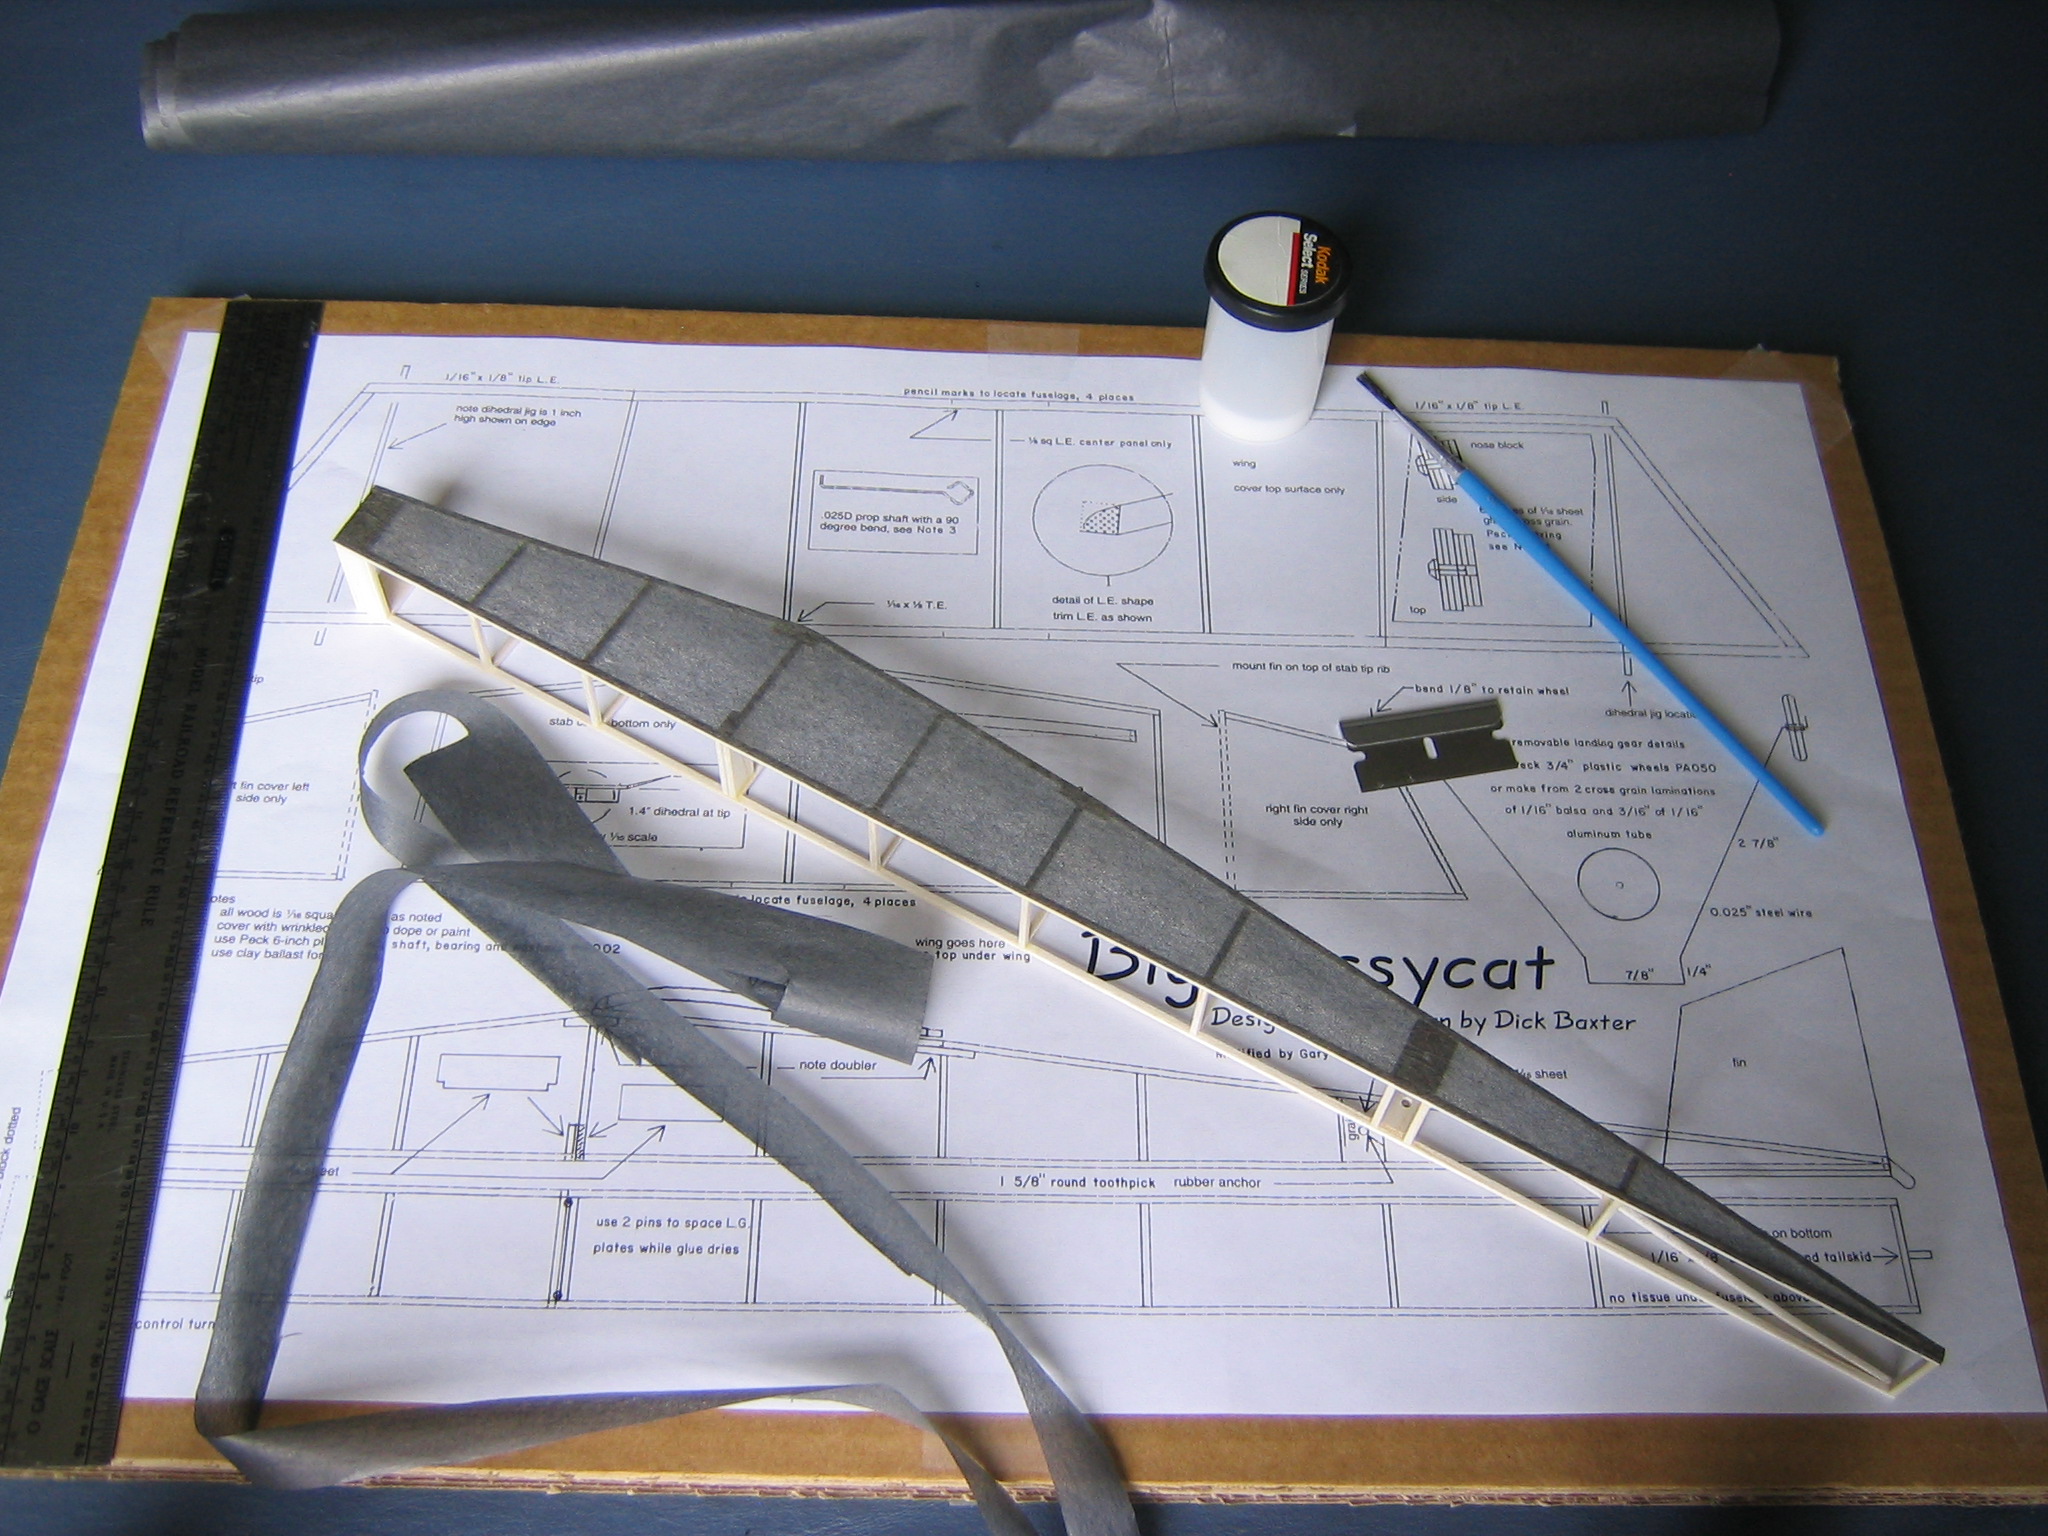
What You Need
For covering the frameworks with tissue, you will need tissue, a small container of white glue mixed with an equal volume of water, a small paint brush, a new razor blade, a pencil, scissors, a steel rule, tape, sanding block, cutting board and, for the wingtips, curve templates. We will start with the tail group.
Applying the Glue
Tissue will be glued around the perimeter of the parts. Use white glue diluted with an equal part of water to stick the paper to the wood. Glue goes on easier if you hold the part vertical and paint downward. After painting each part, go quickly over the whole thing again to refresh any dry places, remove any excess and even the coating.
Applying the Tissue
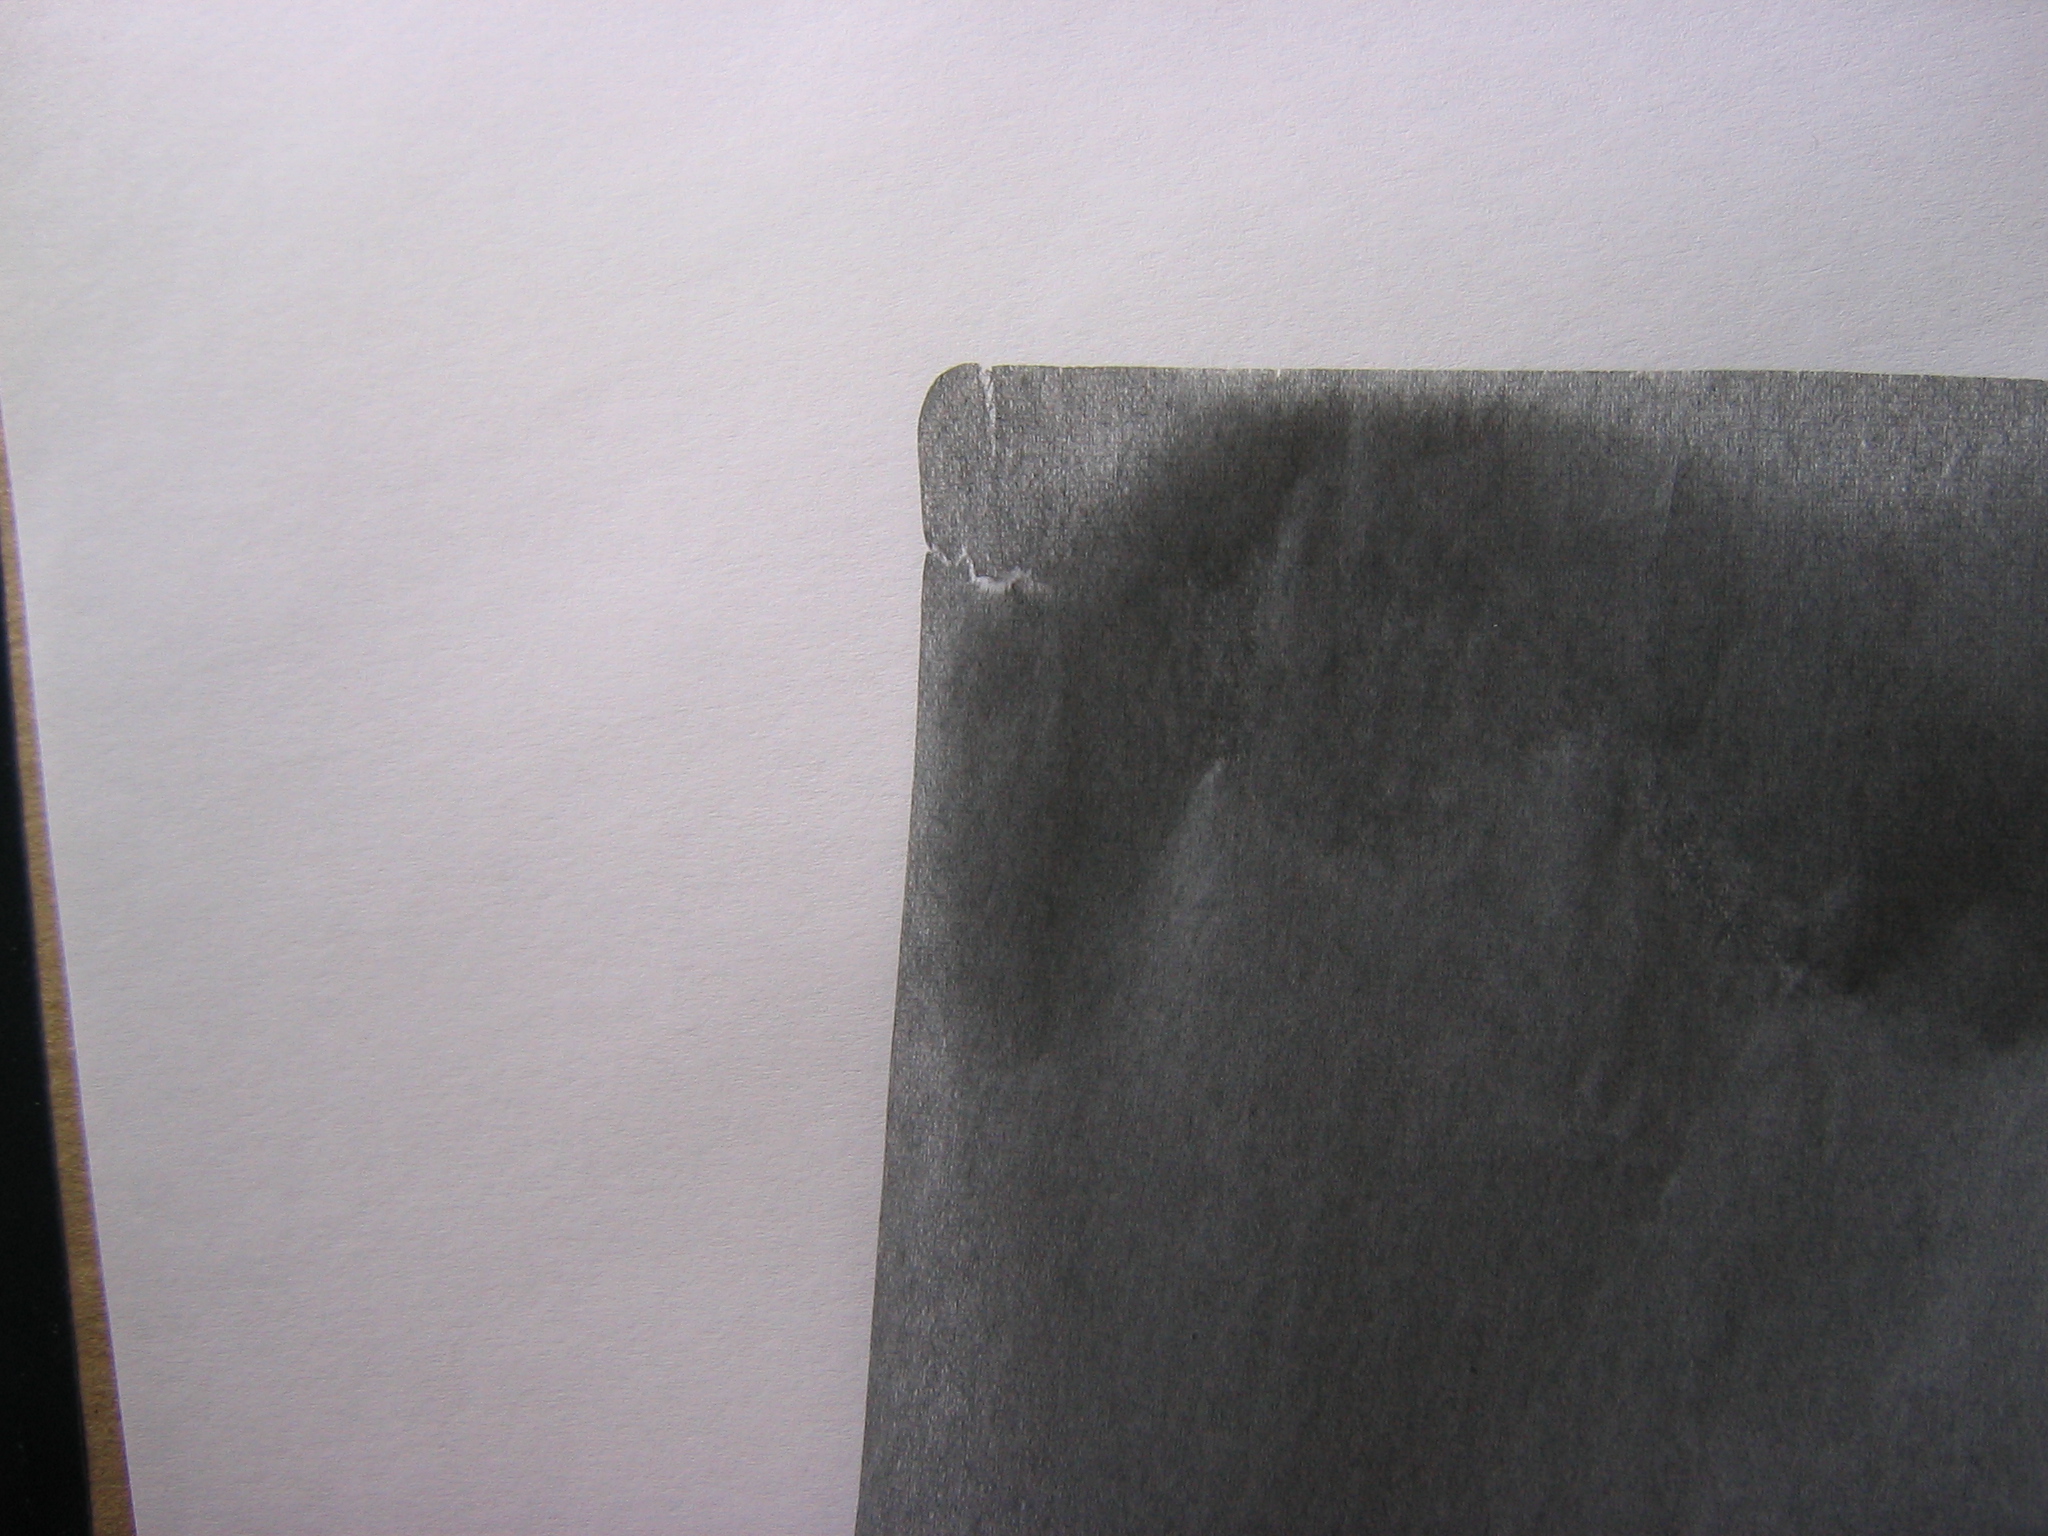
Find the grain direction of the tissue by tearing a small rectangle off one corner. It will tear smoothly in the grain direction and irregularly across it.
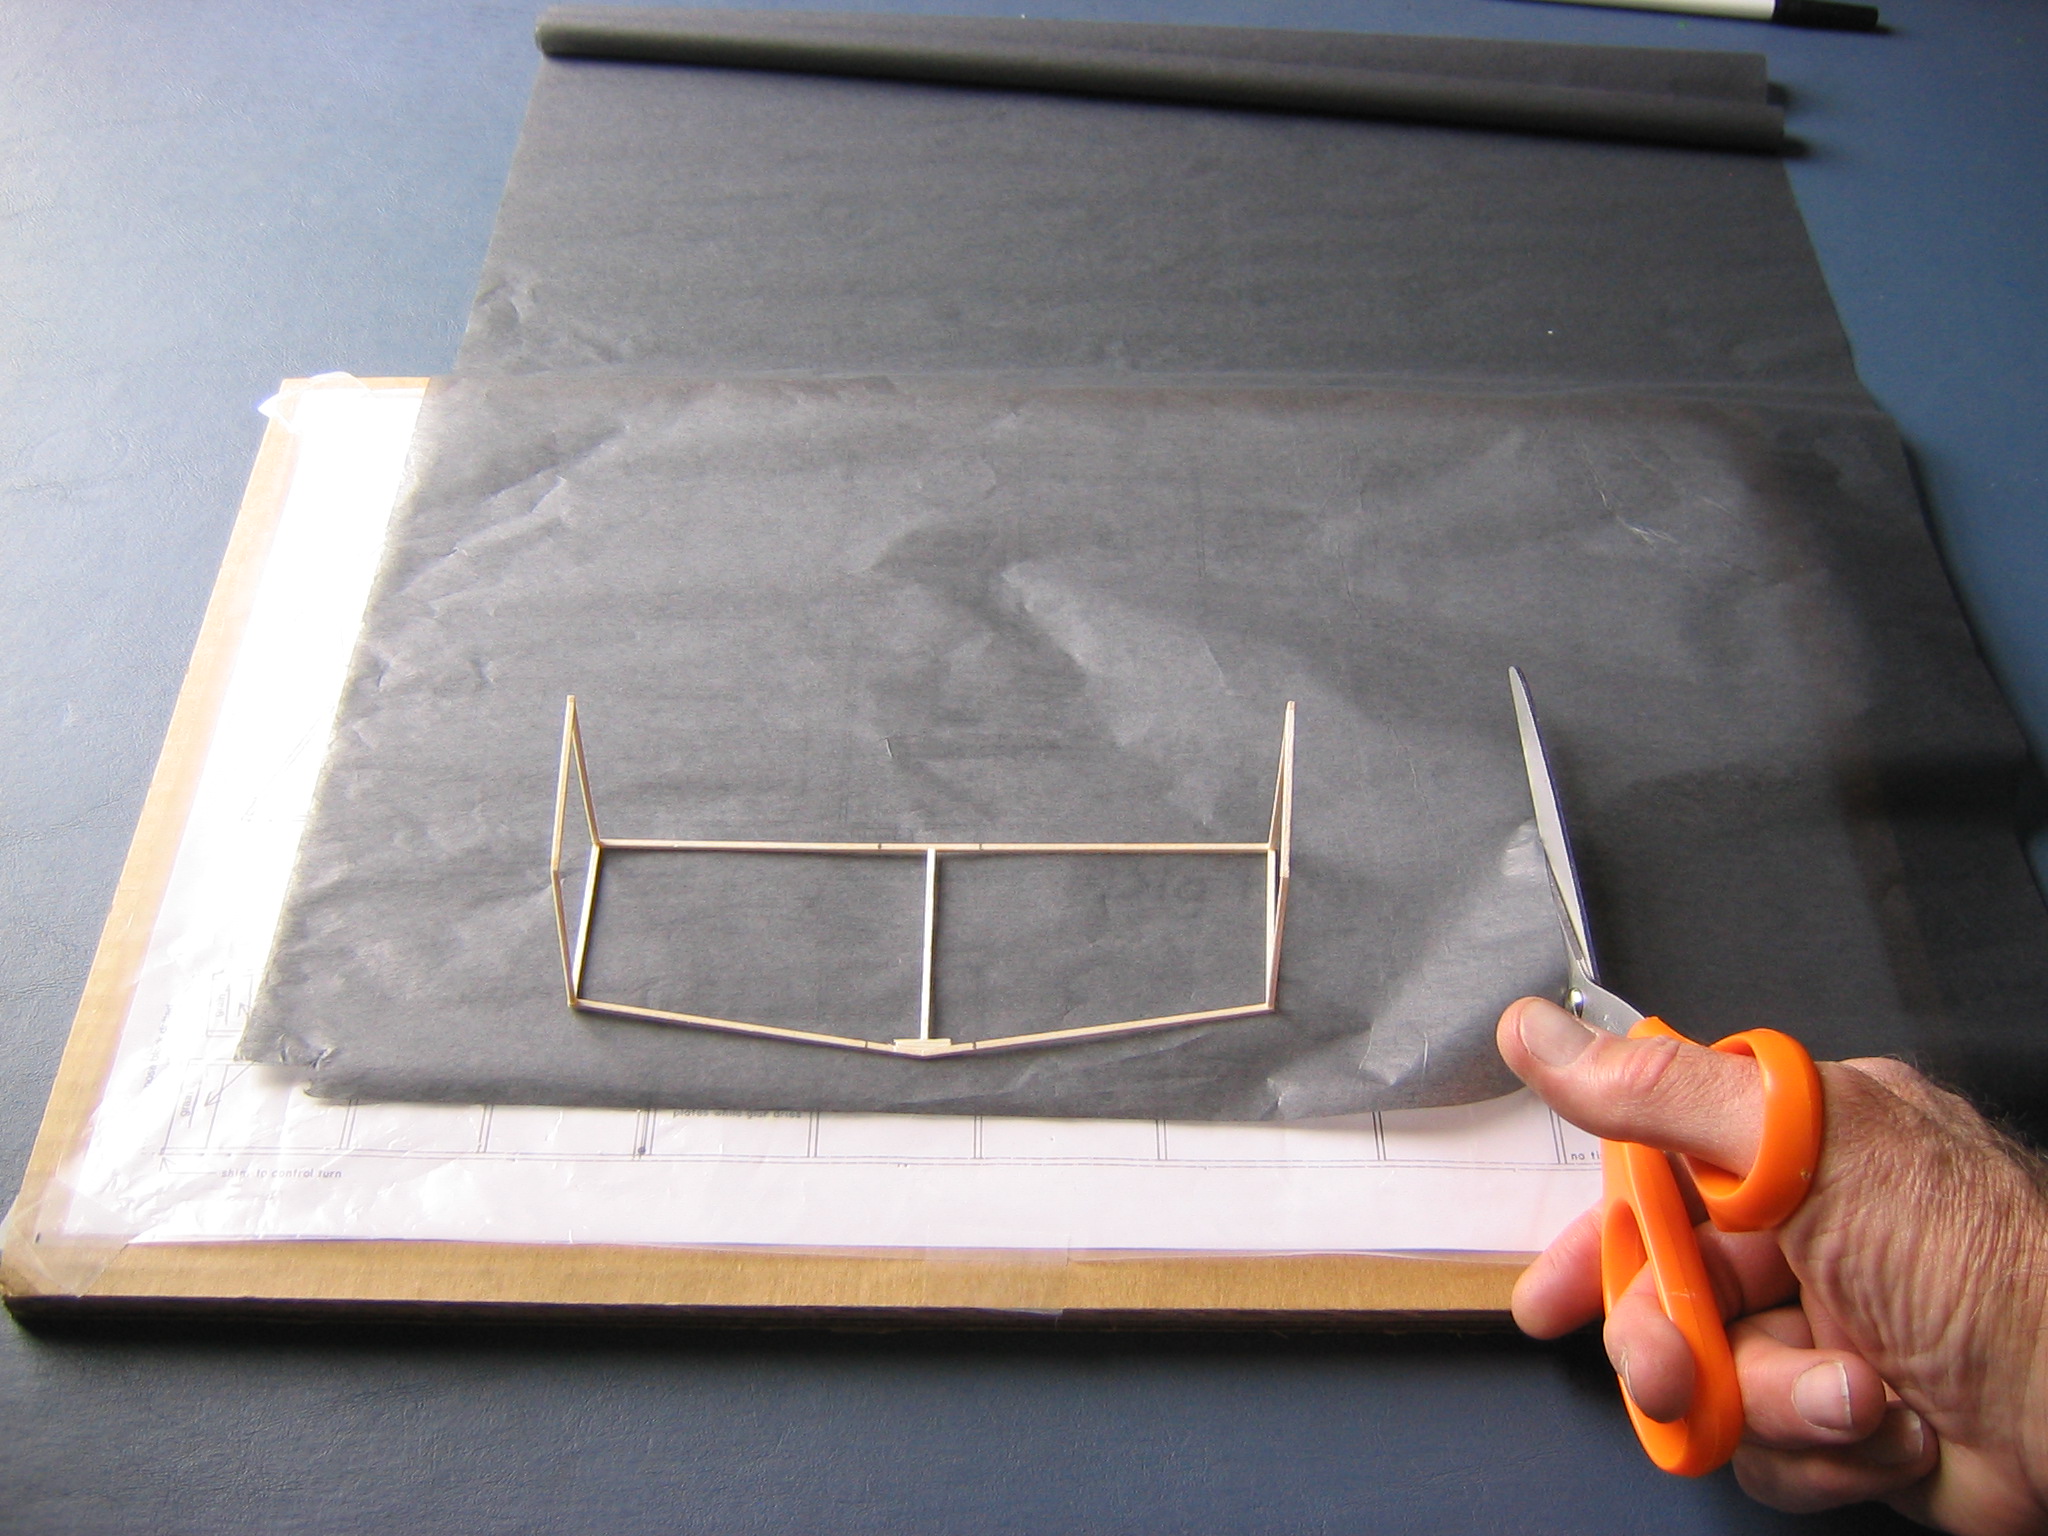
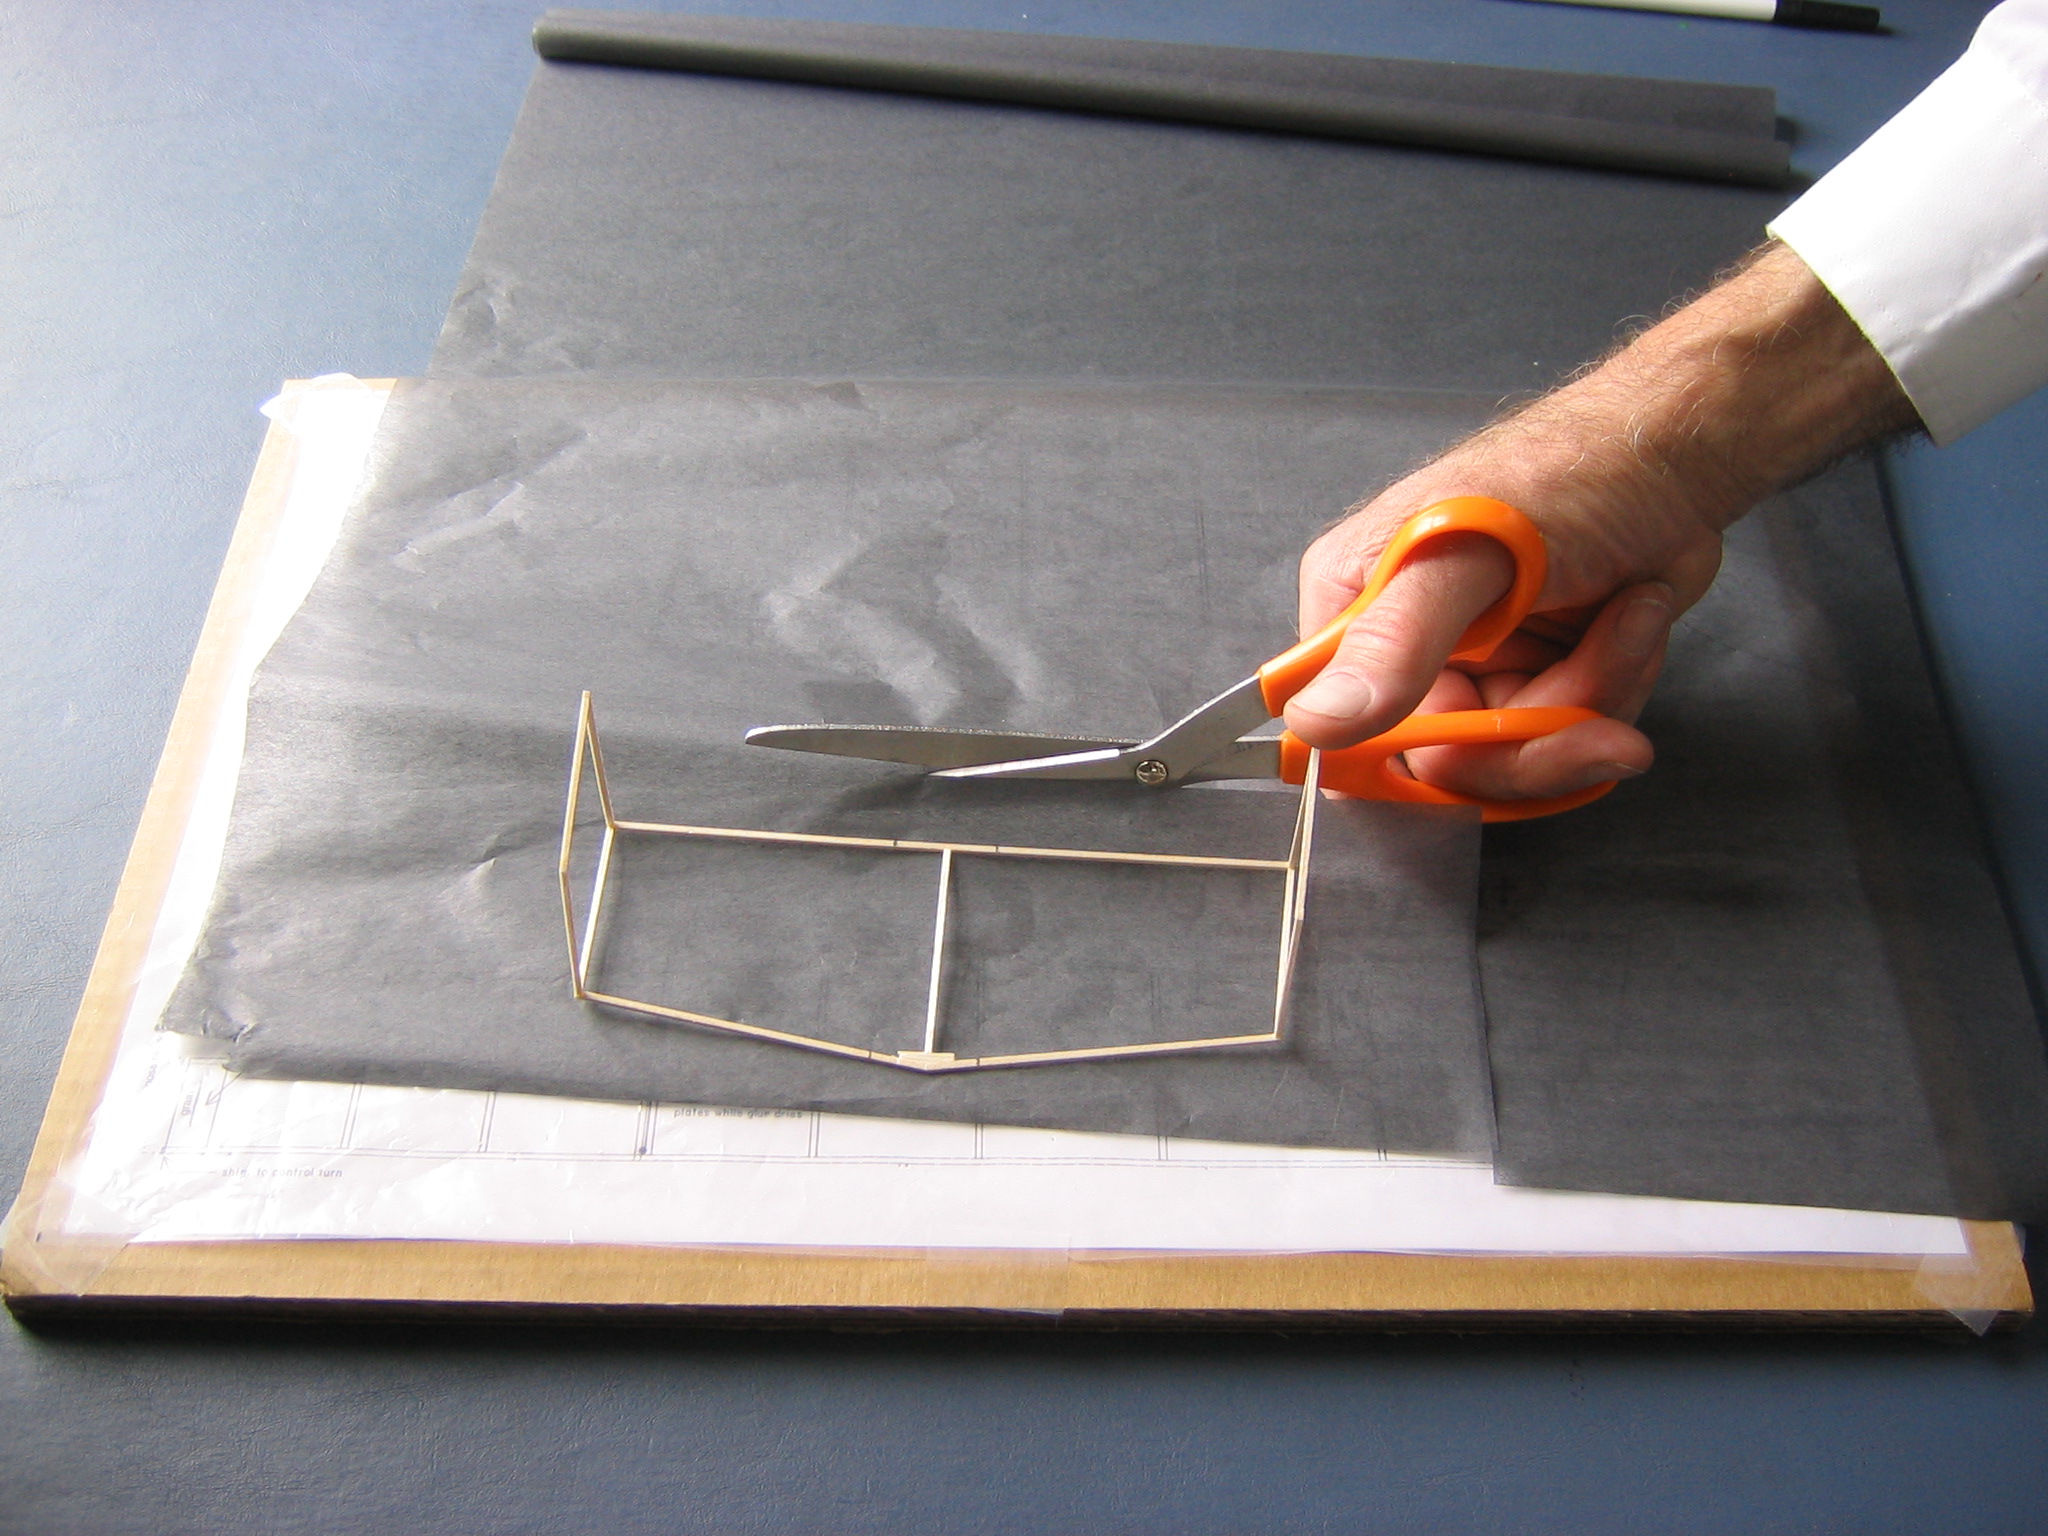
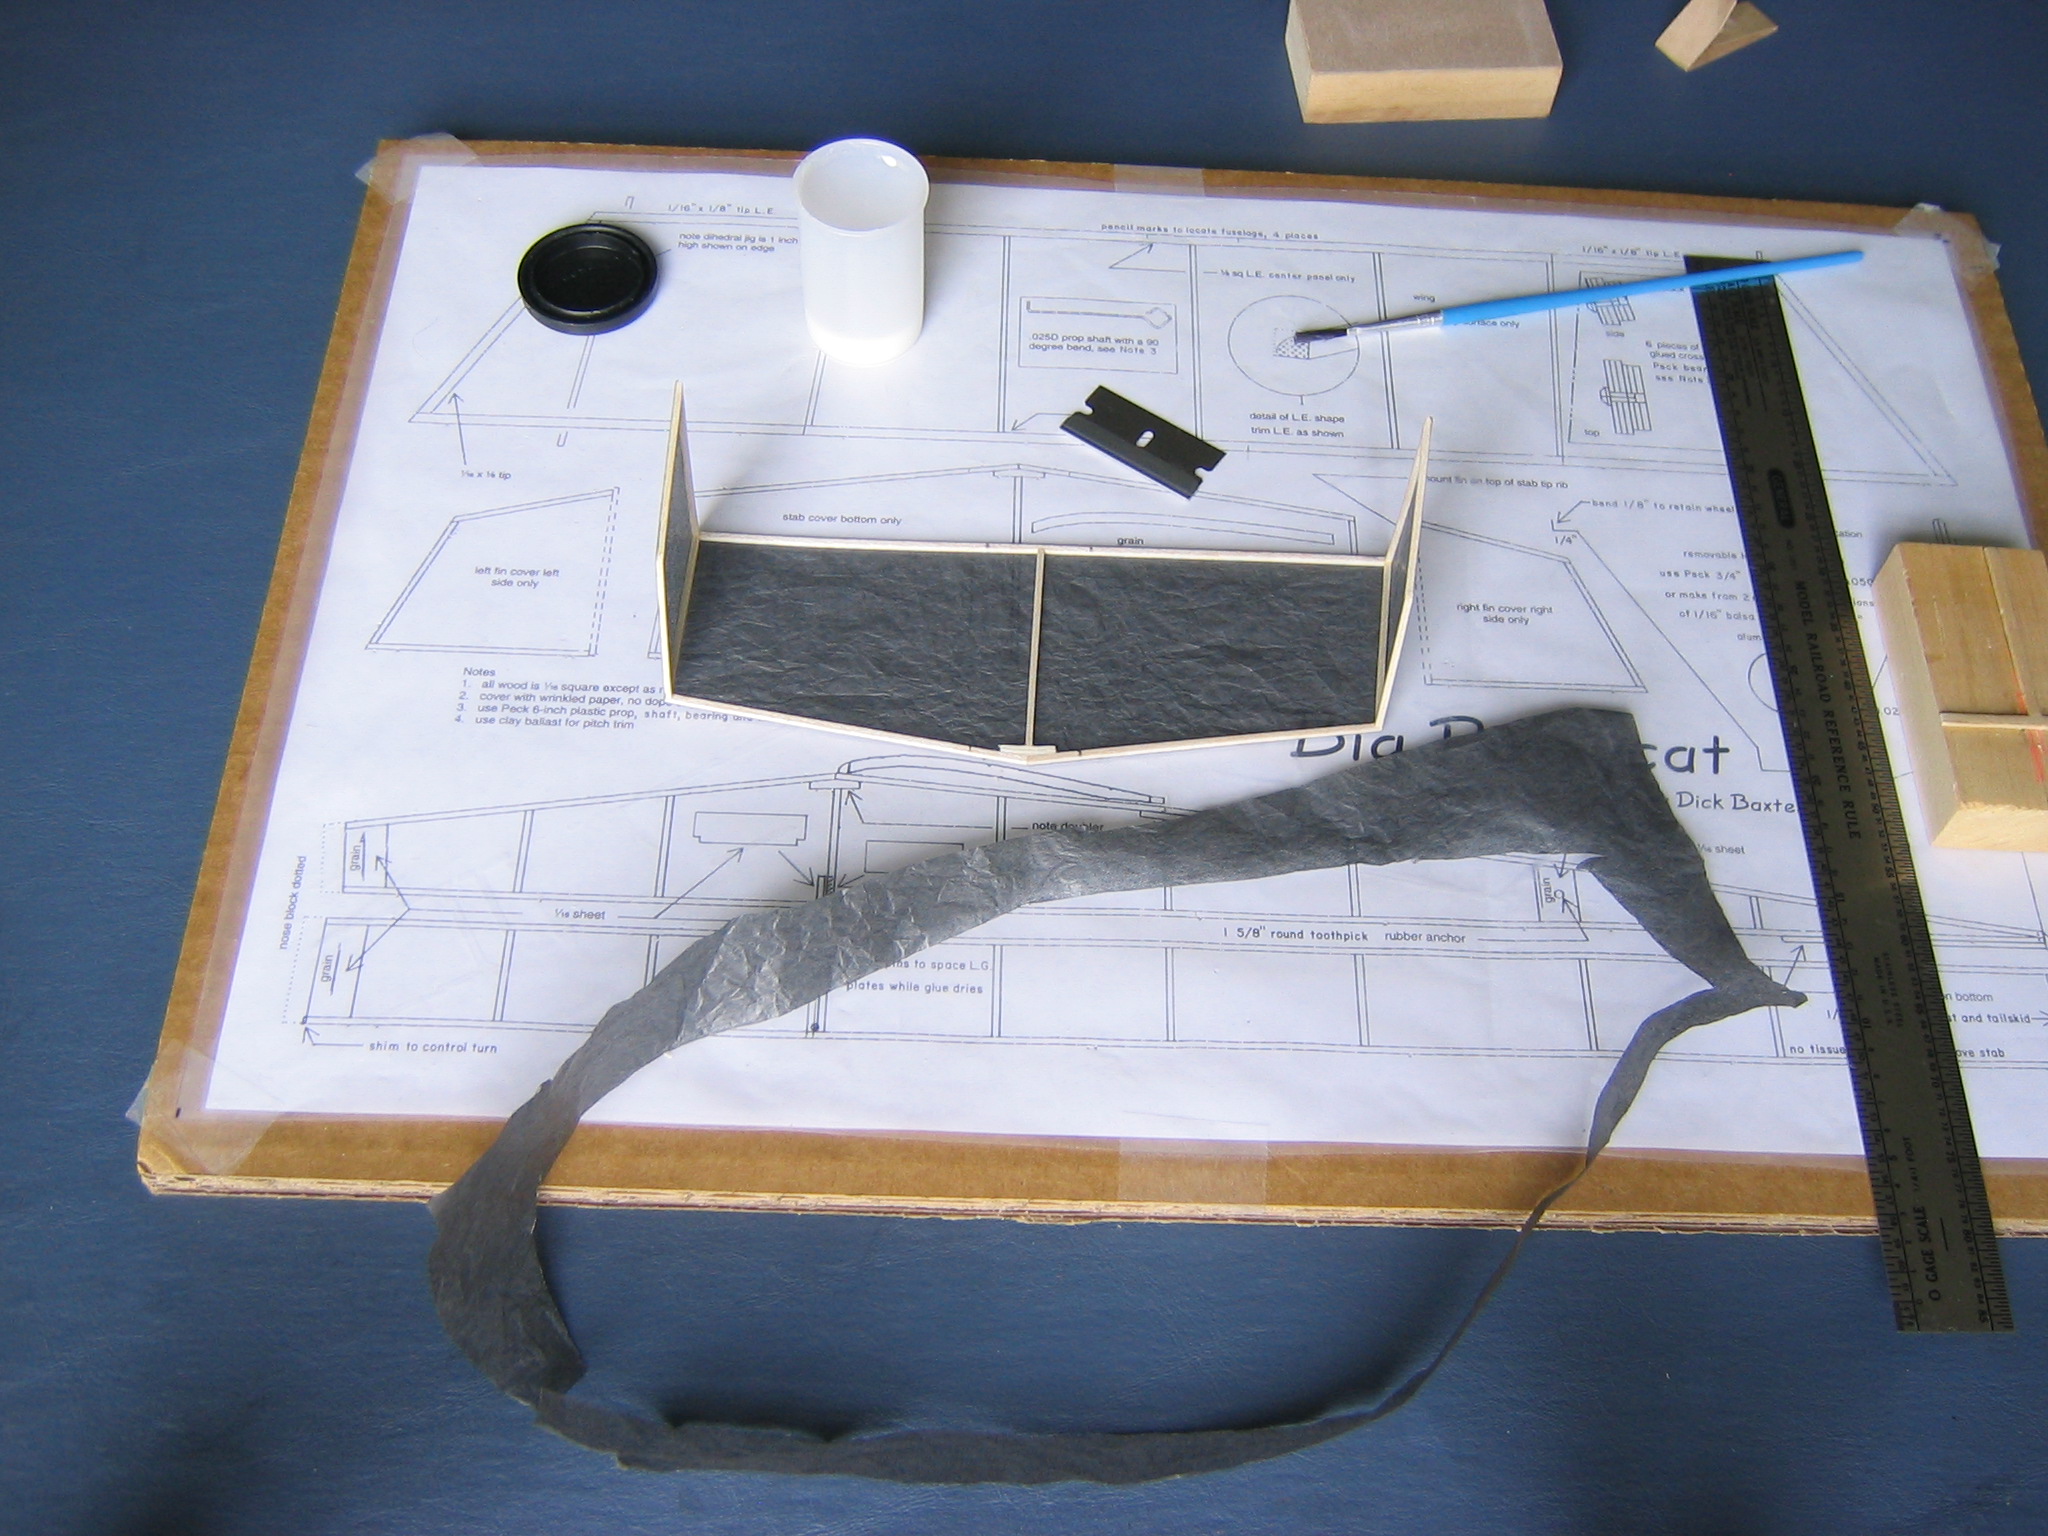
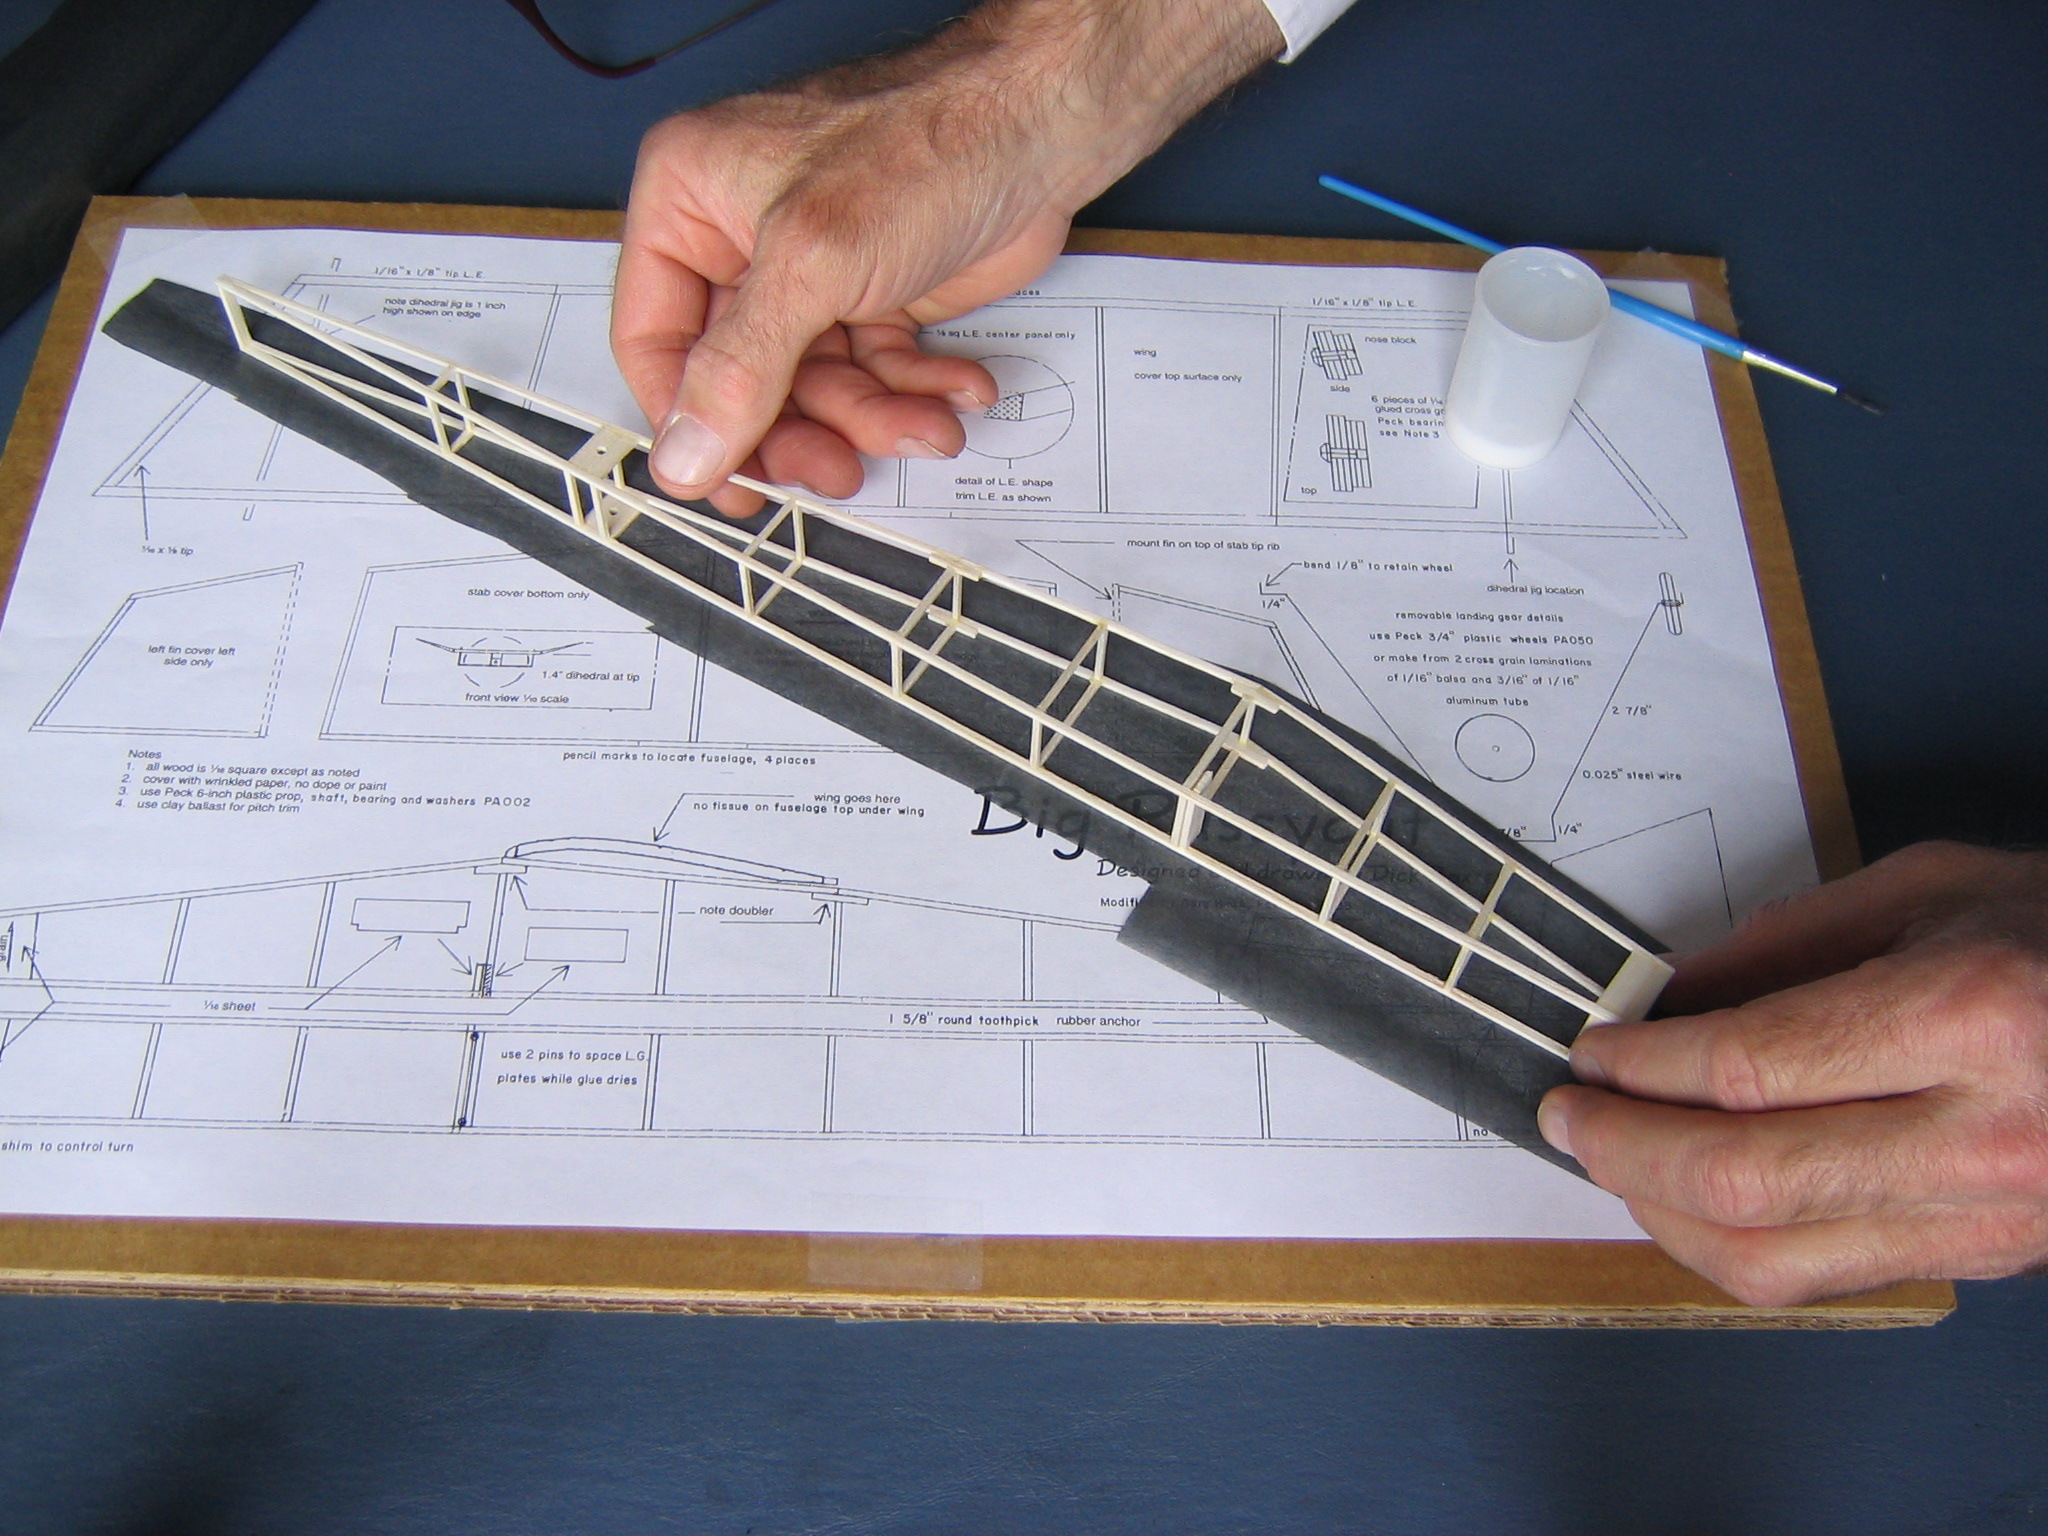
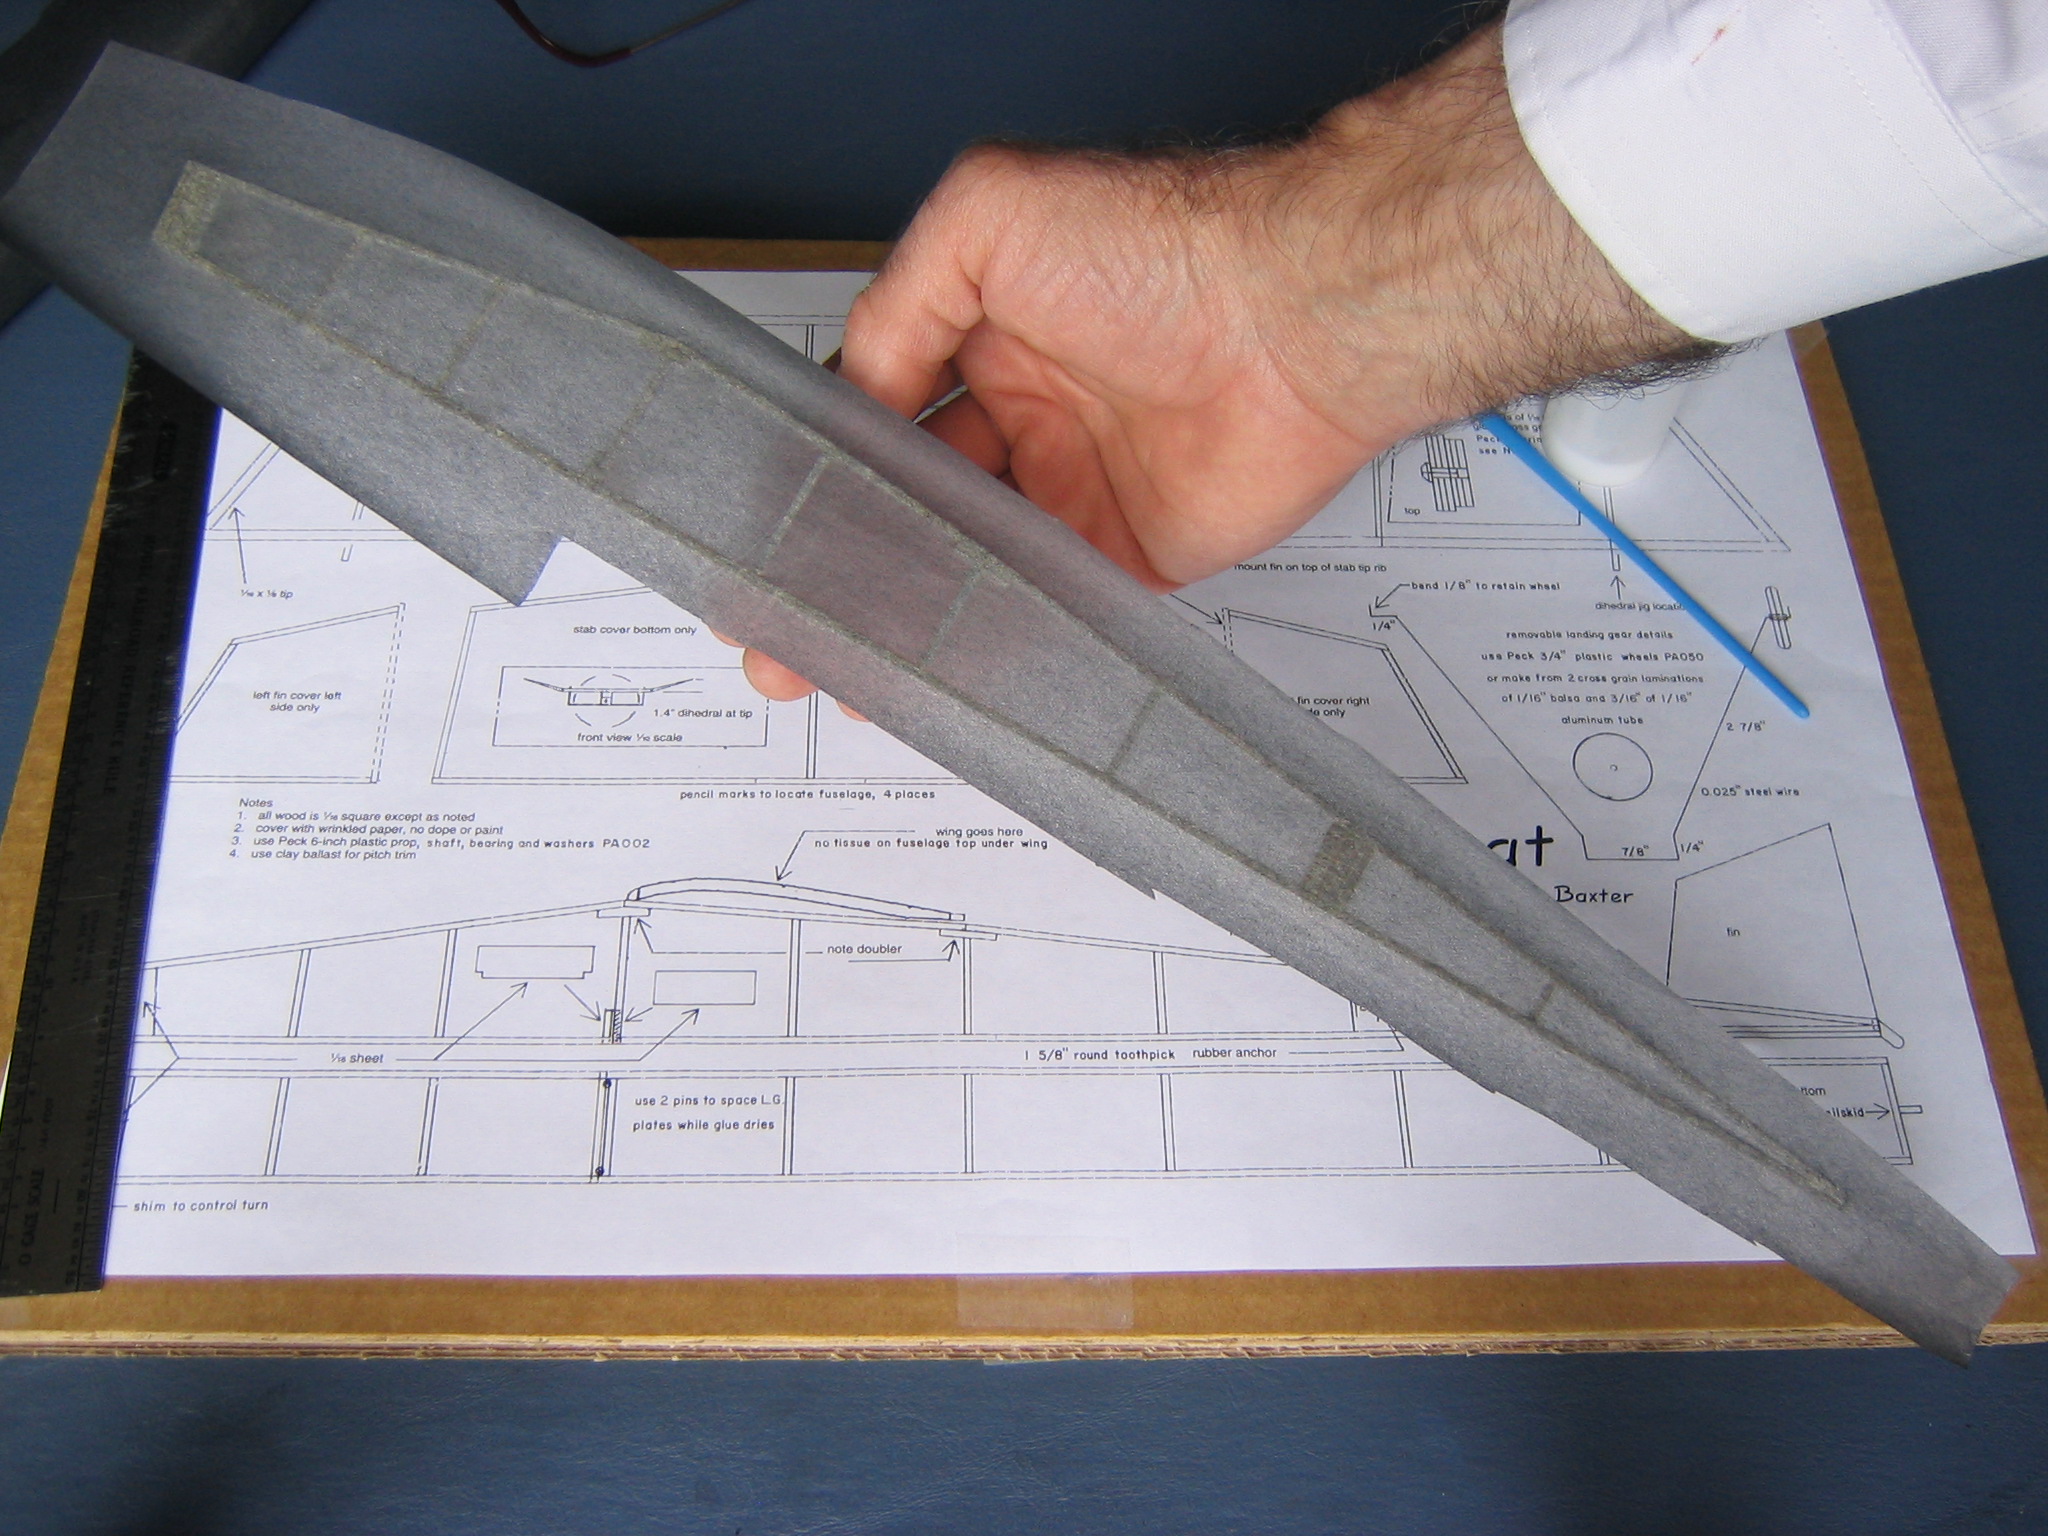
The tissue parts should be cut out with their longest direction parallel with the grain direction. The fins and tailplane will all be covered with a single piece of tissue, cut out about ½” longer and wider all around than the structure.
Put the tailplane about ½” from one edge of the tissue and, starting with the tip of a fin about ½” in from the another edge, roll the entire unit across the paper to pace off the amount of tissue it will require.
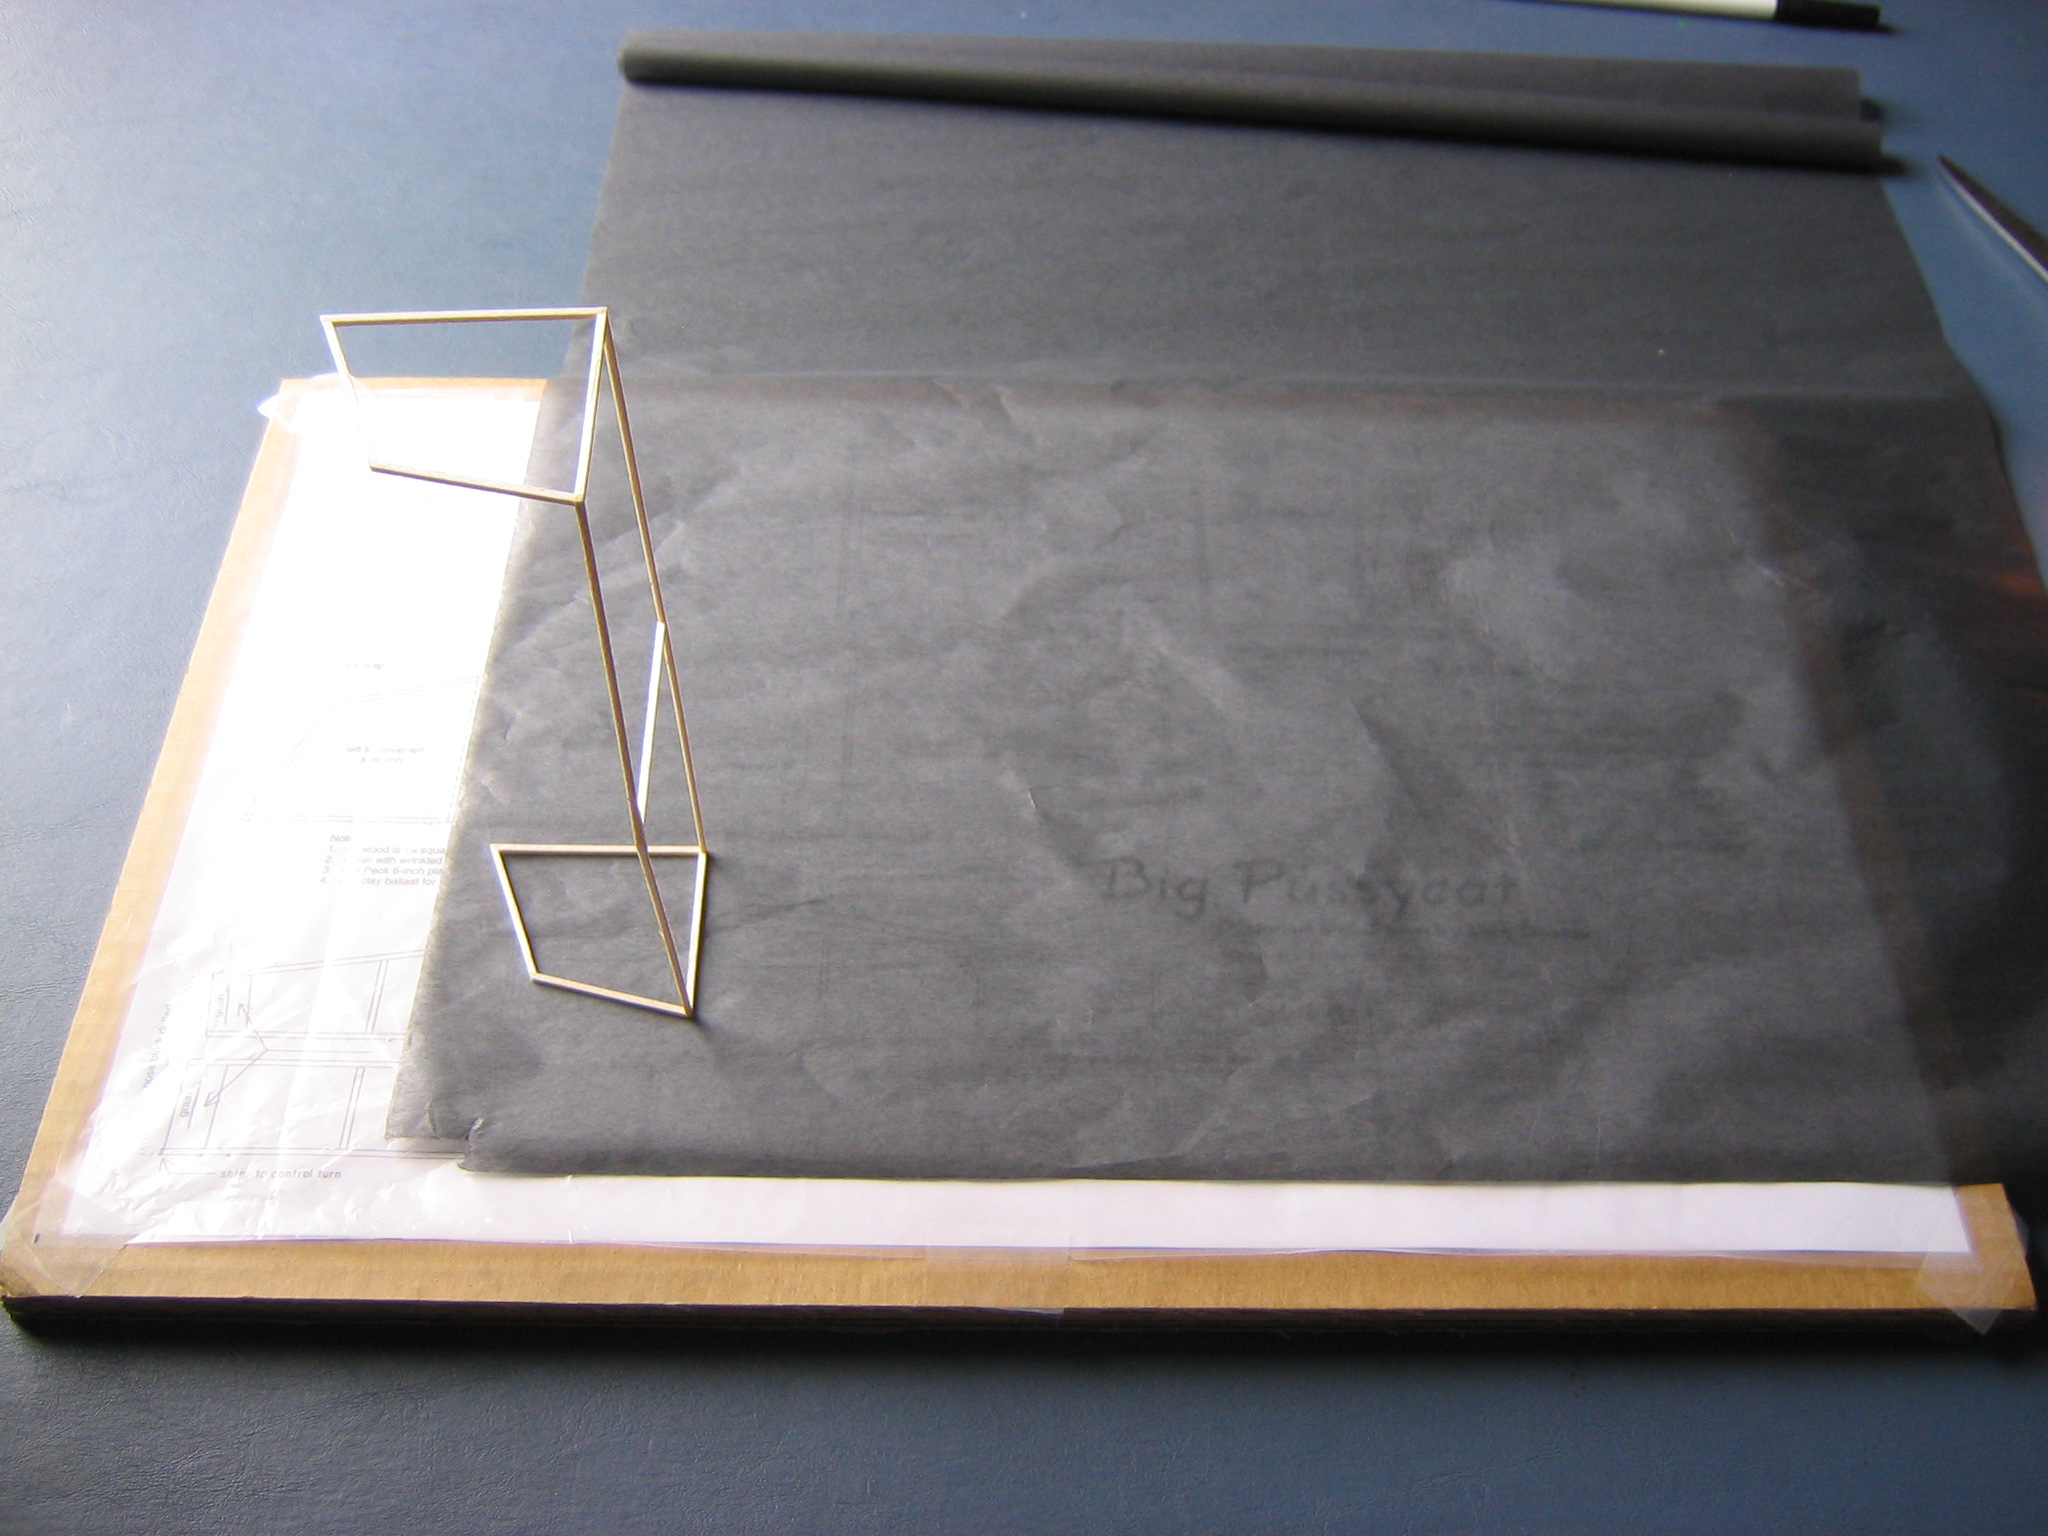
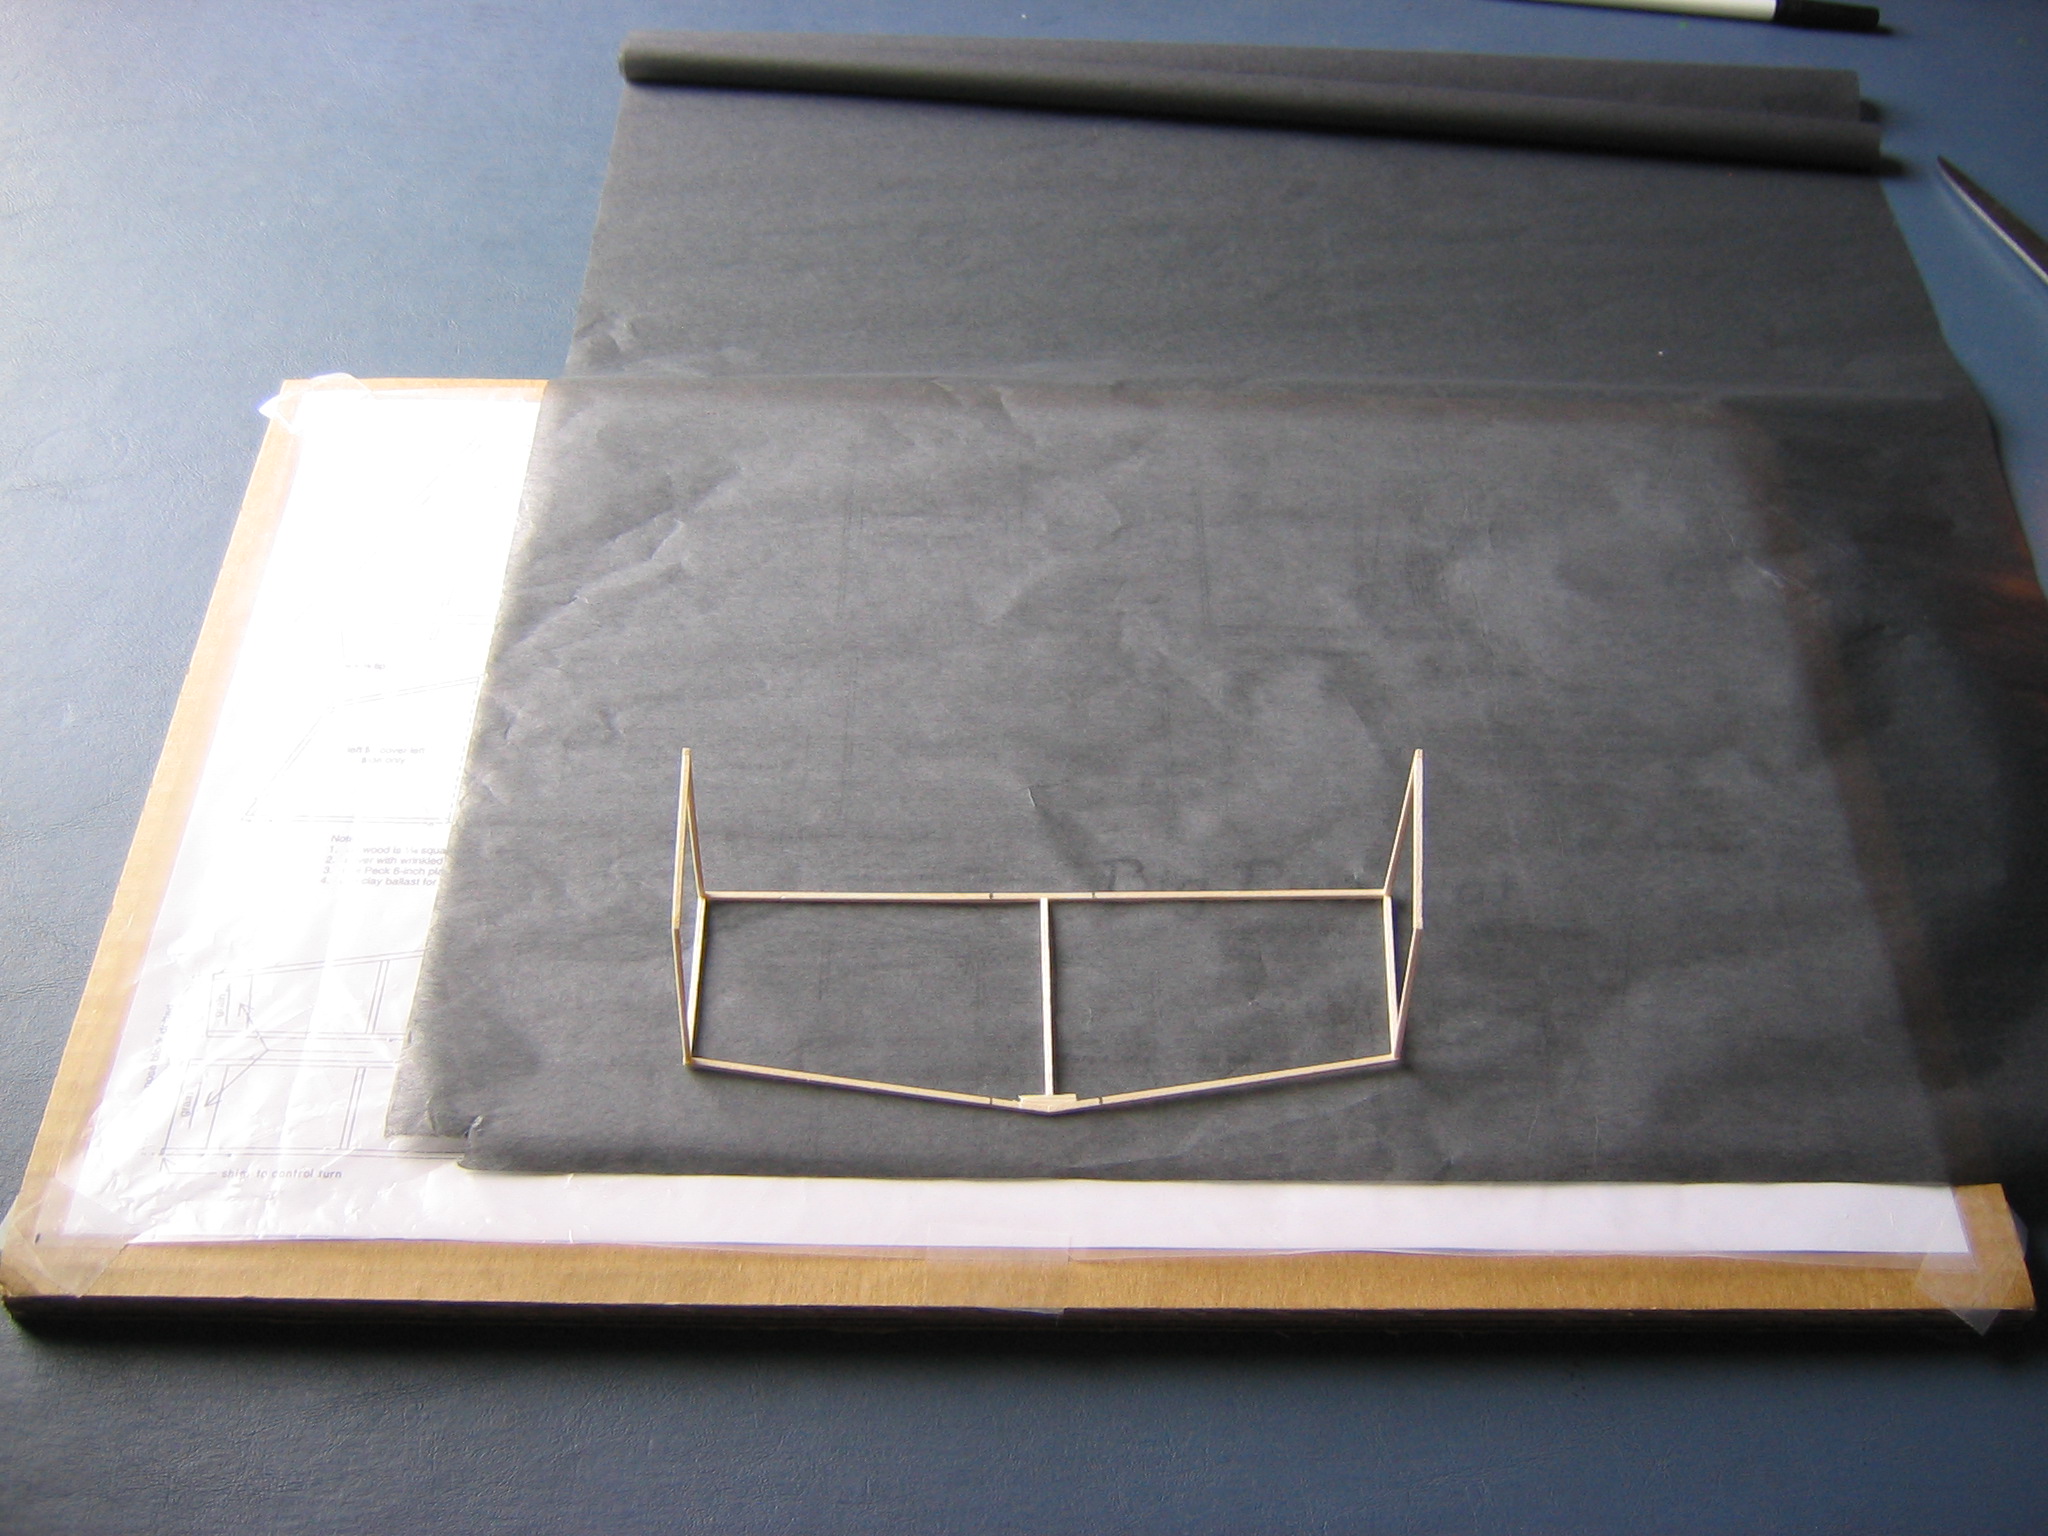
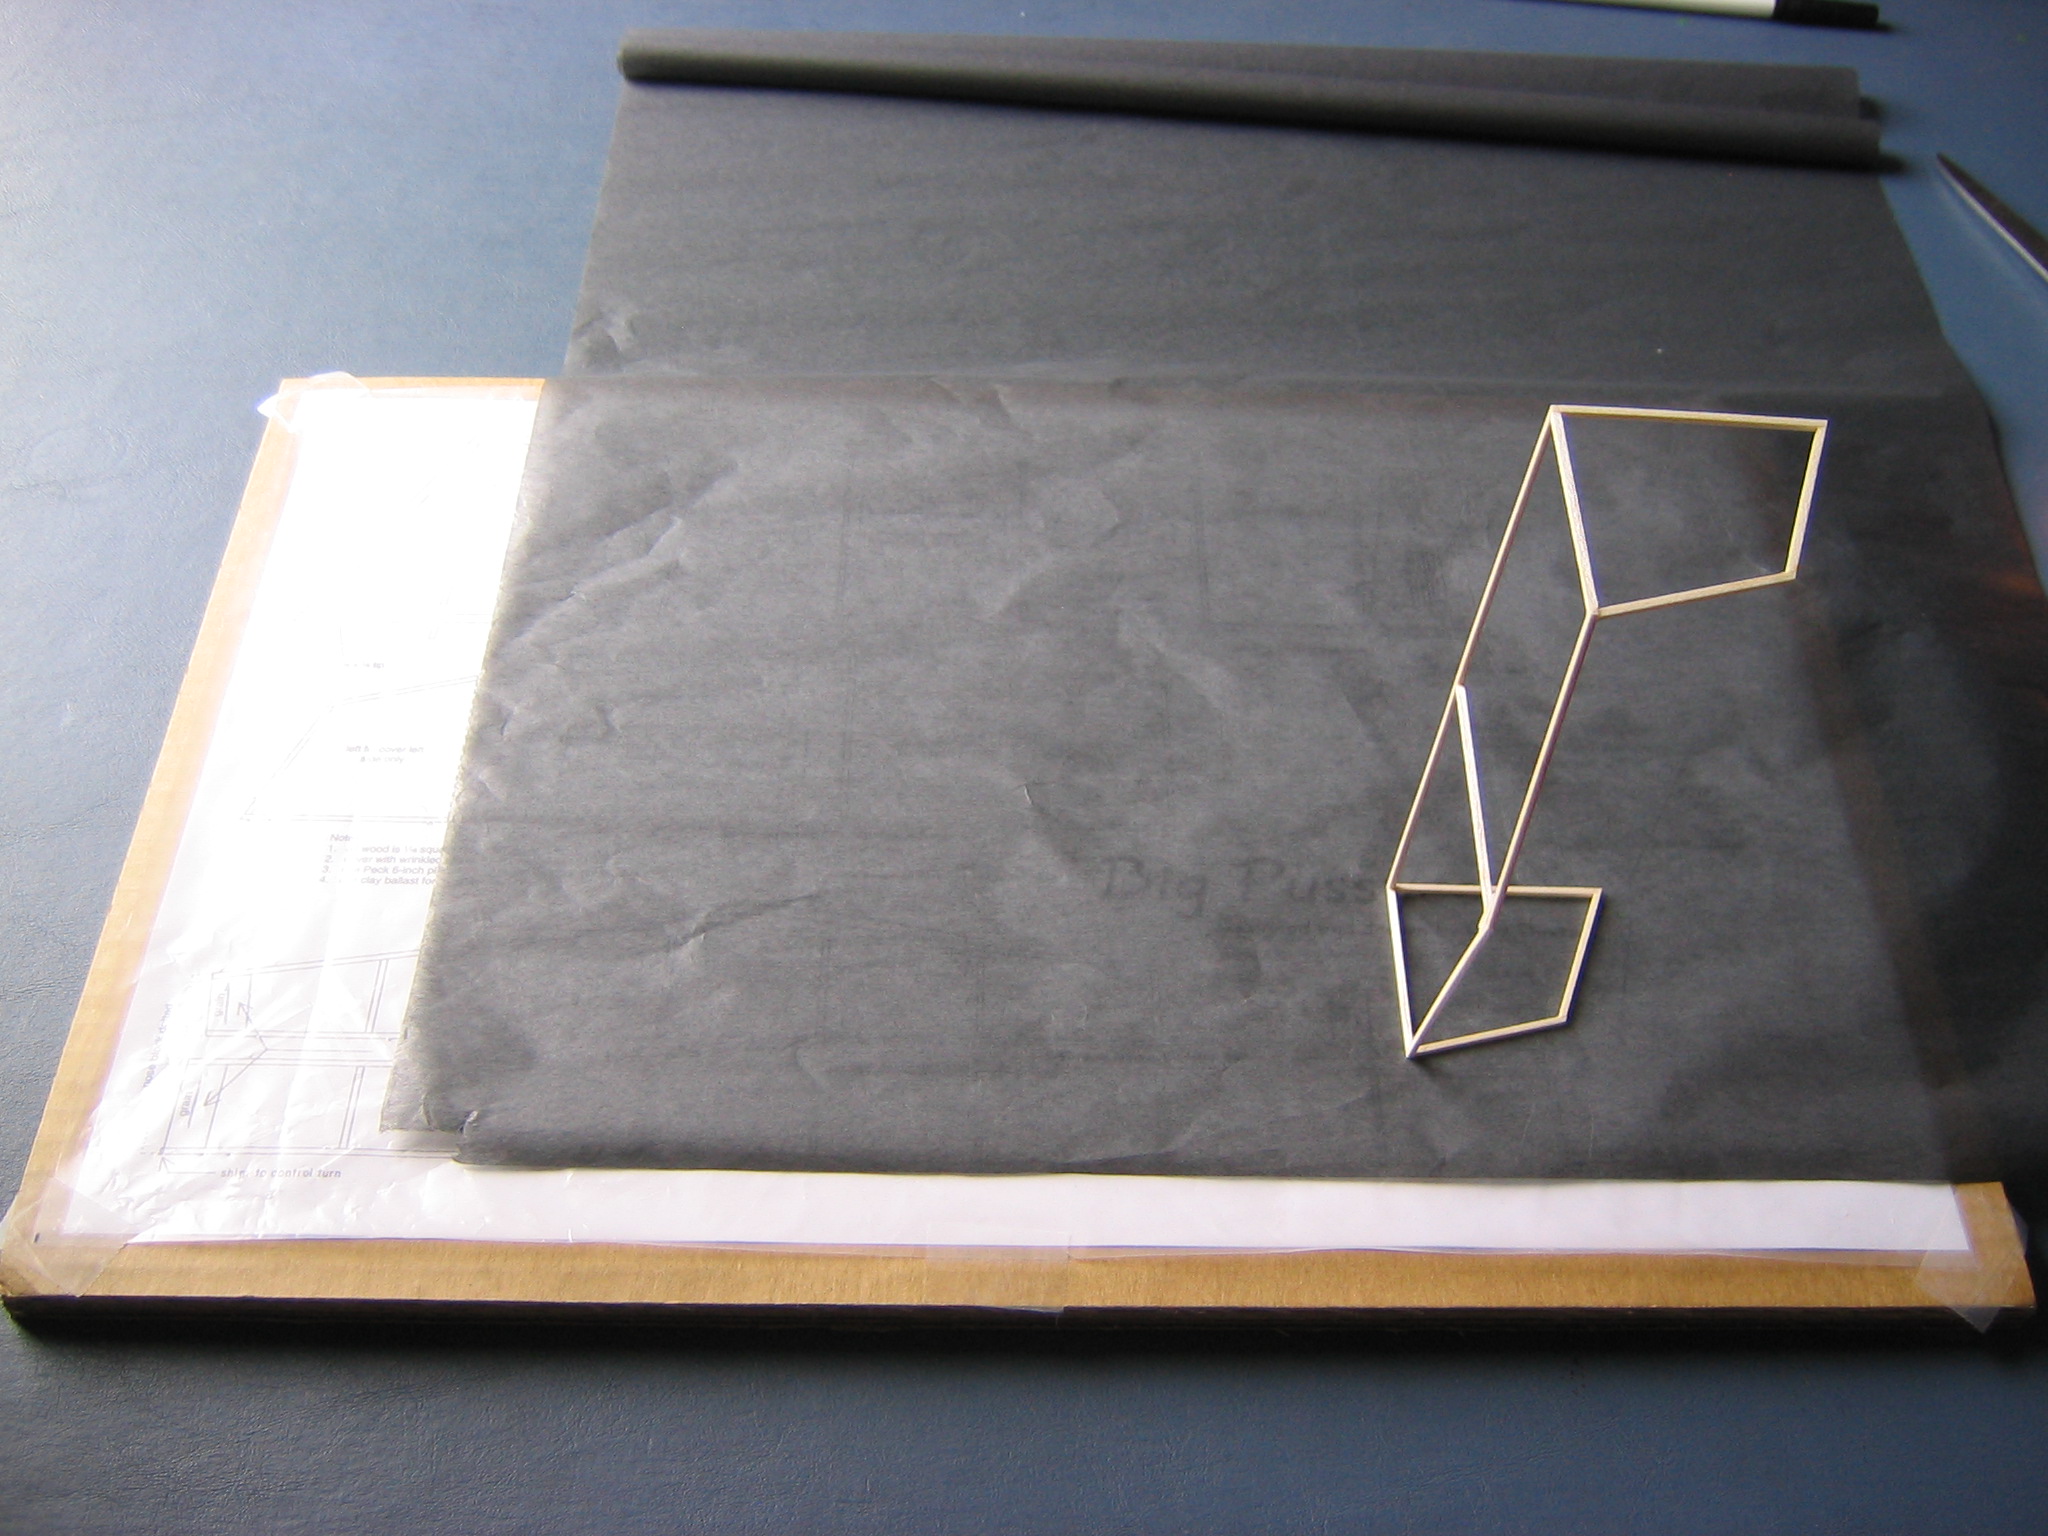
Cut the paper ½” beyond the other tip and ½” along the other edge.
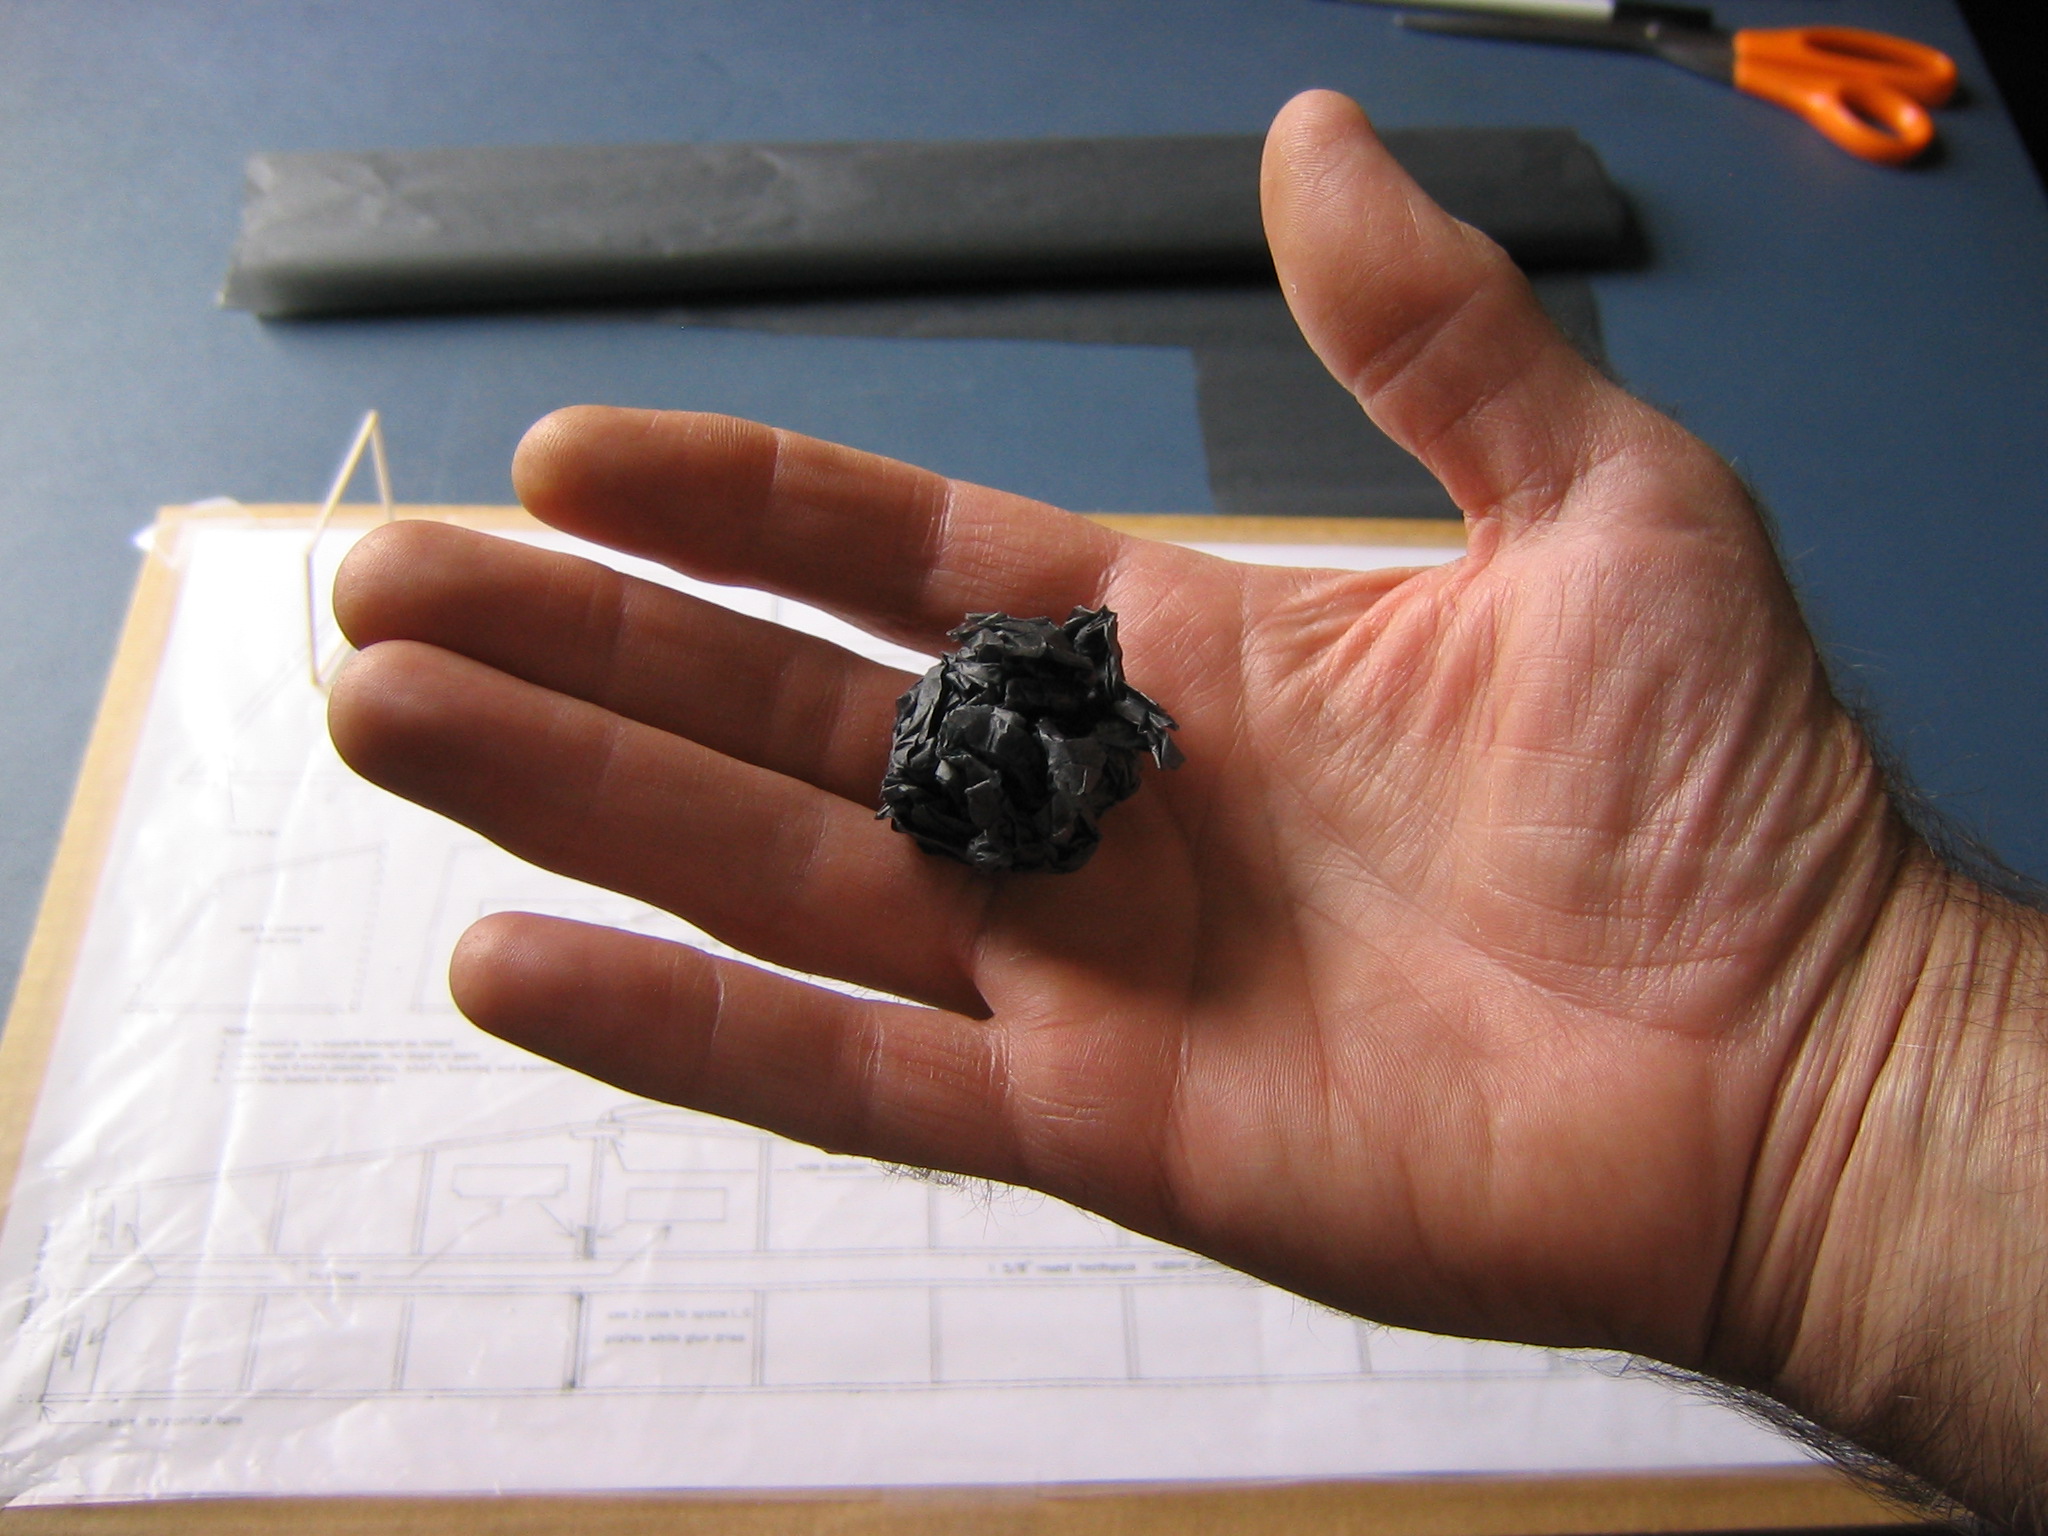
Crumple the paper lightly into a ball, then smooth it out again. It might be best to do this the day before gluing it on, and pressing it in a book to flatten it a bit. This will give the paper some extensibility and prevent it from warping these delicate balsa structures as it shrinks with changing temperature and humidity.
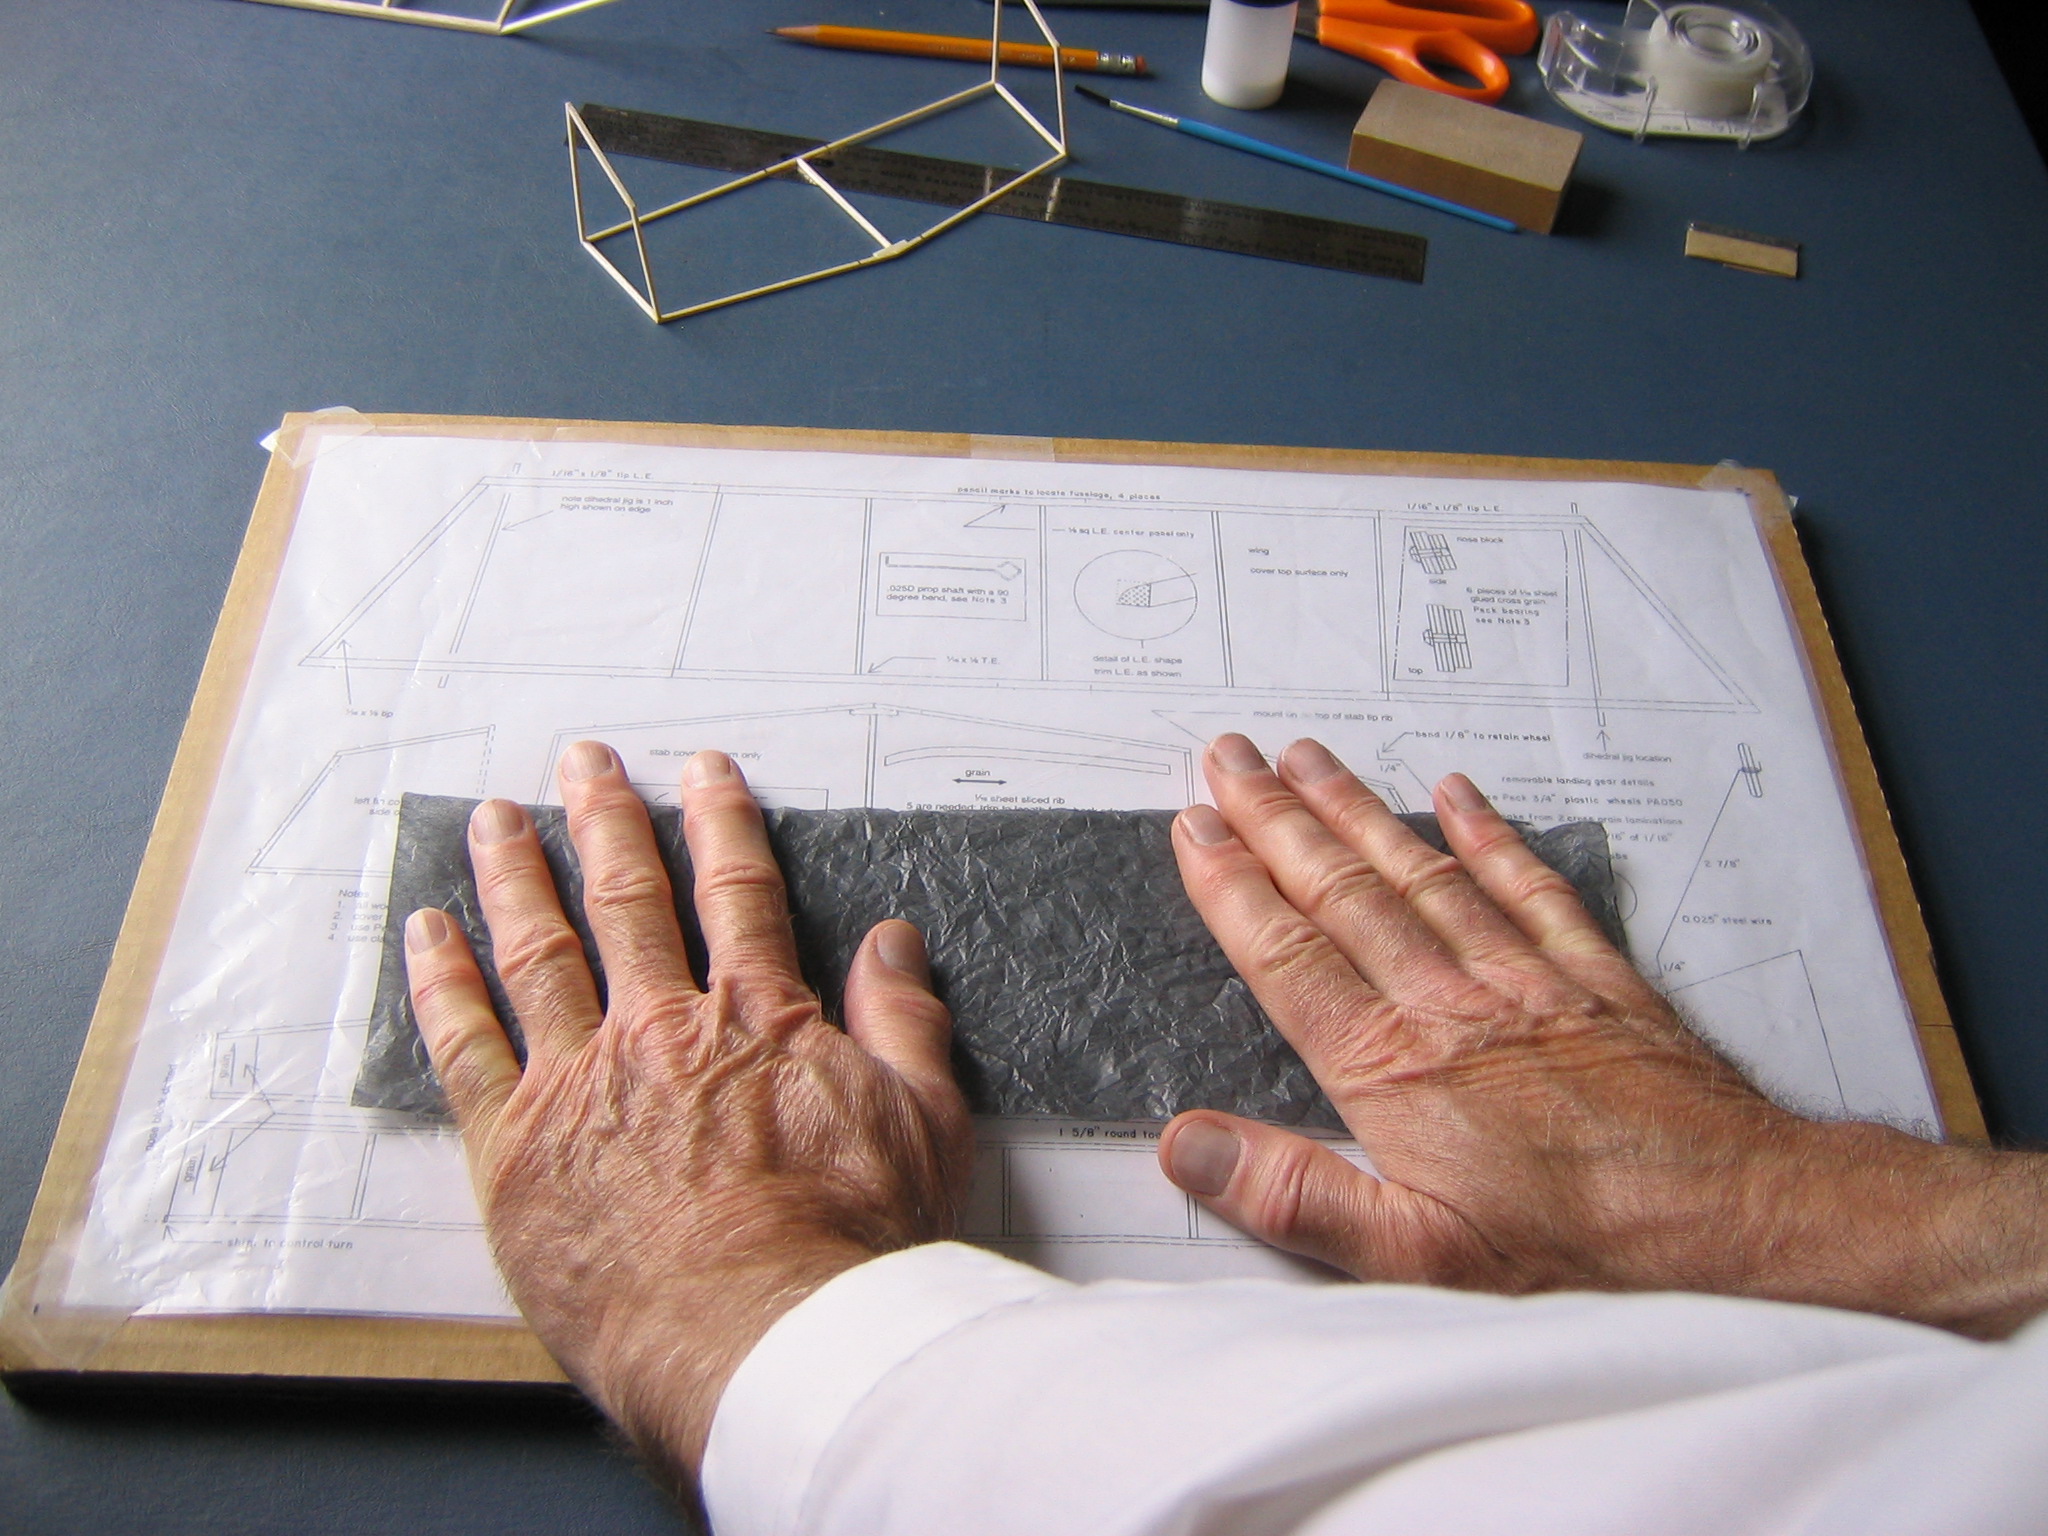
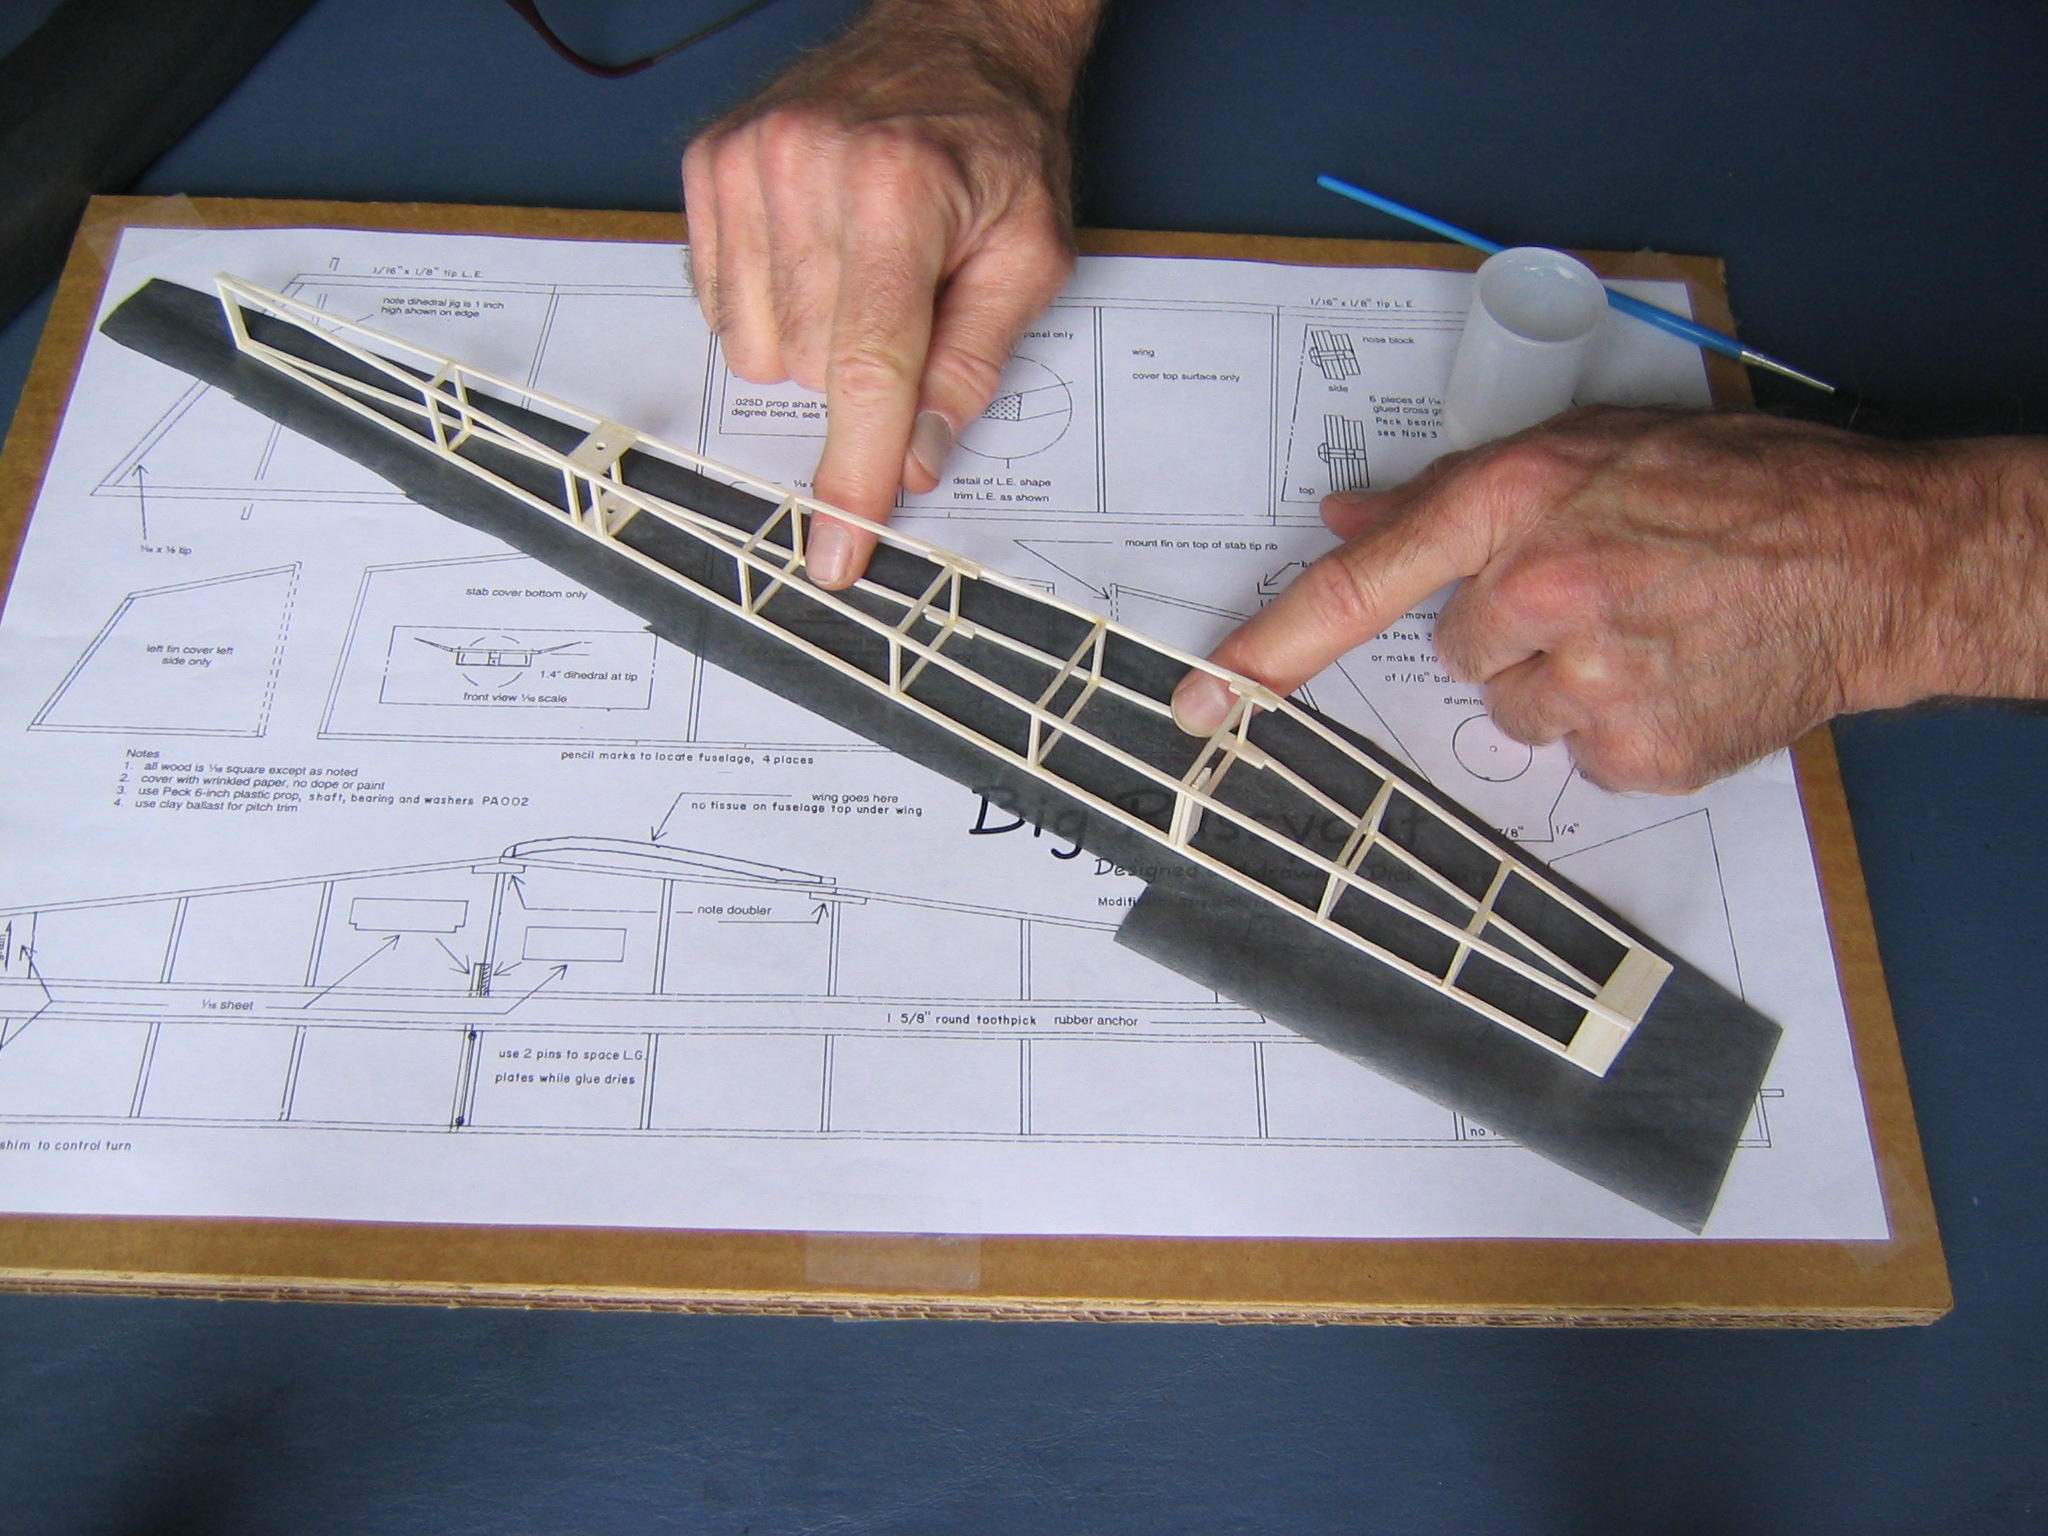
Spread the tissue over the plastic cover and tape it down as you did when taping the plan to the board.
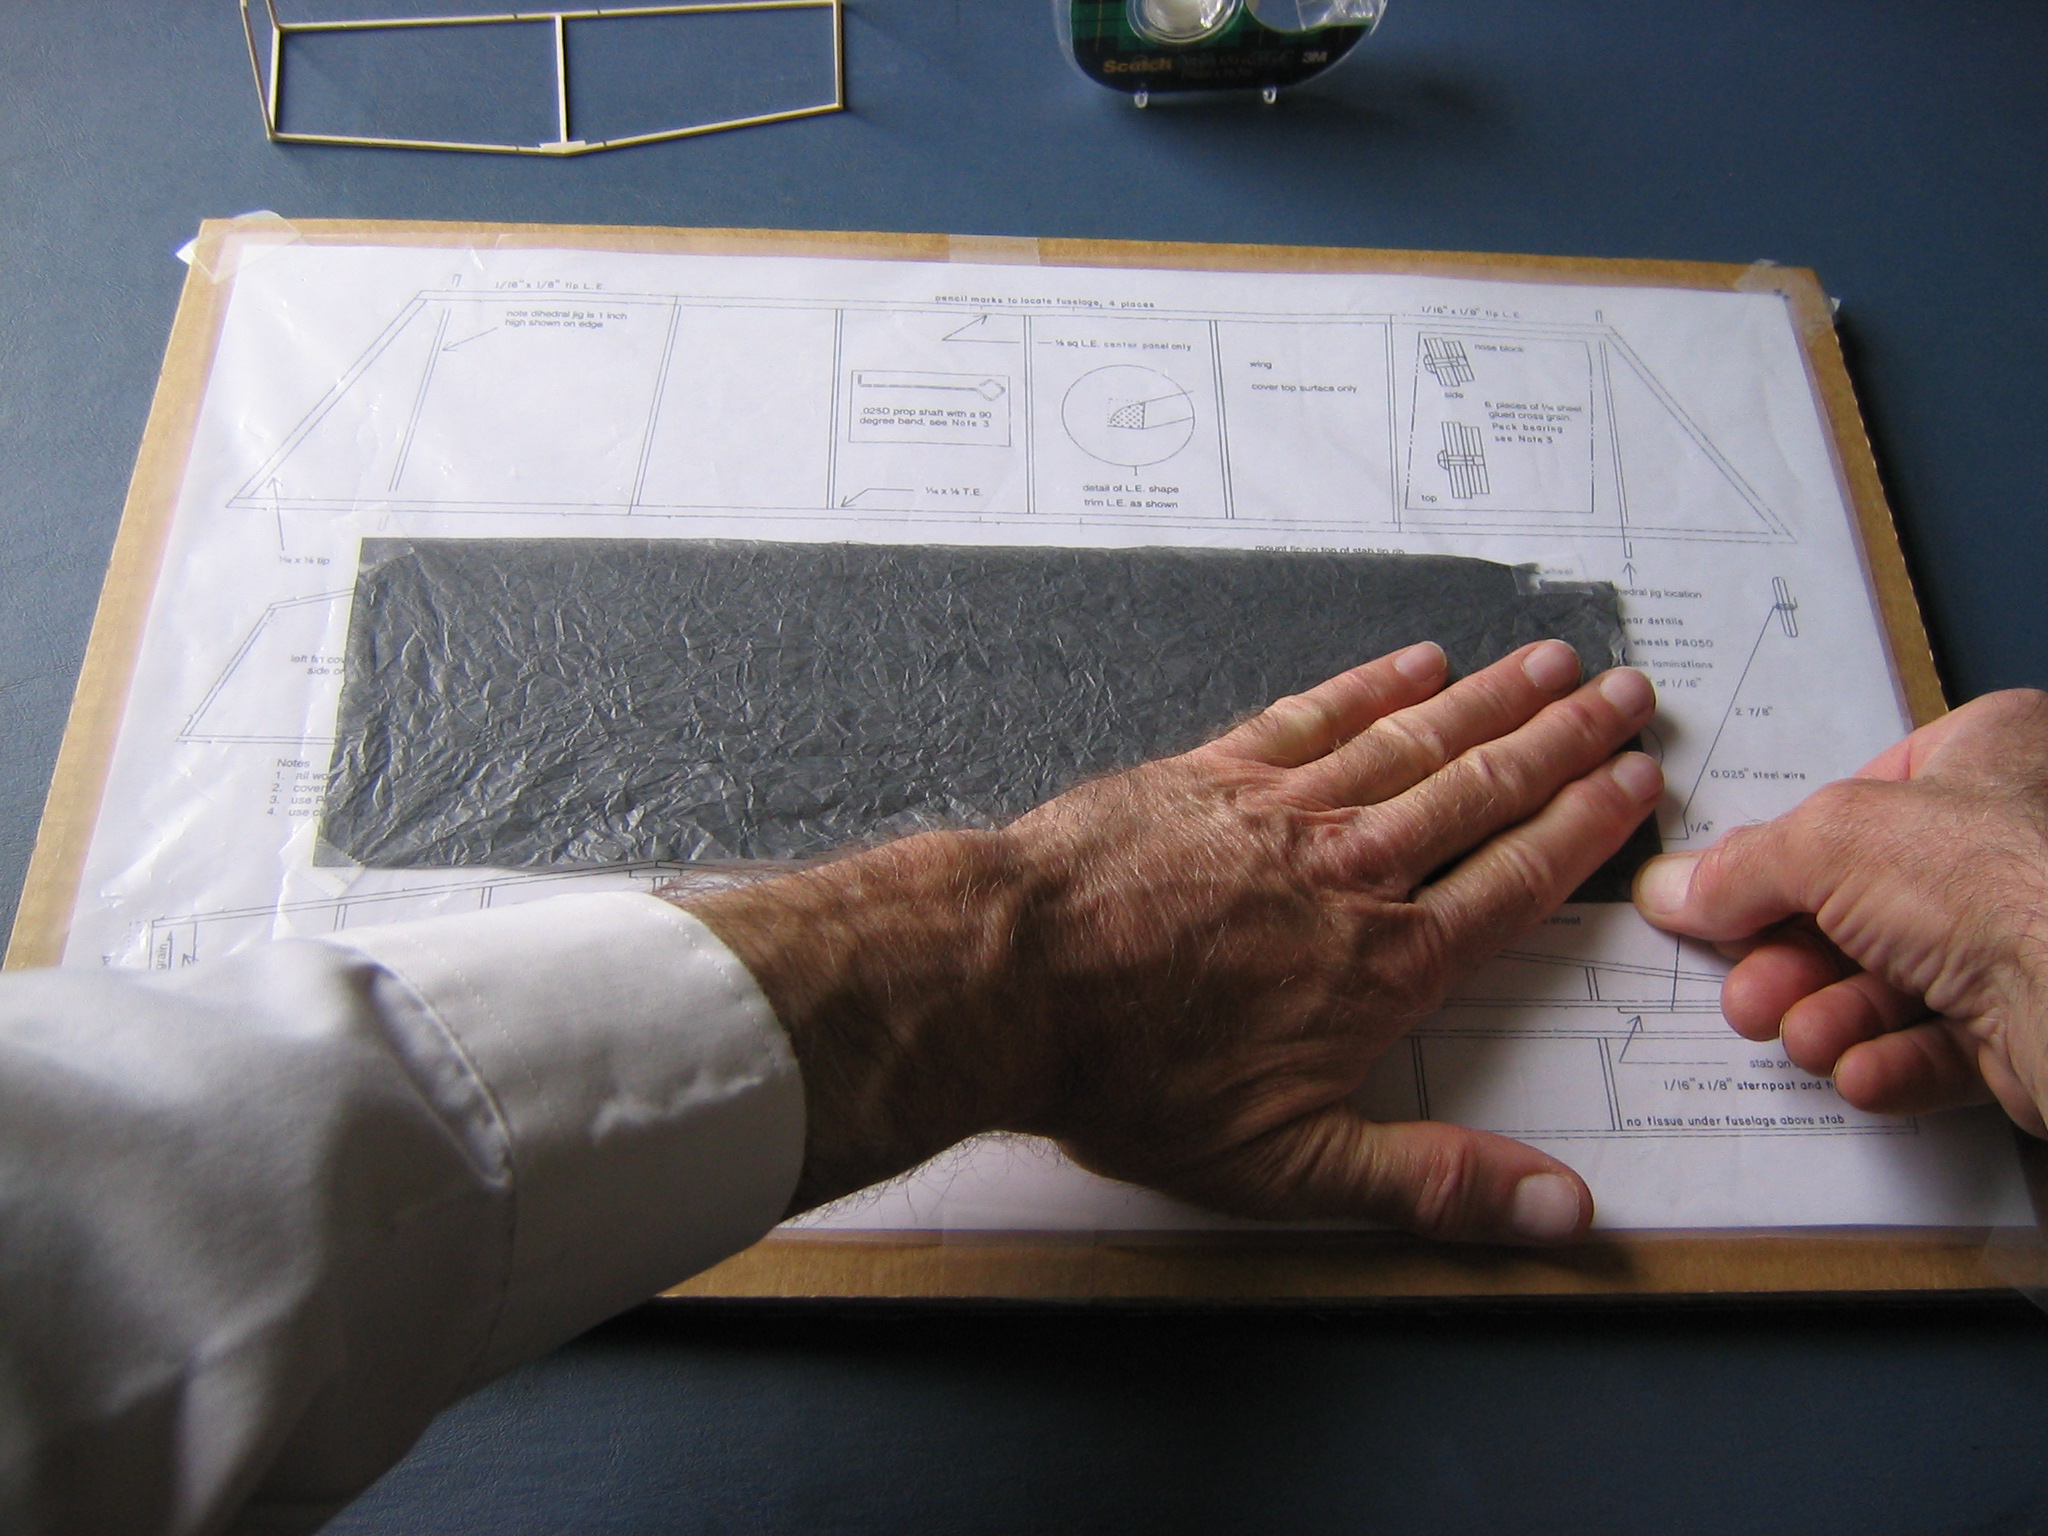
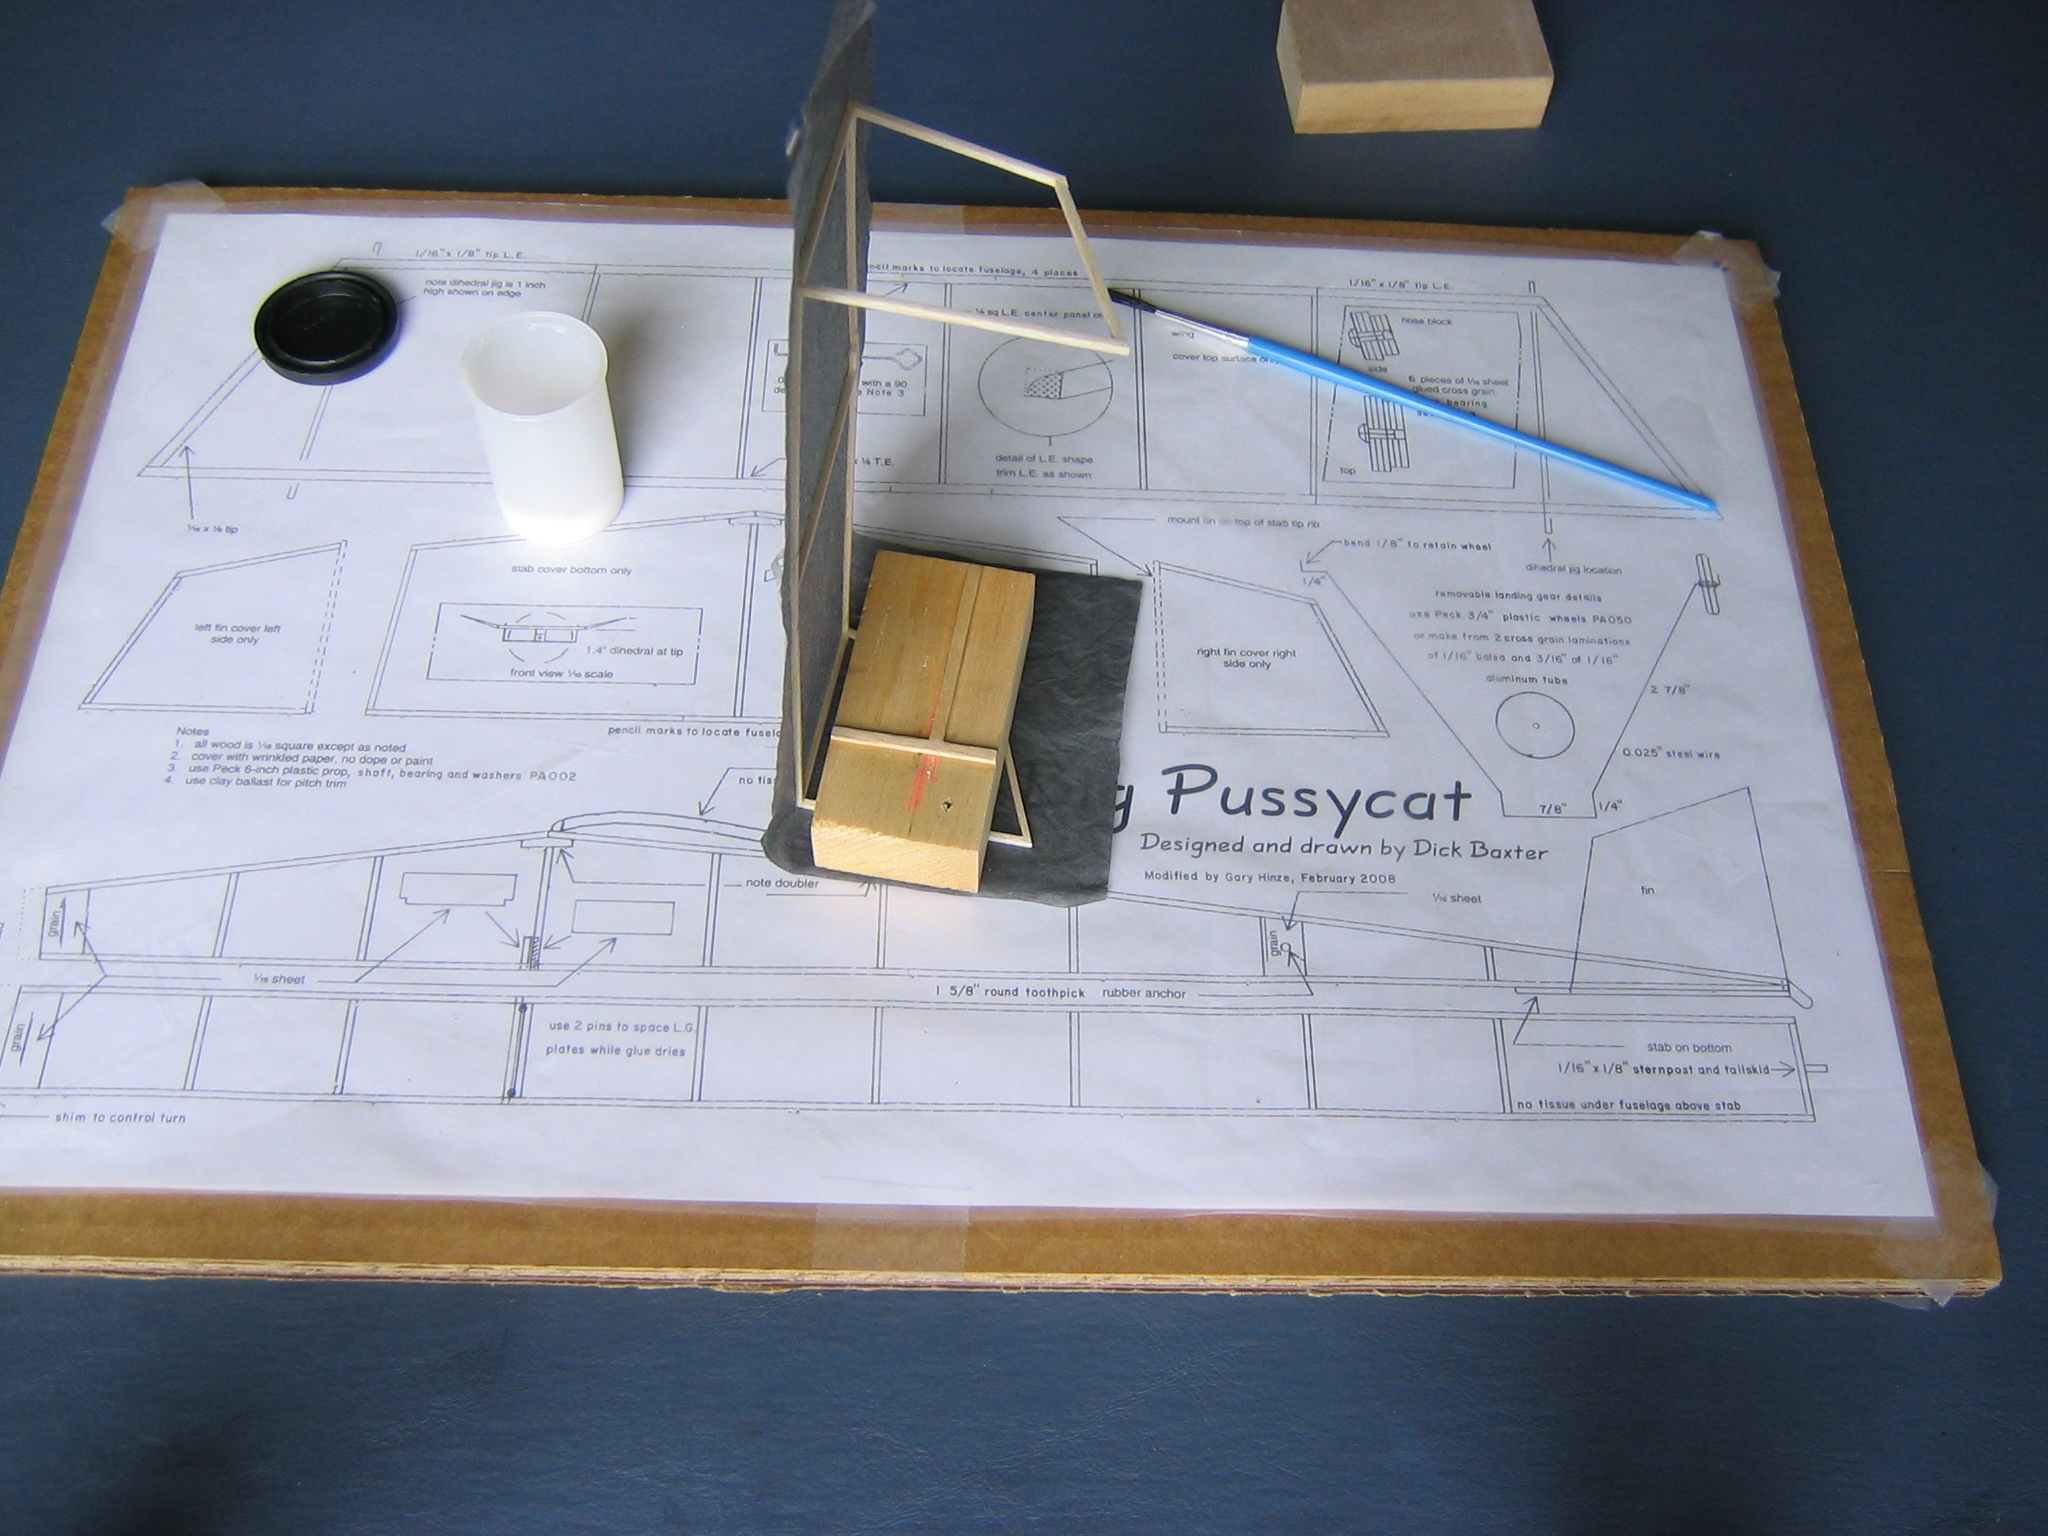
Paint the outer perimeter of the under side of the tailplane.
The water may warp these thin sticks, but they will flatten after the glue dries.
While the glue is still damp, press the tailplane to the tissue. Run your fingers around to press it down.
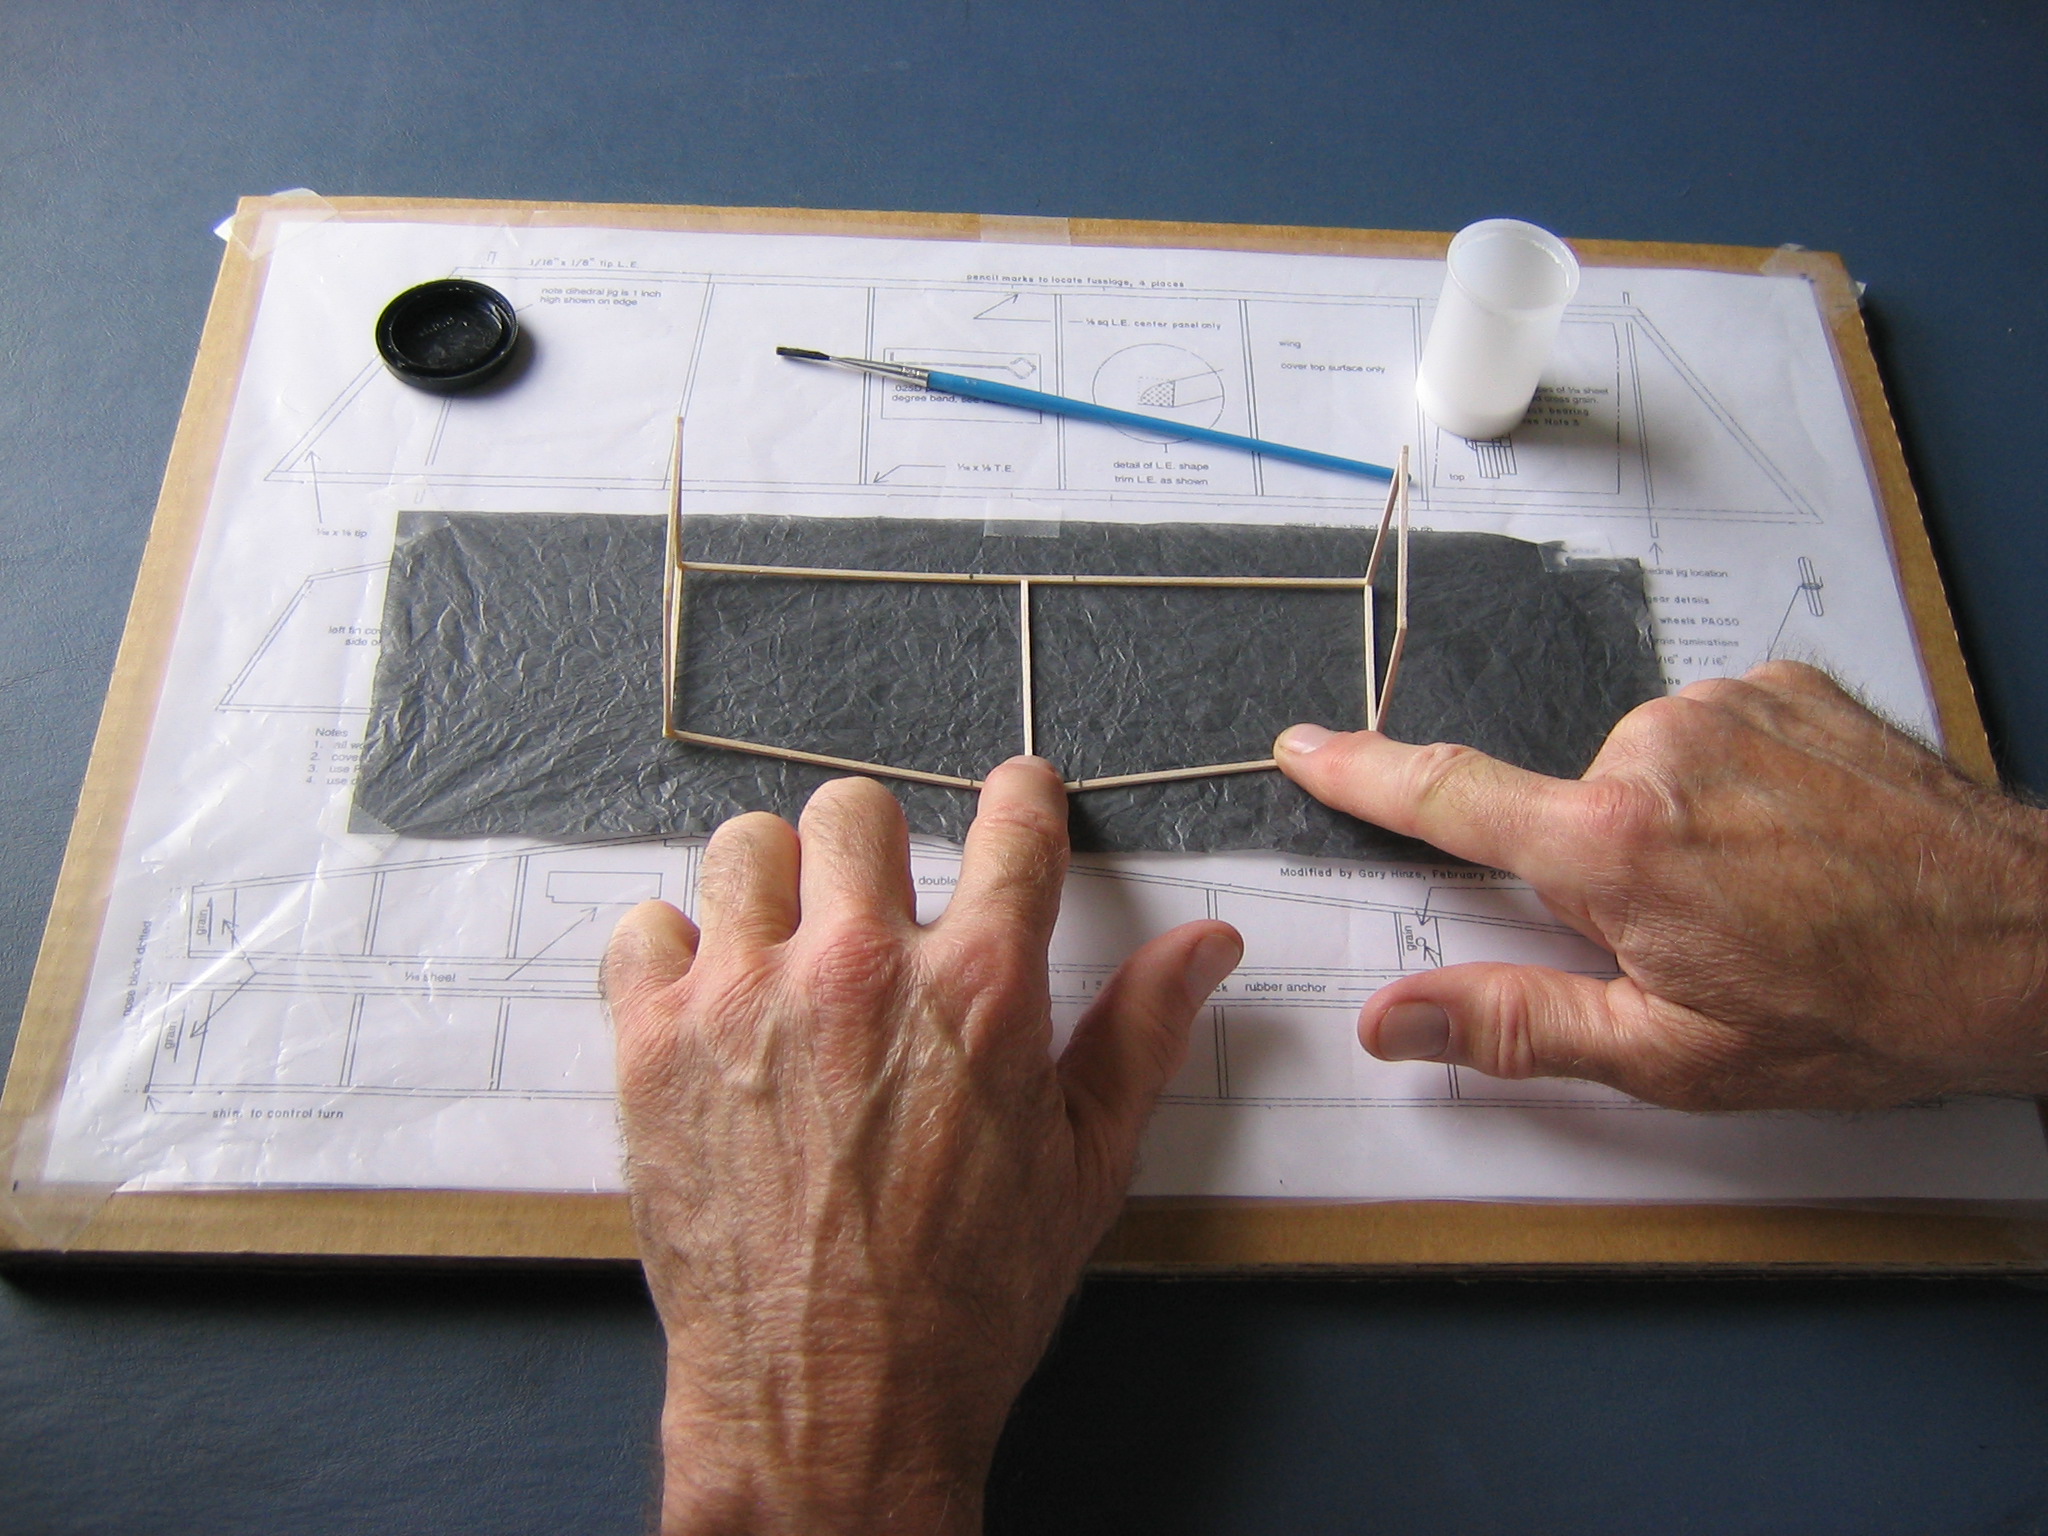
Place weights on it to hold it down as the glue dries.
When dry, remove the weights and pry the tailplane from the plastic.

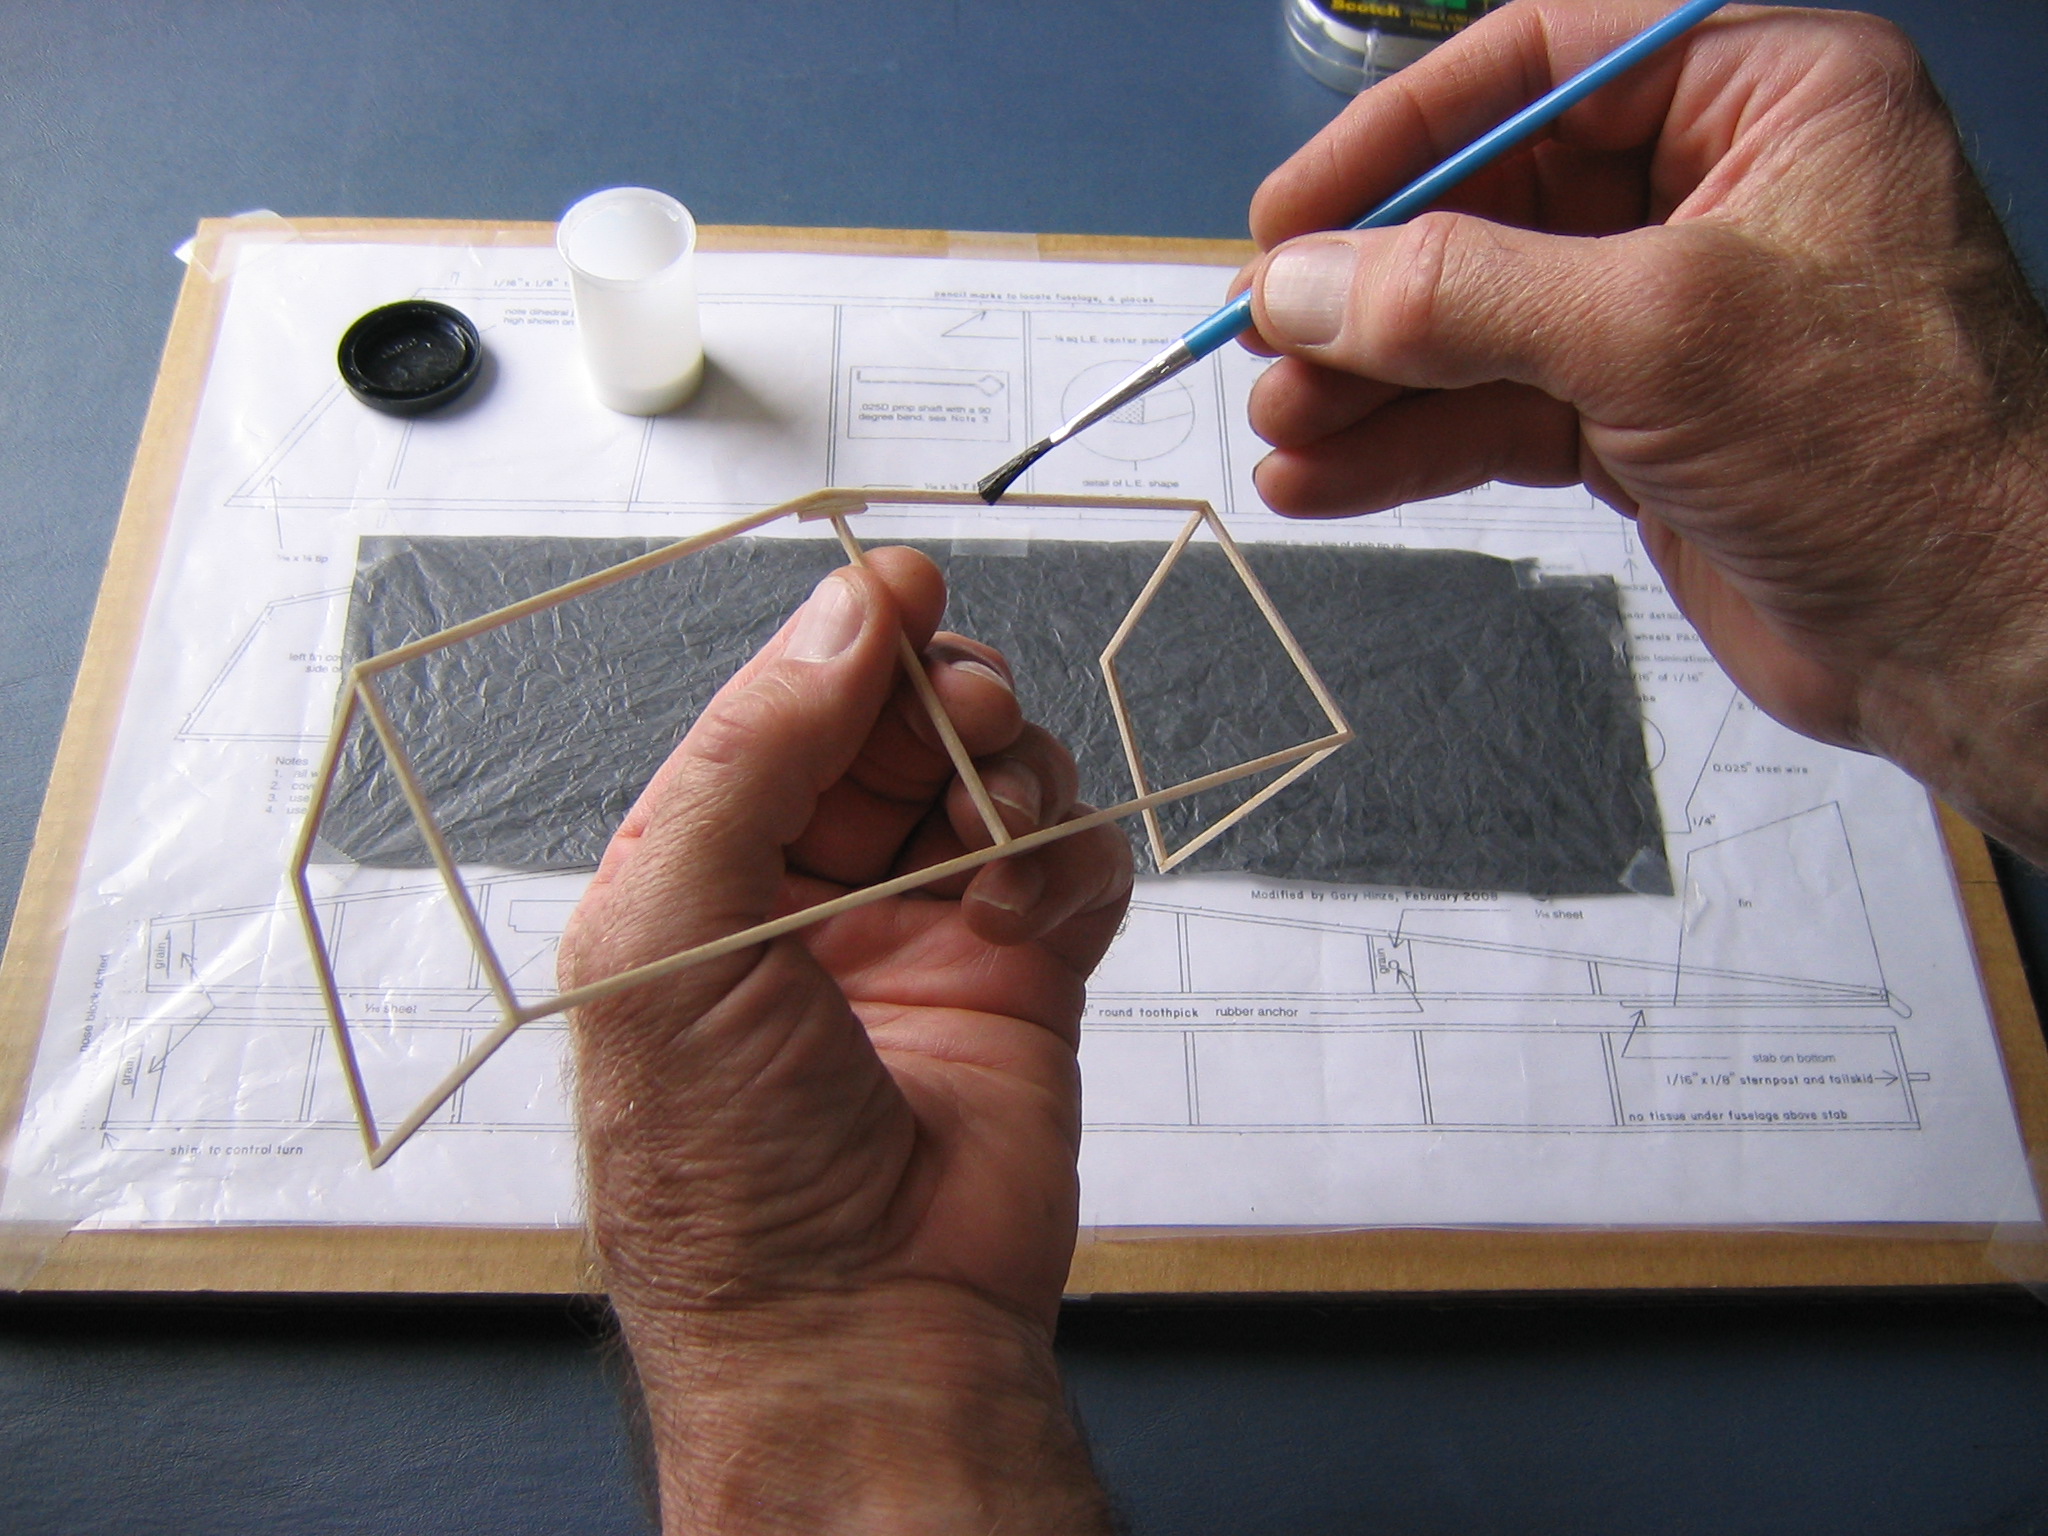
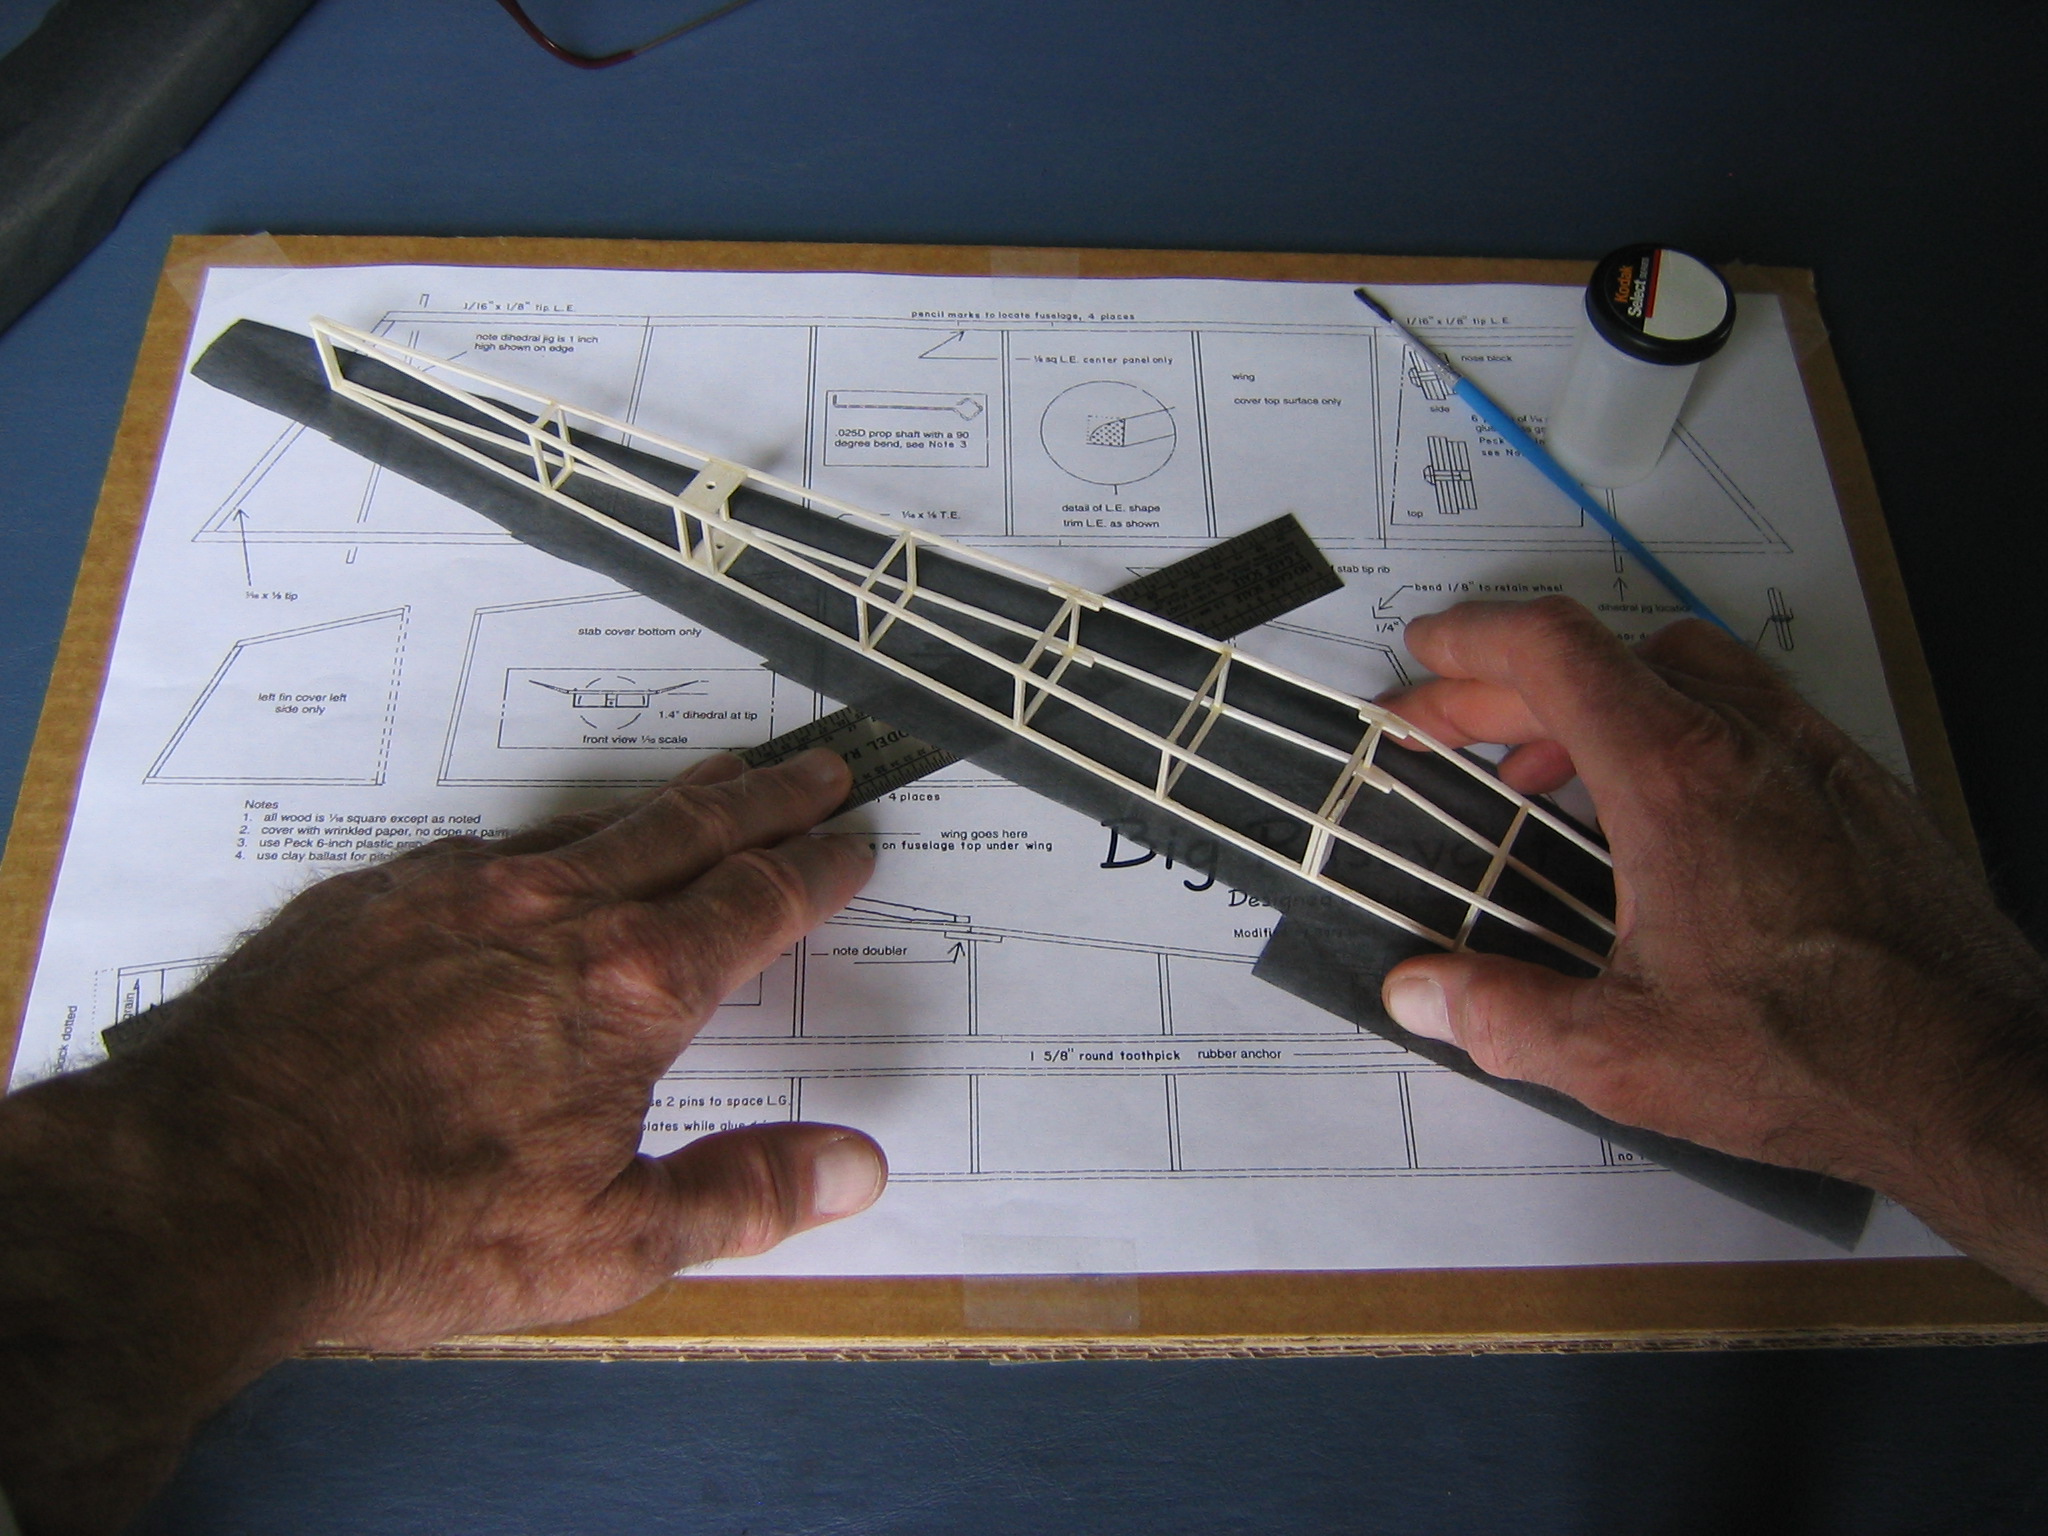
Paint the outer faces of the three sticks of one fin.

Hold the paper to the building board with the thumbs while pressing the framework away with the fingers to get the paper smoothly onto the fin.
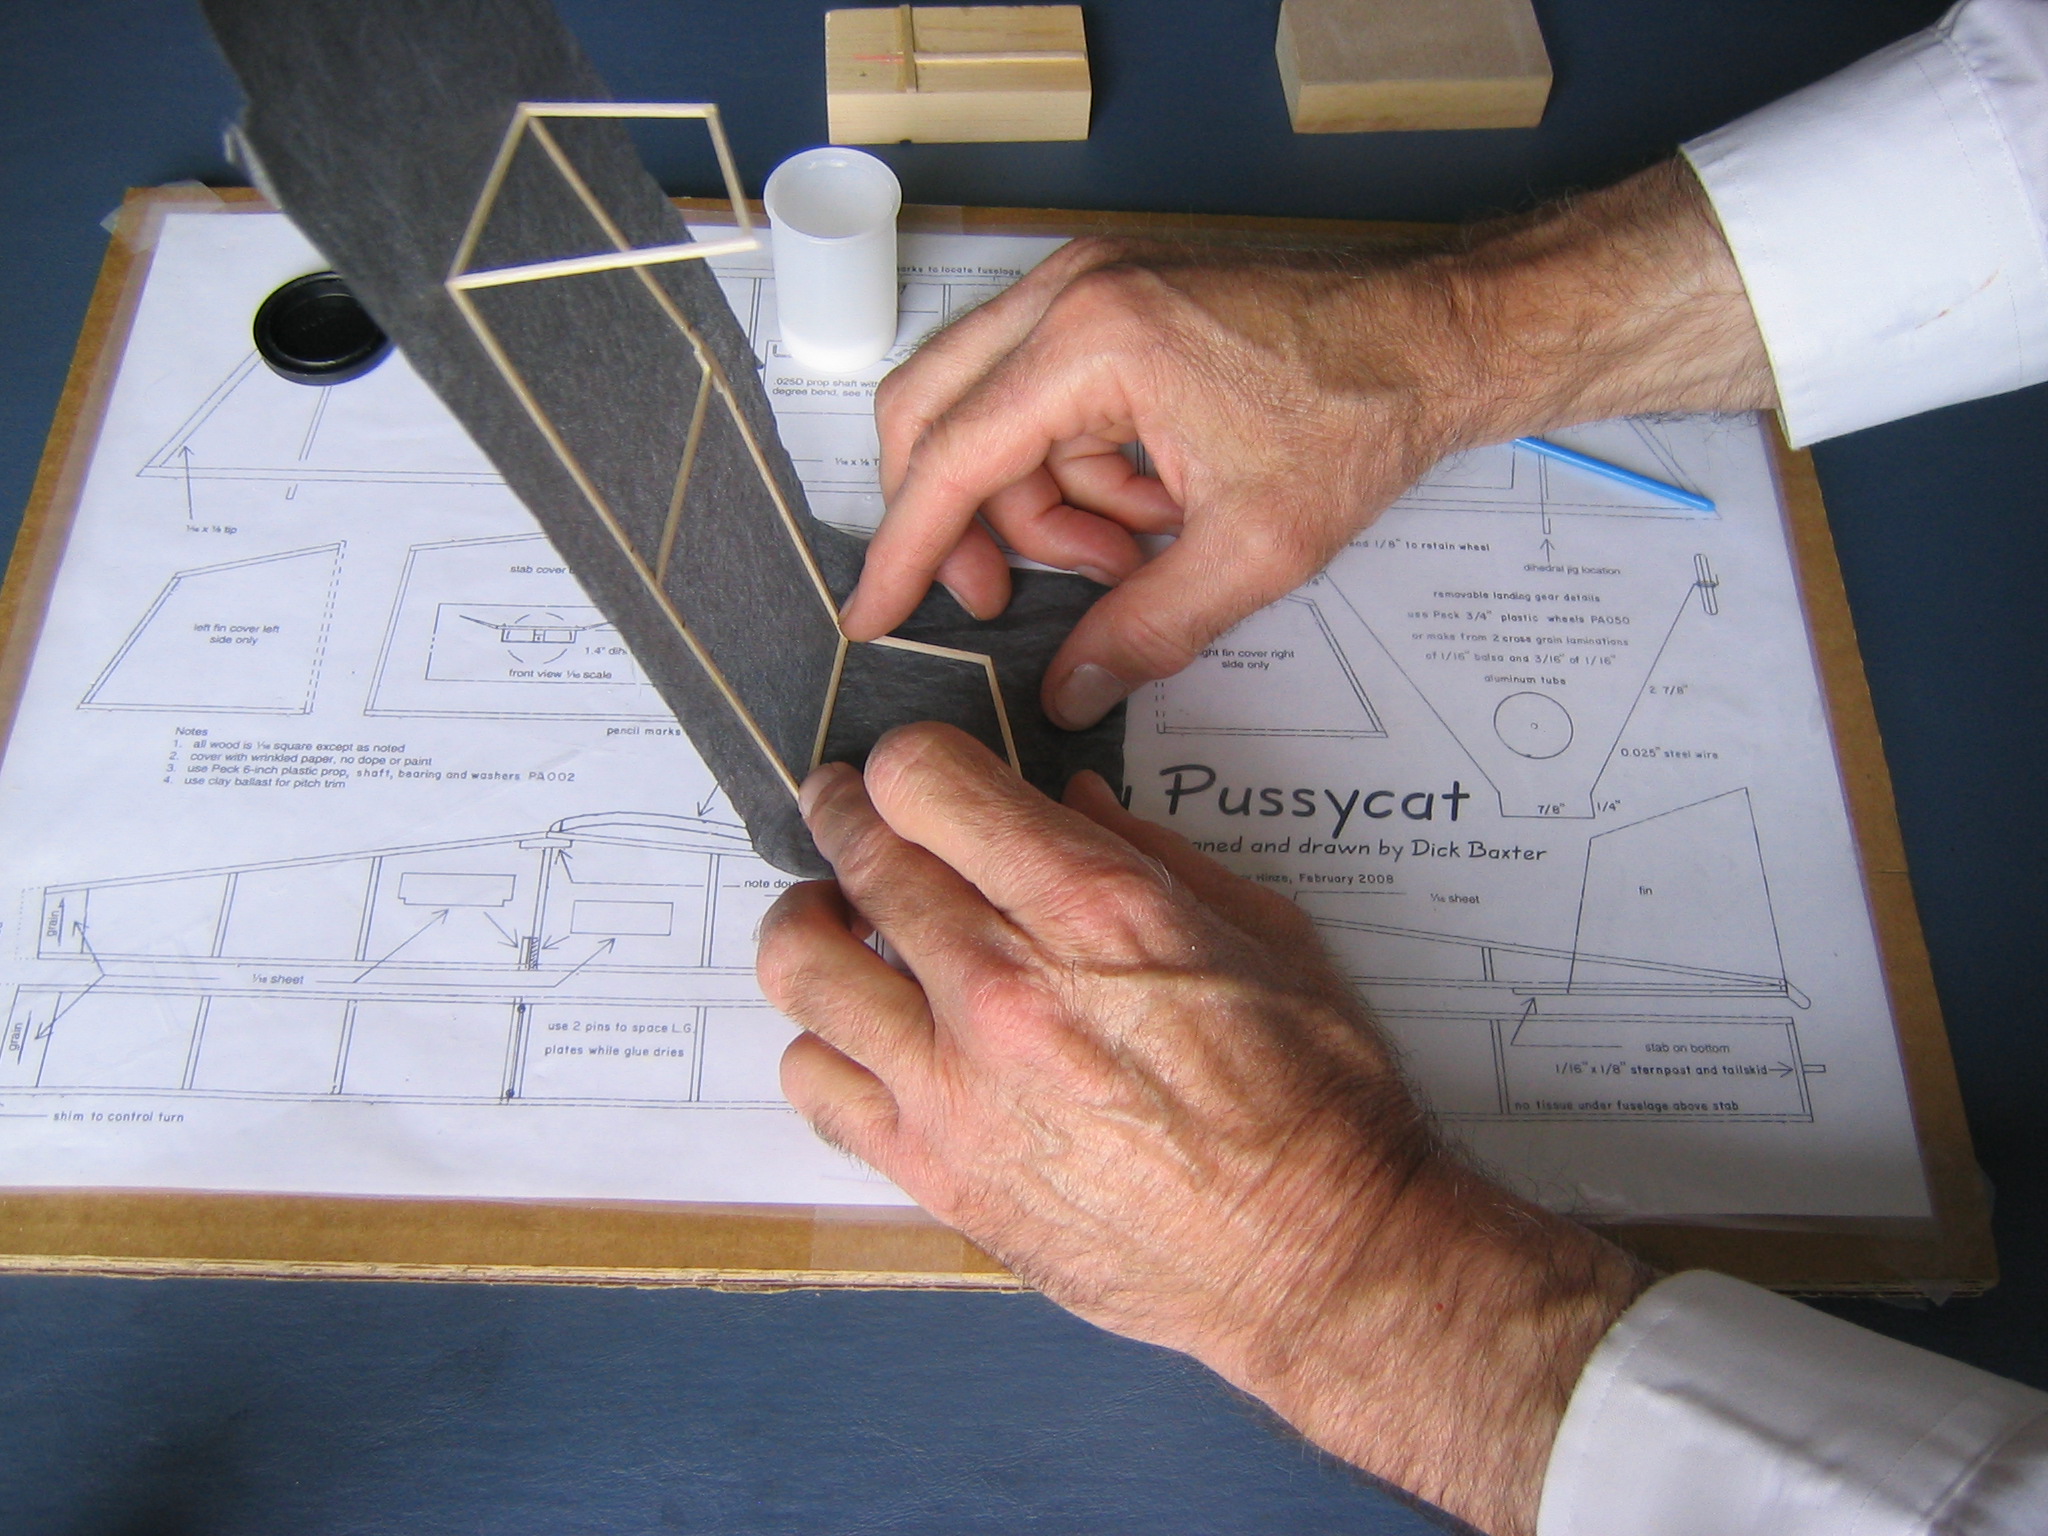
Press the wood down firmly onto the paper with fingertips.
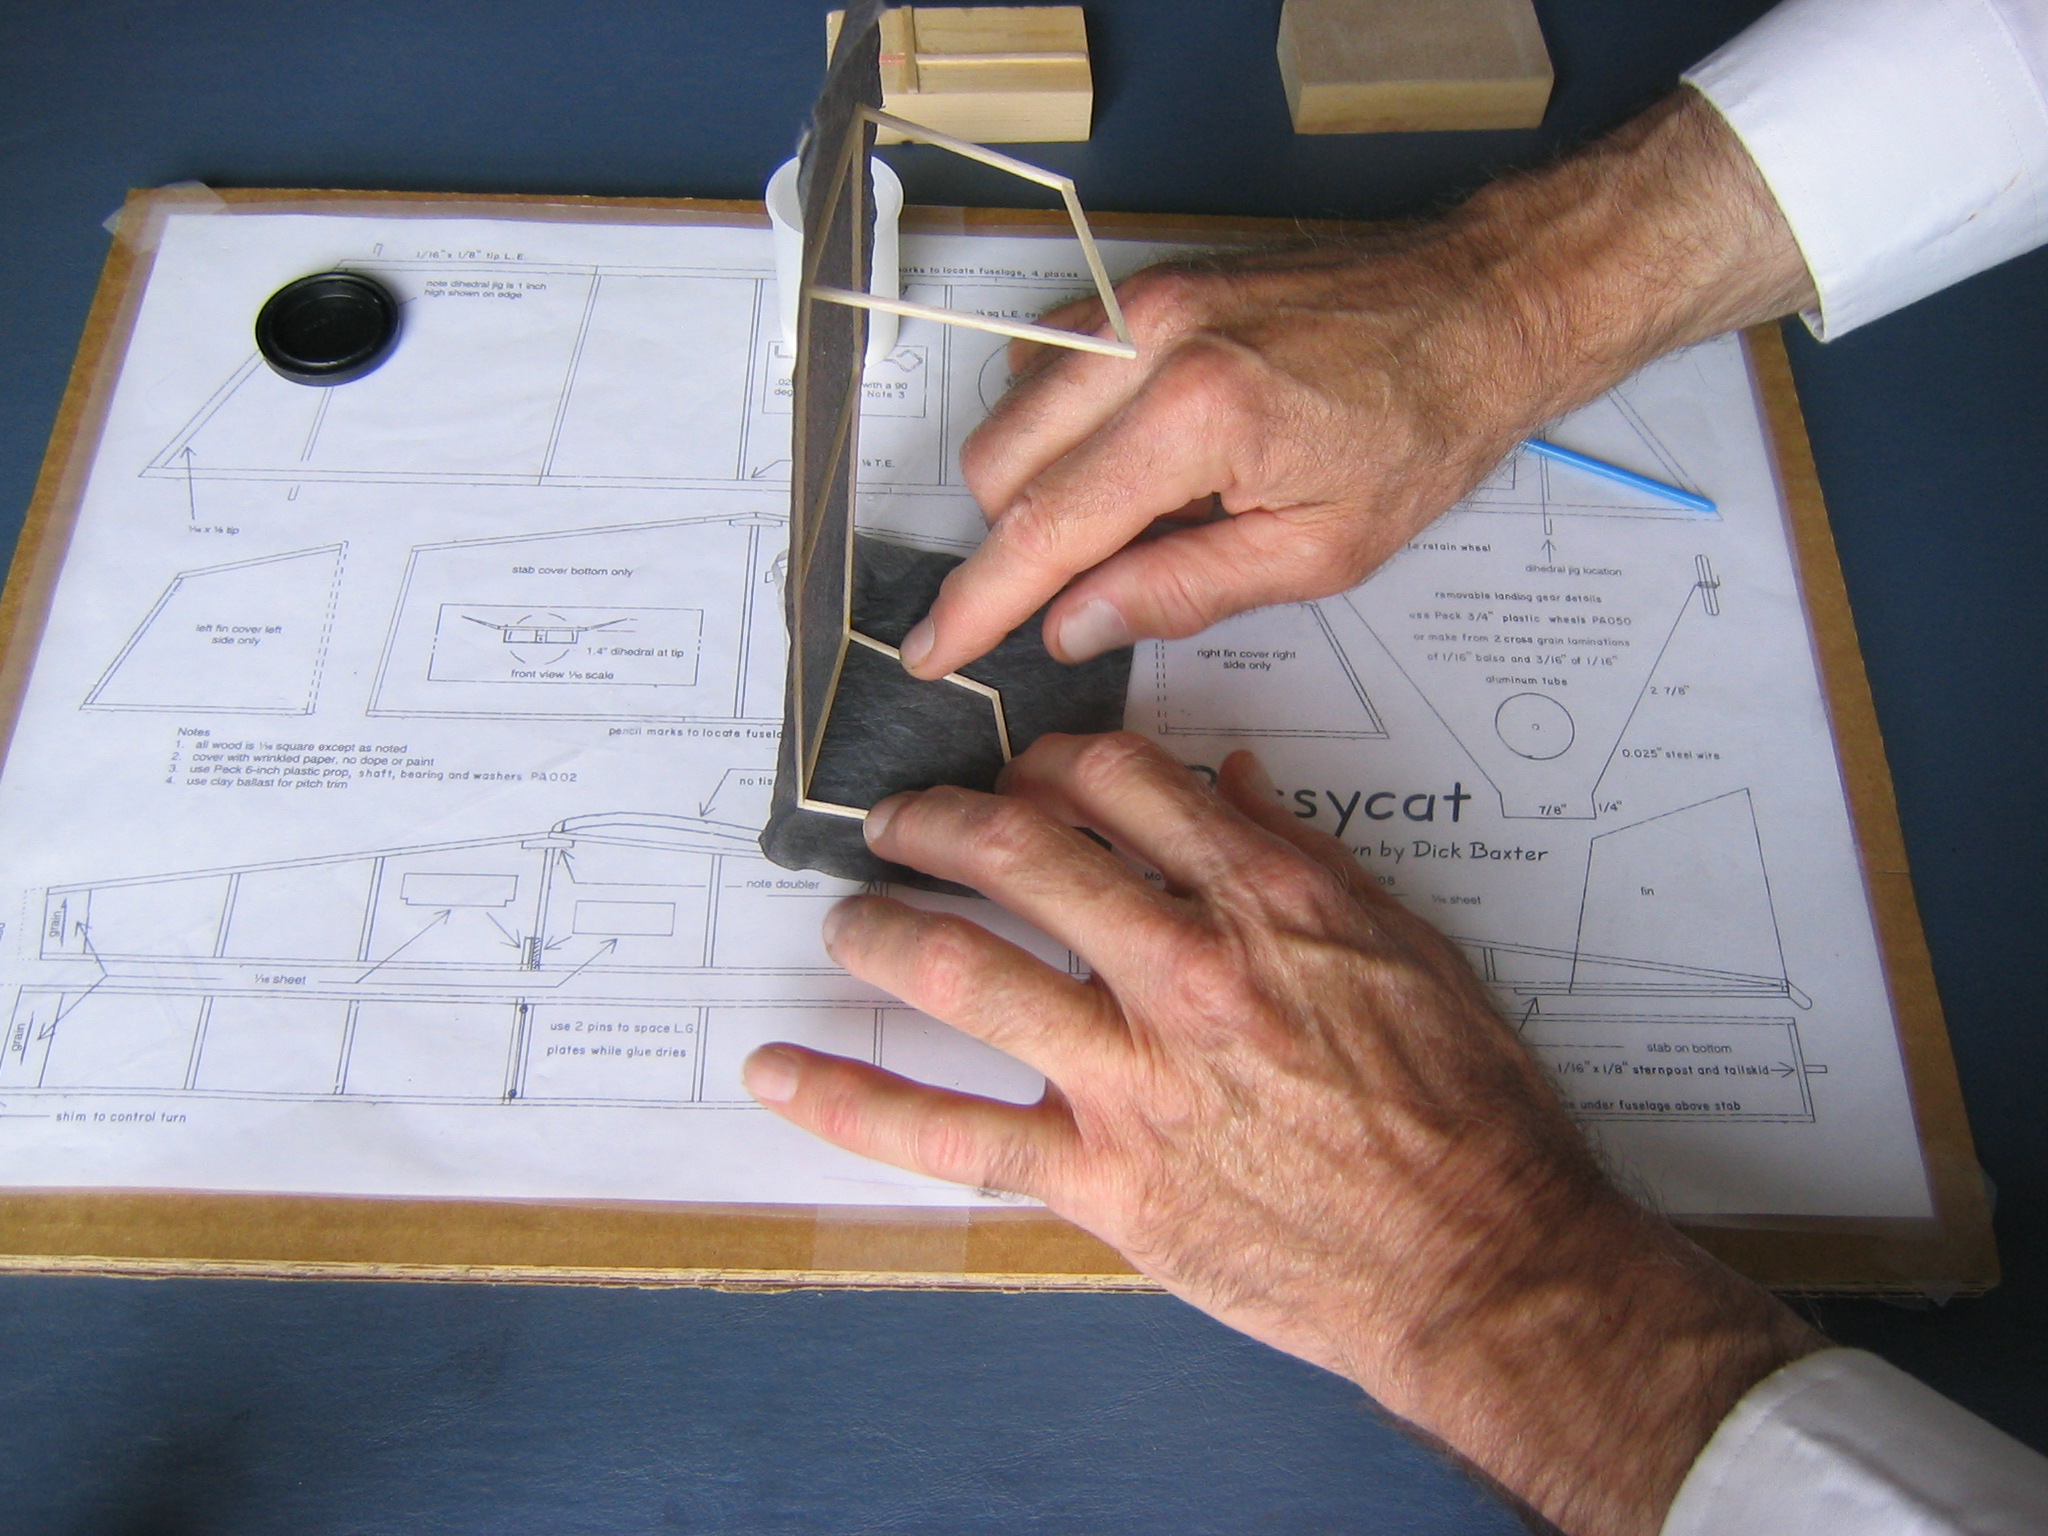
Place a small weight on the frame to hold it flat while the glue dries. When dry, turn the tail unit over and do the same on the opposite fin.
When that is thoroughly dry, get out a new razor blade. A used razor blade may have dull places that will catch and tear the paper.
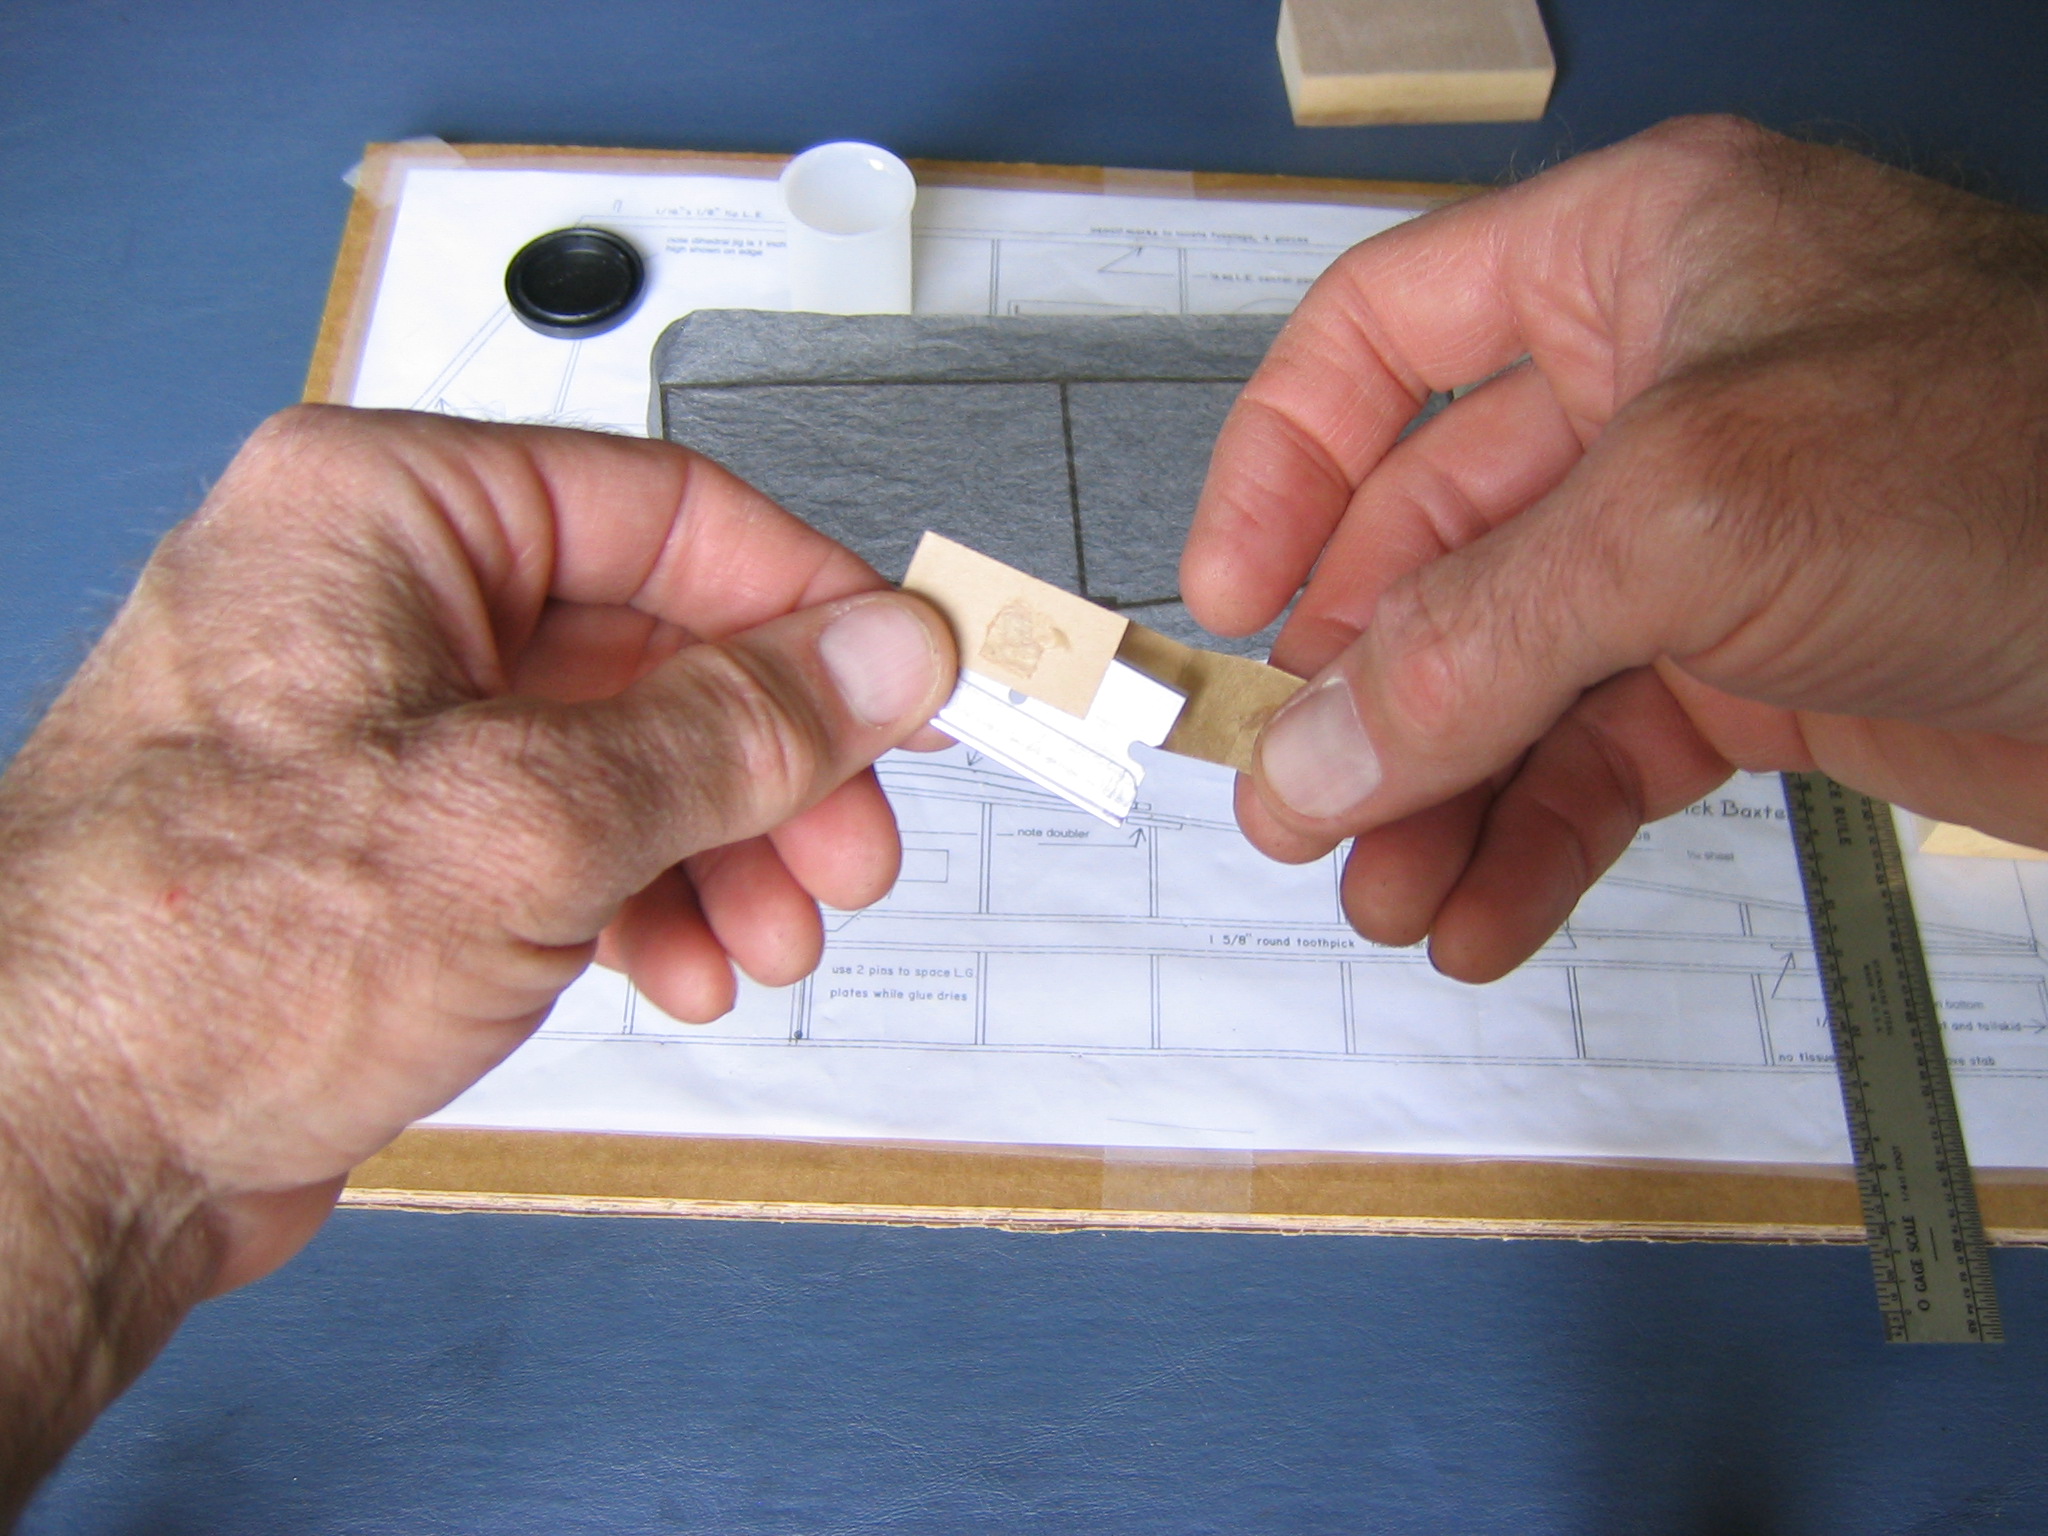
Push the corner of the blade through the tissue adjacent to one edge of the wood. The new blade will effortlessly slide along the edge of the spar, cutting the paper off right on the edge of the wood.
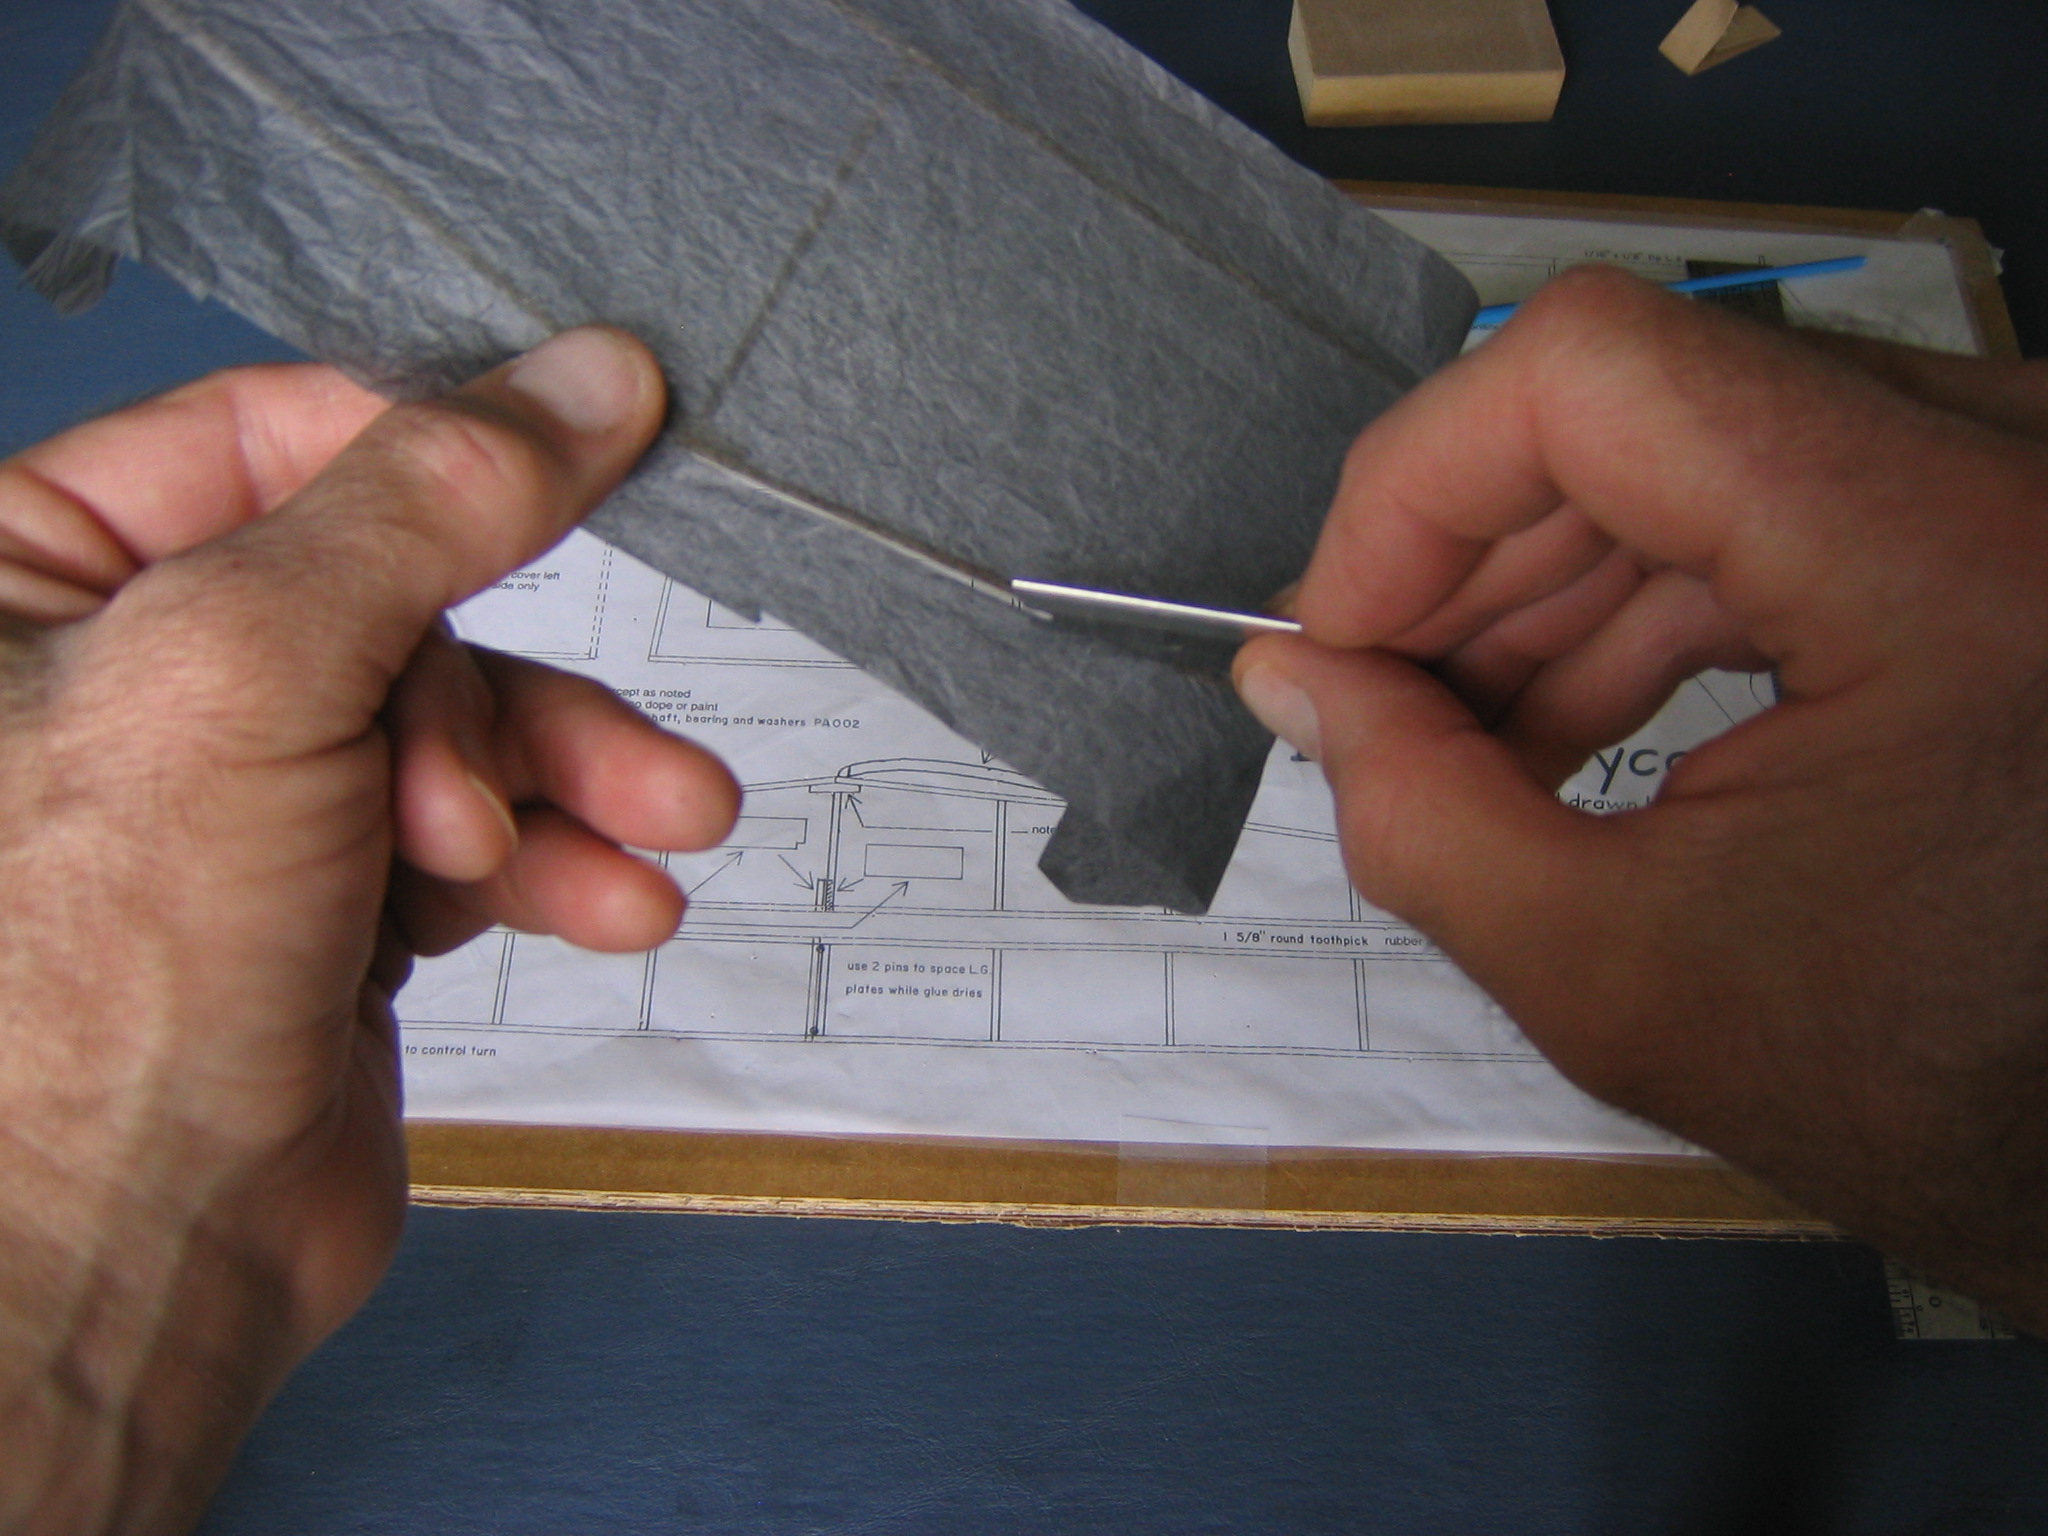
Keep going until it is done.
Set the tail unit aside in a safe place.
Covering the Fuselage with Tissue
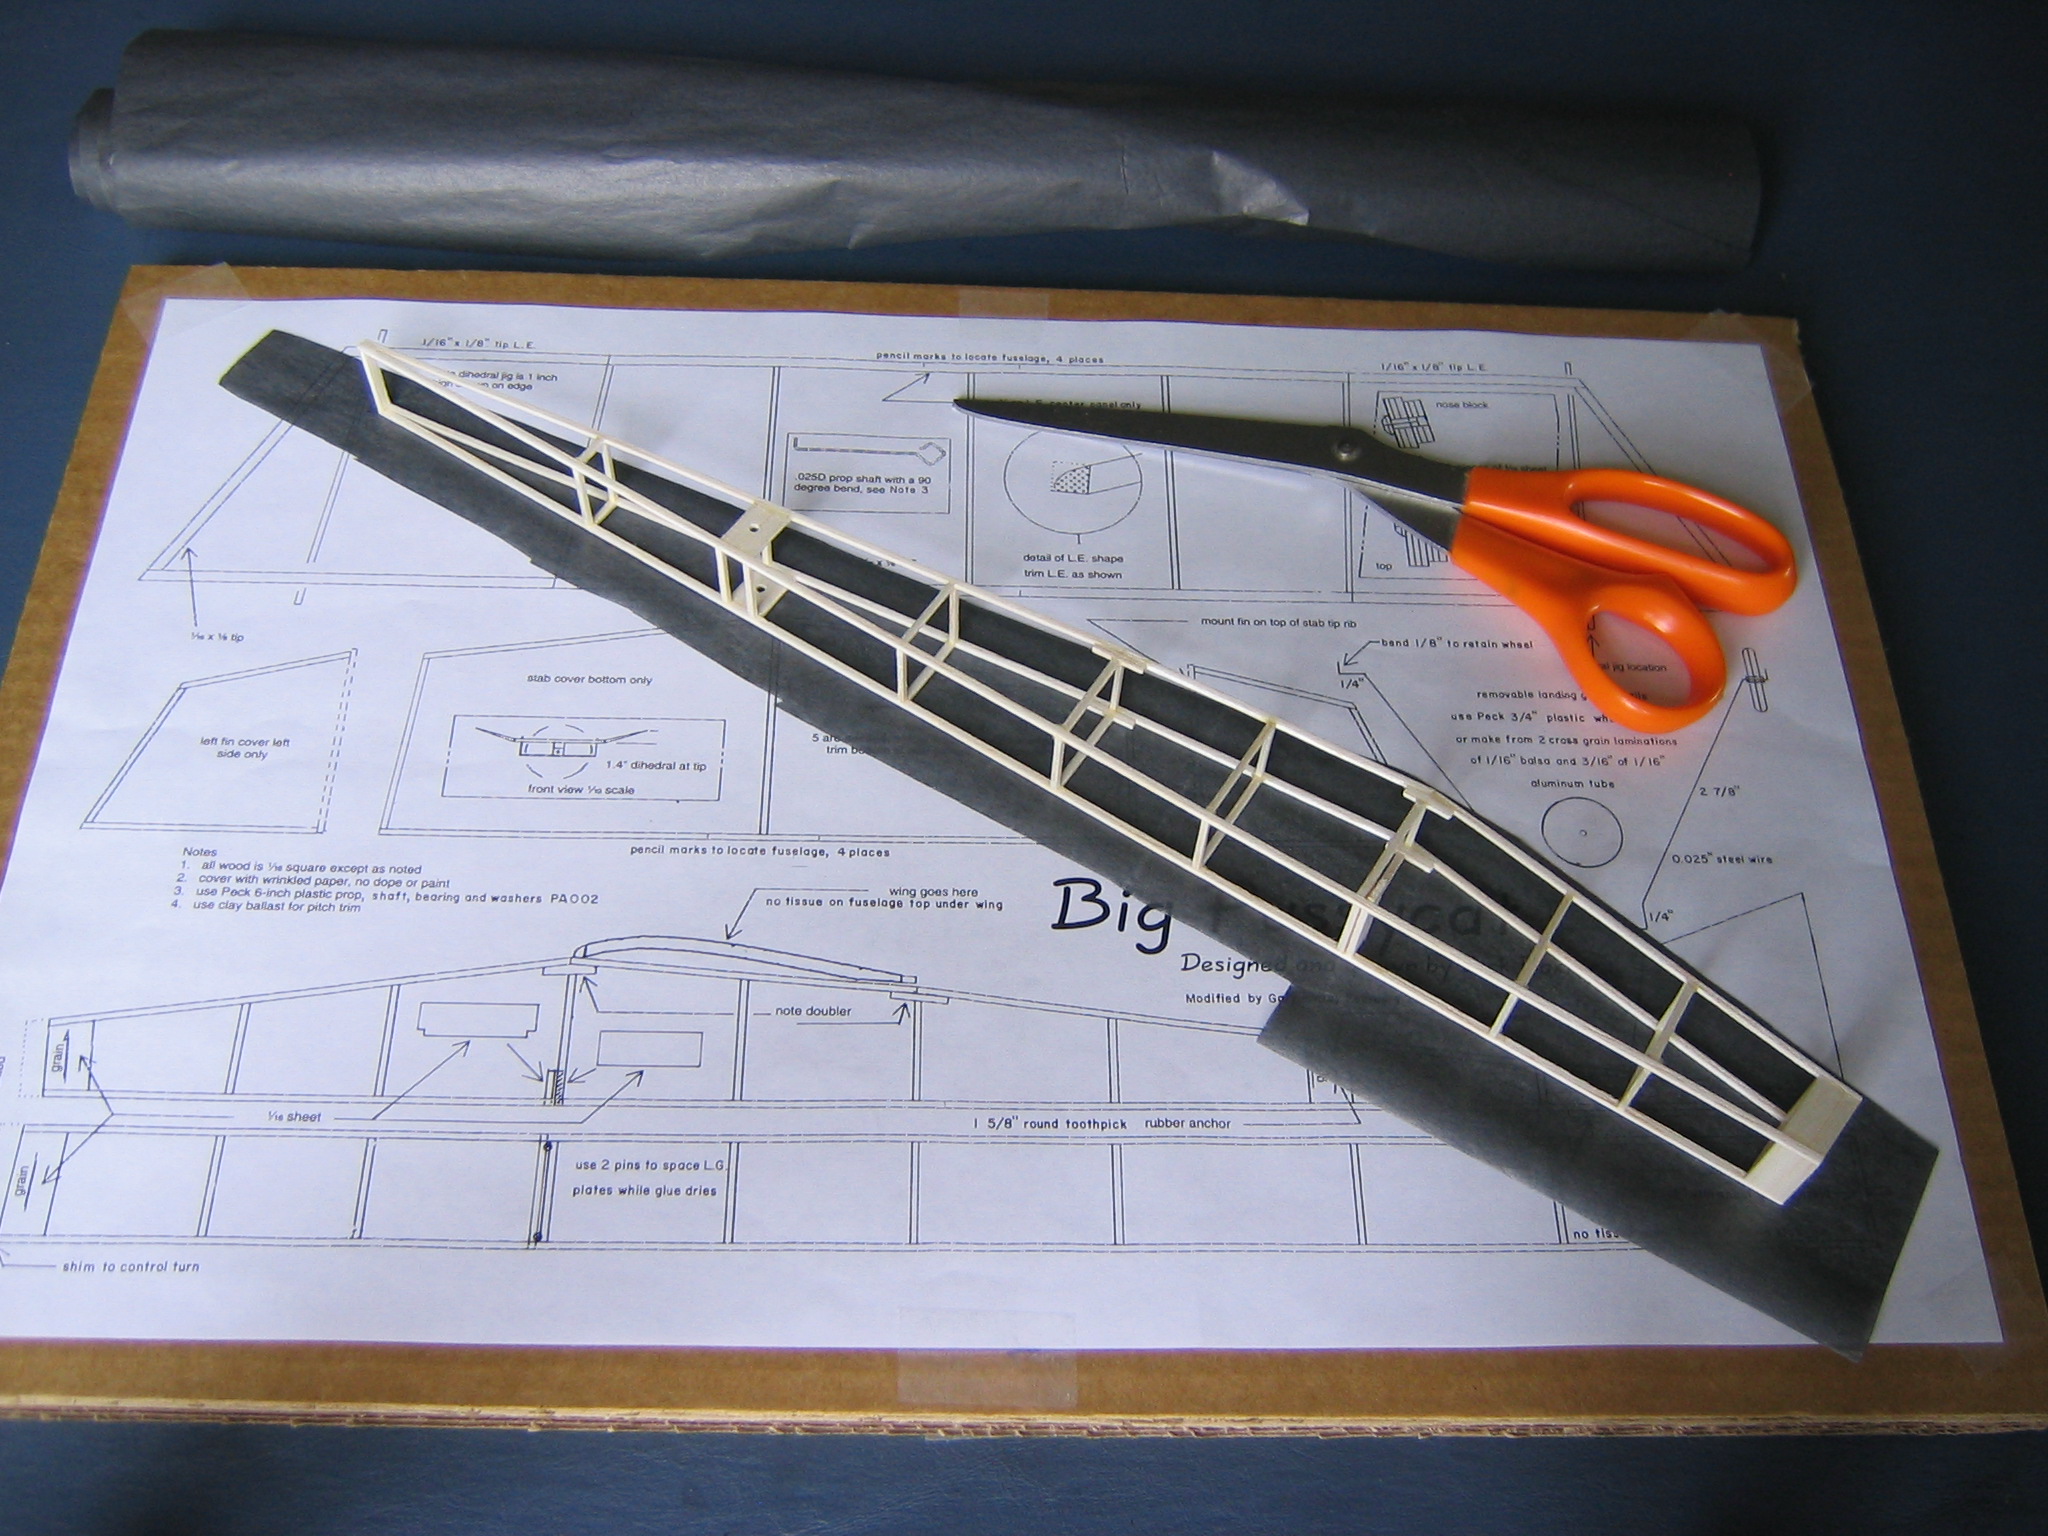
The fuselage surfaces are all flat, making them easy to cover. The sides are covered with one piece of tissue each. Cut the tissue a little larger than the side. The fuselage tissue does not need to be wrinkled. The symmetry and strength of the fuselage will keep it from warping.
Apply glue all around the perimeter of the side. Apply glue to the nose plate and the peg anchor.
Align the fuselage with the paper and press it down.
Run your fingers in opposite directions along the sticks with gentle pressure to press the sticks to the paper.
Let the glue dry. Some will seep through the paper and stick it to the plastic covering in places.
Gently pry it up from the plastic sheet.
Admire your work. Let the glue dry.
Trim the tissue as you did for the tailplane.
Do the other side in the same way.
If there are rough spots where the tissue sticks out beyond the balsa sticks, sand them down gently.
Check by rubbing with your fingertip that the paper is stuck down all around. If it comes up anywhere, apply a little glue and rub it down with a fingertip.
Do the same with the top and bottom of the fuselage. The top is covered in two sections. Apply glue to the top nose plate, the crosspiece under the wing leading edge and the longerons in between. Press it to the tissue. When it is tacked in place, press it gently with a fingertip to be sure it is stuck down. Don’t press inside the perimeter. If the paper sags anywhere, fingertip friction will pull it taught as long as the glue is still wet.
Next apply glue to the crosspiece below the wing trailing edge position, the top of the sternpost and the two longerons in between. Press it gently to the paper with a fingertip and let it dry. Once dry, trim off the excess, check and reglue any loose places.
The bottom may be covered in one piece. This tissue piece will start at the nose and will end at the first crosspiece forward of the sternpost. The bottom of the fuselage is left uncovered here to allow wood to wood contact where the tailplane is glued to the fuselage. Apply glue to the nose plate, the bottoms of both landing gear plates, both crosspieces at the peg anchor, the crosspiece forward of the sternpost and both longerons. When you press the fuselage to the tissue, put the last crosspiece right on the edge of the tissue. When dry, check and reglue any loose edges. Poke the corner of the razor blade into the tissue inside the window below the motor peg anchor plates, cut and remove the tissue. Cut a slit in the tissue covering the slot between the landing gear plates.
It is possible to cover the entire fuselage with a single piece of paper. This saves a lot of trimming. Apply glue to one side of the fuselage. Put the fuselage down on a piece of tissue with the length parallel with the grain and the top adjacent to the edge and press it down. Let the glue dry enough to grip the tissue. Apply glue to the bottom of the fuselage, no further back than the first crosspiece forward of the sternpost. Fold the tissue across the bottom of the fuselage and smooth into place. Let the glue dry until the paper is secure, then apply glue to the other side of the fuselage. Fold the tissue across the side and smooth it into place. Trim the tissue to the edge of the fuselage on the first side you covered. Cut the tissue parallel with the edges of the last covered side of the fuselage, a little wider than necessary to extend across the top of the fuselage. There is not a single edge to fold the paper over, there are three sections of longeron along the top edge. Paper will be folded over the front section and back section, but not over the section that will be covered by the wing. To do this it is necessary to cut slits in the tissue at each end of this section so that when it is folded over, it will rest on the two crosspieces. Use a steel rule with a square end, a drafter’s triangle or similar guide to make the slit with a razor blade. Now paint glue on the top of the nose section, fold the tissue across the nose and smooth it in place. Put glue on top of the rear section of the fuselage, fold the tissue over and smooth it in place. Let the glue dry, then trim the projecting tissue with a sharp razor blade.
Click HERE to go to Chapter 8.
One thought on “Big Pussycat Chapter 7 – Covering the Tail and Fuselage with Tissue”