Covering the Center Panel of the Wing
I have mentioned that I recommend leaving the wingtips off until the center panel of the wing is covered with tissue, then glue the wingtips on and cover them. I glued the wingtips on first and learned that it is harder to get the tissue on the center panel with the tips in the way.
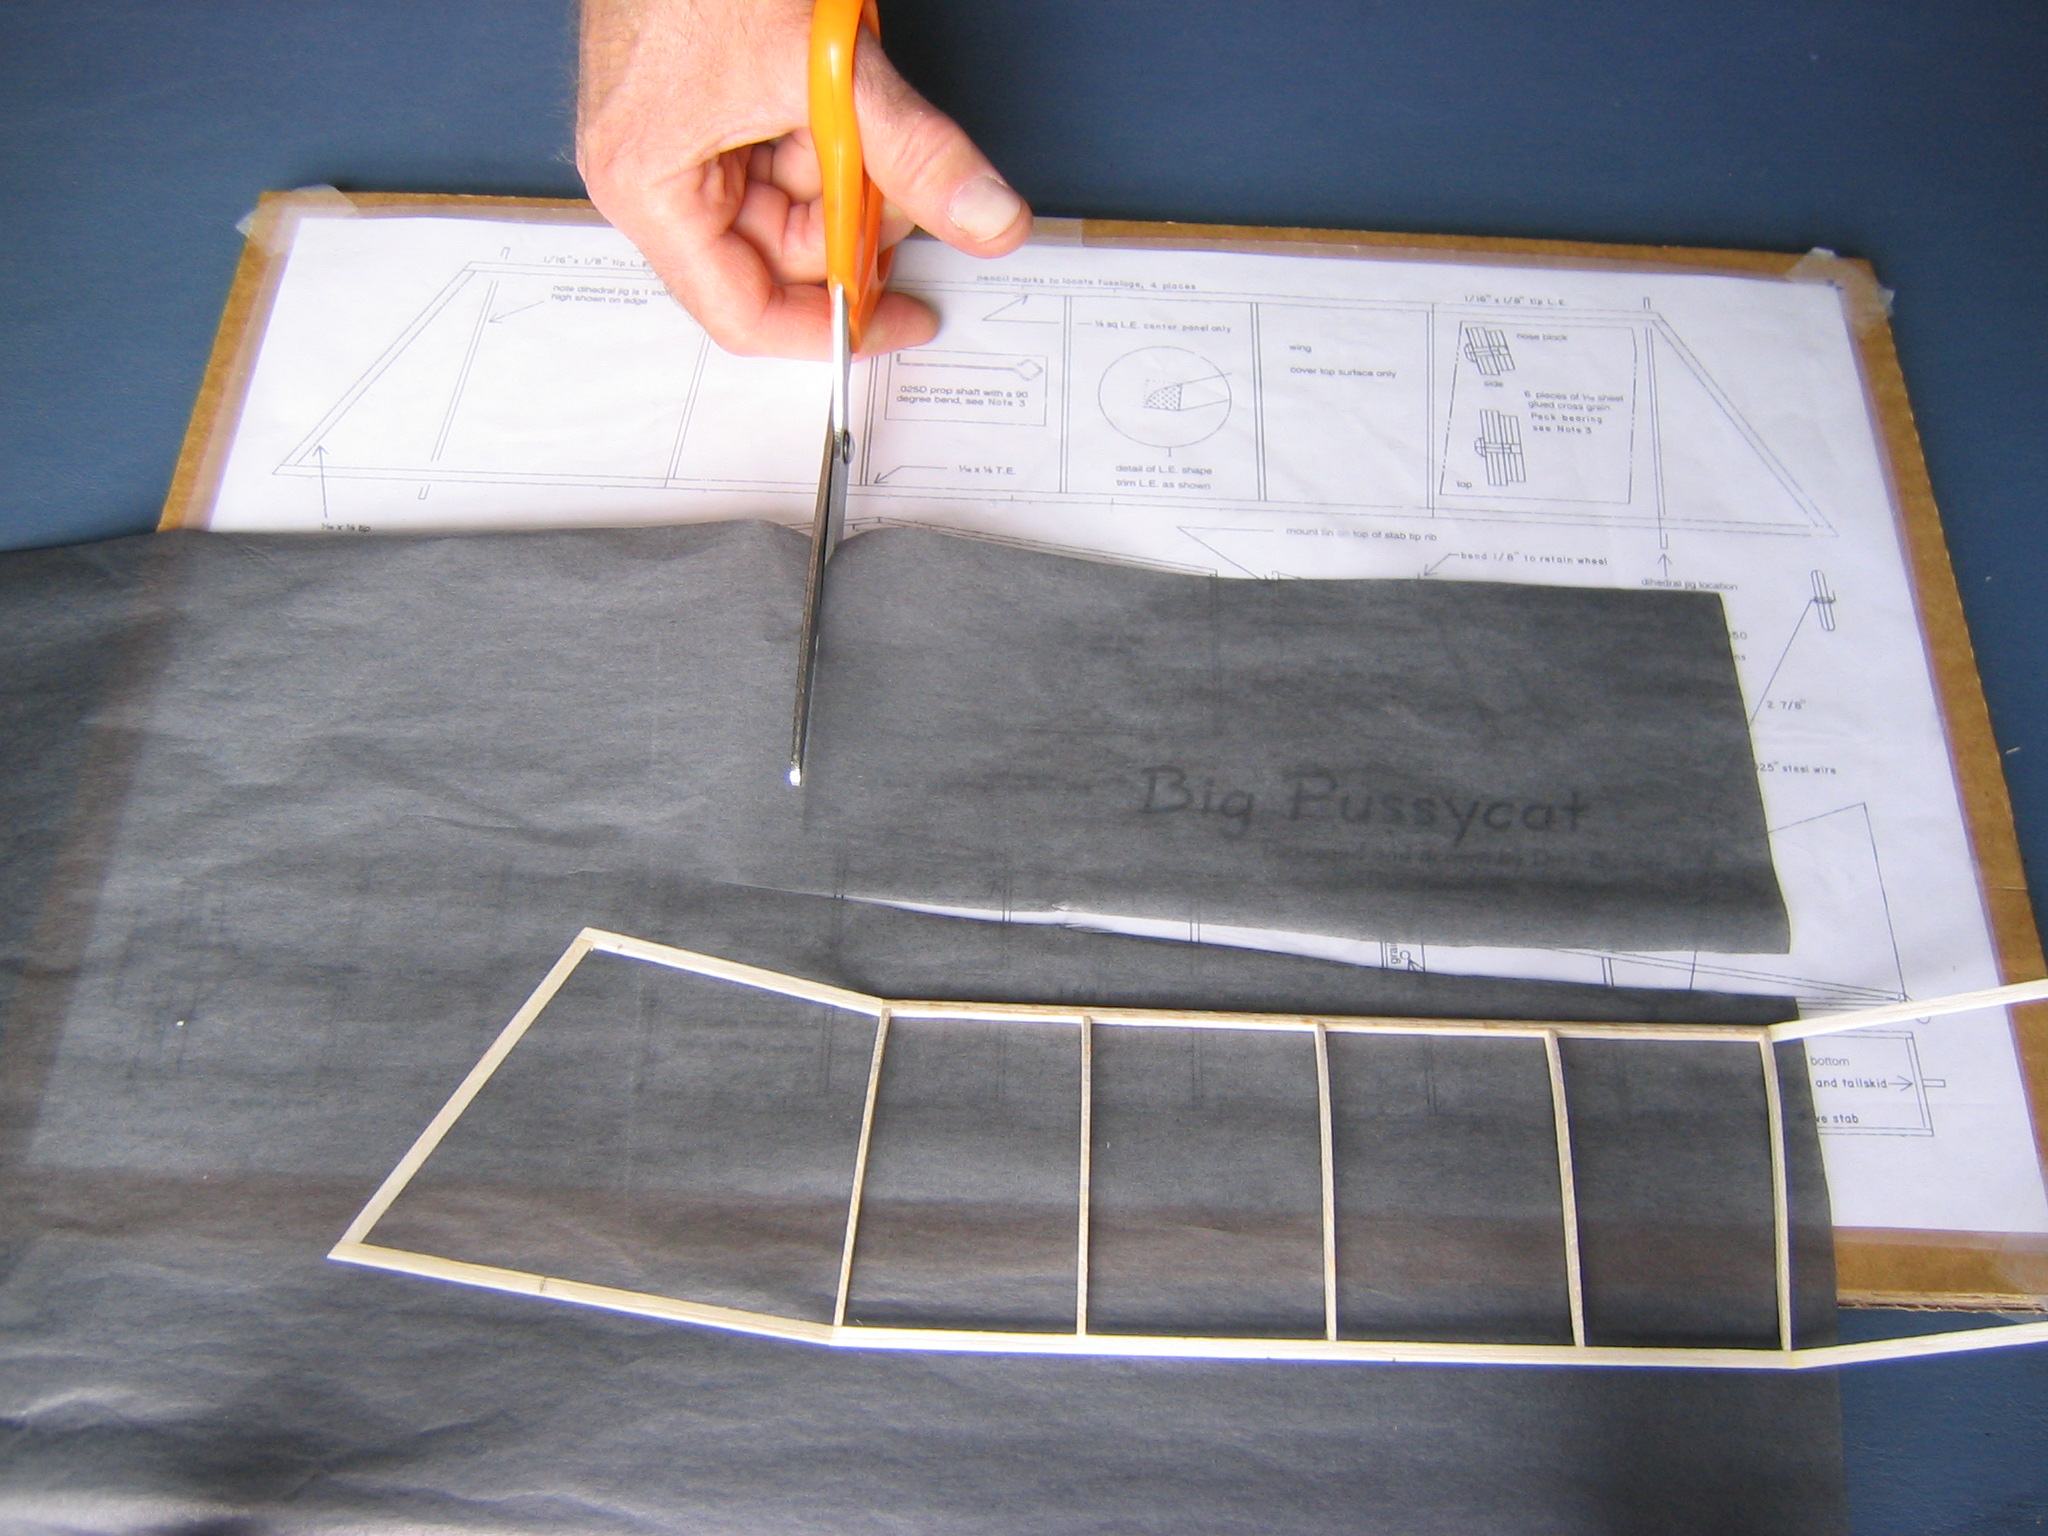
Place the wing on the tissue with the tissue grain running from tip to tip. Cut a panel of paper out about 1/2″ outside the perimeter of the wing center section.
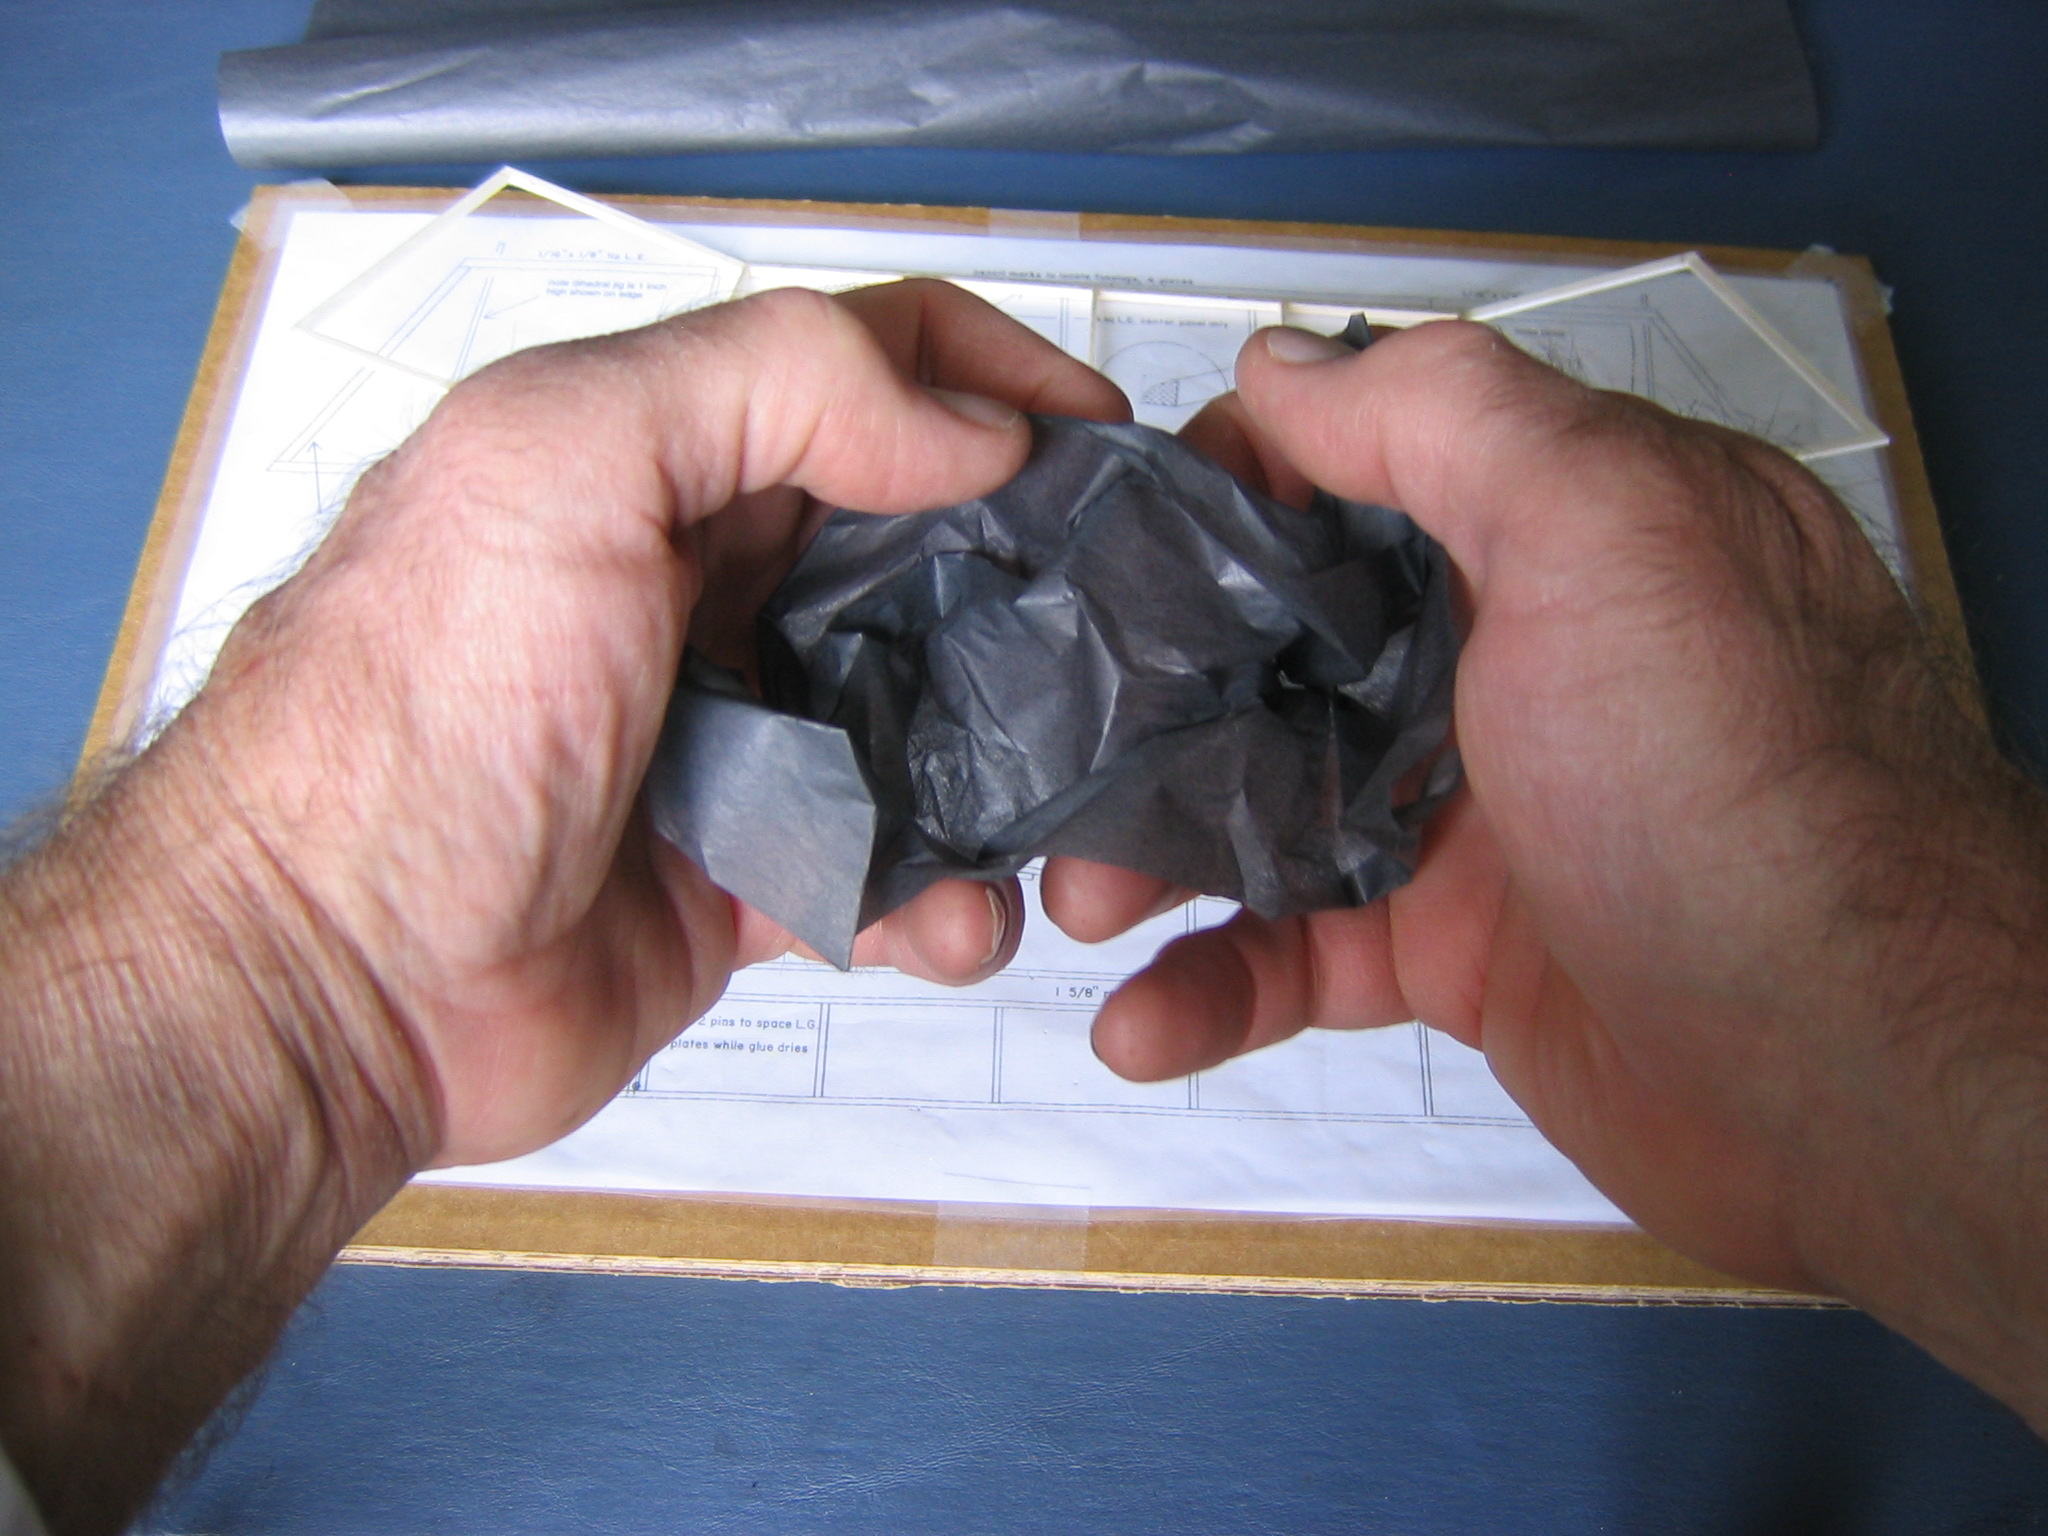
Crumple the paper as you did for the tailplane.
My computer crashed and lost all the remaining pictures of covering the wing. Maybe some day I will build another one and get new pictures.
Then smooth it out.
Paint glue about 1″ long on just the highest part of all the ribs.
Pull the tissue across the wetted portion of the ribs and smooth it down. Let the glue dry. You can see how the wingtips would get in the way.
Paint glue onto the rear section of each rib.
Working outward and backward, pull the tissue to lie flat across the tops of the ribs. Note here again how the wingtips get in the way. You want the tissue to lie flat across the ribs all the way back to the trailing edge. This is tricky. Take a deep breath. Be patient. If you mess it up, dampen the top of the tissue with water from a small paintbrush until the glue softens and peel the tissue off.
Now do the same with the front. Apply glue to the tops of the ribs, pull the tissue from the ends, working from the high point to the leading edge.
I had to cut slits in the tissue at the dihedral angles to allow it to be pulled around the leading and trailing edges without hanging up on the wingtips, another good reason to put the tips on after covering the center panel.
Apply glue to the entire curved top-front surface of the leading edge. Gently pull and press the tissue across the surface of the leading edge, smoothing it down with a fingertip. Be careful not to pull ridges in the paper or pull it out of line, it should still go straight across from one wing tip to the other. Let the glue set up.
Apply glue to the back surface of the trailing edge. Pull the tissue across the back face of the trailing edge, folding it around the corner and smoothing it down with a fingertip. Do this first at the ends of the ribs, then work into the intervals between the ribs. The glue on the leading edge will keep you from pulling the paper too far this time. It should not sag between the ribs. Just pull it tight enough to fold around the corner. Were I had a saggy place, I painted it with water, kept it moist and waited until the glue had softened. Then I was able to rub and slide it into place until the paper was taught.
When the glue is quite dry, use a sharp new razor blade to trim the paper from the edges and the ends. Lightly sand off any high places. Check by rubbing across the wood with your finger that the paper is firmly glued down. If the paper is loose, apply glue and rub the paper down with a fingertip.
This completes the center panel. It looks very complicated, but each step is easy and taking it one step at a time makes the whole thing possible.
Covering the Wingtips
I cut out the paper for the wingtips before covering the center panel. Since I have advised you to cover the center panel before gluing the tips on, I have moved this section to follow gluing the paper to the center panel. If you left the wing tip frames off until you covered the center panel, glue the wingtips on now.
Because the tips are at an angle to the center panel, the inside edge of the tip paper must be curved to properly join the center panel along the tops of the curved ribs. A cardboard template is used to guide the razor blade when cutting this curve. The curve is proportional to the curve of the top of the wing rib, except that it is 7/64″ high at its highest point. The paper going over the top of this curve must be a bit longer than the straight distance from the leading to the trailing edge. Cut out paper a little larger than the wingtip.
Center the tip within the paper and put the steel straight edge adjacent to the rib and parallel with it. Without moving the straightedge, cut the tissue along the straightedge. (You could also put the rib adjacent and parallel with a straight edge of the paper before cutting it out. Whatever works.) Place the curve template on the straight edge of the tissue. The high point of the curve corresponds to the high point of the rib, both are closer to the leading edge. Check before you cut, then trim off along the curve. Do the same for the other tip. Note that they are not the same, because the dihedral break lines are angled differently. It would be a good idea to write a L and R on the left and right tips. Also note whether the shiny side is up or down. (I put the shiny side of the paper up. It probably doesn’t matter.) Cut a nick 1/16″ deep at the leading and trailing edge positions on the ends of the curved cut, to let the curved part glue to the top of the rib and the straight part glue to the leading and trailing edges without putting a crease in the paper.
Paint glue over the tissue already glued on top of the end rib. Try to not get much glue beyond the top of the rib. Very carefully lay the curved edge of the tip paper on top of the rib, starting at the trailing edge and going over to the leading edge, making sure that the curved edge is exactly along the inner edge of the rib. Remember that the high point of the curve corresponds to the high point of the rib and the trailing and leading edge notches must fall on the edges. Gently press the paper into the wet glue. Let the glue get tacky, but not dry. Paint glue along the top of the tip edge. Remember to spread the glue evenly. Pull the paper gently out to the tip and press it lightly in place. Adjust as necessary to eliminate wrinkles. When the paper is smooth, press it down firmly onto the tip and the rib. Let the glue set up. Cut the paper straight out from both the corners of the tip so it can be folded over the tip and the leading and trailing edges. Paint glue around the outer perimeter of the wingtip, on the leading edge, tip and trailing edge. Pull the paper down and fold it around the corner, pressing and smoothing with a fingertip. Let the glue dry. Trim the tissue with a sharp, new razor blade and it is finished.
Click HERE to go to Chapter 9.
One thought on “Big Pussycat Chapter 8 – Covering the Wing With Tissue”