
This article shows a template and wing jig system for making your own fleet of Cloud Tramps. The article (and the template) are a work in progress so feedback and questions are welcome in the comments below.
I think most people can figure out how to use the template to cut out the wings and tail planes. But the wing assembly is unusual so I’ve included a sequence of pictures with a brief description.
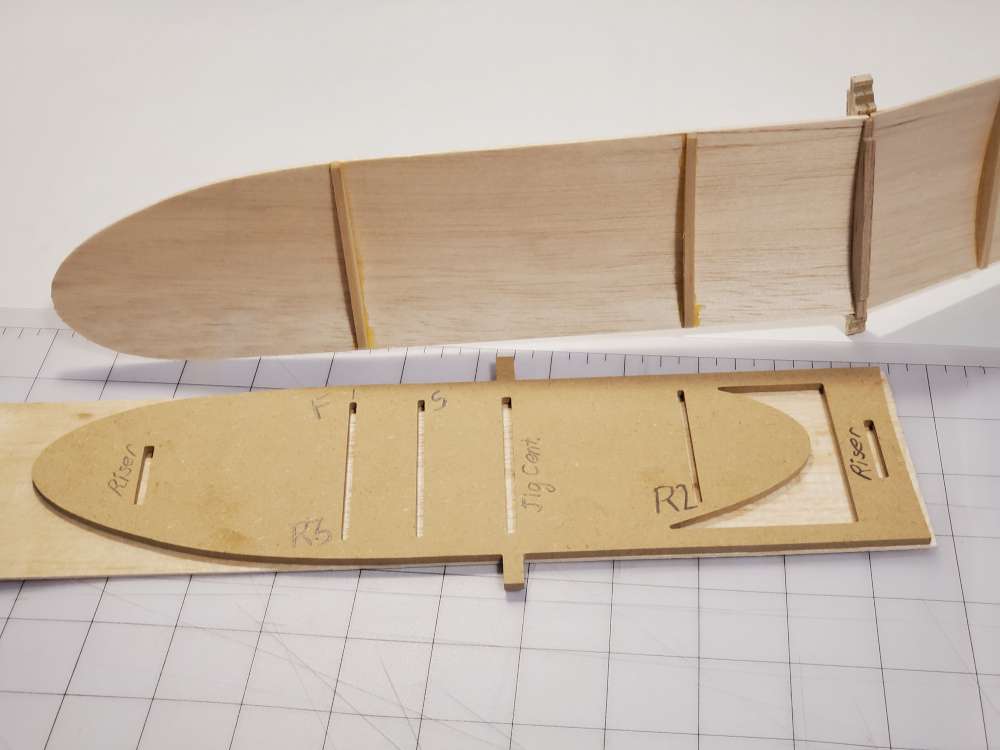
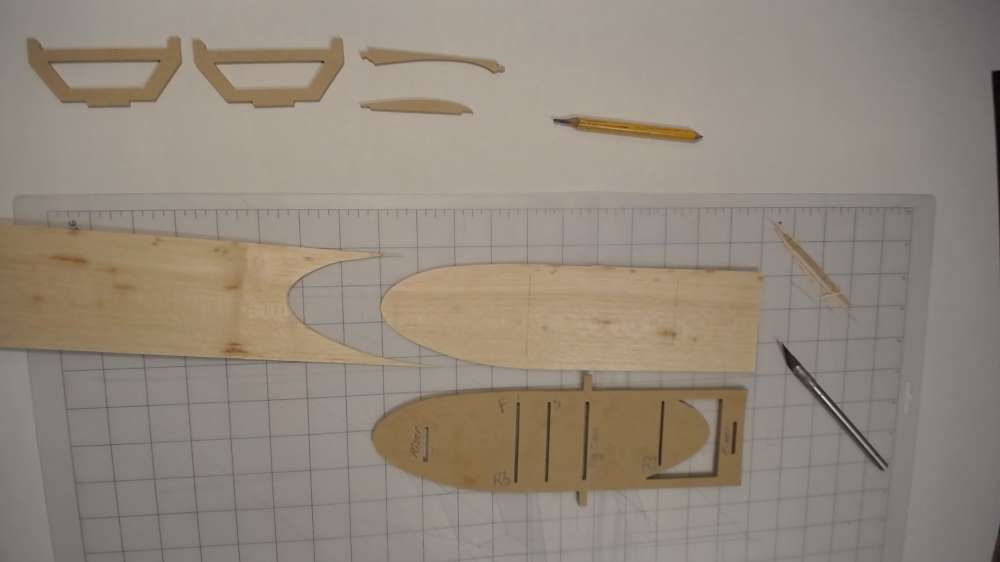
To get the template you’ll want to go to the CNC Cloud Tramp and download the files for that. The template is within. If you don’t have a friend with a CNC machine you can print them up and make them using a scroll saw (or traditional methods). The template-jig in the pictures is made form 1/8″ hardboard from a home supply store. It could be any plywood, plastic or other material.
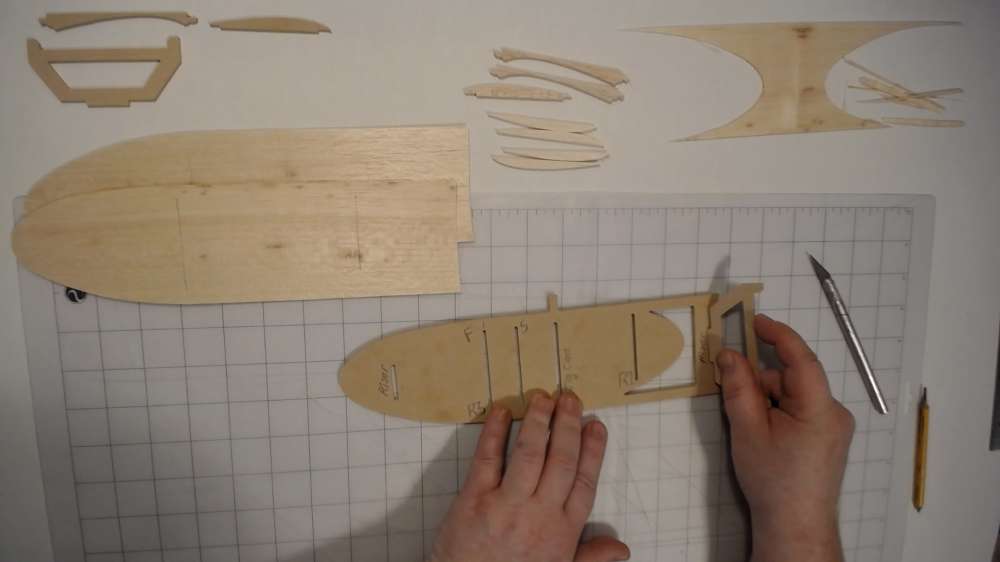
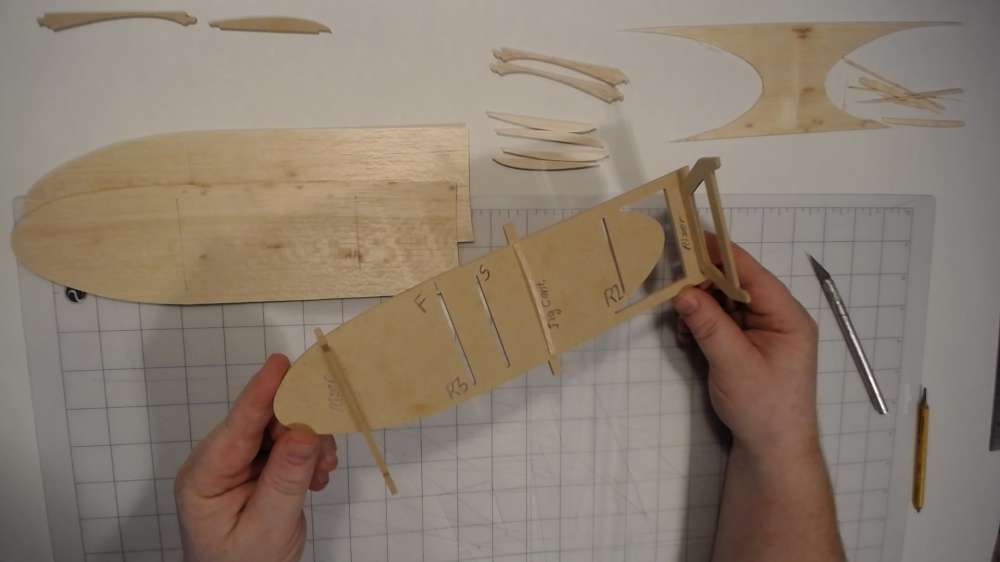
Once you have the template you may want to label the groves as shown below.
Three of the groves are for using it as a wing assembly jig. The grooves on the far right and left edges are for snapping the risers to use it as a jig. The center grove is for attaching the wing root rib (R1) during wing assembly.
There are two groves for marking the rib positions when cutting the wings.
There are two groves for cutting the fin and stabilizer.
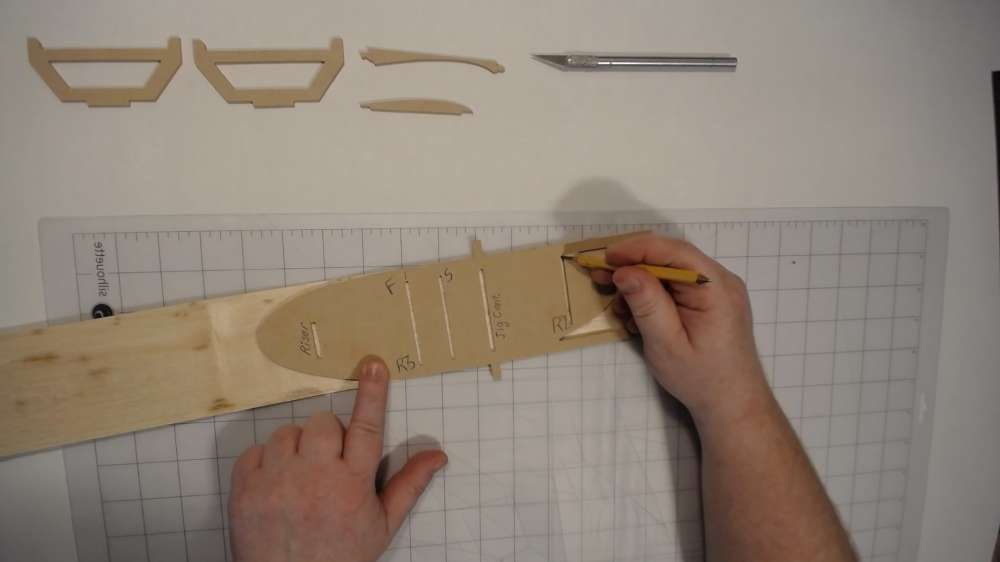
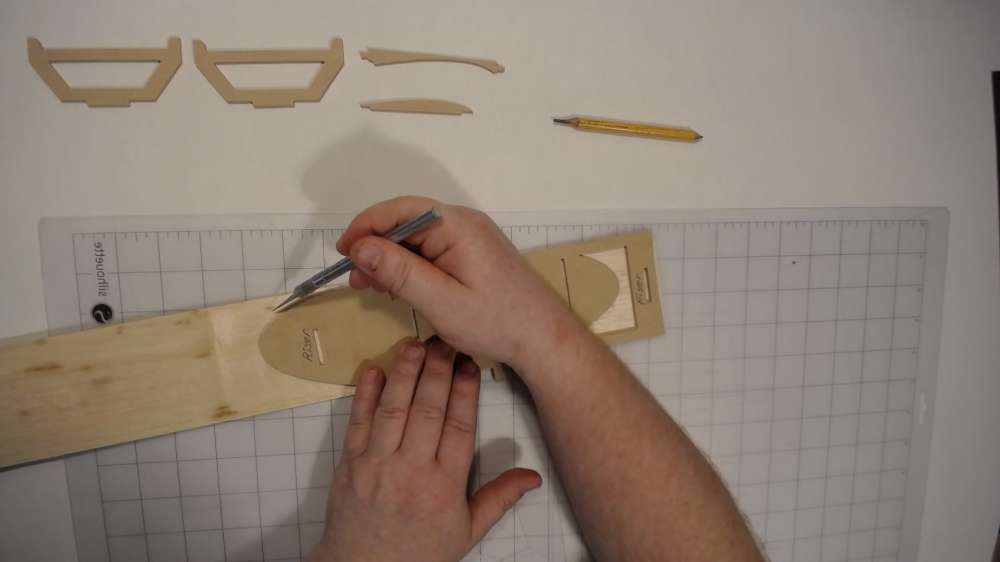
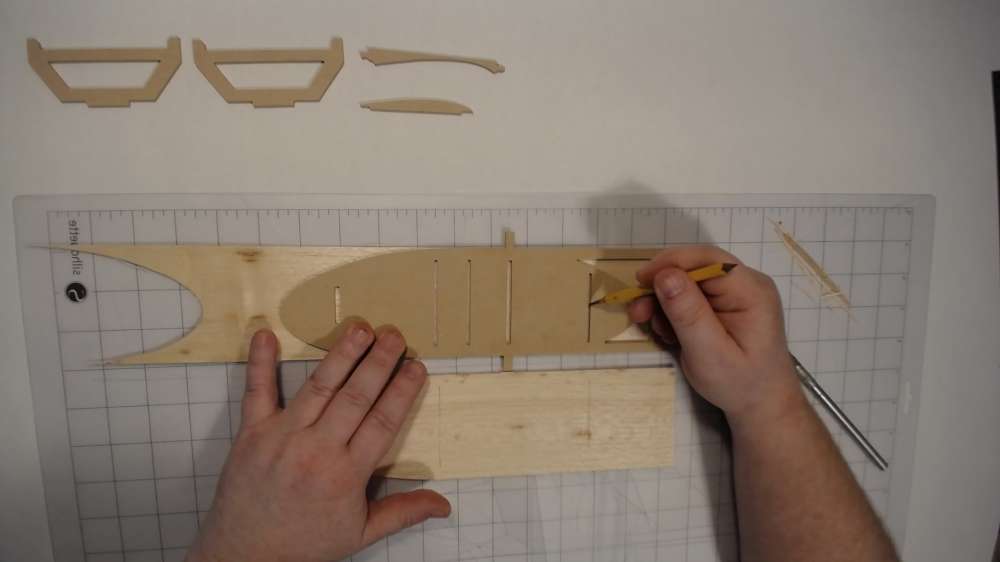
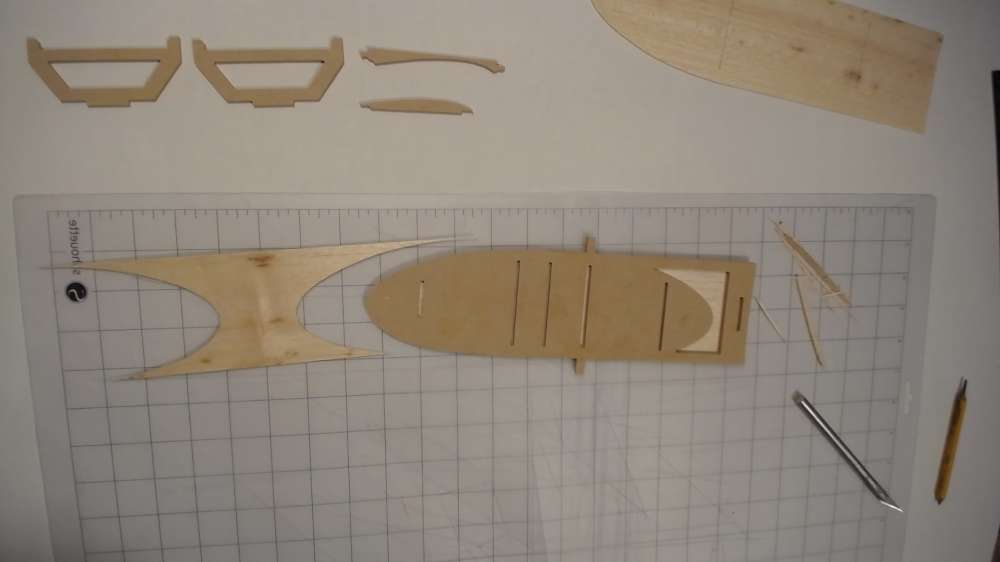
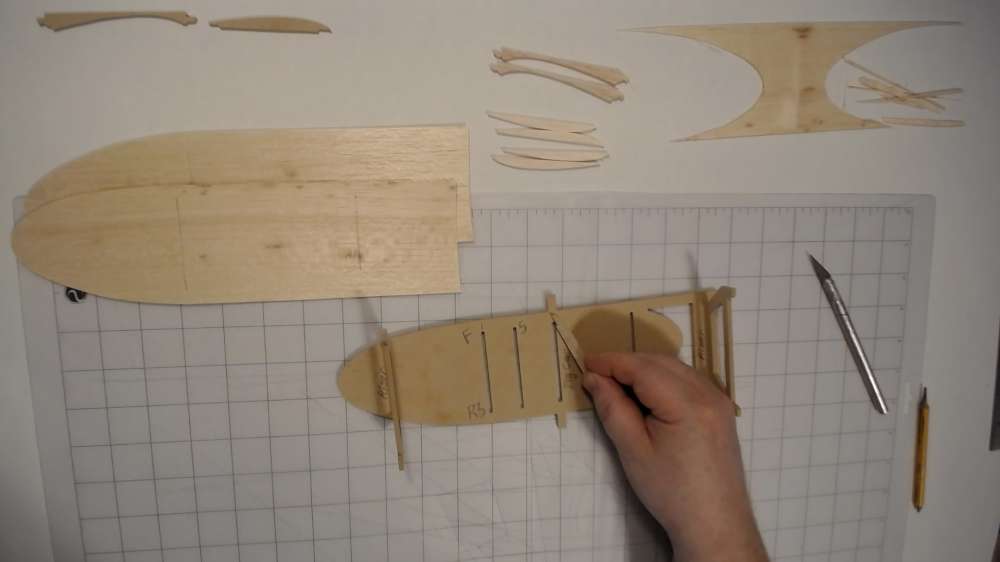
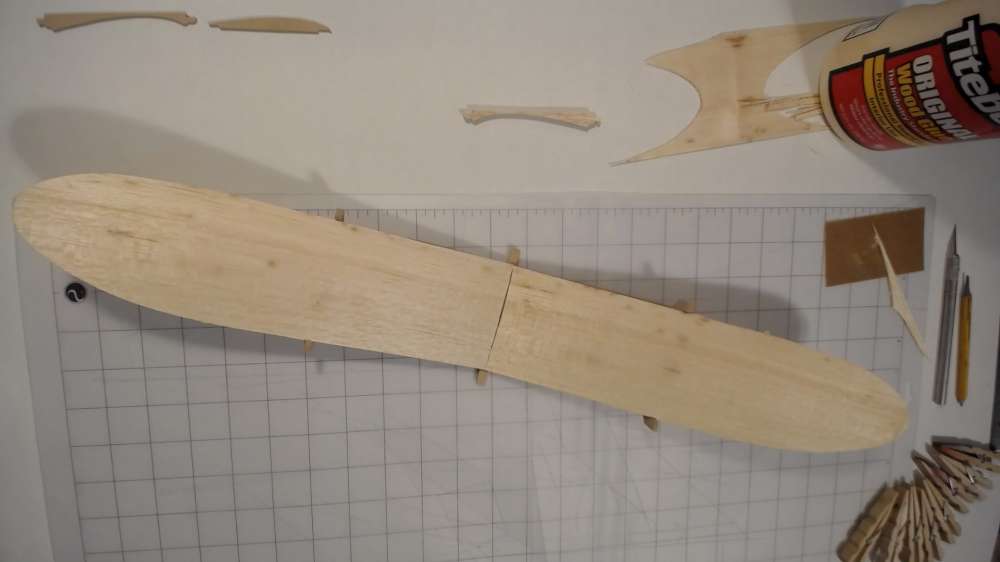
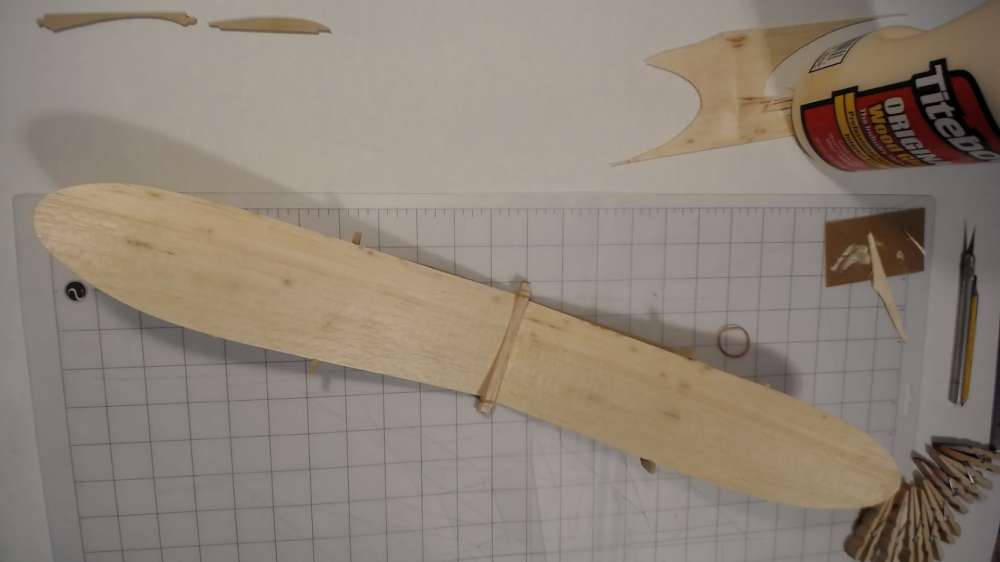
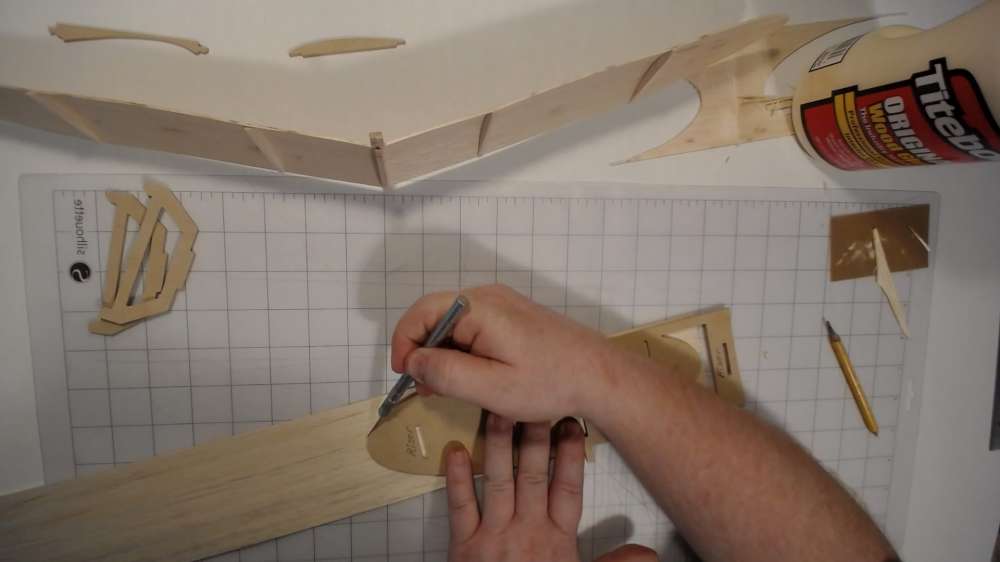
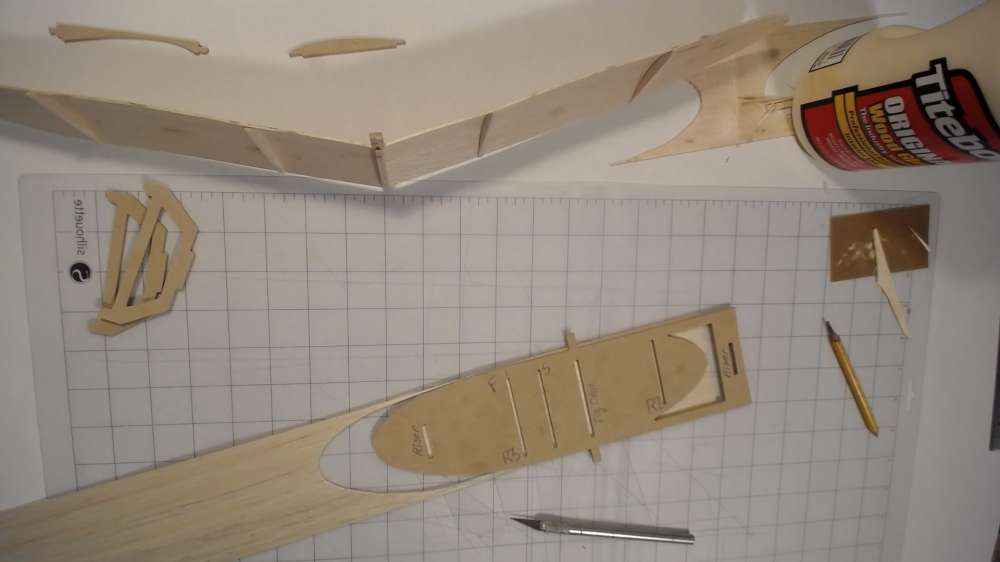
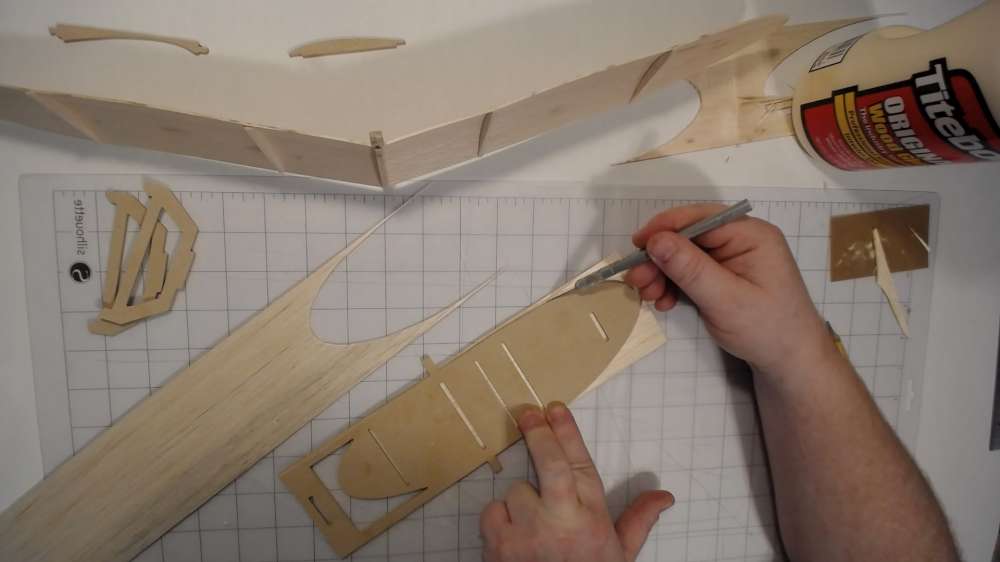
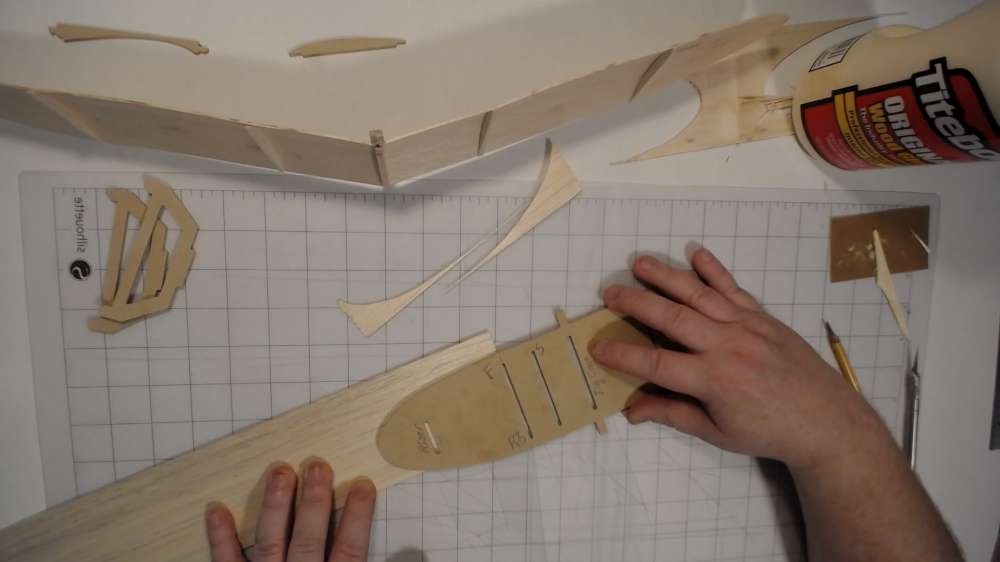
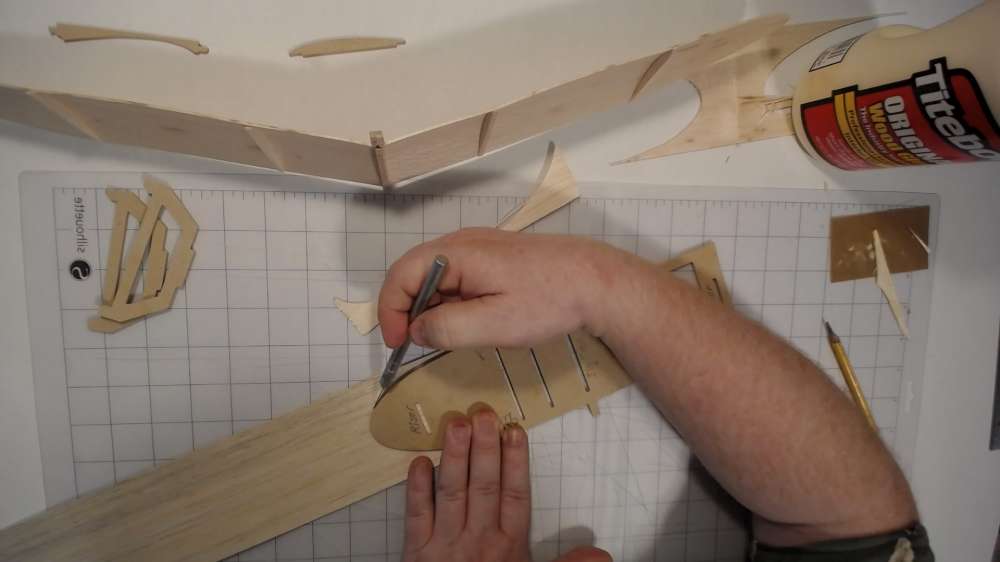
Wing: To cut the wing you just trace around it with an exacto blade. Notice the wing root is curved. This is to accommodate both the wing camber and the dihedral. Don’t forget to mark the rib positions with a pencil or ink. When cutting use many light strokes rather than fewer stronger strokes.
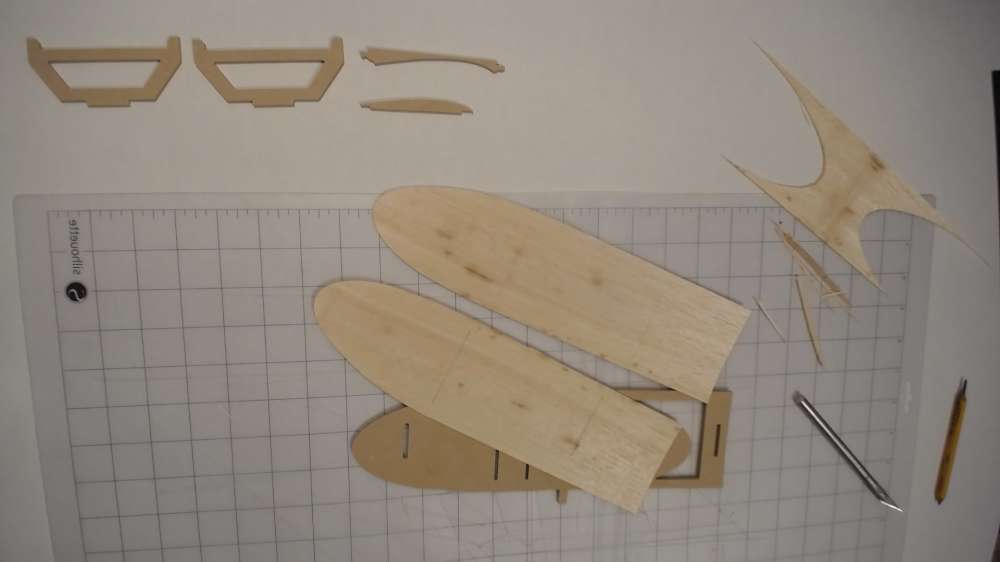
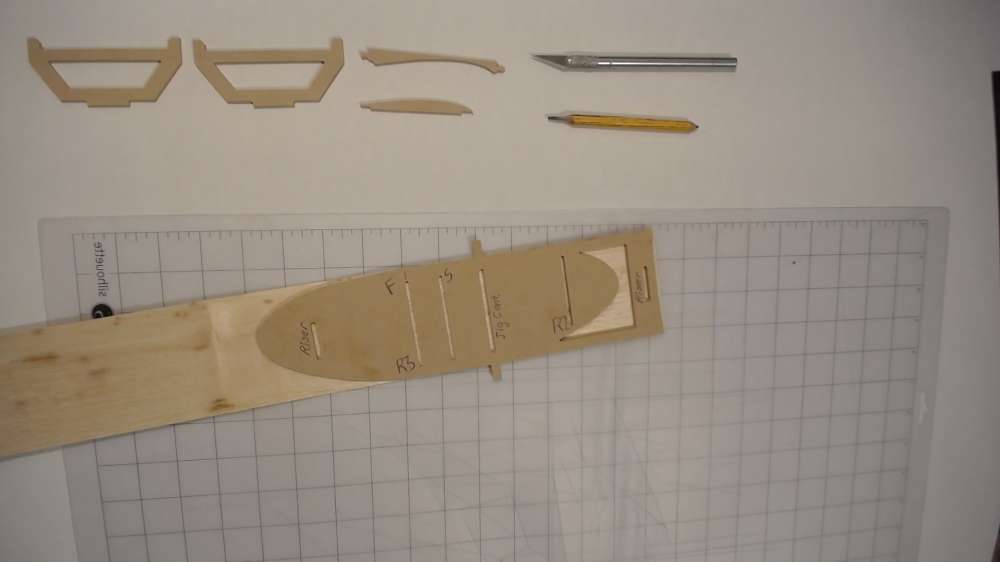
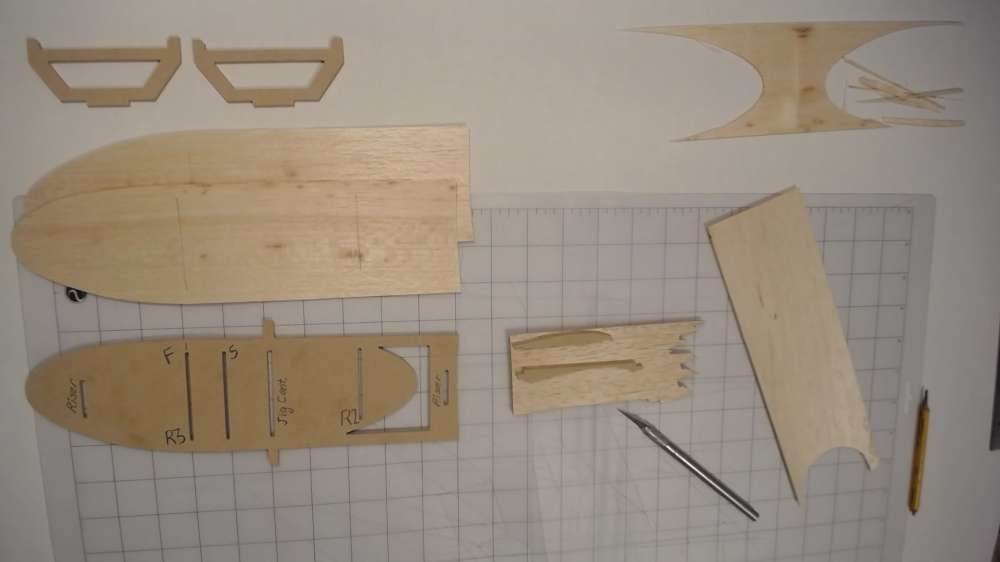
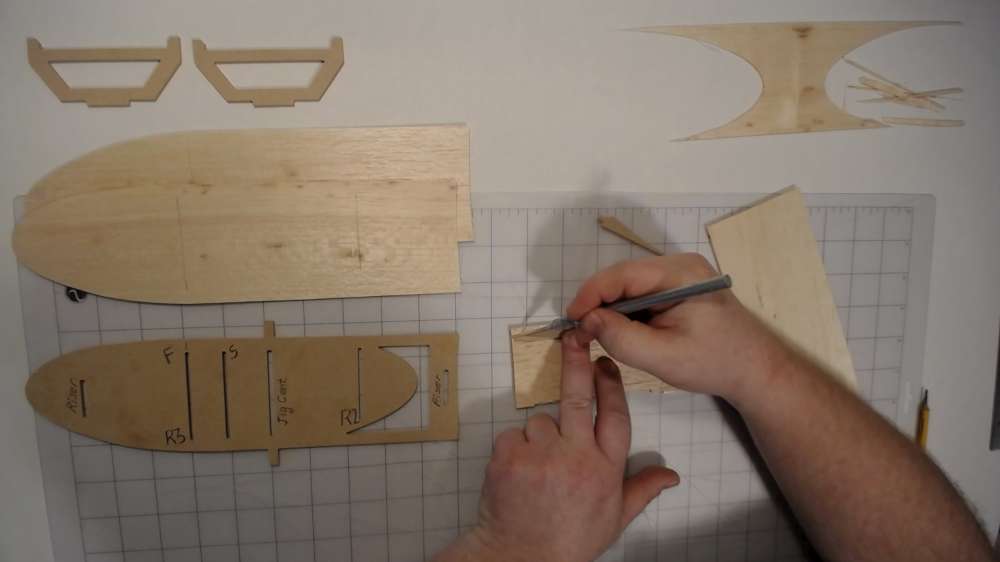
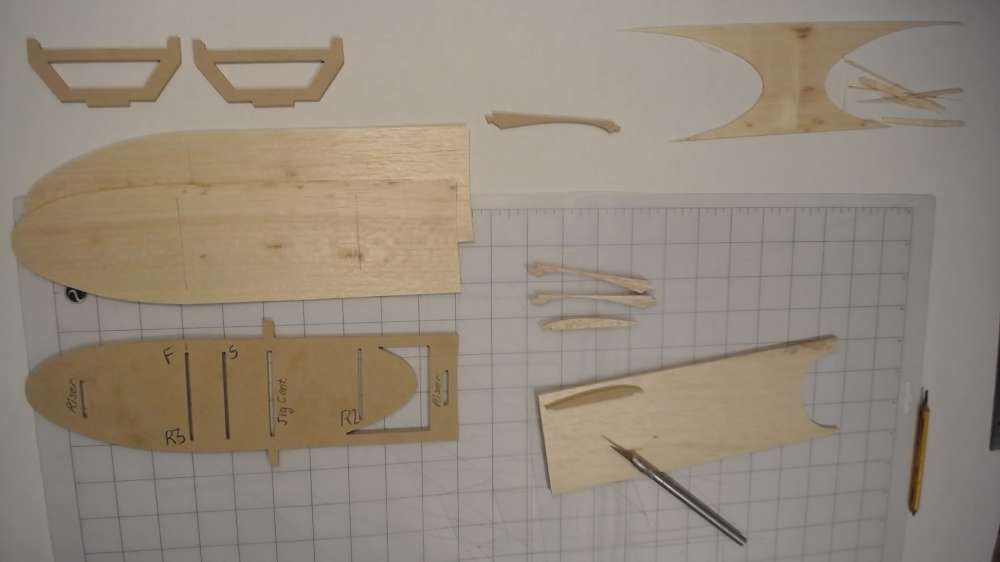
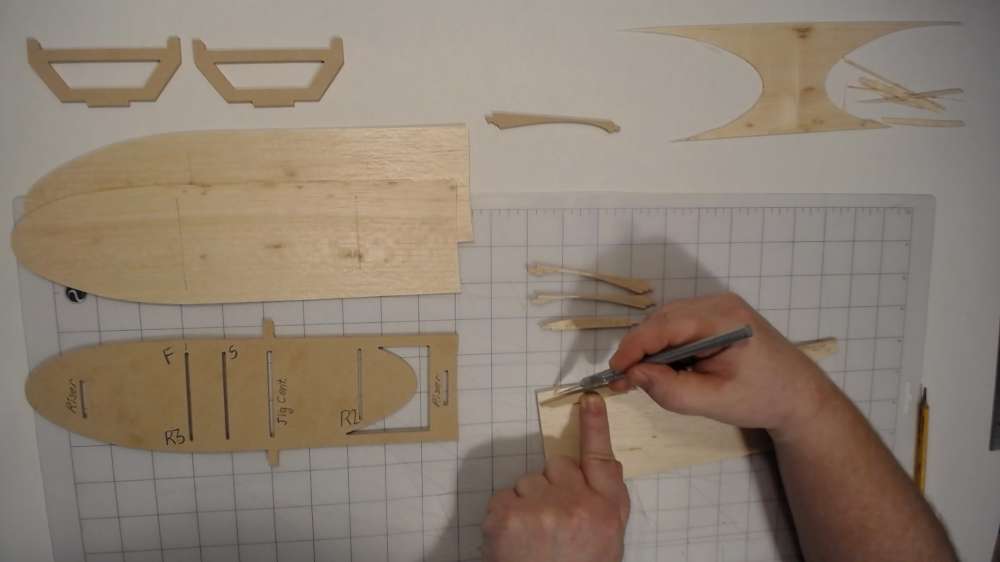
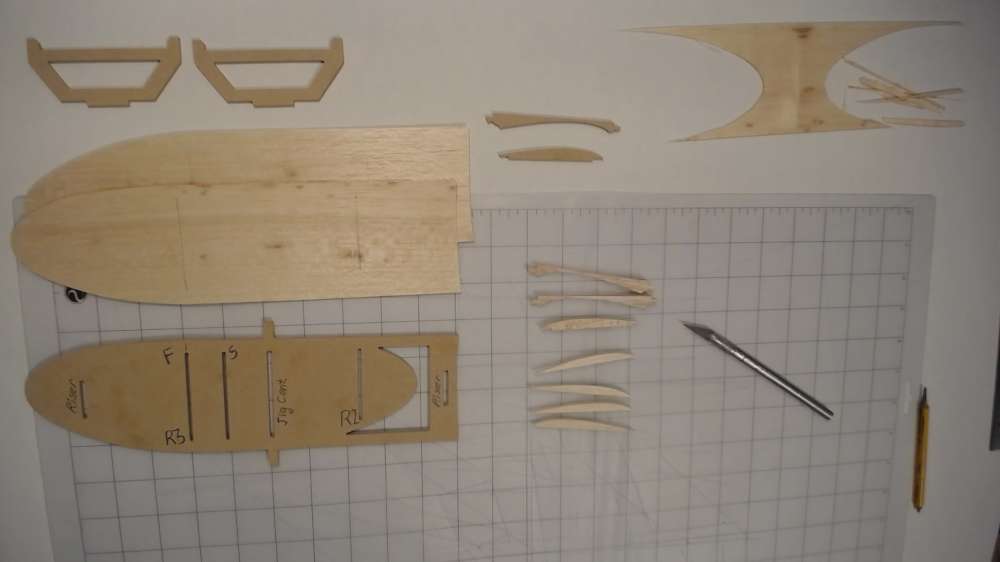
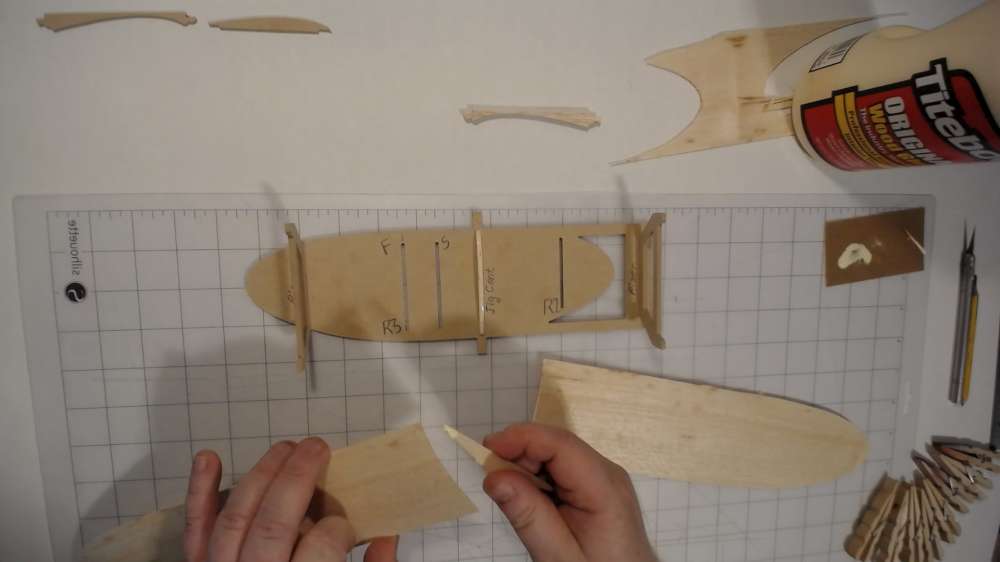
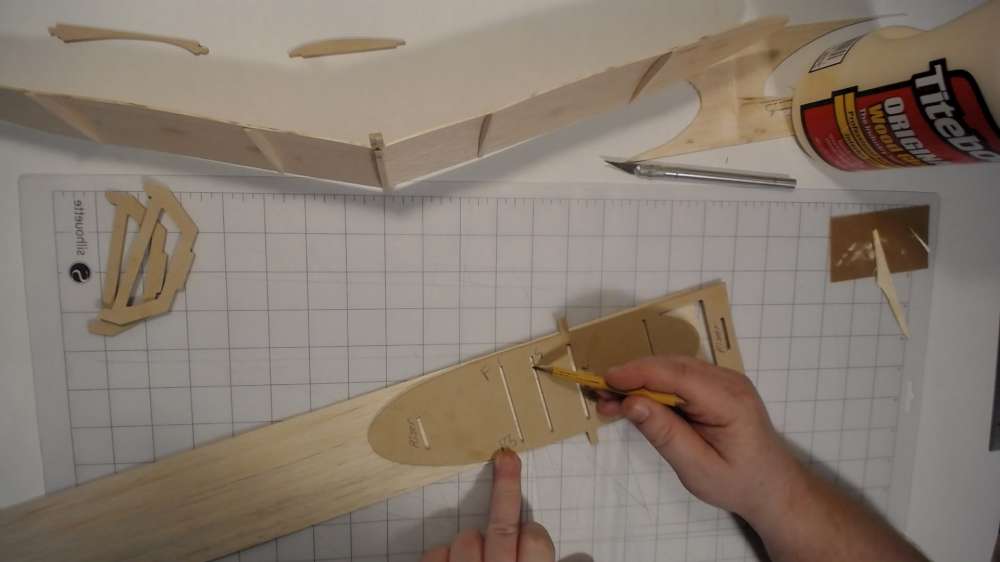
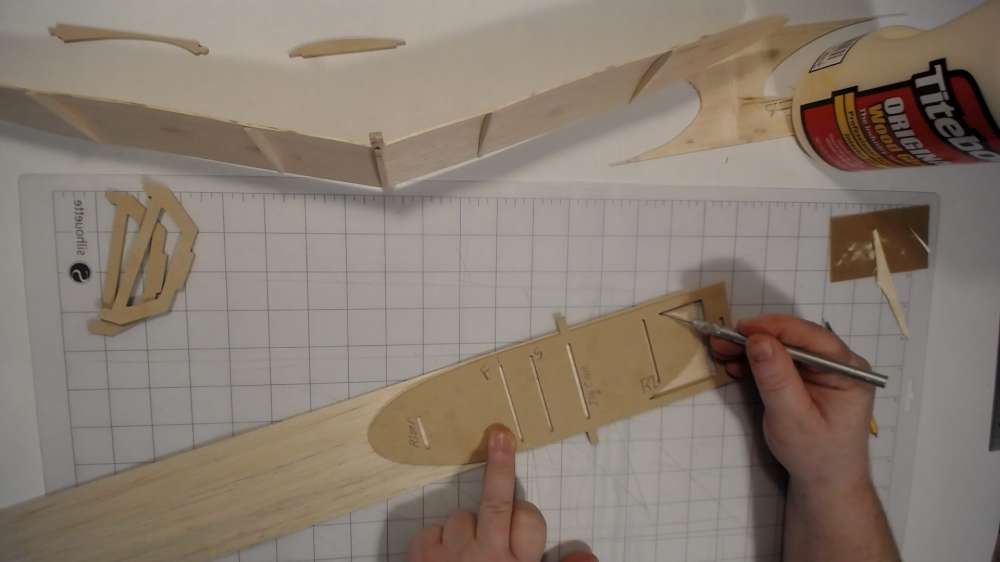
Cutting Ribs and Wing Mount: I saw Archie Adamisin‘s Sky Bunny rib templates which is amazing. I’m thinking about how to make a special jig like his. For now I’m using a traditional template.
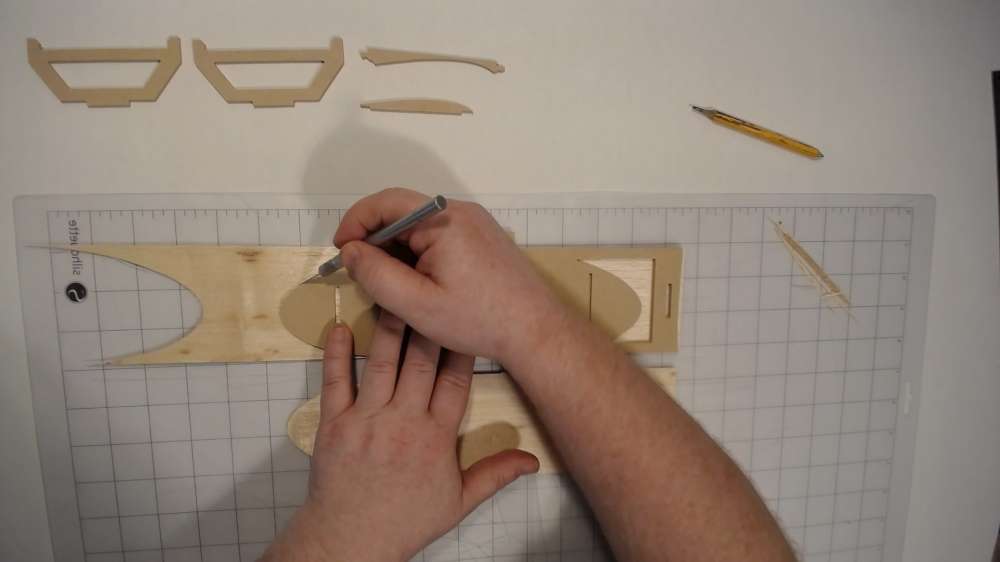
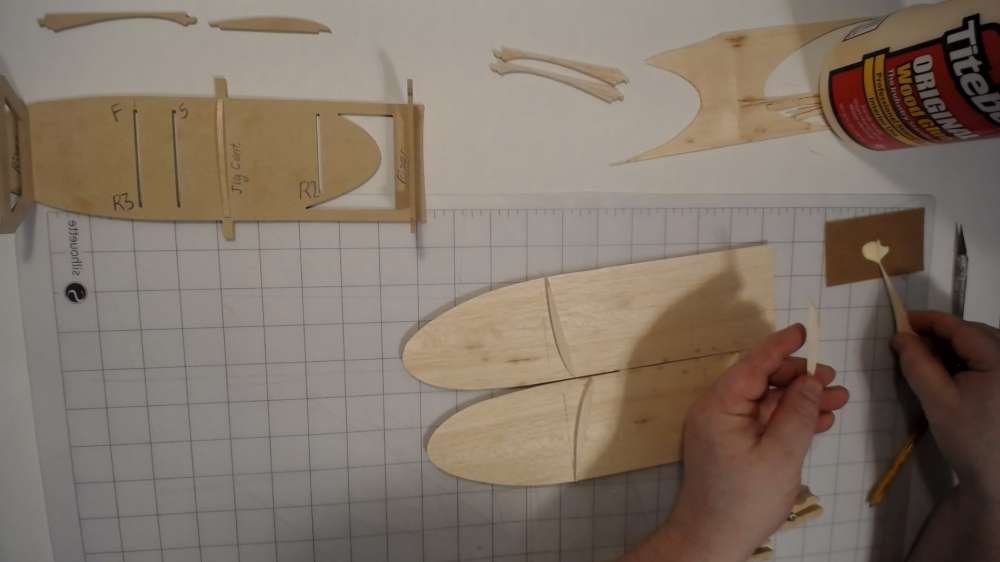
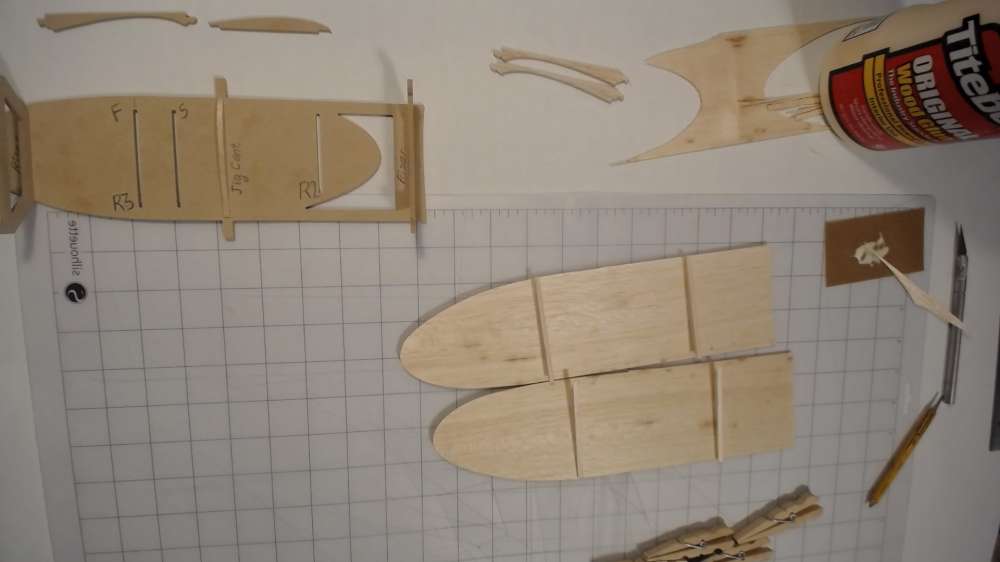
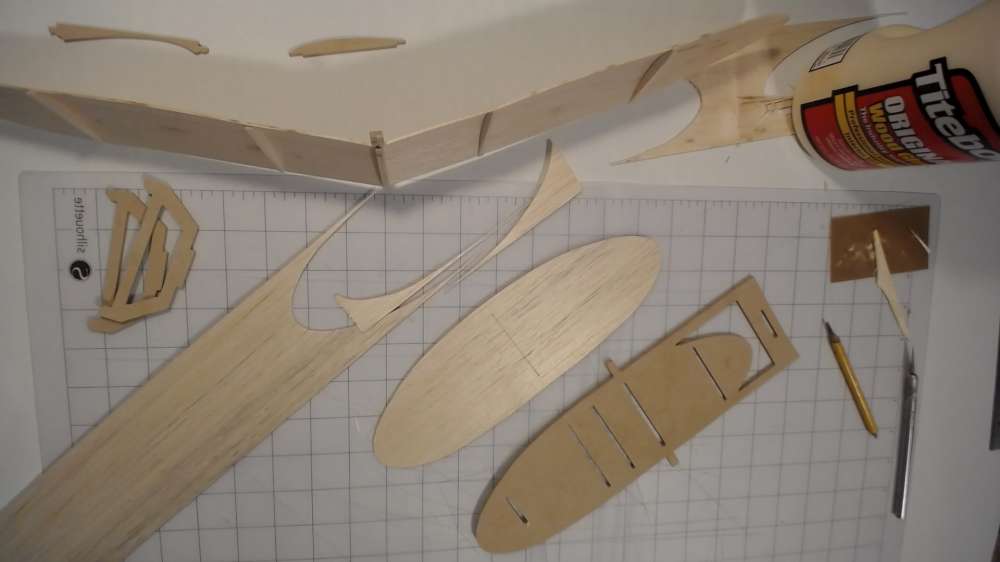
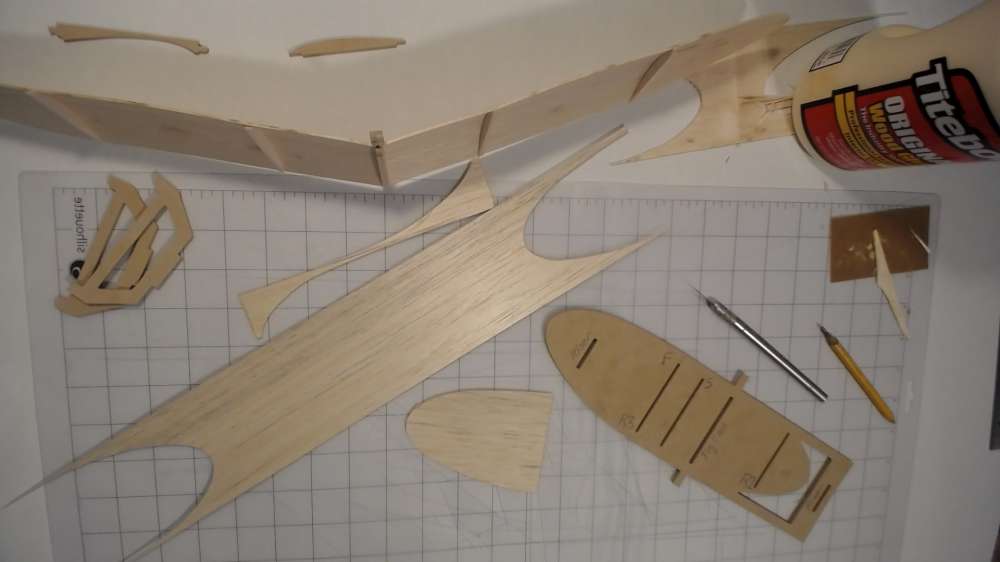
Here I’m cutting the center rib (R1) and the wing mount from medium to heavy balsa. The rest of the wing ribs are from light balsa. The template has a feature to plug the center rib into the jig. For the rest of the ribs we ignore that feature and cut the rib bottoms with a straight edge.
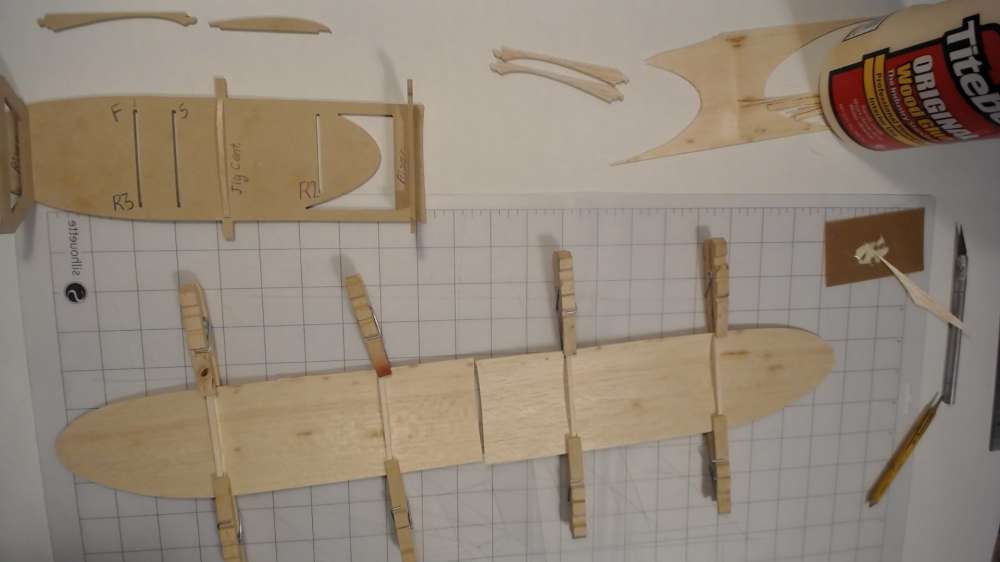
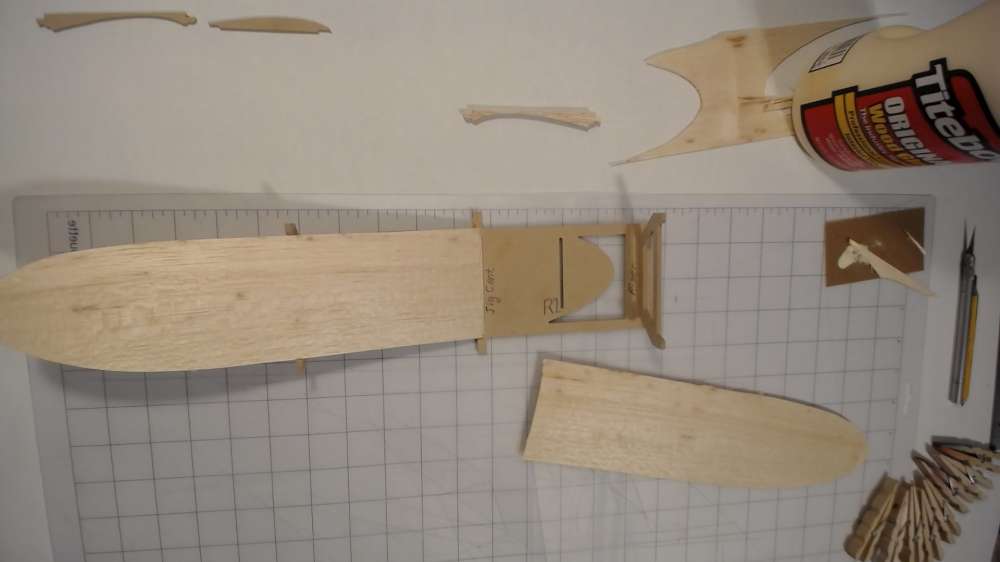
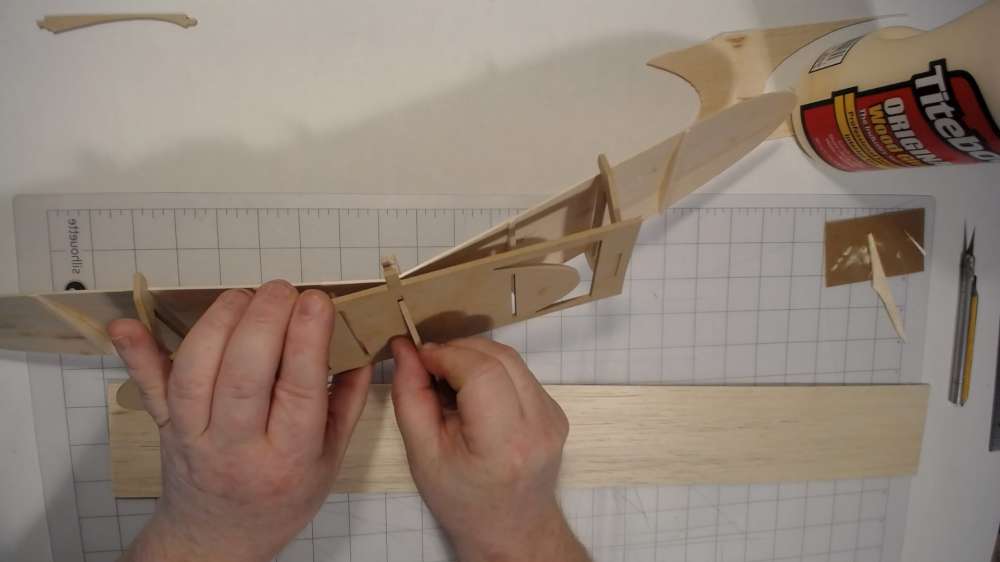
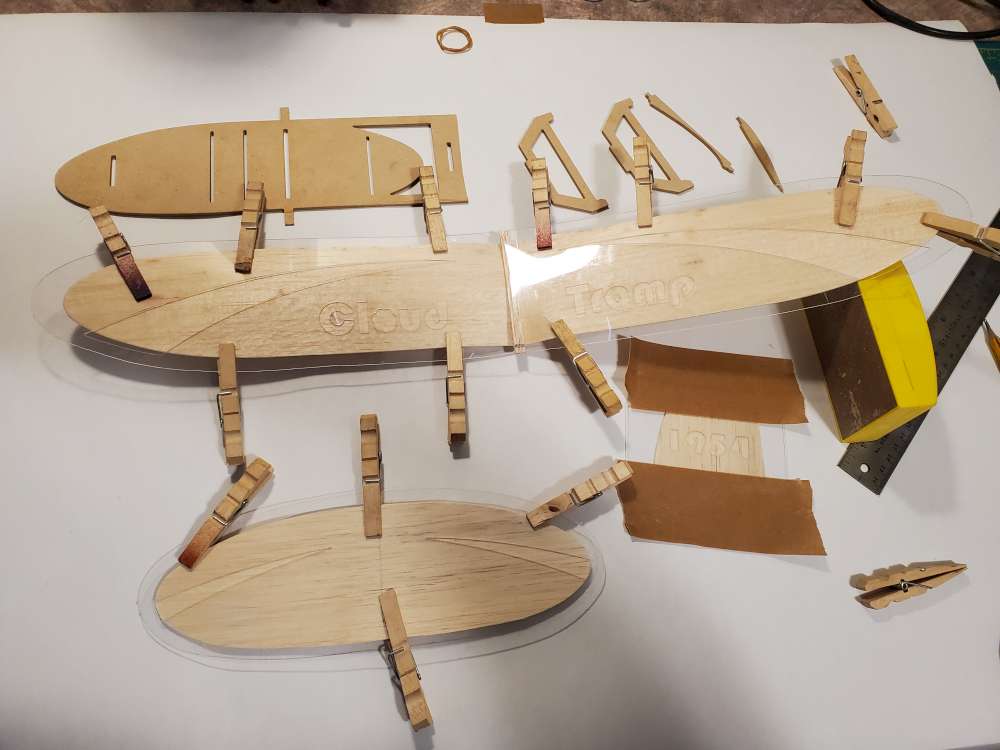
Wing Assembly: Add the risers and the center rib to the jig.
Glue the ribs in place using clothes pins to clamp as needed.
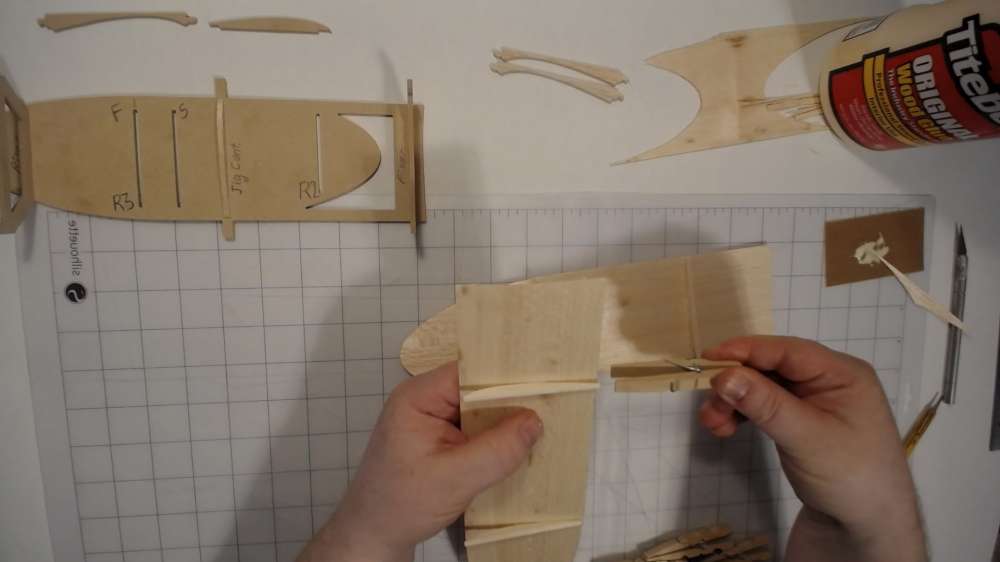
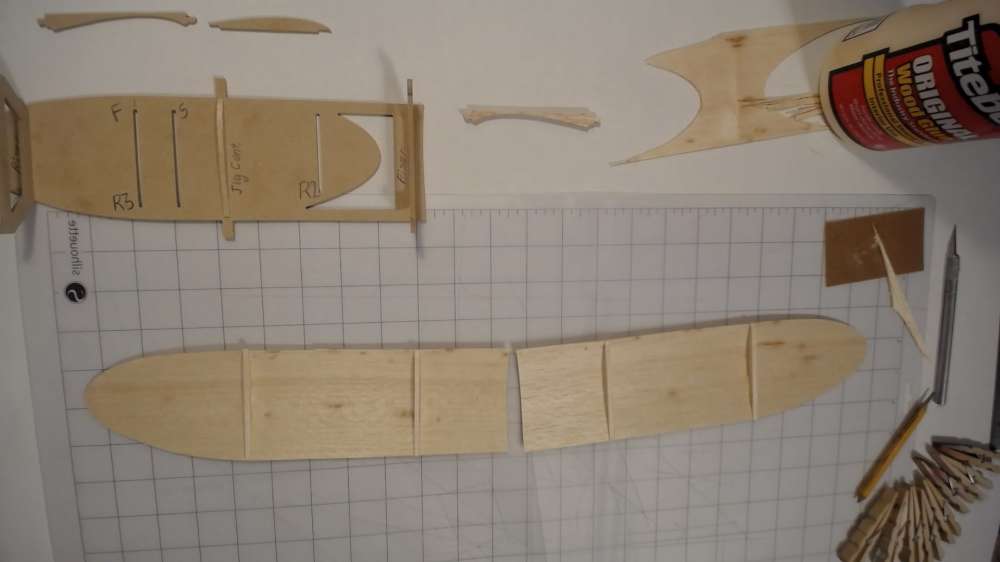
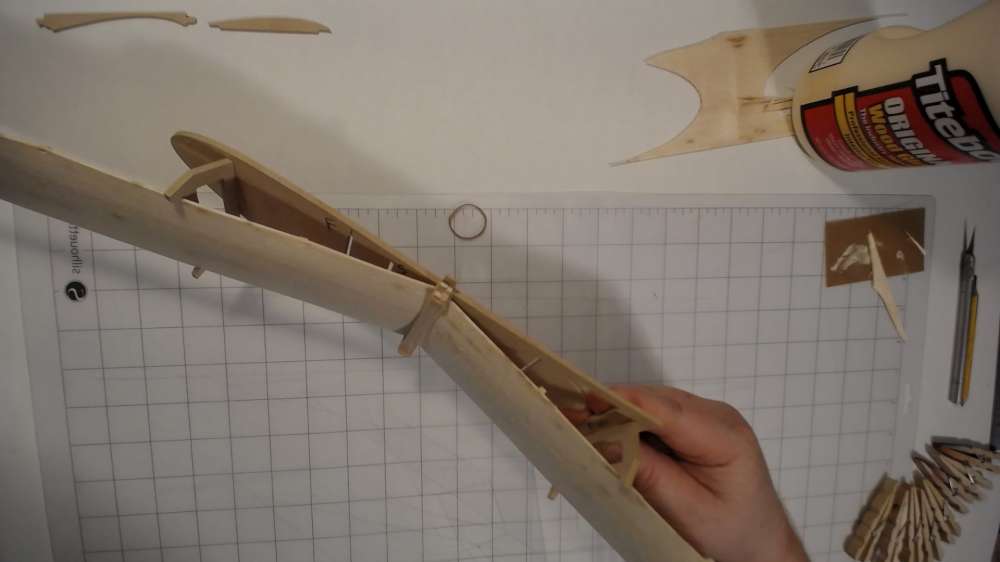
The wing halves should fit into the jig forming a perfect seam at the wing root.
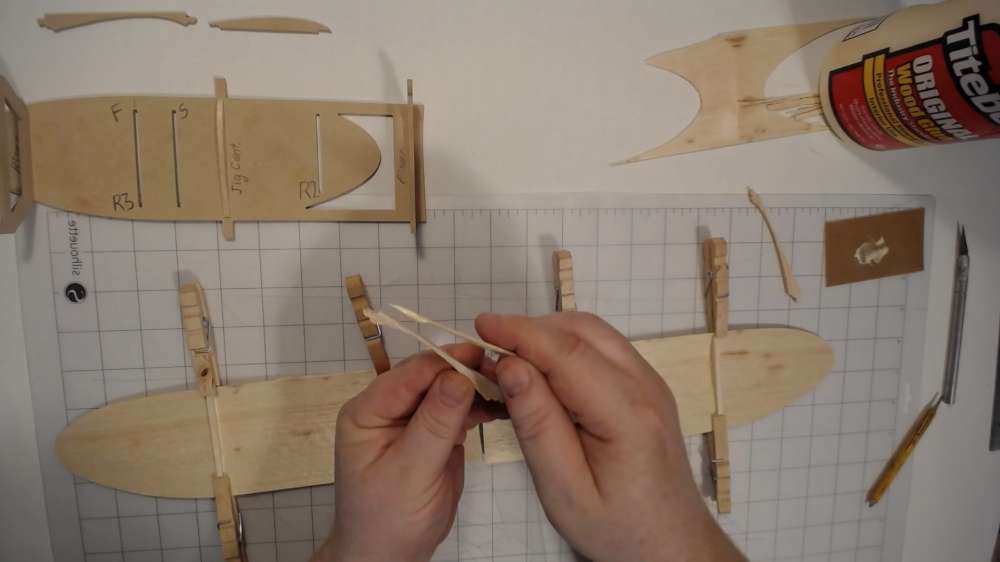
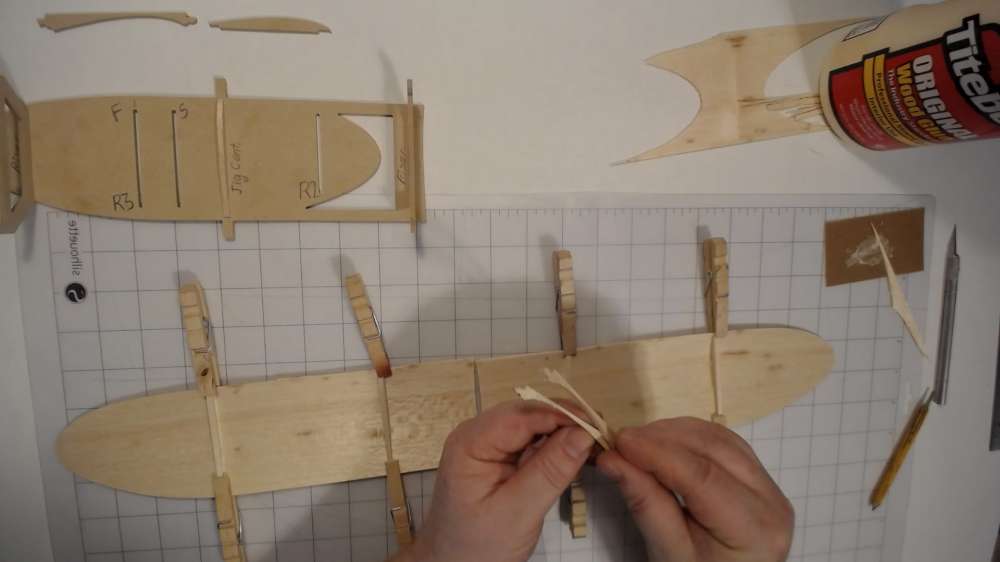
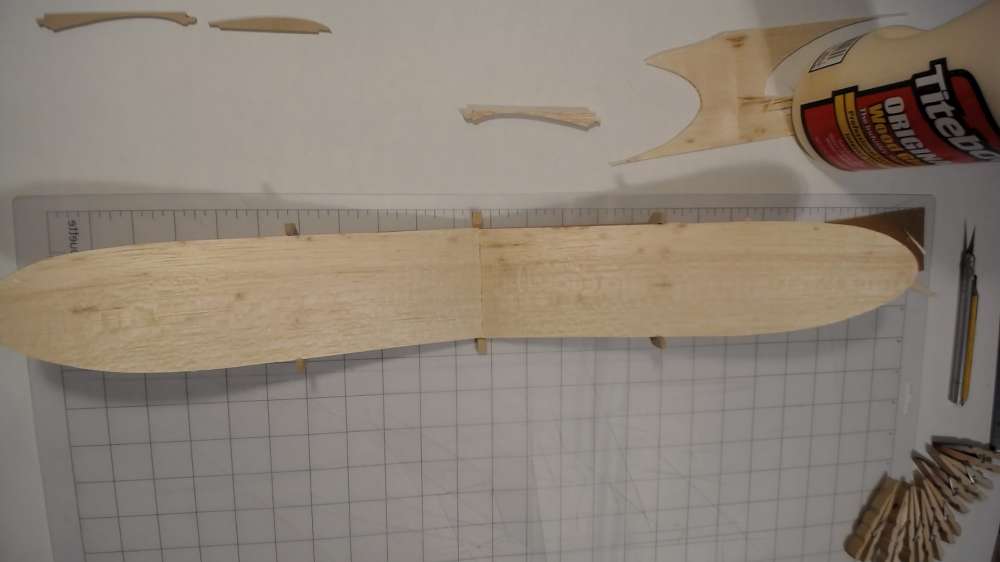
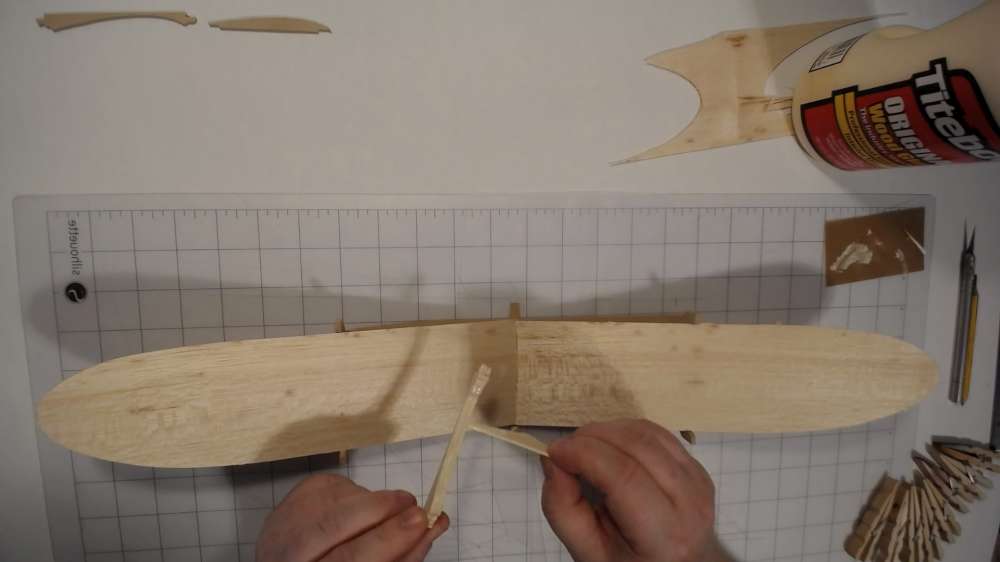
Add glue and join the wing halves to the wing root.
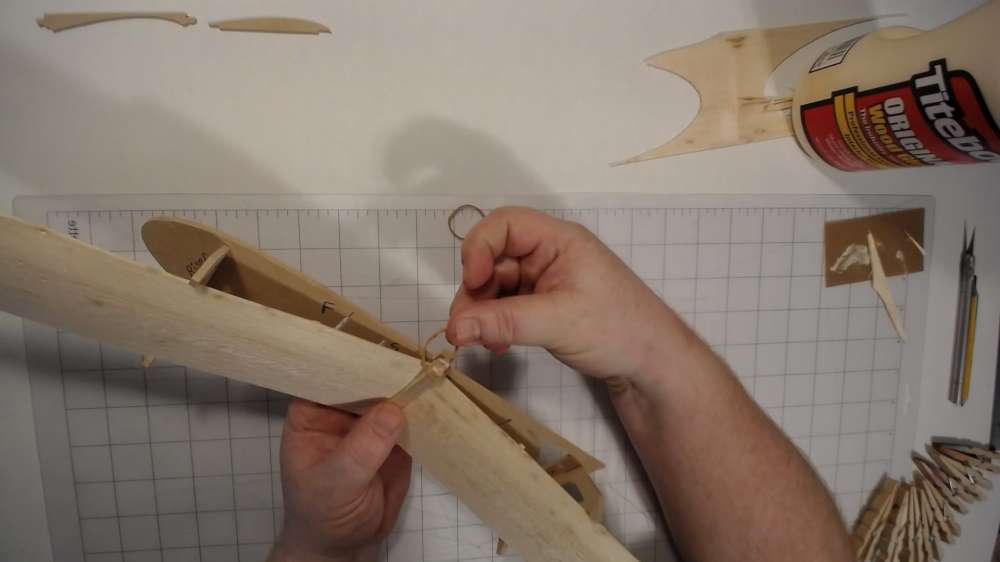
Then glue the wing mount over top.
Attach the wing mount to the jig using elastics.
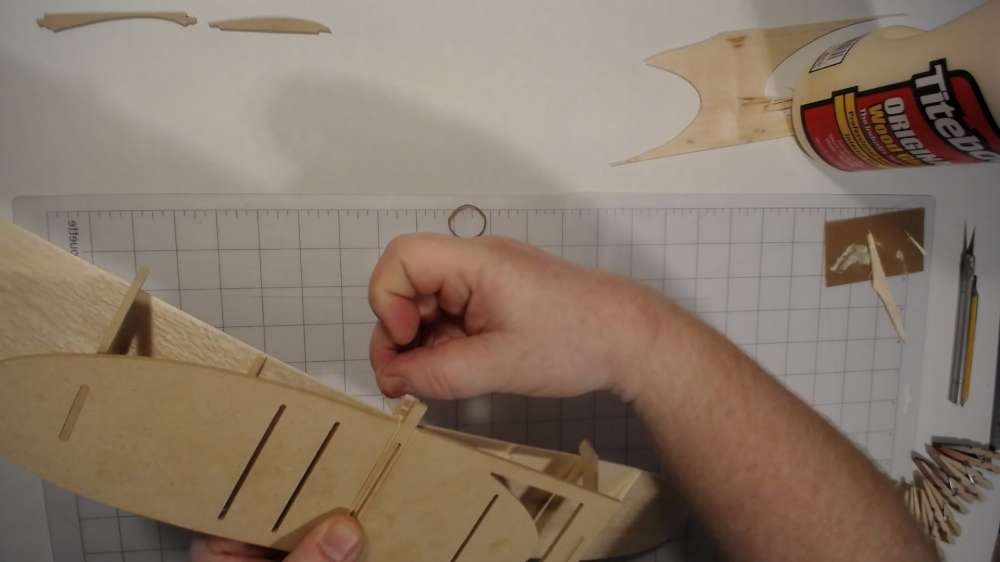
Once the wing is dry remove the elastic then push it out from the bottom using the rib template.

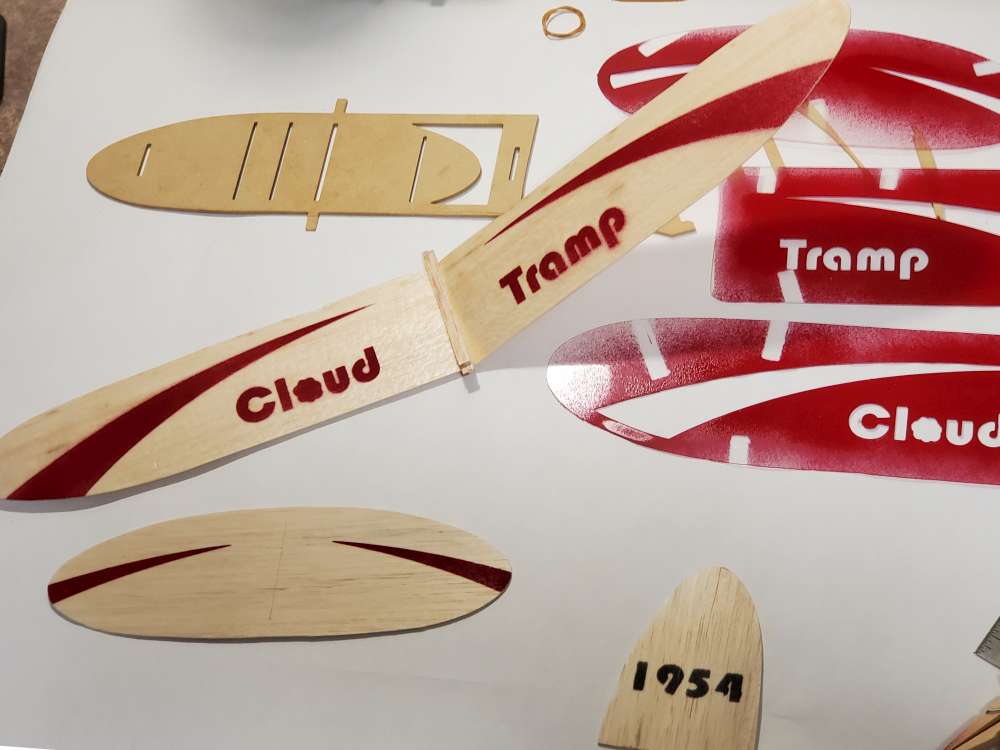
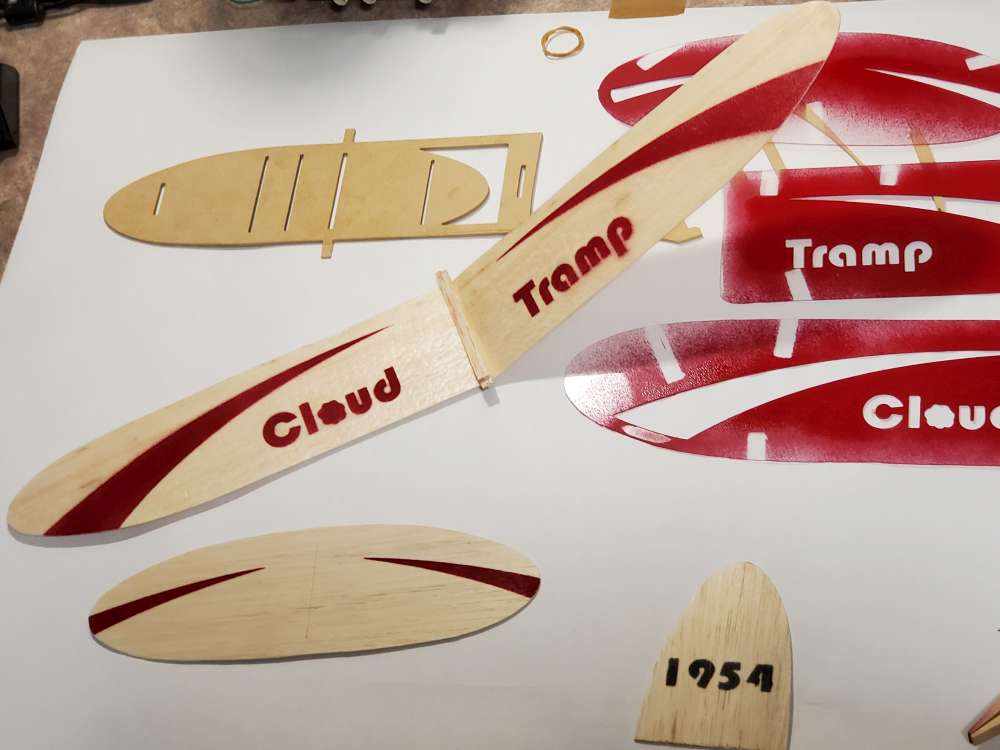
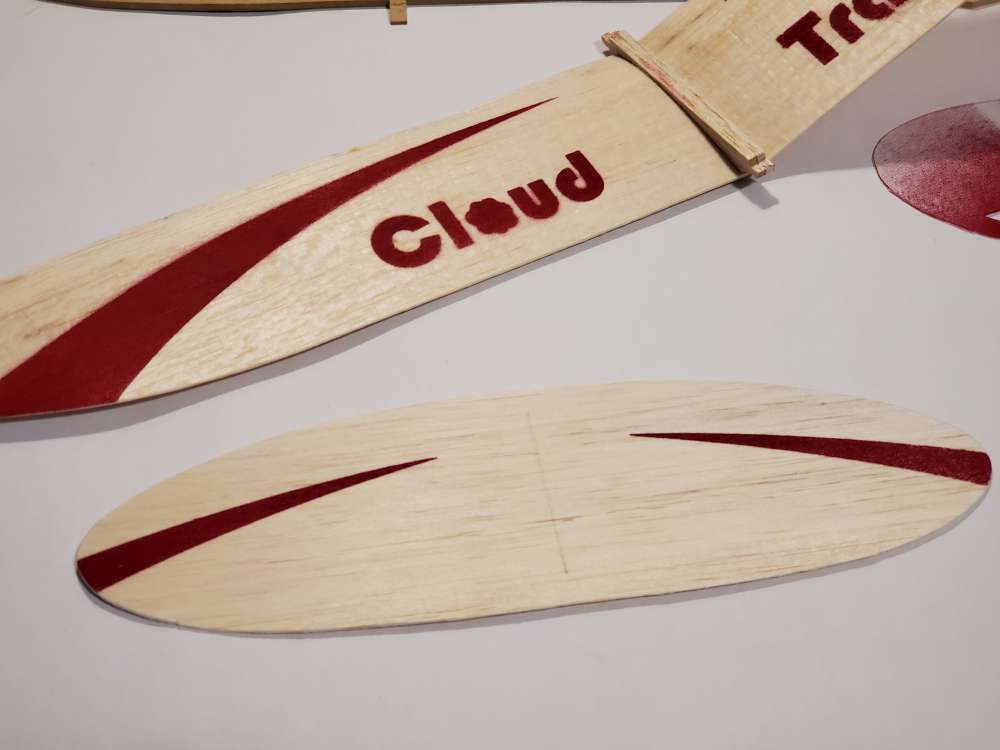
Cutting out Fin and Stabilizer: When cutting the stabilizer mark the center with a pencil and cut all the edges with the template. Flip it over and finish the cutting.
For fin use the slot to locate the bottom edge.
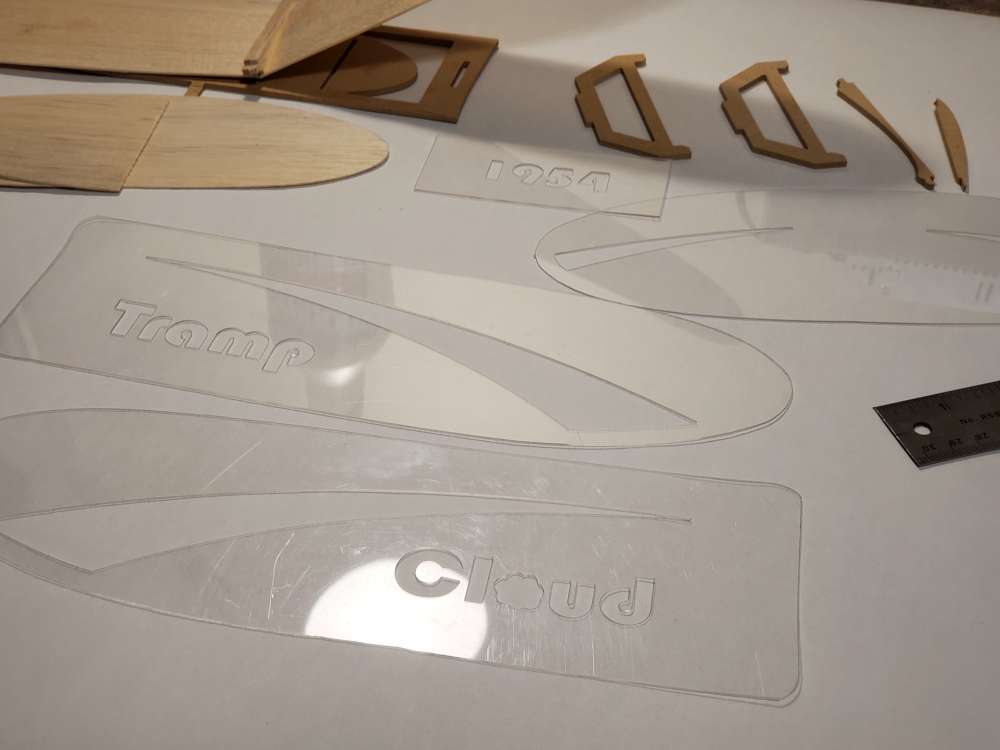
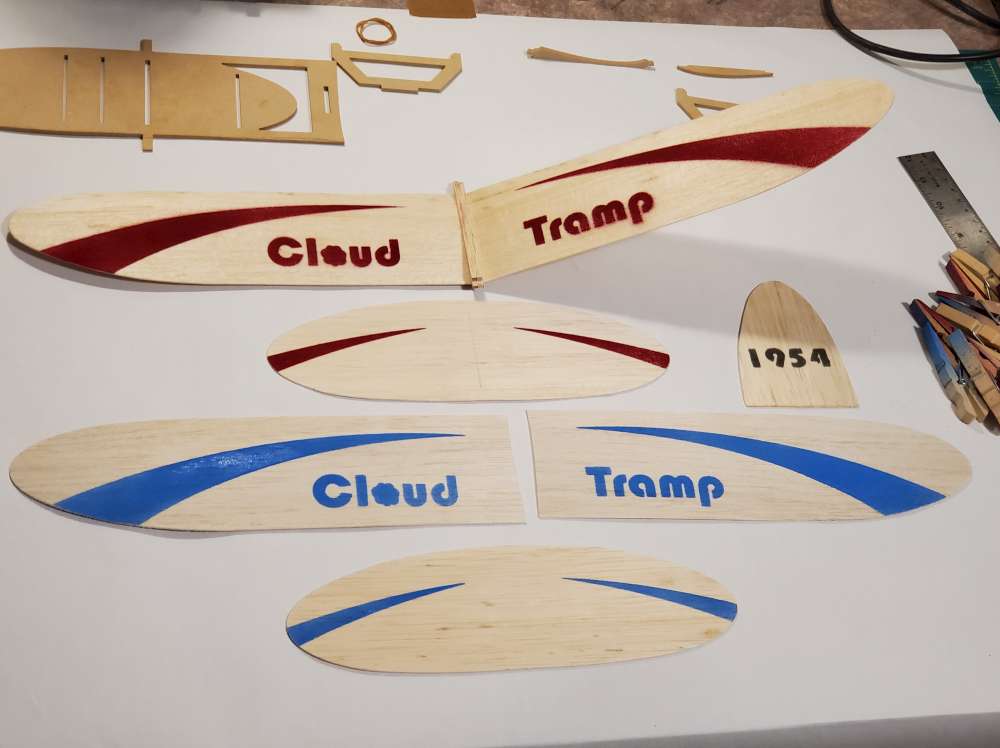
Stencils! This should be done for the wing before assembly but was left out to simplify the instructions above.
These stencils are also in the same file as the template in the original CNC Cloud Tramp article (mentioned above). Once cut out from thin material you can clamp them to the parts and puff a light amount of spray paint onto them.
The rest of the assembly is as per the original Cloud Tramp or you can put your own spin on it!

Enjoy!
Questions and comments are welcome in the comment section below.