HOME MADE PROP HANGER
by Bob Kopski
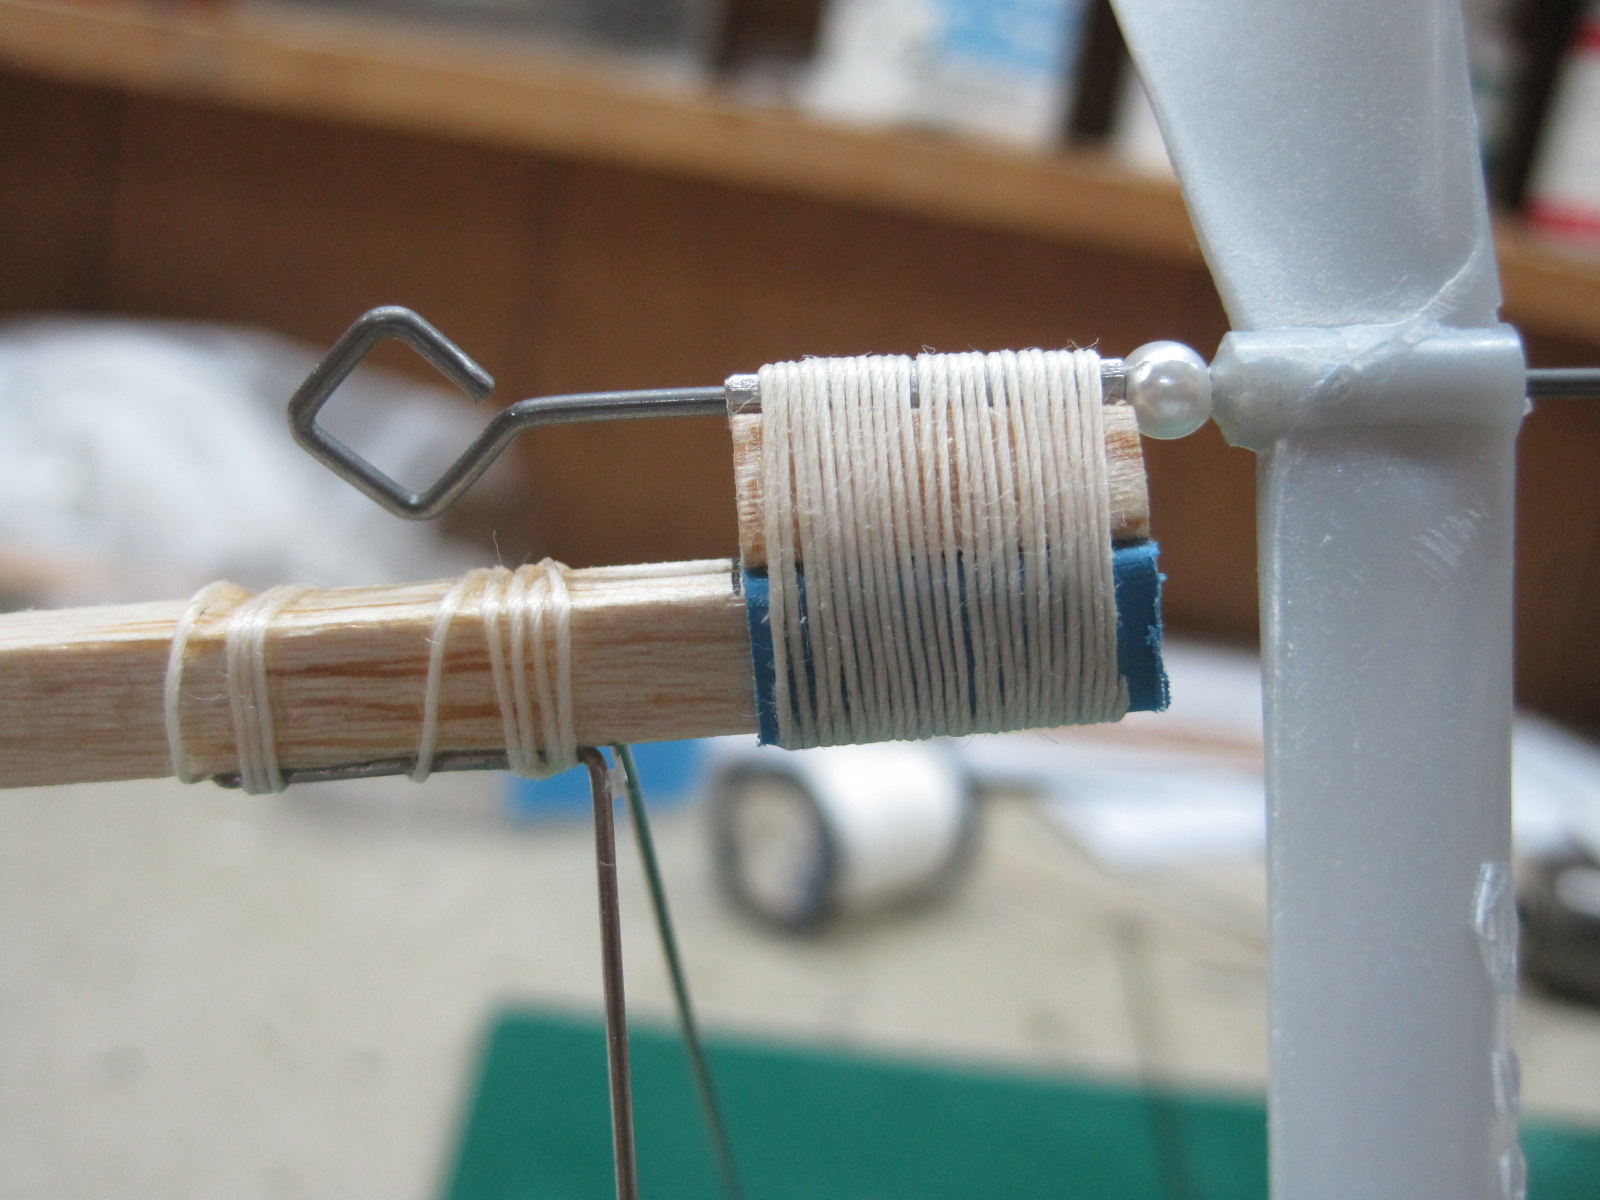
The following method has been successfully applied for motor sticks from 3/32″ X 3/16″ to 1/2″ square. Pictured is a prop hanger for a 1/4″ square fuselage stick. A similar one is shown completed on a Cloud Tramp.
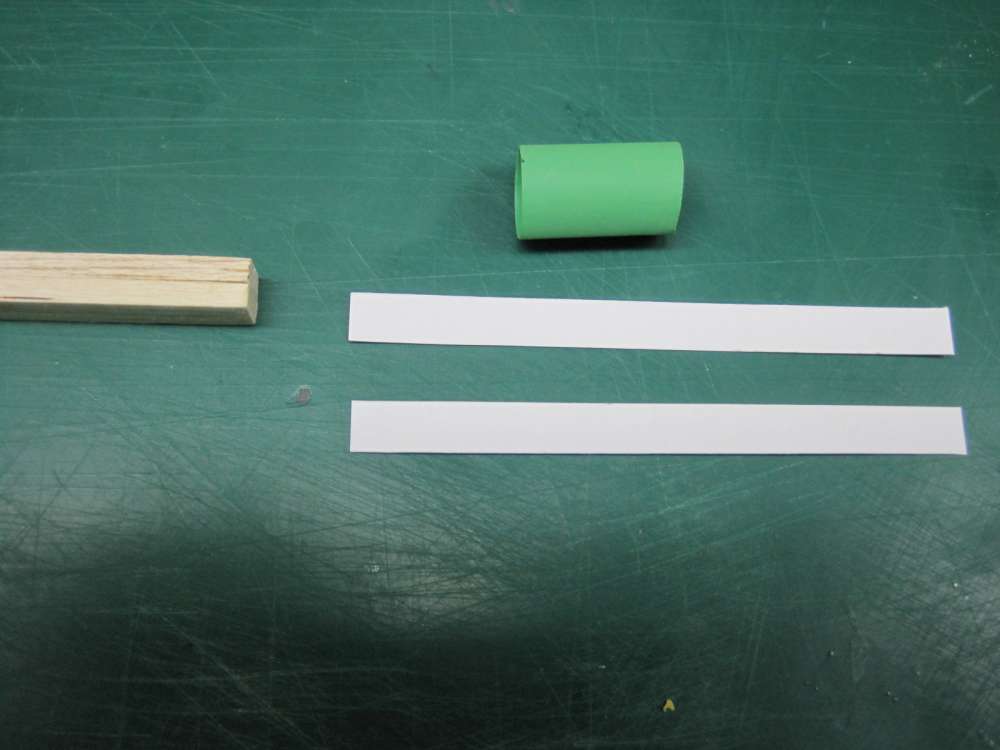
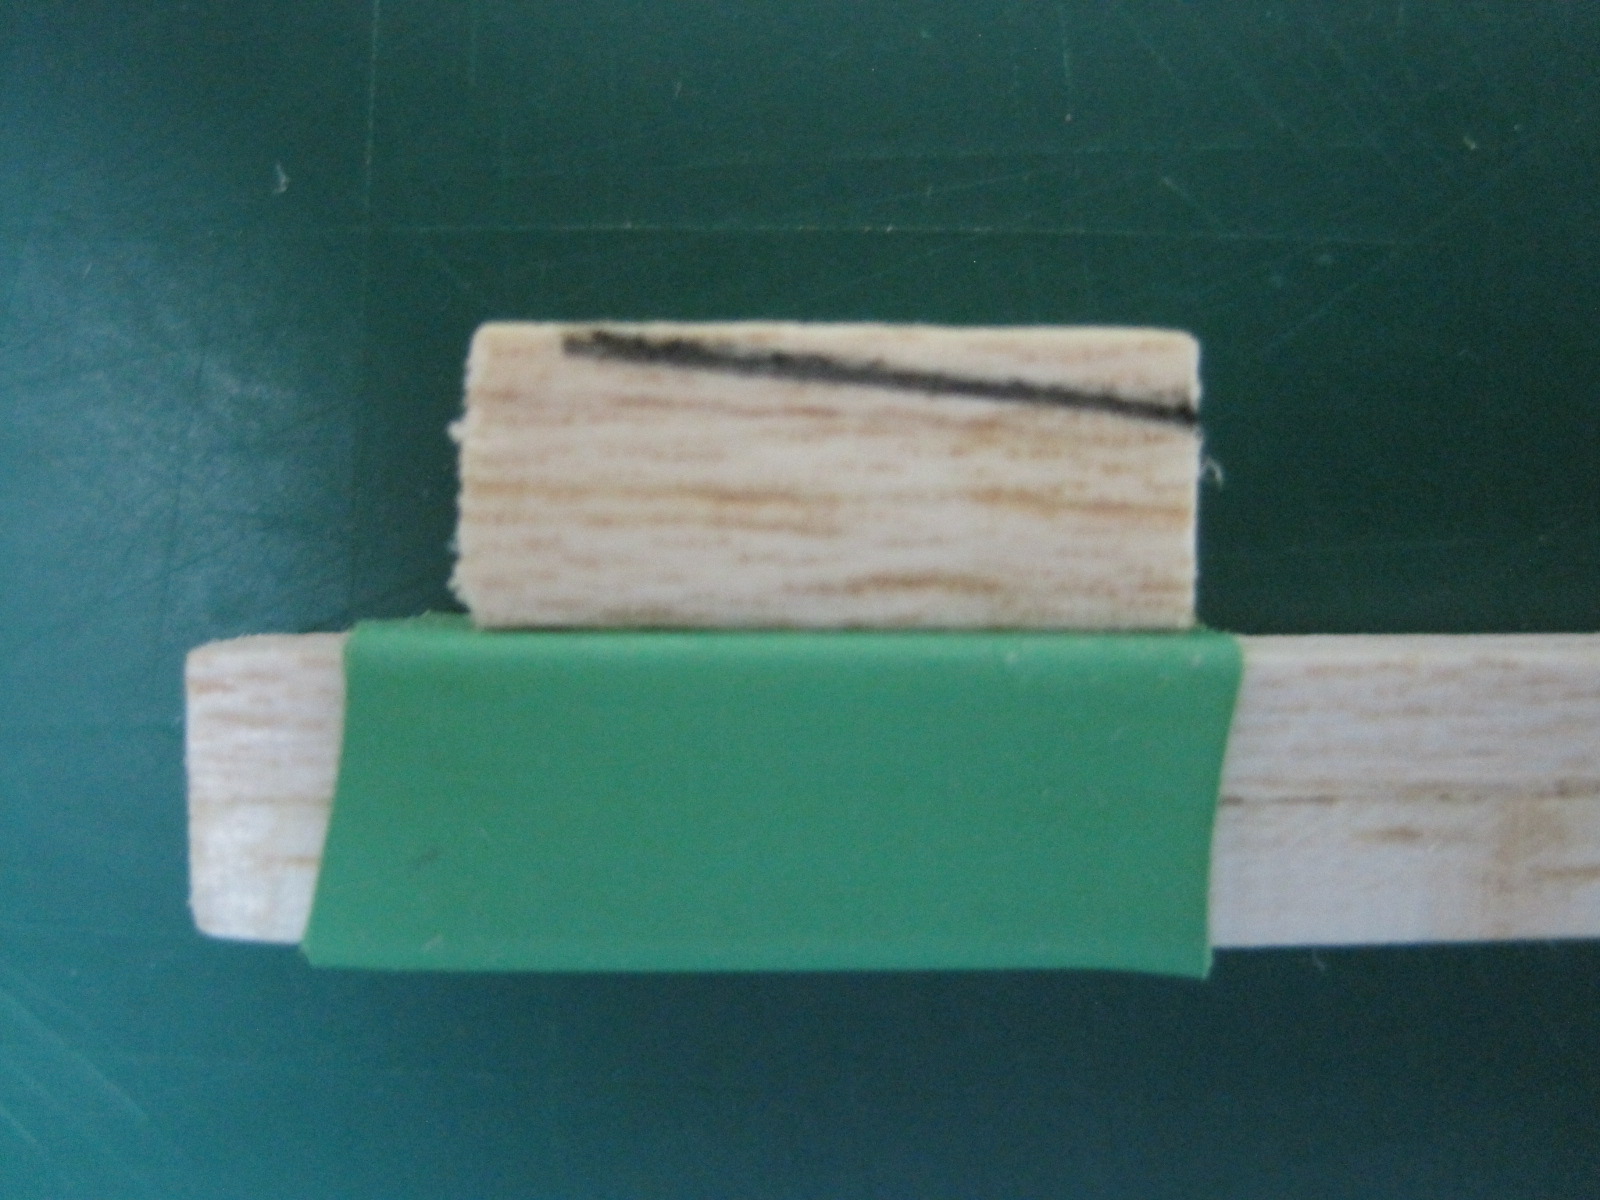
Begin with the subject motor stick and place two pieces of cardstock paper strip as shown. These effectively increase the dimensions of the stick slightly otherwise the resulting hanger will become overly tight on the stick.
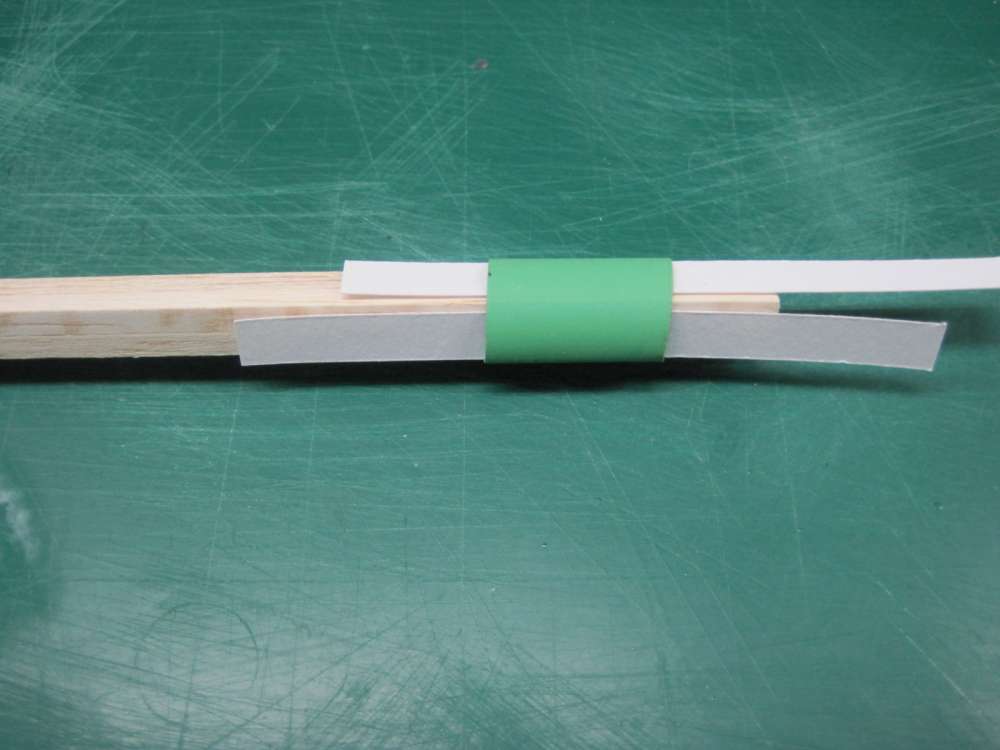
Slip on a length of heat shrink tubing as pictured and shrink tight.
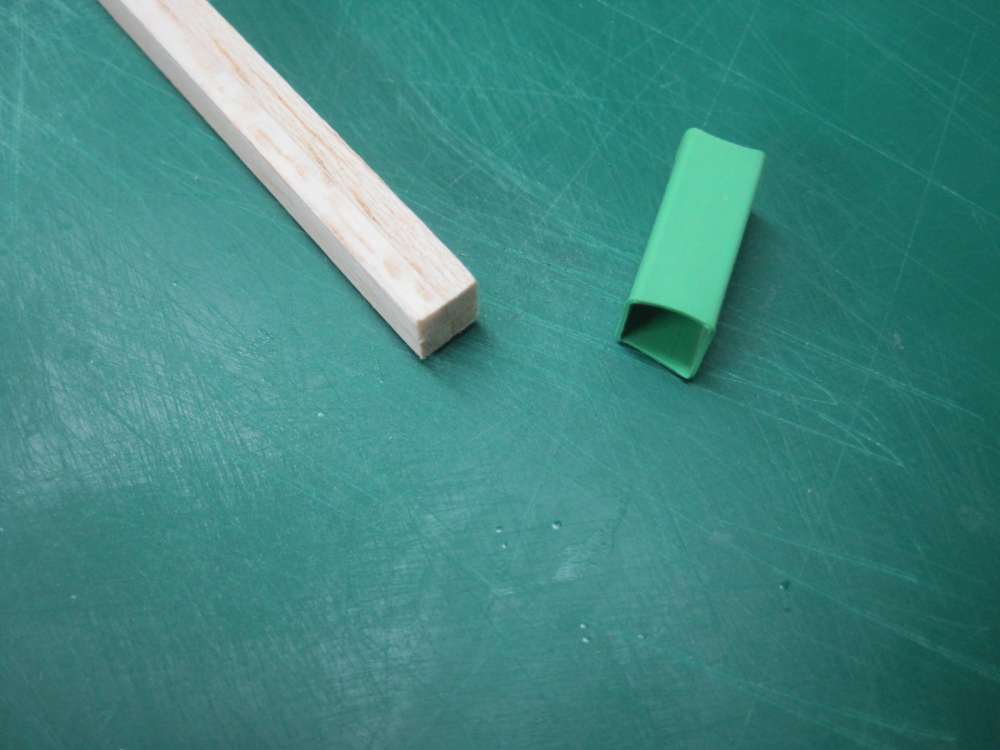
Allow it to cool, remove the paper spacers, and verify the tubing will slide off / on the motor stick. Neat, huh?!
Next cut a balsa spacer block as required, taper for down thrust as desired, and spot CA to the heat shrink tubing. Medium CA works well for this but be sure not to get any CA between the hanger and fuselage stick. Move on to making the shaft bearing.
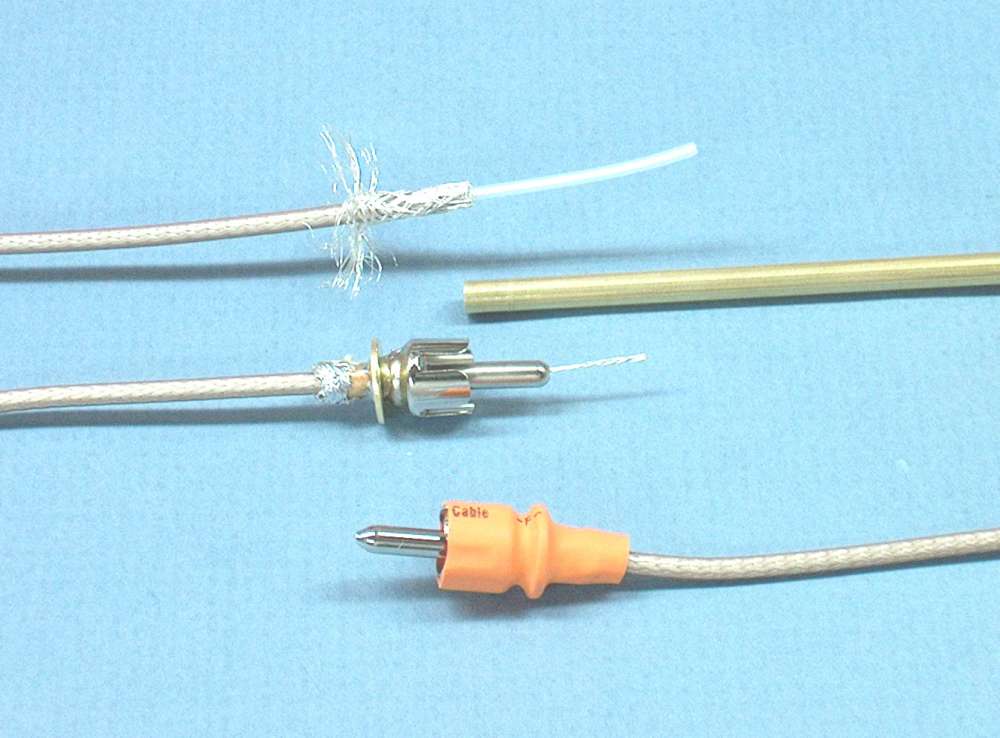
This example uses a 3/32″ OD aluminum tubing 3/4″ long intended for a 0.055″ prop shaft.

The shaft would be a sloppy fit in the tubing so in this case each end of the tubing is necked down a bit using a keyed 3 jaw chuck and tightening it until the sample shaft is just beginning to drag inside the tubing. Note that this technique works just as well with brass tubing and results in a good working shaft and bearing assembly.

Position this tubing bearing on the balsa spacer block setting any desired side thrust in place and apply a spot of thin CA to fix the position.
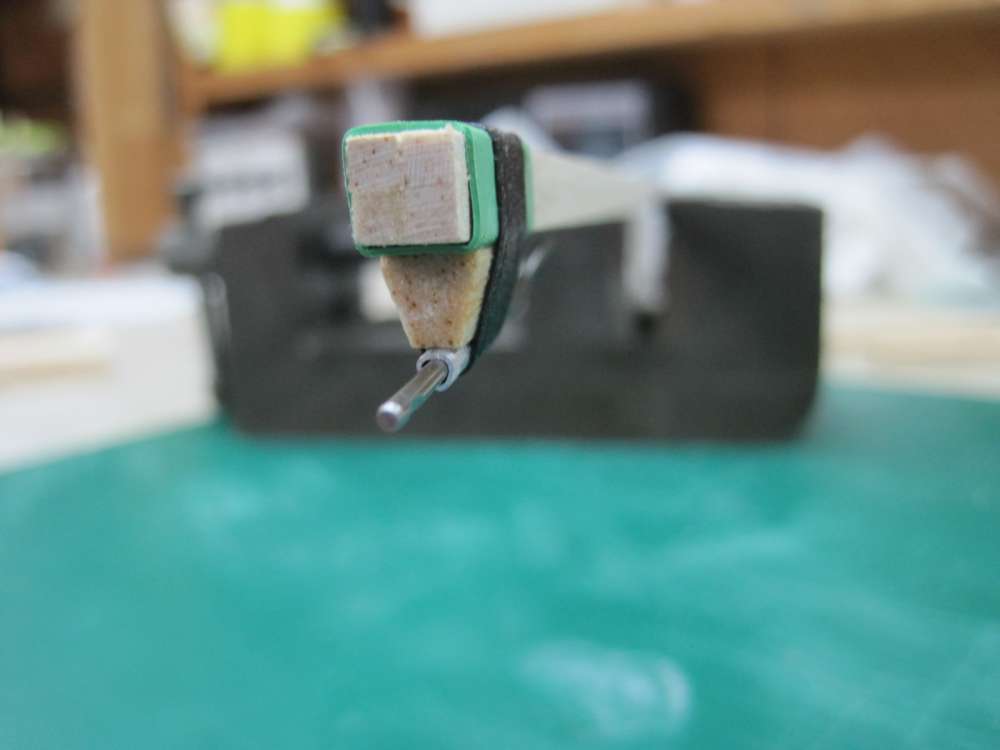
Carve and sand the spacer block as shown, bind with thread and apply thin CA – keeping it out of the bearing tube of course! Finally trim and clean up your new prop hanger and effect a proud smile!
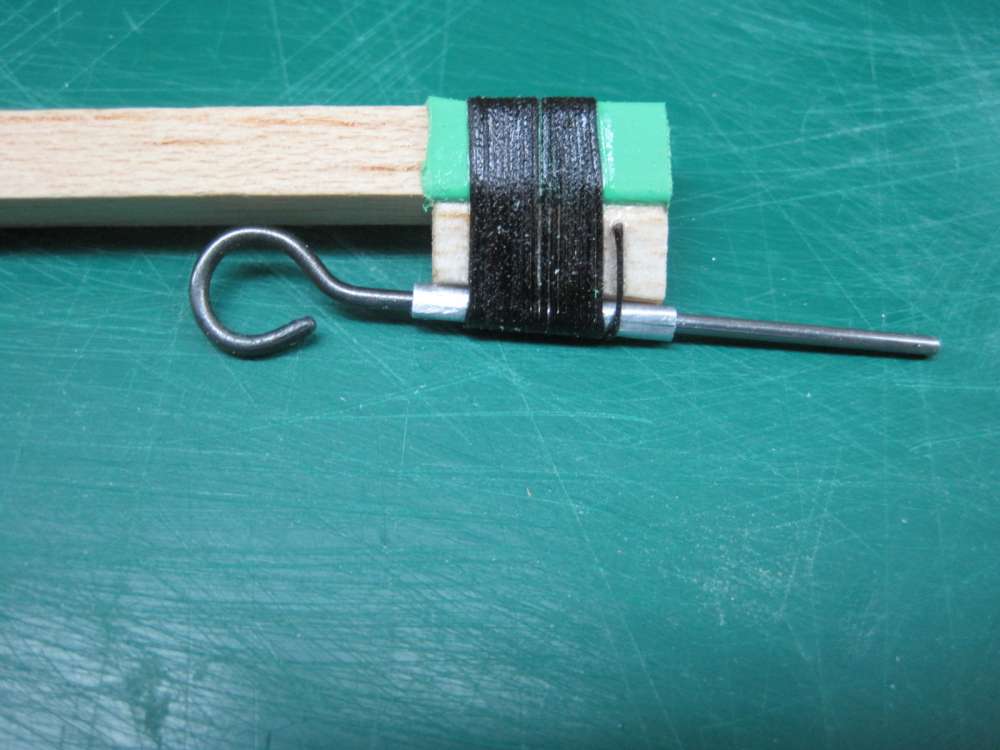
Some notes. Some small balsa “stop blocks” can be glued to the motor stick behind the hanger to prevent the hanger from being pulled back by a wound motor. Next – a really neat trick: A fully thrust adjustable version of this hanger can be made by assembling it on a stick larger than the motor stick. Clearly this will allow the hanger to fit loosely so now just wedge in some tapered wood shims between the hanger and the fuselage stick to tilt the bearing and tighten the pair. In this example one might use a 5/16″ square forming stick to make a hanger for a 1/4″ sq. fuselage stick. This whole process is harder to describe than to do.
Happy flying!
Very innovative!
The square fuse sticks seem ideal for shrink tubes, but how do I use this method for rectangular fuse sticks?
1. If I were using a 3 x 9 mm fuse stick for models like Squirrel, what size shrink tubing would be required?
2. If no shrink tube would be appropriate for 3 x 9 mm cross section, then if I add a short doubler block of 3 mm balsa at fuse nose to make the stick 6 x 9 mm there, then what size shrink tube could I use?
Ashutosh,
The circumference of the tubing must be slightly greater than the circumference of the stick. The circumference of a 3 mm x 9 mm stick would be 24 mm. The diameter of the corresponding circular tubing would be 24 mm divided by pi = 3.1416 (or use the pi button on your calculator). That would be 7.6 mm, so pick the next larger standard size tubing.
The circumference of the 6 mm x 9 mm stick is 30 mm and the corresponding diameter is 9.5 mm.
Thank you Gary. The sizes available here for both cases are 8mm and 10mm, 2:1 shrink.
If I use 1/16″ OD tubing and 1/32″ wire for making bearing-shaft and a 3 x 9 x 300 mm fuse stick (Squirrel), would you suggest making the shrink tube hanger with the 3 x 9 mm fuse stick only, or I should double the fuse stick it at the nose to make it 6 x 9 mm? I will make the shrink tube bearing 15 mm long (+ 5 mm shrink tube overhanging to make the stopper as in the last pic). Based on the article where it says that the hanger ends up being quite stiff like commercial hangers when CA is used on the binding thread, I guess the 3 x 9 mm hanger should also be ok. But then would a 3mm thick balsa spacer block for setting thrustline be too narrow and weak, or the thread binding would make it secure? I am tending towards trying the 3 x 9 mm first.
I would go with the 3 mm x 9 mm. Let the bearing tube project a bit ahead of the support to keep the prop from hitting the front end. Use relatively hard wood for the spacer block.
My goal is always to make everything as simple and light as possible, unless there is some advantage to having a little extra weight, to get a more forward CG, for example. The Squirrel wing slides fore and aft to adjust CG, so there is no need for extra weight up front.
I would also use a 3 mm x 6 mm stick with a 3 mm x 3 mm block underneath at the nose to space the prop shaft and motor away from the stick. This will lighten the entire airplane, shift the CG forward to give a more forward wing position with better leverage for the tail plane, providing better pitch stability. This might allow a thinner spacer block for thrust line setting.
I made several minor improvements on my Squirrel which you can see here. I would use a wire motor hook and O-ring to make motor management easier.
Thanks Gary. I will get the 8mm shrink tube.
Your rear motor hook is nice. I dont have the dressmaker pin but I will use my paper clip wire which is 1.10 mm dia.
Your lighter Squirrel has reduced width for all balsa frame parts and the fuse stick. It looks delicate but seems appropriate for your 1/16″ rubber motor. I only have the 1/8″ TSS rubber and I will use 20″ loop. So will your 3 x 6 mm fuse stick be able to withstand 1/8″ rubber tension? And I guess the climb will be faster with the 1/8″ motor creating more strain on the frame. So the narrower LE, TE, ribs, and winglets will be sufficient or this lighter structure is suitable only for thinner 1/16″ motor?
The paperclip wire is about twice the diameter of a straight pin. It is also a little on the soft side. It will probably work, though. I have used 0.020″ steel wire for making motor hooks. I get the wire from hobby shops or it can be ordered online, as can the pins.
The design process starts with the airplane, which is designed and set up for minimum sink speed. Next step is to find the propeller that will fly this plane with the minimum torque. That can require testing several propellers. Finally the motor is sized to deliver the torque required by the propeller. I was able to make a long, high flight with the 20″ loop of 1/16″ rubber, but that is not the best size. Further testing indicated a 20″ loop of 0.0766″ rubber would permit longer flights. You need a rubber stripper to cut arbitrary widths of rubber. The nearest standard size would be 3/32″. You may be able to get that from the same source as you got the 1/8″.
If you are going to be limited to 1/8″ rubber, I suggest you use fairly hard wood for your fuselage stick. You can beef up the other parts to match the 1/8″ rubber. Your plane will not fly as long as the lighter plane. You can limit the number of turns you put into the motor to limit the torque. With the motor as long as it is in comparison with the distance between the hooks, the tension may not be great. Of greater concern will be the roll. The high torque of a fully wound 1/8″ motor will roll the plane to the left. The resulting left bank will cause the plane to side slip left, possible into the ground. This can be counteracted by putting a little right thrust in the propeller.