The motor hook holds the end of the motor opposite the propeller. Because the propeller is often at the front of the plane, the motor hook is often called the rear hook, to distinguish it from the propeller hook. The motor hook may be made from steel music wire or from a dressmaker’s pin, as here. The hook is made in the form of a right handed pigtail to discourage an unwinding motor from twisting itself off the end of the hook.

Cut the head off a pin. Hold the shaft and cover the head so nothing shoots off when the cut is made. (Some use paperclip wire to make the hook. You can buy finished hooks from online suppliers.)

The cut will leave a sharp chisel point that will poke your finger and cut the rubber motor. File the cut end round.

Use the round nose pliers to make a right handed helical loop in the end of the pin. If you don’t have round nose pliers, a nail may be used. The loop should be about 1/8″ in diameter, more or less. Make a fist with your right hand and stick the thumb straight out. A right hand loop goes forward in the direction the thumb points when going around the loop in the direction the fingers point.

It is a complete loop with a slight overlap at the end. This helps keep the lubricated motor from twisting off the end of the hook.

Its helical form leaves an opening into which the motor may be threaded. The right hand helix discourages the twisted motor from twisting off the end. If you will be using O-rings on your motor, check now that the O-ring is able to slip easily onto the hook, without being too loose.

Bend a 45 degree angle a little ways from the loop to form a riser that spaces the loop up from the stick and a base that lies along the stick.

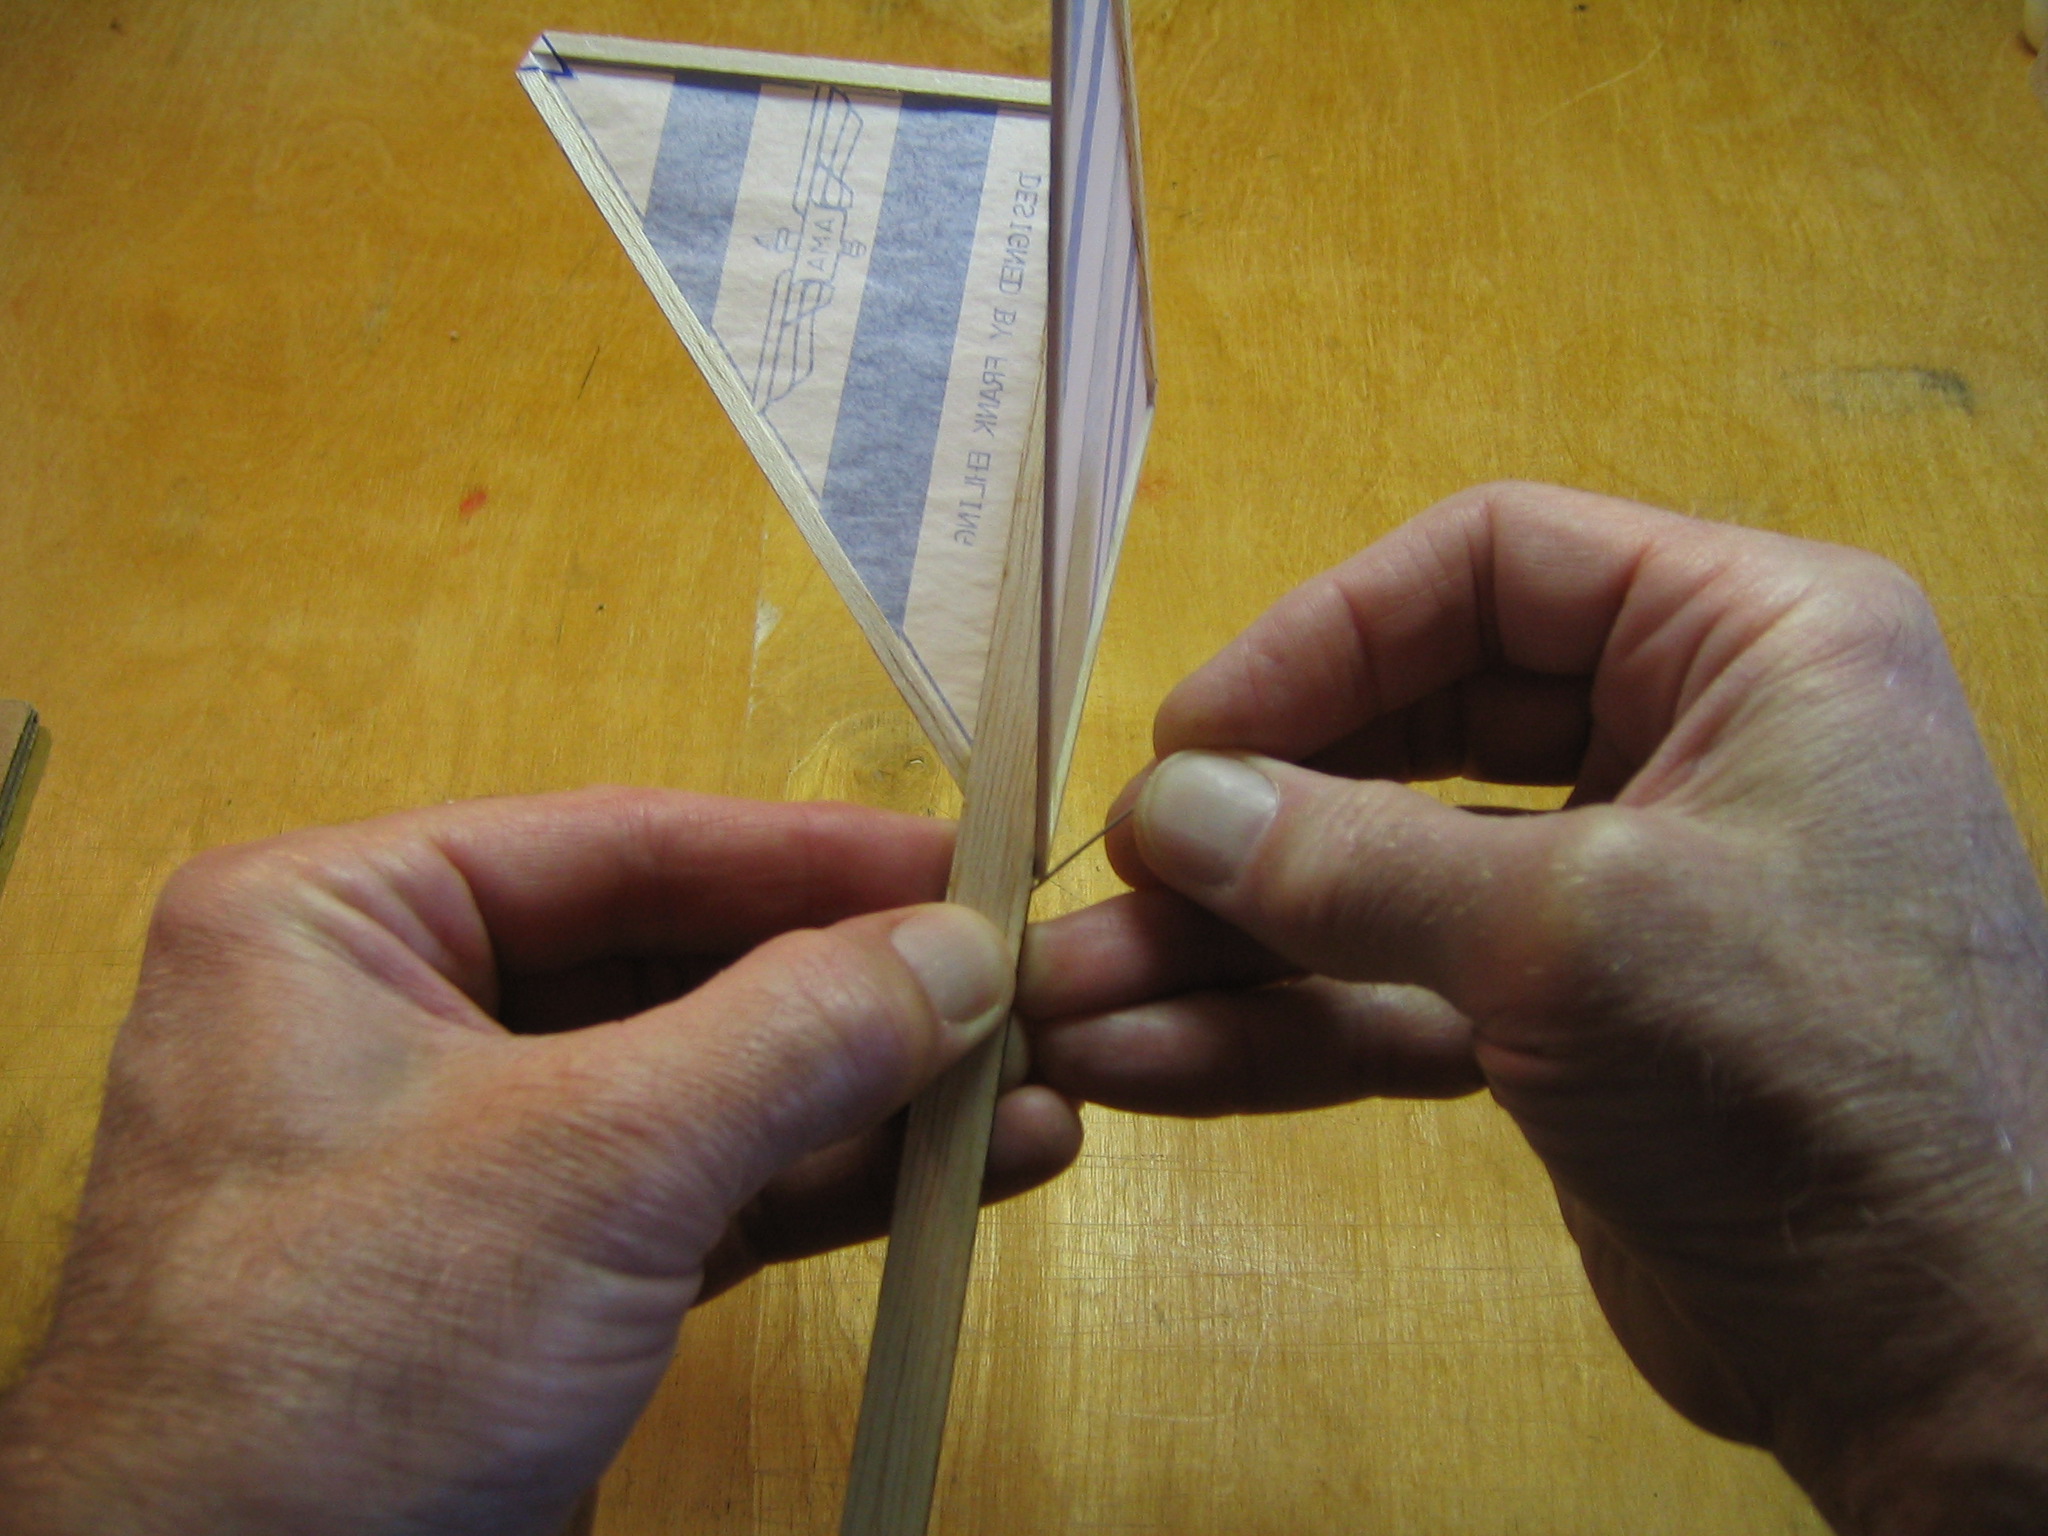
Bend the pointed end back to form a 45 degree angle with the base. Because the end is short and sharp and hard to grip, use a block of wood to make the bend. Start the bend against the face of the pliers with a right angle. Avoid a very sharp bend that might break the wire. I have filed a 1/16″ diameter quarter circle into the edge of the pliers to permit this gradual bend. You can also make this bend against a small nail.
 I have already made a hole in the stick where the motor is going. Push a pin into the stick on the center line at a 45 degree angle.

Push the wire out a little from the face of the pliers to finish the bend back to match the angle of the pin hole that went into the motor stick, about 45 degrees.

The finished motor hook, ready to install.

Put some glue in the hole and on the tip of the pin and insert the pin into the hole.

Press it snugly against the stick and make sure it is flat against the wood.

Spread glue around and over the part of the wire that is in contact with the wood. Neil recommends wrapping and gluing thread around the stick and the wire.