The February 2013 issue of Flying Models magazine published an article by Bill Warner about his Poly-Wog design. Some of you will know of Bill Warner as the author of the excellent Hey Kid! series of beginner model airplane building and flying books. This is a reprise of his article in the July-August 1967 Sig Air Modeler Magazine. That plan may be found HERE. The model was designed to be easy to build, inexpensive and to have impressive performance. It has curves that are pleasing to the eye and look pretty sophisticated. It had been recommended to me by a friend who used it in junior high model airplane classes. Flying Models has published the new article online so any kid can build one. You may download the article and plan HERE. It was interesting to compare the two articles, as there were minor differences between them, the plans and between the text and the plan. I made some changes that simplify the construction and lighten the model. All of these variations fly well.
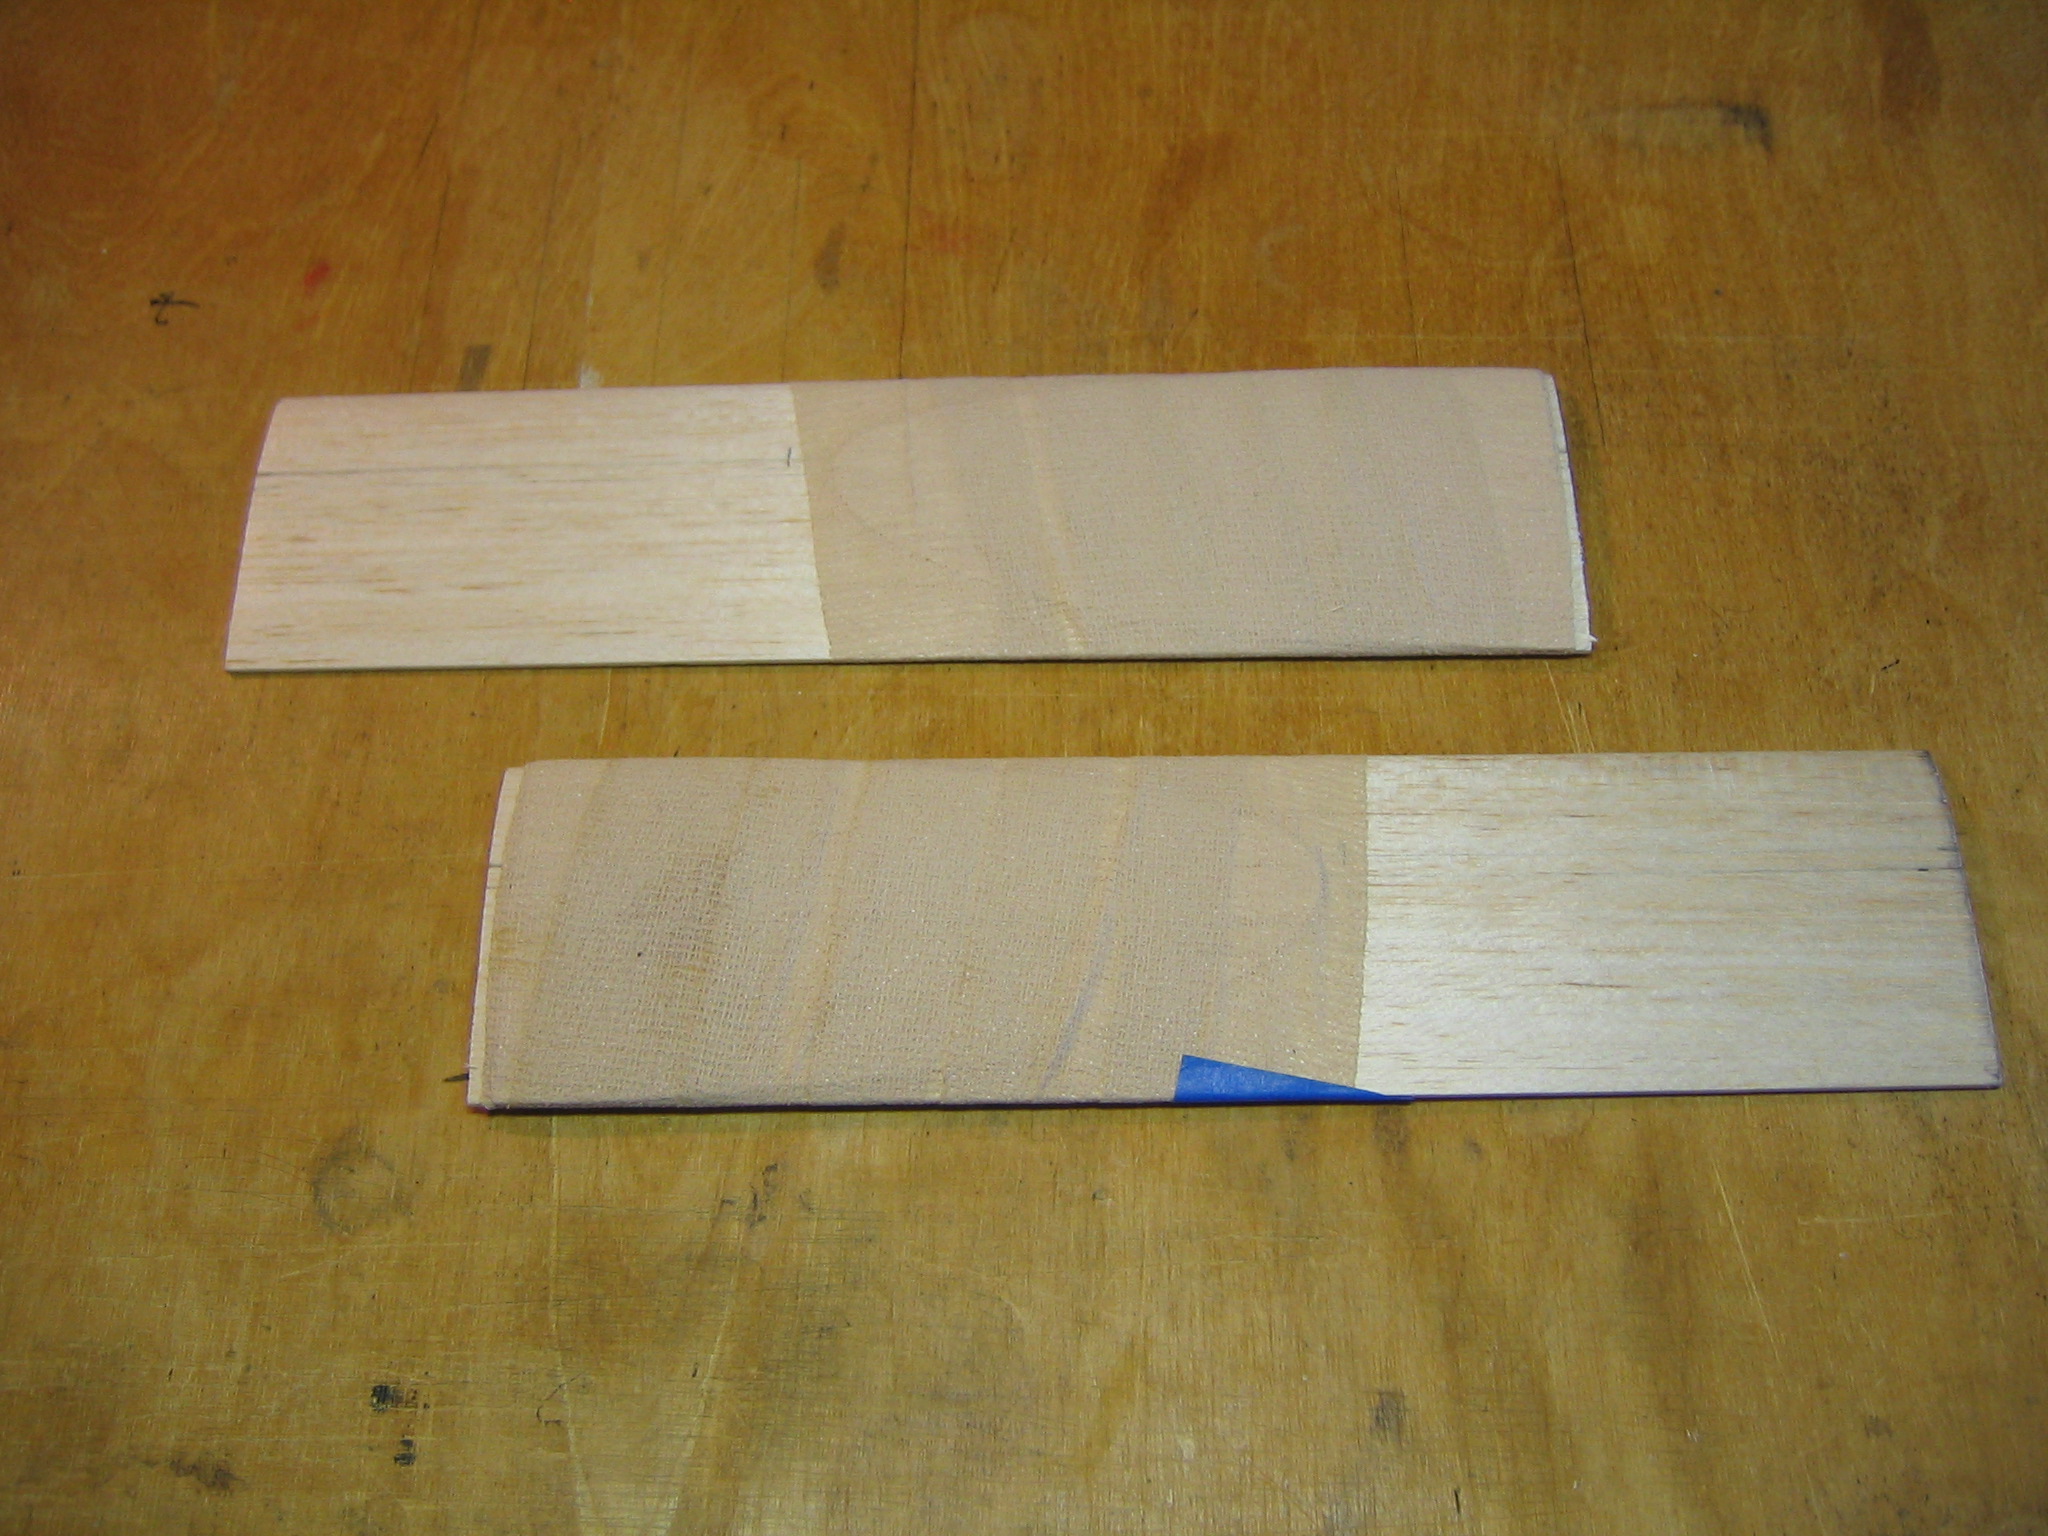
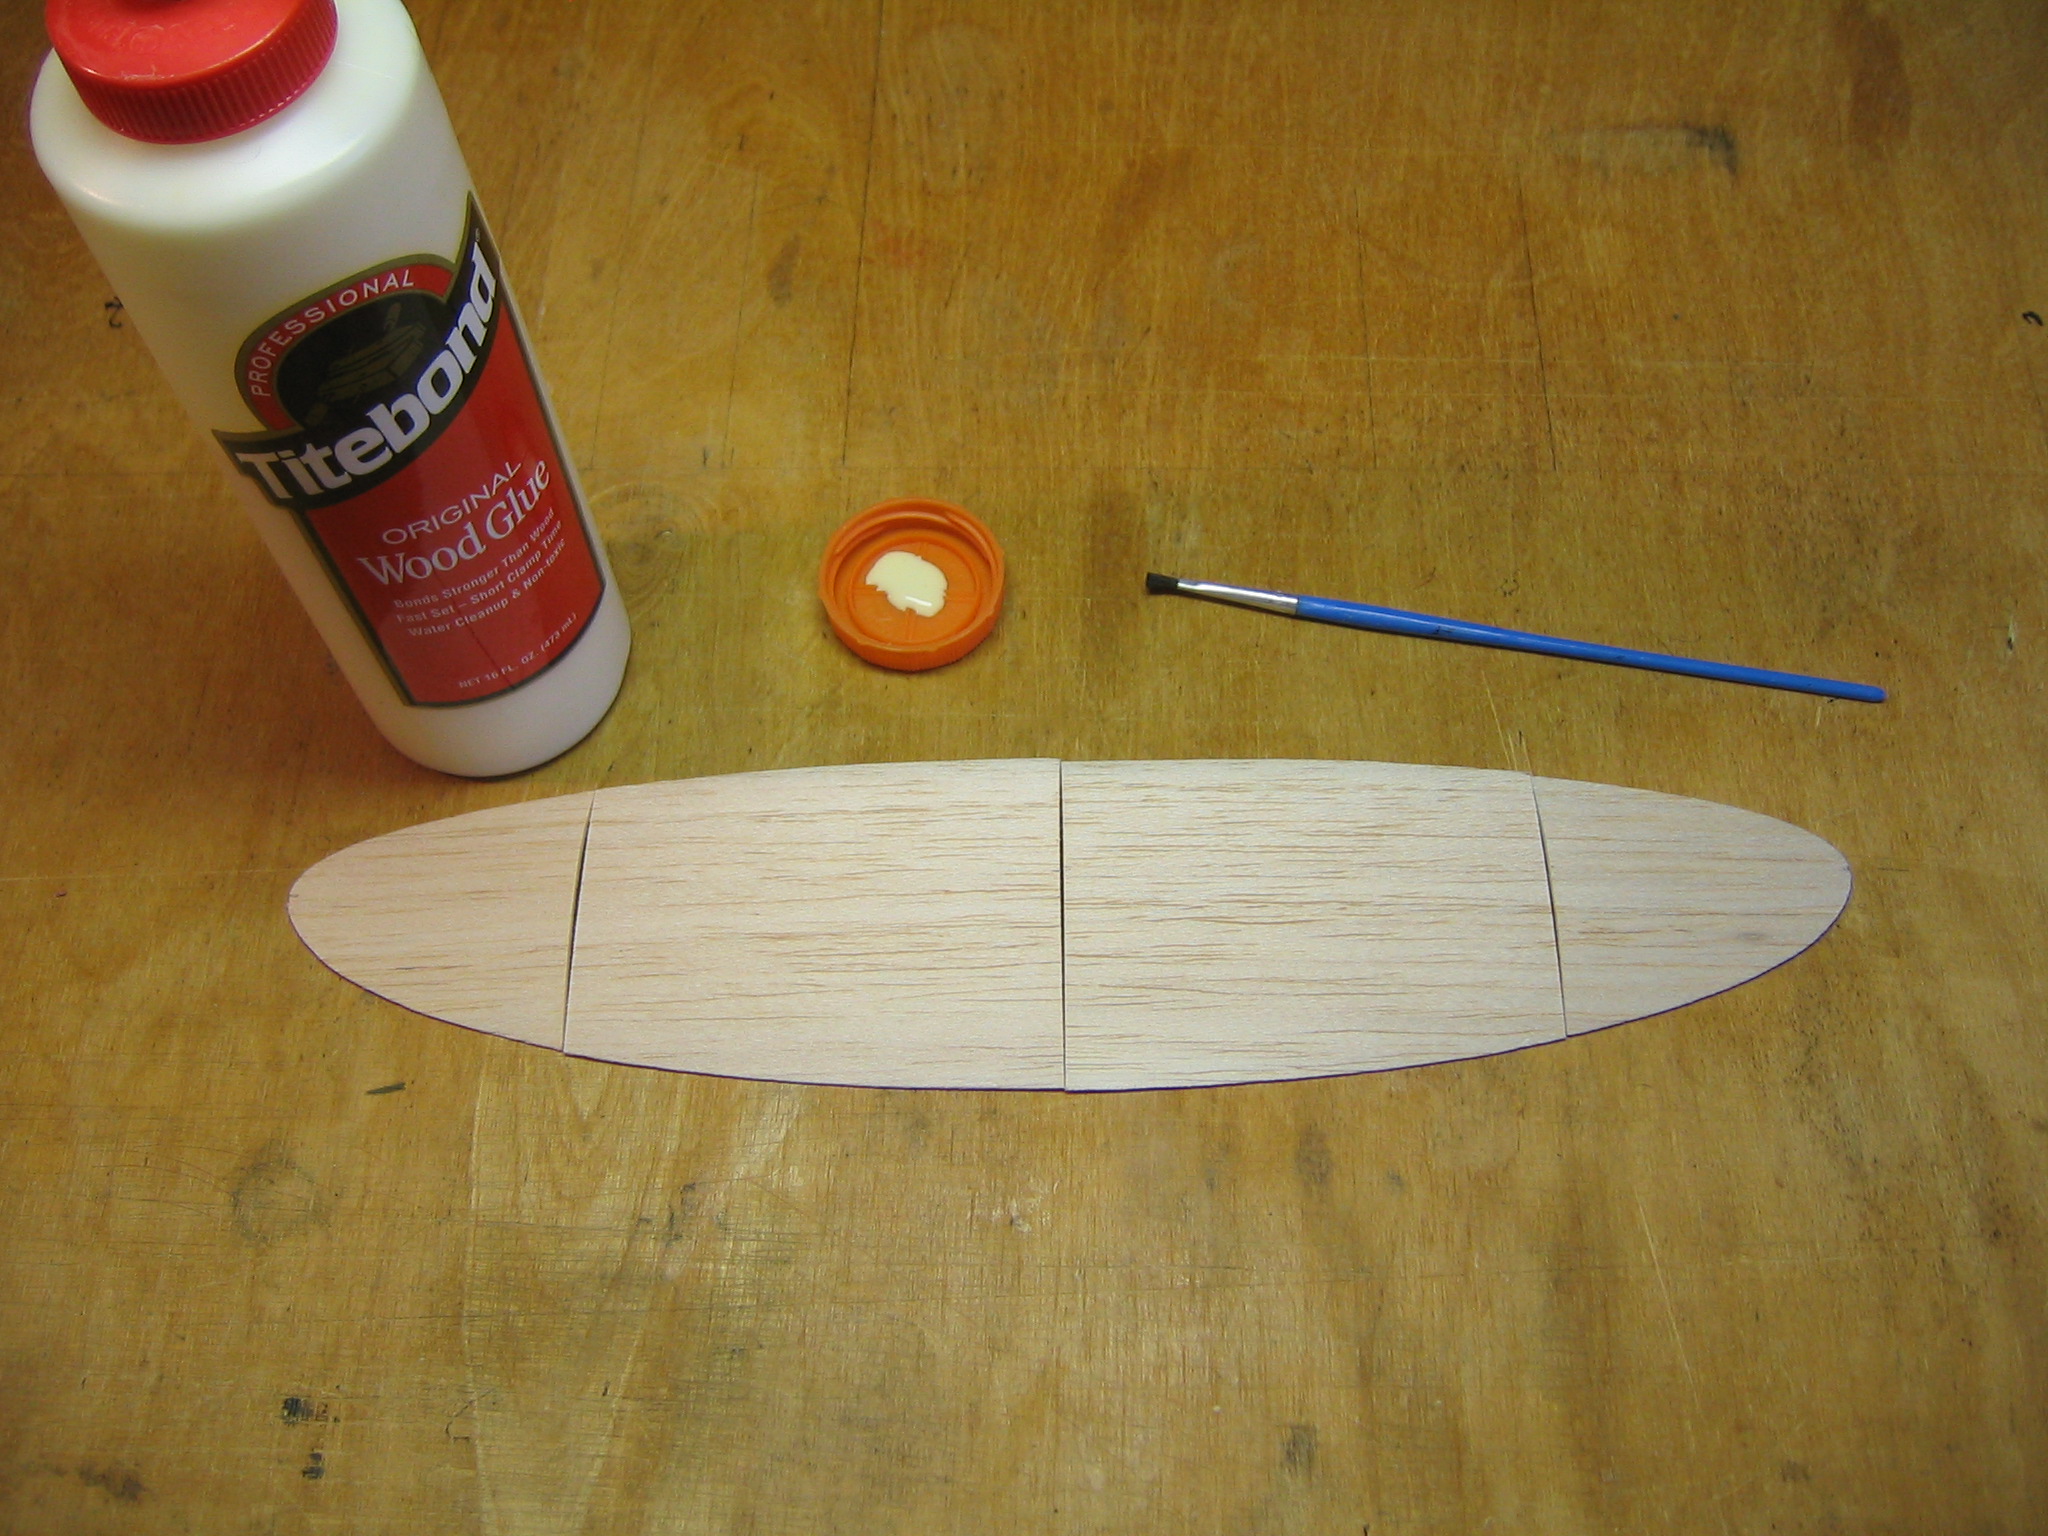
Materials required to build this plane include a 1/32″ x 3″ x 36″ sheet of medium light balsa wood (You could use 1 mm foam, but you will need to crease camber it as was done on the Sierra Nevada Special.), a 1/8″ x 1/4″ x 36″ medium balsa stick, a 1/2″ long piece of 1/8″ square medium balsa from your scrap box, or it may be cut from the leftover 1/8″ x 1/4″, a 1/16″ x 1/8″ x 3 3/4″ piece of medium hard balsa from your scrap box, a 1/2″ wide and 3″ long bit of 1/16″ medium balsa sheet from your scrap box, two stout 3/16″ dental elastics, a 6″ black plastic MPC propeller assembly, a sewing pin, about two feet of 3/32″ Tan Super Sport rubber strip and a 1/8″ O-ring. You will also need a 3/16″ x 3″ x 36″ Sig formed airfoil (In the left menu, click Building Materials & Equipment, Wood, Balsa Wood and on the catalog page click Sig Balsa Airfoil Shaped Sheets) or similar forming board, an Ace bandage and some tape.
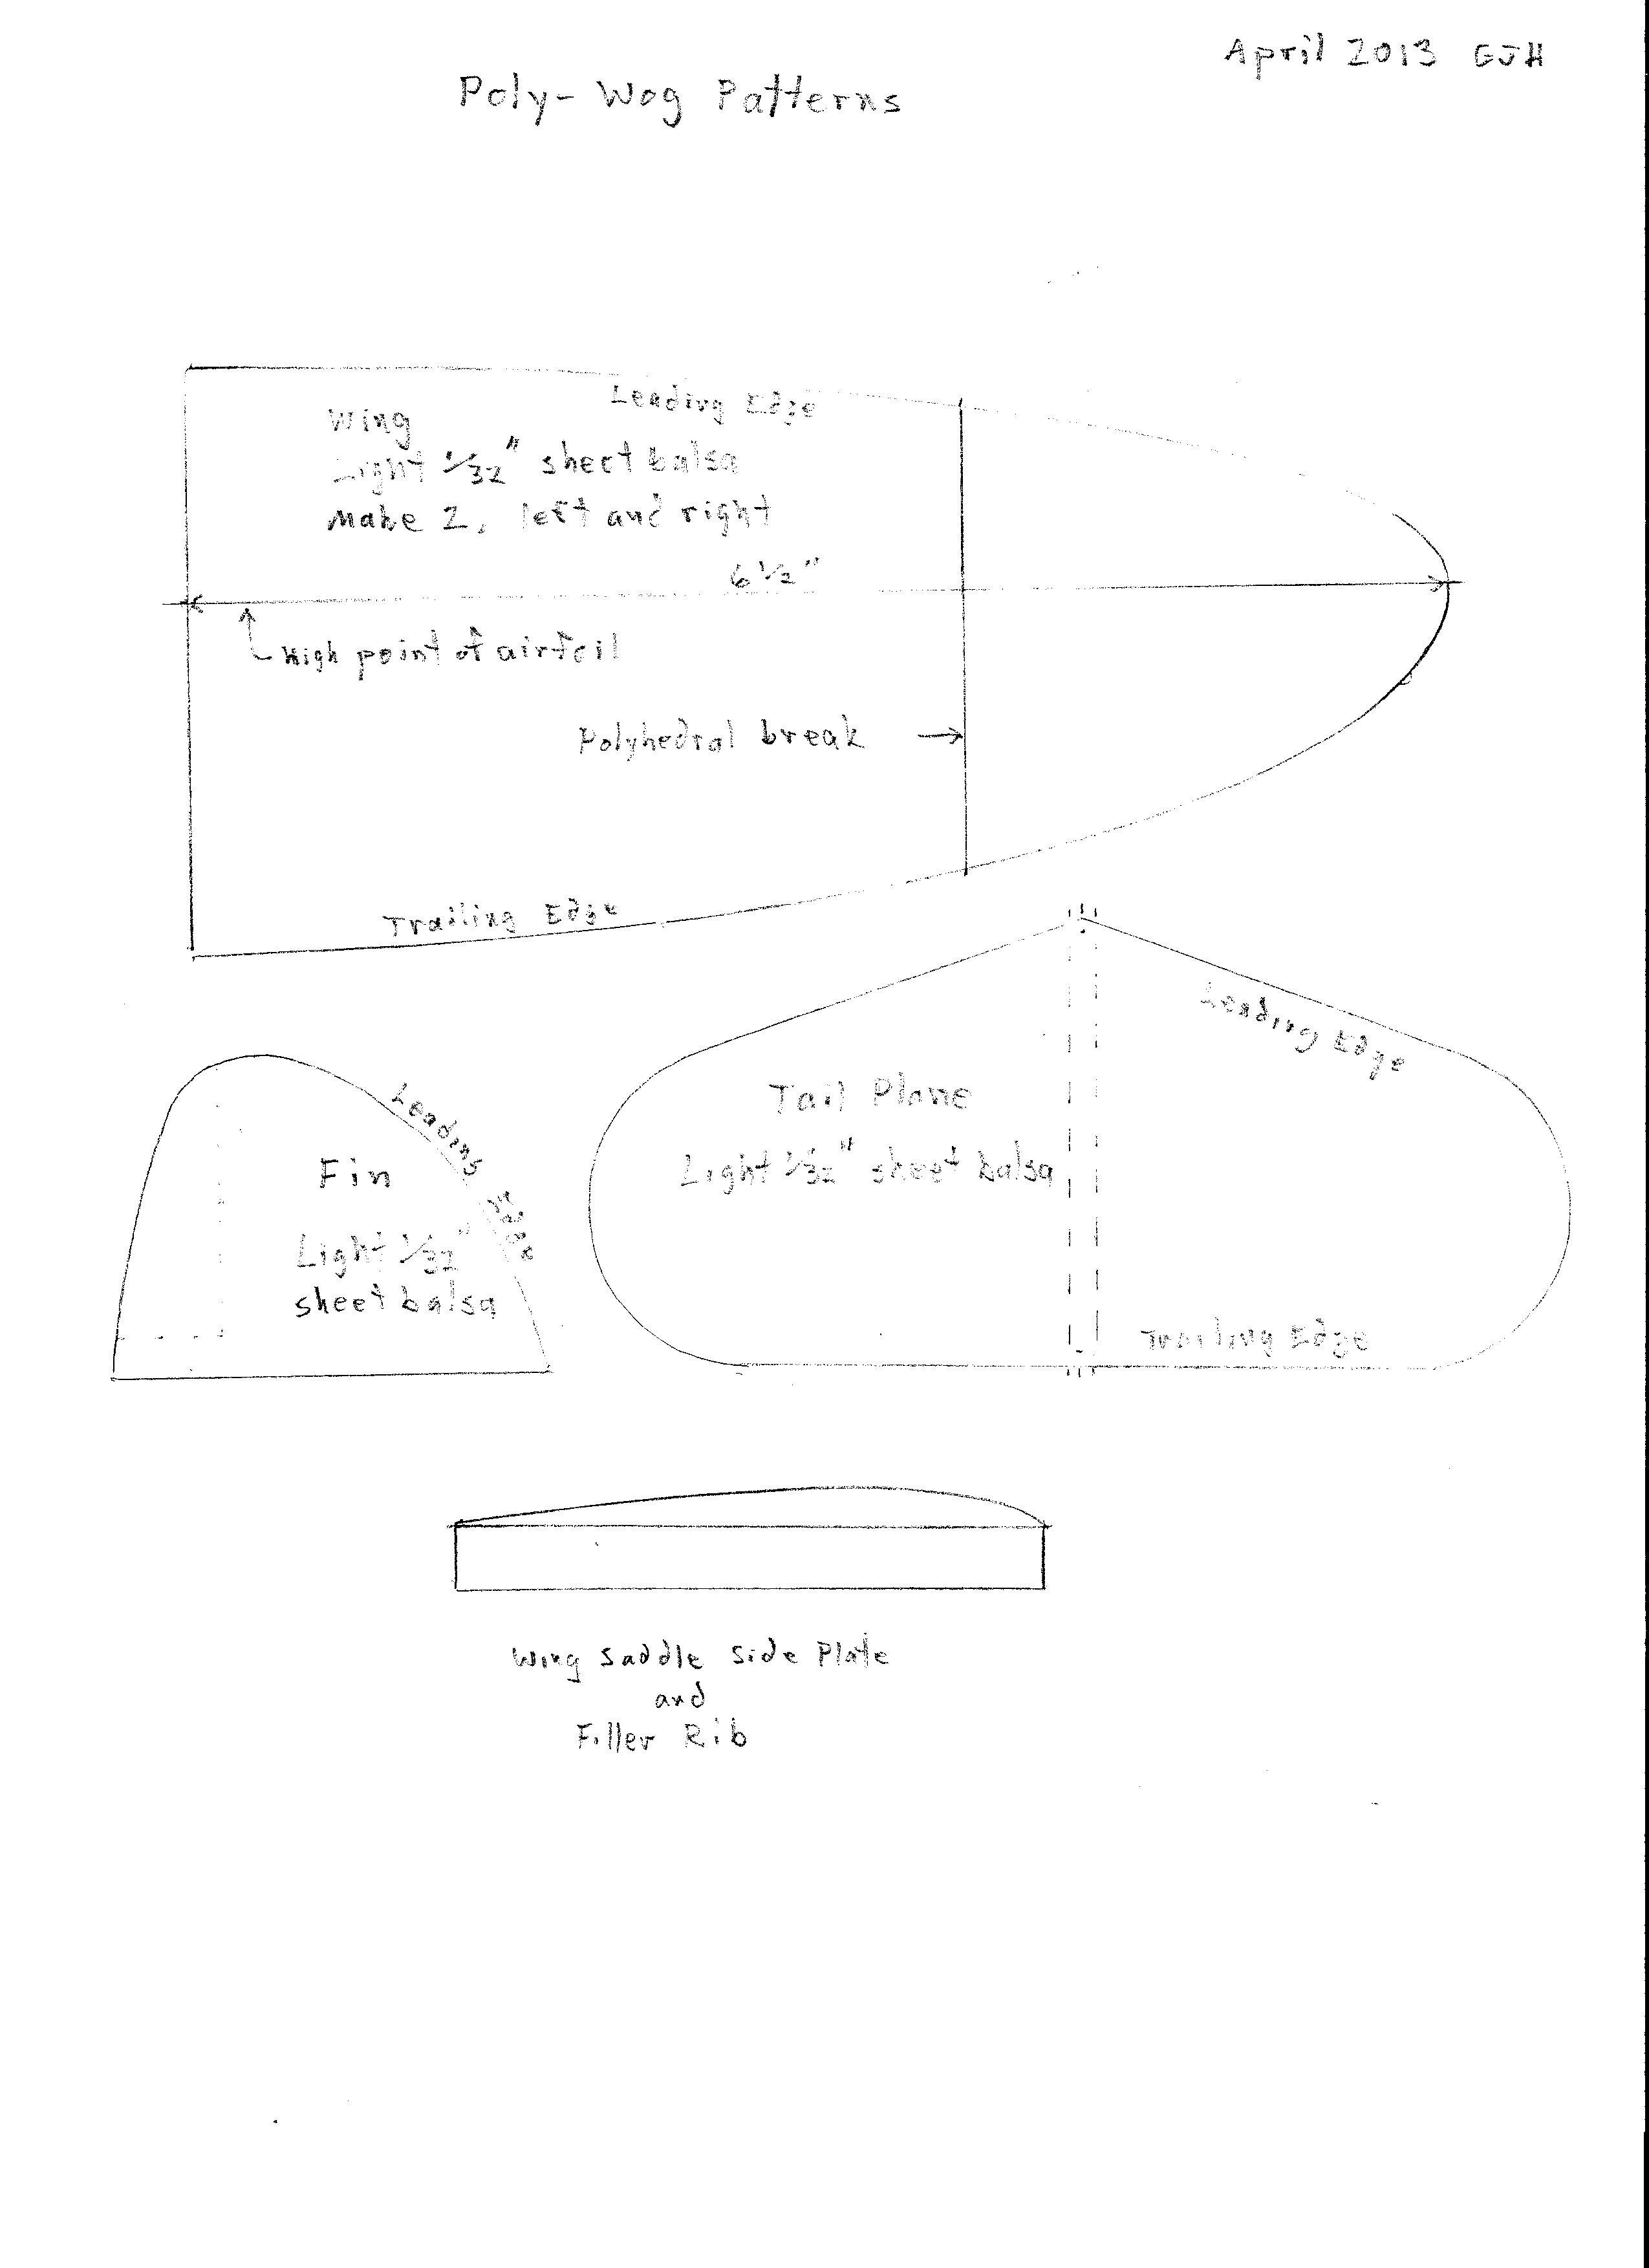
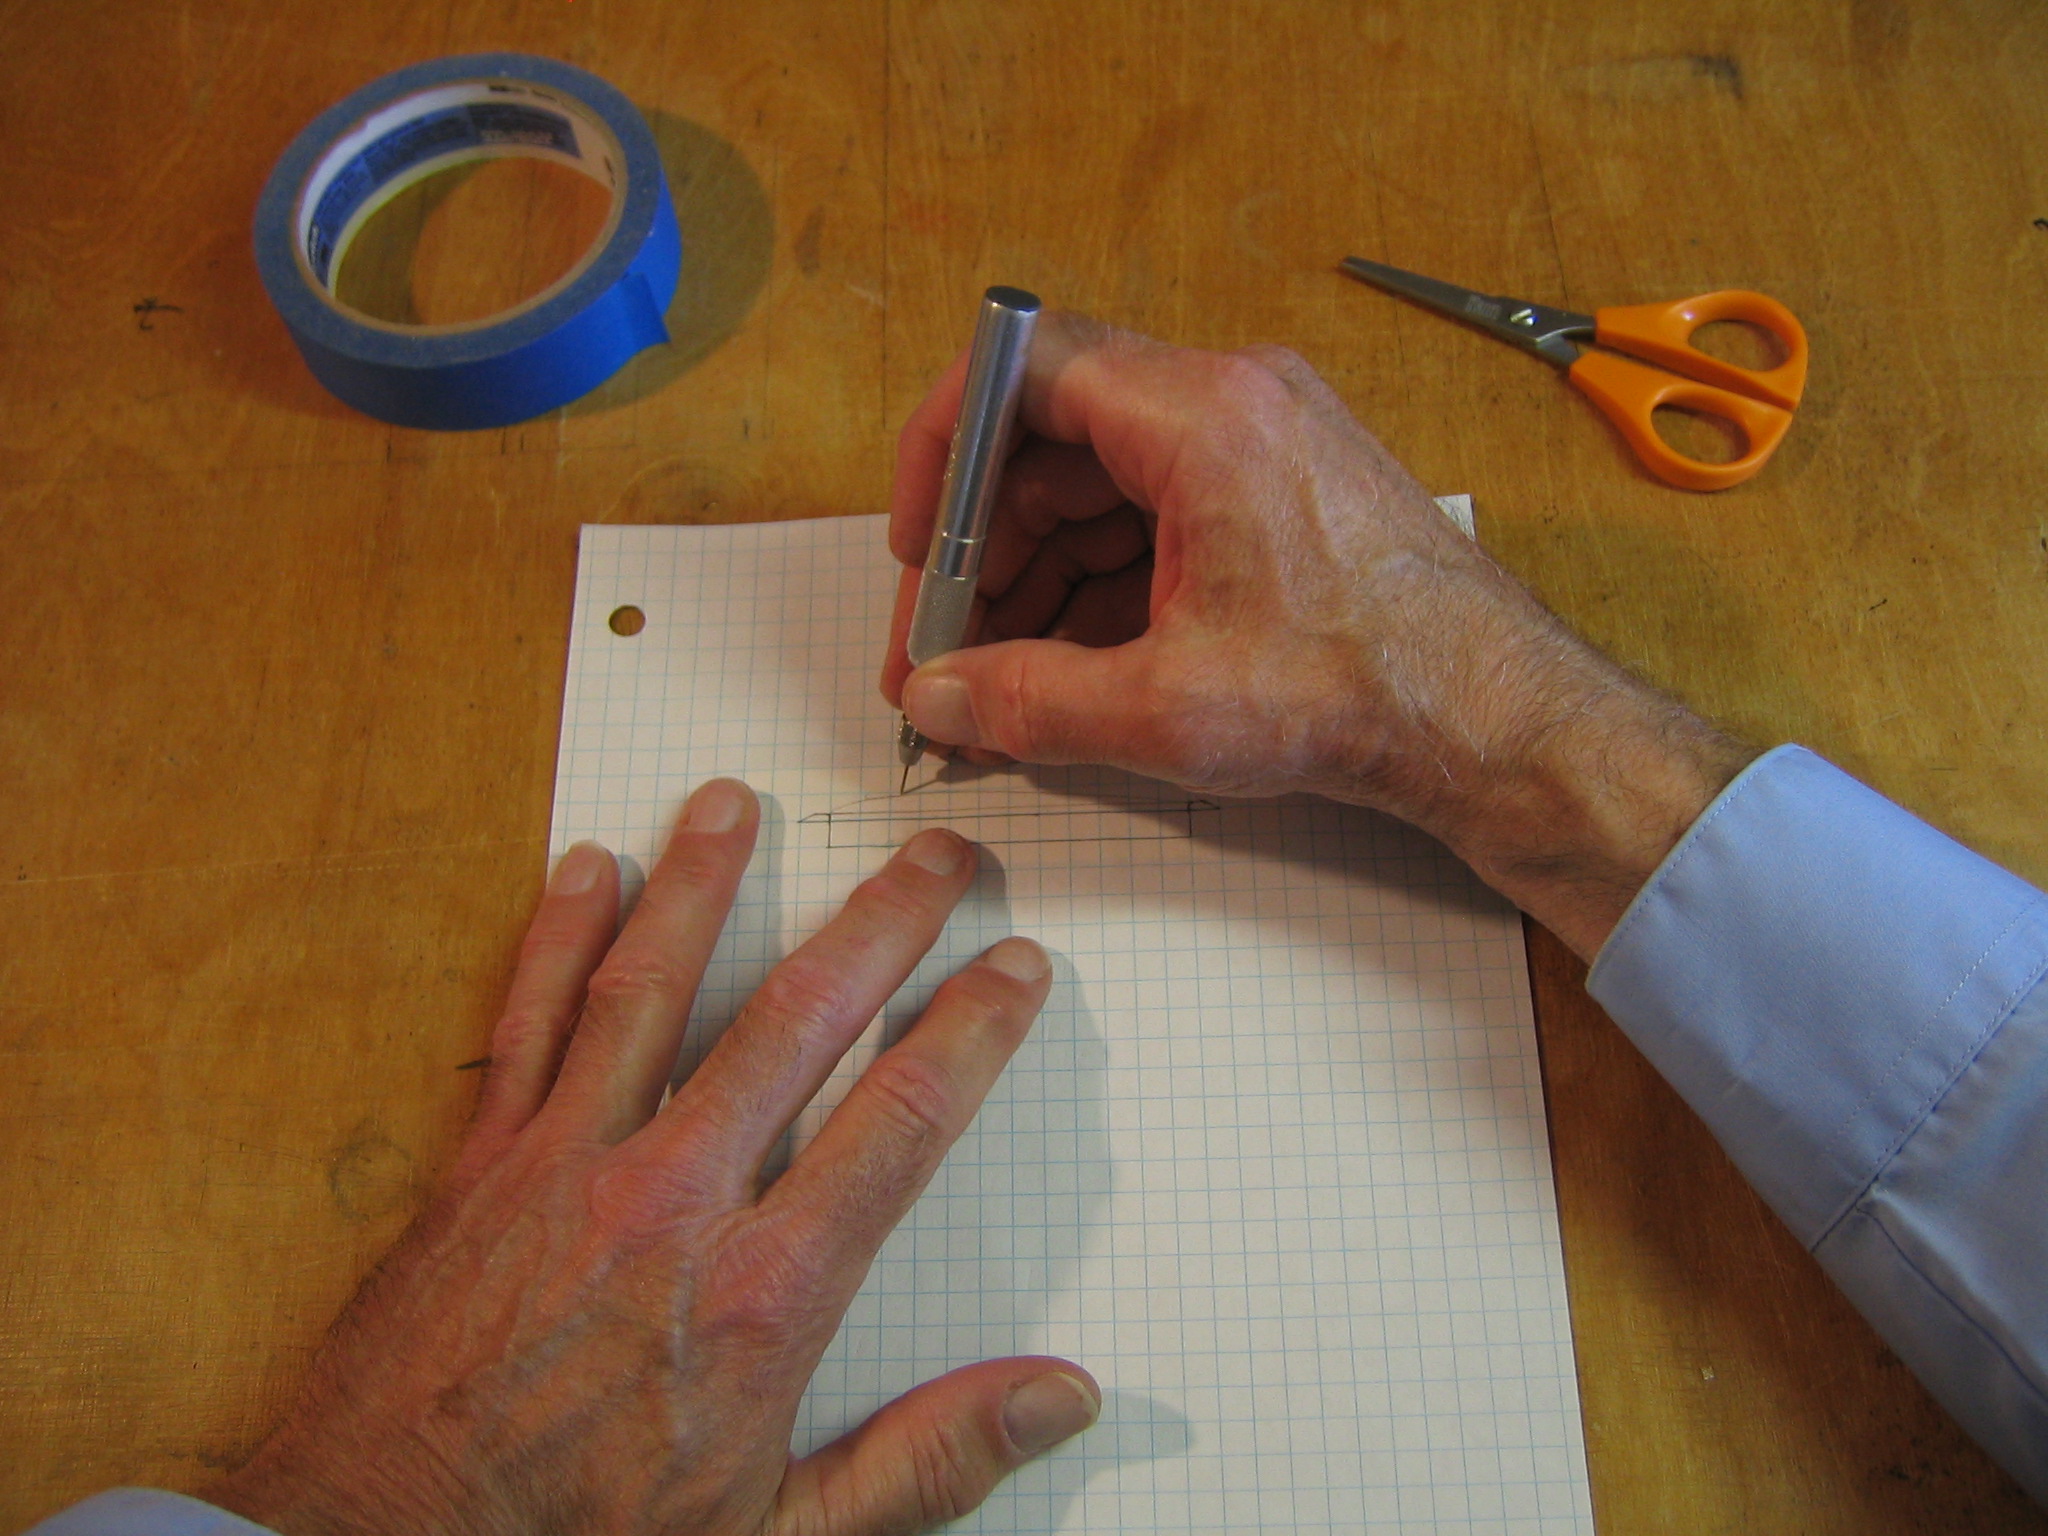
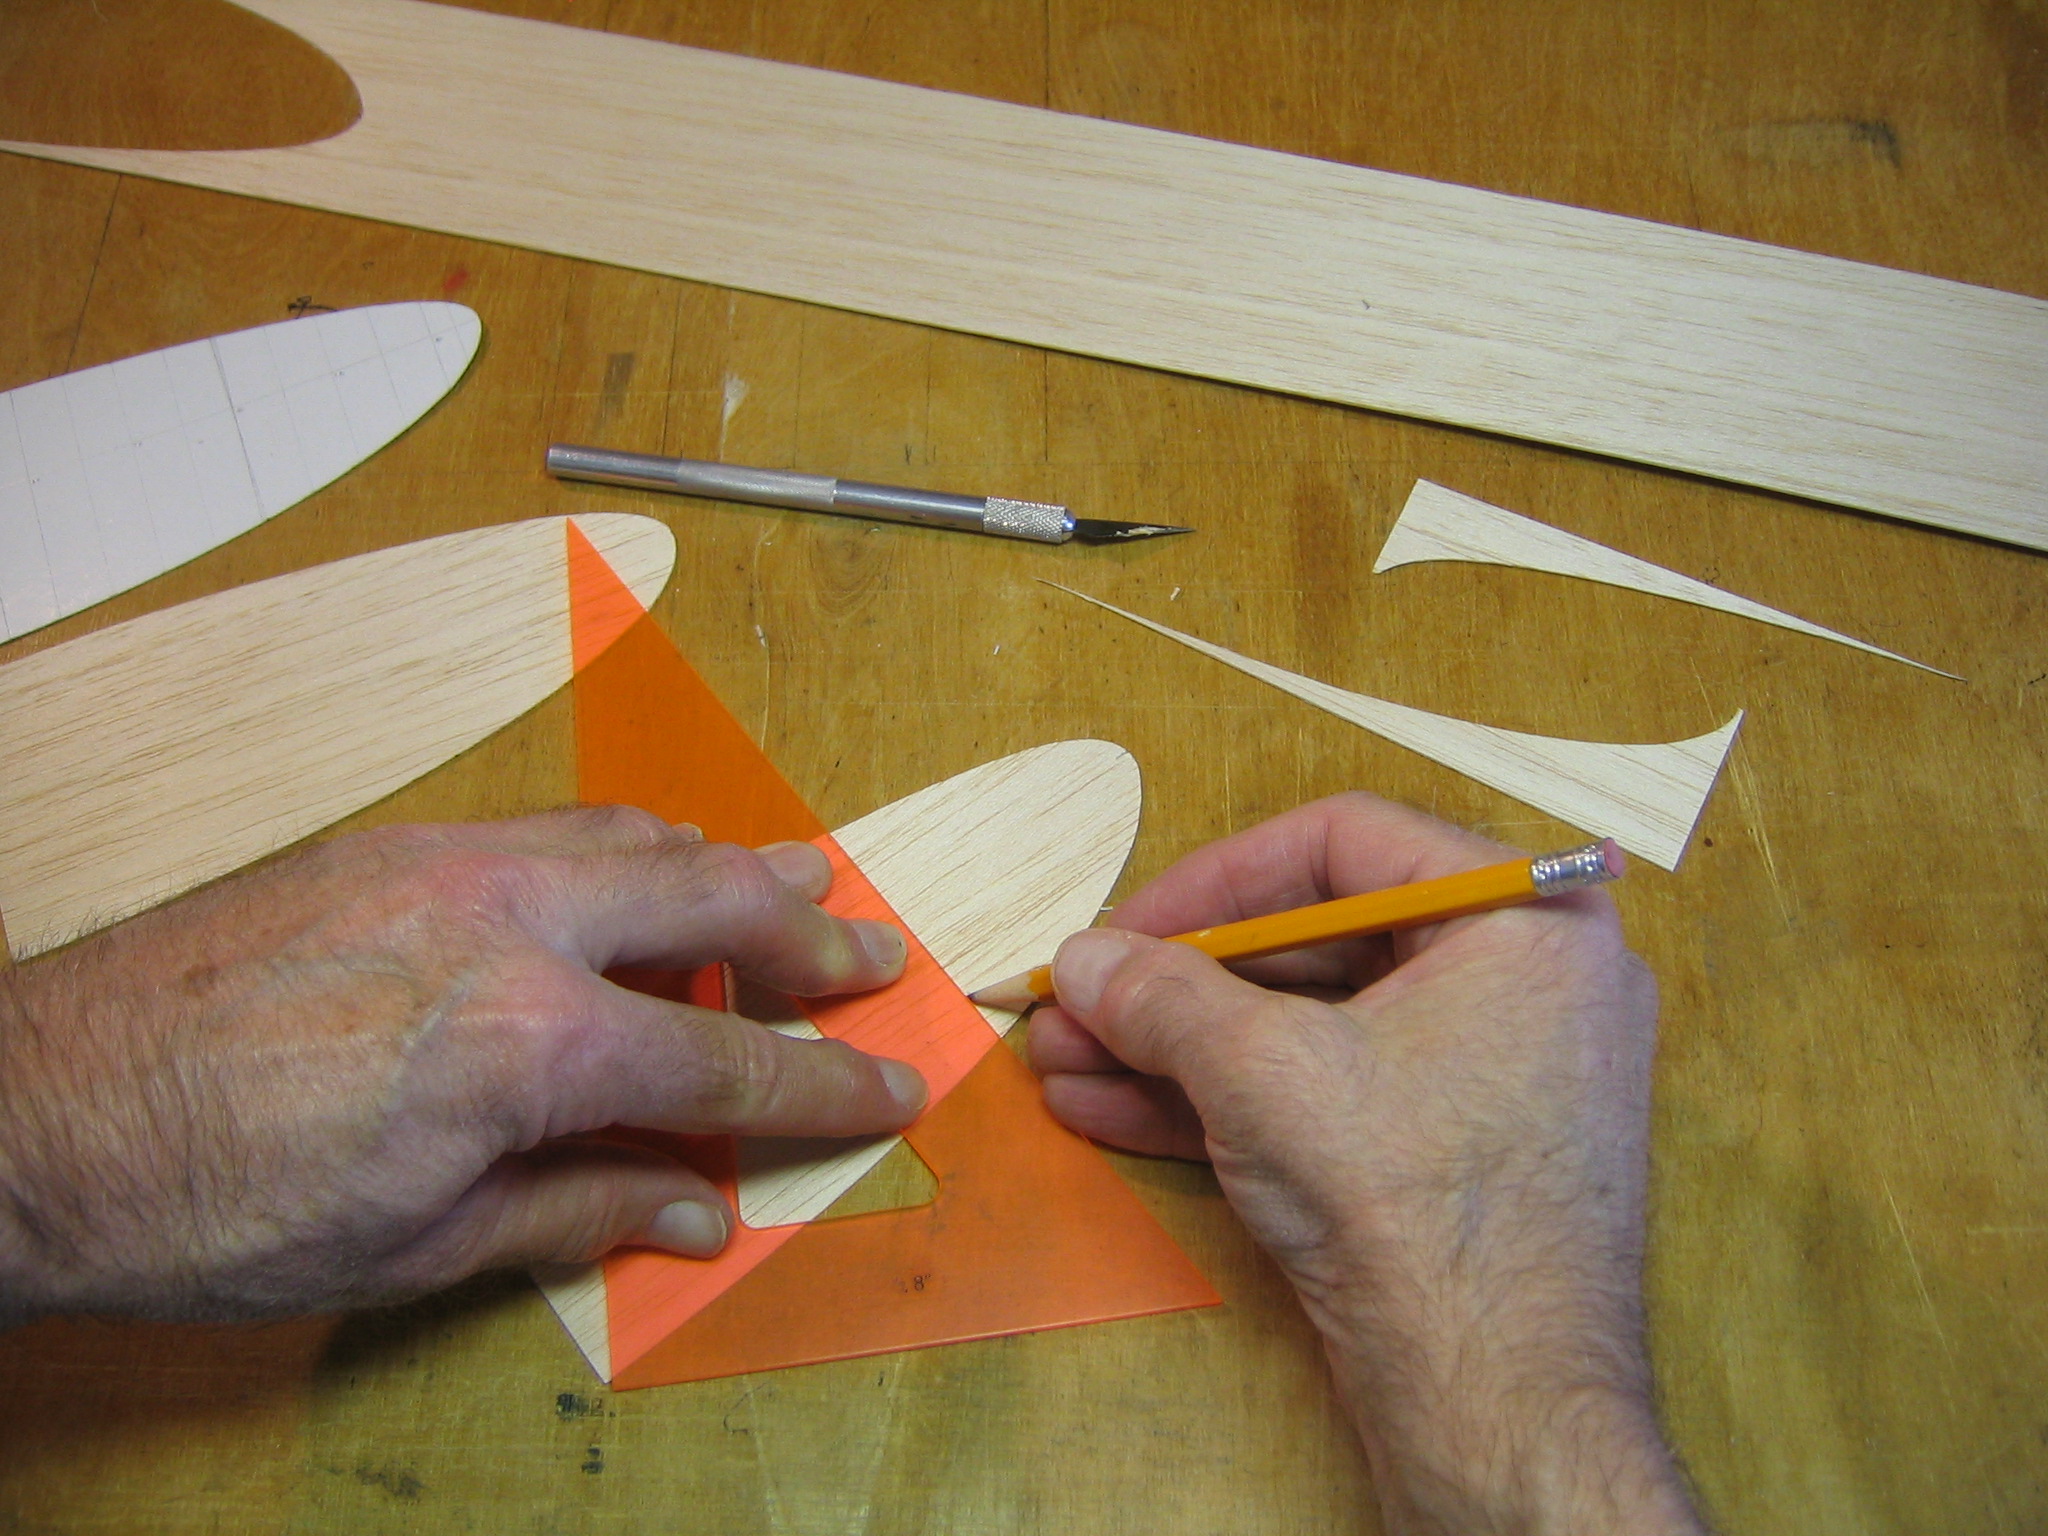
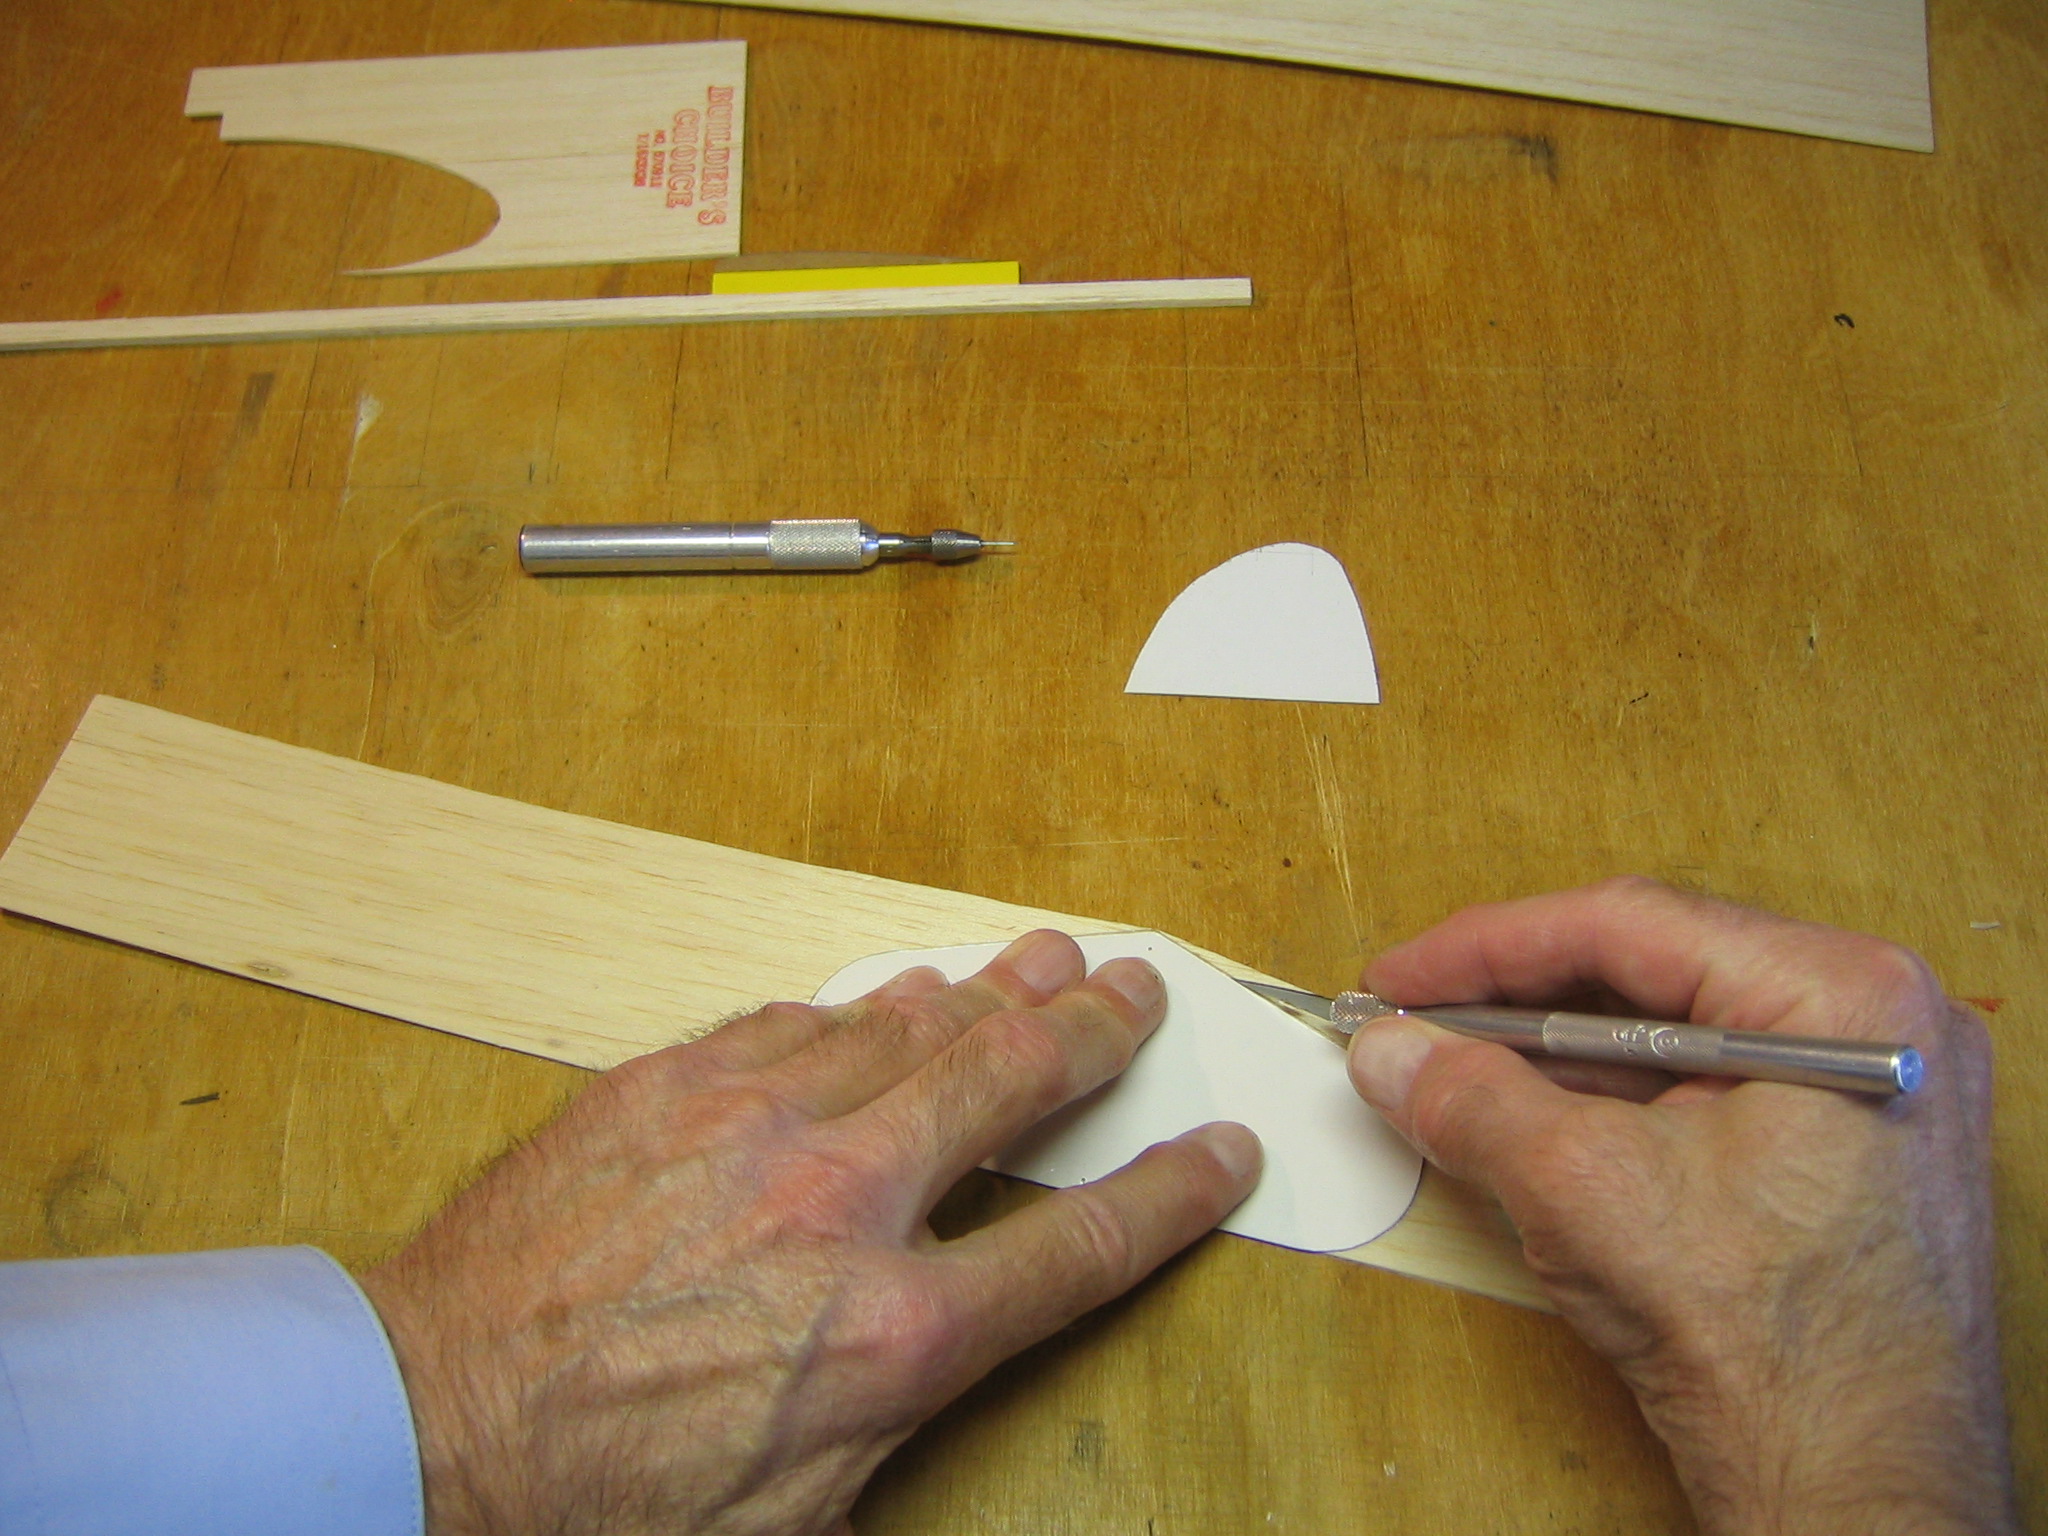
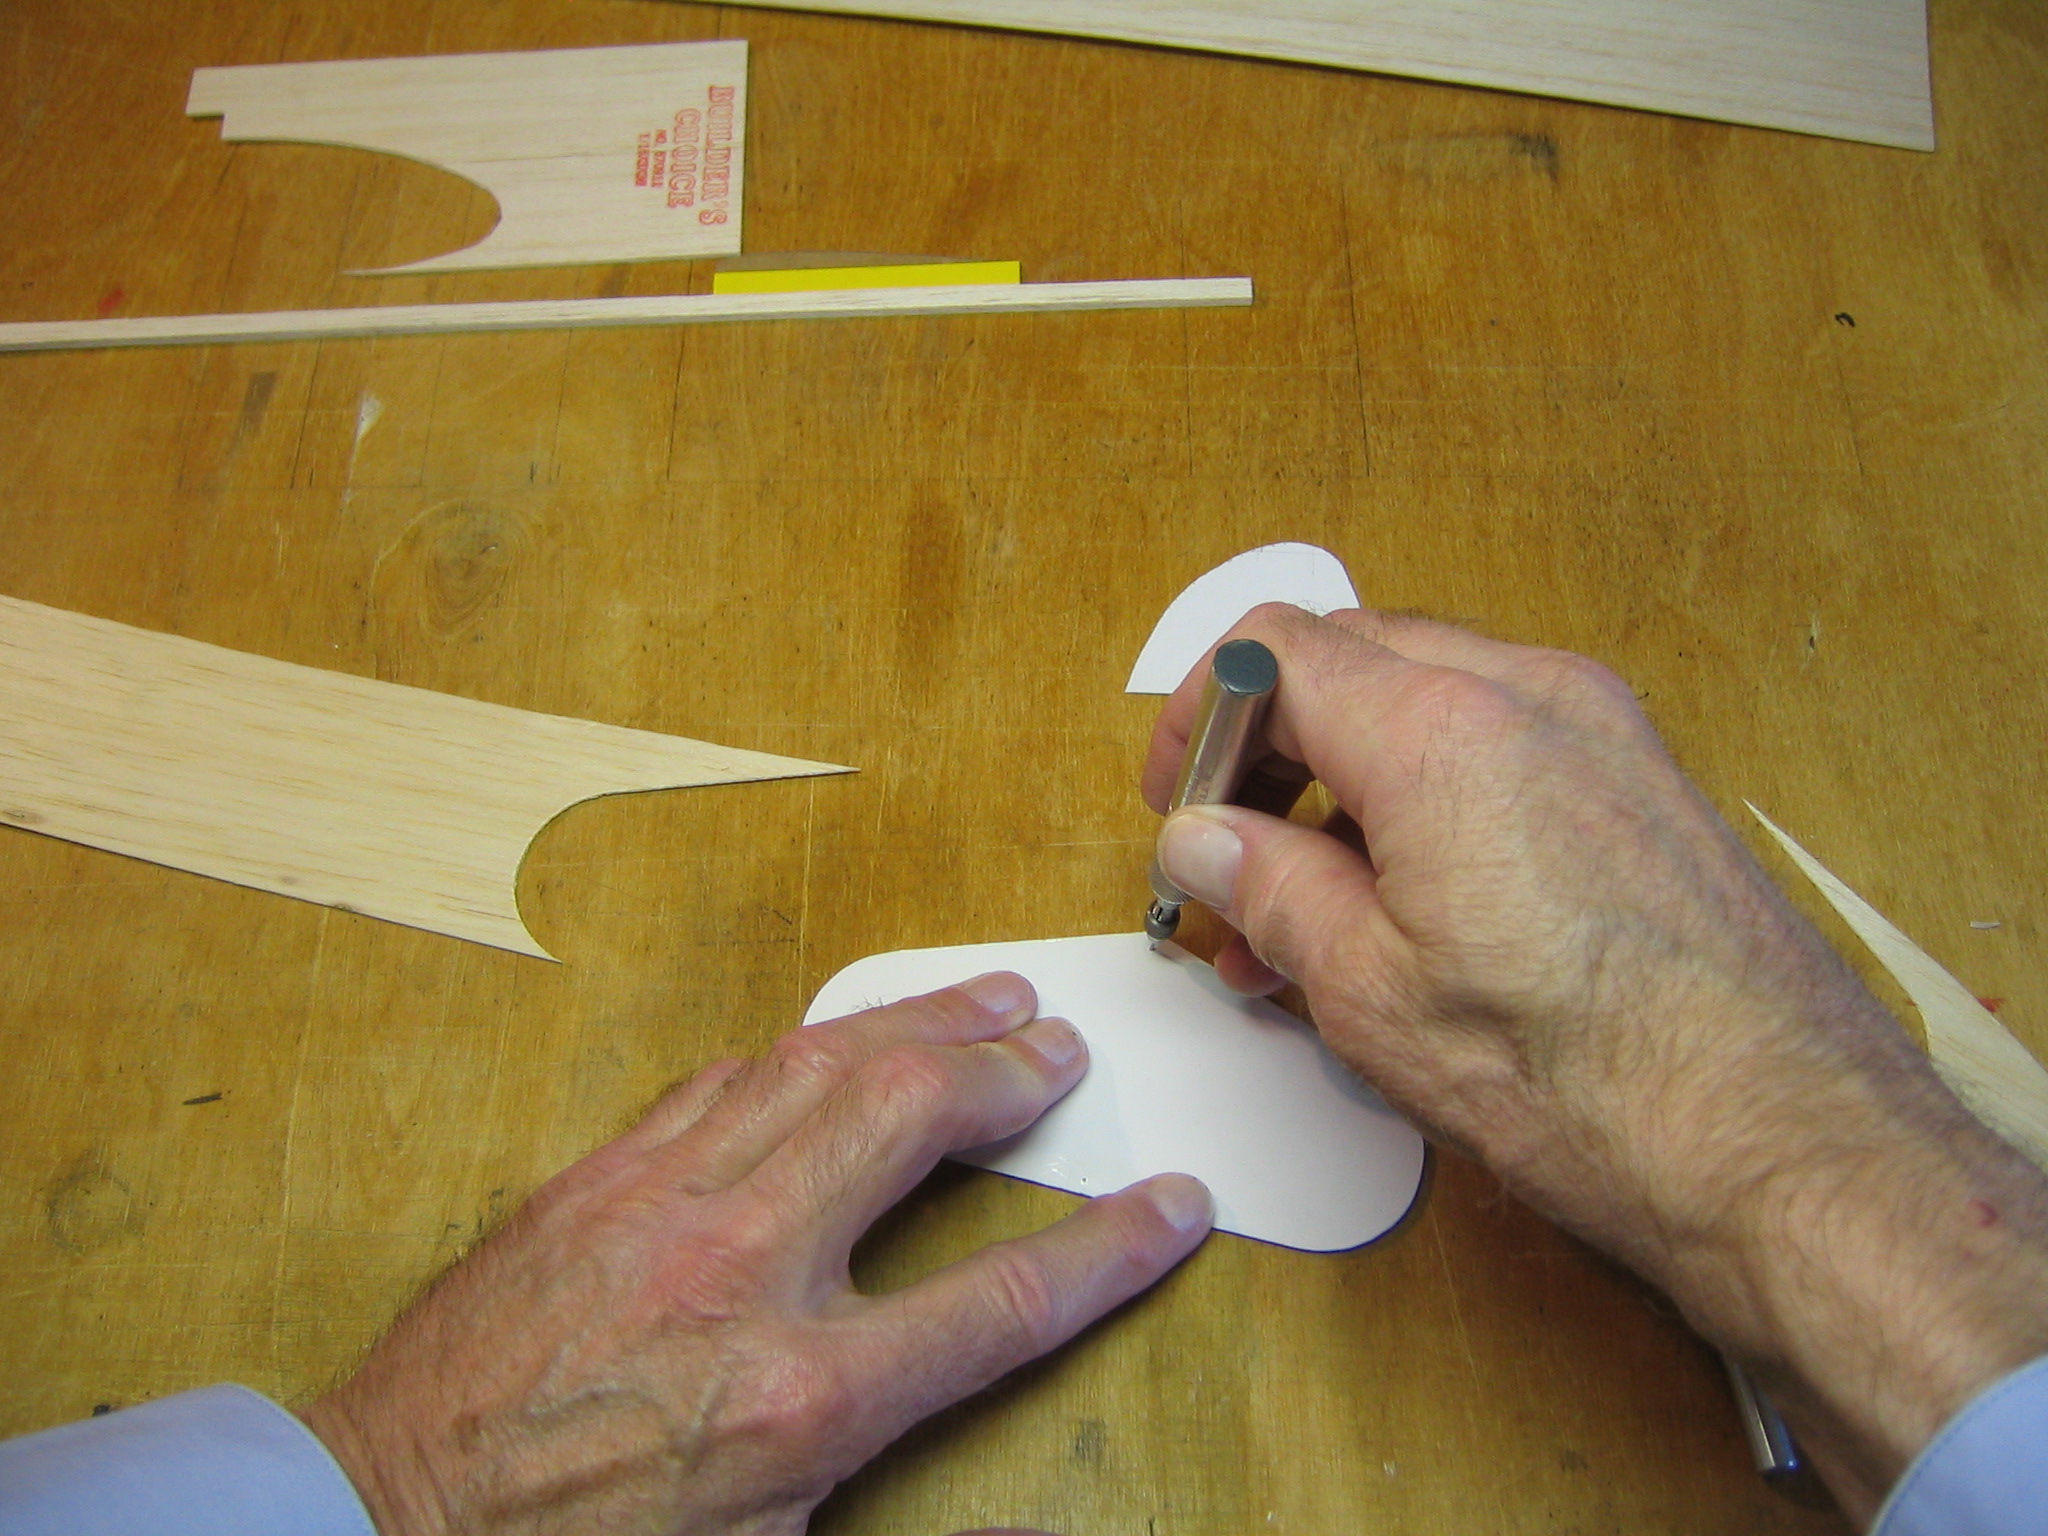
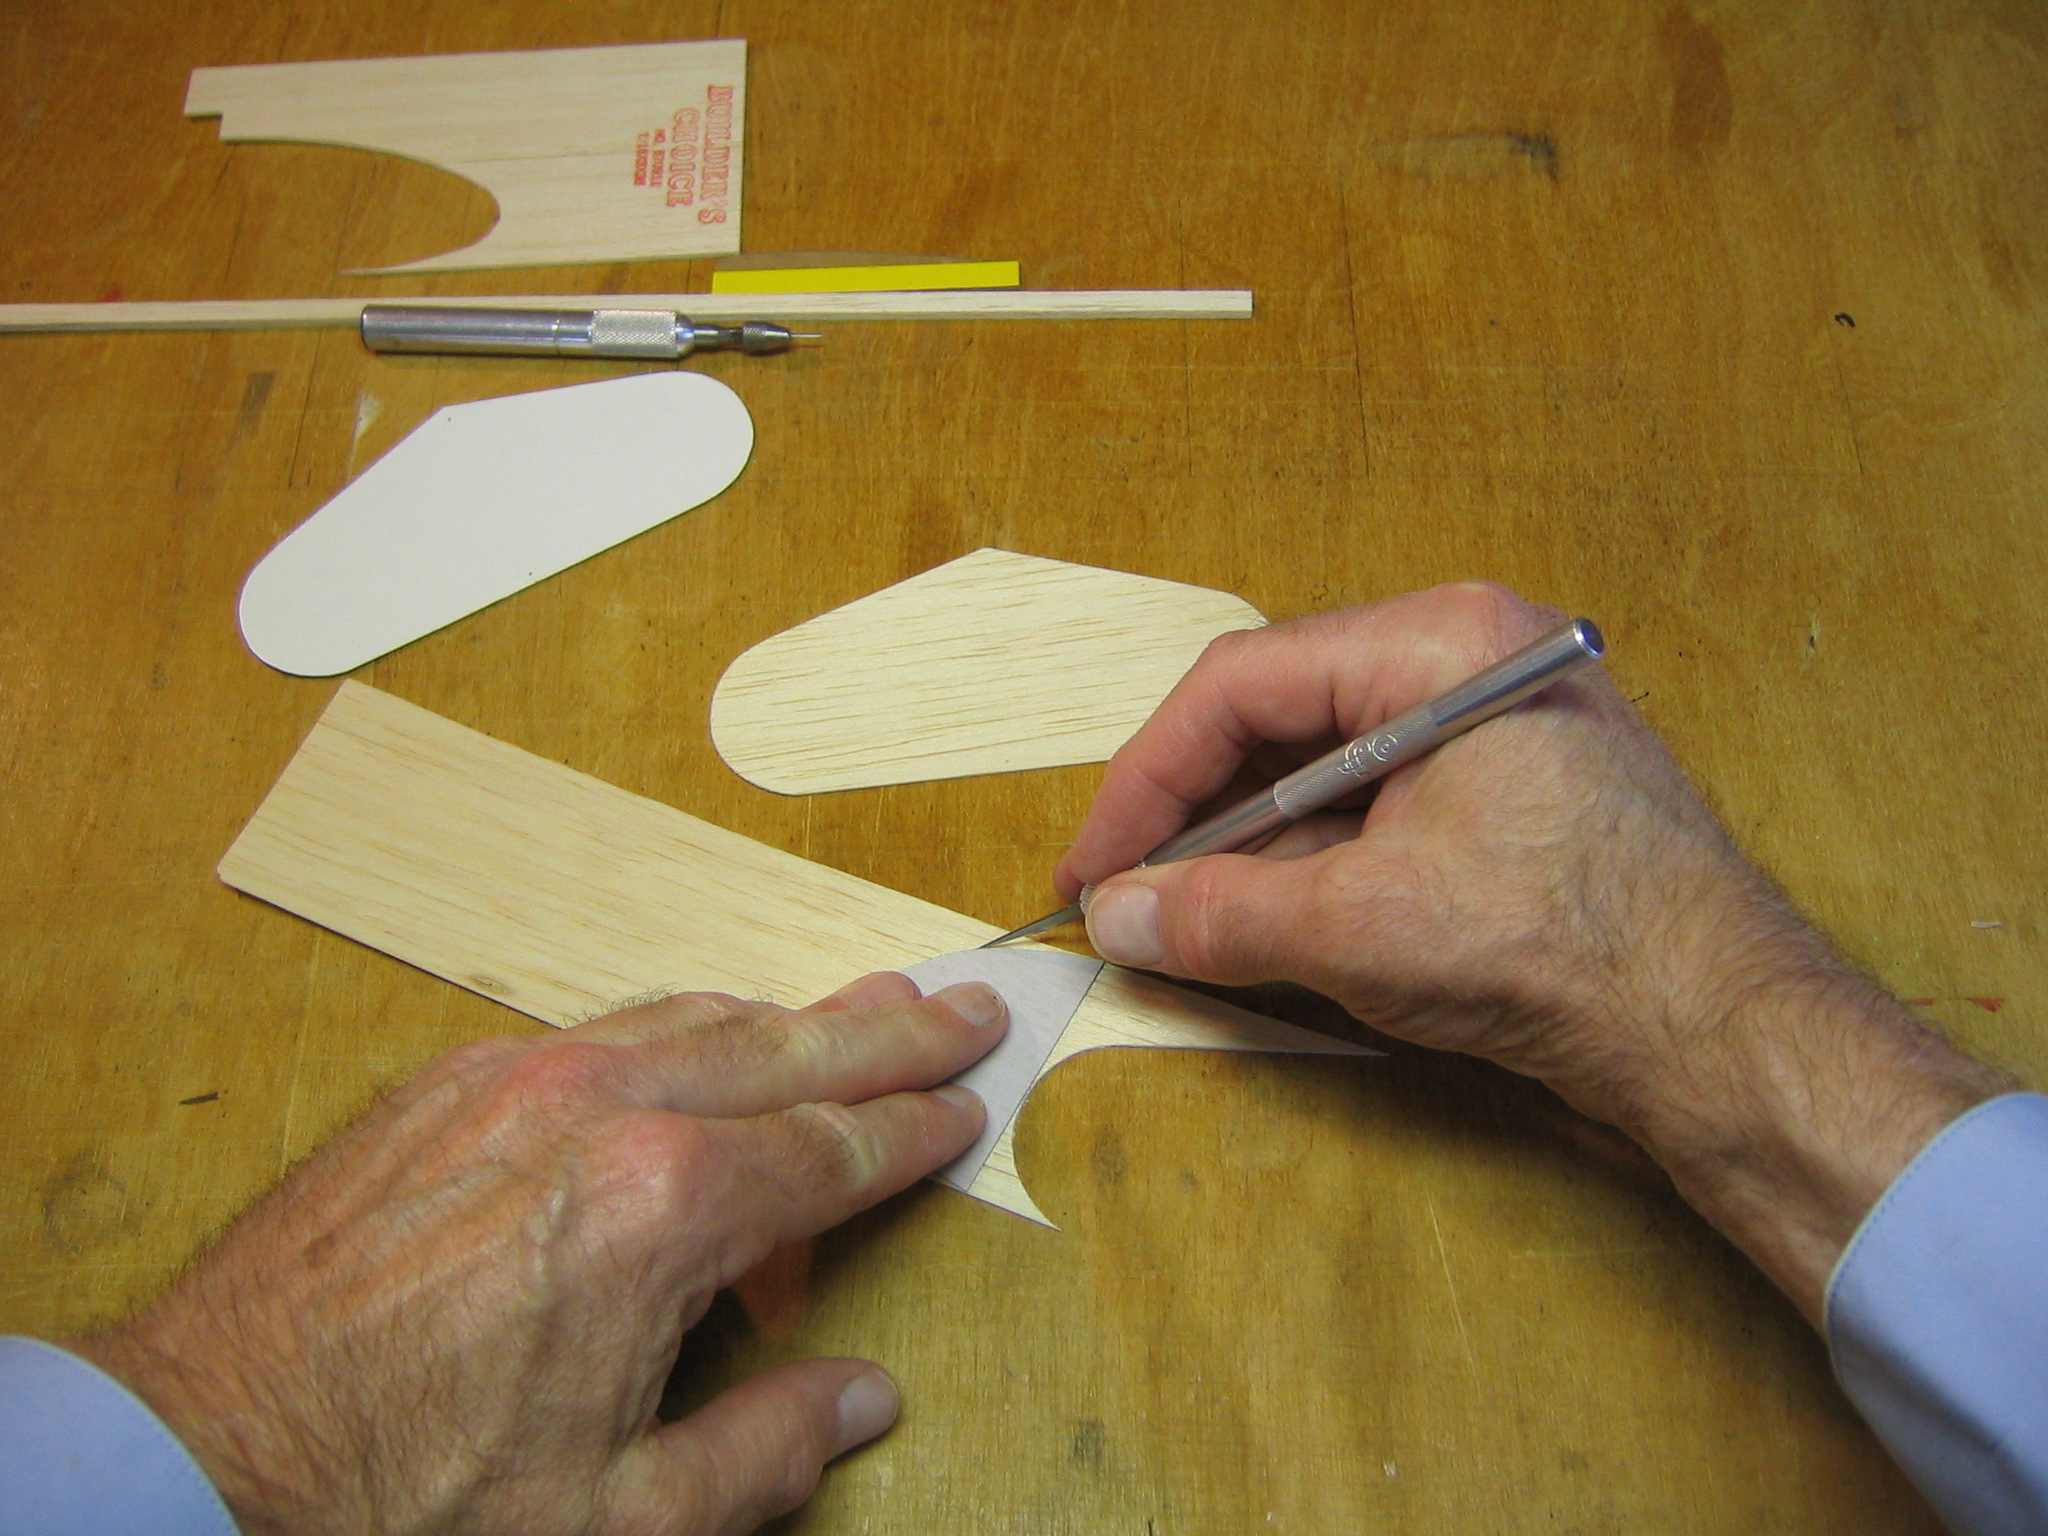
The sheet balsa parts will be cut out around cardboard patterns which must be made first. Copy and print this drawing. Adjust your printer settings to make the length of the wing panel 6 1/2″ long. Cut out the front and back of a cereal box and tape one to your work board. Tape this drawing over it. Poke through the drawing around the perimeter of the parts every 1/4″ or so with a pin to transfer the patterns. Since this drawing was traced around the cardboard patterns, you should poke your pin along the inside of the lines. Or you could cut out each part of the drawing and attach it to the cardboard with rubber cement, then cut around the pattern with scissors. Poke a pin through the drawing to mark near the ends of the lines for the camber high point and the polyhedral break on the wing and the center line of the tail plane. Draw those lines on the patterns after you cut them out.
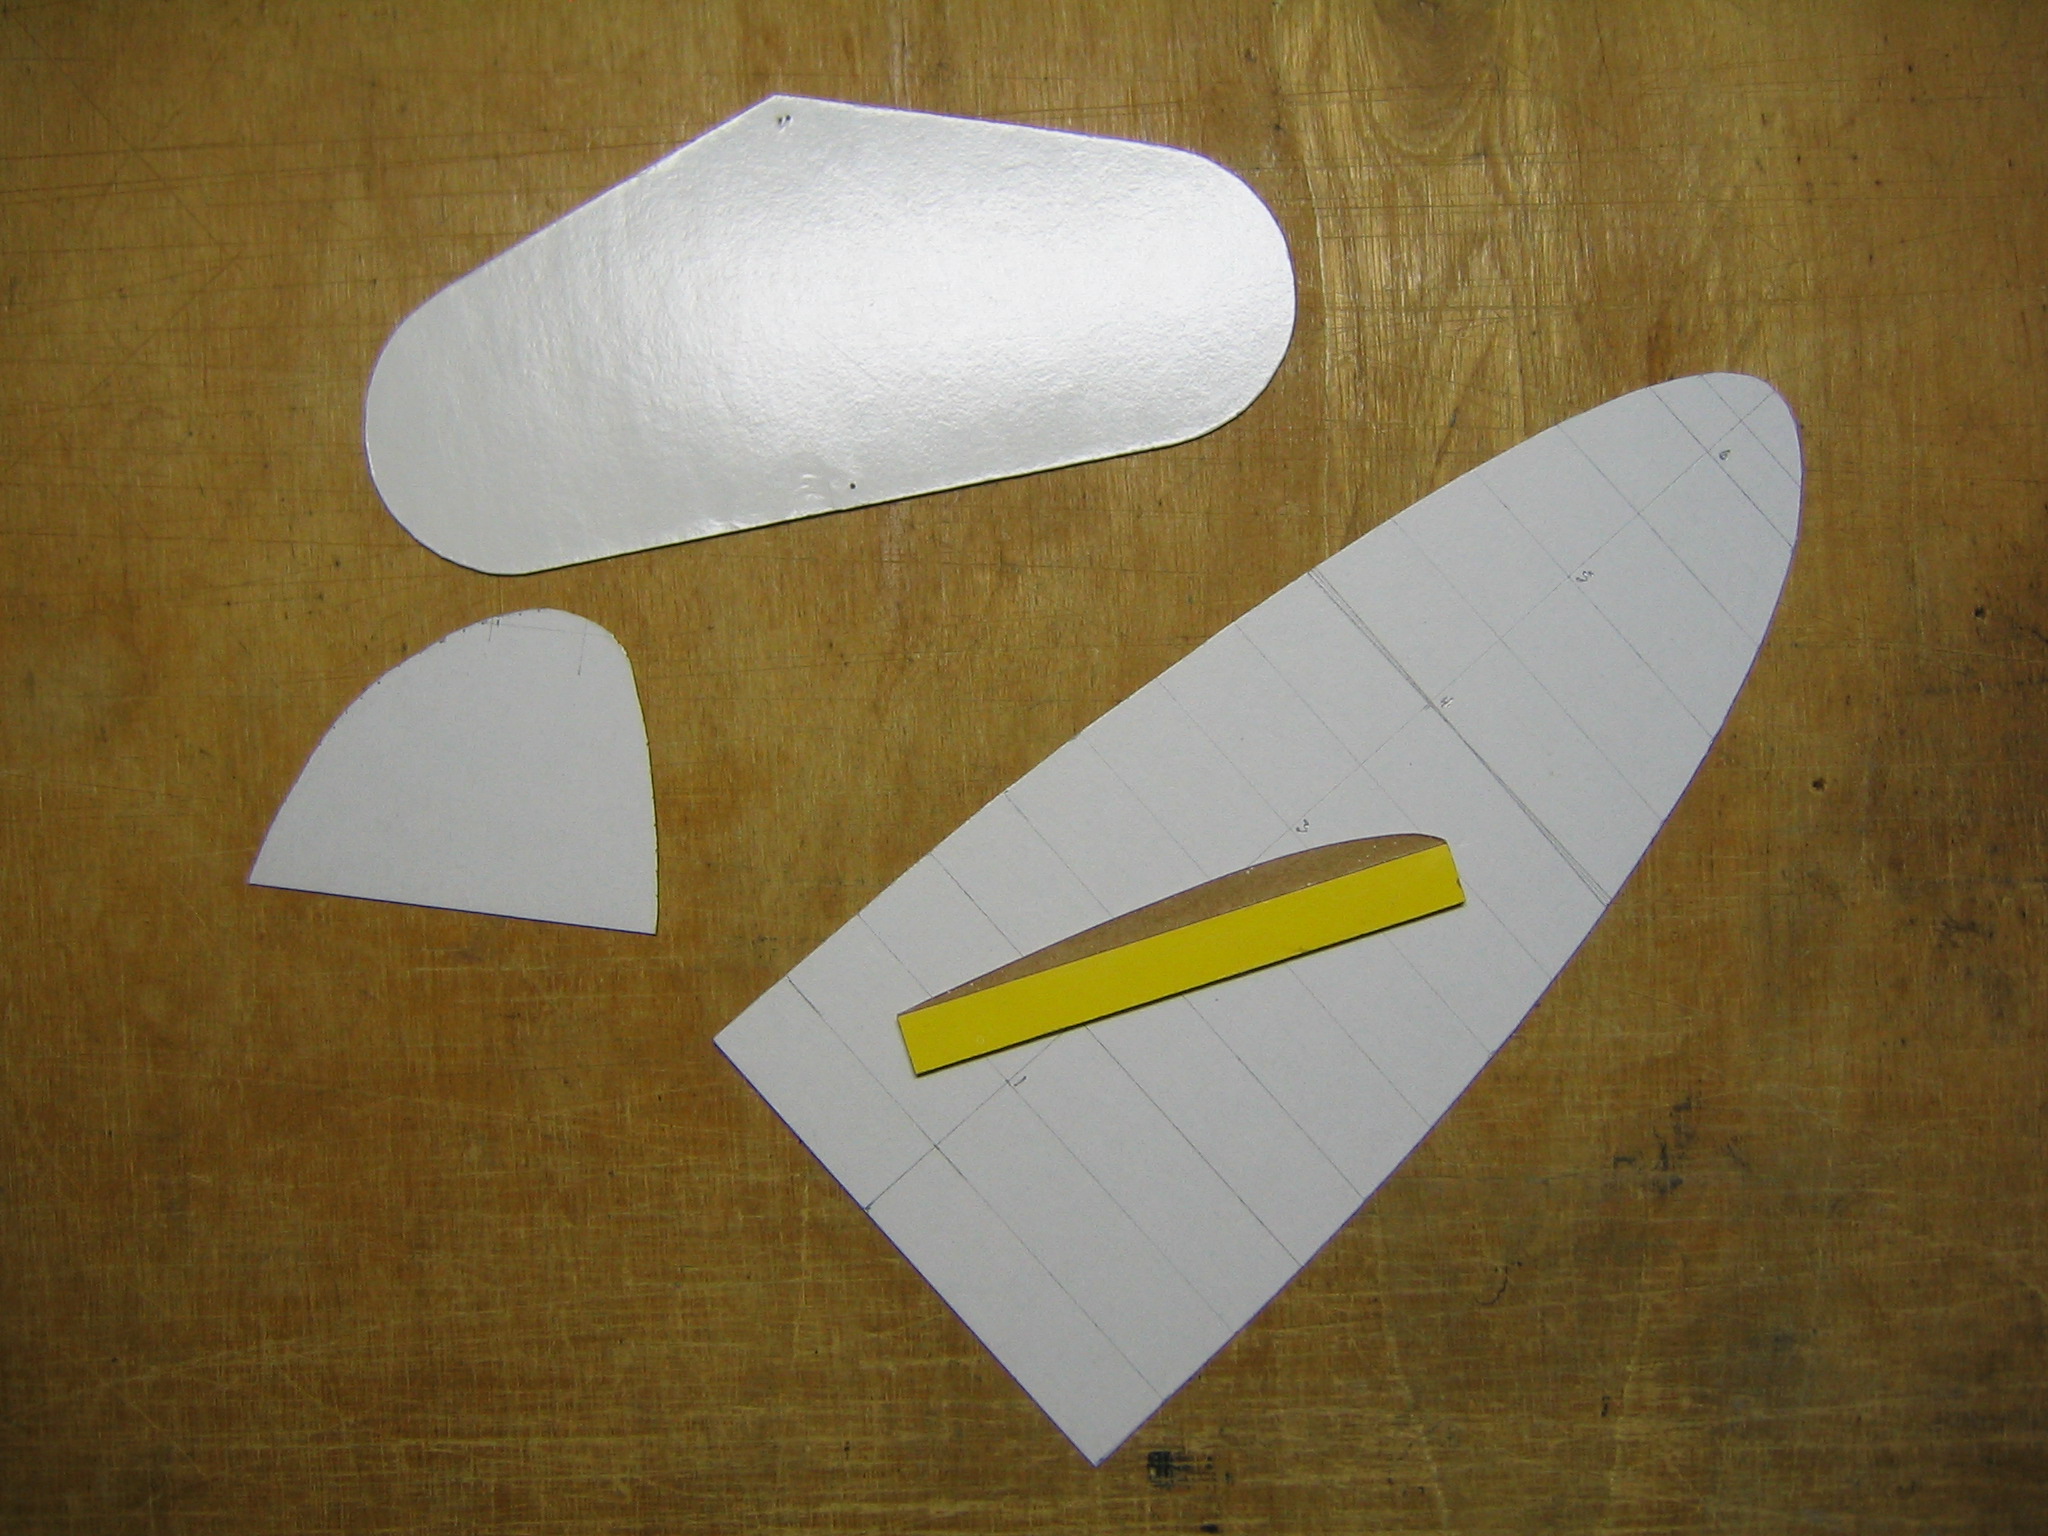
When you finish, you will have four patterns like these. Notice that the side plate and filler rib template is made from two pieces glued together. That deserves a little explanation.
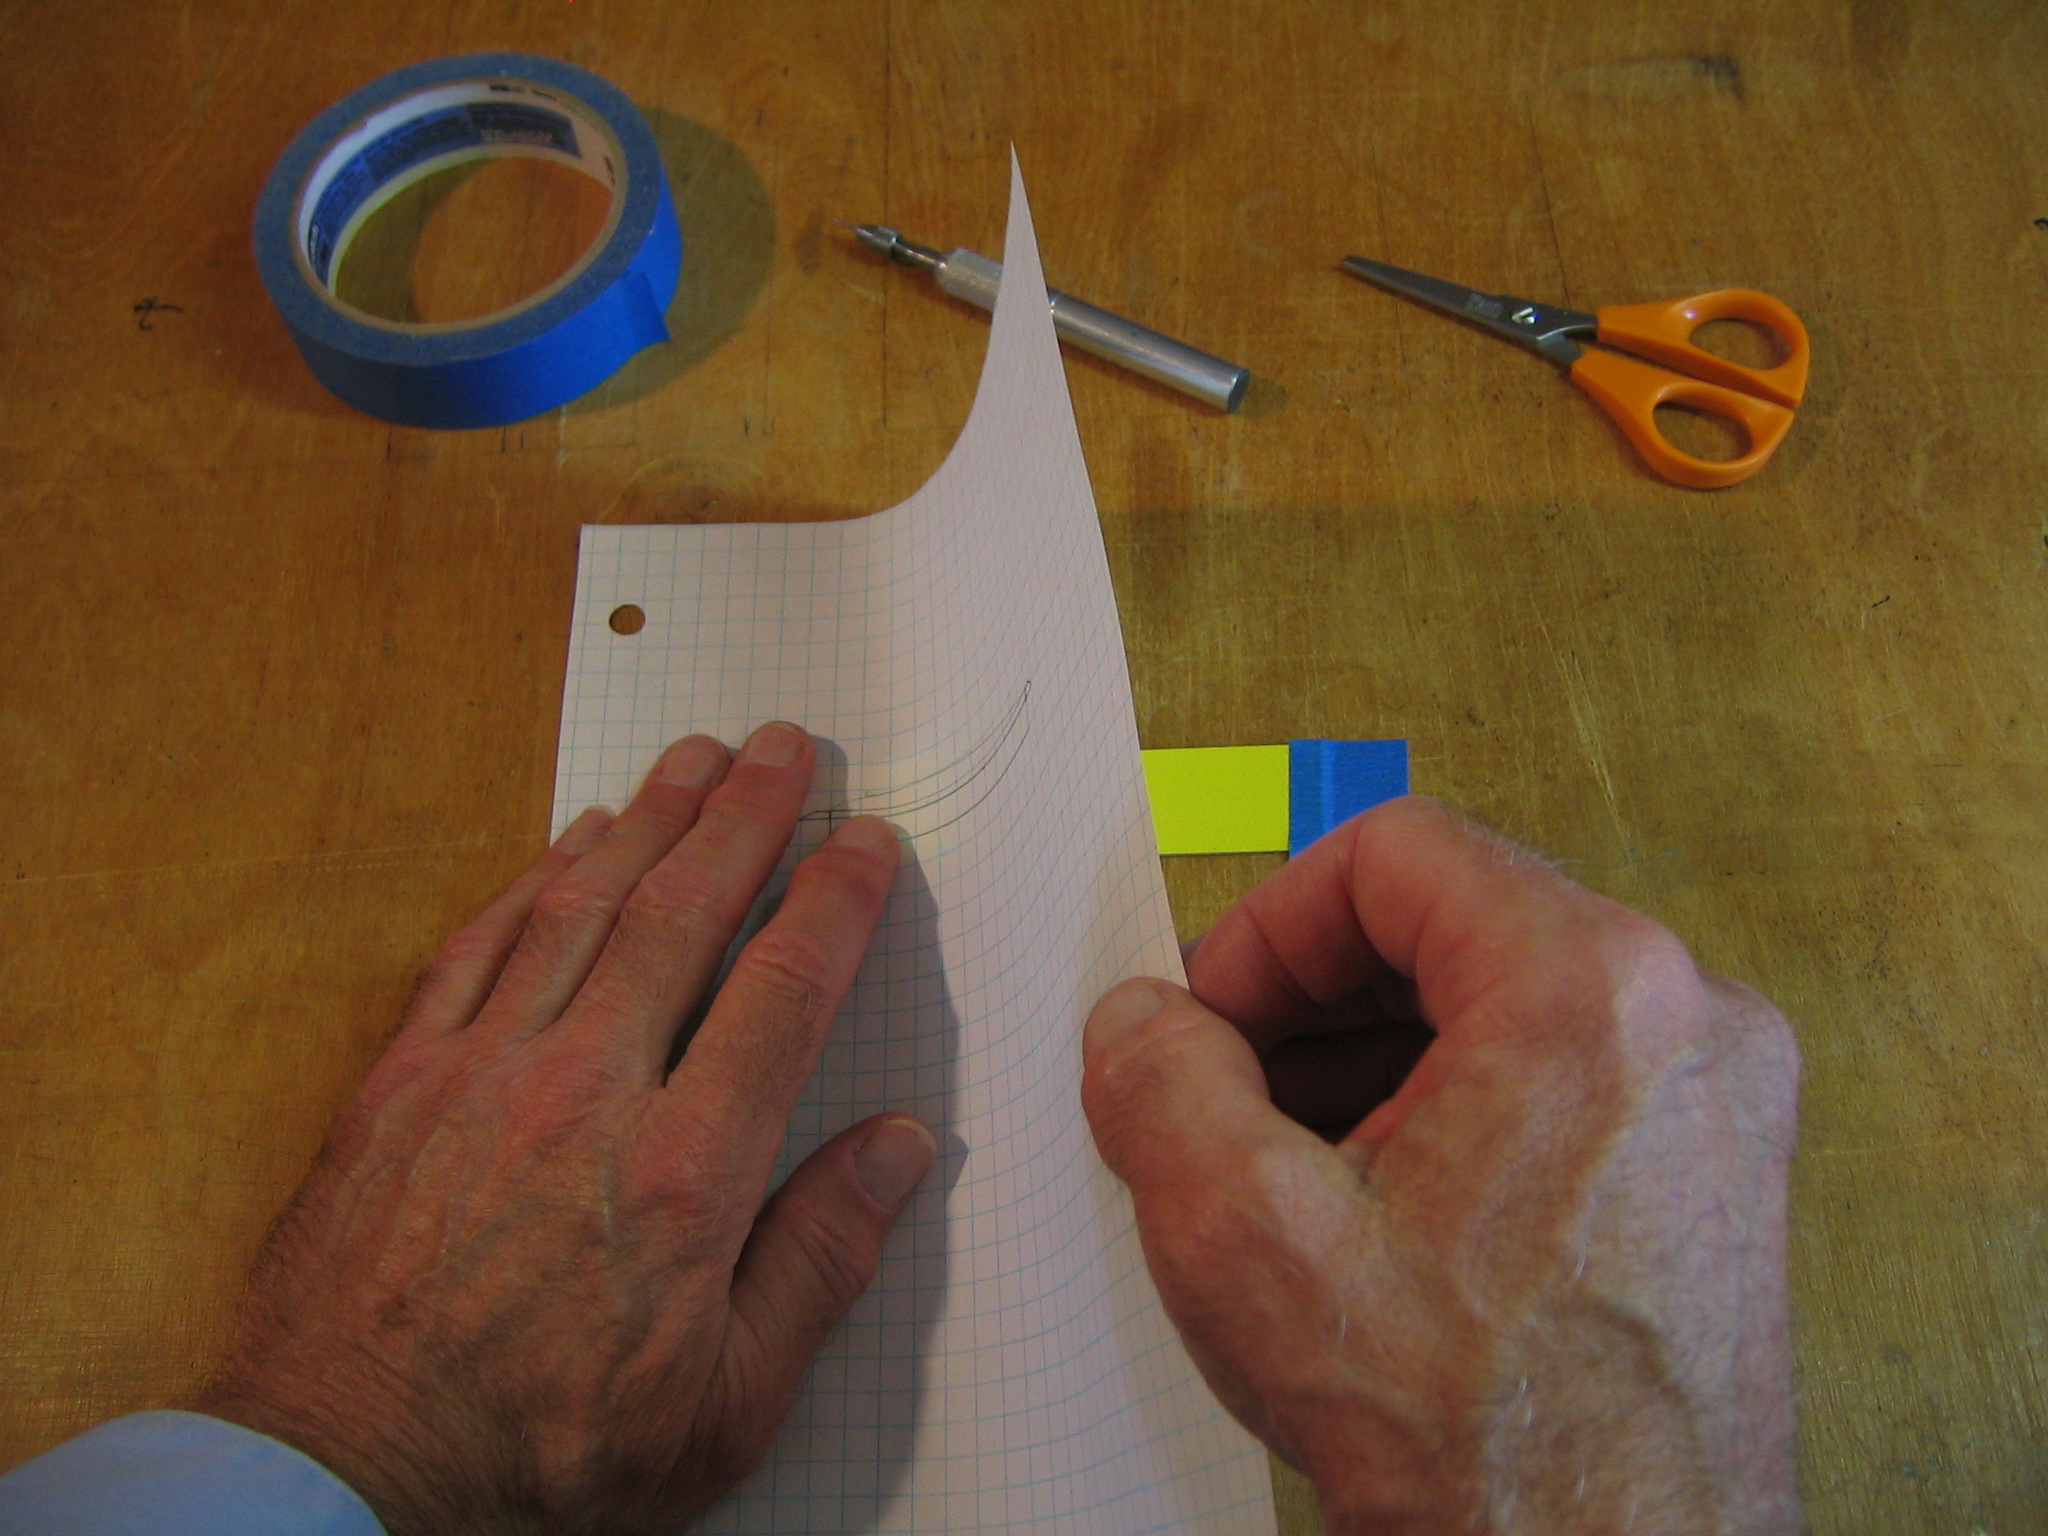
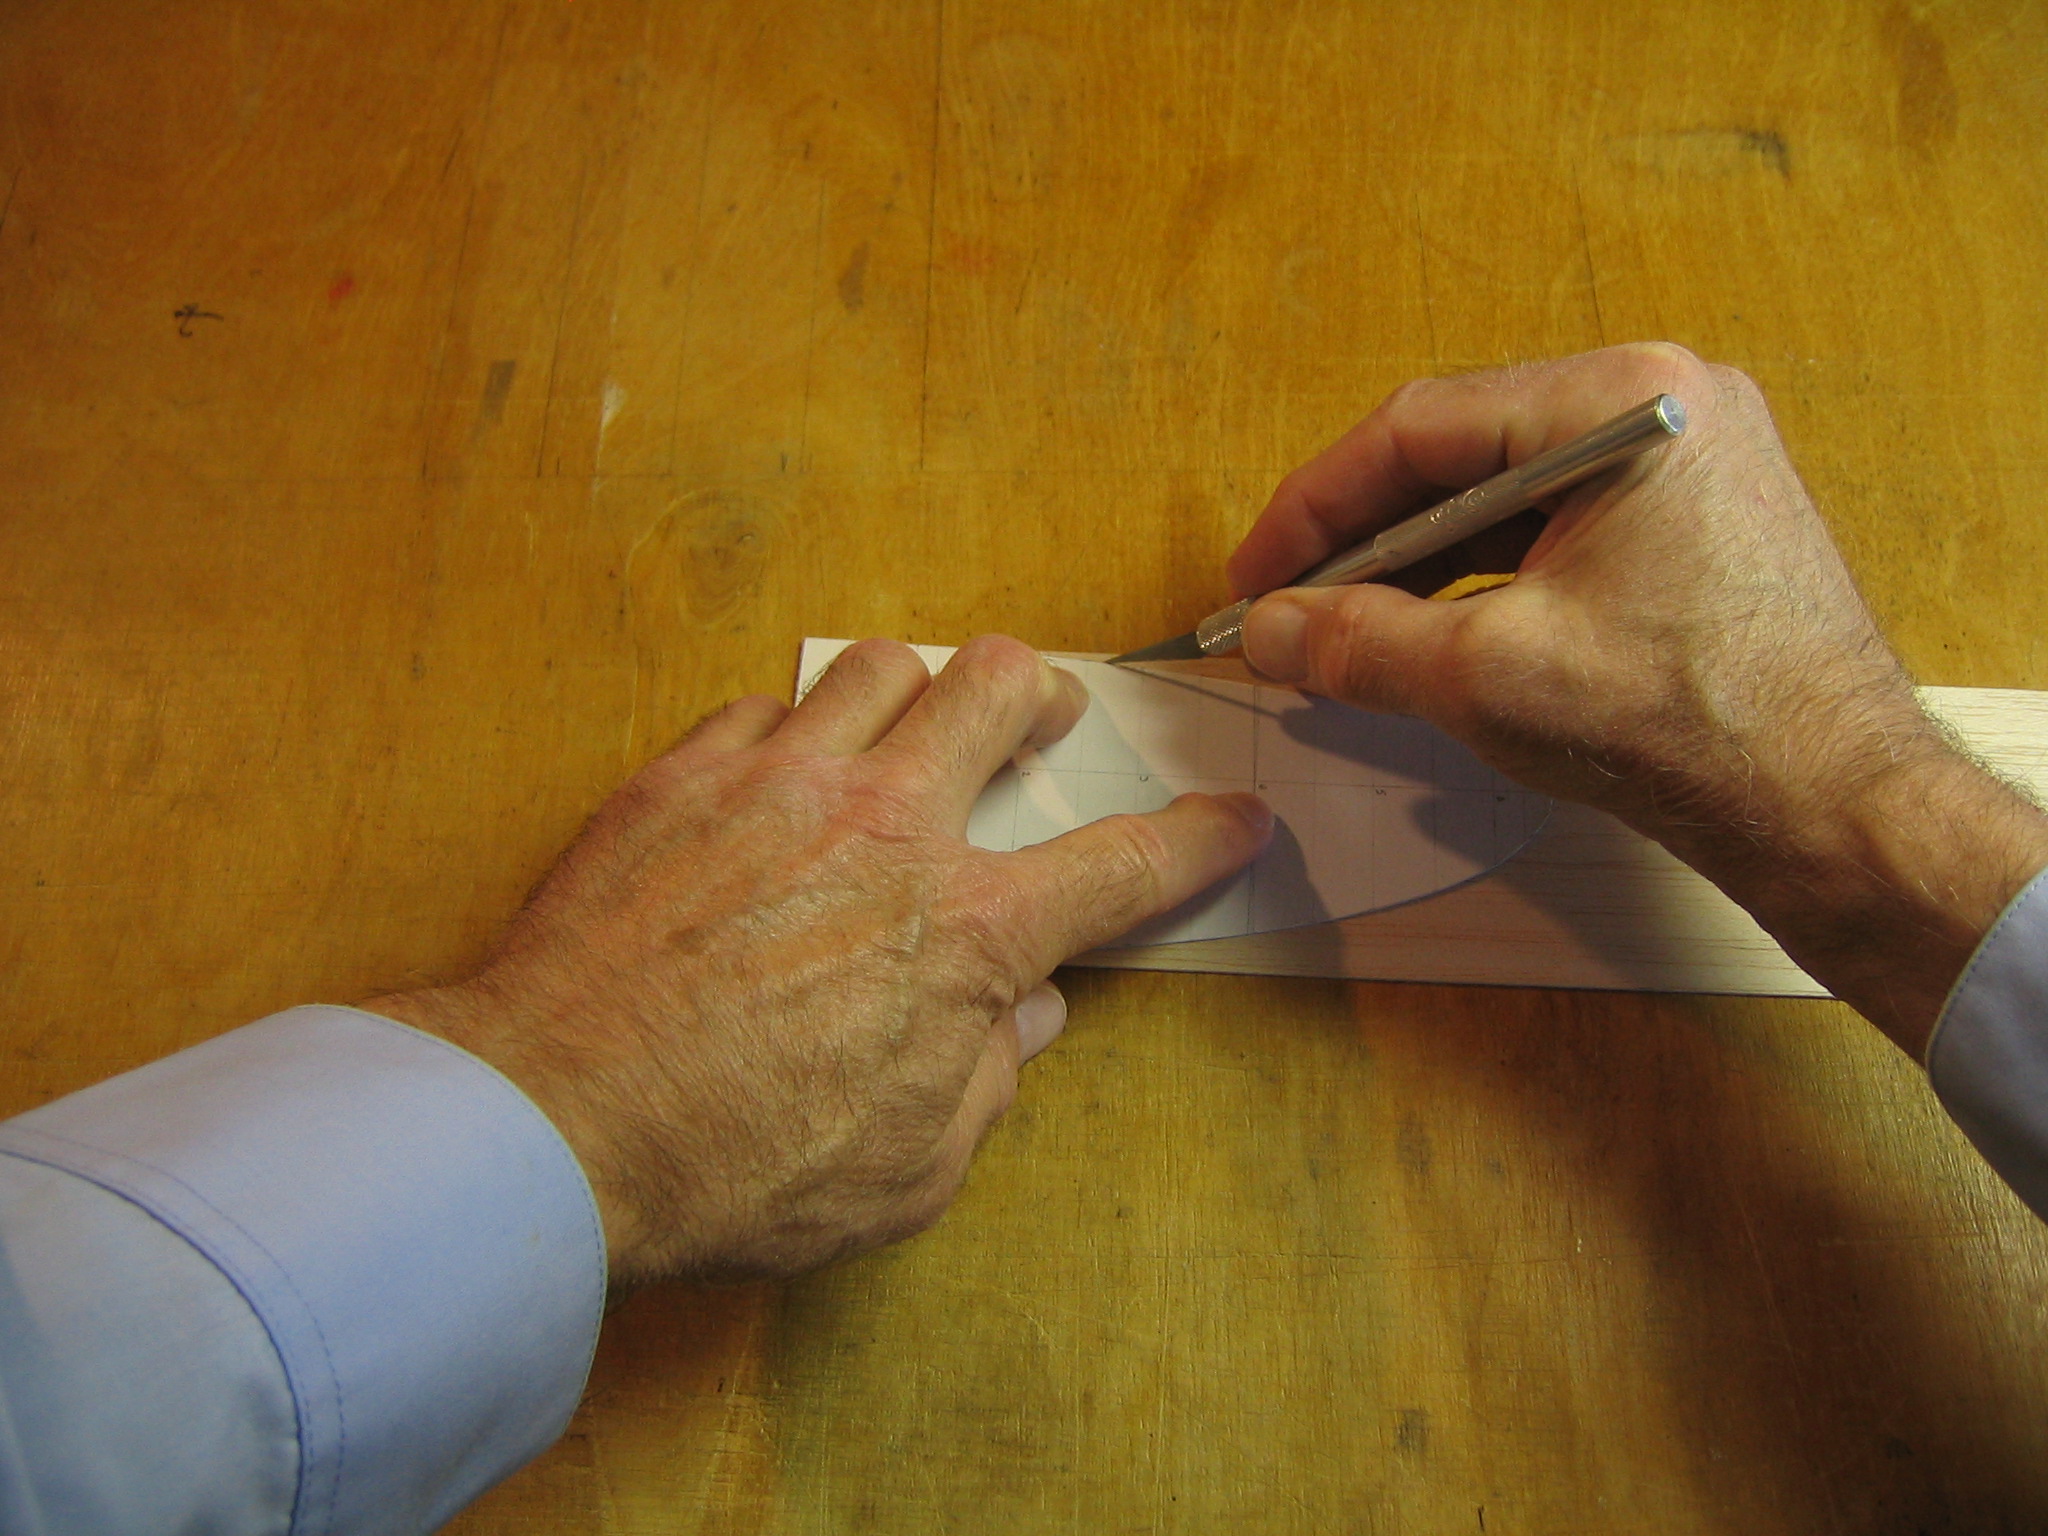
A bit of cardboard is taped to the table. The drawing is placed over the cardboard and taped down. (Or held securely by hand without allowing it to move.)
A pin point is pushed through the drawing to mark the cardboard underneath. Go all around the perimeter and mark the line along the base of the rib. Make the points along the curve close enough together that you can cut it out along a smooth curve.
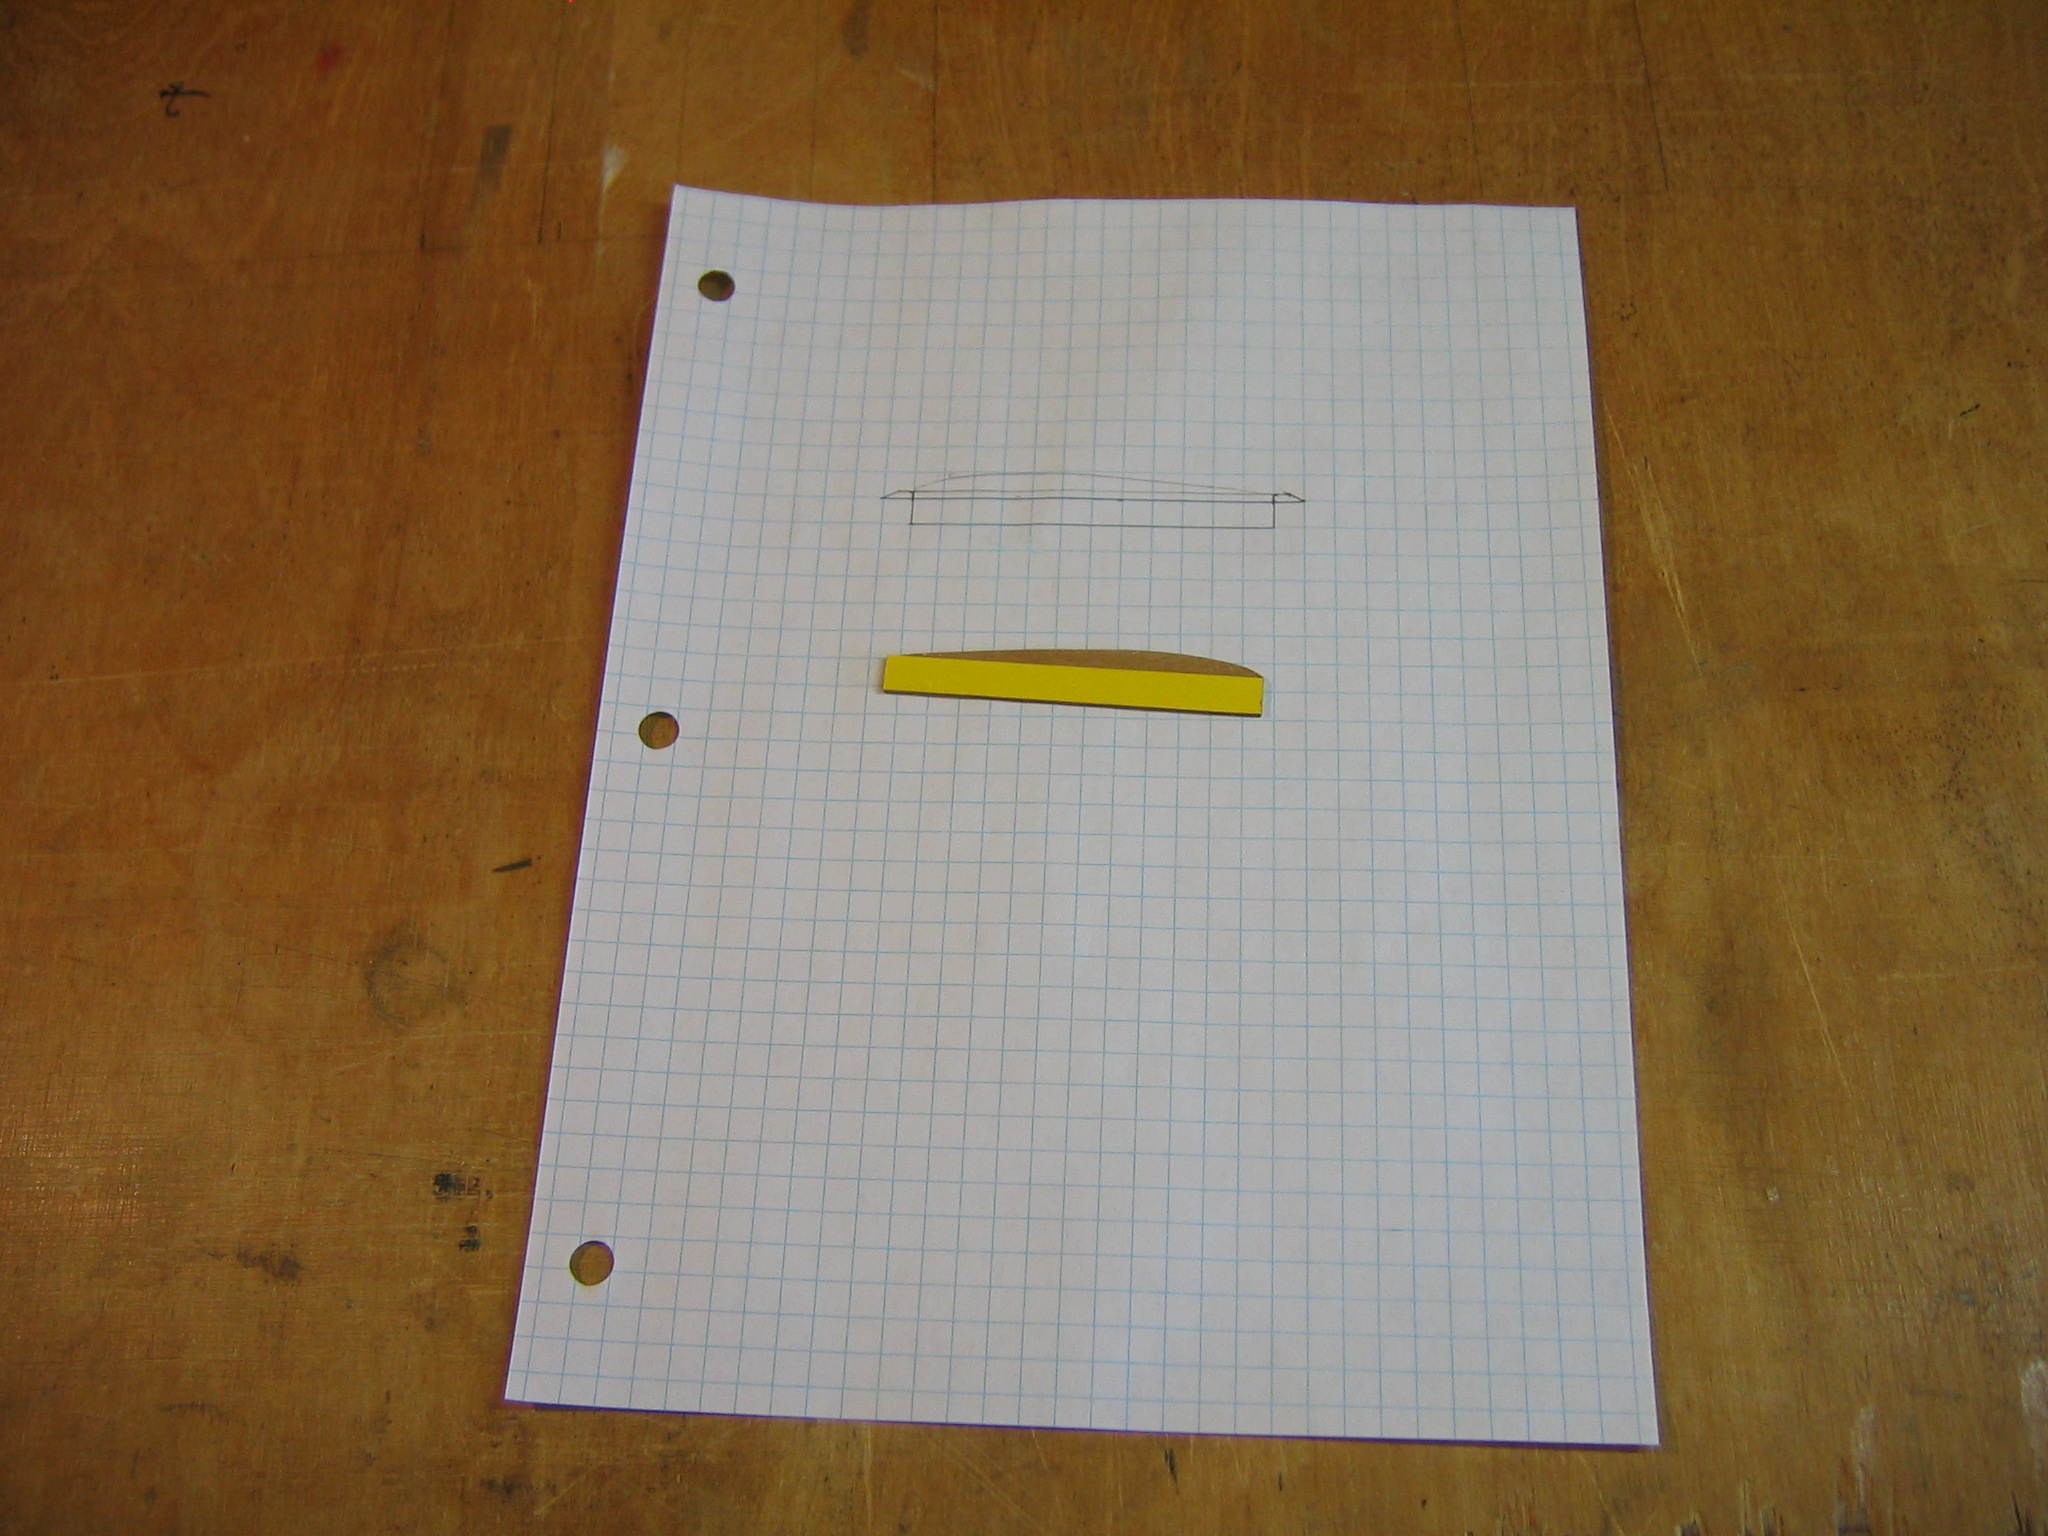
The template consists of two parts. One part includes everything within the perimeter of the side plate drawing. The other part is a 5/16″ x 3″ rectangle (yellow). This is glued to the other part below the line across the bottom of the rib.
We will start cutting out the 1/32″ sheet balsa parts because the wing parts will be wet formed and will take a while to dry. We can work on the rest of the plane while the wing parts are drying.
There are three ways the wing can be constructed. The wing can be made with straight dihedral with two panels forming an angle in the center. It can be made with a straight center panel and two tips bent up. It can be made in four panels, with angles in the center and at each tip. I am going to make a polyhedral wing with four panels and three angles. Not only does this have some aeronautical advantage, but it looks very sophisticated. We like our simple models to look sophisticated. If you can form one dihedral angle, you can form three. Especially with the simple, reliable way I will show you.
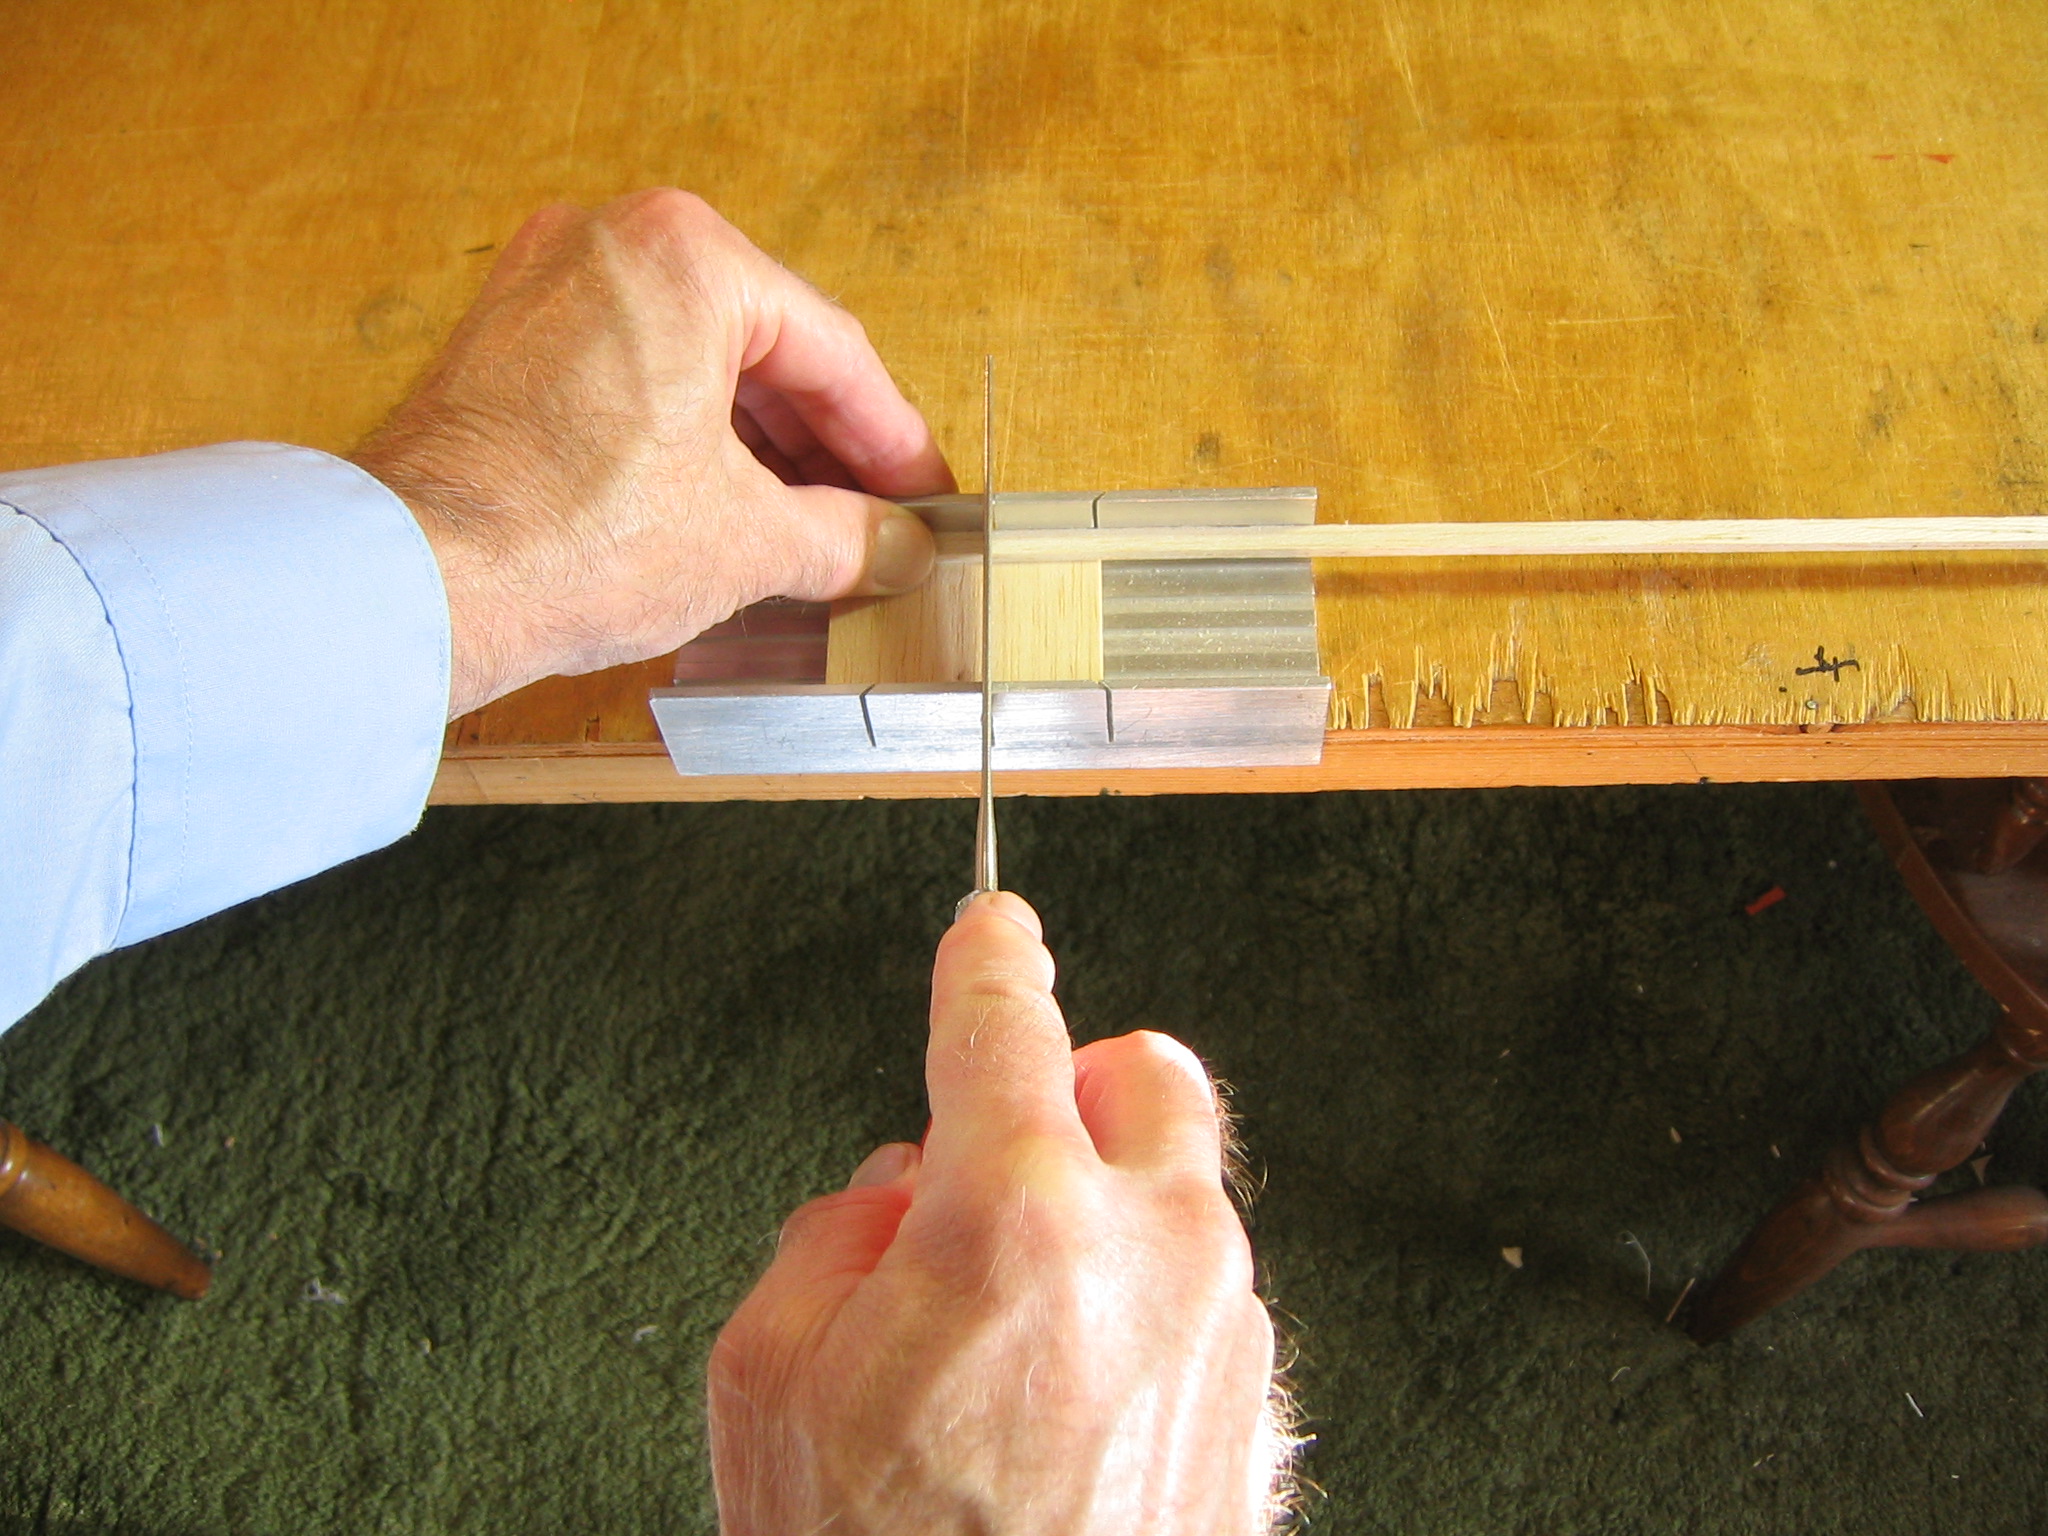
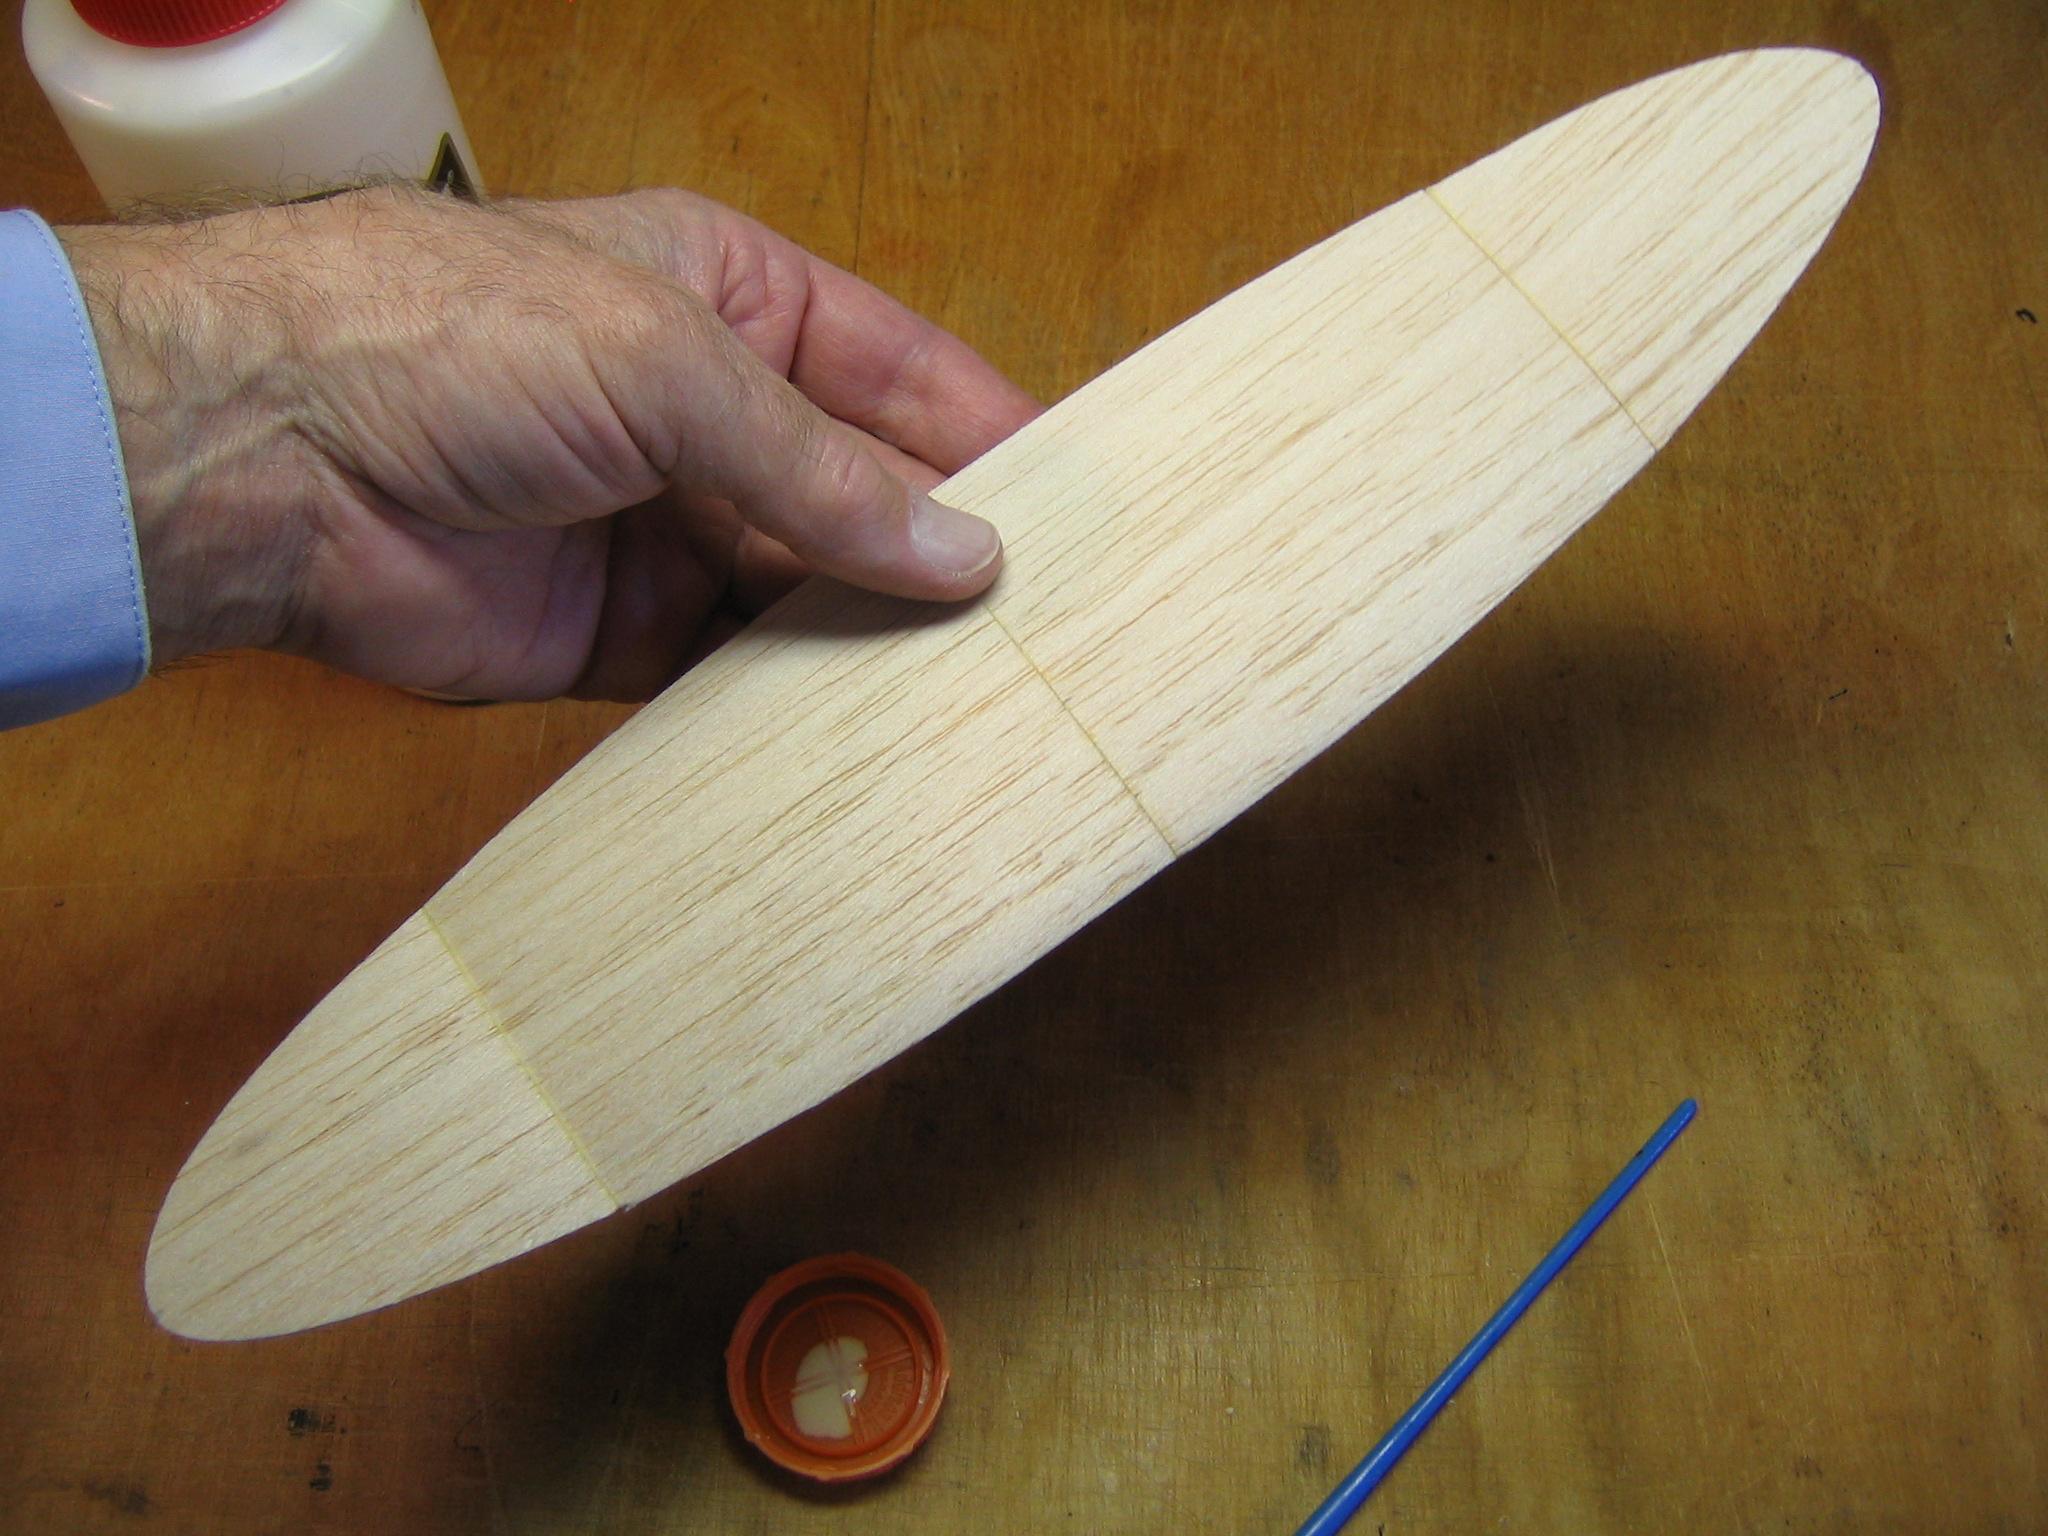
Place the wing pattern on the 1/32″ sheet and cut around the edge. The root end of the pattern is placed exactly in line with the end of the sheet. Cutting with the grain is fairly easy. Be careful that the blade does not wander away from the pattern or dig into it. Keep the sharp edge of the blade pointed along the edge of the pattern, not away from or into it.. It works better to first make a slight cut to form a groove that will guide the following deeper cuts. Cutting cross grain at the wing tip will be more difficult. The wood does not cut as easily. Here it is especially important to make a shallow groove on the first cut and deepen it gradually with several more later cuts.
Mark the location of the high camber line on the tip of the wing.

Mark the location of the high camber line on the root of the wing. Do this for both wings. These marks will be used to align the wing on the camber form later.

Mark the polyhedral line on the leading and trailing edges of both wings.

Extend the polyhedral marks onto the wing surfaces.
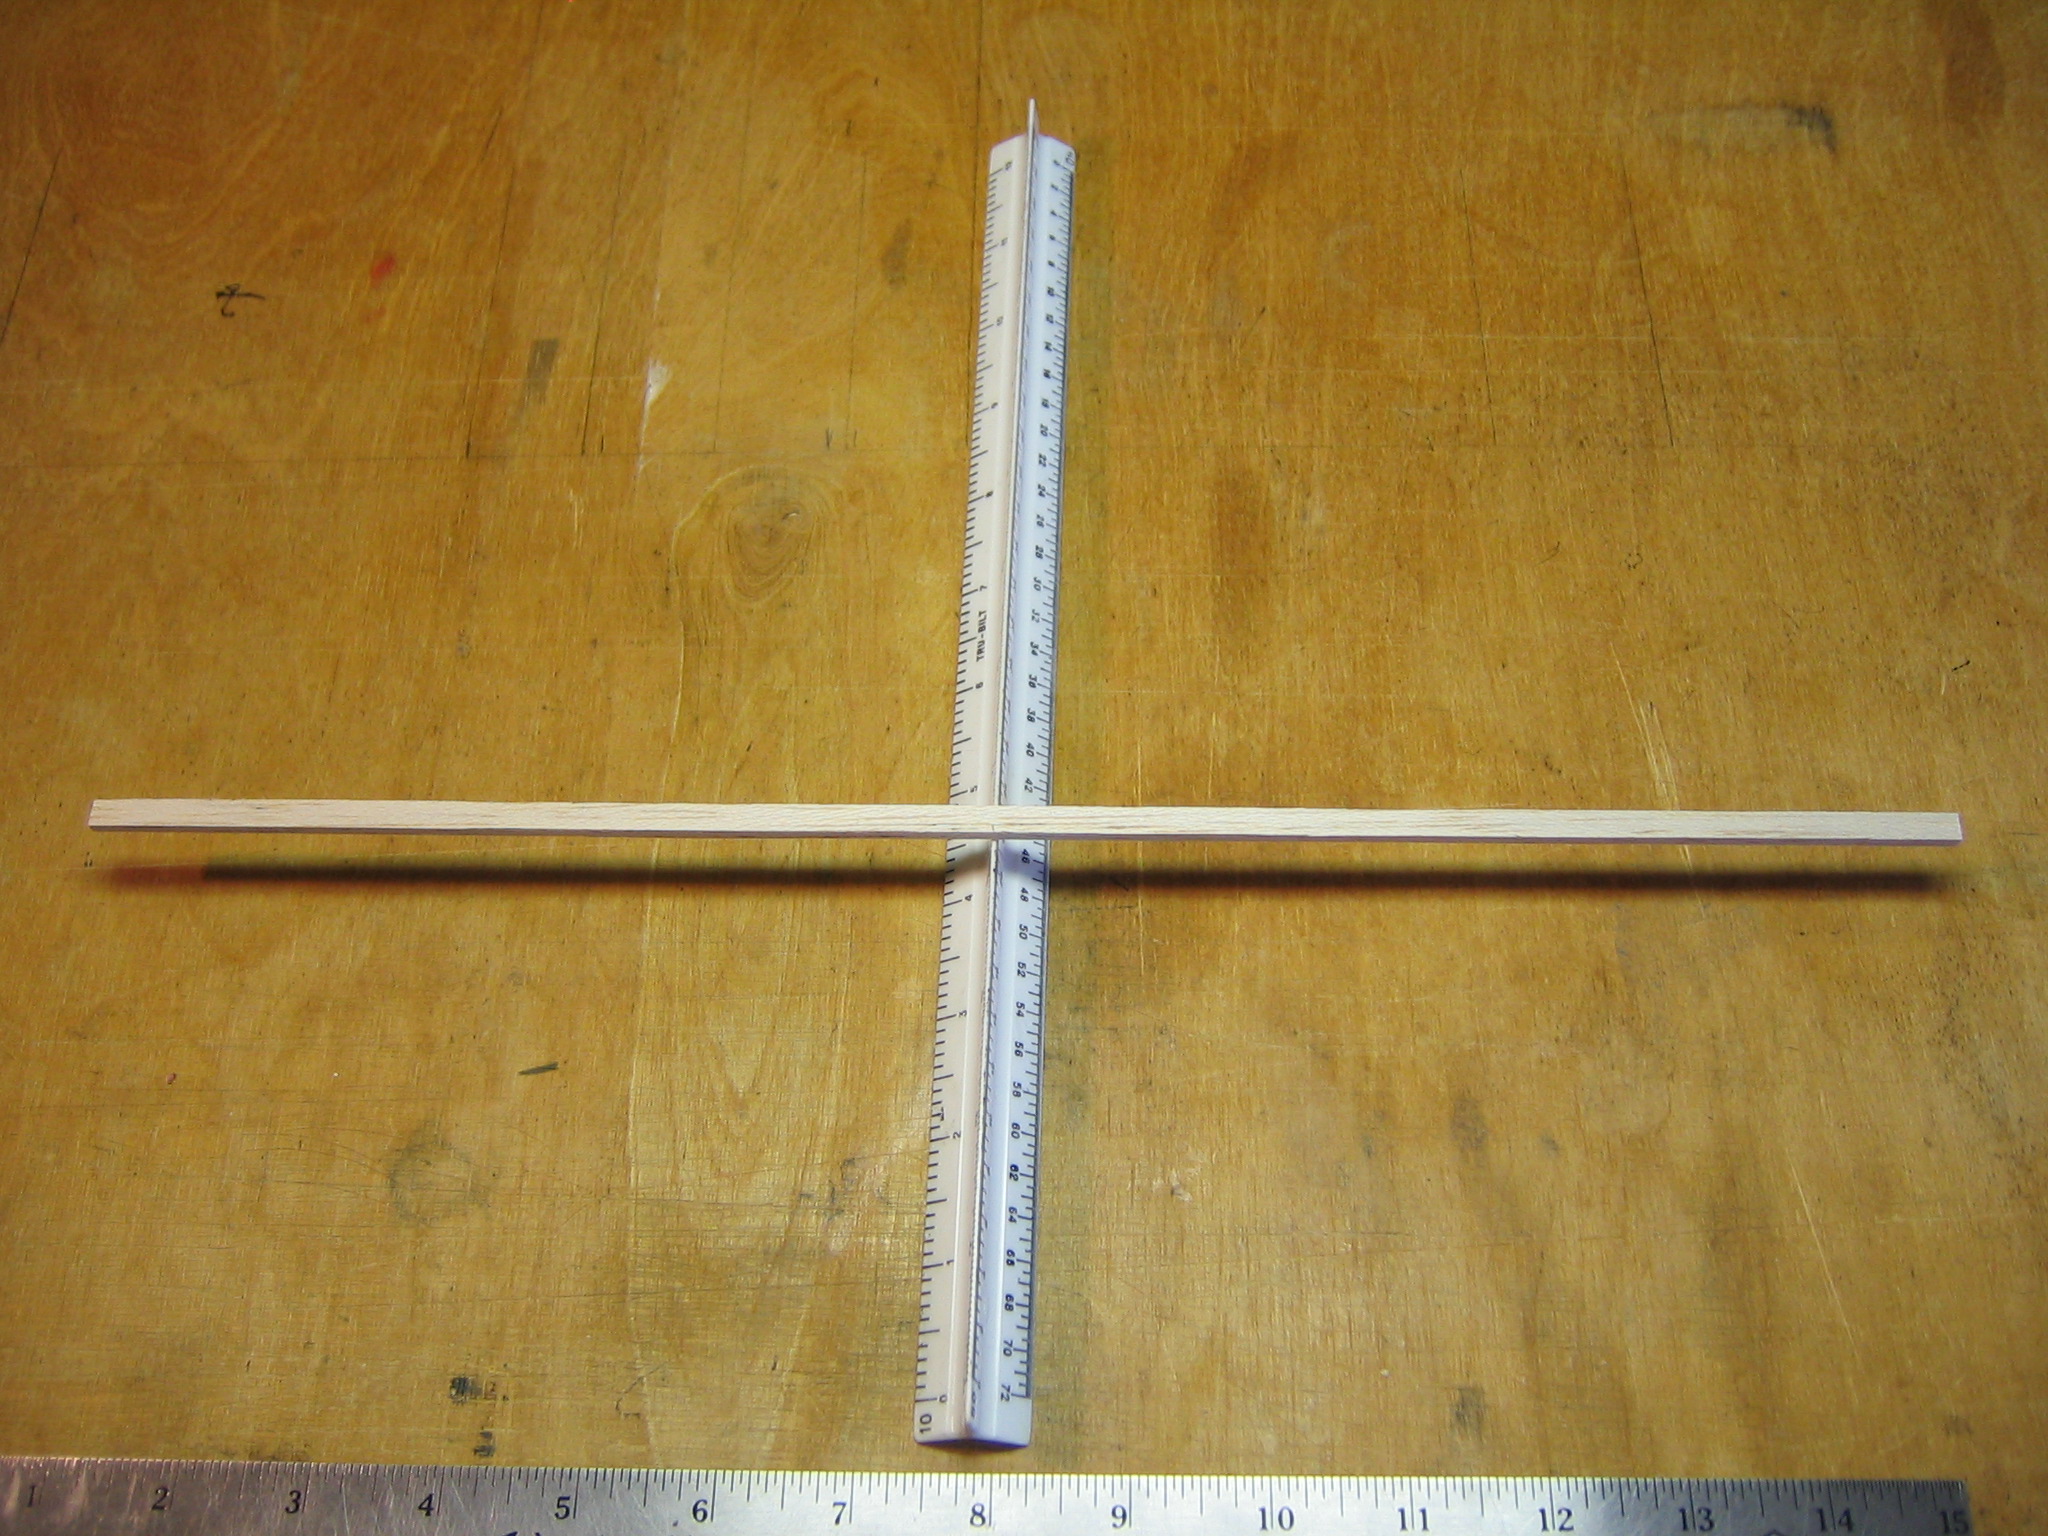
Draw lines between these marks on both wings.
Line up a straightedge with the high camber marks a the tip and root and mark where the straightedge crosses the polyhedral line. These marks will be used later to align the wing panels on the camber form.
Cut each of the wing tips off at those polyhedral lines. Keep these pieces together with their original partner. You can match them by the grain patterns if they get mixed up. Extend the high camber marks to the edges of the cut on both sides of both wing panels and tips.
Soak all four wing parts in water. It shouldn’t take long for the thin wood to become soft.
Remove the wing pieces from the water and blot them dry.
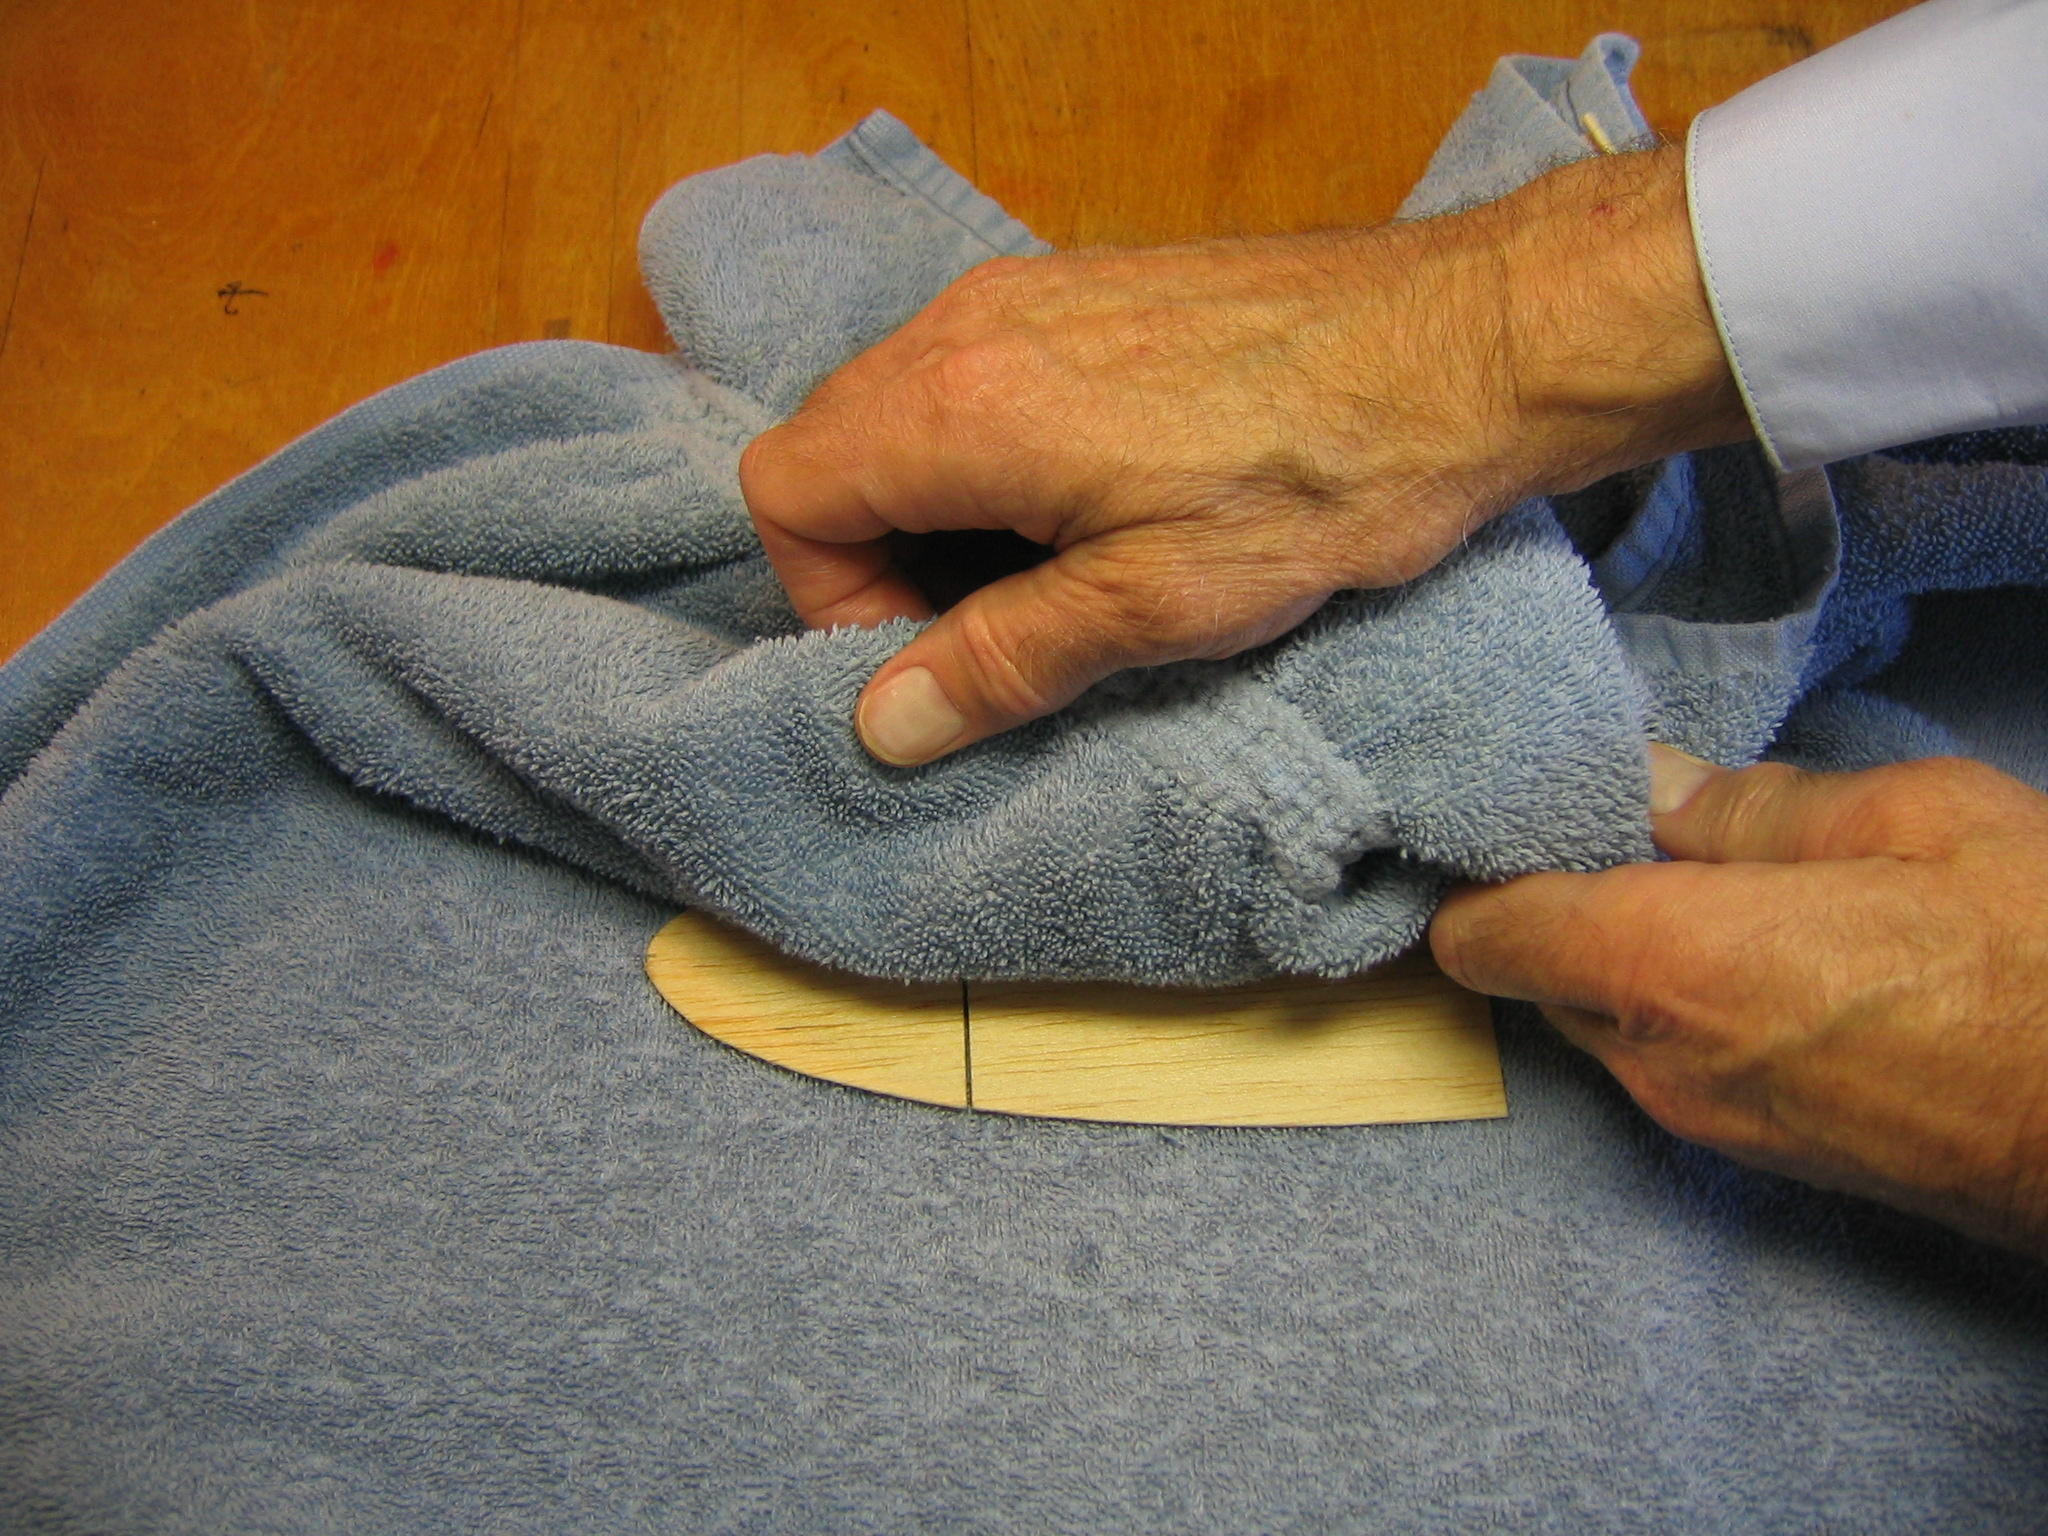
Attach the end of a piece of Ace bandage to the flat under side of a piece of Sig balsa airfoil shaped sheet so the Ace bandage runs off the trailing edge of the airfoil. The other side has a curved top that looks like the airfoil pattern from the end.
The damp balsa sheet is placed on the curved top of the form. The Sig balsa airfoil shaped sheet has a line drawn along its highest point of camber. Carefully align the high camber marks on the wing panel with the high camber line on top of the Sig balsa airfoil shaped sheet. Wrap the Ace bandage around the damp wing panel.
Align the marks on the tip panel with the line on the form and wrap the Ace bandage around the tip.

When the whole wing has been wrapped, tape the end of the Ace bandage to the form. Do the same with the other wing. Pay careful attention. There is a left wing and a right wing. They are not the same!
They are mirror images of each other. Leave the wing panels in a warm, dry place. A sunny windowsill would be a good place. The wing wood must dry completely before removing it from the form. While we wait for the wood to dry, we can get on with the rest of the plane.
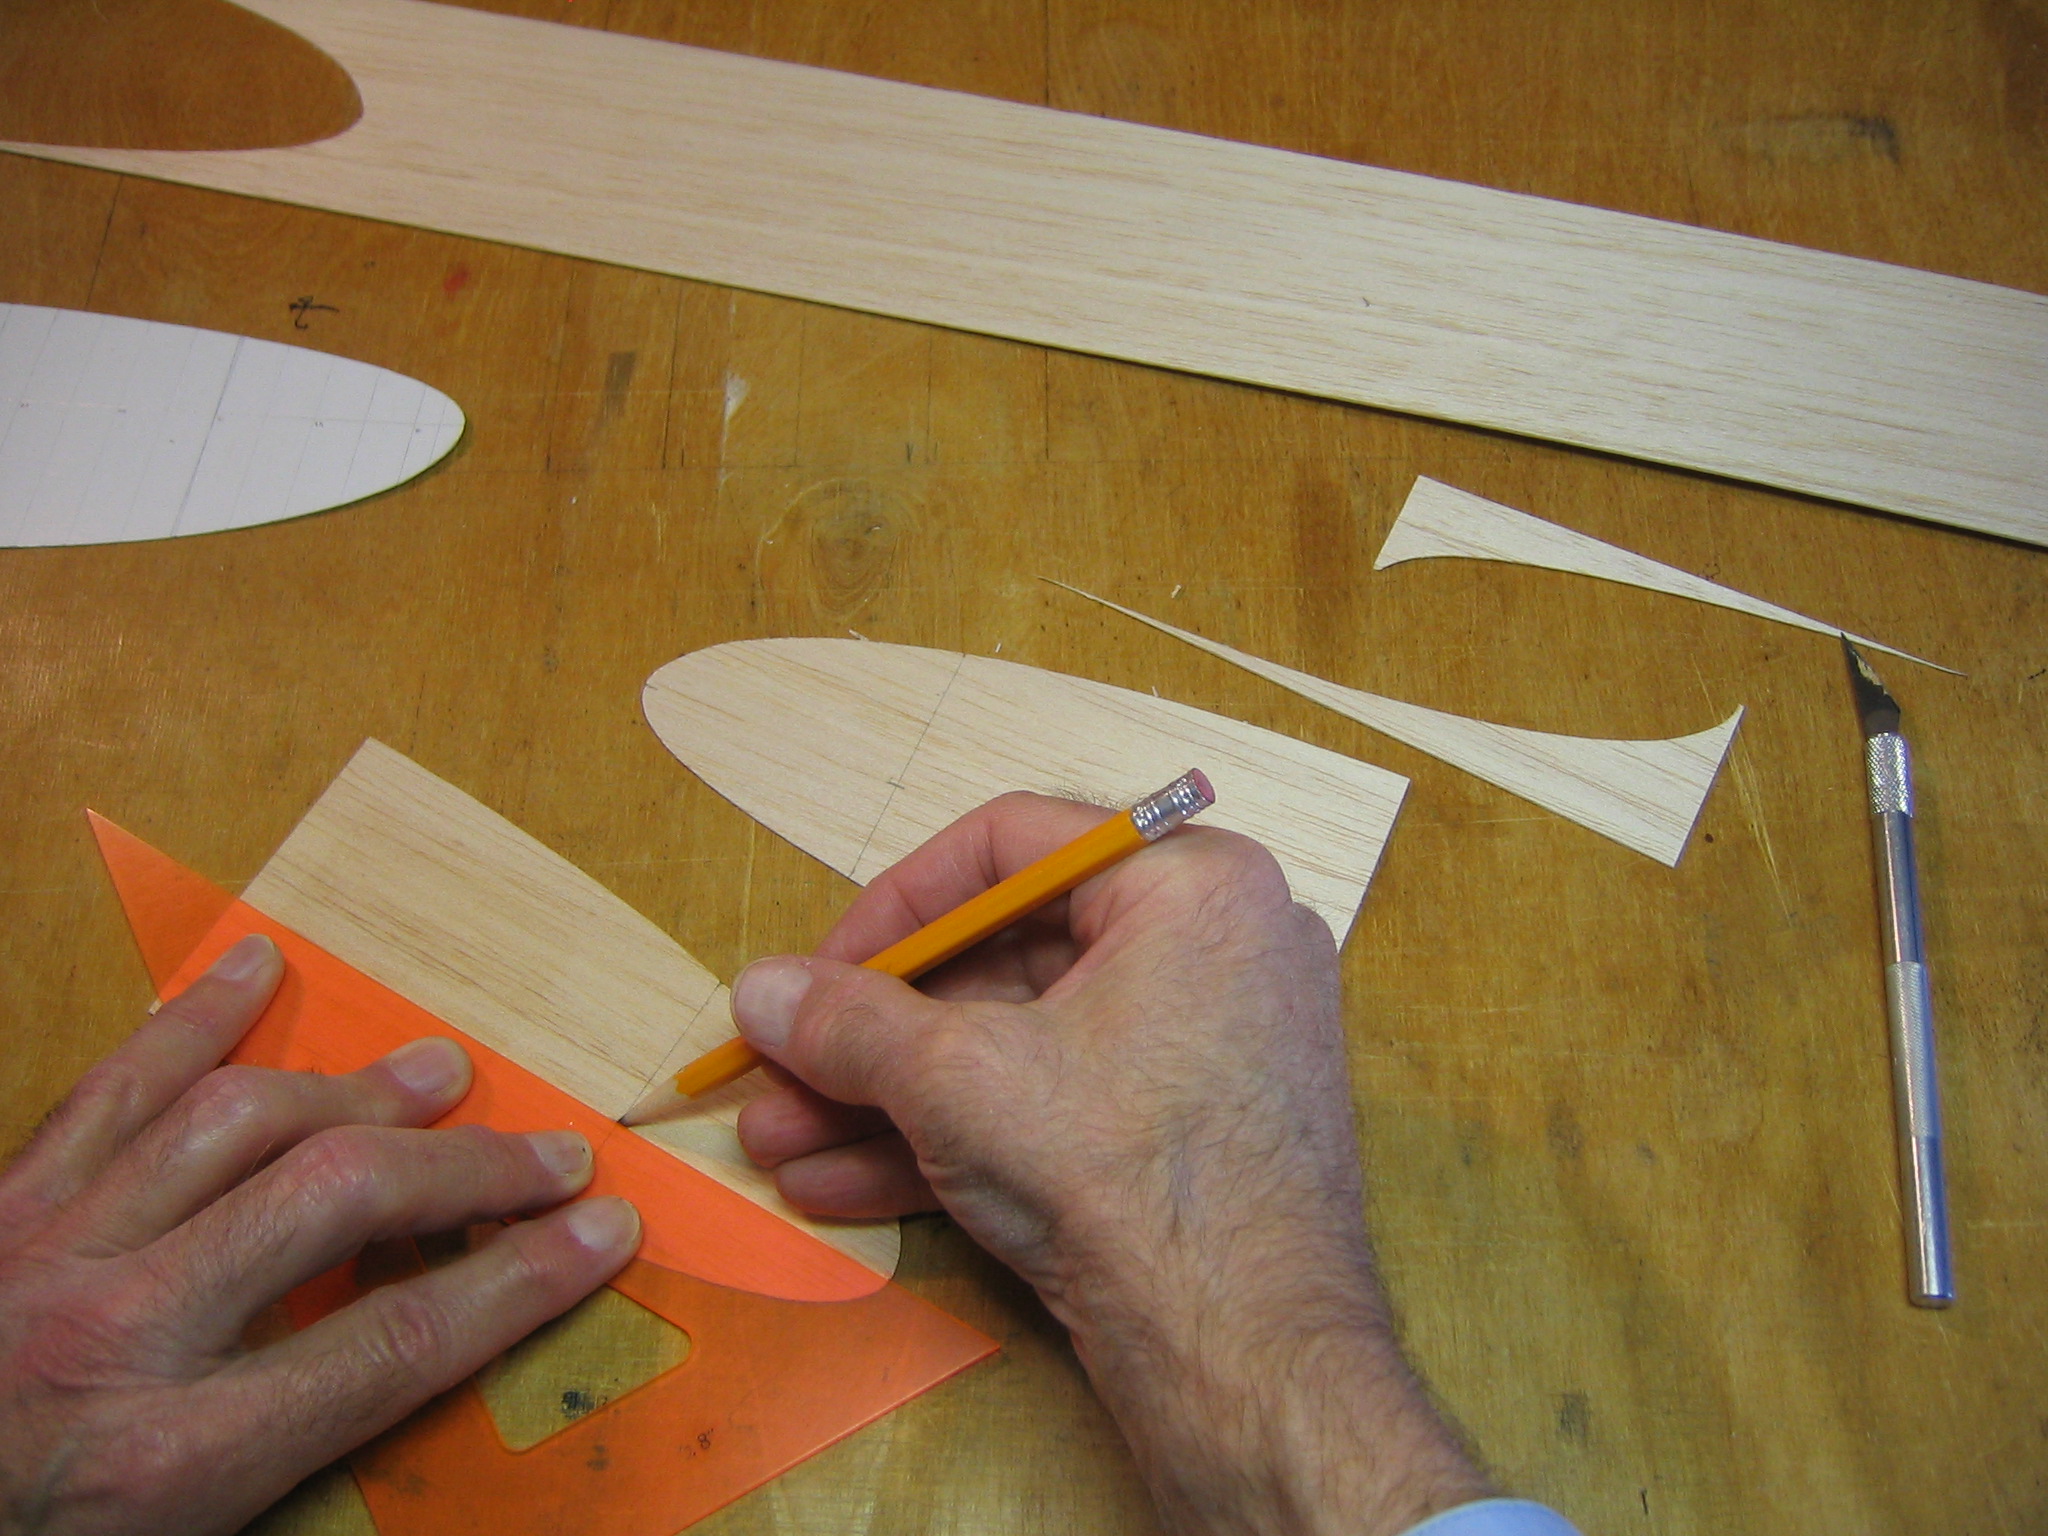
Place the tail plane pattern on the 1/32″ sheet and cut around it.
Poke holes through the pattern on the center line to make holes in the wood. These holes will be used to center the tail on the stick.
Cut out the fin with the wood grain running vertically.
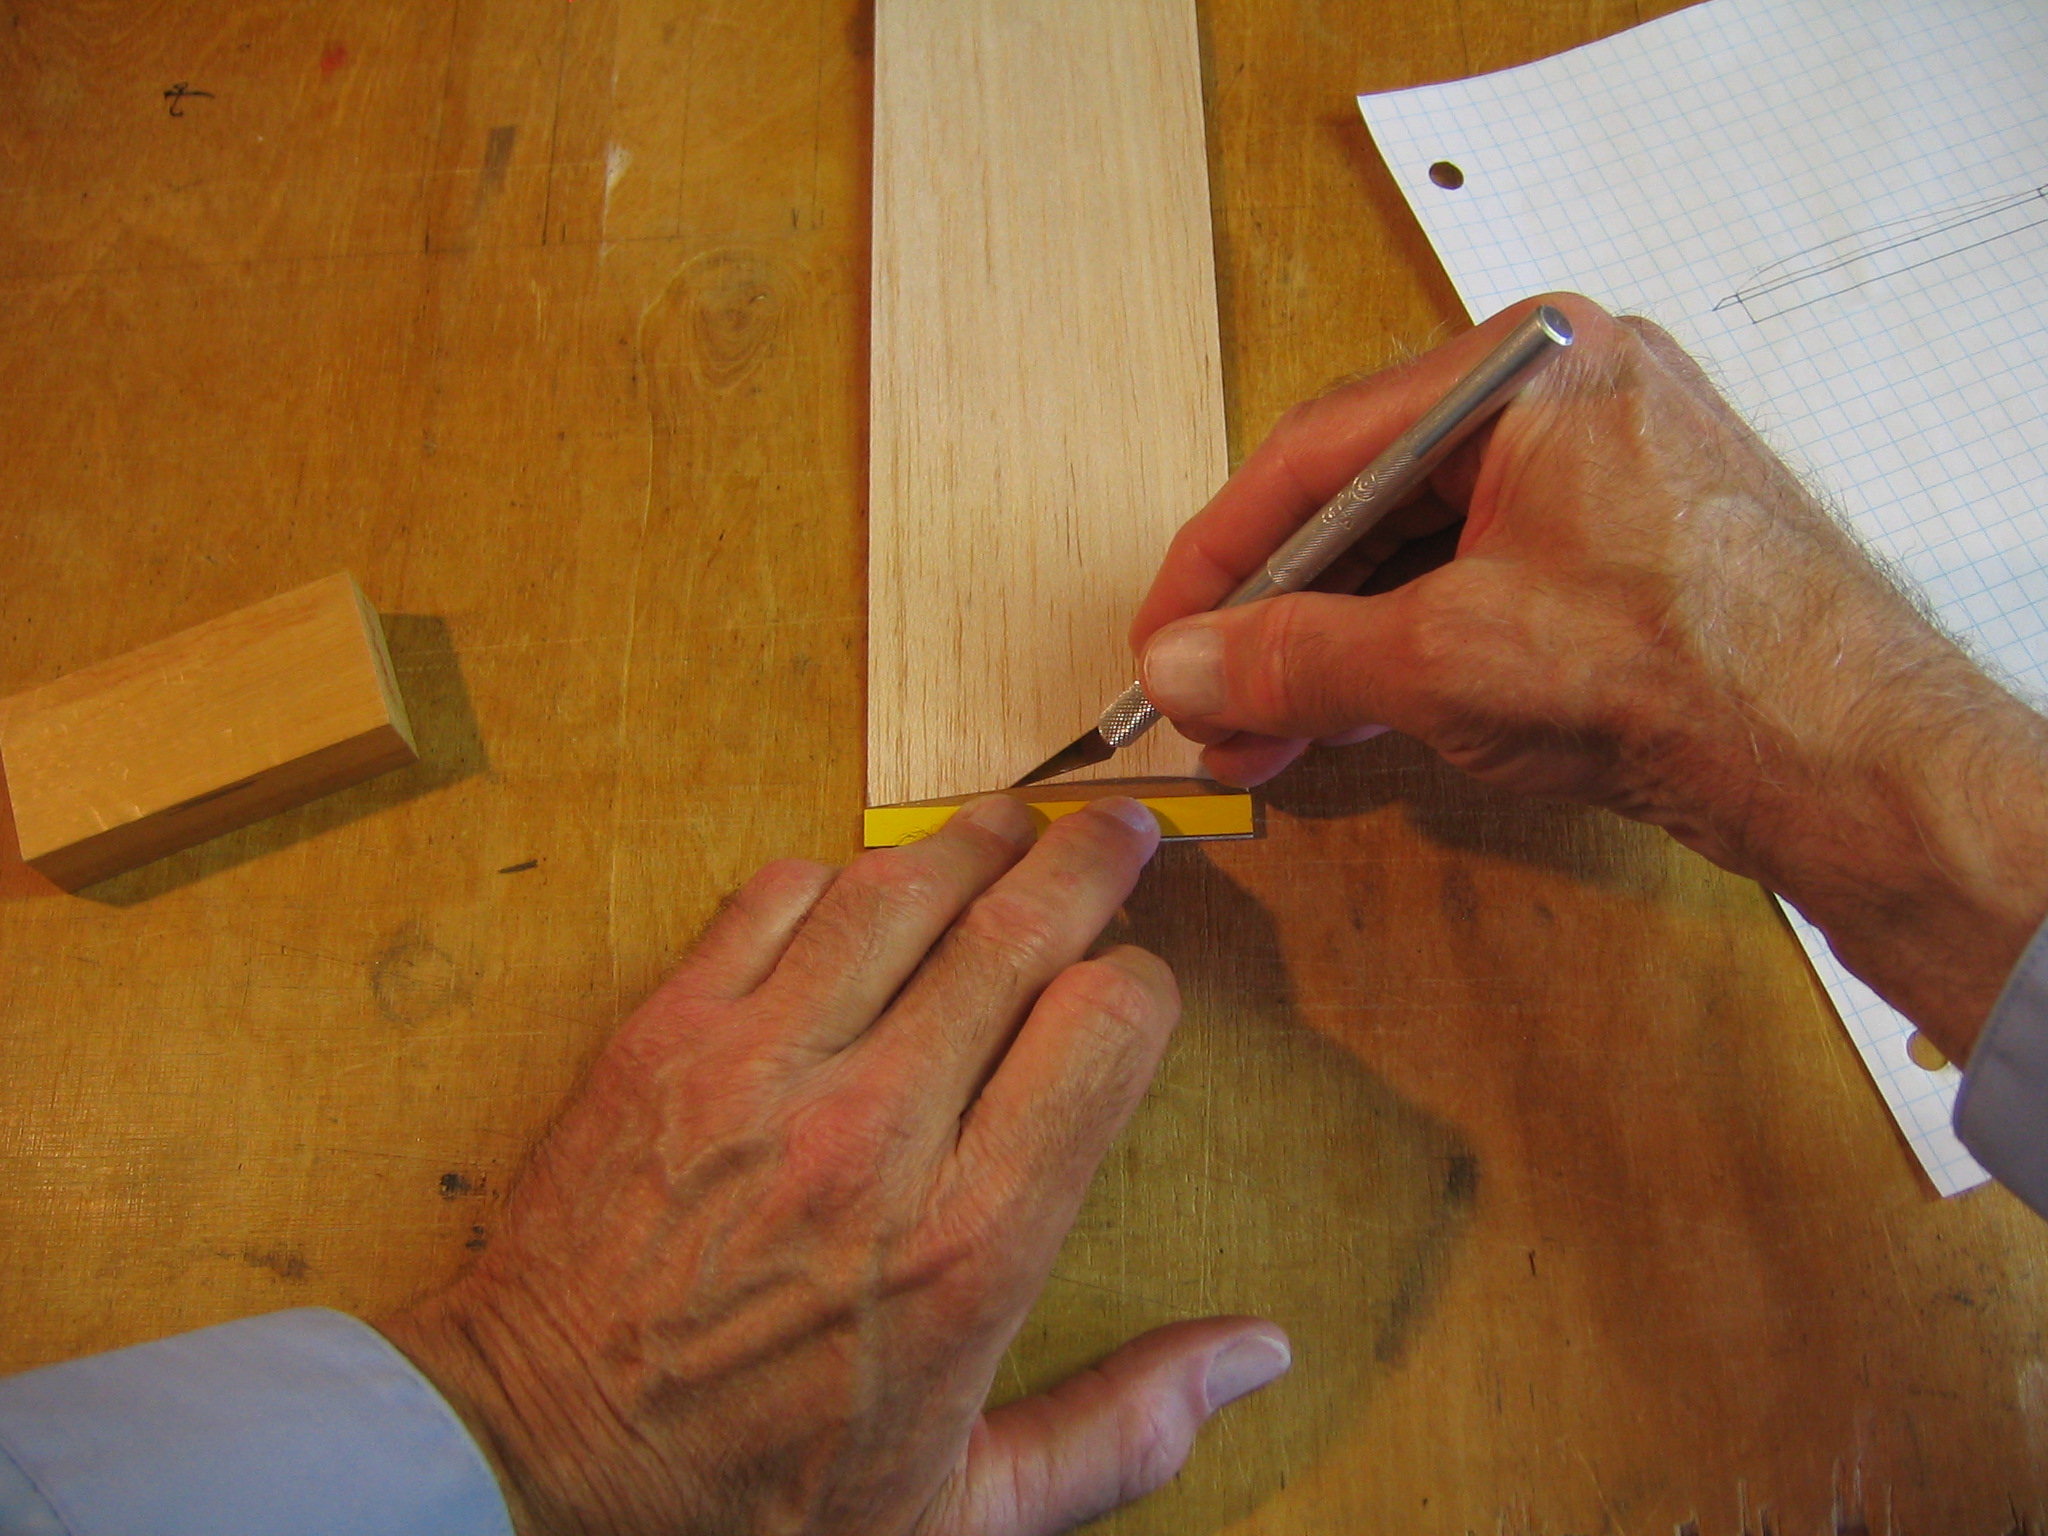
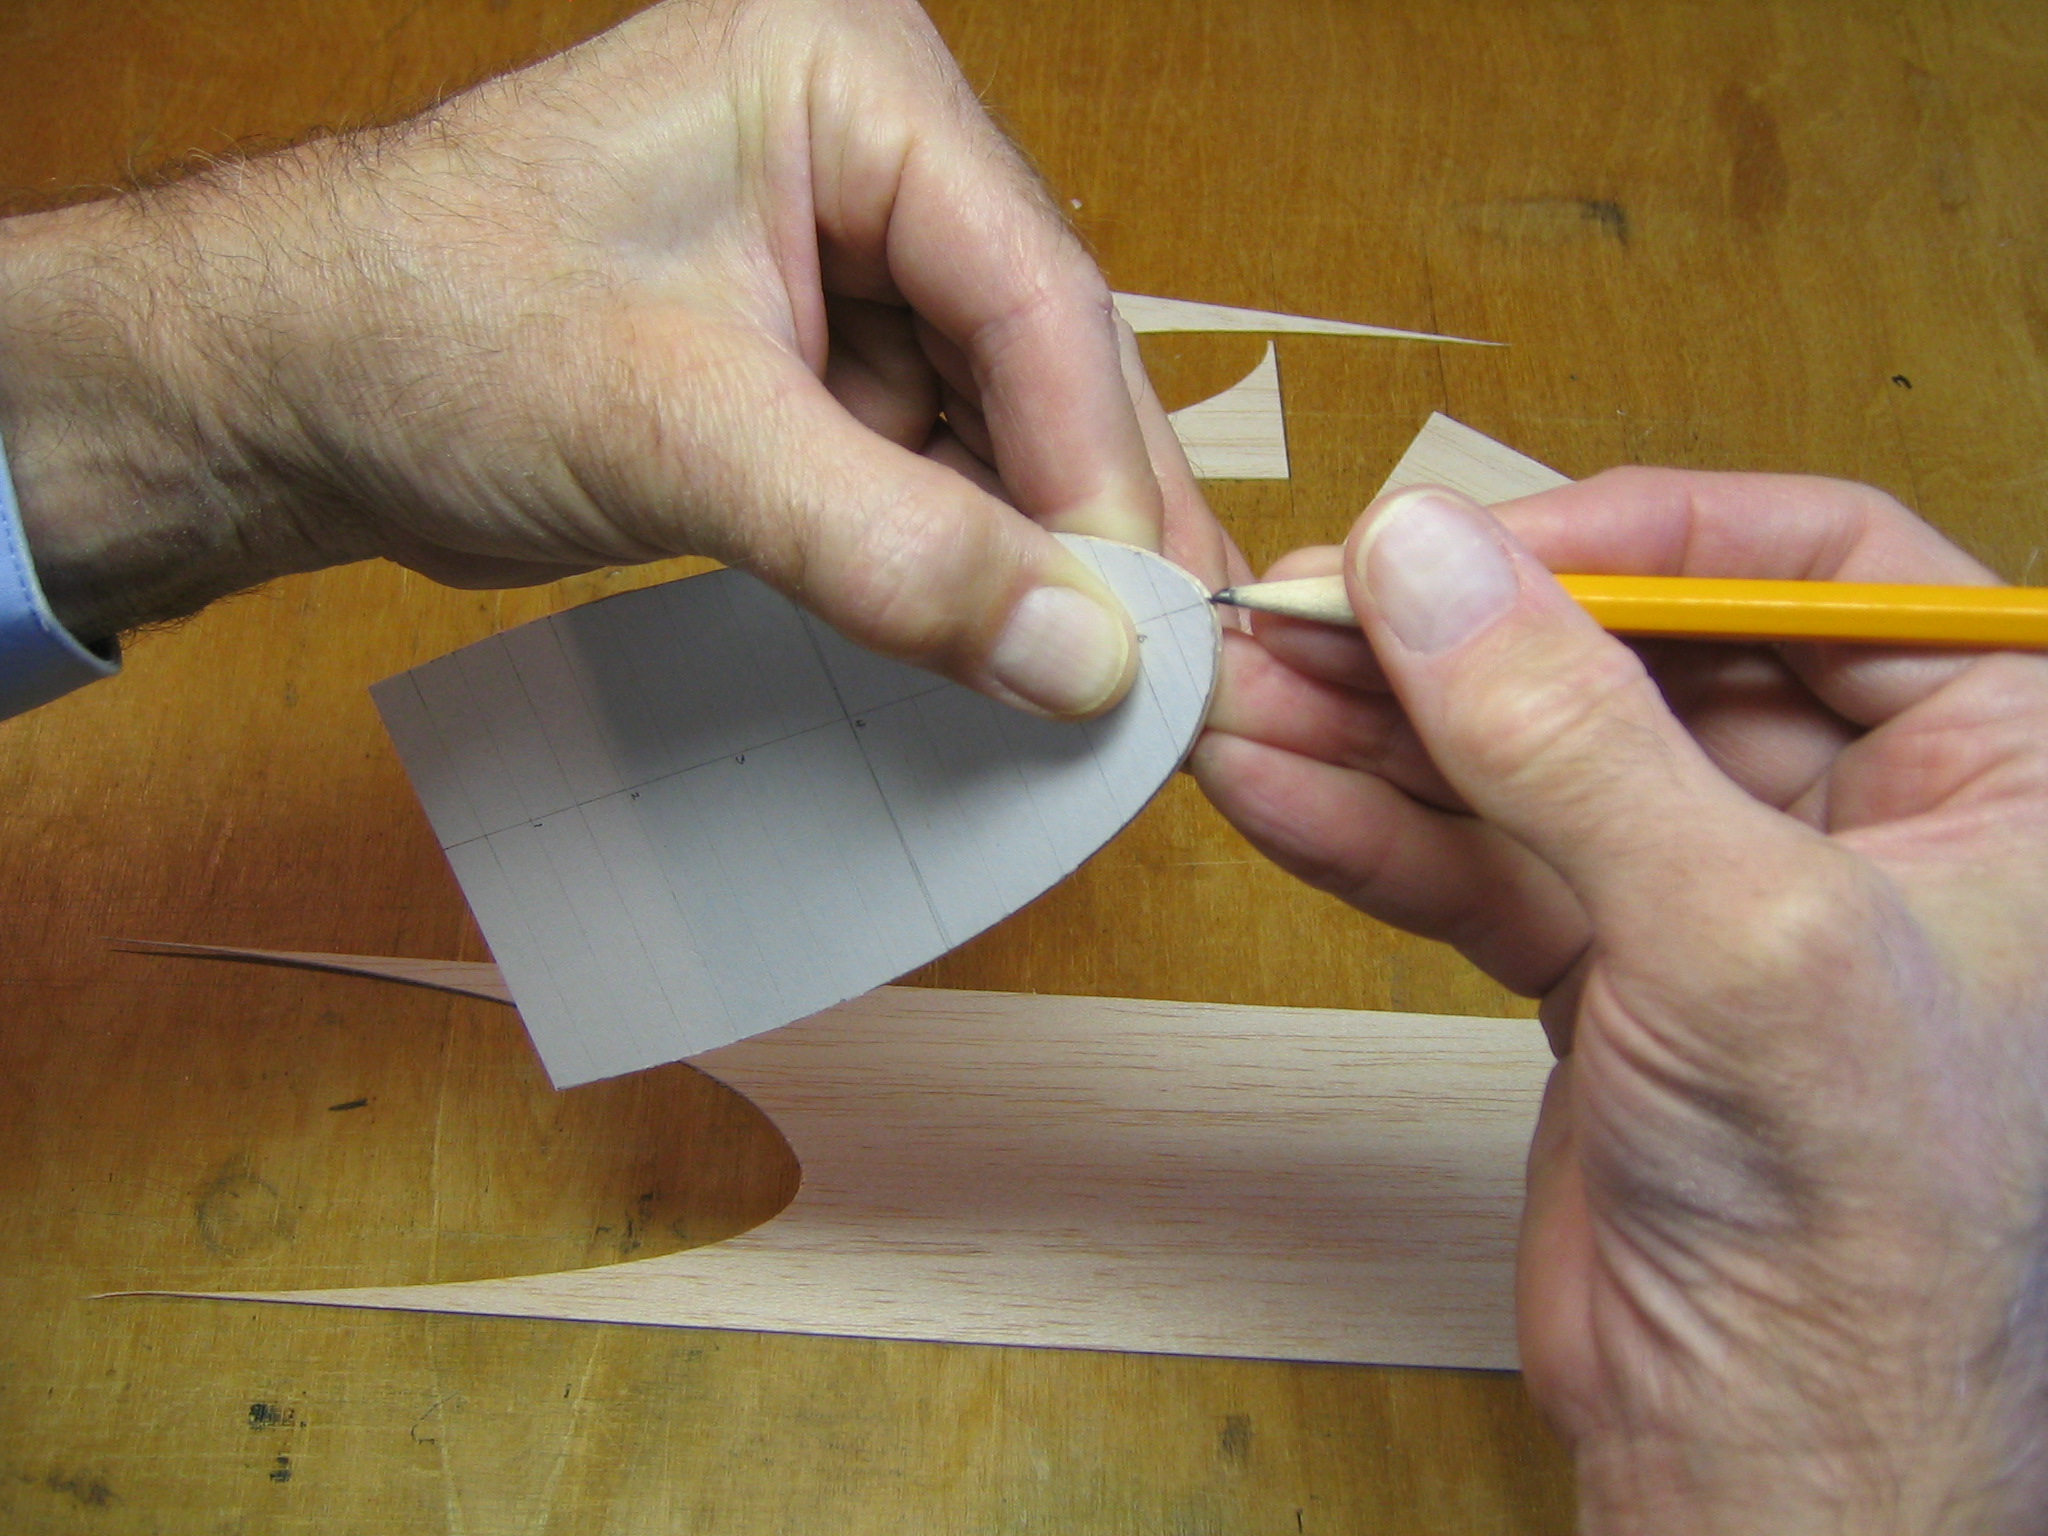
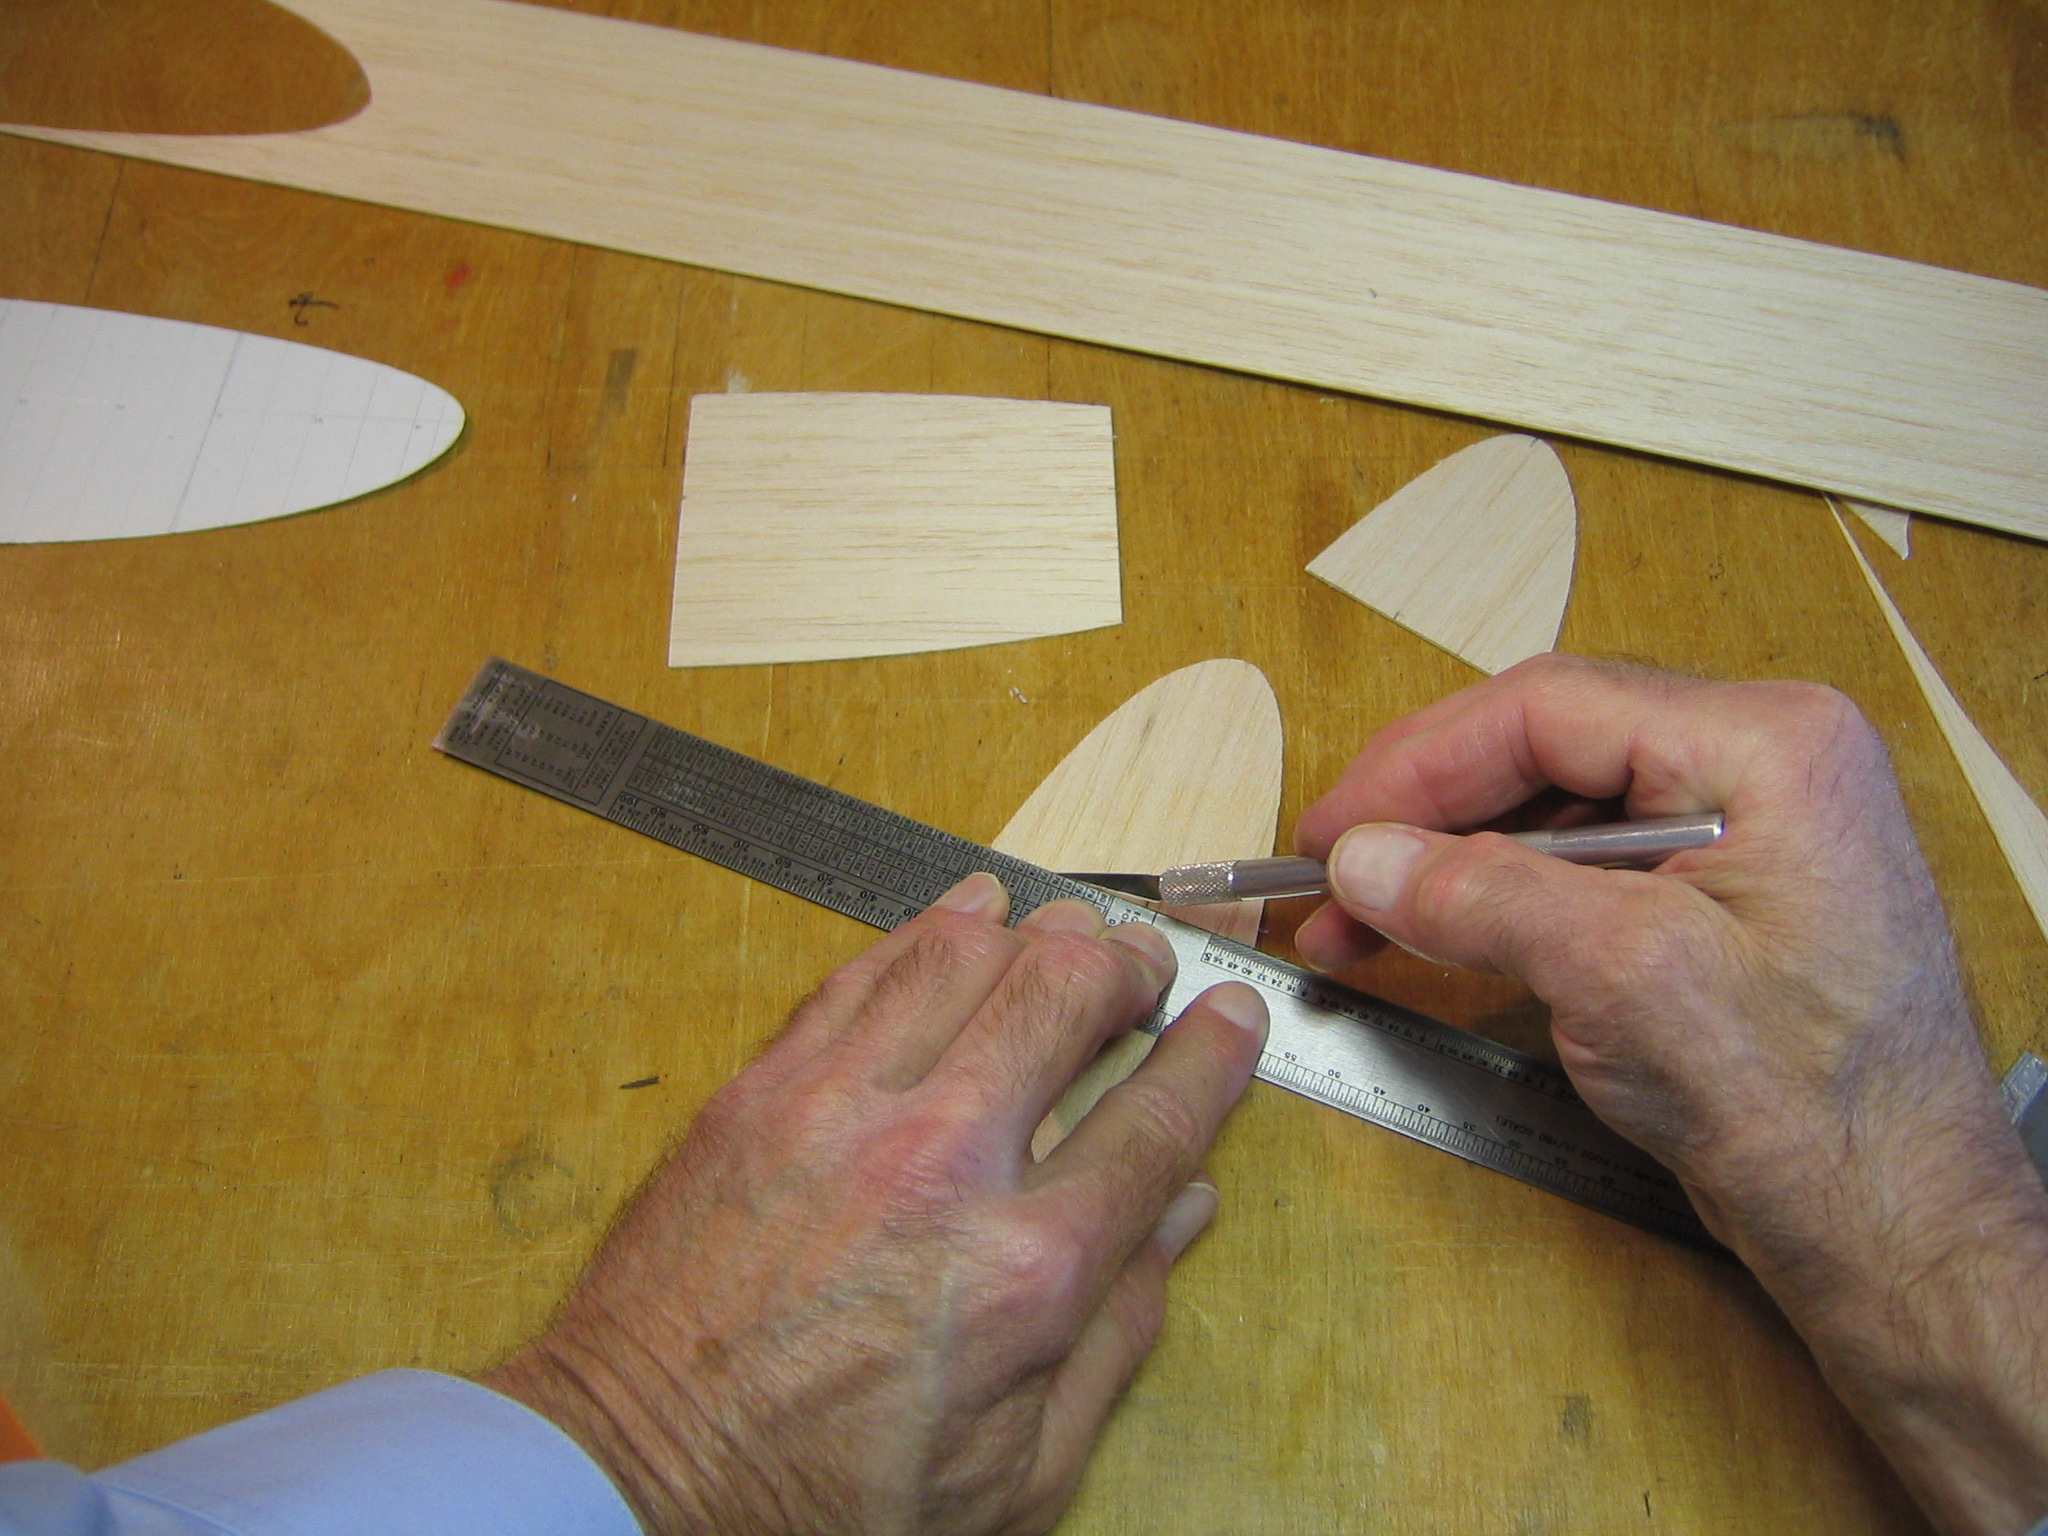
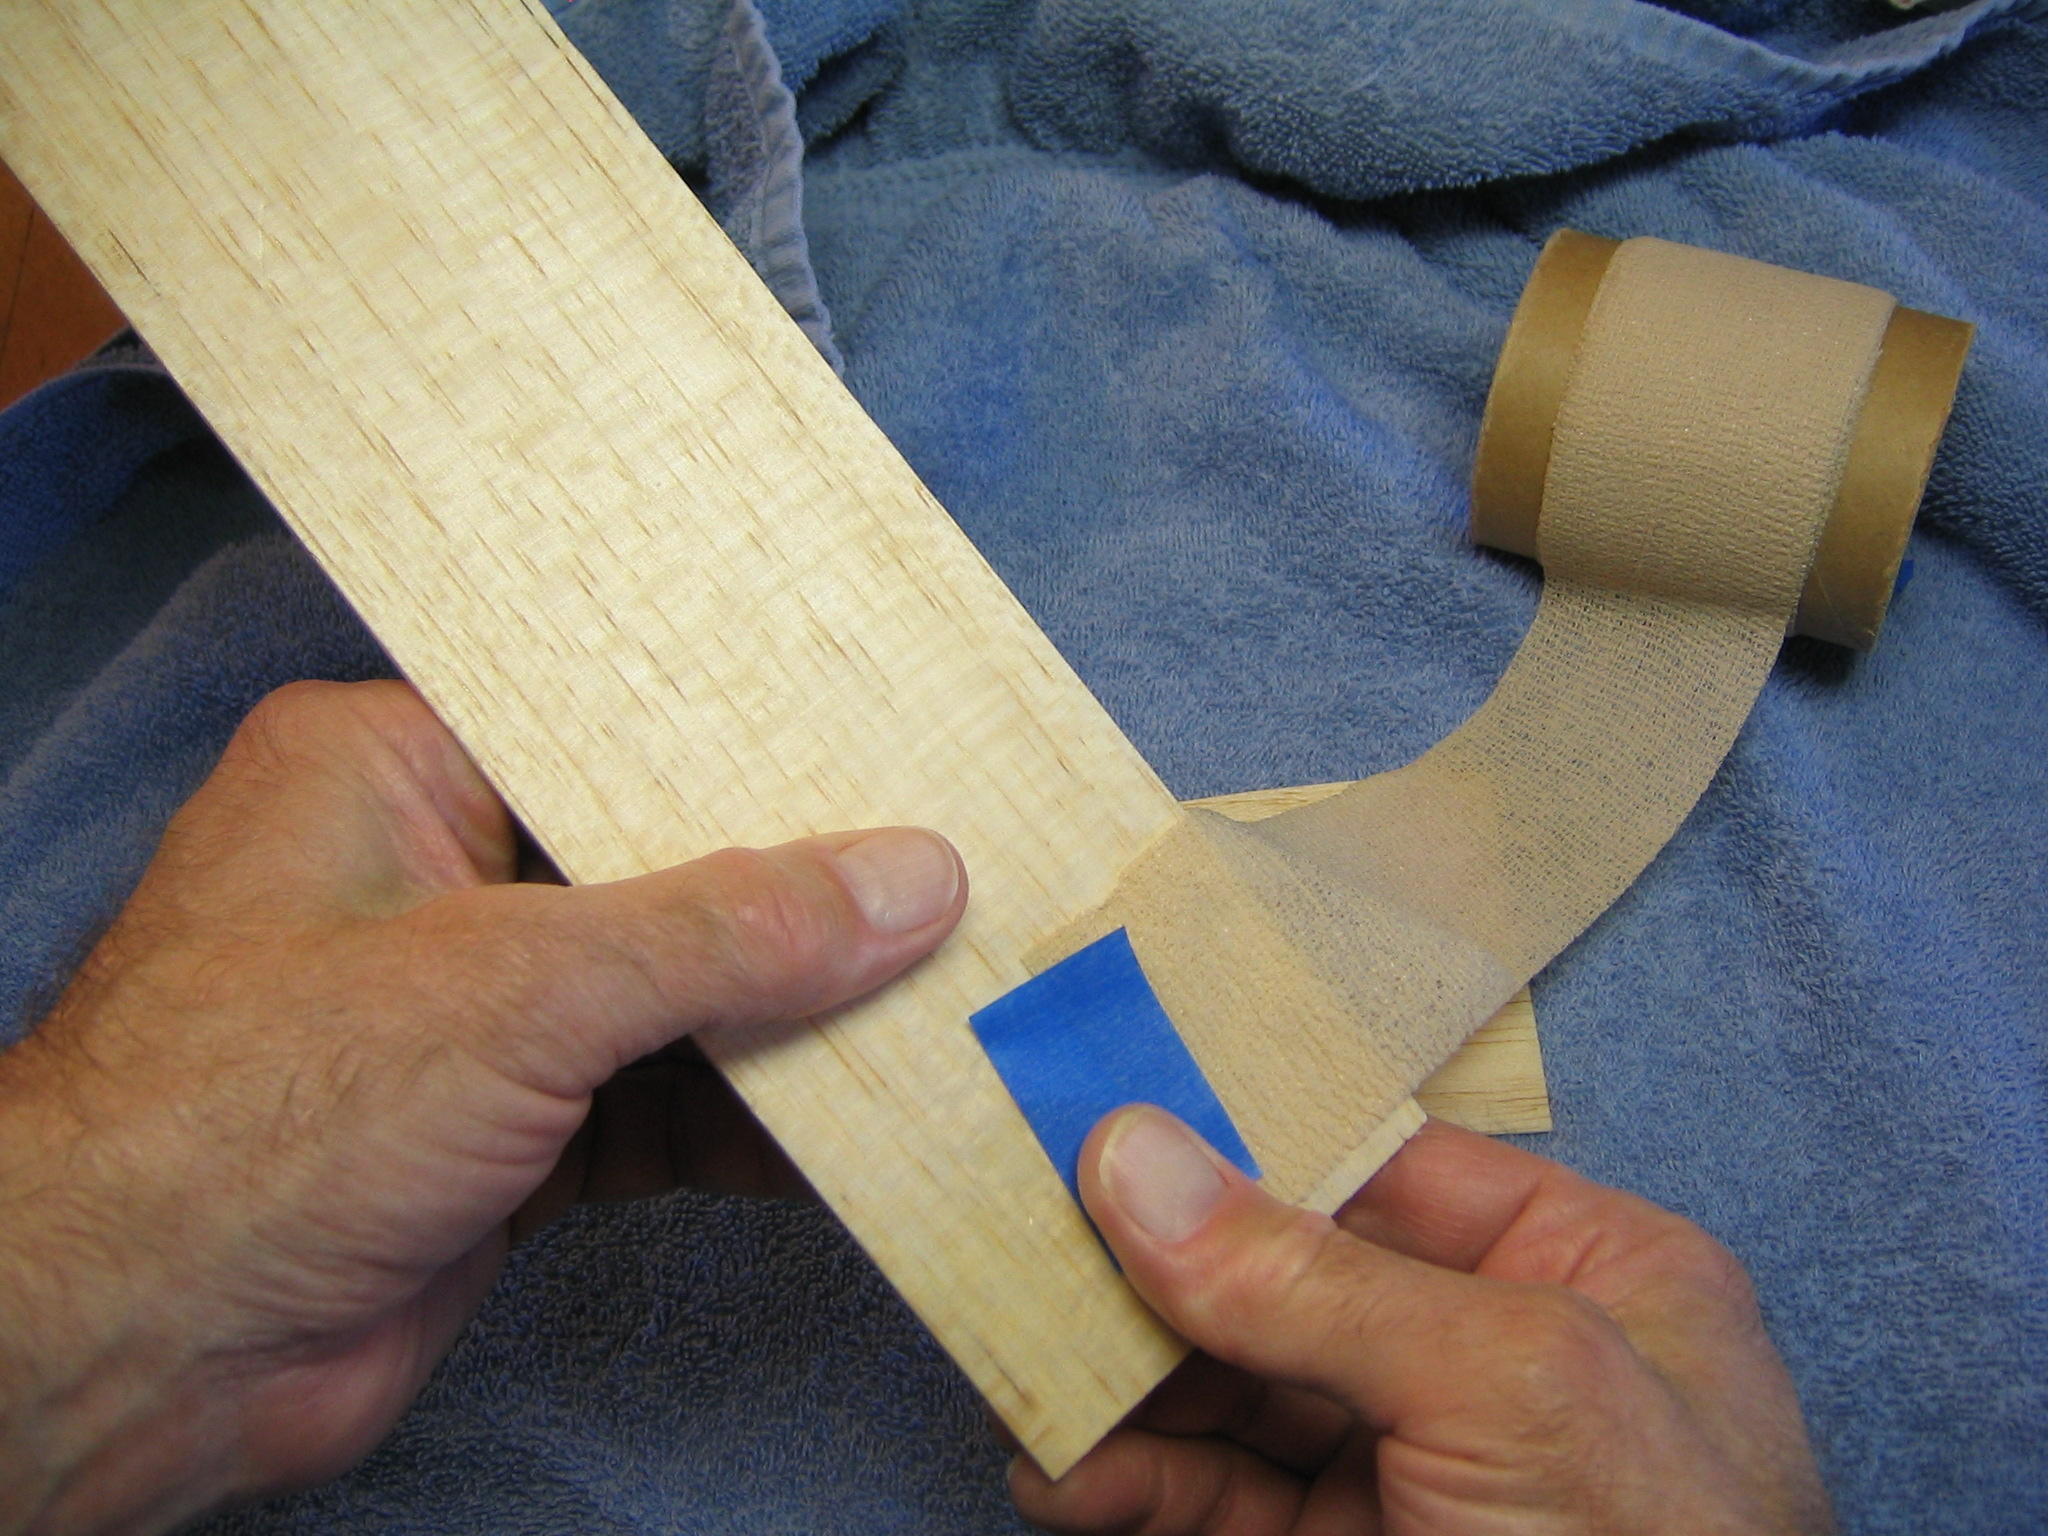
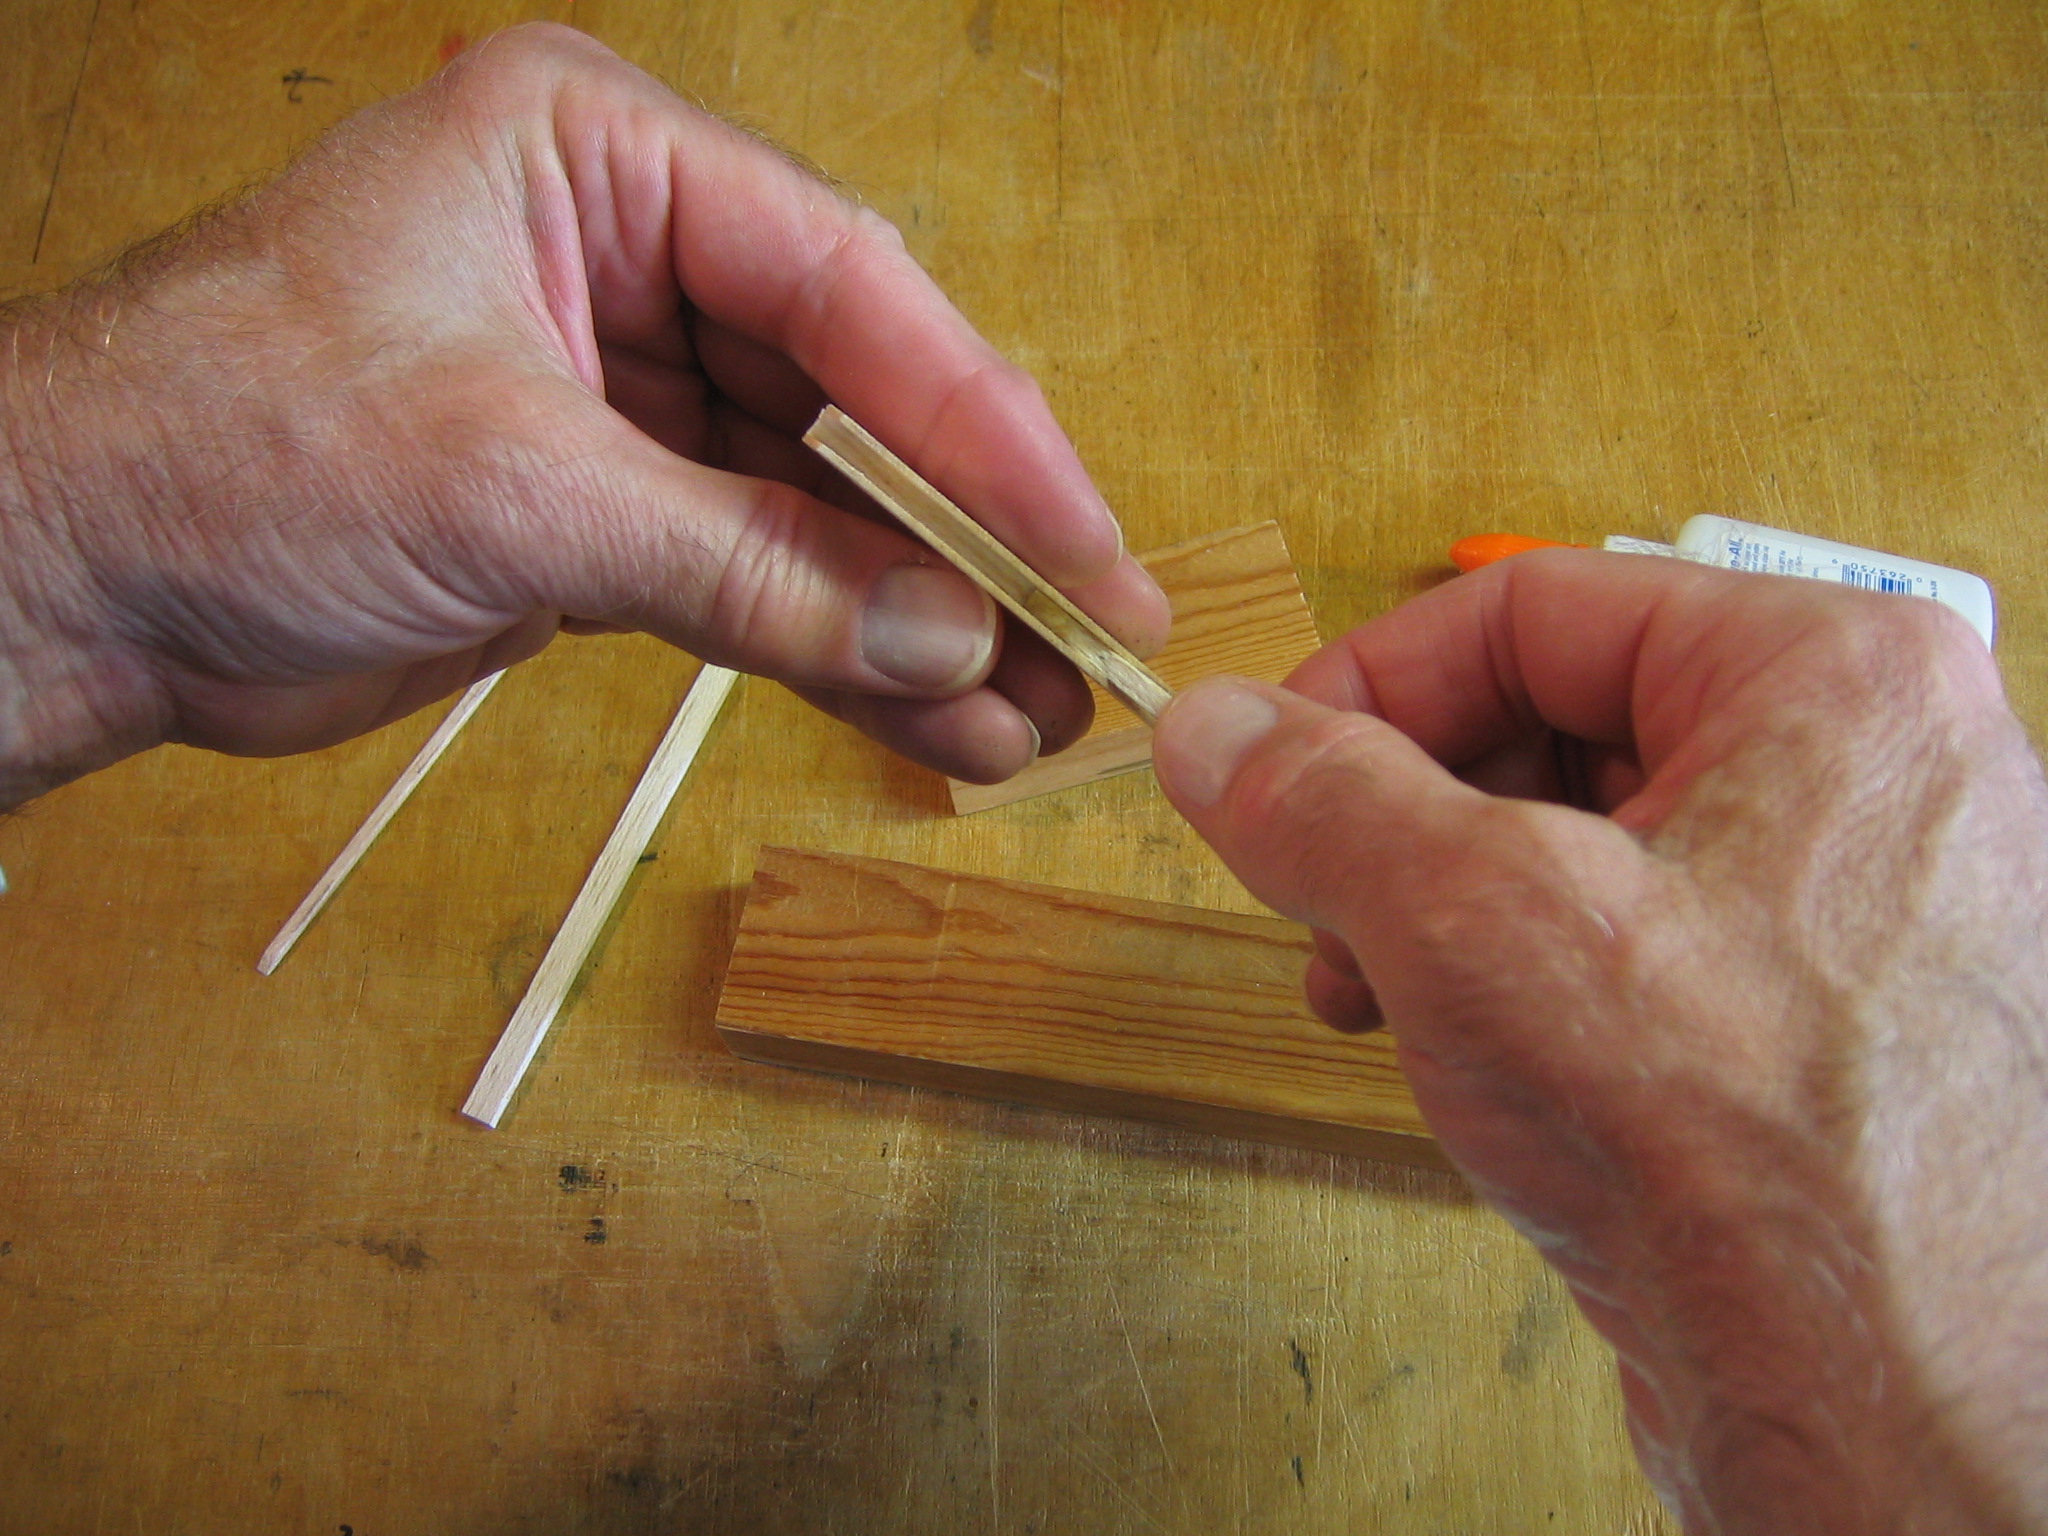
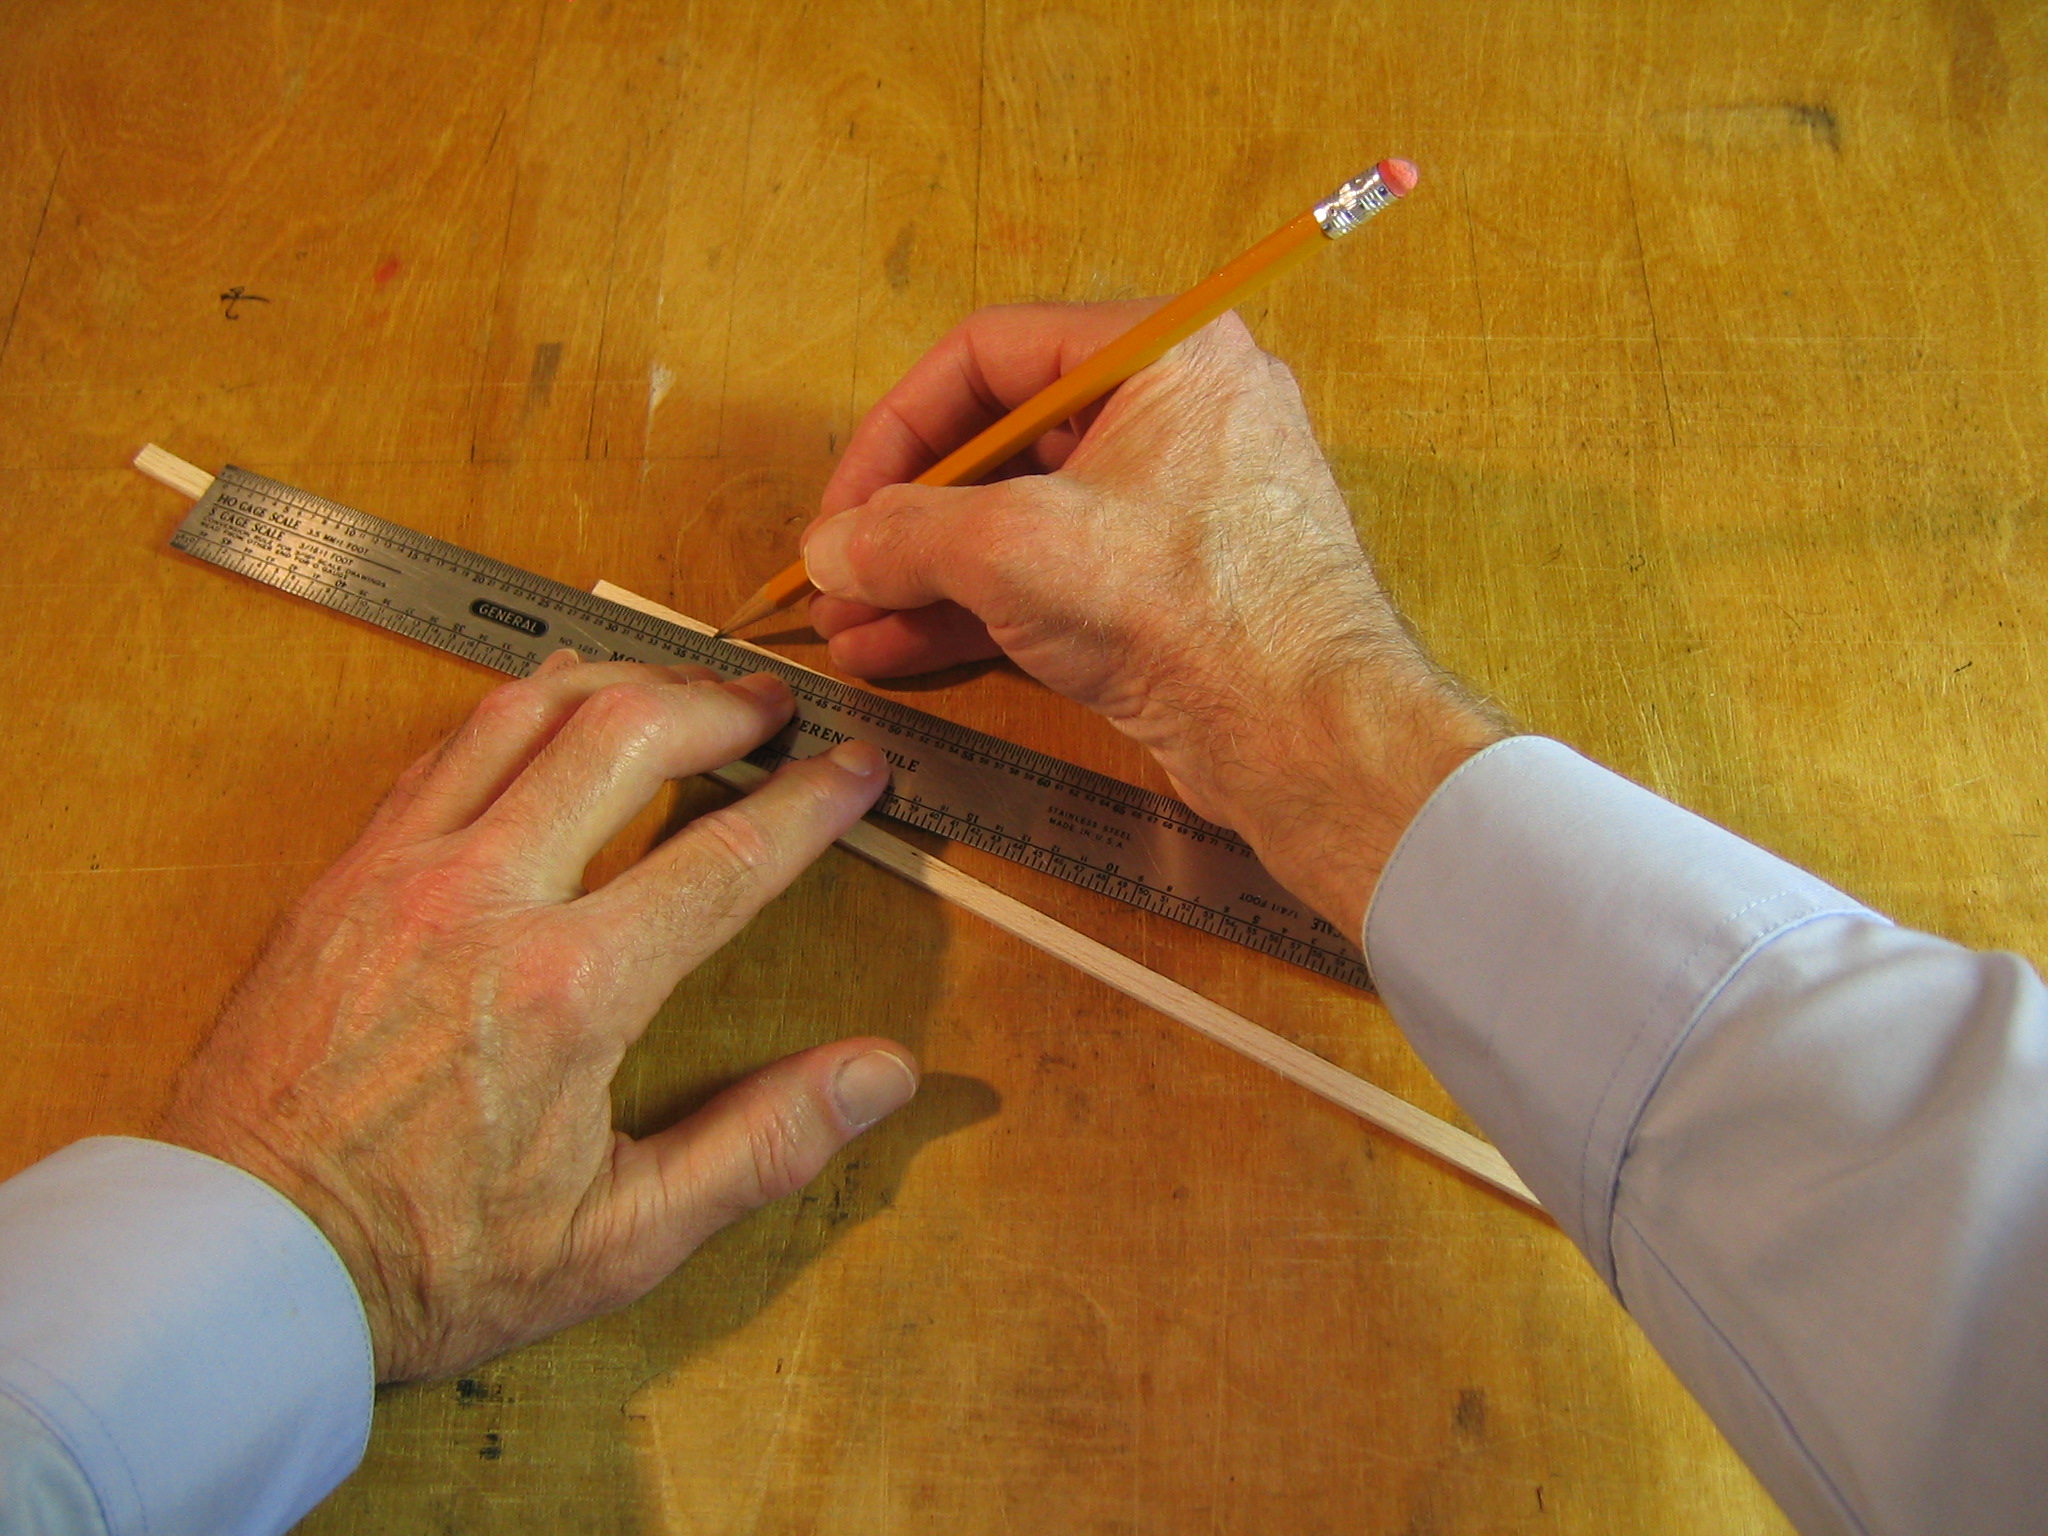
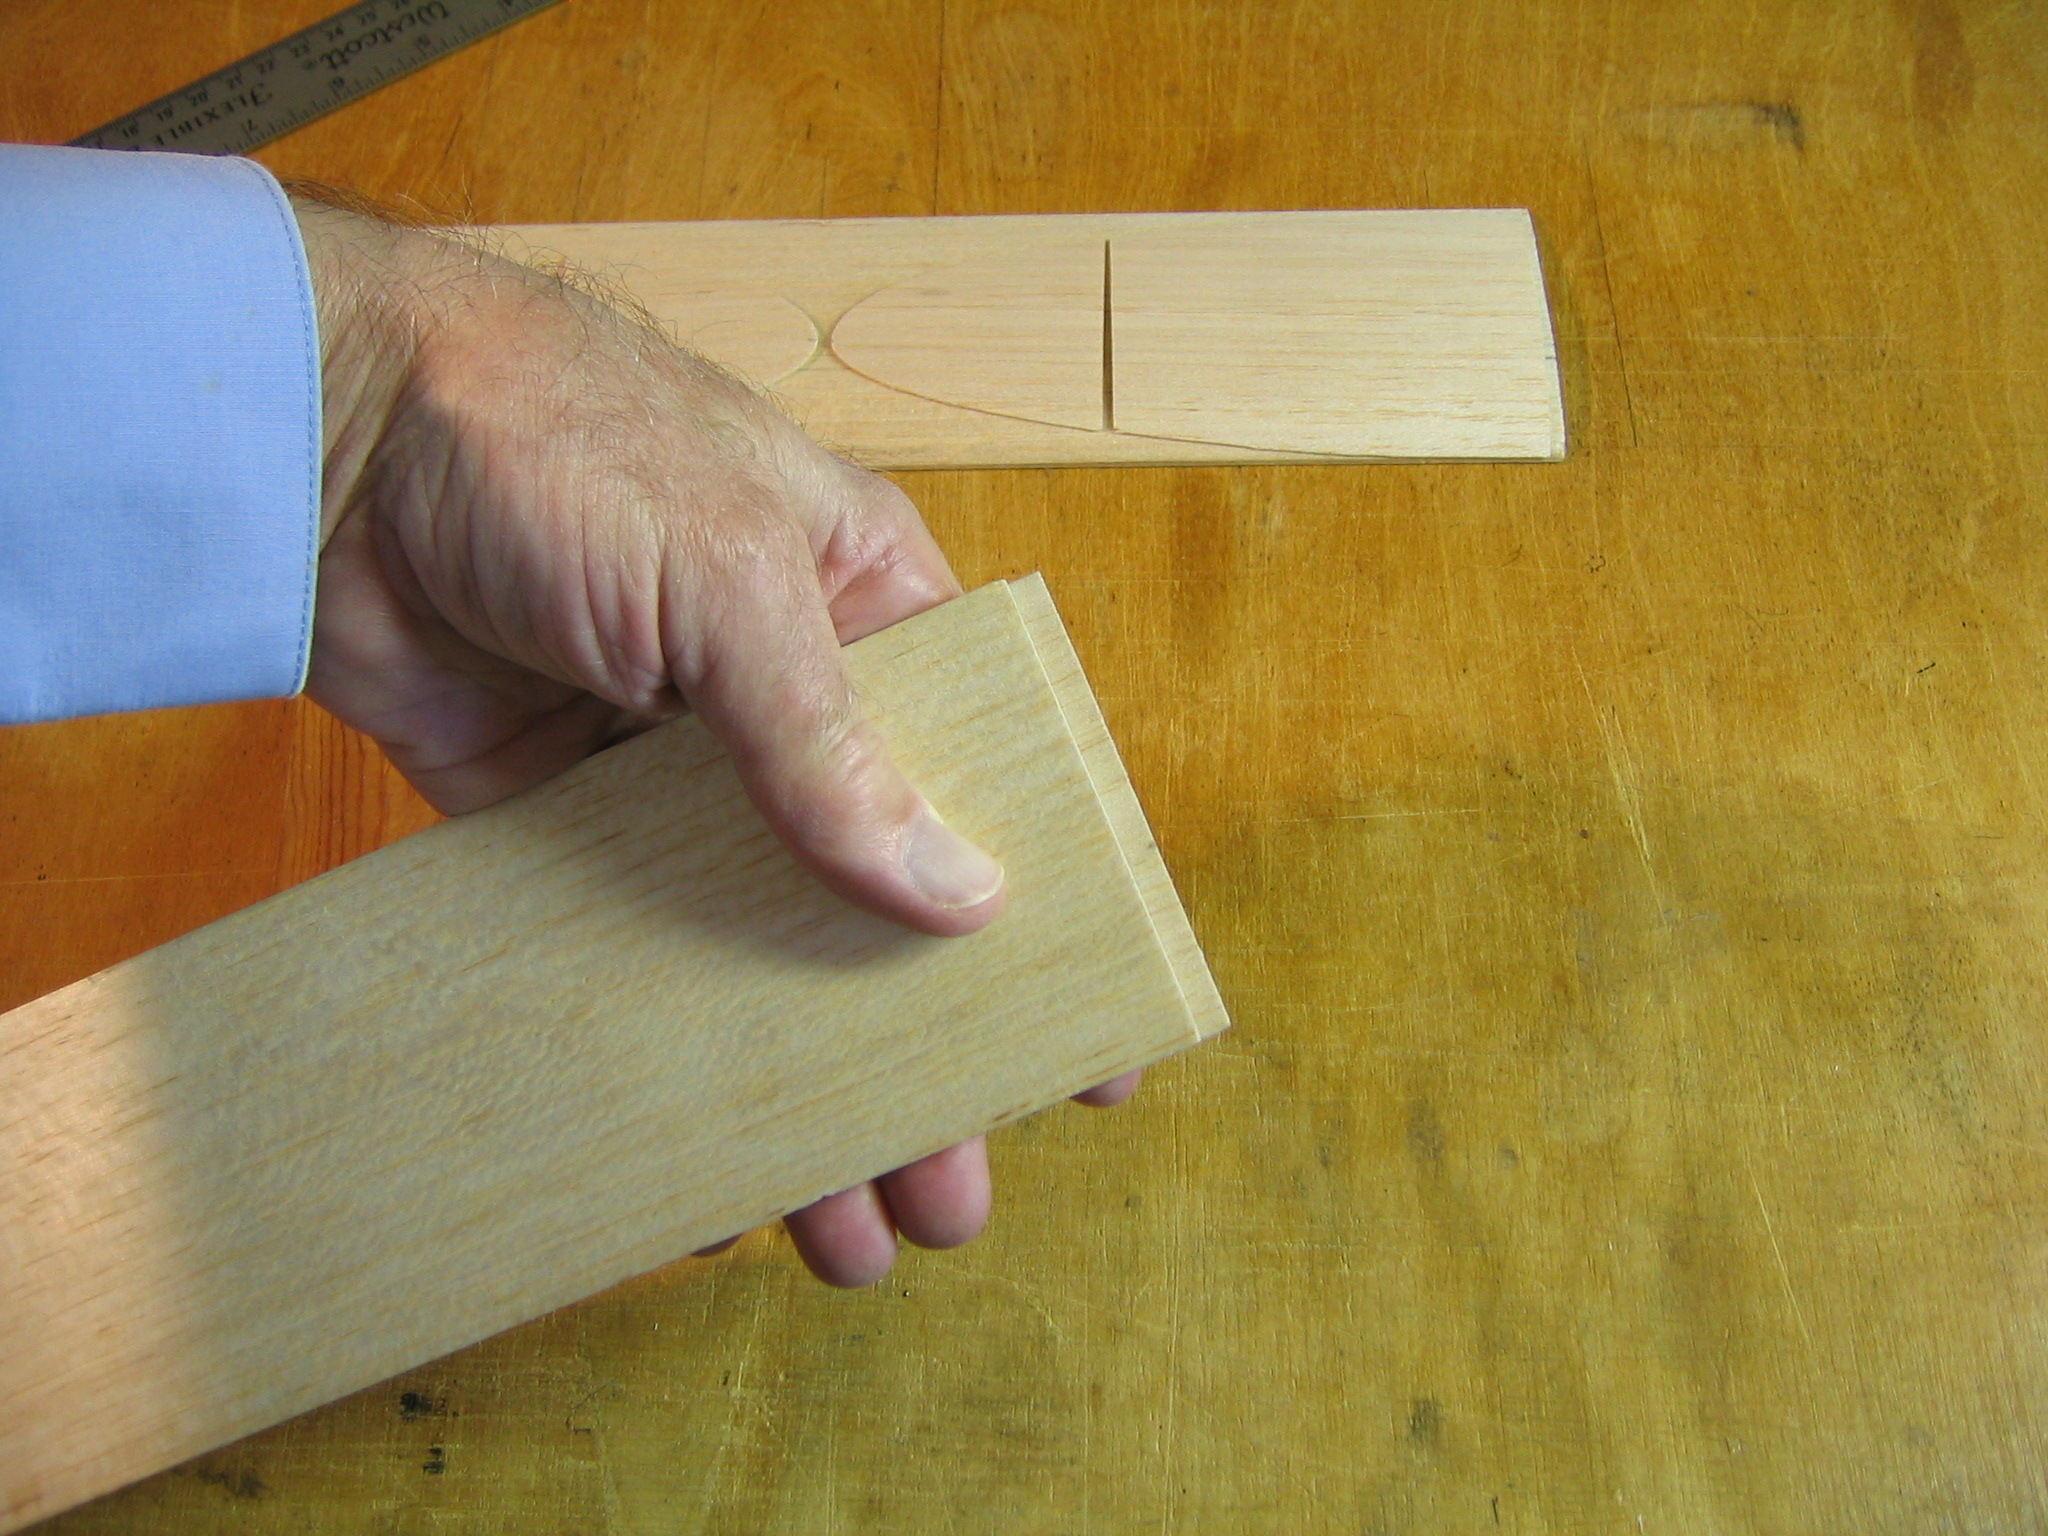
Now we will make the wing saddle side plates from a 1/32″ x 3″ wide medium balsa sheet. The side plates have the grain running vertically, across the narrow width of the pattern. The bottom edge of the pattern is placed at the end of the stock, that has been cut square across. A block of wood can be used to align the two edges by pressing both against the block. Then cut over the curved top of the pattern. Cut the end of the sheet square again and cut a second side plate.
Turn the pattern over and align the straight edge along the bottom of the filler rib with the edge of a 1/16″ sheet of soft balsa. Cut along the curve. Make two of these.
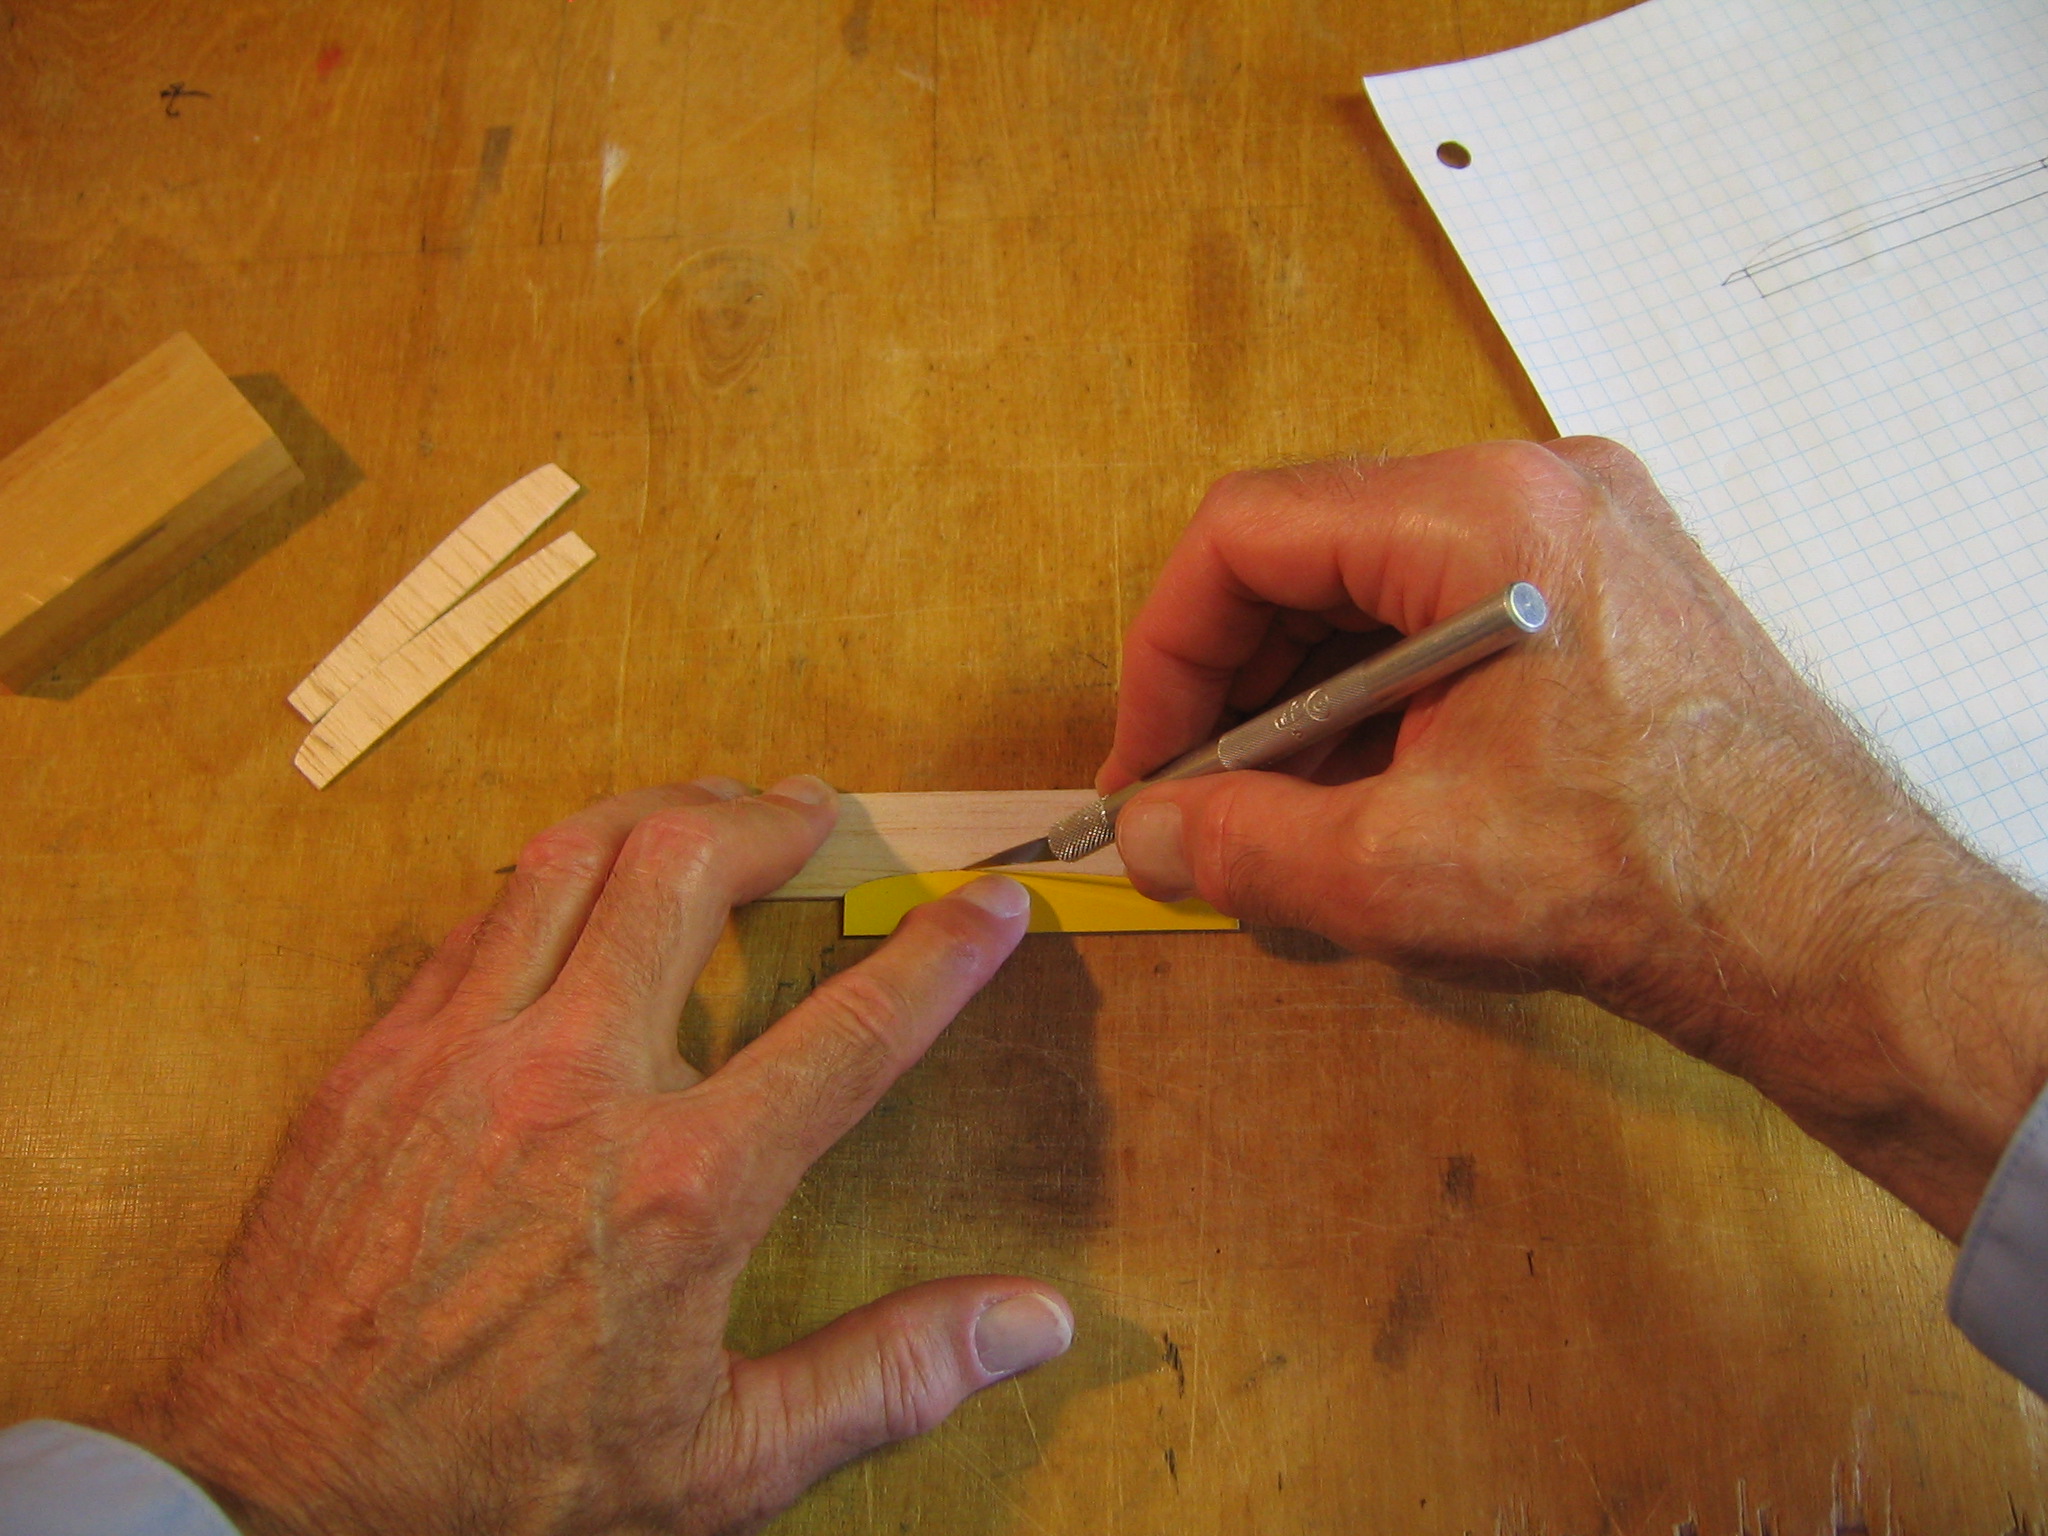
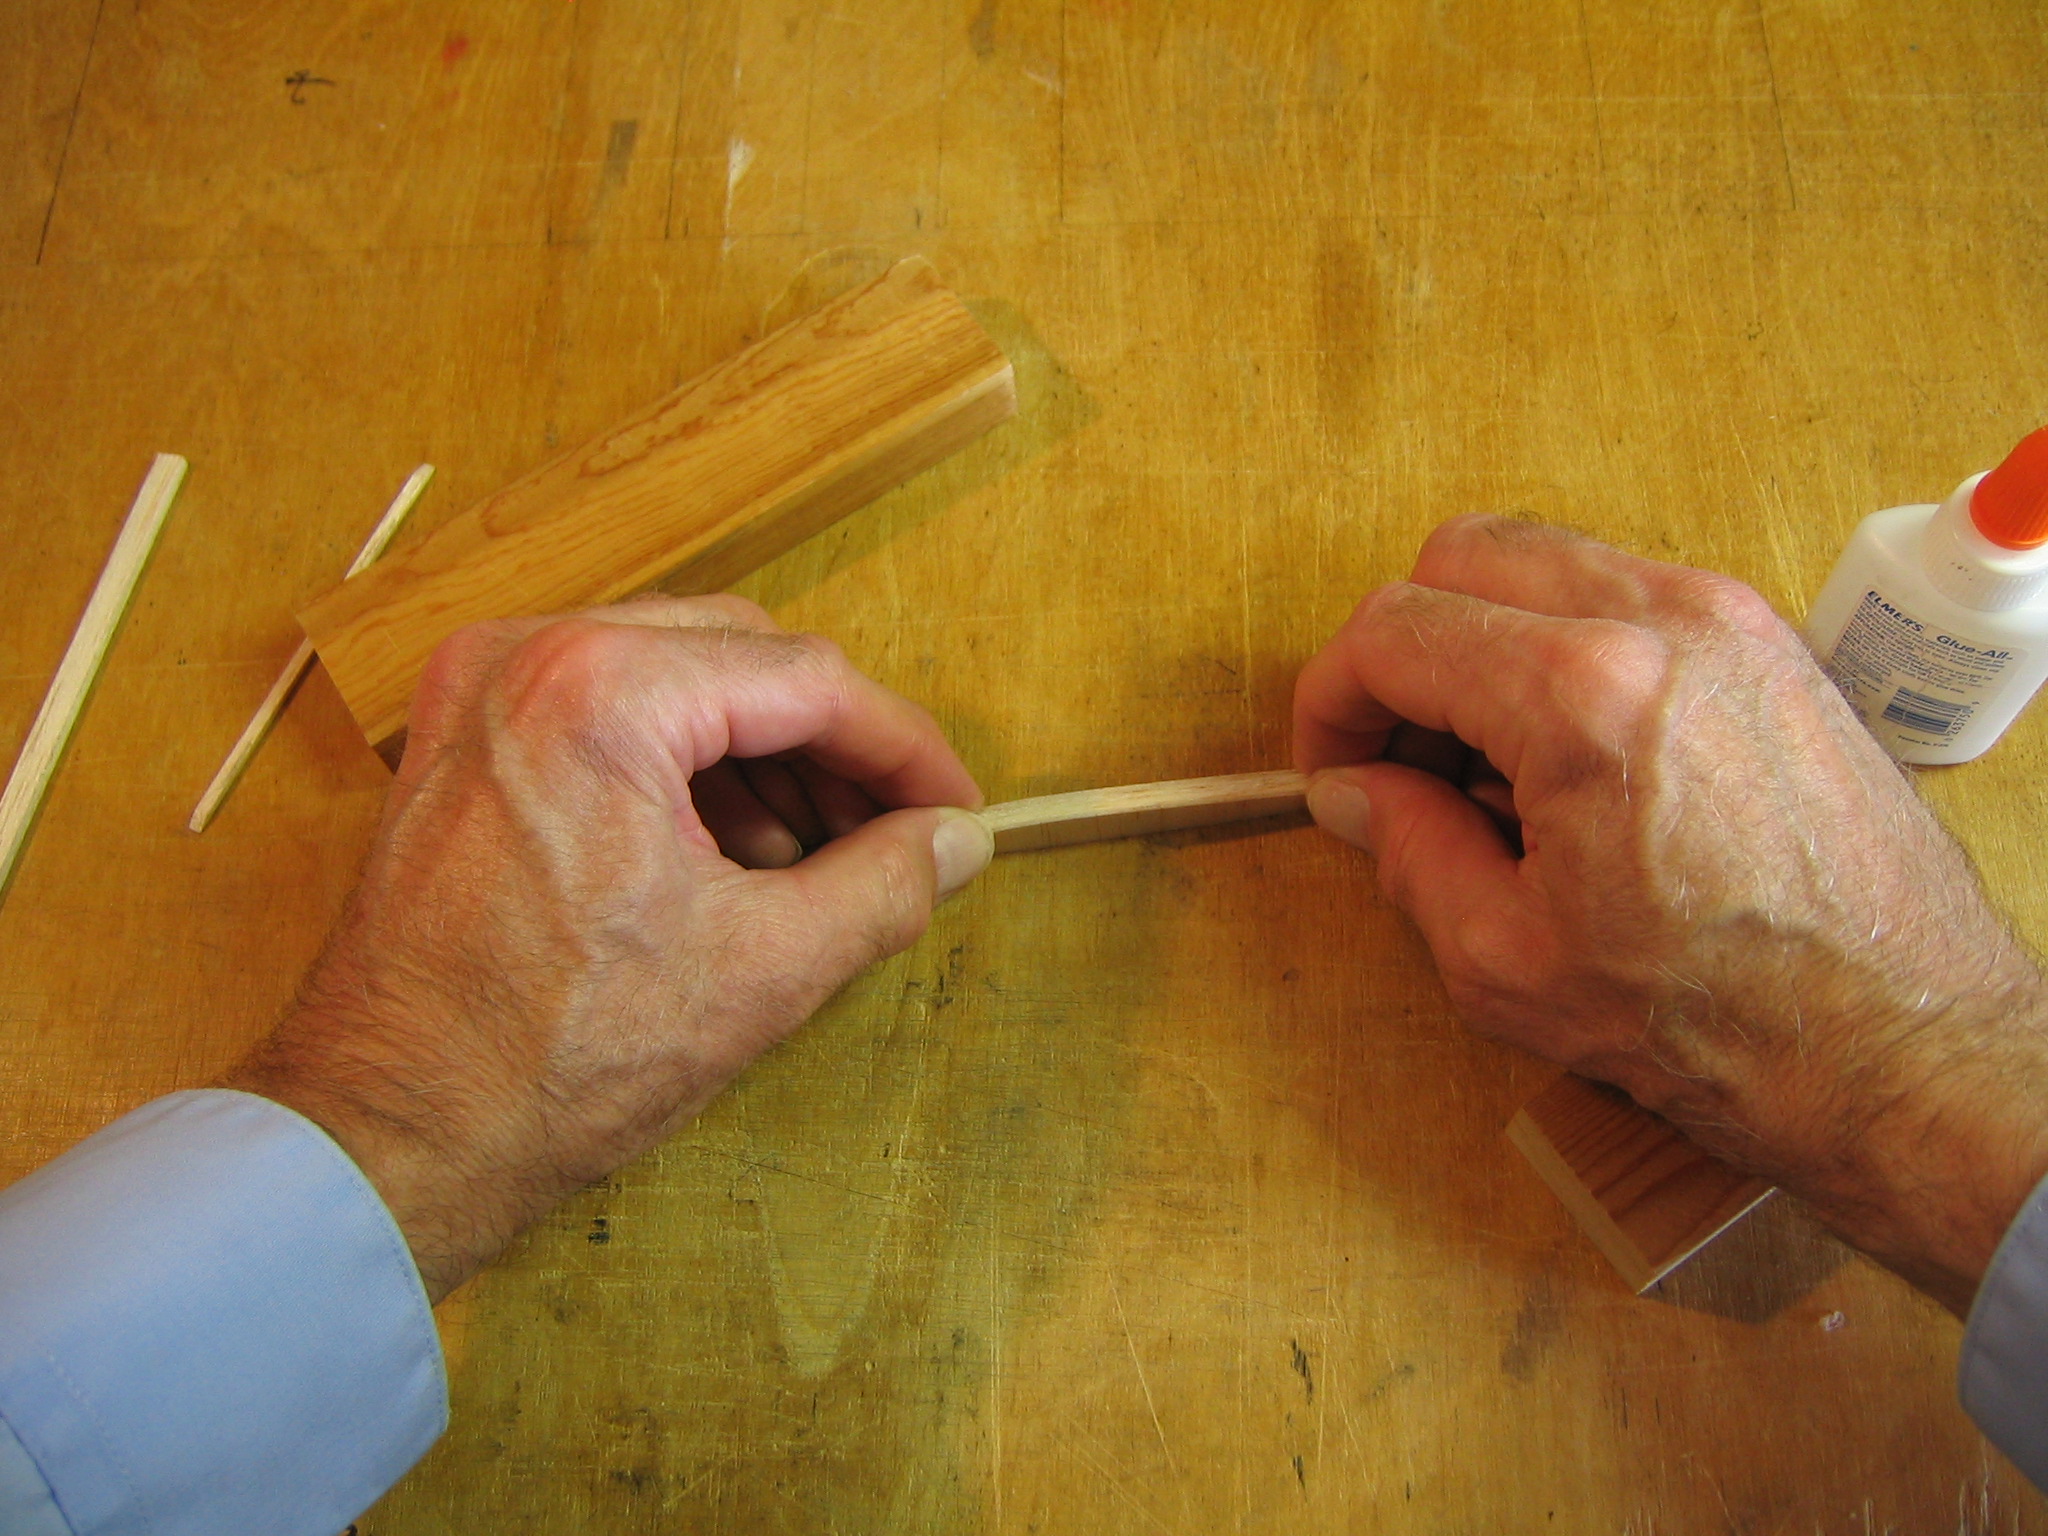
Cut a 3 3/4″ long piece from some 1/16″ x 1/8″ medium hard balsa stick.
Sand the ends of the 1/8″ faces to a taper of about 30 degrees. Both tapers should be on the same side of the stick.
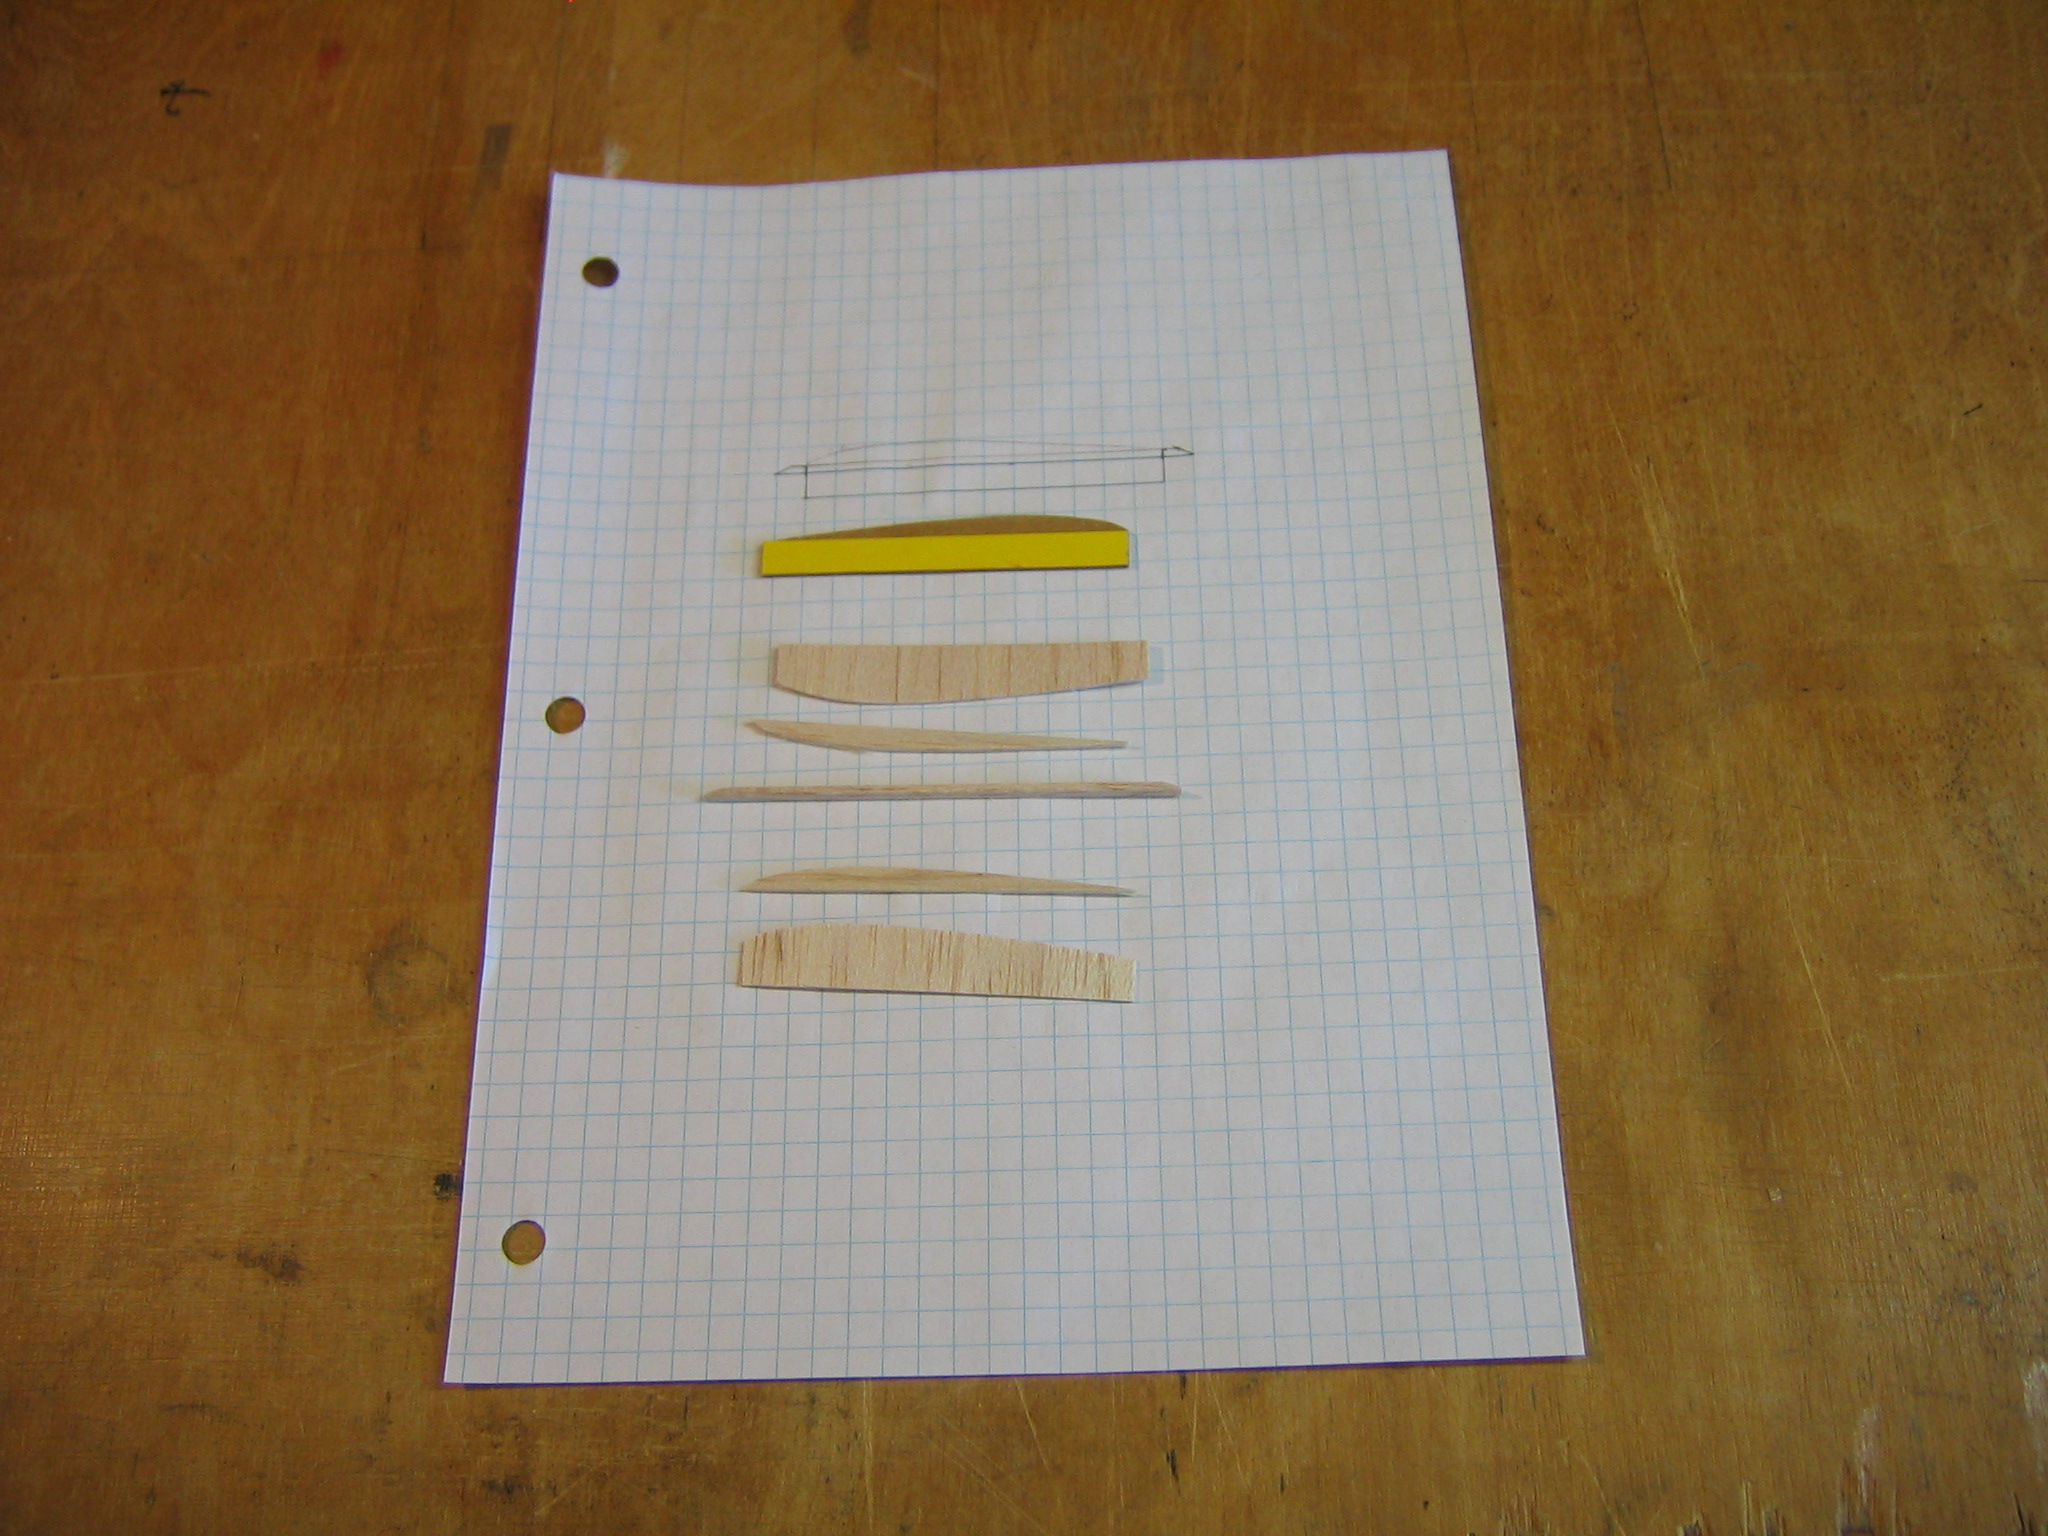
Here are all the parts of the wing saddle. From top to bottom, the drawing, the dual pattern, the right side plate, the right filler rib, the hold down stick, the left filler rib and the left side plate.

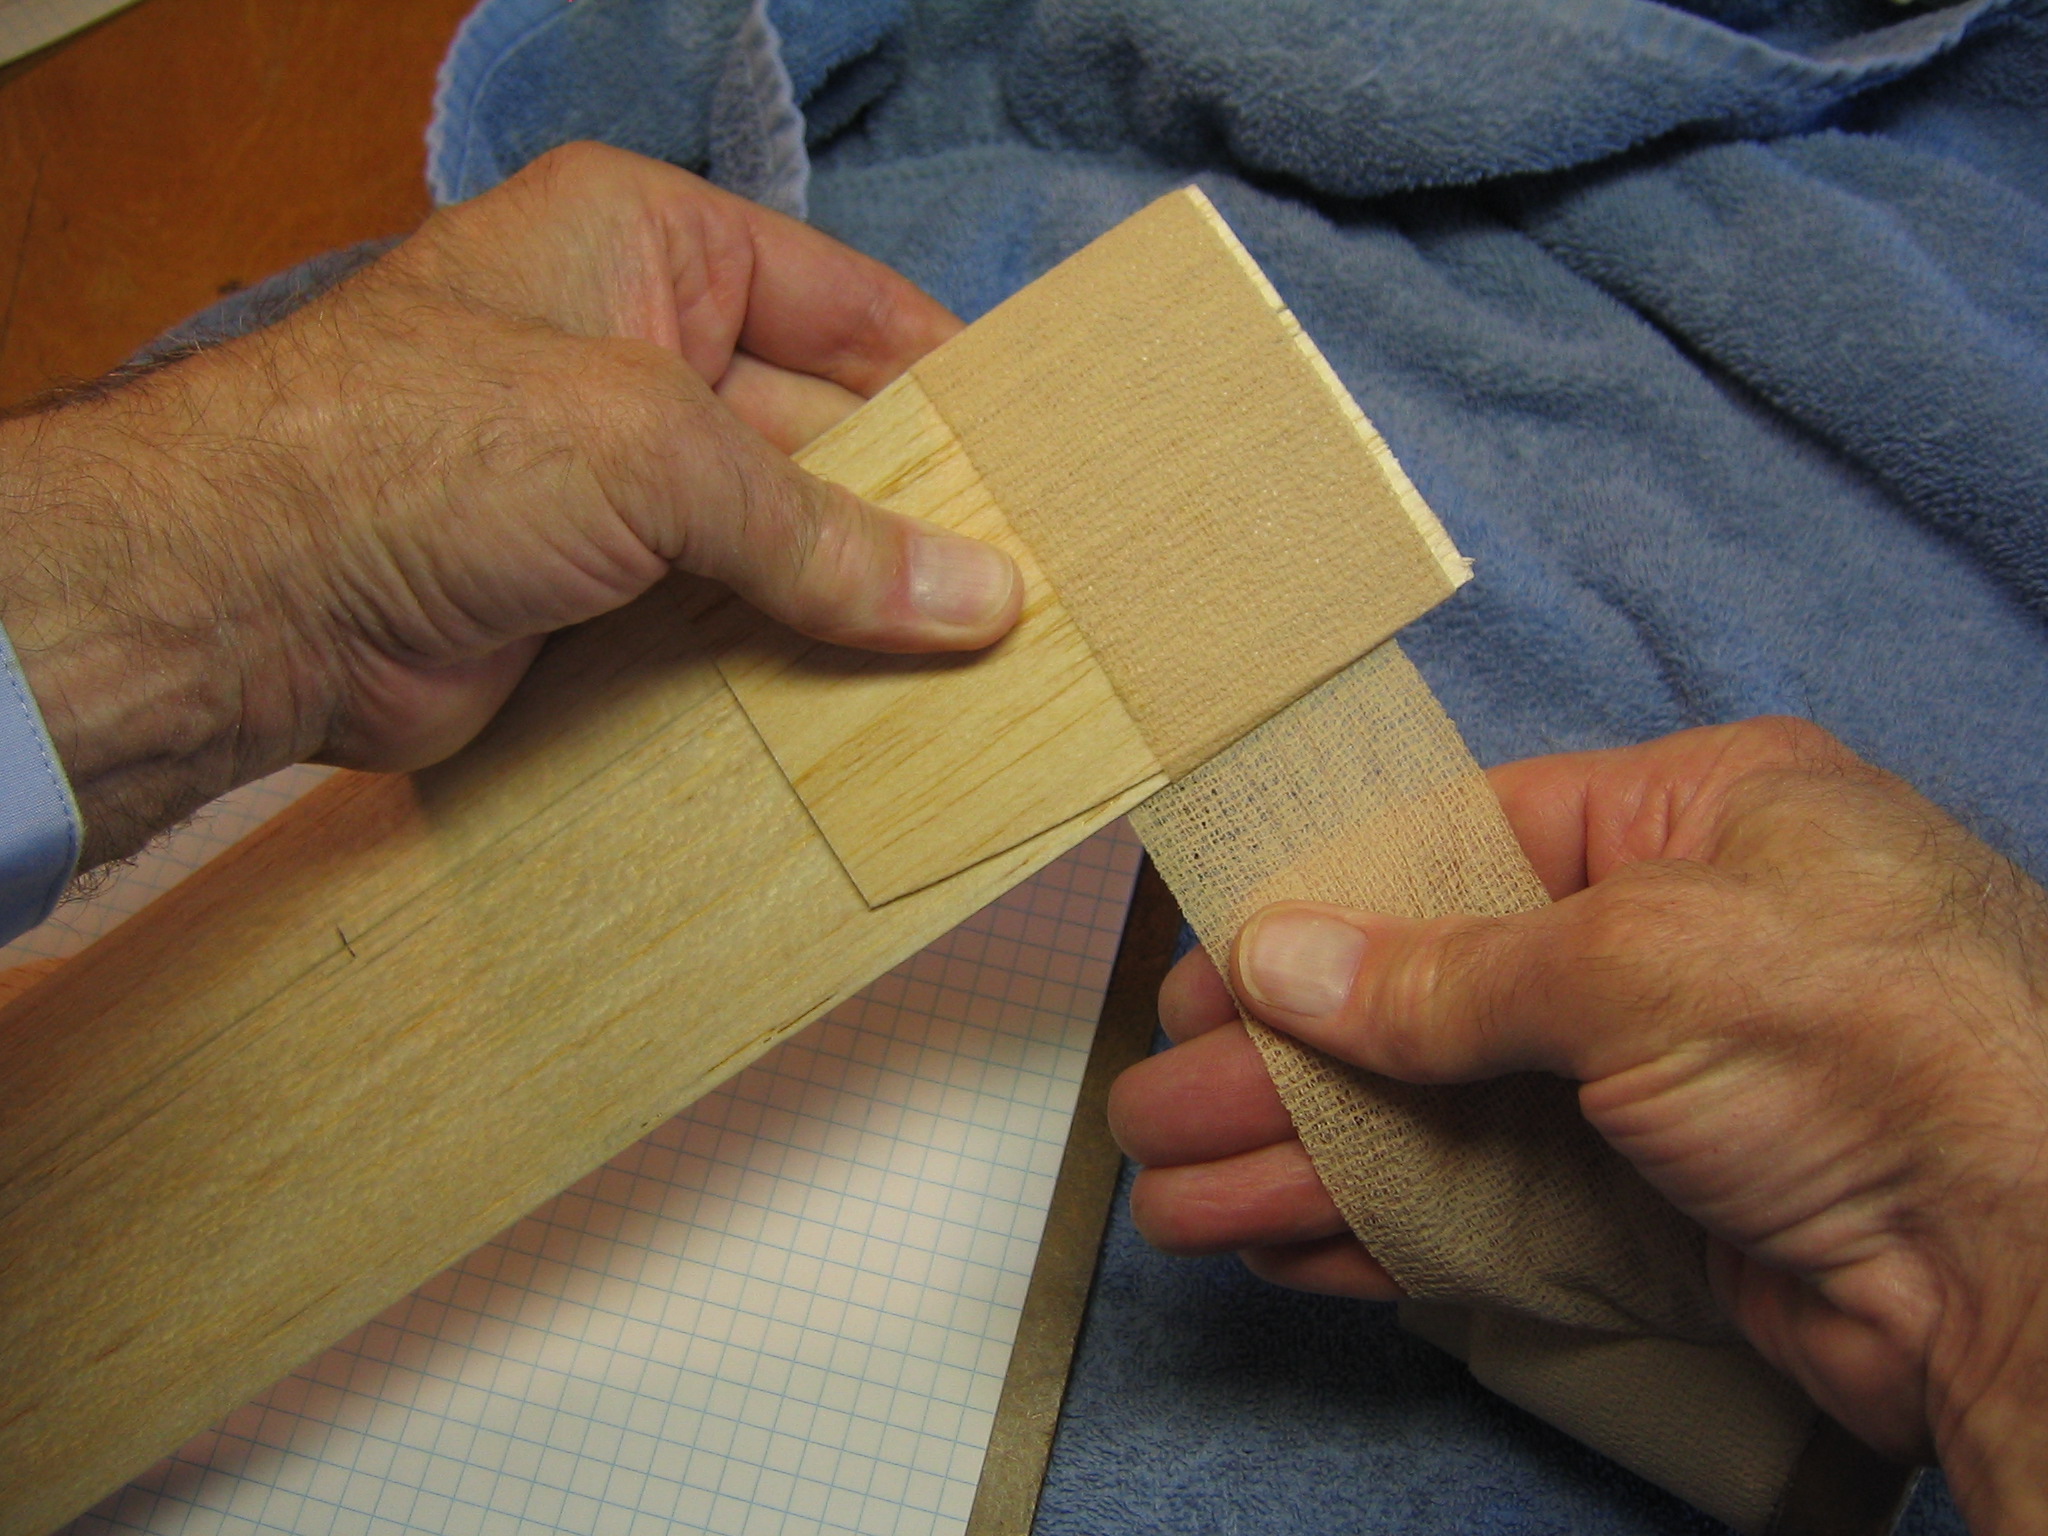
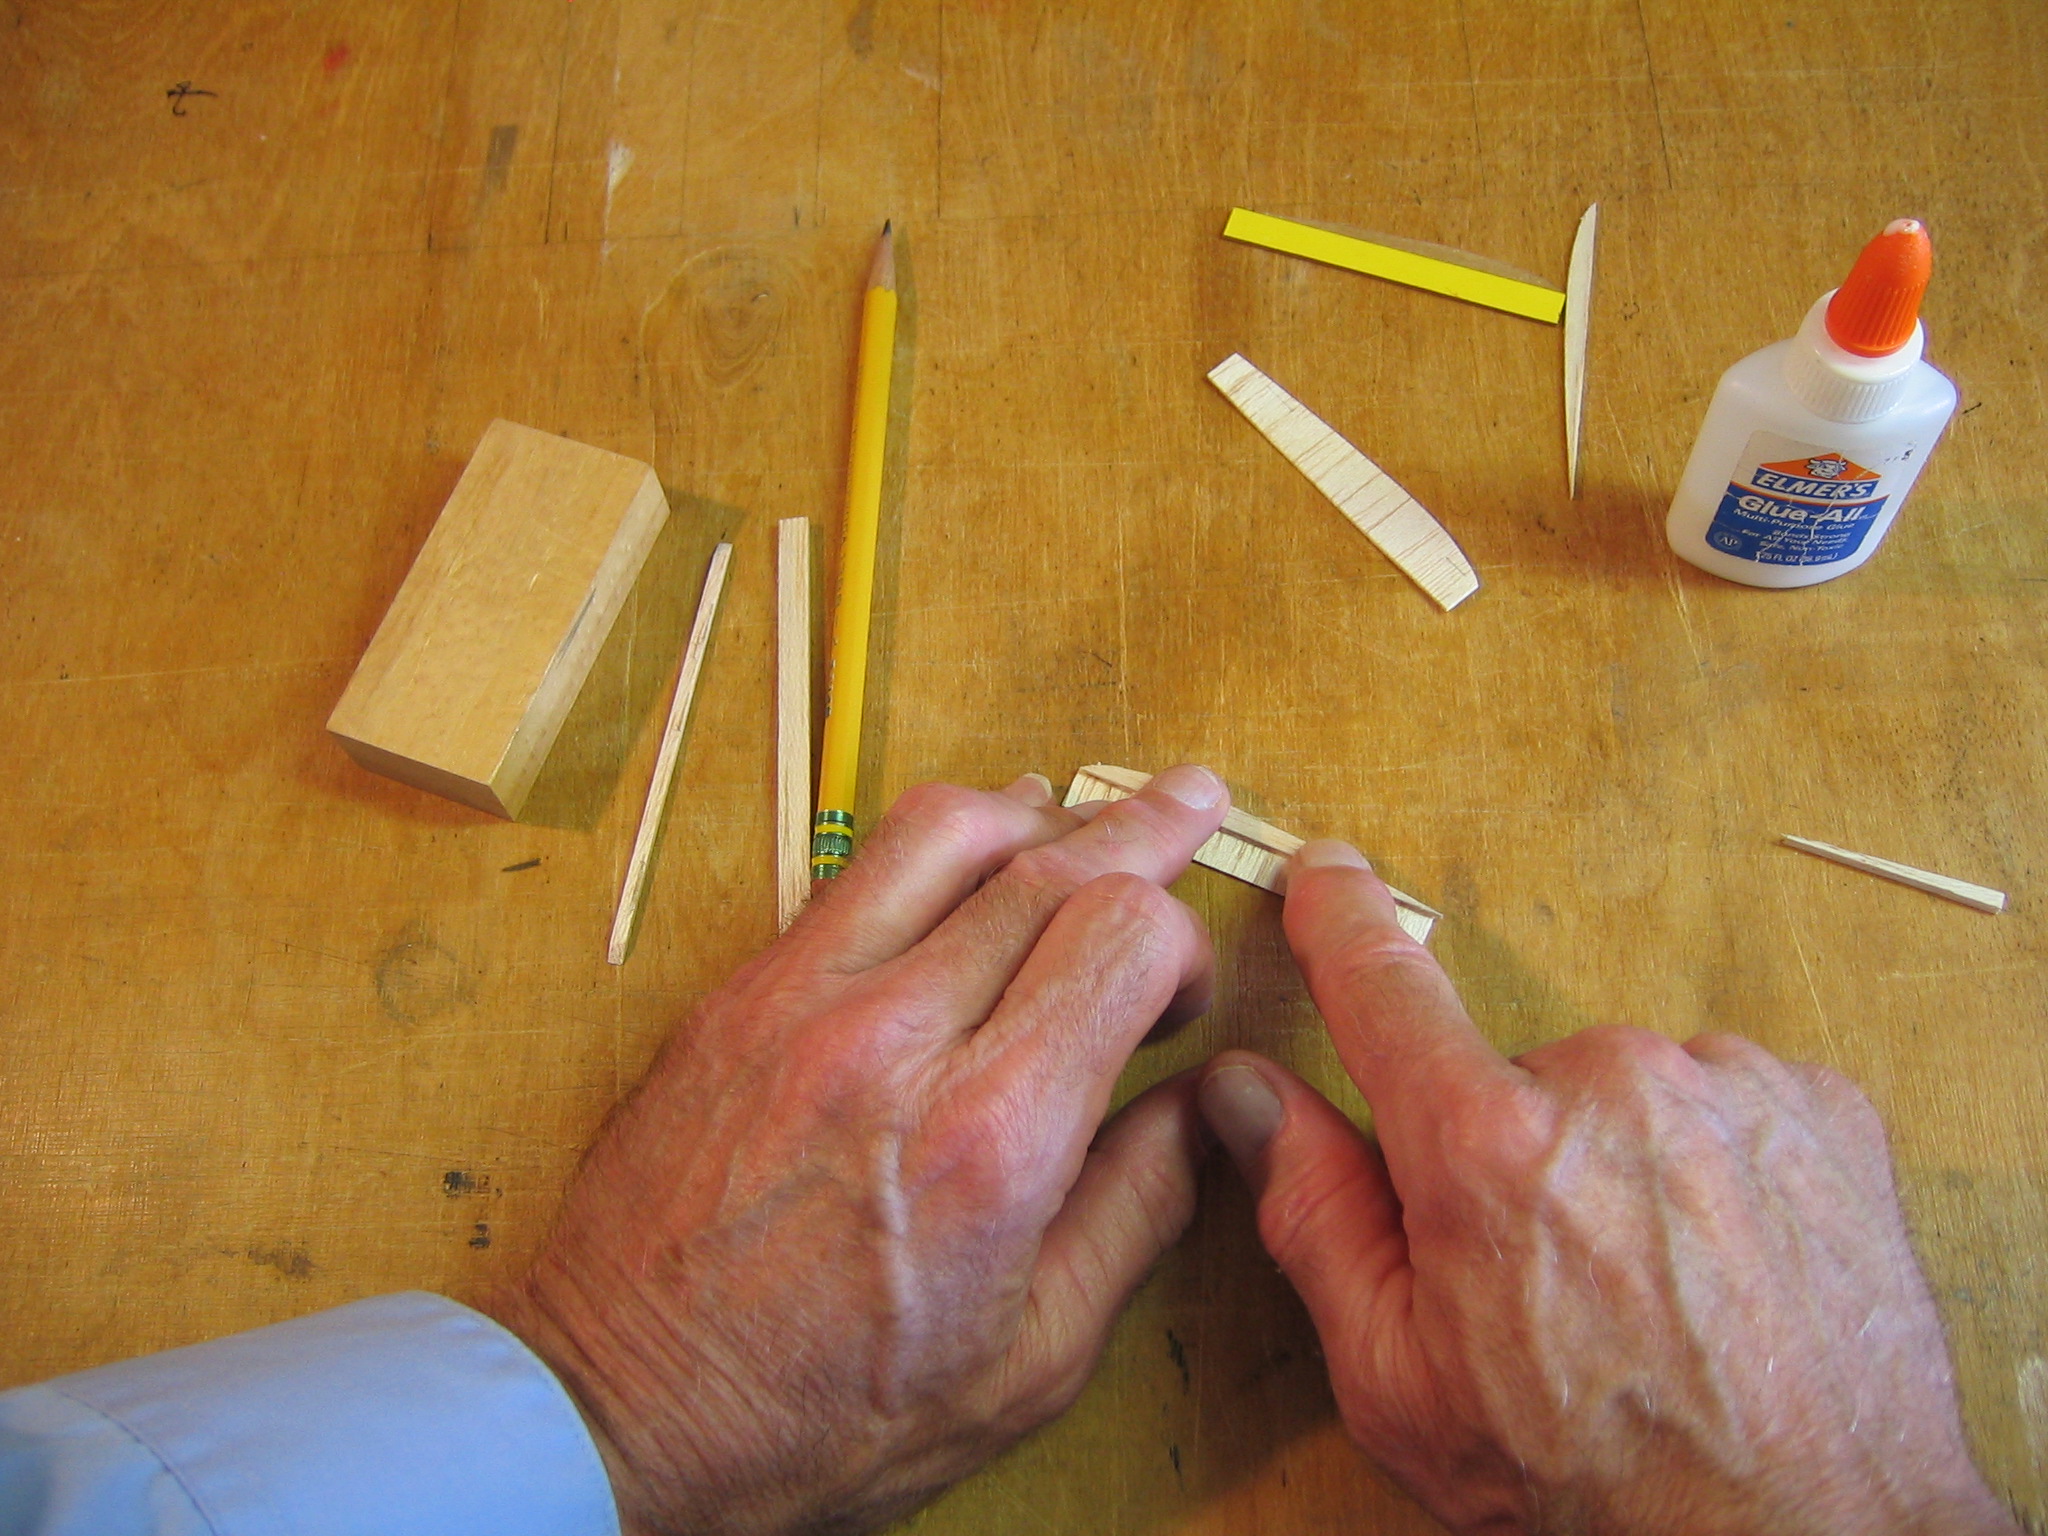
I will use a scrap of 1/8″ x 1/4″ and the hold down stick to mark the location for the ribs on the side plates.
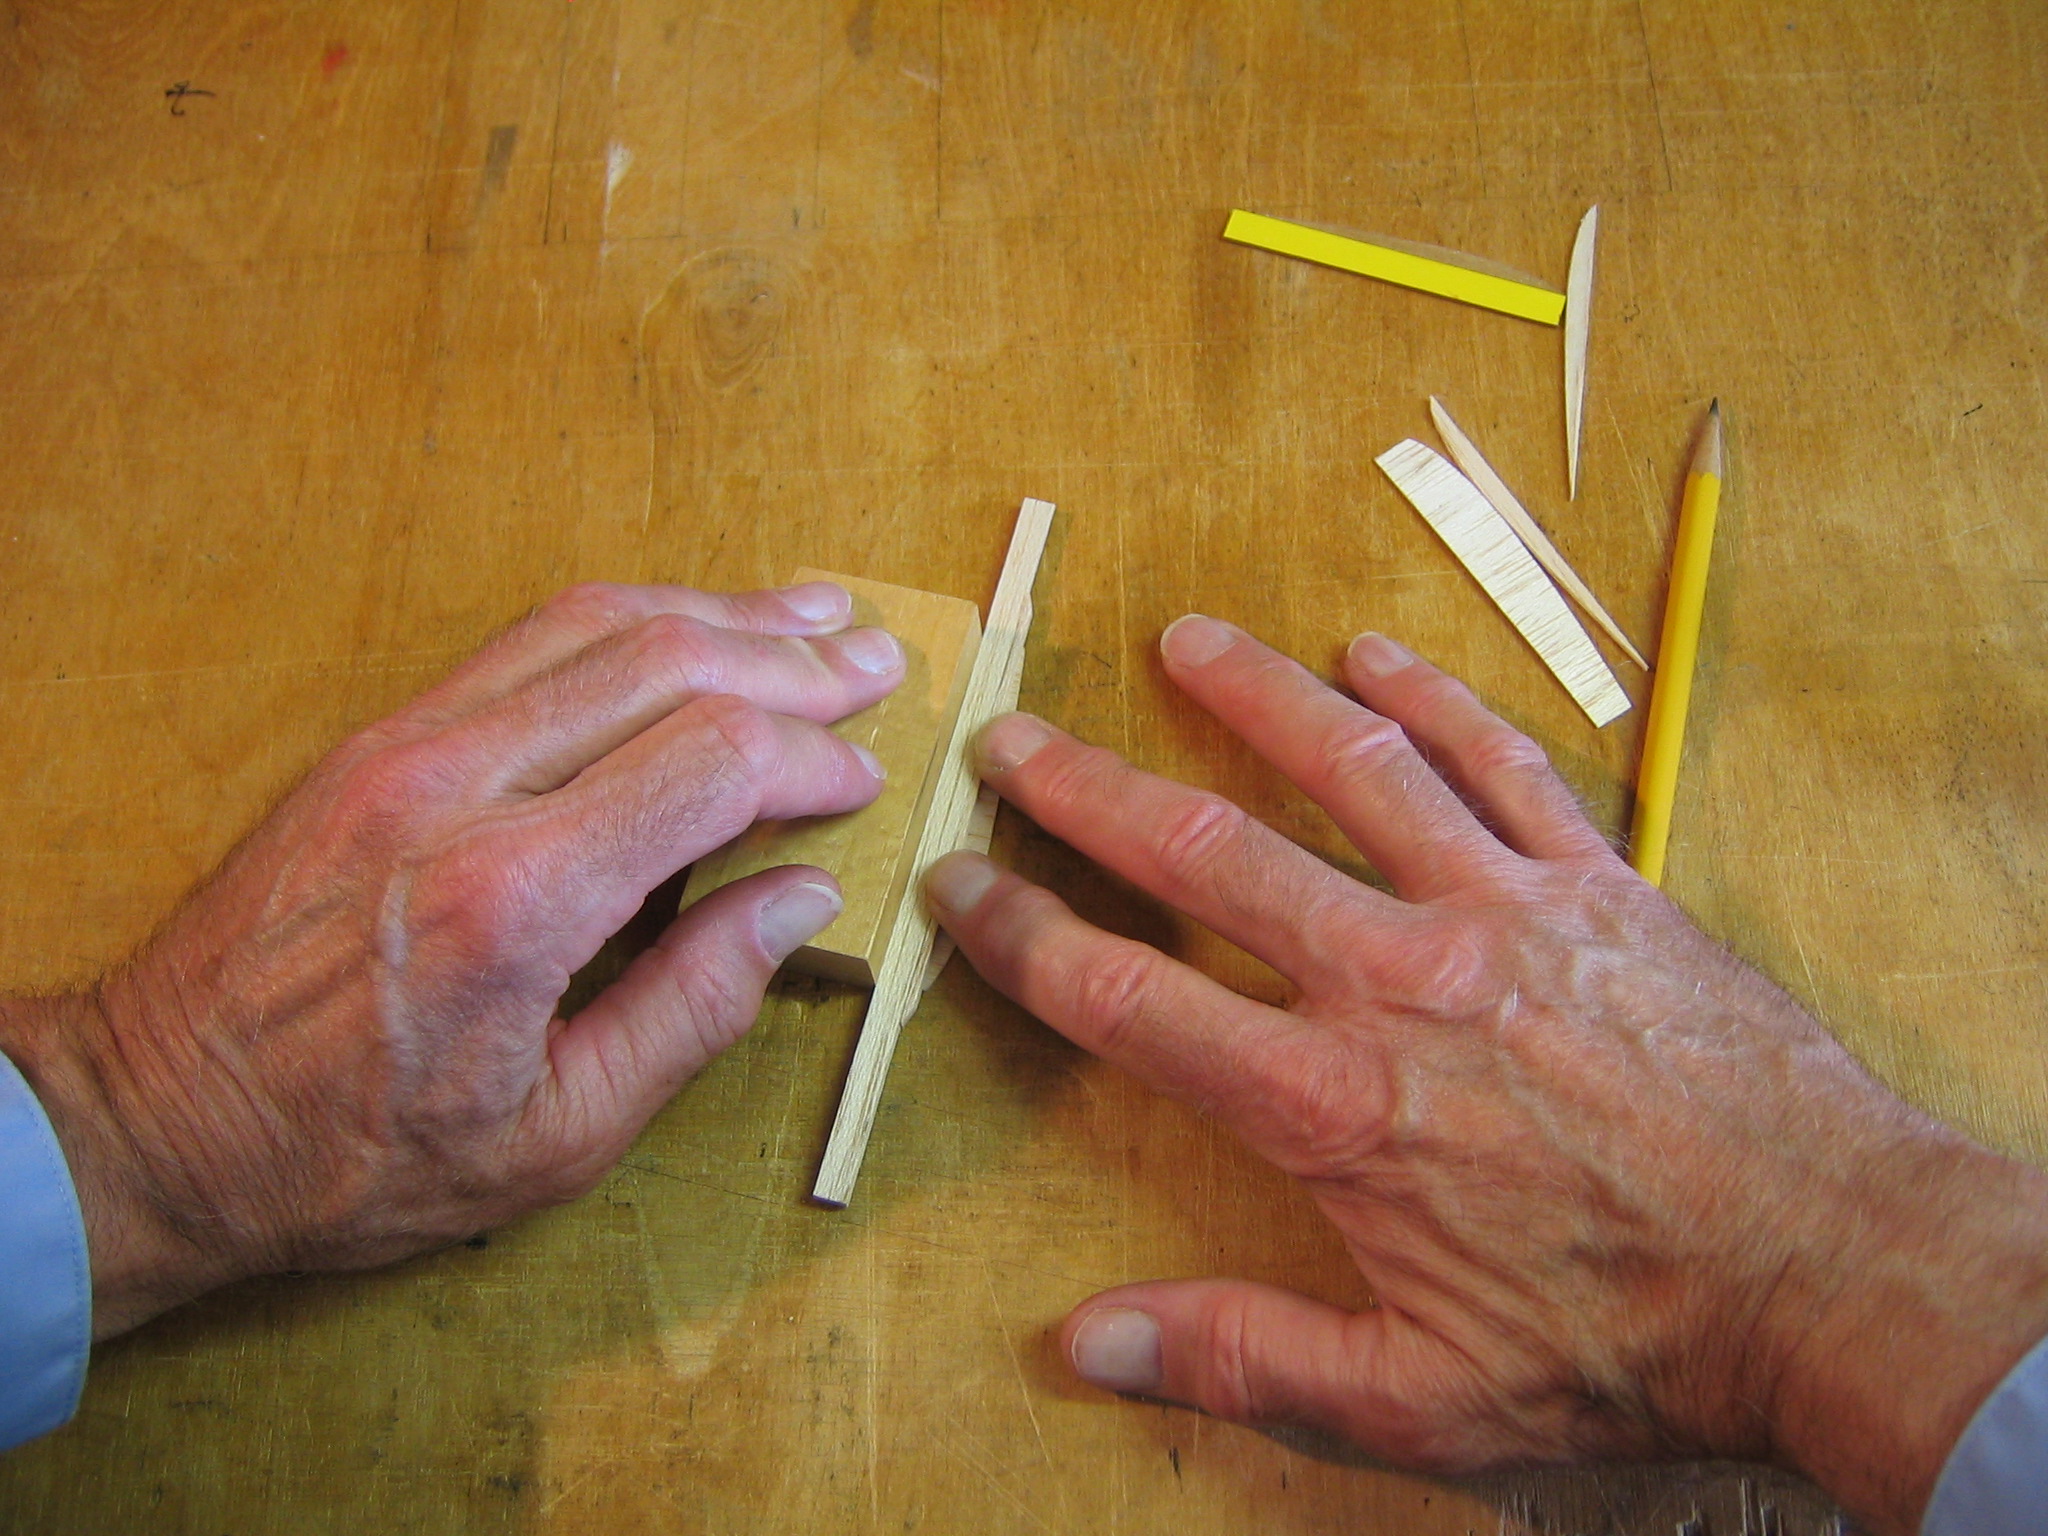
Align the base of the (left) side plate against a block, place the 1/8″ x 1/4″ stick against the block with the 1/4″ side down, place the 1/8″ side of the hold down stick against the 1/8″ side of the 1/8″ x 1/4″ stick and hold them together.
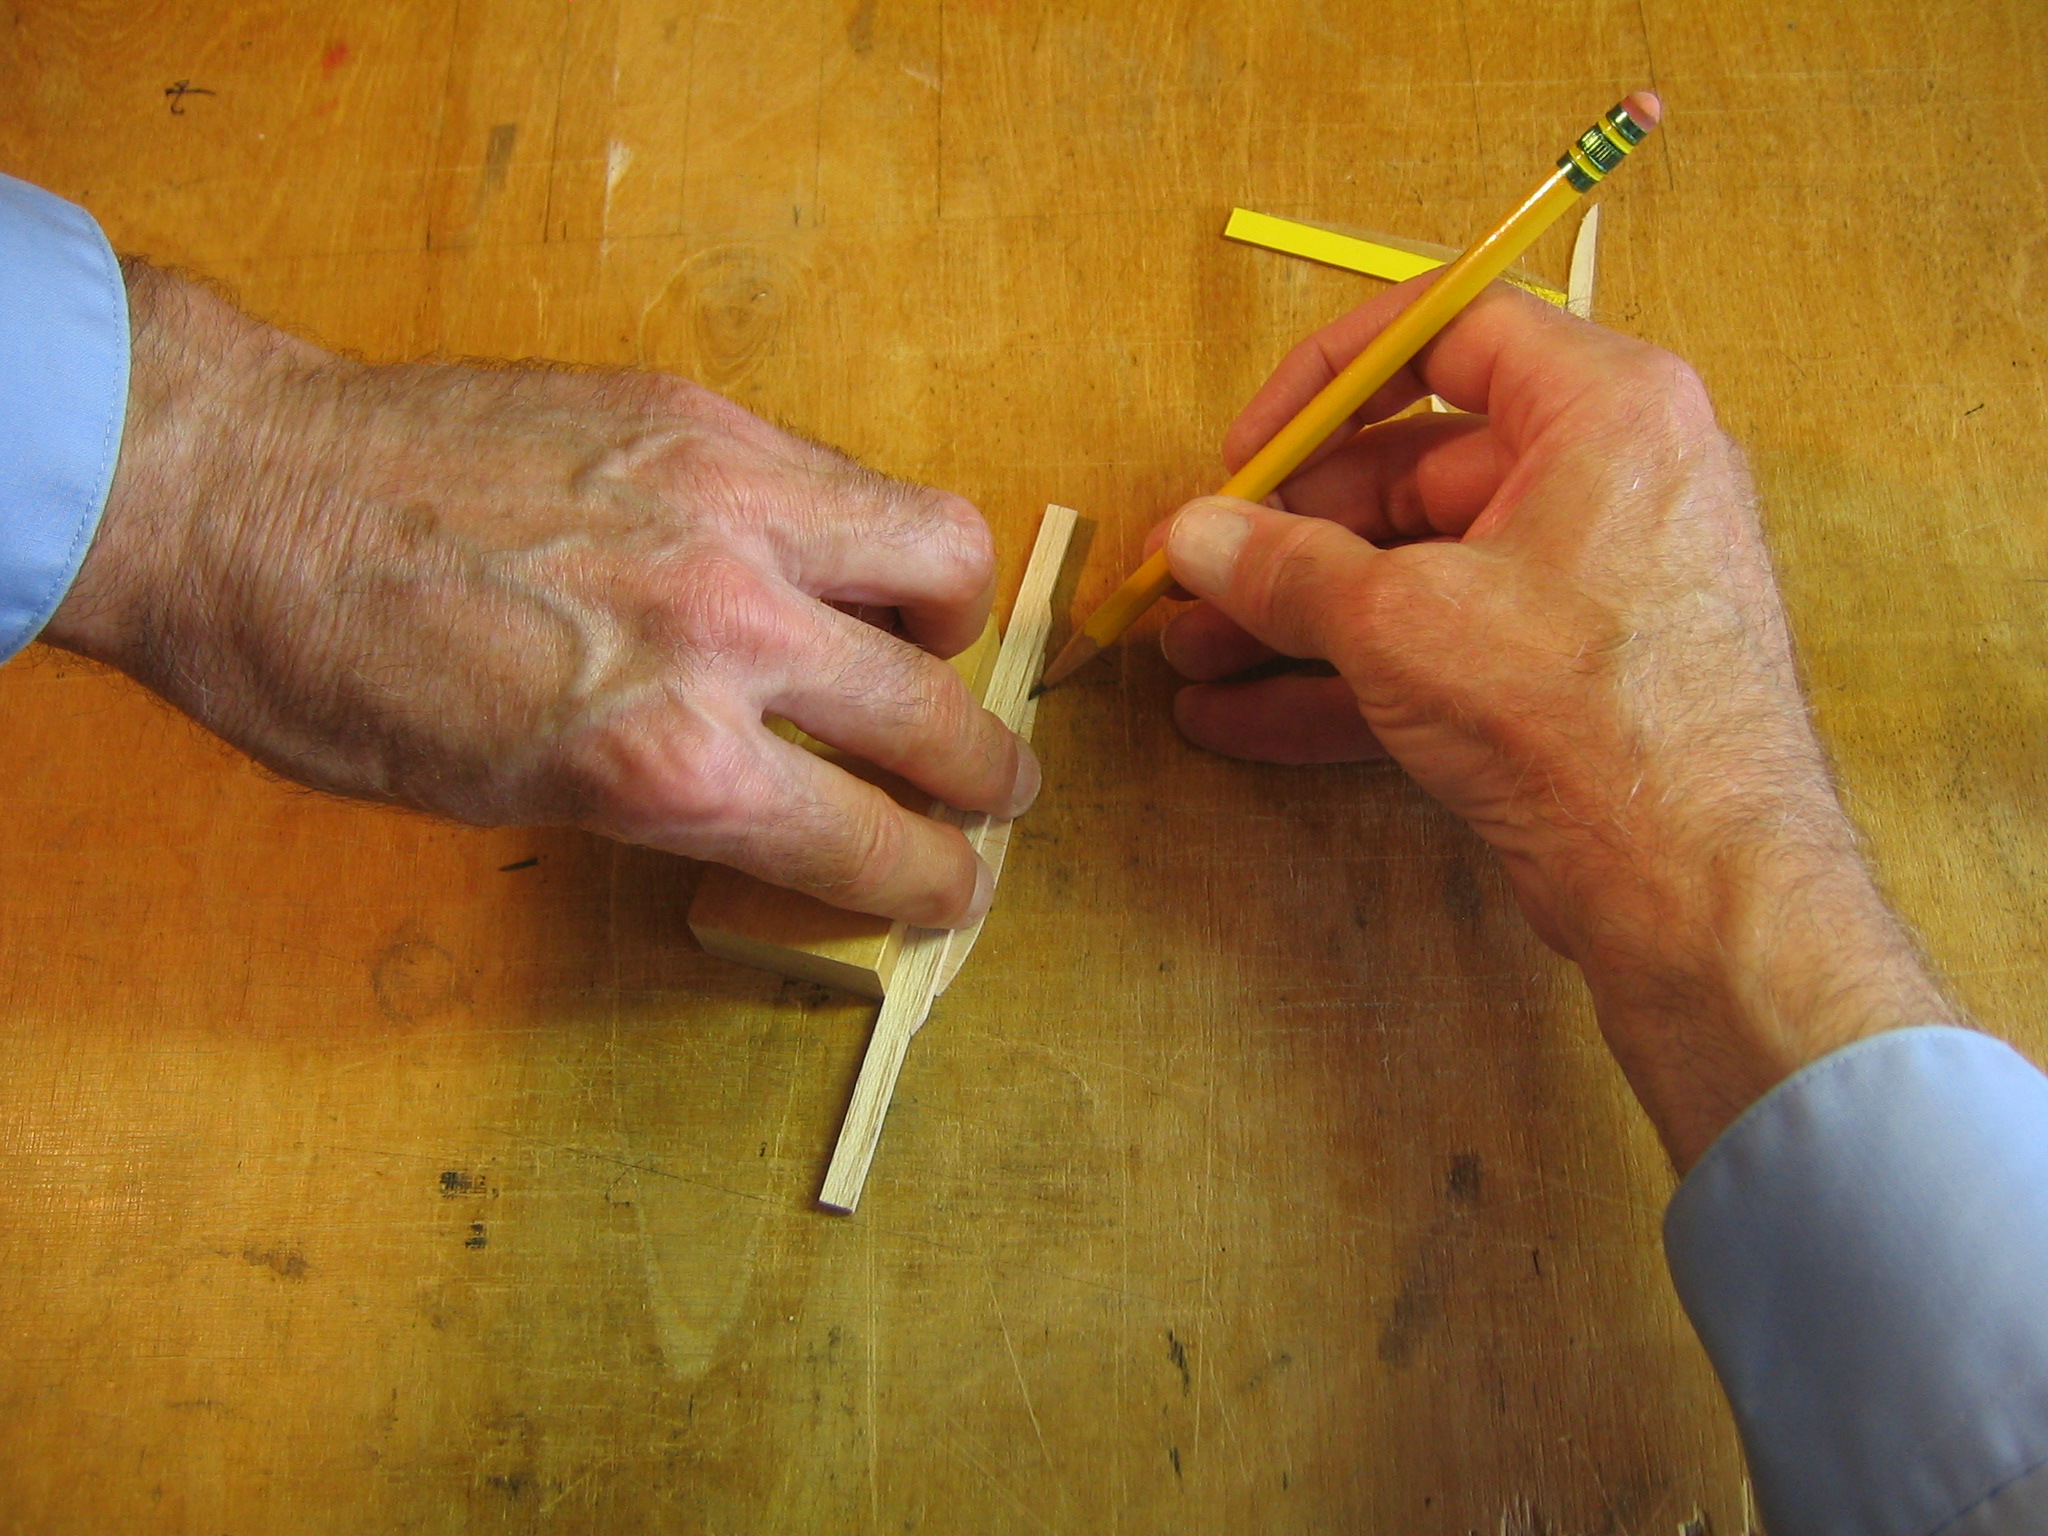
With a pencil sharpened to a chisel point, draw a line along the top of the hold down stick onto the side plate. Do the same for the other set, but remember, there is a right and a left. They are not the same, they are mirror images of each other.
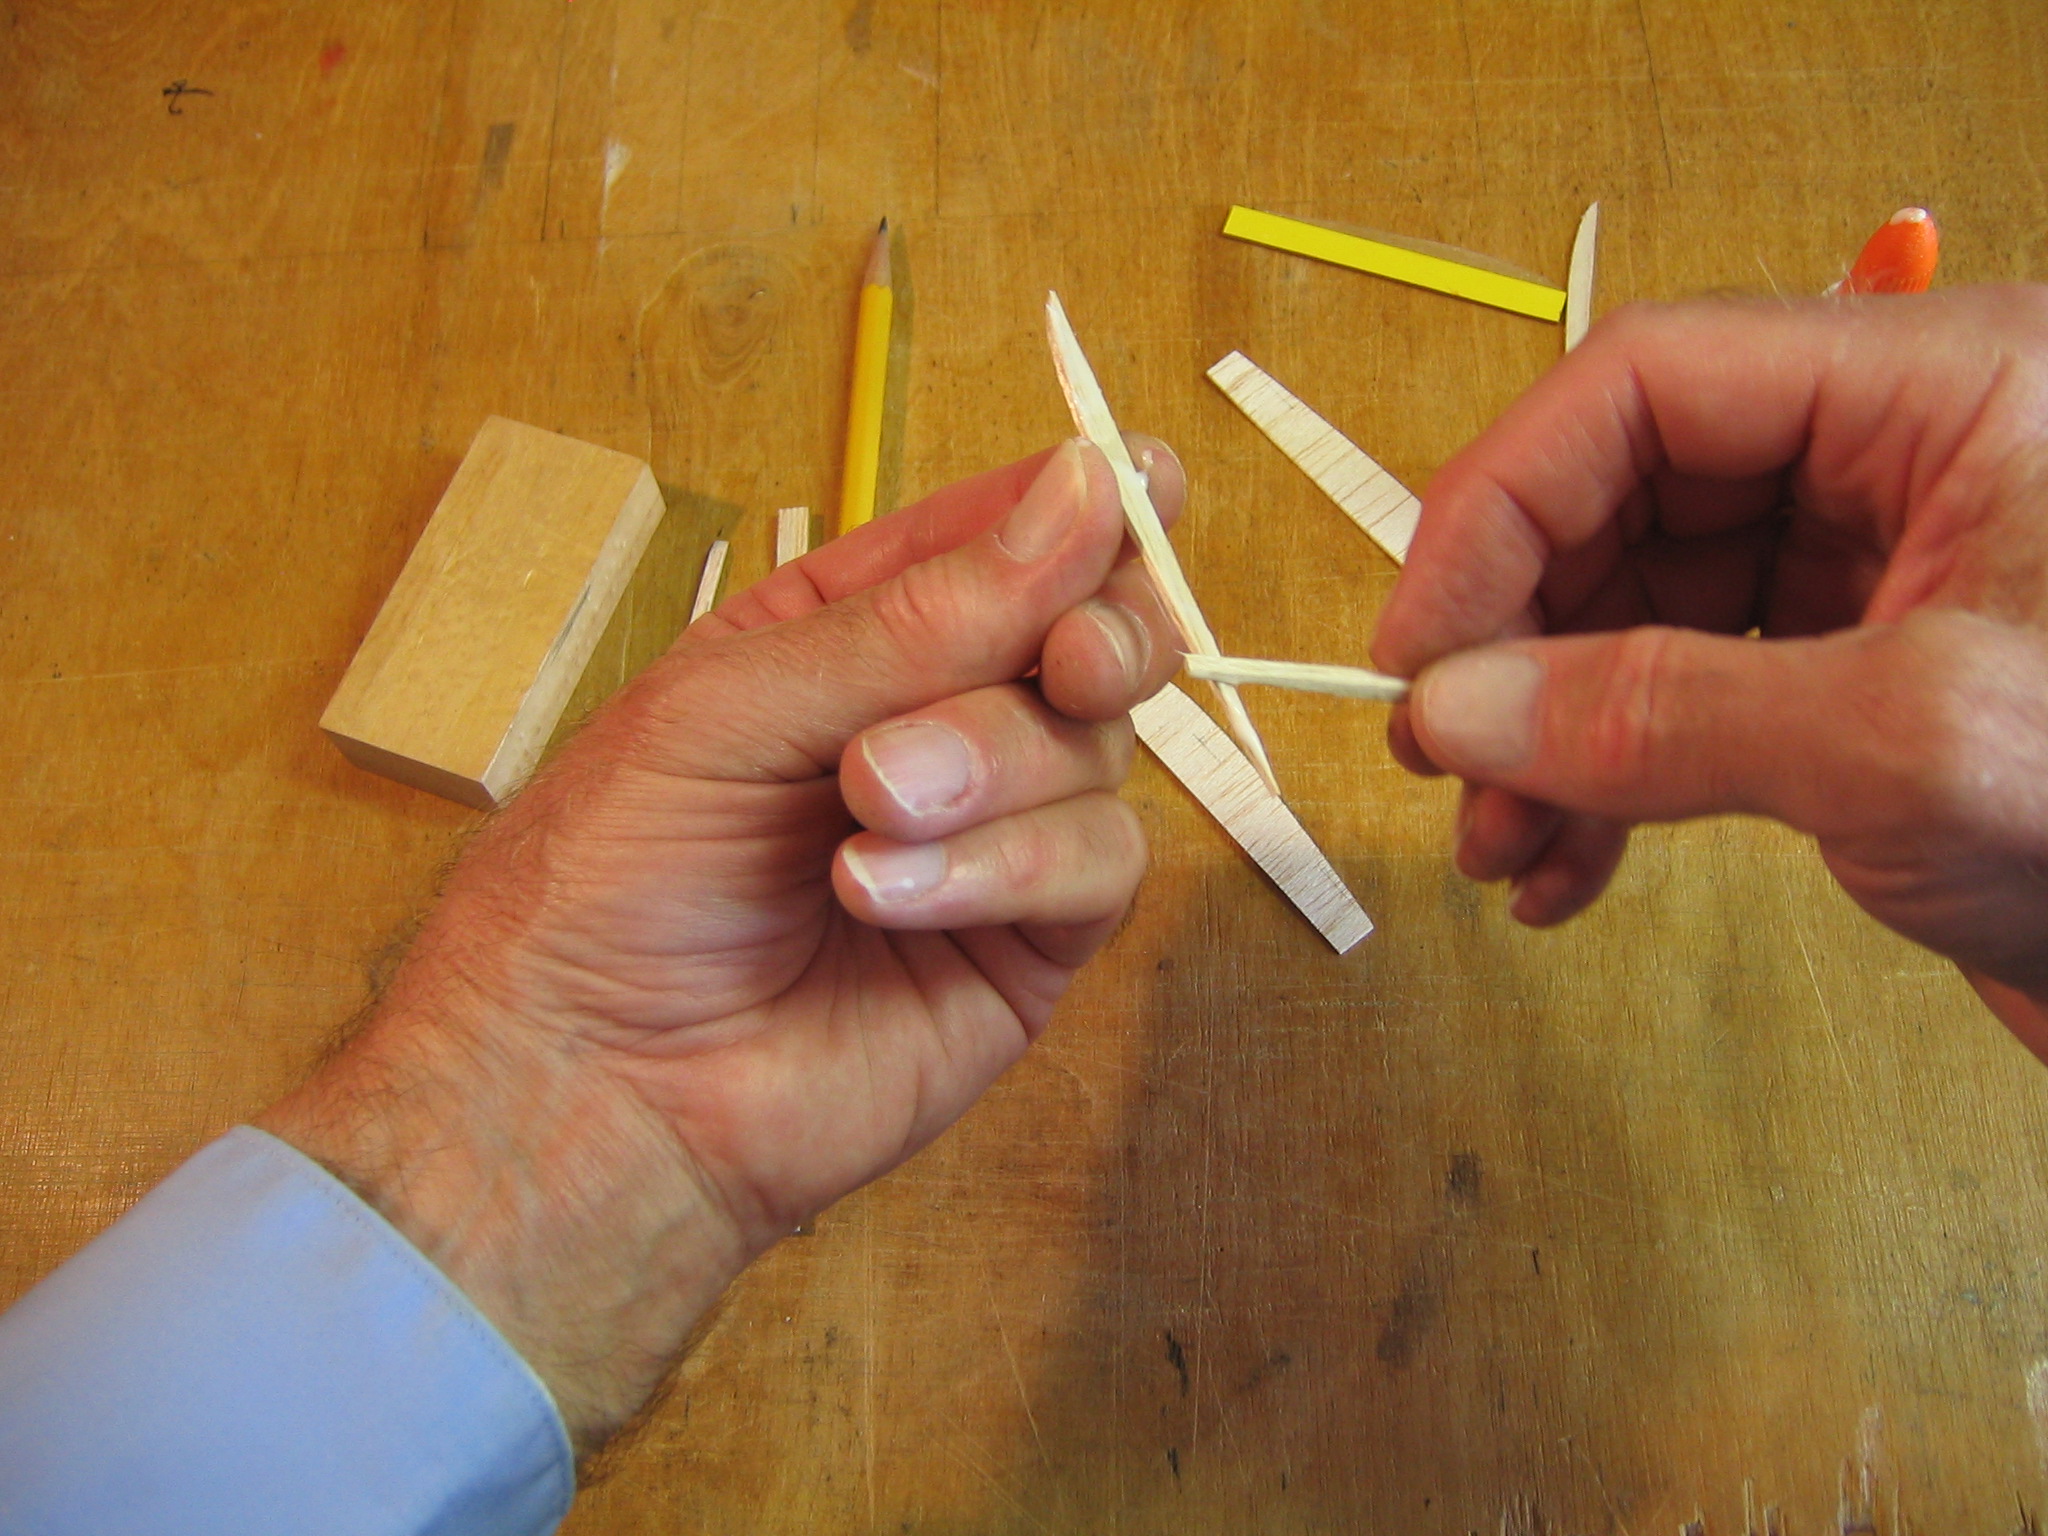
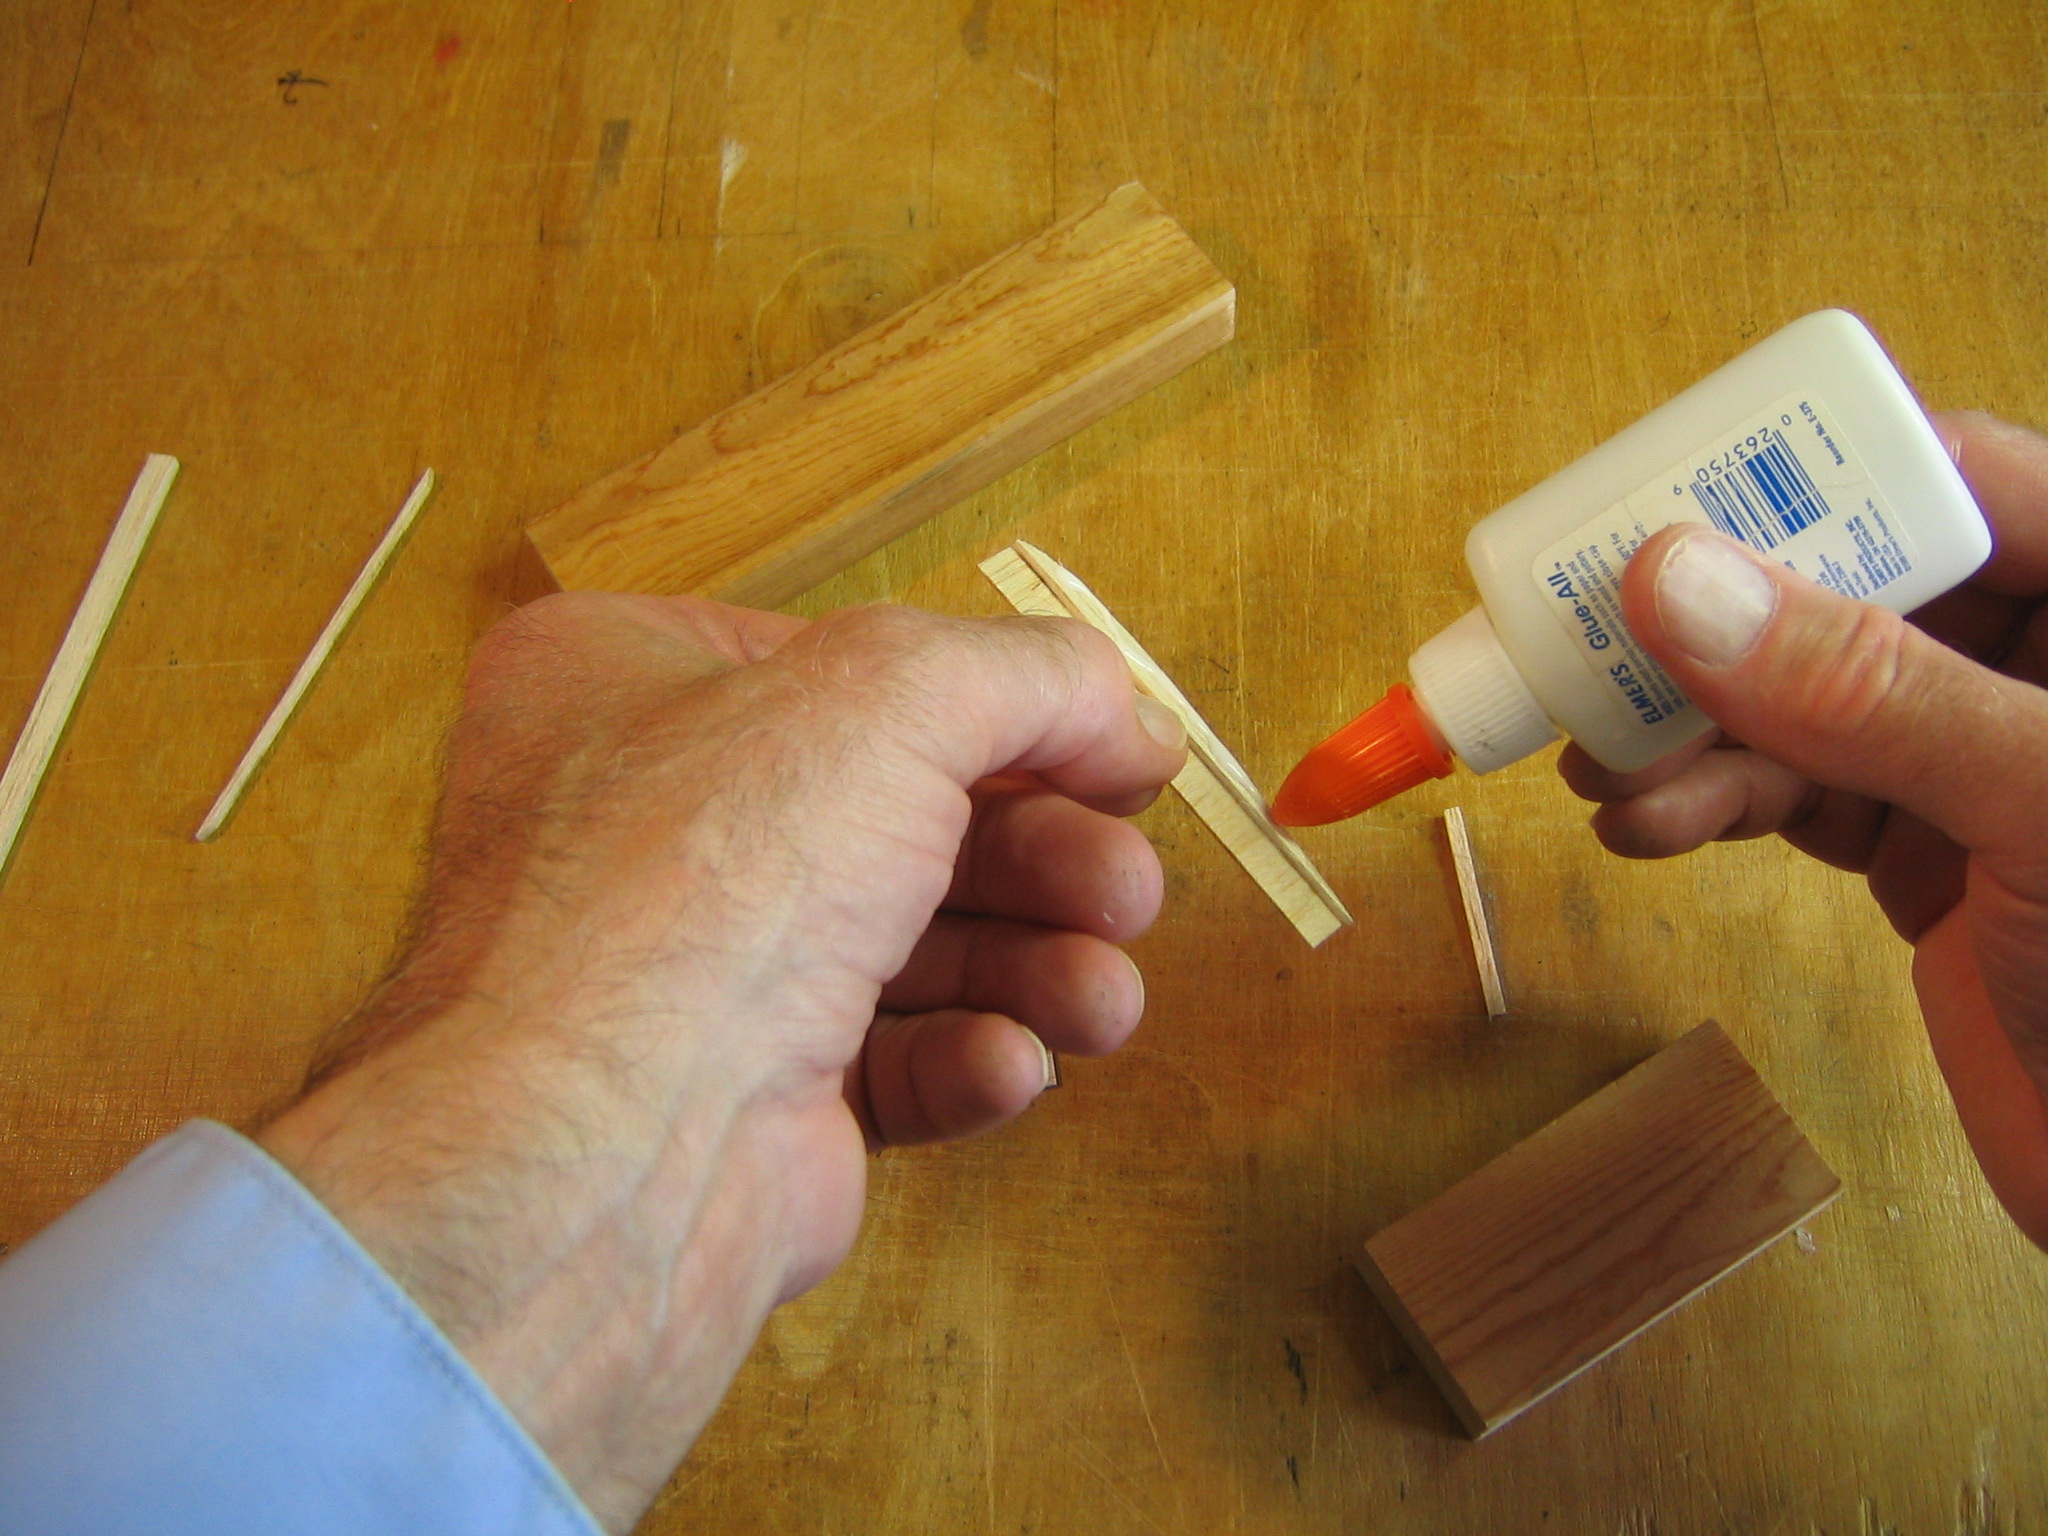
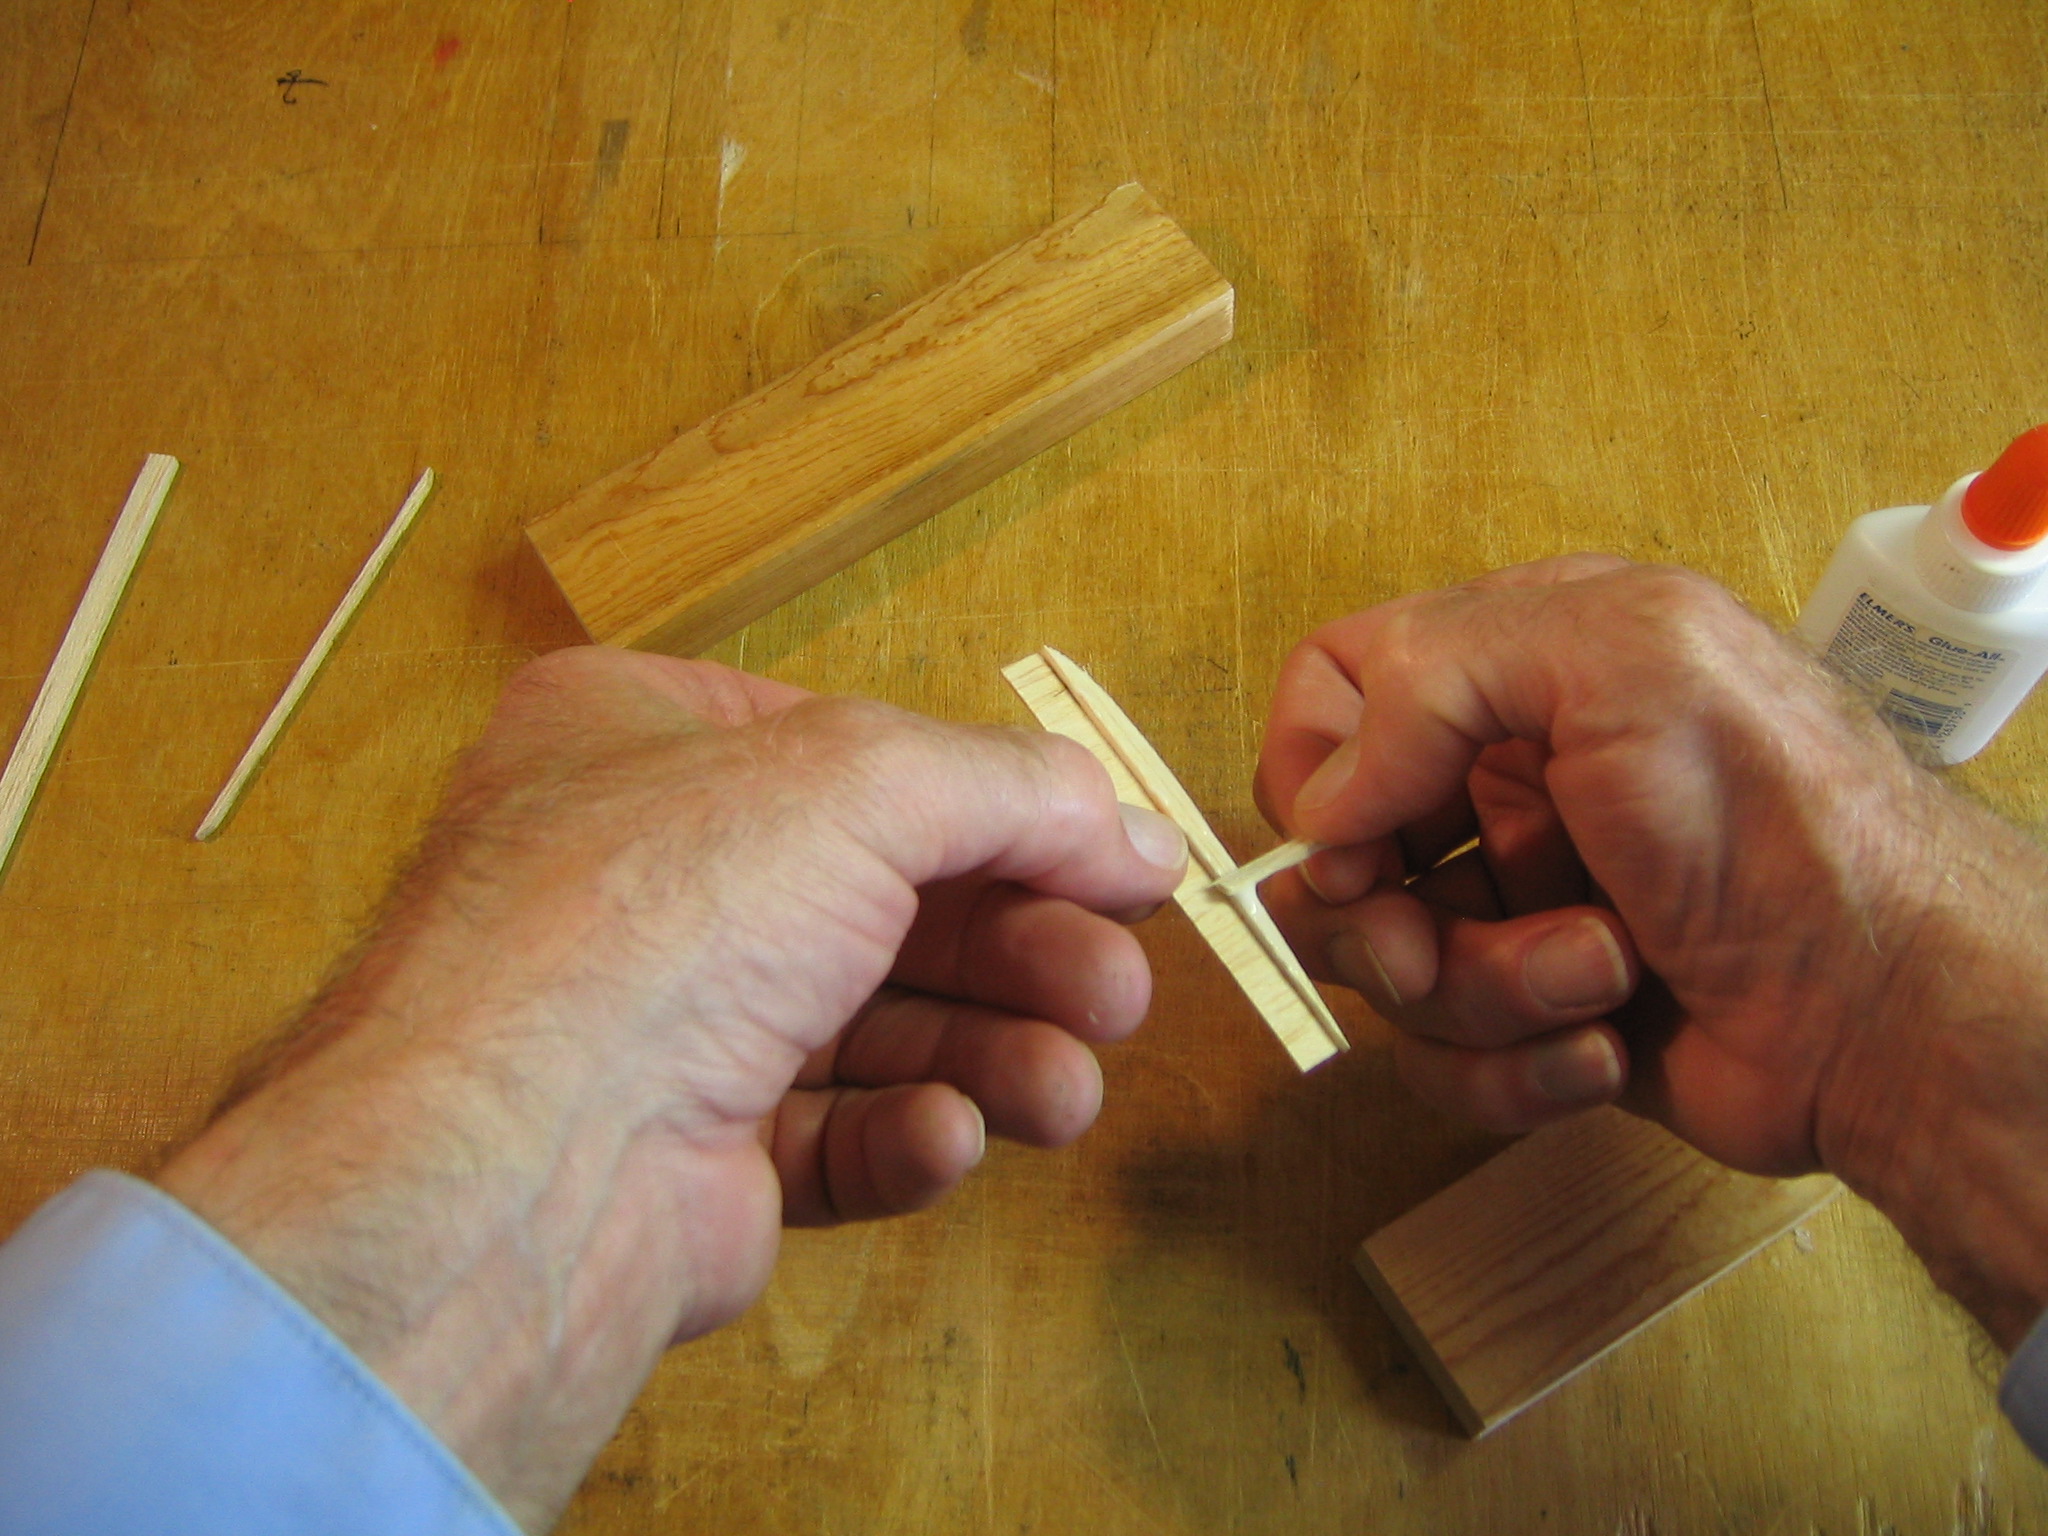
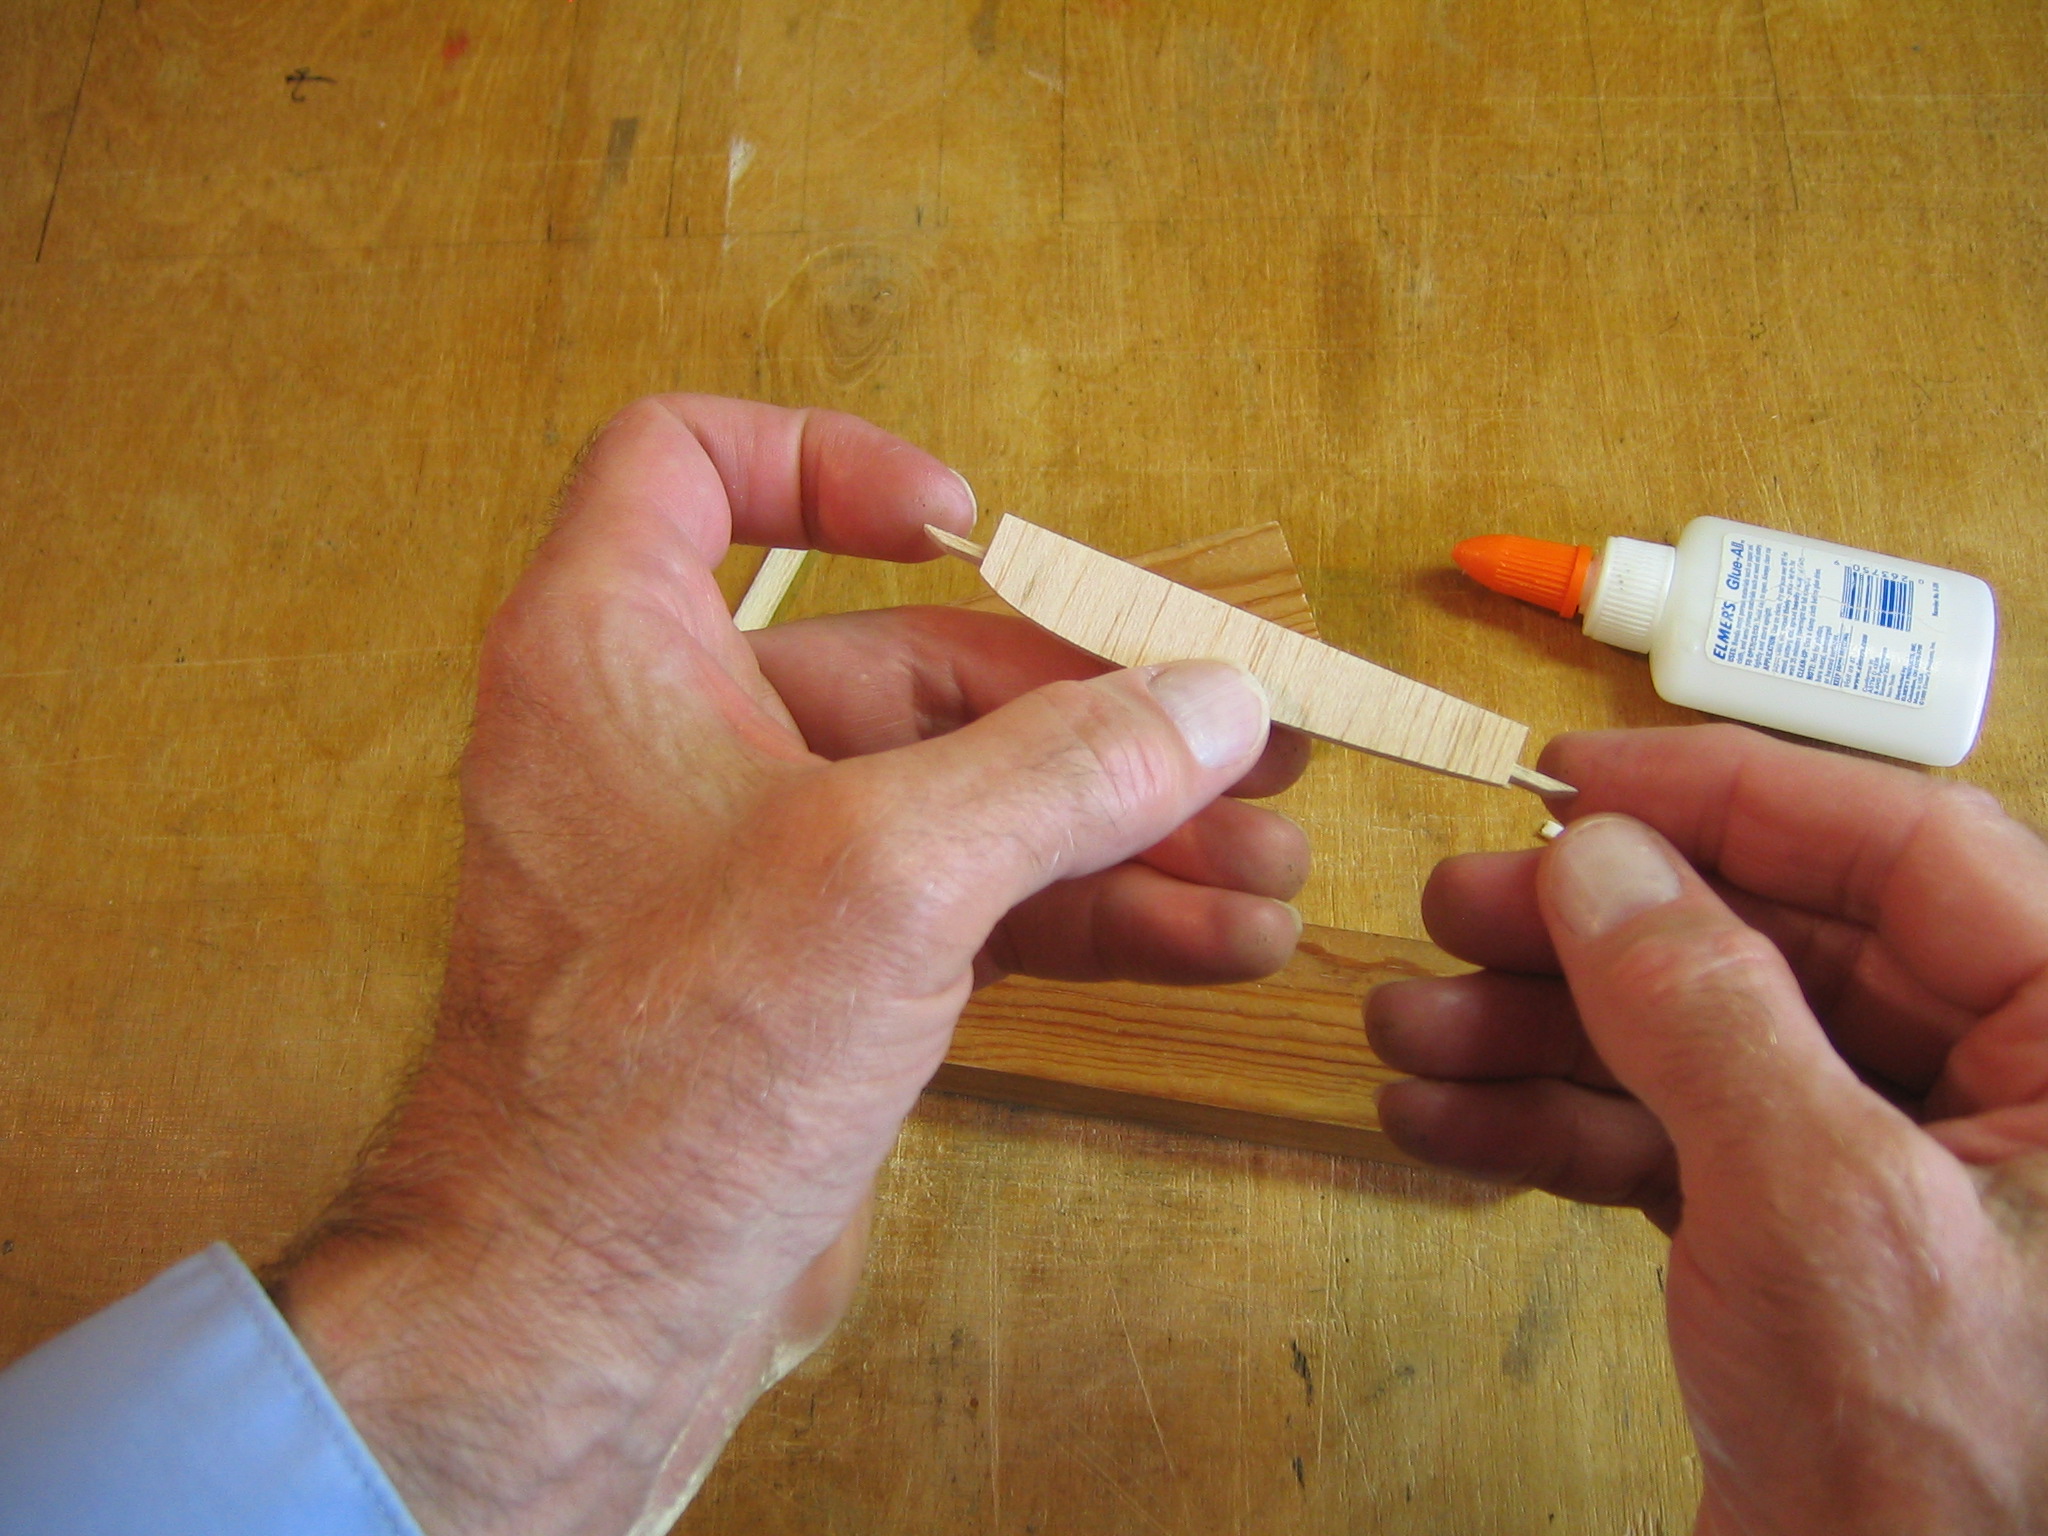
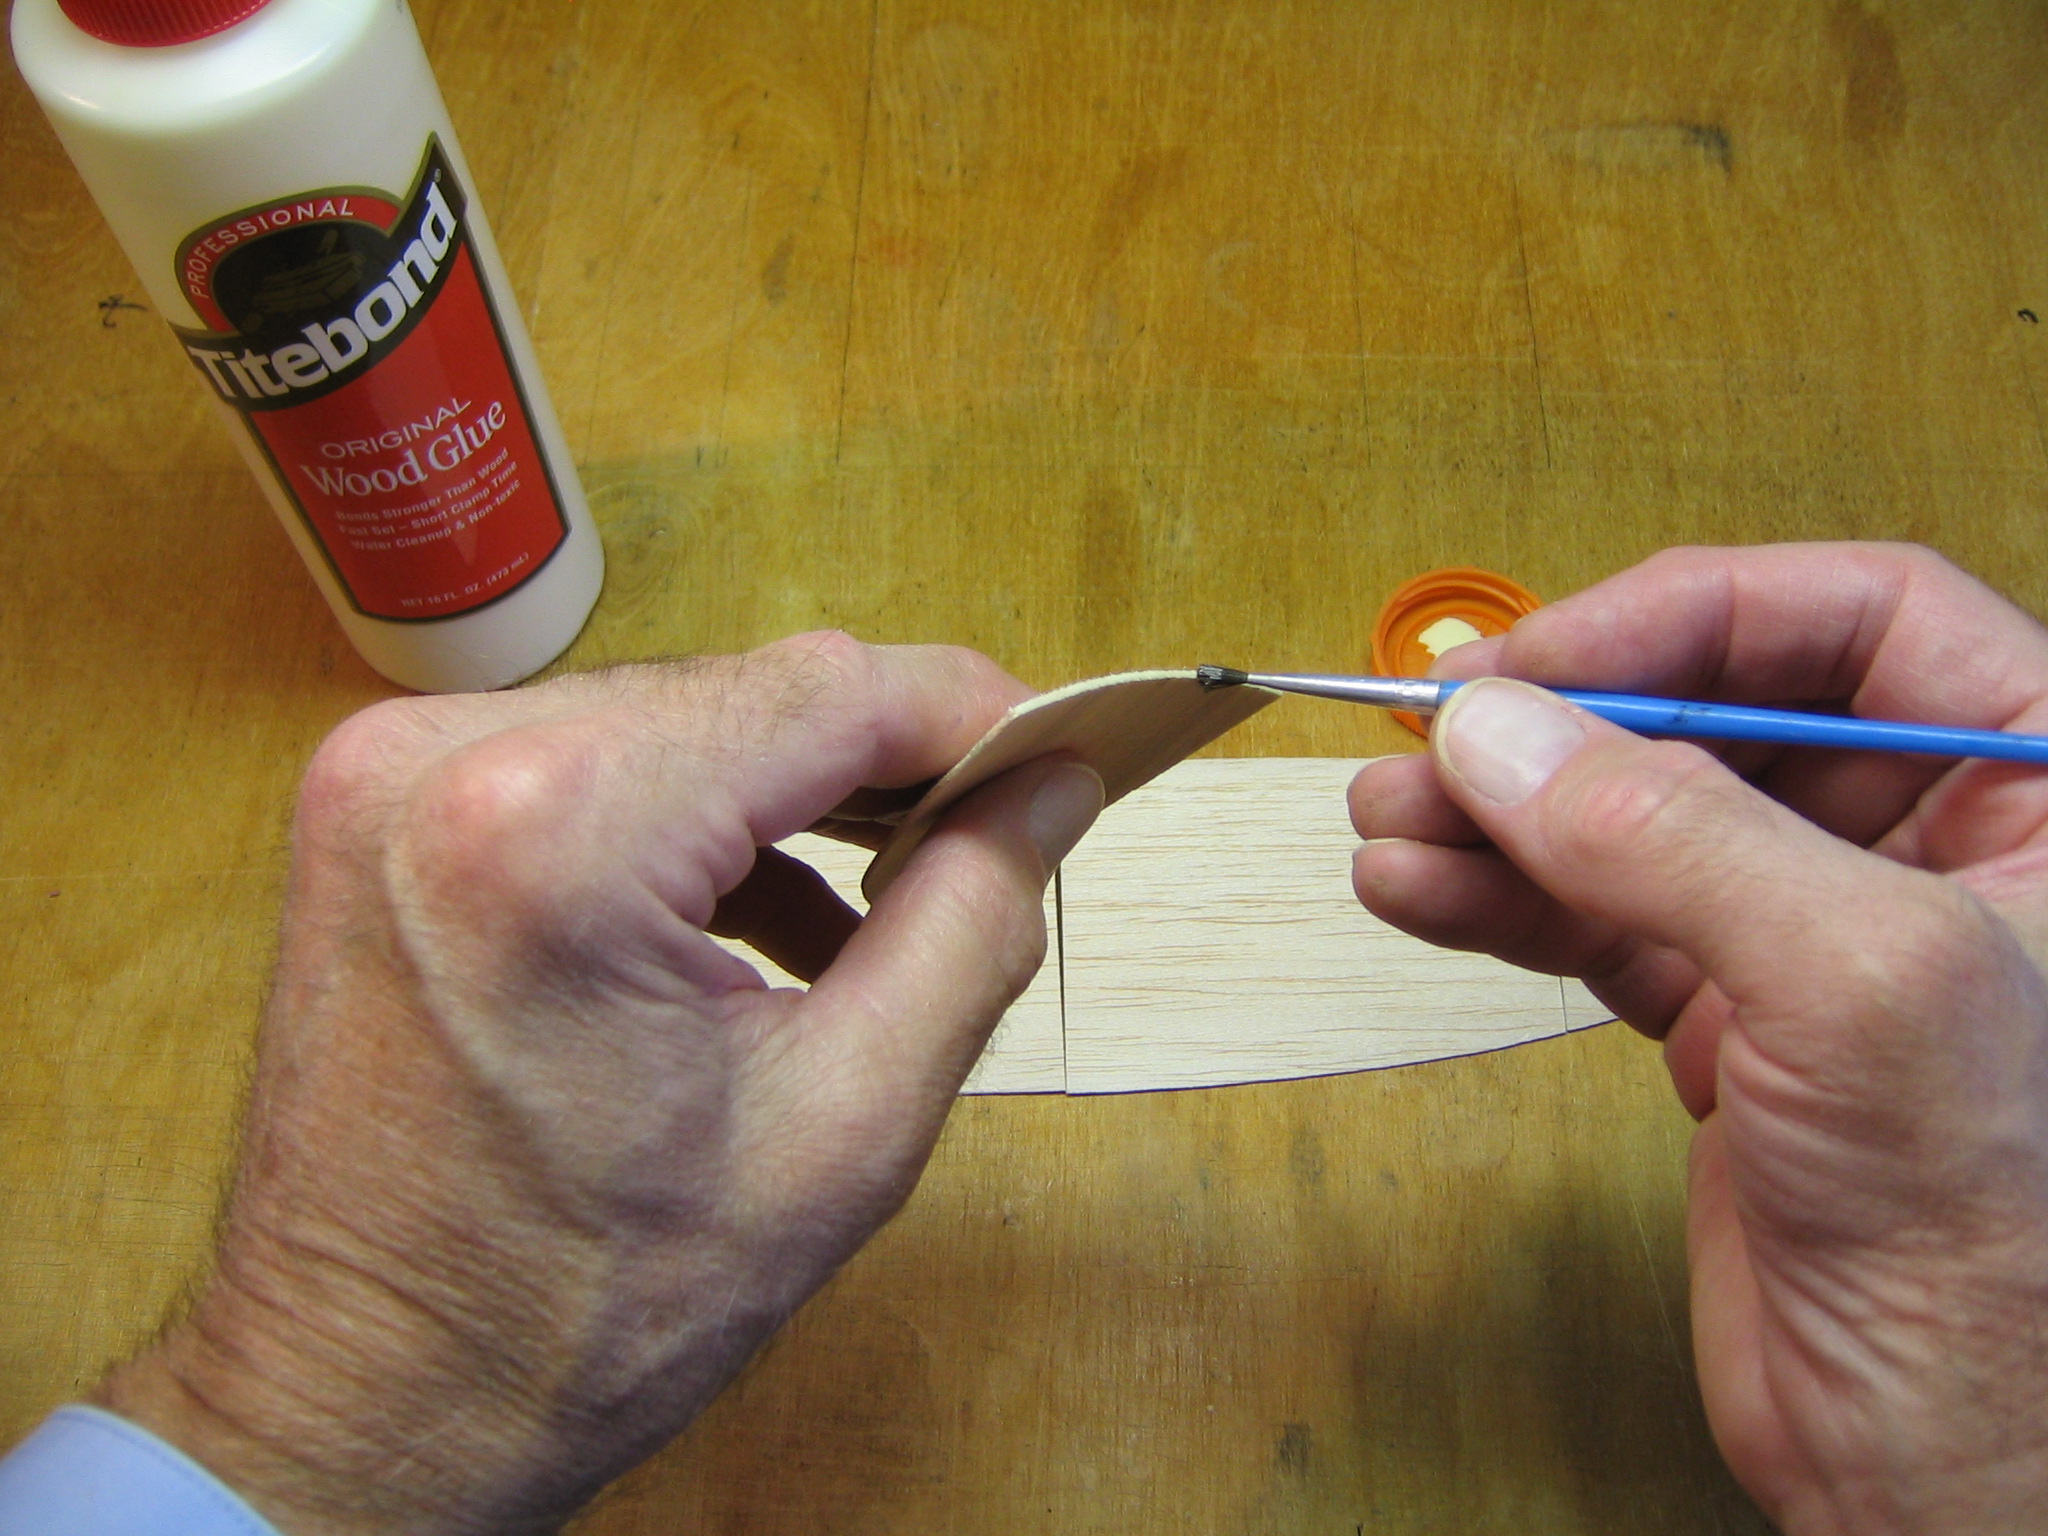
Spread glue on one side of one of the filler ribs.
Align the filler rib along the pencil line on the appropriate side plate and press it down. The moisture may cause the side plate to bend away, so hold it down until the glue holds. Do the same with the other filler rib and side plate. Align them first to see which side of the rib gets the glue.
Check again that they are mirror images of each other. You can put a block of wood on them to hold them down while the glue drys.
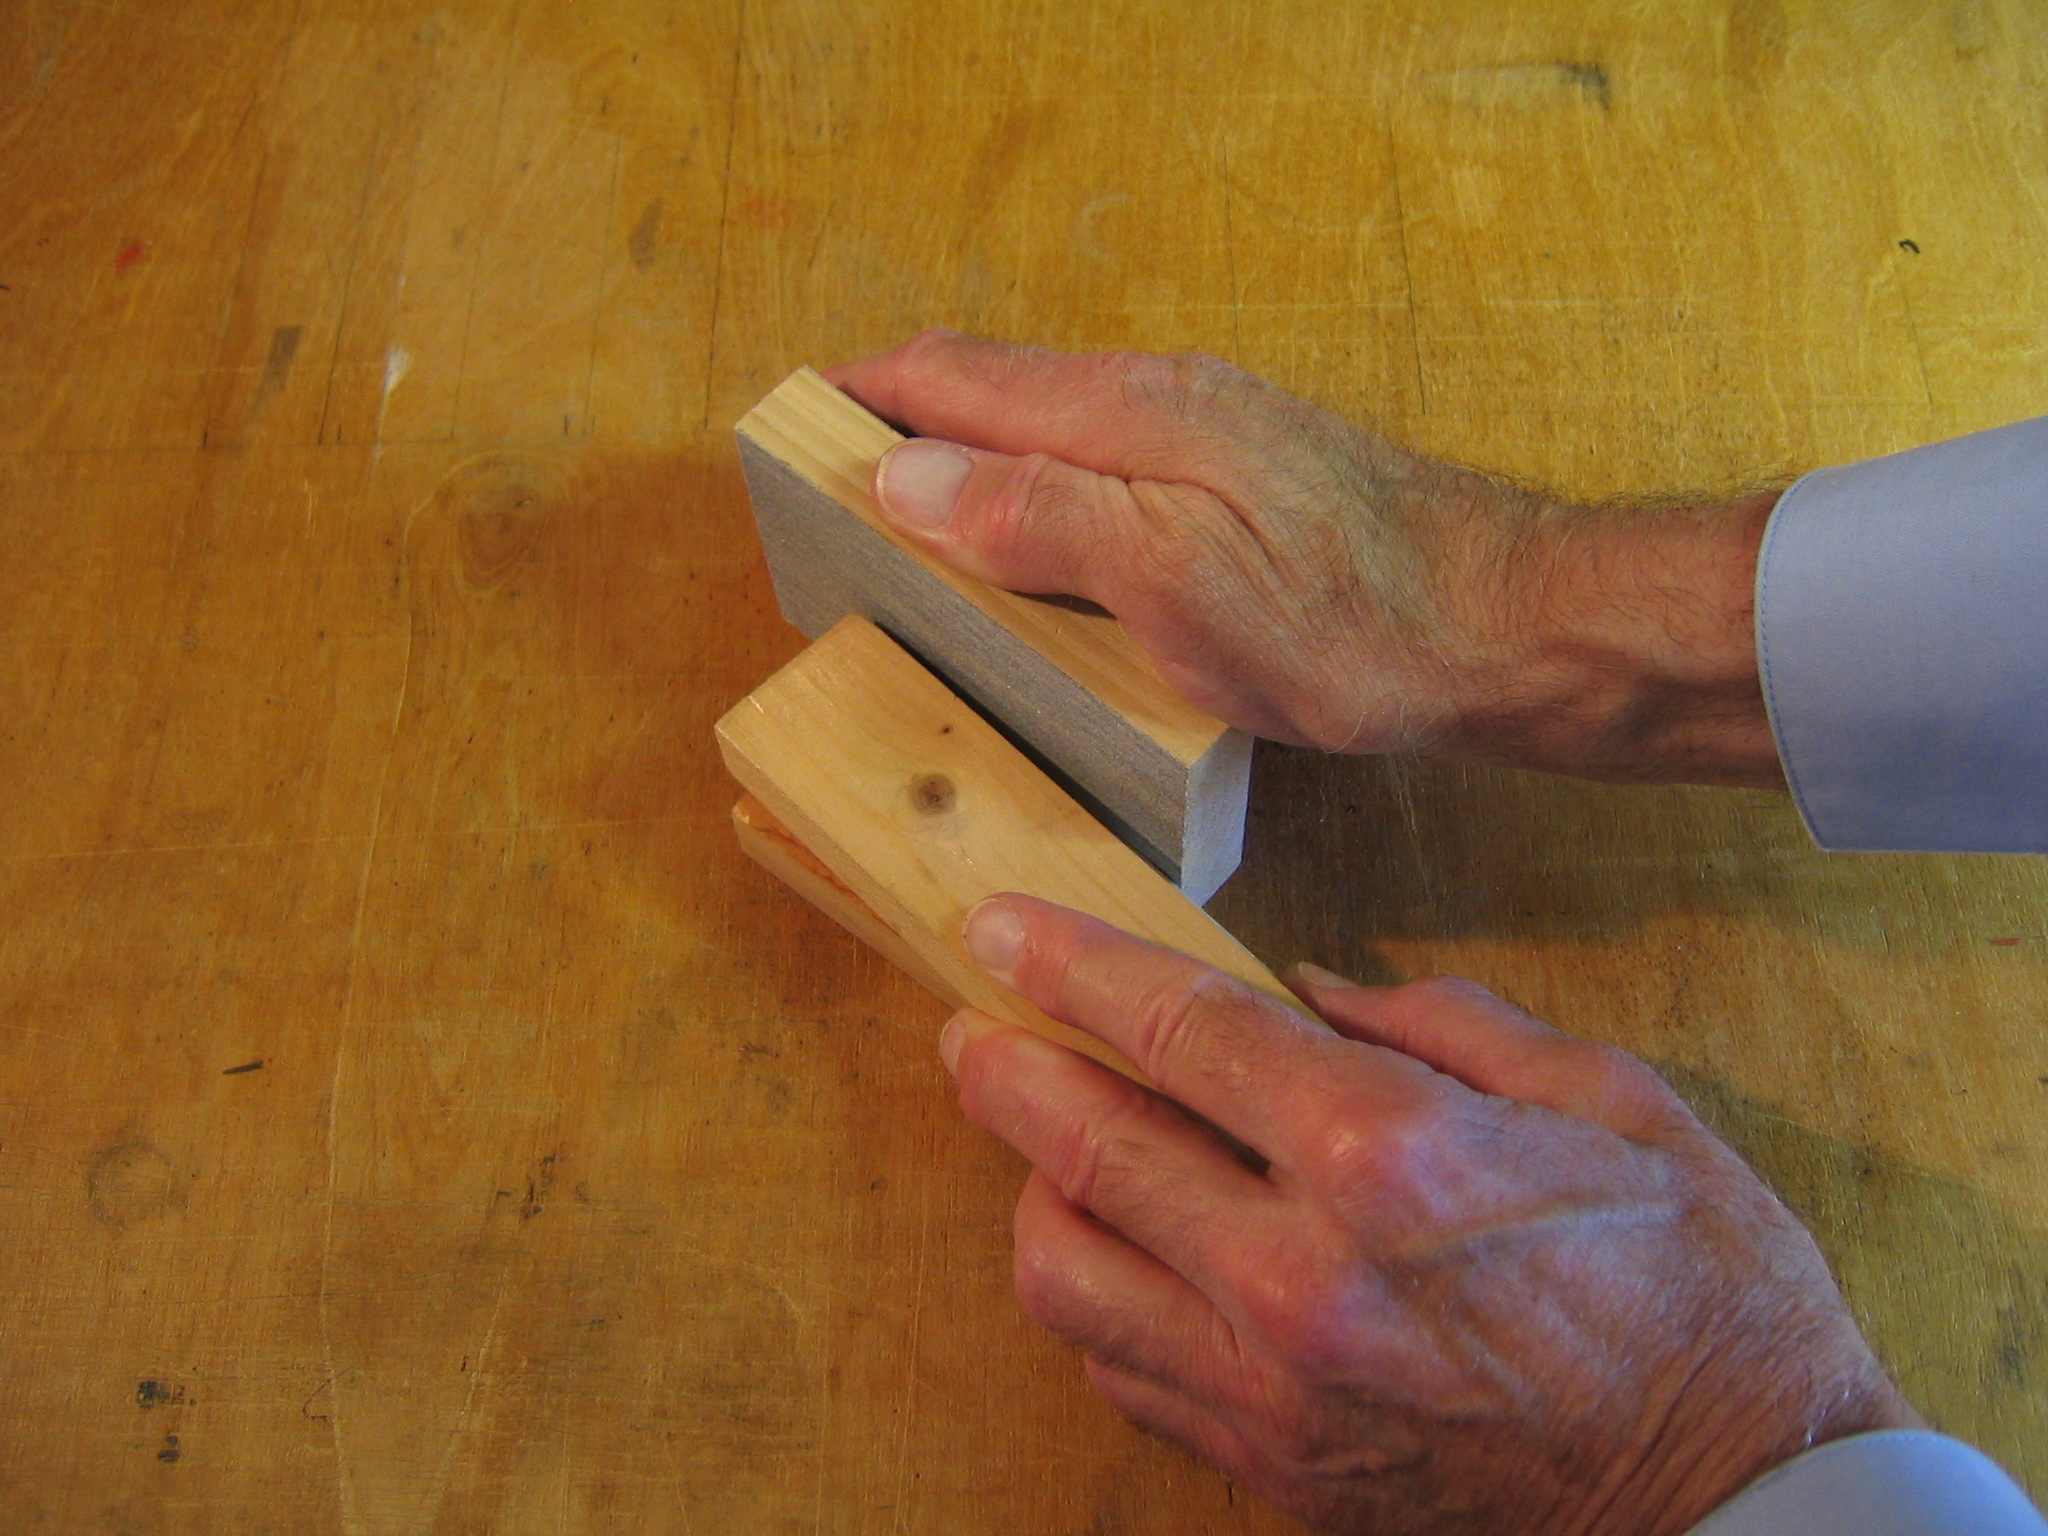
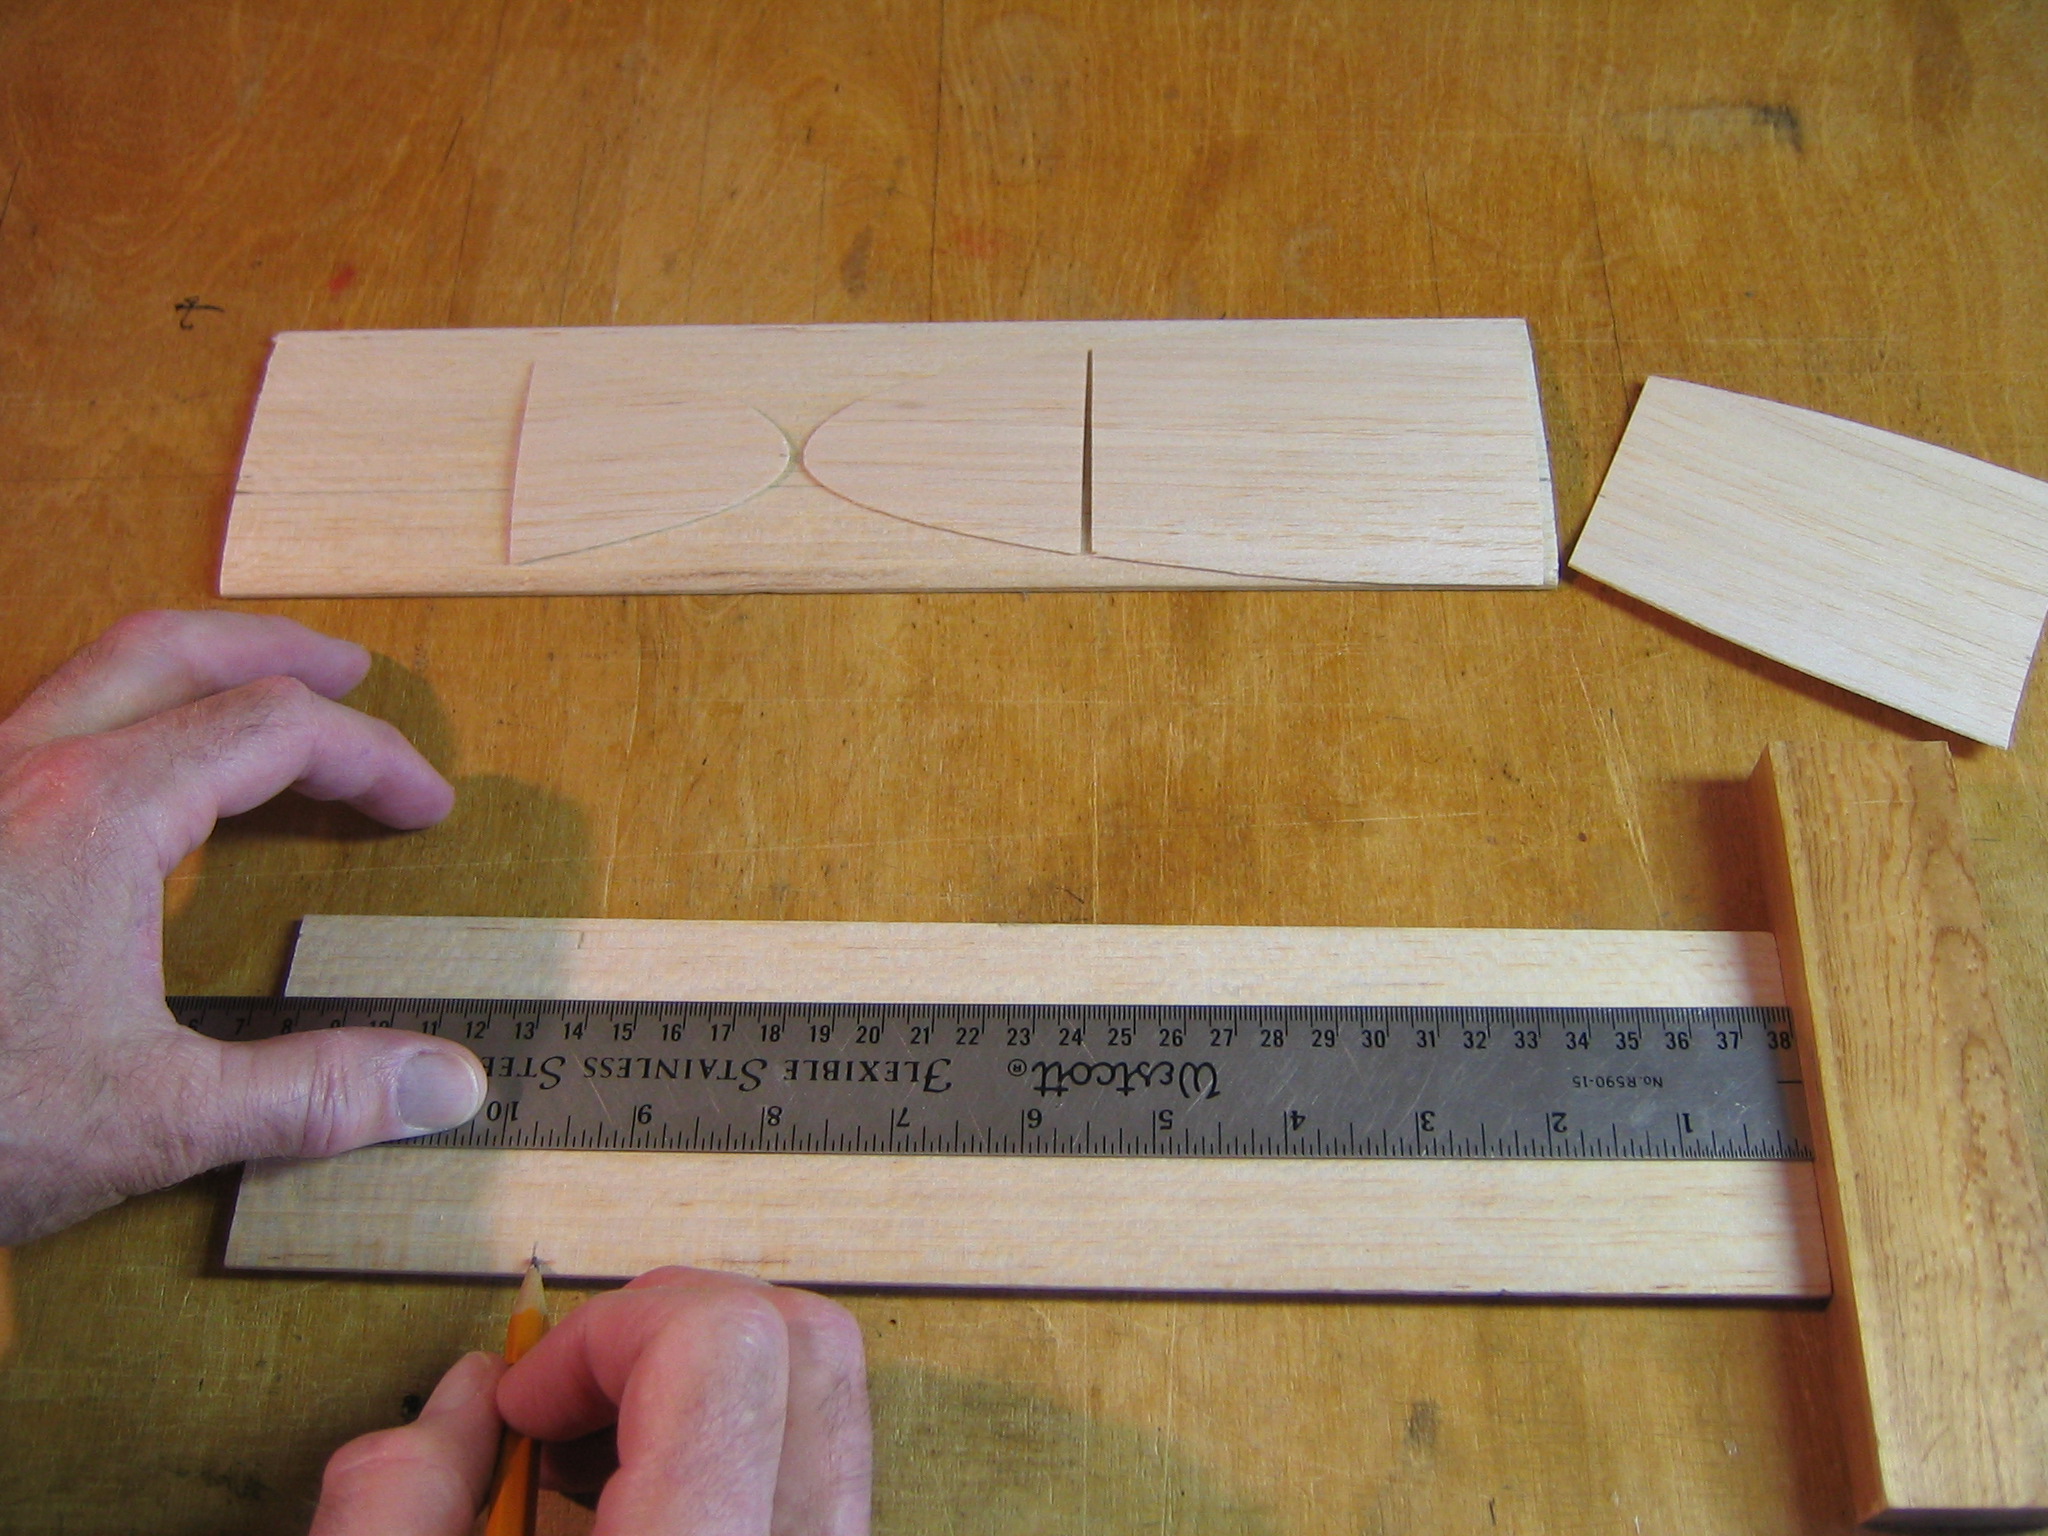
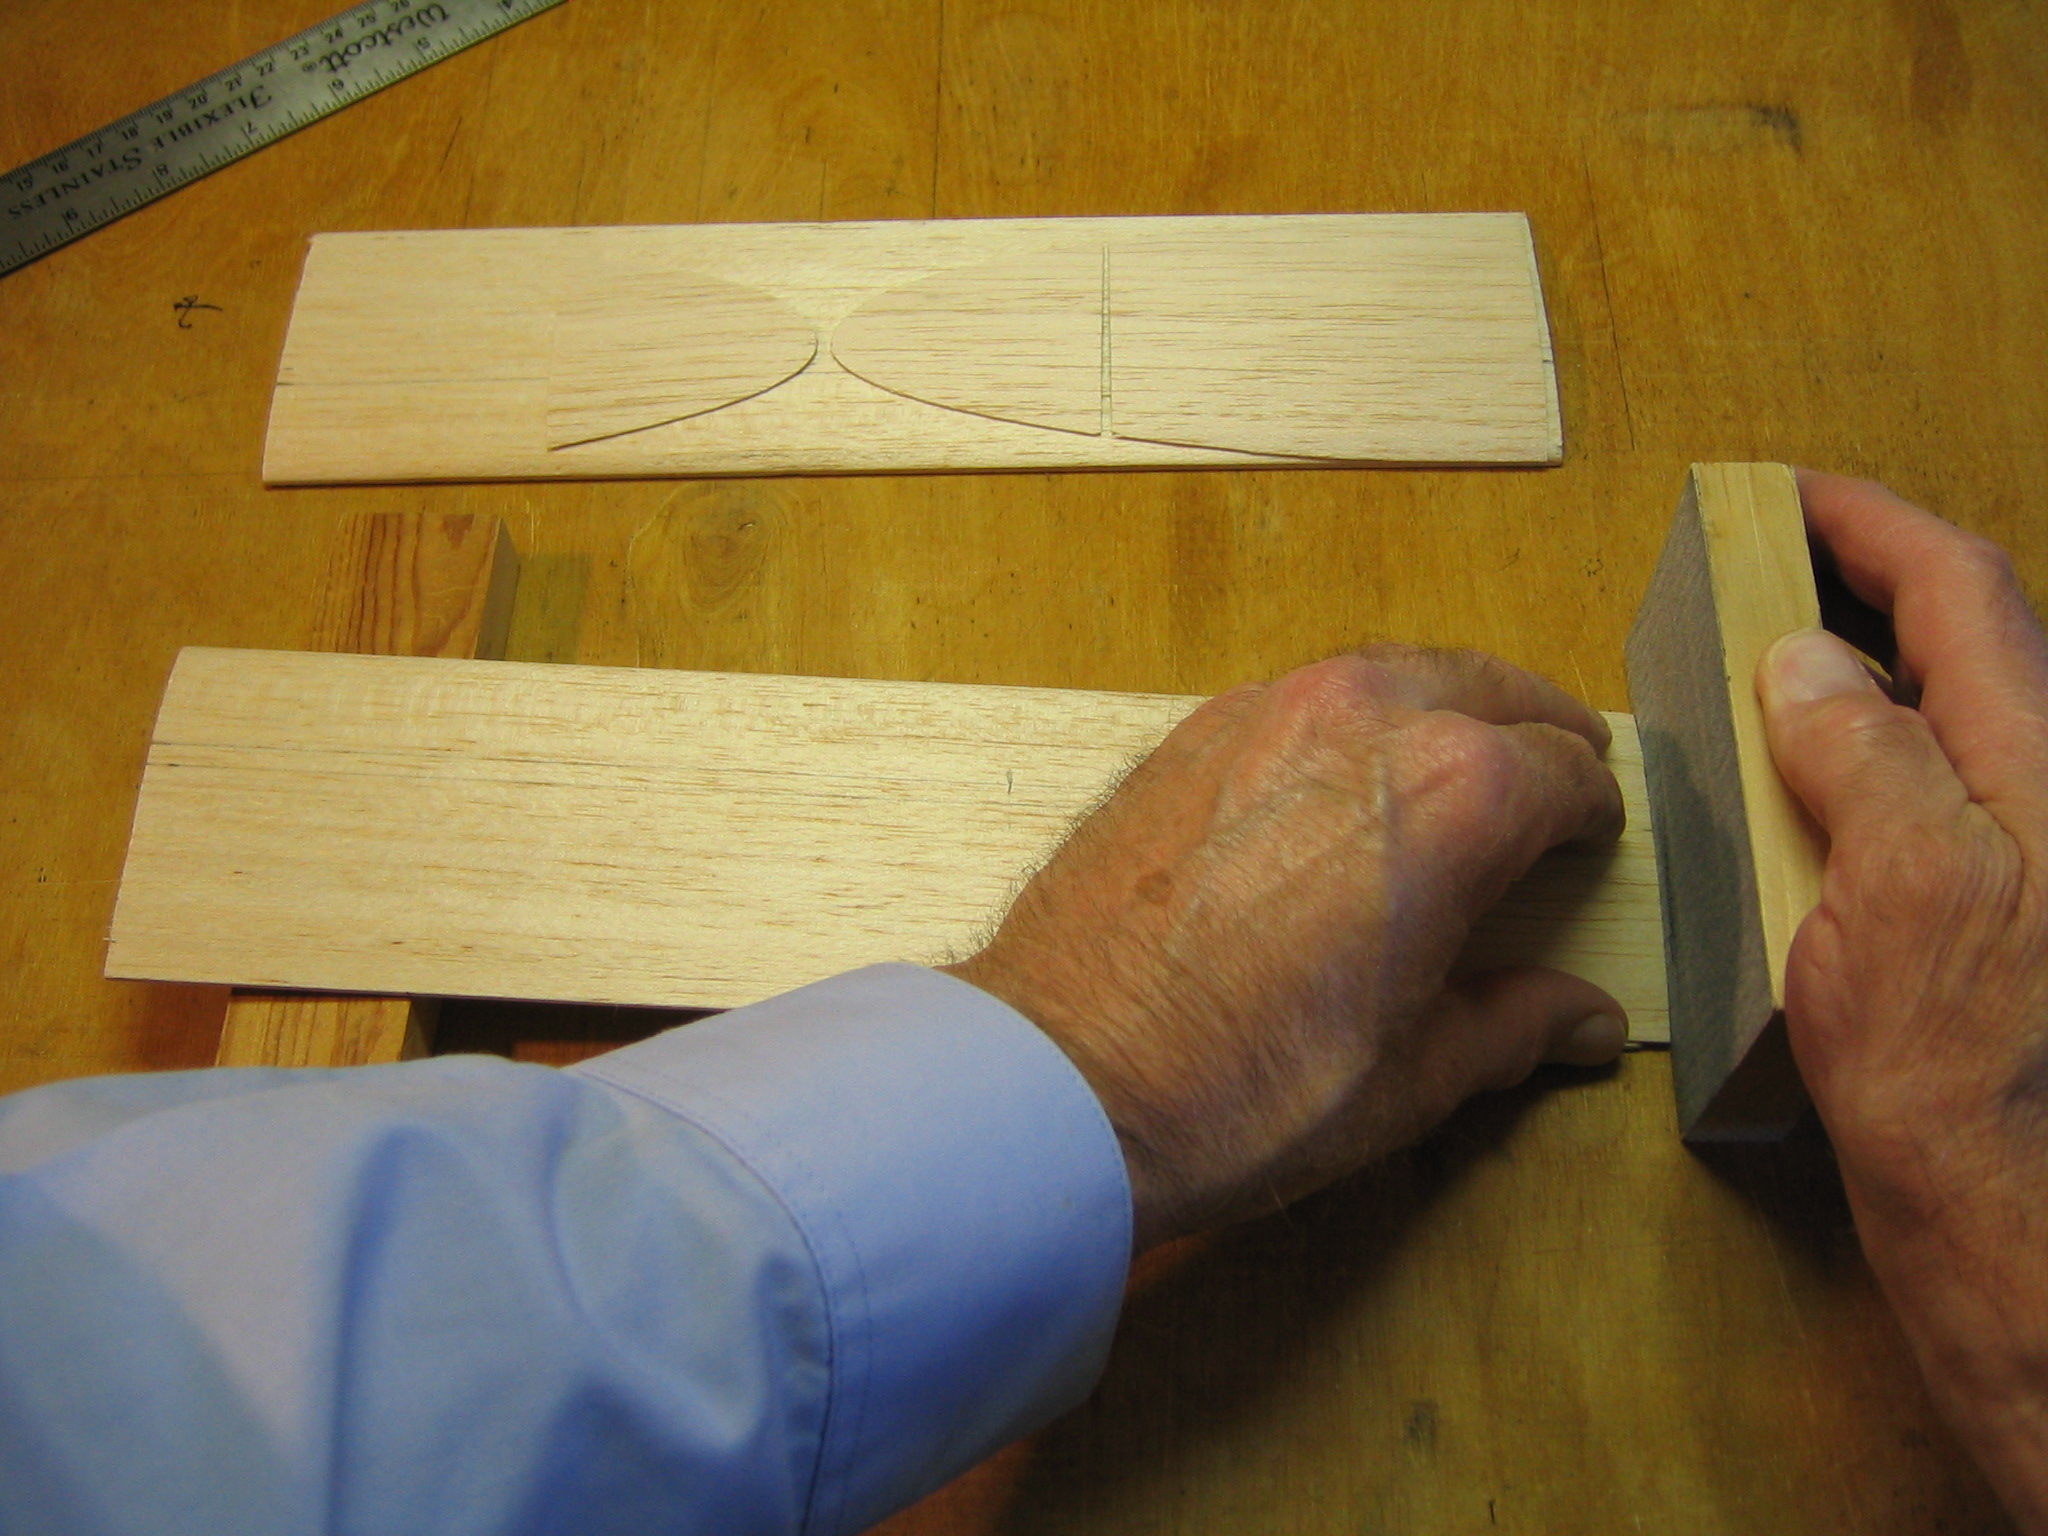
The tops of the ribs must be sanded at a bevel to fit the dihedral angle at the center of the wings. To do this, we will place them on a board that is tilted to the required dihedral angle and sand the bevel with a vertical sanding block. To tilt the block, I will use a 3/4″ high block placed under the bigger block 9.6″ (approximately 9 5/8″) from the end. These proportions correspond to those shown on the plan for the inside panels of the wing, giving a dihedral angle of about 4 1/2 degrees. If we were building a wing that went straight across the center, we would glue the two ribs together, place a 1/8″ temporary filler between the side plates, place the unit on top of a board flat on the table and use a vertical sanding block to sand the airfoil on top smooth and square to the sides. If we wanted straight dihedral with two wing panels, we would put the marks 6 1/4″ from the end of the block and prop it up on a 1 1/2″ high block.
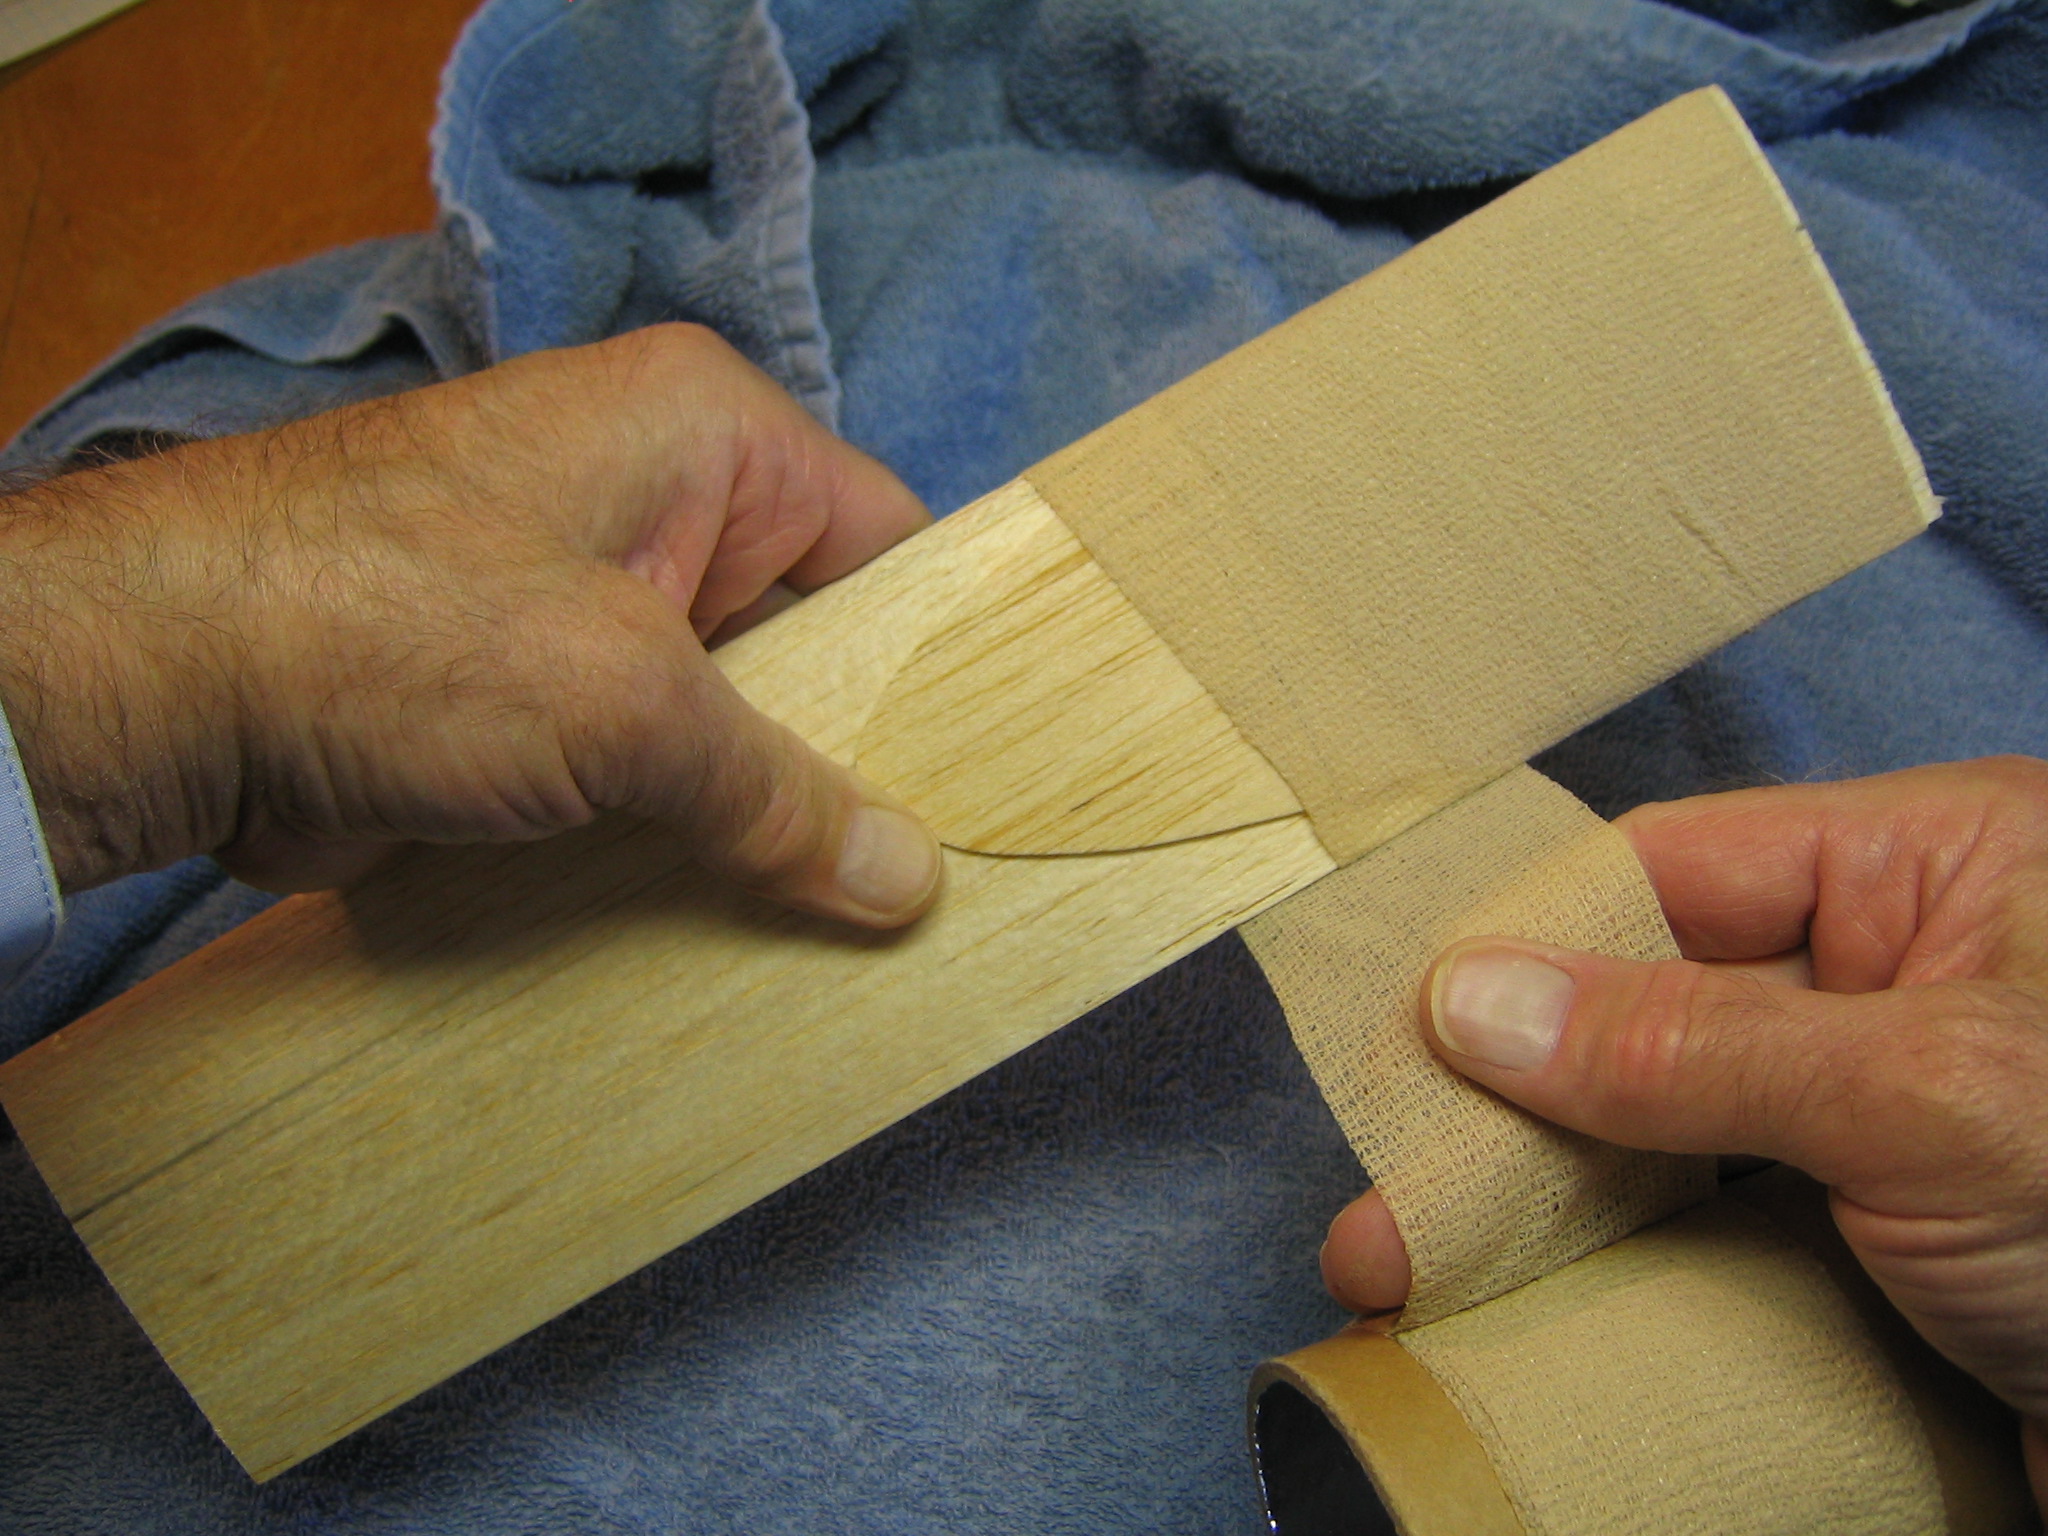
Here you see the bevel being sanded. This same arrangement will be used when we sand the bevel in the central ends of the wing panels. Sand both the same way. Sand all the way across the top of the rib, but don’t sand past the outside edge. Only the inside edge of the rib is sanded down.
Apply glue to one rib.
Spread the glue uniformly.
Press the two pieces together, lining them up carefully with the bottom edges flat on the table top, and press them together.
Press them between blocks while pressing the bottom edges against the table top to be sure that they are square. Let the glue take hold.
Spread glue along the bottom surfaces of the filler ribs.
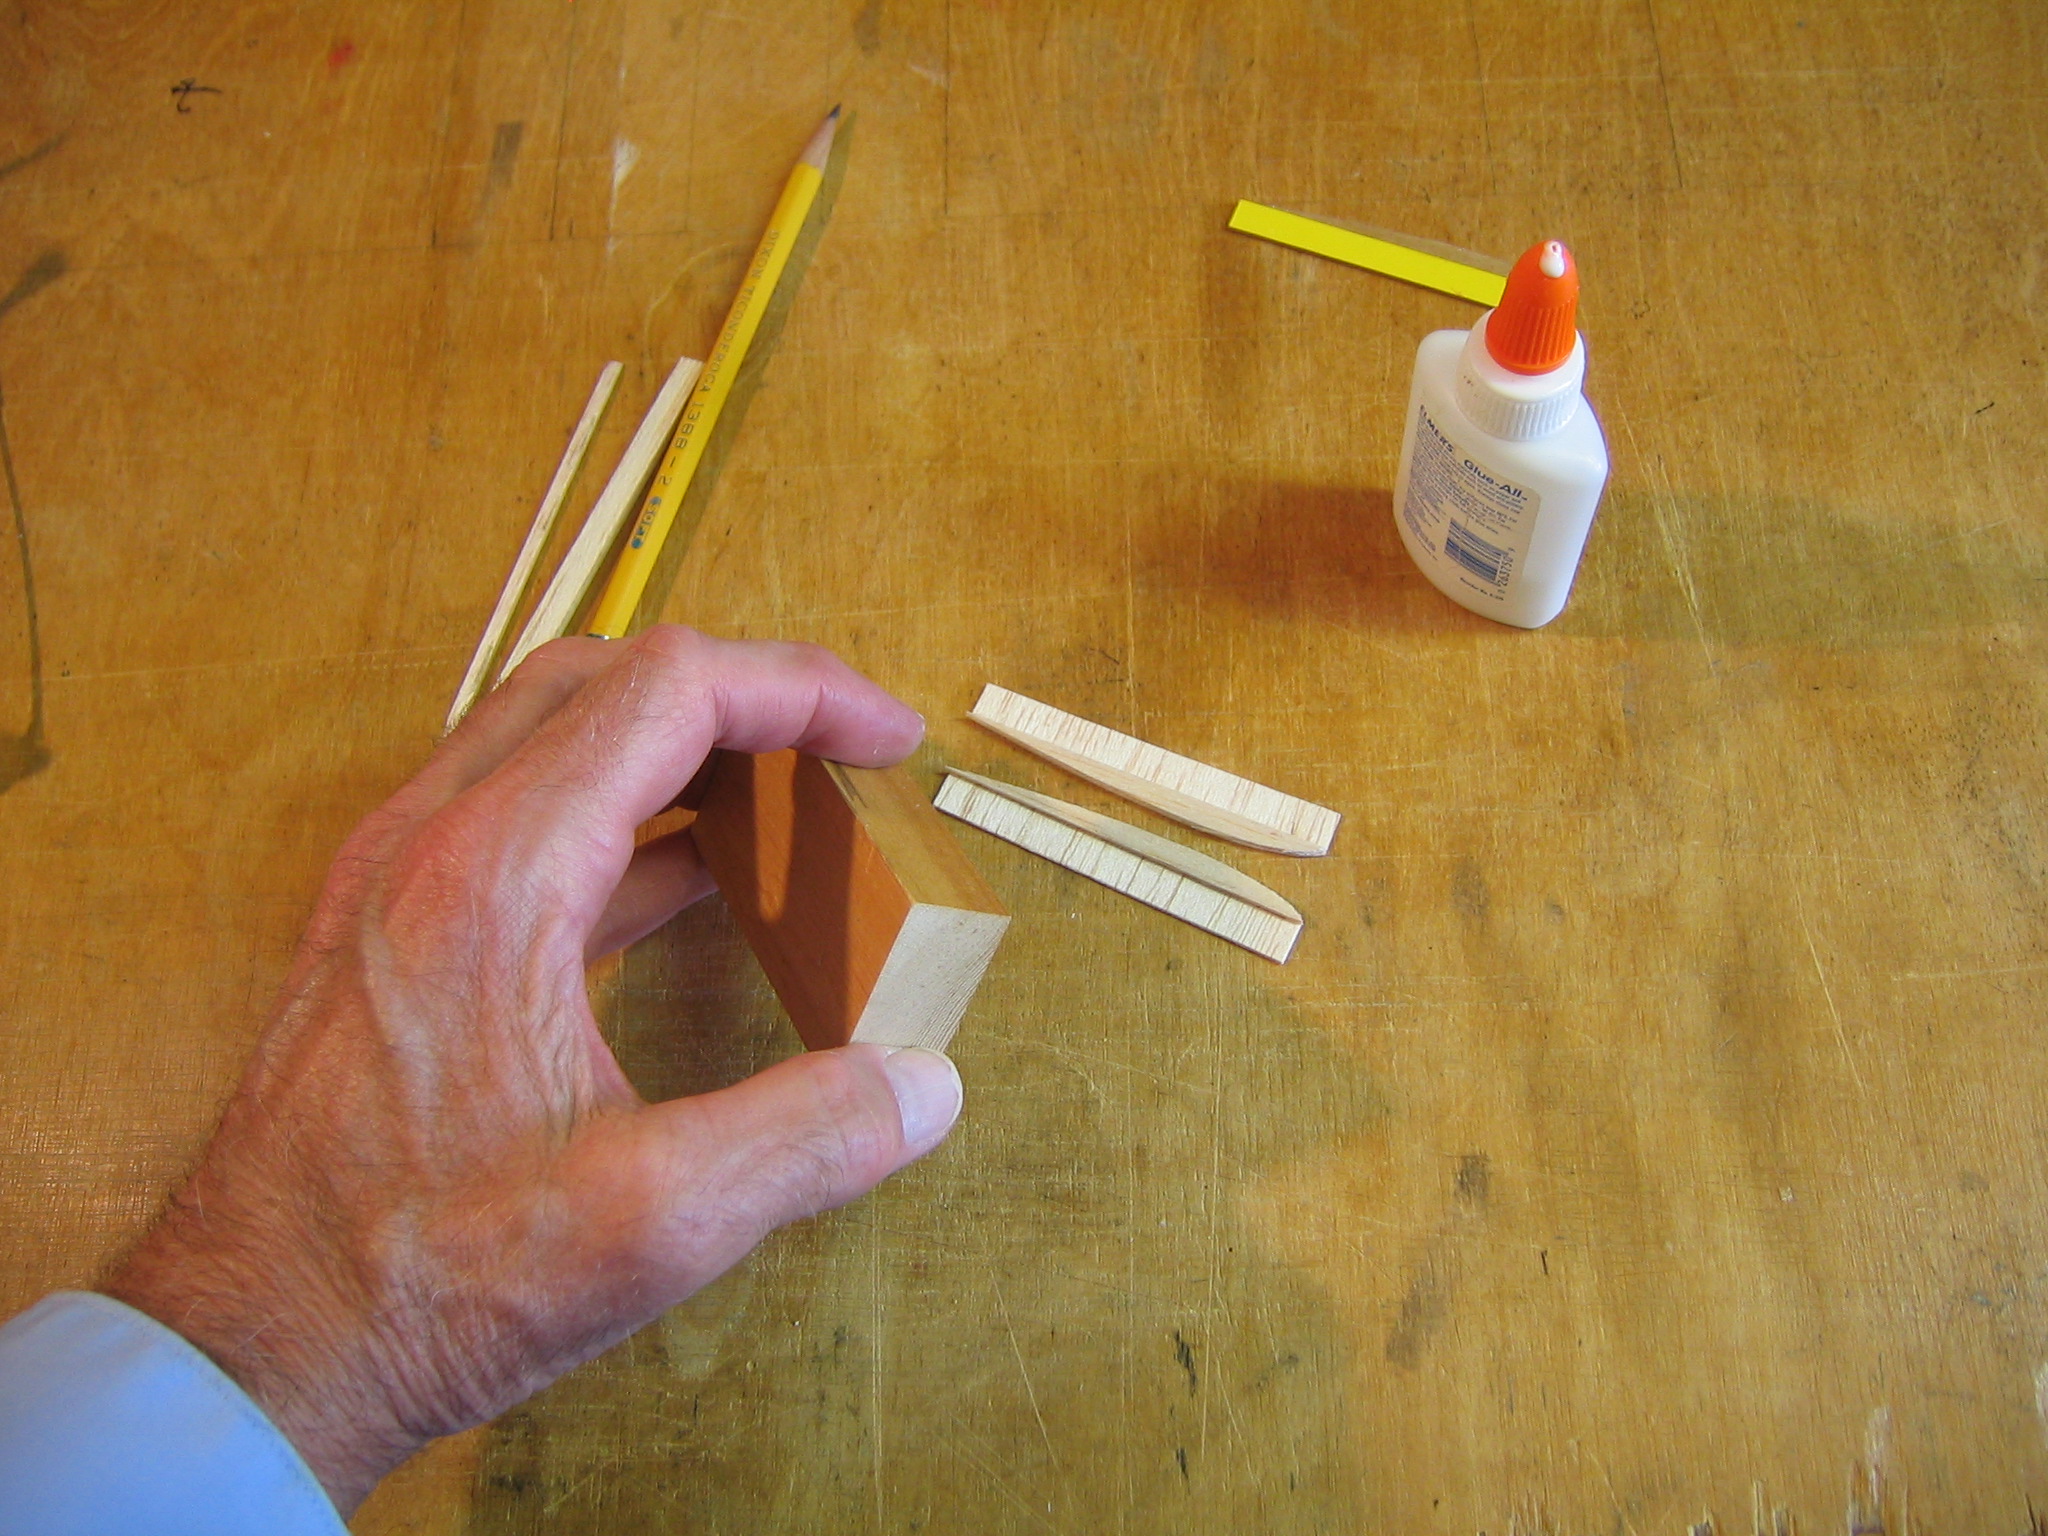
Place the hold down stick in the slot and press it in place against the filler ribs. Note that the bevel goes on top, toward the curved rib.
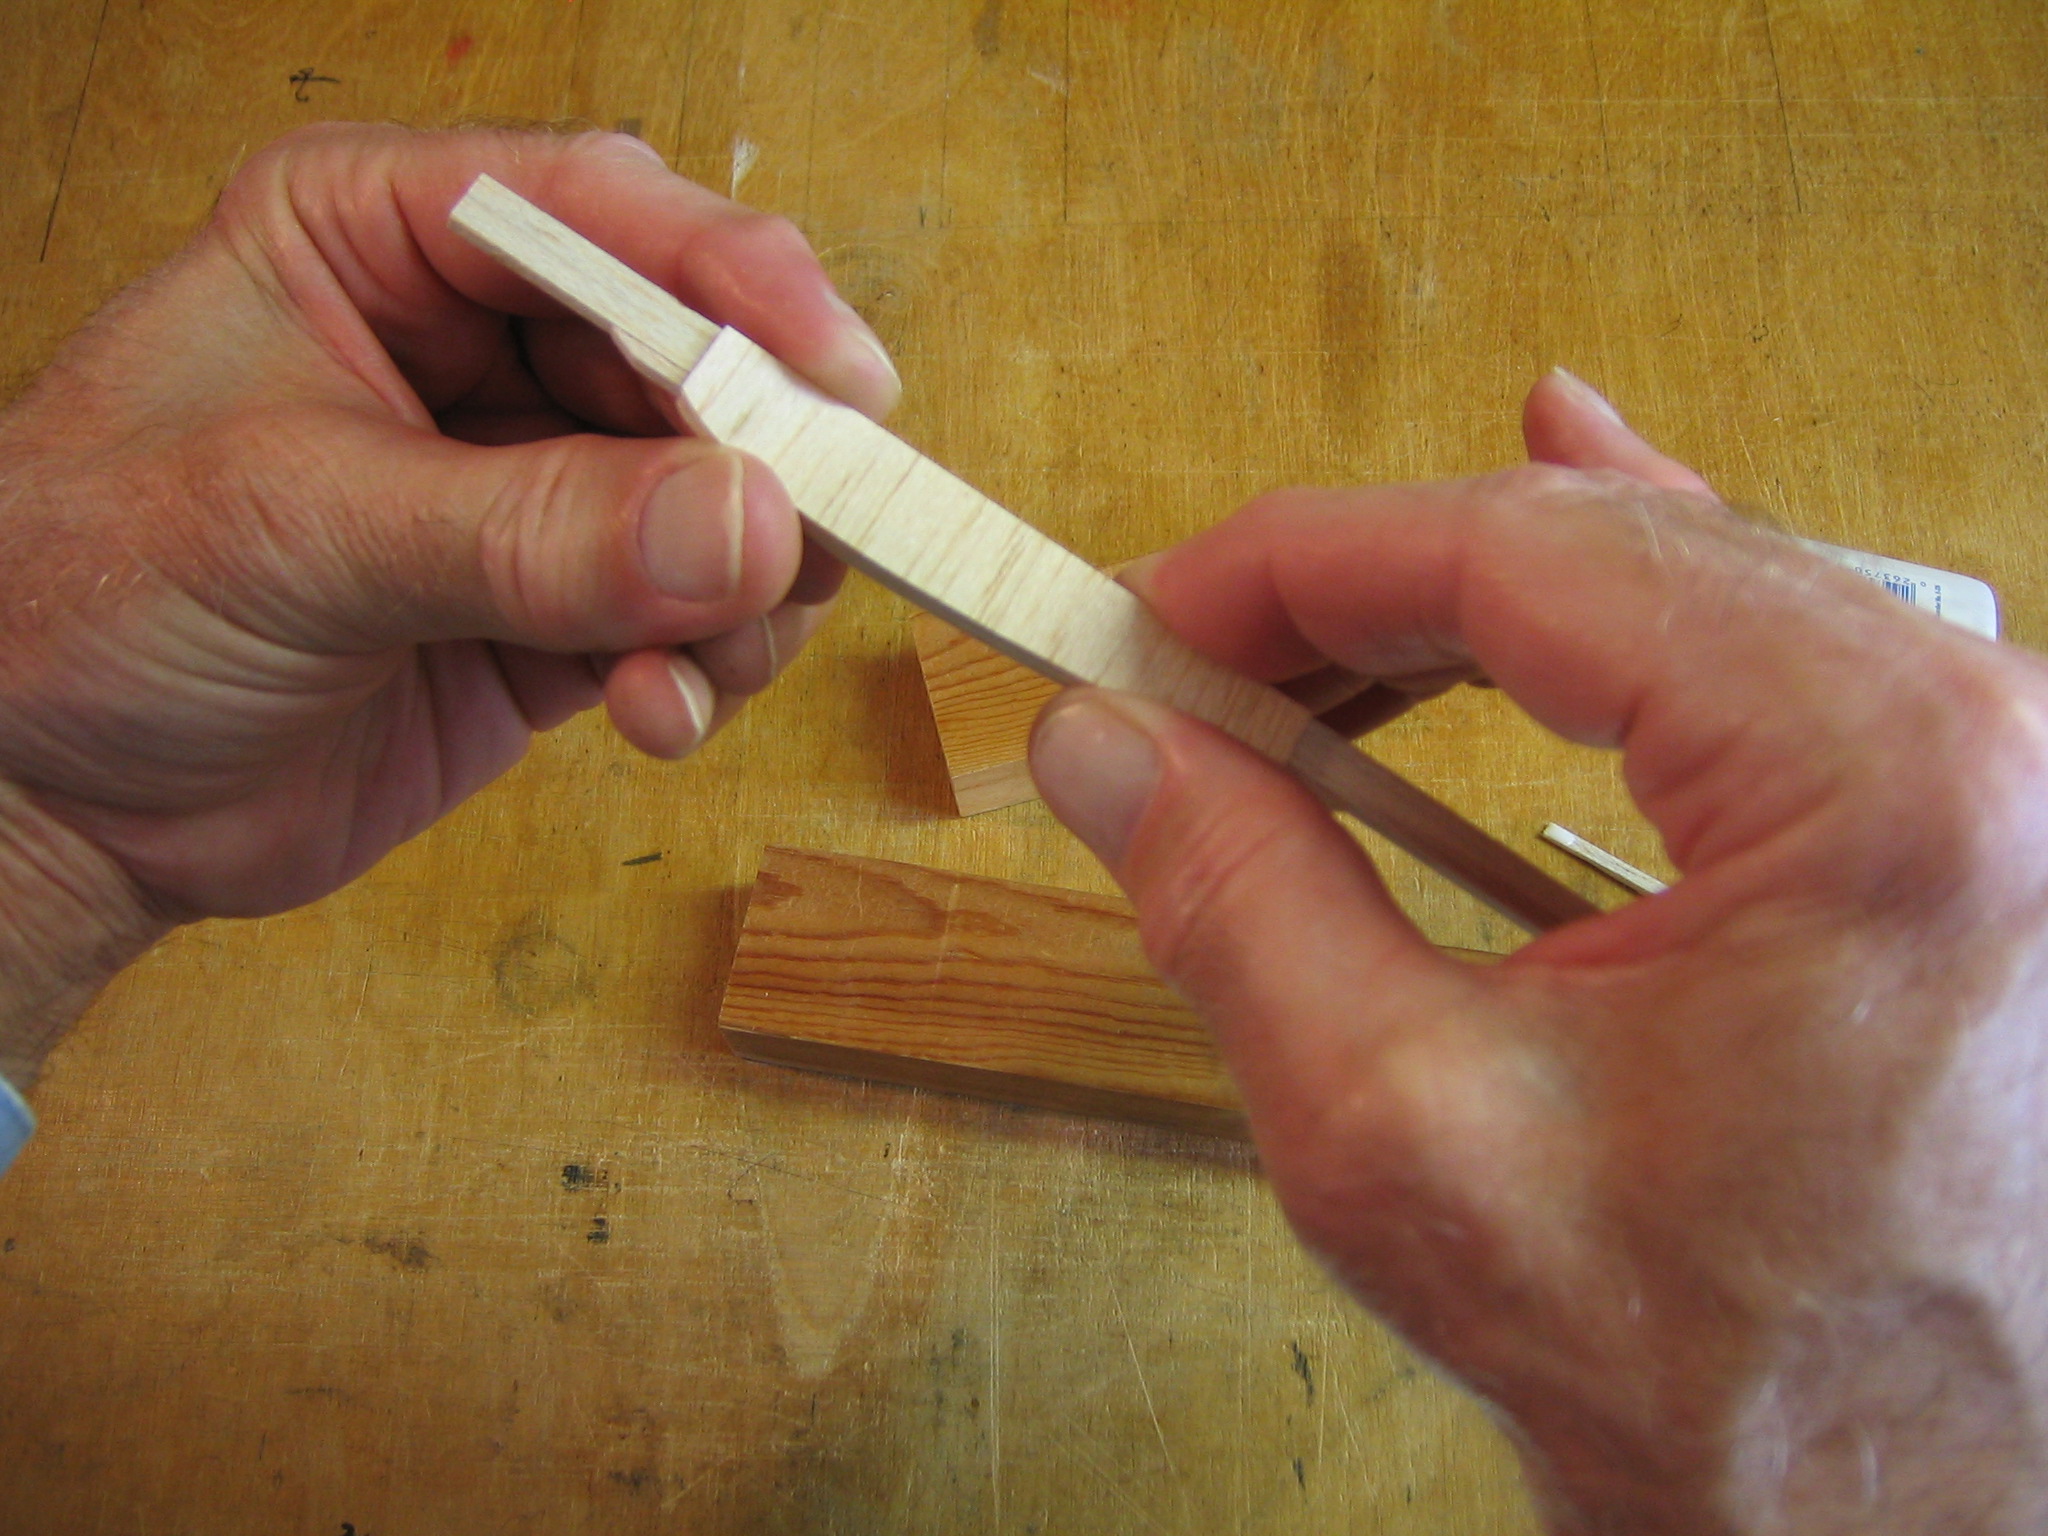
Press it in place with a piece of 1/8″ x 1/4″, but remove the pressing stick so it doesn’t get glued in place. Set the assembly aside to let the glue dry.
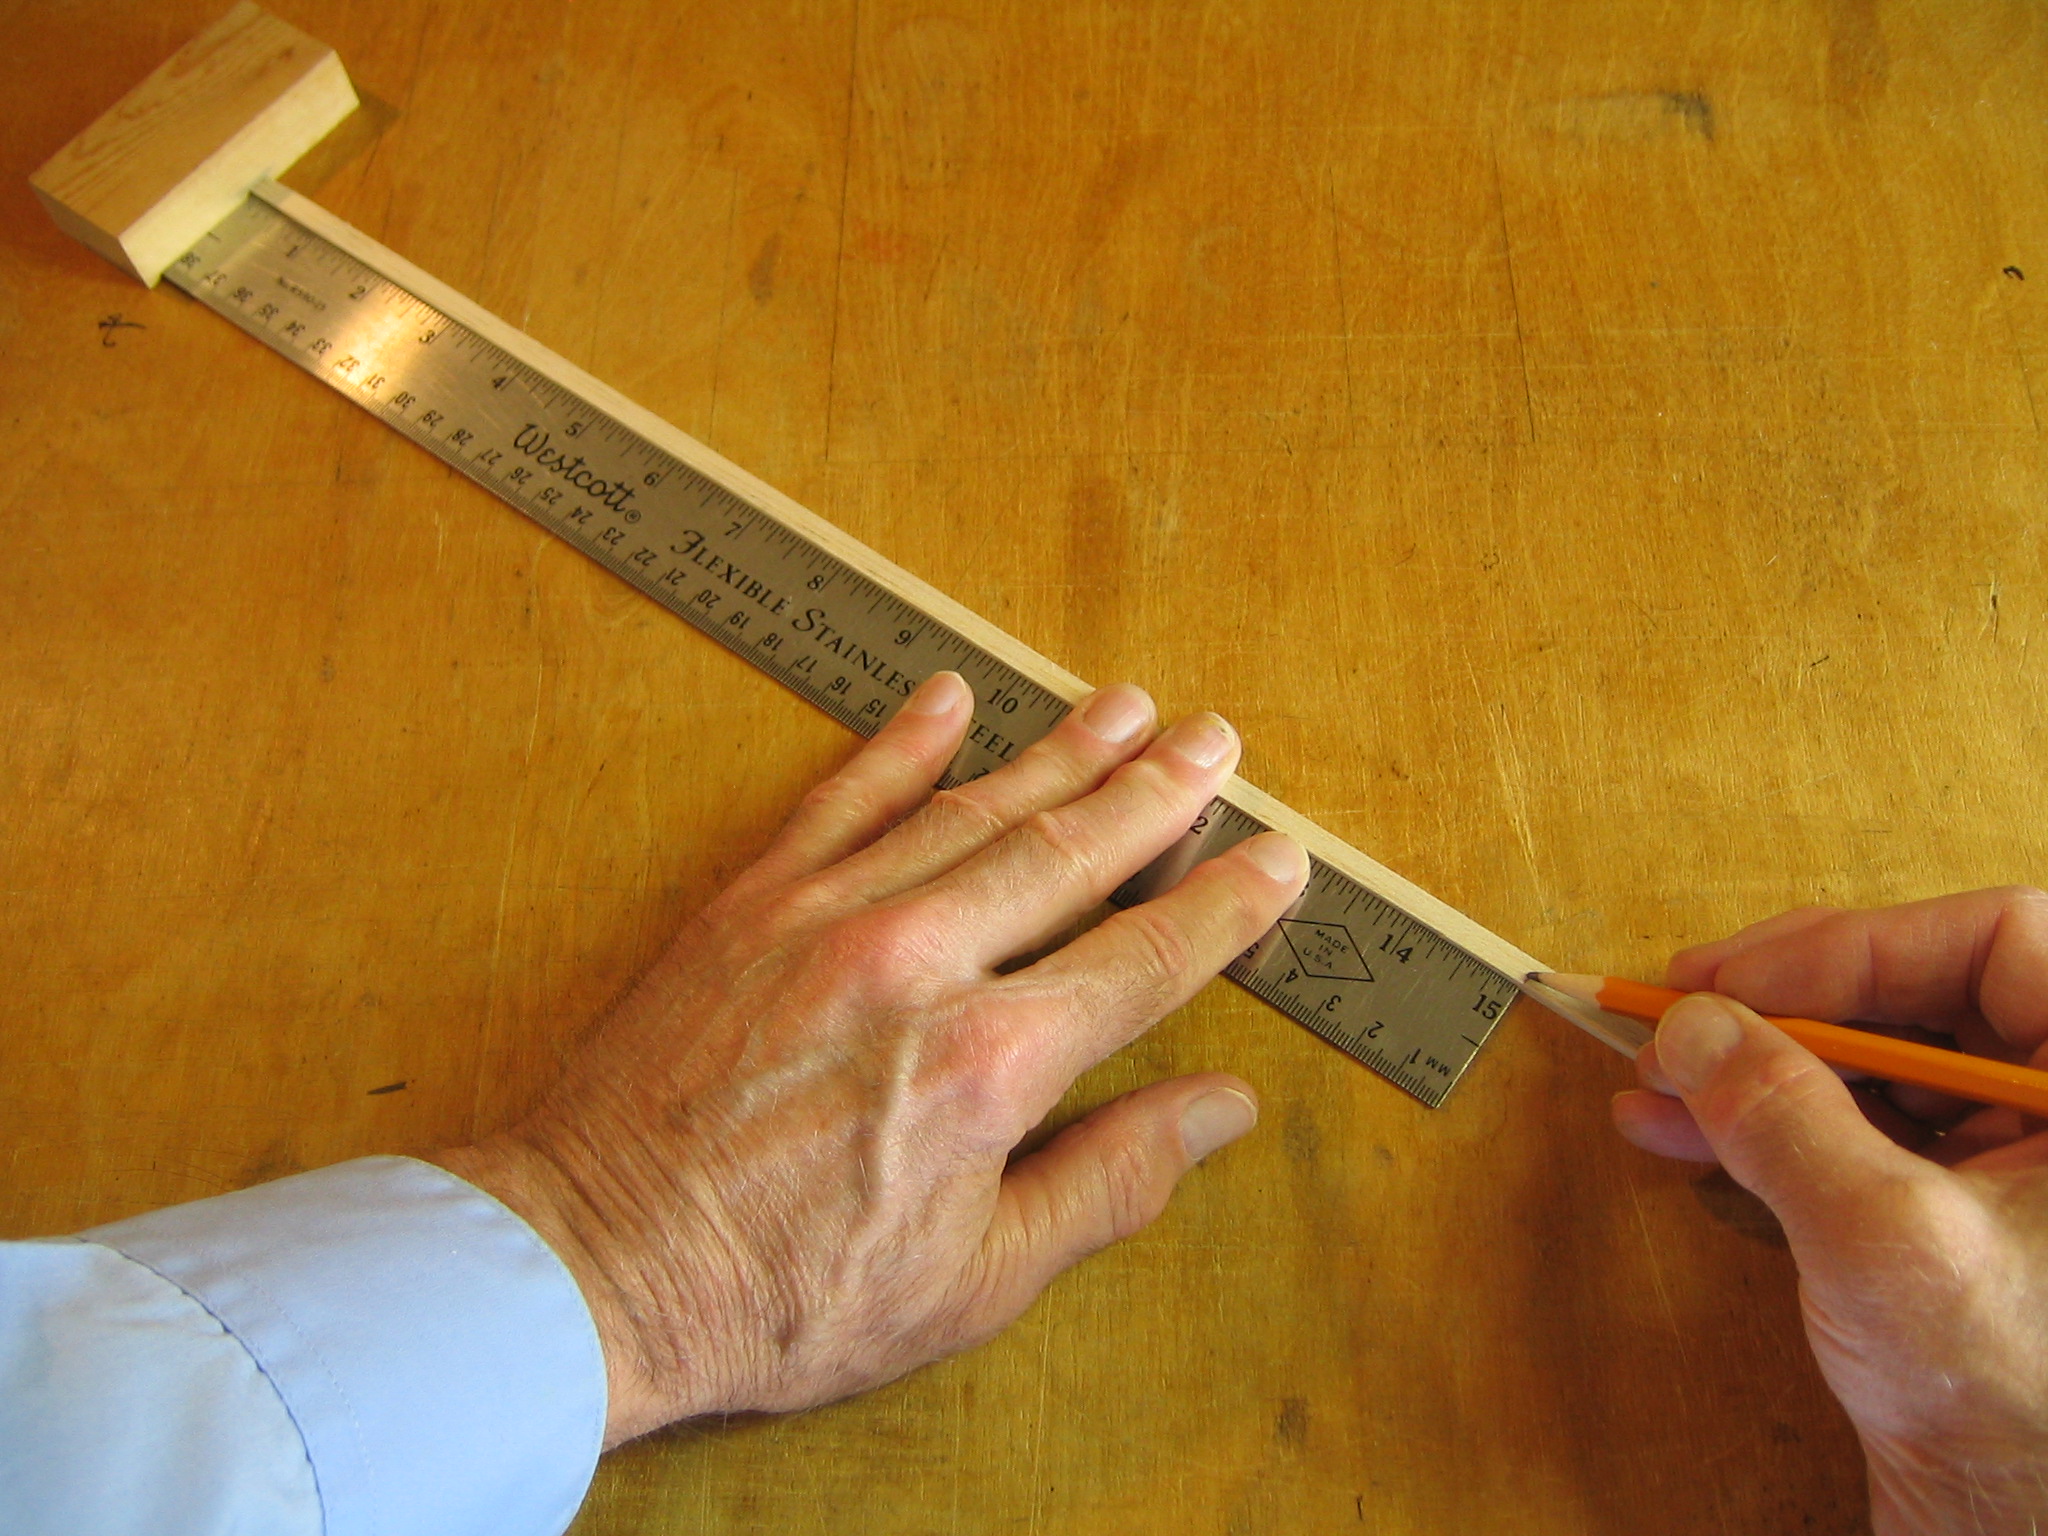
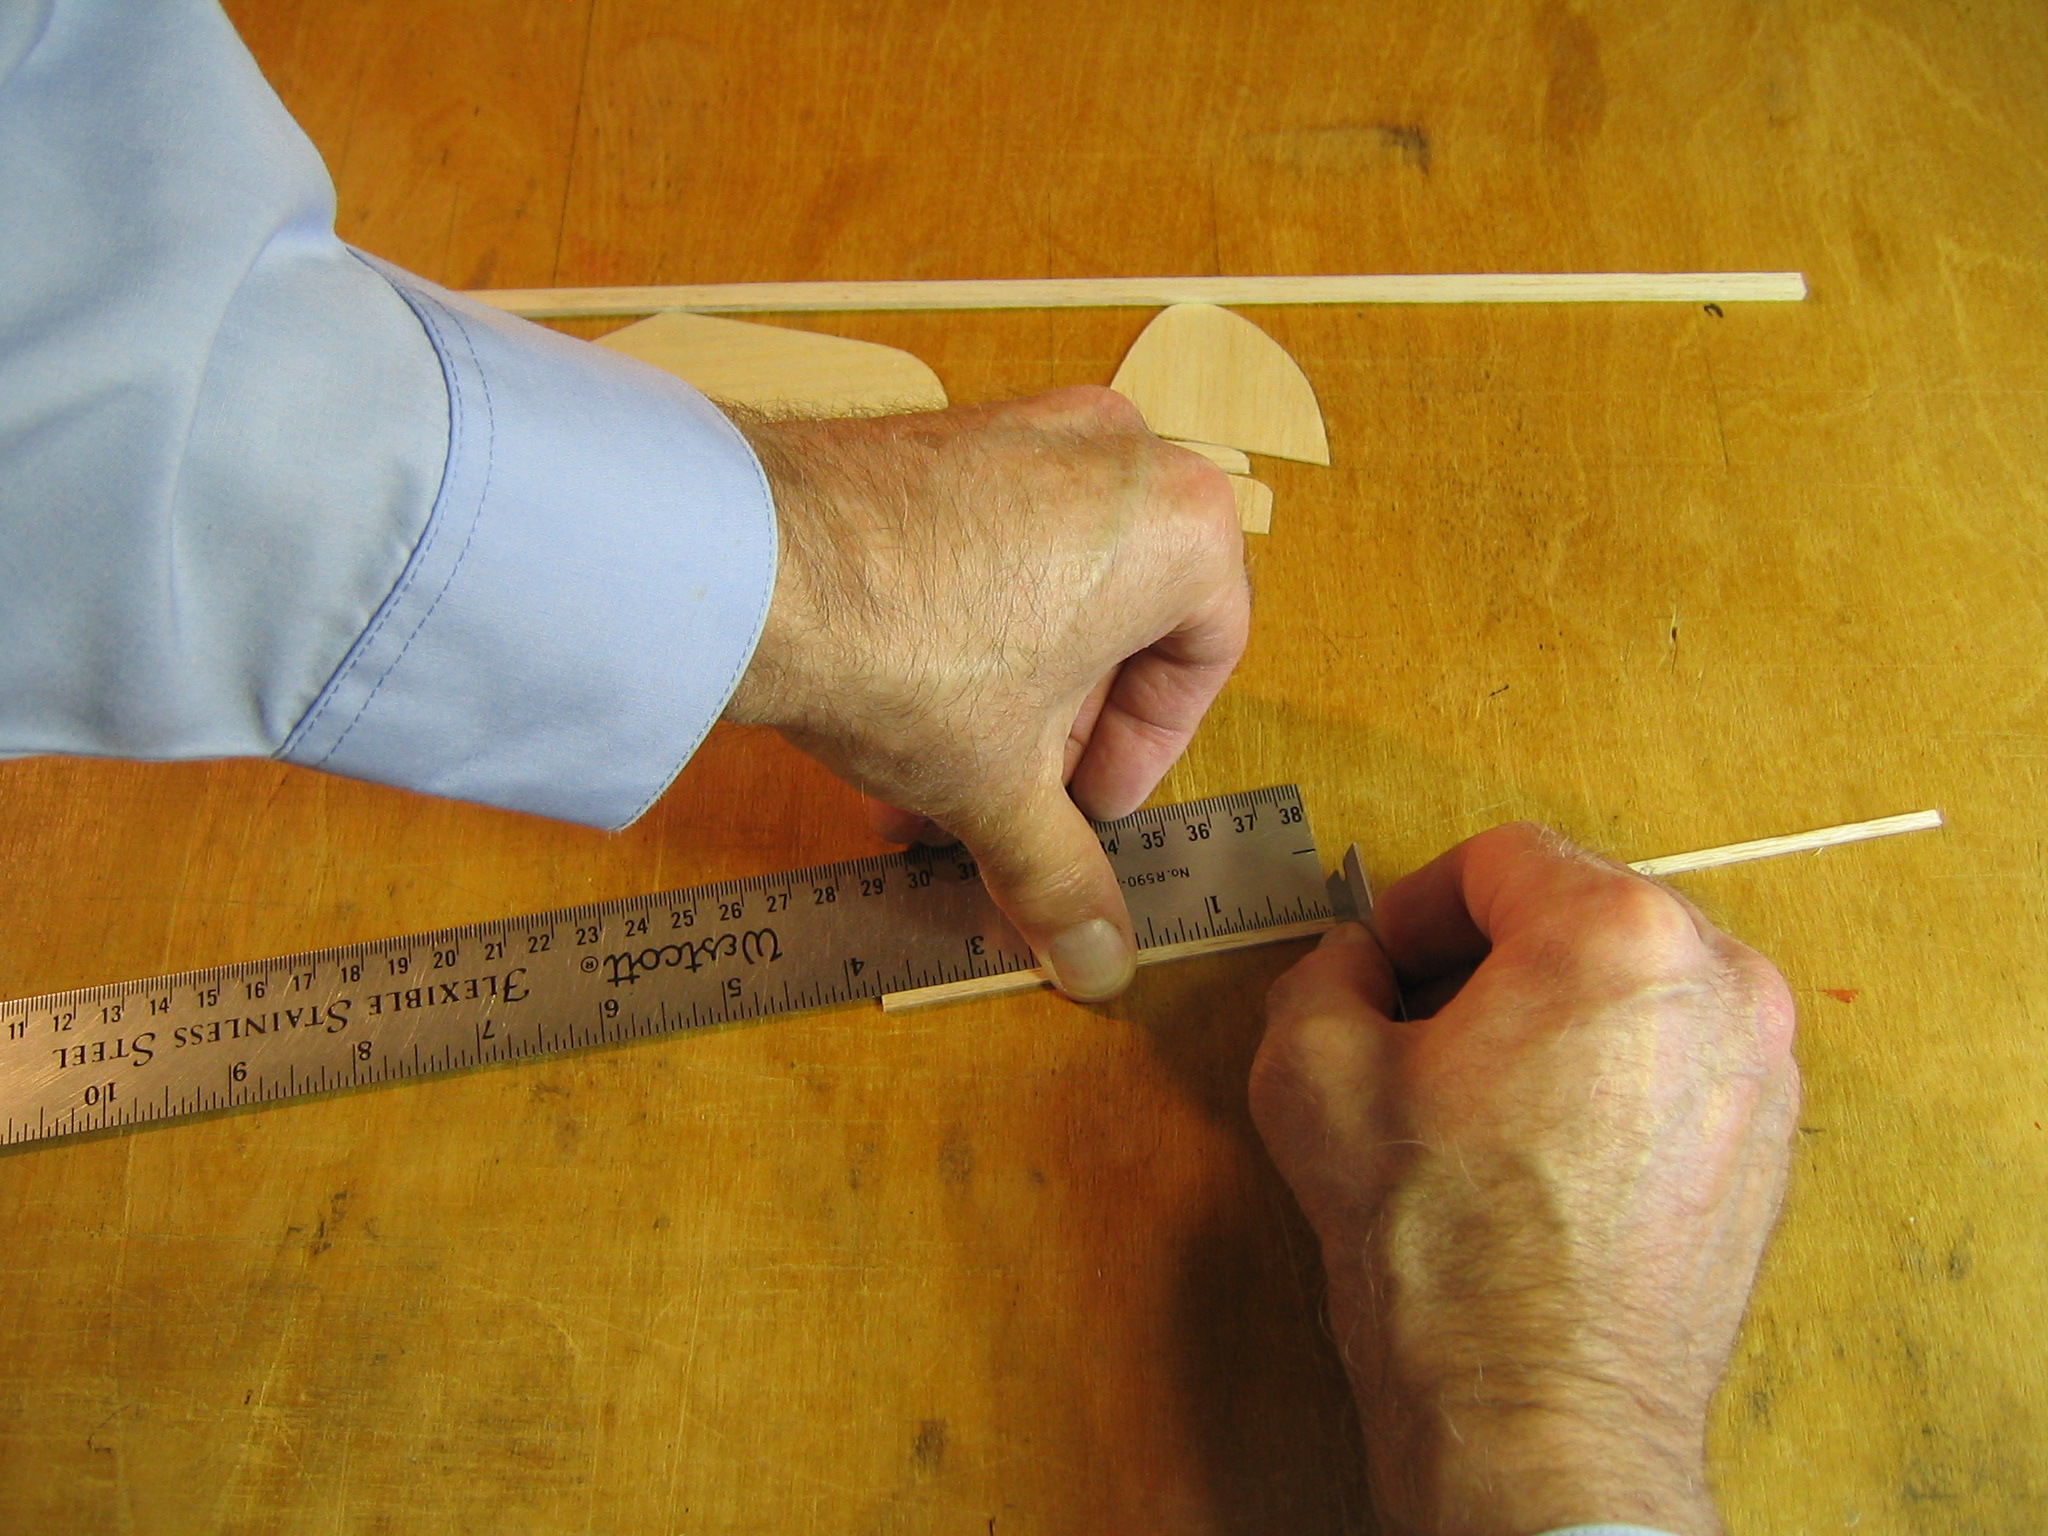
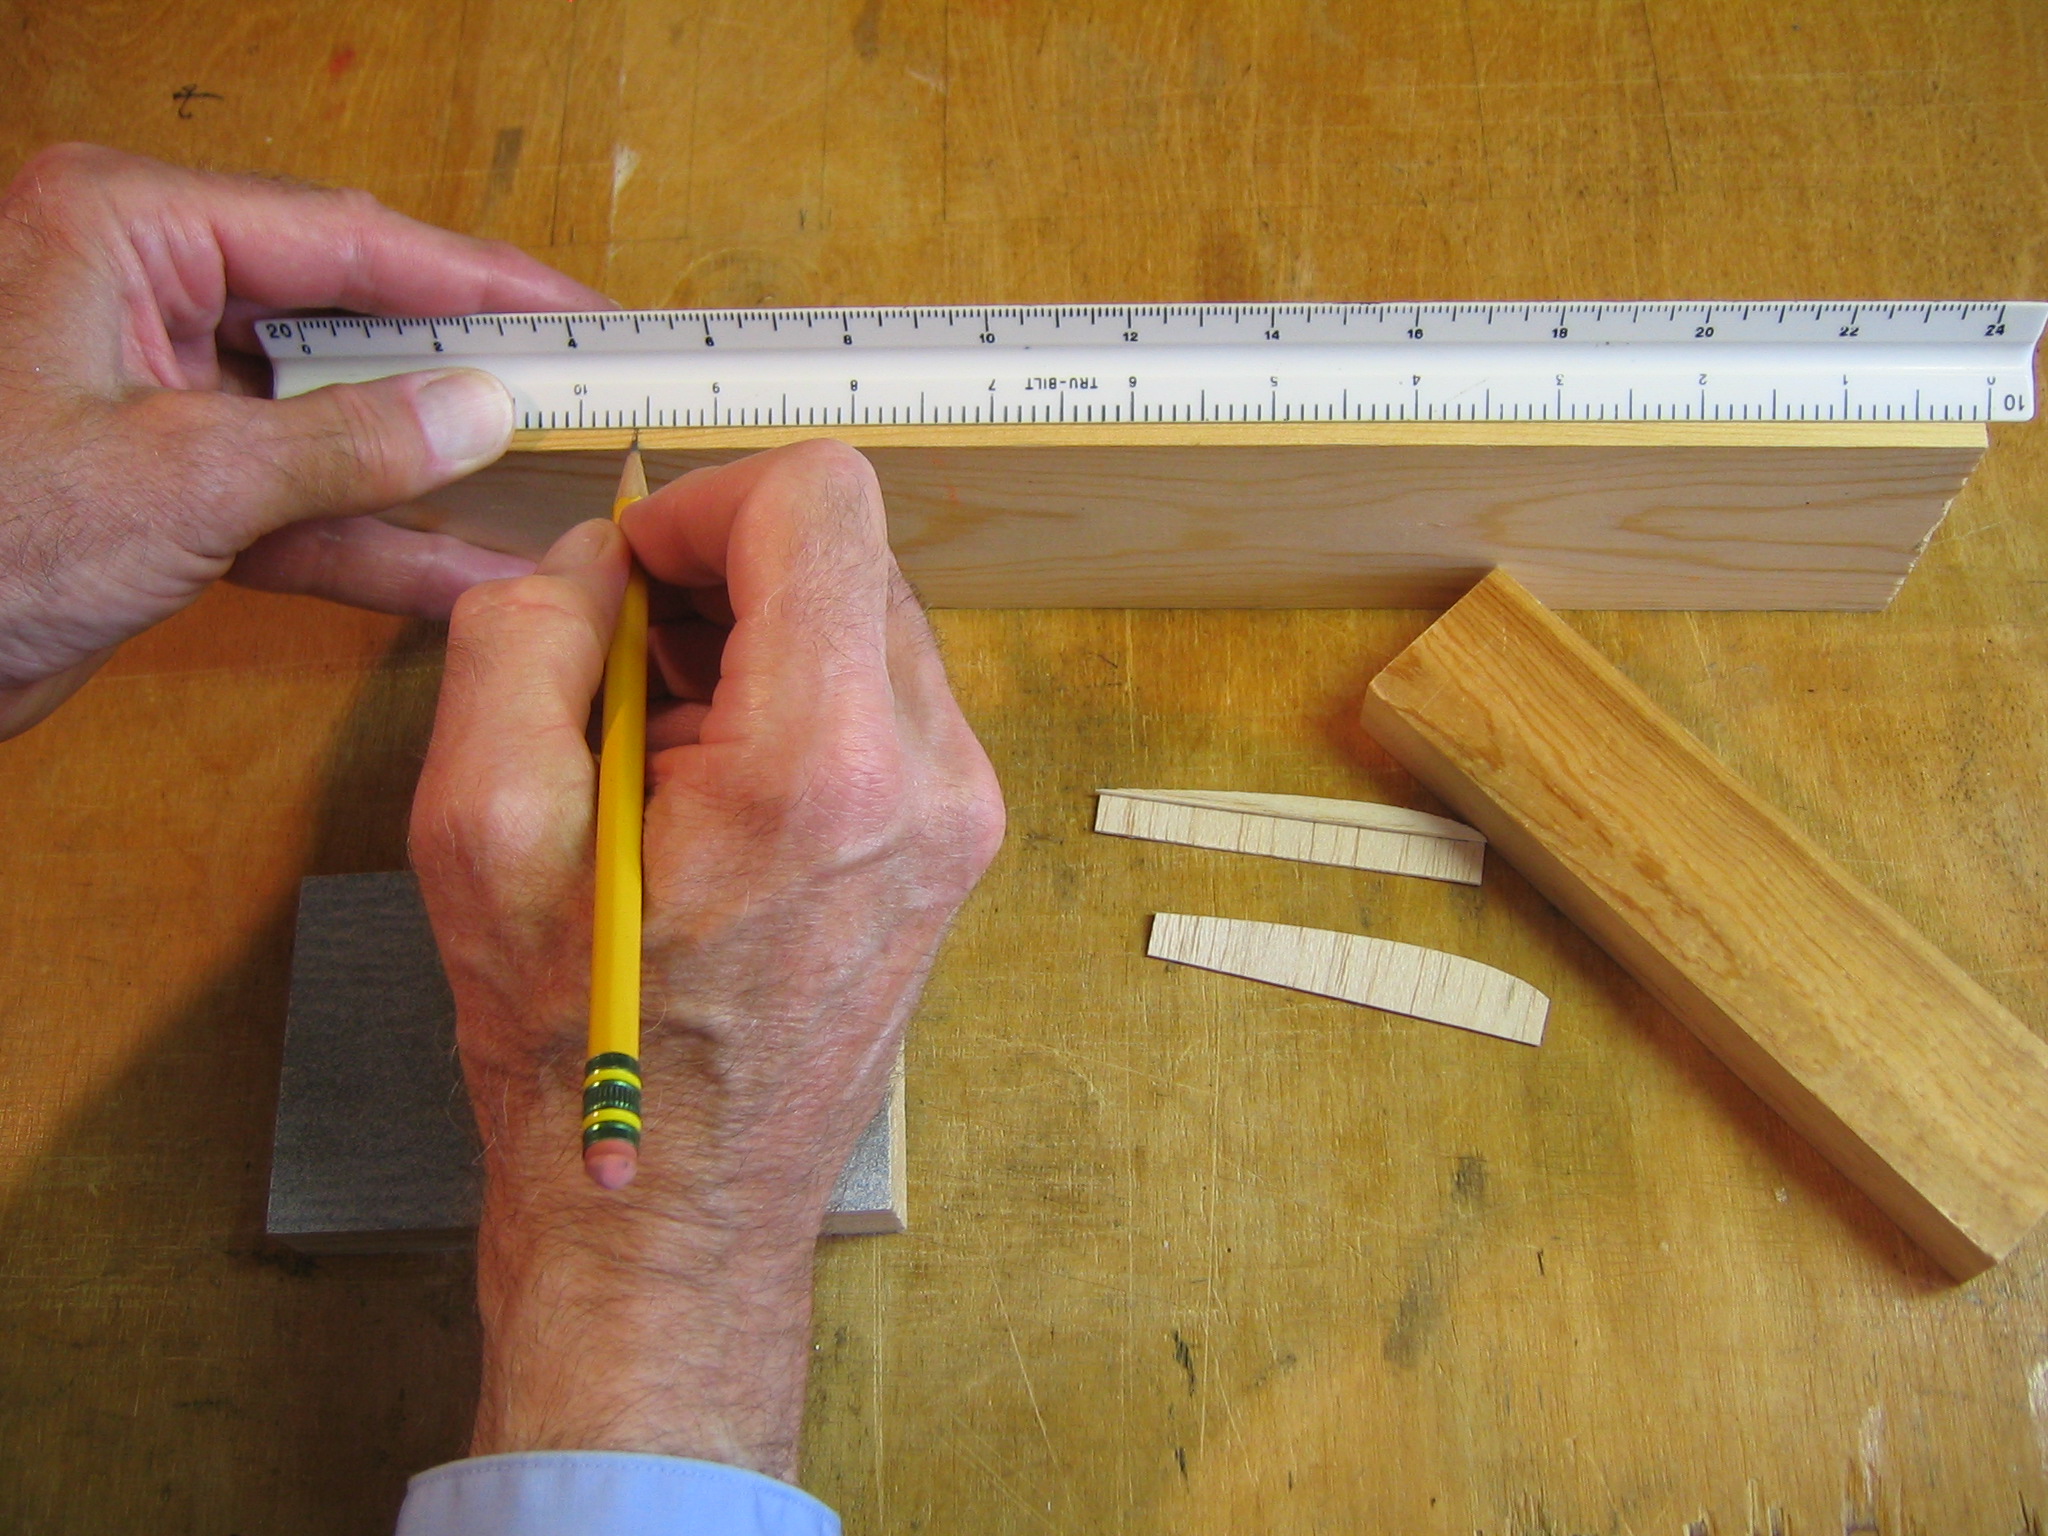
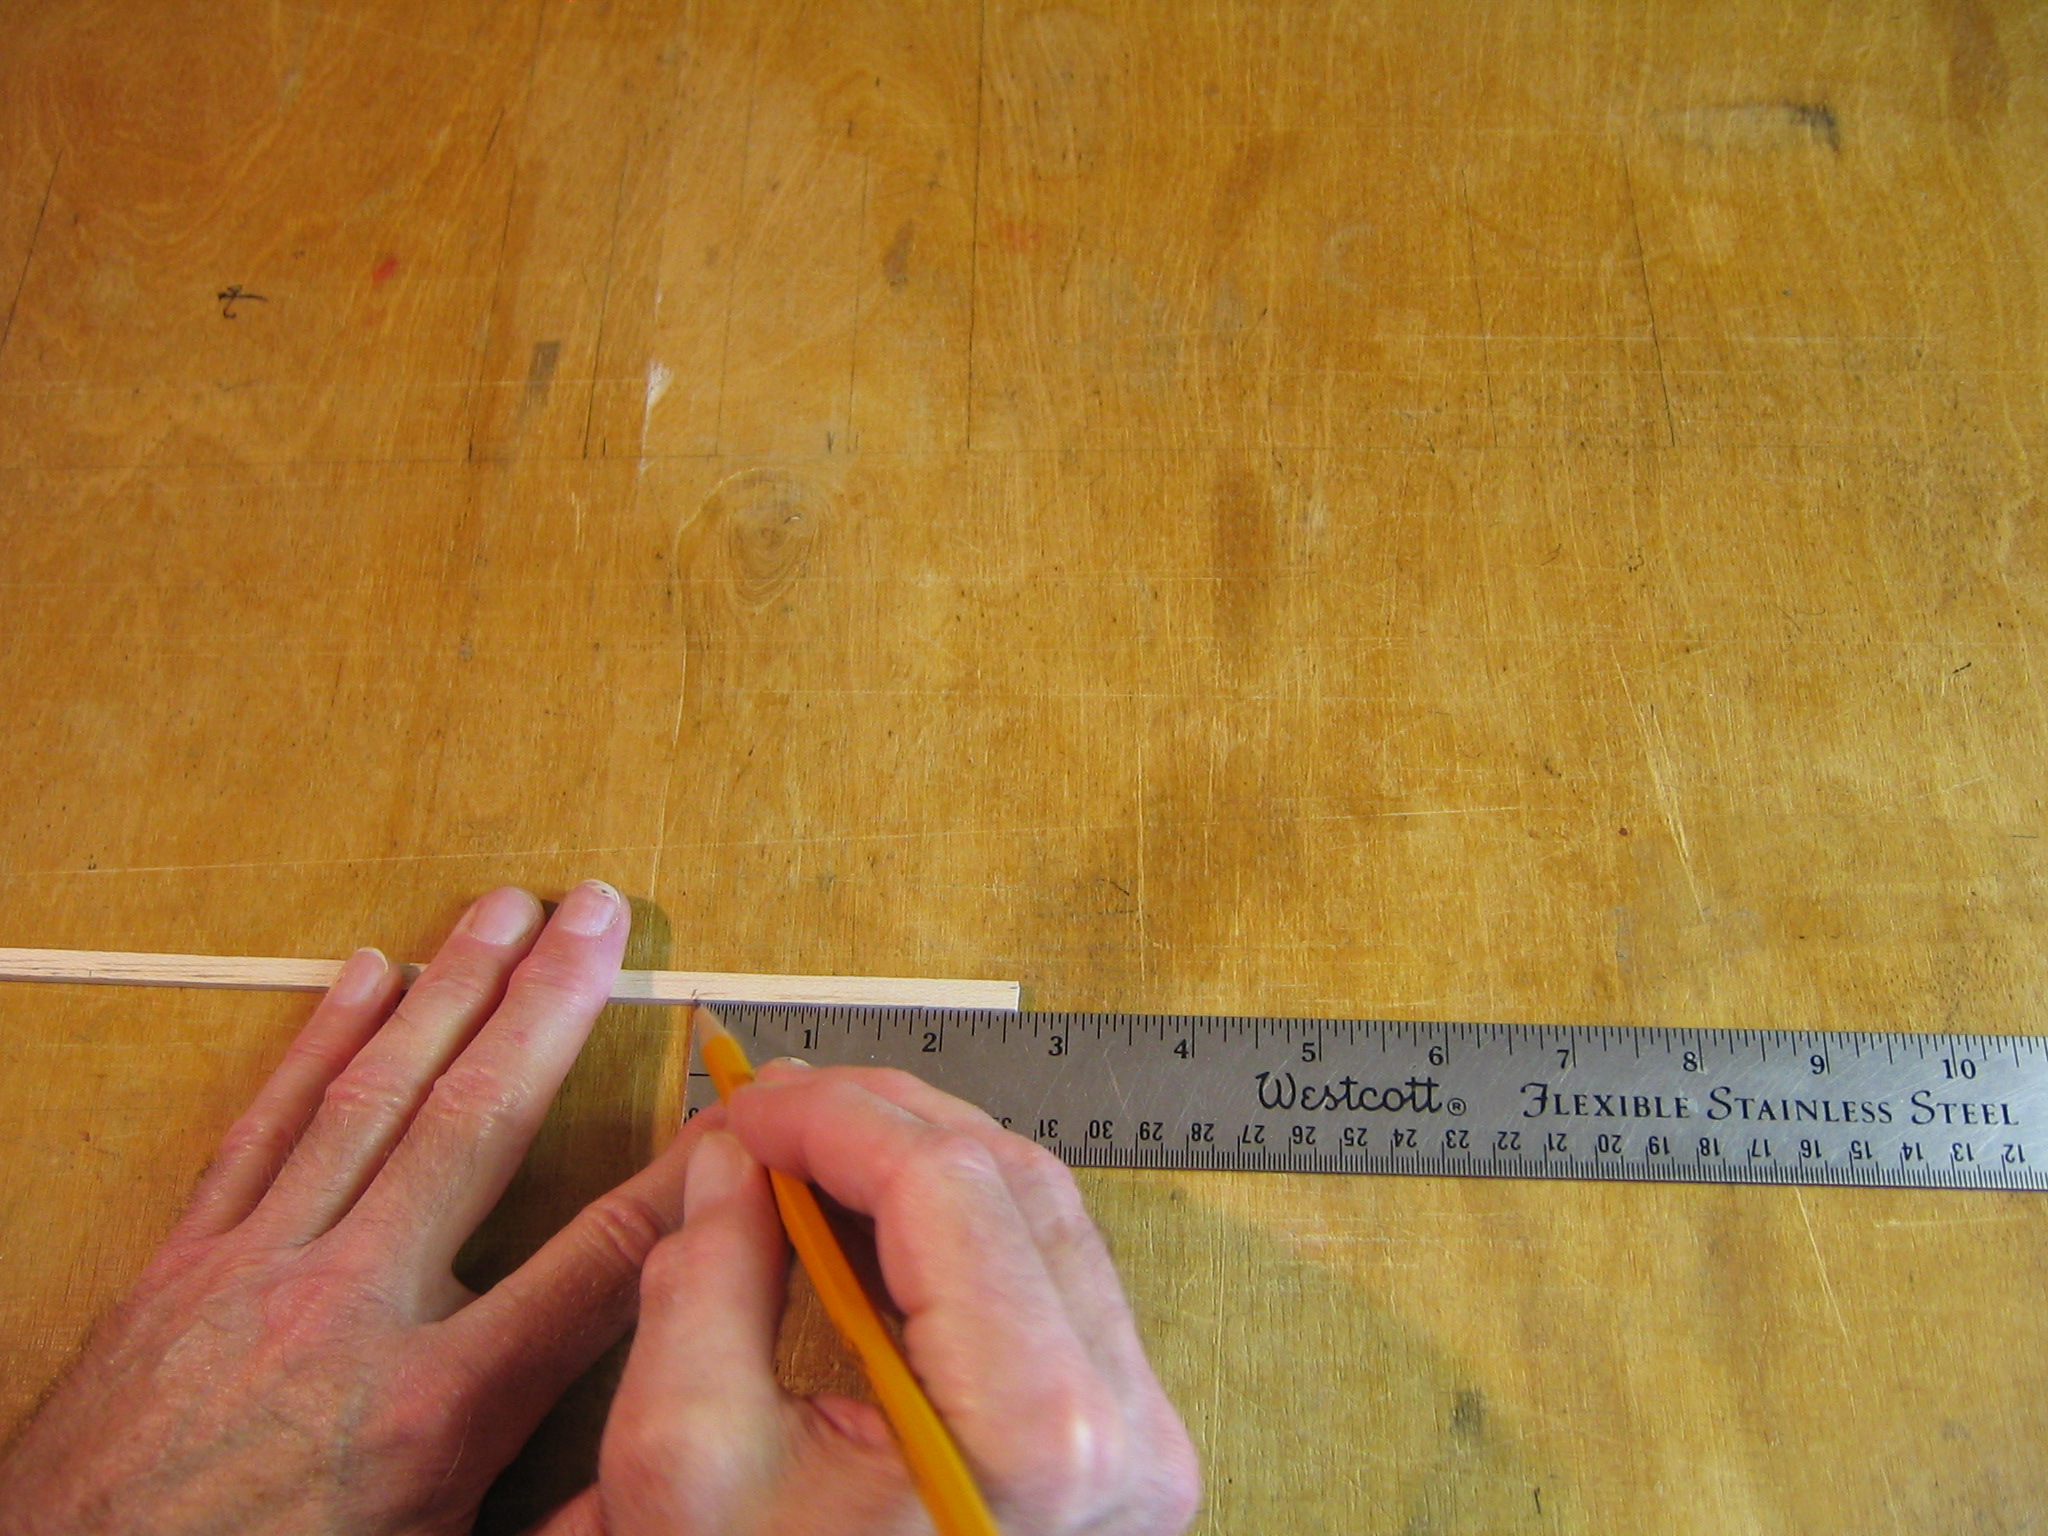
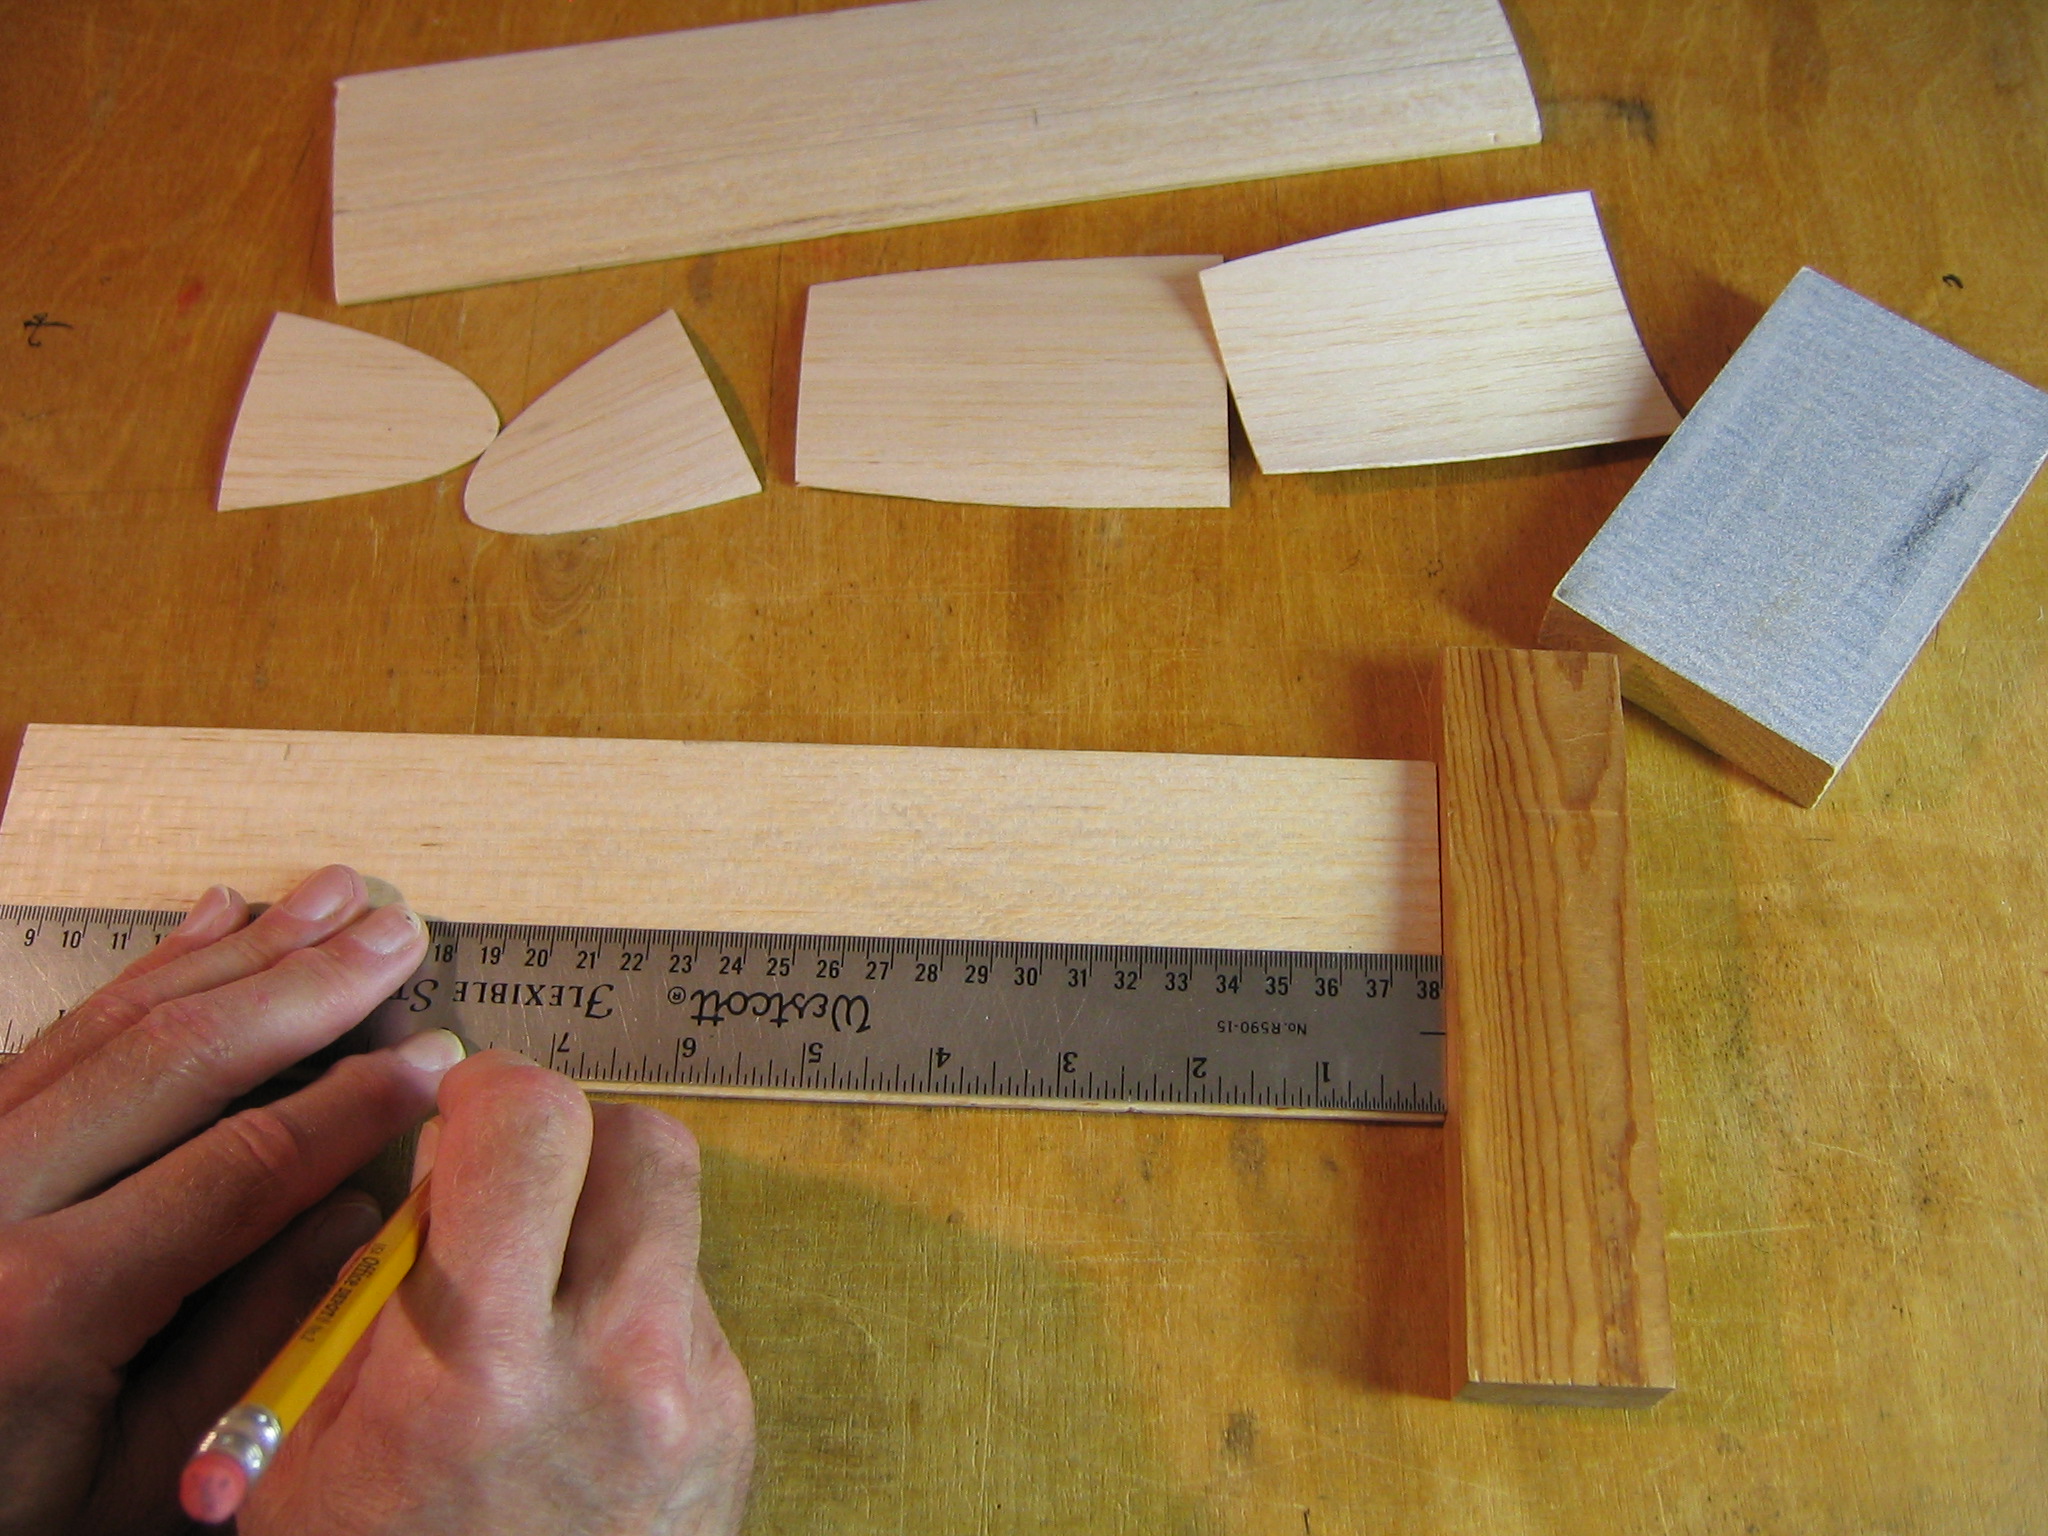
Measure off 15″ on the 1/8″ x 1/4″ and mark it with a pencil. Also mark the midpoint of the stick at 7 1/2″.
Cut the stick to length.
Balance the stick to see which end is heavier. If one end is heavier, we will put that end toward the nose and the light end will be the tail end.
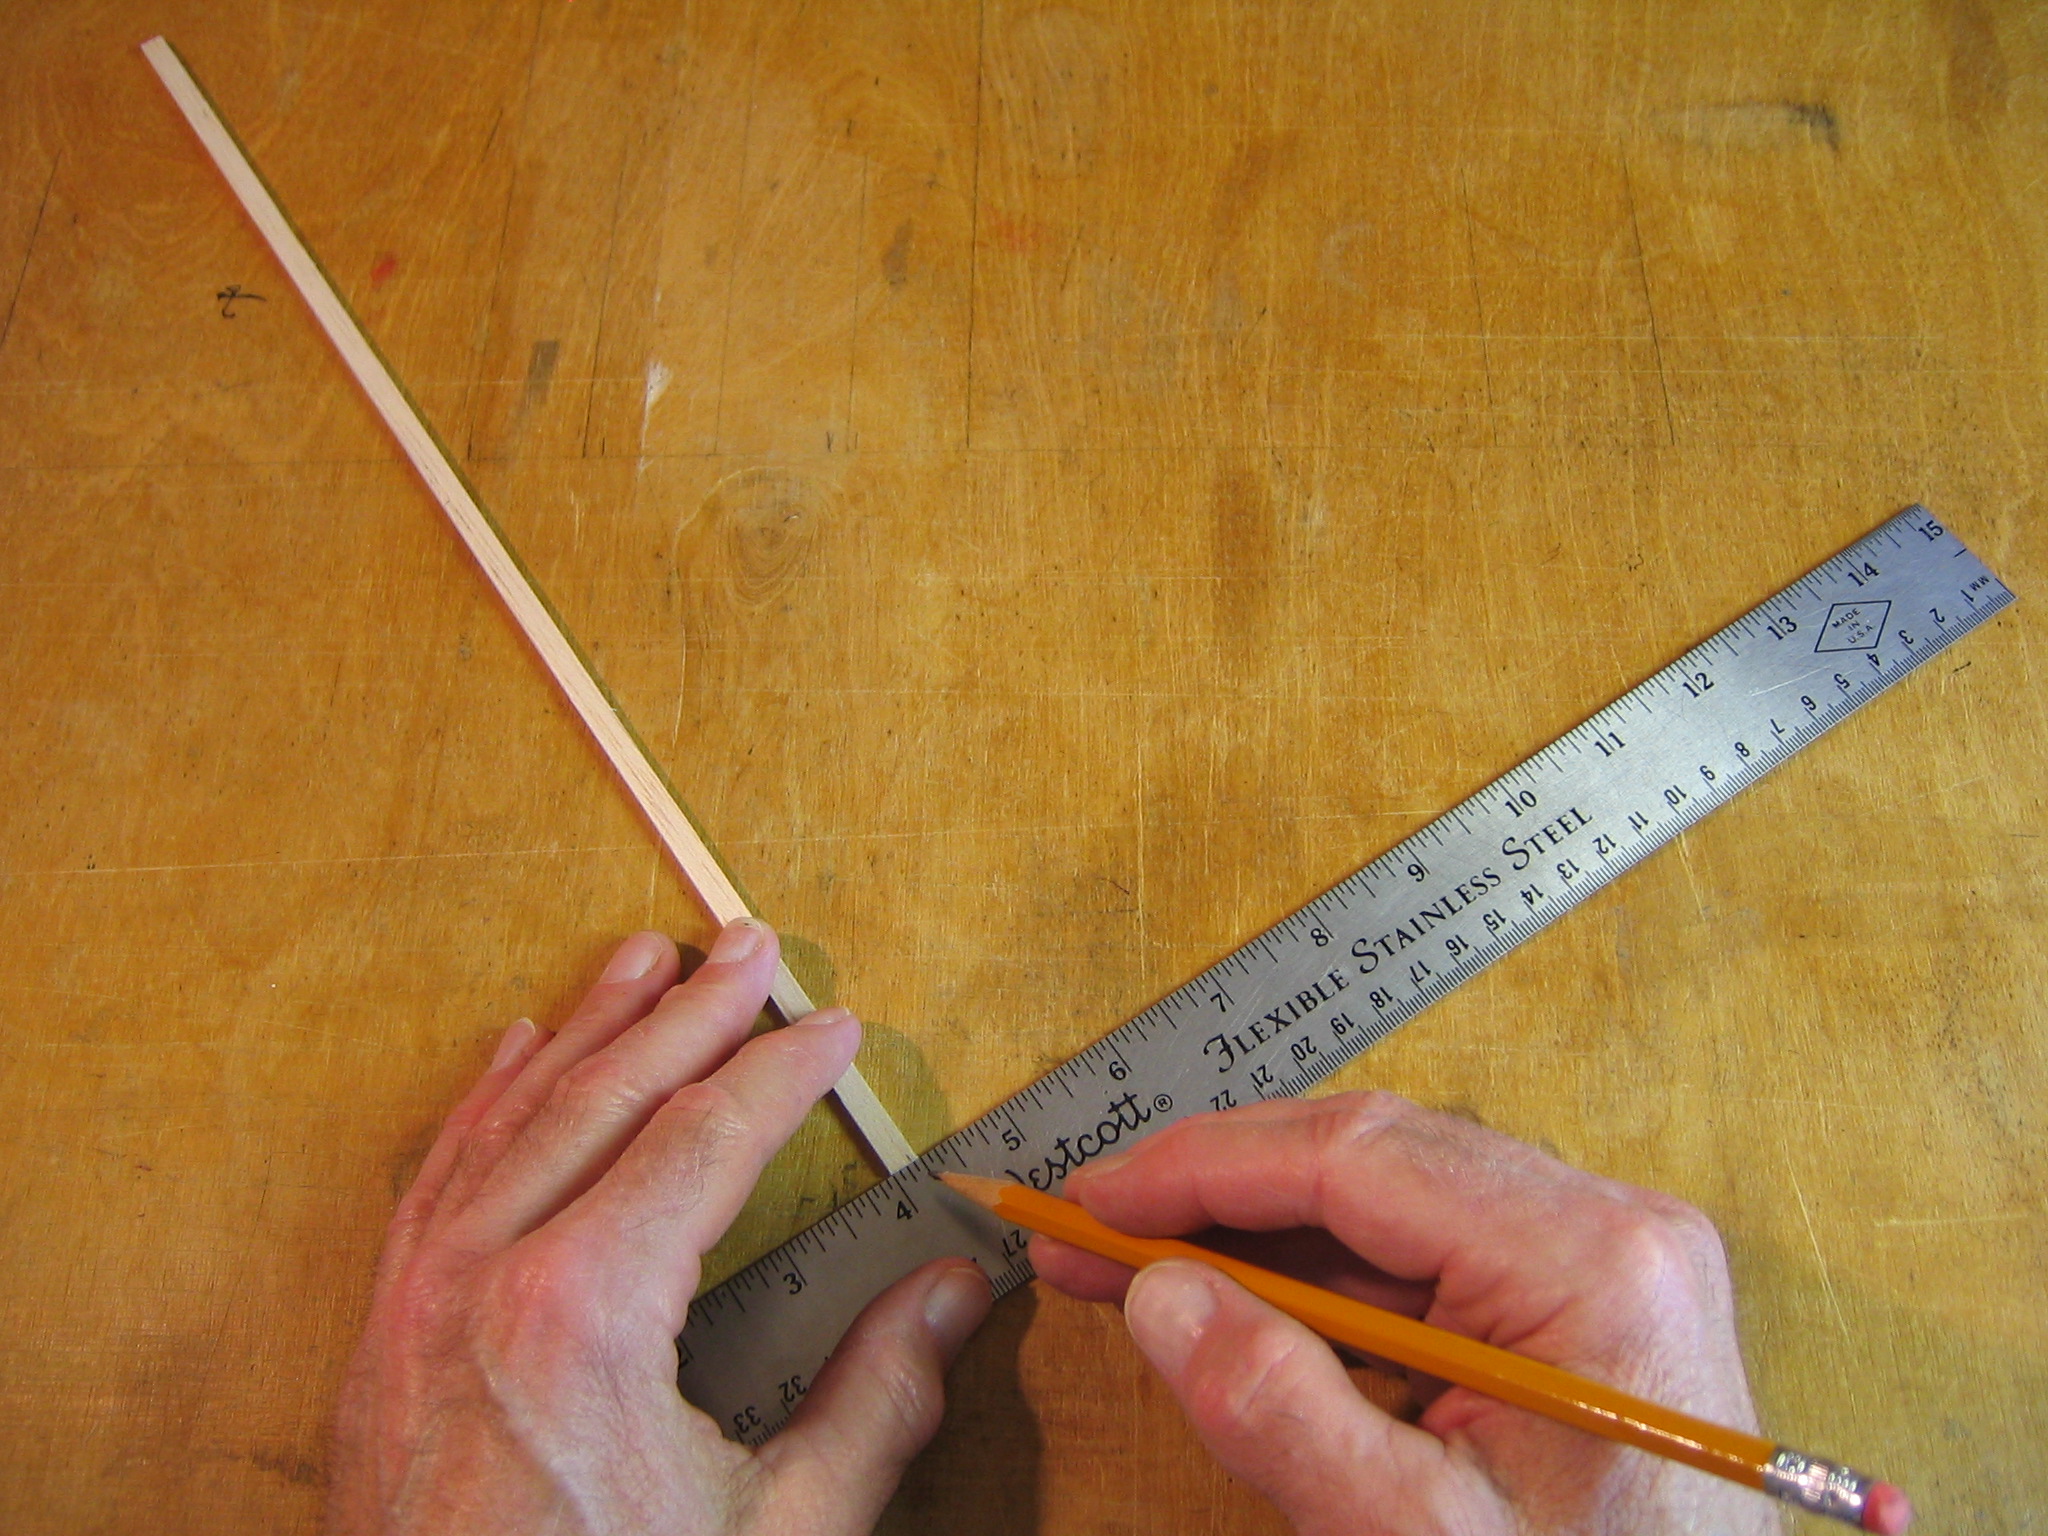
We are going to cut a wedge off the bottom corner of the light end of the stick. This taper will set the tail plane at the right angle. First measure and mark 1/16″ down from the top of the stick.
Measure and mark 2 5/16″ from the back end along the bottom of the stick.
Draw a line between these marks.

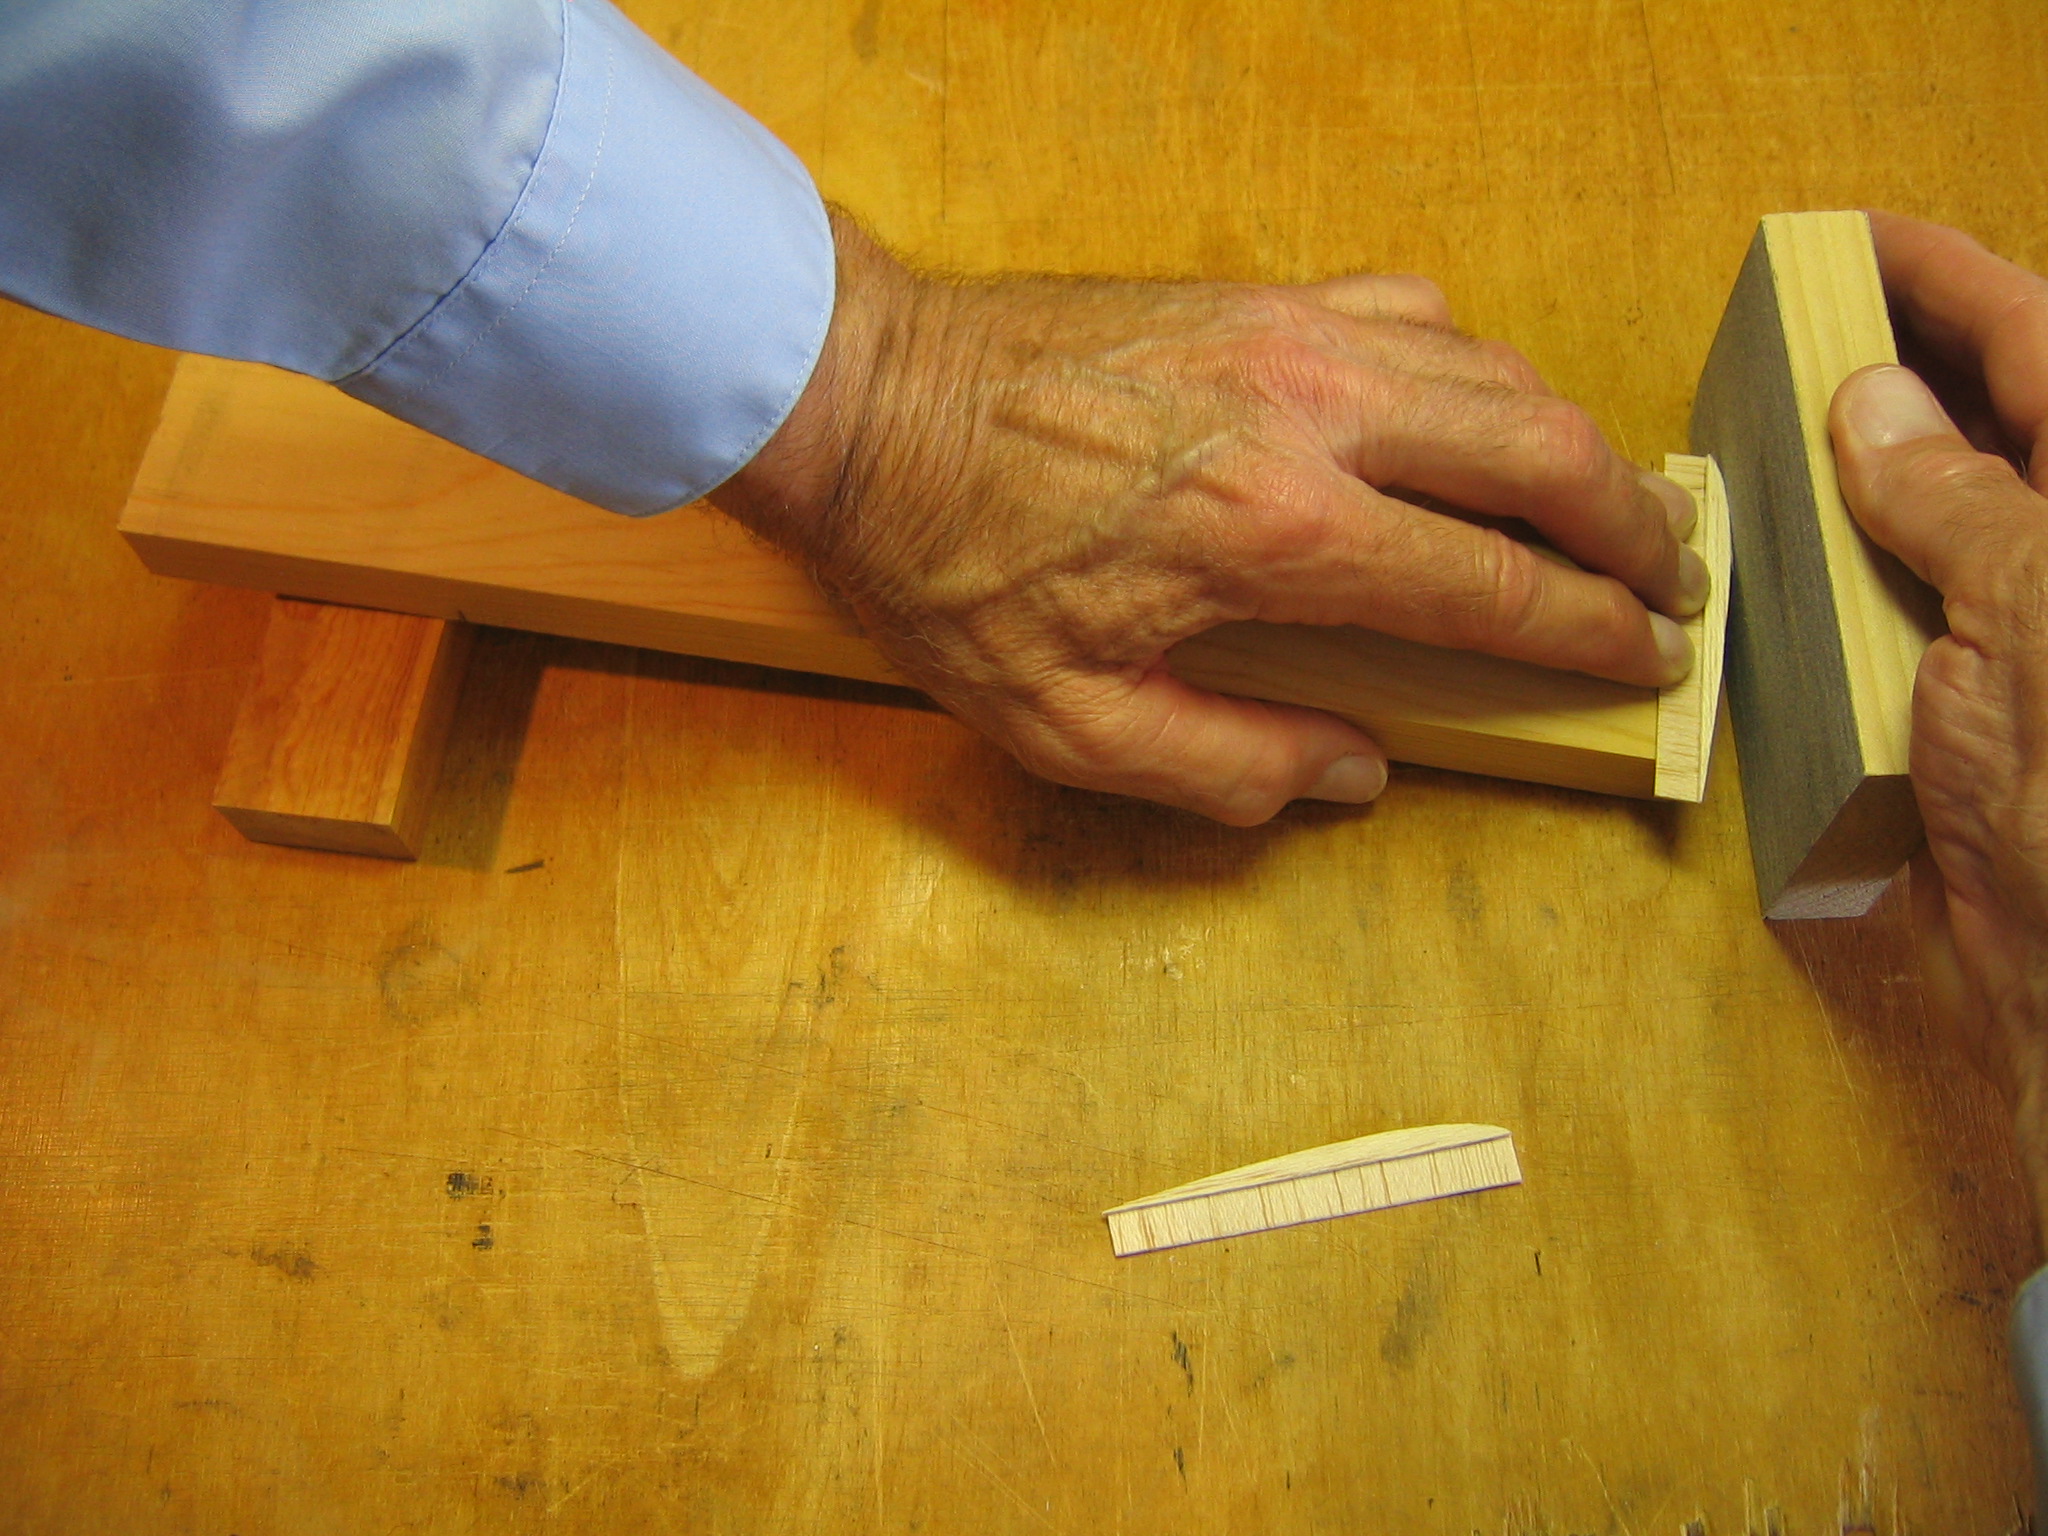
Cut away as much of the wedge as you can without cutting into the wood you want to keep.
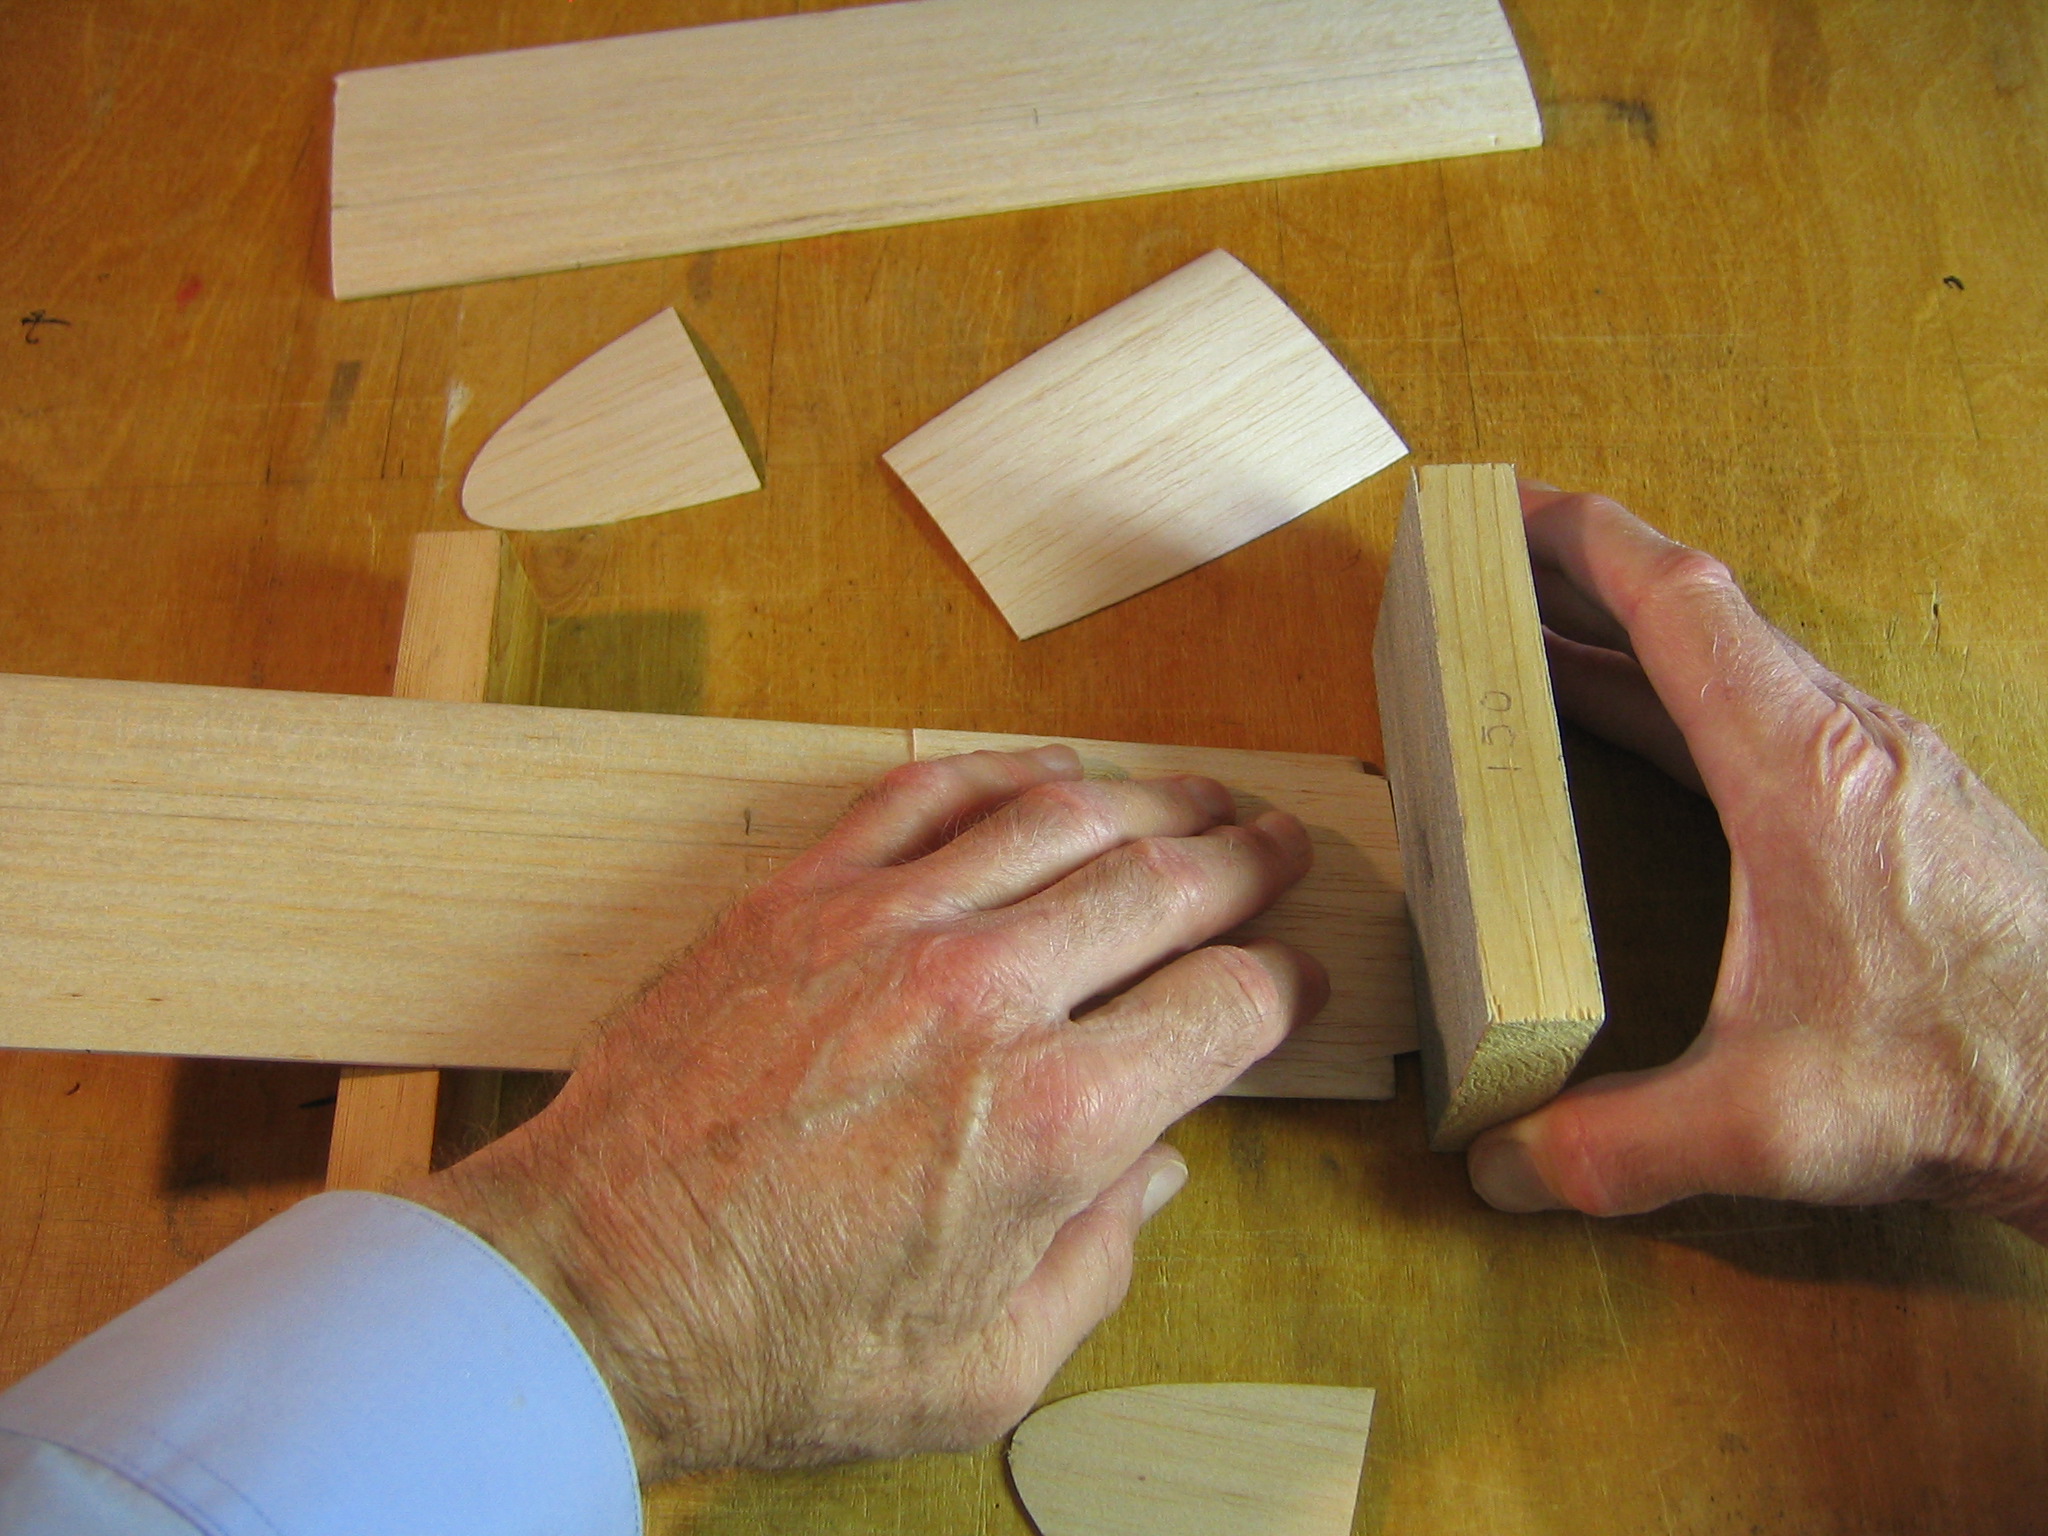
Place the stick on a block of wood, back it up with another block and sand the taper to the pencil line with a vertical sanding block.
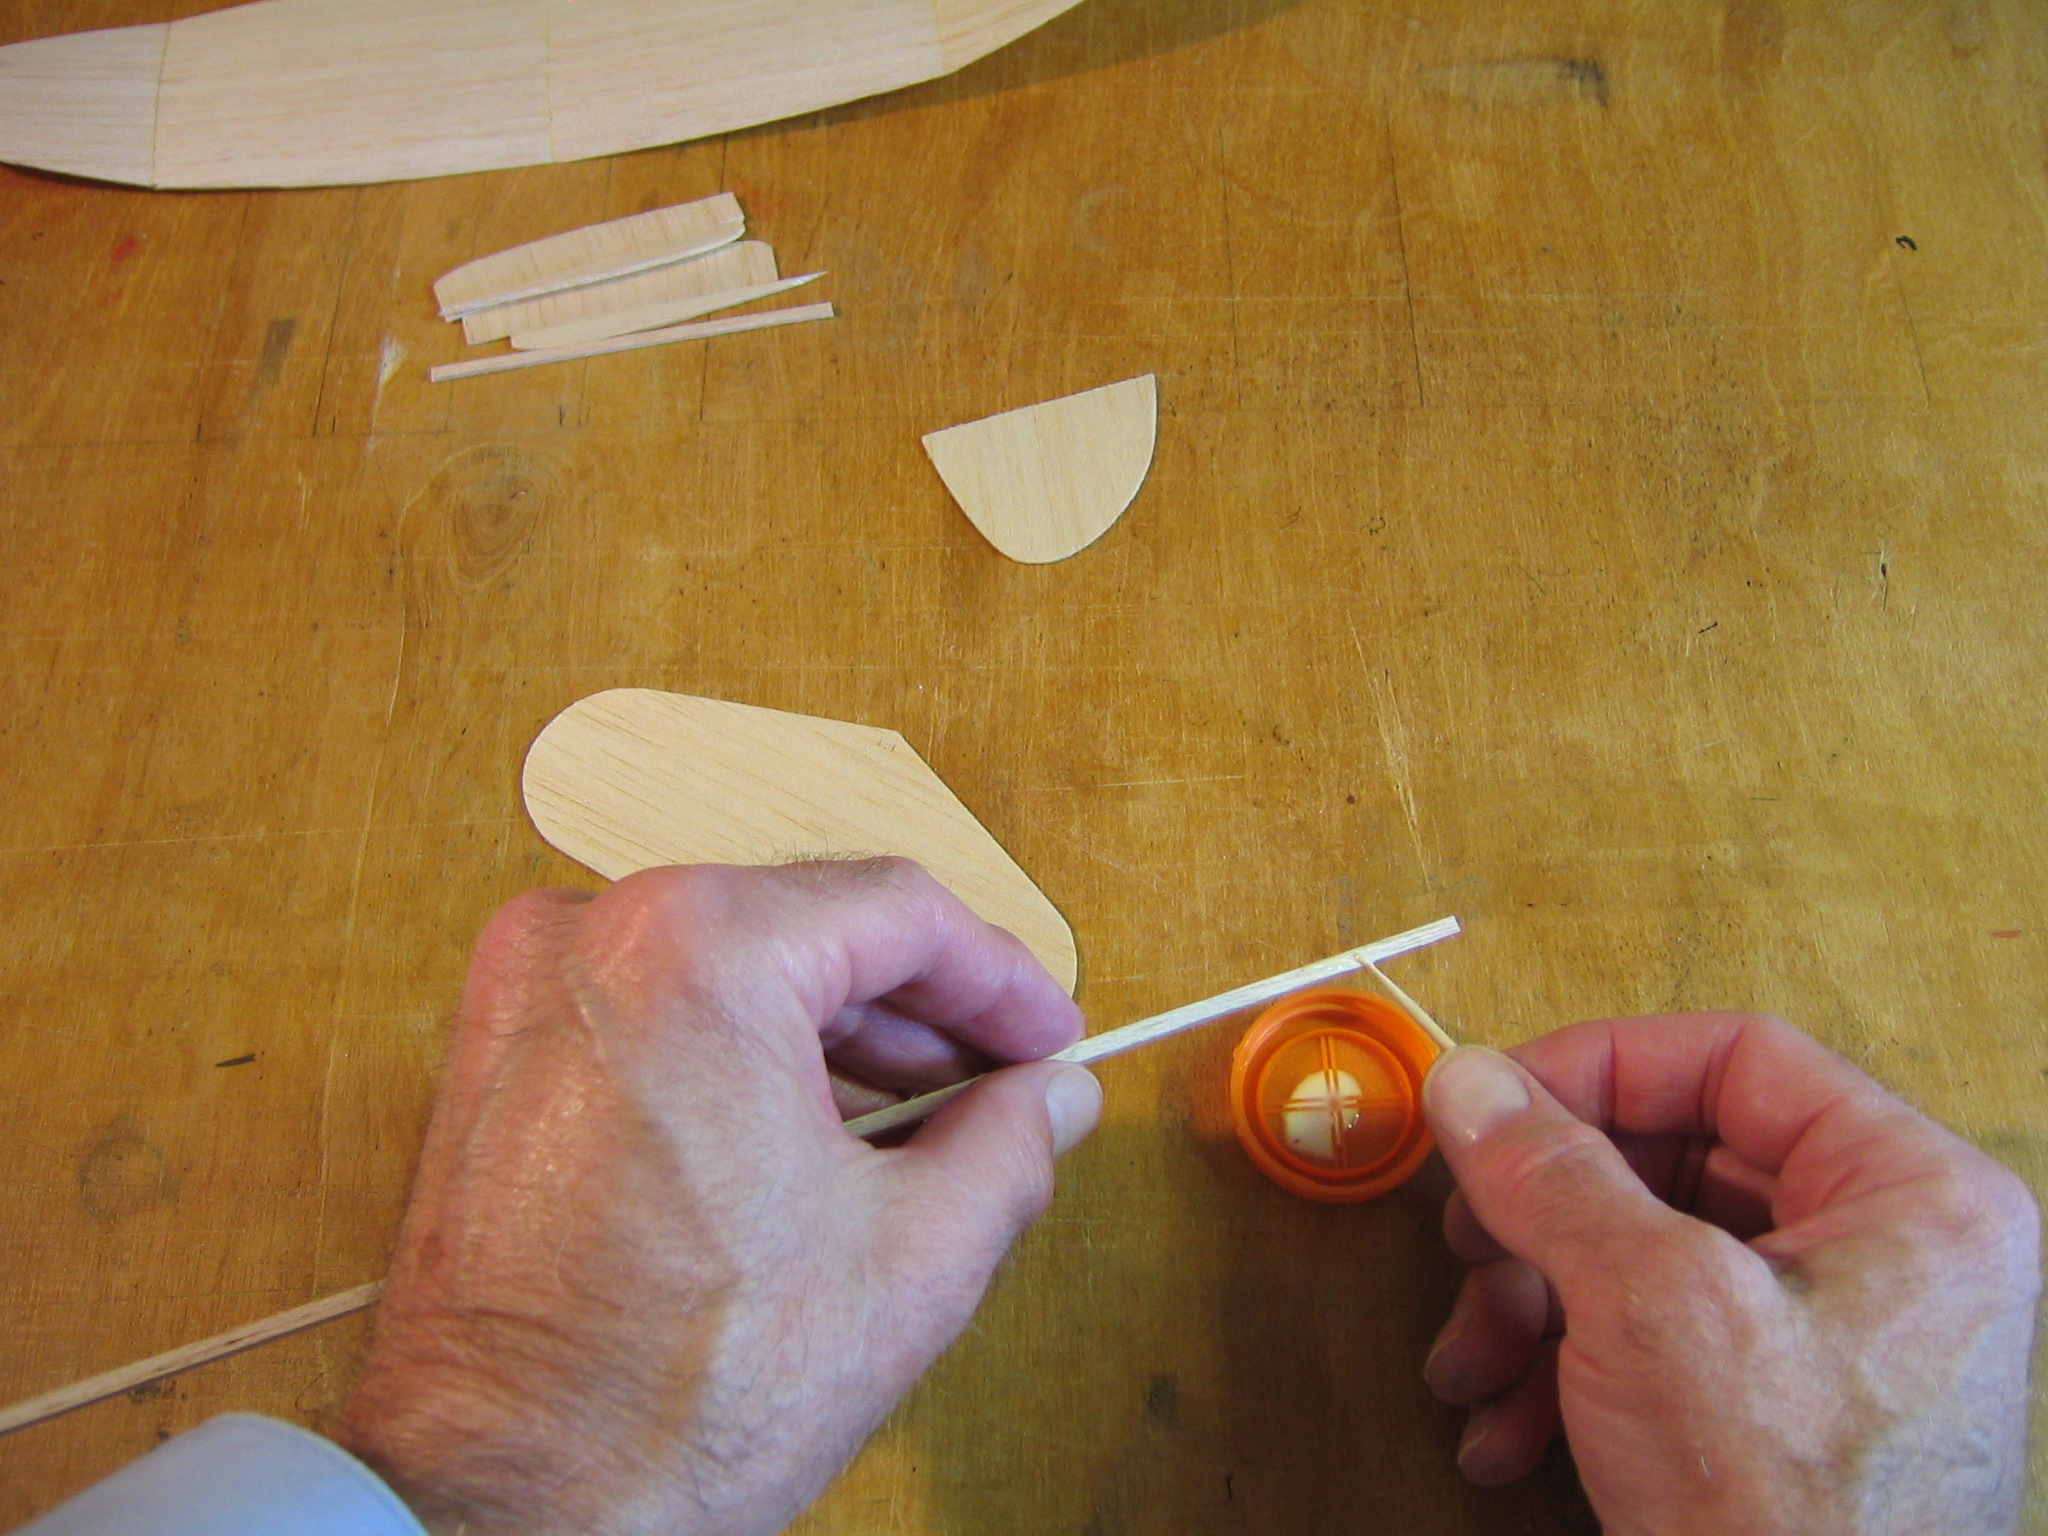
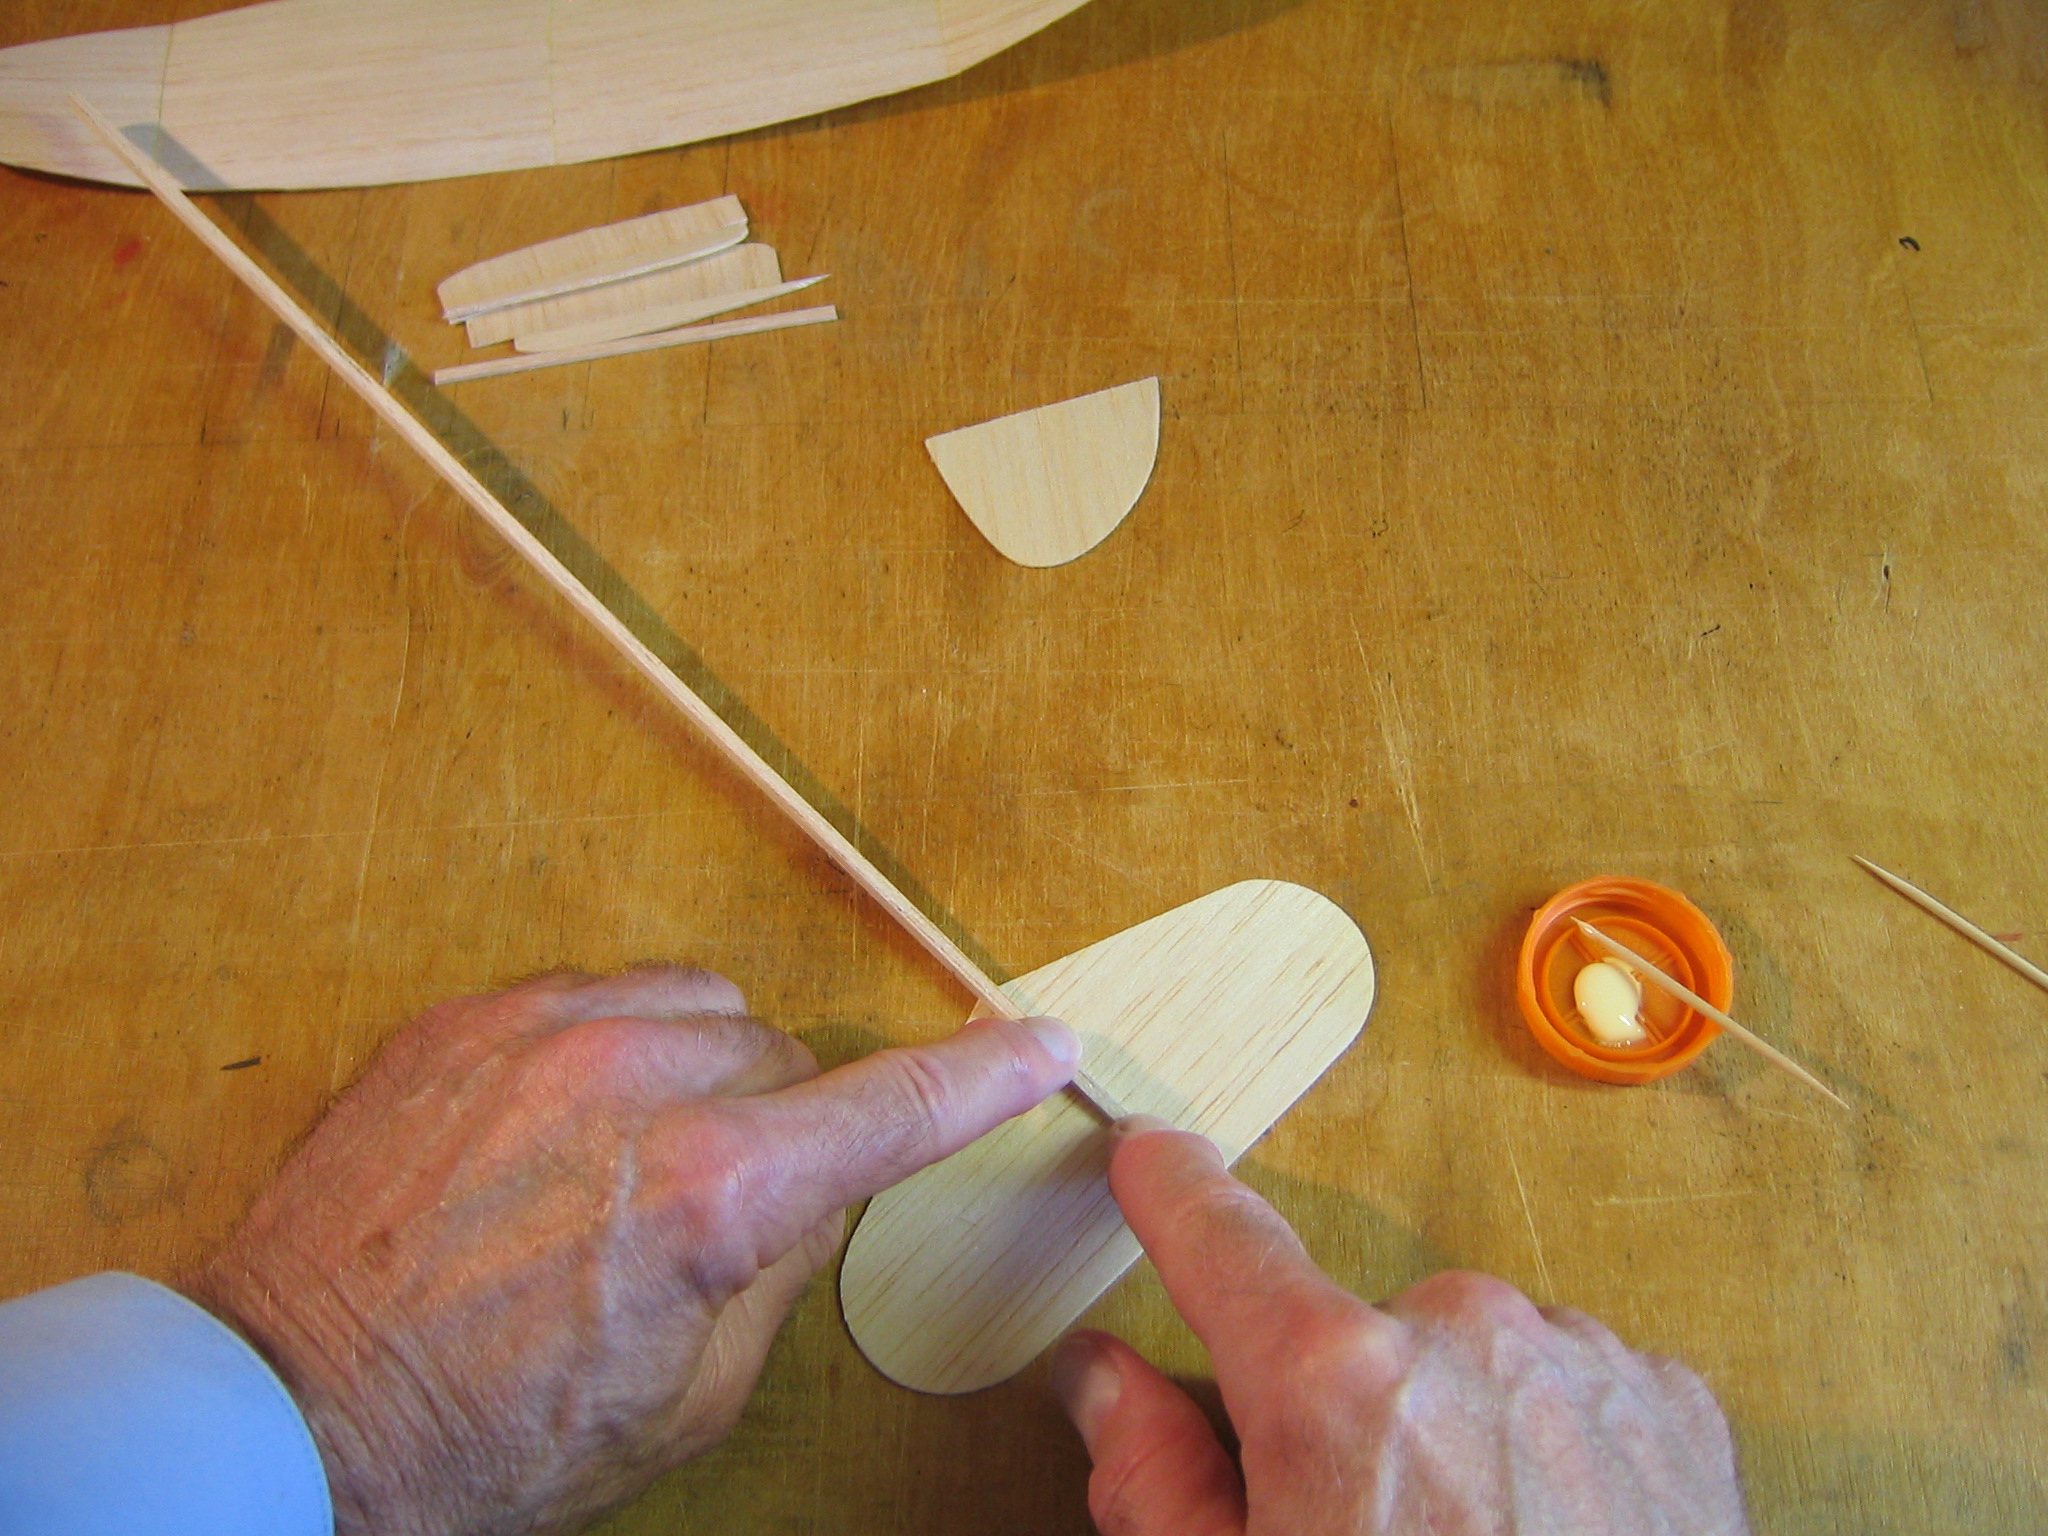
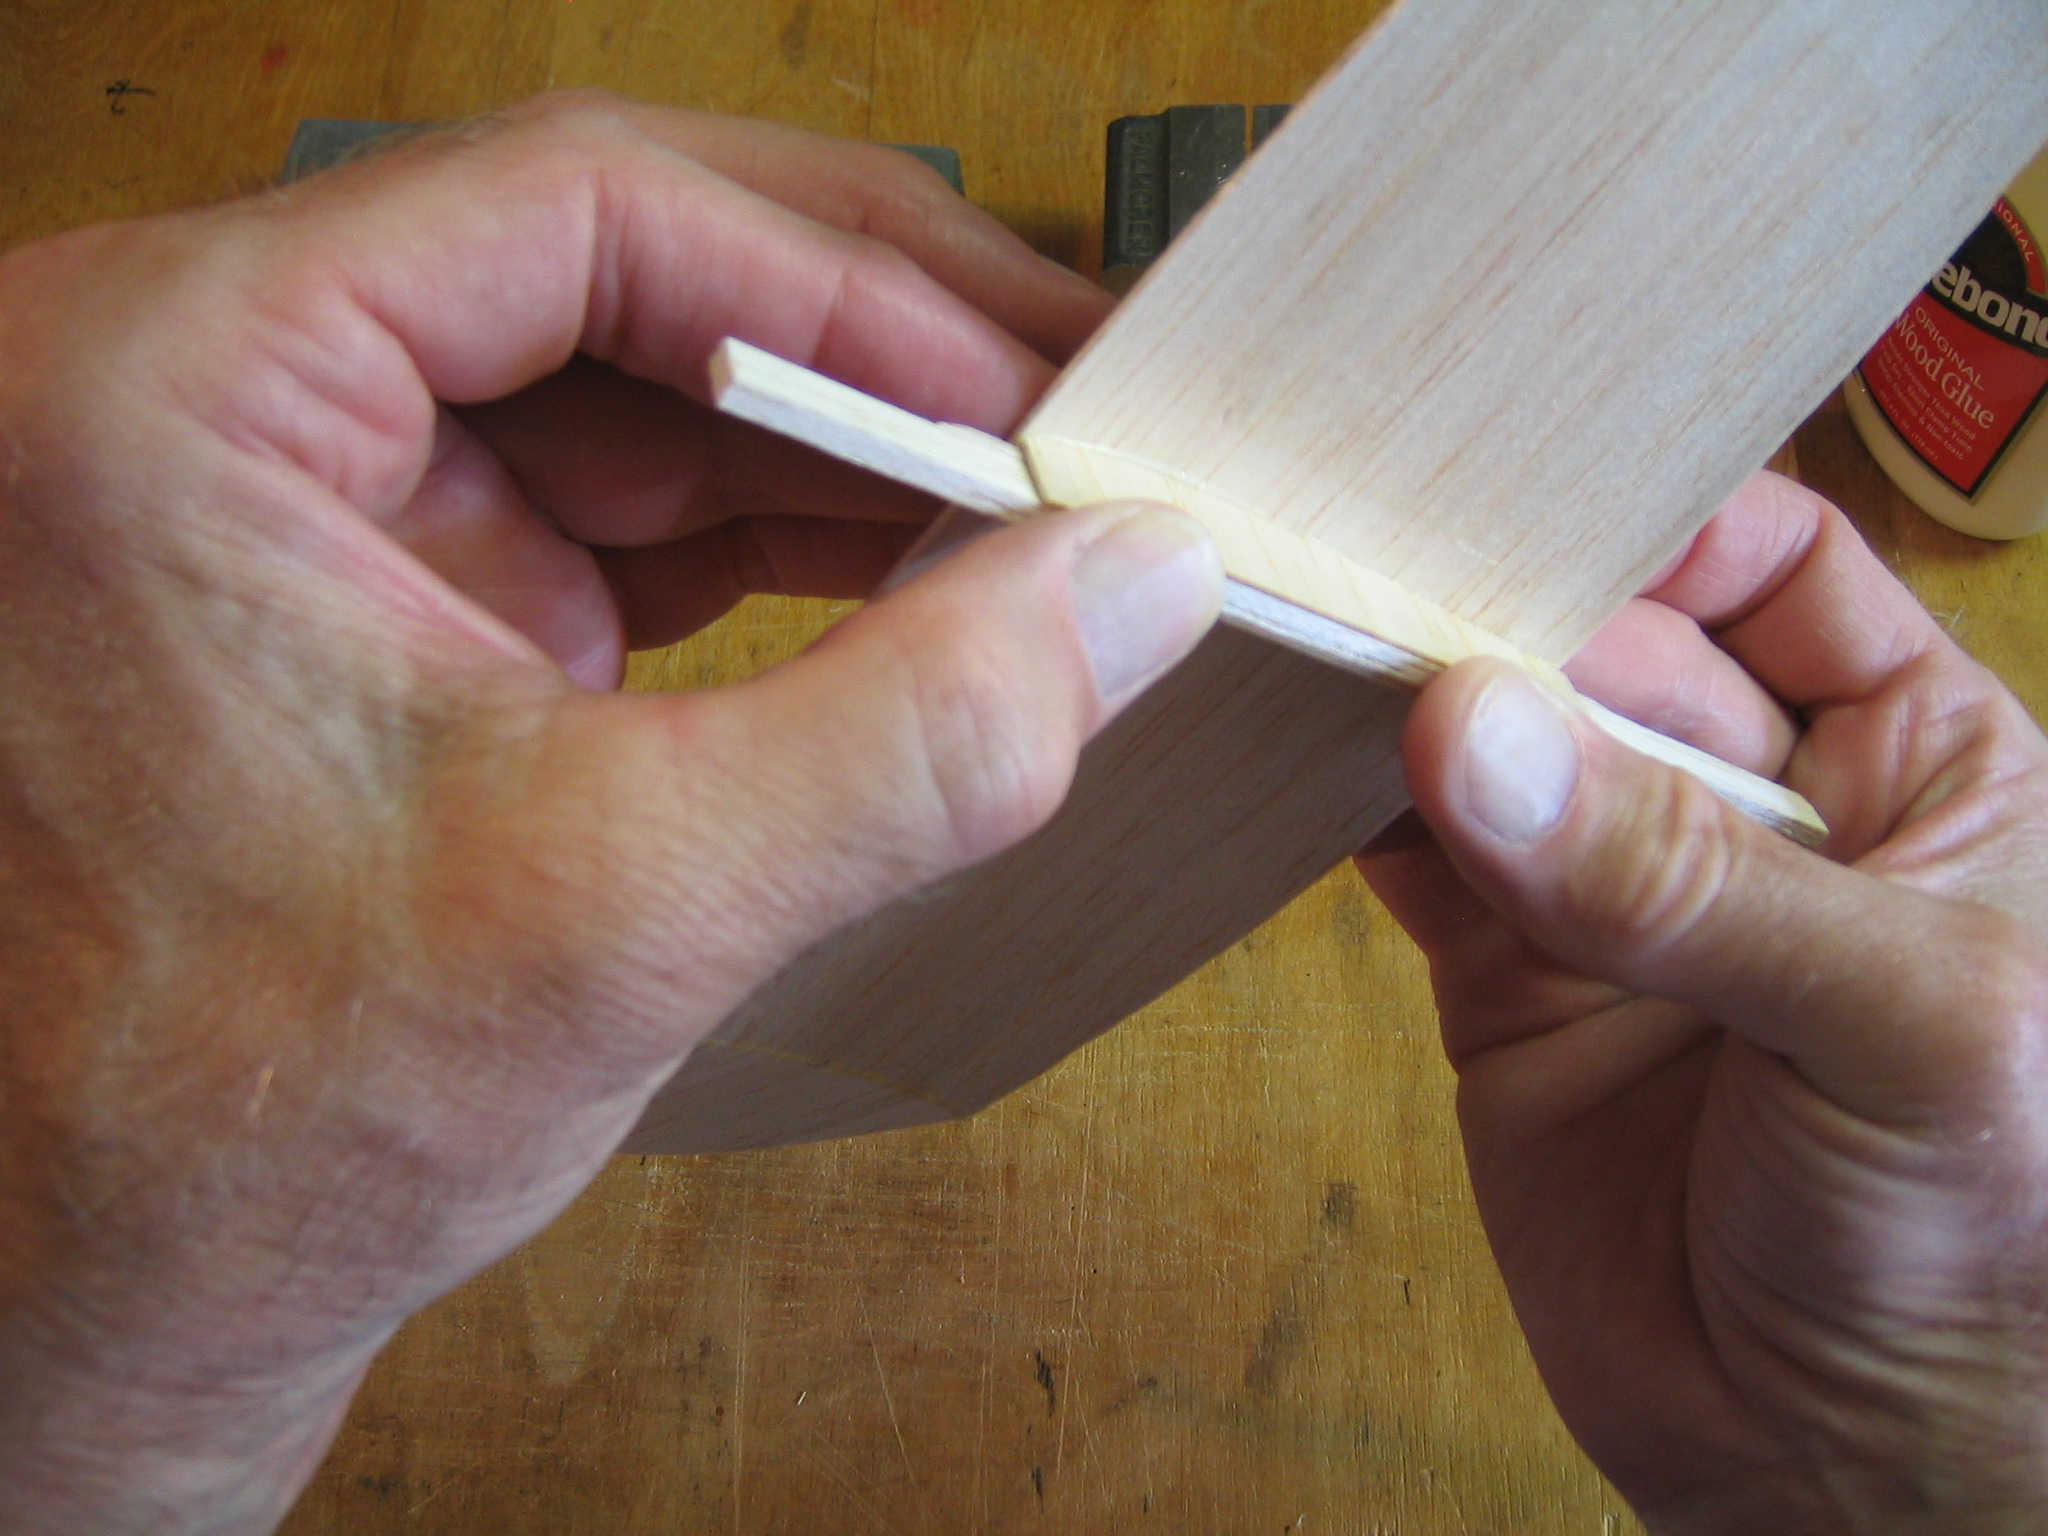
Cut a 1/2″ length of 1/8″ square balsa stick to make the nose block. I like to cut the back end at a 45 degree angle.
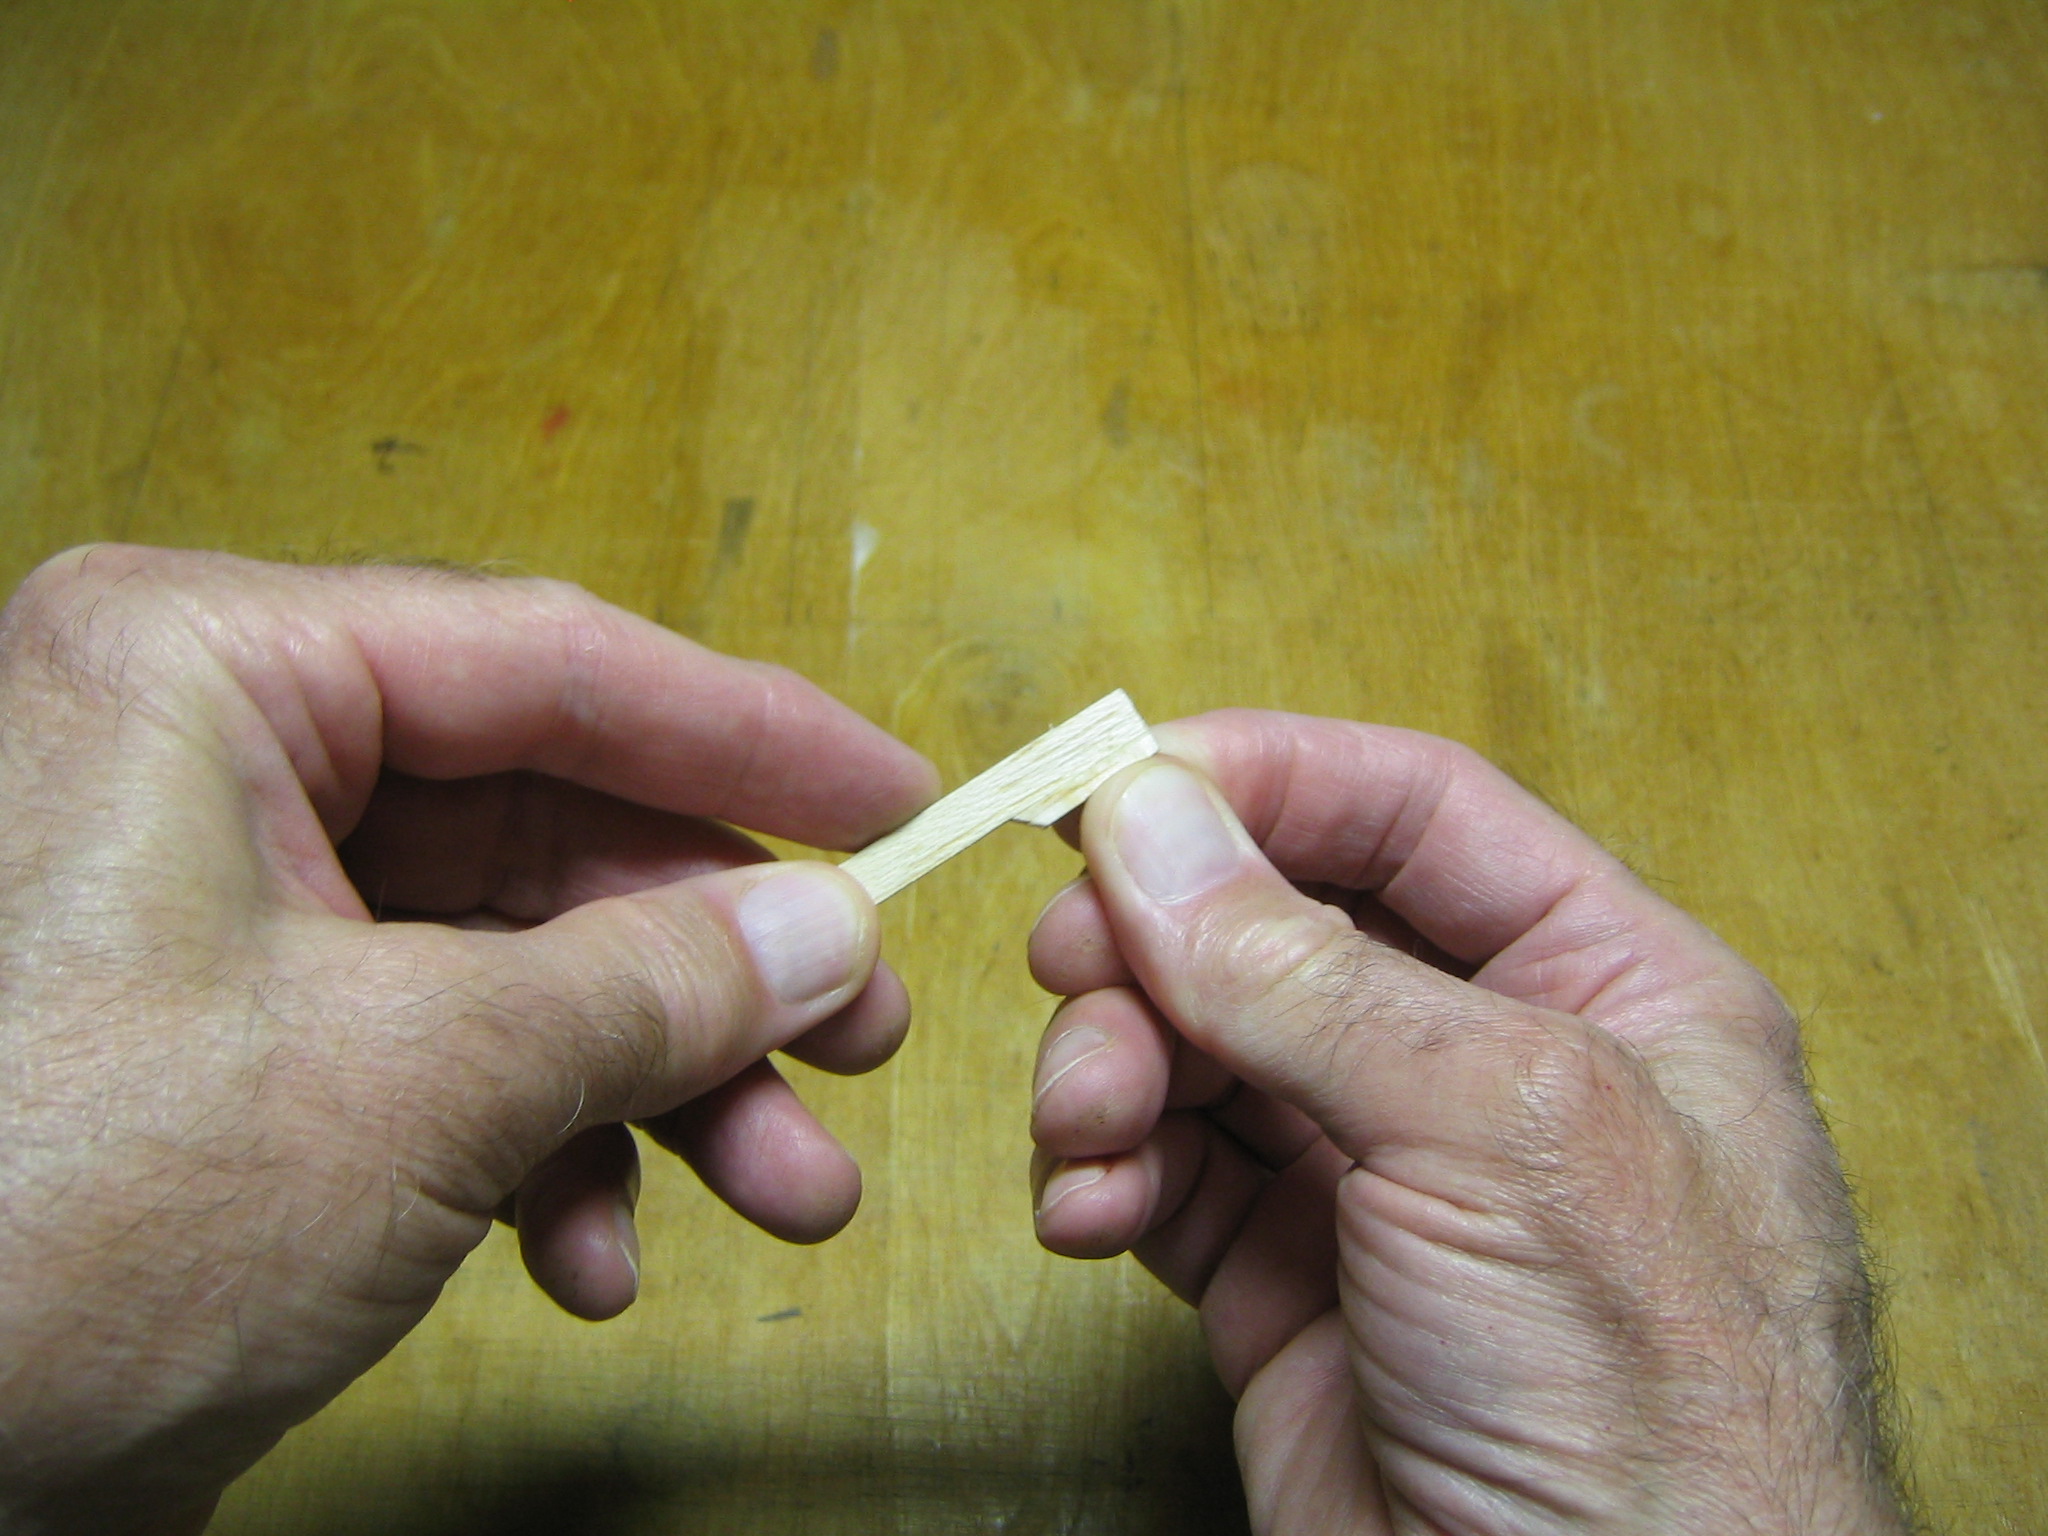
Glue the long edge to the front end of the stick with the angle to the back. This will be on the bottom of the stick, the same side as the taper.
Spread glue along the tail plane taper on the stick.
Press the stick to the tail plane, aligning it carefully with the center line. Hold it until the glue sticks.

Glue the fin to the top of the stick. Note that I have reversed the direction from what is shown on the plan. I may want to use the more vertical edge to make a rudder. Initially use only a couple dabs of glue. You may want to angle the fin one way or another, so you want to be able to soak the glue to remove the fin and reposition it.

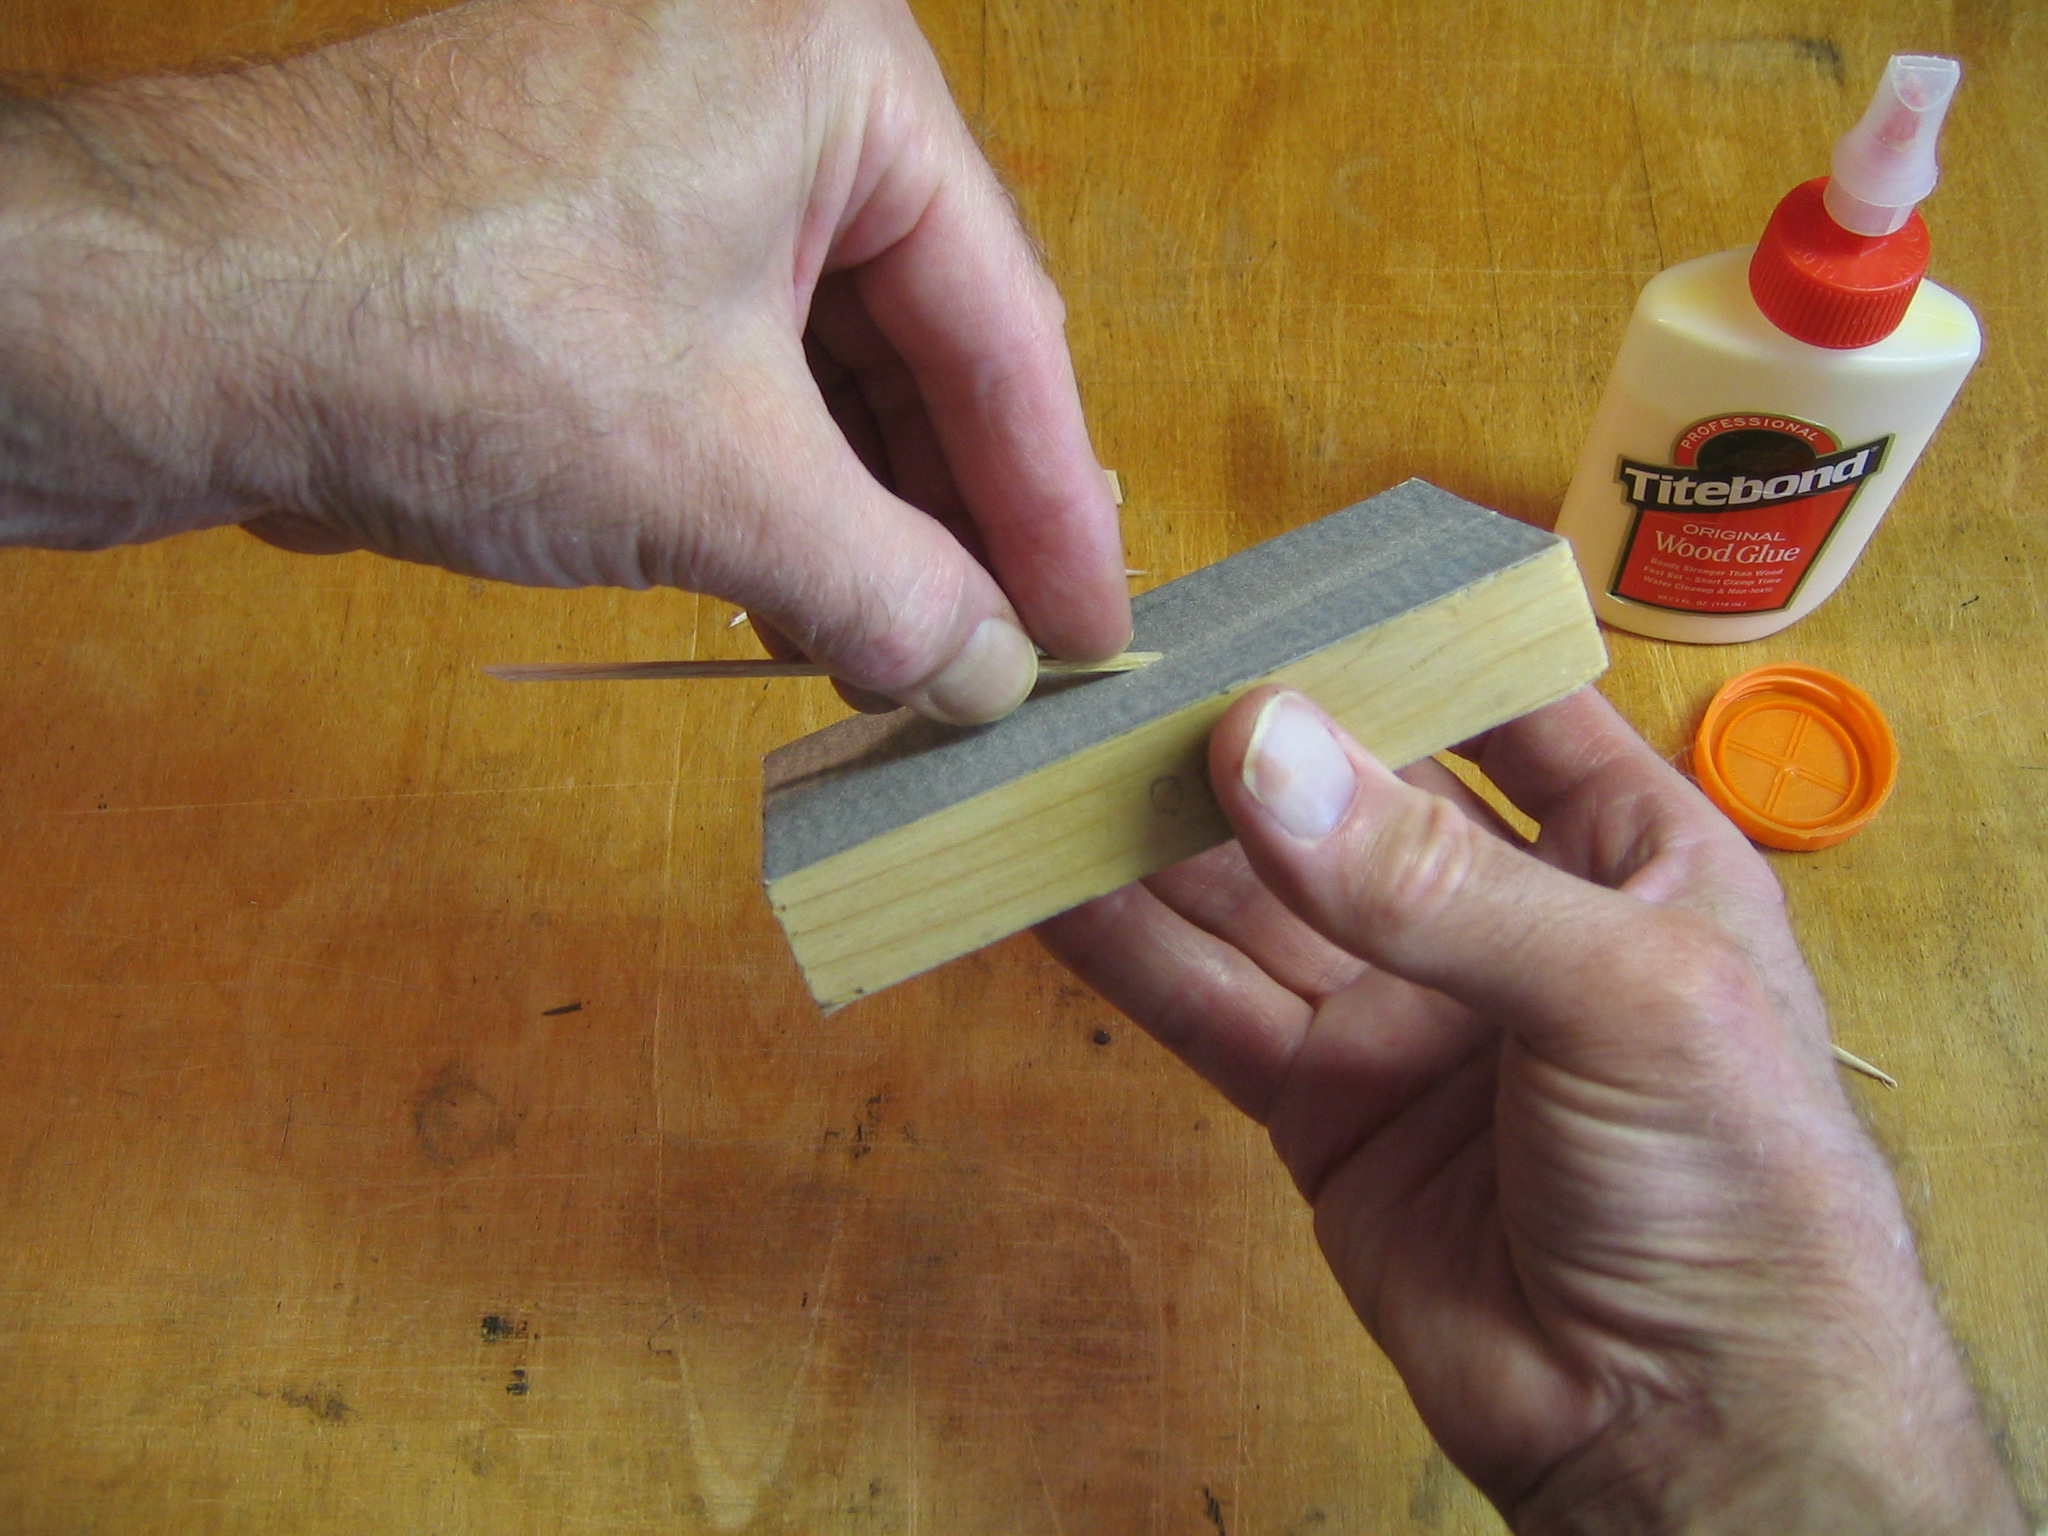
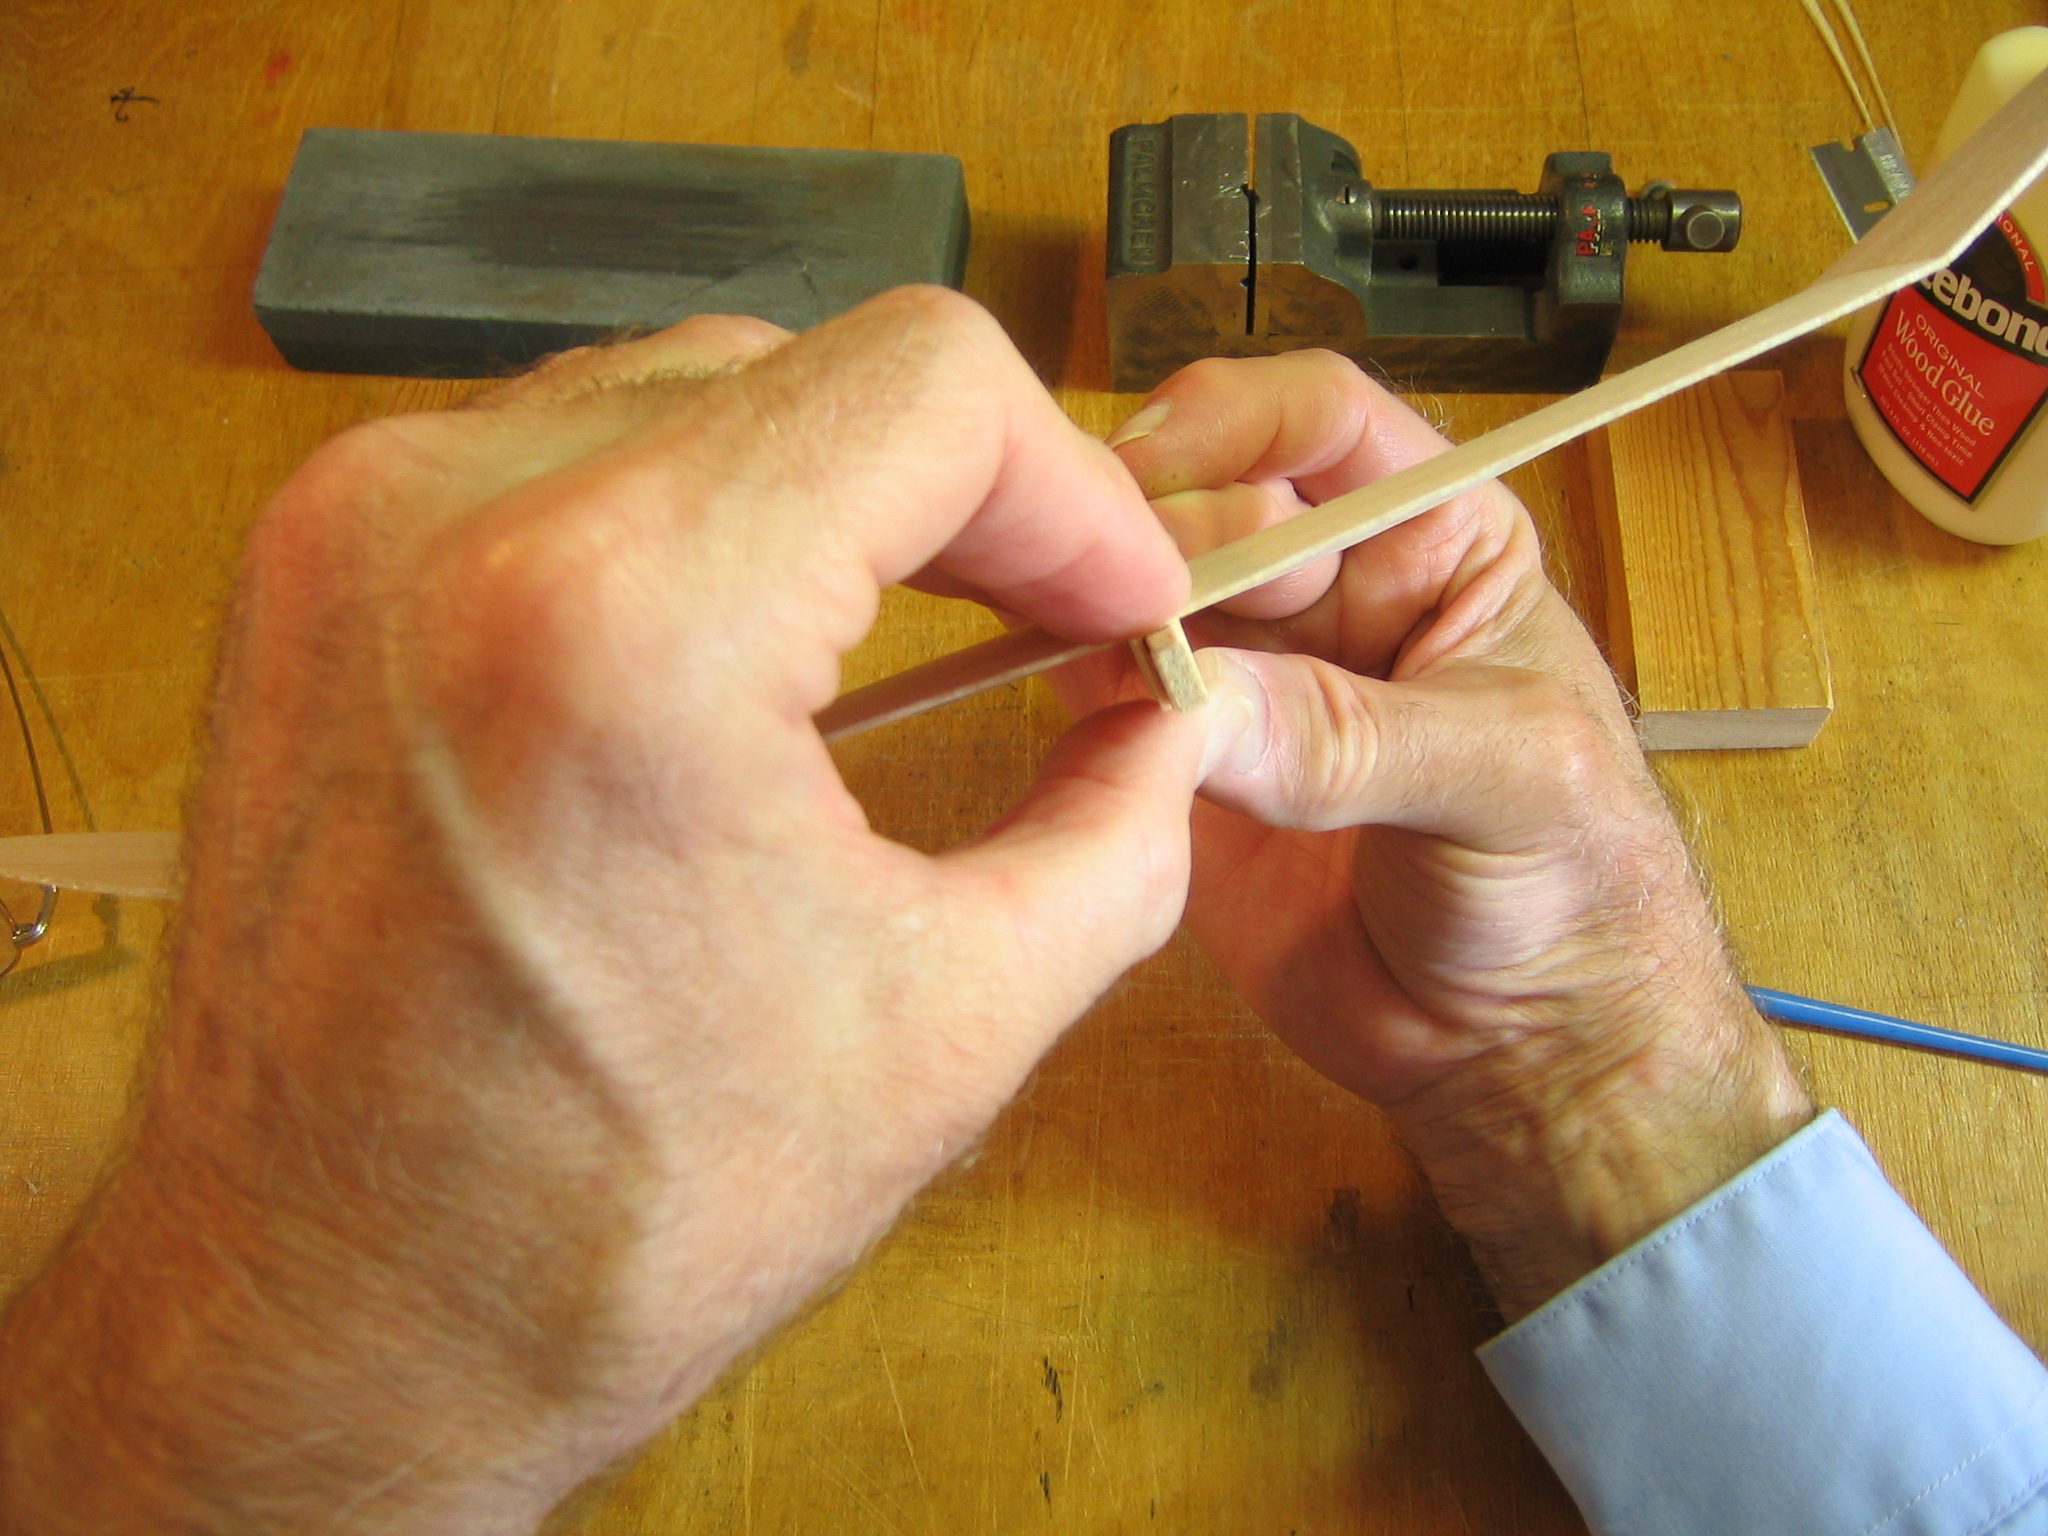
Make a motor hook from a pin, as shown elsewhere on this site.
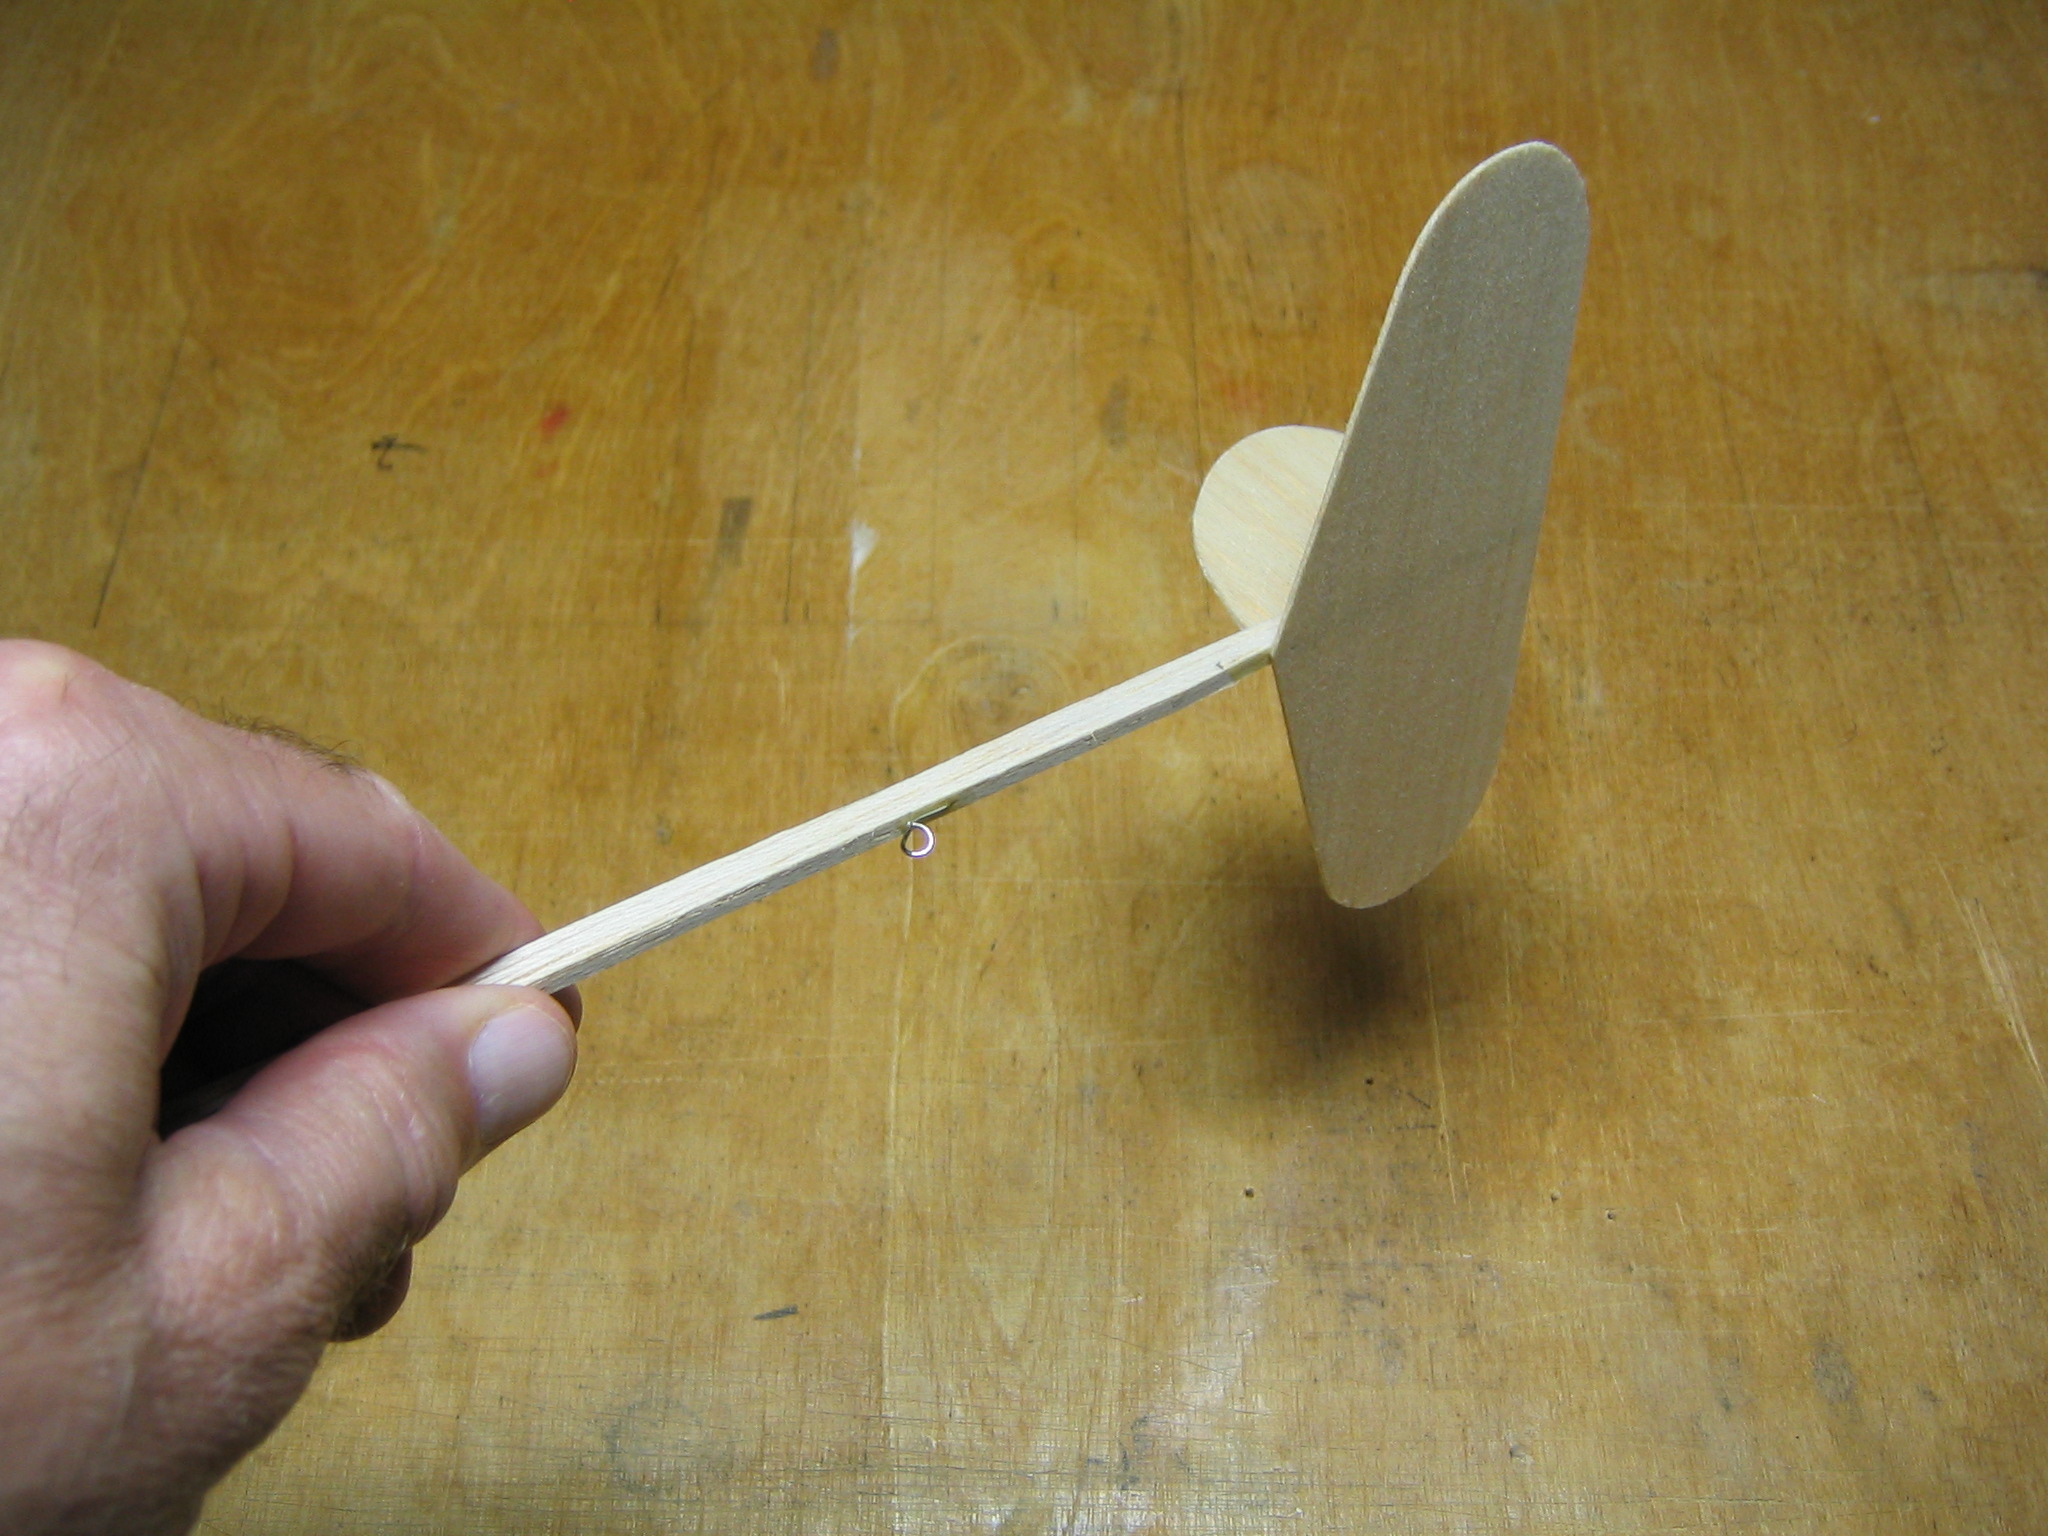
Glue the hook to the underside of the stick. Here is is 10 3/4″ from the front of the stick. It could be put back to the beginning of the tail plane taper for a longer motor.
The wing pieces ought to be dry by now. Remove the tape and Ace bandage. If the sheets are not quite dry, wrap them up and leave them to dry some more. If they are dry, measure and mark 9 5/8″ from one end along both edges of the form board. Extend the marks onto the edges of the board so they can be seen from the top.
Place a wing center panel on the form board aligned with the marks, but so its inner end overlaps the end of the board about 1/8″. The wing camber should match the camber of the board.
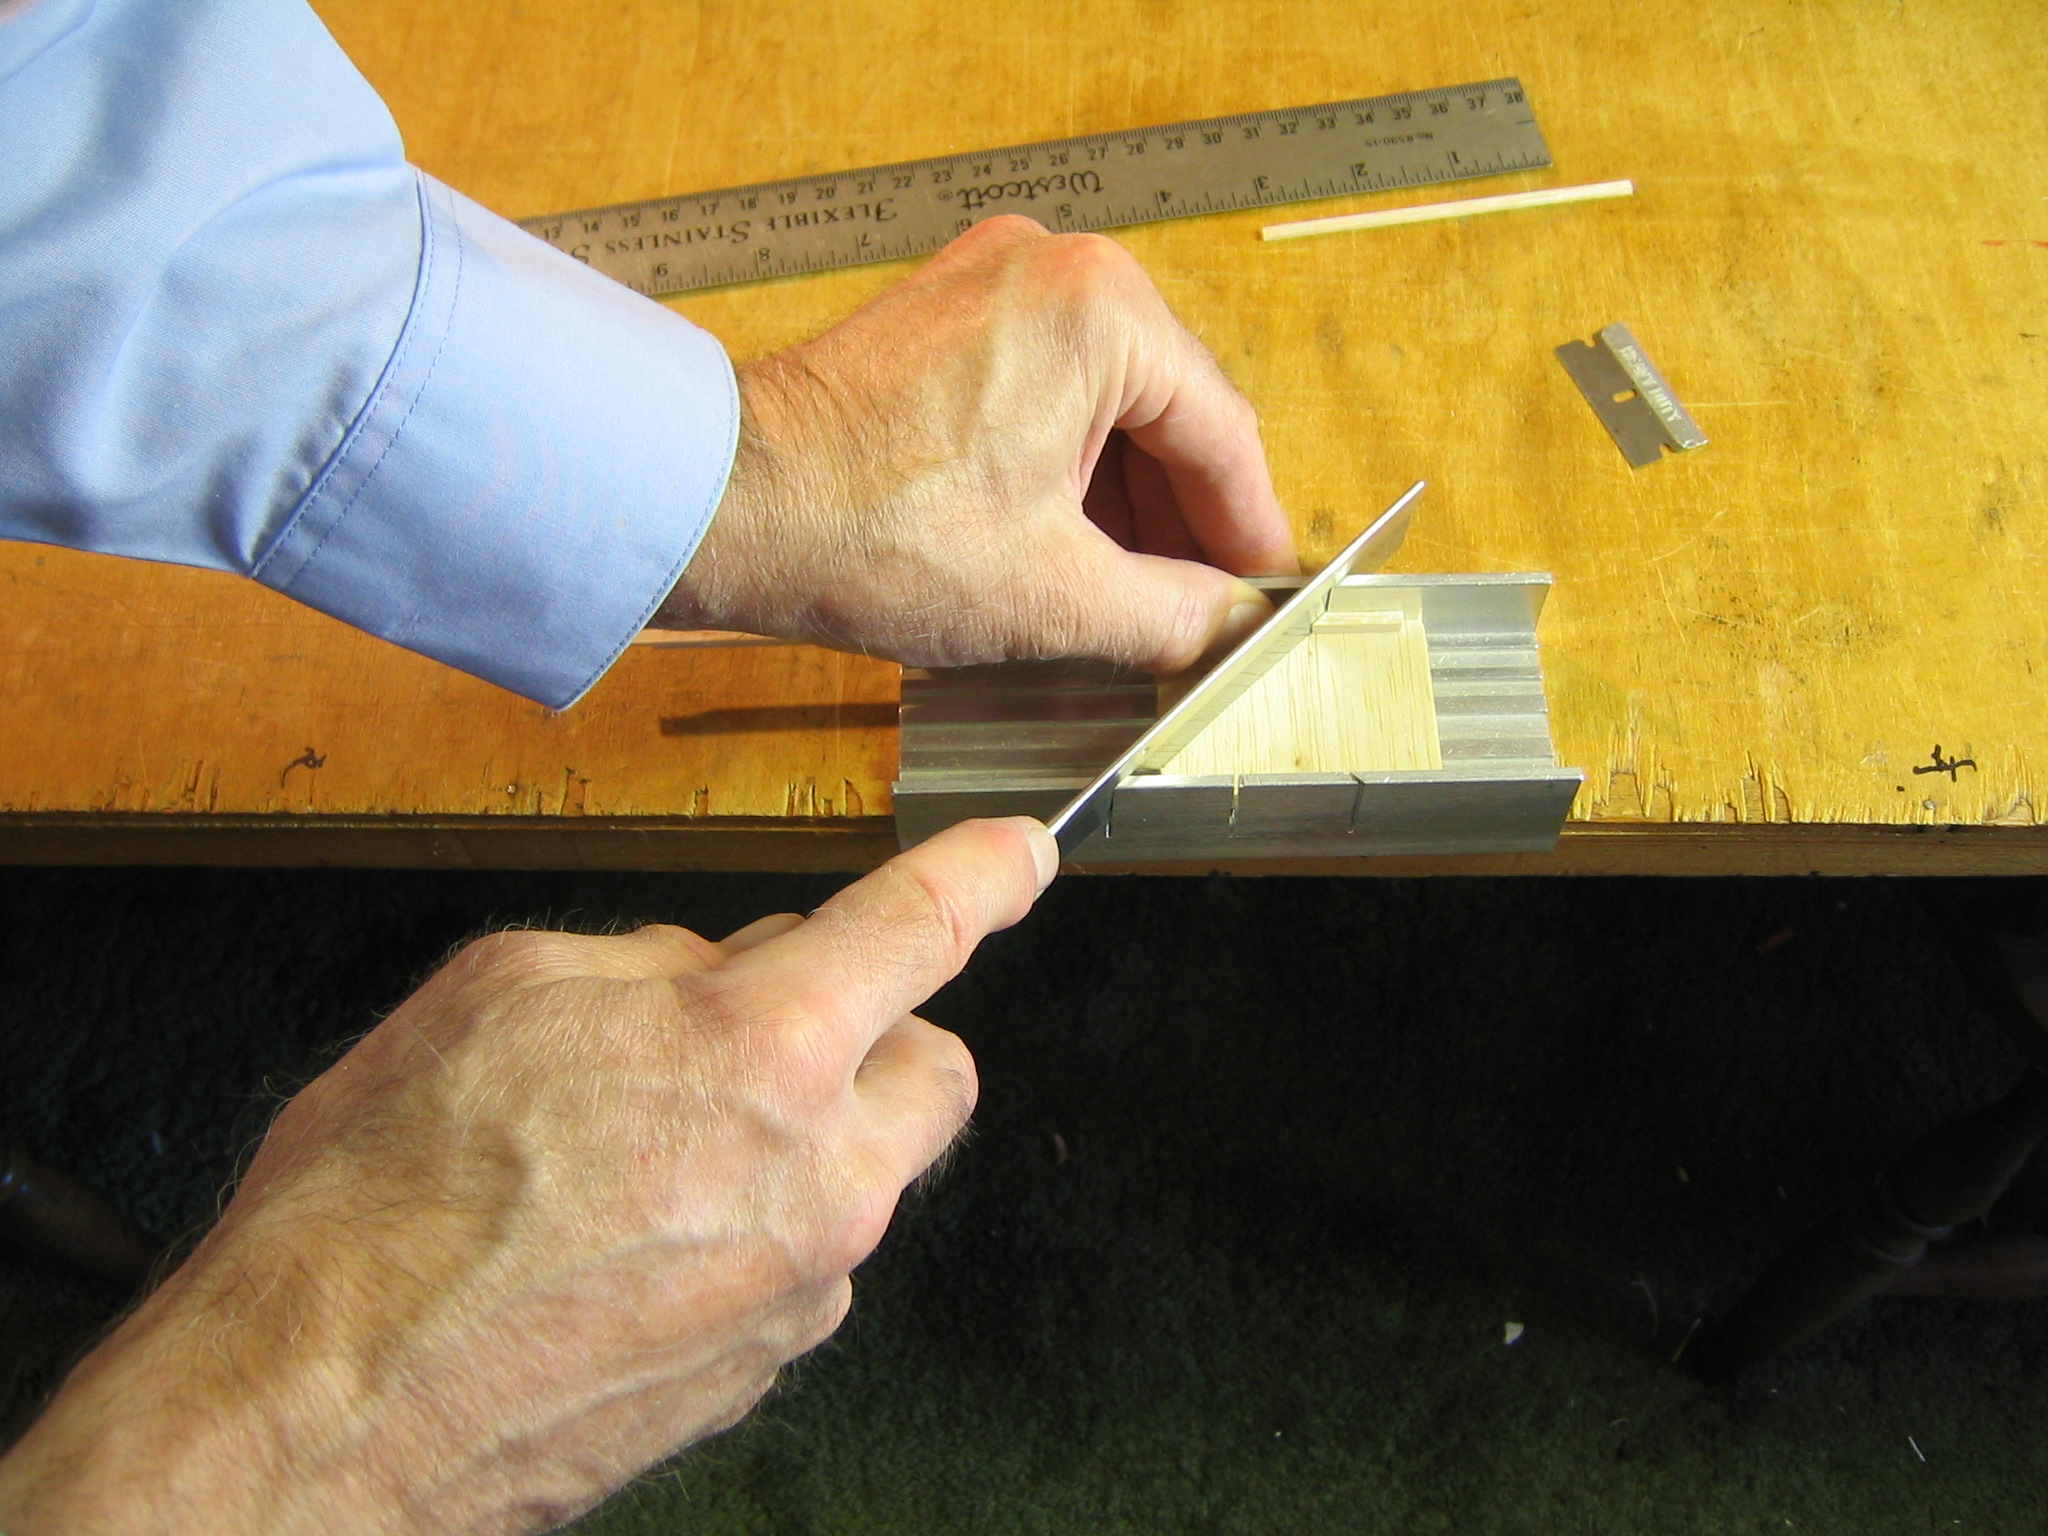
Place the form board with a 3/4″ high block under it at the pencil mark to give it the correct dihedral angle and sand the bevel in the wing root with a vertical sanding block. This shows the inside edge of the left wing being sanded. Sand away only the part of the curve that tilts across the center line when the tip is raised, do not sand away anything from the leading or trailing edge. The same must be done with the inside edge of the right wing, starting with marking the edges of the form board 9 5/8″ from the opposite end along the edges of the board.
Now make pencil marks along both edges 7 1/4″ from each end of the form board. This will give us the correct angle for the four ends needing to be sanded to form the tip dihedral angles.

This time the board is placed on a block that is 1 1/2″ high. This is a much steeper angle than the central angle. With the leading edge away from me, I sand the inside of the left tip.
Use the same setup to sand the outside of the right center panel. Turn the board around and sand the inside end of the right tip and the outside end of the left center panel.
The four wing panels are now ready to assemble into a complete wing.
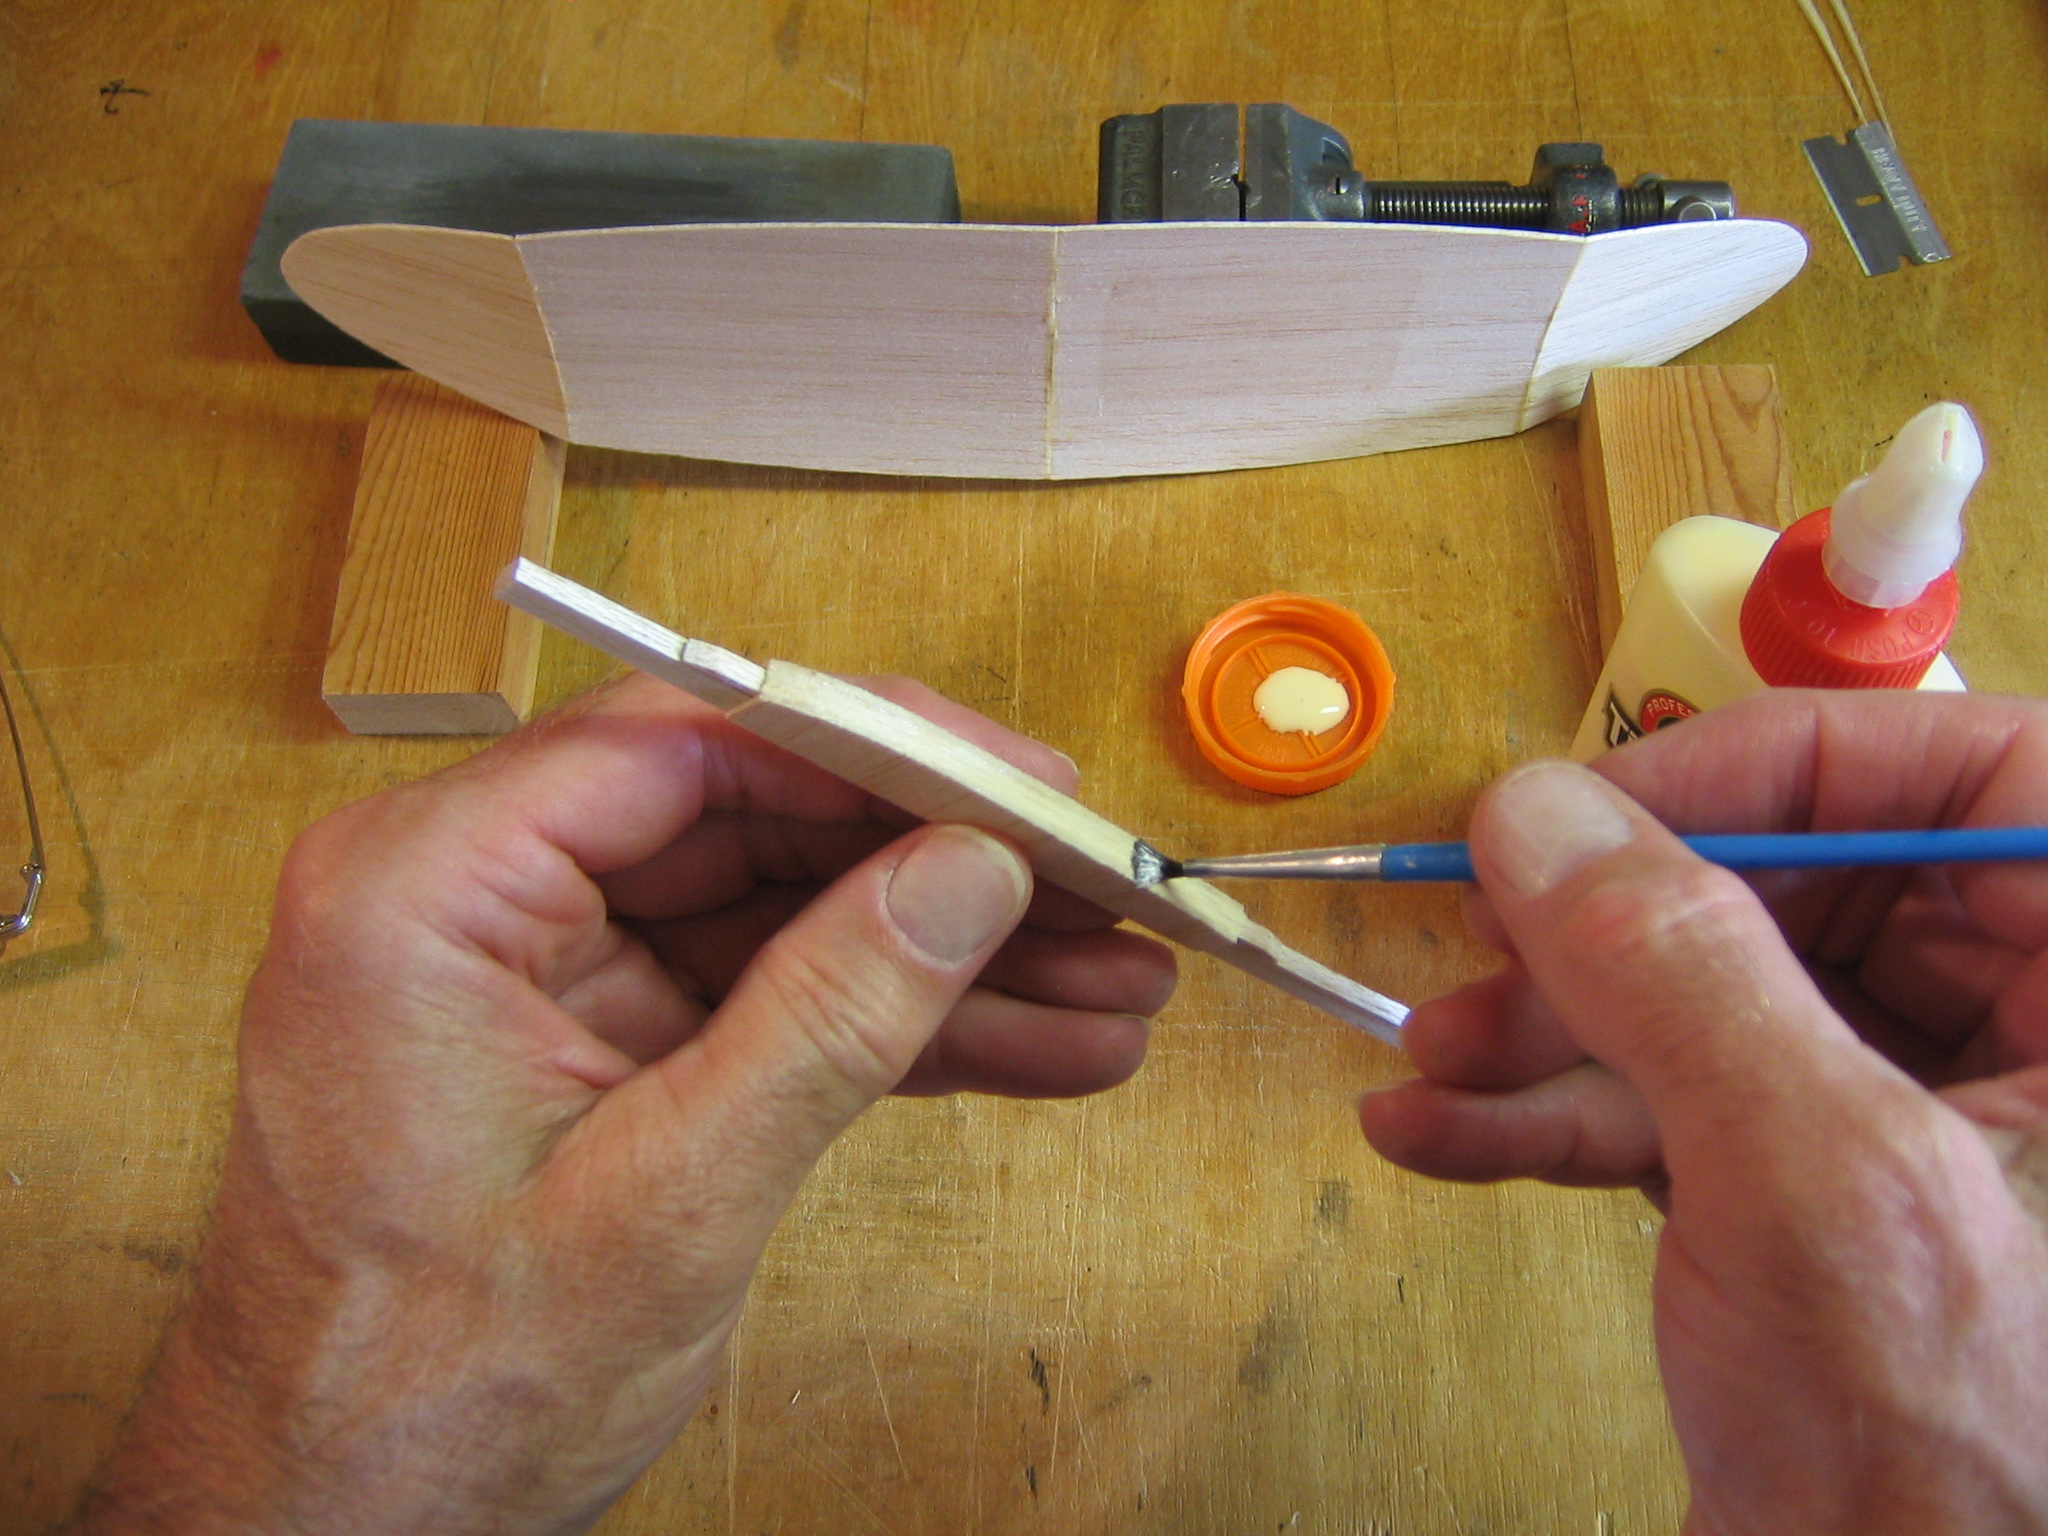
Apply glue to the edges of one tip and the corresponding center panel. Let the glue get tacky.
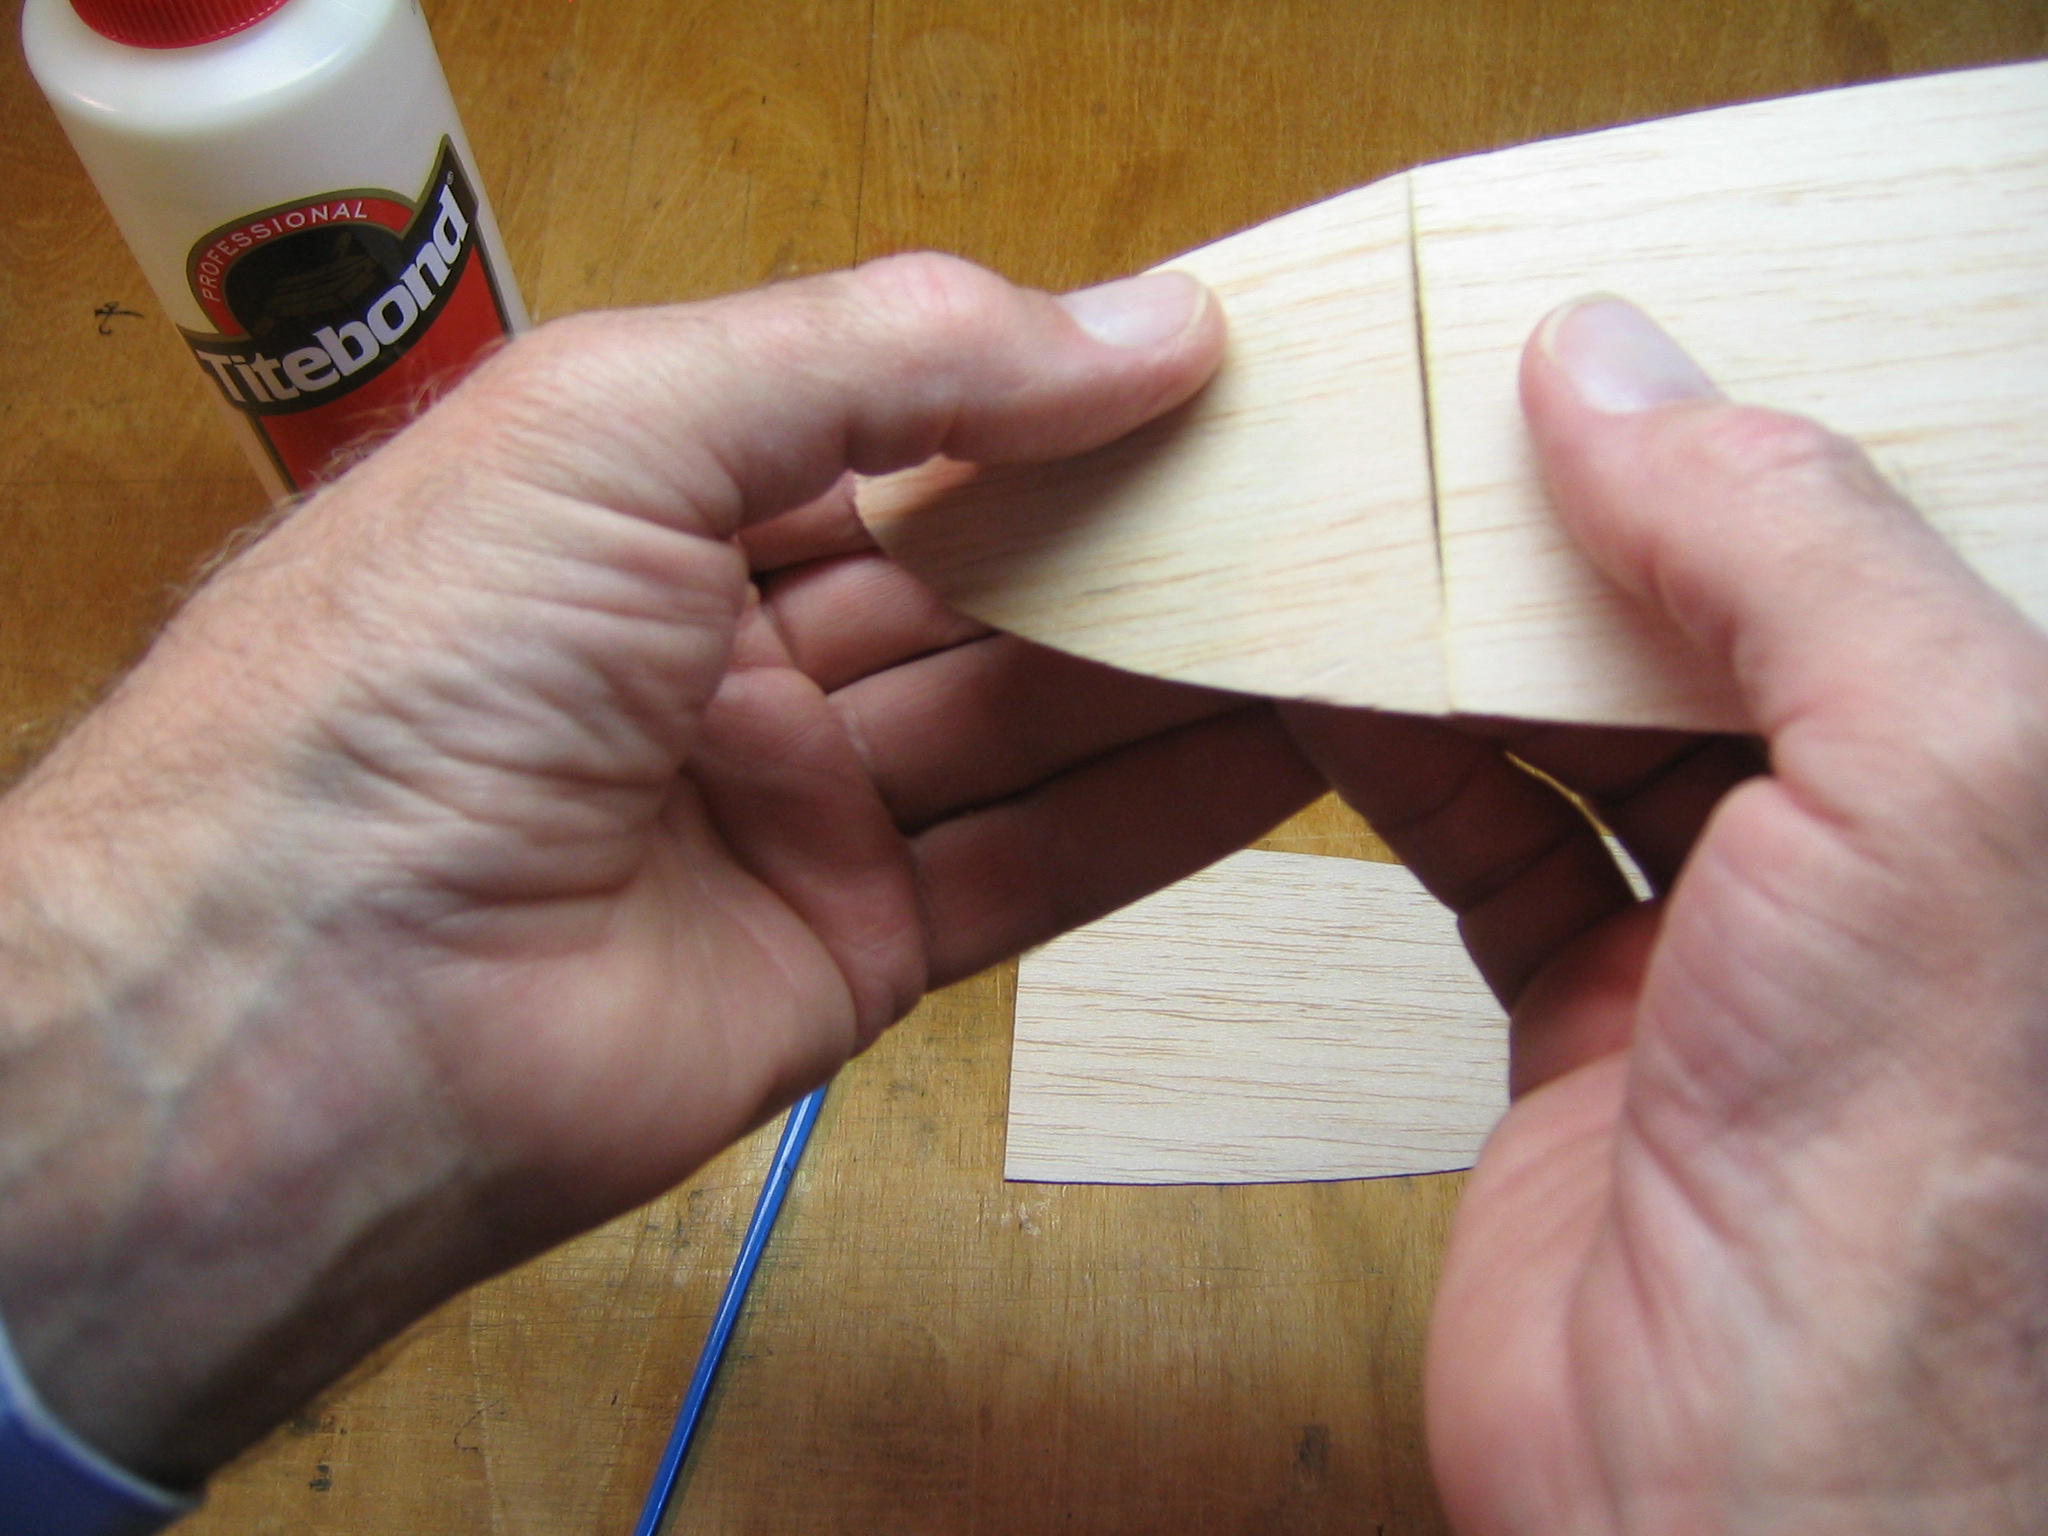
Touch the leading and trailing edges together.
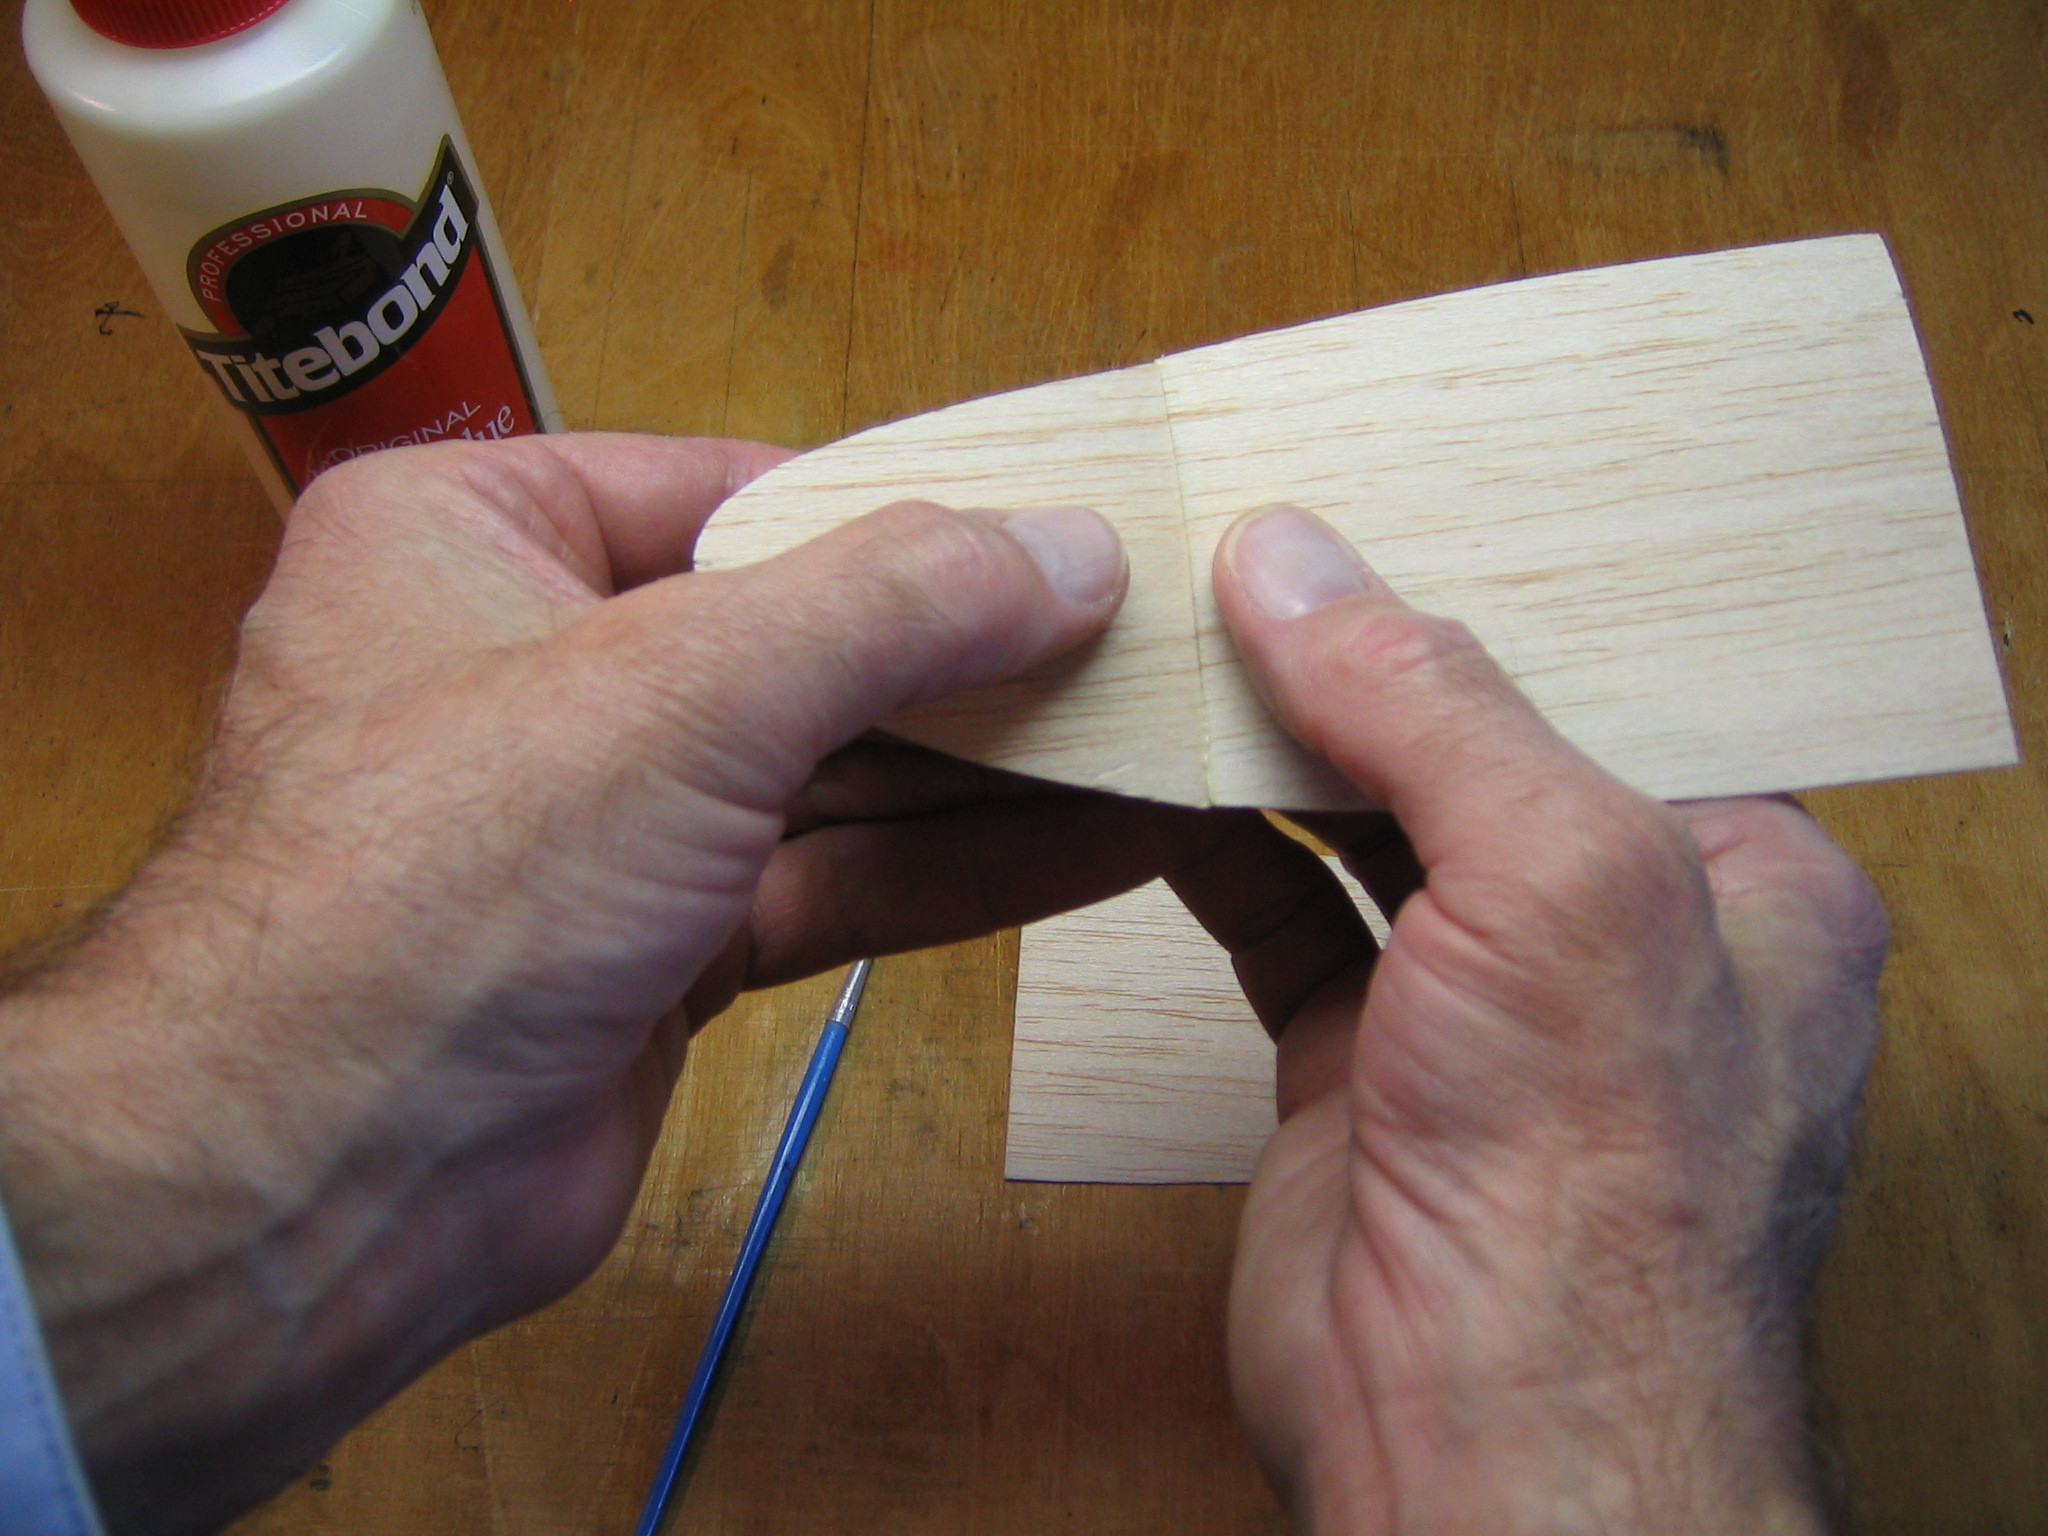
Rotate the pieces upward to close the gap. Check for a smooth joint. Hold until the glue takes hold.

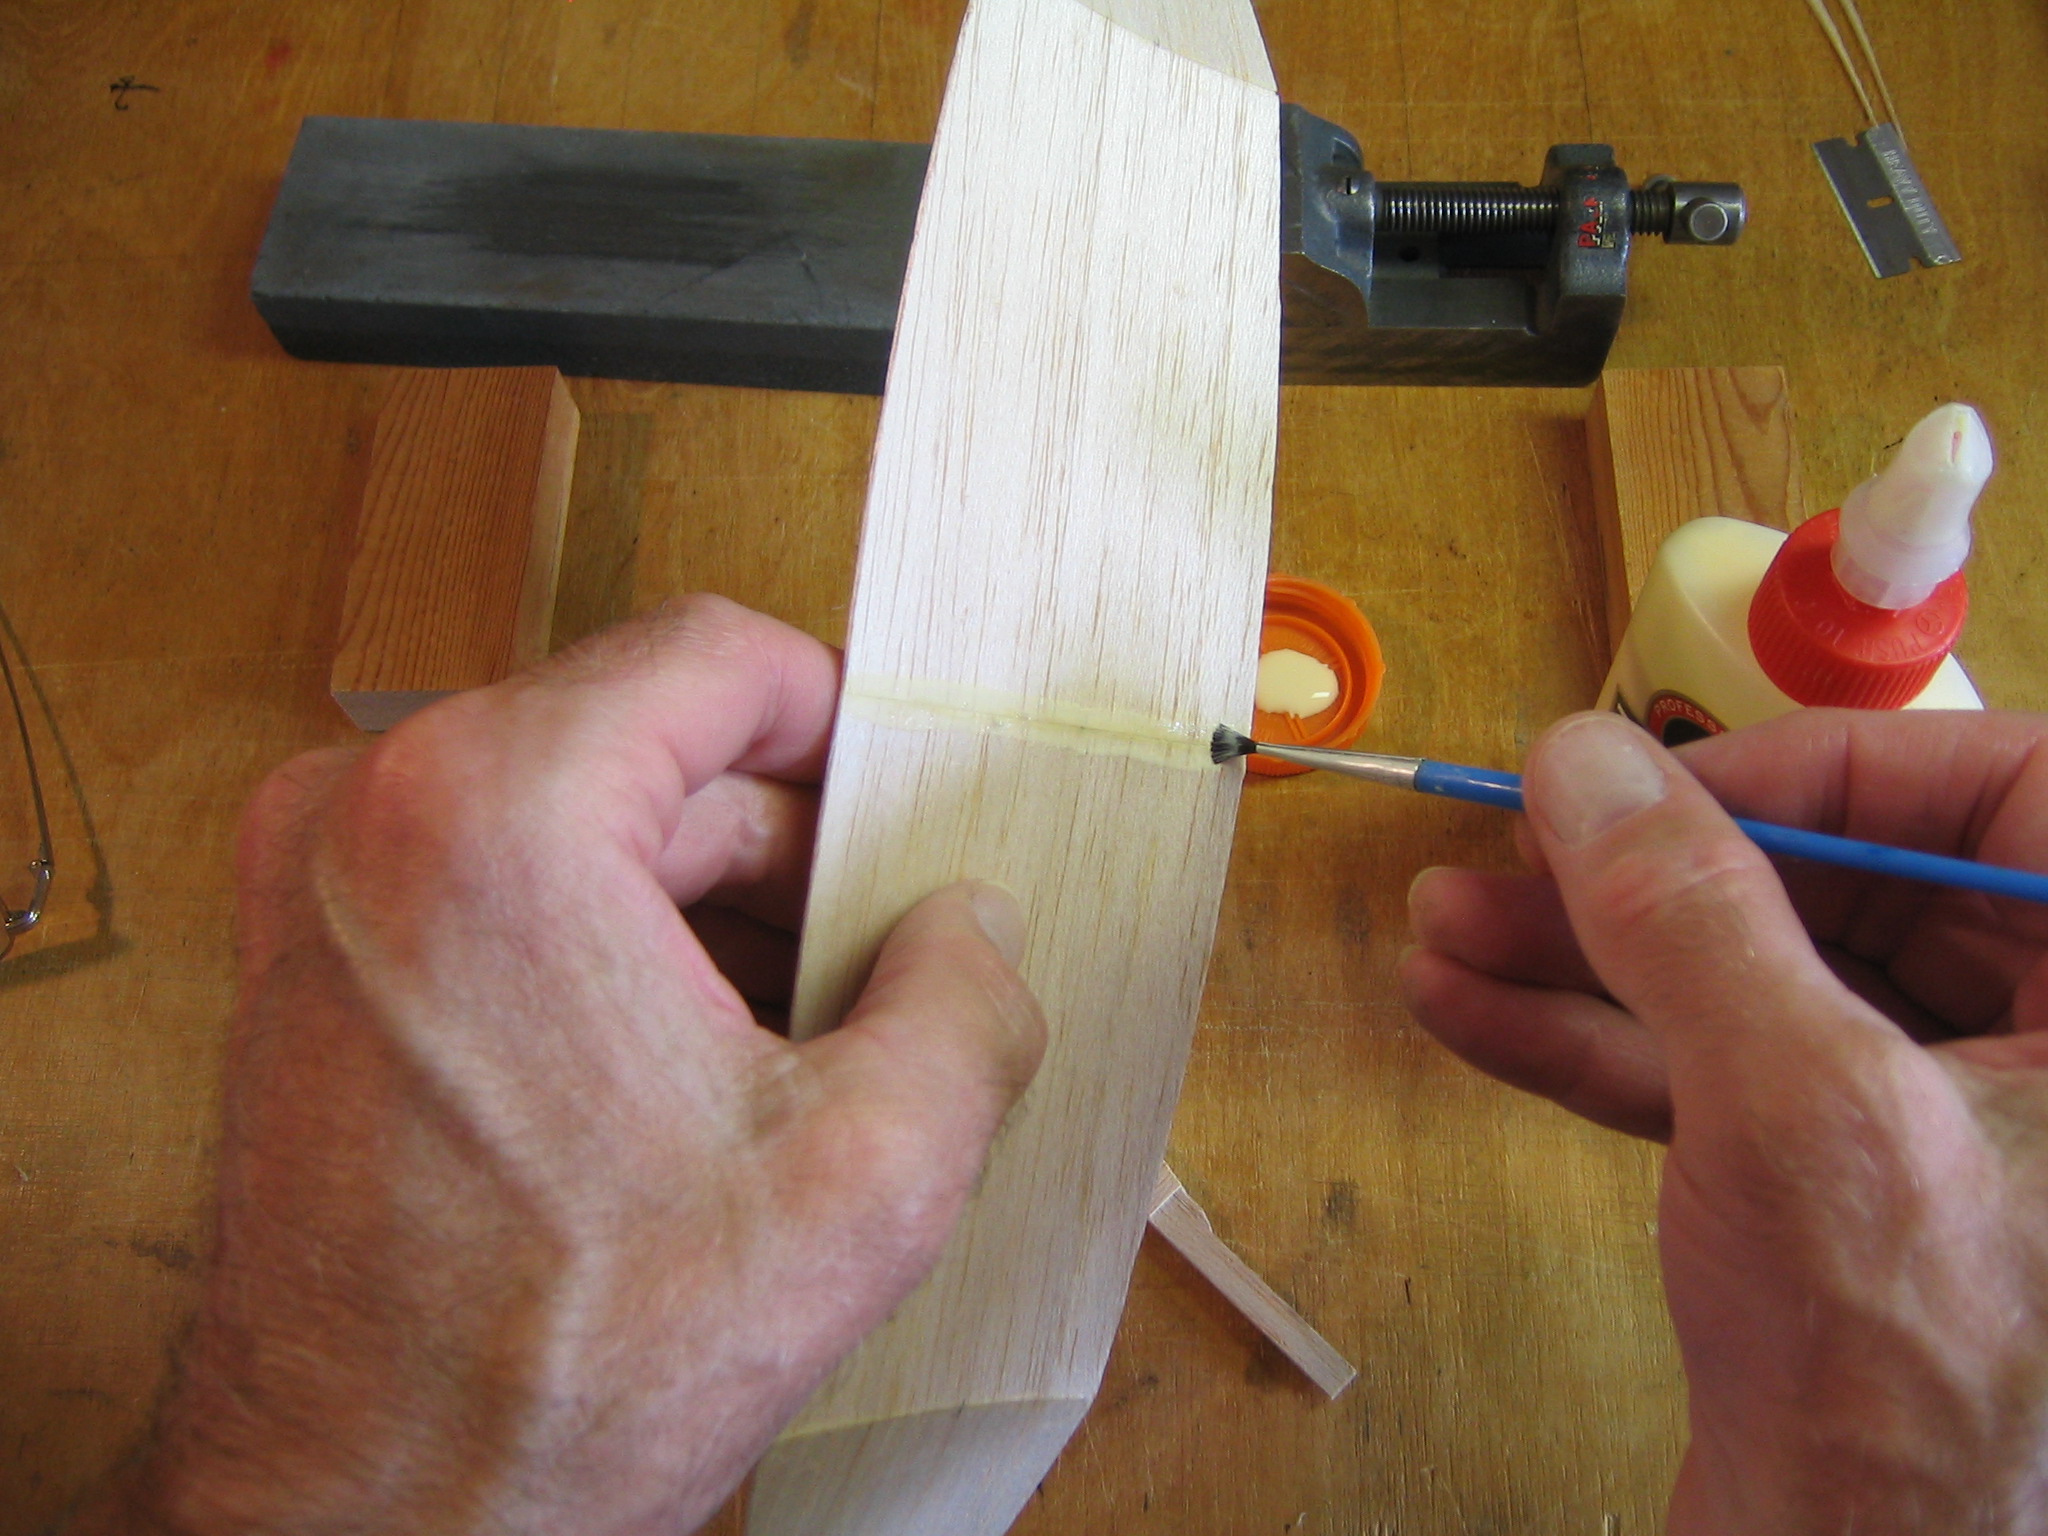
Similarly glue together the center panels.
Similarly glue on the other tip and our wing is complete.
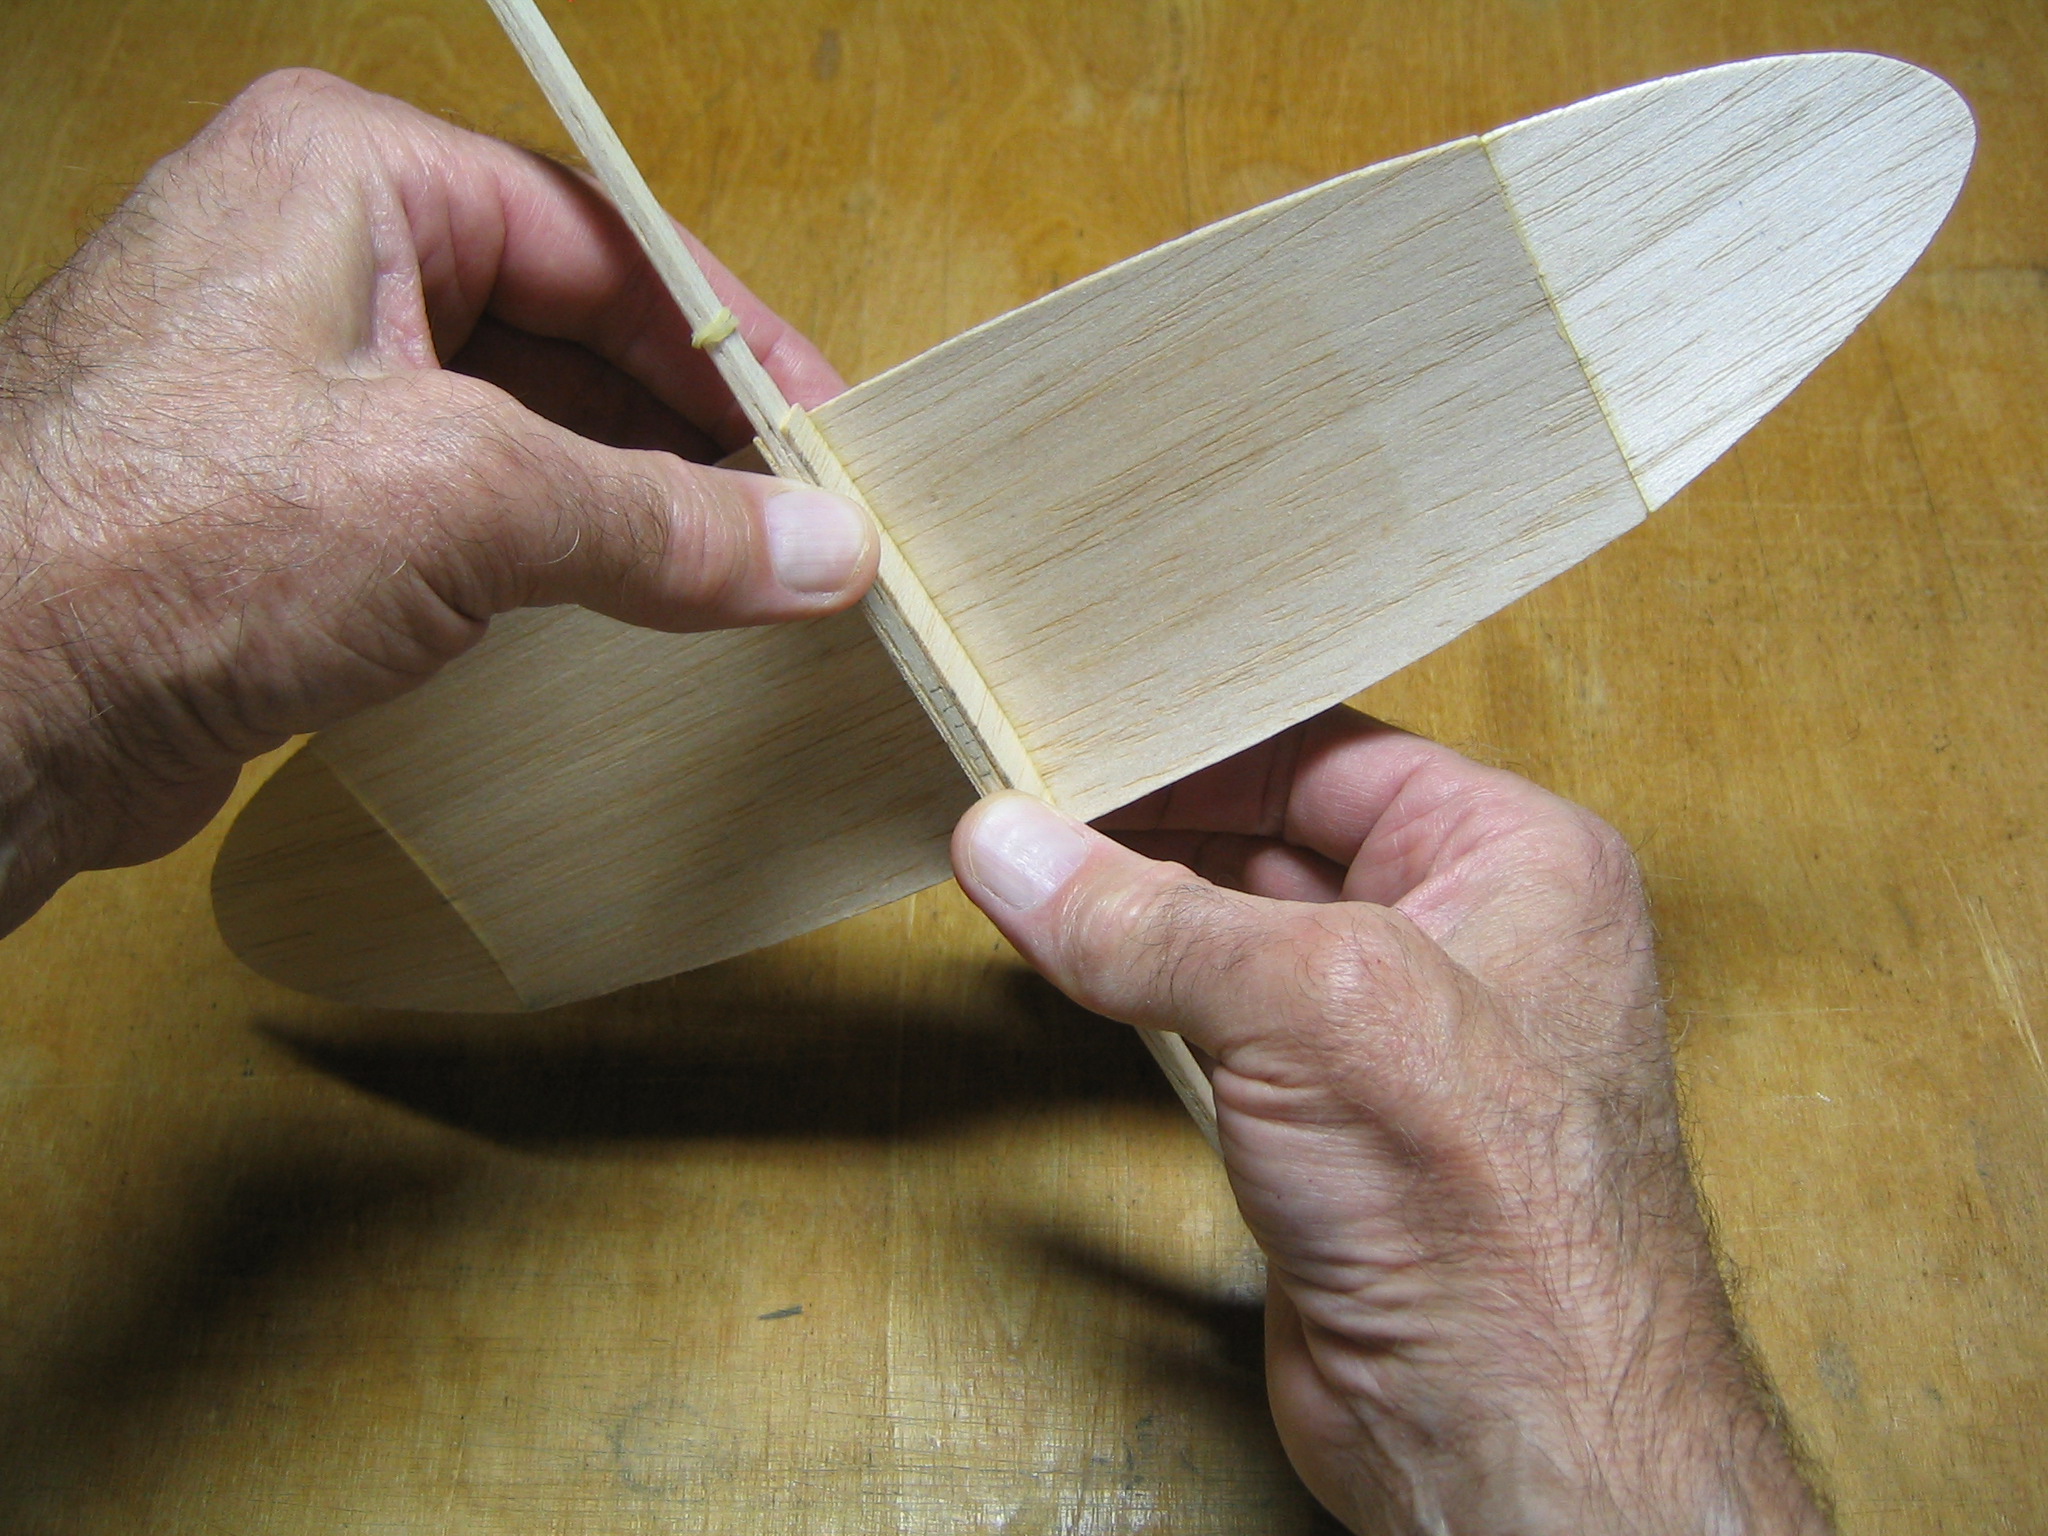
Apply glue to the top of the completed wing saddle.
Apply glue to the underside of the wing 1/8″ on either side of the center line.
Carefully align the wing center line over the saddle center line and press the wing onto the saddle.
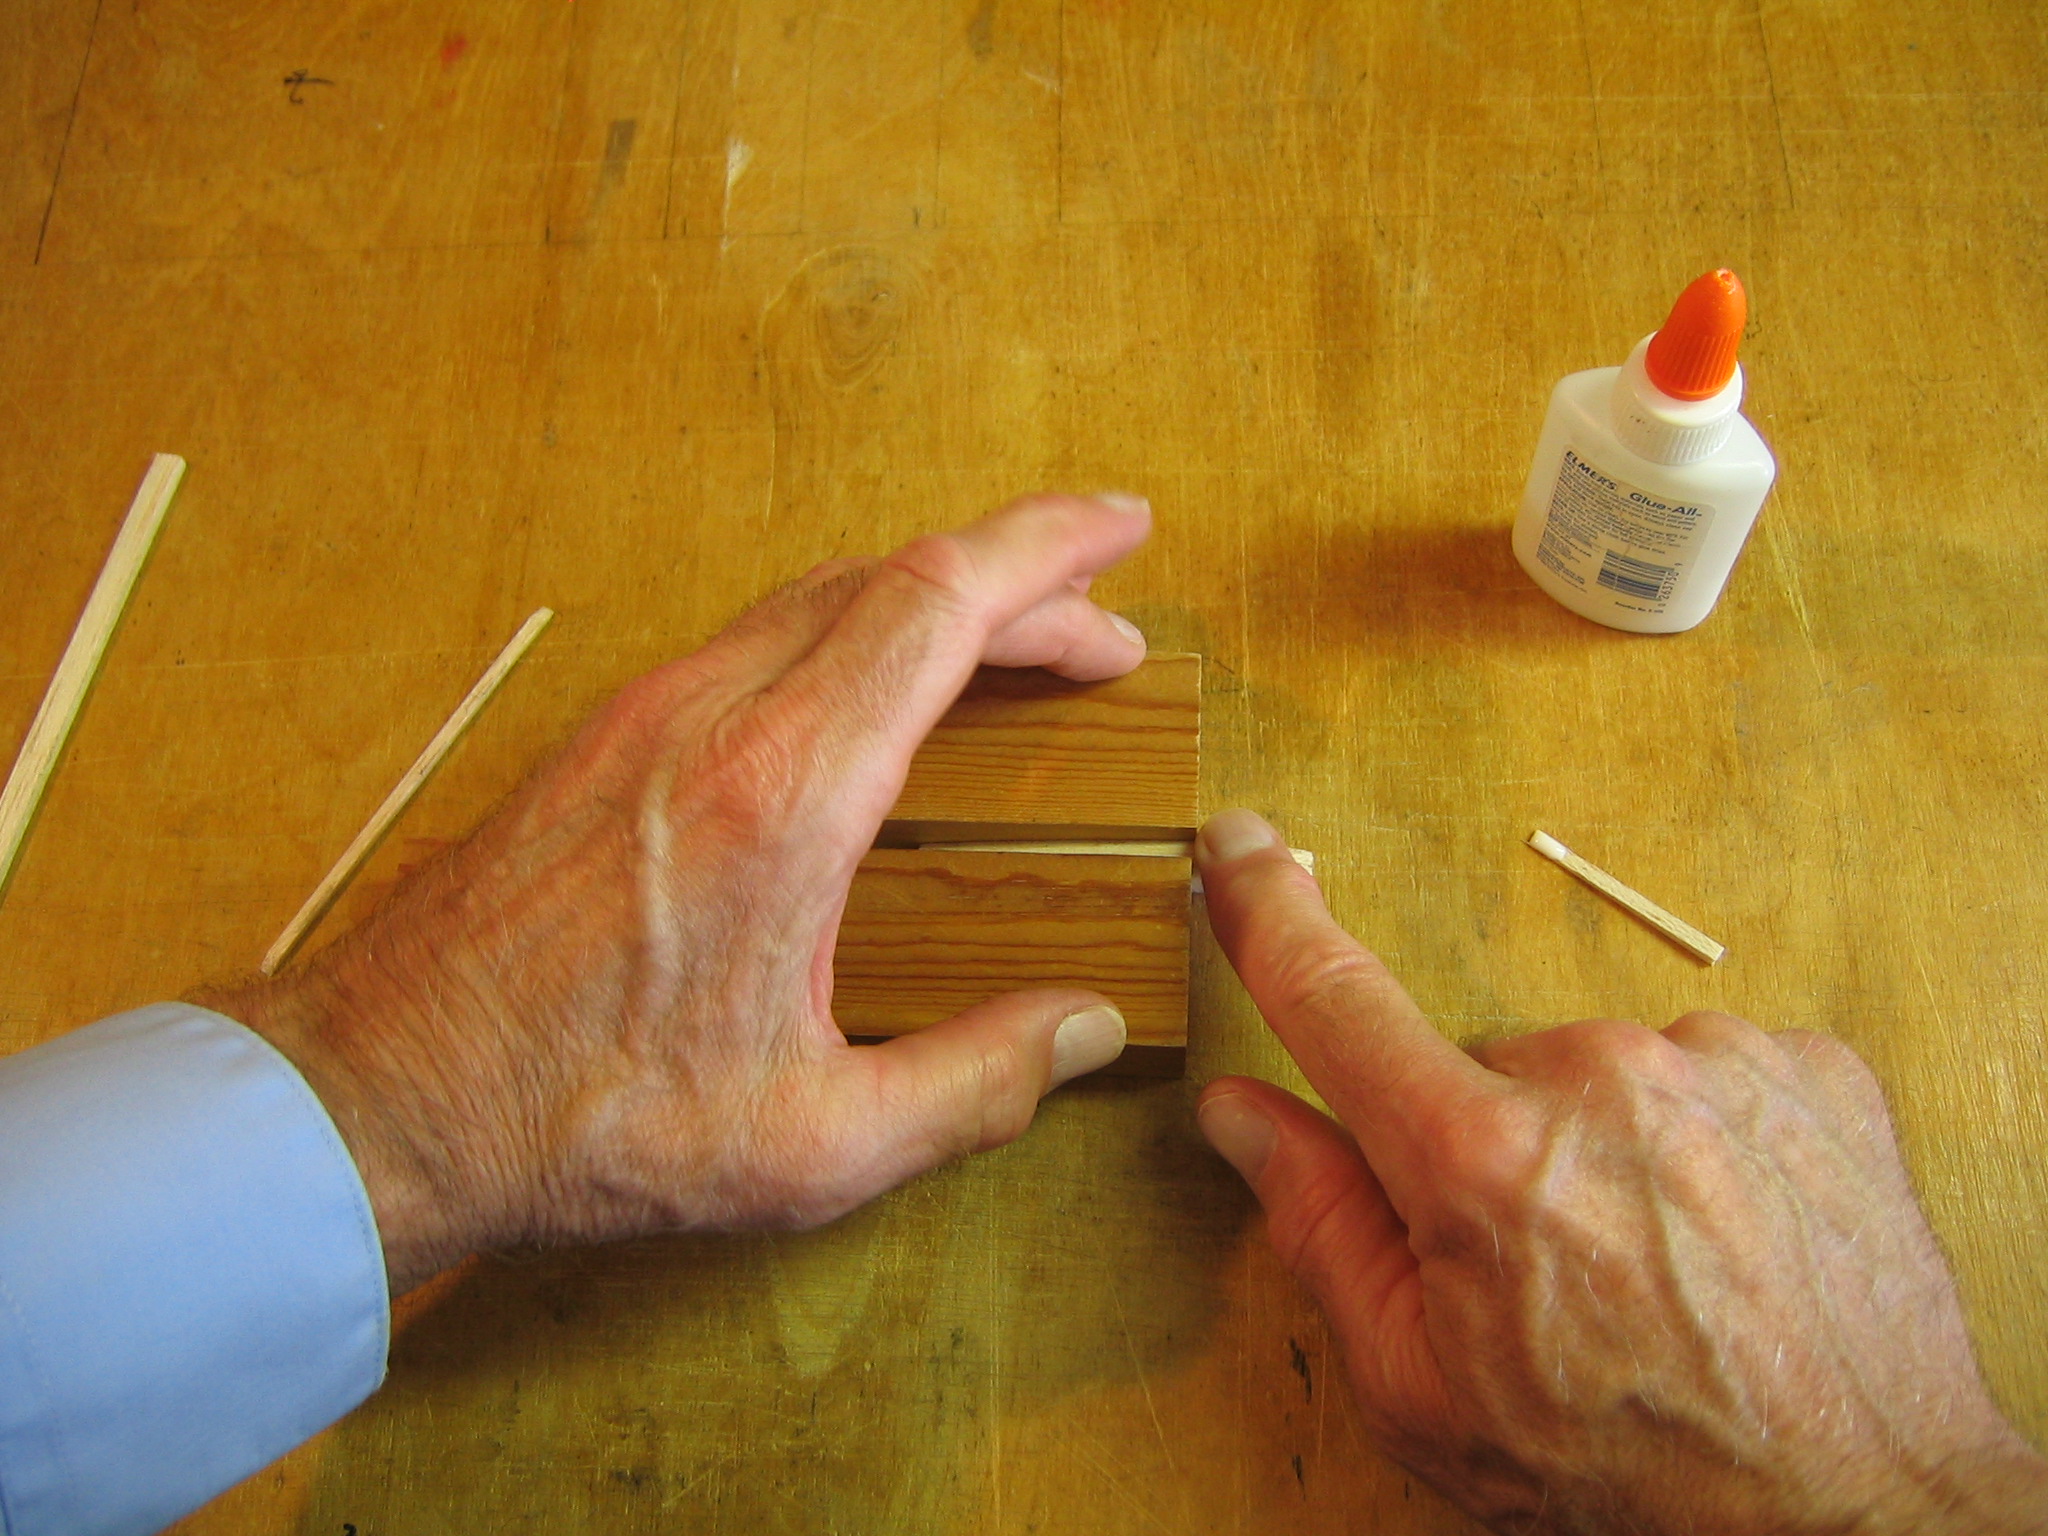
Check that everything is symmetrical. Put a piece of 1/8″ x 1/4″ stick in the slot and press the assembly to the flat table top. Check that the wing tips are equidistant from the table top. Adjust as necessary.

Roll a couple dental bands over the end of the stick.
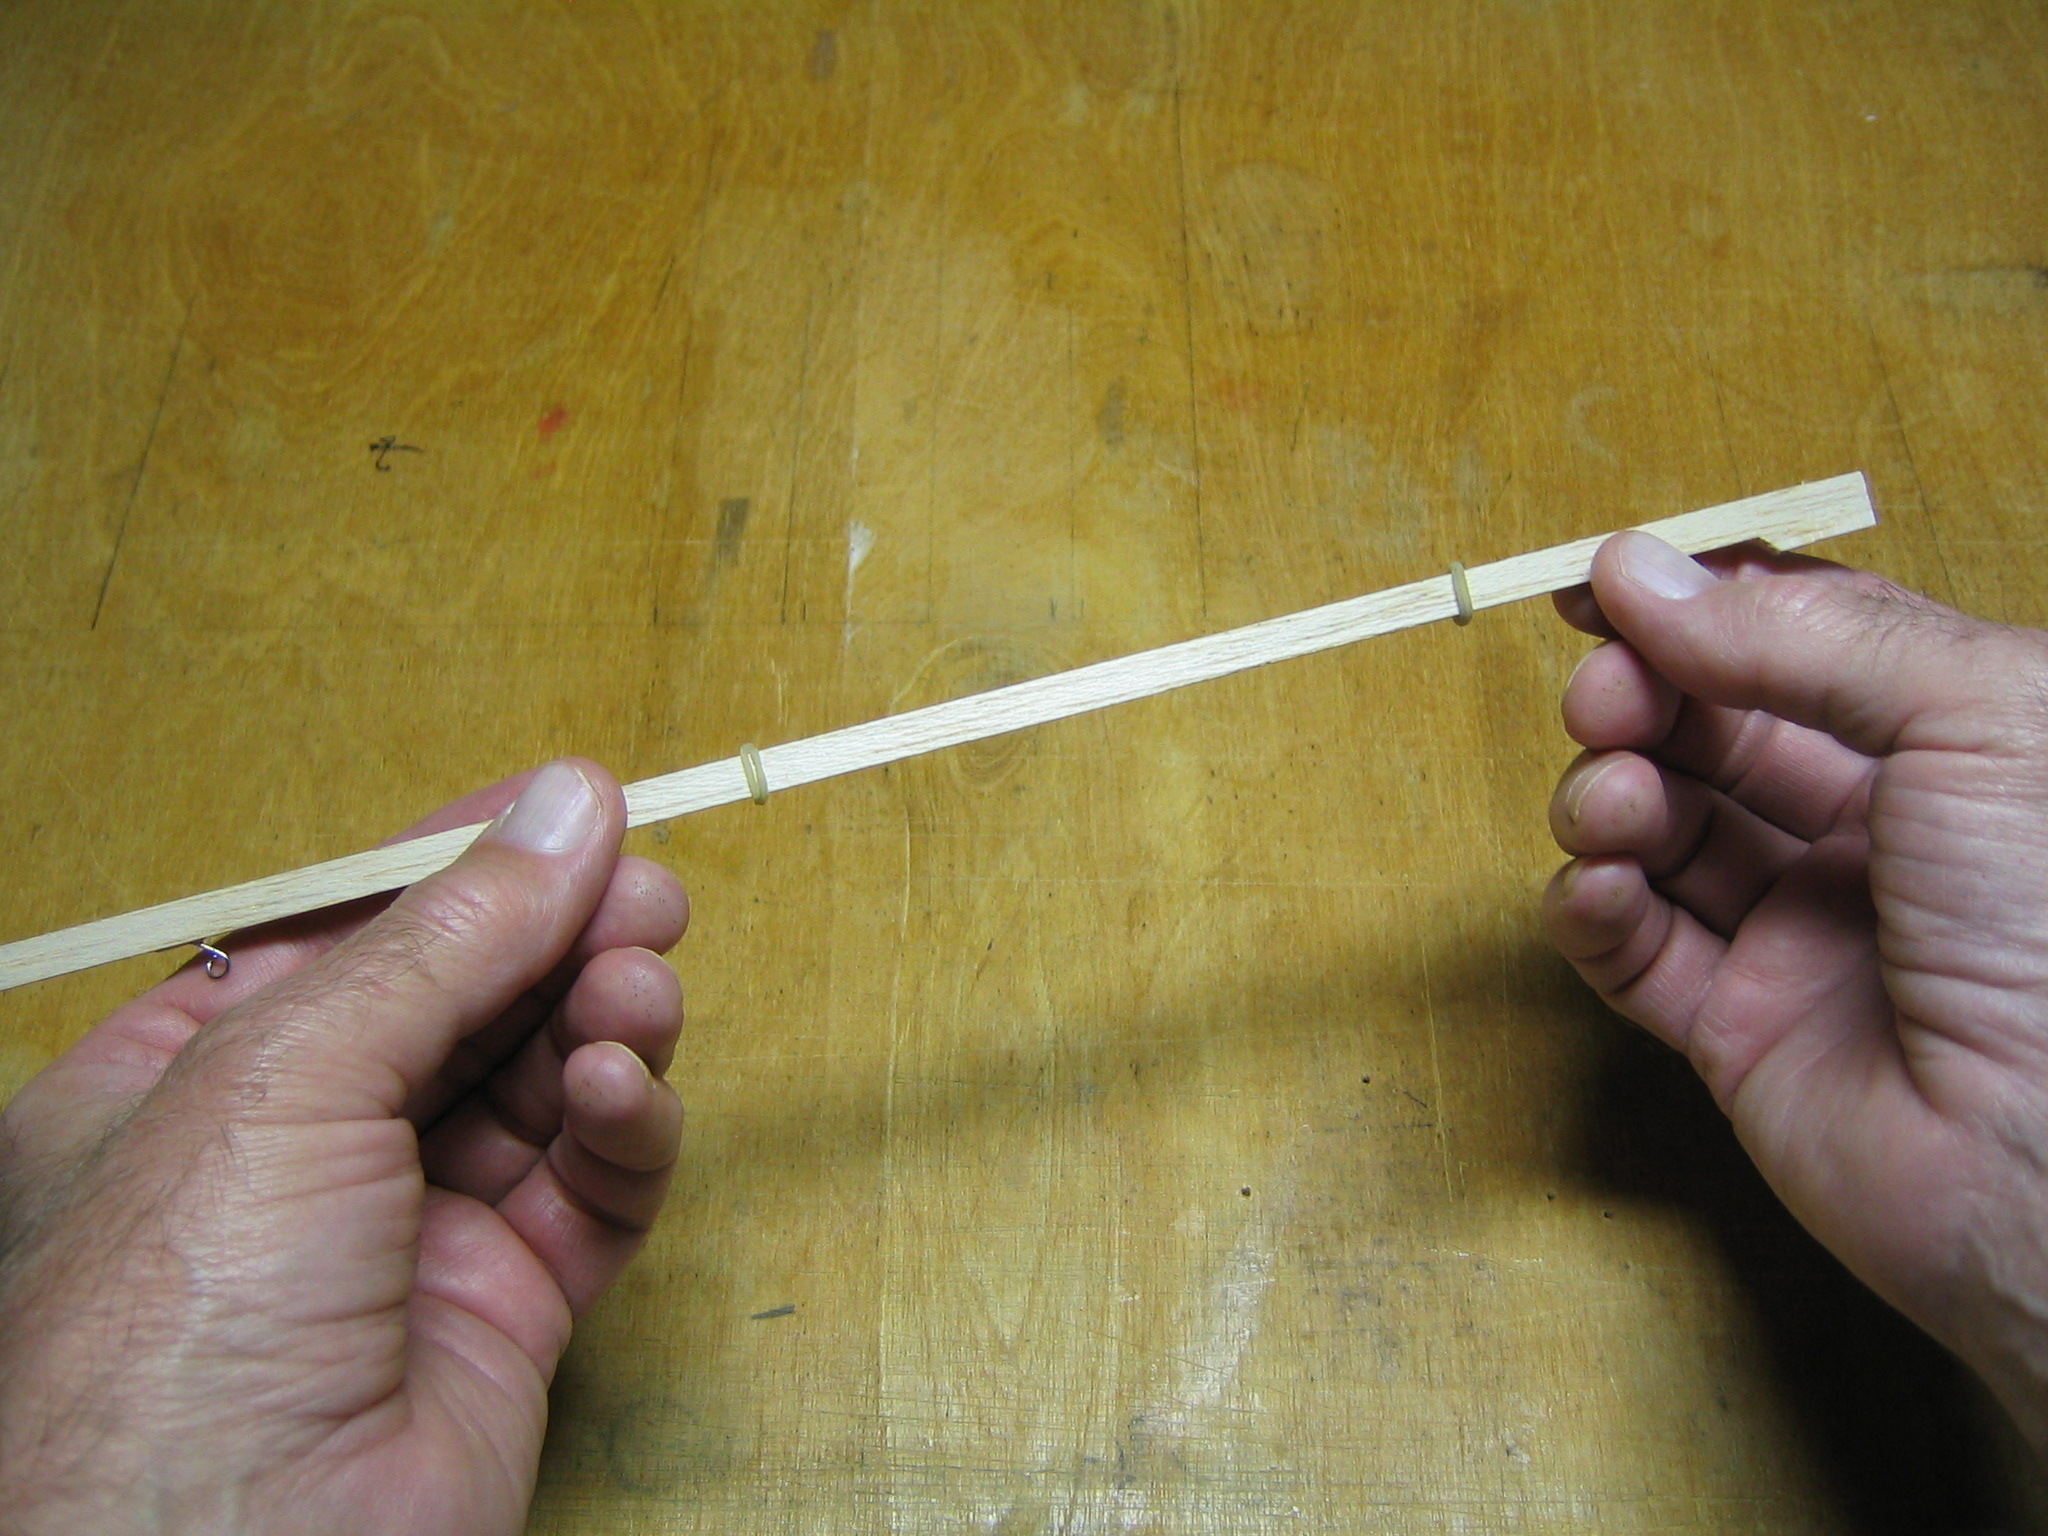
Position them wide enough apart to clear the wing.
Press the wing saddle onto the stick, being careful to get the leading edge of the wing toward the front of the stick.
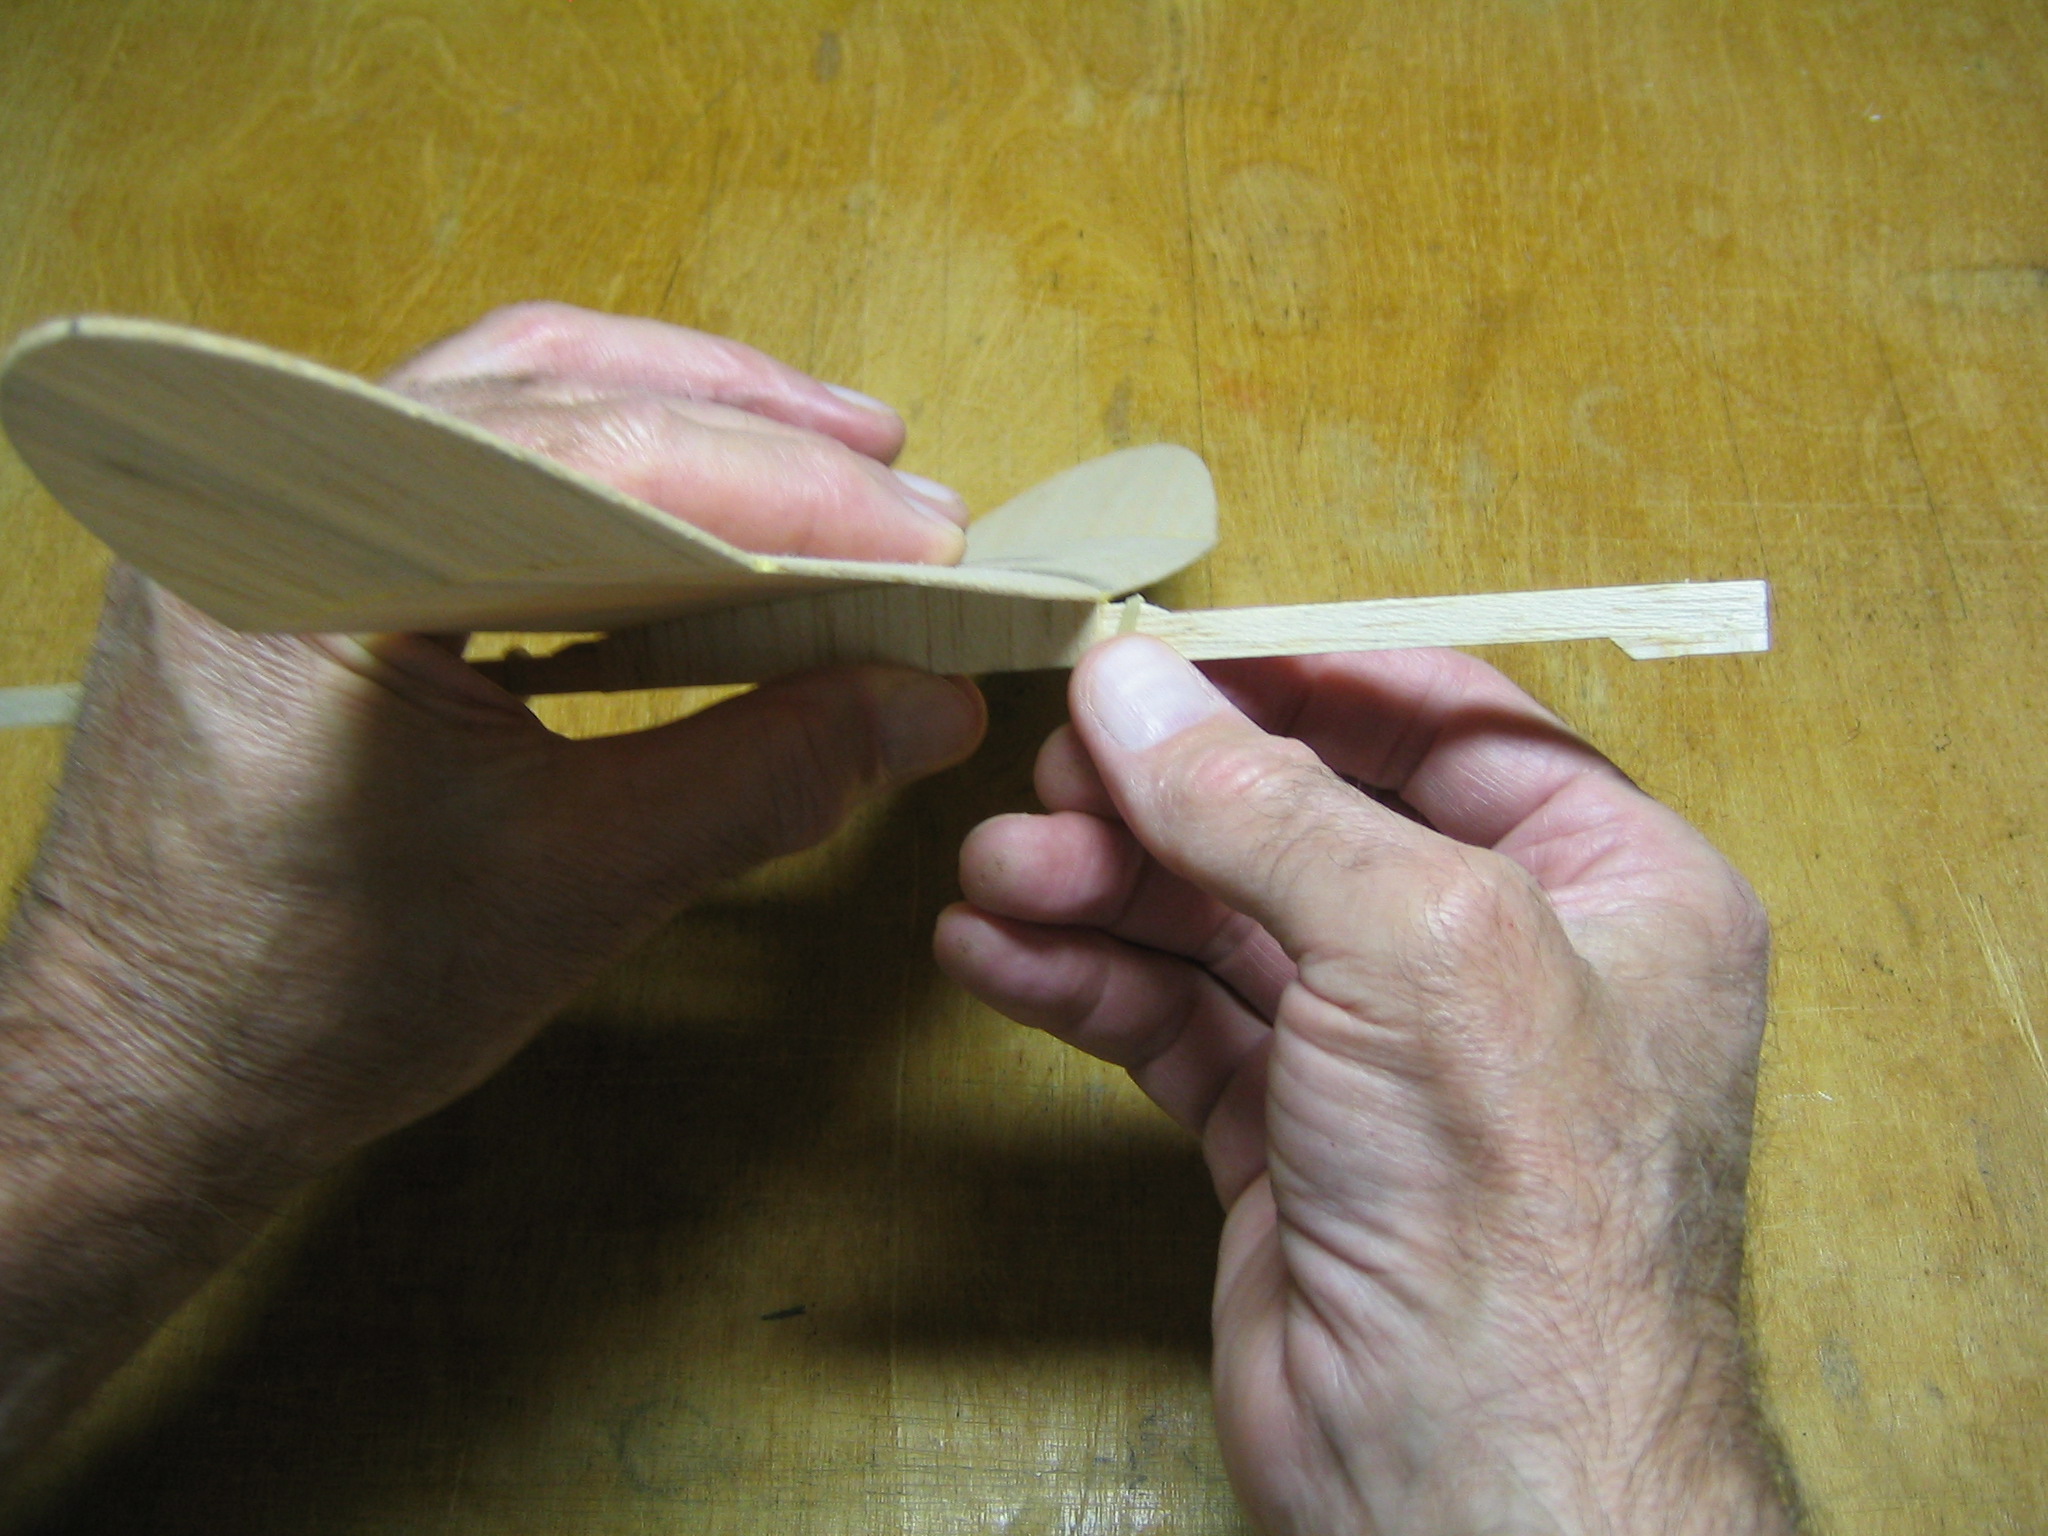
Roll the front band up over the front end of the hold down stick.
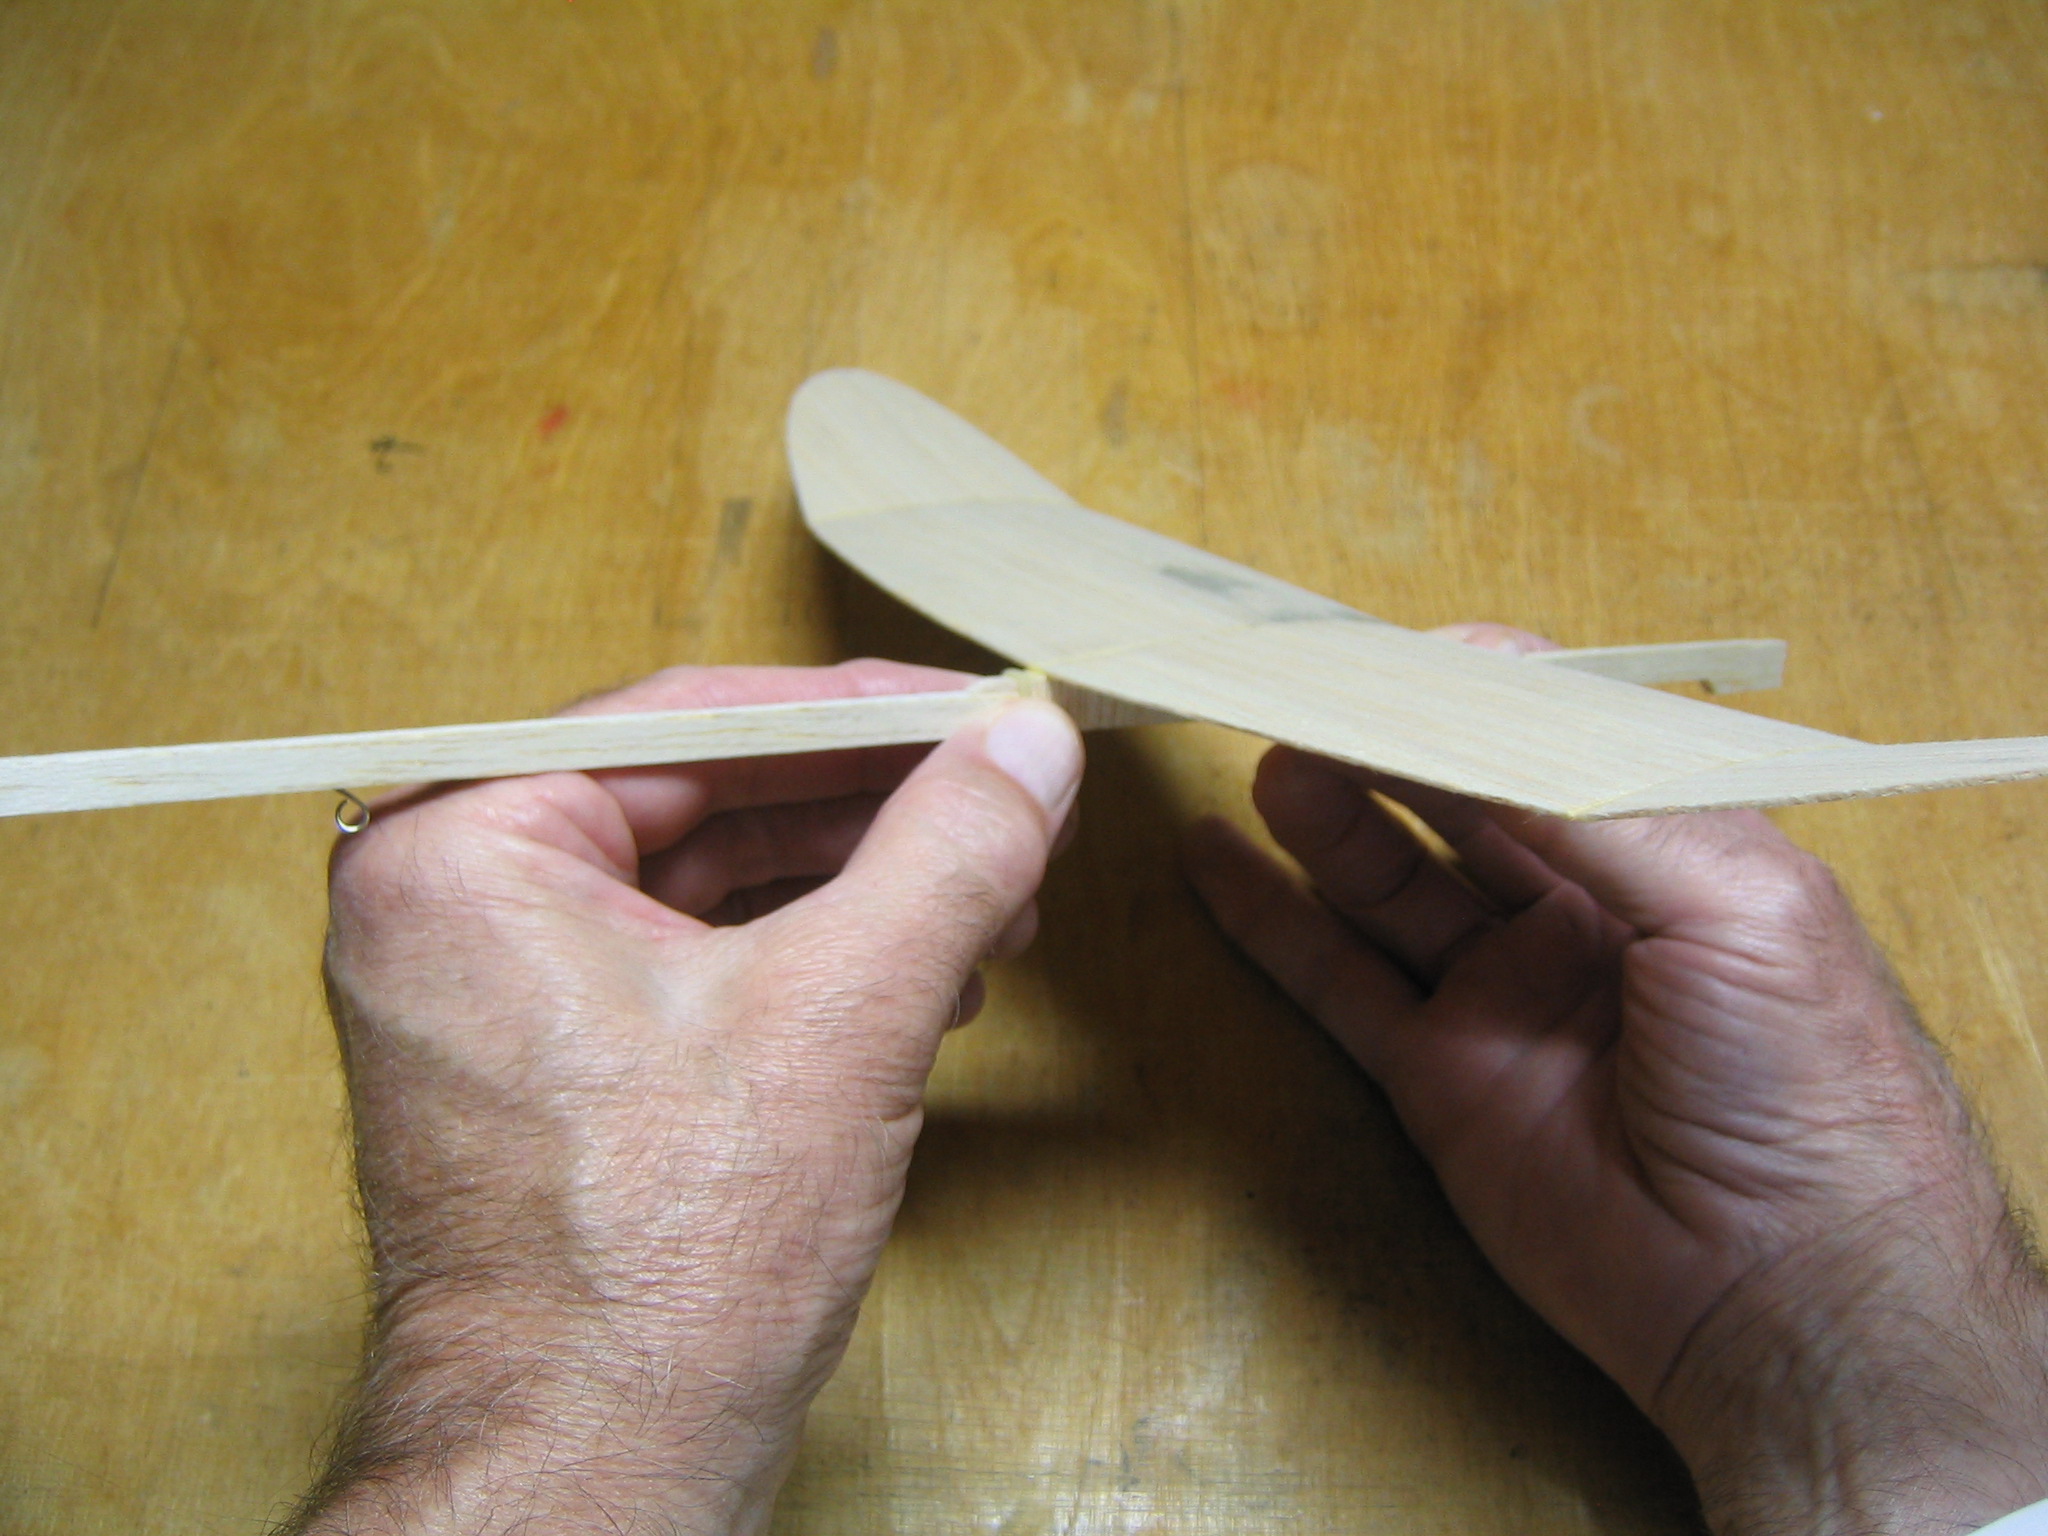
Roll the rear band over the back end of the wing hold down stick.
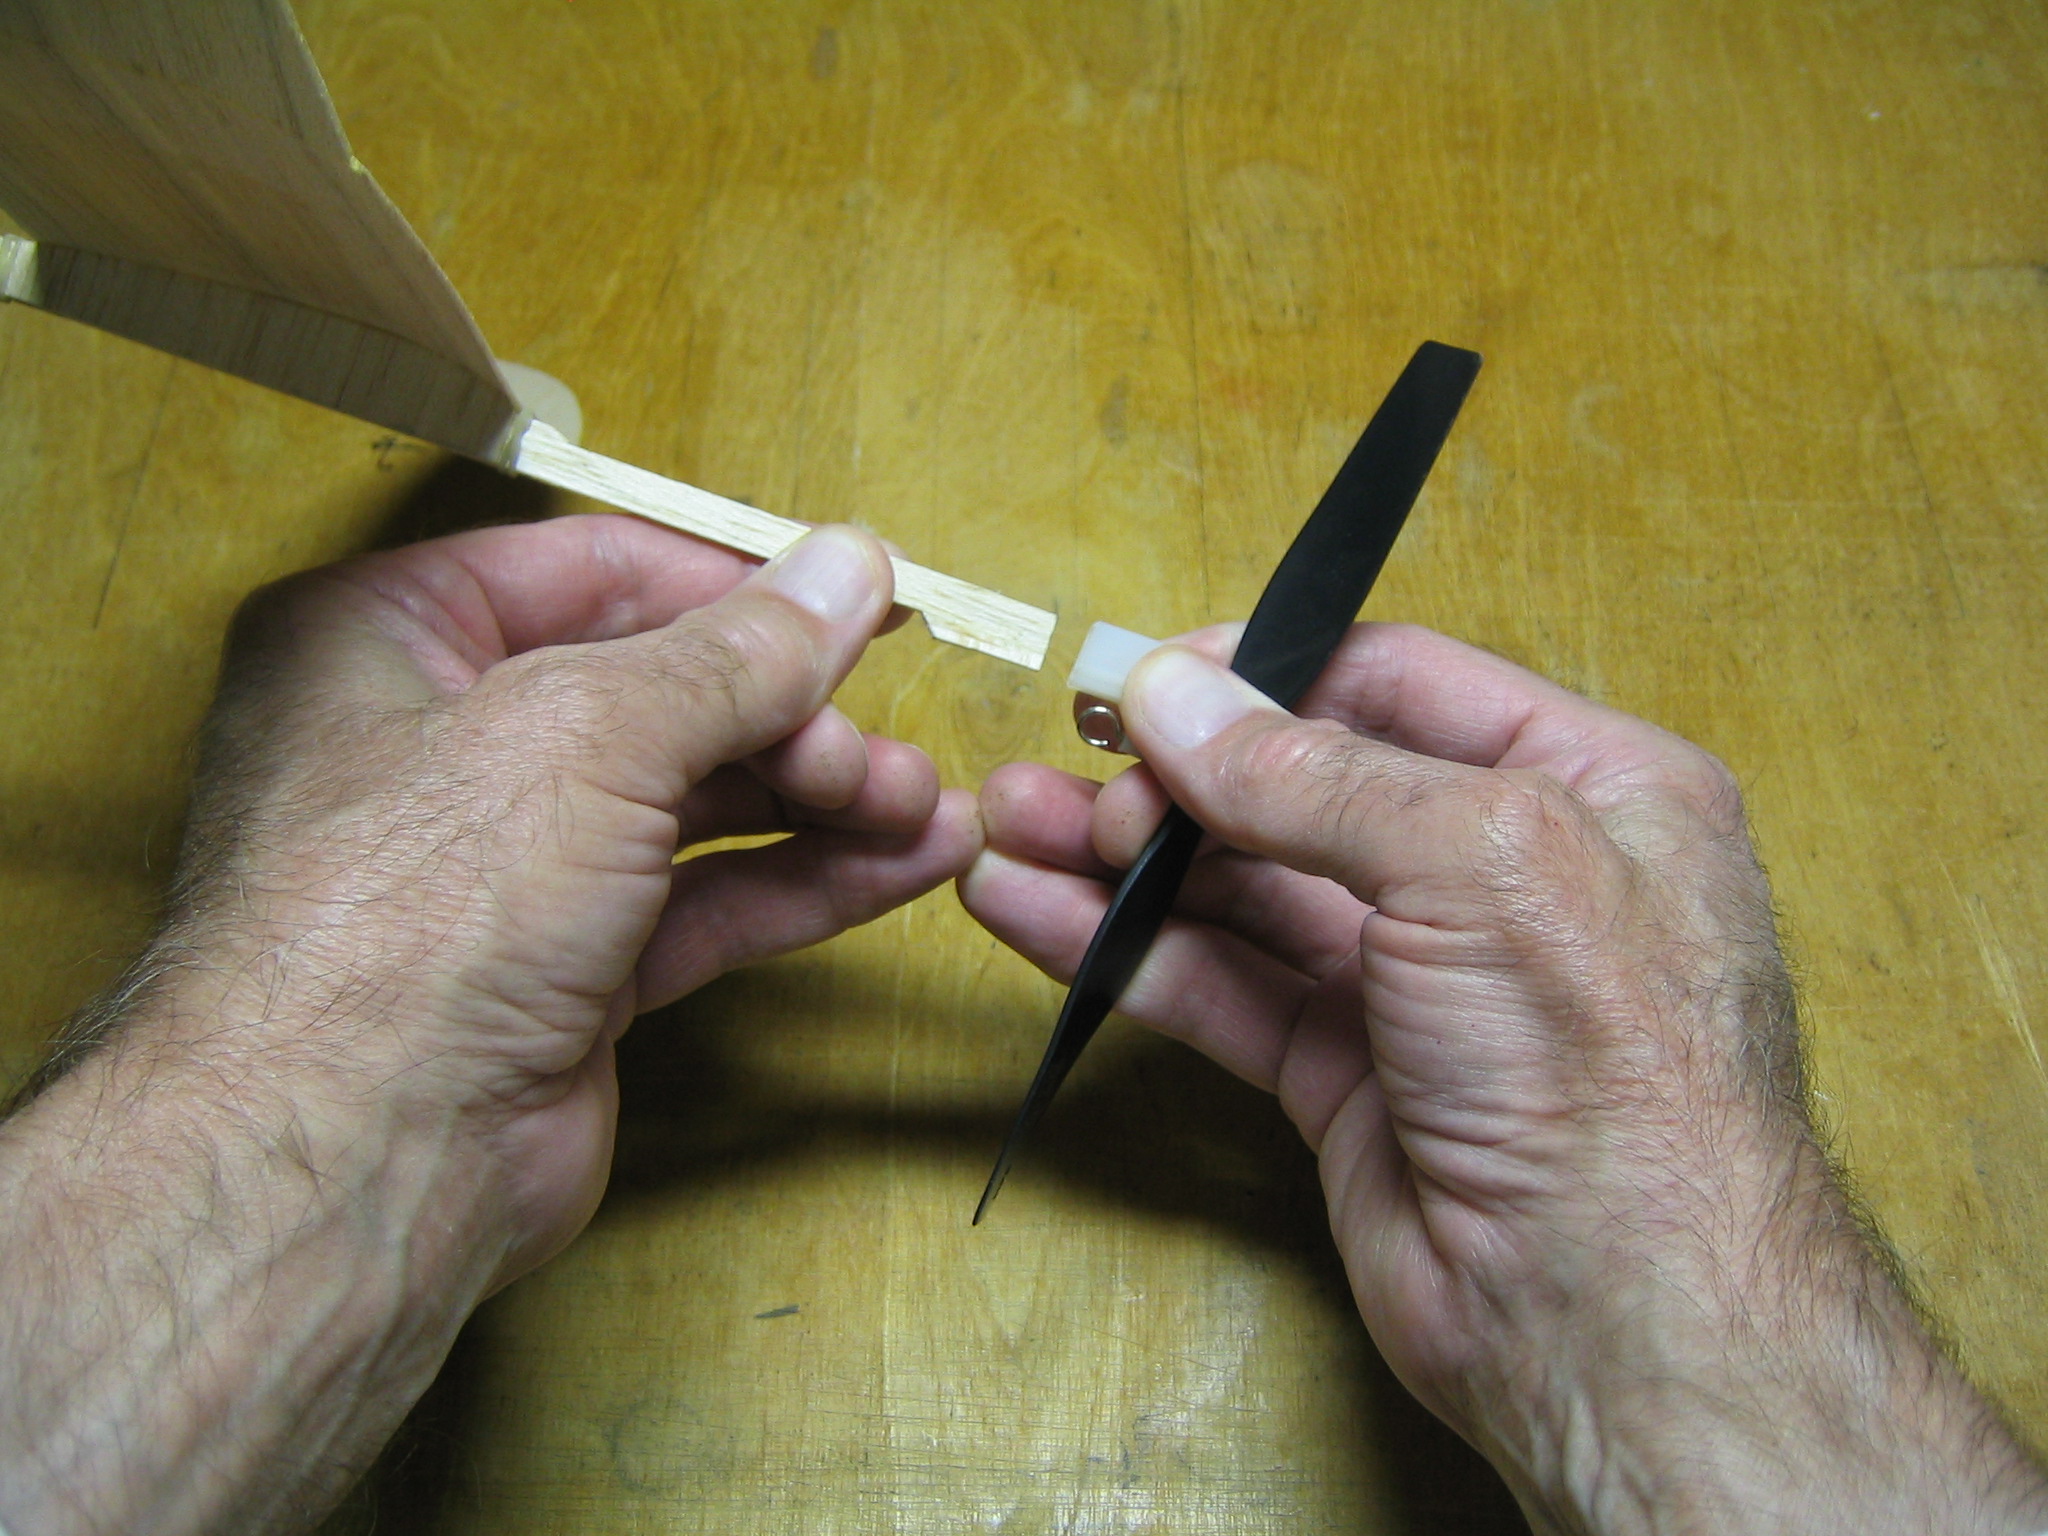
Align the prop bearing box with the front end of the stick. The prop and hook go under the stick, to align with the motor hook at the back.
Press the prop assembly into place. It may not fit at first. The MPC box is a little less than 3/8″ deep. You will need to sand the nose block slightly to fit. You want a snug fit.
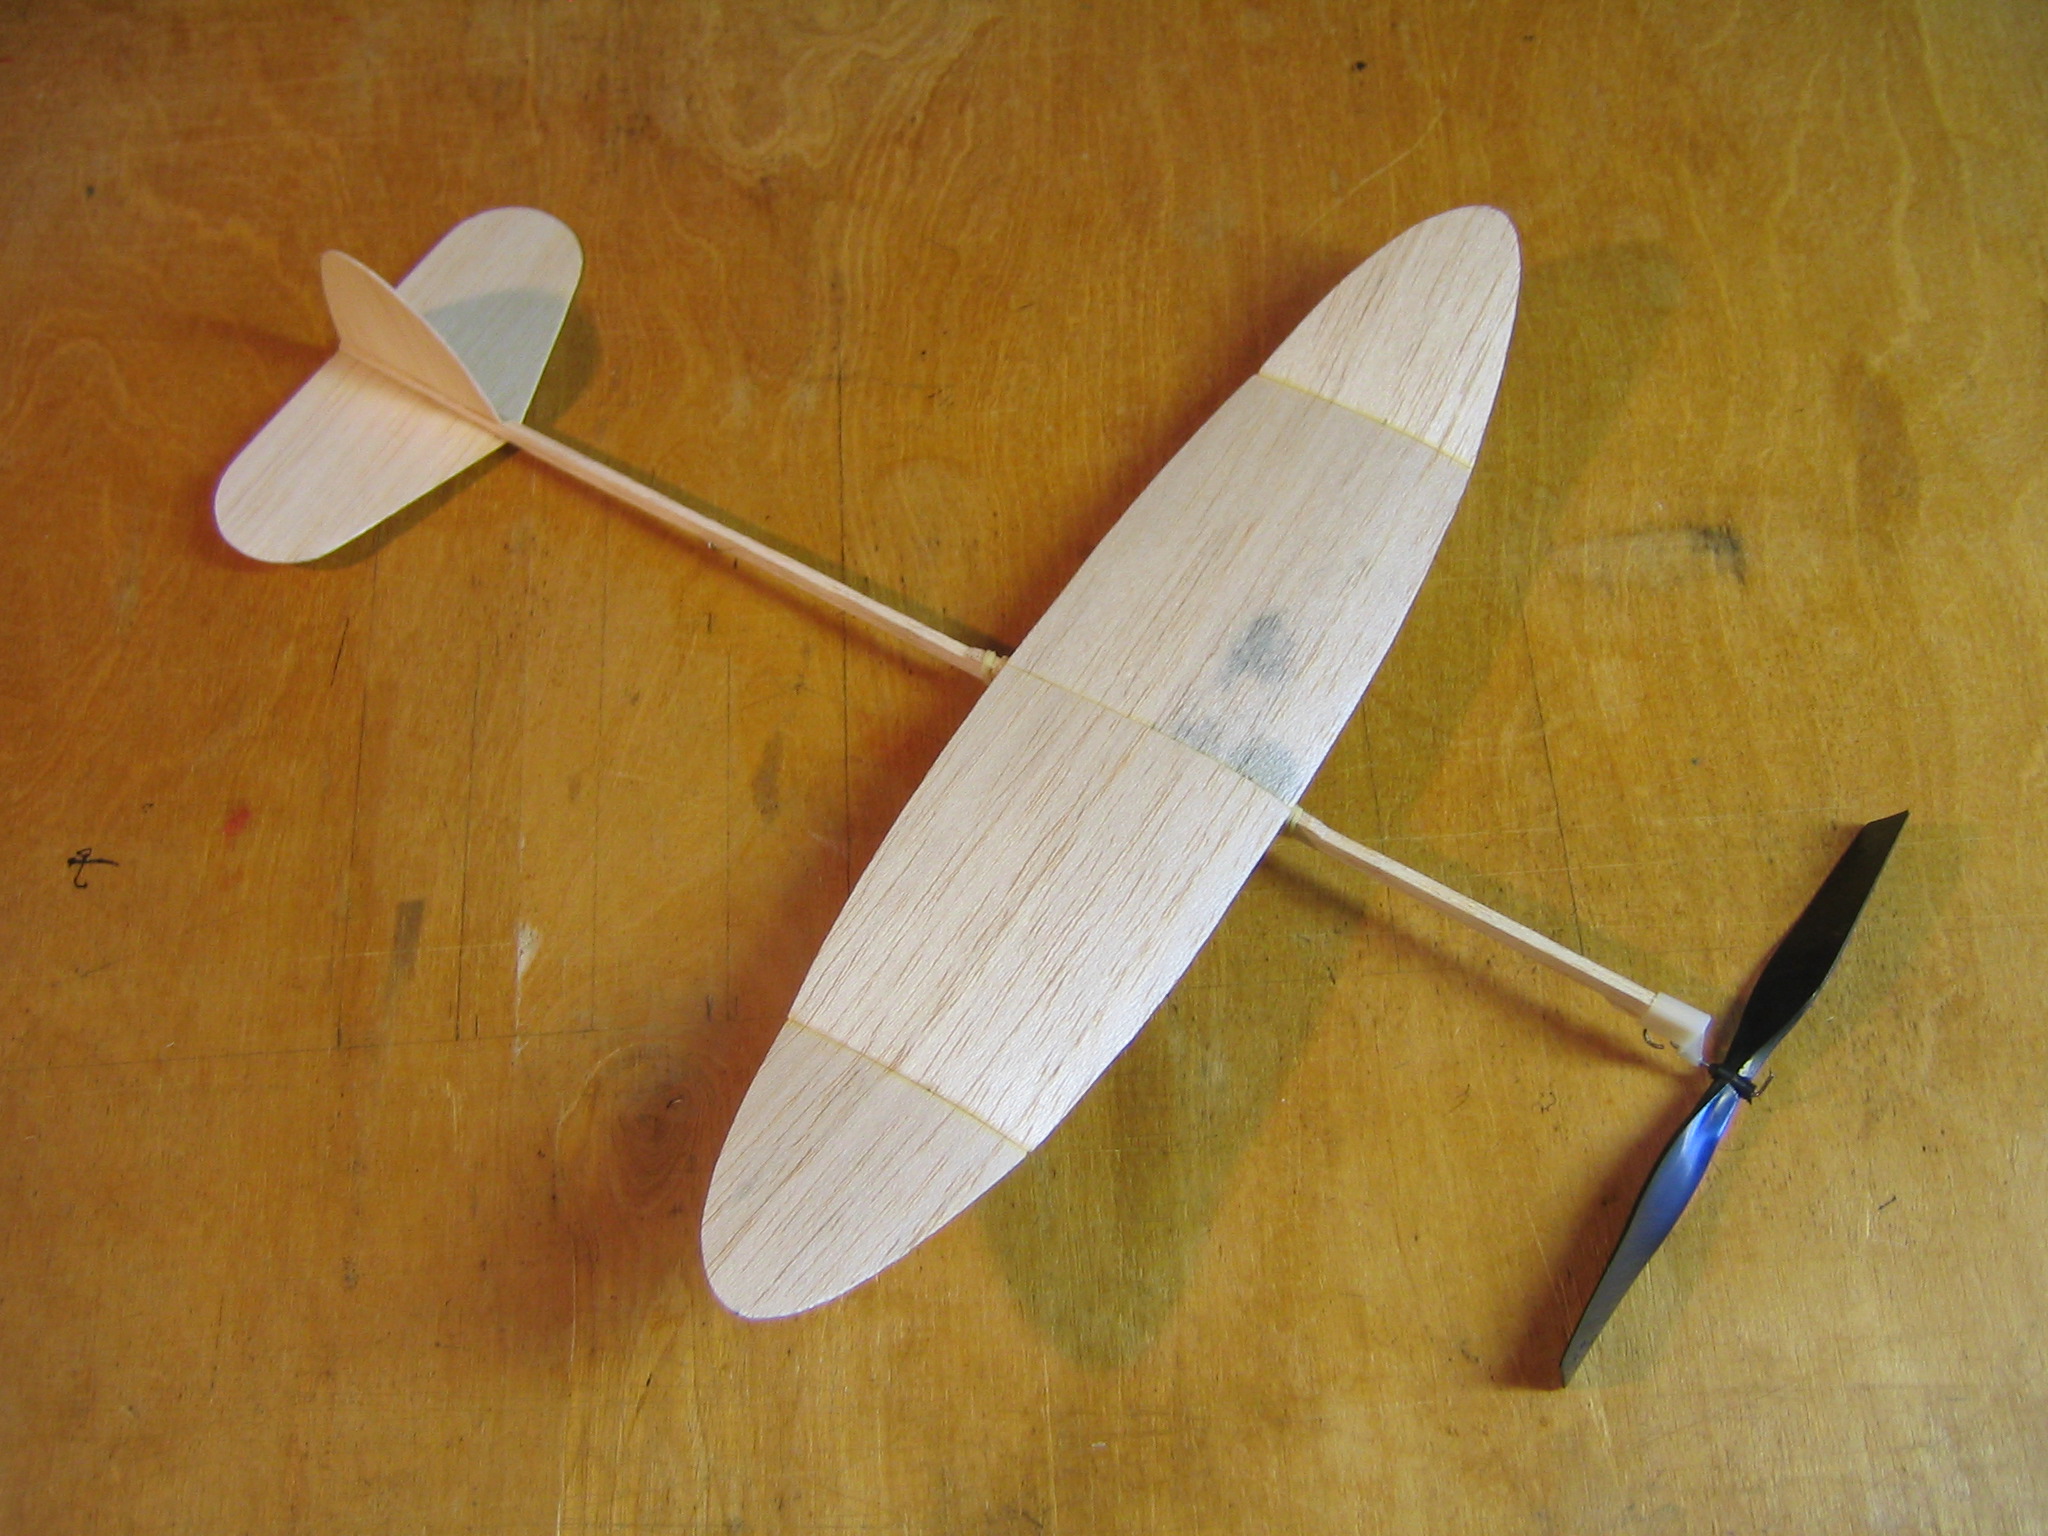
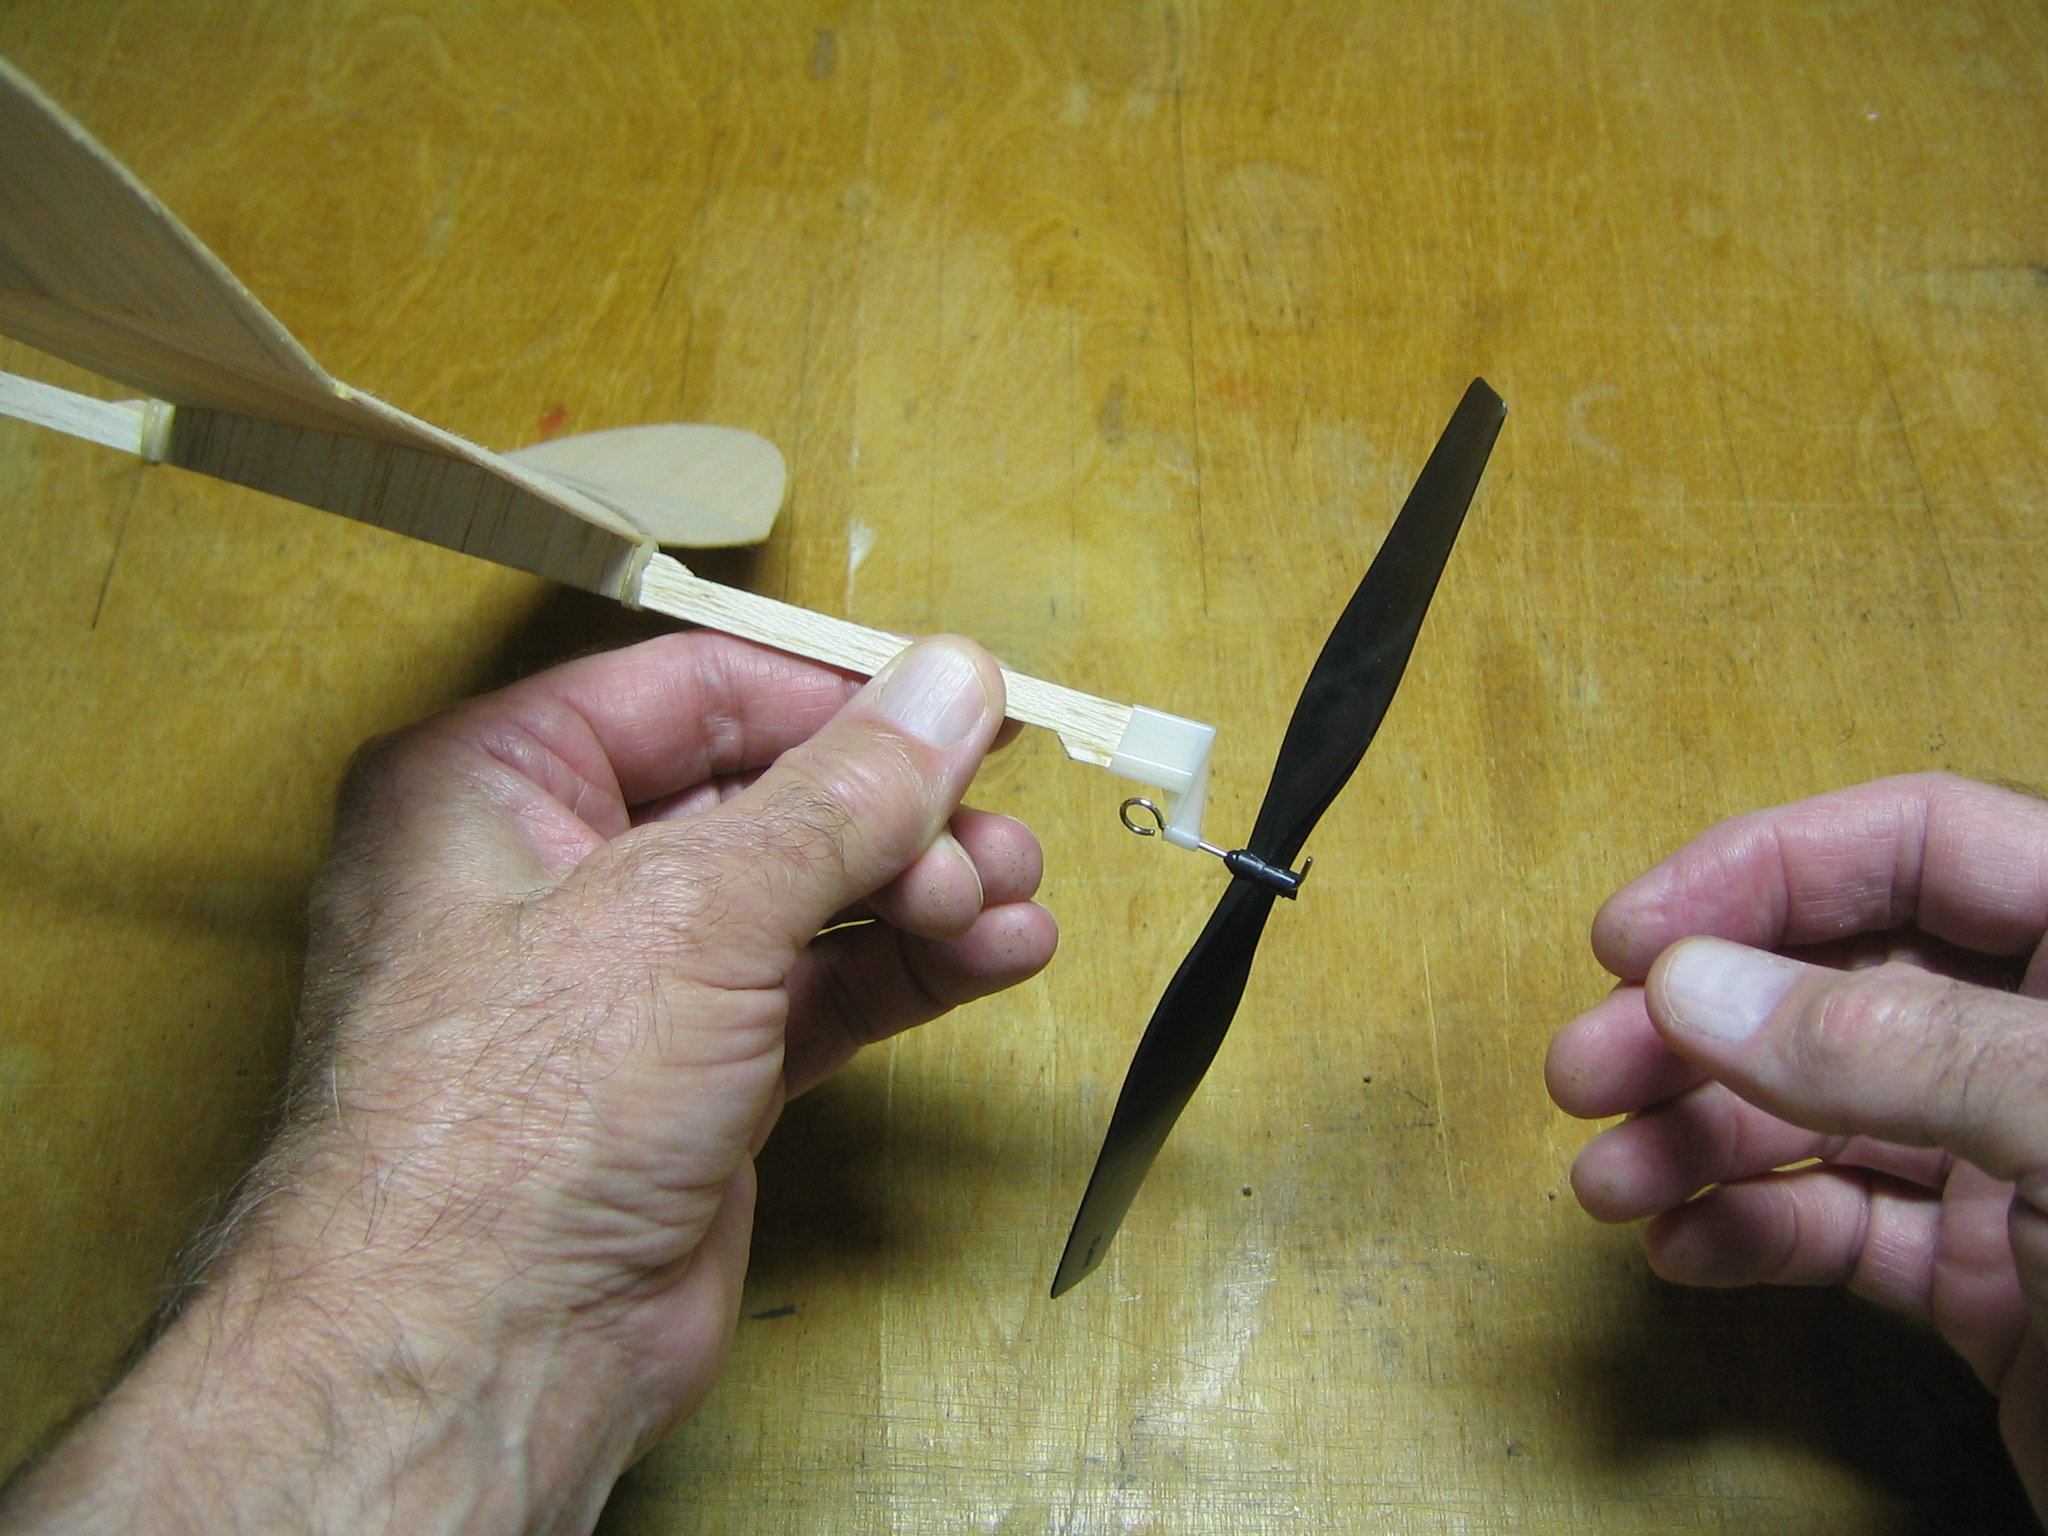
The Poly-Wog is now complete and ready to fly.
I grabbed a 10 1/2″ loop of 3/32″ rubber and headed over to the park. I moved the wing until it made a nice, slow glide. Then I put 1,000 turns into the motor for a test flight.
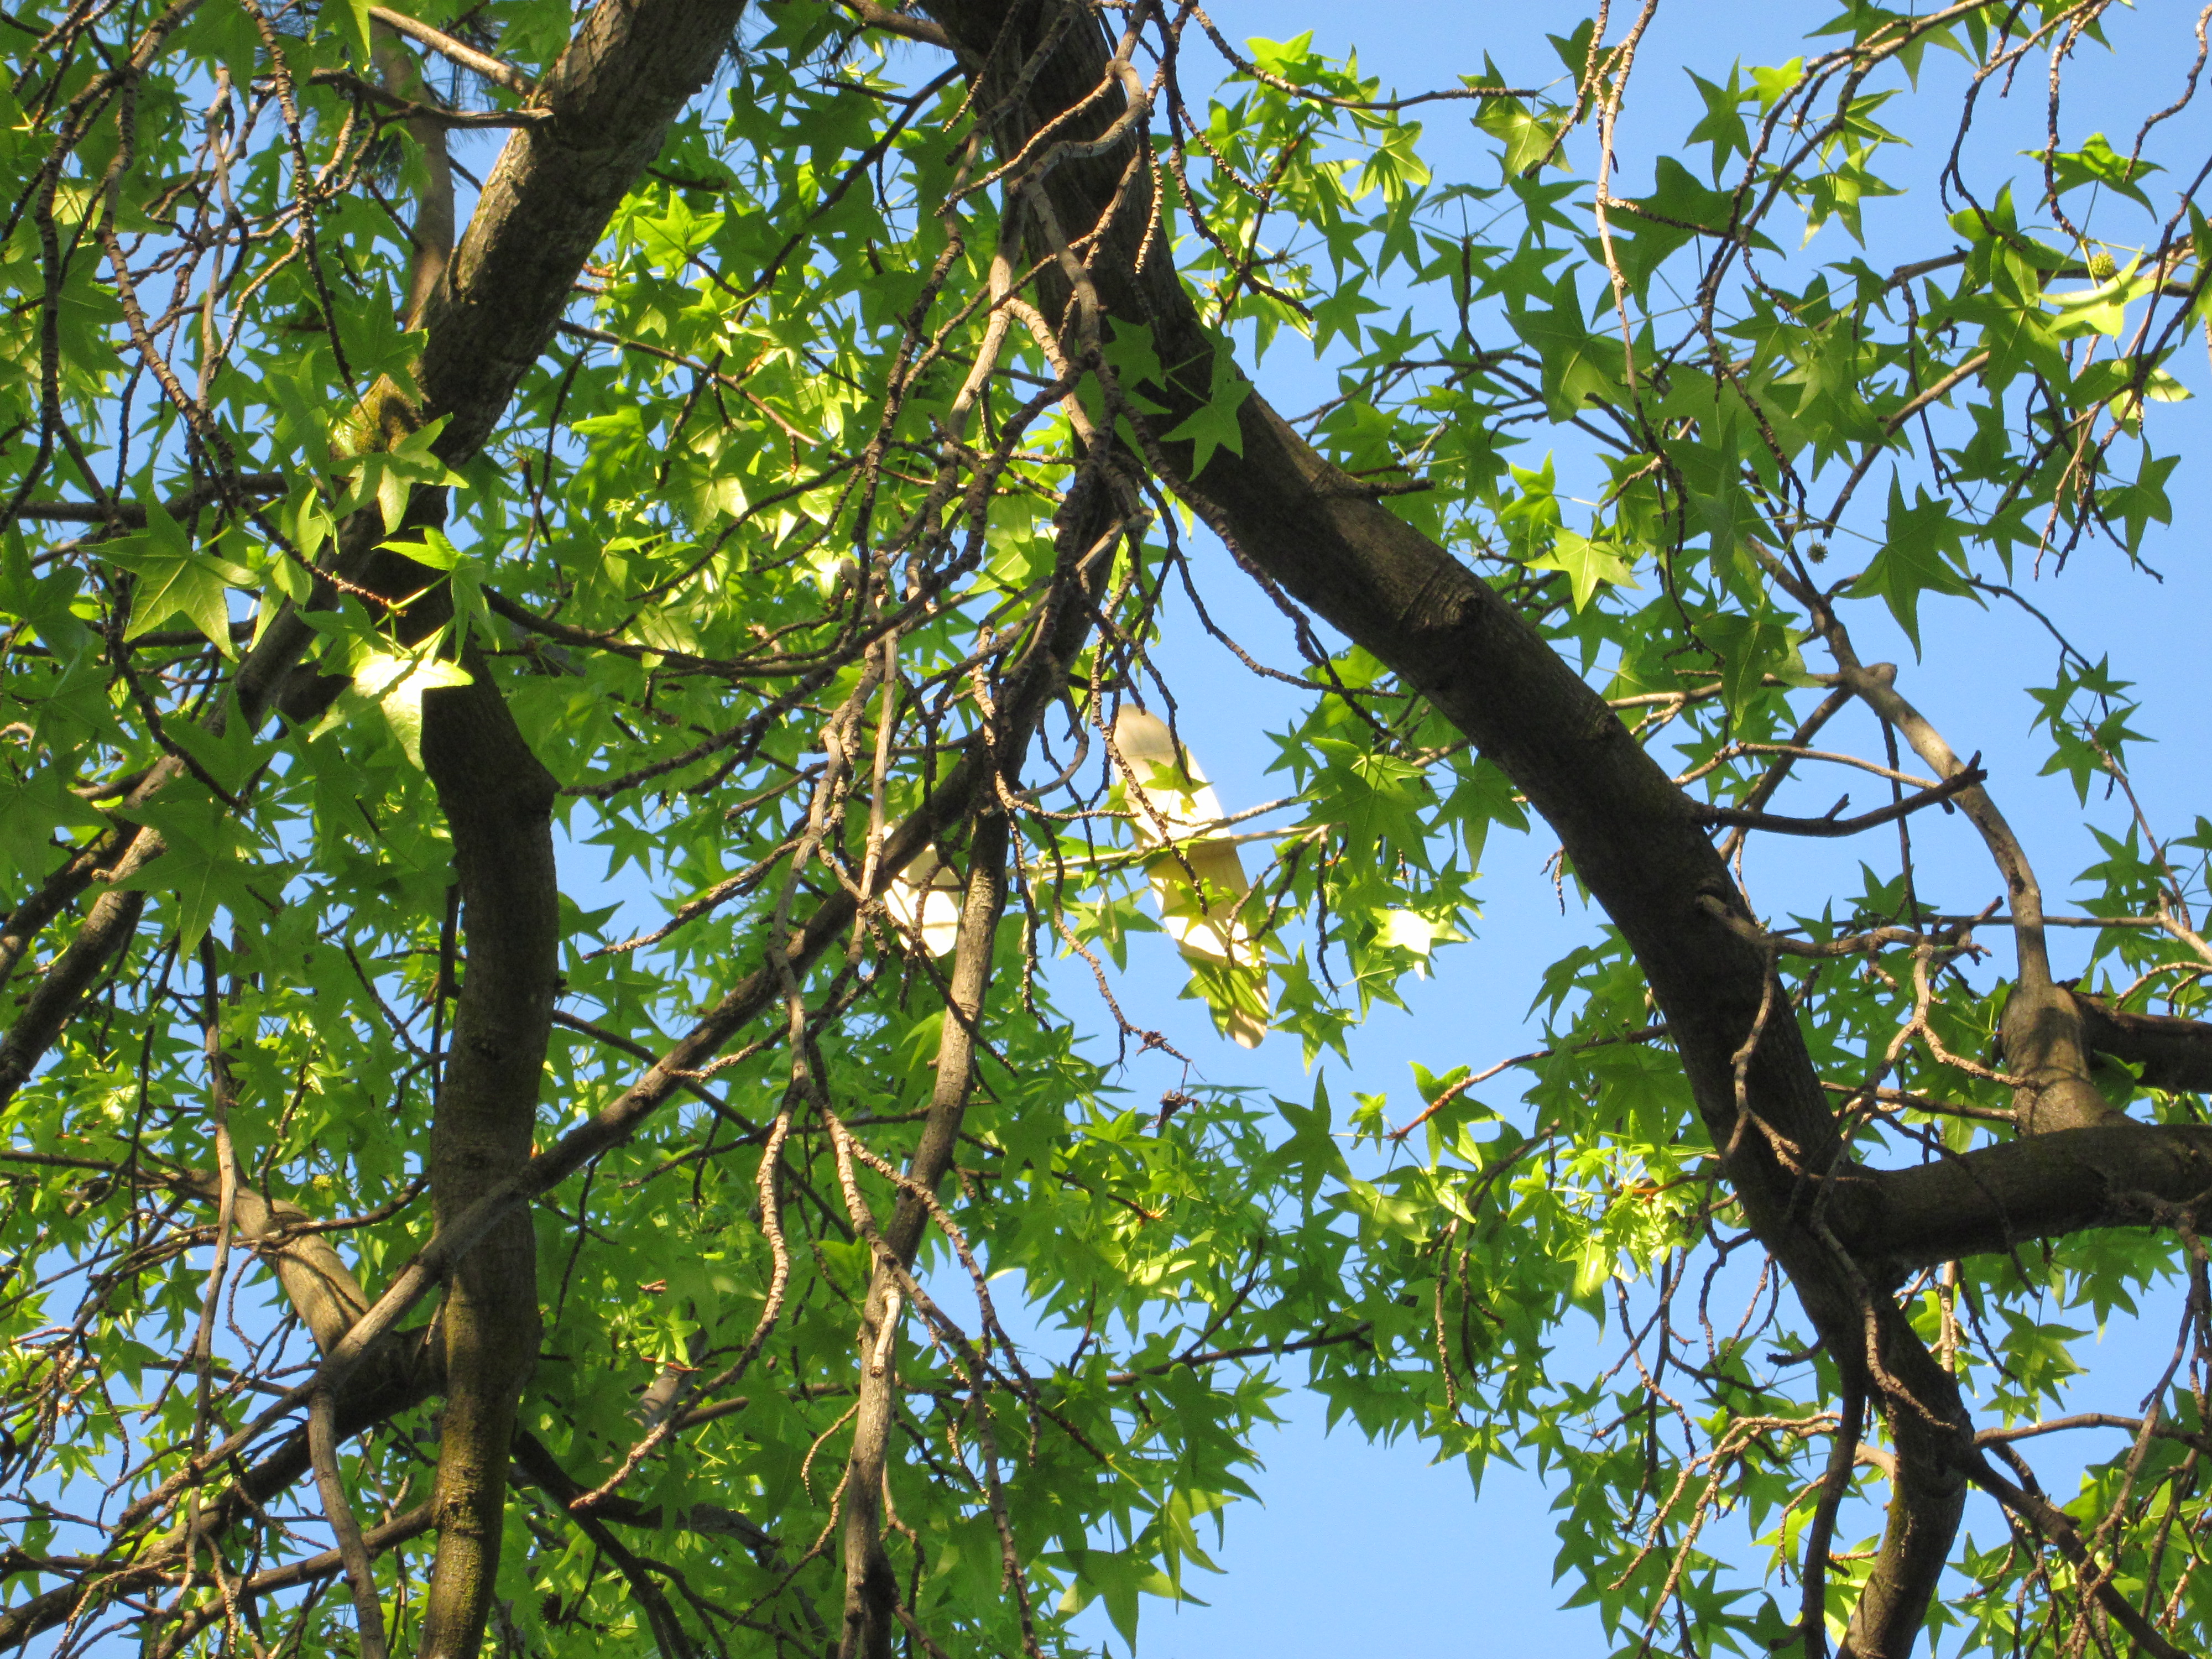
It climbed high, circling left and drifted out of the park, coming down in a tree across the street. I was able to get the plane down, but I never found the motor.
fantastic build, very clean and love the airfoil idea with the bandage, i leaned something new today so thank you.
PS. can you add a brushless motor to this on 2 channels?
thanks so much
Check YouTube for numerous videos of similar models that have had electric motors and RC added.
Bill, I may still have some Pirelli rubber! Going to show this to a pre-engineering class at Quartz Hill High next week. I think I still have a flyable poly- wog from Balsa Butchers at Sepulveda JH! Mike, ex-Butcher ’63-’66
Good grief, Charlie Brown! What a project! Great photography!. Precision builder! Mine was more of a quick and dirty project for a JHS model club. My philosophy is never put more work into a model than you are willing to see go down the drain on a fly-away! Haw-w-w-w-w-w-w-w-w! Uncle Bill
Now if we could get our hands on some ’72 Pirelli…..
Great build!