Final Assembly of Major Components
At this point you will have completed the wing, tailplane, fuselage, propeller assembly and landing gear. It is time to put all these together and make an airplane.
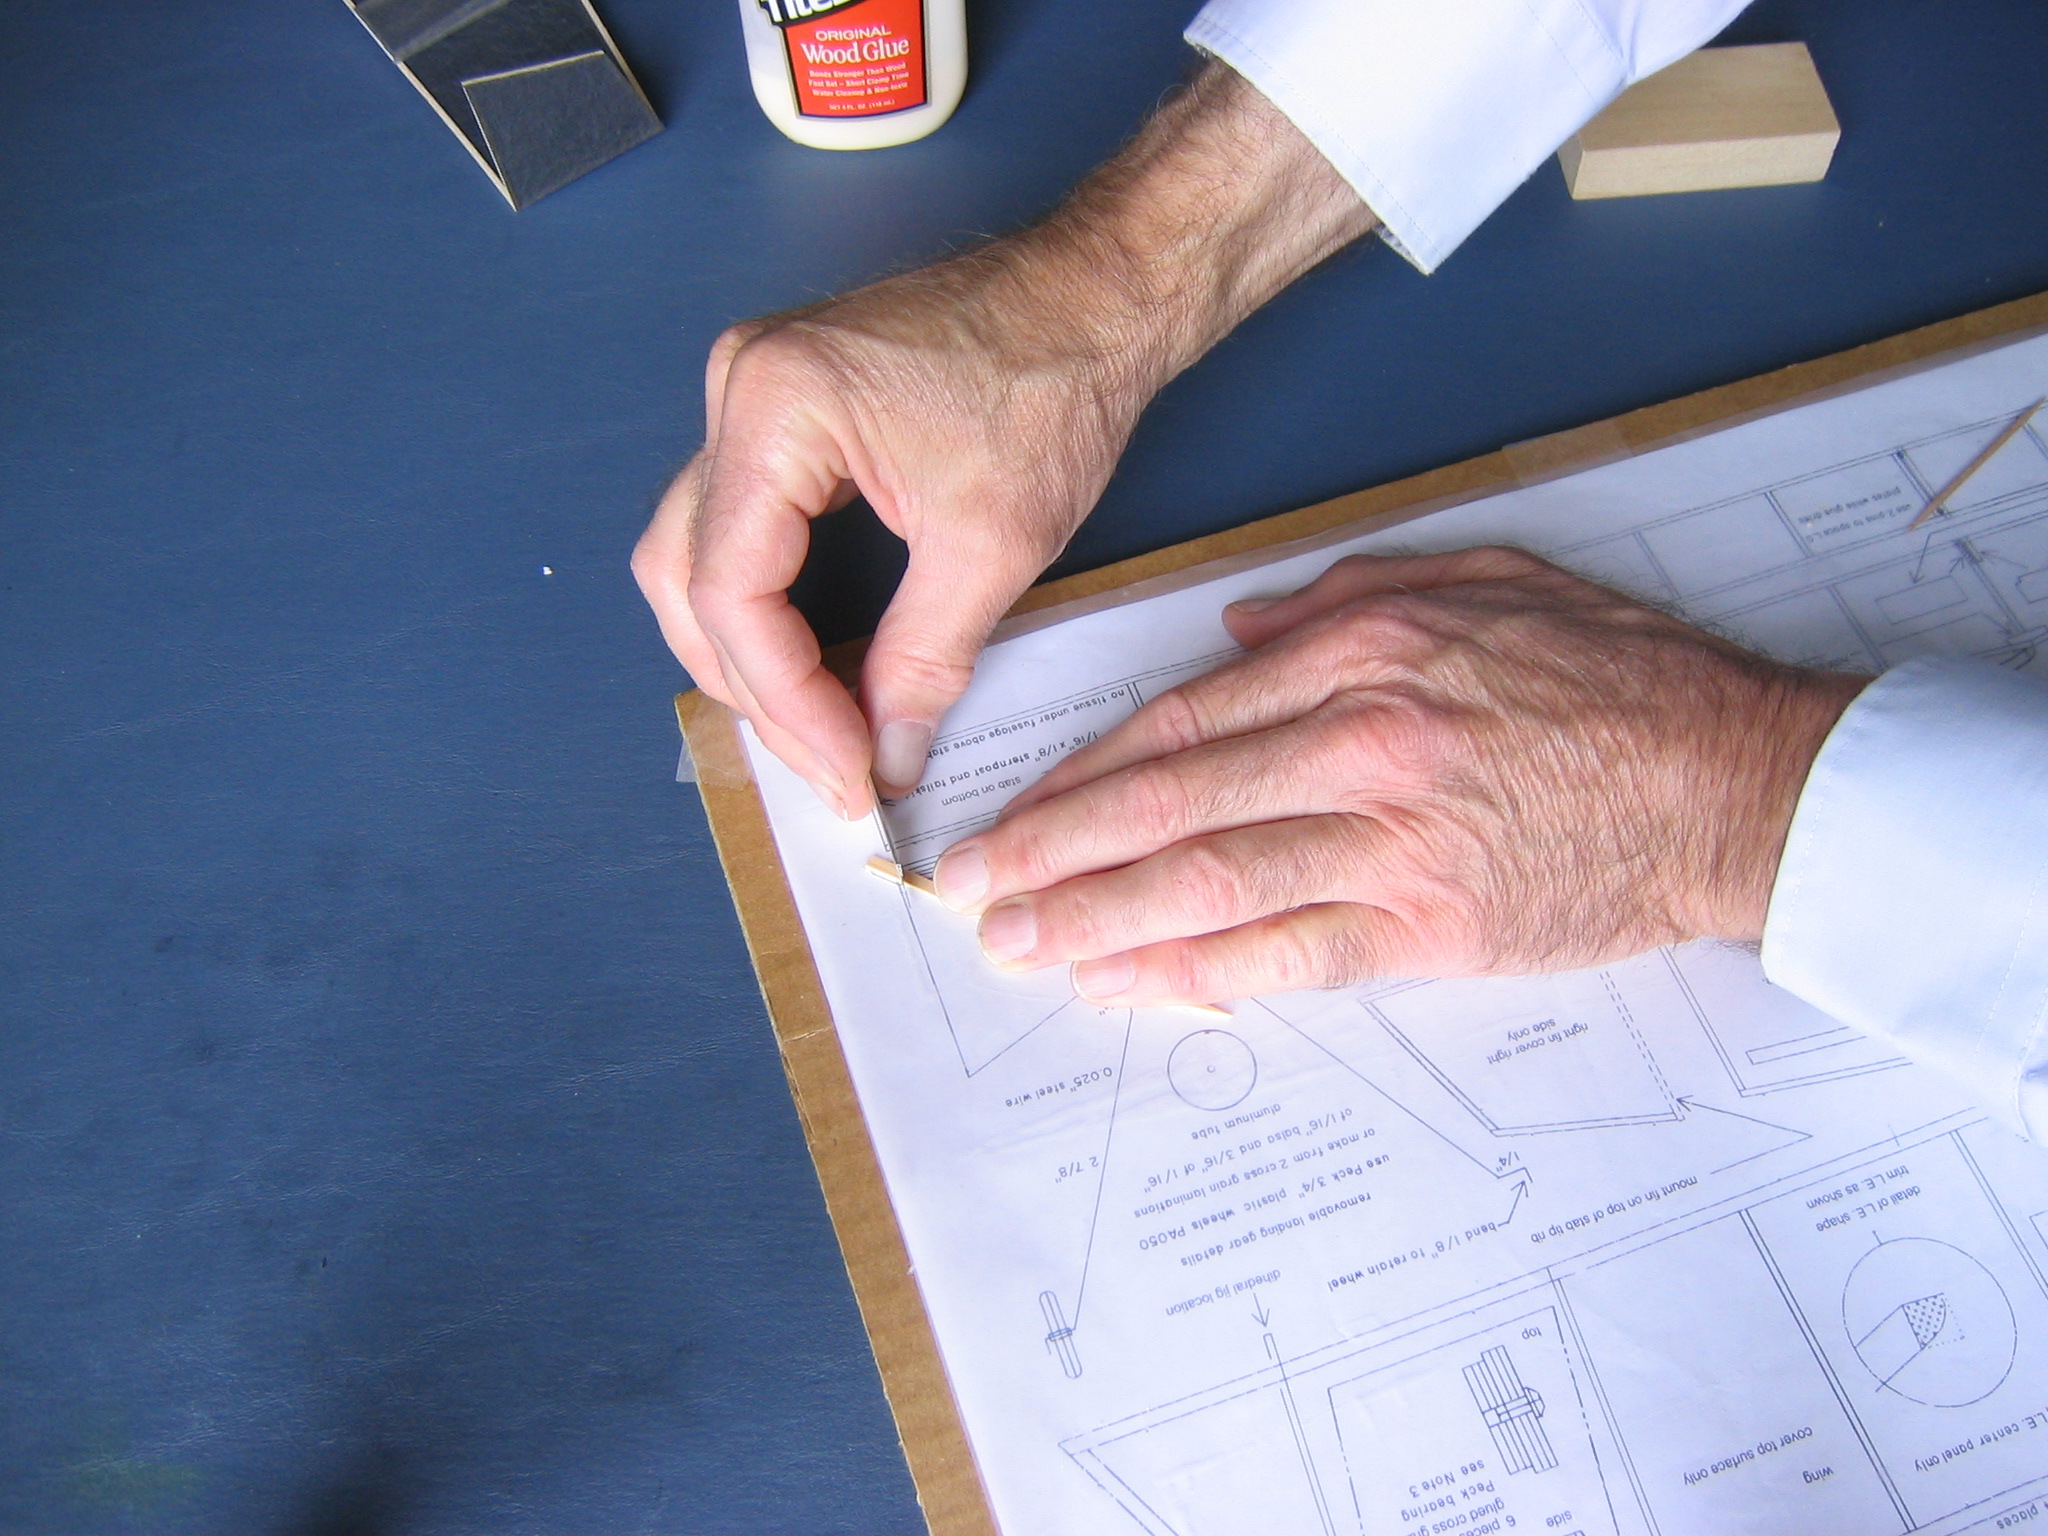
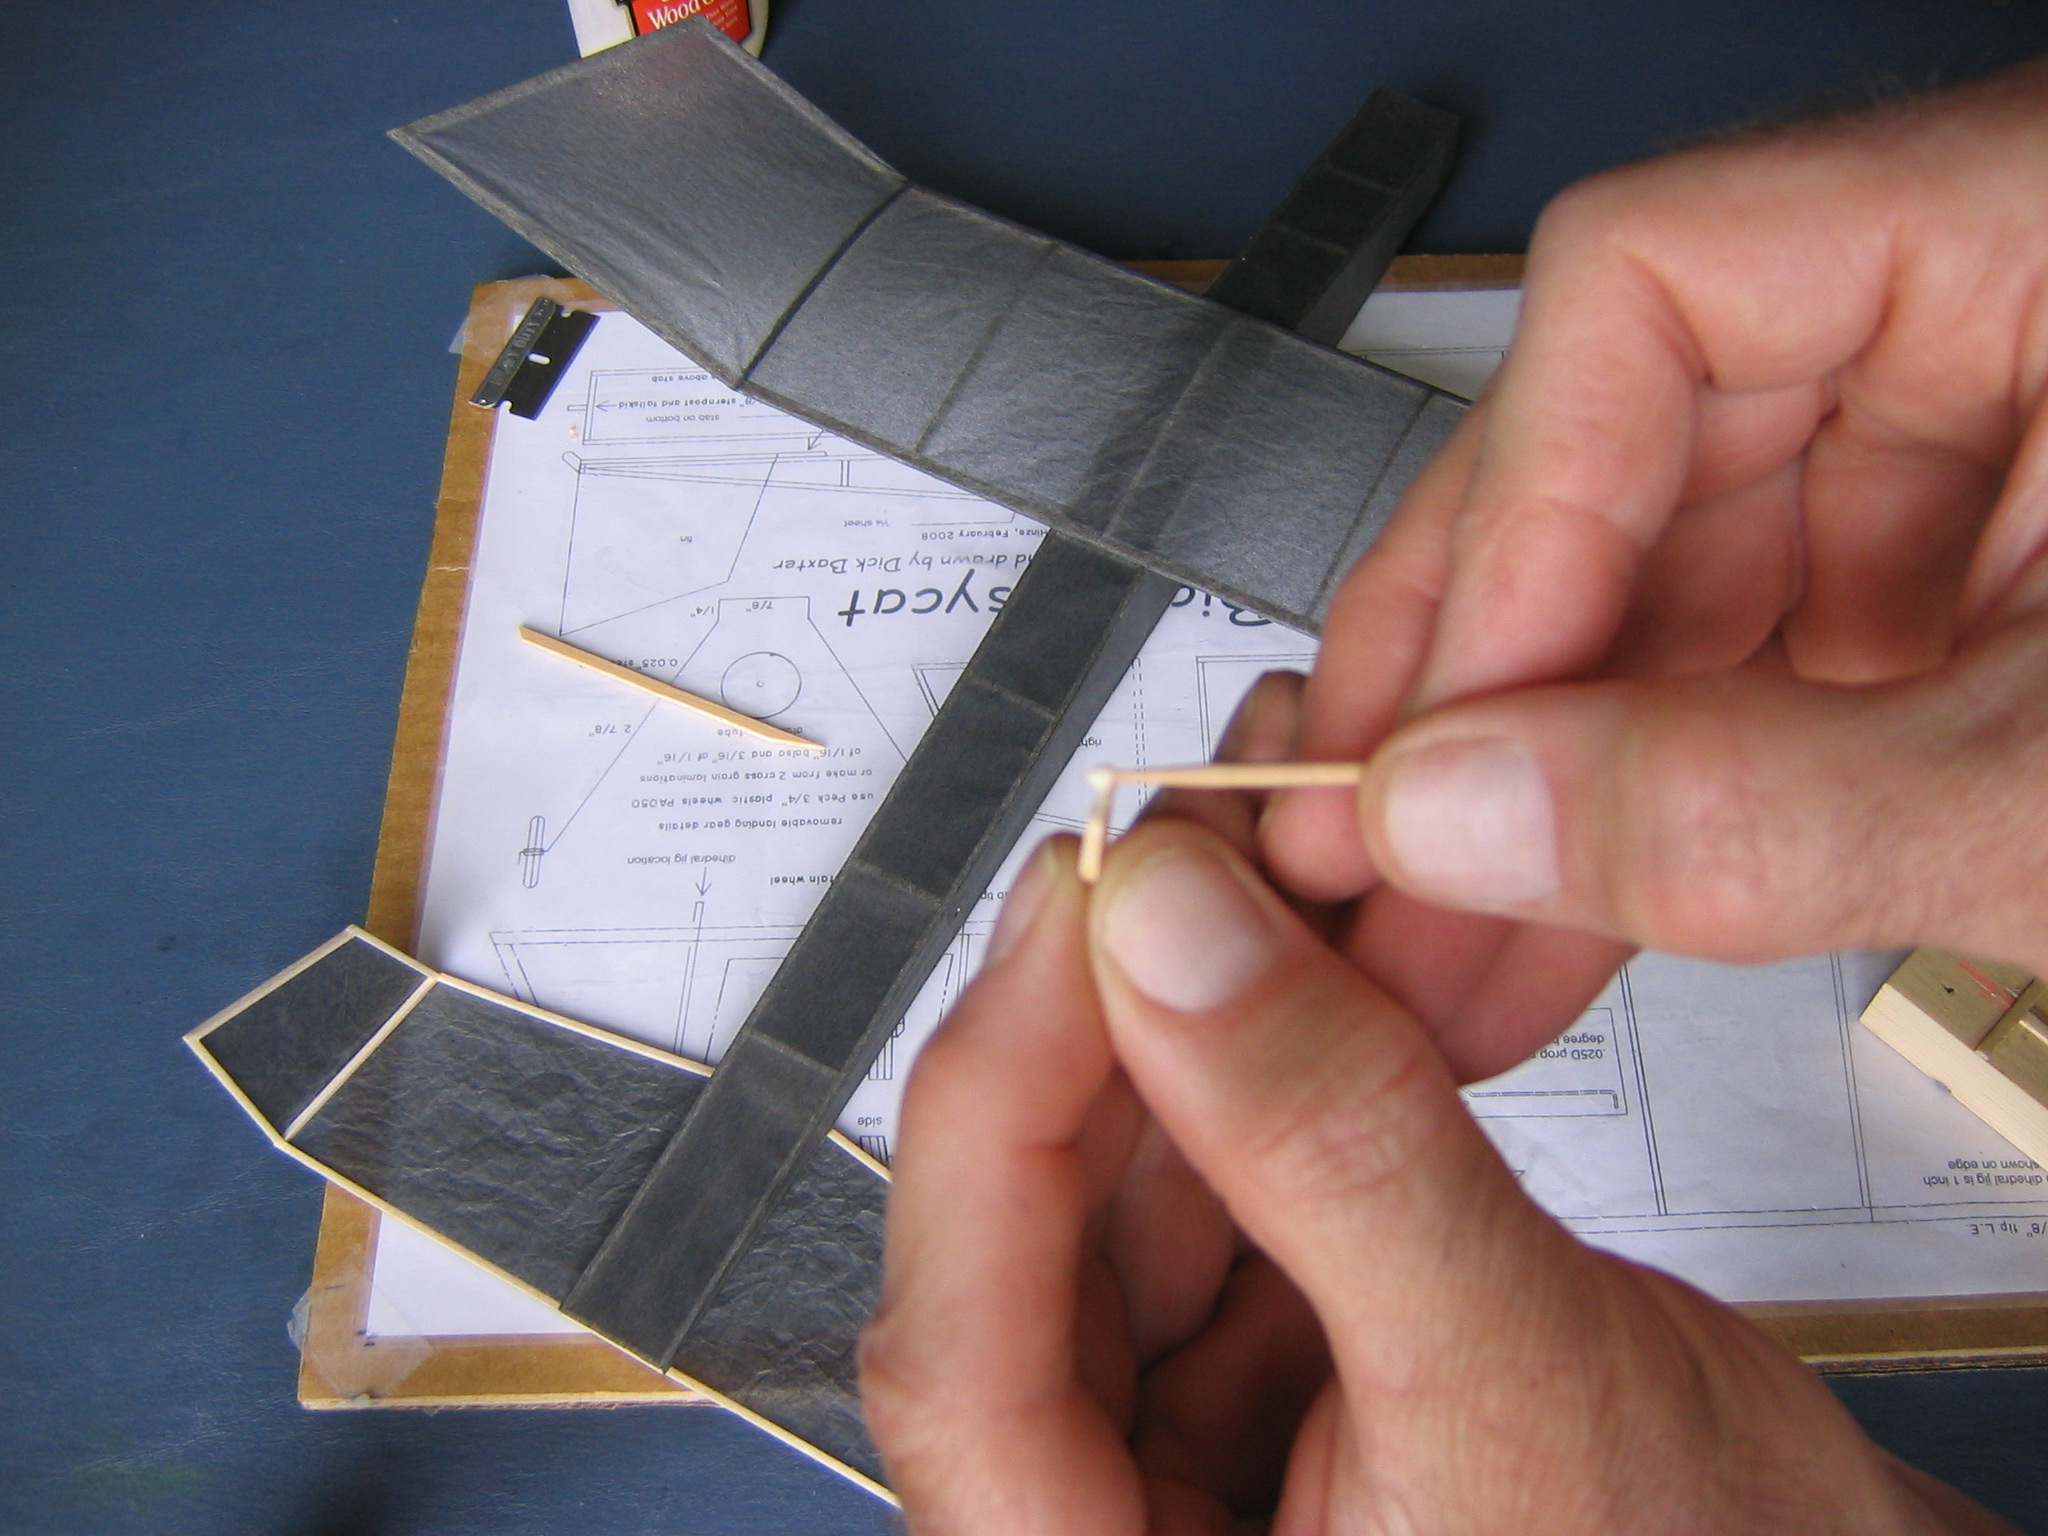
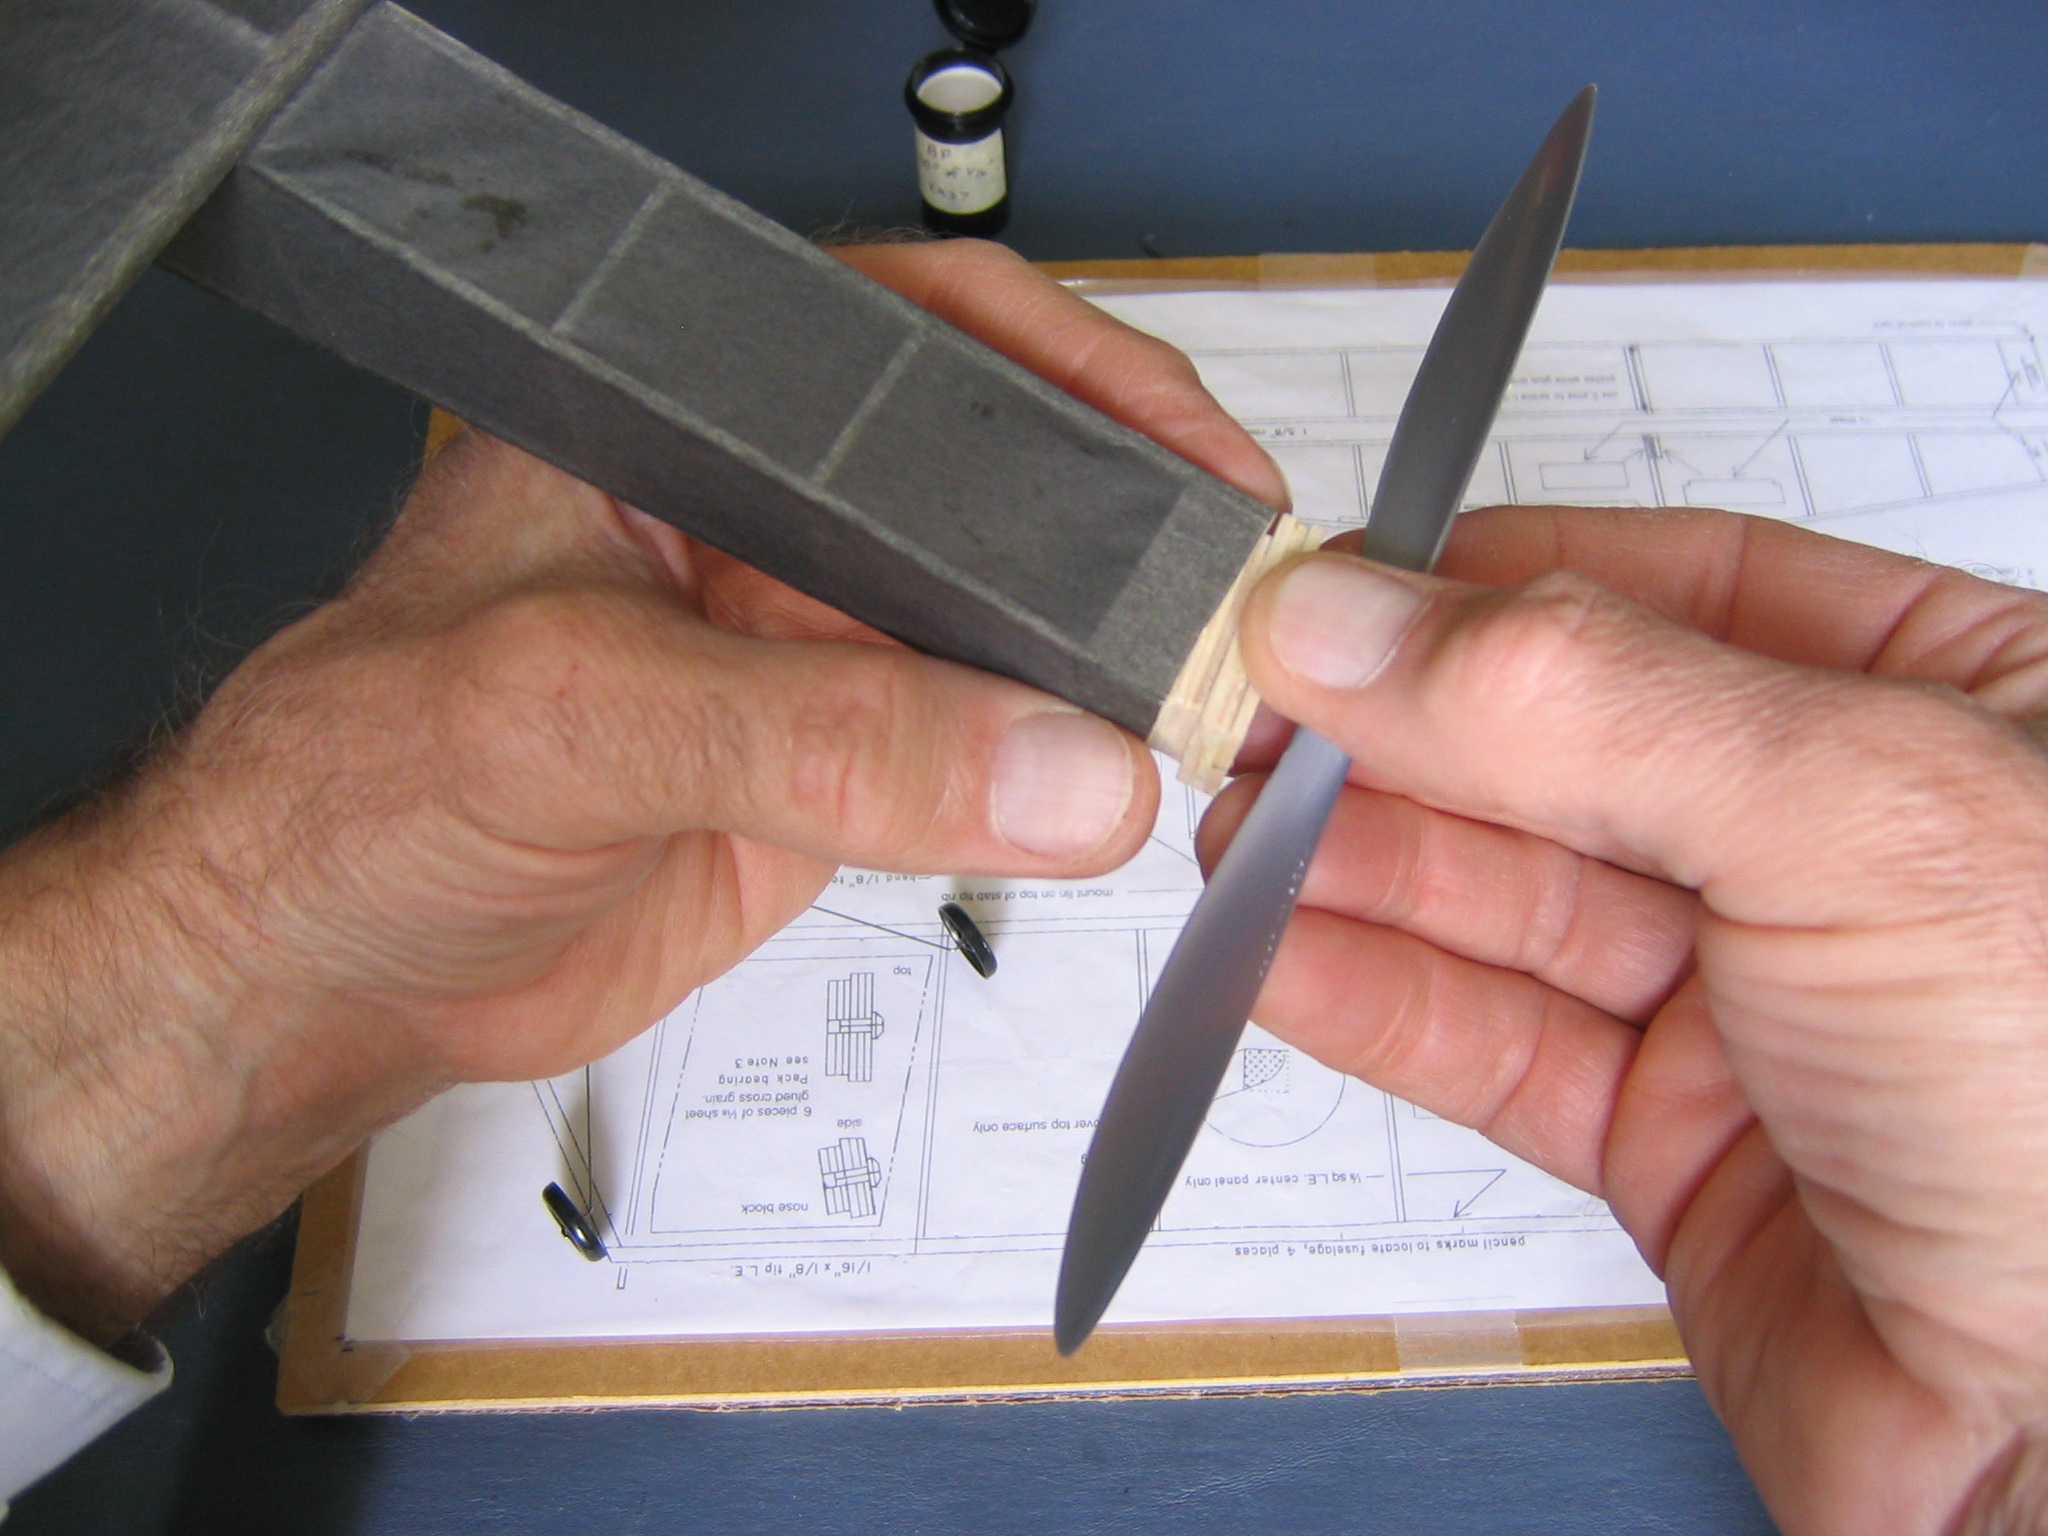
Put a small drop of glue on the tops of the tailplane spars, just inside the pencil marks you made earlier to locate the fuselage. Here I am using the point of a toothpick to apply the glue. The glue should extend across the spar and be wide enough to extend across the 1/16″ fuselage spar. You want just enough glue to wet the wood without big gobs of glue squeezing out when you put the parts together.
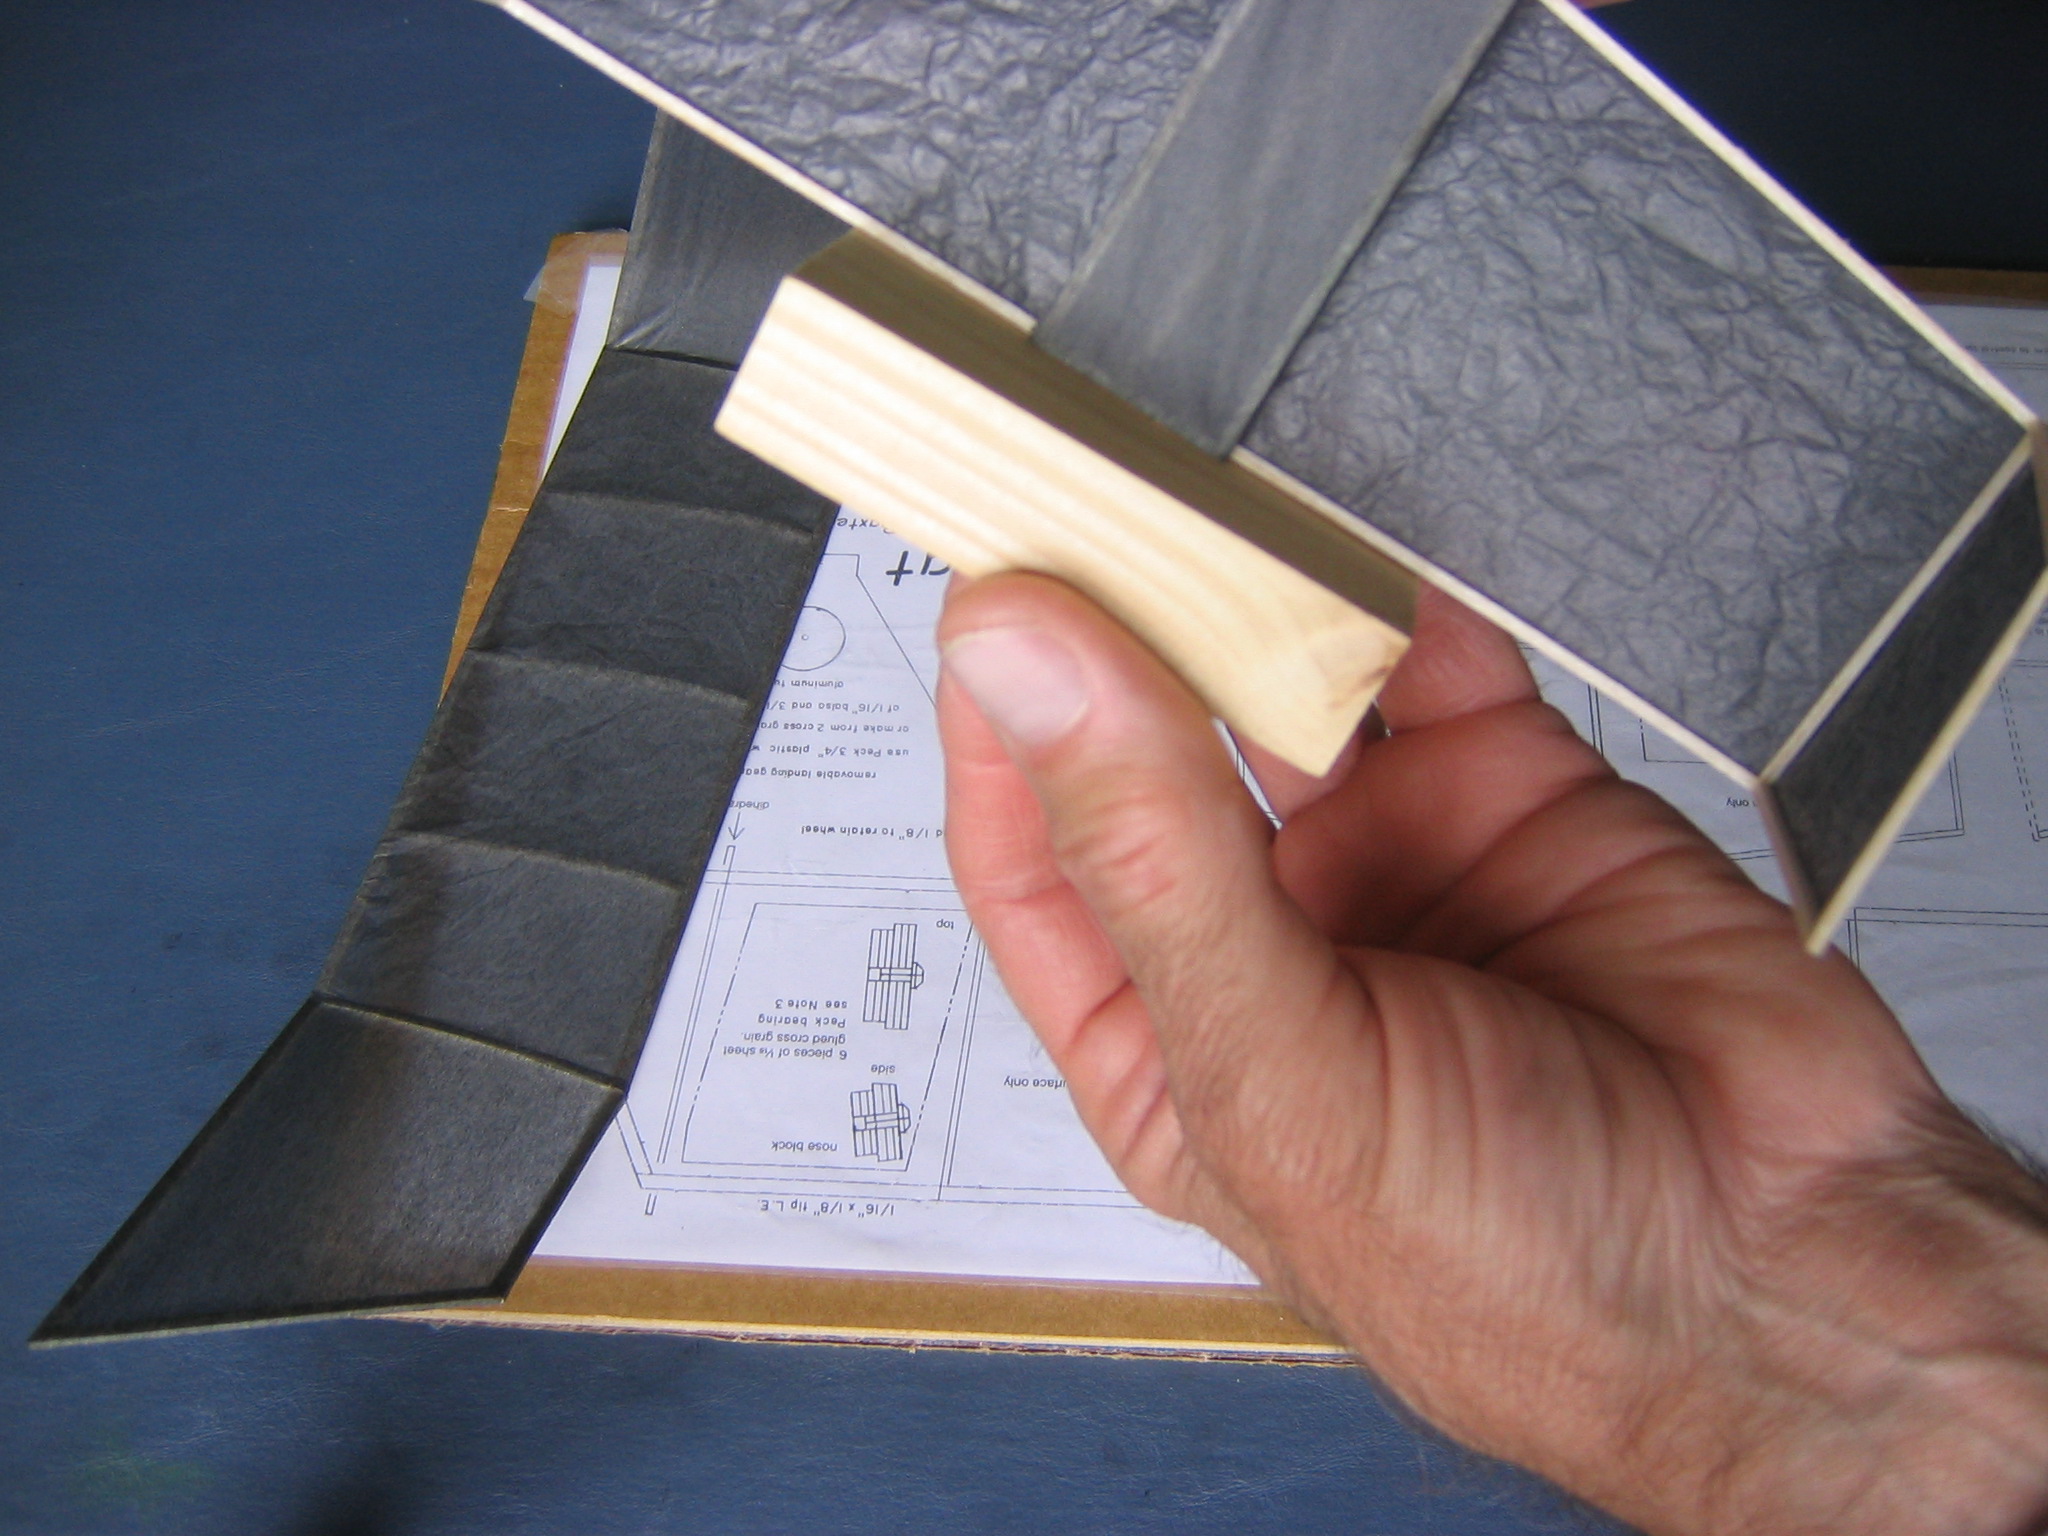
Join the tailplane to the underside of the fuselage with the paper side down, so there is a wood to wood glue joint and the fins point up. Use a block of wood to get the tailplane square to the fuselage and make sure the fuselage is within the pencil marks.
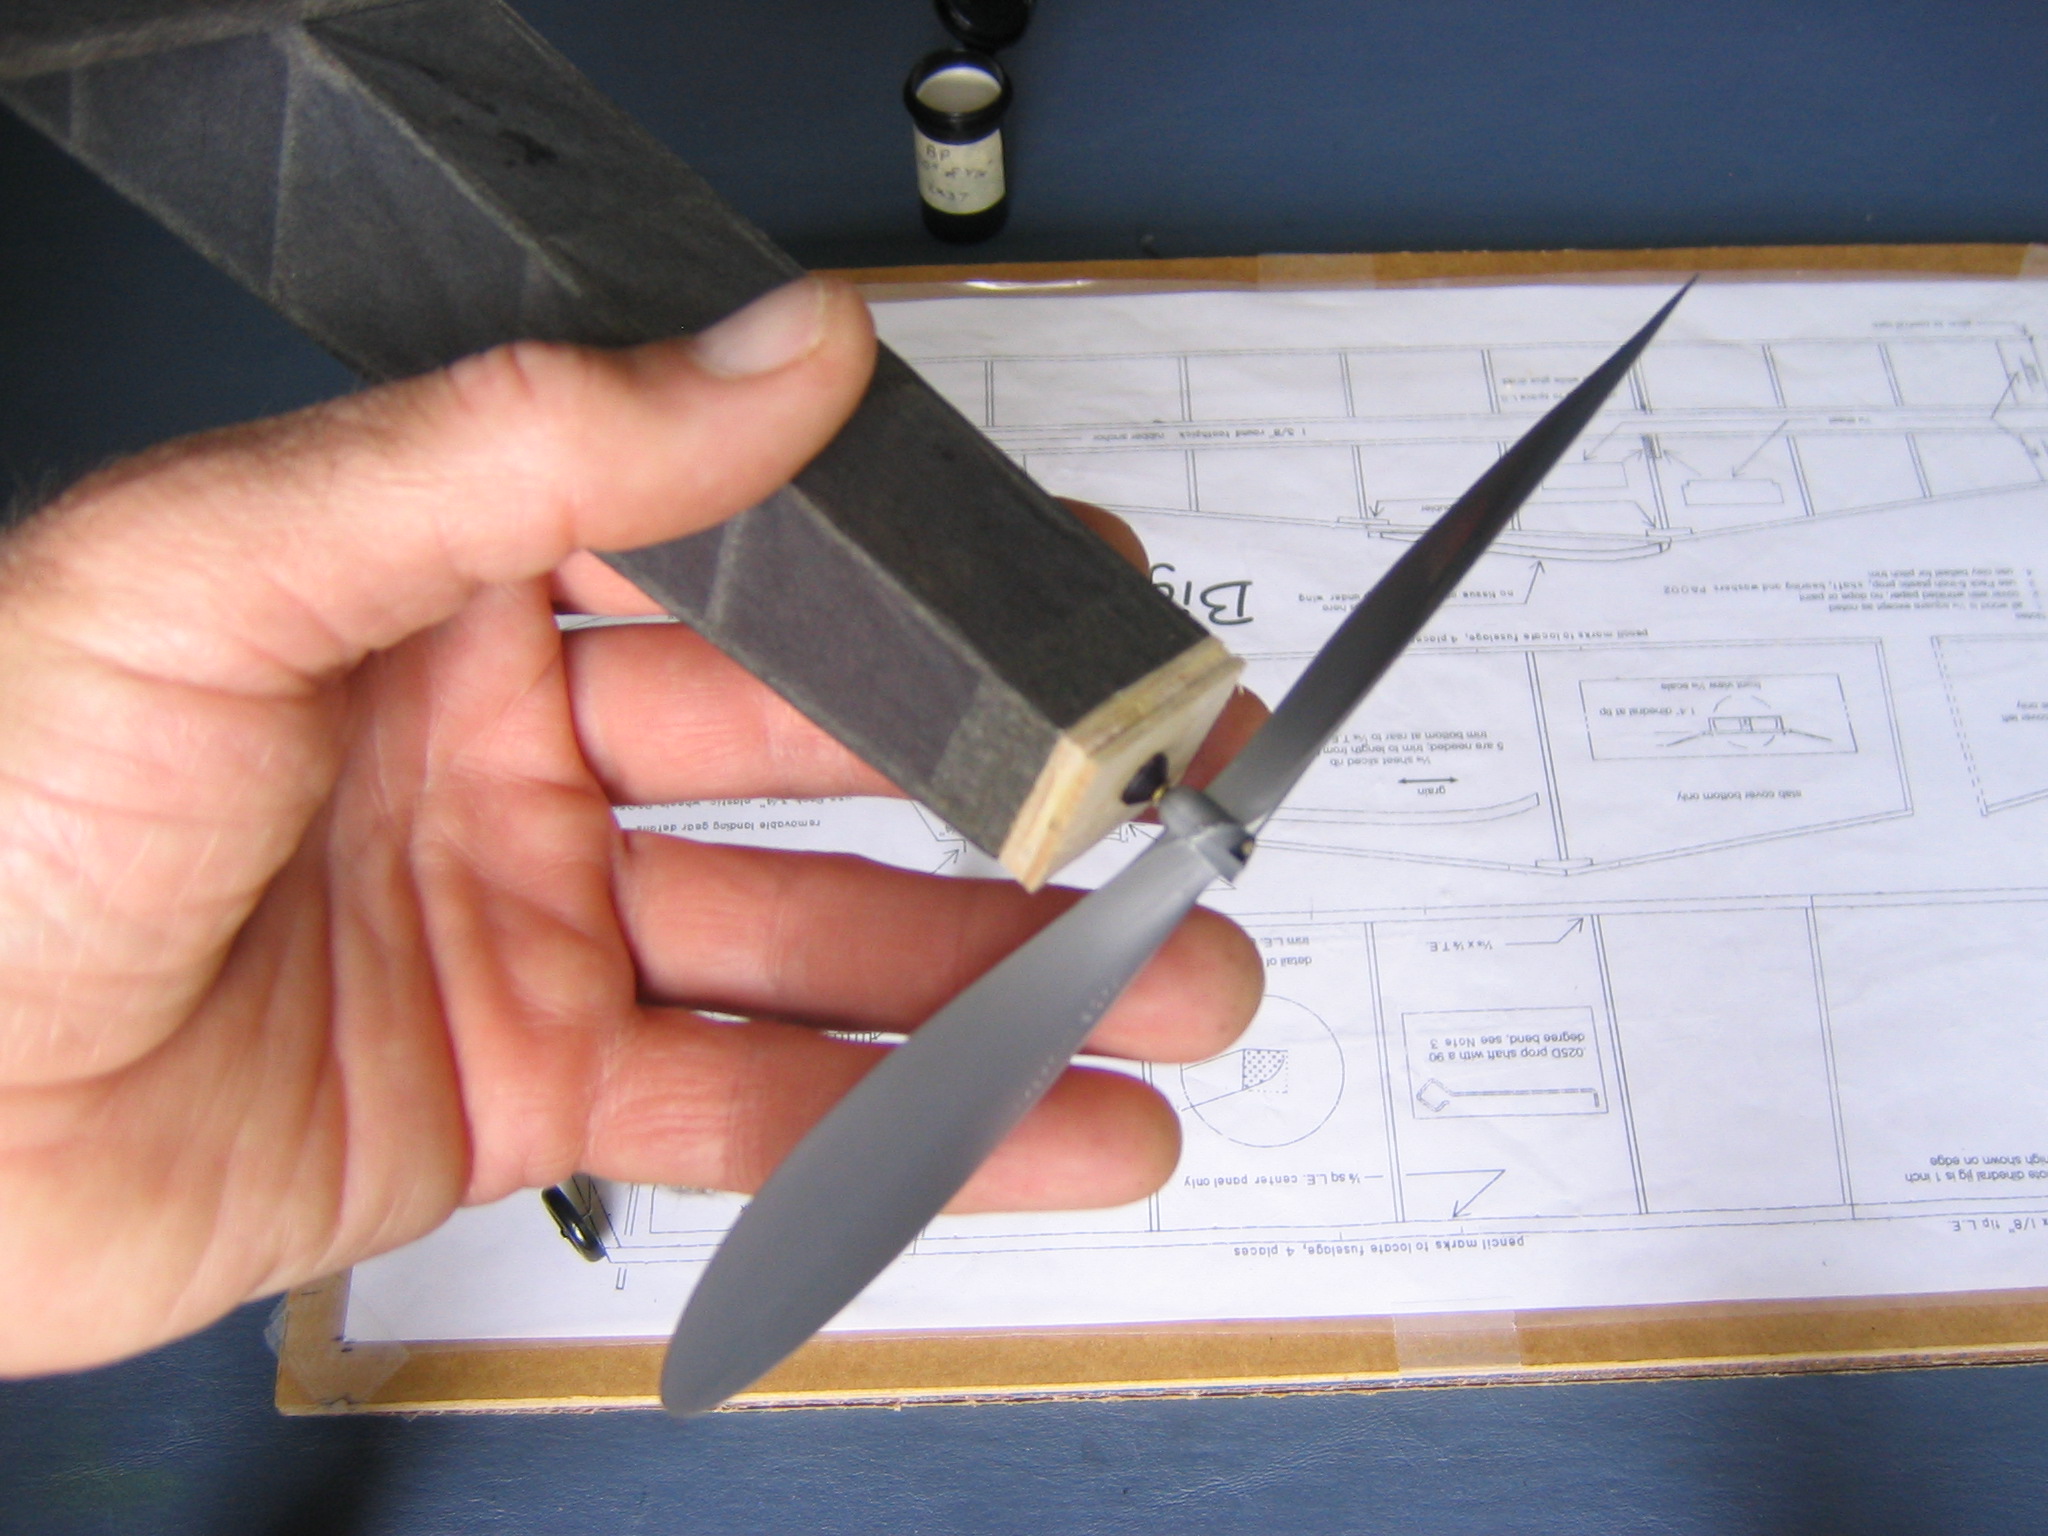
The back of the sternpost and the back of the trailing edge spar should be in the same plane. You will need a flat surface to which to glue the tailskid. Hold the parts together until the glue sticks. You can put the plane down on the flat building board with some 1/16″ wood under the nose, to space it up the same height as the thickness of the tailplane, and put a small weight, like your sanding block, on top of the rear end of the fuselage to hold it down while the glue dries. Let the glue dry before handling it again.
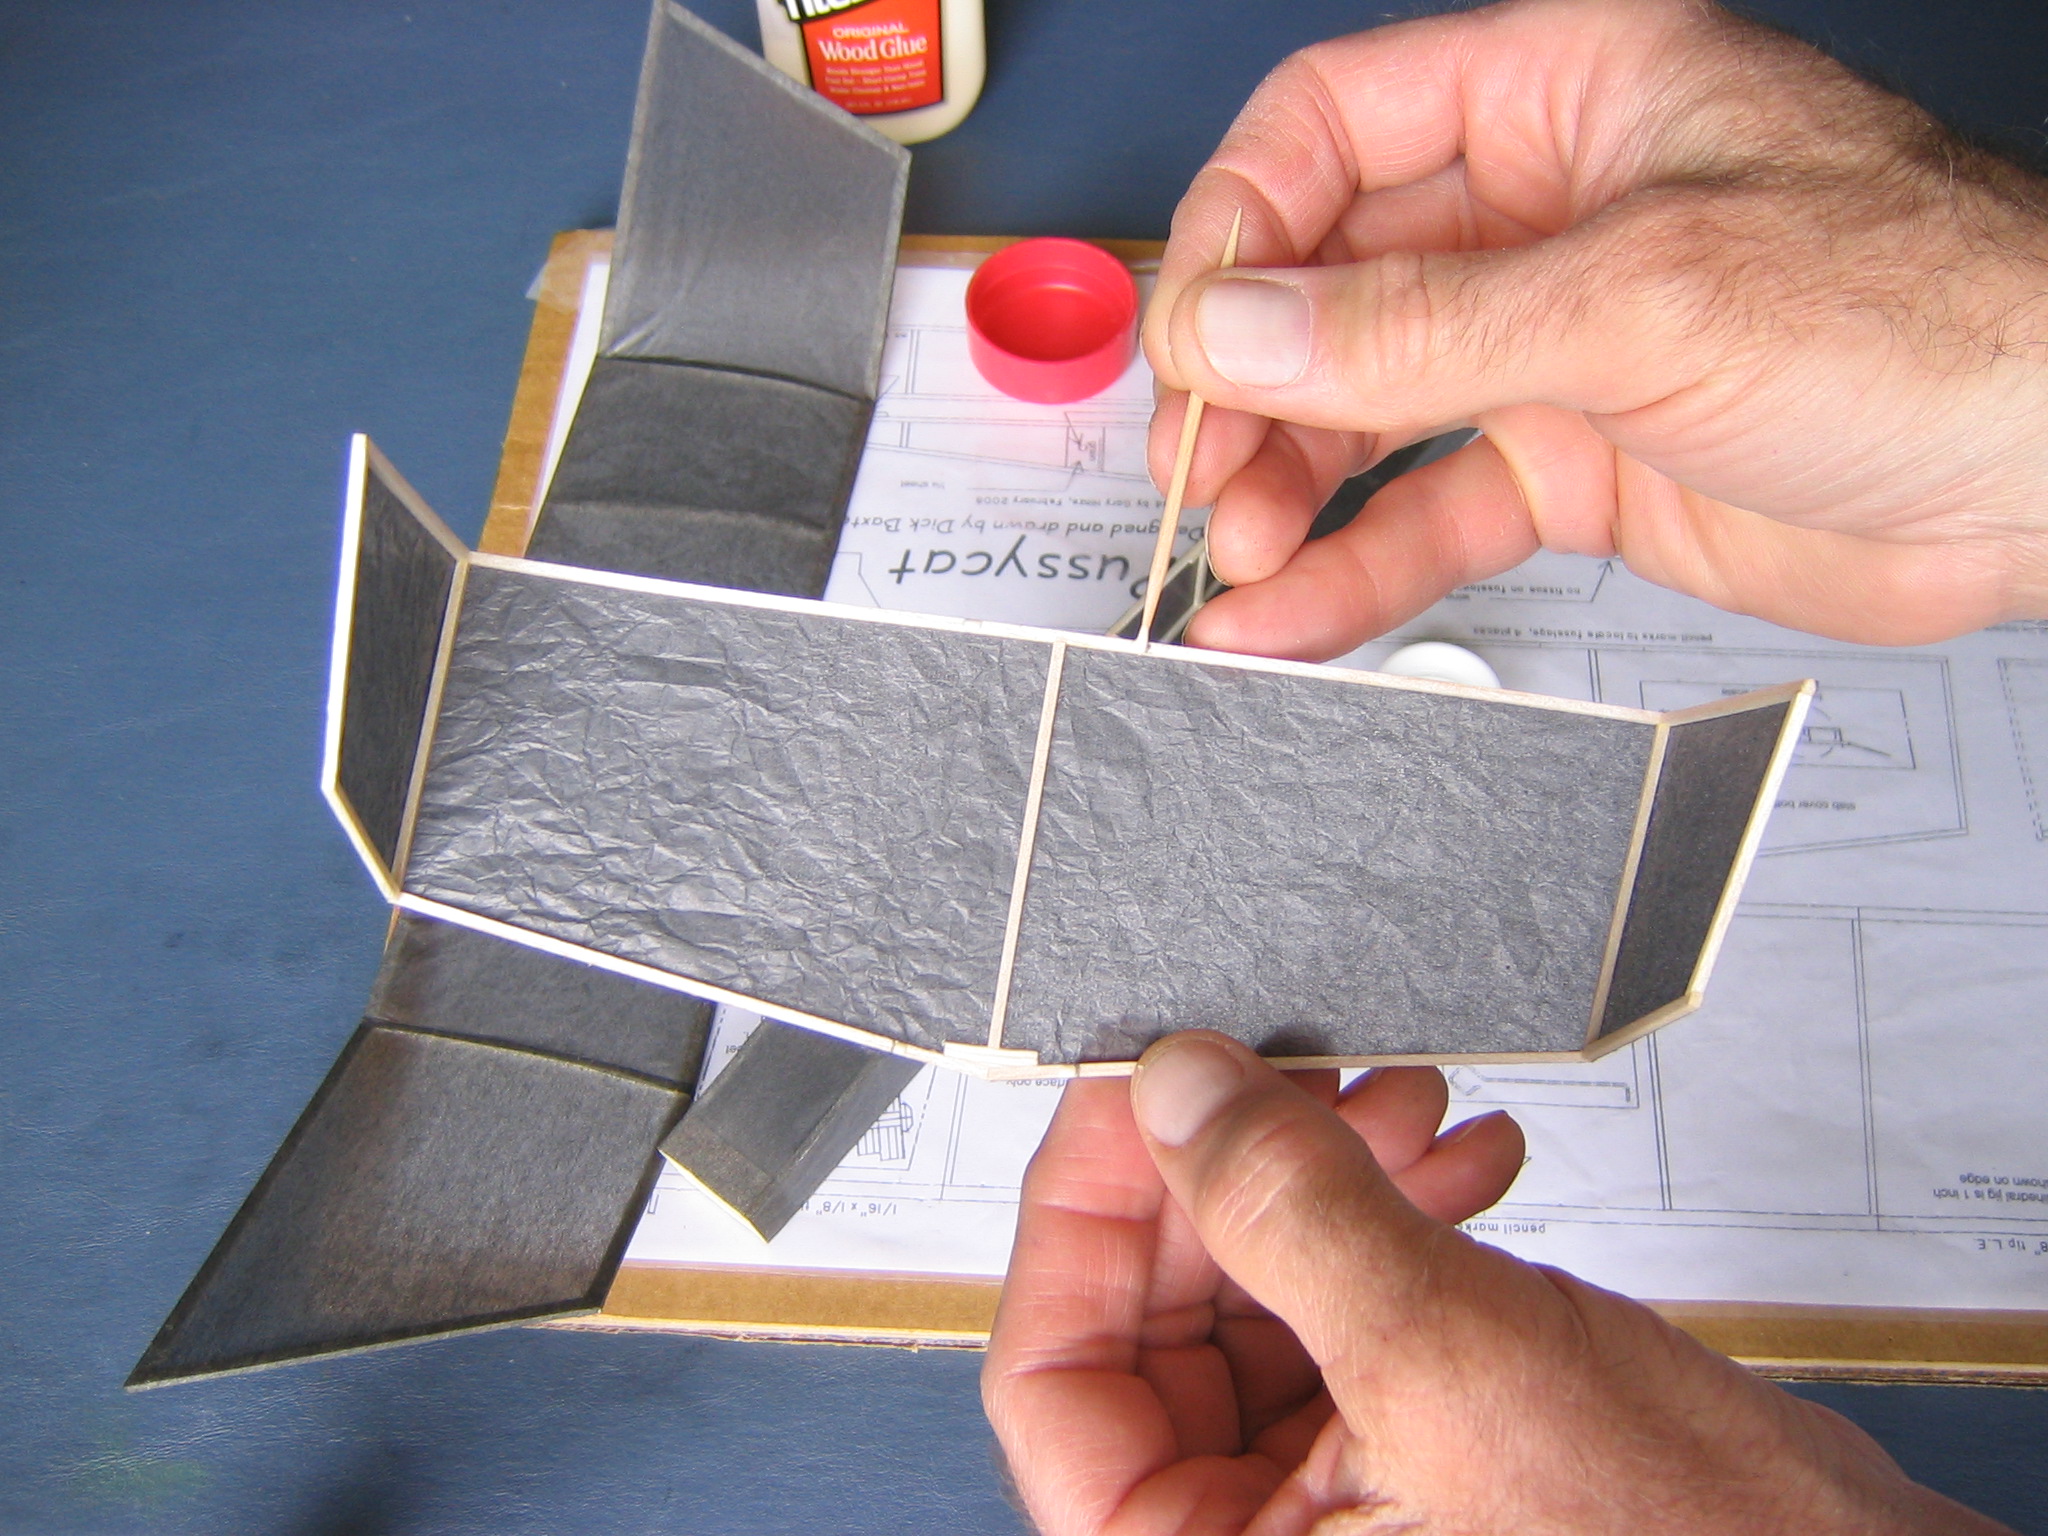
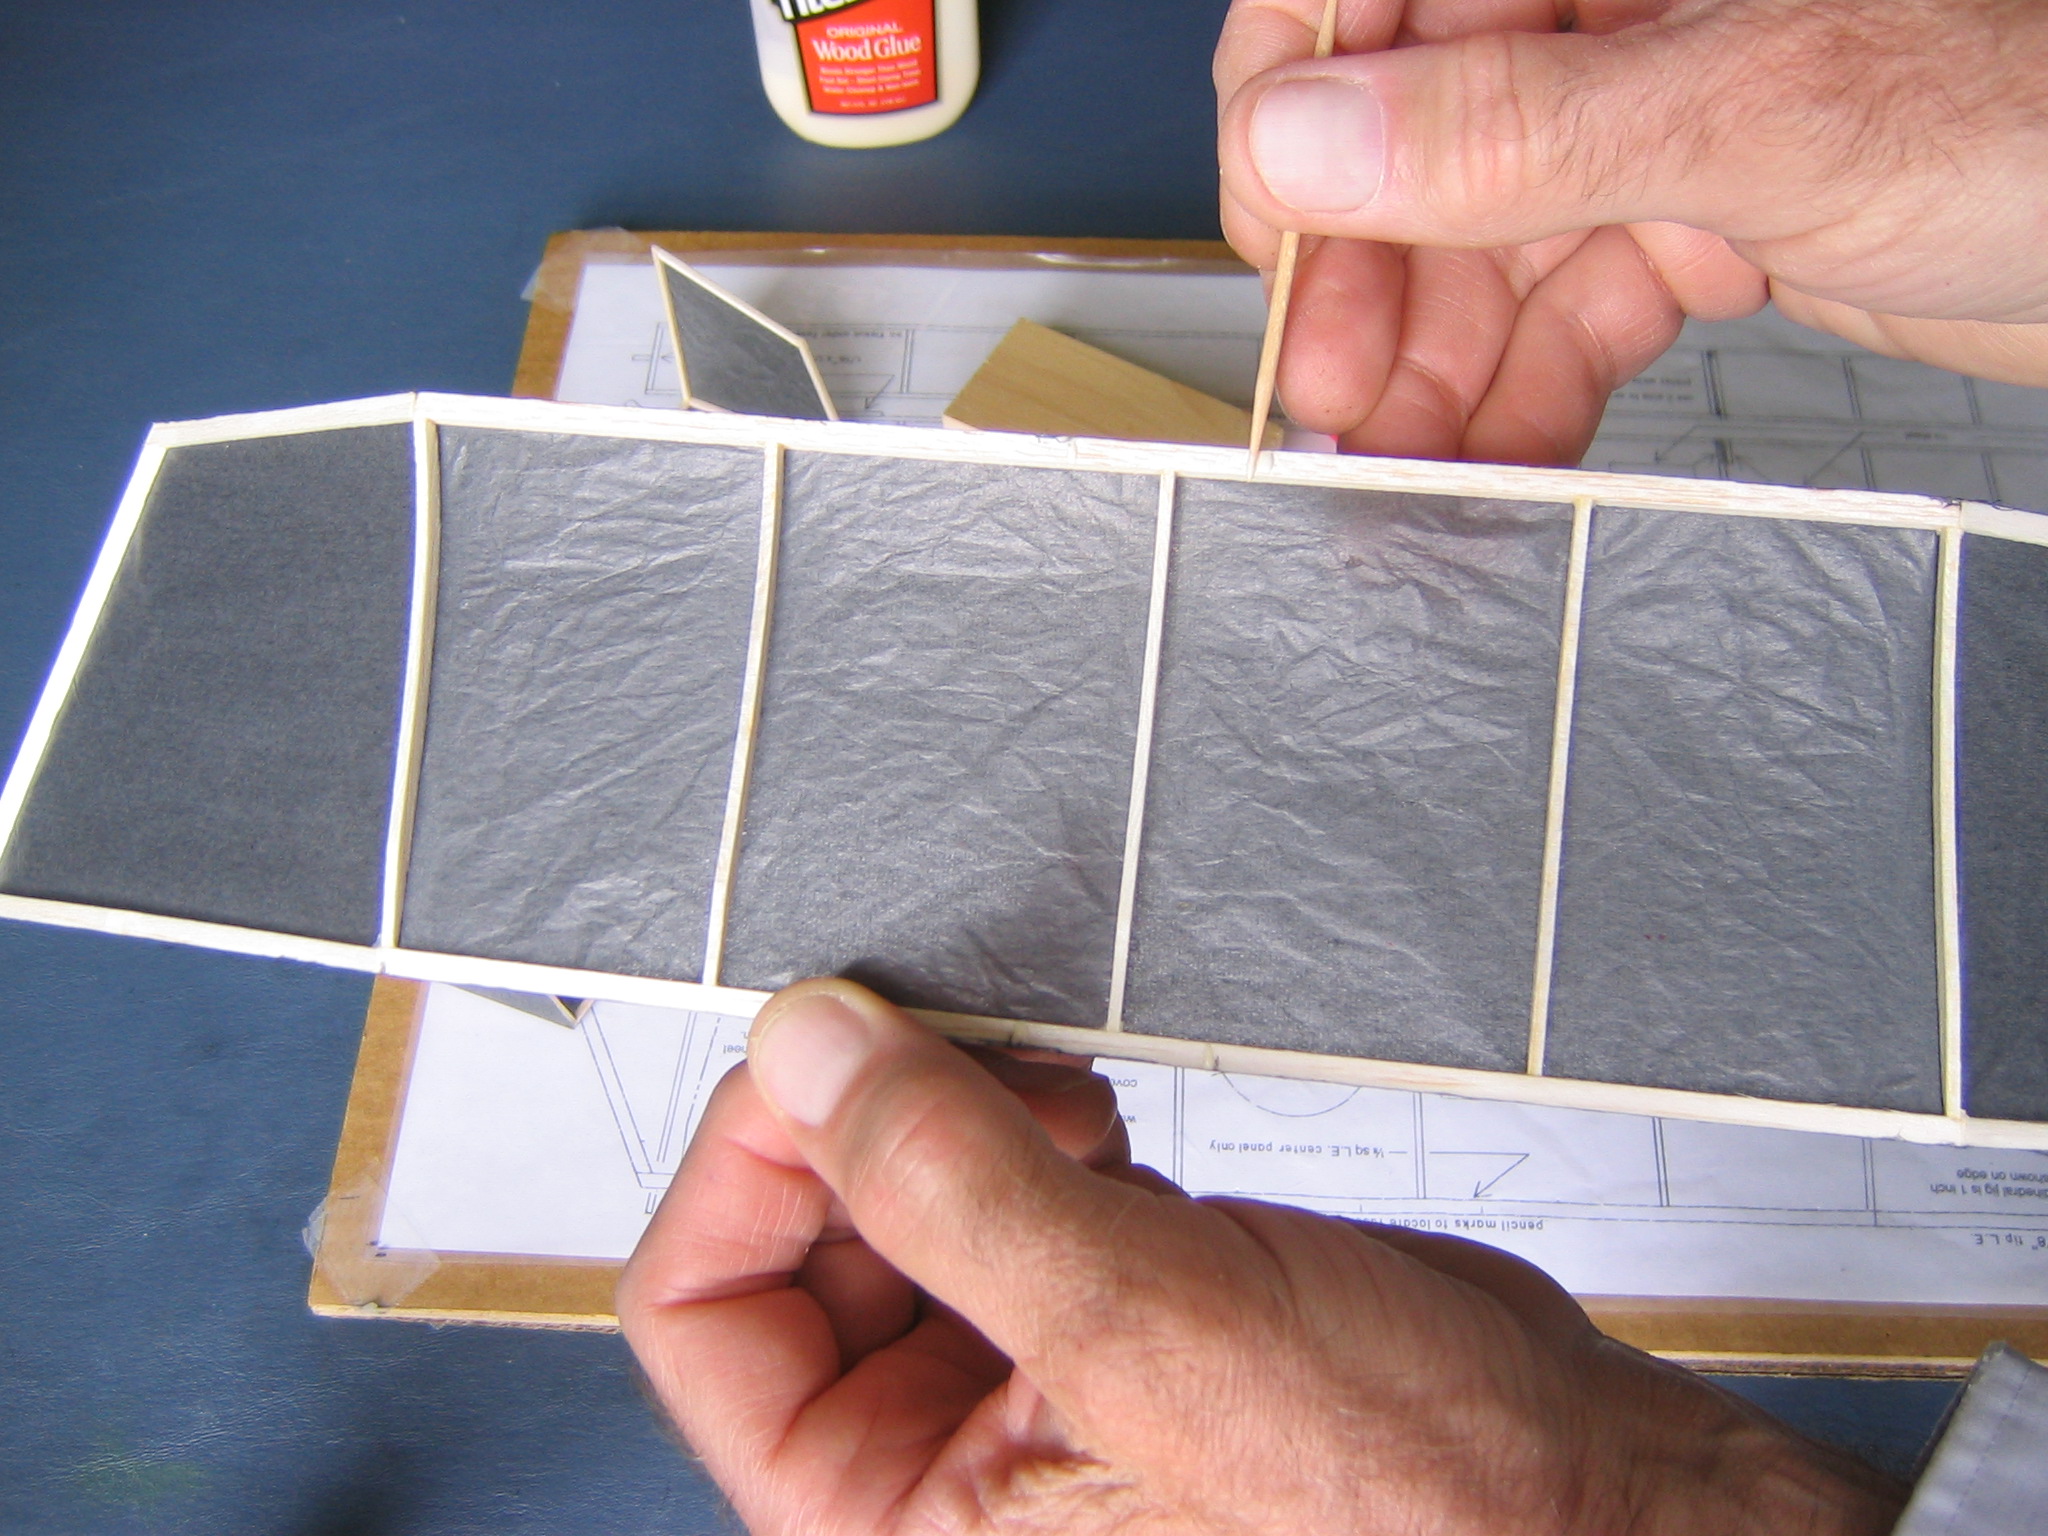
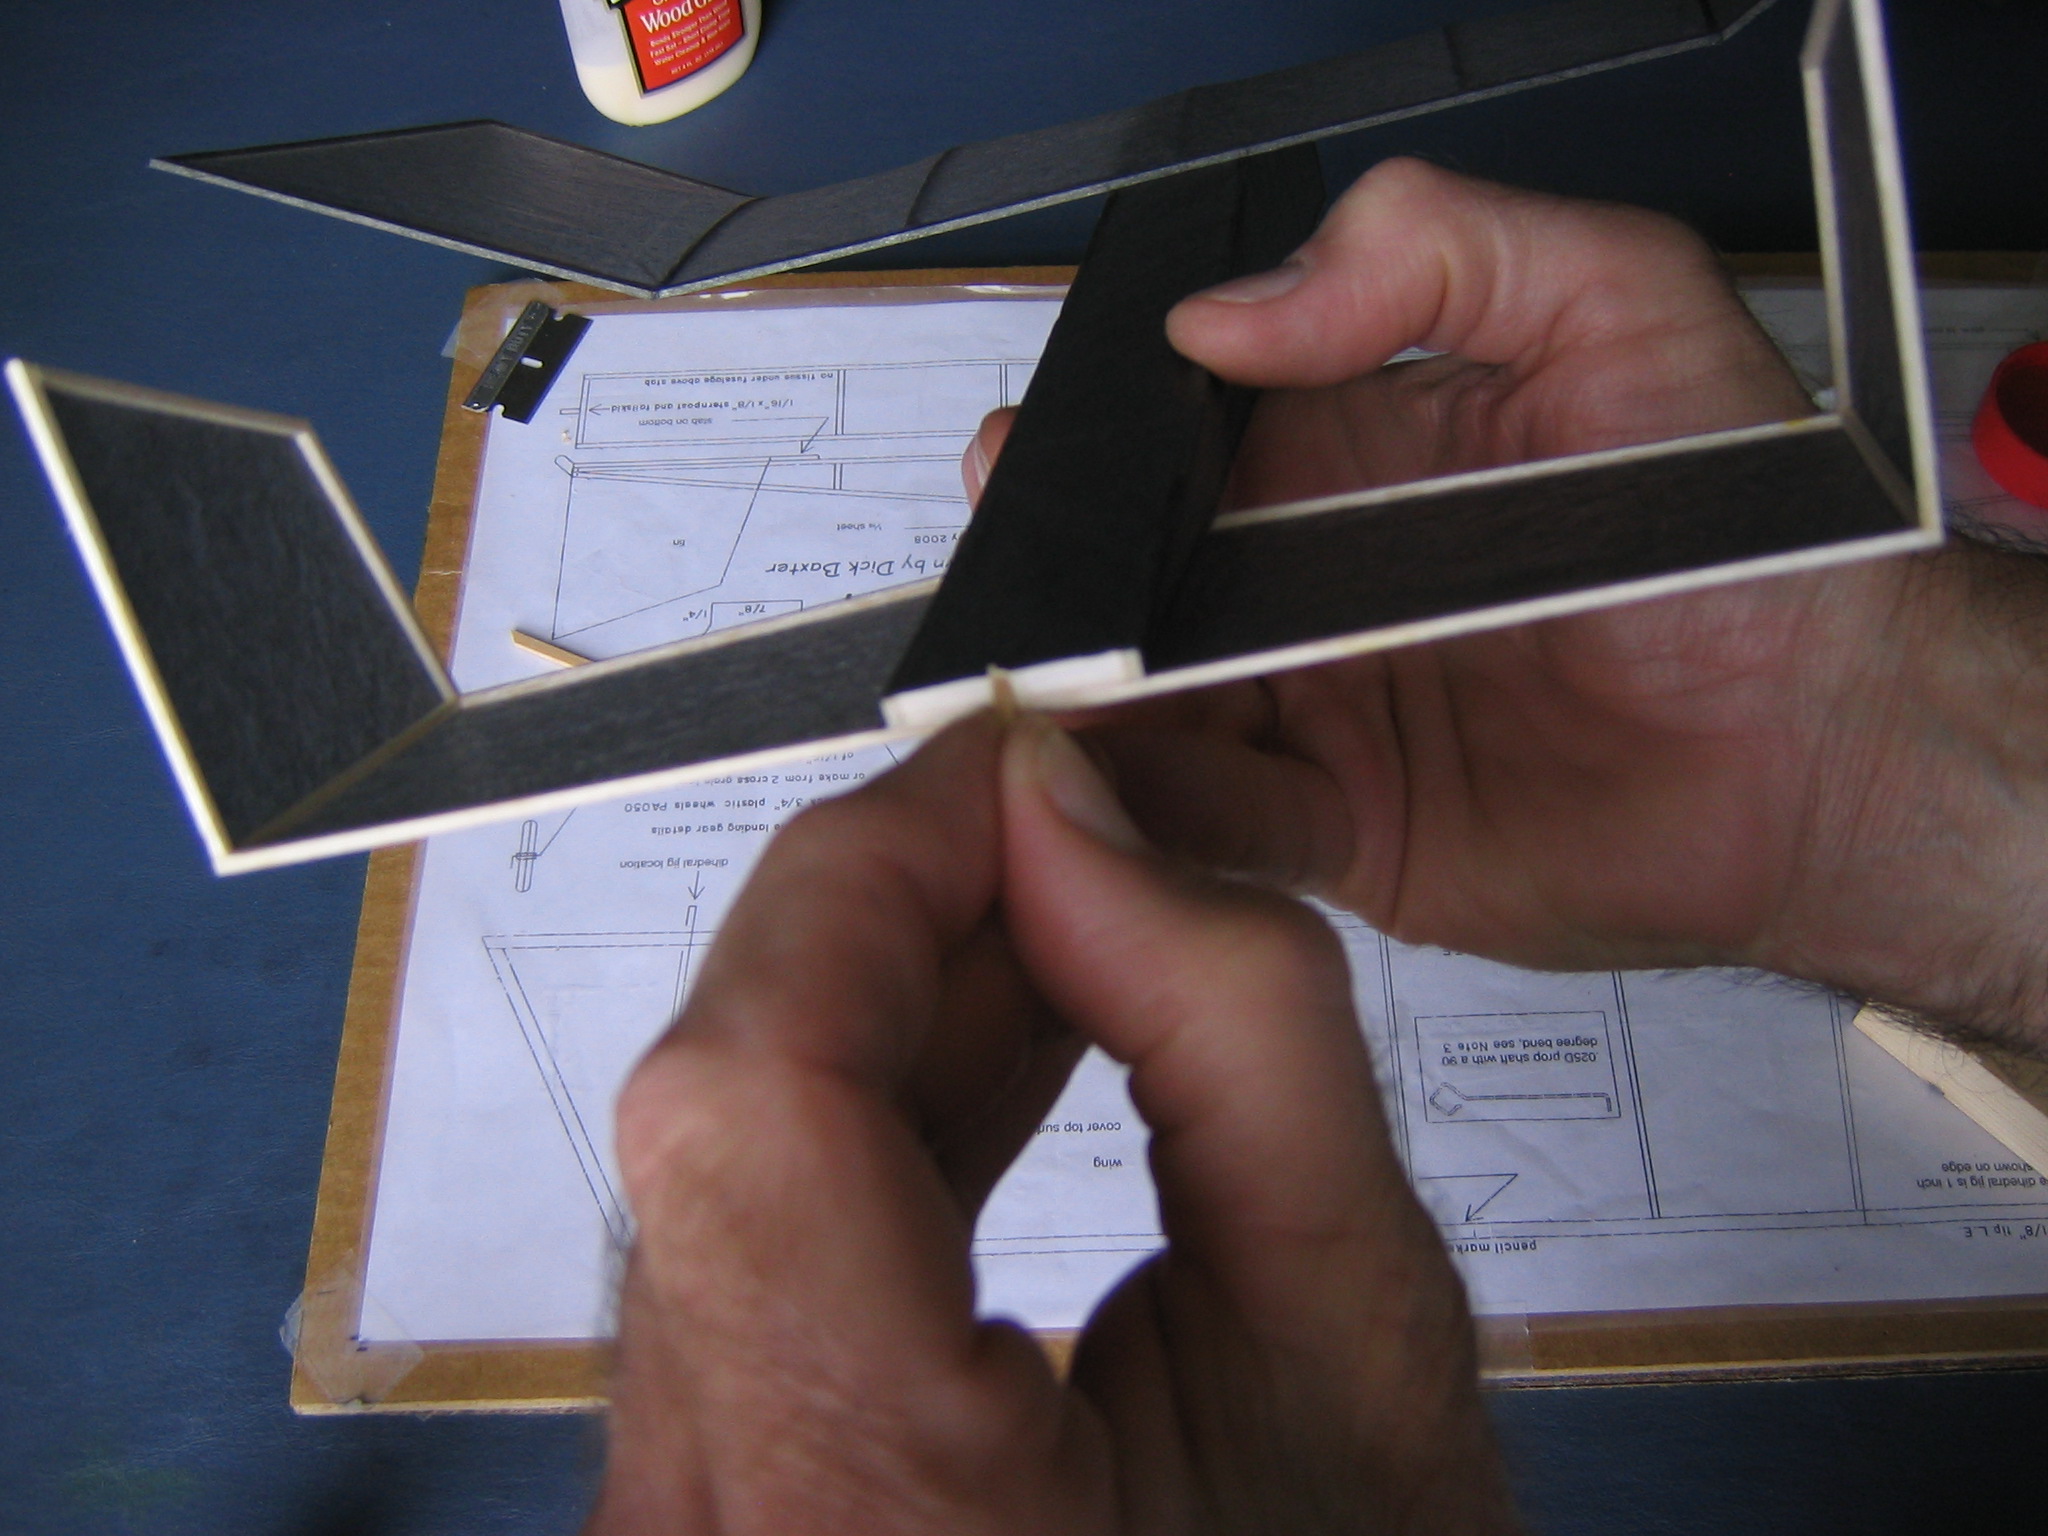
Similarly spread glue on the wing spars inside the fuselage locating pencil marks.
Place the wing on top of the fuselage over the opening so the wing spars rest directly on the longerons with the wing perpendicular to the fuselage and the fuselage centered between the locating marks. Hold it in place until the glue sets.
You can put the plane down on the building board with small weights on the leading and trailing edges to hold them down until the glue dries.
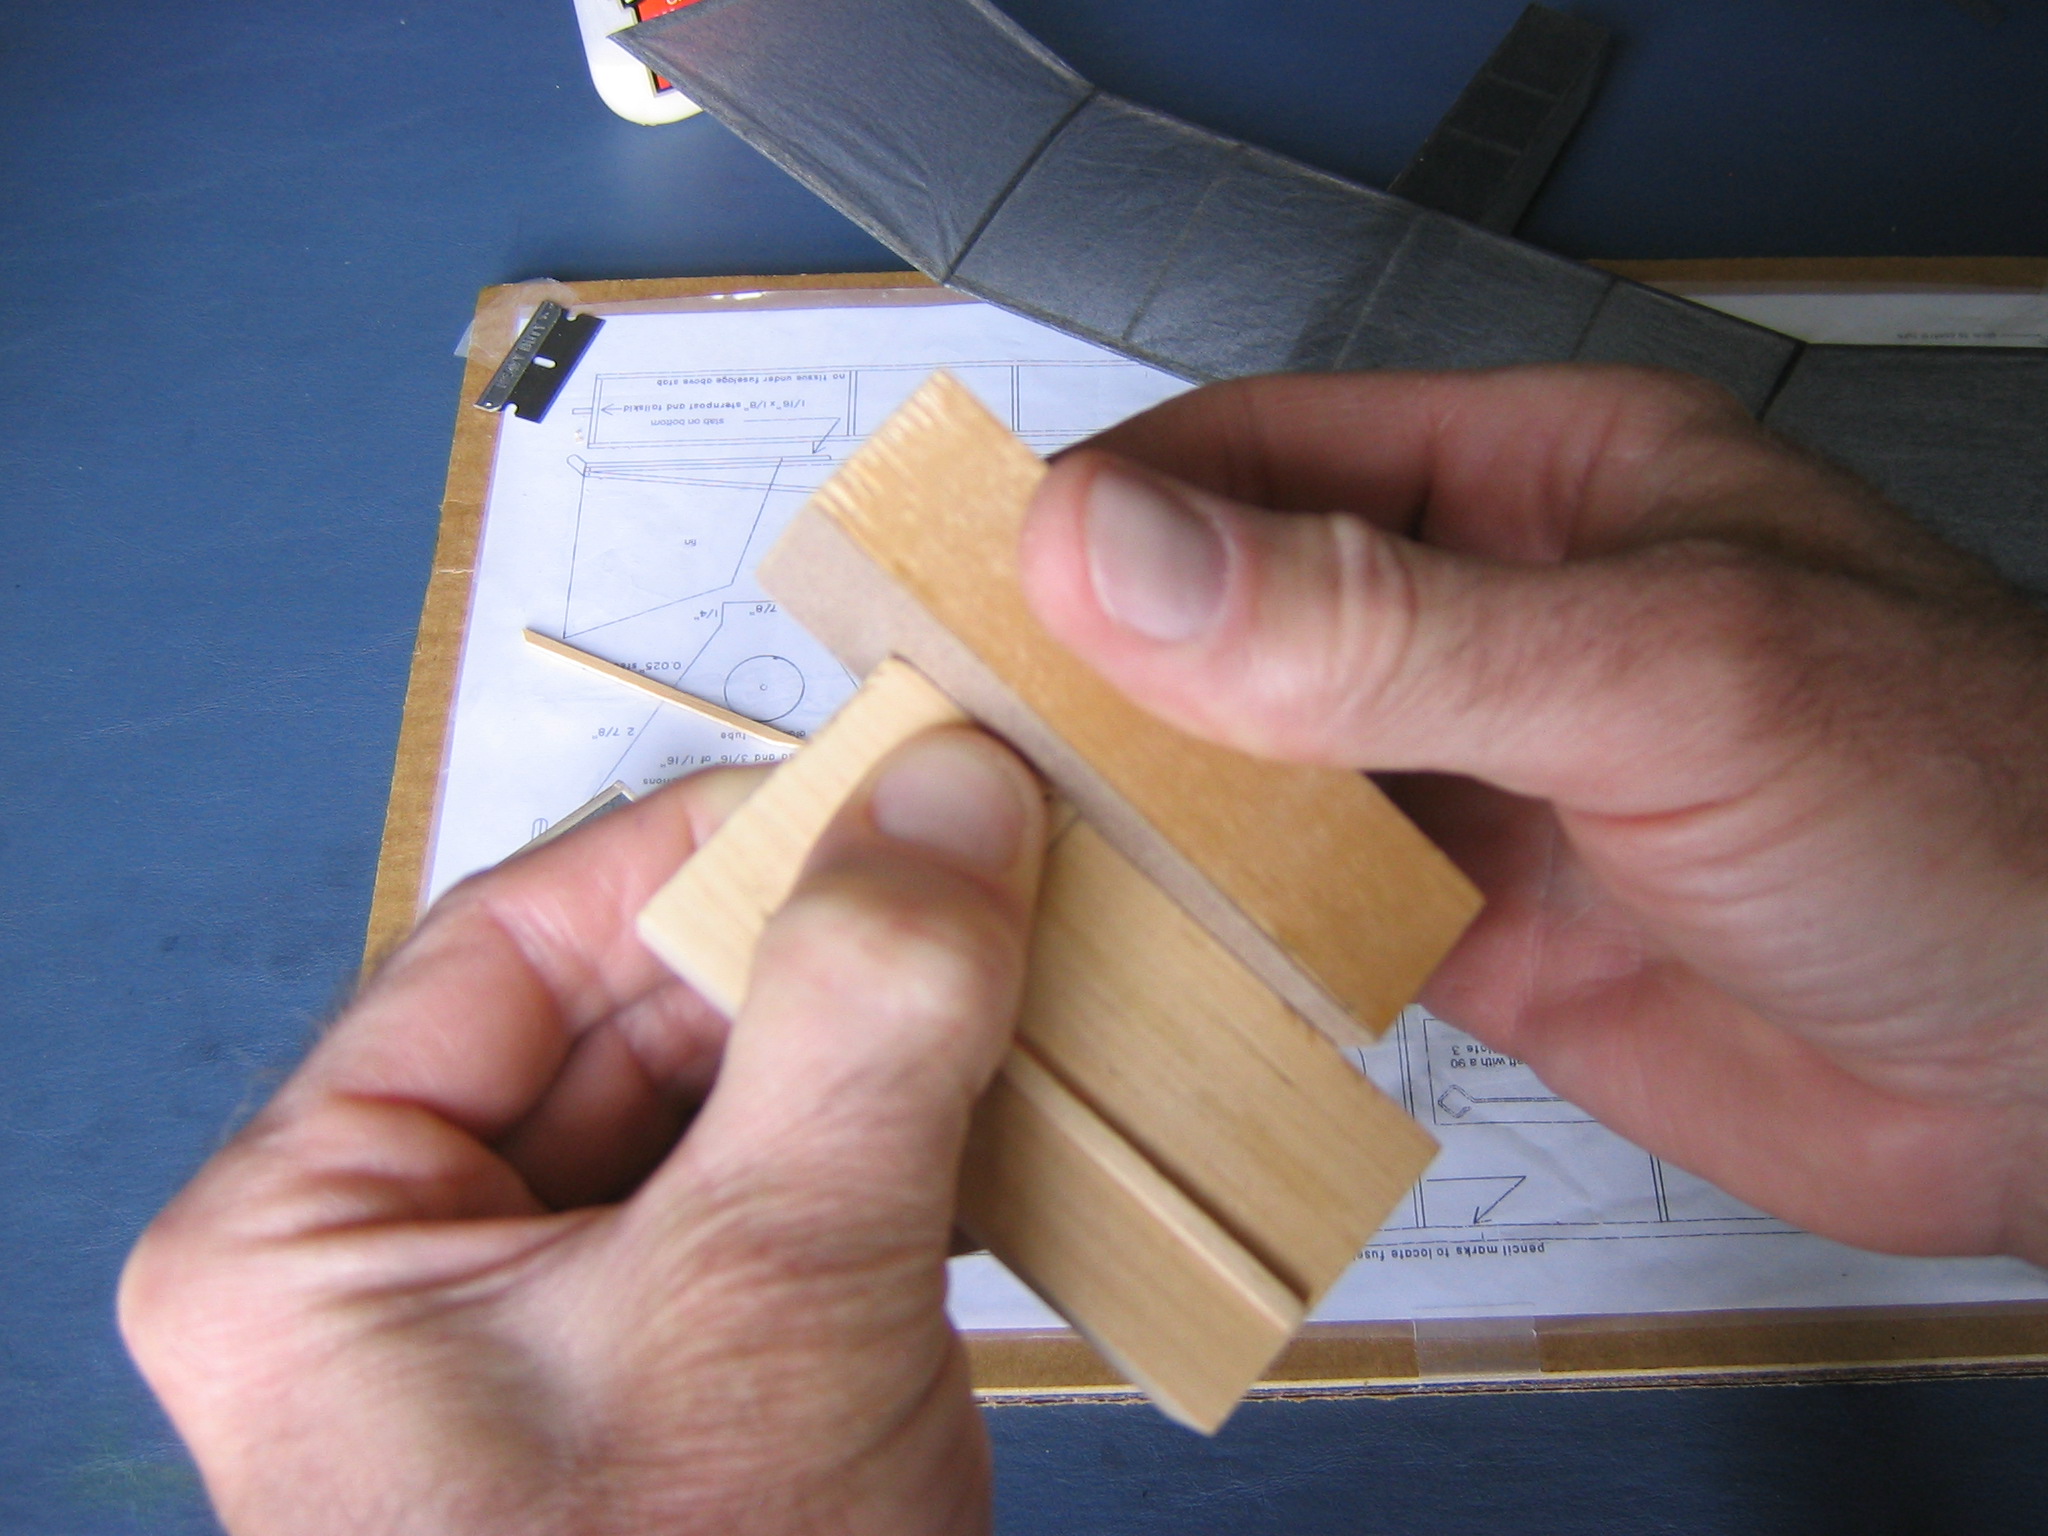
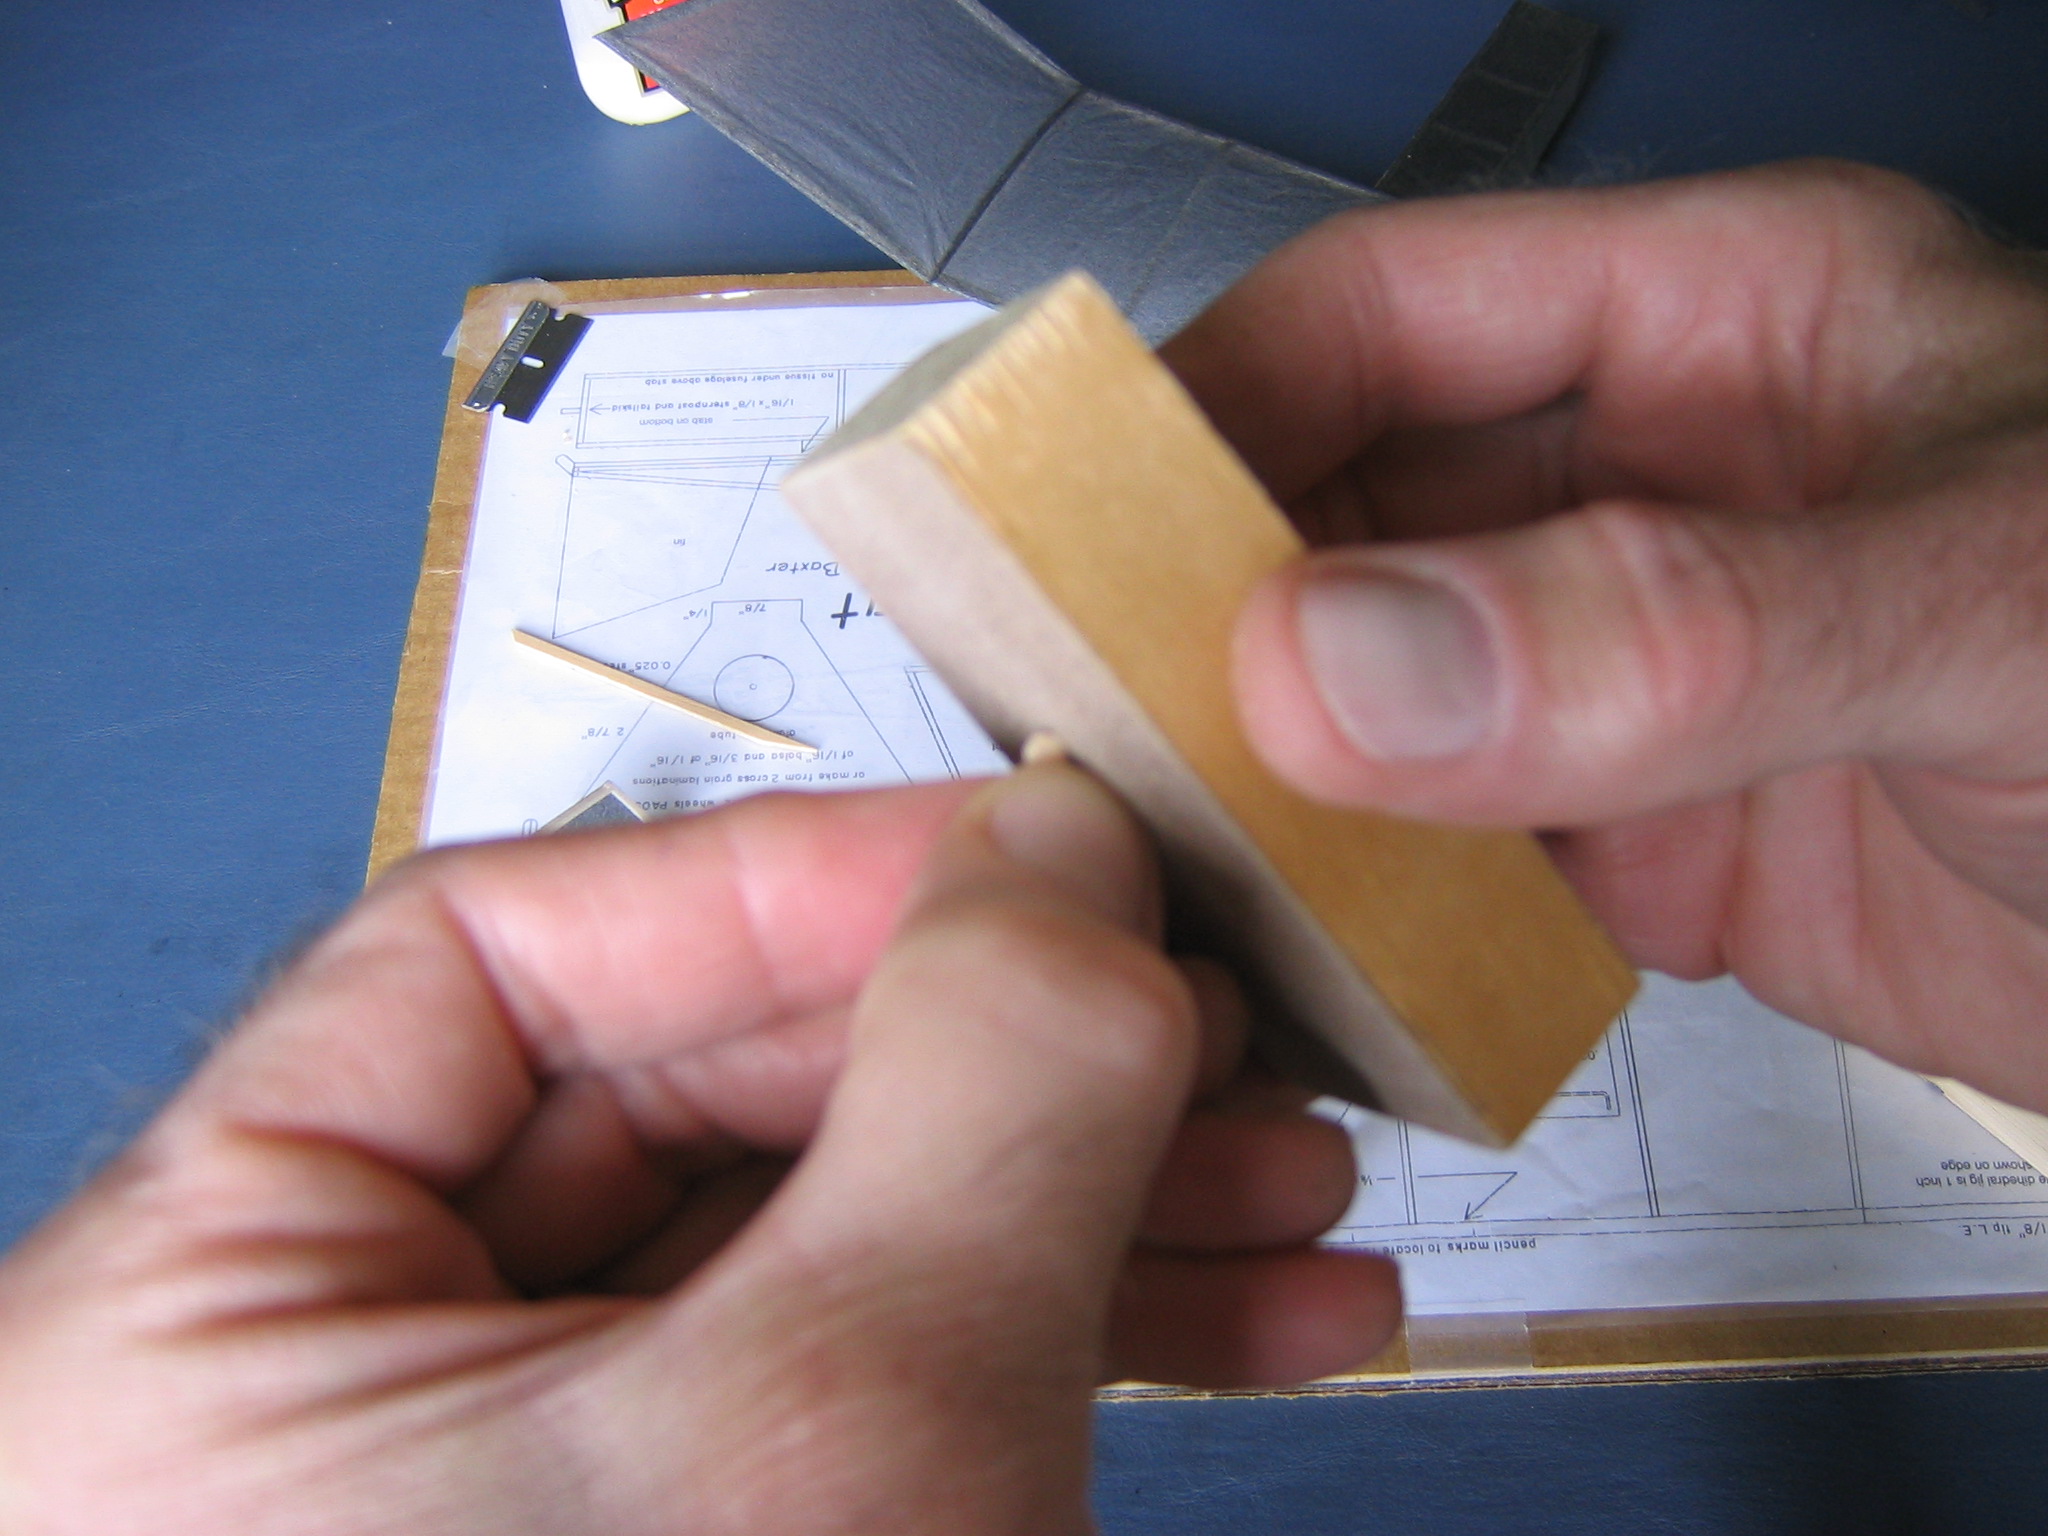
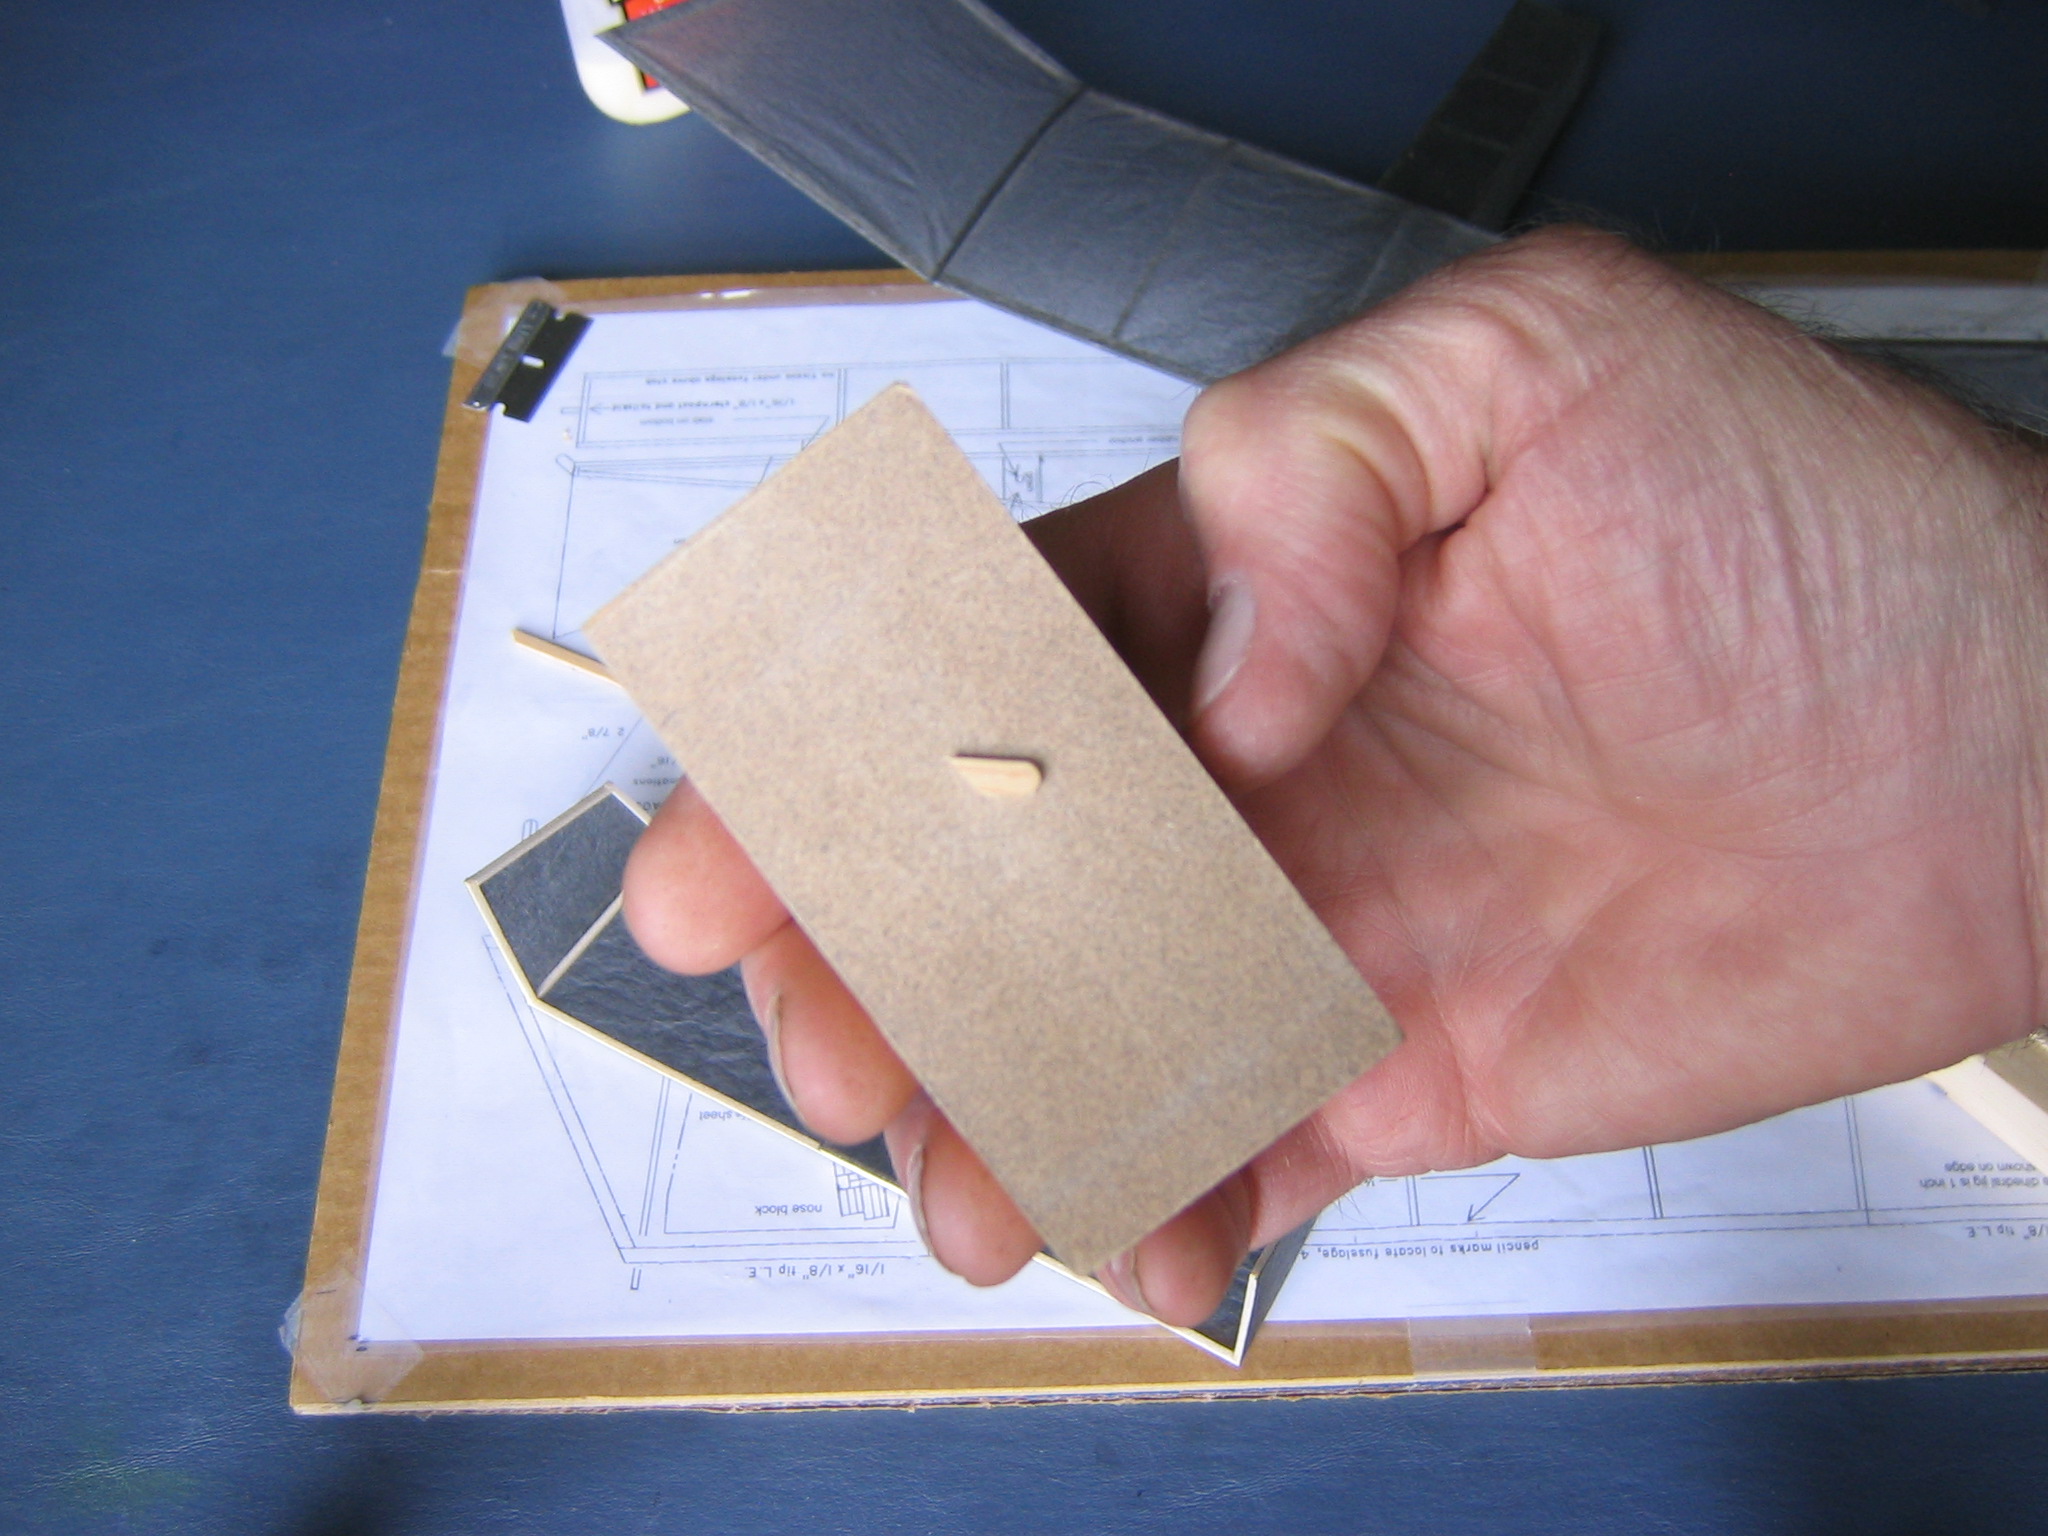
If you plan to fly your Big Pussycat with the landing gear, you will need a tailskid to keep the tailplane from dragging on the floor. Place a piece of 1/16″ x 1/8″ hard balsa over the tailskid on the plan and mark it to cut to length.
Sand the end square across the narrow direction while maintaining the 45 degree angle of the cut. This face must be flat to get a good, straight, strong joint.
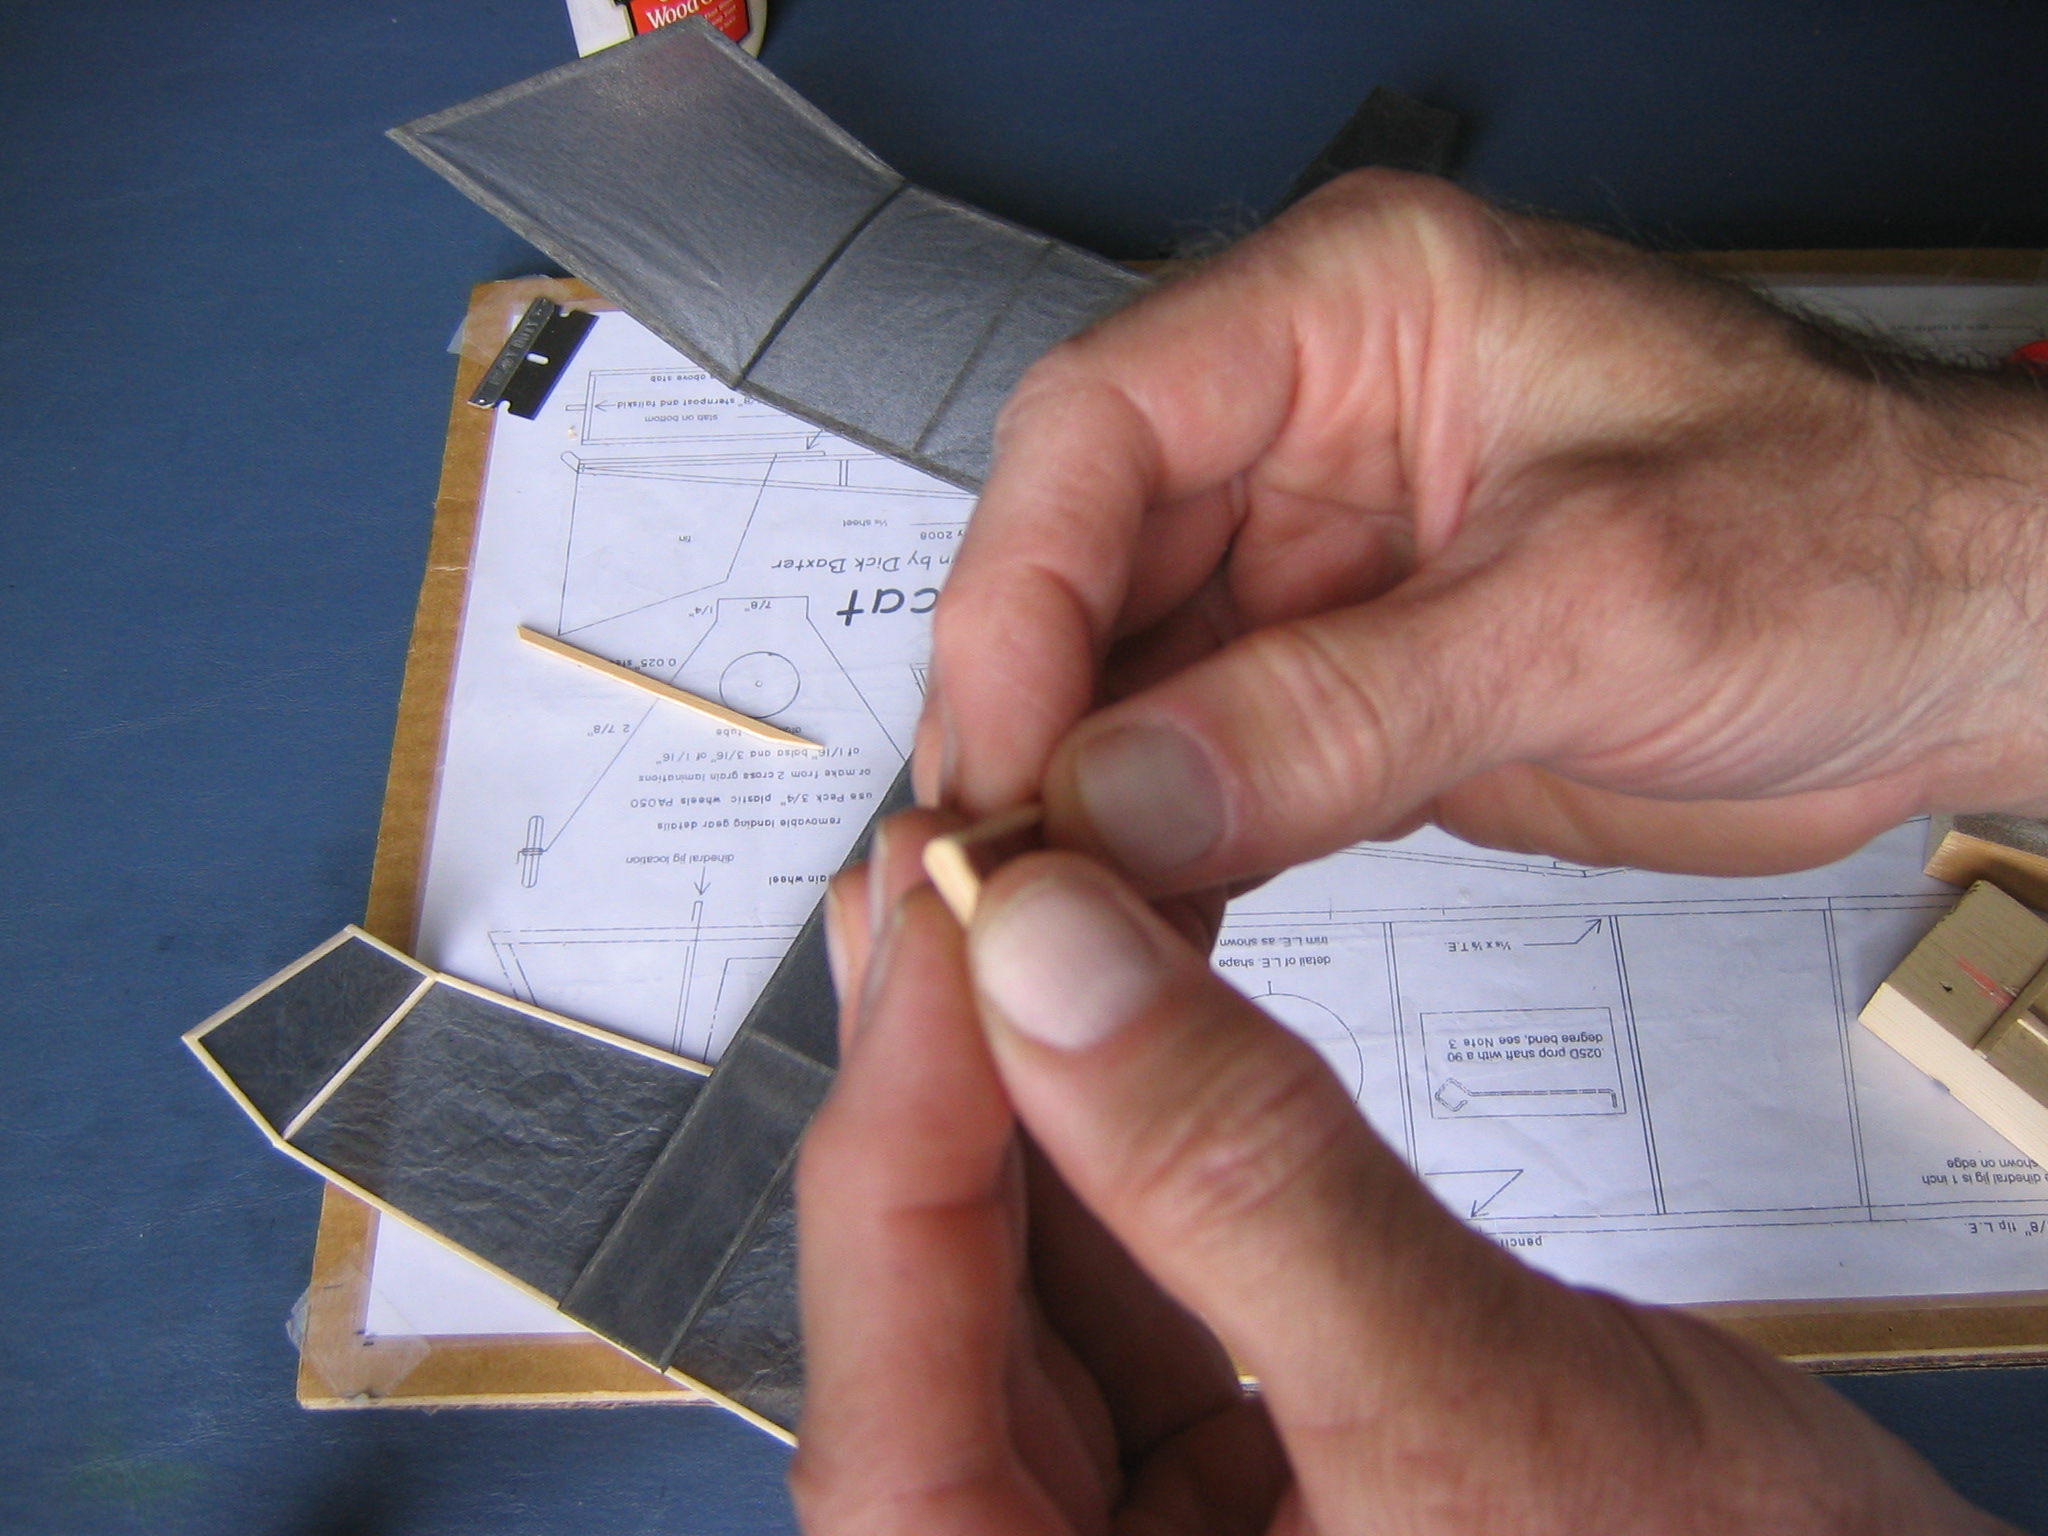
Round the bottom end of the tailskid.
Apply glue to the round bottom that will contact the ground, to harden it.
The finished tailskid. You may compare yours to the plan.
Apply glue to the straight face of the tailskid and…
Stick it to the center of the back of the sternpost. It will extend a little over the tailspar. This is one place where a little extra glue is good. After the glue dries, put a little more in the angle between the tailskid and the sternpost, forming a fillet of glue. Let it dry thoroughly before allowing anything to touch it.
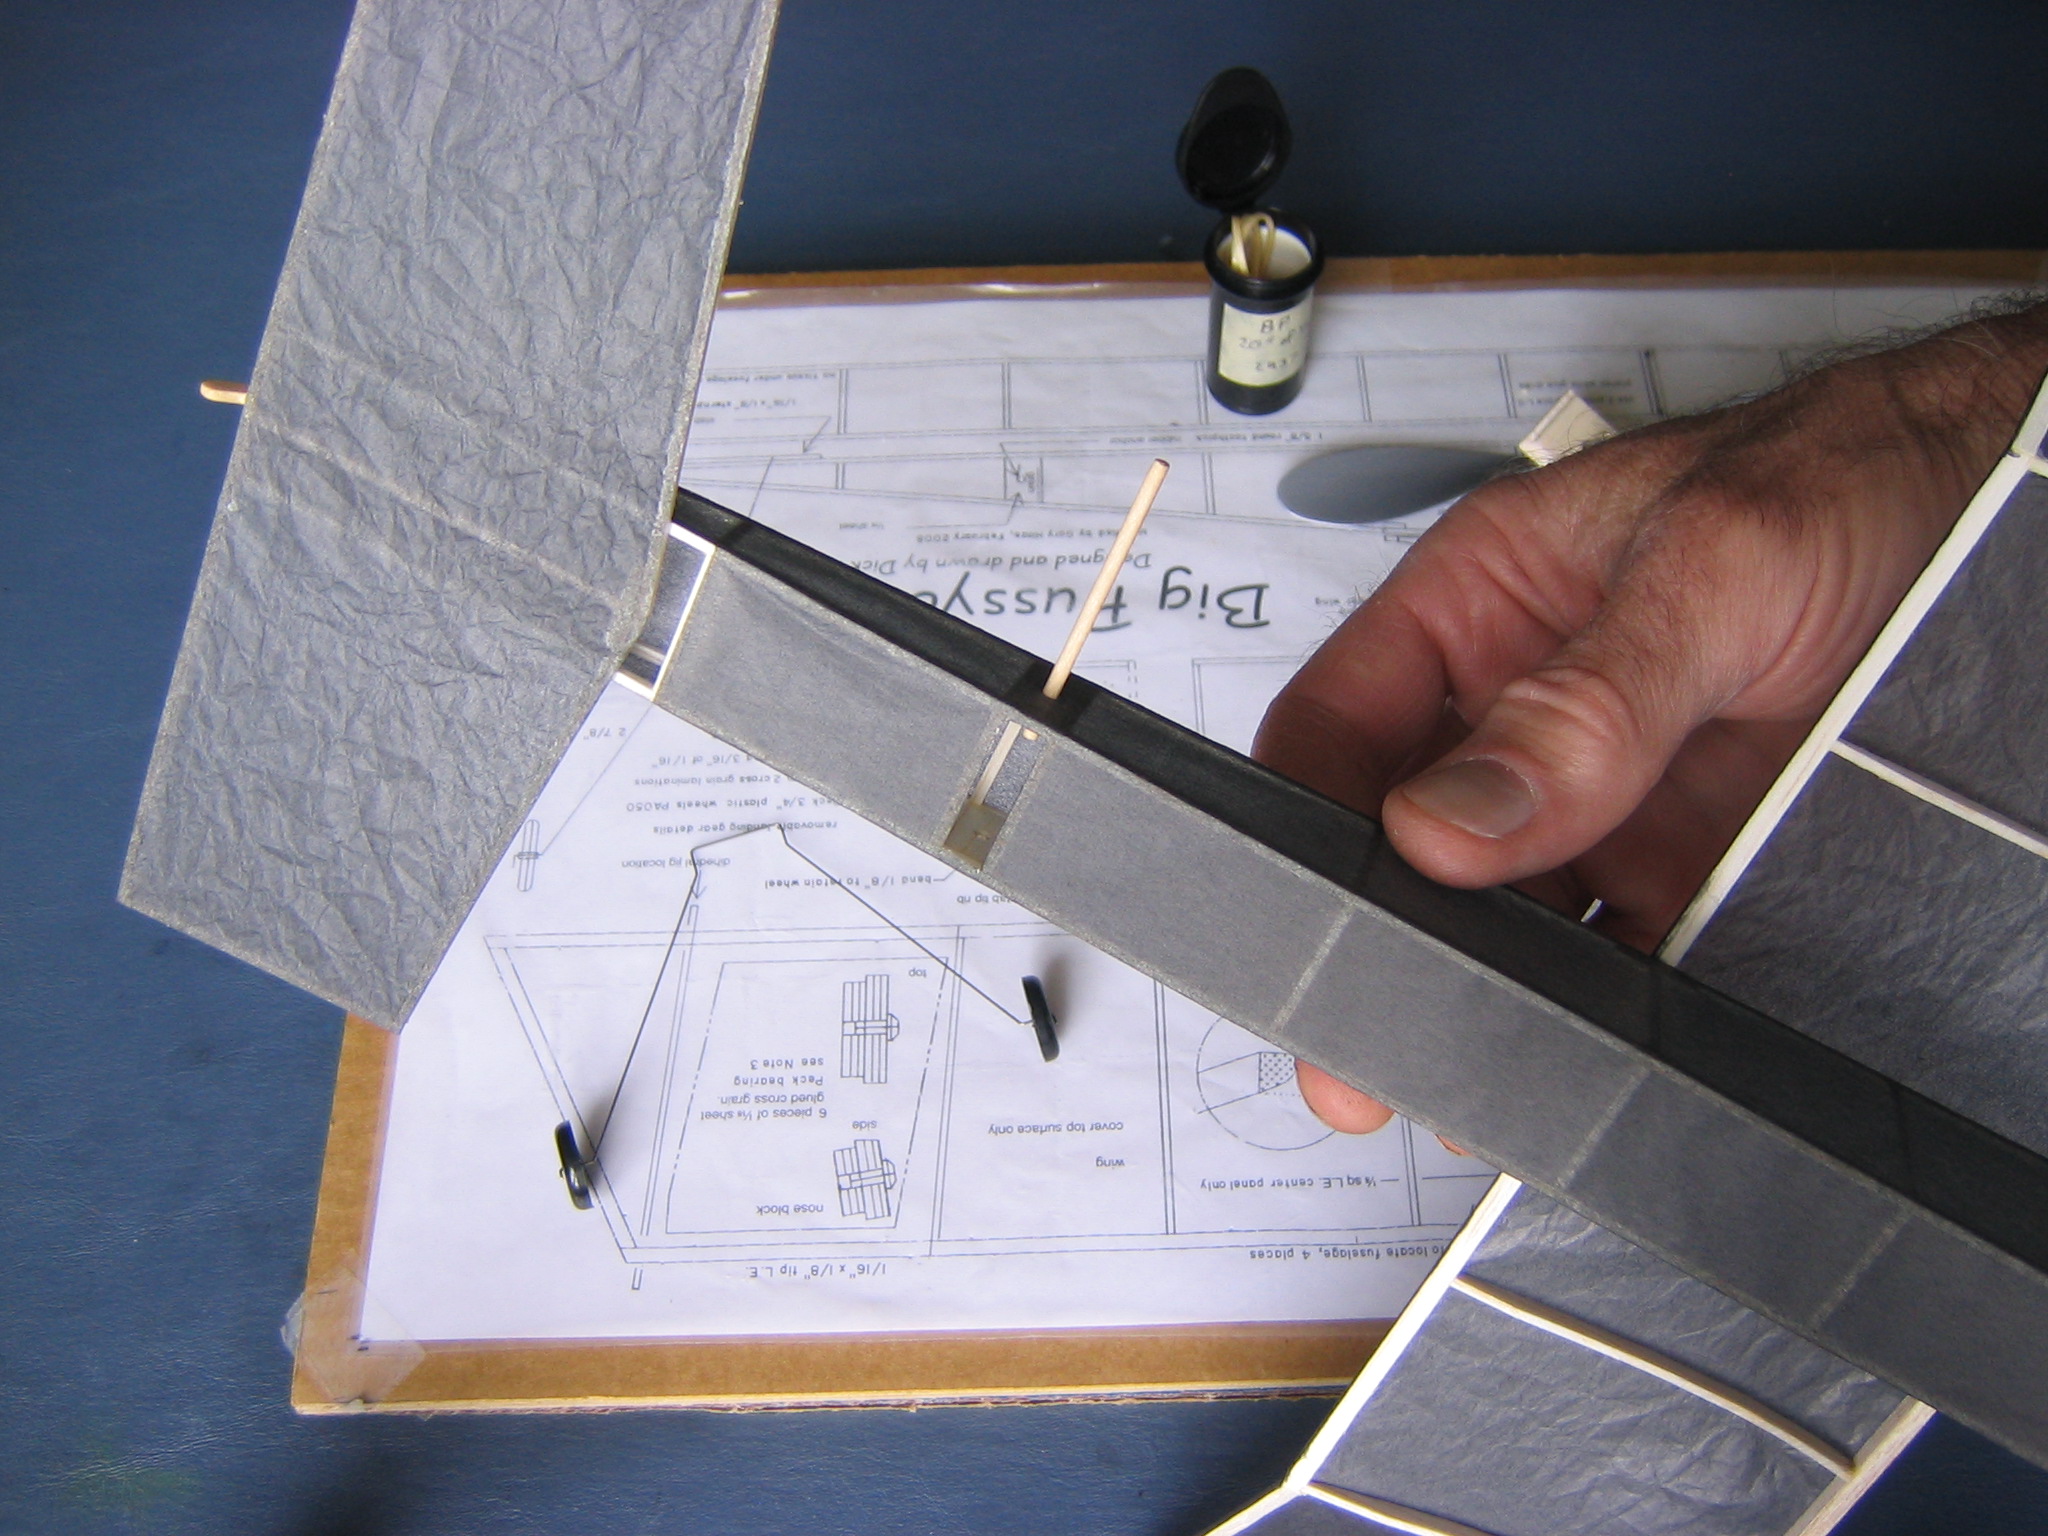
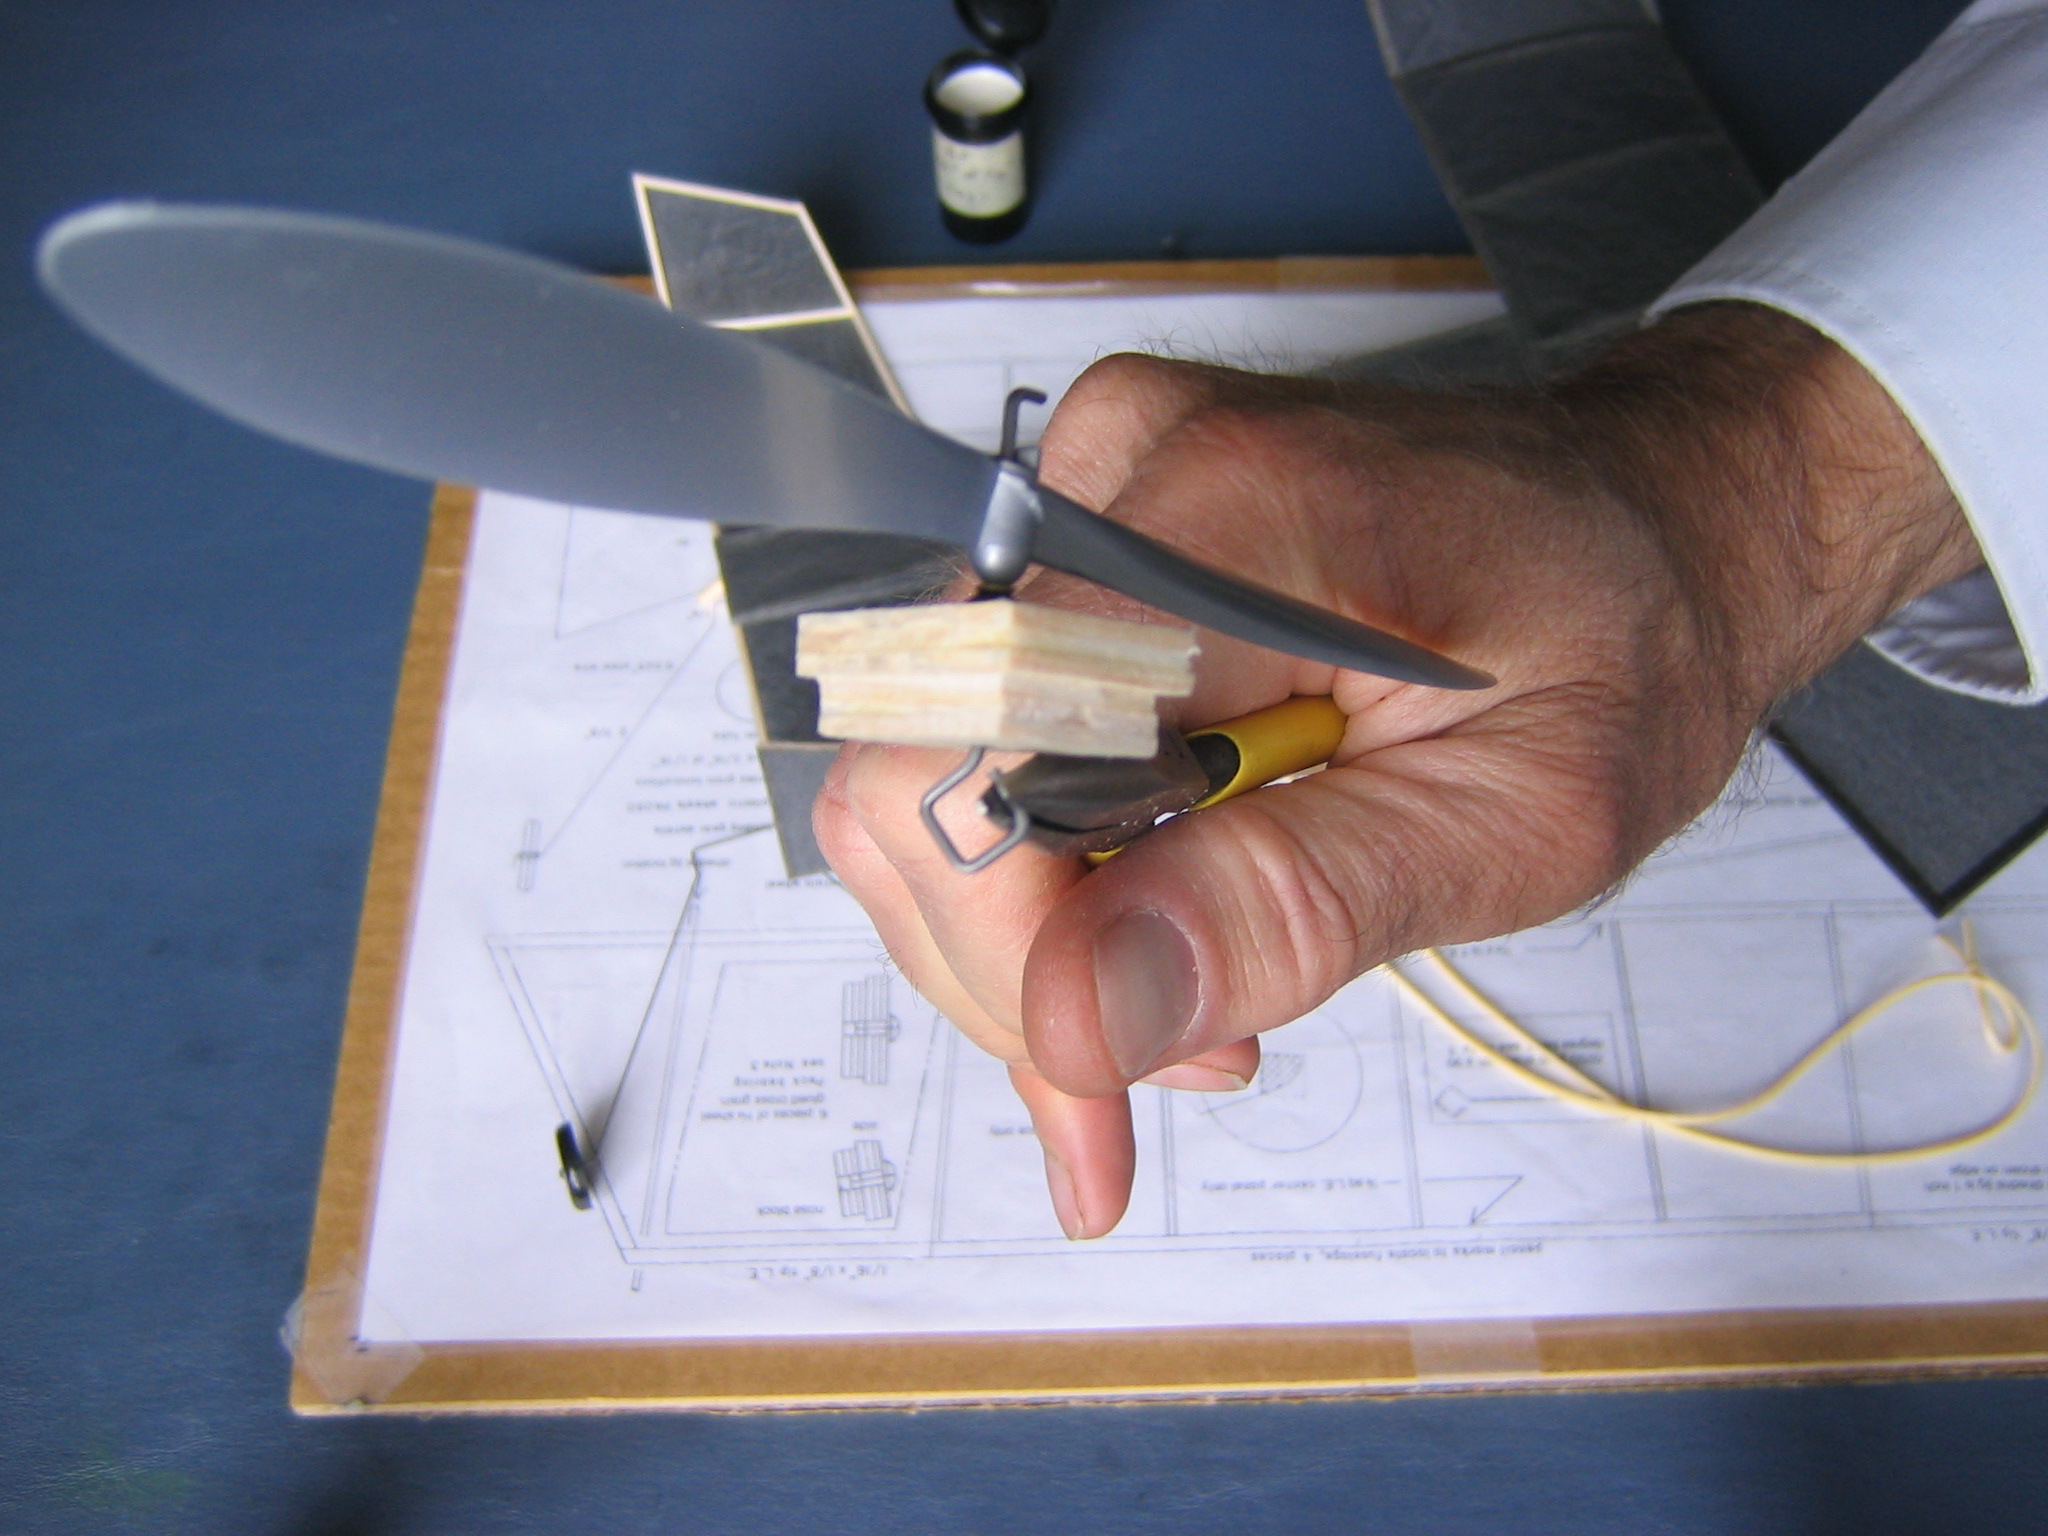
Insert the motor peg into one of the plates. This is a 1 5/8″ long piece cut from a round toothpick. You can also use 1/16″ diameter aluminum tube. It should be a snug friction fit in the hole. If it won’t go in, lightly sand the peg or file the hole. If it is too loose, apply glue around the hole to fill it in a bit. If that does not work, try gluing tissue paper inside the hole. Or see if you can find a slightly larger toothpick.
Click
HERE to see the post on this site “Making a Rubber Motor”. Make a 20″ loop of 1/16″ rubber strip. Make sure that the opening in the propeller hook is wide enough to admit the O-ring.
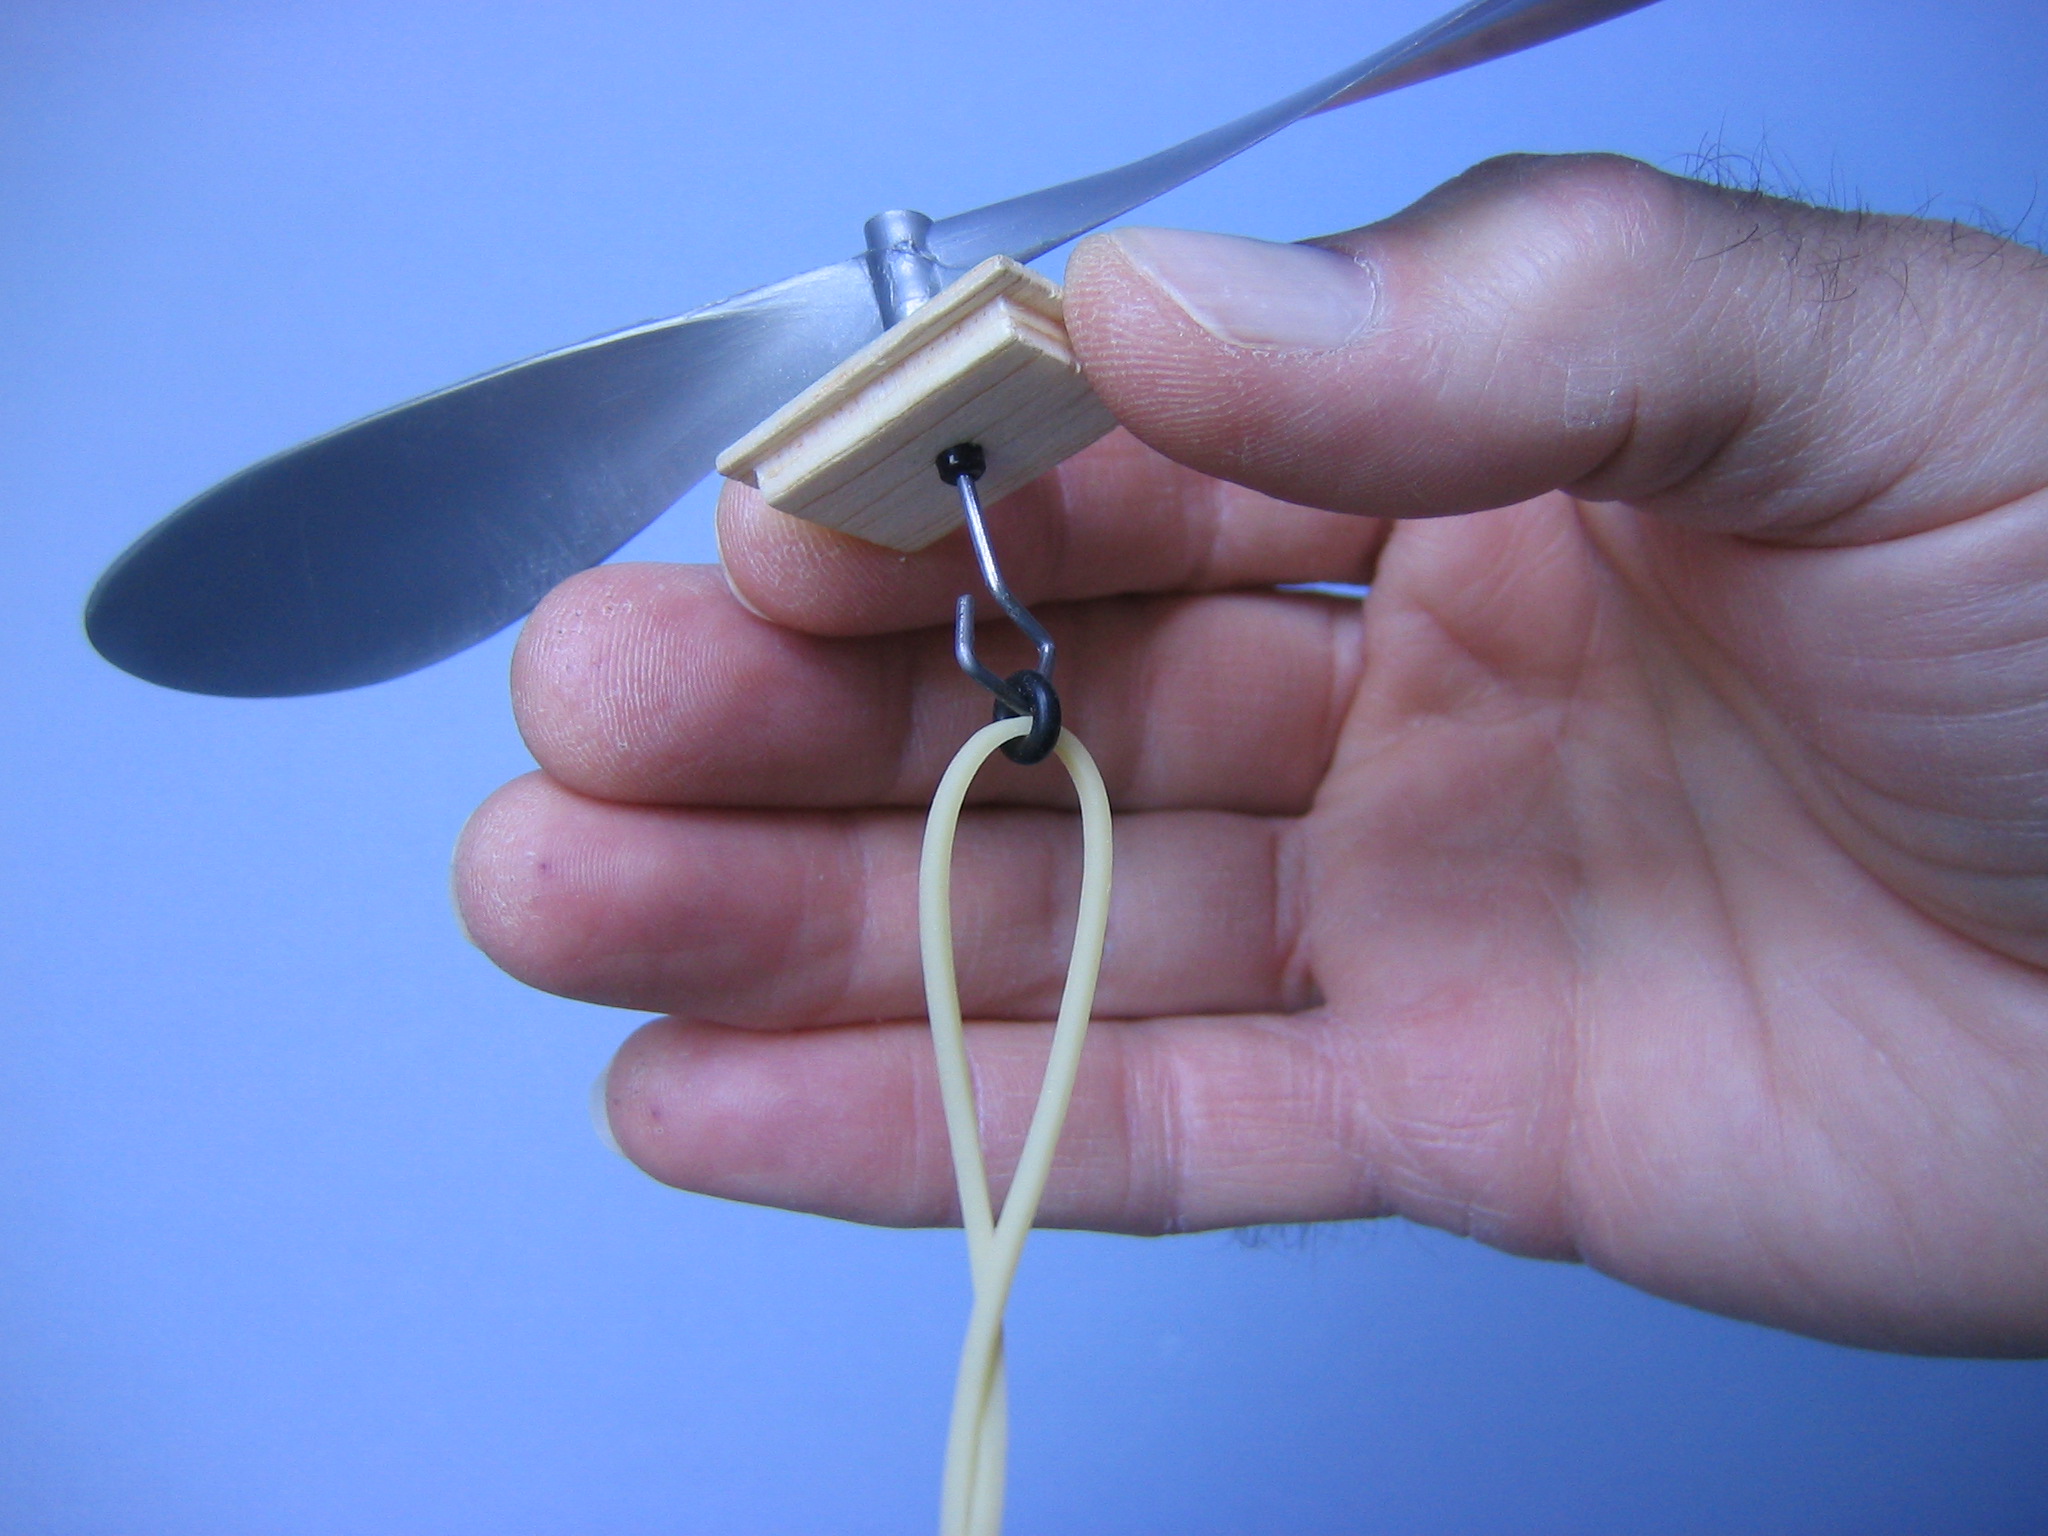
Here we see the motor attached to the hook with an O-ring.
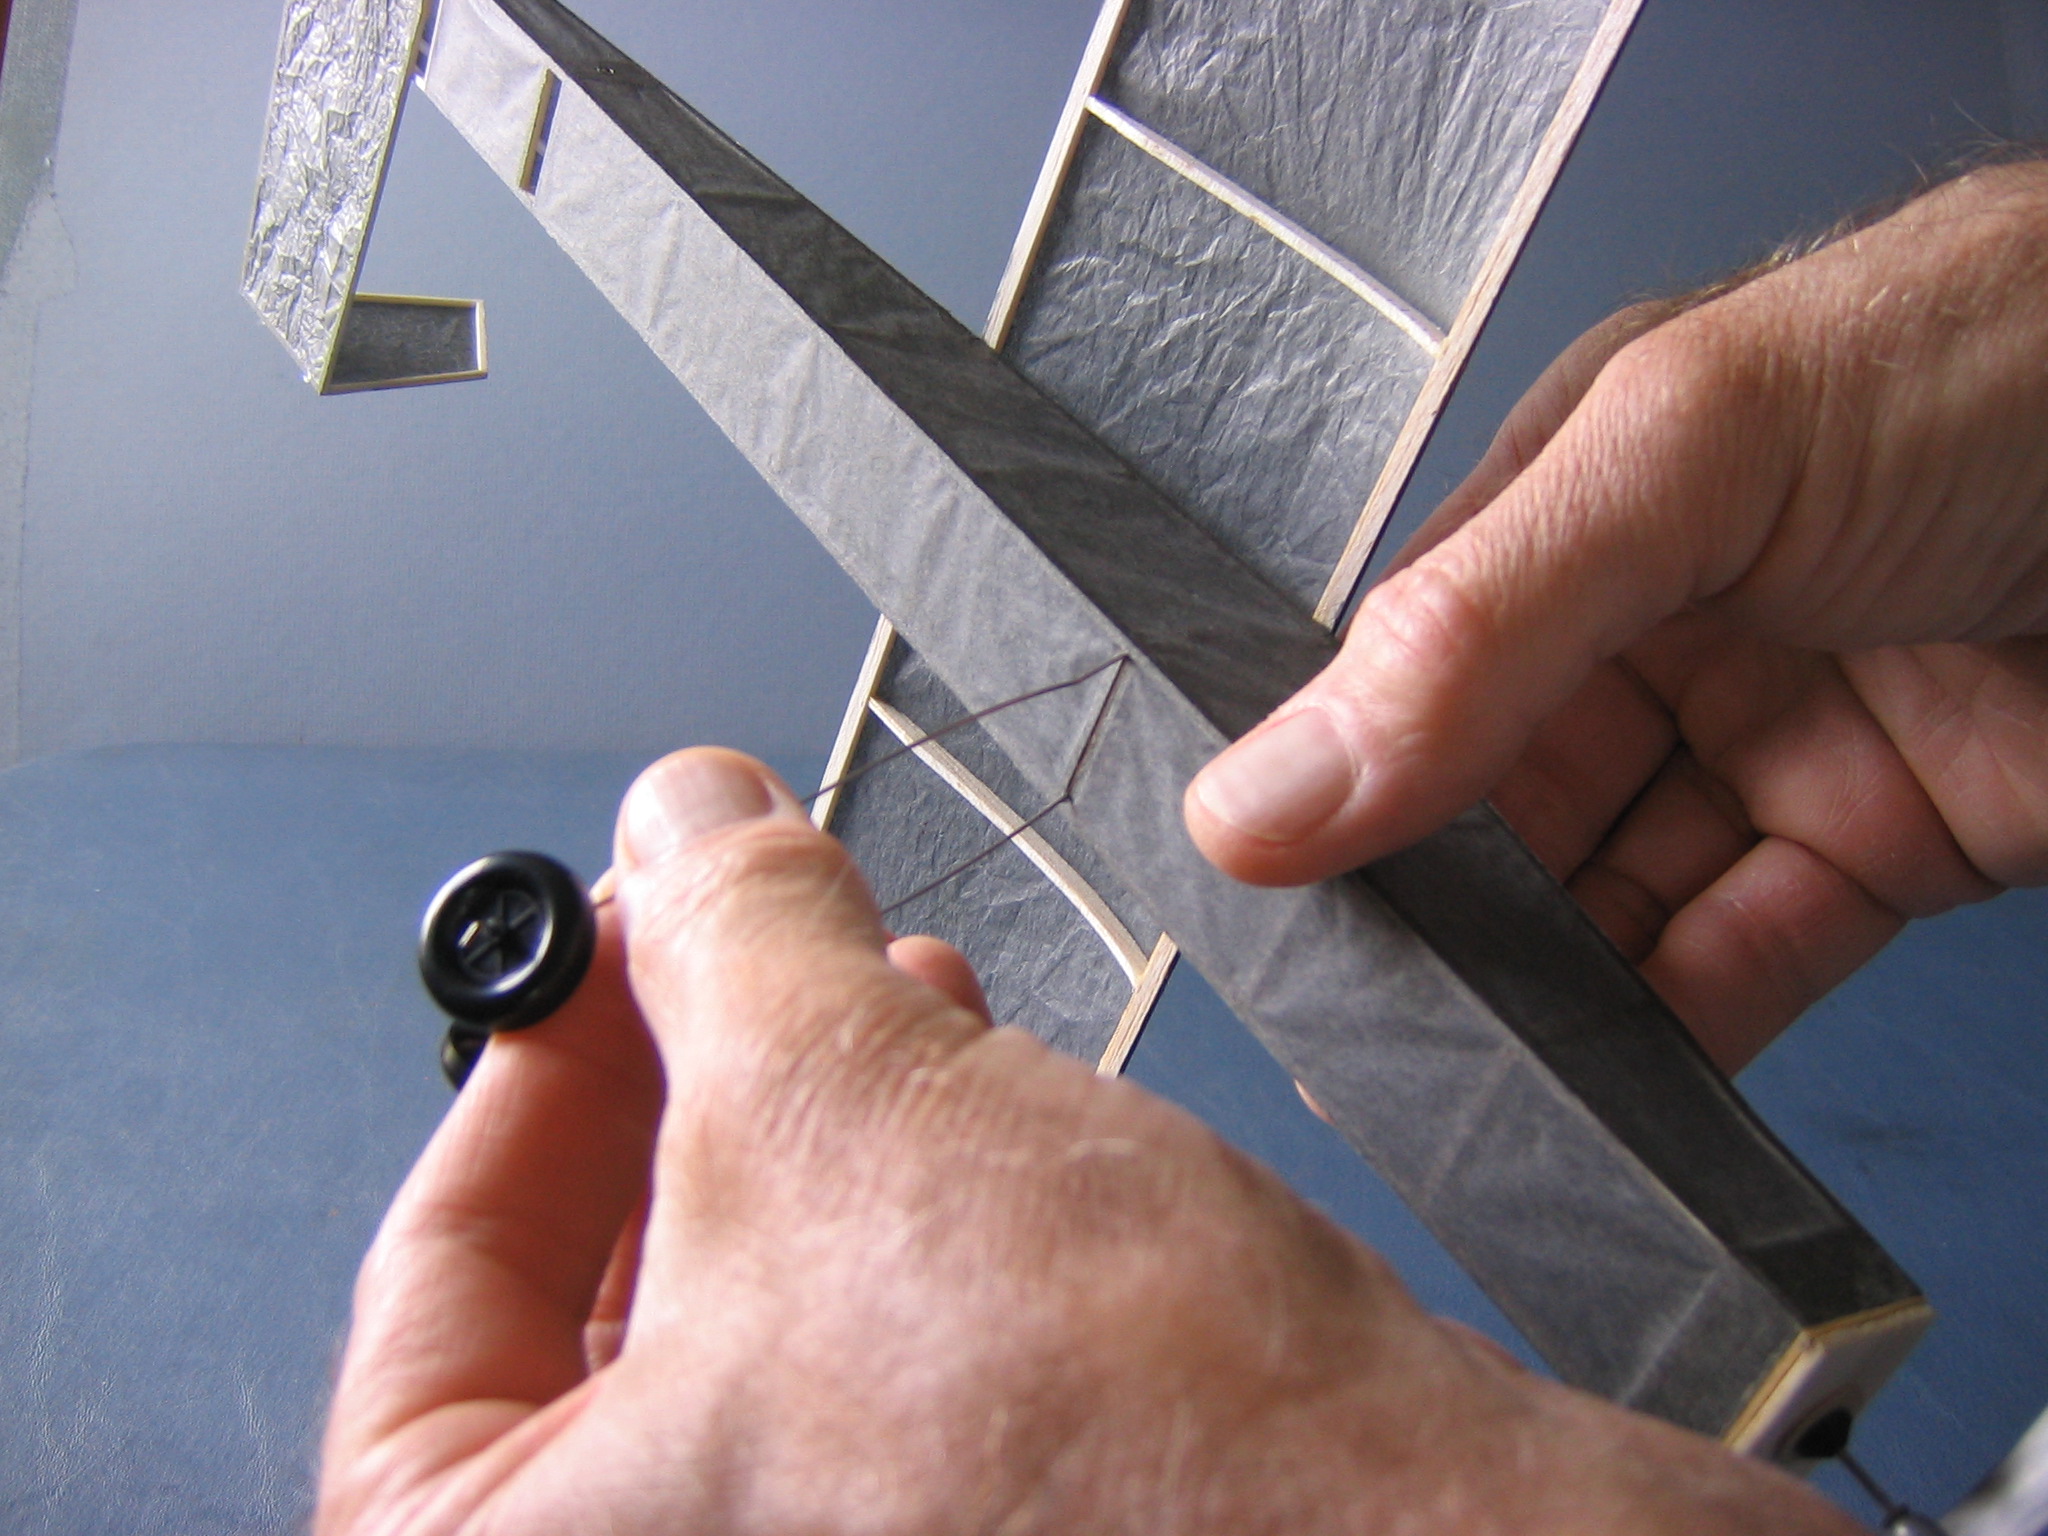
Hold the airplane with the nose pointing straight up and insert the motor down into the fuselage until the end appears inside the window below the motor peg.
Push the motor peg through the loop, out the other plate and center the motor and peg.
You can hand wind some turns into the motor to shorten it until it pulls inside the fuselage. Here I am using a 20″ loop of 1/16″ wide rubber strip for test flights. The distance from the propeller hook to the motor peg is 10″, so the motor is twice that length.
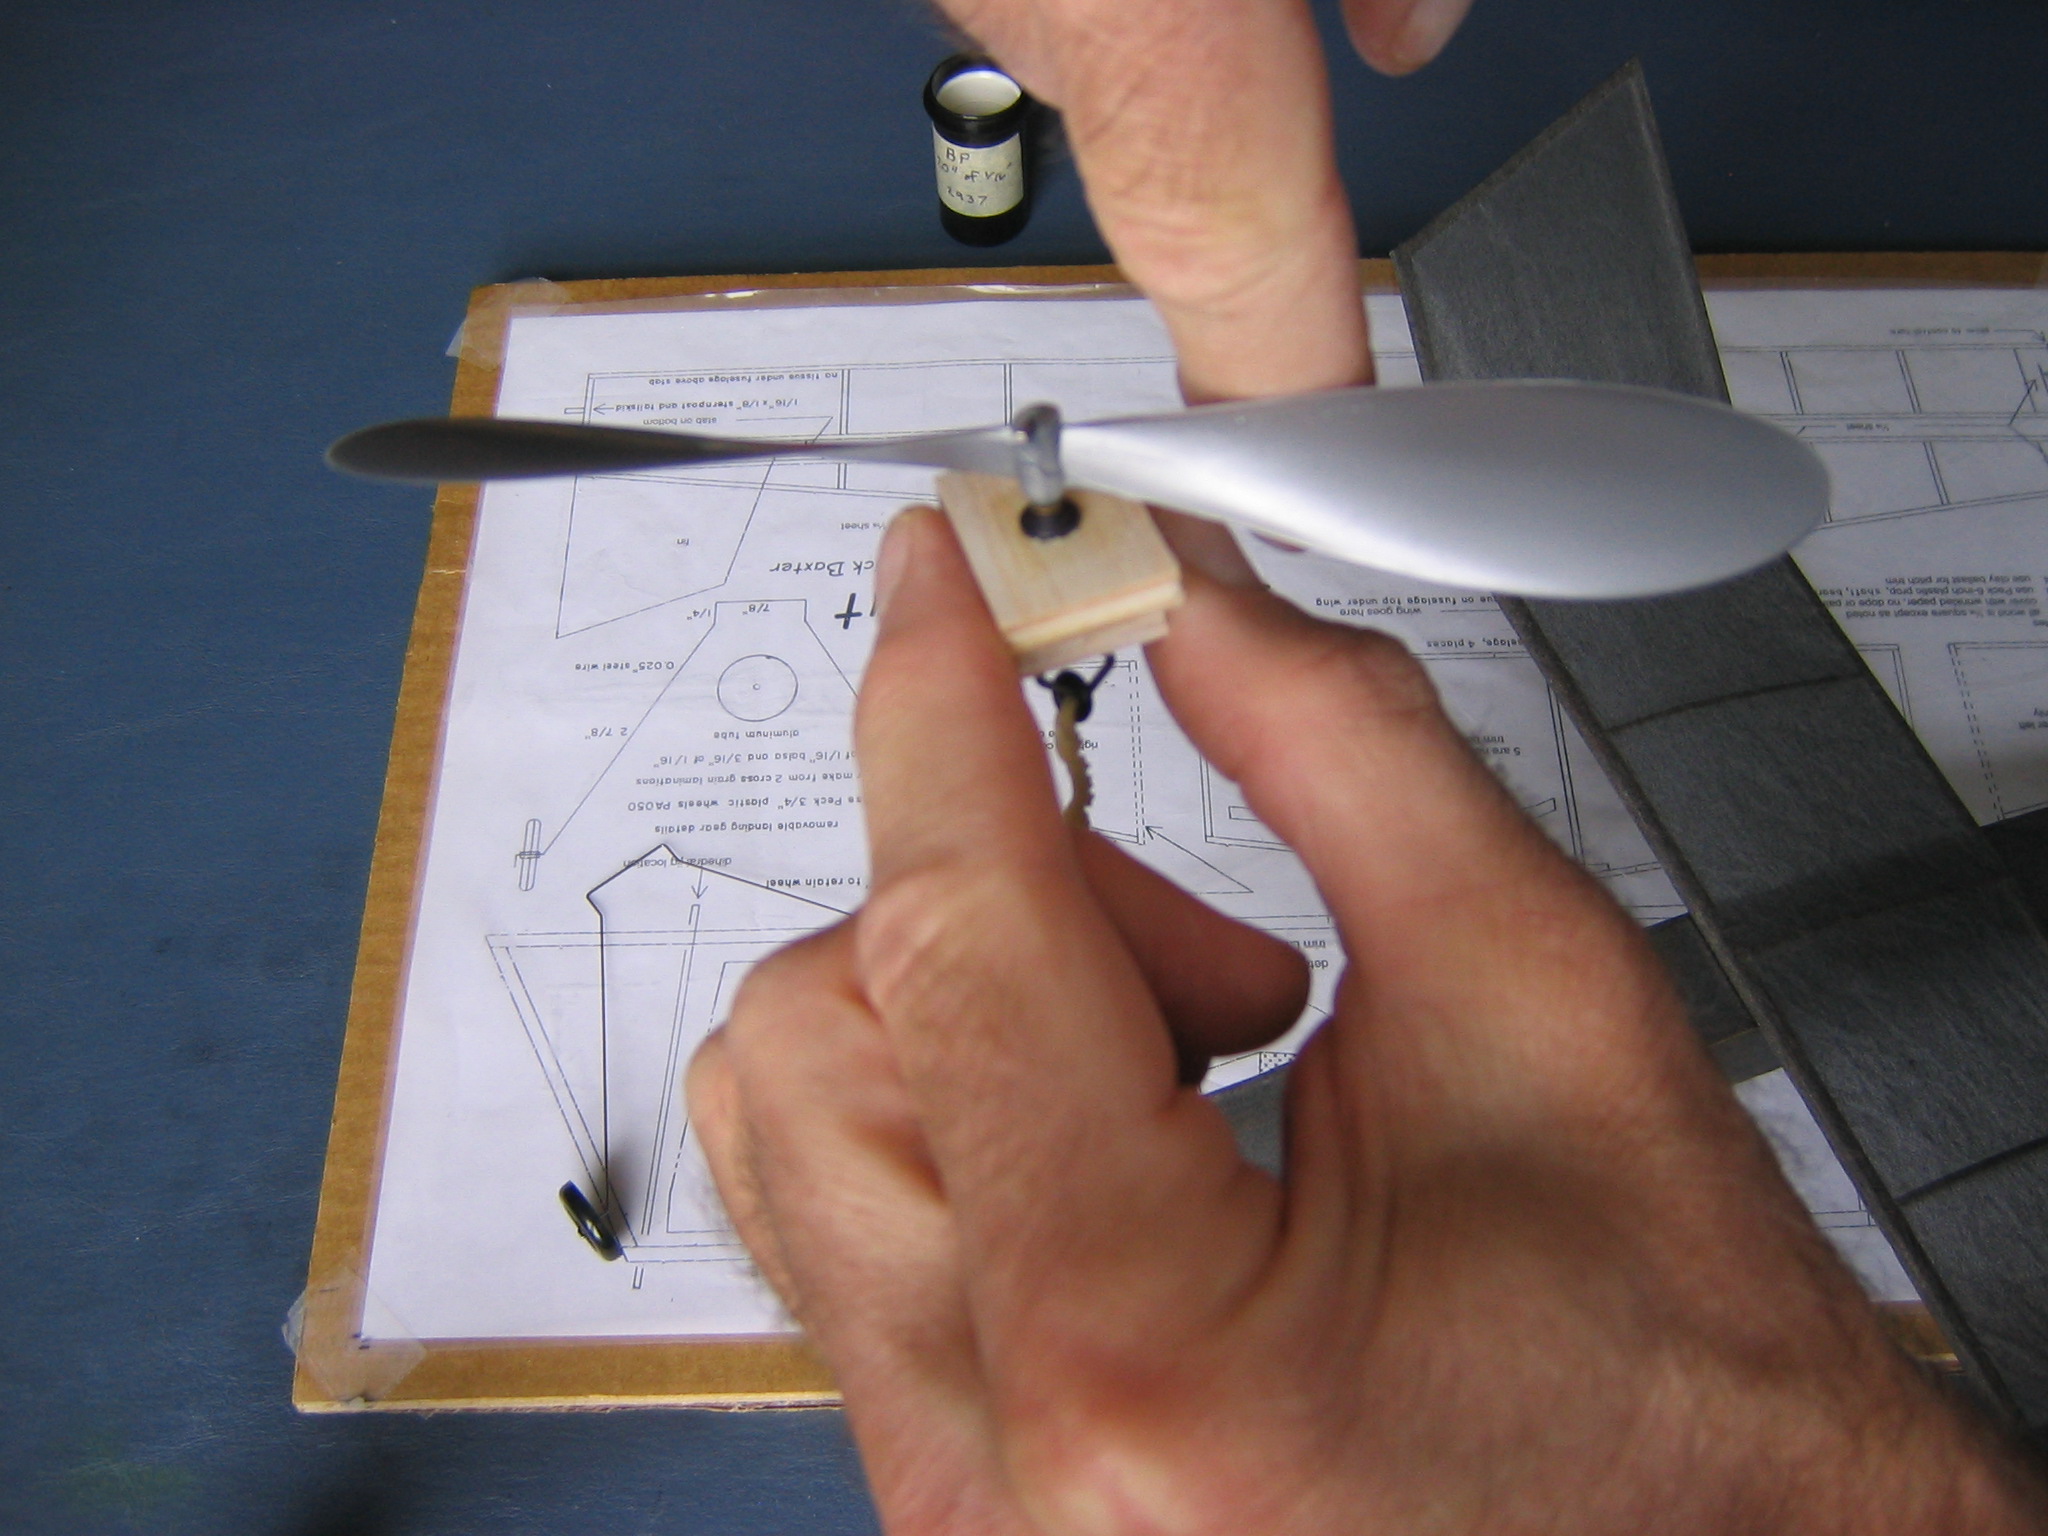
Fit the noseblock into the nose to check fit. You may want to pencil mark one surface as the top to be sure you insert it the same way for each flight.
The fit is good. It should go in with slight friction and not fall out when the motor goes slack. Let the motor turn to check that there is no friction and nothing rubbing inside. You can put a tiny drop of light machine oil on the prop shaft and washers.
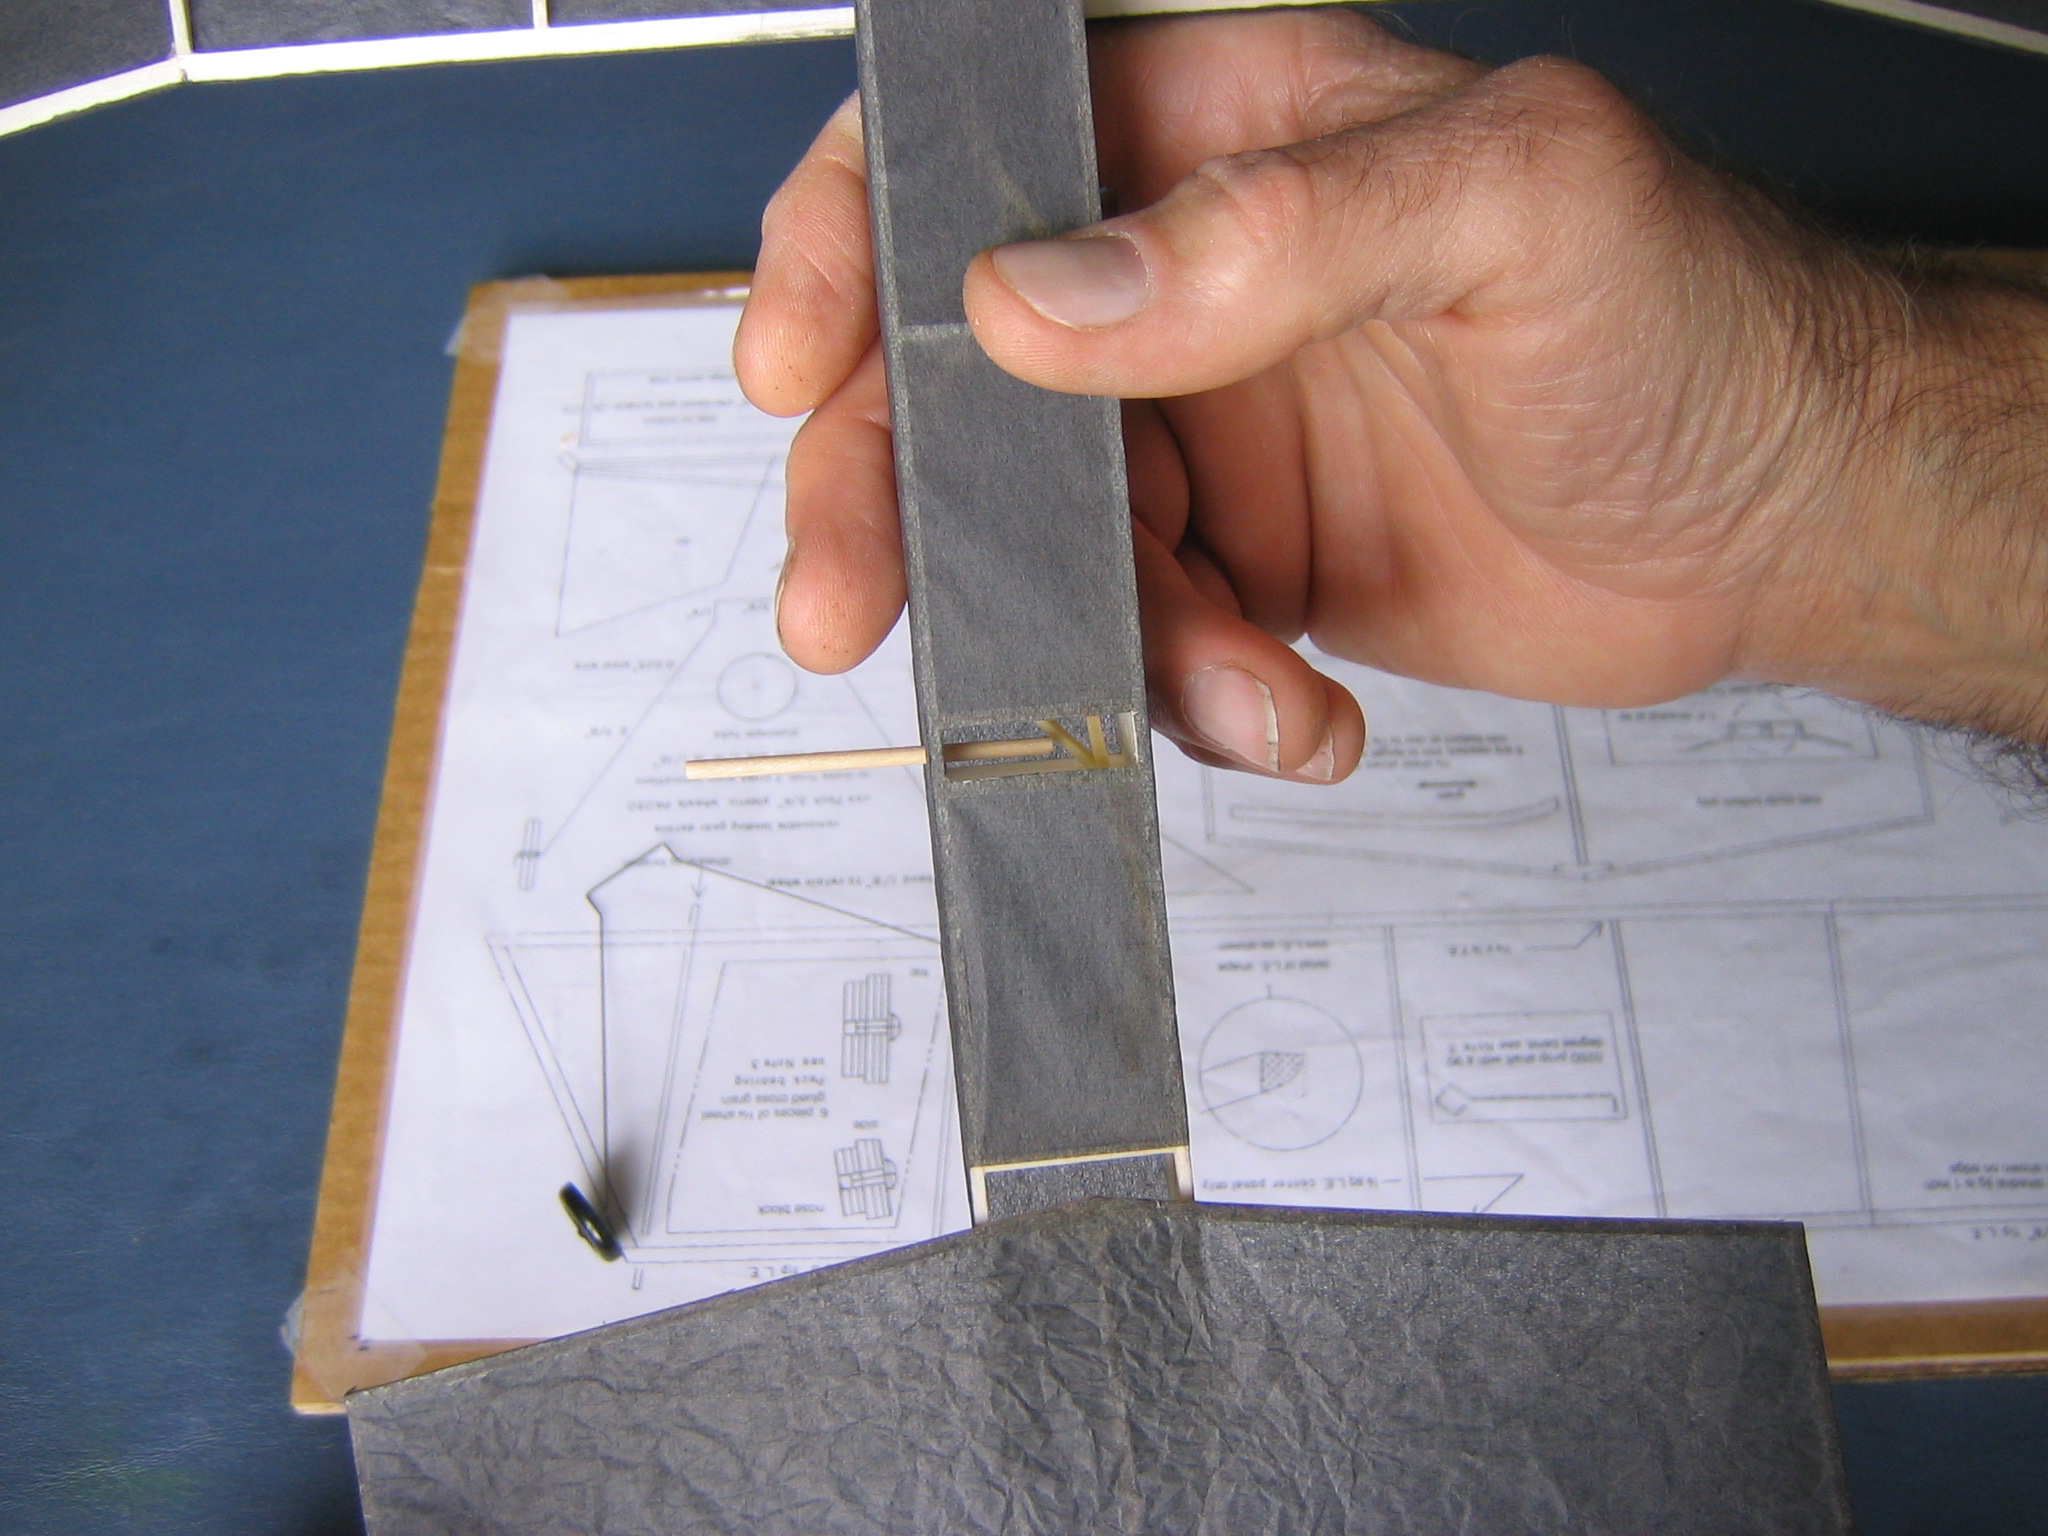
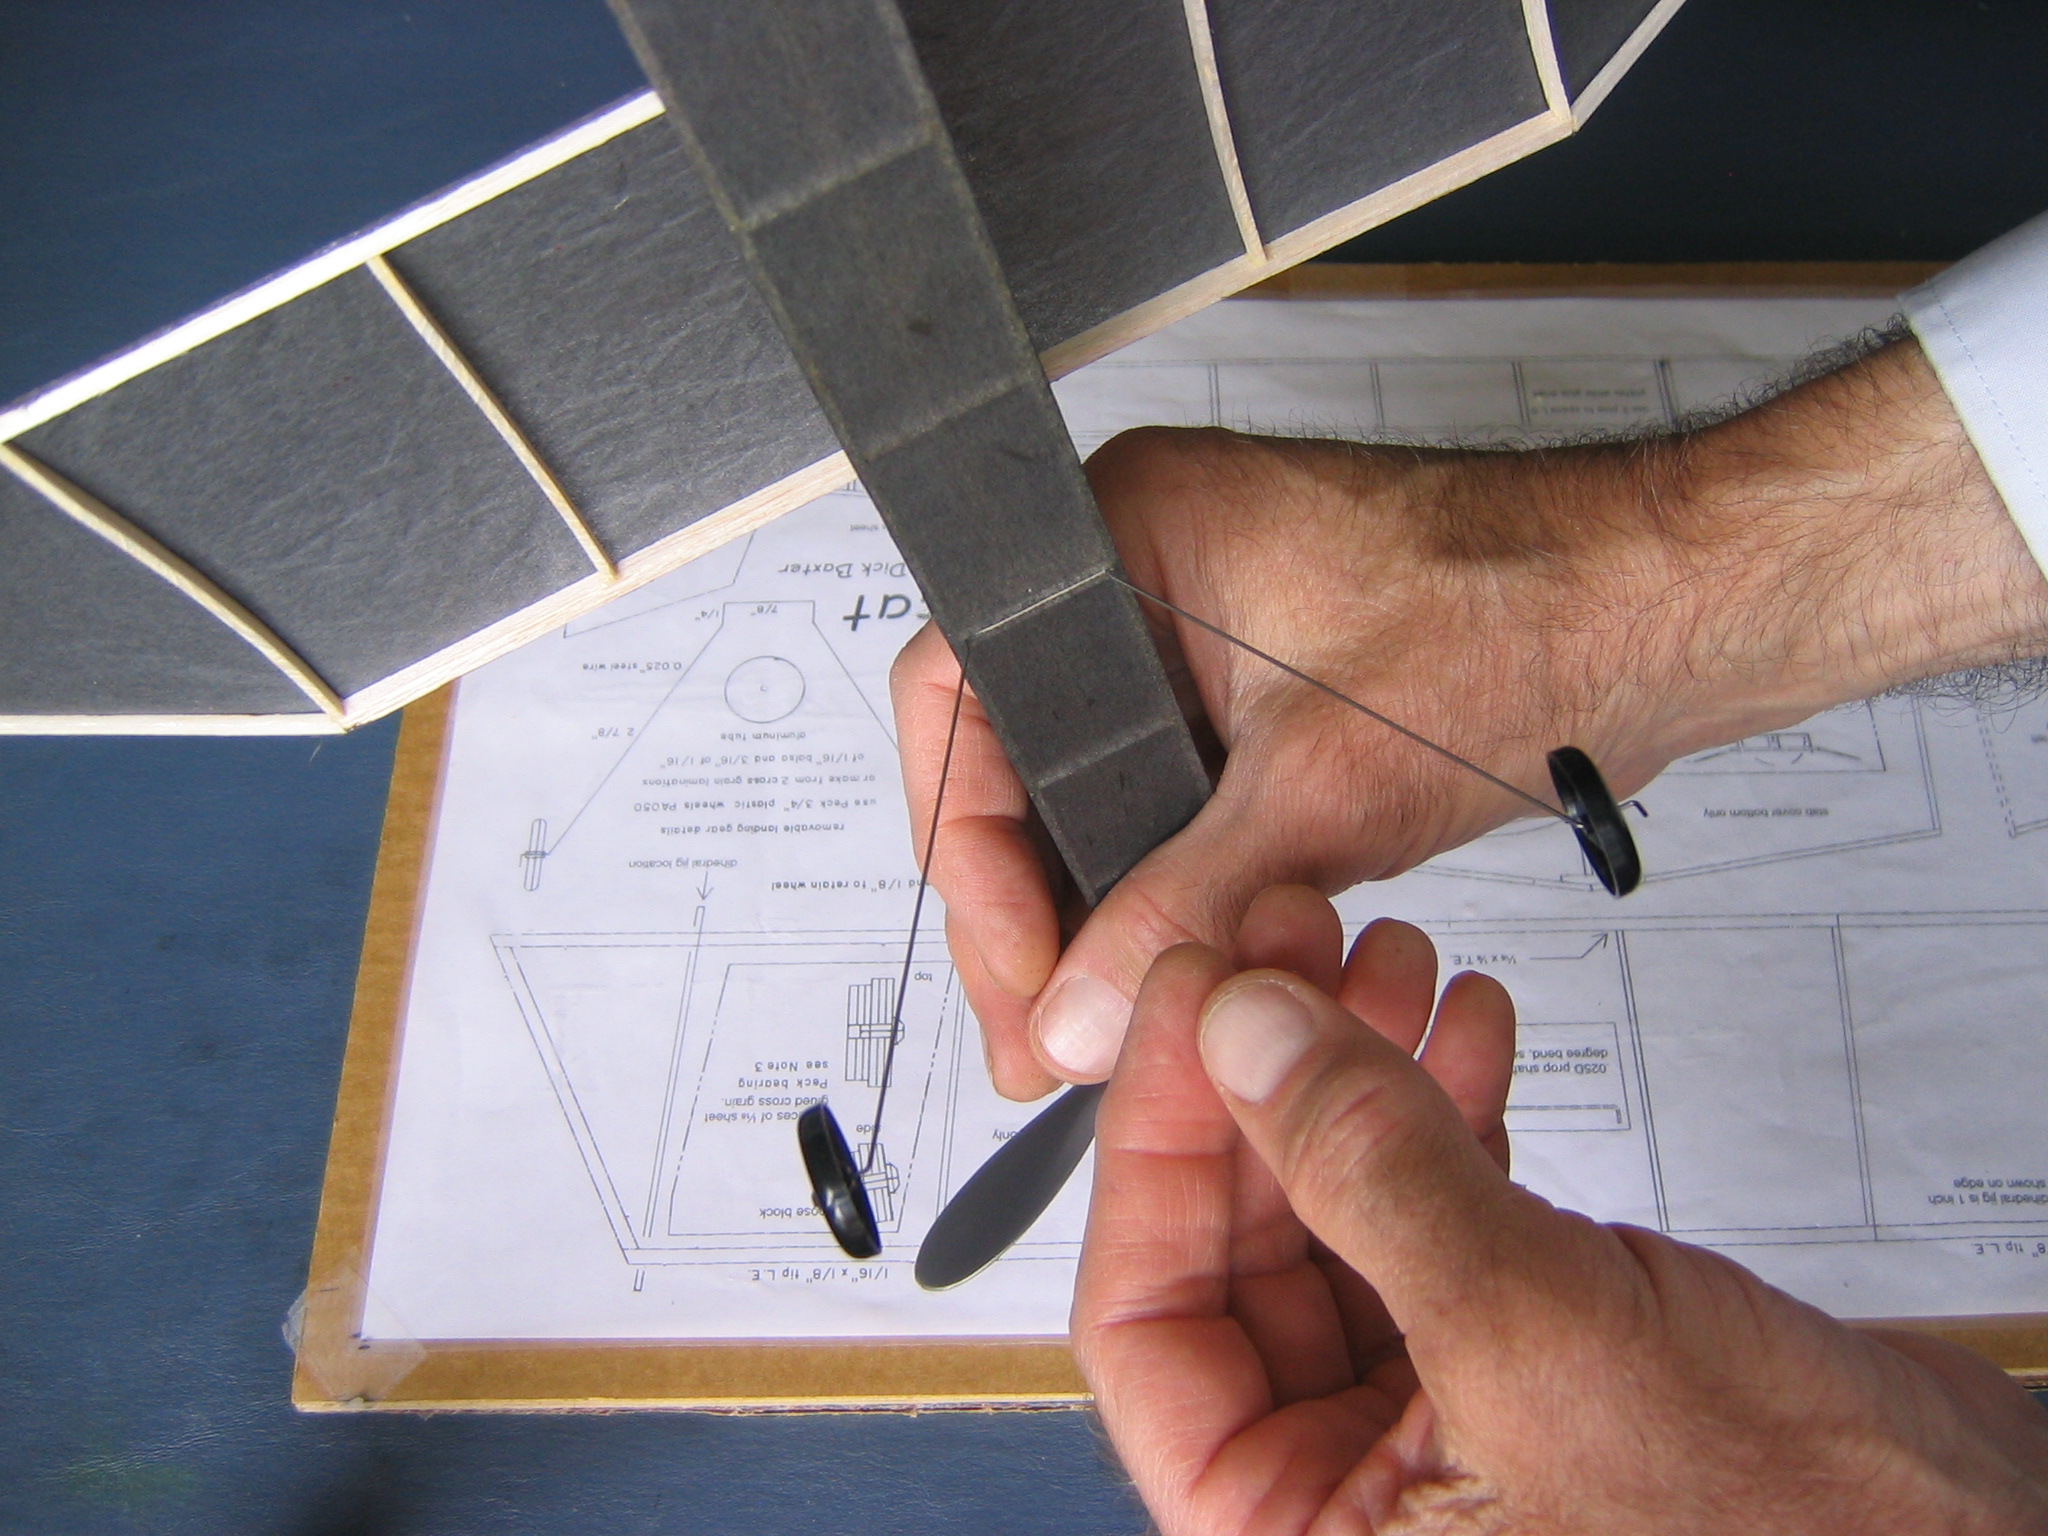
Squeeze the landing gear legs together slightly and slide the top into the slot under the fuselage.
Check that the landing gear is properly fitted.
The wheels should be slightly ahead of the slot.
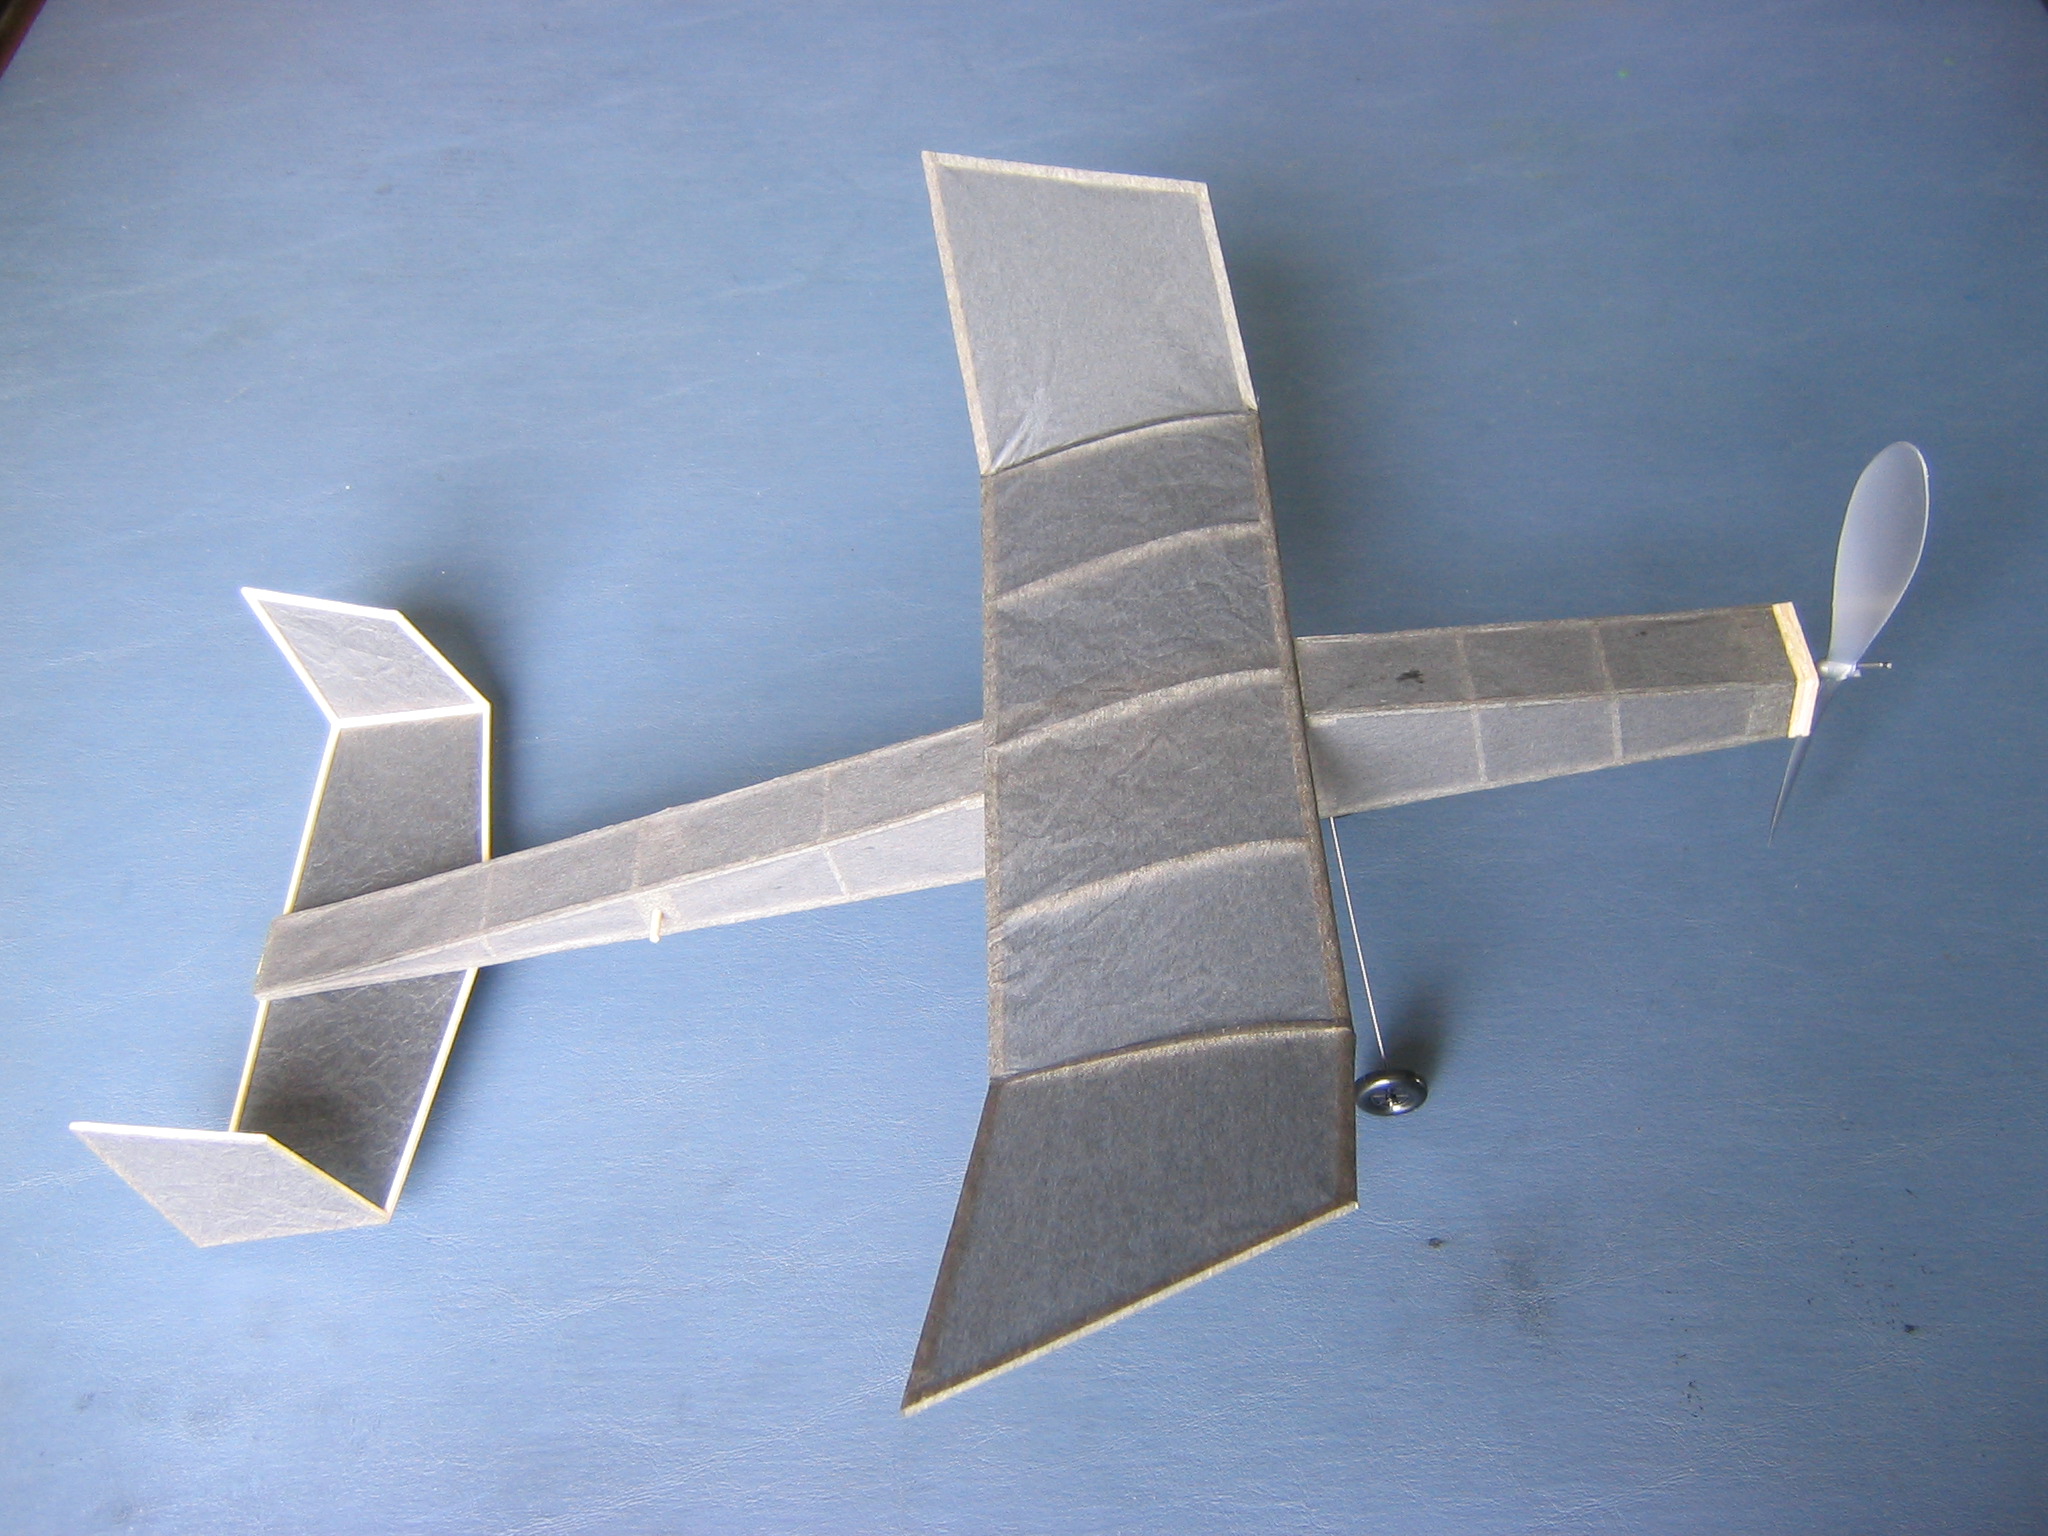
The payoff for all your work! Your airplane is now ready to fly. Put it in a safe place until you can get it to the Gym.
Winding the Motor, Trimming and Flying
The Big Pussycat motor takes a few thousand turns, more than you want to put in by hand. You will use a winder. Stretching the motor during winding allow more turns to be put in. Commonly winders put in 10 or 15 turns per crank of the handle. It is easiest to keep track of cranks if you count by tens, like this “One, two, three, four, five, six, seven, eight, nine, ONE, one, two, three, four, five, six, seven, eight, nine, TWO, one, two, three, four, five, six, seven, eight, nine, THREE, one, two, three, four, five, six, seven, eight, nine, FOUR, one, two, three, four, five, six, seven, eight, nine, FIVE.” At this point you have fifty cranks in, five hundred turns on the 10:1 winder or seven hundred fifty turns on the 15:1 winder. Start with about 70% of maximum winds to check that the plane flies well in a circle that will fit within the Gym. It should be turning left, climbing only slightly. Watch how it comes down when the power runs out. It should glide slowly to the floor. If you built the plane according to the directions, it should fit within the usual basketball gym. You may want to adjust the turn if you are in a smaller or larger space. Make the necessary turn adjustments before increasing power. Turn adjustments are made by placing a shim between the nose block and the front of the fuselage, to point the propeller more to one side. Thin shims may be made from something like postcard or business card paper. Thicker shims may be made from 1/32″ balsa or 1/16″ balsa. Place the shim on the right side to make the plane turn more tightly to the left. Place the shim on the left side to open the circle. Gradually add turns, going to 80% to check climb and 90% to see how closely the plane approaches the ceiling. If the plane hits the ceiling, back off half way to the last number of turns that did not hit the ceiling. By going half way up and down you will eventually get as close to the ceiling as possible without hitting it. This gradual increase will also break in the motor so it will take a few more turns. Once you have a flight close to the ceiling, try another flight with the same number of turns, but measure the torque. Check that the plane still gets close to the ceiling. Next flight, wind the motor up as much farther as you dare than the last time, then back off winds until you reach the torque of the previous flight. You will find that you will have more turns in the motor at the same torque. This will allow you to get more time using that motor. After a couple windups to near capacity the motor will become fatigued. Let the motor rest over night before using it again.
For best duration, the Big Pussycat is flown without landing gear, using the 1/16″ motor. For flying with the landing gear, use a slightly thicker motor for more power to lift he extra weight and overcome the drag.
Record each flight in a notebook. You can write down the date and location, the name of the plane, the weight of the plane, the size and weight of the motor, the center of gravity location, the number of turns put in, the number of backwinds if any and any trim adjustments. Describe the flight pattern, diameter of circle, rate of climb, estimate how close it got to the ceiling. Record the flight time and the number of turns left on the motor upon landing. You may also want to record the torque at launch and landing.
Big Pussycat Motors Turns Tables
Turns tables give a rough guide to how many turns to put into a motor. Every batch of rubber is different. Different winding conditions and techniques have different results. With experience, you will develop a feel for how many turns to put into a rubber motor.
20″ Loop of 1/16″
1.6 Grams, 146.8 tpi
%Max, 10:1 Winder, 15:1 Winder, Notes
100 293 196 Breaks motor
90 264 176 Check approach to ceiling
80 235 157 Check climb
70 206 137 Check trim, circle
25″ Loop of 1/16″
2.1 Grams, 146.8 tpi
%Max, 10:1 Winder, 15:1 Winder, Notes
100 367 244 Breaks motor
90 330 220 Check approach to ceiling
80 294 196 Check climb
70 257 171 Check trim, circle
For flying with the landing gear, use a slightly thicker motor for more power to lift he extra weight and overcome the drag.
20 1/2″” Loop of 3/32″
2.6 Grams, 119.9 tpi
%Max, 10:1 Winder, 15:1 Winder, Notes
100 245 163 Breaks motor
90 221 147 Check approach to ceiling
80 197 131 Check climb
70 172 115 Check trim, circle
–

Excellent tutorial. Do you have any suggestion for a plane like the Big Pussycat but can fly indoors in a living room. I have seen plans for one caller Parlor Fly with triangular body, but no tutorial. Link: https://outerzone.co.uk/plan_details.asp?ID=3441.
I hope you can help,
Many Thanks
Alex
That link includes a scan of the first page of building instructions, but does not include the following pages. I have asked the poster to include the remaining pages. You can also get it from Model Airplane News or you can buy scans of Model Airplane News from Roland Friestad at cardinal.eng@grics.net . Roland may be able to provide the missing pages of the instructions, given the September 1957 publication date.
Several options come to mind, but it depends on what you want. Do you want an enclosed motor or do you just want something that will fly in a living room, or both? Most living room models are small stick models because of the weight requirements for flying in small spaces, discussed later.
The Parlor Fly has a 13” wing span. This is the span for Peanut Scale models. There are many plans, books and articles on building and flying Peanut Scale models.
You could reduce the Big Pussycat to a 13” or smaller wingspan. Print the plan to fit an 8 1/2” x 11” sheet and build from 1/32” wood and condenser tissue. You could build the original Pussycat, which has a 12” wing span. You can improve the Pussycat by using cambered ribs and canting the dihedral breaks as I do on the Big Pussycat. You may be able to find a Pussycat kit online (no longer being manufactured), or build from the plan found here:
http://www.hippocketaeronautics.com/hpa_plans/search.php?search_keywords=Baxter&sessionid=3665509d8a34ba8403011600cd4b857f
The Pussycat was published in the July 1989 Model Builder. That magazine is no longer published, but Roland may be able to help you with the plan and instructions. Even the 12” Pussycat needs a lot of room to fly in, unless you lighten it up quite a bit, as you can see here:
https://youtu.be/MhtjAJ9scwU
The Pussycat has been reduced to an 8” wing span.
http://www.gryffinaero.com/models/ffpages/contacts/mac/macgallery/macpccredits.html
Small planes have been called pocket airplanes, matchbox airplanes, parlor planes, living room planes and MiniStick. The latter is a formal competition class. A search on any of these terms will produce many plans. For example:
http://www.ctie.monash.edu.au/hargrave/TRUMP/images/?C=N;O=D
Also search ‘indoor model airplanes’ on the Internet.
Now to the requirements for flying in small places.
Flying in a small space means flying in a small circle. For the usual planes to fly in a small circle requires an extreme angle of bank, to direct some of the lift force inward against the centrifugal force. The bank causes the plane to slip to the inside of the circle. The resulting side slip is in a downward direction. This requires the airplane to fly much faster than usual, to get the reduced vertical component of lift up to supporting the weight. Flying fast means running your motor down more quickly. Thus a principal requirement of flying in a small space is to make the airplane very, very light. You want it to fly slowly, in a small circle, with the wings nearly level, without side slip either way. It must also be very small to fit on a small circle. This is why these airplanes are of the Indoor type; small, made of thin sticks of light wood and covered with light materials such as condenser tissue or thin film.
Good kits of this type were the Micro-X Parlor Mite and the Indoor Model Supply 3 Parlor Planes. Unfortunately both companies are no longer in business. You might be able to find them online. Here you can see my Micro-X Parlor Mite flying in a circle around me as I videoed it at a bit more than arms length.
https://youtu.be/MSnIZEXn2ZY
Here is a video of a MiniStick build. It is an hour and a half long. It is for a particular plane, but the same methods can be applied to any other design.
https://youtu.be/uNJy3AR7uzE
Here is a collection of Indoor models, including several MiniStick plans.
https://indoornewsandviews.files.wordpress.com/2012/10/winning-indoor-designs.pdf
The best single source on Indoor model airplanes is Ron Williams’ book:
http://www.indoormodelairplanes.com/
FAI Model Supply is a good place to get Indoor supplies.
https://www.faimodelsupply.com/
Unfortunately all their Indoor planes are out of stock. You might be able to get them directly from the manufacturer IKARA:
http://www.ikara.eu/index.php?nid=6259&lid=en&oid=941317
The Butterfly is ready to fly.