Making wire landing gear legs
You can buy prebent landing gear wire, or you can bend your own. Skills learned in bending this simple landing gear will come in handy when there is no commercially available unit. Bending steel wire is one of the important skills of any aeromodeller.
I find that the prebent commercial units often require reworking before they can be used, anyway. In particular, check that the wheel axles are not curved. If they are curved, the wheels may not spin freely.
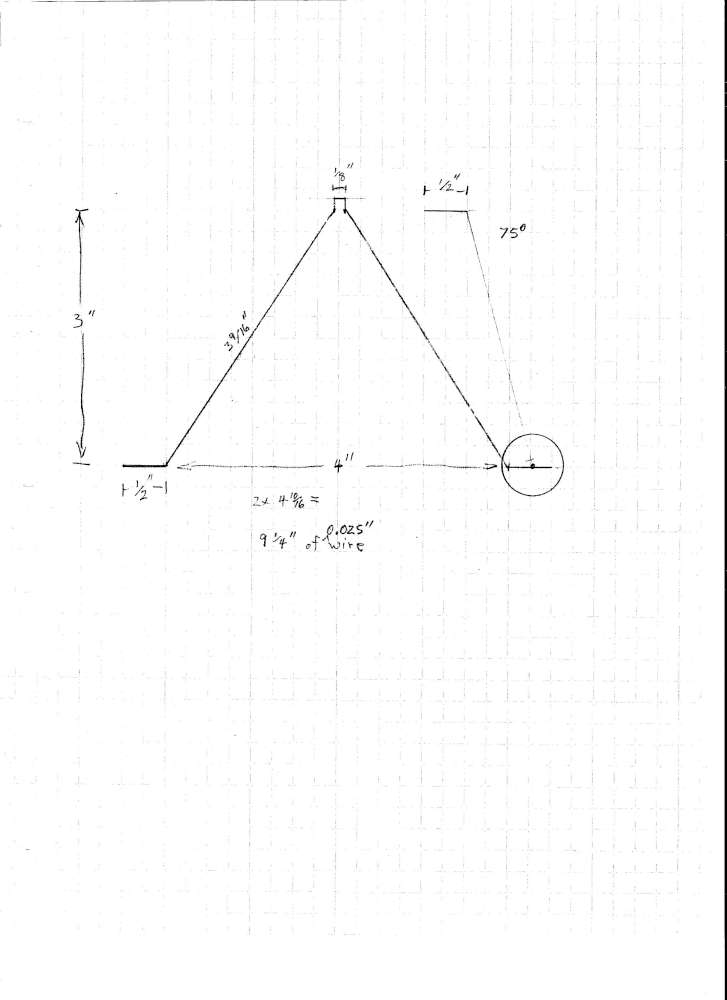
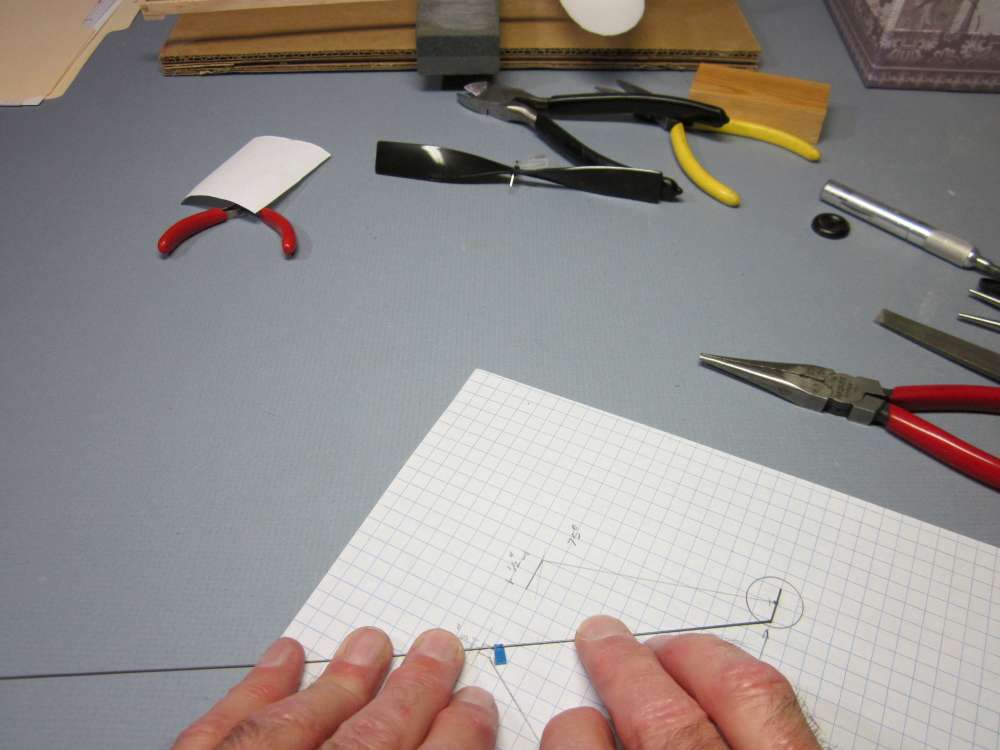
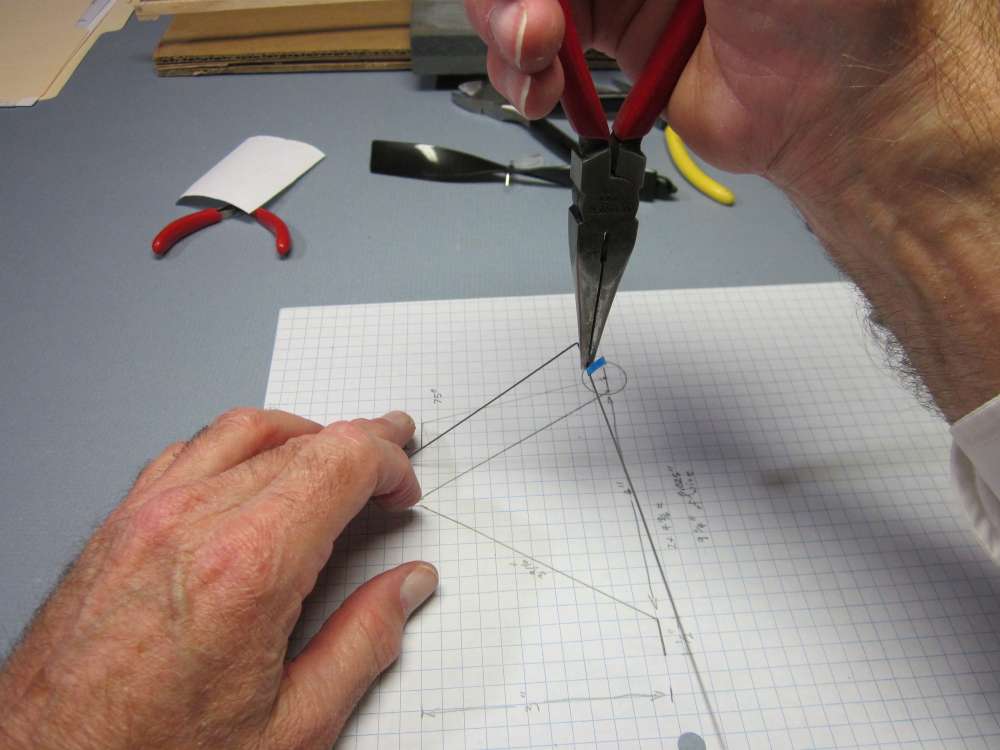
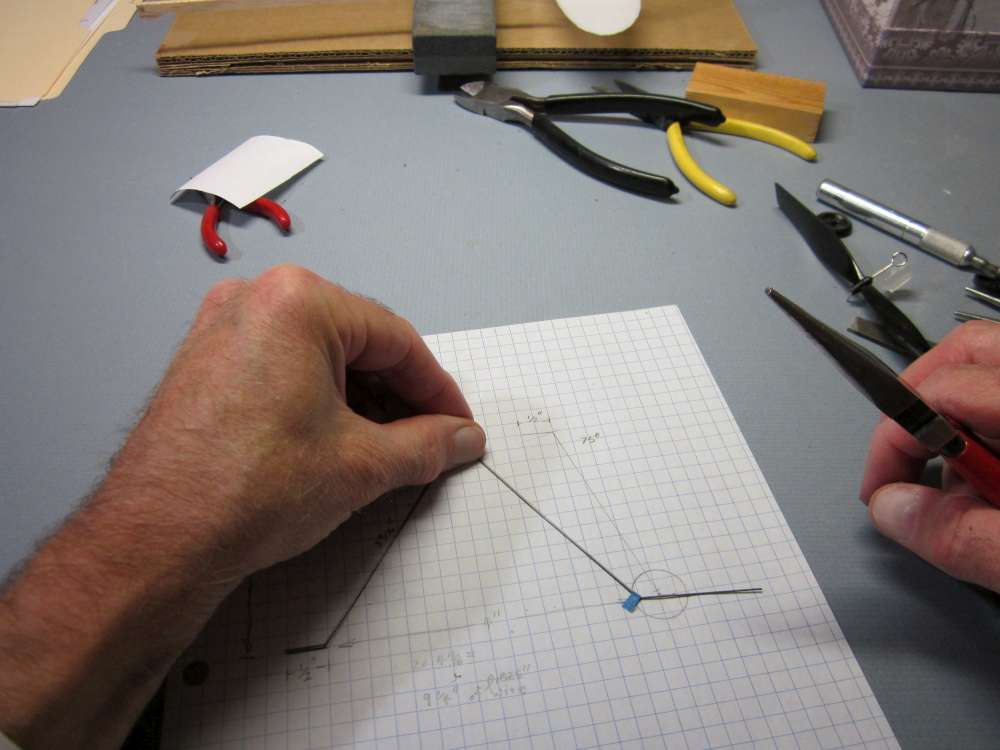
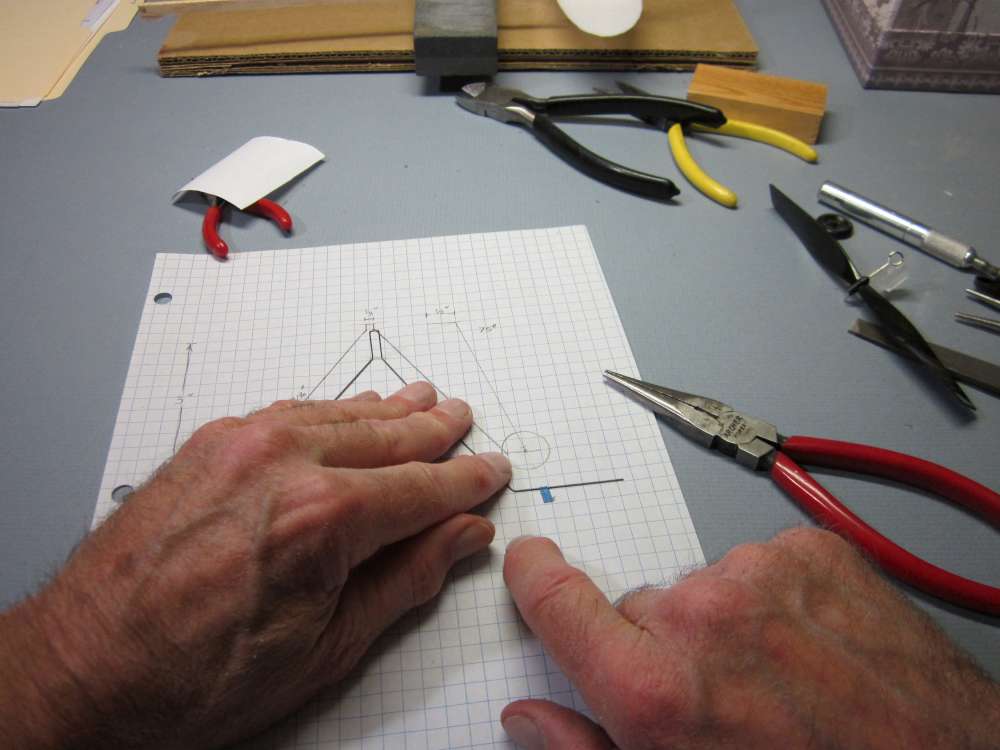
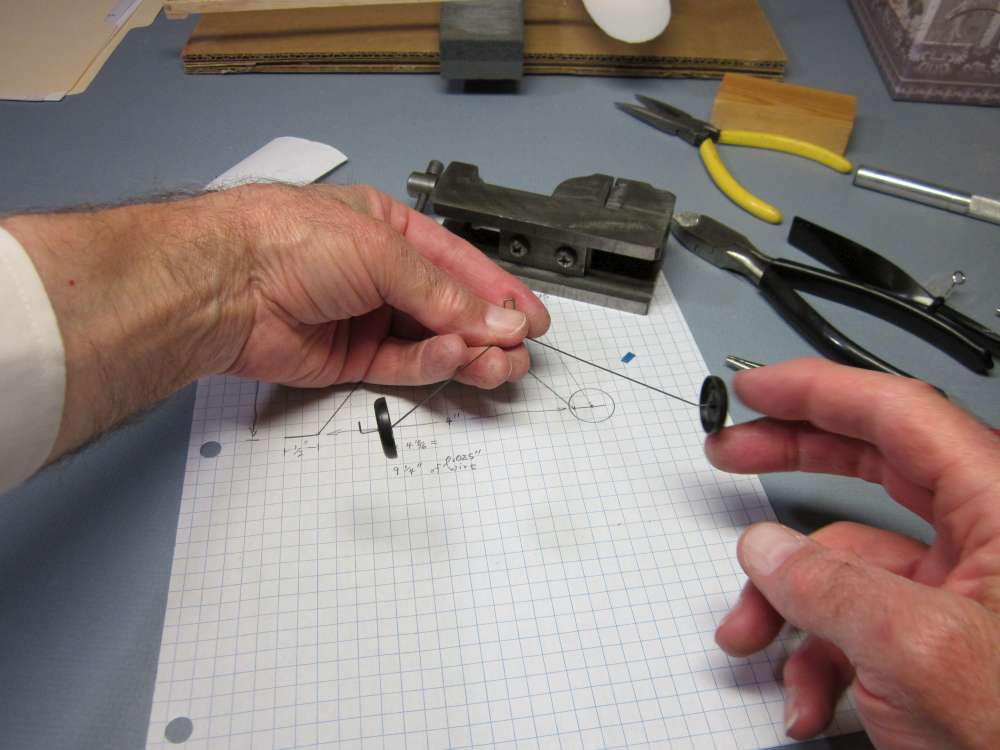
We start with a dimensioned, full scale drawing. You can redraw this one or you can copy, download and print this one, adjusting your printer settings to get the correct size. Actually, you can measure directly on the wire, so the important things on this drawing are the angles.

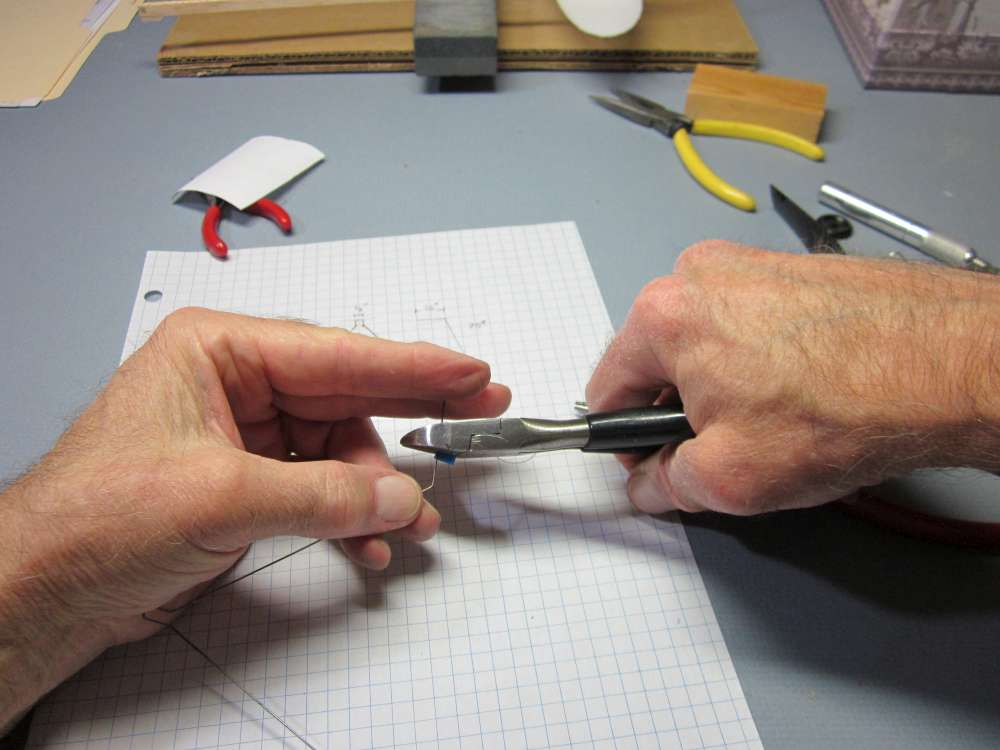
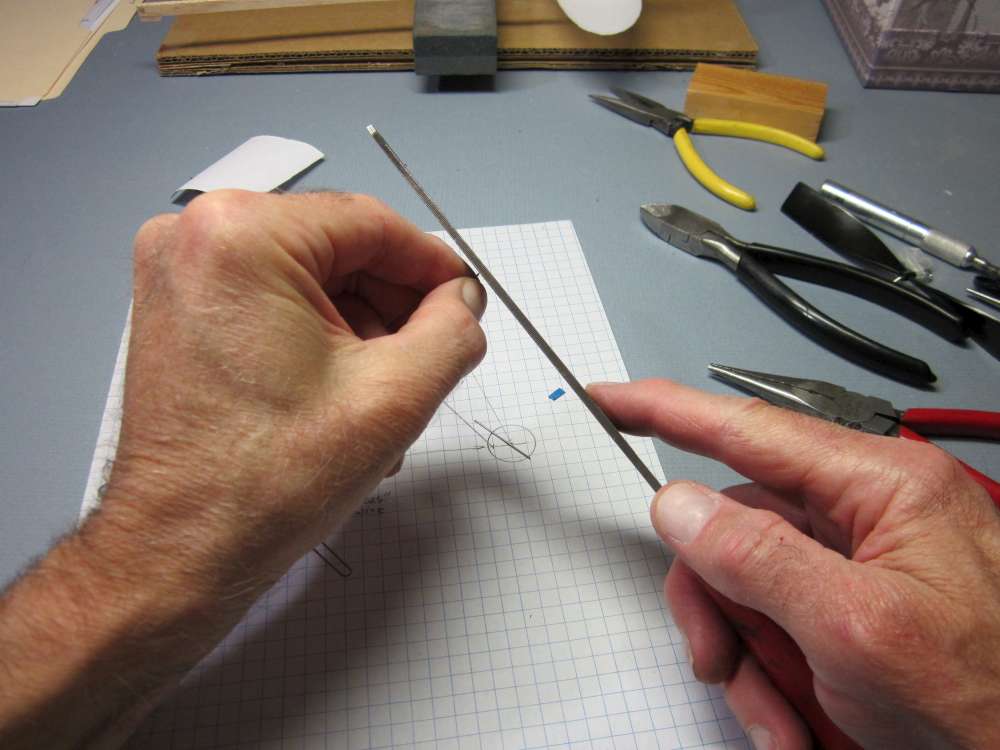
We will make the landing gear out of 0.025″ steel wire. The total lengths of the sections of the landing gear is 9 1/4″. I prefer to have a little extra, so I started with a 10″ length of wire. The first thing to do is file down the sharp chisel edge that results when you cut wire with diagonal cutters. File it flat and then file the corners down to round off the end.
We will make the bends in sequence, starting from one end.
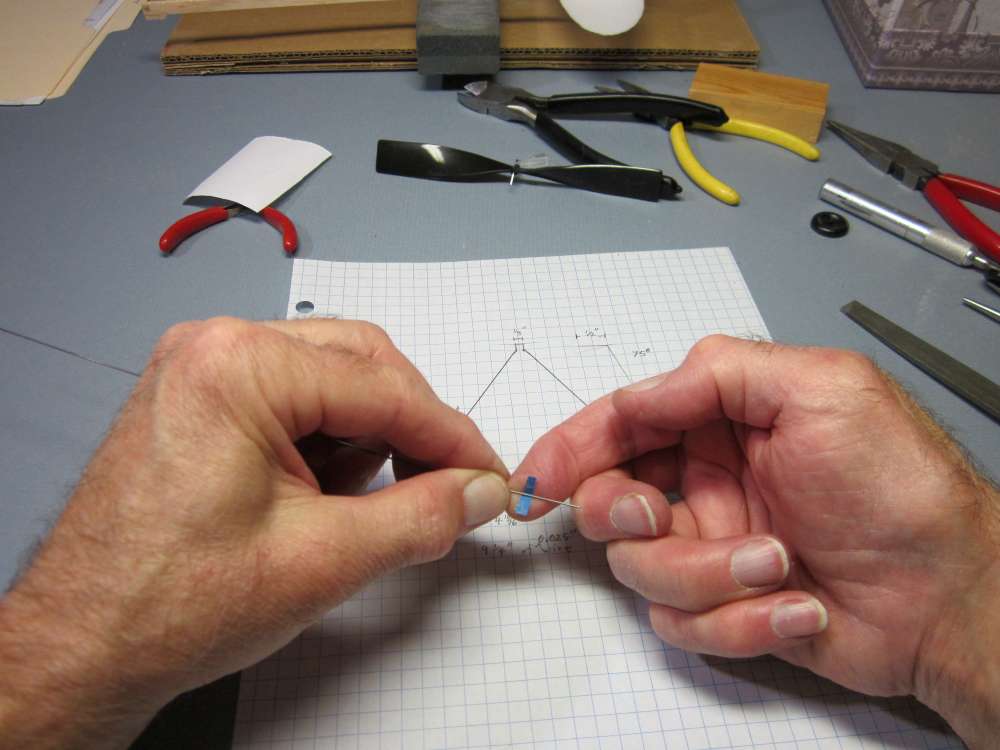
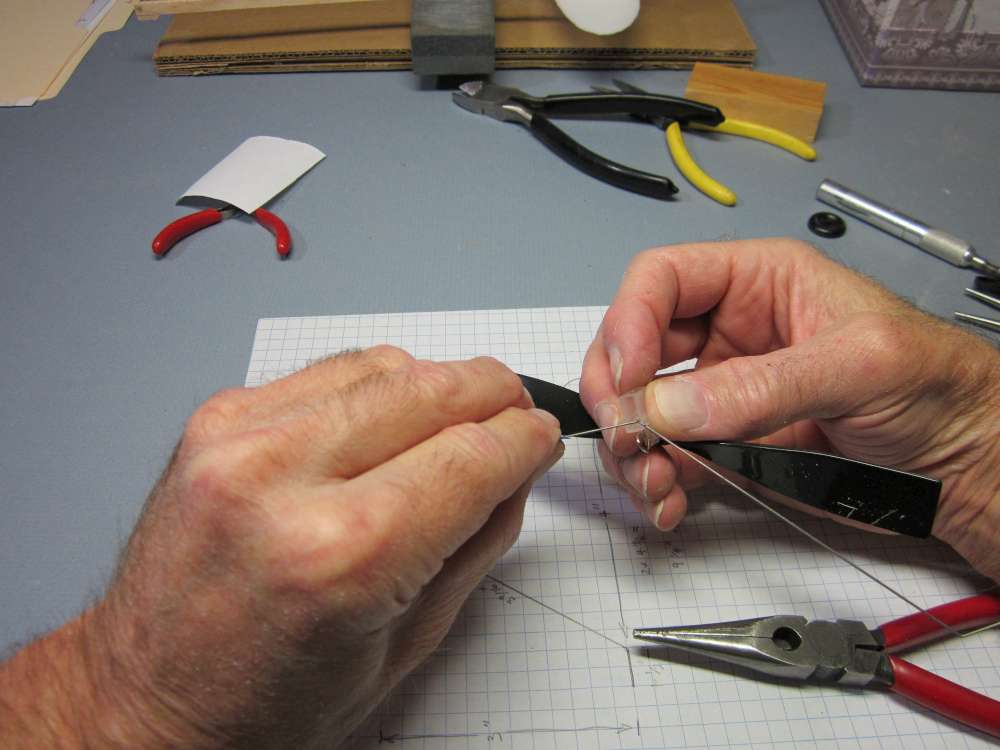
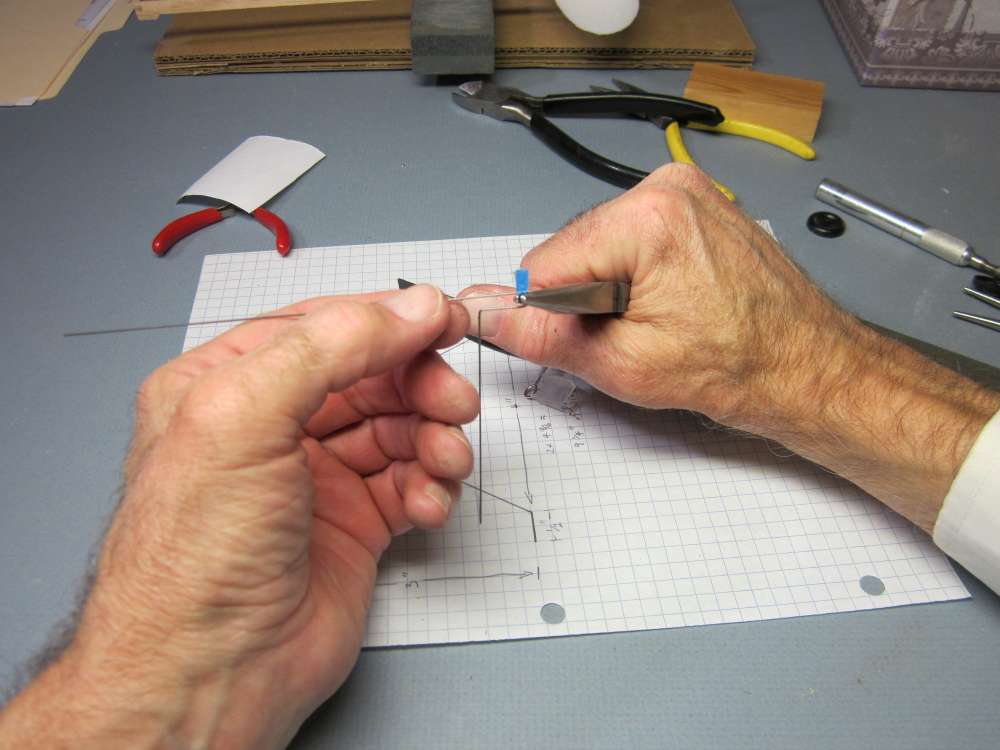
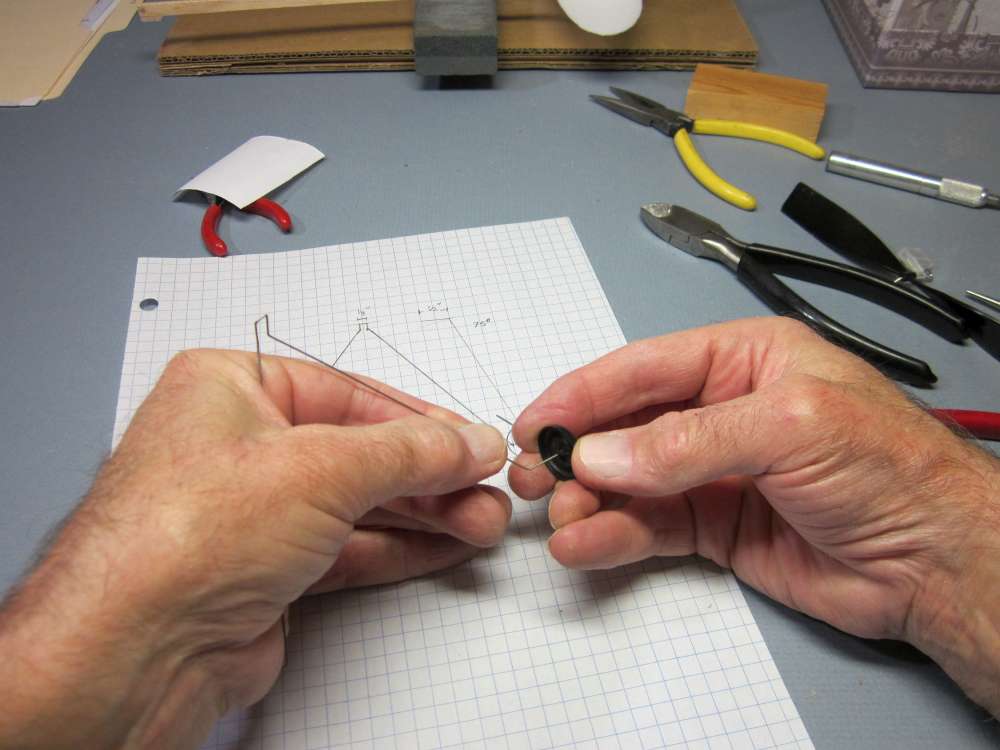
We start by bending the wheel axle on the end of the wire. Put a short piece of thin tape cut from the end of the tape roll against the wire 1/2″ from the end.
Fold the tape over the wire.
Check the length against the plan.
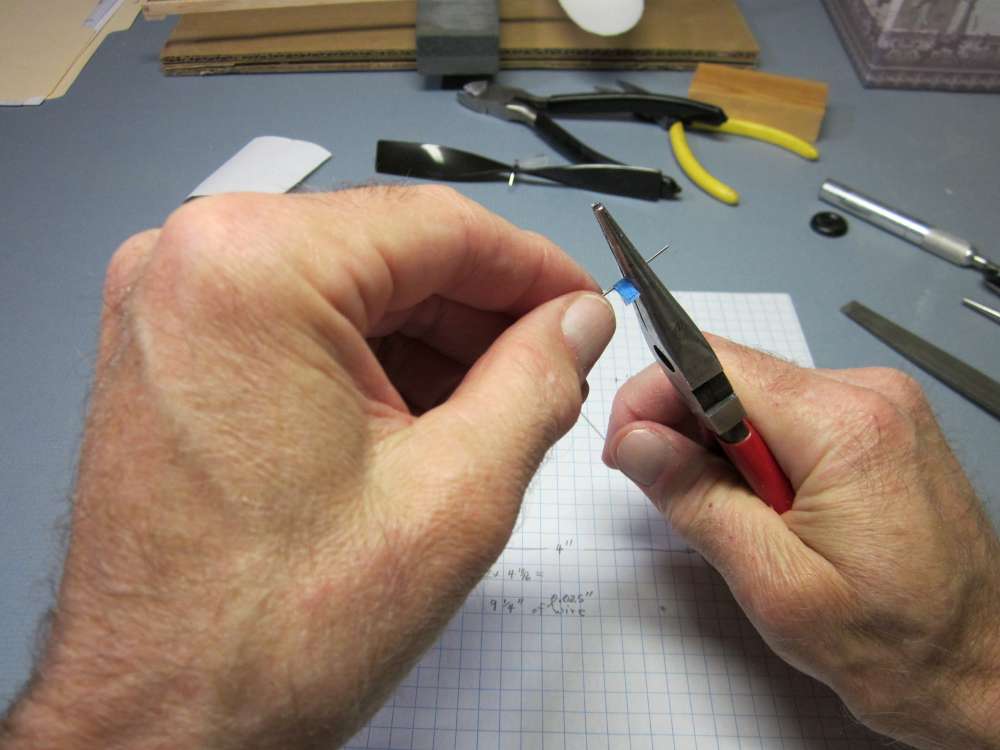
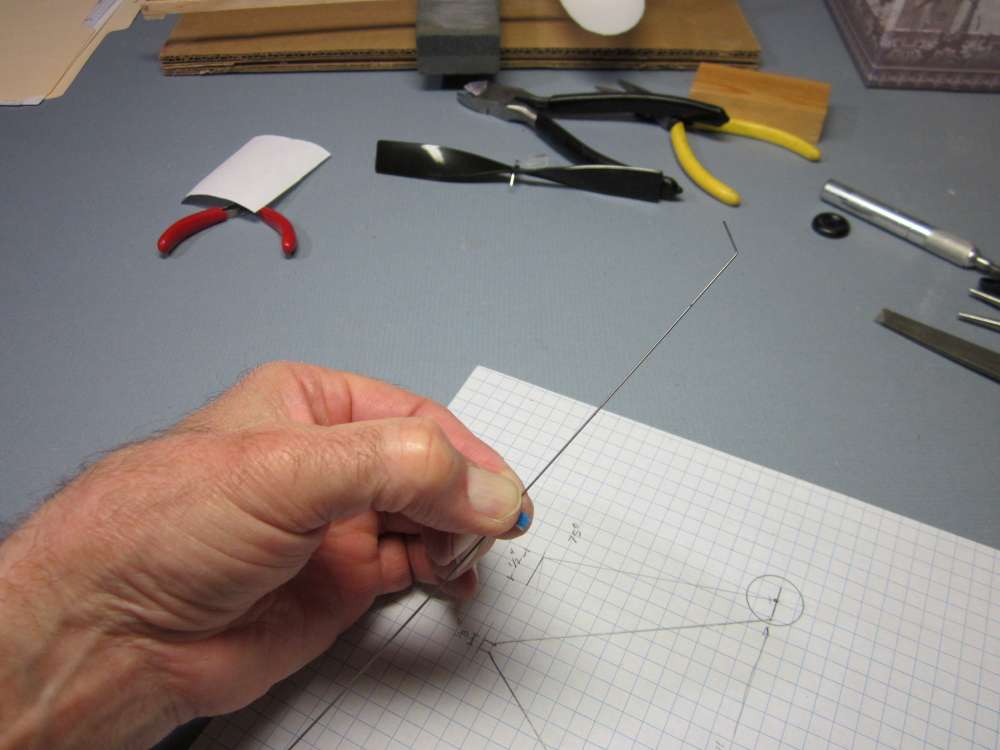
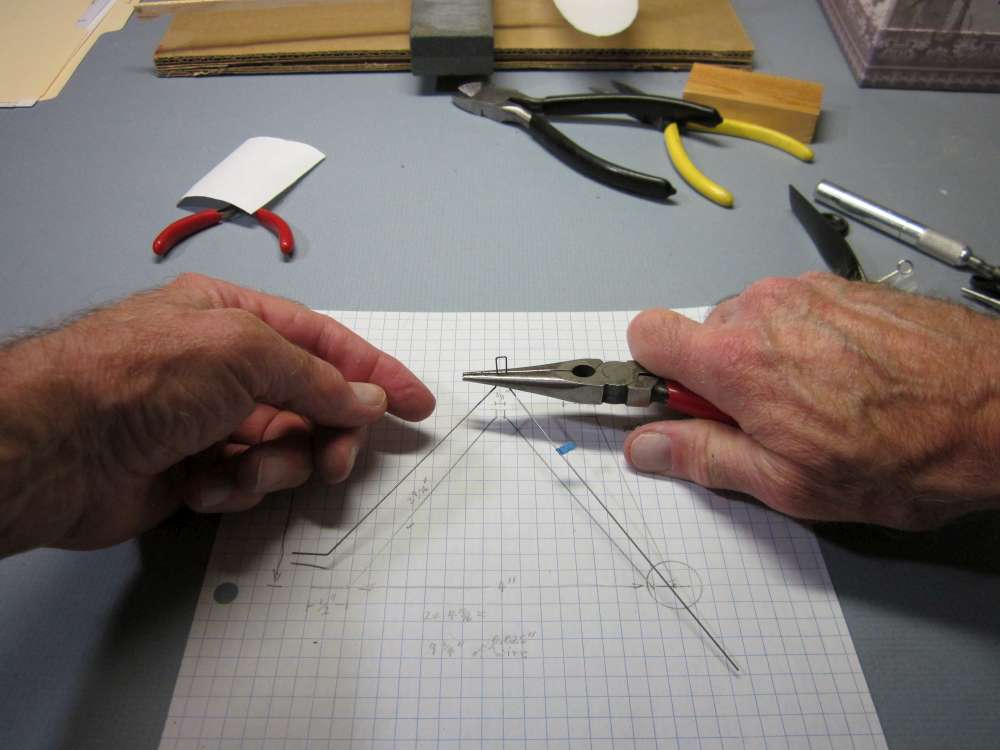
Grip the wire in the pliers right next to the tape.
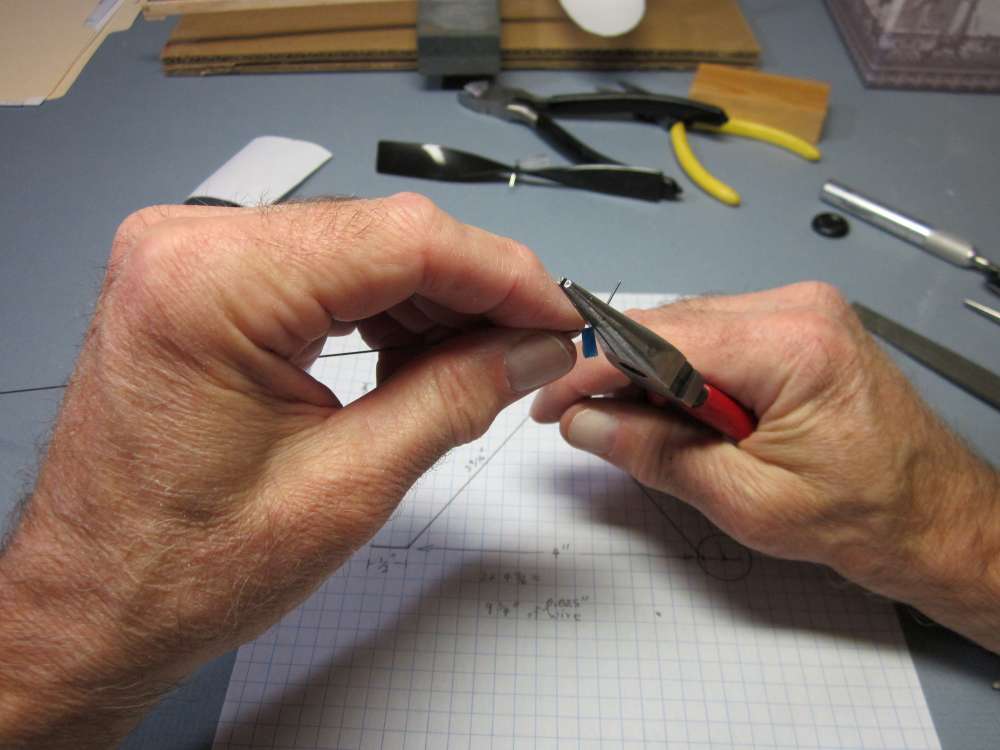
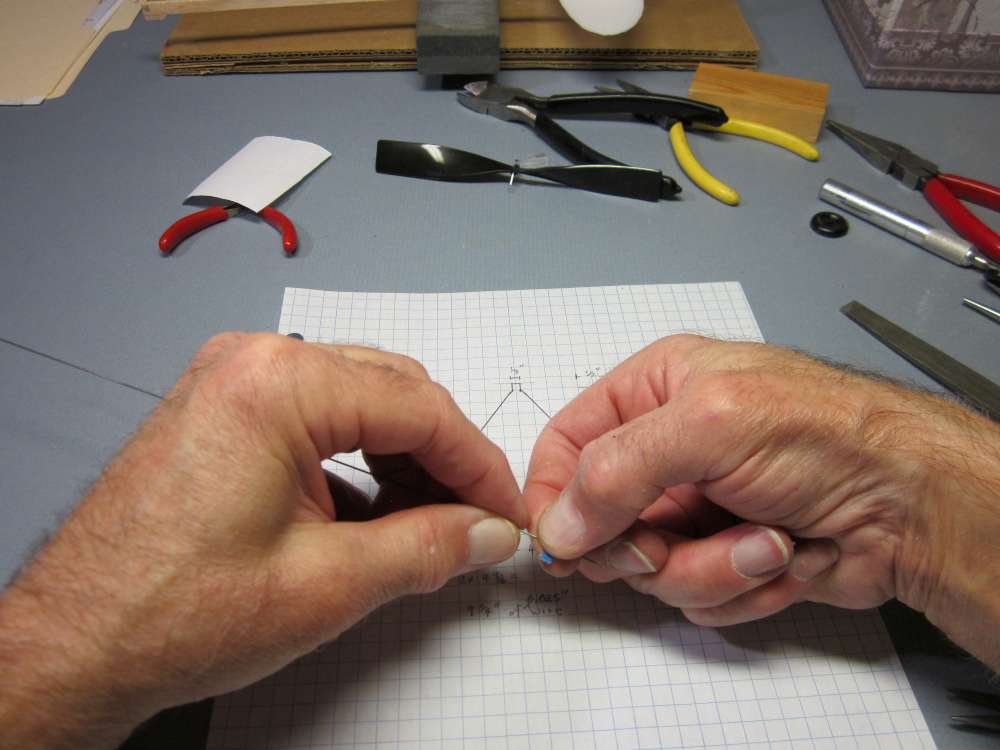
Bend the wire perpendicular to the face of the pliers. Bend it a little more than the angle you want, the wire will spring back some. Experience will teach you how much.
Check the angle. Here we went a bit too far. It must be unbent slightly.
Adjust and check until it is right.
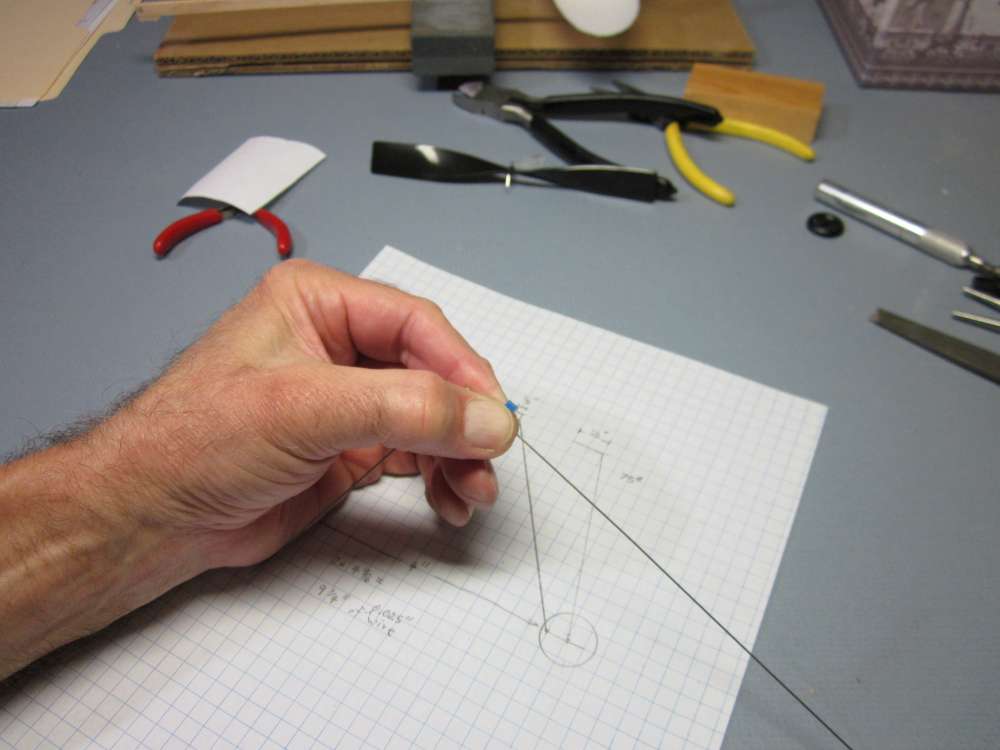
Position tape for the next bend.
Press the tape firmly in place so it won’t slip.

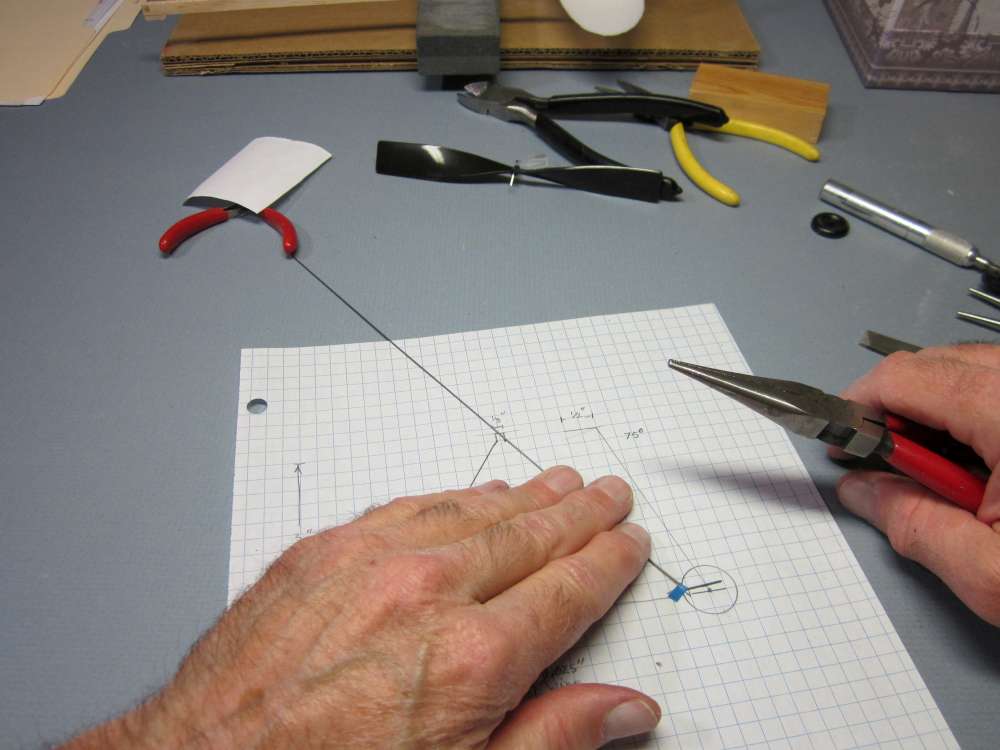
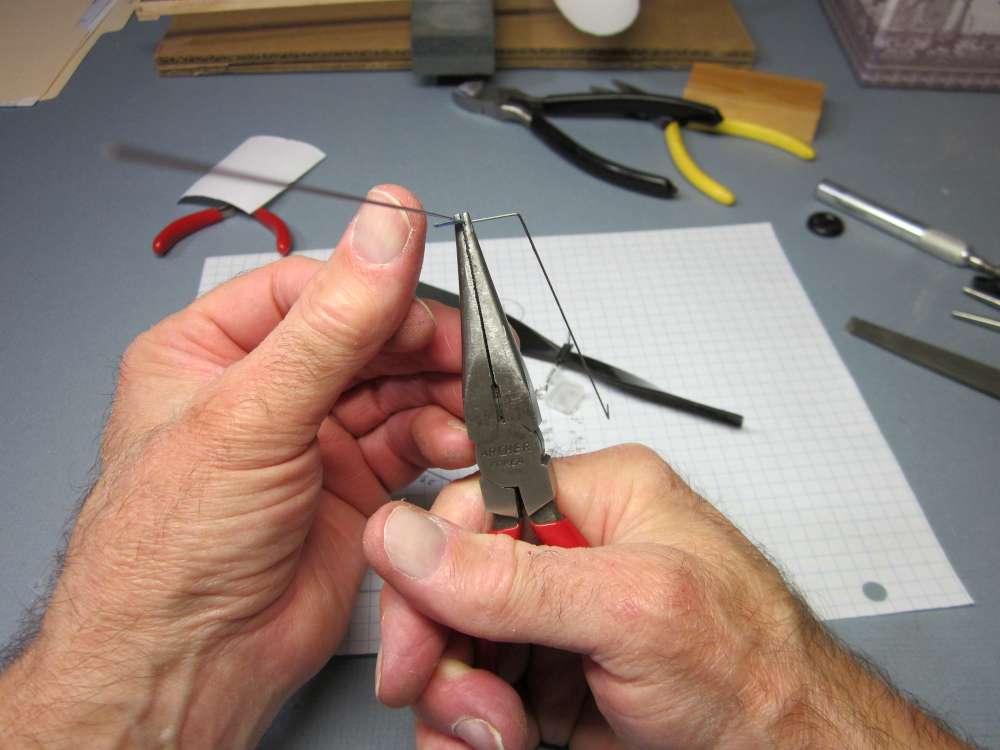
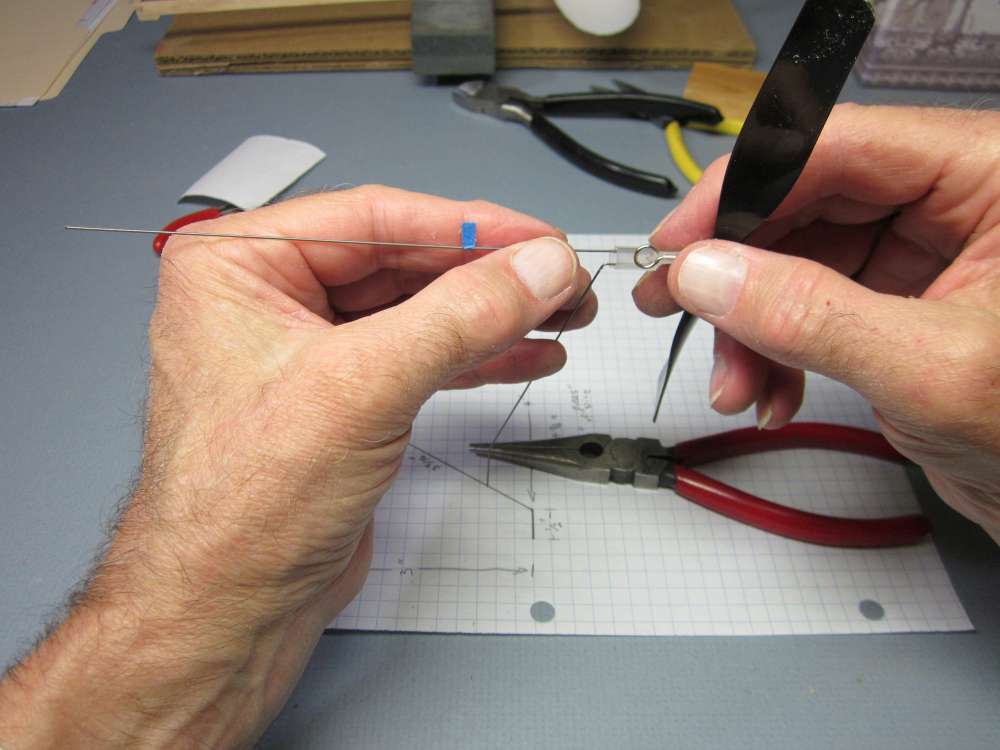
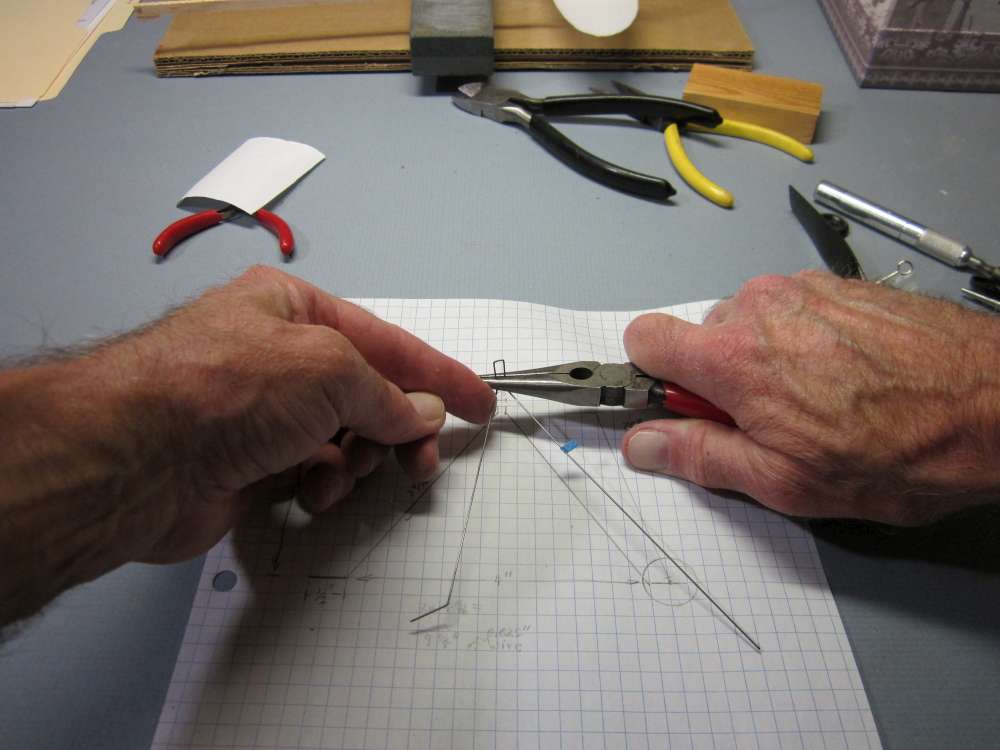
Grip the wire in the pliers. This bend is out of the plane of the previous two lengths of wire. It must be visualized in three dimensional space. Once you have figured out which way the wire must be bent, rotate the wire so the direction of the bend will be perpendicular to the face of the pliers. Push the wire to bend it. Push close to the position of the bend. If you push from too far away from the bend, you may put a curve in the wire. You want a sharp bend.
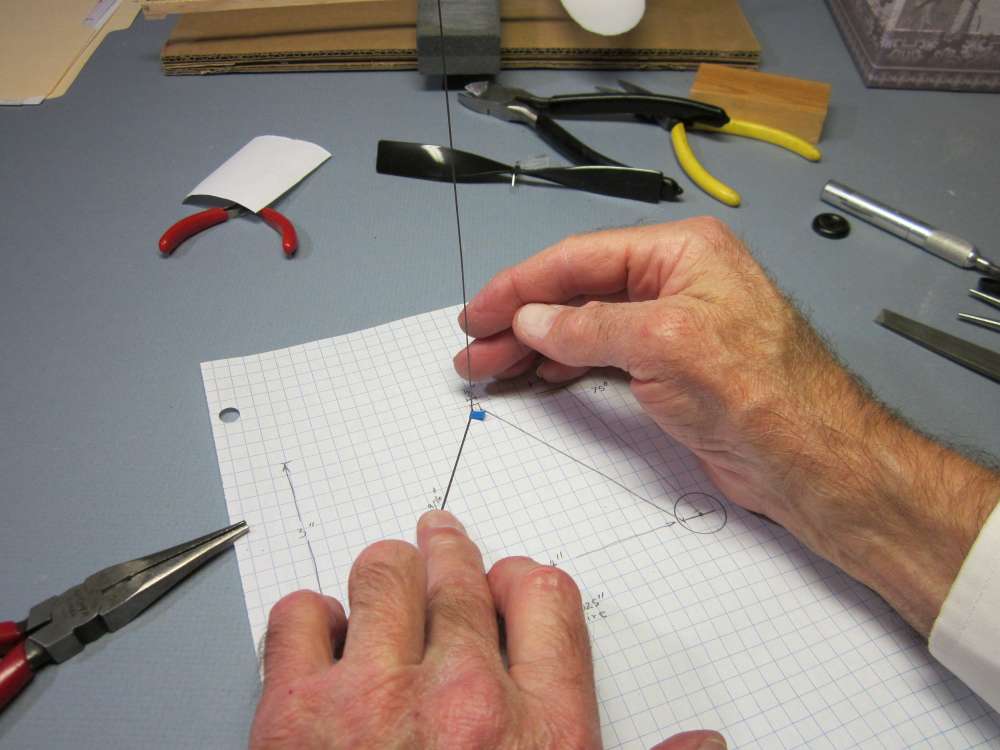
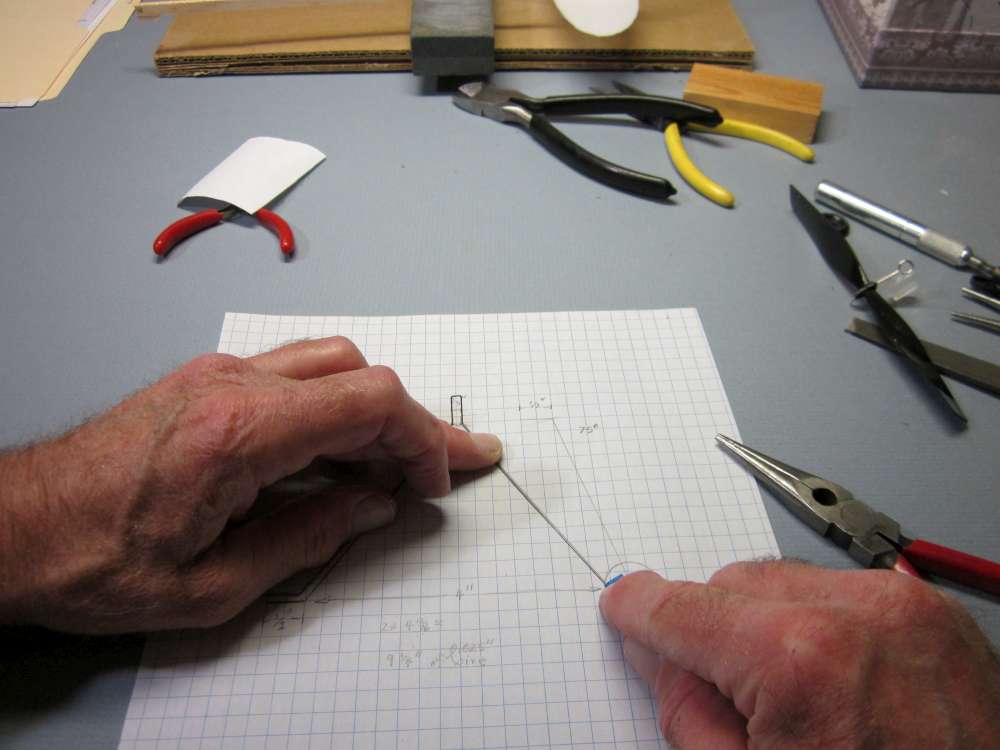
Check the bend. This is a three dimensional object, so view it from both directions. The wire sticking up must be parallel with the central plane of the landing gear, a plane perpendicular to the drawing sheet, and it must allow the landing gear to project forward. The wire will lean away from you as seen in the photo.

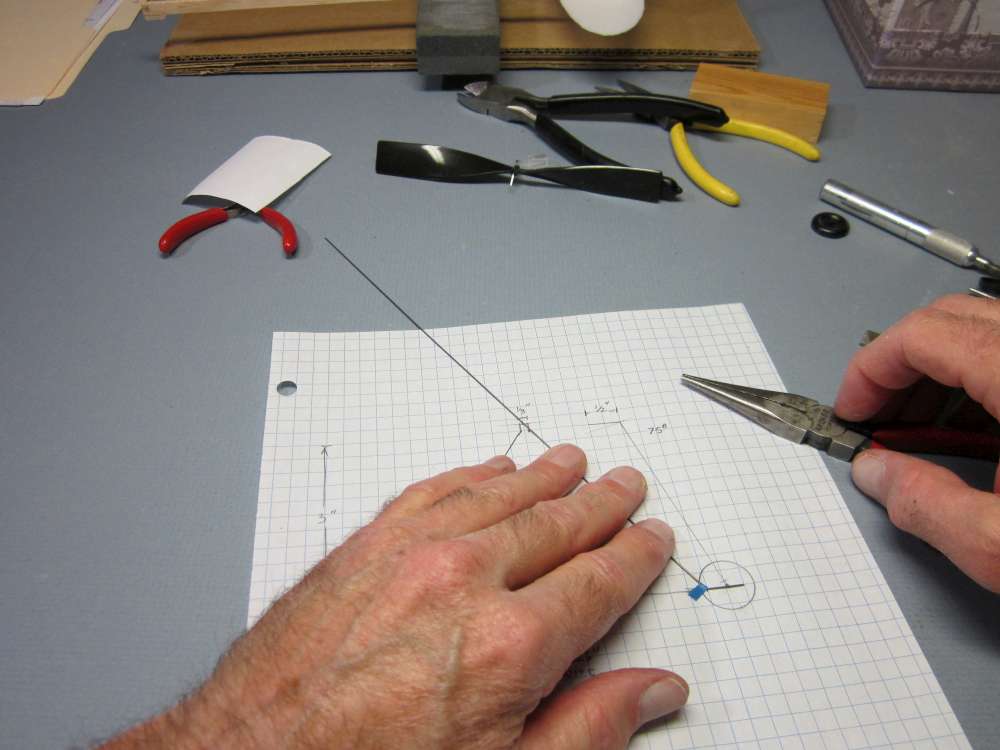
Mark next bend. This is one side of the piece that fits into a slot in the plastic propeller hanger box.
As always, squeeze the tape tightly in place so it doesn’t slip.
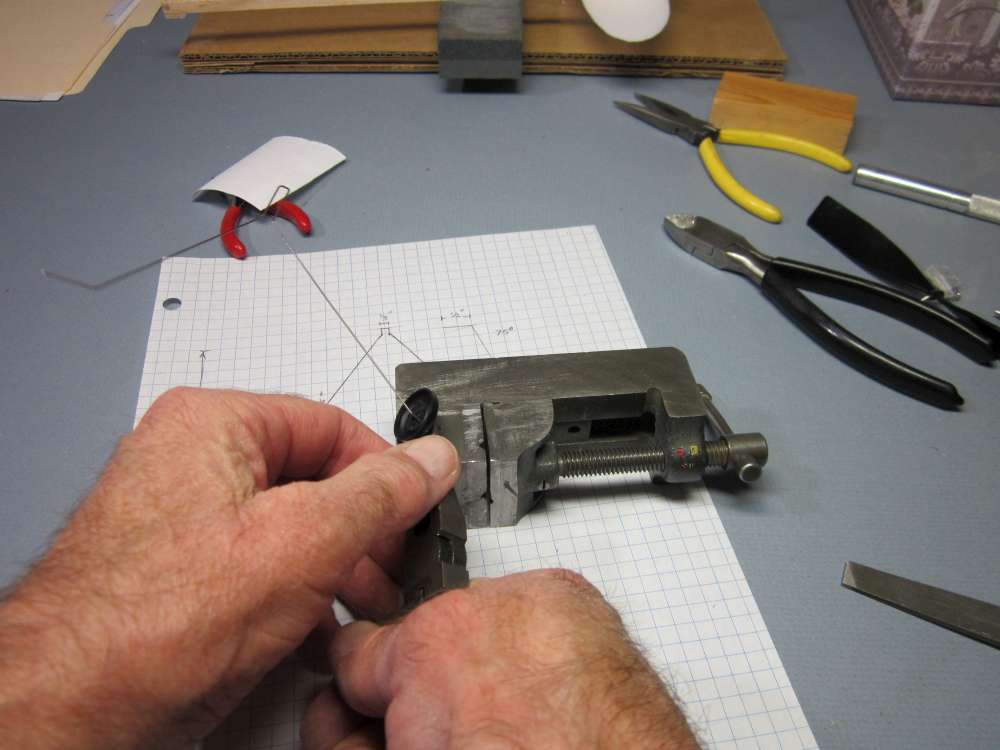
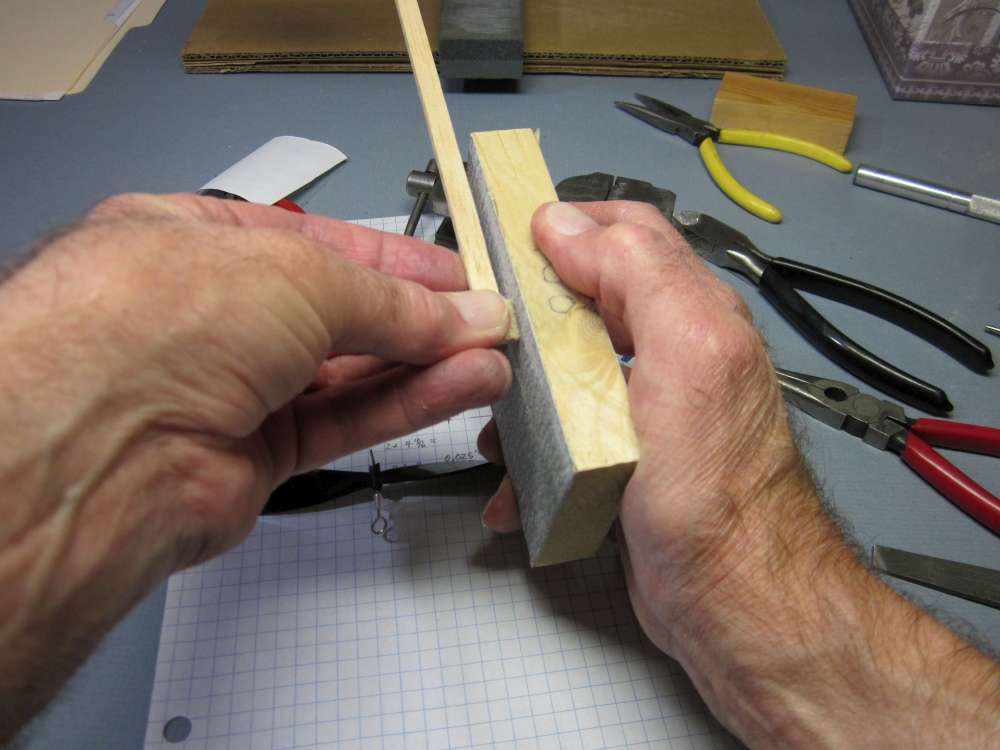
This next section will be horizontal when the axles are horizontal. I held the axle to the board to orient the assembly so I could orient the pliers for the bend.
Bend the wire.
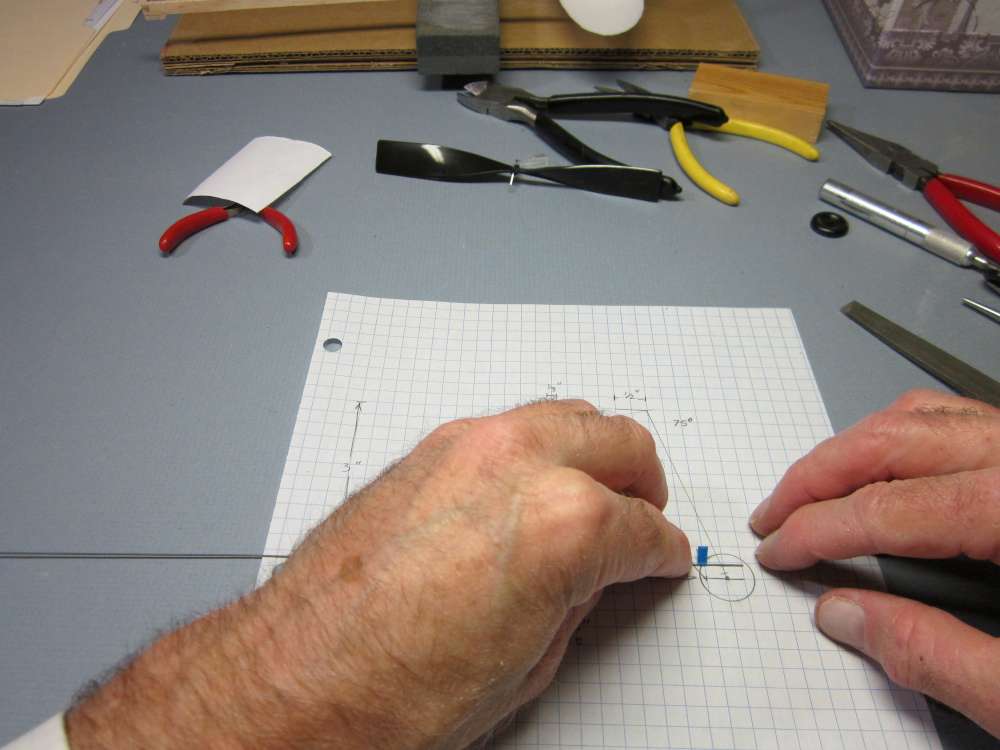
This next bend is the most dimensionally critical one. The length of this section determines whether the wire will fit properly in the plastic nose piece. It must be made to exact tolerance. Put the existing edge in one slot and mark the bend position with tape. Keep in mind that the bend takes place about one wire diameter outside the face of the pliers. Place the edge of the tape about one wire diameter inside where you want the bend to be.
This next section must be in the same plane as the previous two. Align the previous two so your eye is in the plane that contains them and make the bend, keeping the next section in that same plane.

The completed section is in the same plane as the previous two.
It is parallel with the one on the other side of the box. Adjust as necessary.
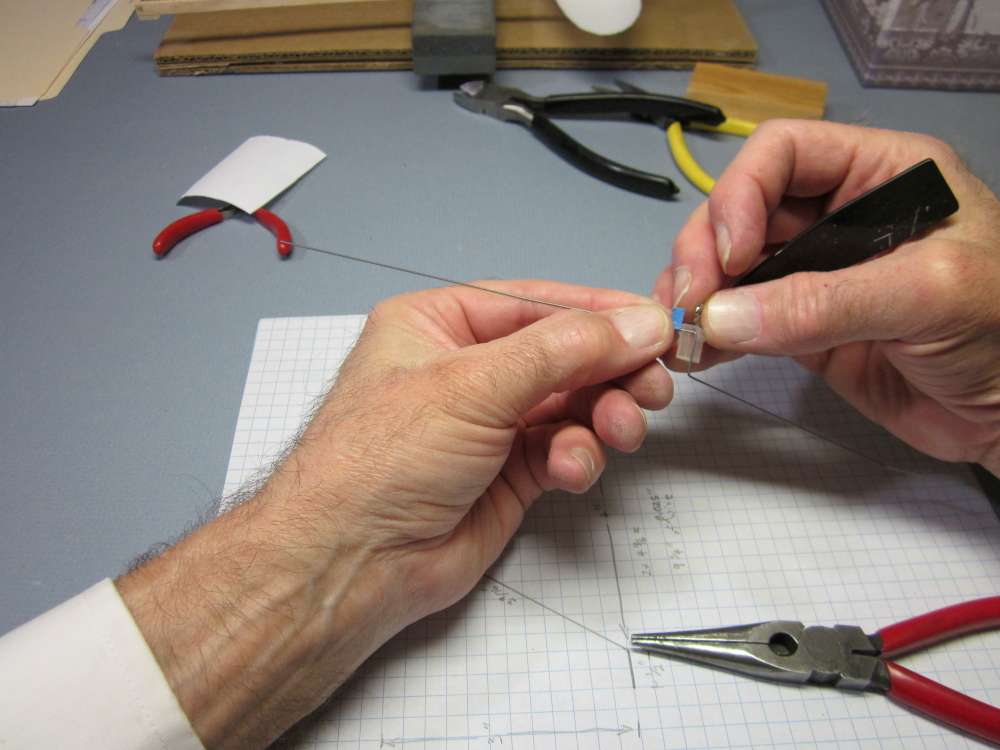
Check the fit in the nose piece. It should be a snug friction fit.
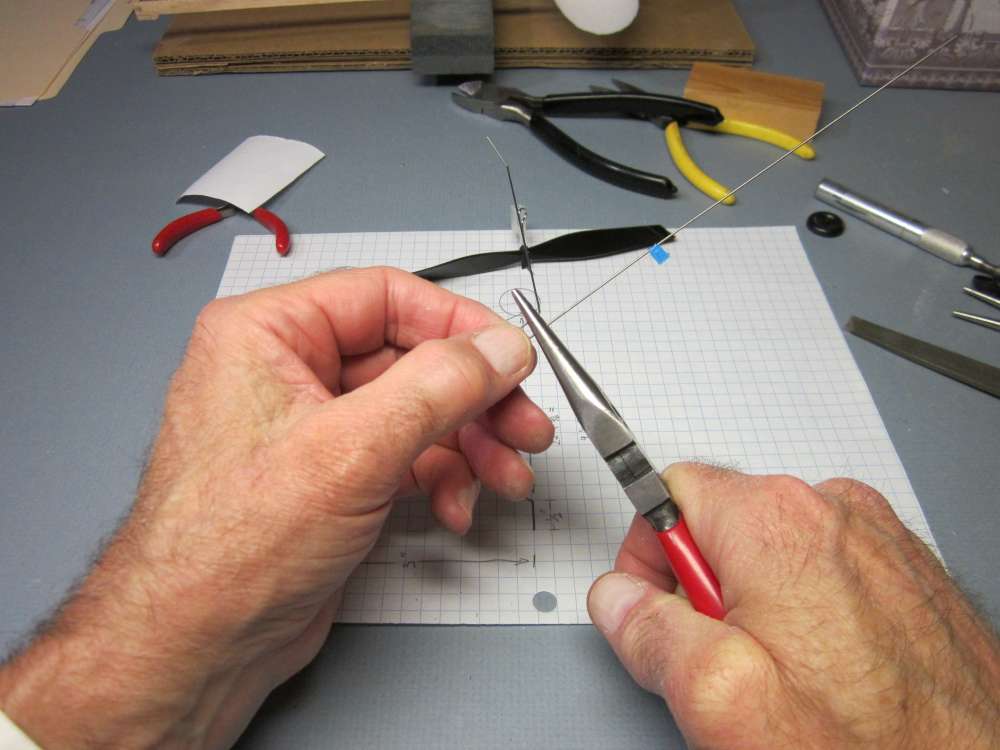
This next bend is a bit tricky. It is a compound angle bend close to the previous two bends. This next section must be the same length as the parallel one on the other side of the box. Lightly grip the two pieces of wire and slide the pliers along until it stops at the first leg. Keep the face of the pliers perpendicular to the wires. The next bend is not made perpendicular to the inside faces of the pliers, it must splay the wire out from the center as well. Refer to the drawing and note that this leg is symmetrical with the other.
Check the bend. From the side, this leg is in the same plane as the first leg. Adjust as necessary.
This leg is symmetrical with respect to the first one.
Adjust as necessary.
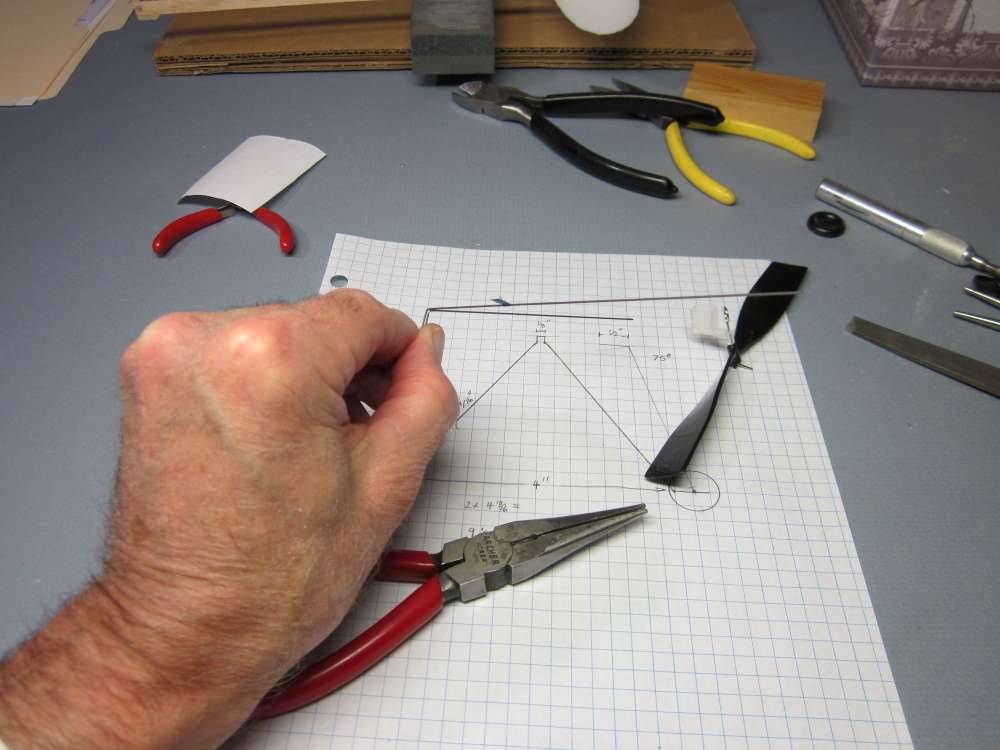
Check against the drawing.
The final bend makes the other wheel axle. Mark with tape. This section is in the same plane as the previous axle and the two legs. Align that plane with your eye and make the bend.
Check against the drawing and adjust as necessary.
Looks good! Mark the end of the axle where we will cut the wire.
Cut off the excess wire.
File away the sharp cut end.
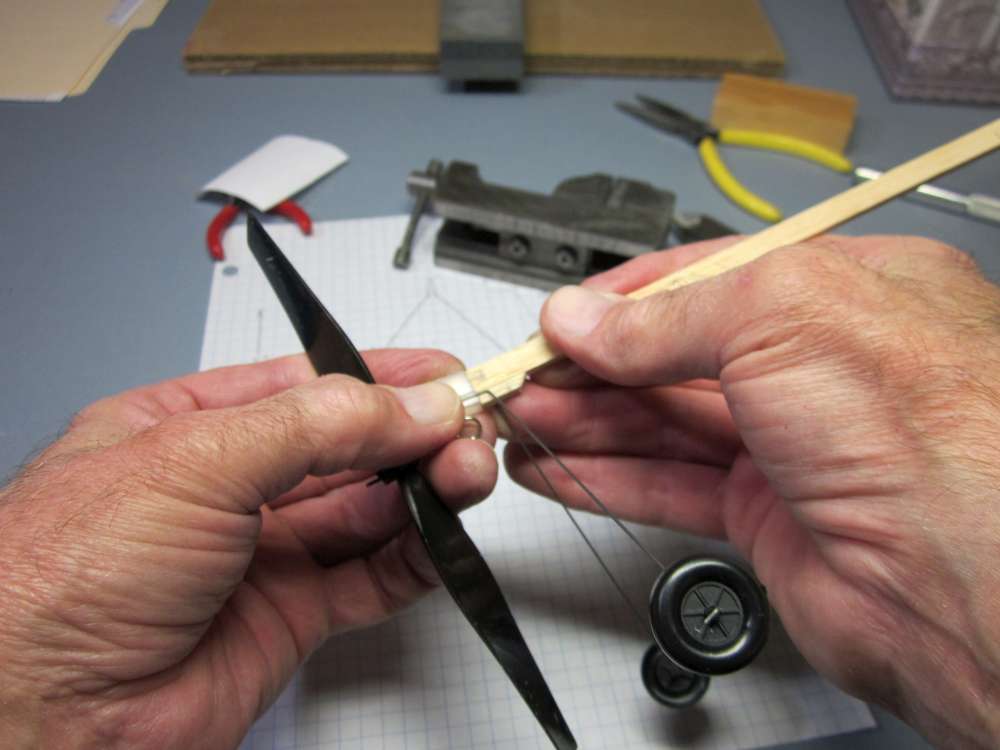
Slide a wheel onto one axle. The hollow part goes inside, the rounded surface faces out. The landing gear shown here used 3/4″ Peck-Polymers plastic wheels.

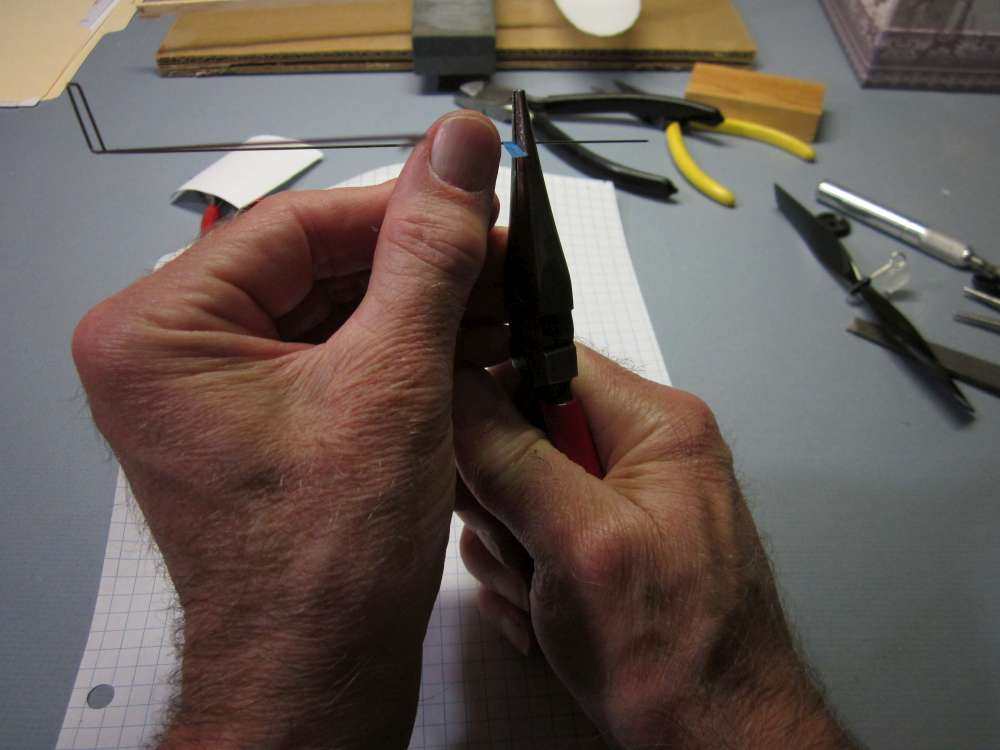
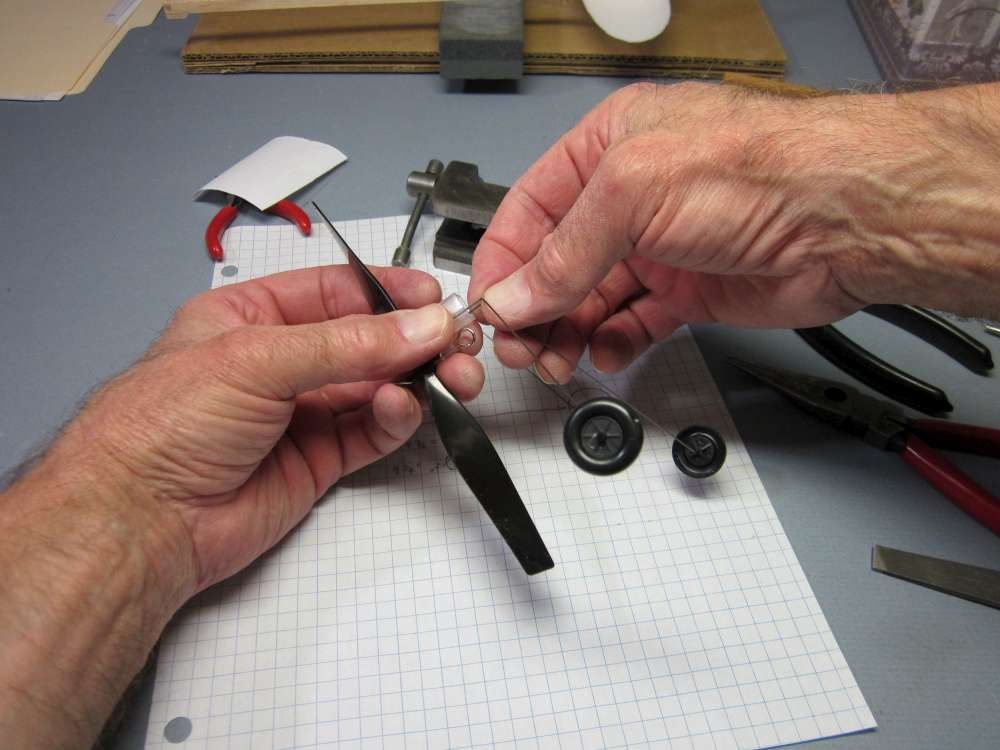
Next we will bend the end of the wire to keep the wheel on the axle. This can also be done with plastic disk wheel collars. Grip the wire so about 1/8″ sticks out beyond the face of the pliers.
Press the end of that 1/8″ piece against a hard surface to bend it over to a right angle. This section will keep the wheel on the axle.
Do the same with the opposite wheel. Check that the wheels spin freely.
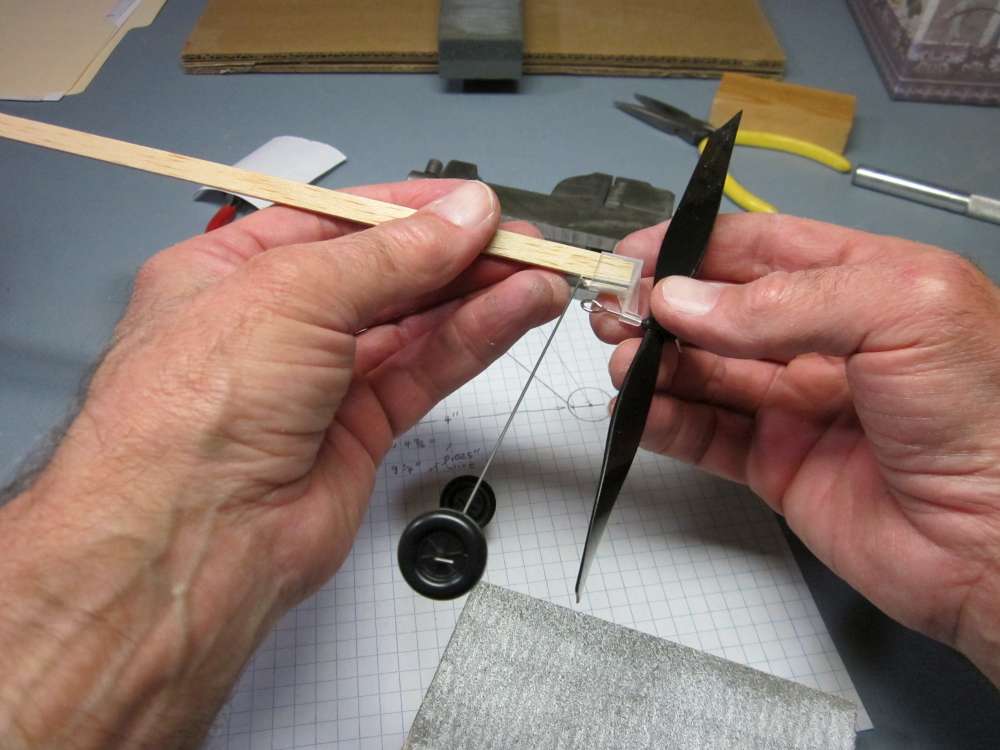
Press the wire box into the slots in the plastic nose piece.
Check the fit of the nose piece on the nose of the stick. If it is too small. put the top of the stick against the top inside of the nose piece and press it in to make an indentation across the bottom of the balsa nose block.
If the stick is too small, glue on a shim of hard balsa. The prop assembly needs to be a snug fit on the stick.
Sand the nose block down to remove the thickness that was indented. Be careful to not overdo it. Approach it gradually, with frequent test fits, until you get a tight fit.
When you get a tight fit, press the stick all the way into the nose piece.

This completes the landing gear assembly.