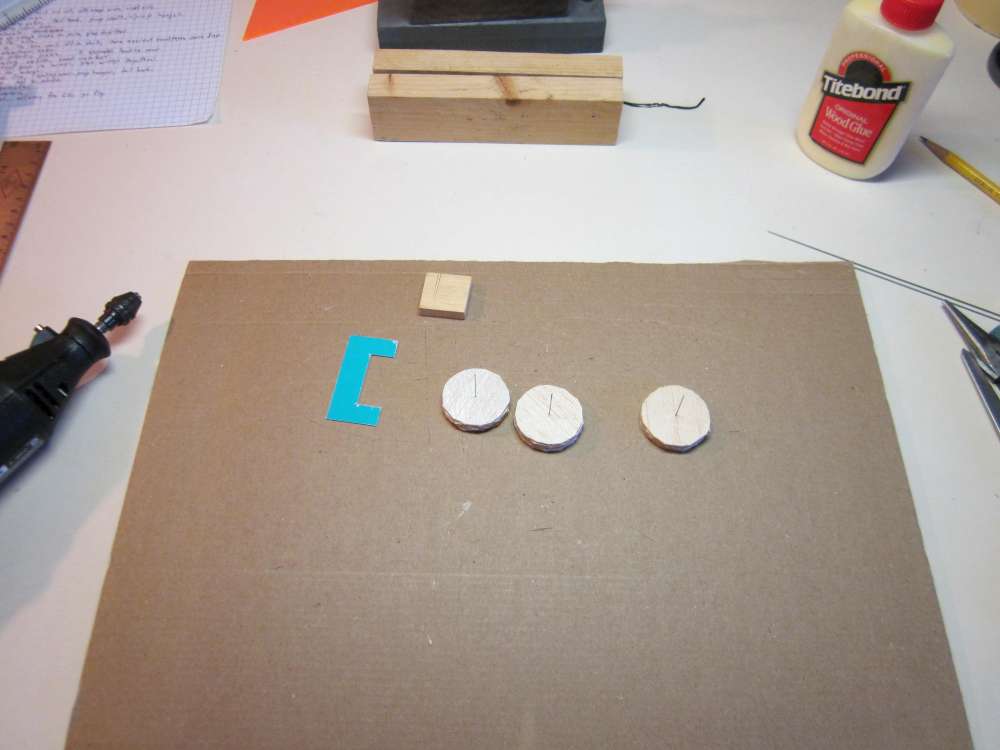
Make Patterns
We start by making card patterns, one for the wheel circle and one for a diameter gauge.
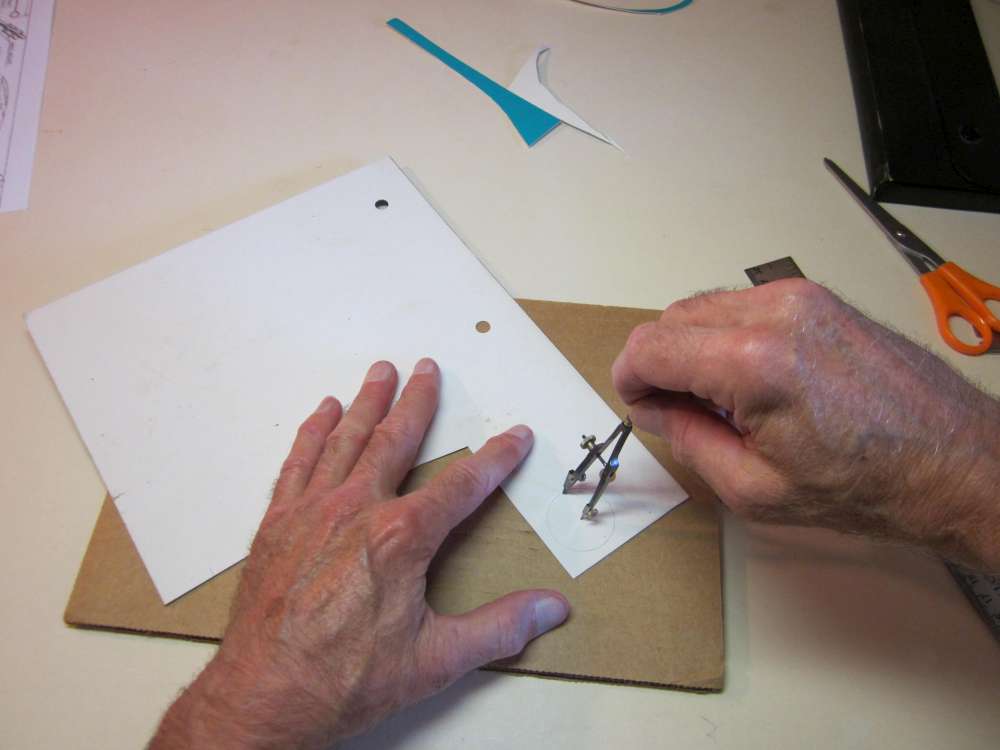
Draw a circle of the appropriate diameter. This pattern will be used to rough cut the wheel laminations. Four of them will be glued together and turned to make each wheel.
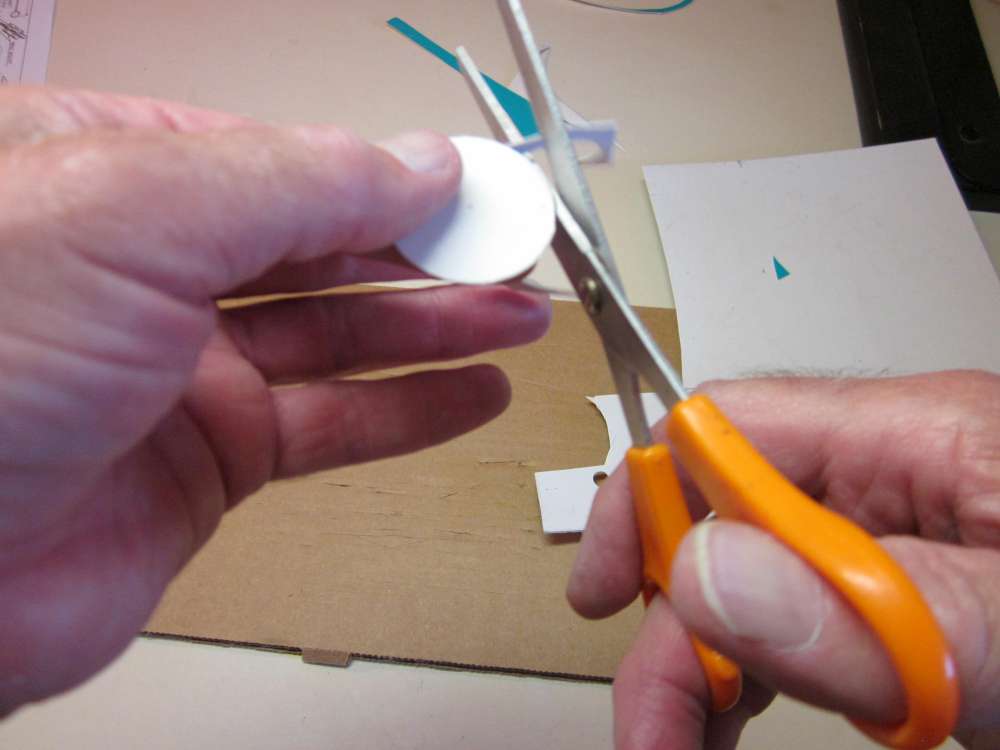
Cut out the wheel pattern.
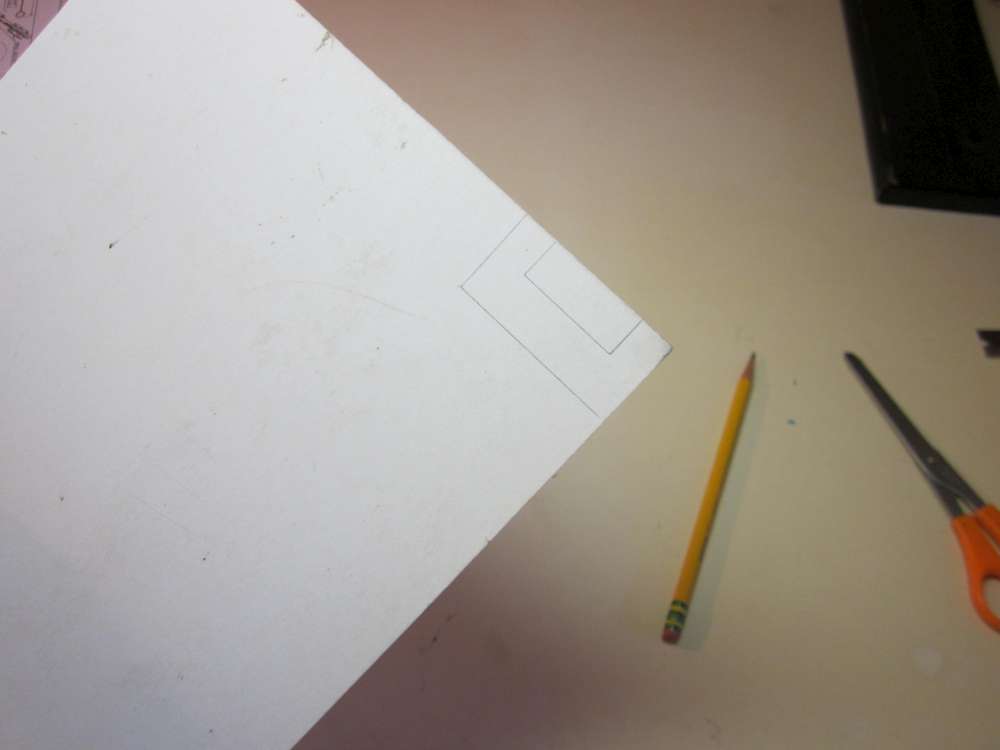
Draw the wheel diameter gauge. This will be used to check the wheel diameter when we turn it down. For a 1 1/4″ diameter wheel, it is 2″ long and 1″ wide. It has a 1/2″ x 1 1/4″notch centered on one side. Adjust the dimensions as necessary for the wheel diameter you want.
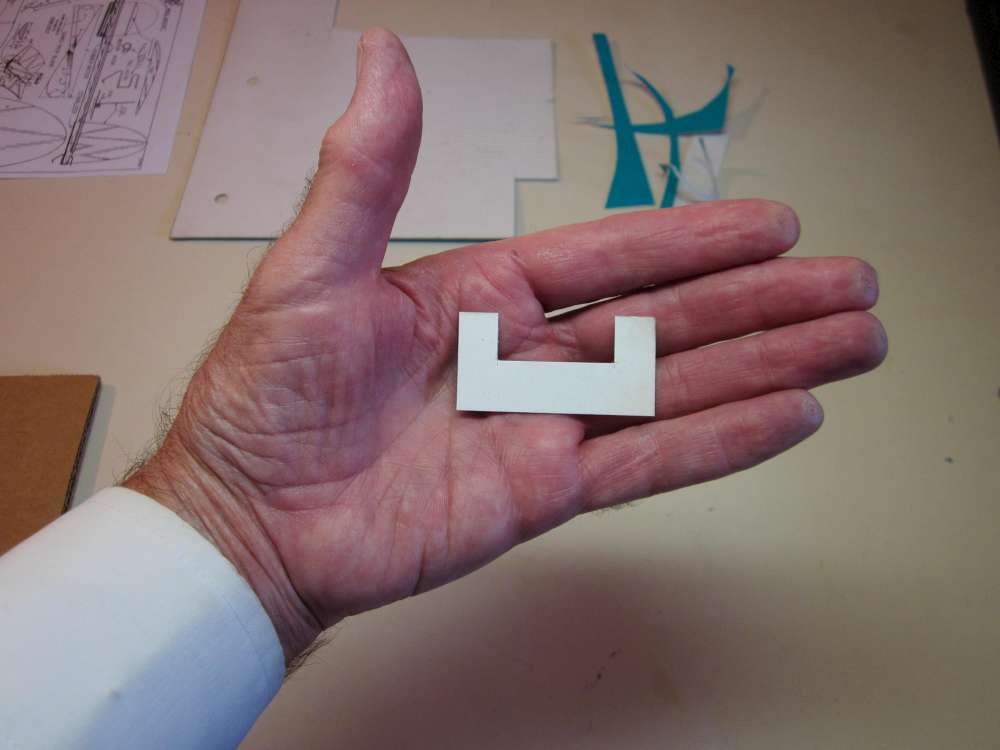
Here is the completed wheel diameter gauge.
Cut Out Sheet Balsa Disks
George is selling a couple laser cut sheet balsa wheel kits. https://volareproducts.com/blog/?product_cat=lasercutstuff

Find some 1/16″ balsa sheet. These pieces came out of my scrap box. You will need enough to make 8 wheel disks.
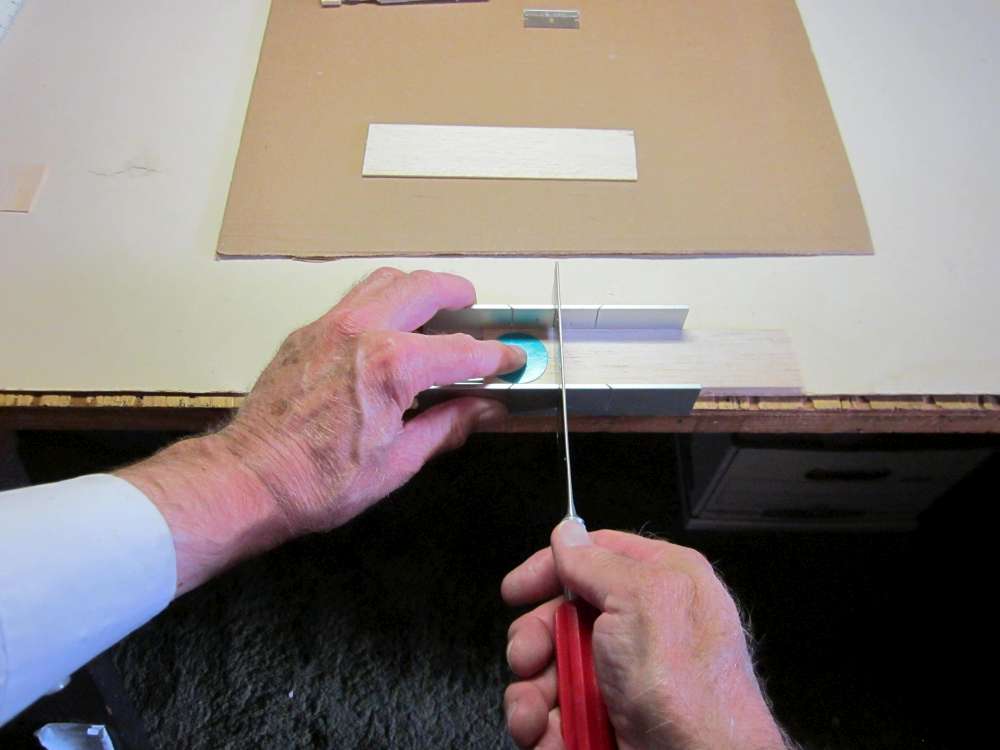
Cut the wood into squares a little bigger than the wheel.
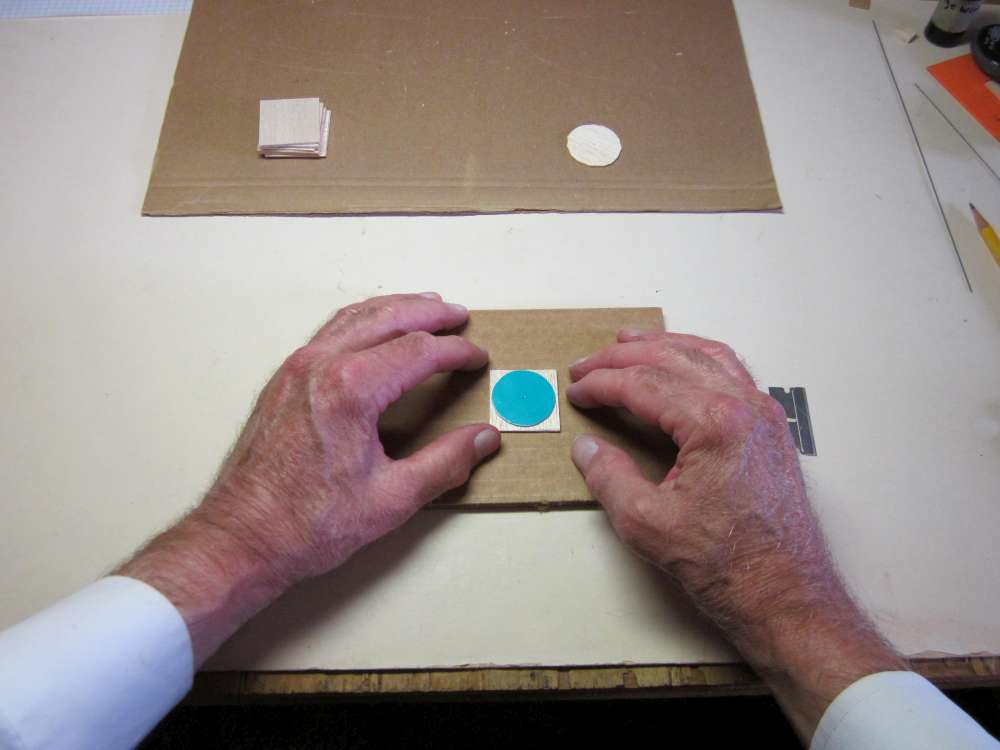
Center the wheel pattern over the balsa square.

I used a pin vice, but a pin would work as well.

Pin the pattern and balsa to the board.
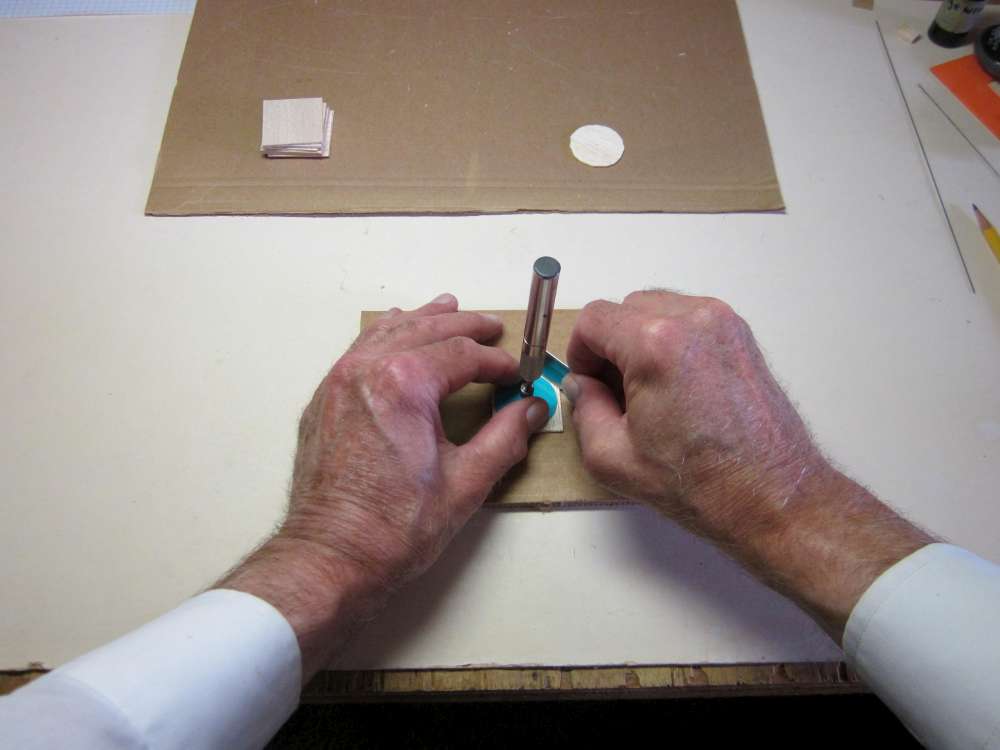
Cut the excess wood away around the wheel pattern. Cut as close as you can, but don’t undercut inside the pattern.

Leave a little bit of balsa outside the pattern, as much as 1/32″ is OK. The excess will be sanded down later.

Remove the balsa disk from the pin.
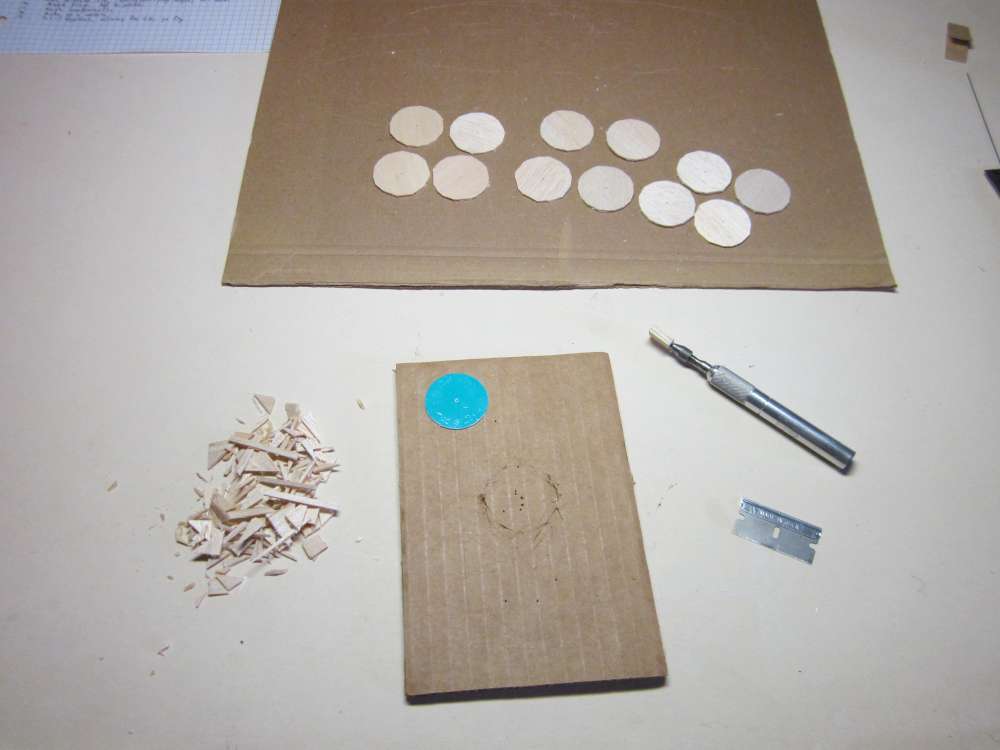
Keep going until you have enough disks to make the wheels you want, 8 disks are required to make 2 wheels.
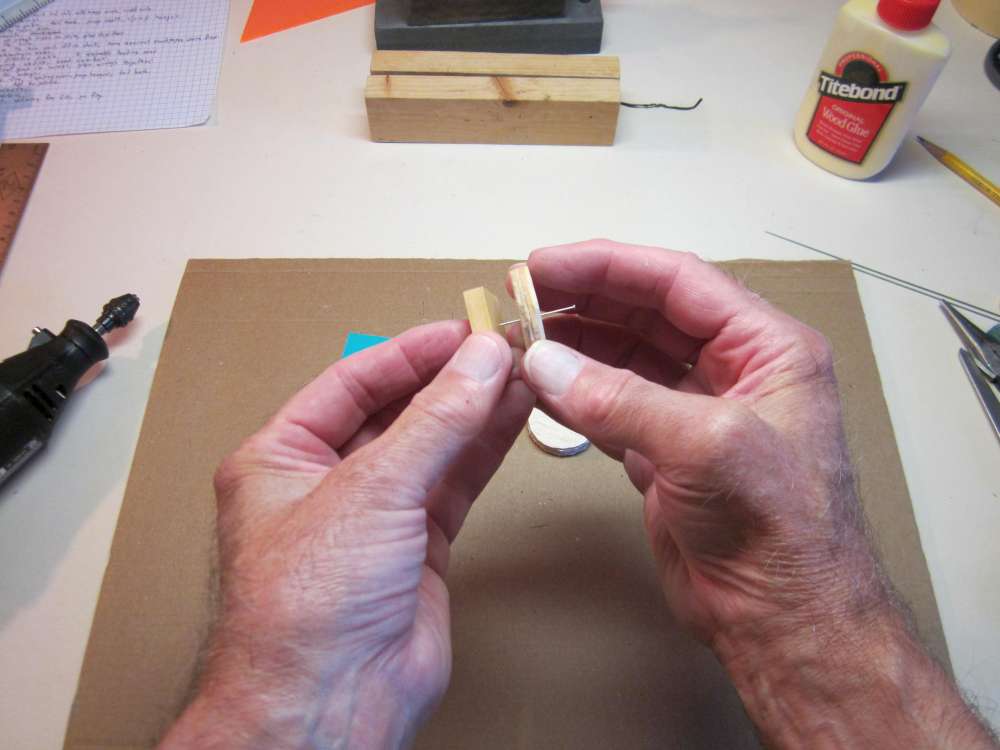
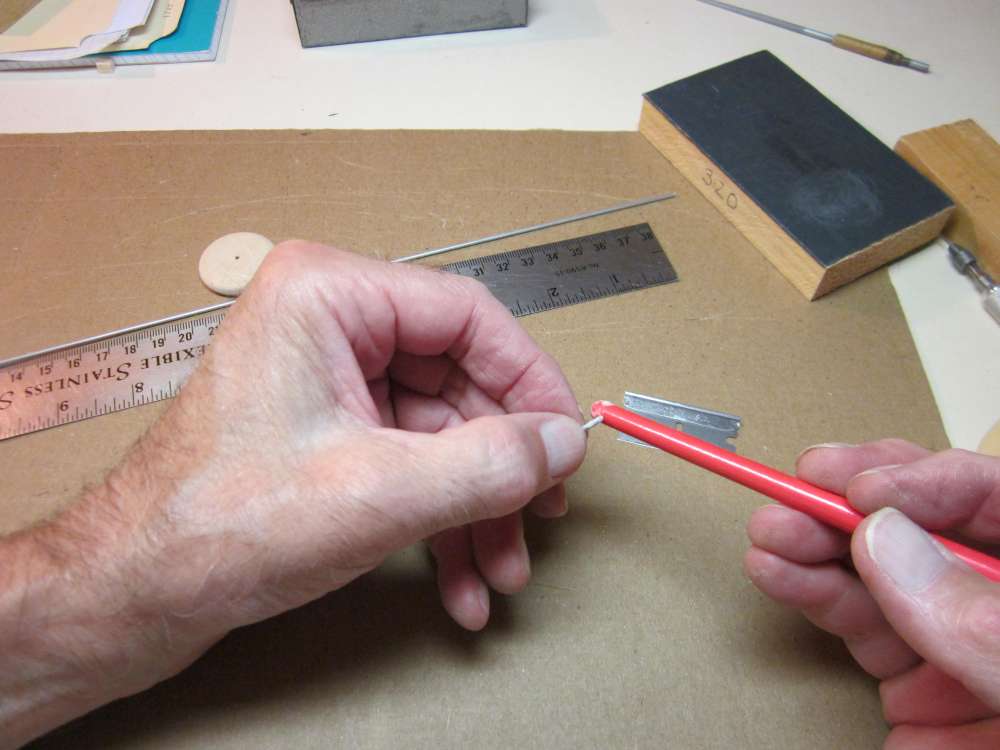
Laminate the Disks
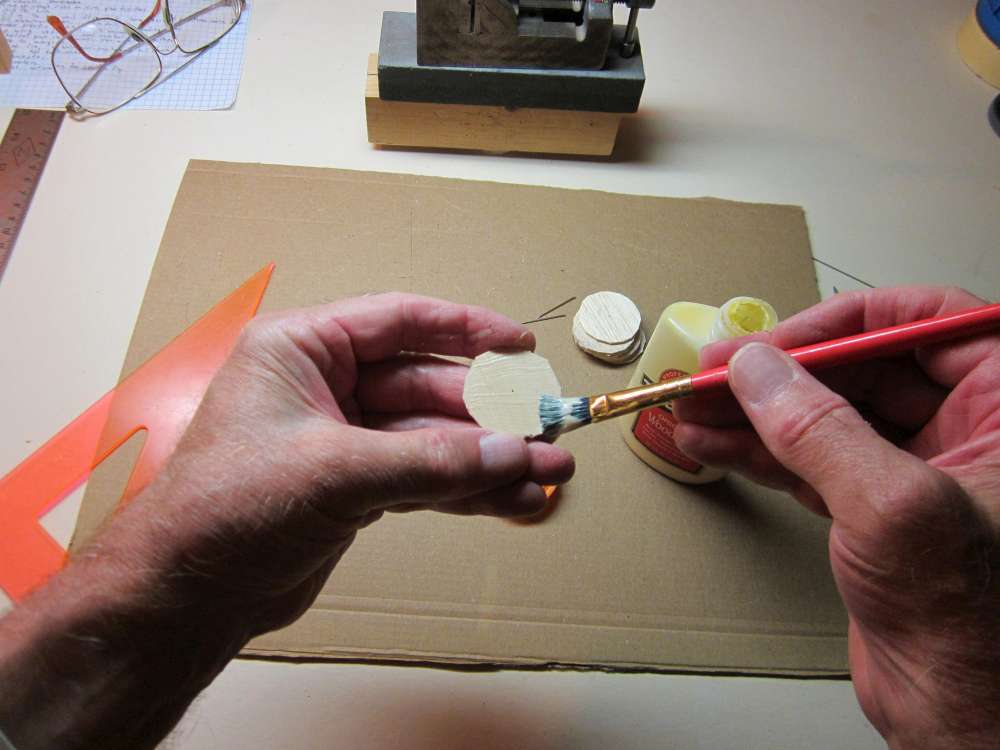
Paint a thin layer of glue on a disk, just enough to glisten, but thin enough to see wood grain. You may use a bit of card stock to spread the glue uniformly.
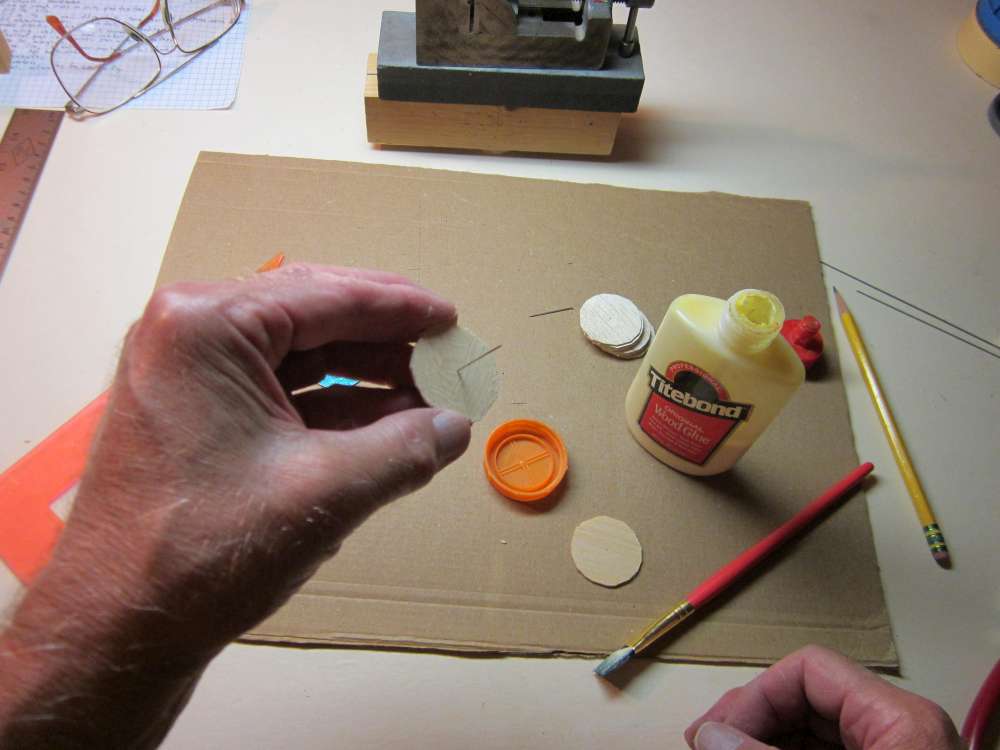
Push a pin through the disk from the opposite side.
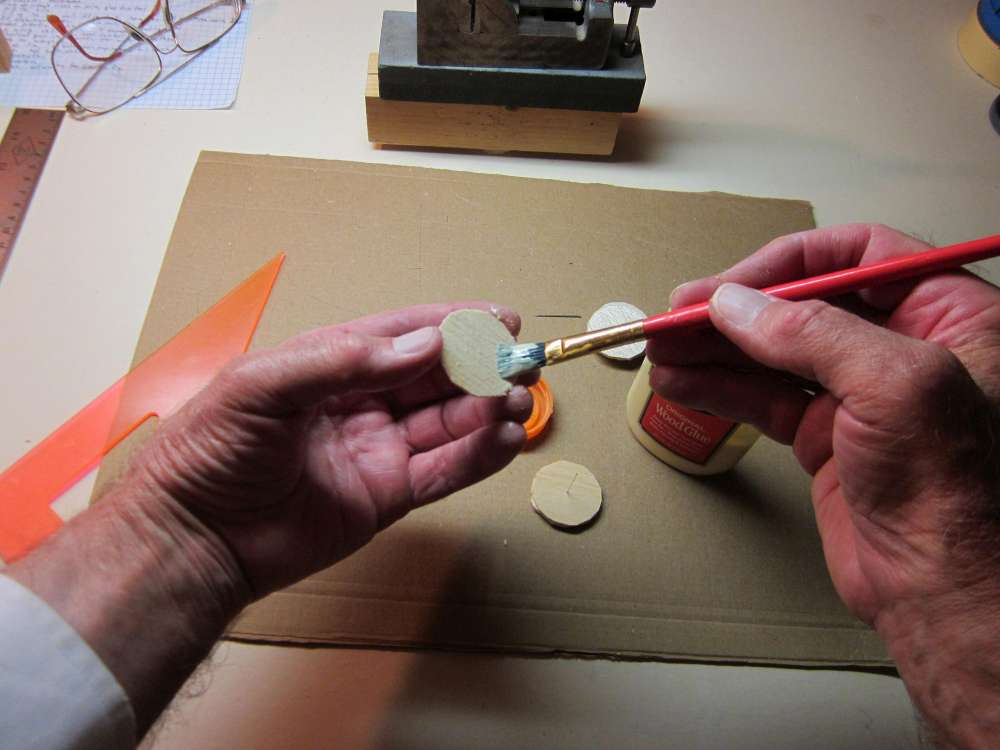
Paint glue on the next disk.
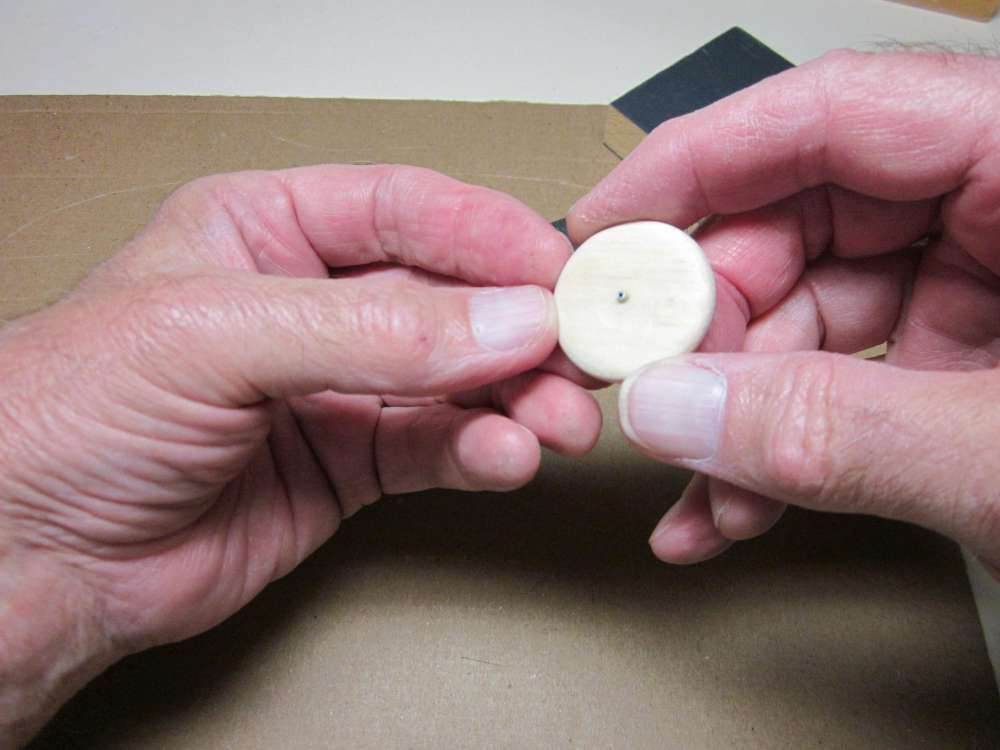
Put the pin through the pinhole in the second disk, glue sides facing. Keep the disks perpendicular with the pin. Cross the grain of the two disks.
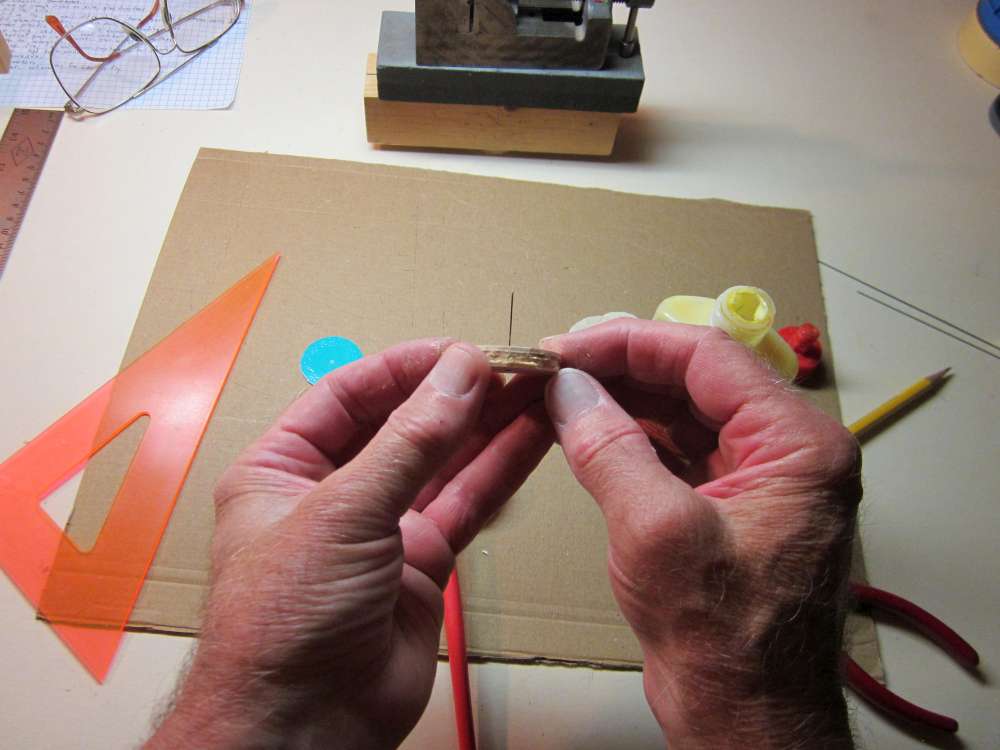
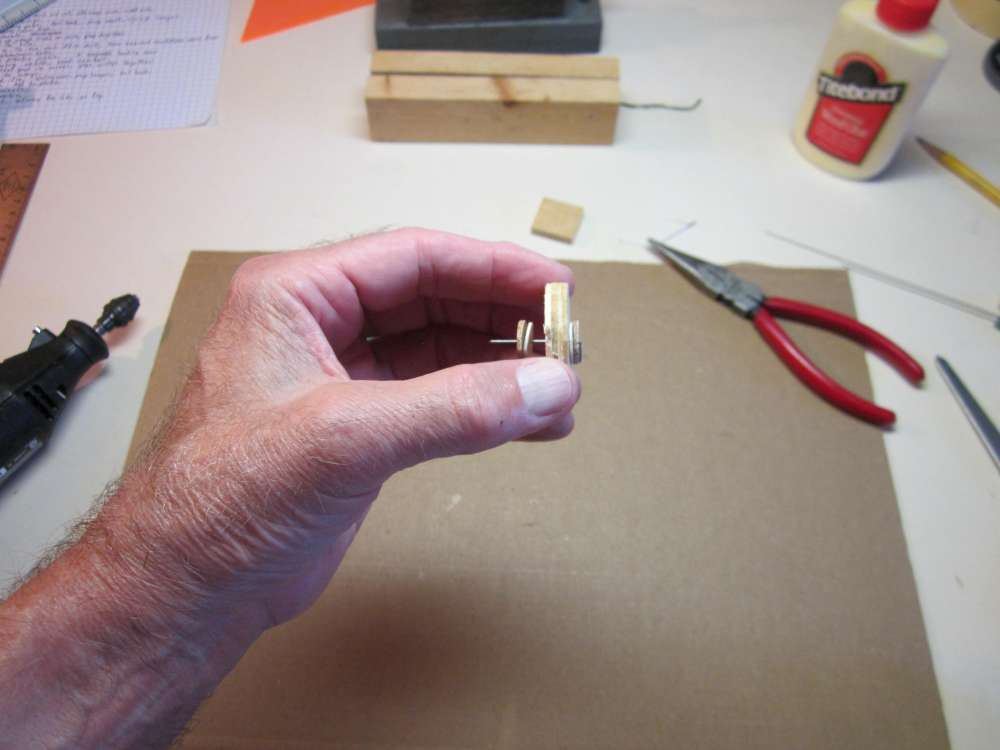
Continue laminating until you have four layers. Squeeze them together tightly. Make sure the pin is perpendicular with the disks.
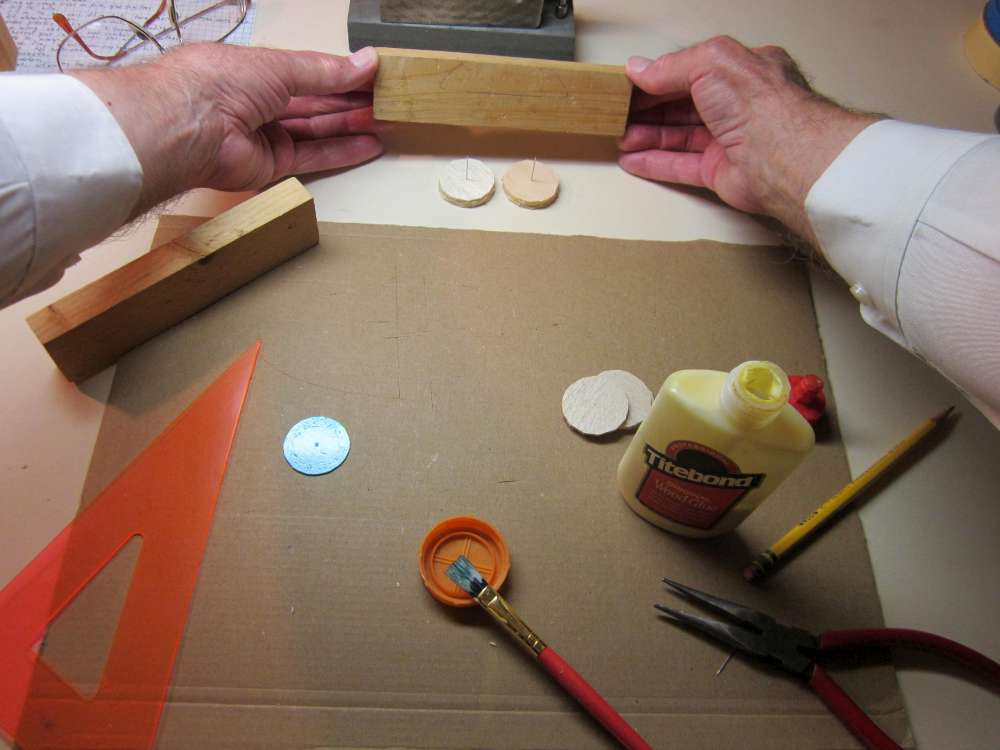
Place the wheels down on the board with the pinheads down.
Place blocks on either side of the pins.
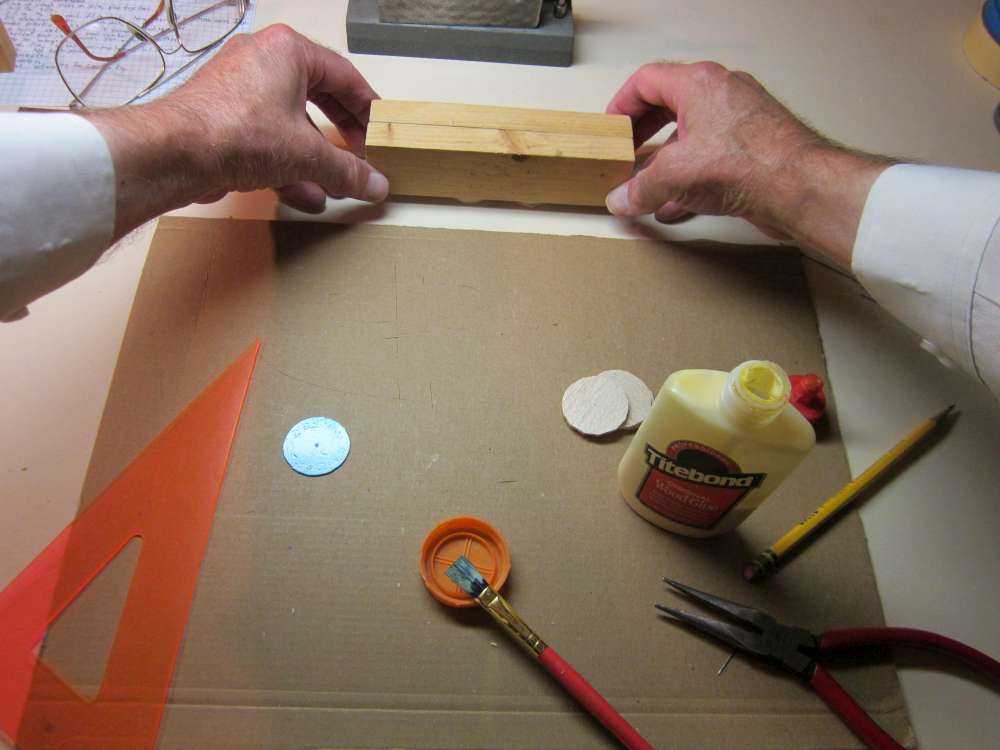
Place weights on top of the blocks to clamp the disks together. Leave it until the glue is dry. You could carefully remove the pins and clamp the wheels between blocks of wood.
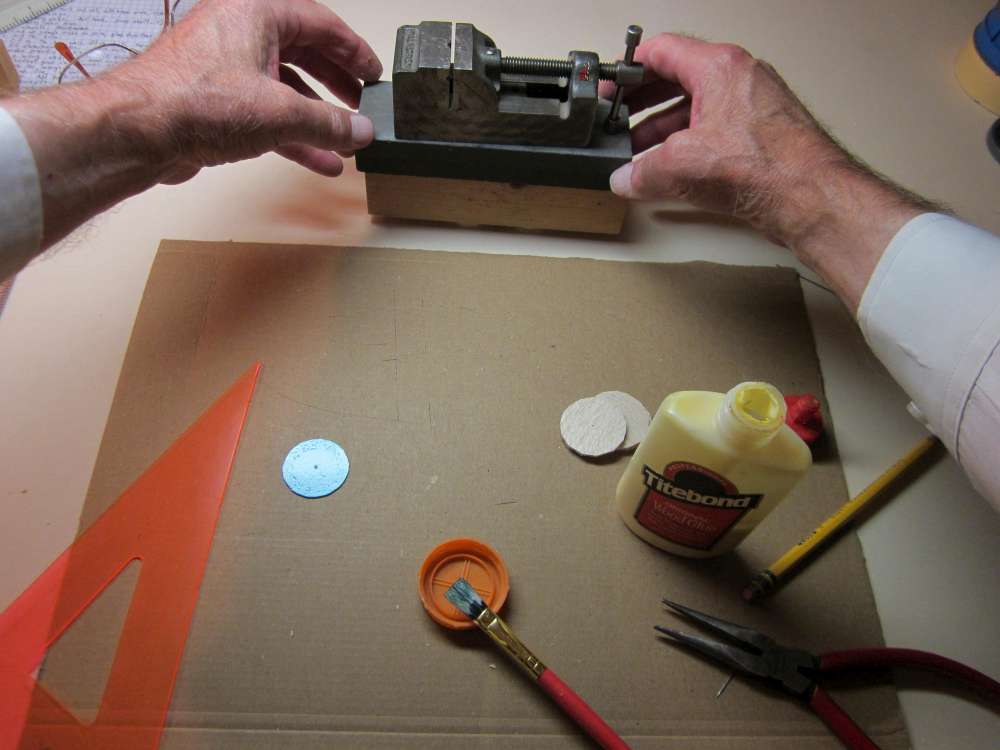
After the glue has had time to dry thoroughly, remove the weights and blocks.
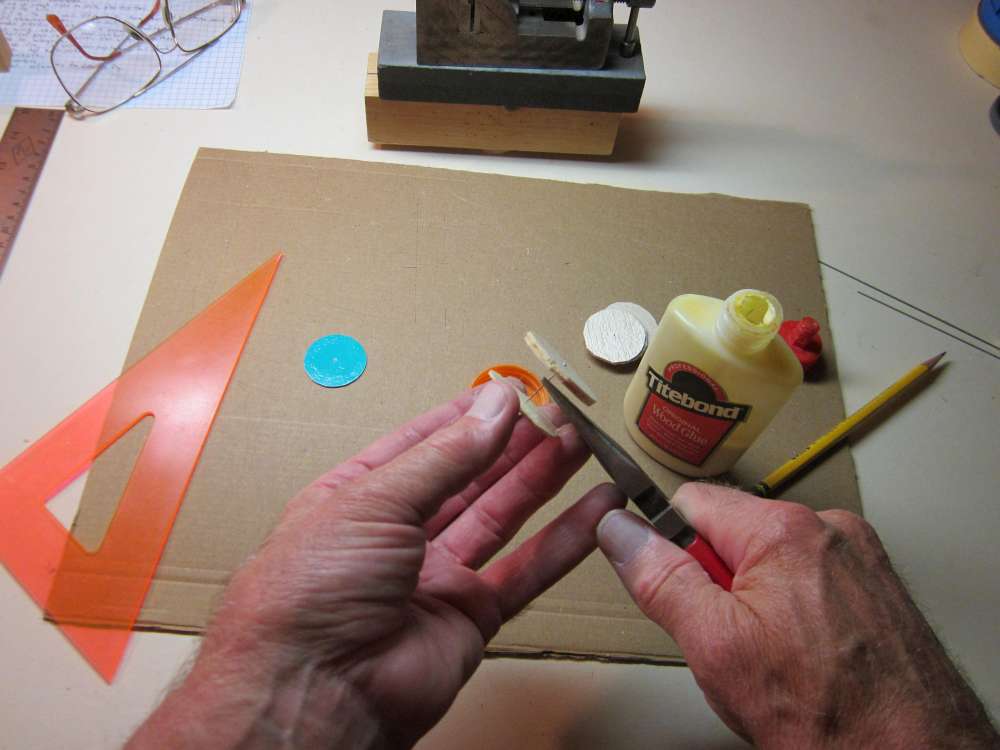
Push the pins out of the wheels. You may need to rotate the pins with pliers to break the glue joint.
Prepare for Turning

Now we get ready to turn the wheels round. The wheels must be clamped on a shaft which is put in a chuck. They are clamped between disks. The disks are about 1/2″ in diameter. There are two of 1/16″ plywood with a 1/32″ hole through the center, one of which has a groove filed across a diameter. There are two made from wide rubber bands found in the grocery store produce section. (Broccoli, asparagus.) The holes may be punched with a leather punch. They don’t need to be a tight fit on the wire shaft. There is also a 1/32″ steel wire shaft with about 1/4″ bent over at one end.
Everything is threaded onto the shaft, first the ply disk with the slot against the bent over end, then a rubber disk, then the wheel, then the other rubber disk, then the other ply disk.

The bent over end engages the slot.
Put the shaft into the check and snug it down lightly.
Tap it in tightly to compress the rubber disks.

Tighten the chuck as much as you can.
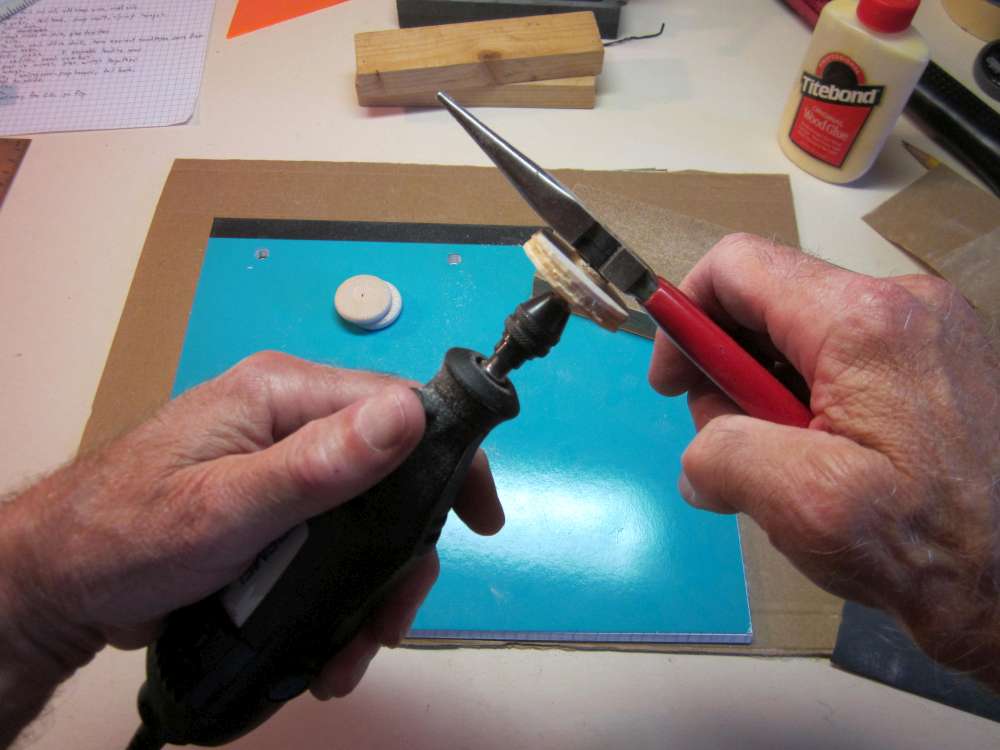
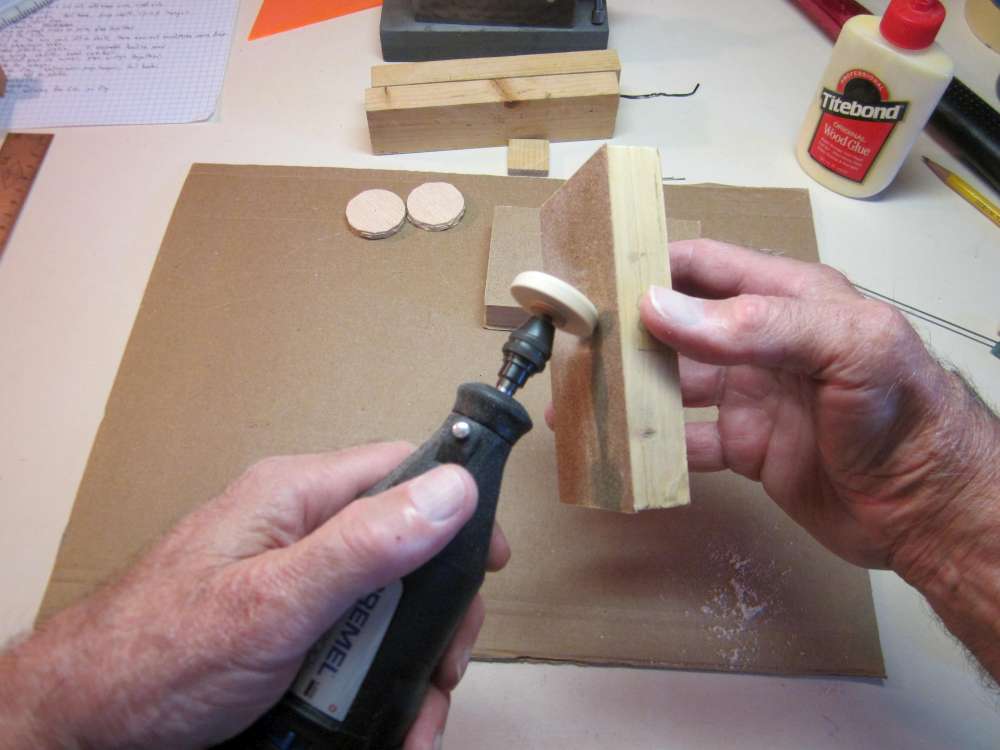
Shape the Wheel With Sandpaper
Using coarse sandpaper on a block, round the wheel straight across. Use a light touch, the wheel is rough at first. We just want to get it uniform.
Occasionally check the wheel diameter. If the gauge gets hung up, it is not done. As it gets closer to the diameter, check more often.
When it passes with just slight friction, it is done.
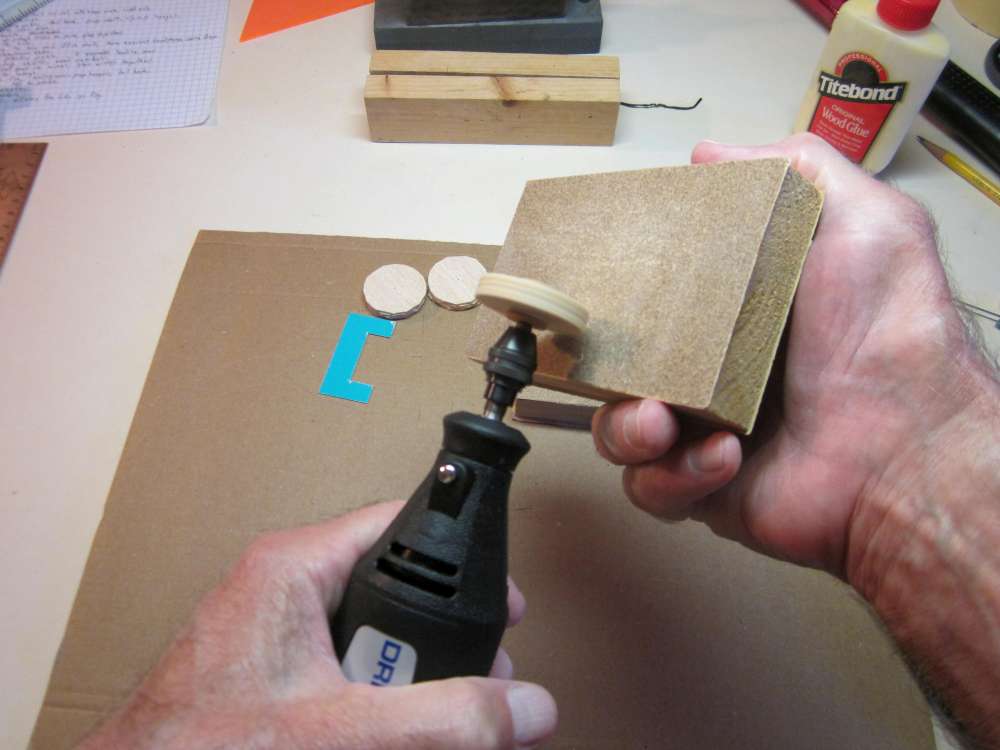
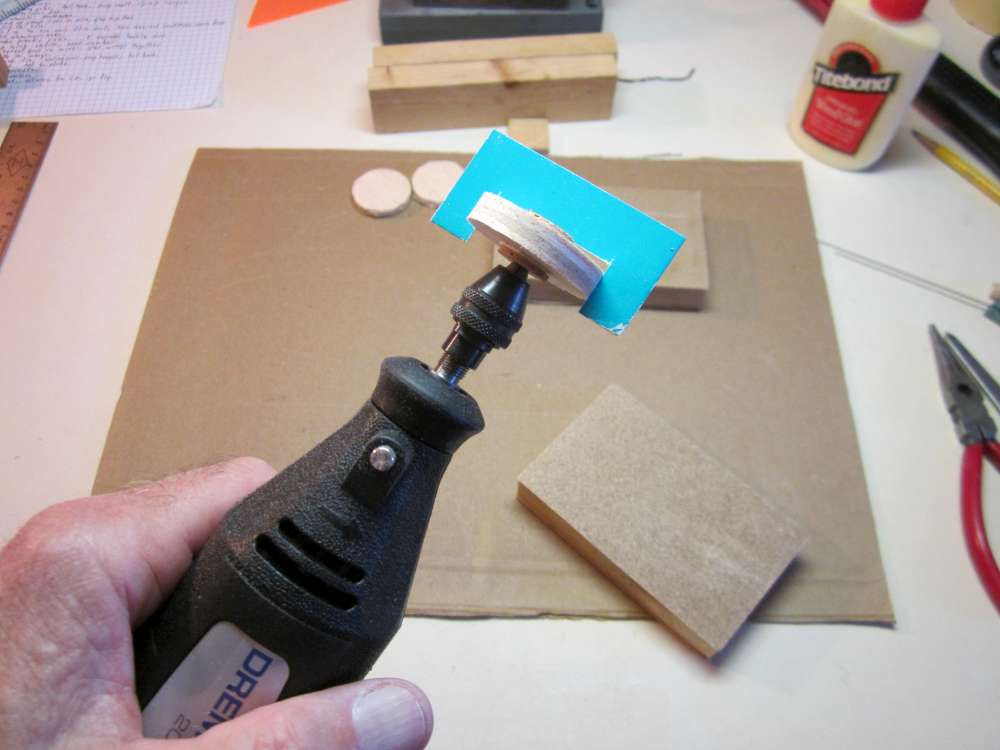
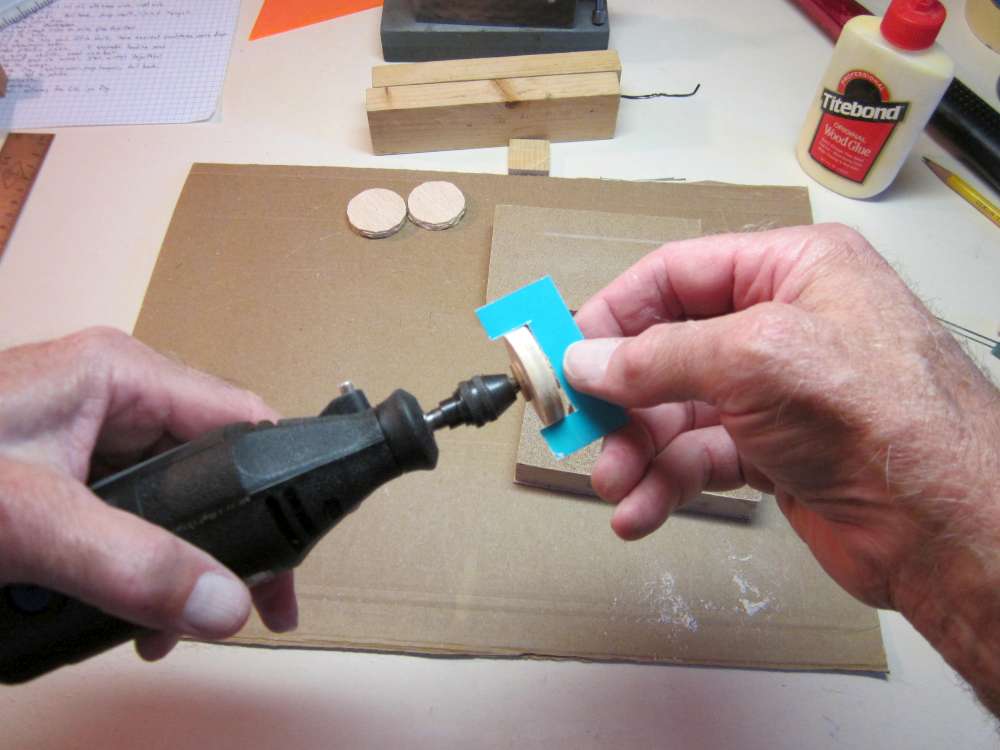
Now round off the corners. You can make round tyres or you can leave a flat center and file groves to make tread. Don’t sand away any of the outer diameter in the center. You can break off a emery board at an angle and use it to cut into the side surfaces to form the inside edge of the tyre and a conical face.
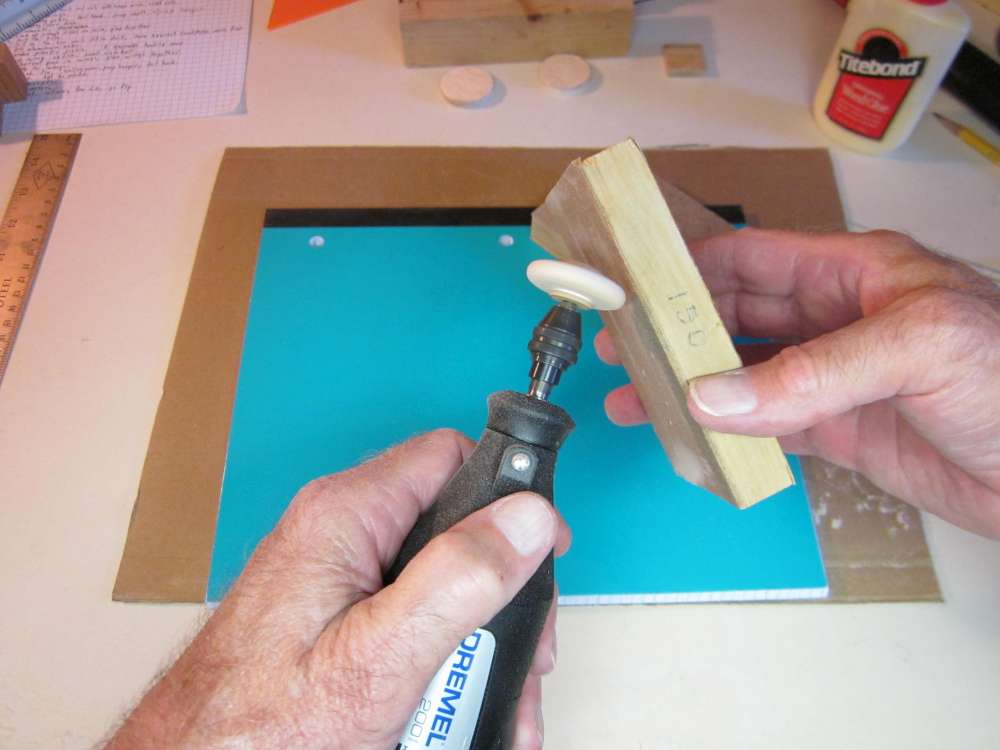
Use fine sandpaper to bring it to final shape. Again, don’t sand away any of the outer diameter.

With a light touch of very fine sandpaper, bring it to final finish.
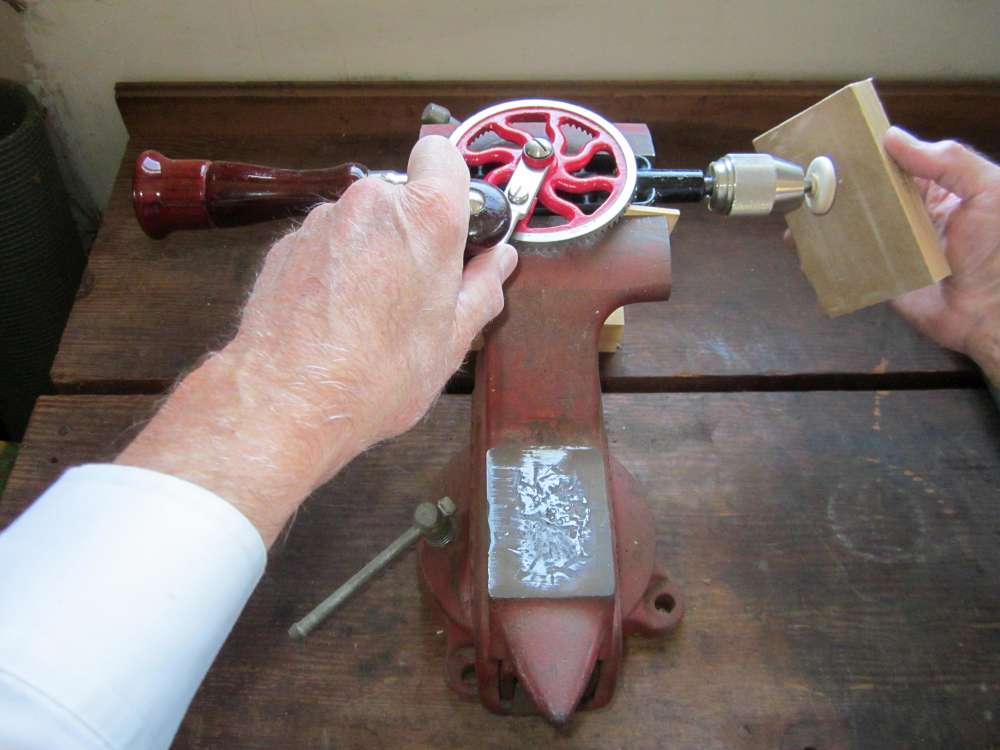
If you don’t have a Dremel tool, you can use an electric hand drill, a drill press, a lathe or a hand drill clamped in a bench vise, as you see here. I have seen good wheels shaped entirely by hand and eye.
Drill for Hub
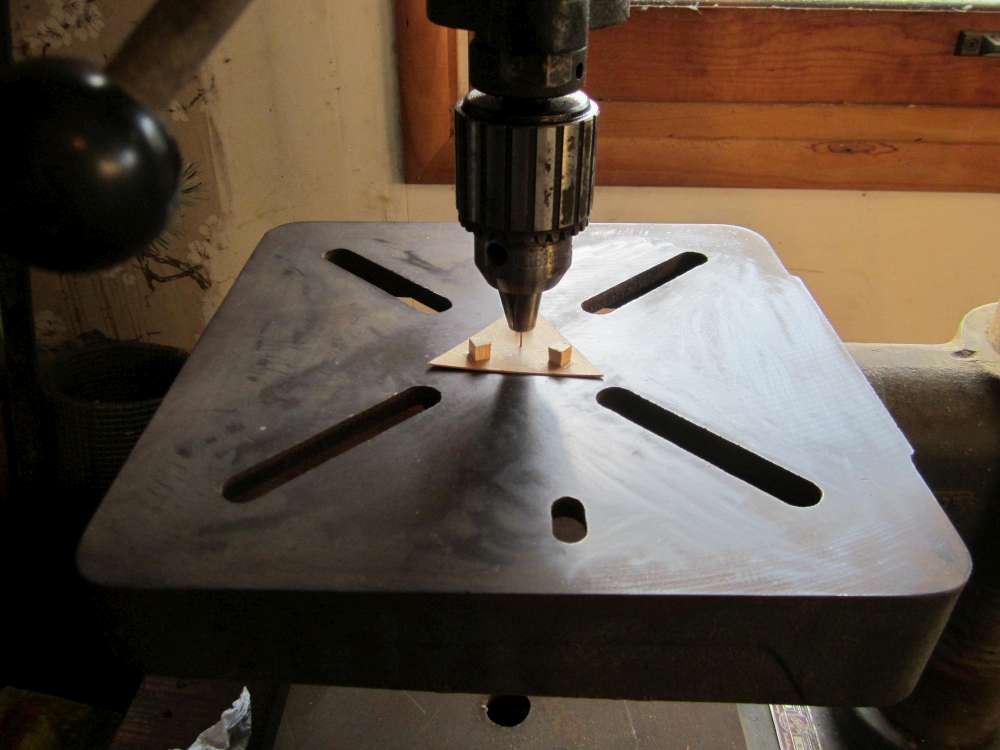
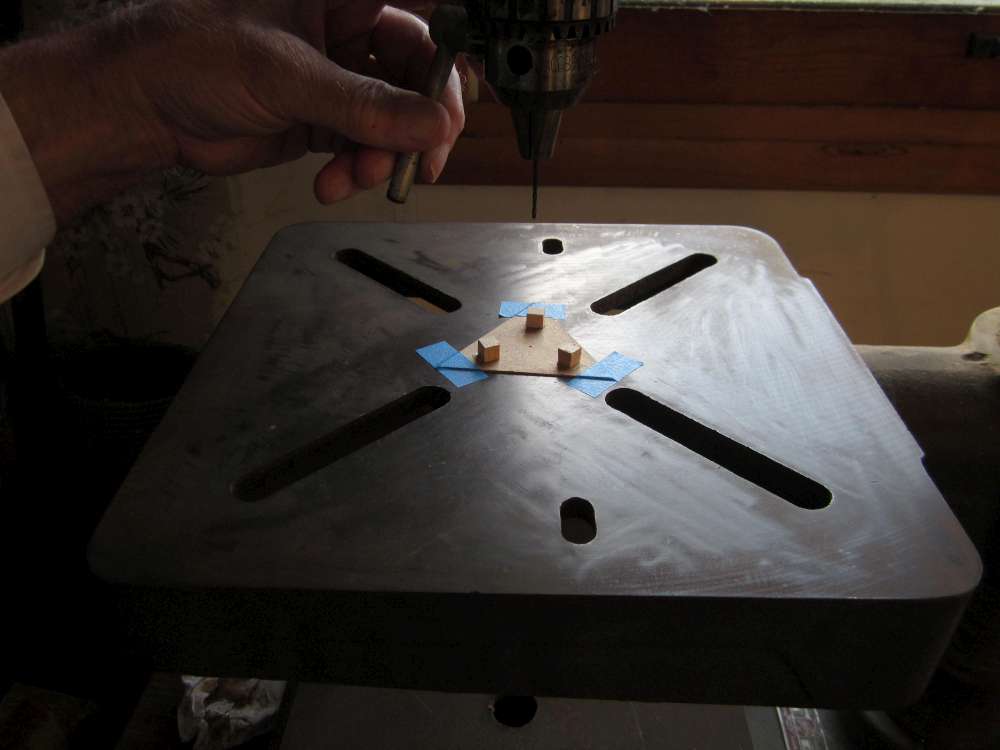
It is necessary to drill 1/16″ holes through the centers of the wheels in order to insert aluminum tube hubs. This is true whether you buy hardwood wheels or make them from balsa disks. To do that we must make a jig to hold the wheels centered under the drill. For 1 1/4″ wheels, we start by making a 2 1/2″ equilateral triangle from pattern cardboard. For other sizes, adjust dimensions accordingly. Draw a 1 1/4″ diameter circle around the center. Cut three 1/8″ hard wood cubes. I cut these from 1/8″ square basswood sticks. Glue the squares tangent to the circle in each corner of the triangle. Put a short piece of wire in the chuck. Bring the chuck down until the wire passes through the hole in the center of the jig and lock the chuck in place.
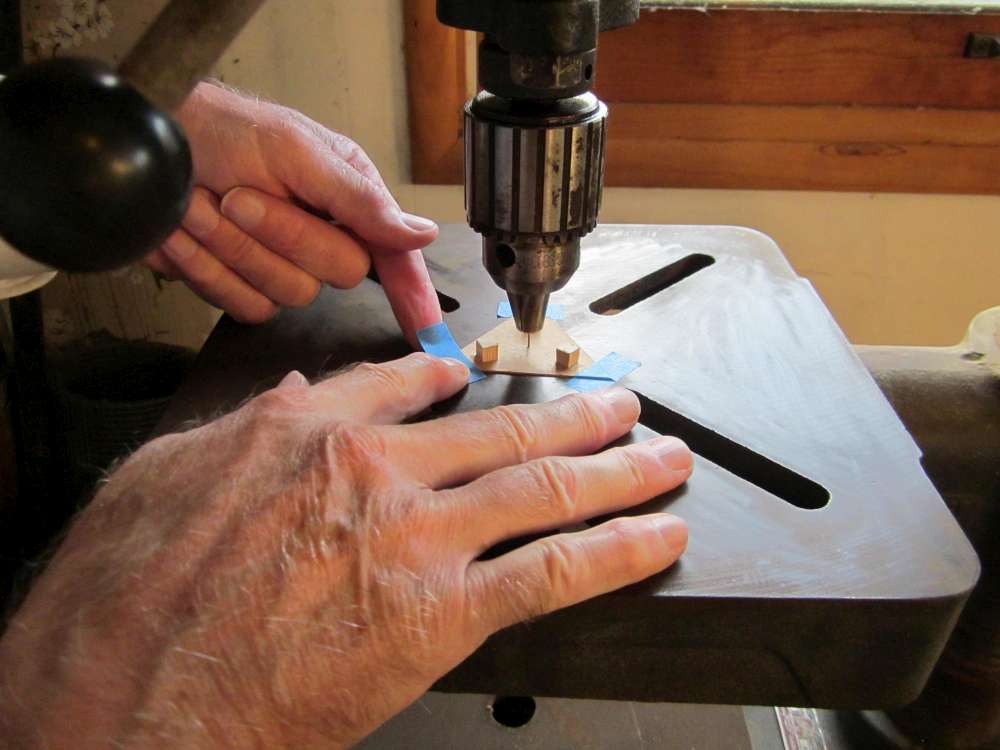
Tape the corners of the jig to the drill press table.
Unlock and raise the drill.
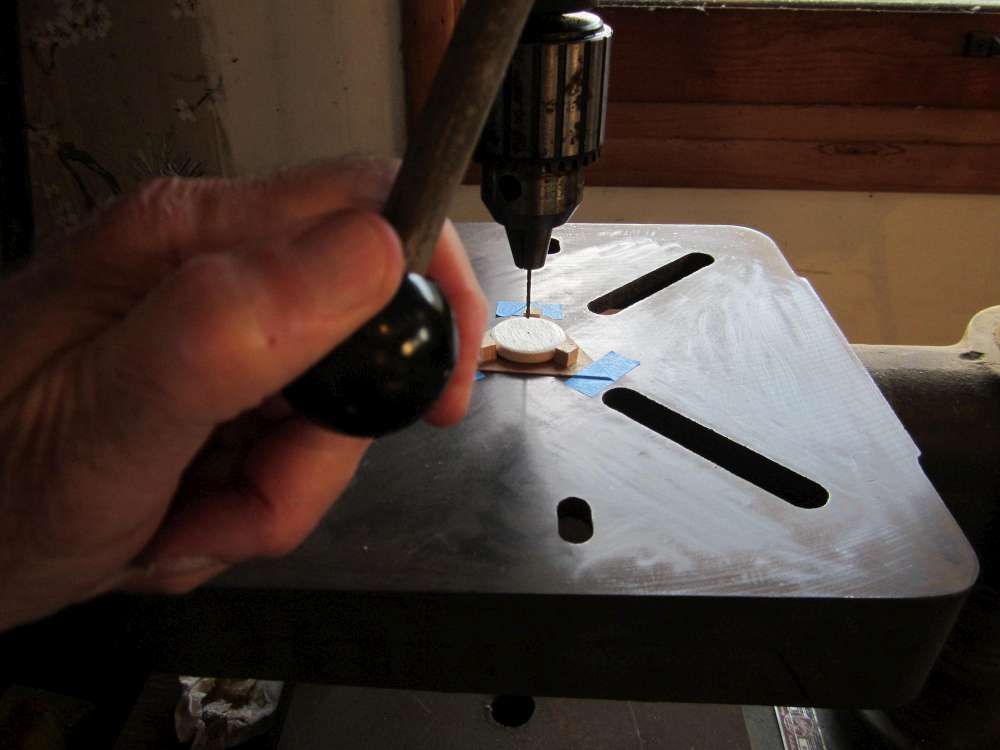
Replace the wire with a 1/16″ drill bit and place a wheel in the jig.
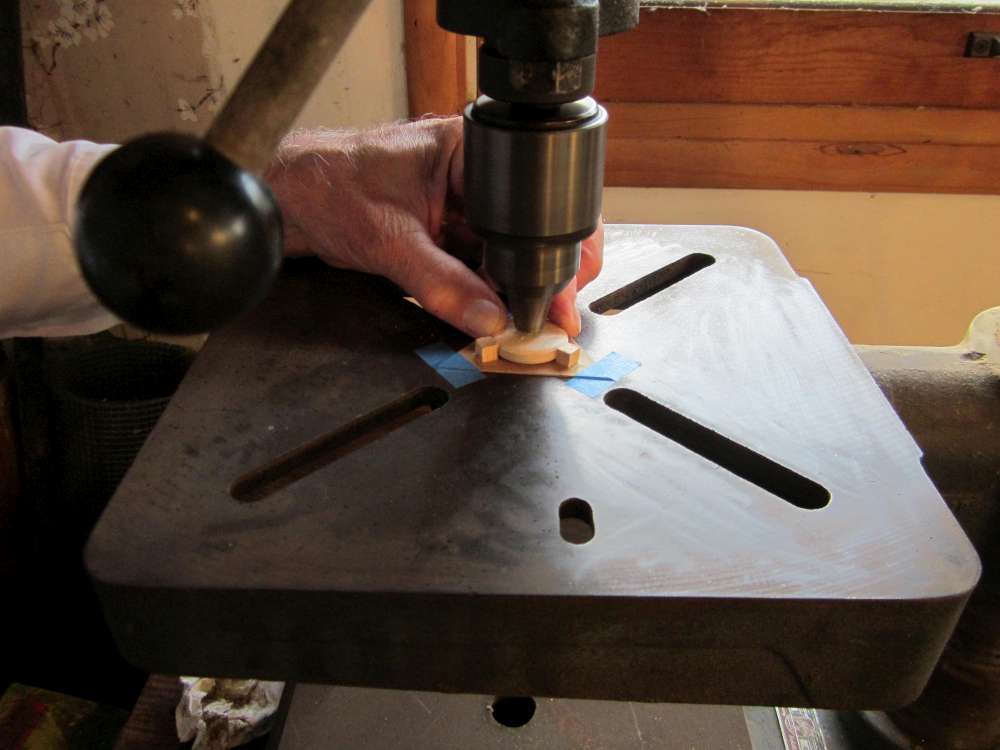
Hold the wheel and bring the drill down to bore the hub hole. Repeat for the other wheel. (Next time you set up the jig you can use the 1/16″ drill to center it.)

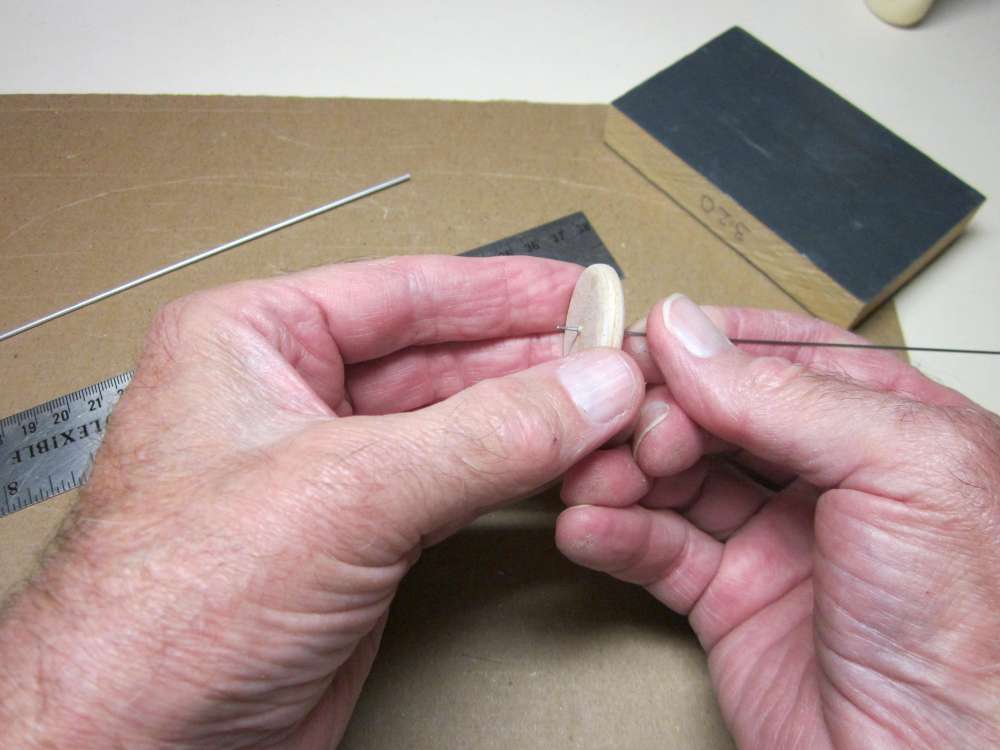
If you do not have access to a drill press, you can use a drill guide to accomplish the task. Start by widening the 1/32″ hole a little to give the drill bit something to center in.
Put the drill through the drill guide and center the tip in the starter hole.
Hold the drill guide flat to the face of the wheel and turn the drill between your fingers to drill the hole.
Make the Hub
Sand the end of a piece of 1/16″ aluminum tube. (Adjust all dimensions as necessary for other sizes.)

The tube will stick out 1/32″ from each face of the wheel.

Sand the freshly cut end of the tube with very fine paper.
Remove any burr on the ends of the tube with wire.
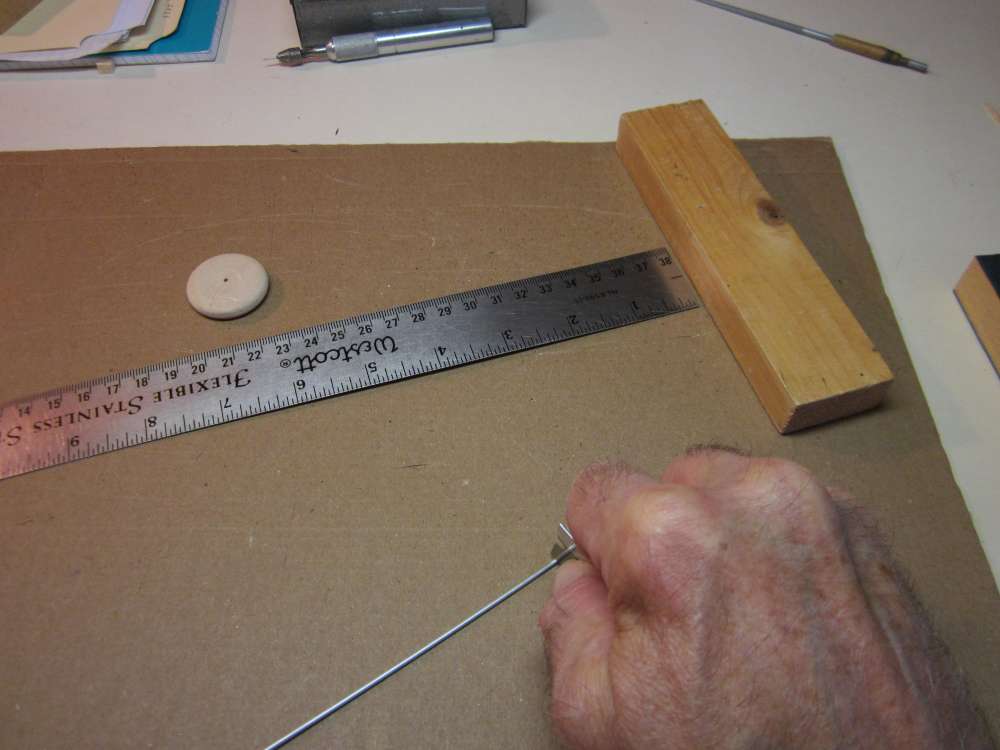
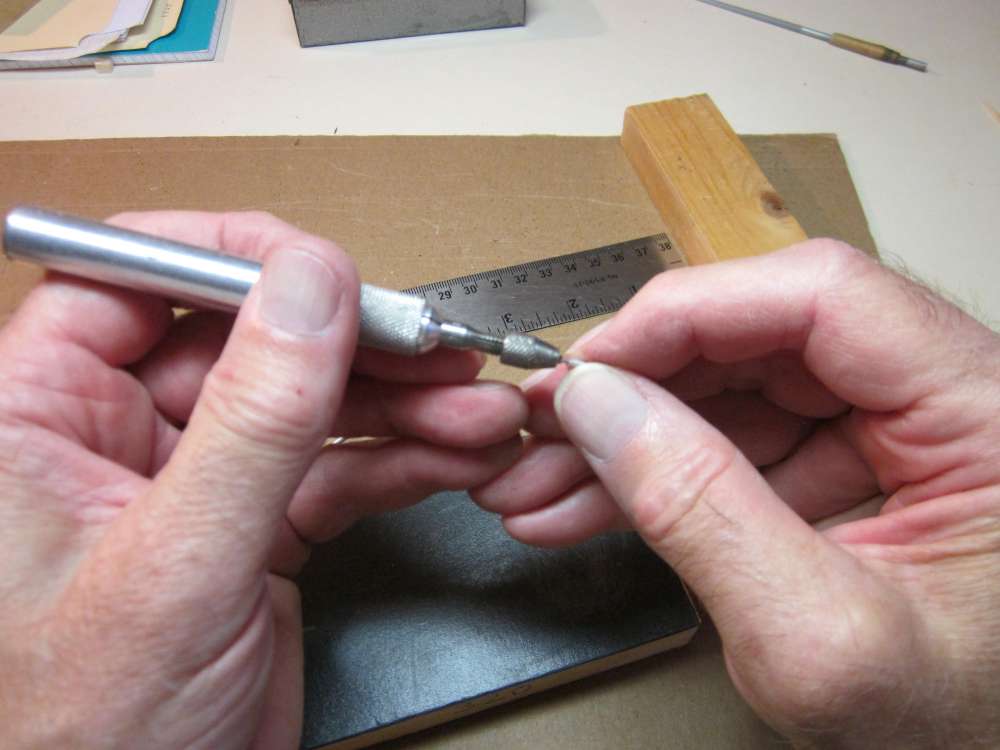
Push the pointed end of a round toothpick into one end of the hub.
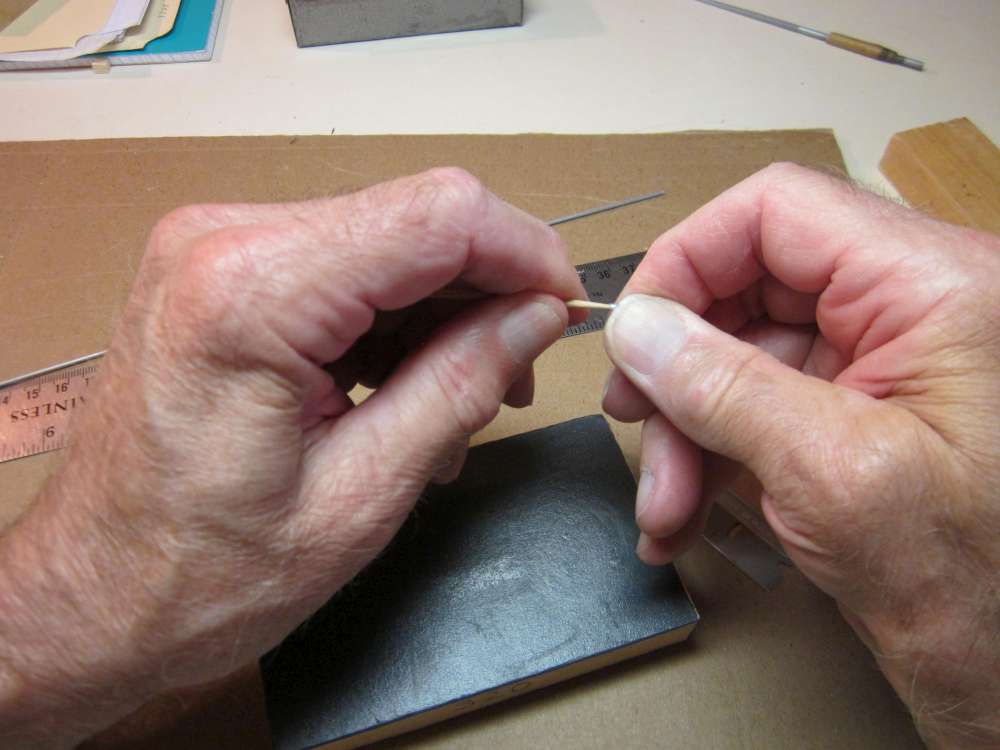
Cut the toothpick off at the face of the hub. This toothpick will keep glue out of the tube. Sometimes I roll the hub under a file to roughen the surface.
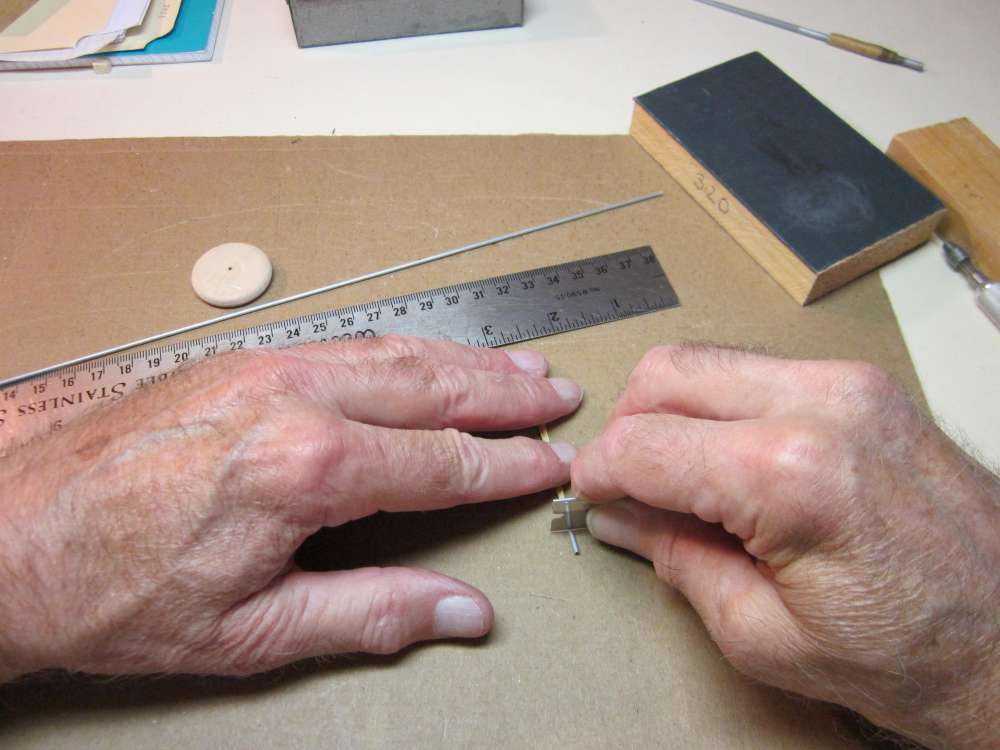
Smear glue all over the hub.
Twist the hub into the hole in the wheel. (It might be useful to try a dry run to make sure it will go in easily.)
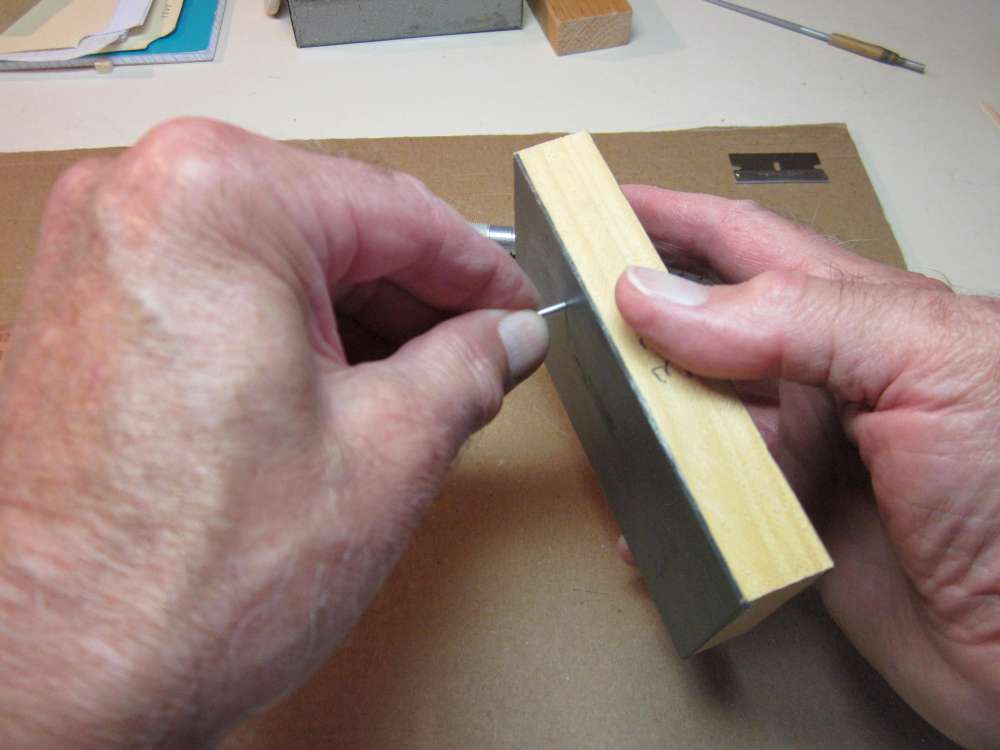
Let the glue dry thoroughly, then push the toothpick out of the hub with a piece of 1/32″ steel wire.
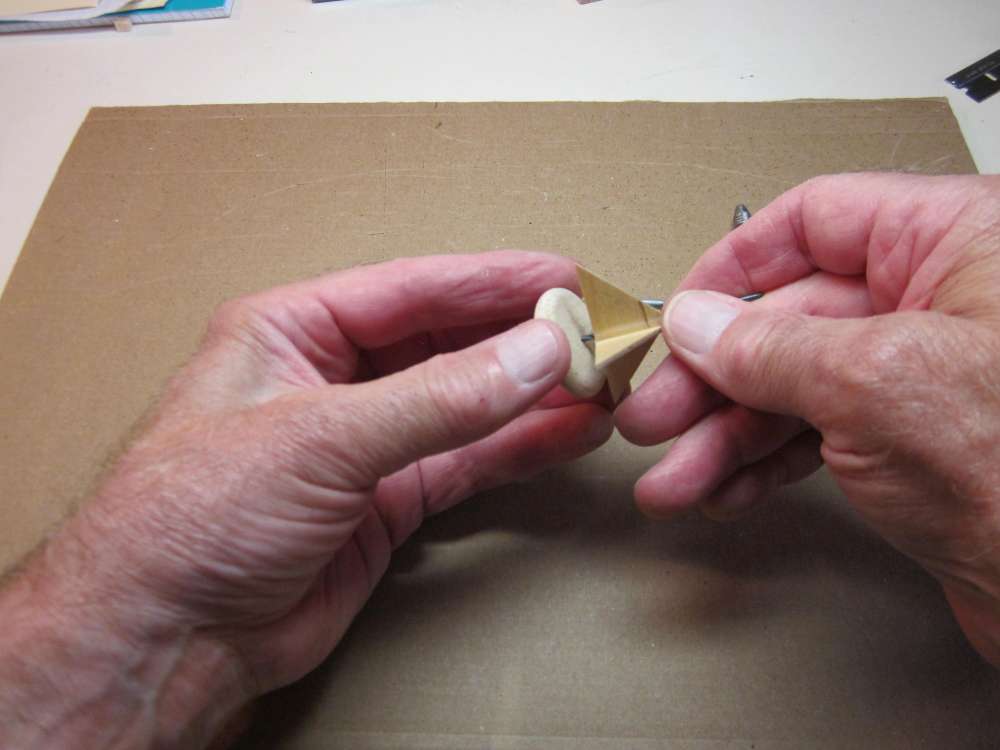
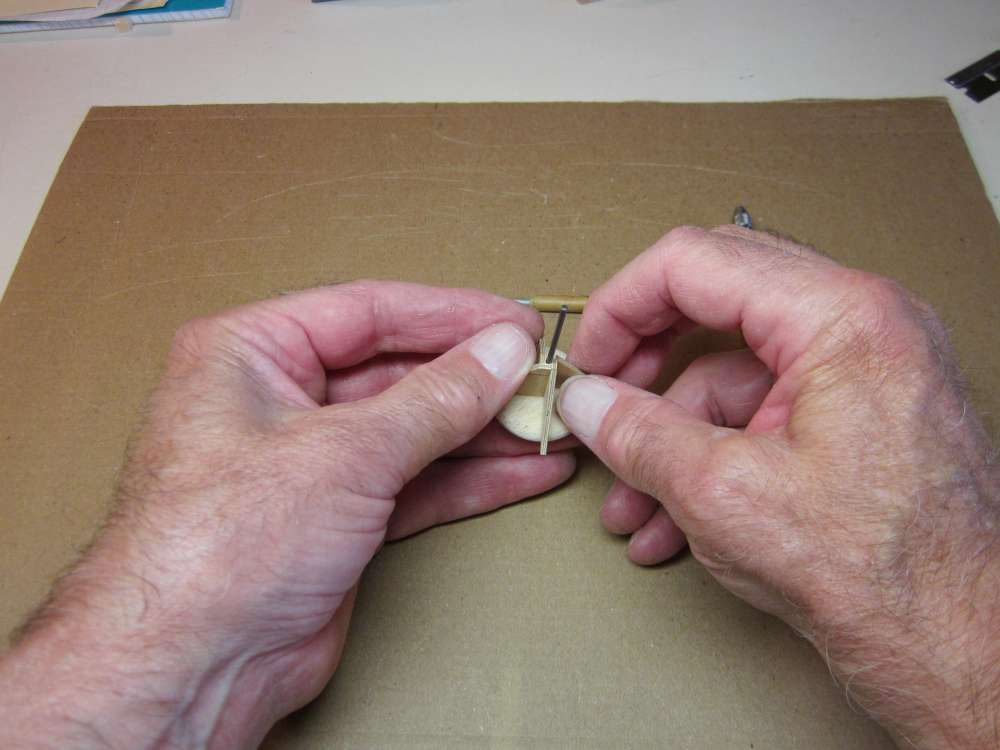
Wheel Collars
I have a new way of holding the wheels on the axles. I use a leather punch or paper punch to make 1/8″ disks from HDPE can lids. These are the same disks I use to make pin clamps. I push a pin through the center of the disk. The disk is forced over the end of the wire axle, which has been filed round. It grips tightly enough to stay on, yet the wheel can be removed and replaced without bending or cutting the wire.
You may also use commercially available pin clamps with the right wire diameter. https://www.wind-it-up.com/collections/miscellaneous-must-haves/products/pin-clamps