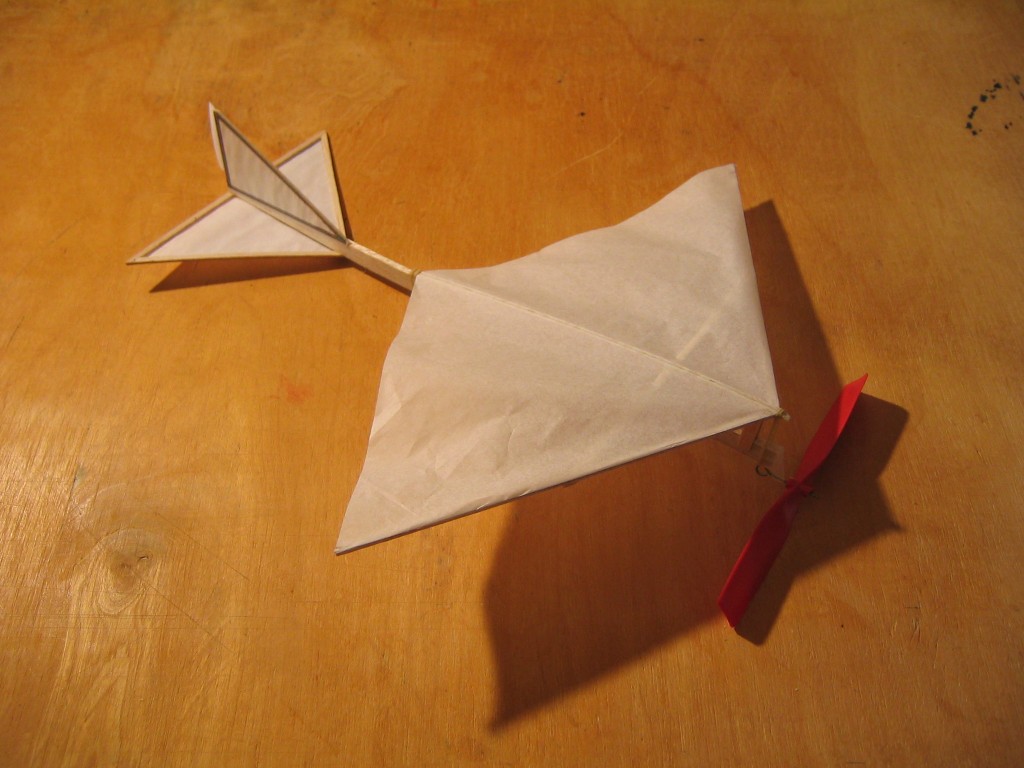
Several decisions must be made in designing a Rogallo wing for the Denny Dart. First, the area of the wing should be selected. The Rogallo wing has a low aspect ratio and severe washout, making it aerodynamically inefficient. I decided to use the 43.3 square inches of the trapezoidal Denny Dart II H wing. There are a couple of shape parameters for a Rogallo wing; the sweep angle and the camber of the cover. Low speed Rogallo wings use lower camber. I decided to start with a covering consisting of two equilateral triangles and a sweepback that would produce a trailing edge with an arc height 1/10 of the arc length. These choices determine a 7 1/8″ equilateral triangle cover layout with a framework swept to 58.2 degrees with a 6 15/16″ trailing edge and 12 1/16″ span.
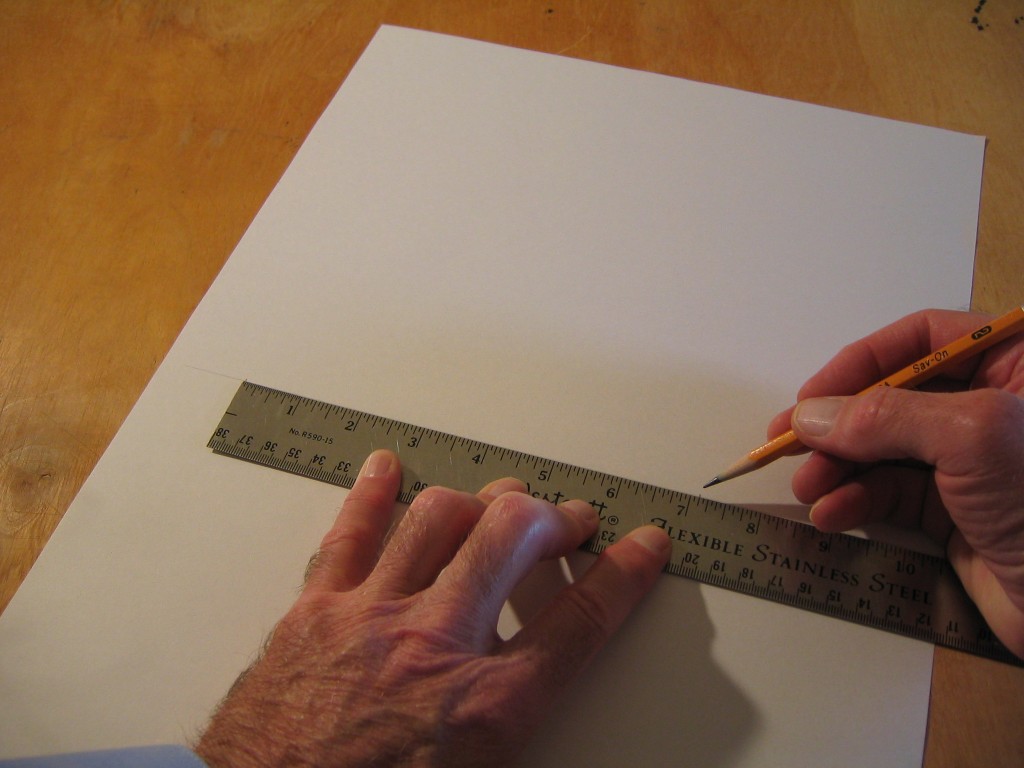
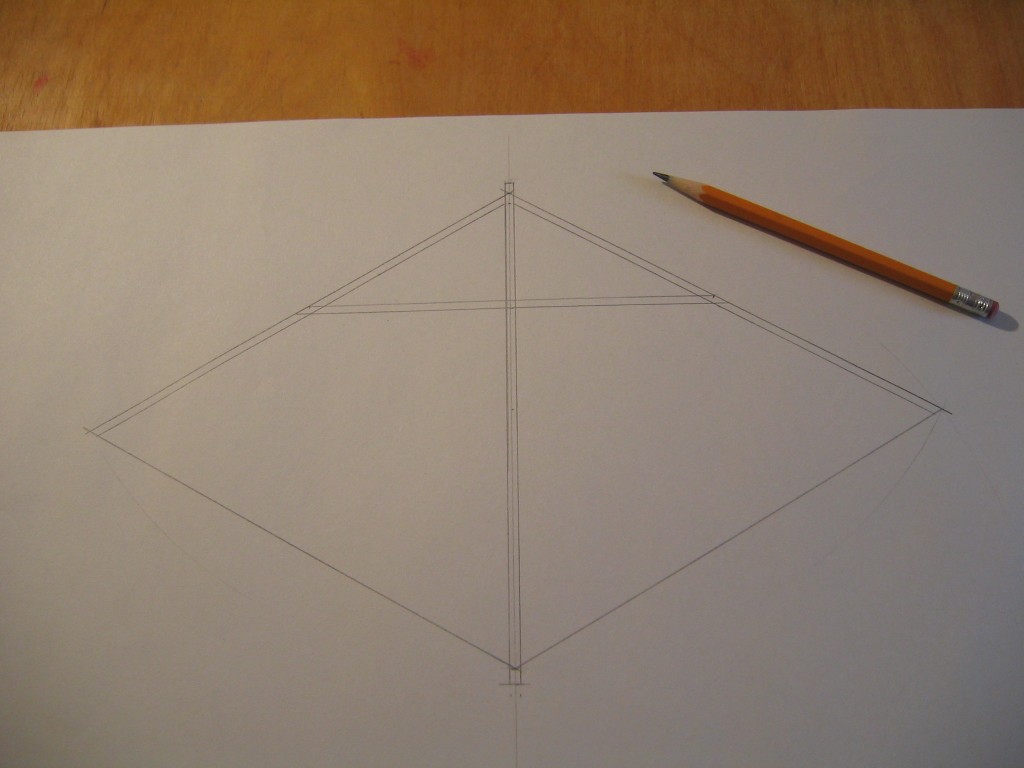
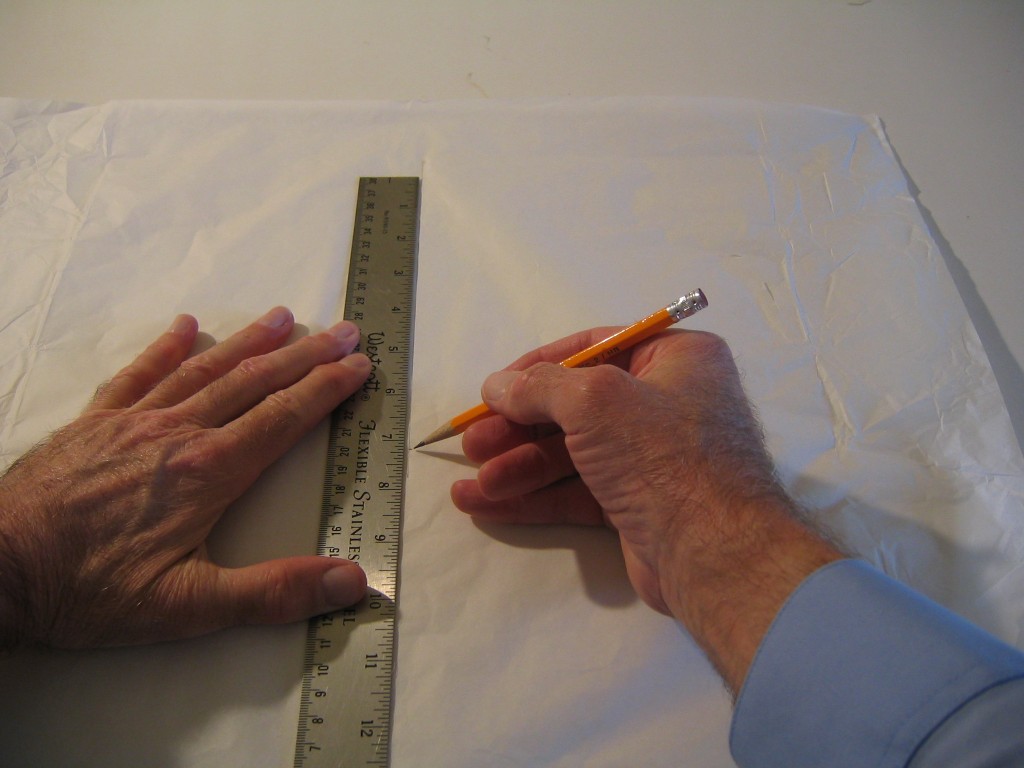
Since this is a new design, we must start by making a drawing. I used a handy 12″ x 18″ piece of construction paper. Since the wing will be 7 1/8″ x 12 1/16″, any piece of paper an inch or two larger than those dimensions will work. The first step is to draw a centerline and mark off a 7 1/8″ length.
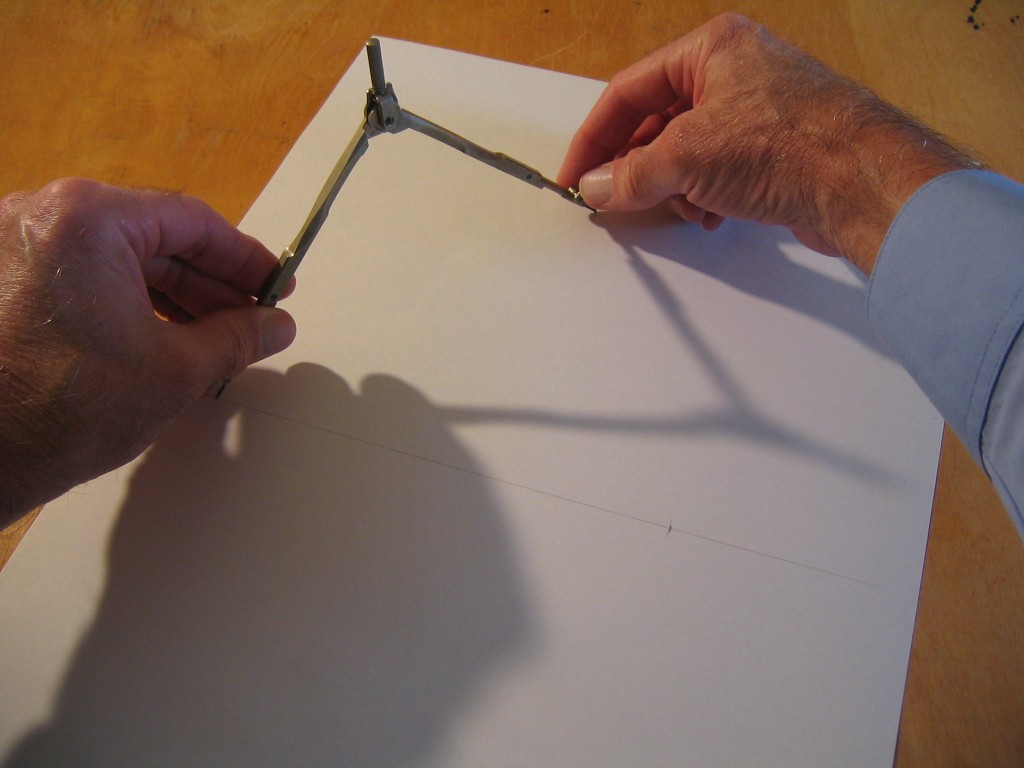
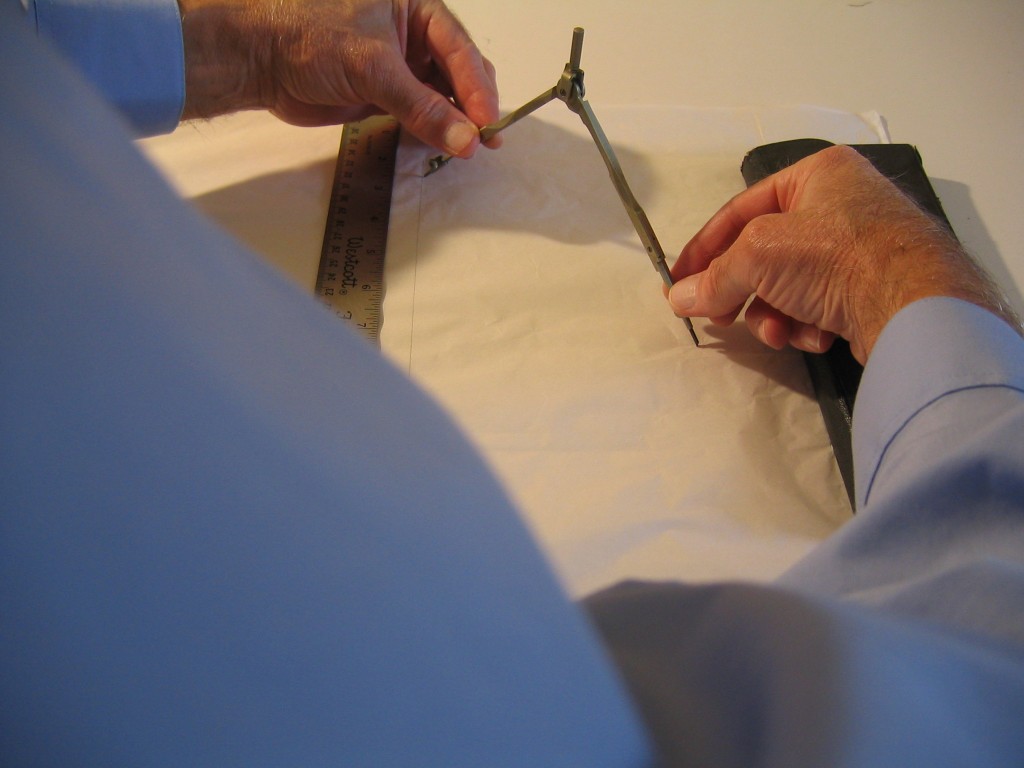
With a compass, strike an arc 7 1/8″ long from the leading point to two points about 6″ out to each side. (If you don’t have a compass, you can cut a strip of thin cardboard 1/2″ wide and 8″ long. Poke a pin through near one end and poke a hole for a pencil point 7 1/8″ away. Put the pin at the center of the arc and hold the cardboard flat to the drawing as you move the pencil point in an arc.)
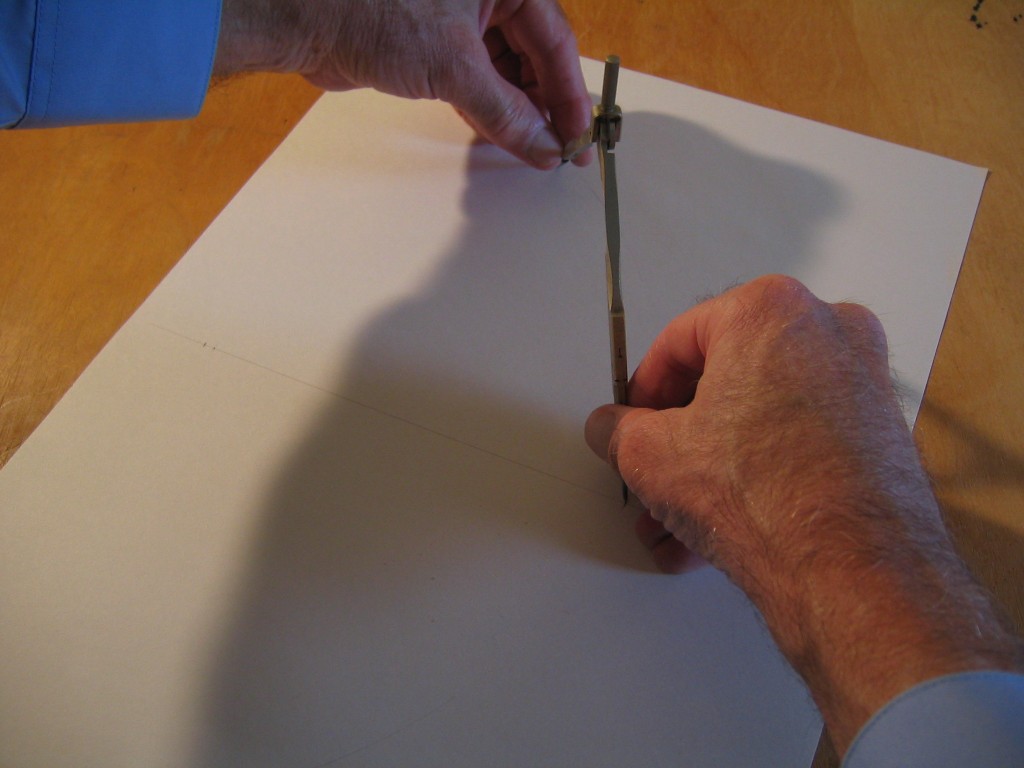
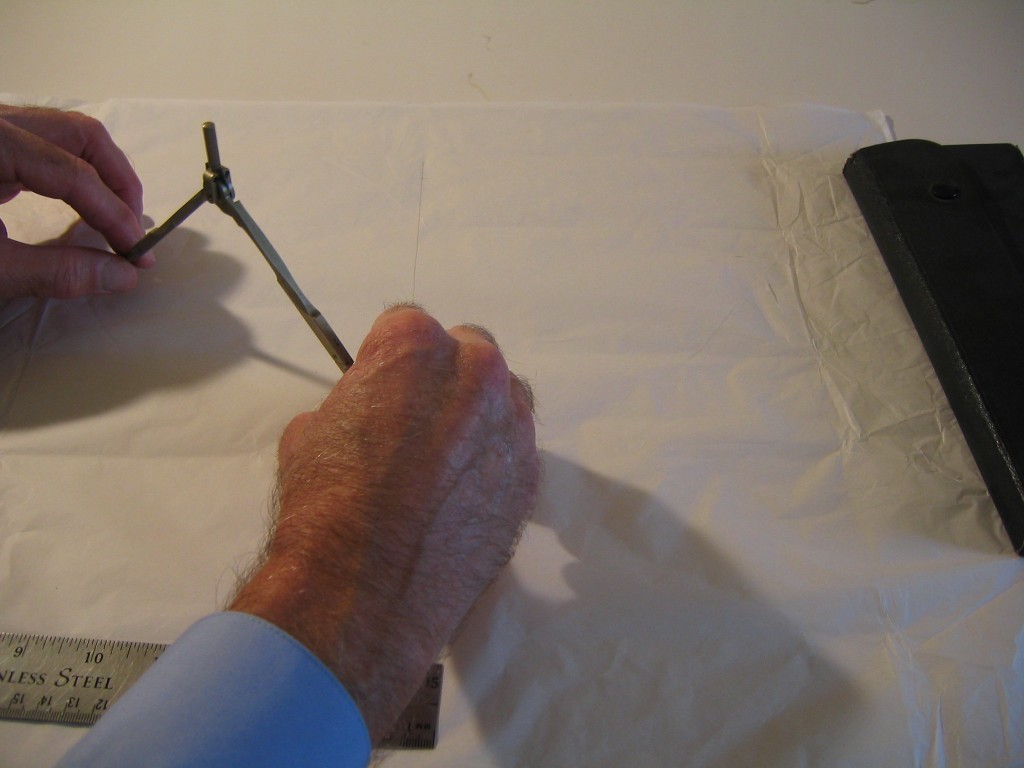
From the trailing point of the centerline, strike arcs 6 15/16″ long to intersect the two previous arcs. The trailing edges are slightly shorter than the leading edges.
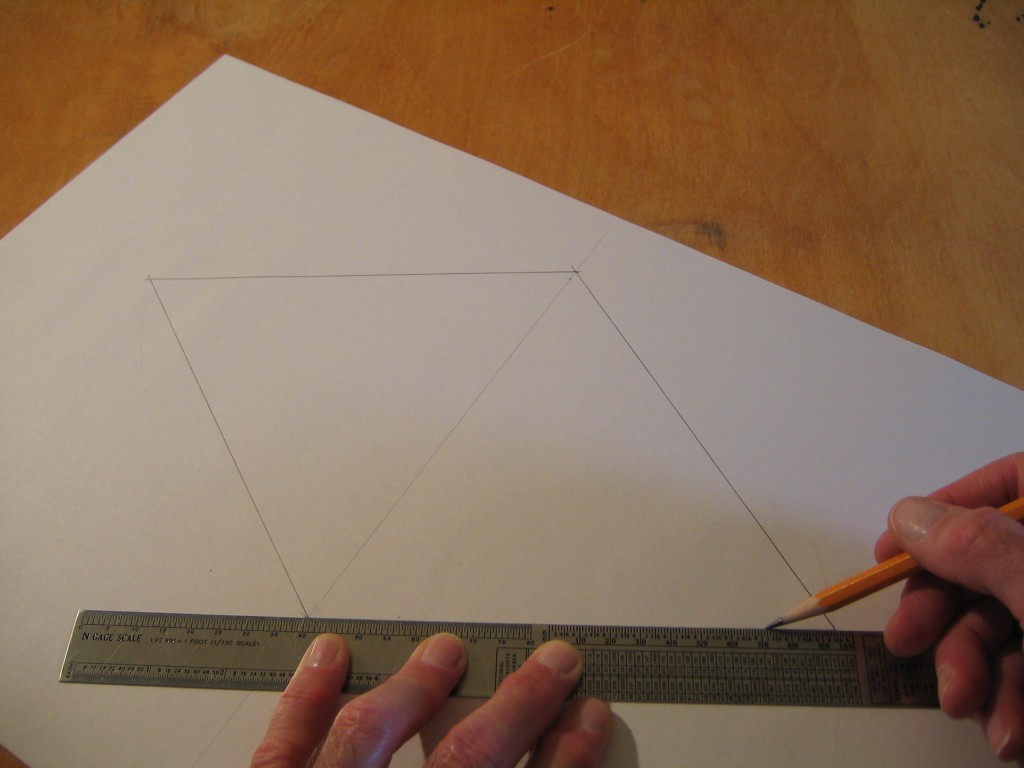
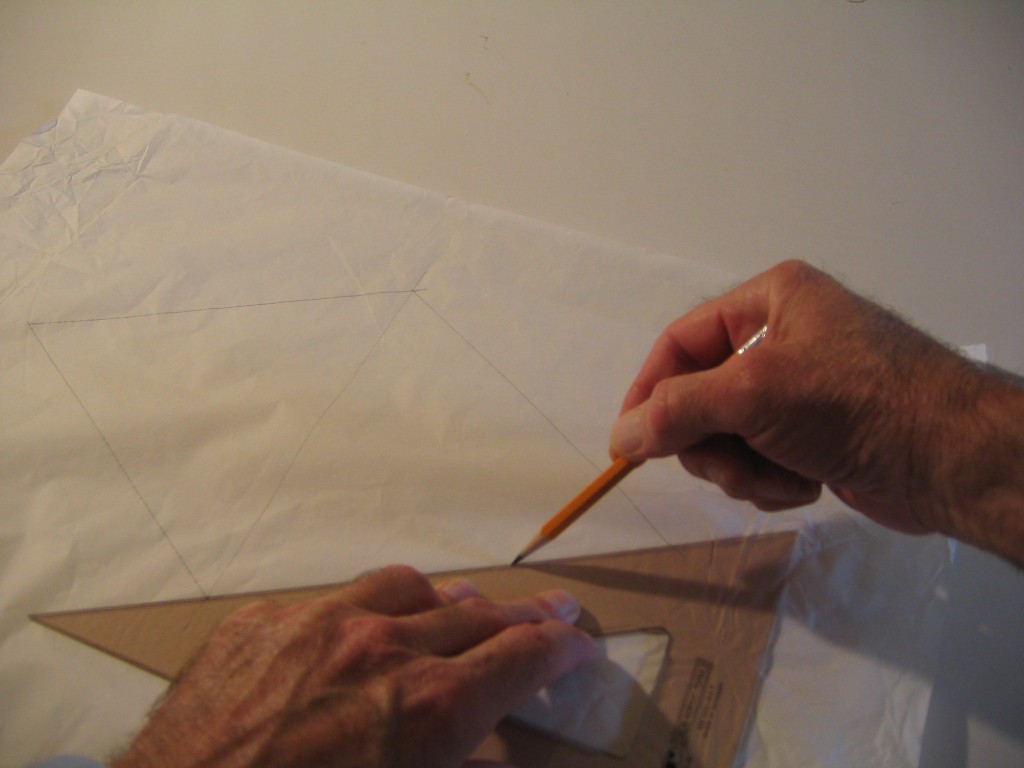
Draw lines connecting those four points.
Draw in the sticks of the wing structure. The sticks will be 1/16″ x 1/8″ balsa, as on the AMA Cub and Denny Dart. Start with the center stick which extends 3/16″ beyond the vertices at front and back, for a total length of 7 1/2″. Next draw in the wing leading edge sticks butting up against the sides of the center stick. Measure back 3 1/2″ along each leading edge and draw a line connecting those two points for the front edge of the spreader bar.
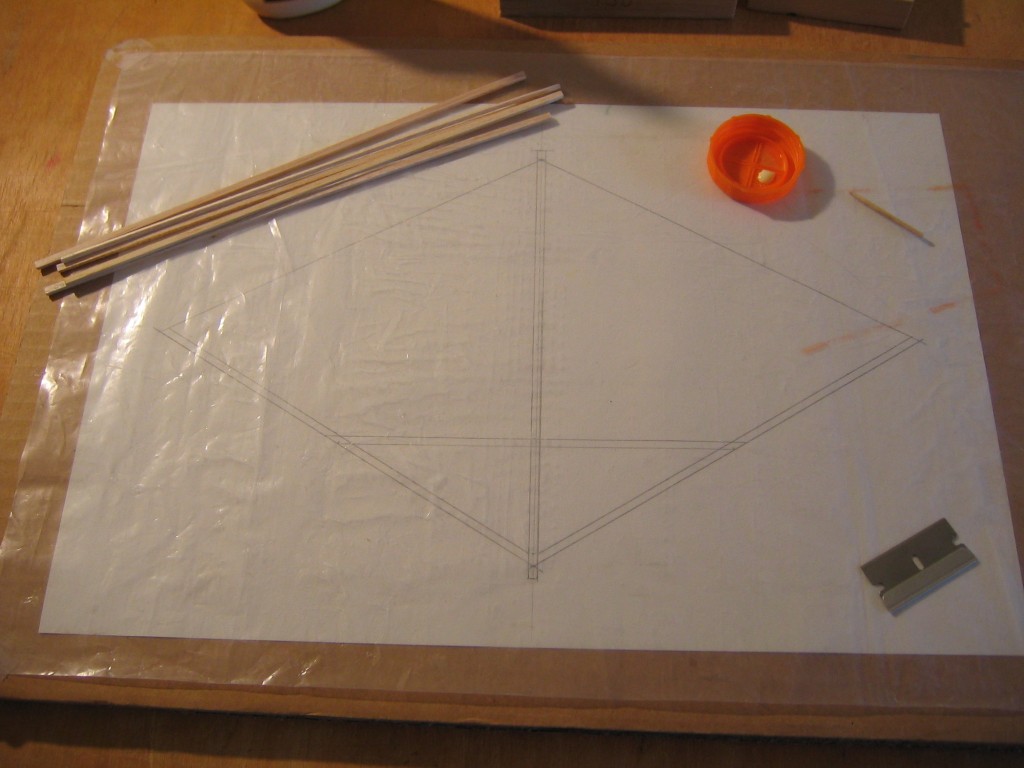
I cut my drawing down to 9 1/2″ x 14″ so it would fit under the protective cover sheet on my 12″ x 18″ building board. The plan is covered with protective plastic sheet to keep glue from sticking parts to the plan. I selected some hard balsa for this wing because there is only one spar on each side. A small drop of glue is all that will be required for these few joints. A toothpick is used to apply glue.
The center stick is sanded to a taper on what will become the top side at both ends. This makes it easier to roll the hold down rubber bands over the ends.
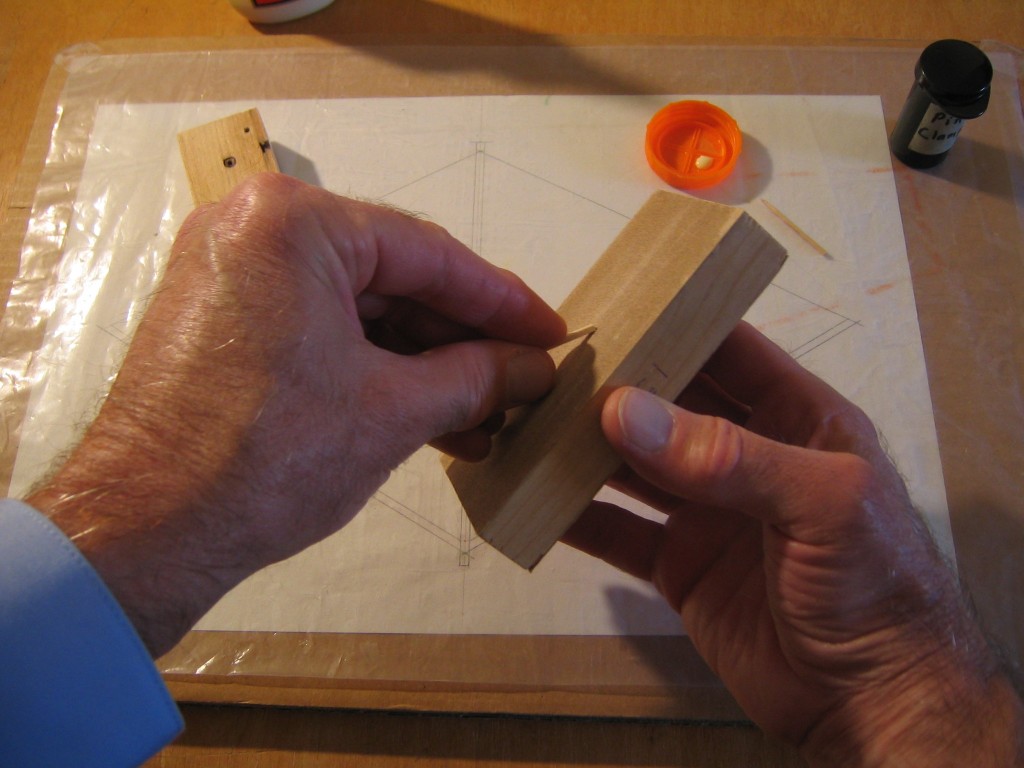
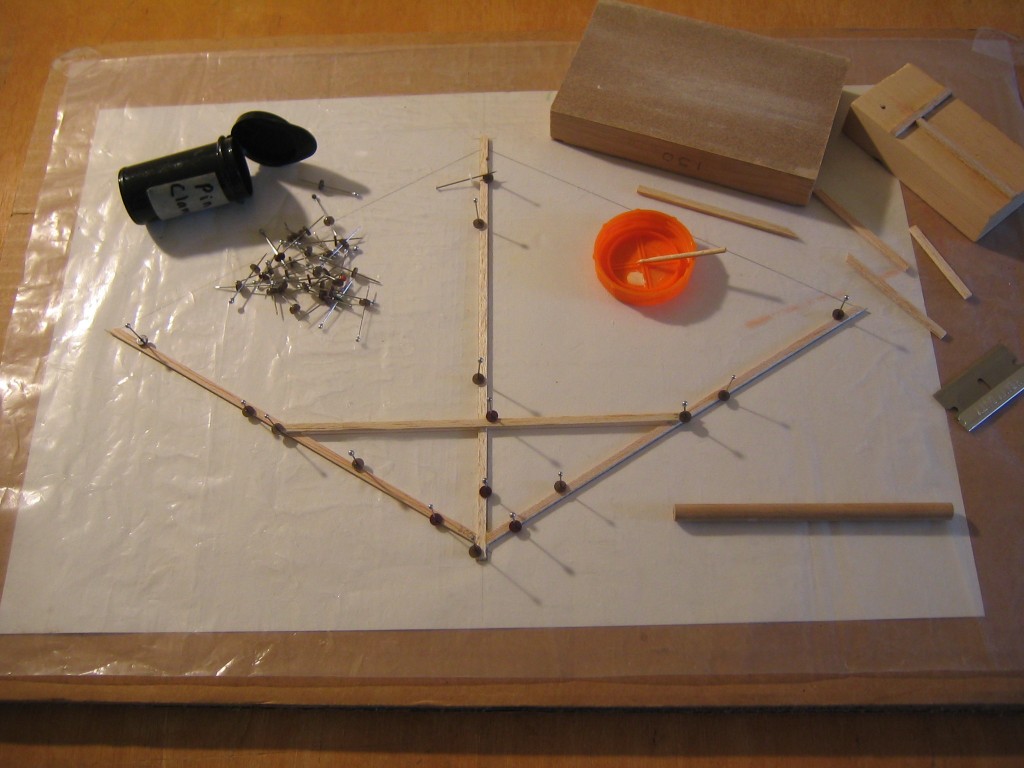
The 1/16″ x 1/8″ sticks are cut to correspond to the drawings. The cut is marked by pressing the razor edge into the wood over the drawing, but the cut is made over a backing block of wood. Glue and pin the parts over the plan. The framework is upside down. The tapered ends of the center stick go down. Sand the ends of the wingspars flat and square so they butt against the center stick without any gap. Glue the spreader bar to all three sticks. Put a little glue inside all the corners to form a fillet and smear glue across all joints. Give the glue plenty of time to dry. We can spend the time making the tissue paper canopy.
We will draw the canopy on a piece of tissue paper. This piece of paper came out of a shoe box. If you want to make more than one, you might want to make a cardboard pattern. First draw the 7 1/8″ centerline.
From the leading end point, draw two 7 1/8″ arcs about 6″ on either side of the centerline.
From the trailing end point, draw two 7 1/8″ arcs to intersect the previous arcs. The leading edges equal the trailing edges this time.
Draw lines to connect those four points.
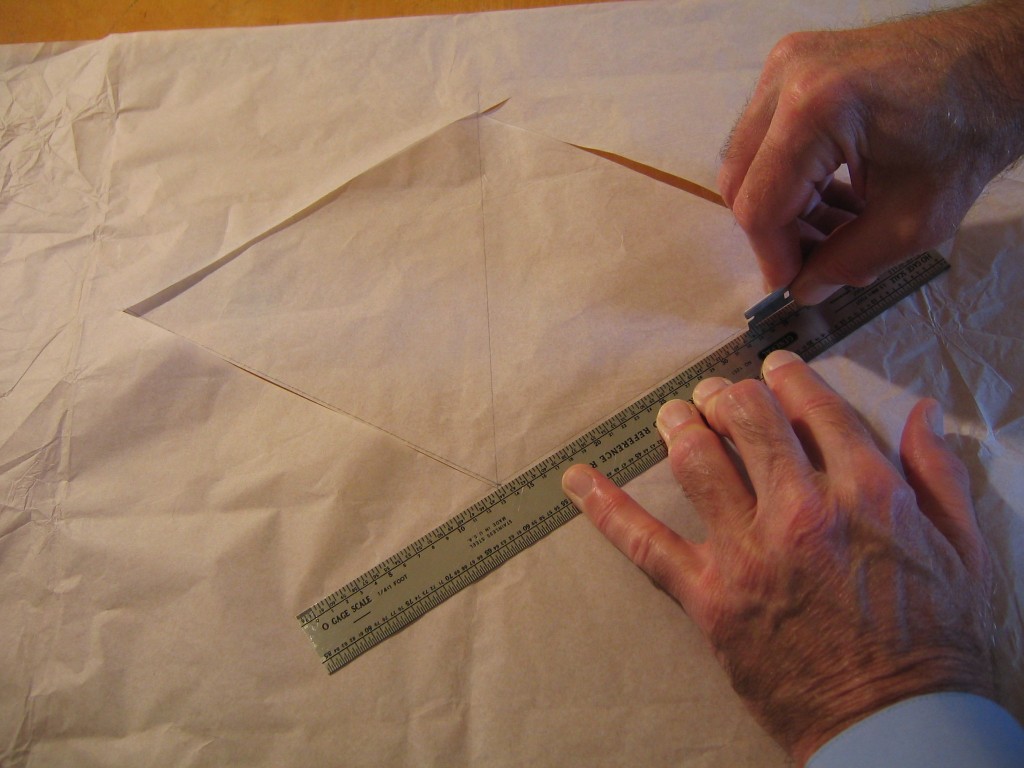
Cut out the paper, cutting along the lines on the trailing edges, but cutting 1/16″ outside the lines on what will be the leading edges. These margins will be glued to the leading edges of the wing spars. If the glue is dry on the wing structure, pull out the pins and remove the structure from the board.
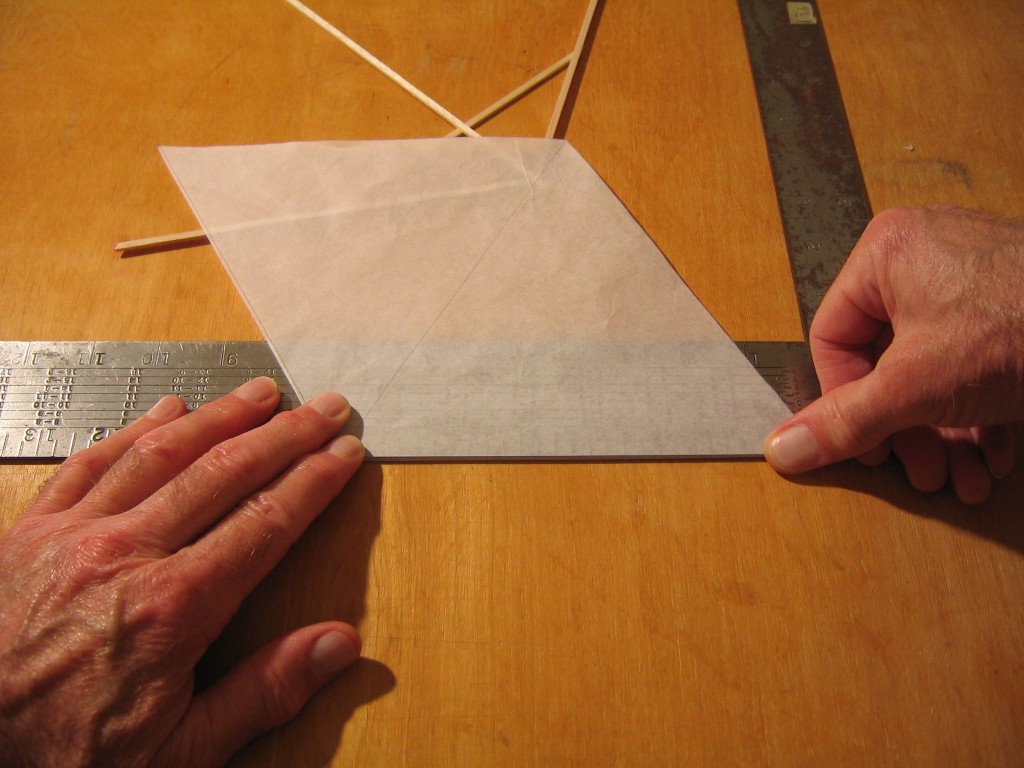
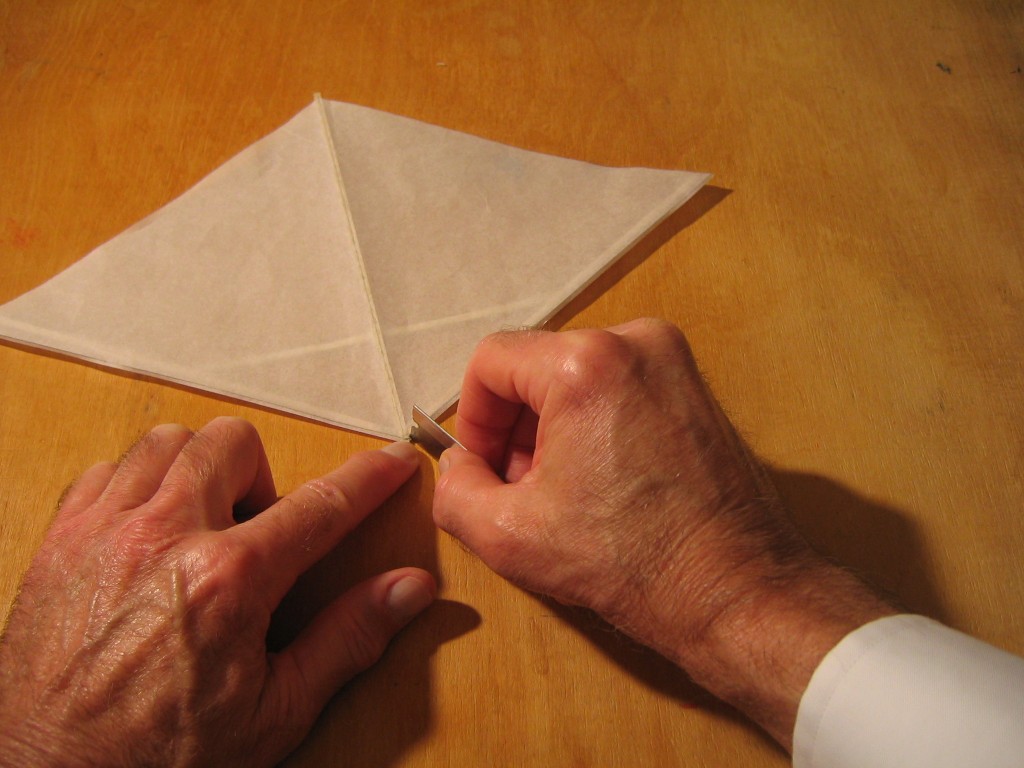
Fold the leading edge glue margins over a sharp corner.
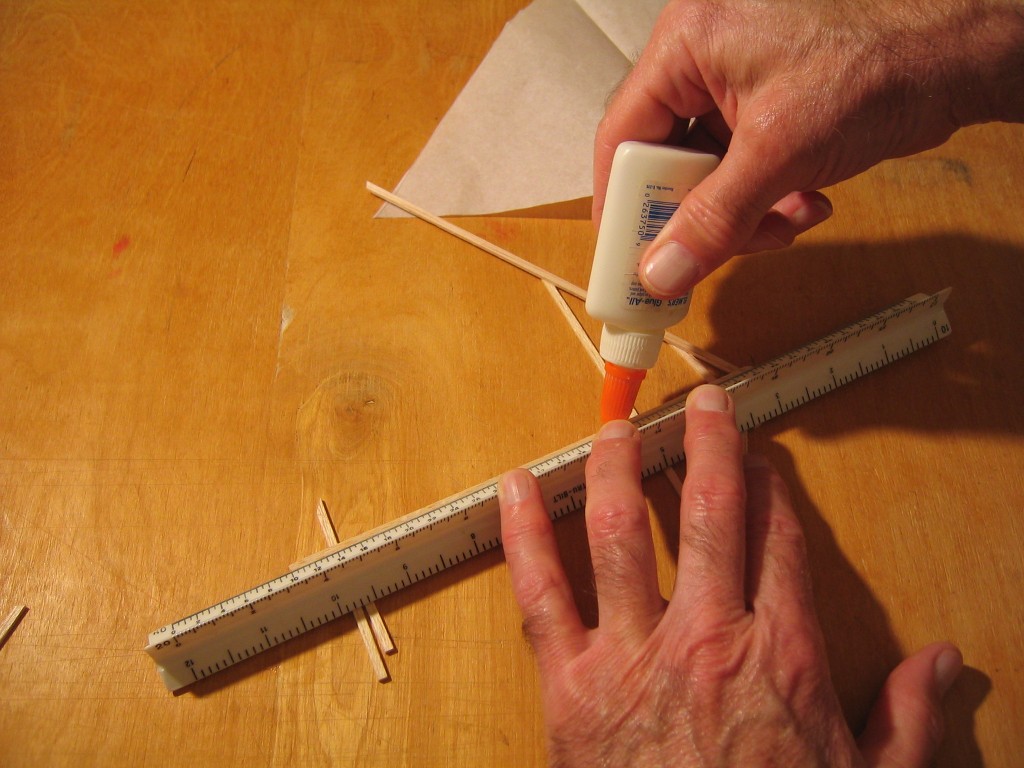
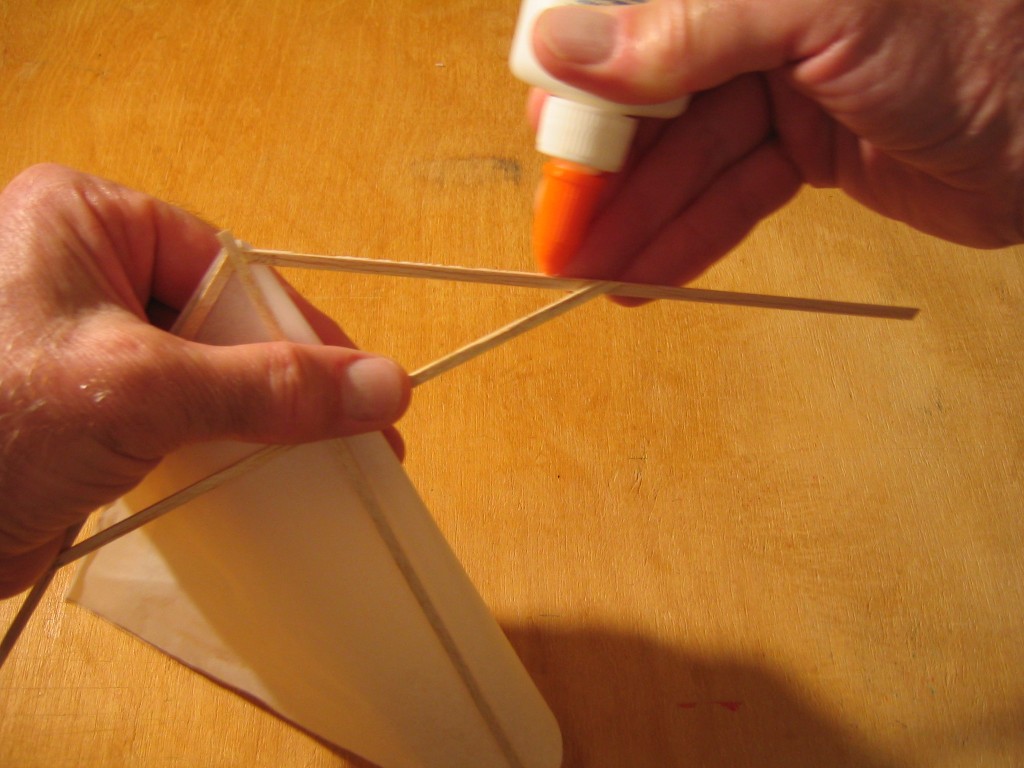
Apply a thin bead of glue along the centerline of the center stick. It is just as easy to do this freehand if you use the tip of one finger alongside the glue nozzle to guide the stick.
Carefully align the centerline of the paper with the center of the stick and the vertex of the paper with the vertex of the wing spars, then press the paper in place on the glue. Gently rub it down. Notice that the paper extends a bit beyond the sticks at the tips. The wing spars are swept back a couple more degrees.
Cut across the glue margins at the inside corner of the sticks.
Apply a film of glue along the leading edge of the wing spar.
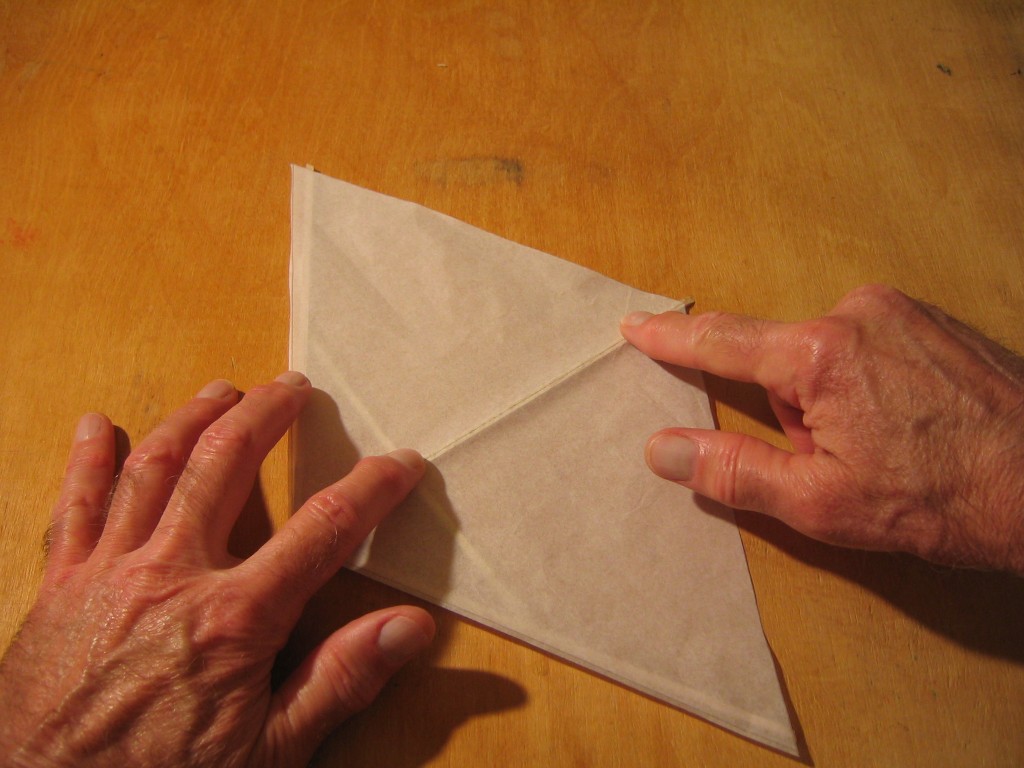
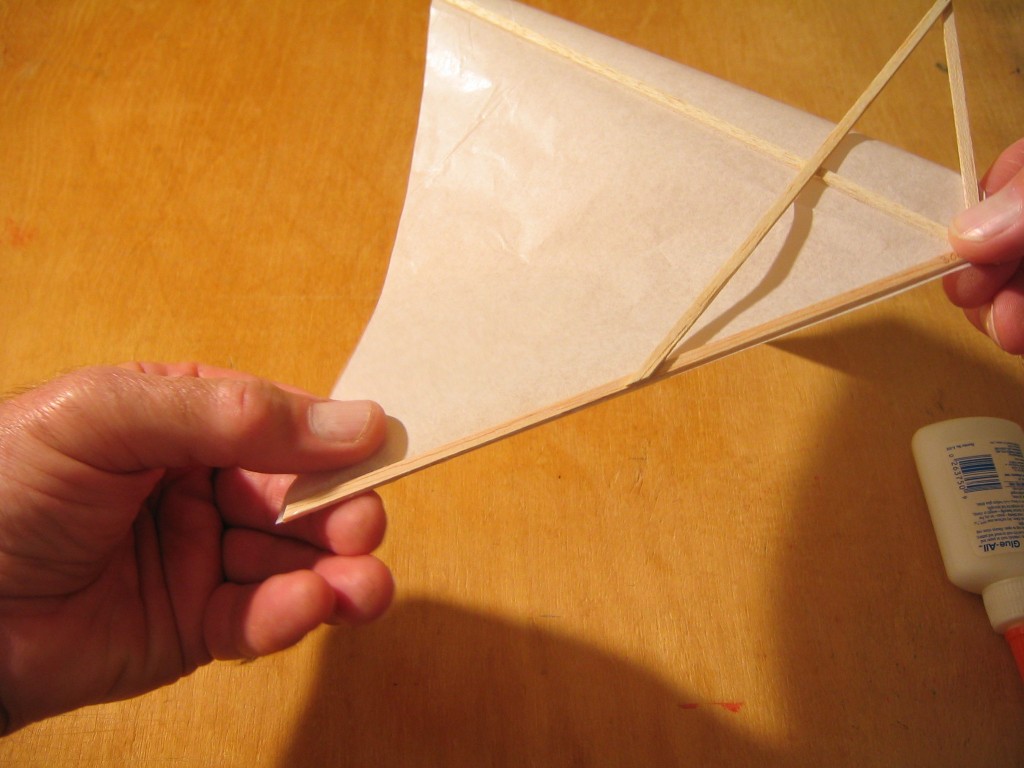
Carefully pull the leading edge margin out straight, aligning the fold with the edge of the stick.
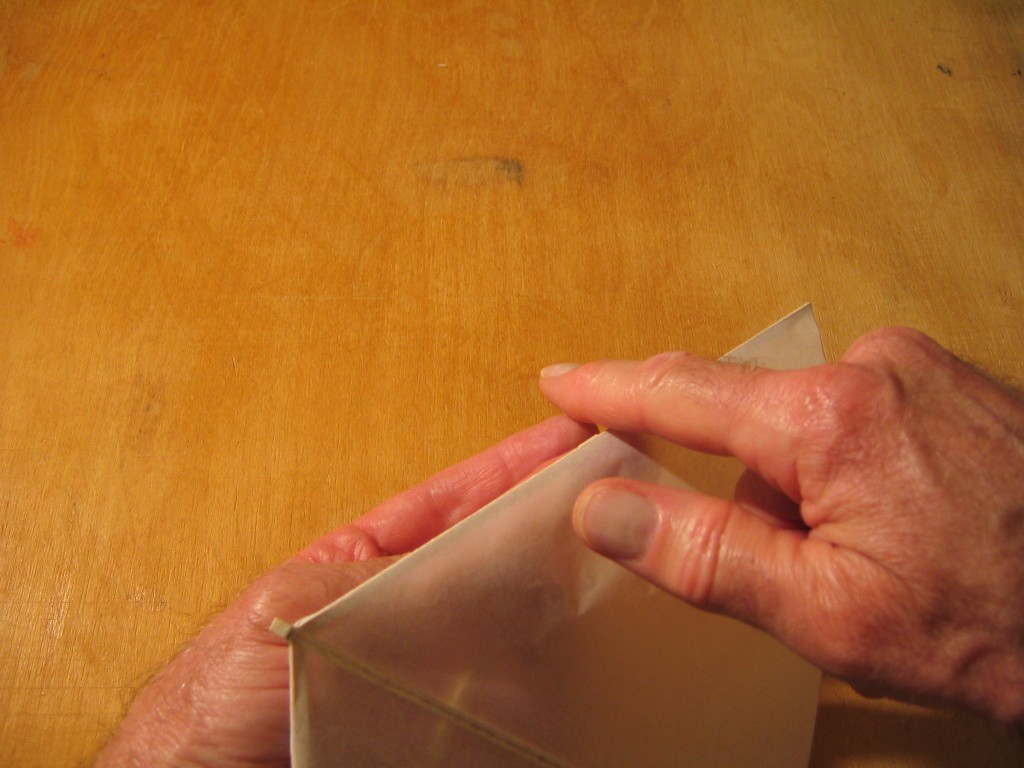
Gently fold it over and press it into place. Do the same to both sides.
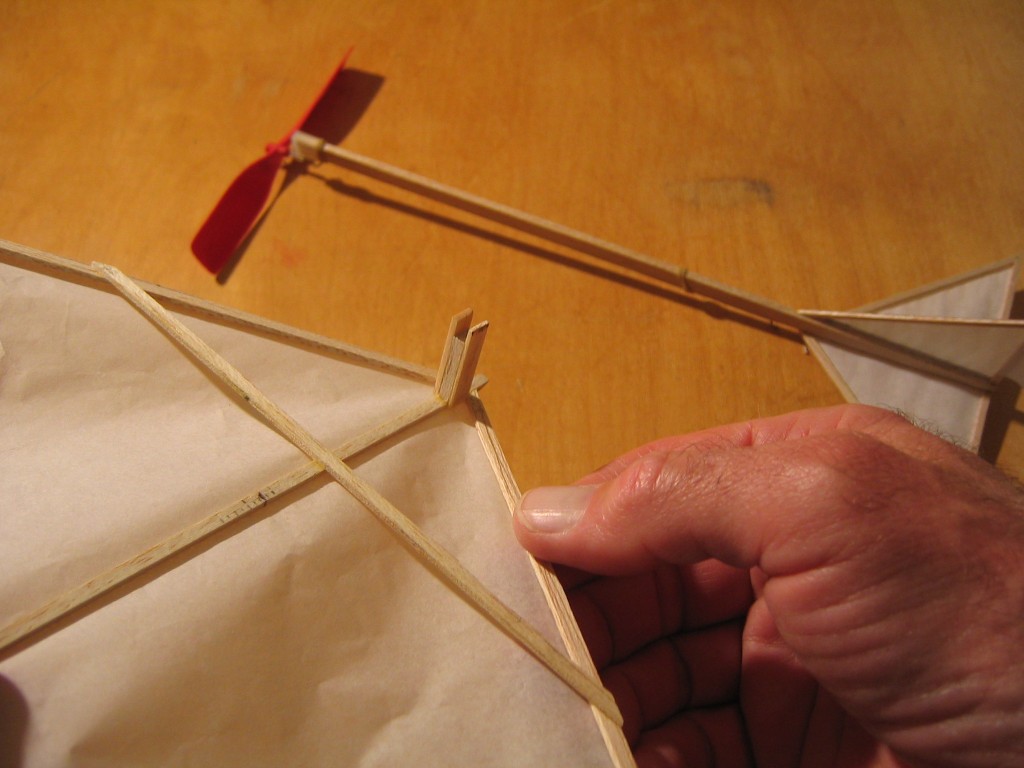
I put a very small bit of clay on the nose to get it to make a slow, steady glide. The corresponding balance point is shown marked at 2 9/16″ from the vertex. This is about where I want the center of gravity of the whole thing to be when it is completed; wing, fuselage, prop assembly and motor. With the 6″ MPC prop assembly, the wing had to be so far forward that the apex obstructed rotation of the prop. With the 5 1/2″ Sig propeller assembly, the apex was overlapping the prop hanger box, but clear of the prop. I tested it with various shims at the front and found that a 7/16″ post gave good flights. I cut a post 7/16″ long, square on the bottom end and at 3 1/2 degrees at the top end. I added two 1/16″ plates to go alongside the fuselage stick and keep the wing horizontal. They also overlap the 1/16″ center stick. Plans and instructions for making the Denny Dart II fuselage assembly in the background are elsewhere on this site.
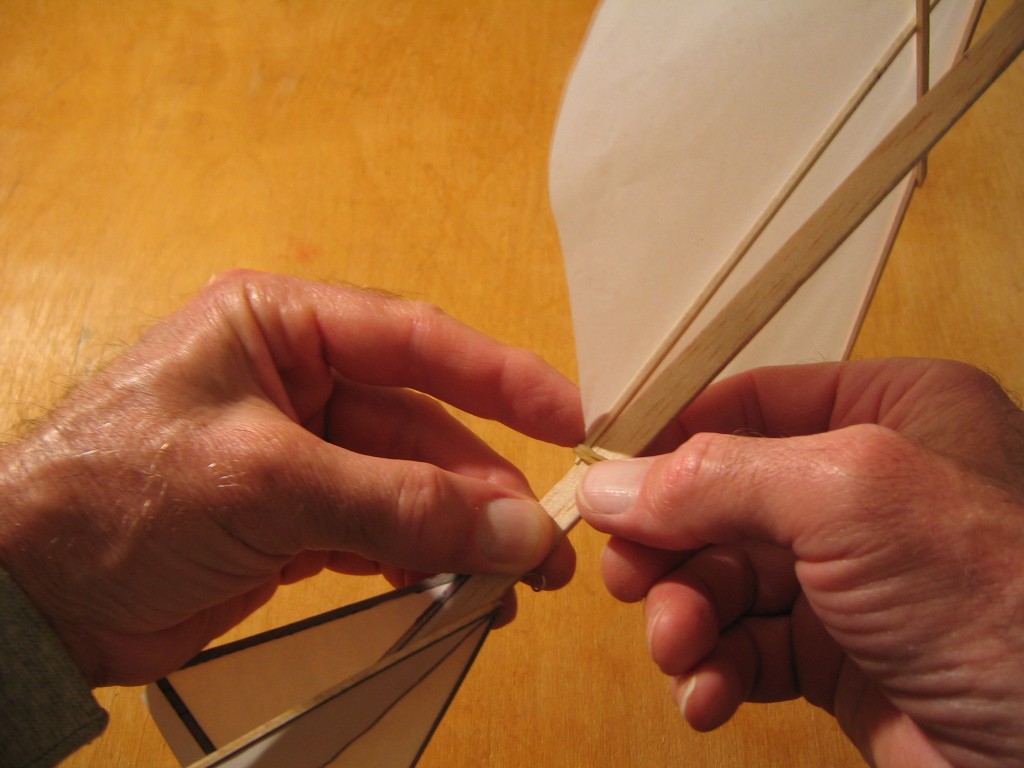
The 1/2″ hold down rubber bands are already double wrapped around the fuselage stick and pulled apart slightly from where they will go. The center stick is placed on the fuselage stick and held down with one hand while the other hand rolls the hold down rubber bands up the taper onto the stick. Be careful to not tear the unprotected edge of the tissue paper.
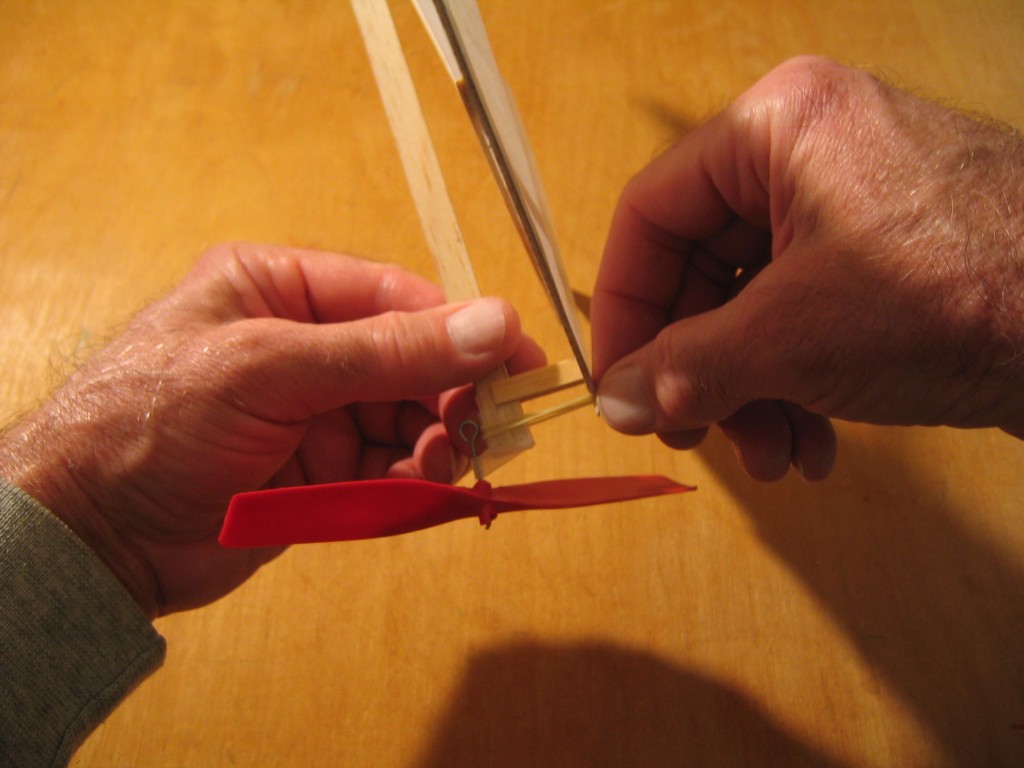
Stretch the front hold down rubber band up and over the projecting end of the center spar.
Bottom view of the completed airplane, showing the attachment of the wing to the fuselage.
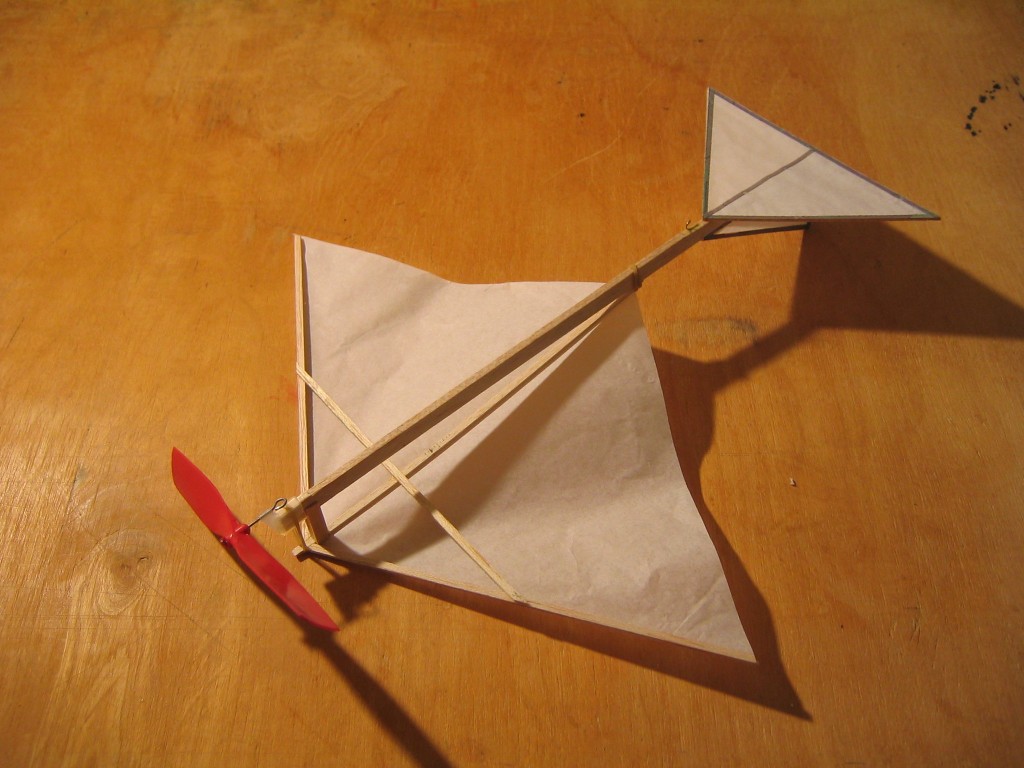
The completed airplane. It looks like an AMA Cub without dihedral and with loose paper! An AMA Cub could be built this way, using the kit paper.
The finished plane weighs 7.0 grams without the 2.3 gram motor. It flew nicely with a 19 7/8″ loop of 3/32″, working up to 900 turns. It got over roof height and made a couple circles, maybe 20 seconds. I didn’t go higher because I was flying in the street in front of the house and even then lost it over the neighbor’s fence twice. It has been raining recently. I must wait for dry weather before I can take it over to the park for a real flight test.
