Sometimes you will need a small steel wire helical spring, as I did when attaching the protractor to the propeller gauge. Another common use is in rigging a dethermalizer (DT). There are special tools for making springs. There are YouTube videos that show fancier ways to make springs. This shows a simple way to make springs by hand from things you probably have around the shop.
Steel wire may be acquired at hardware stores, hobby shops or musical instrument stores. It is often called music wire because it is used for violin, guitar and piano strings.
If you have specific requirements for force and extension, there are formulas for designing compression and extension springs.
The basic concept in making a helical spring is to wind the steel wire around a cylindrical mandrel. After winding, the wire will spring back slightly, so it will be loose on the mandrel. I found that the springs I made had a diameter about 1.11 times the diameter of the mandrel, or the mandrel was 0.90 of the diameter of the spring. Do a test wind if you need a precise diameter.
Let’s get started with step by step pictures showing how to make and use a simple hand tool for making small steel wire helical springs. These pictures show the making of a particular spring. Adjust dimensions as necessary for your particular application.
Make the mandrel
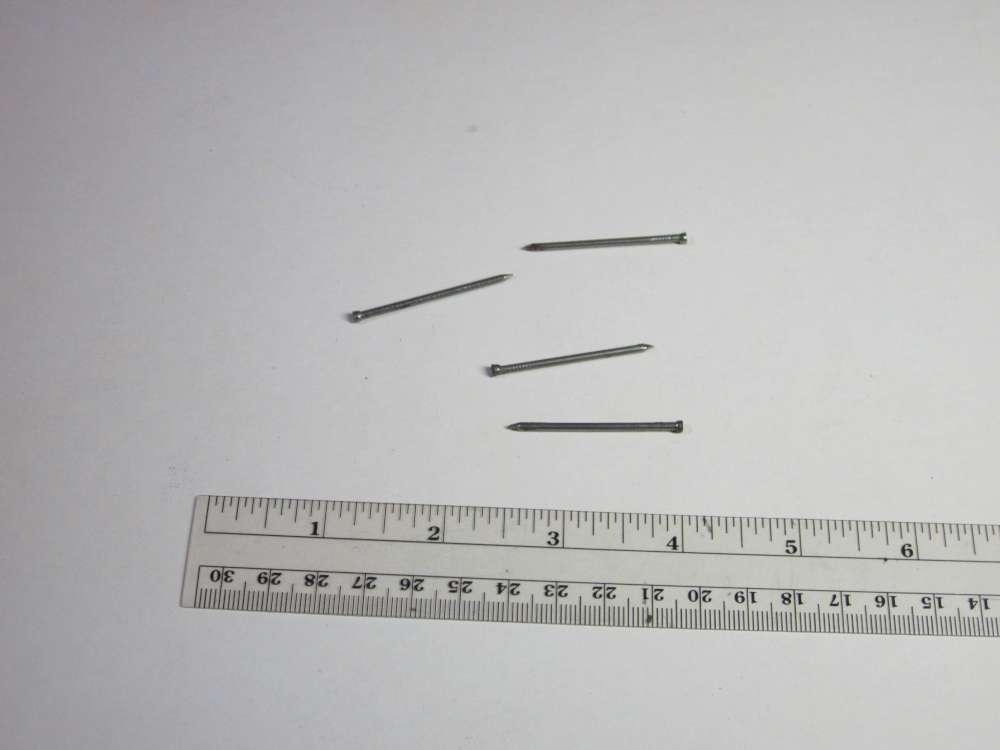
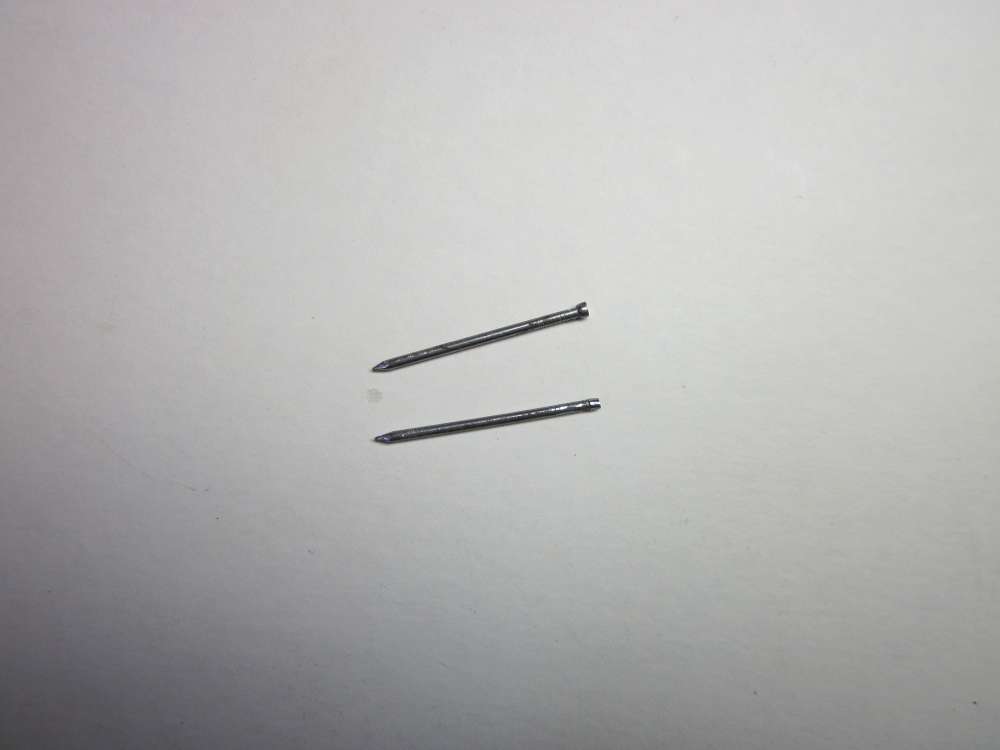
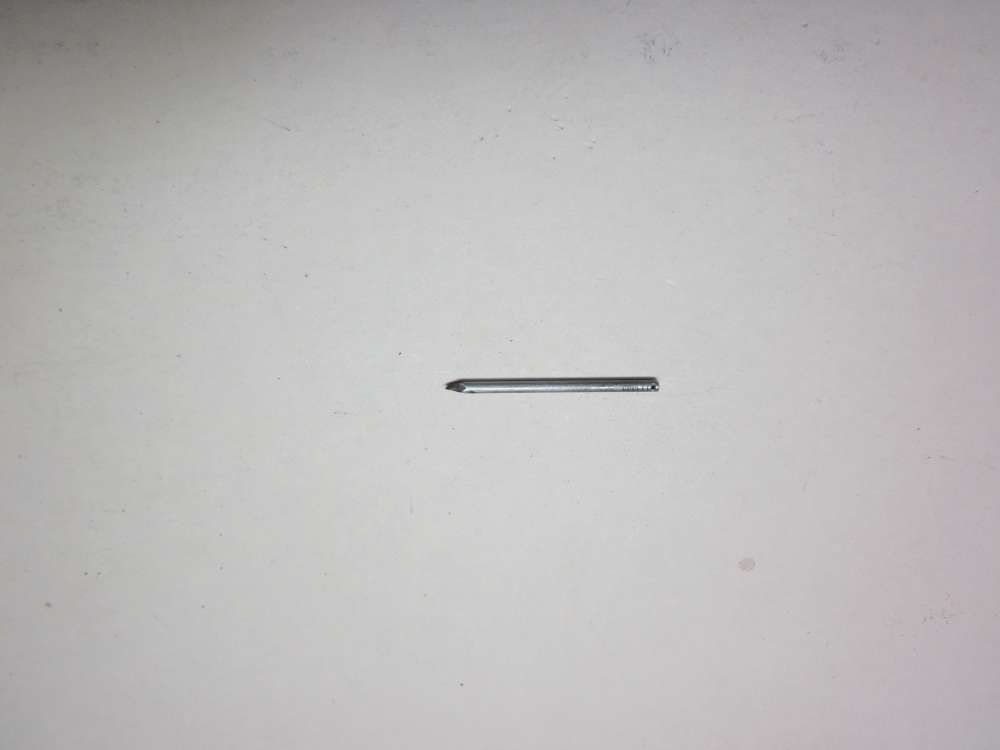
I wanted a short compression spring to hold the protractor snugly against the face plate of my propeller gauge. It would have to be a slightly loose fit around the box nail that formed the axis of the protractor. It would have to be stiff enough to provide a friction hold. I chose 0.020″ steel wire because it was close to the wire of a ballpoint pen spring I had used on a previous propeller gauge. A 0.016″ wire spring was a little too thin. For the mandrel I chose a nail of similar diameter to the nail that would form the axis; a 1 1/2″ finishing nail with a diameter of 0.0735″.
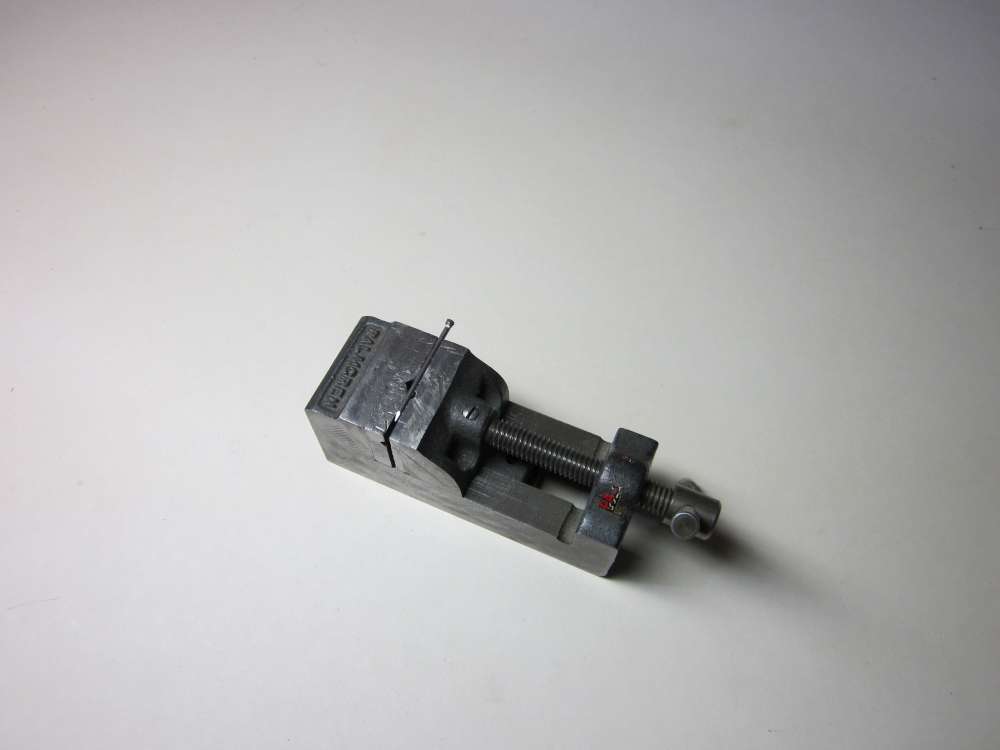
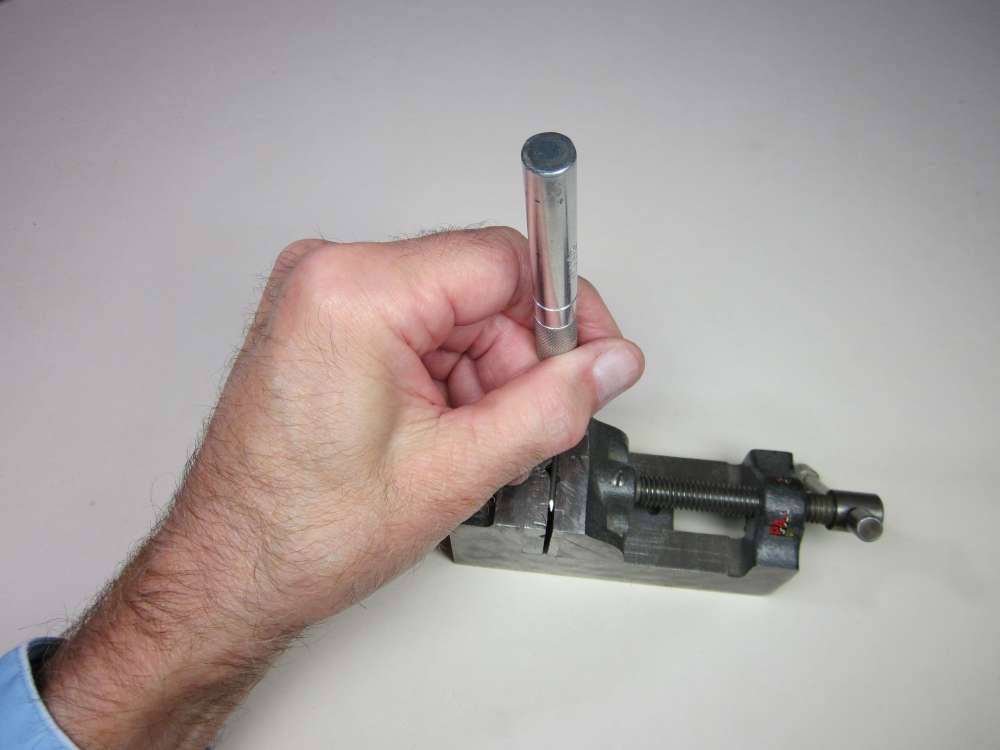
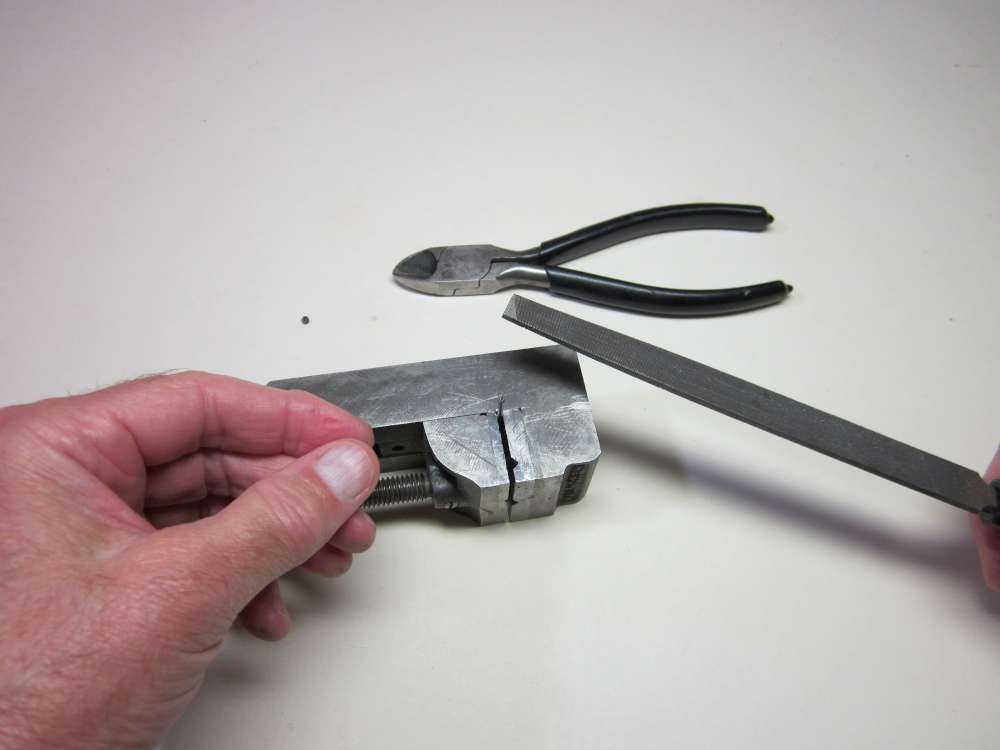
We start by drilling a hole through the mandrel, close to the end, that is slightly bigger than the diameter of the wire. Put the nail in a vise. [Later it occurred to me that it would be better to cut the head off the nail first, so the spring would slide right off the end. See the note at the end for those instructions.]
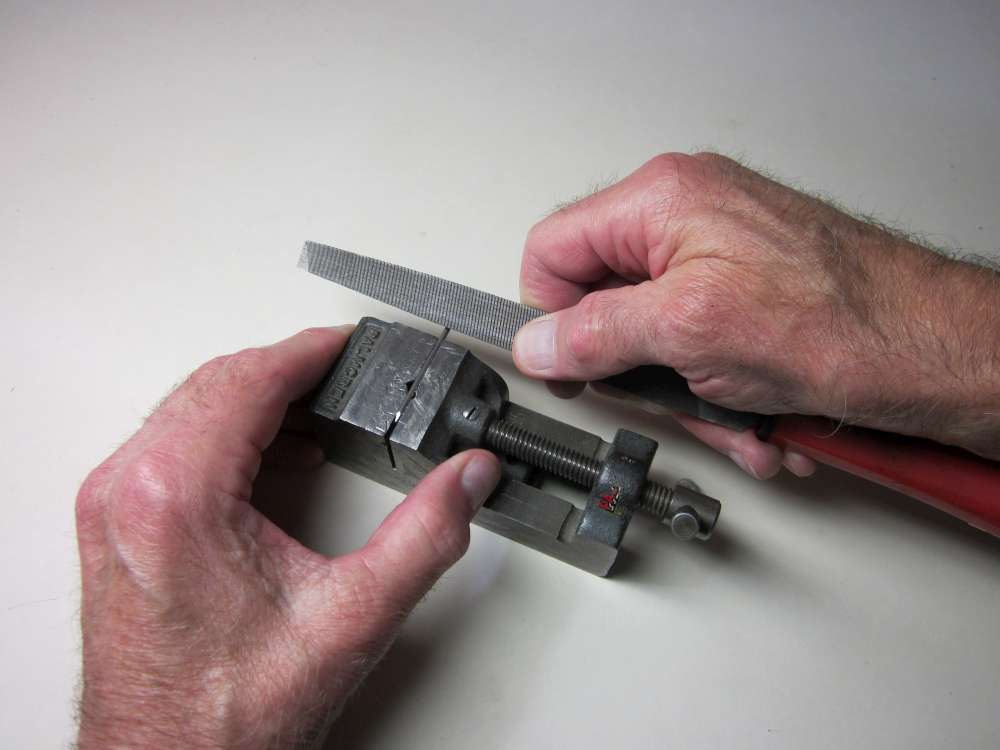
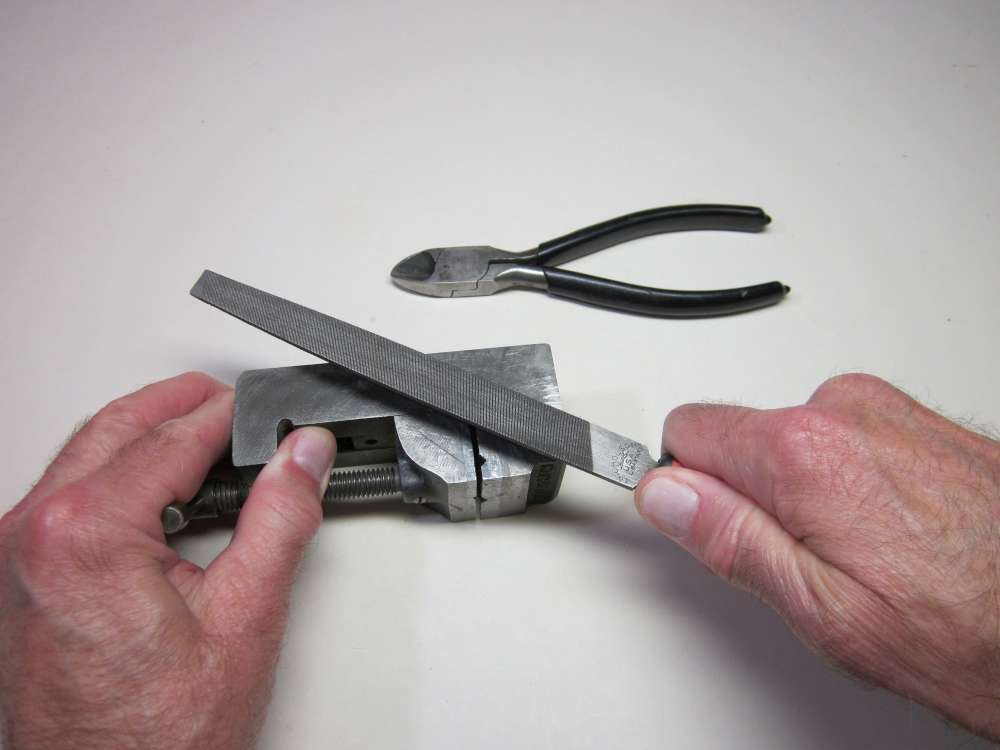
File a small notch across the top of the mandrel with a corner of a file. This will help keep the drill from wandering off the round surface of the mandrel. The width of the notch can be close to the diameter of the drill.
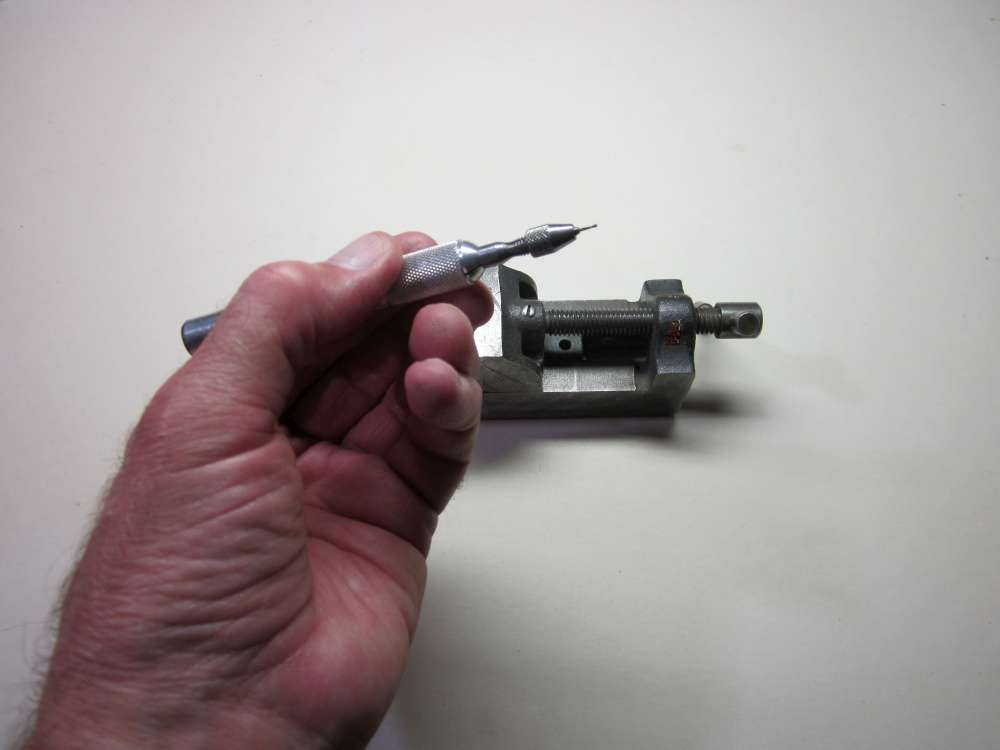
I used a 0.0275″ drill bit, the next largest size I had above the 0.020″ wire diameter. I put it in the pin vise with the minimum necessary protruding, just enough to go through the mandrel and protrude slightly, to reduce the chance of breaking the drill bit. If you have access to a drill press, of course, use that.
Center the pin vise between three fingers to keep it aligned.
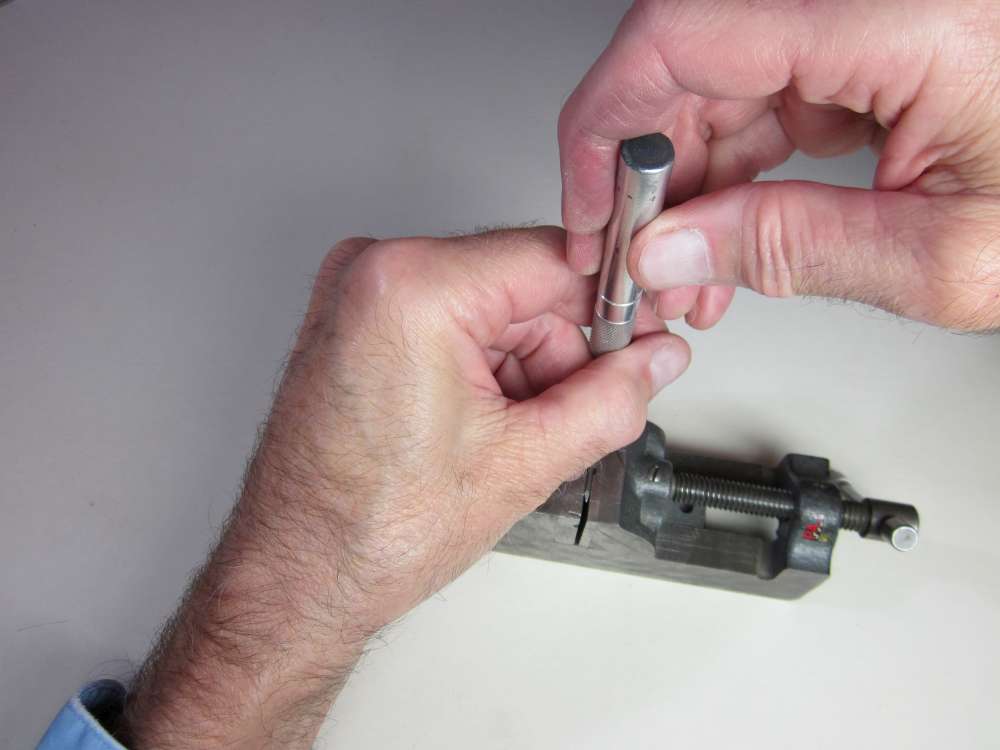
Turn the pin vise while pressing down firmly. Be careful to not bend the drill, or it may break. It will take quite a few hundred turns, so be patient. A tiny drop of light machine oil on the tip of the drill might help.
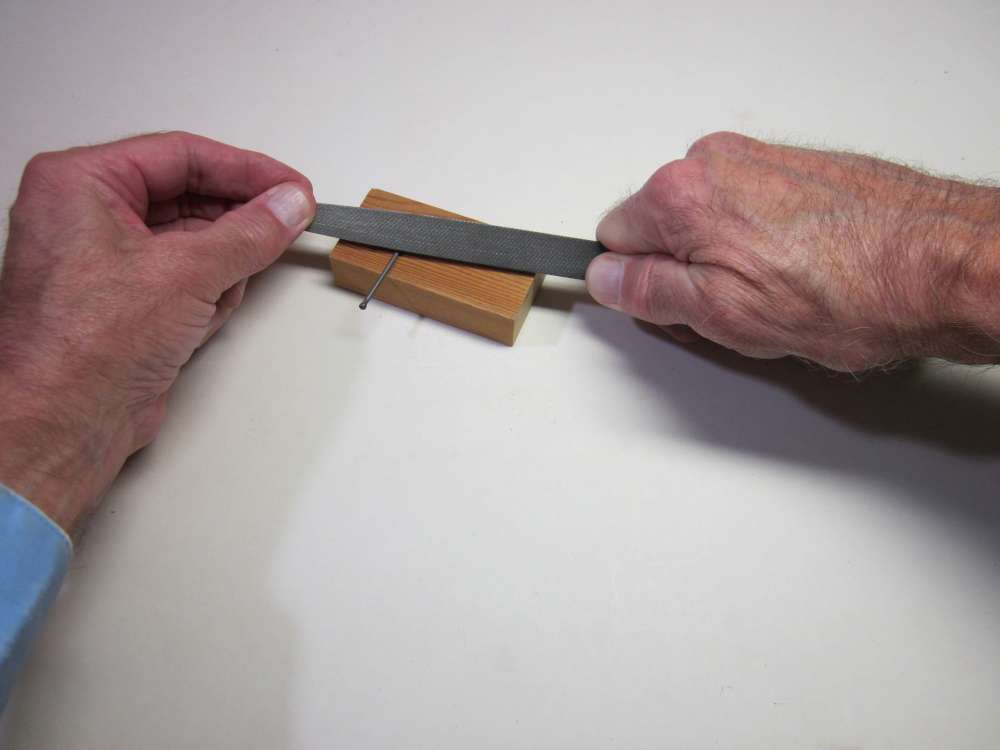
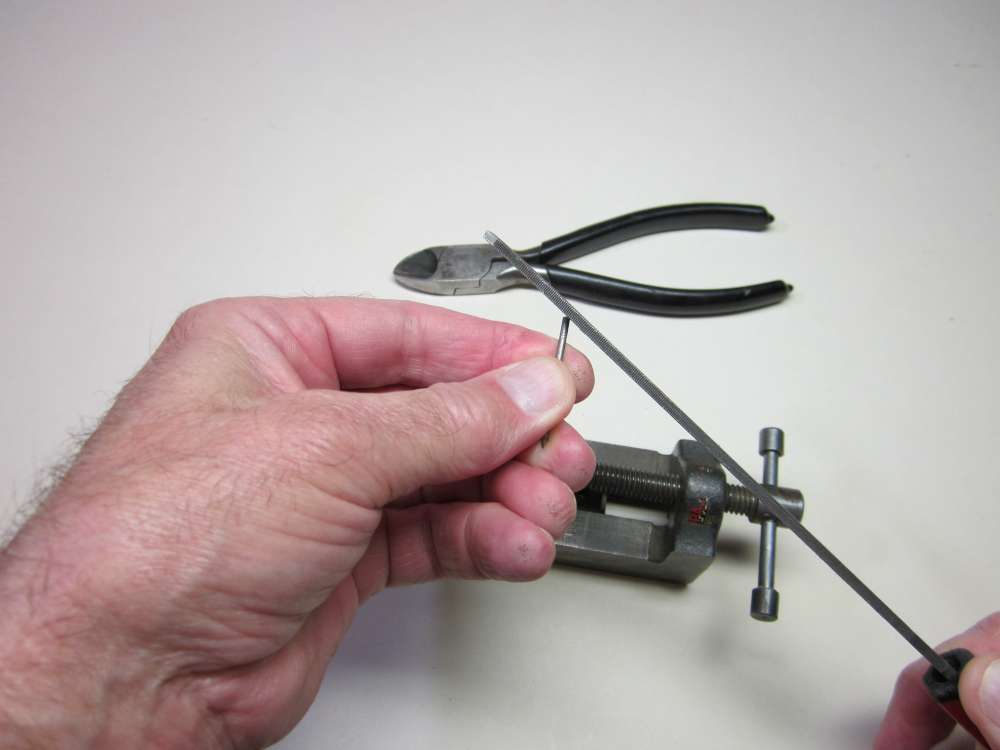
When the hole is completed, take the mandrel out of the vise and roll the other end of it under the corner of a file to roughen it. This will give the pin vise a better grip on the mandrel.
assemble the tool
Put the roughened end of the mandrel into the pin vise and tighten the nut. Some sources show an electric hand drill or other power tool being used to turn the mandrel. For thin wire, that is not necessary and I was concerned that the wire might get away from me and cause injury.
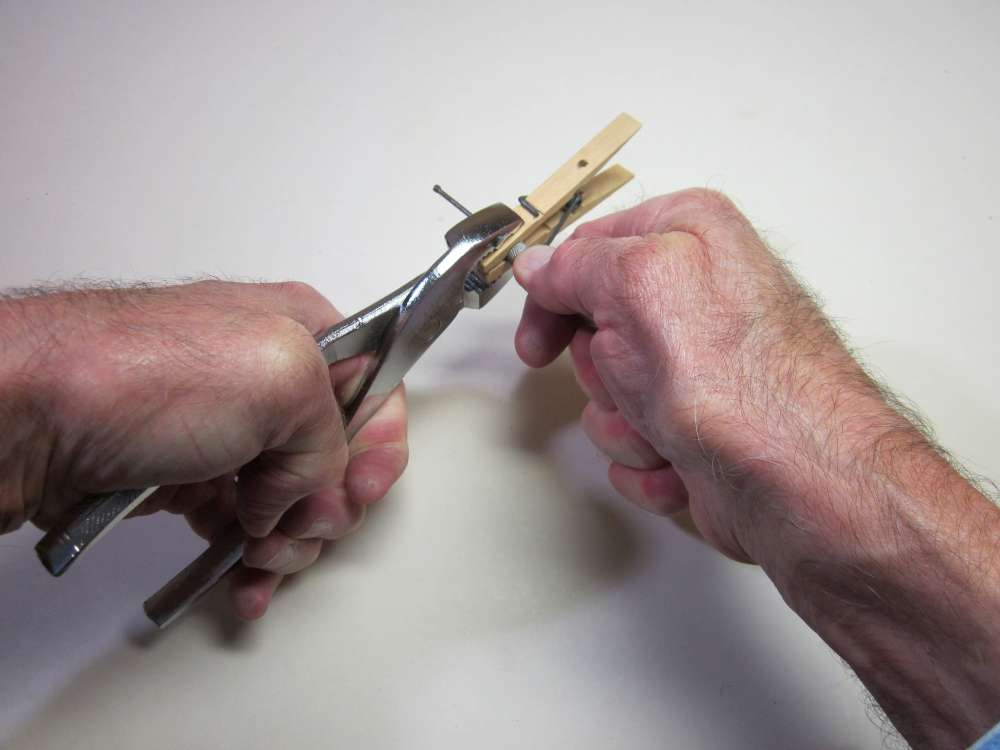
I found that the 0.020″ steel wire was stiff enough that I had to get the pin vise very tight. I used a clothes pin and pliers to grip the nut and tighten it.
make the spring
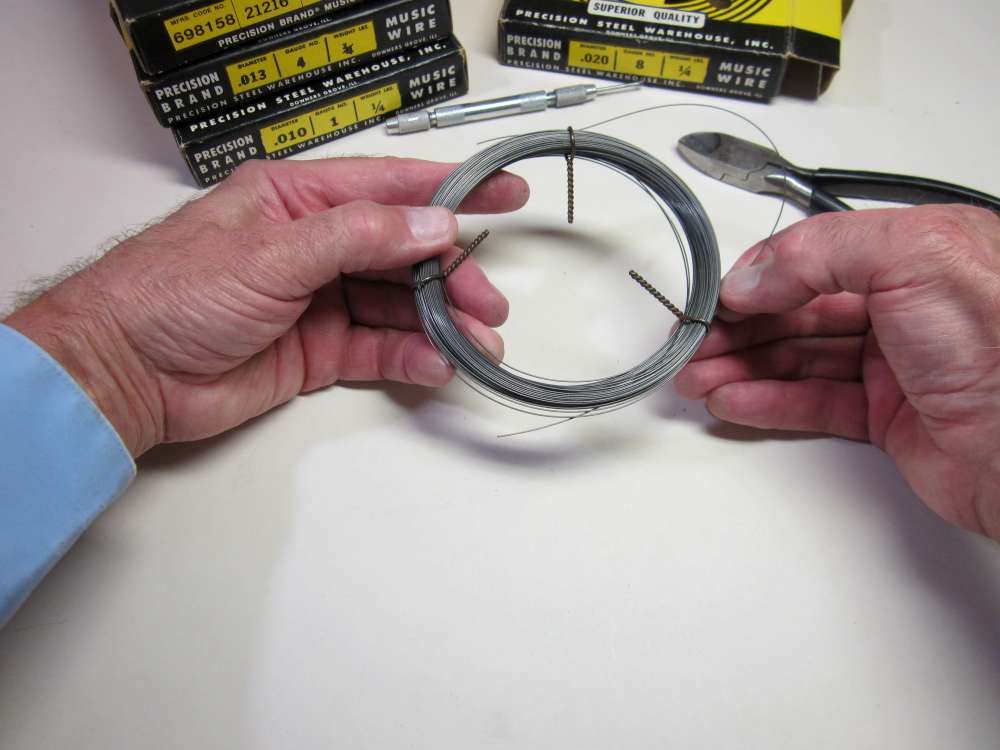
Unwind as much wire as you will need. The length of wire needed for the basic spring is pi times the diameter of the spring times the number of turns. Add about 1/8″ for the beginning bend, something for any end loops or hooks and an inch or so for handling. If you are making more than one spring at a time, add it up accordingly. It’s best to have a little extra than to fall short.
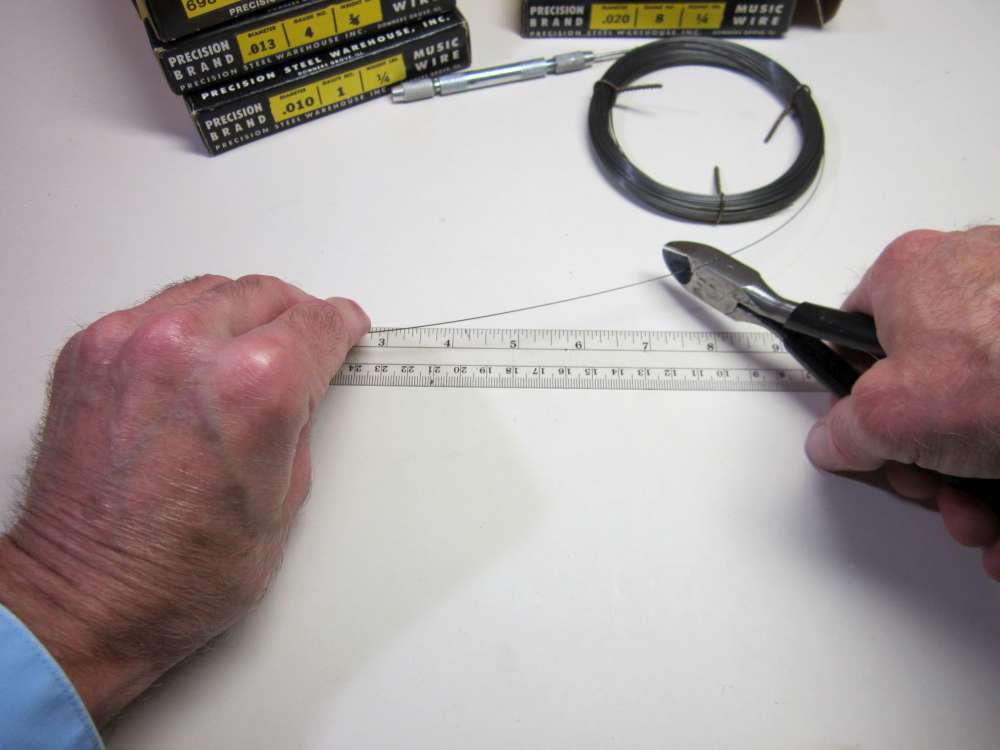
Cut off the required length of wire.
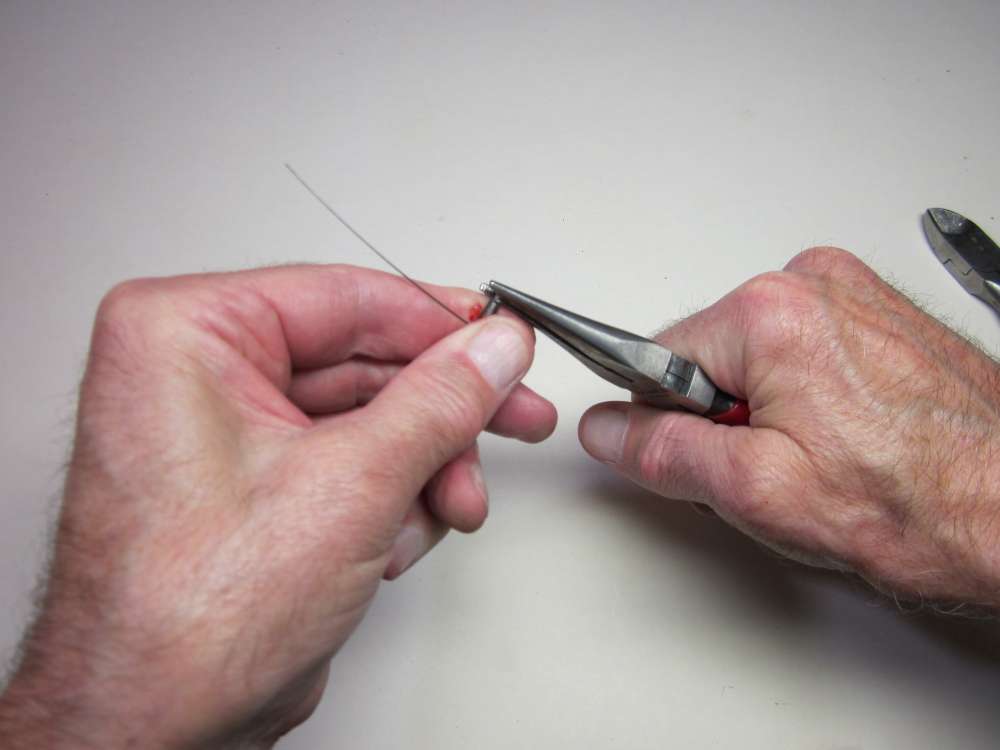
Bend a short piece of the end over at a right angle.
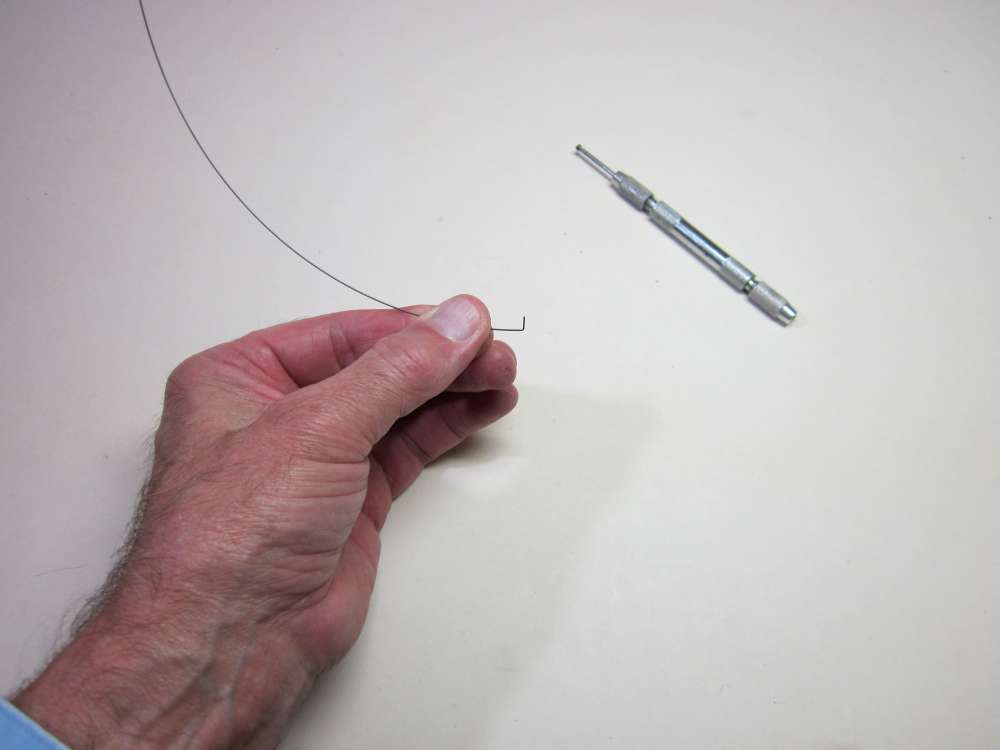
This end should be about 1/16″ longer than the diameter of the mandrel.
I inserted the long end of the wire into the hole in the mandrel and pulled the bent end up snug. Later I found that it would work to insert the short end into the hole. This also made it easier to get the wire off the mandrel after winding.
Turn the mandrel to wind the wire on, guiding it with the other hand.
Keep turning until you have the required number of turns.
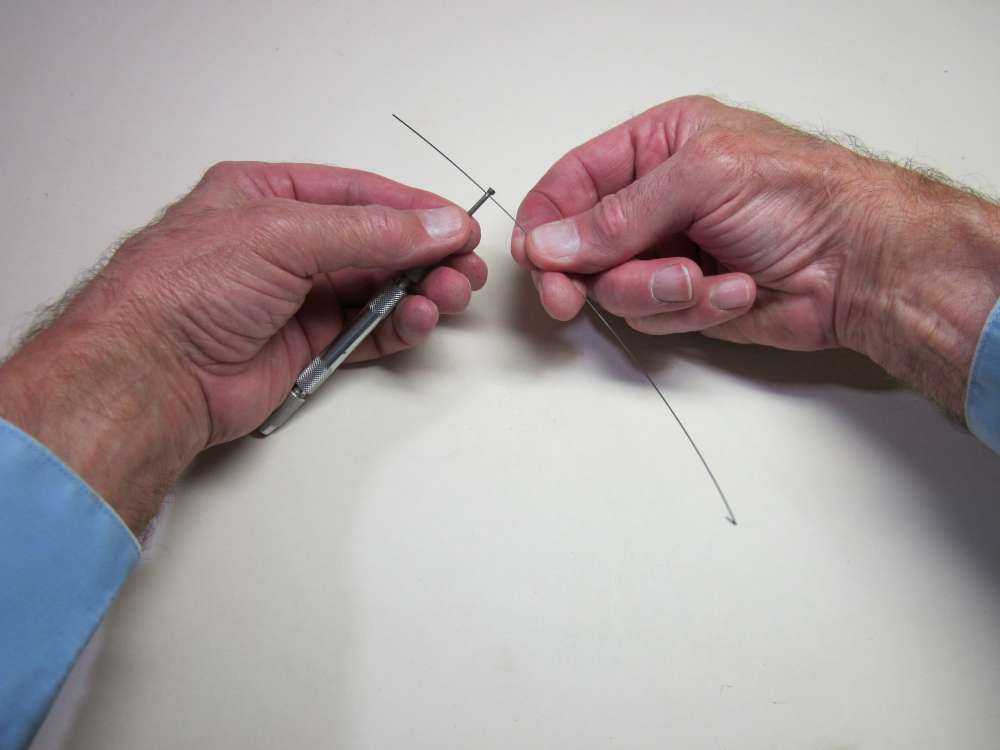
I found it hard to advance the turning with one hand. The spring would unwind the last turns. I found that I could put the end of the wire in the vise and use both hands to wind the wire, alternating hands. This made it easier to keep the wire tight and control the winding.
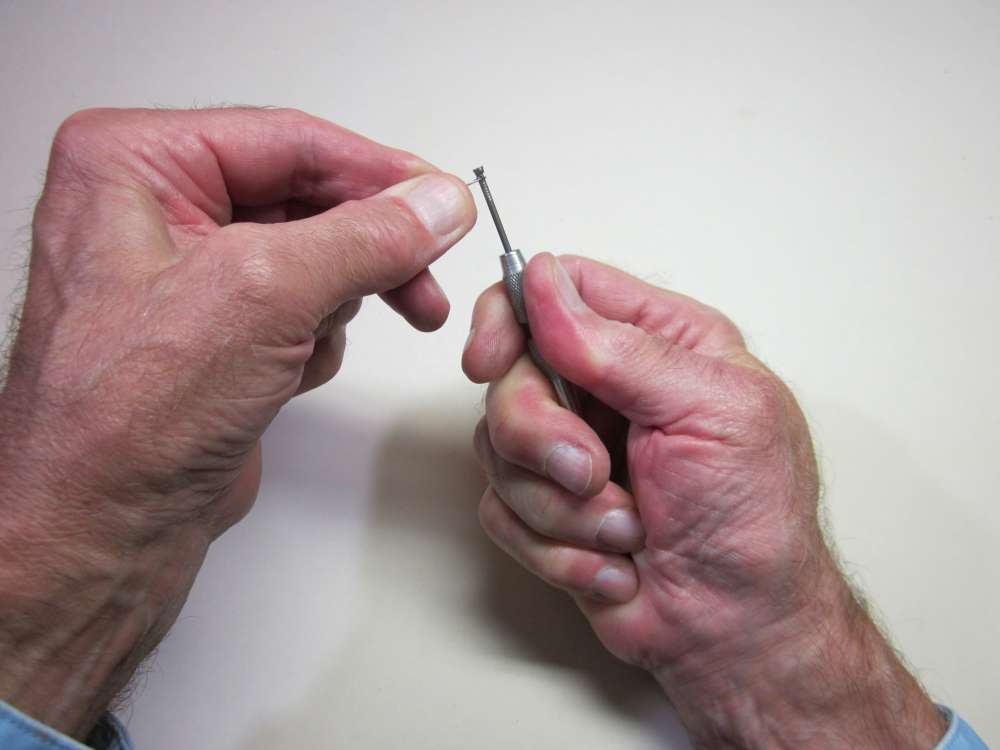
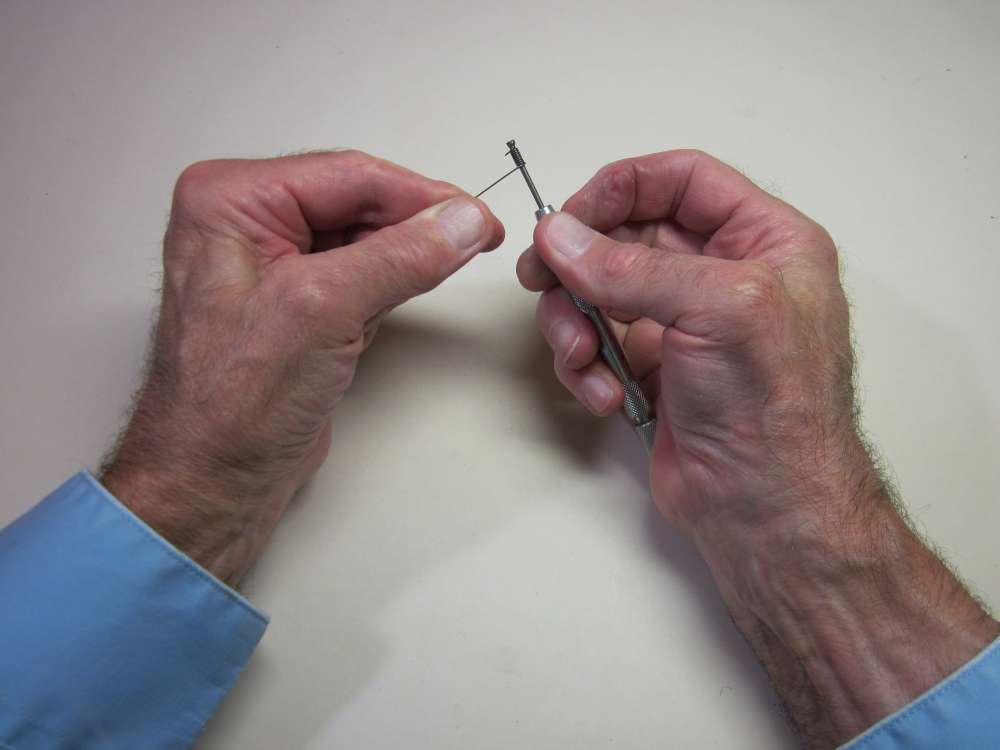
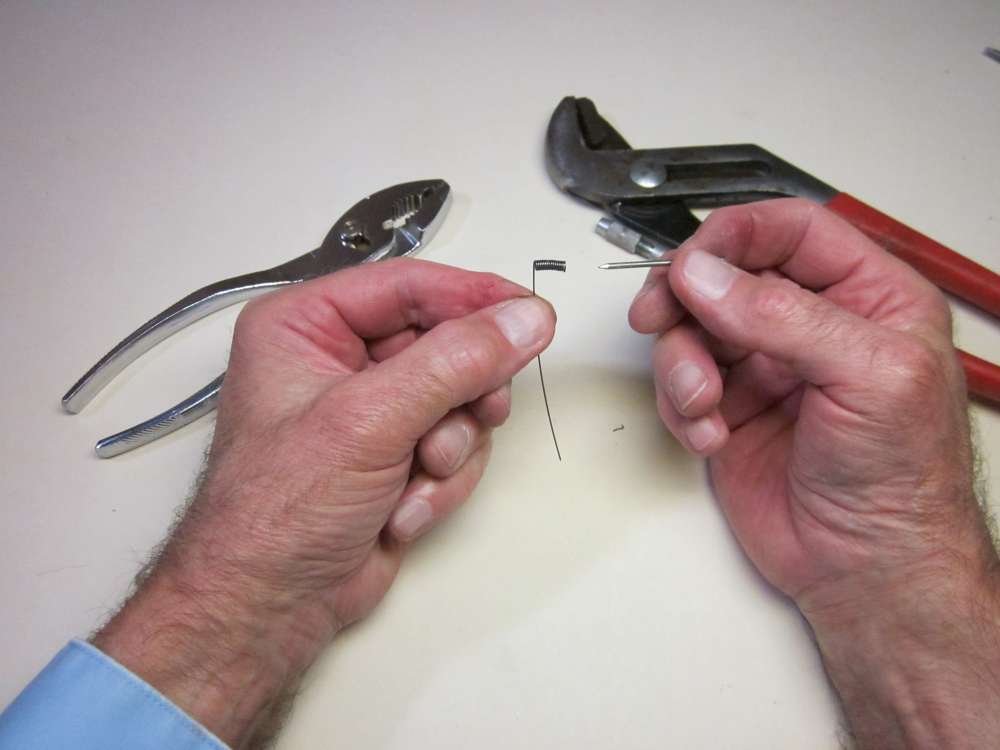
Push the short end of the wire back out of the hole. This raises the first turn up from the mandrel.
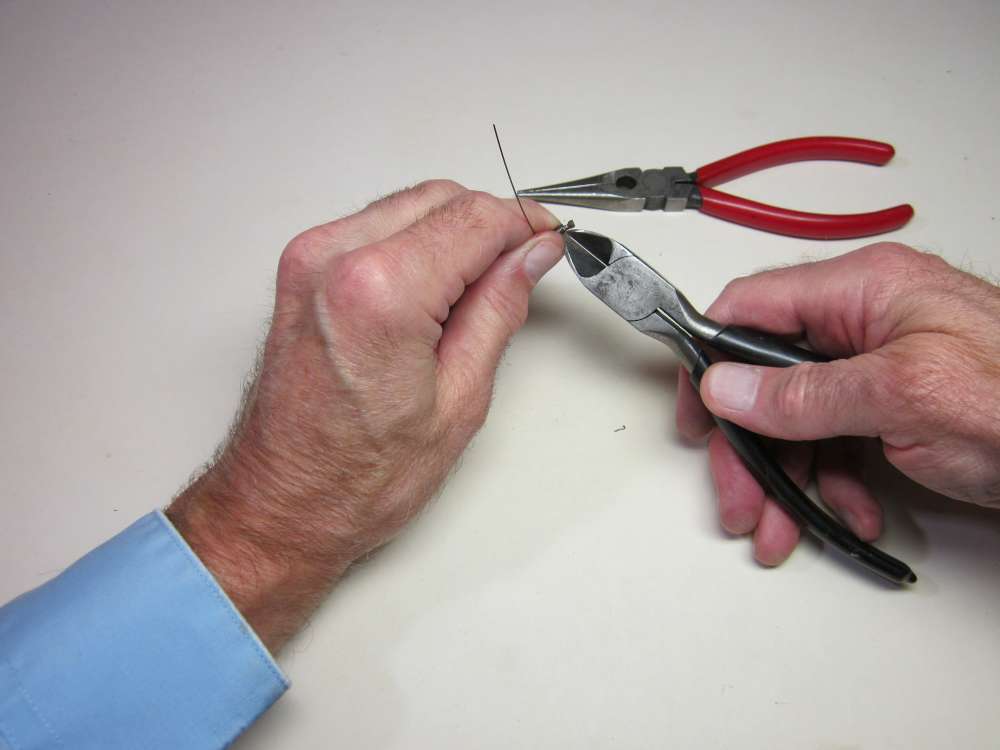
Cut through the raised loop of wire and remove the excess.

I had the pin vise so tight that it took two pliers to loosen it. It occurred to me this would have been easier if I had cut the head off the nail. Then the spring would slide right off the mandrel. See the note at the end of this post.
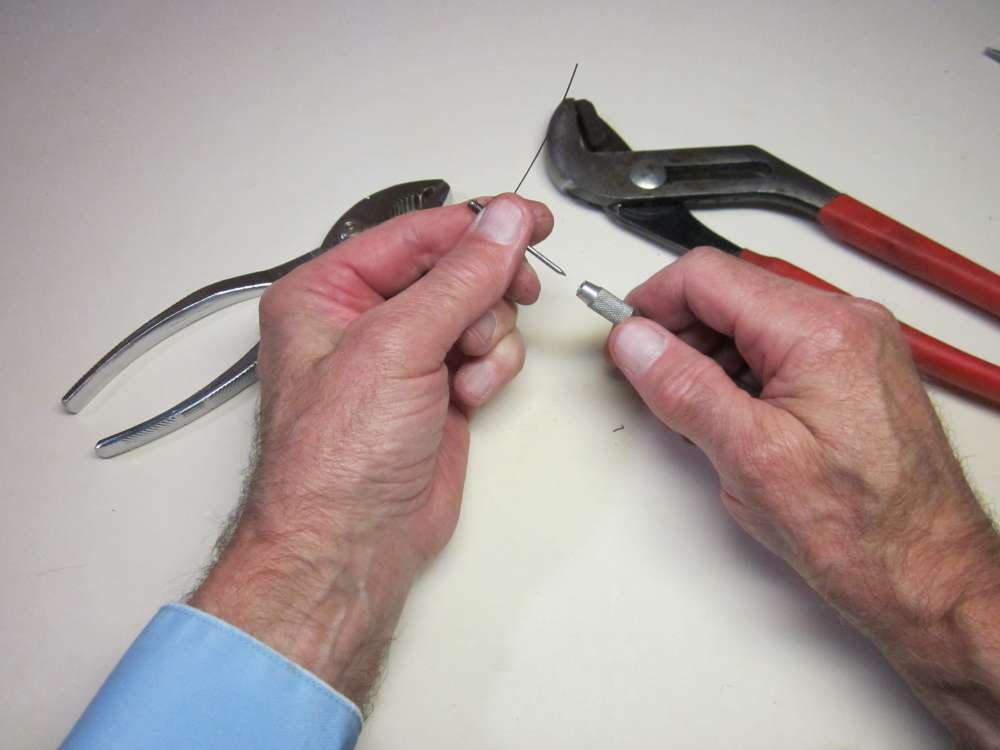
Remove the mandrel from the pin vise.
Slide the spring off the mandrel.
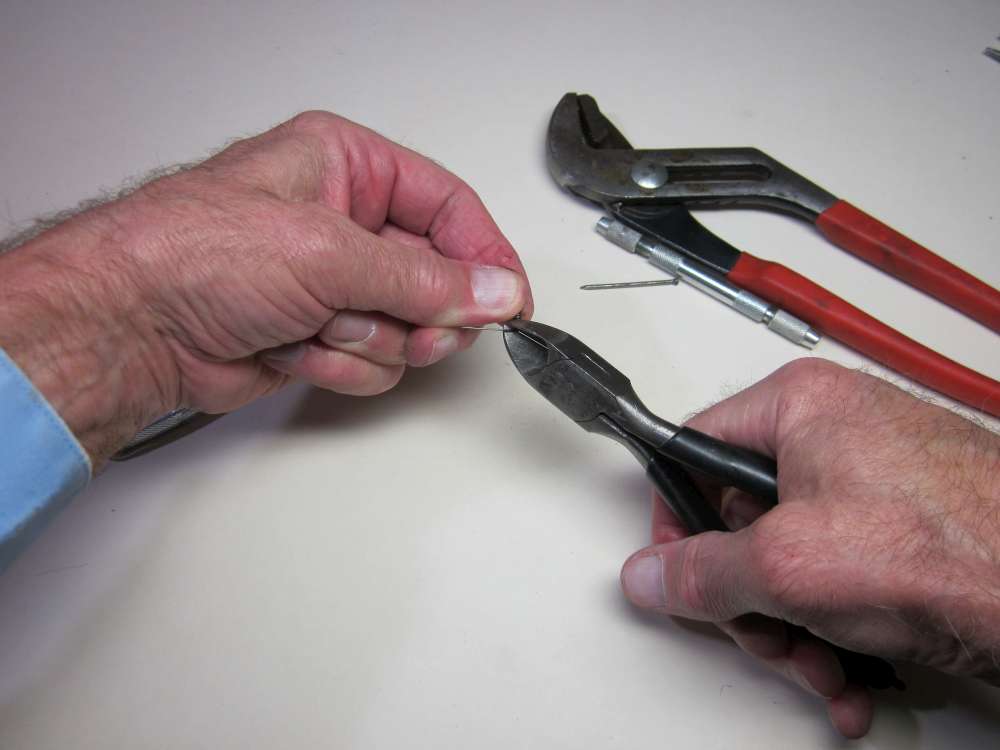
Cut off the excess wire.
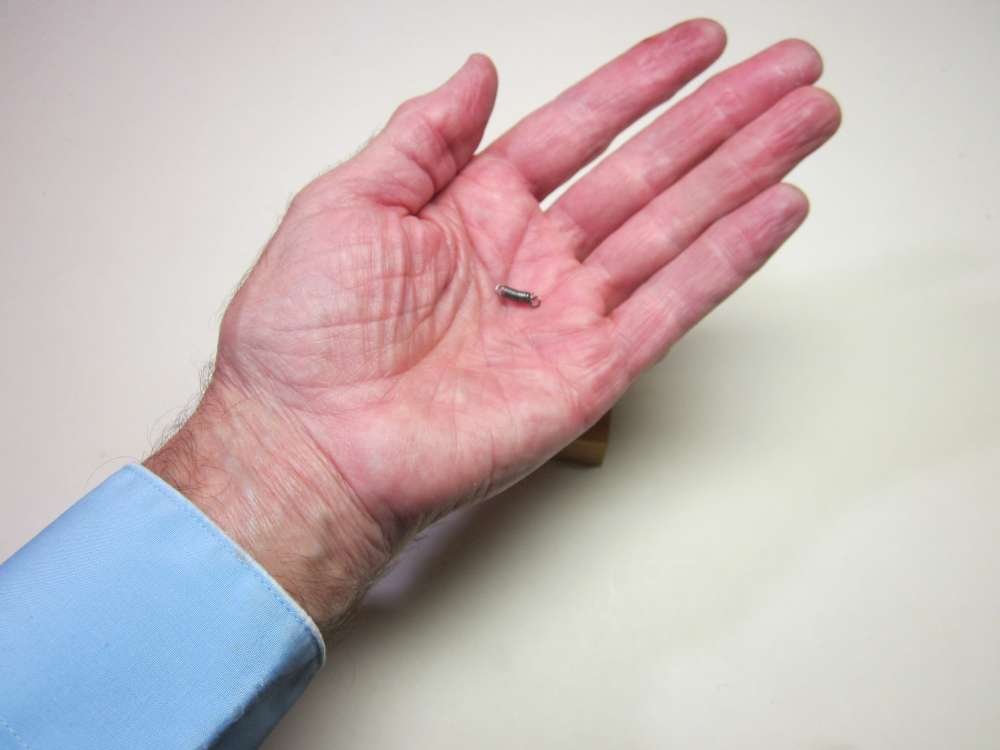
There is the spring.

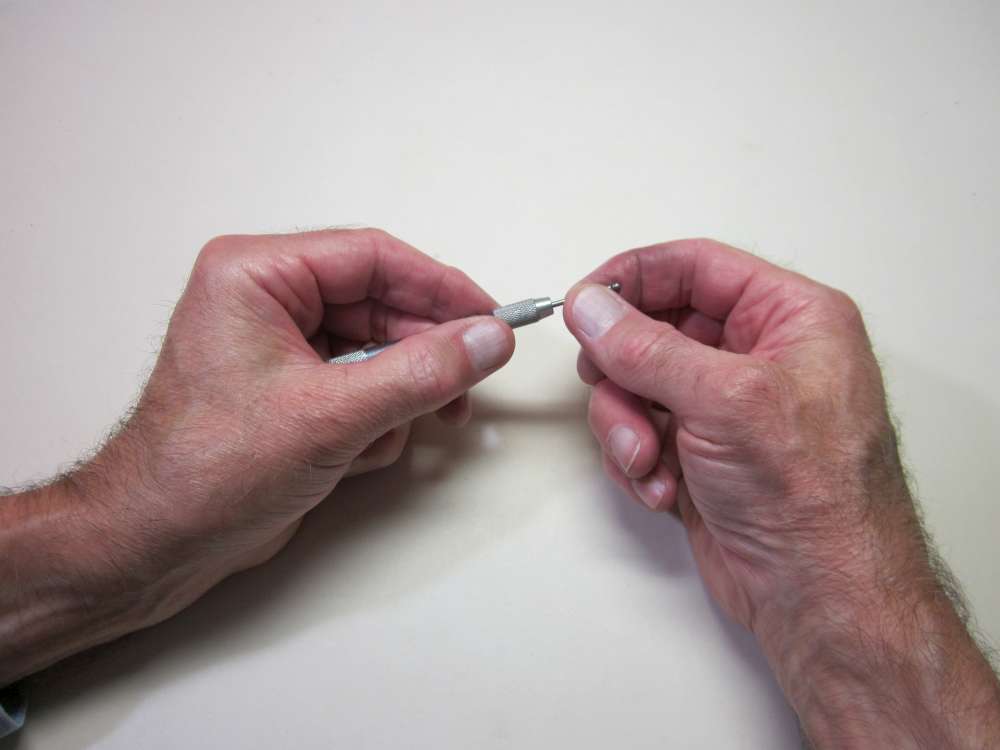
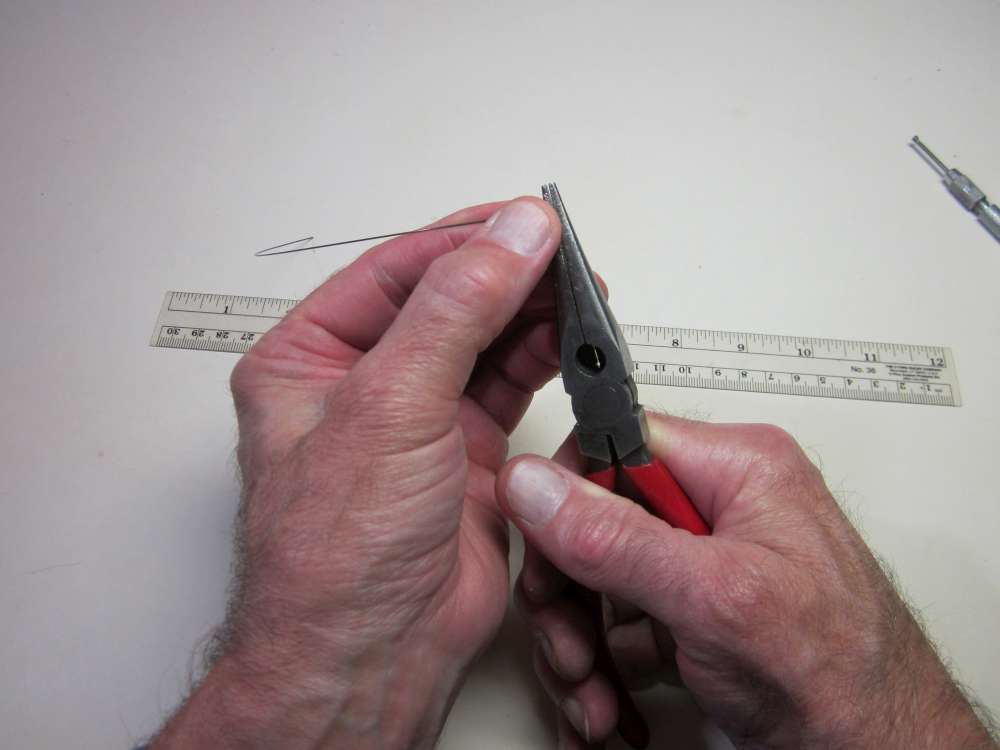
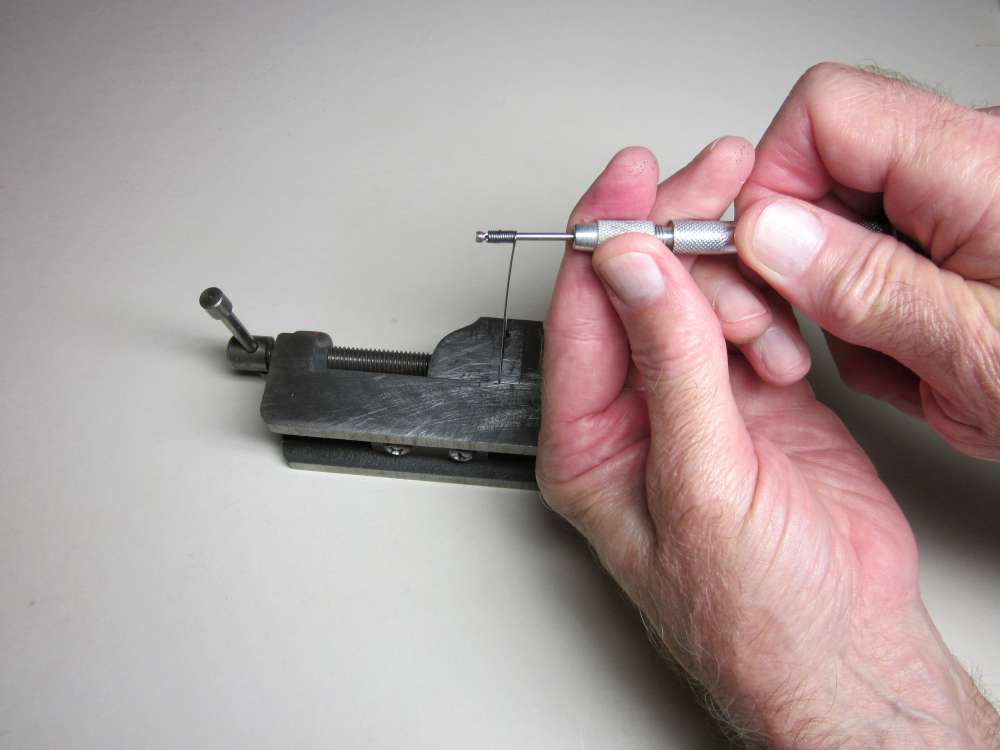
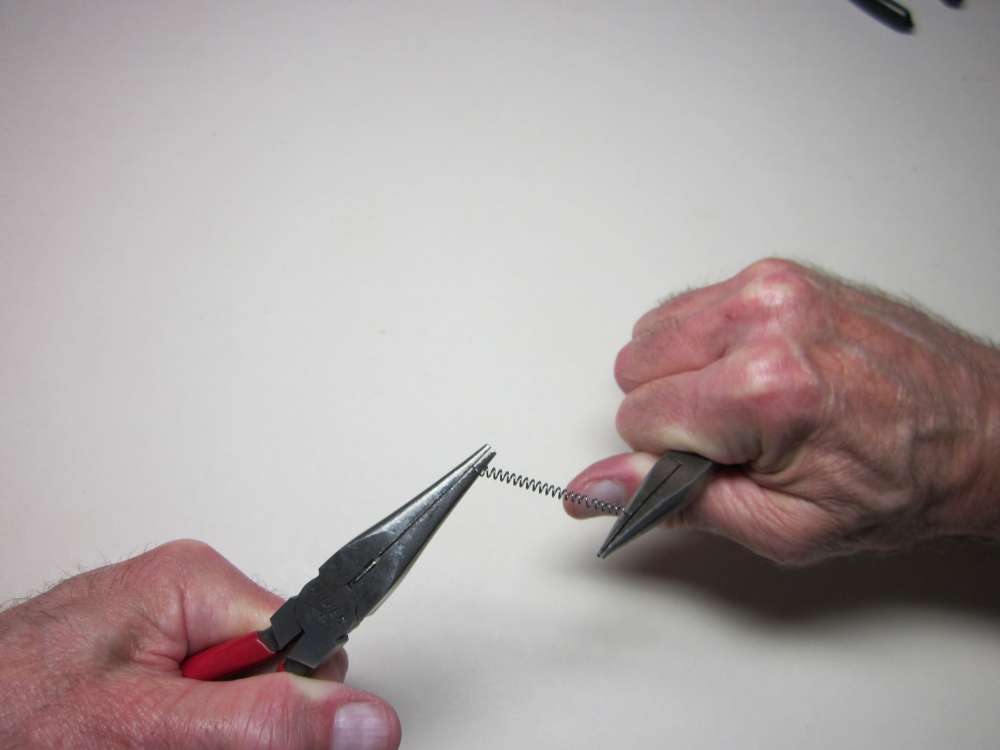
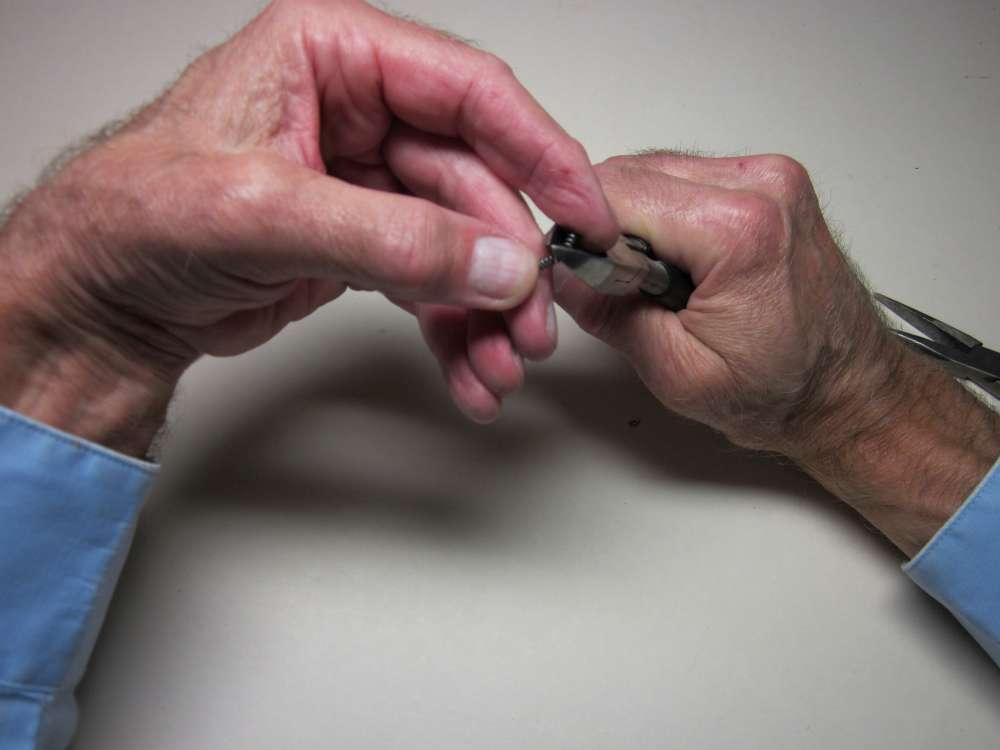
Put the spring on a snug drill bit or similar rod, press the end of a needle nose pliers between the last loops on the end.
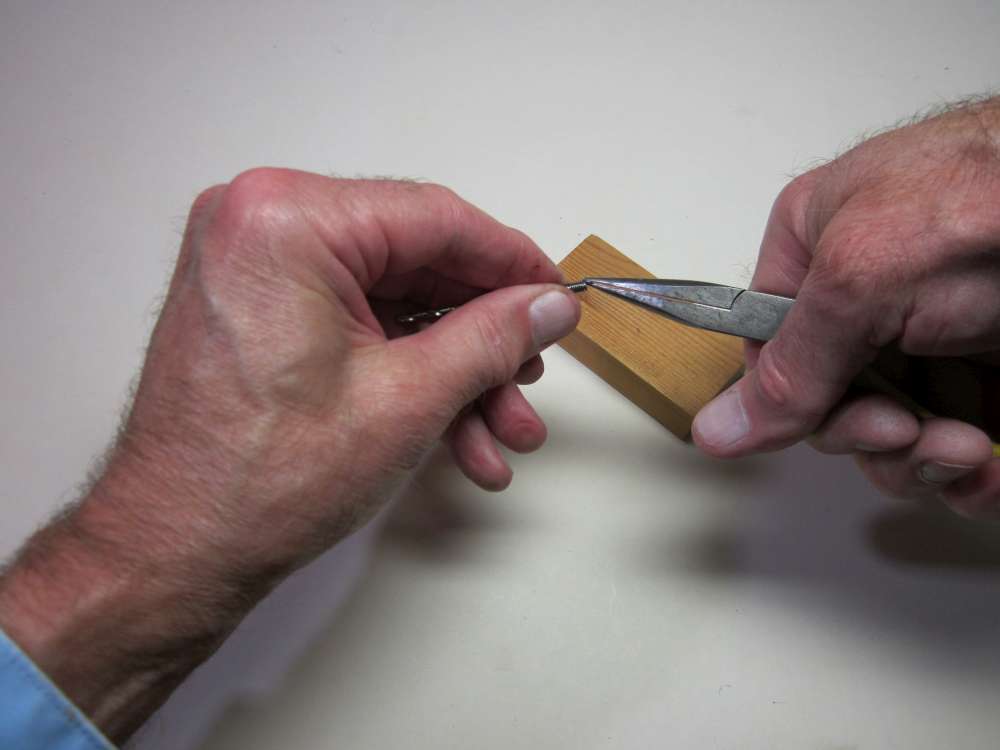
Bend the end loop out. Similarly bend a loop on the other end. Or make whatever hook or attachment is required.
There is our finished extension spring with end loops.
If you need a compression spring, stretch it until you get the spacing you require. A spacer may be put between the last wind and the wire feed to get uniform spacing, but it is difficult to do with only two hands.
Cut it to the required length.
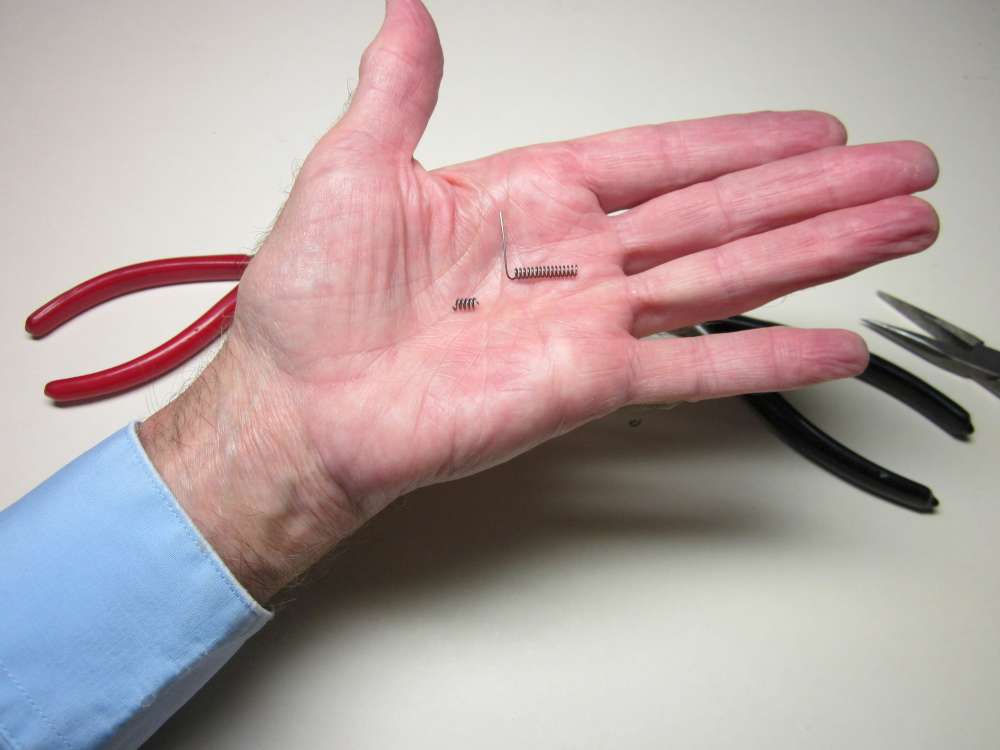
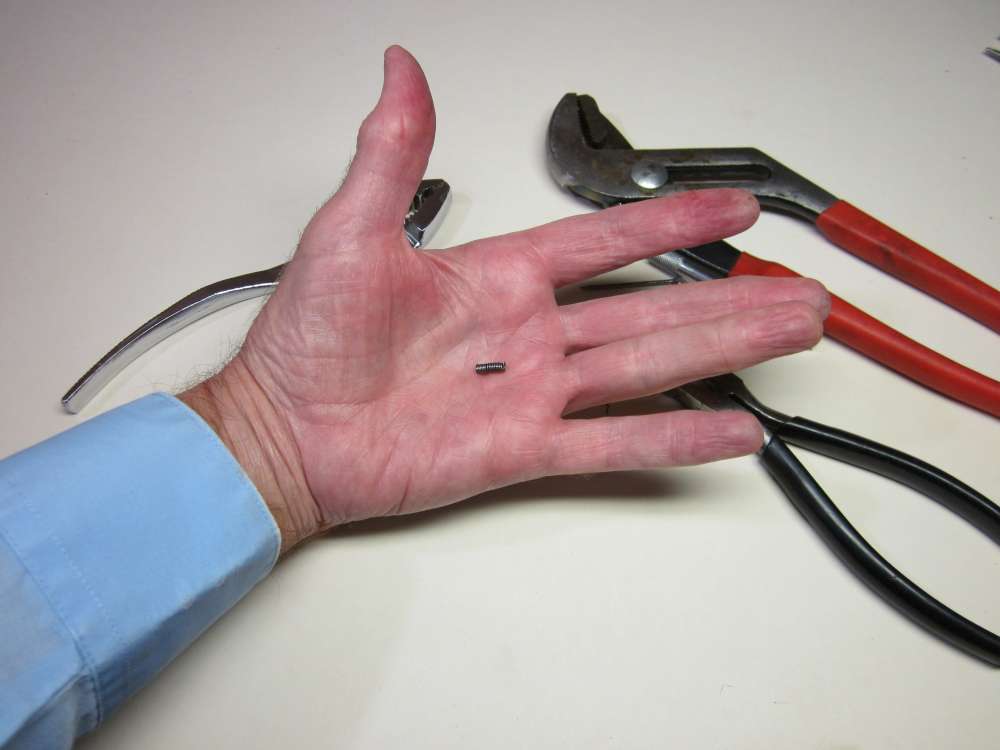
Here is the finished compression spring. There is enough for several springs.
remove nail head
After I found out that the nail head made it inconvenient to remove the new spring from the nail, I filed the nail head down. It would have been better to cut the nail head off at the start.

Cut the head off the nail. Put a finger over the head to keep it from flying off, but be careful to not pinch your finger in the cutter.
Put the nail in the vise with the sharp cutoff chisel point up.
File the end square.
File the sharp corner down.
Drill the hole in the end and roughen the base end with the file, as above. Now you can get the spring off the mandrel without having to take the mandrel out of the pin vise.
Great Help
This is exactly the info I need to complete my homebrew auto-rudder. Thanks!
Wonderful demonstration. Thank you. You took nothing for granted. When you pulled it apart to make a compression spring, did you afterwards have to heat it in the oven to give it the right “spring” or temper ?
No, I didn’t use any heat treatment. I tried heat treatments and found that the steel became brittle and broke.