introducing the FOAM PLATE CLOUD TRAMP
Building a Foam Plate Cloud Tramp
This is a long tutorial. Being long makes it look complicated. It is not. It looks complicated because I have broken the building sequence down into the smallest simple steps. Each step is simple. There are many steps, but each of them is easy. Once you have gathered all the tools and materials together on your work table, it may take you an hour and a half to two hours to complete the construction. Be patient, take your time, do each simple step and at the end you will have a great flying airplane.
Note – these directions are for foam plates with 5 1/2″ of flat surface in the center. Later I found plates with 6″ of flat surface. This tutorial was written for and uses photos of the build from 5 1/2″ disks of foam. The exact same steps are involved in building one from a 6″ disk, with the dimensions changed accordingly. The numbers to use with a 6″ disk will be given in [square brackets] where necessary. Some of the dimensions don’t need to change, like the wire landing gear struts. At the end of this article I will also show you how to make a tailplane that is correctly proportioned in size from two pieces.
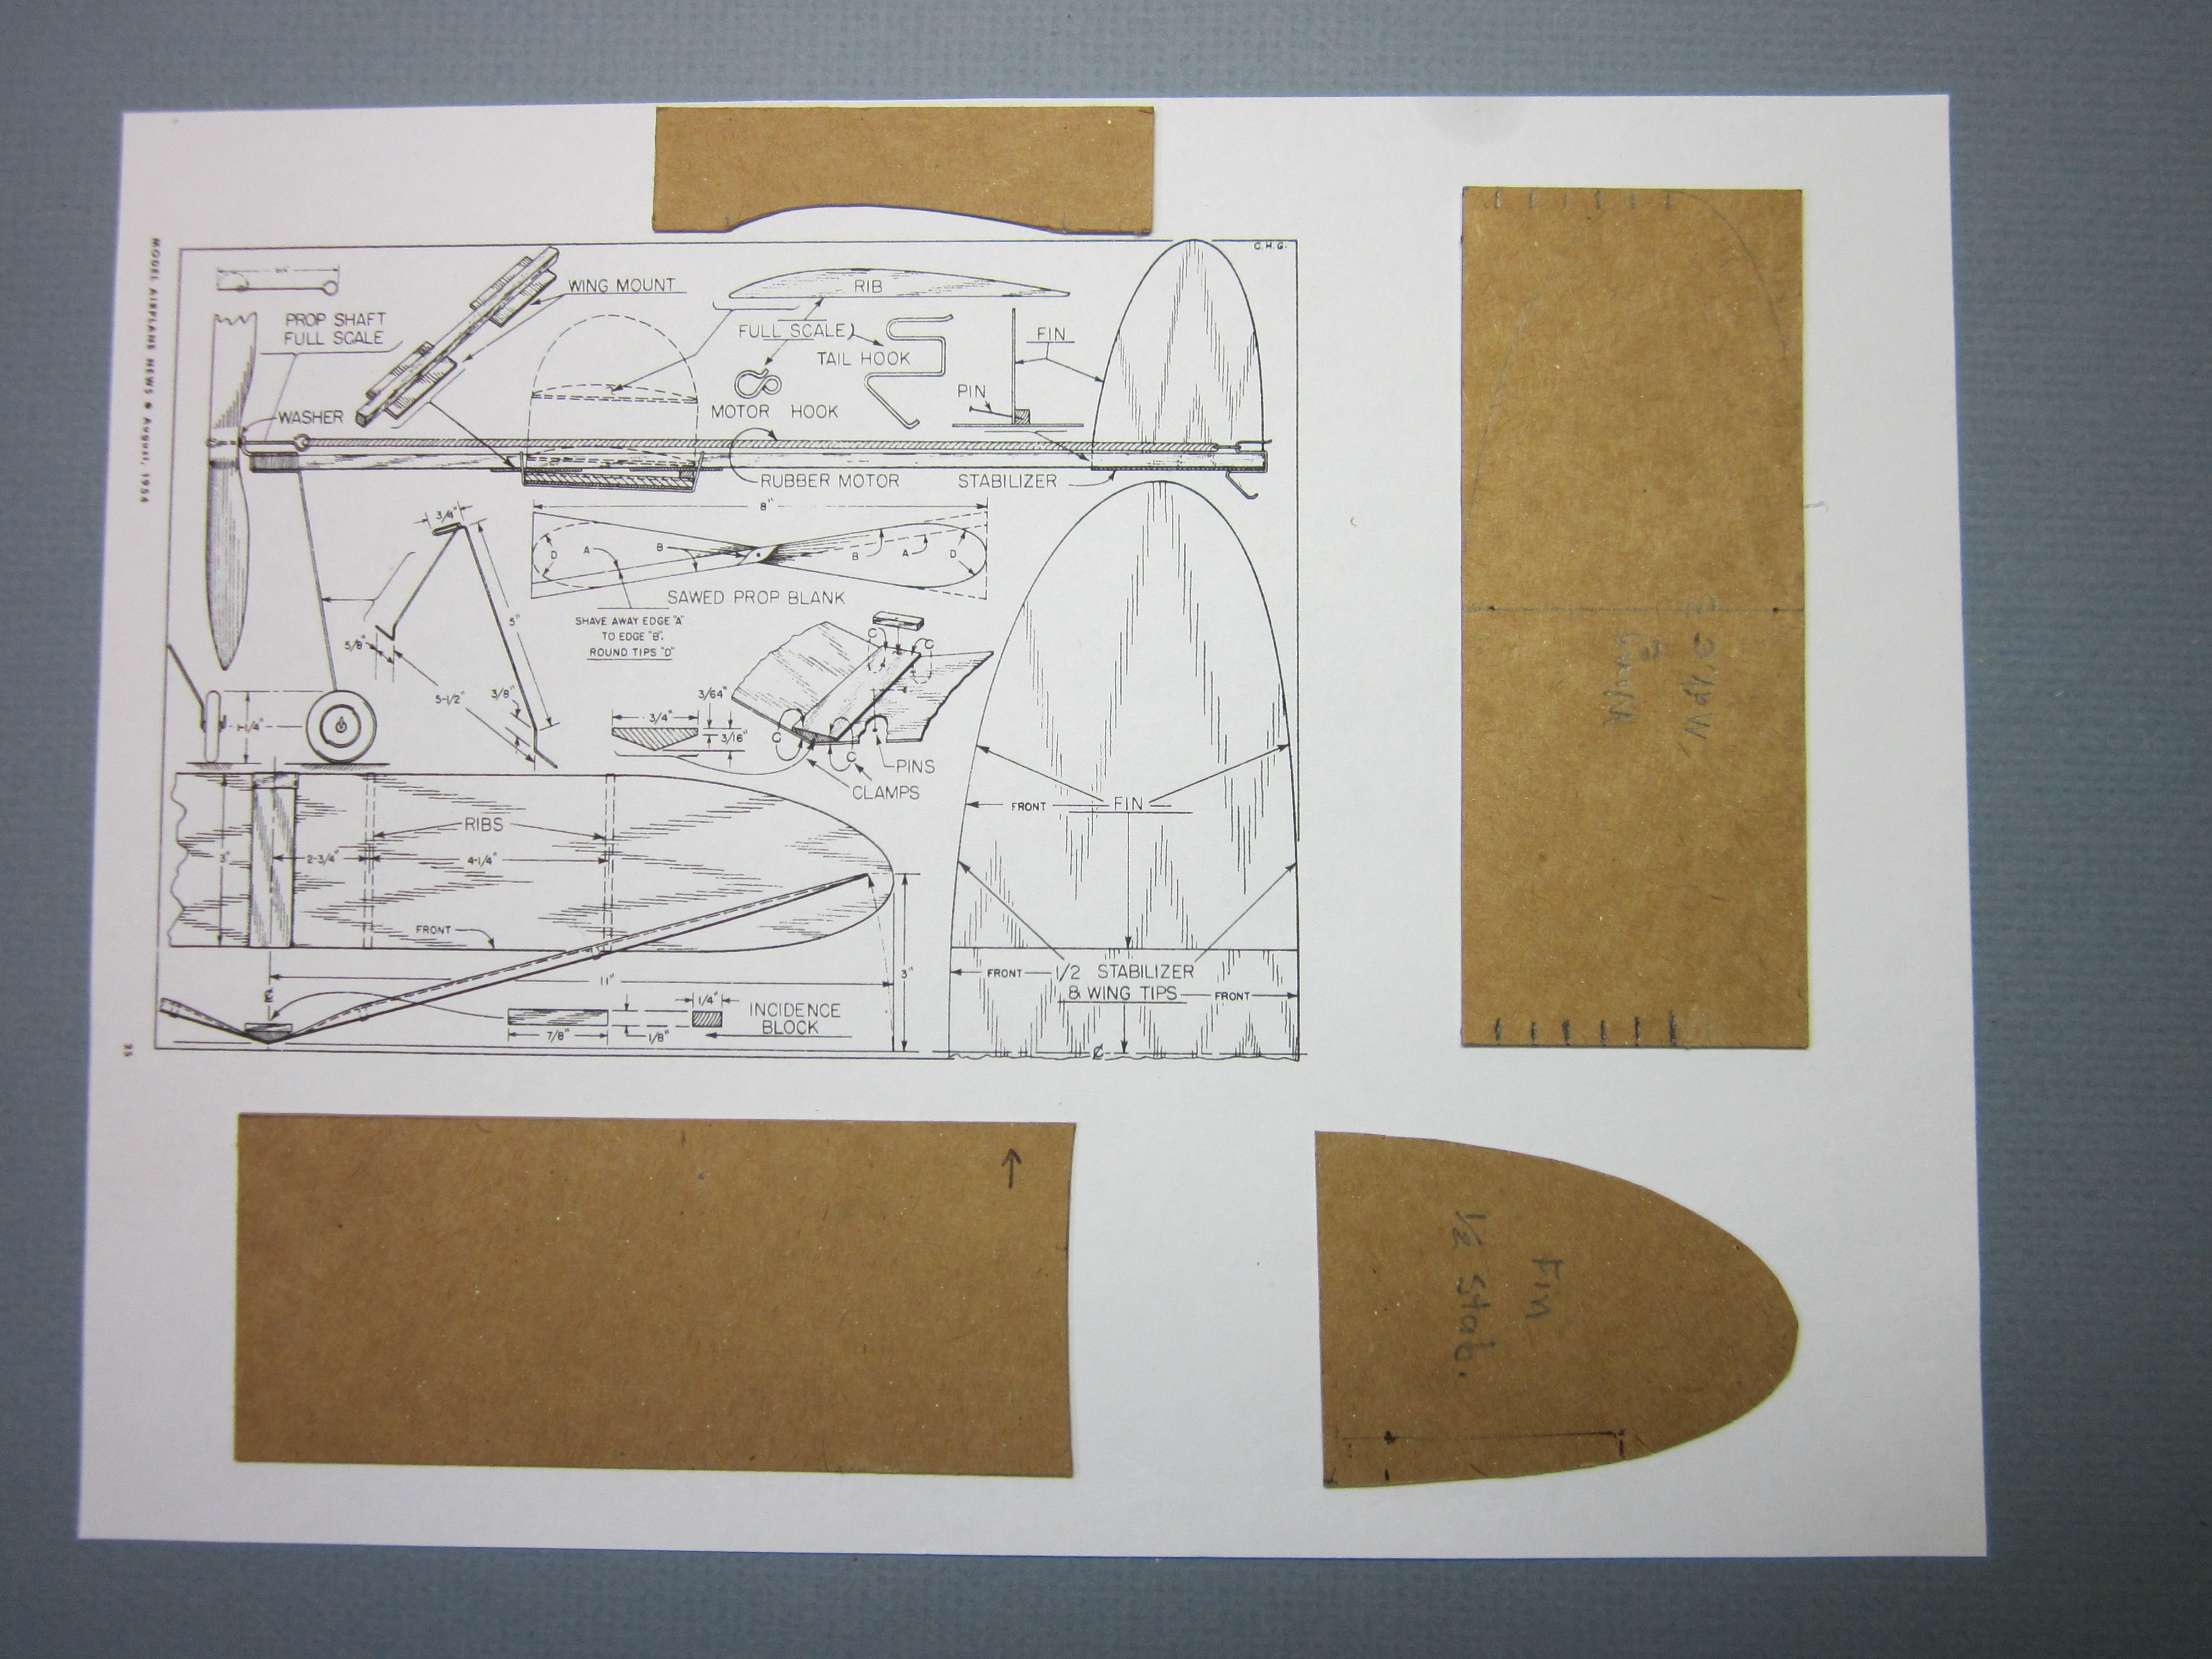
Print the plan
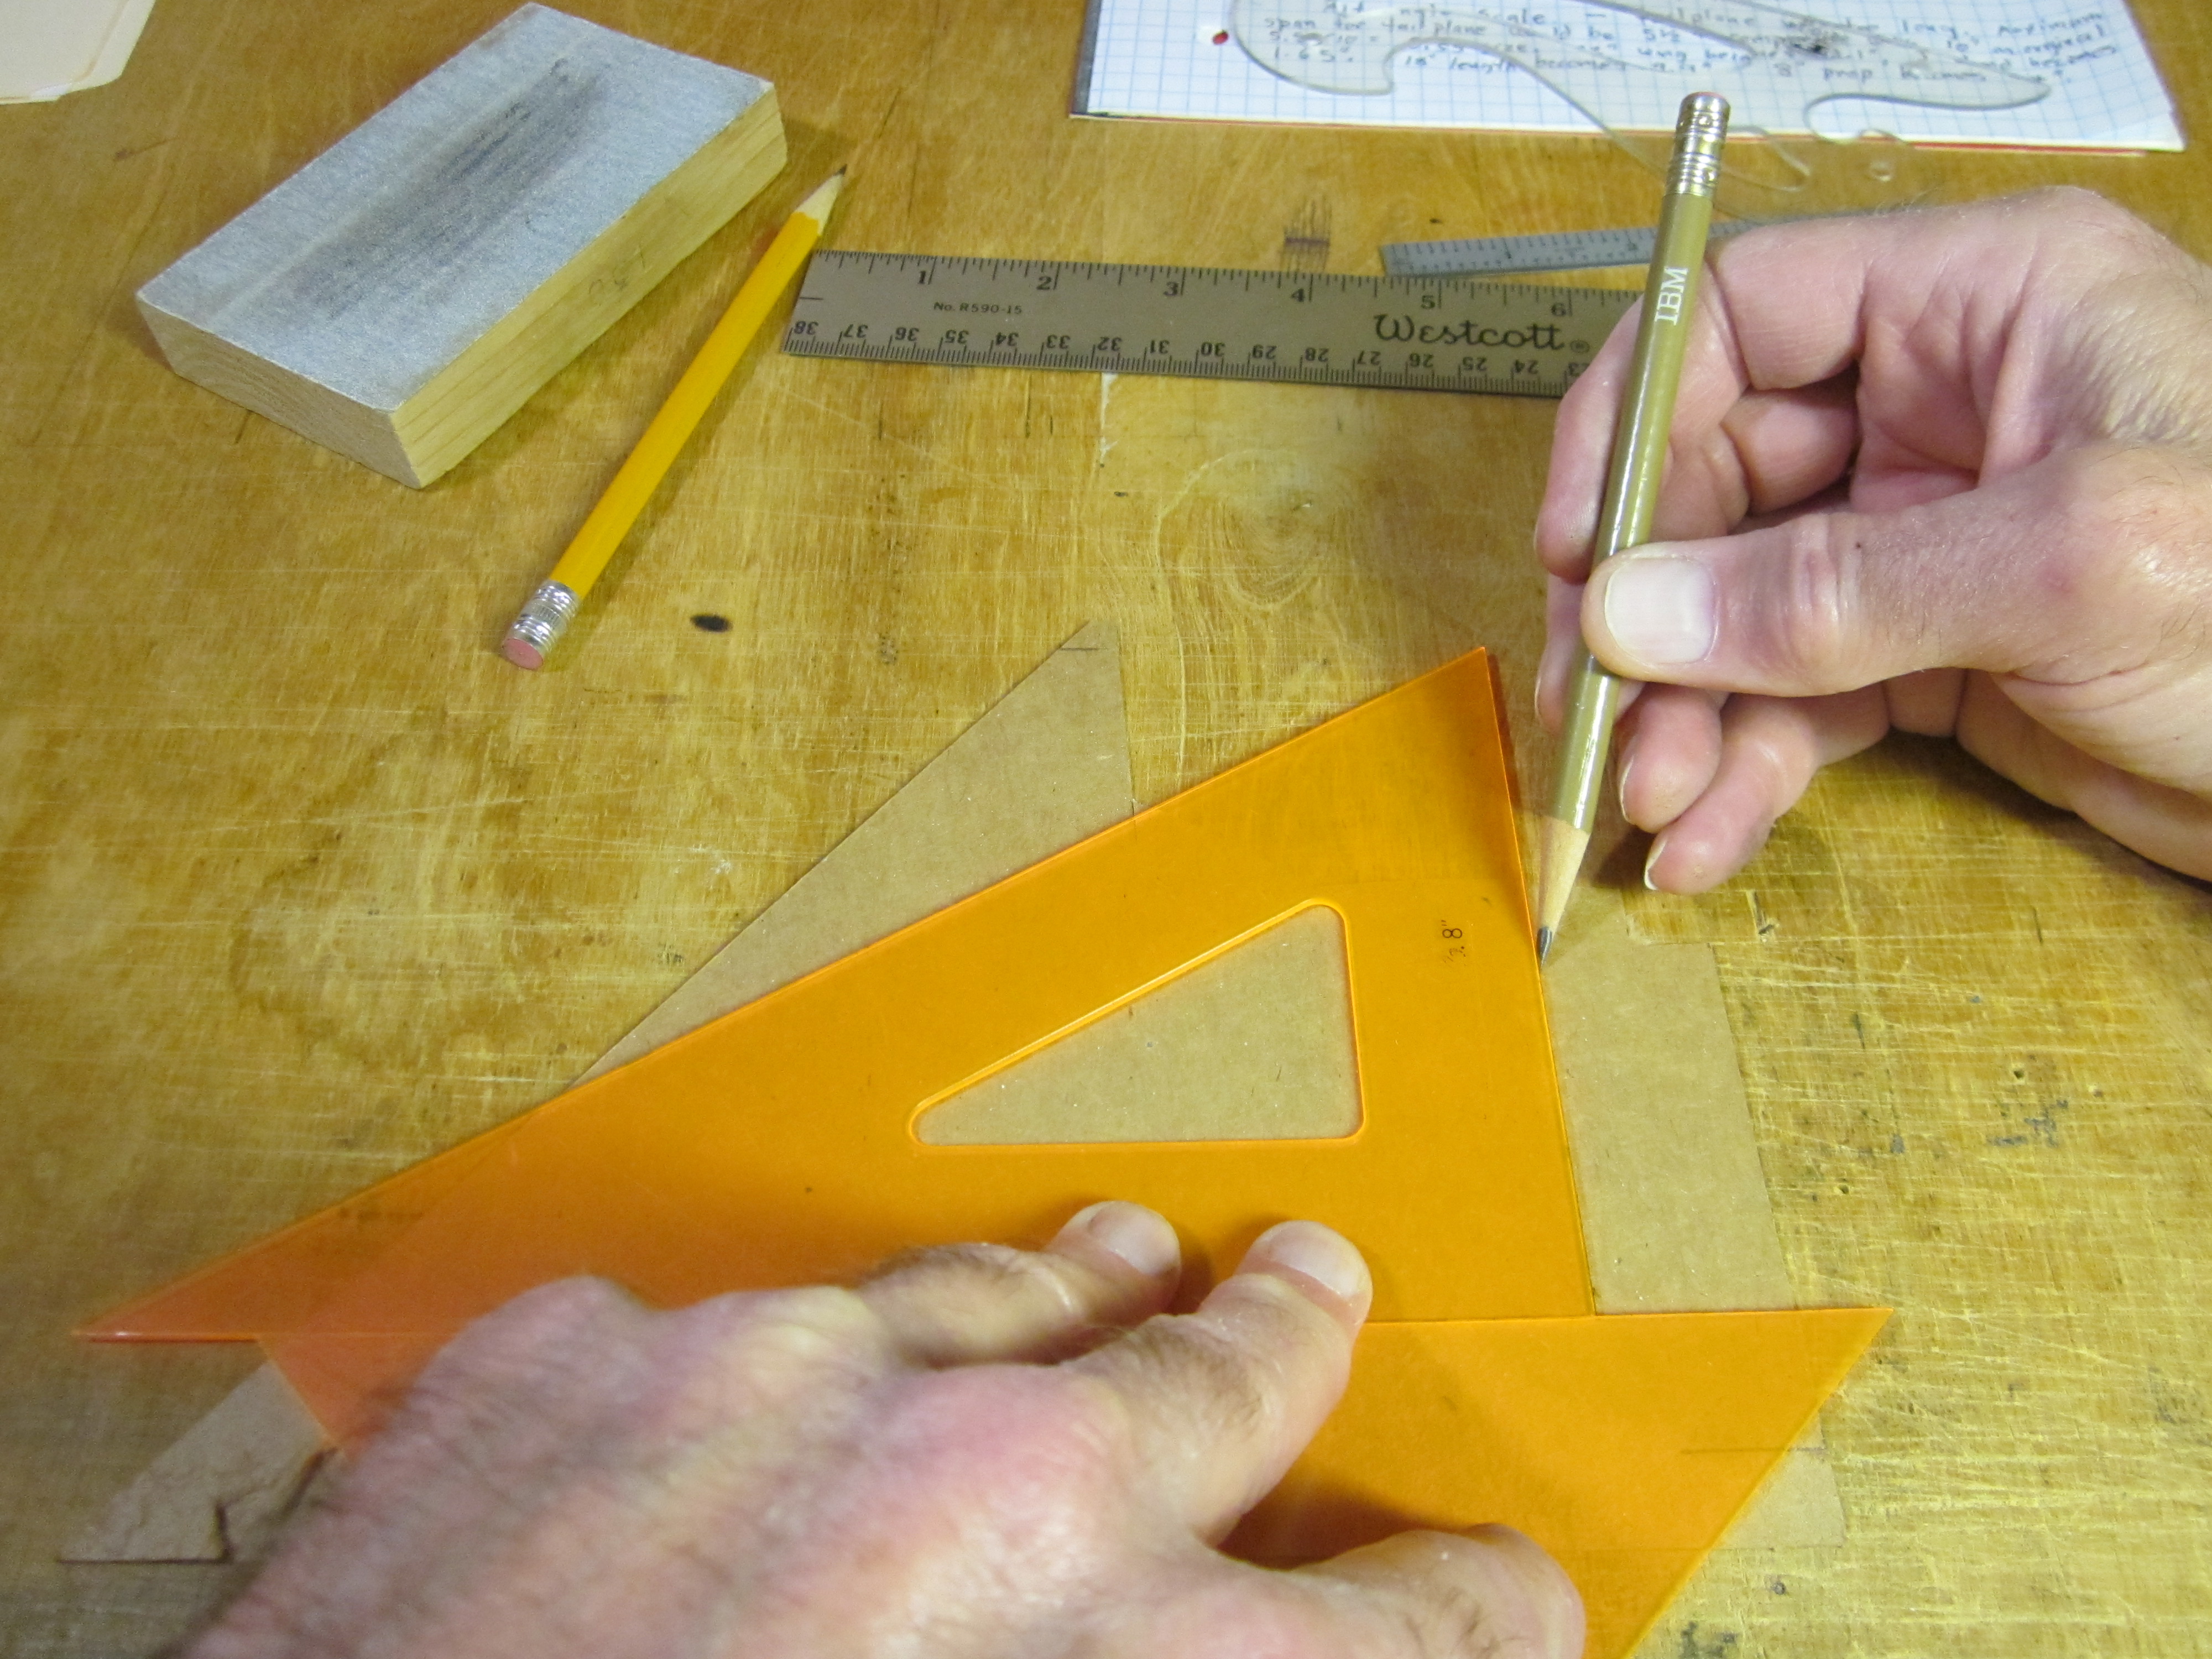
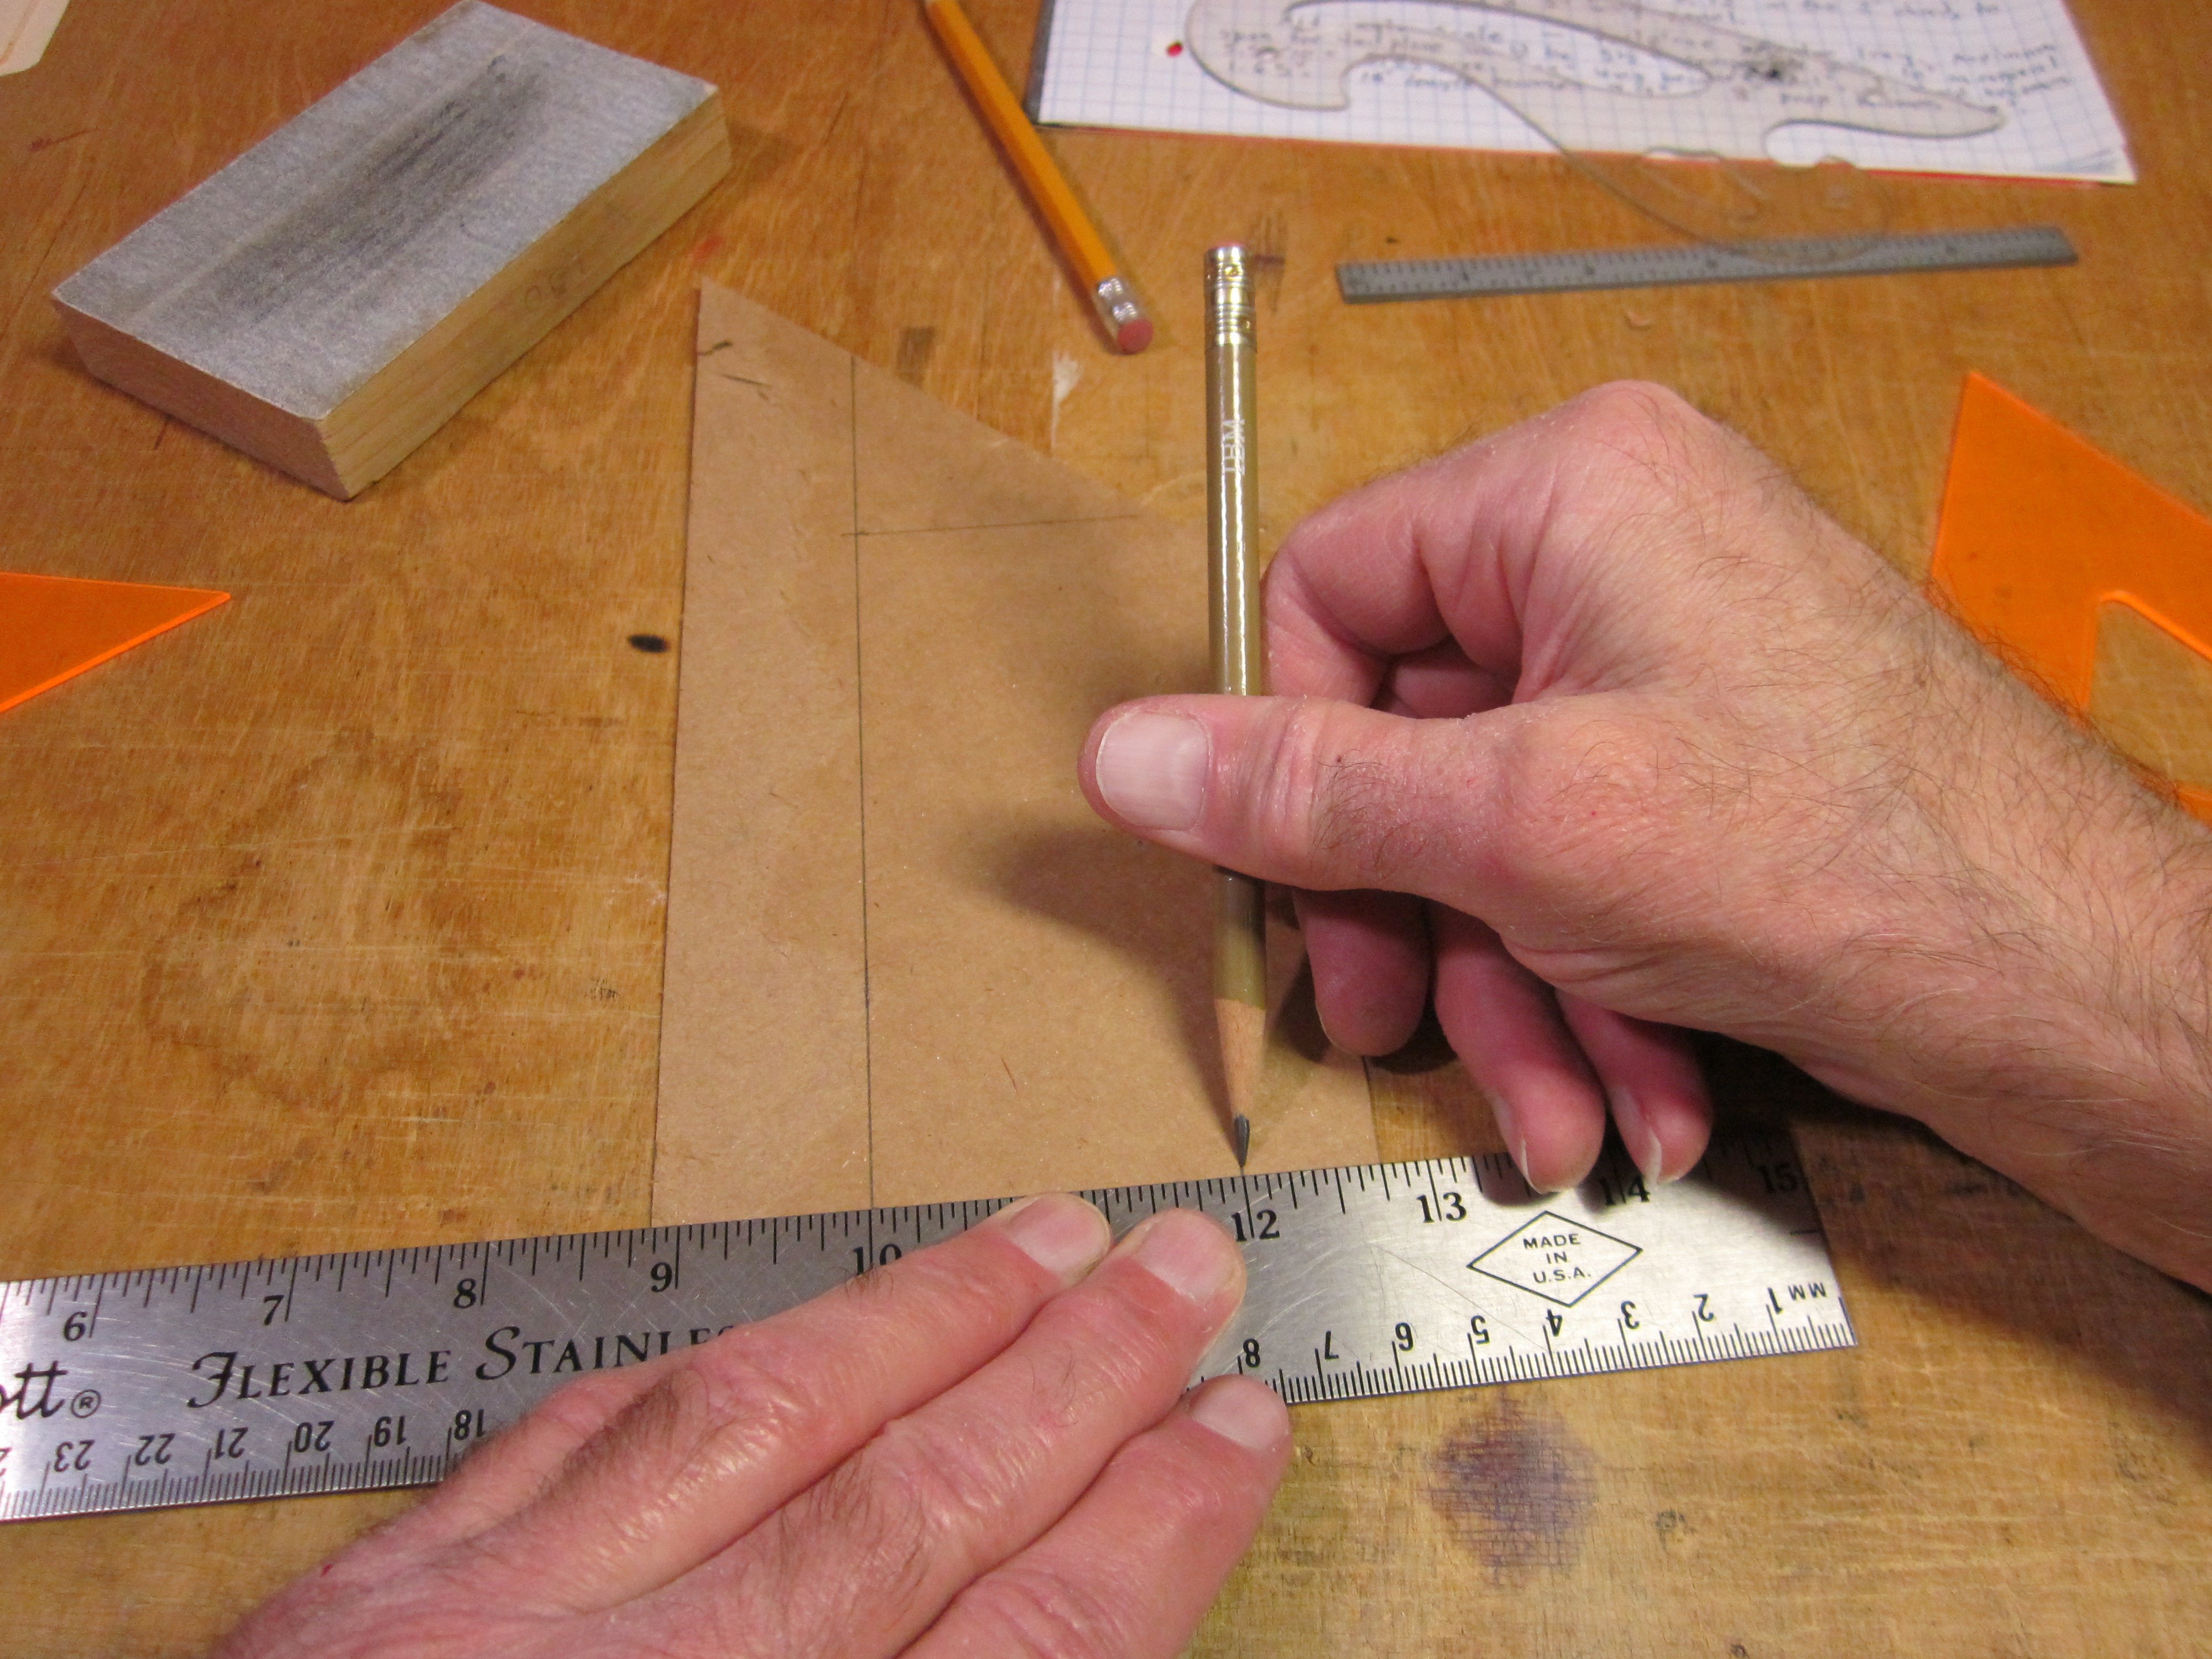
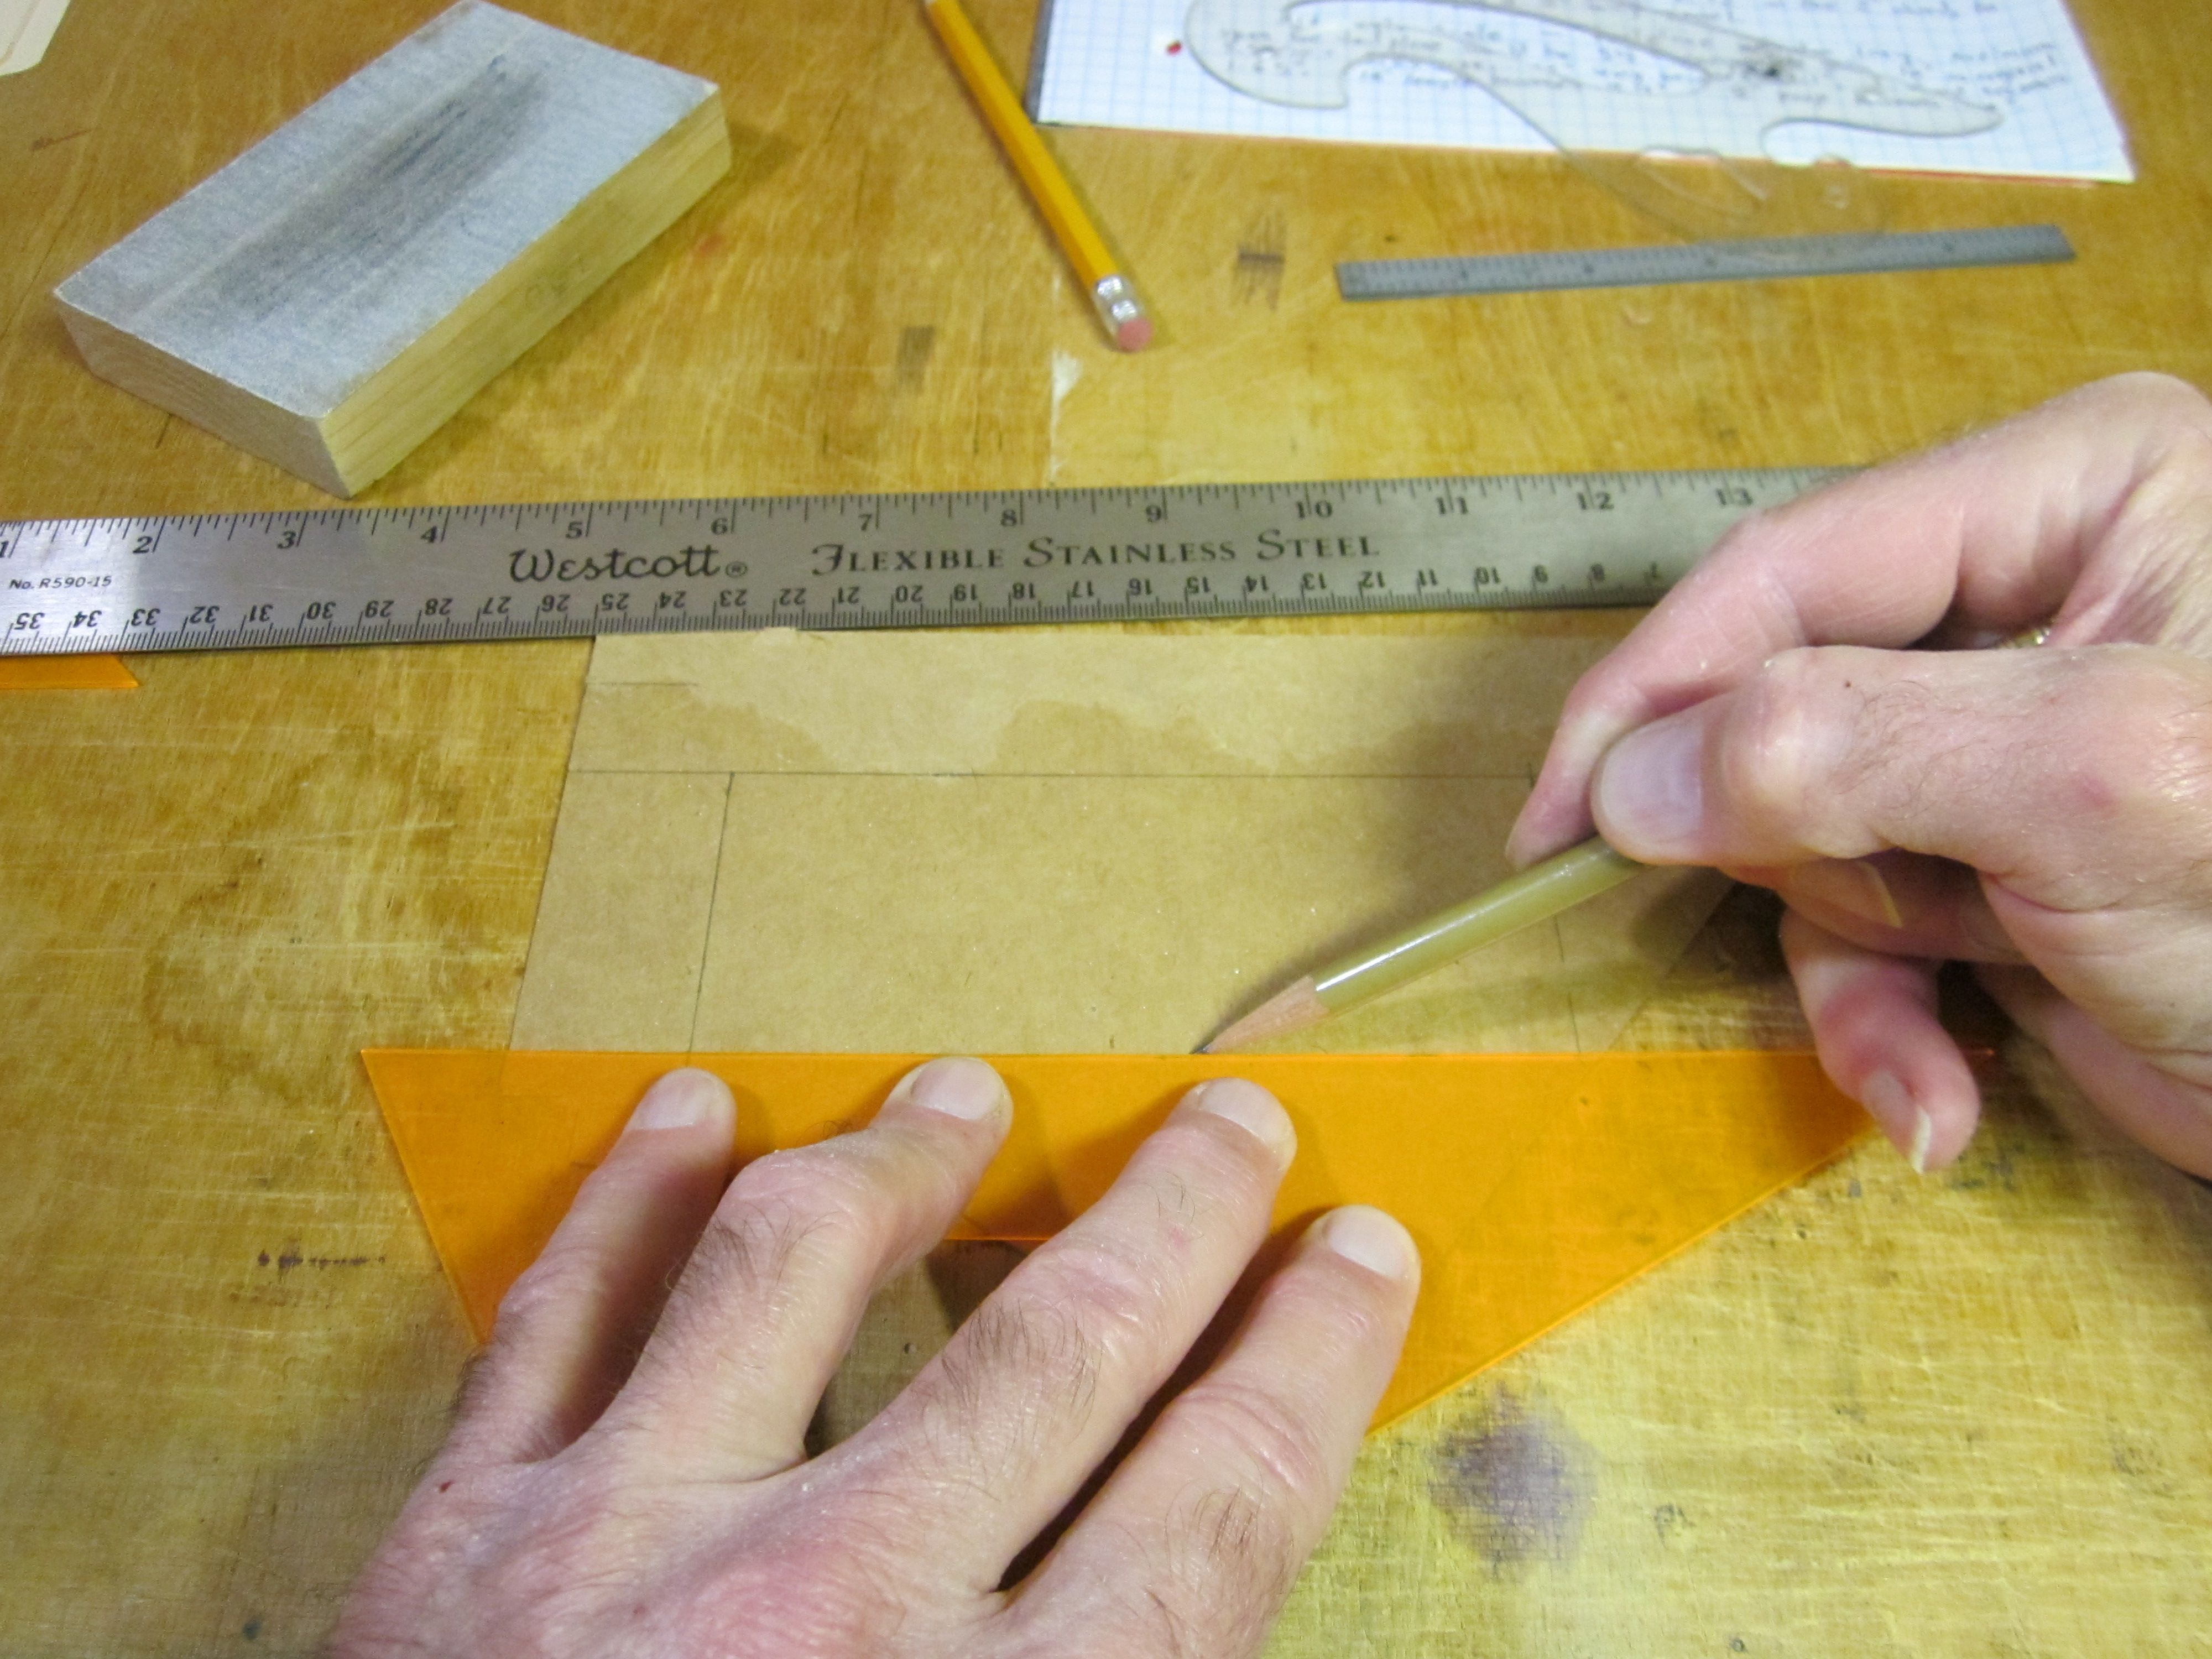
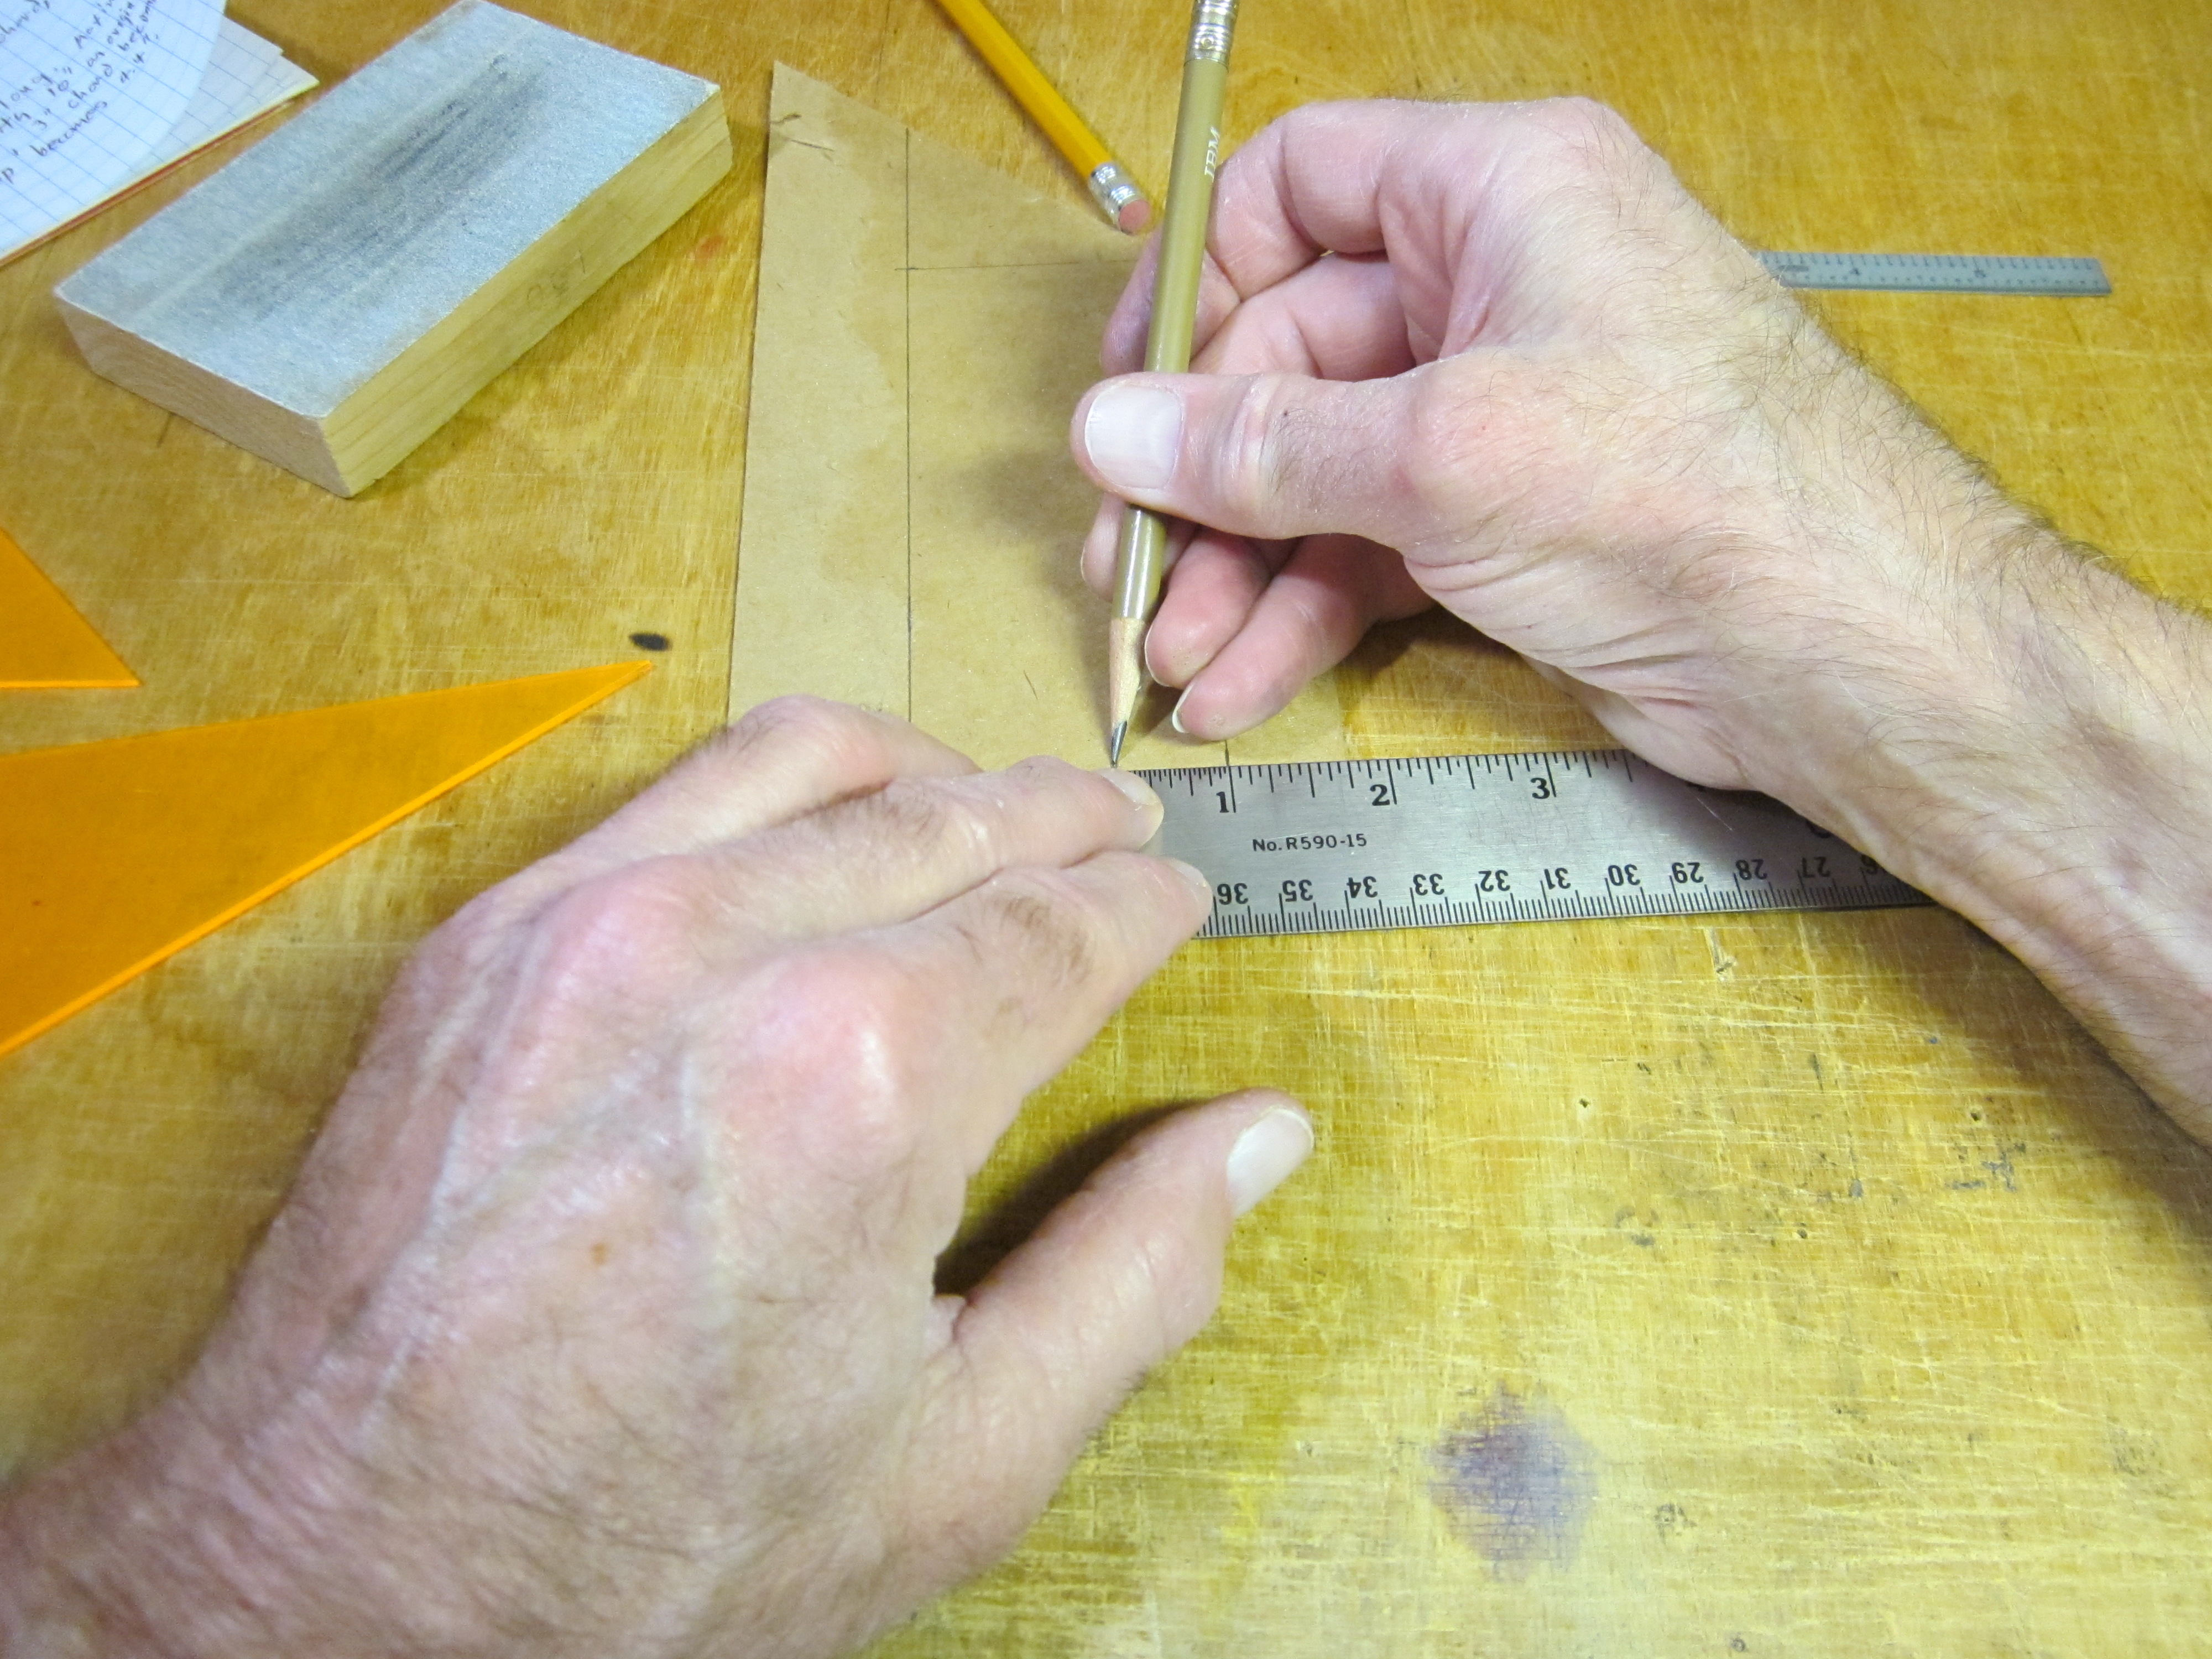
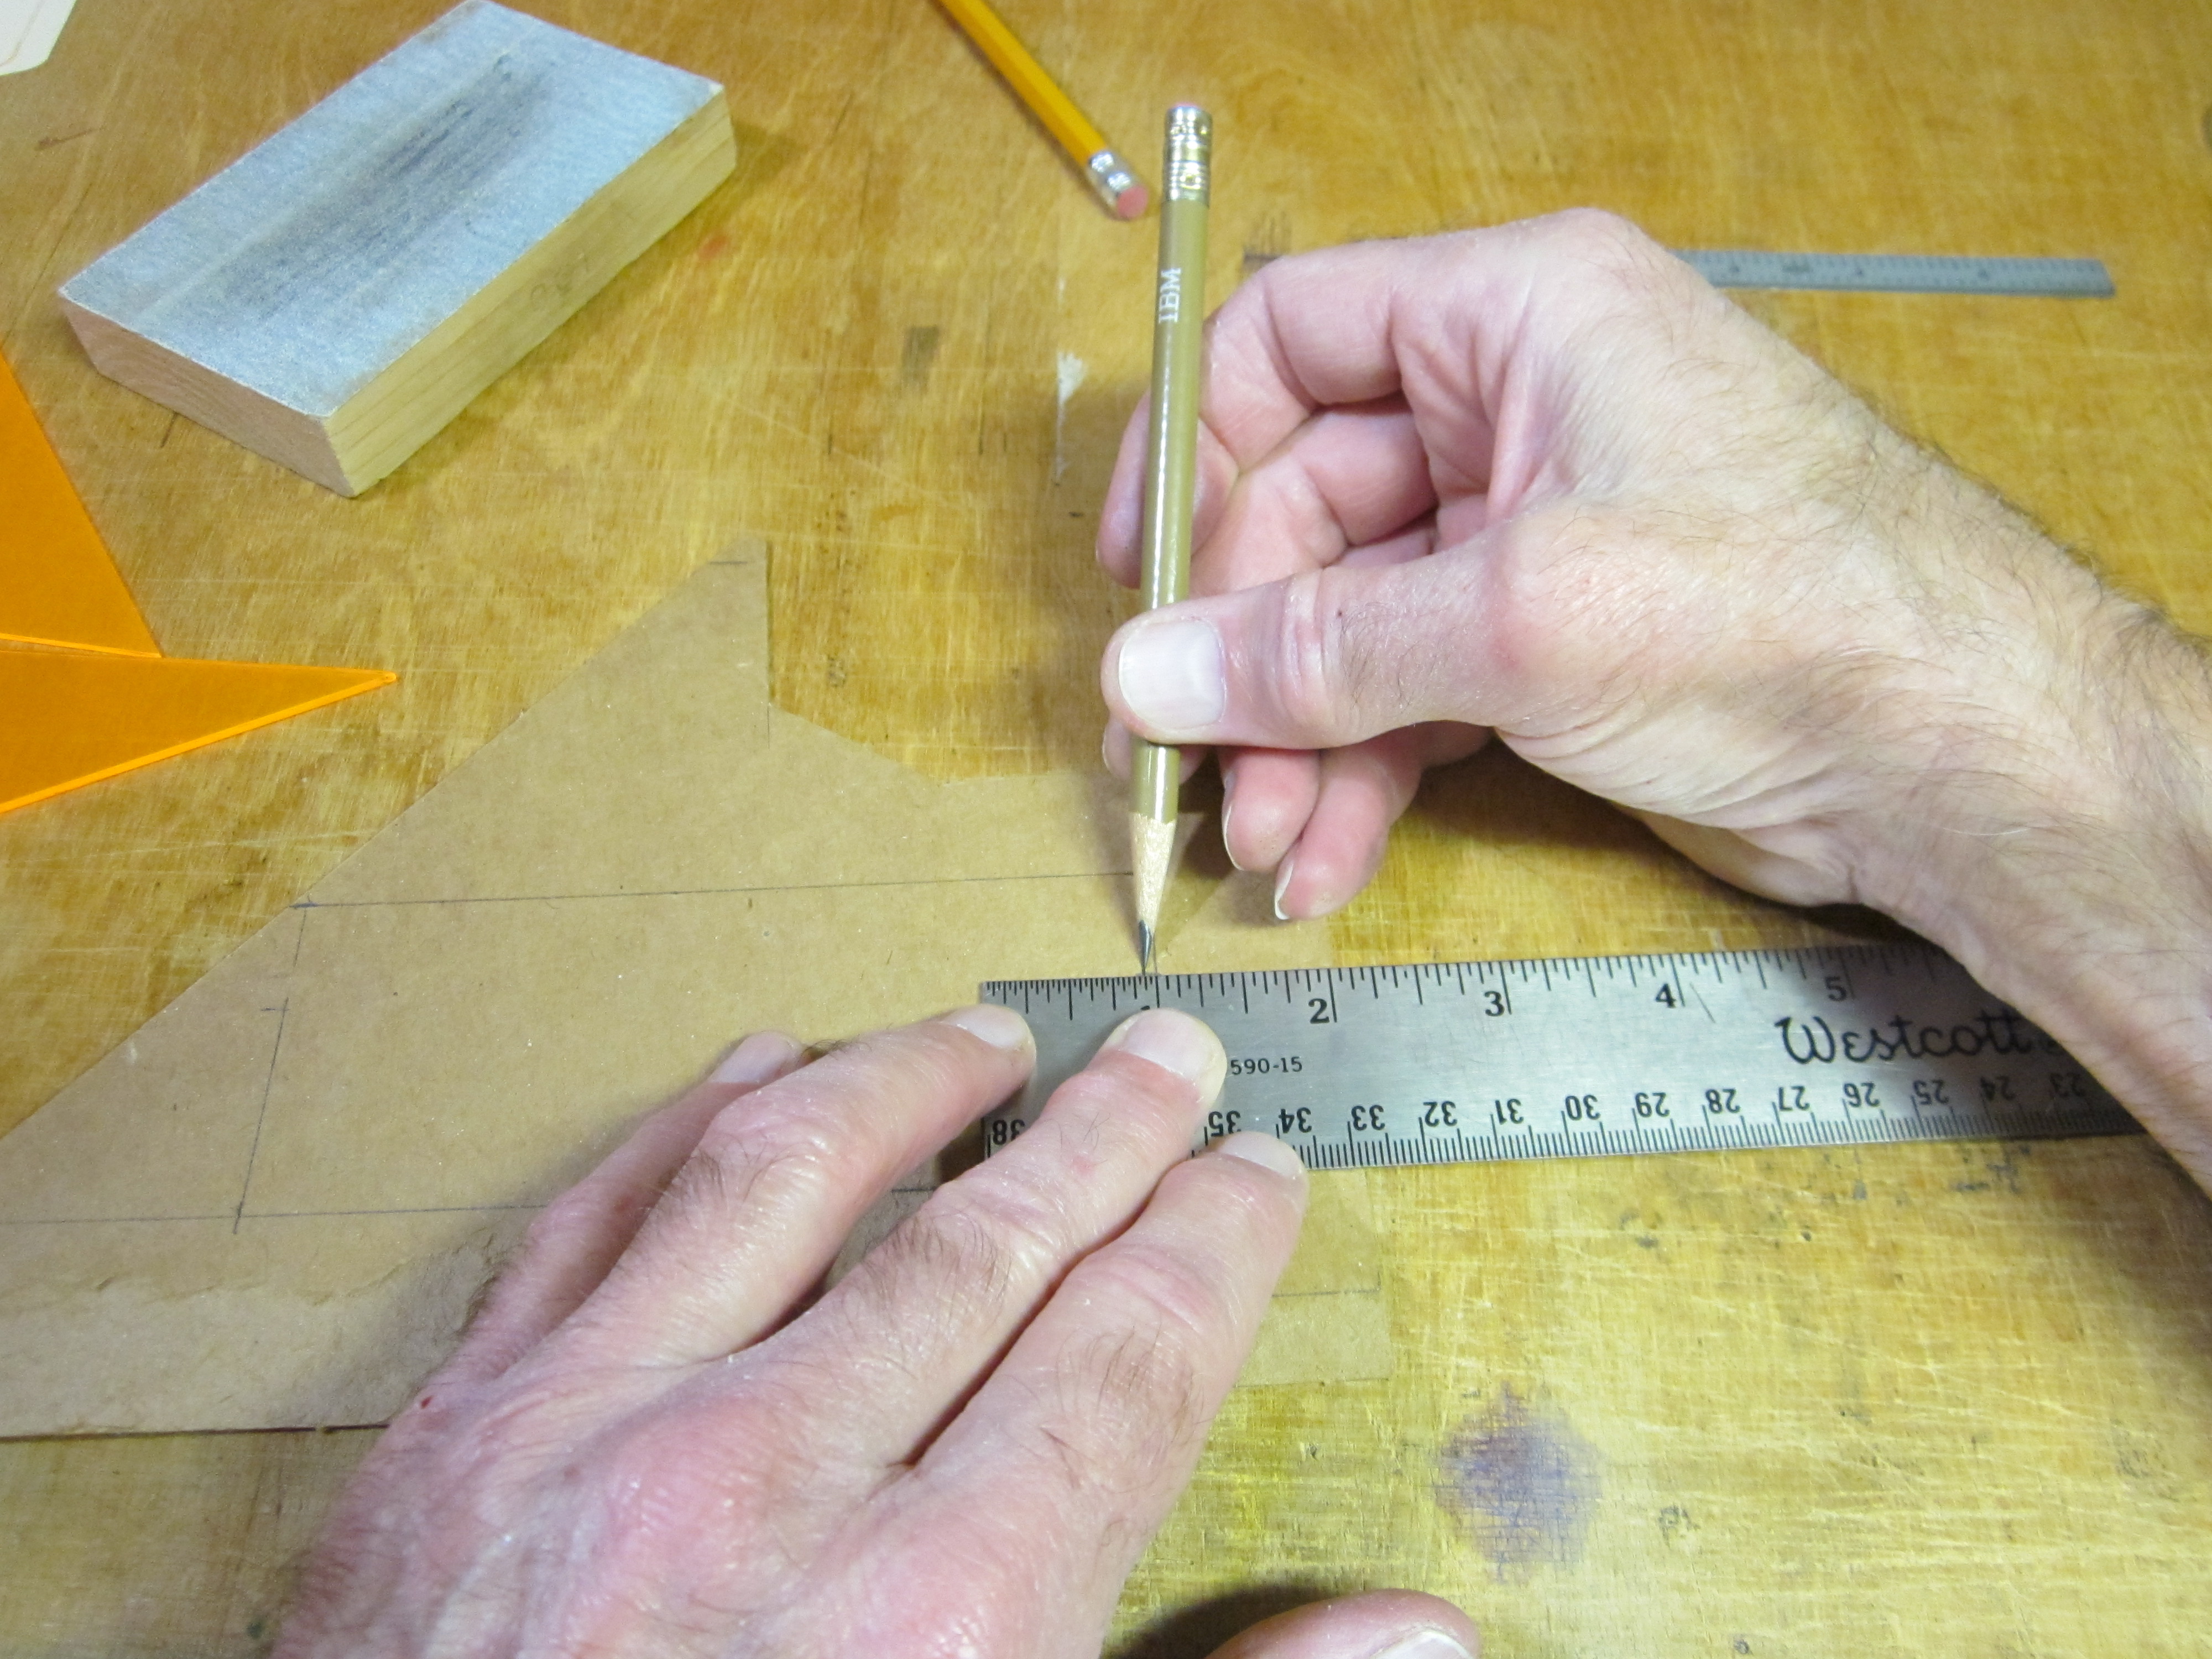
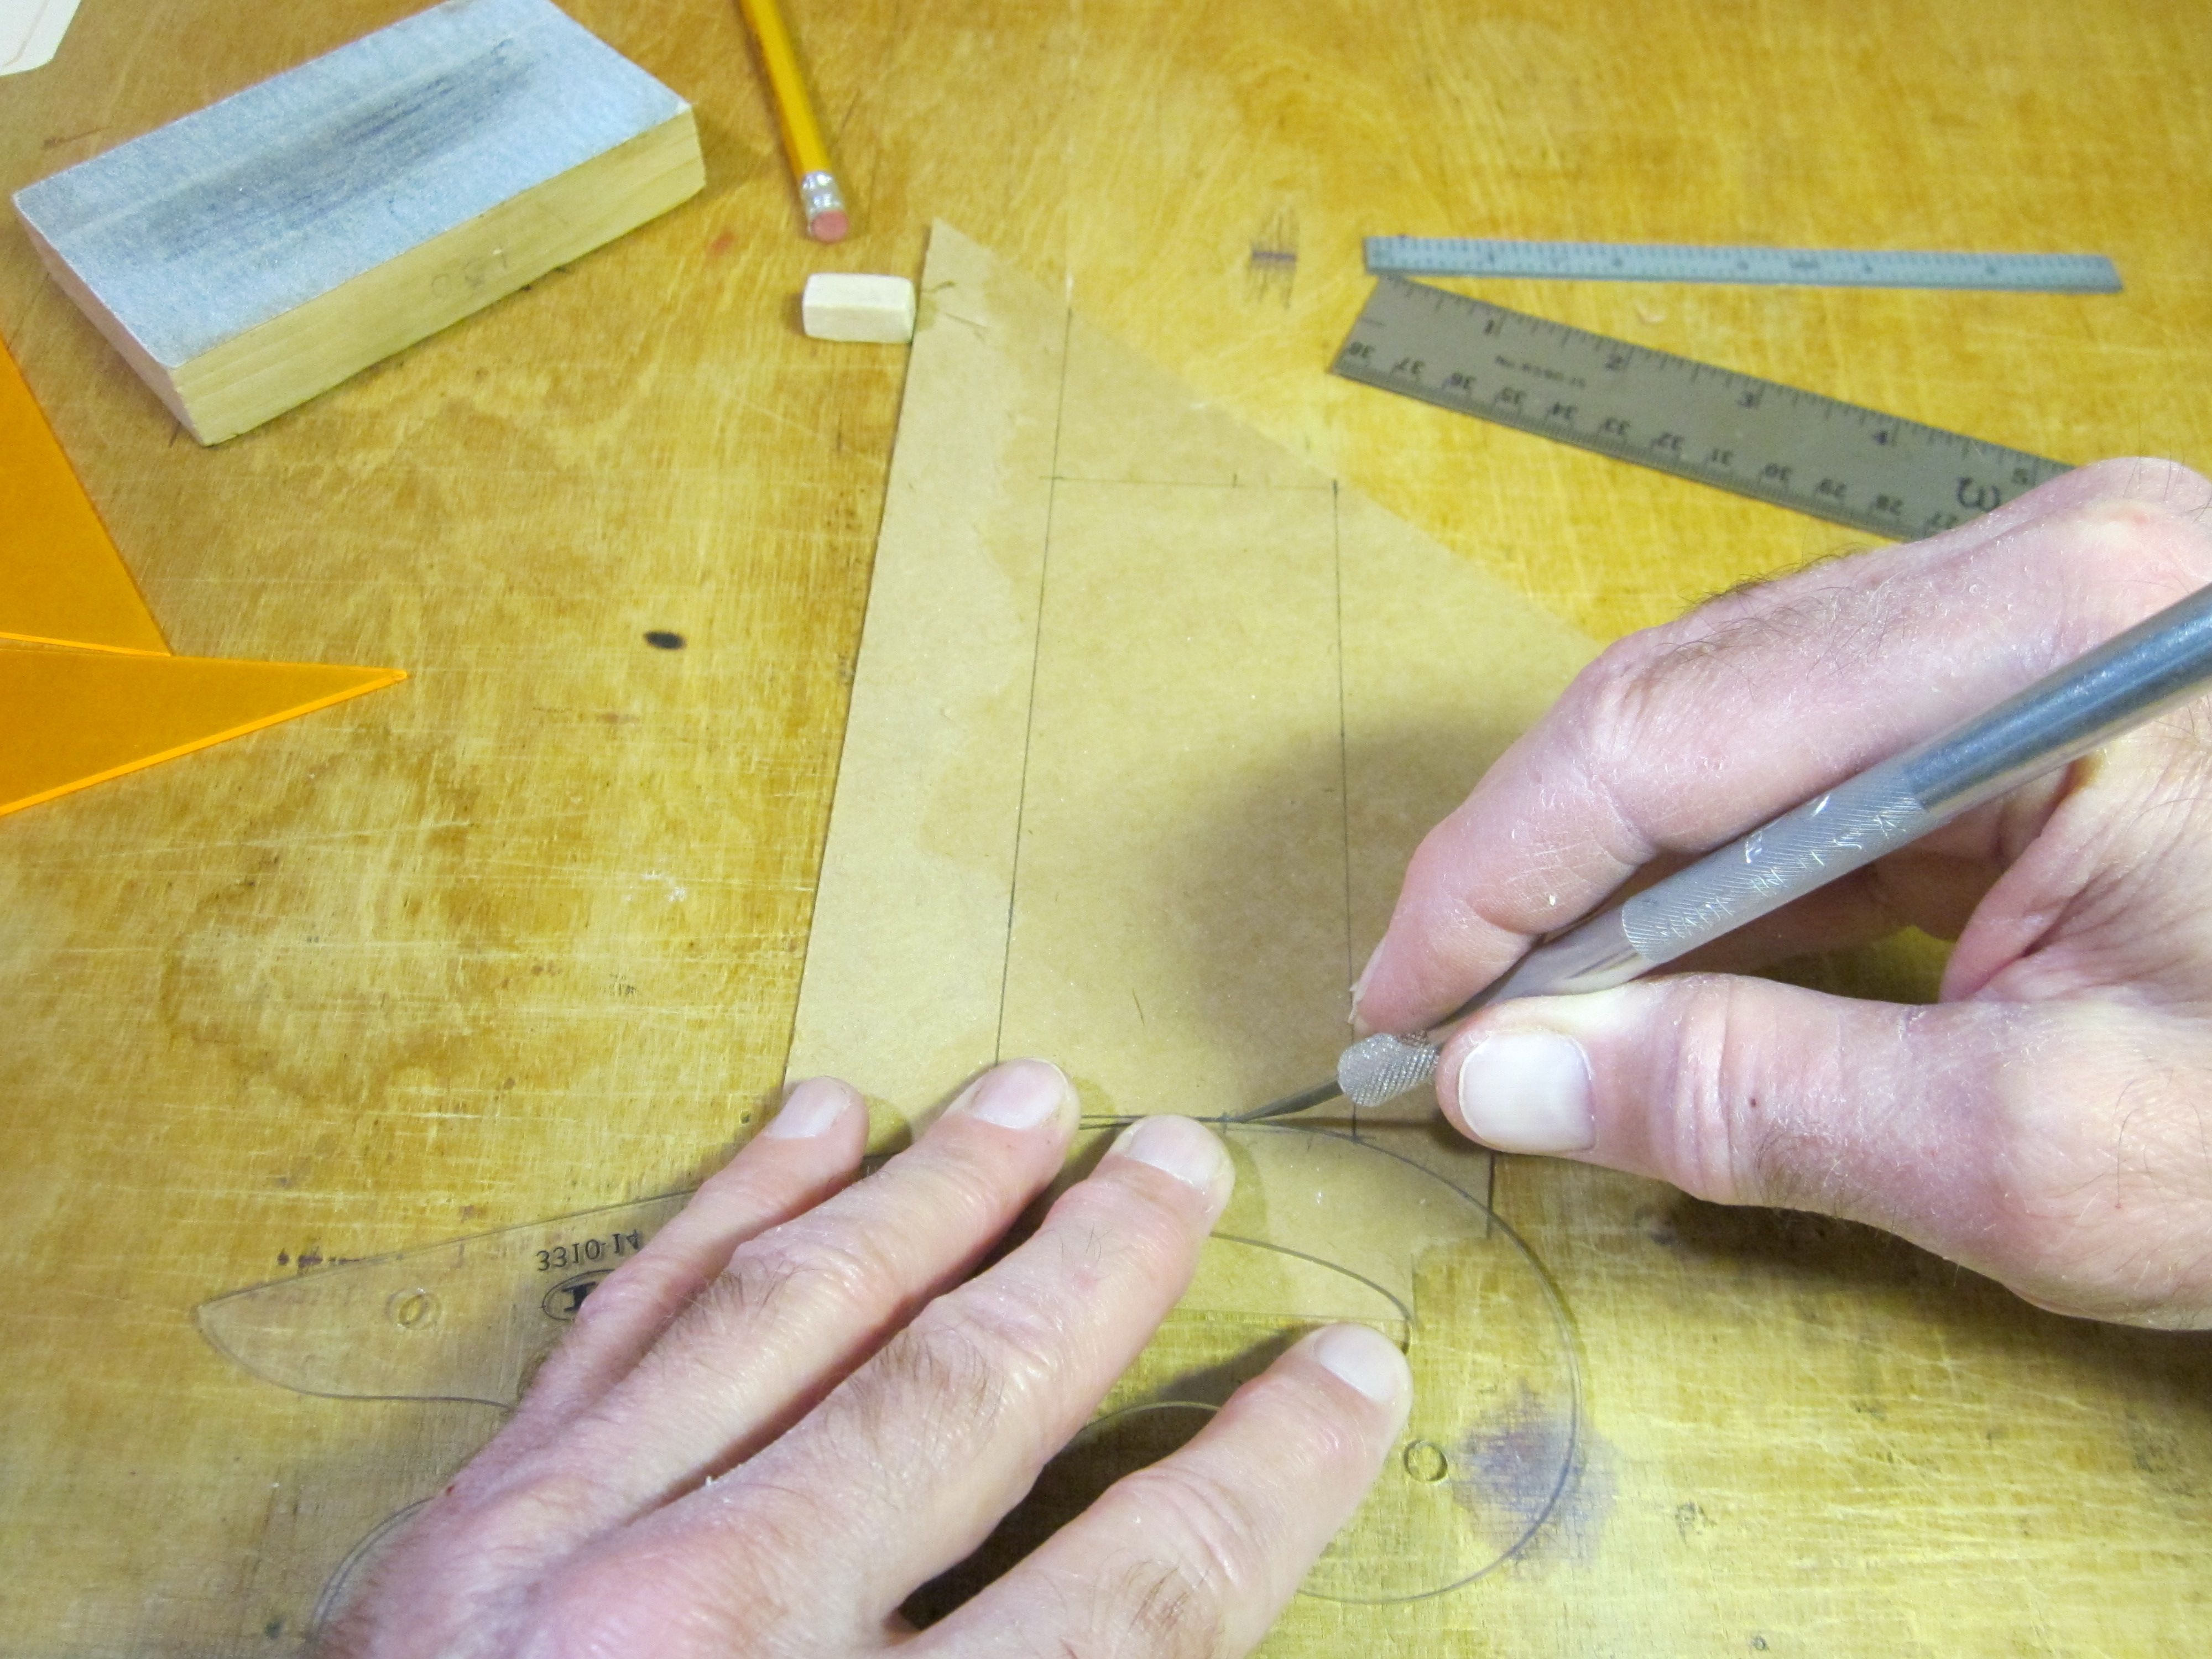
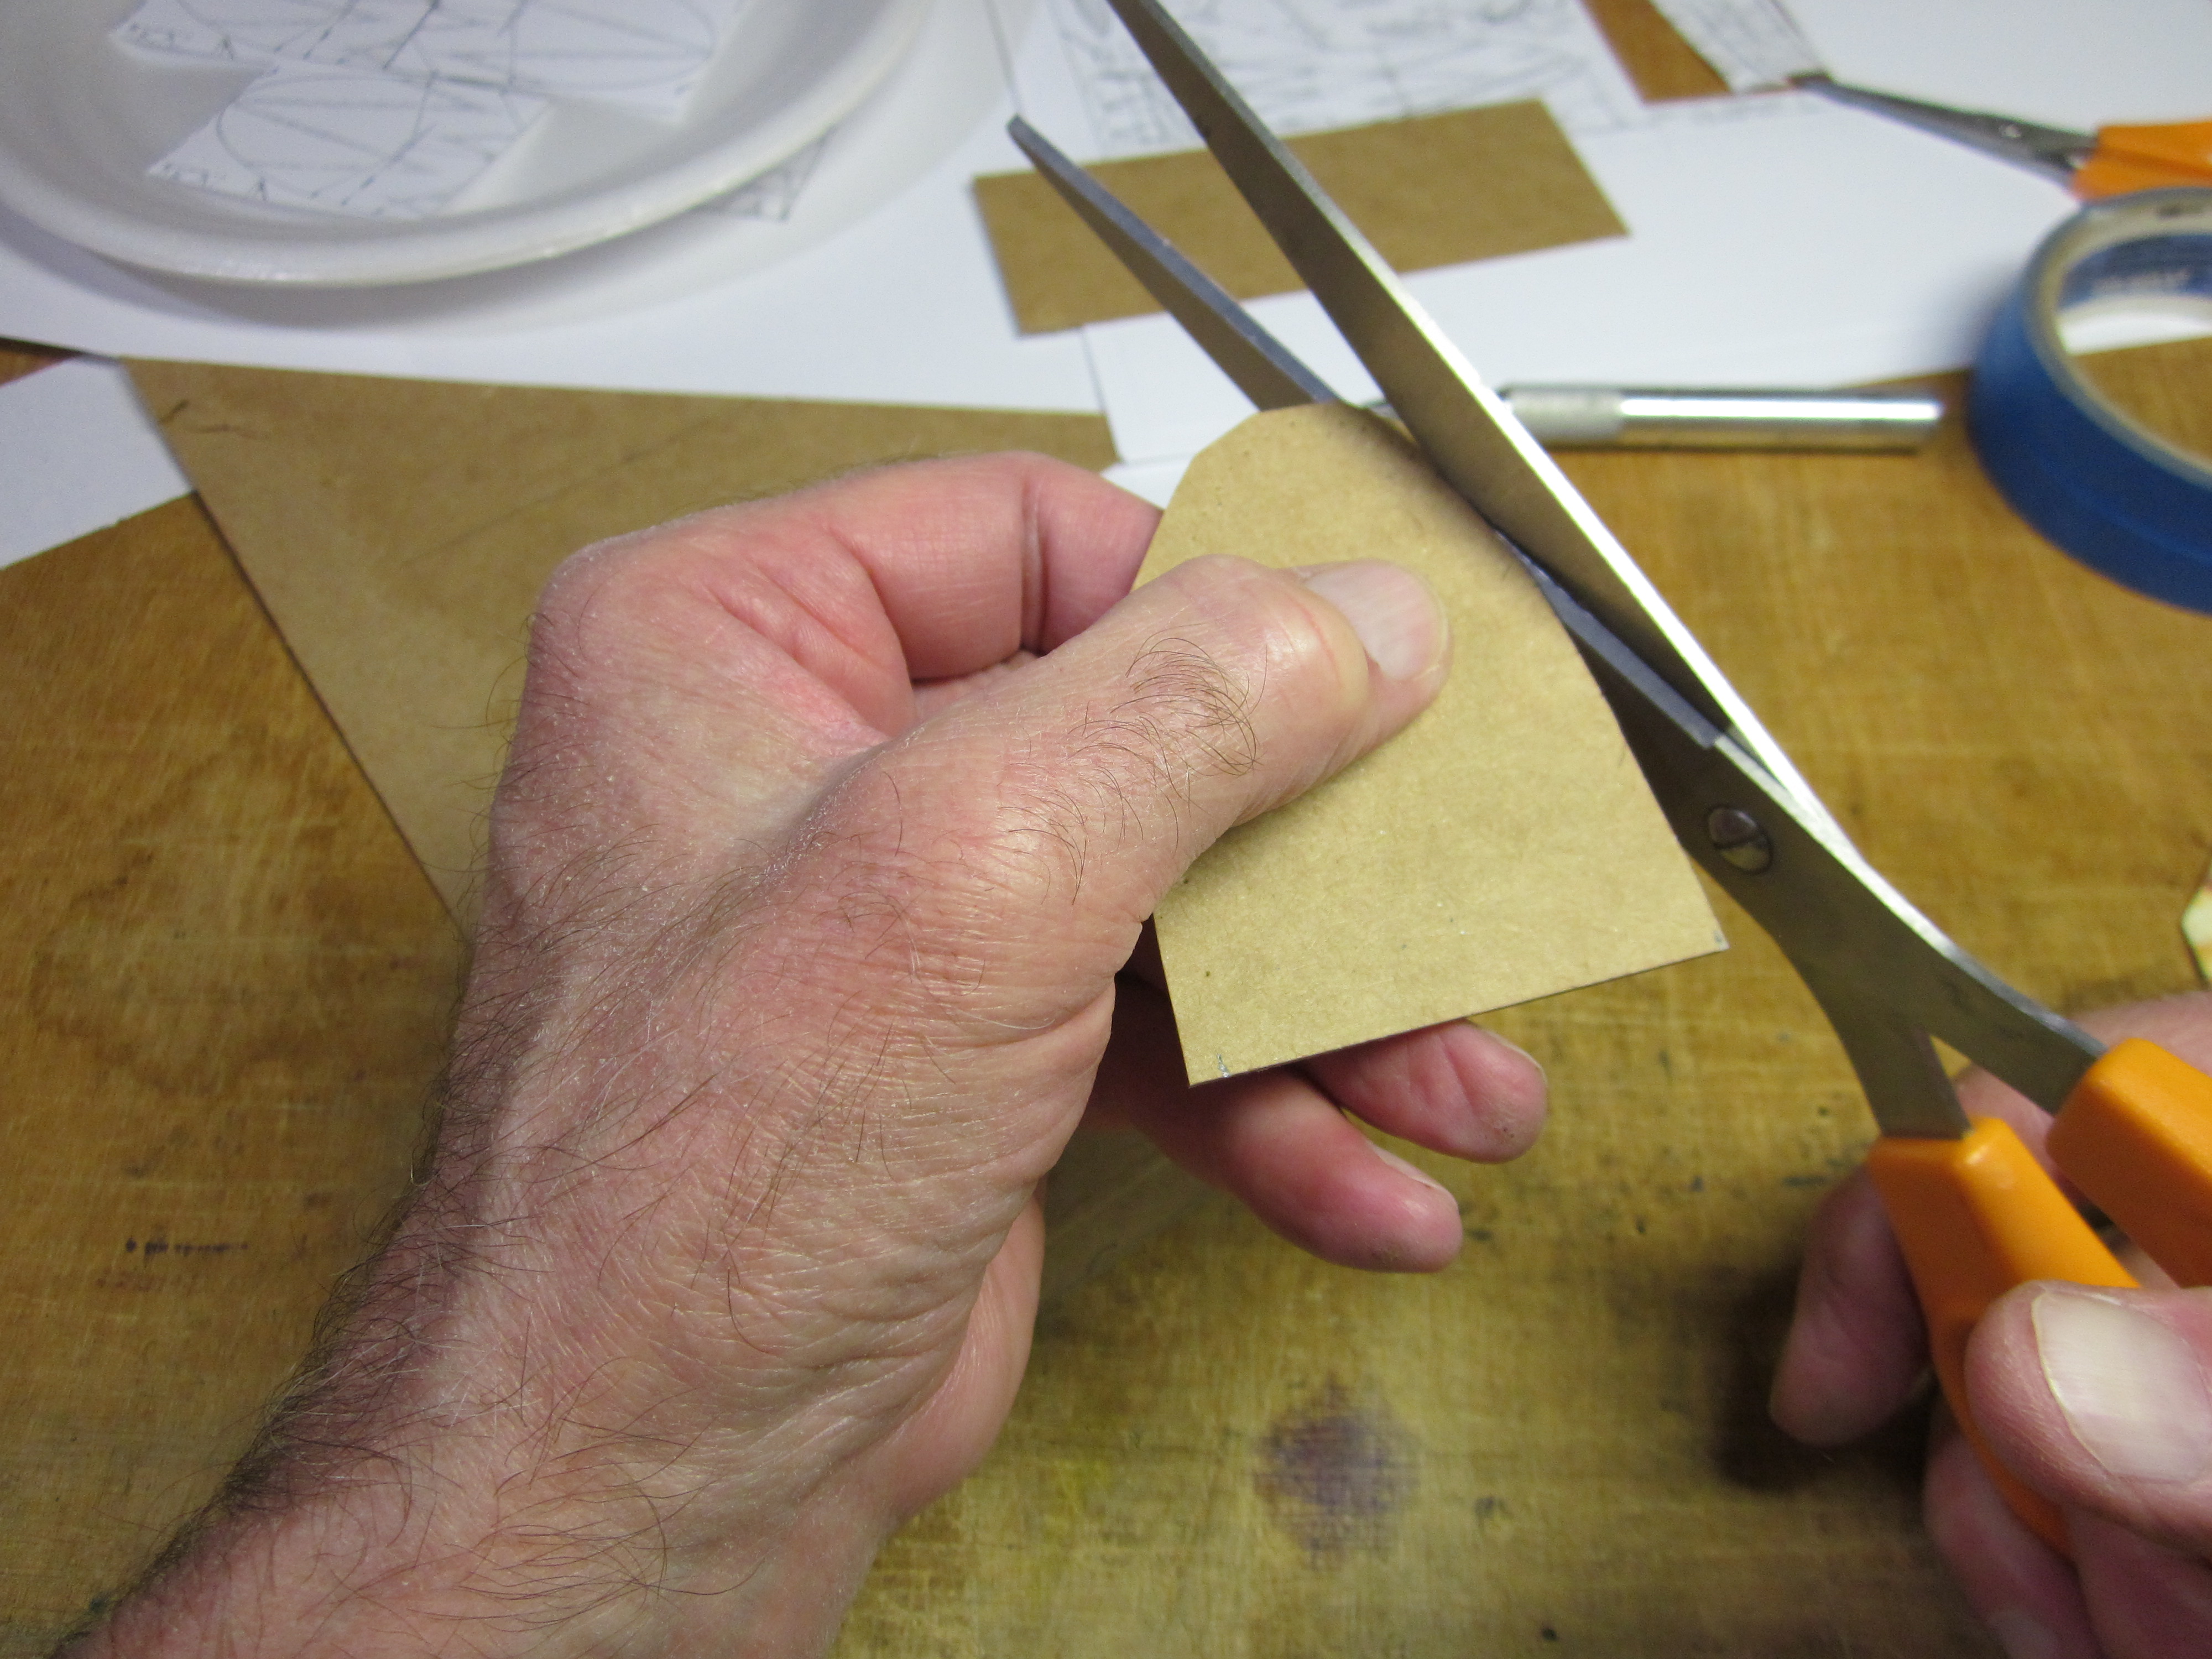
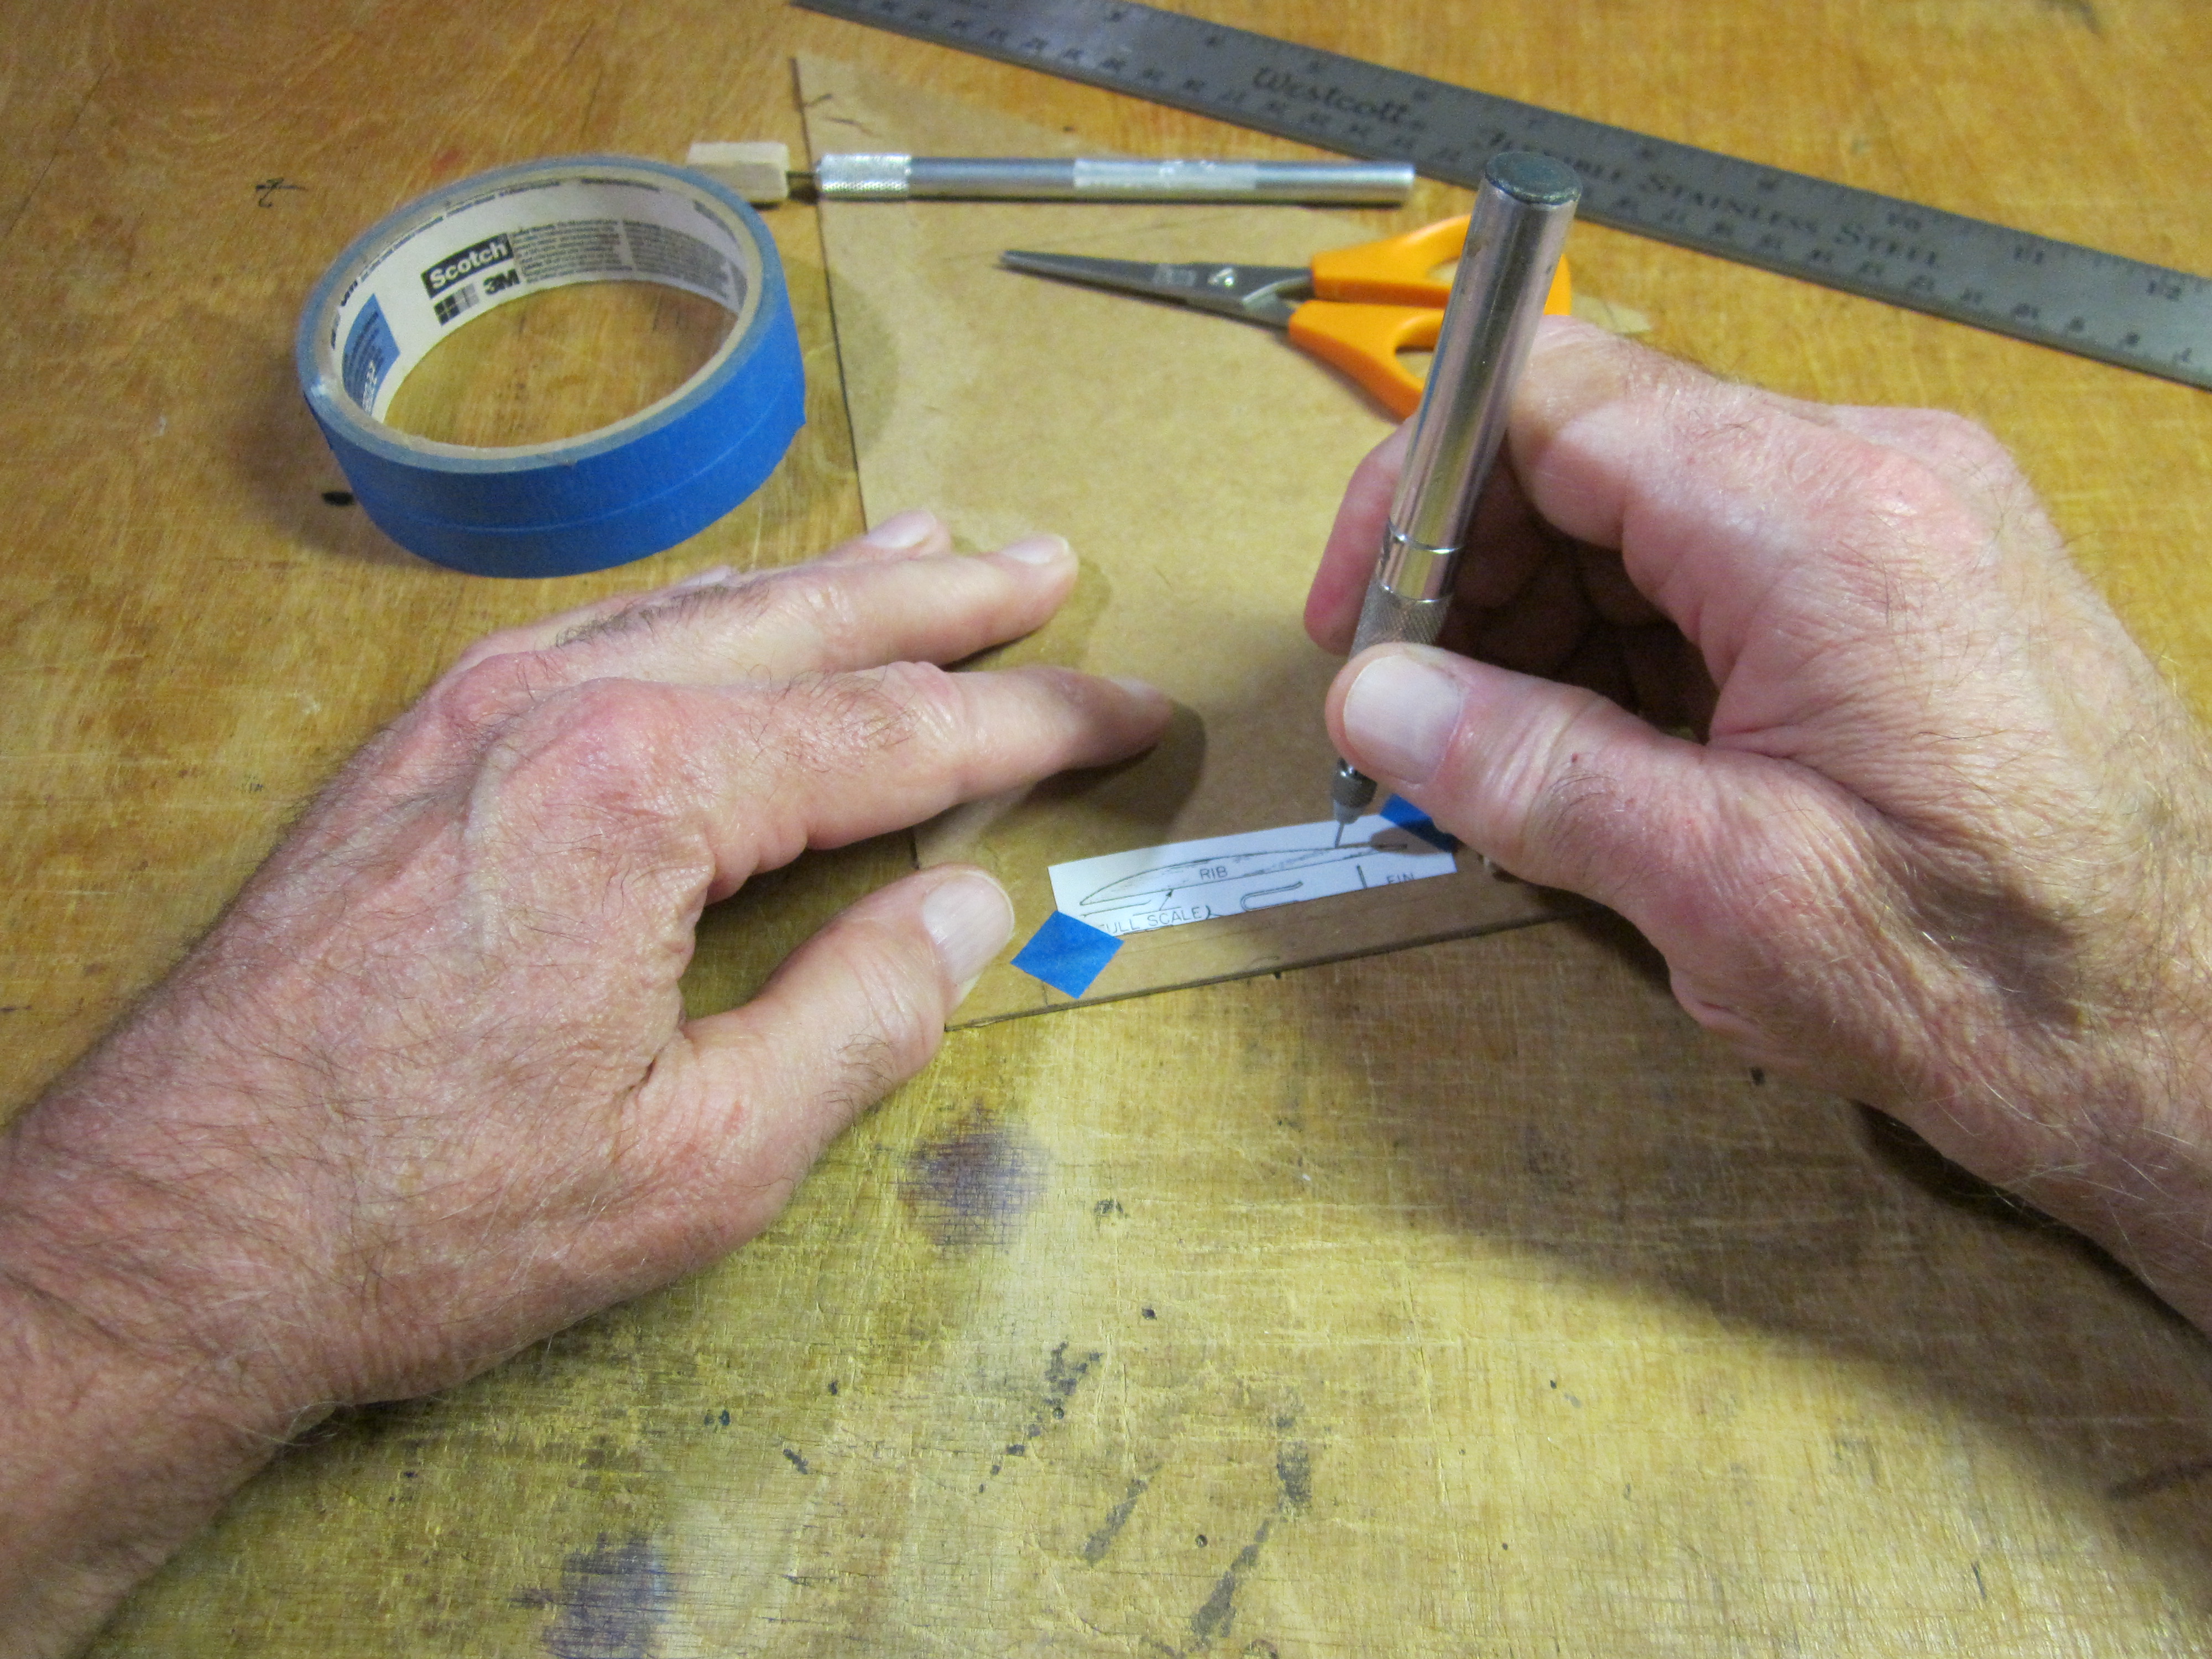
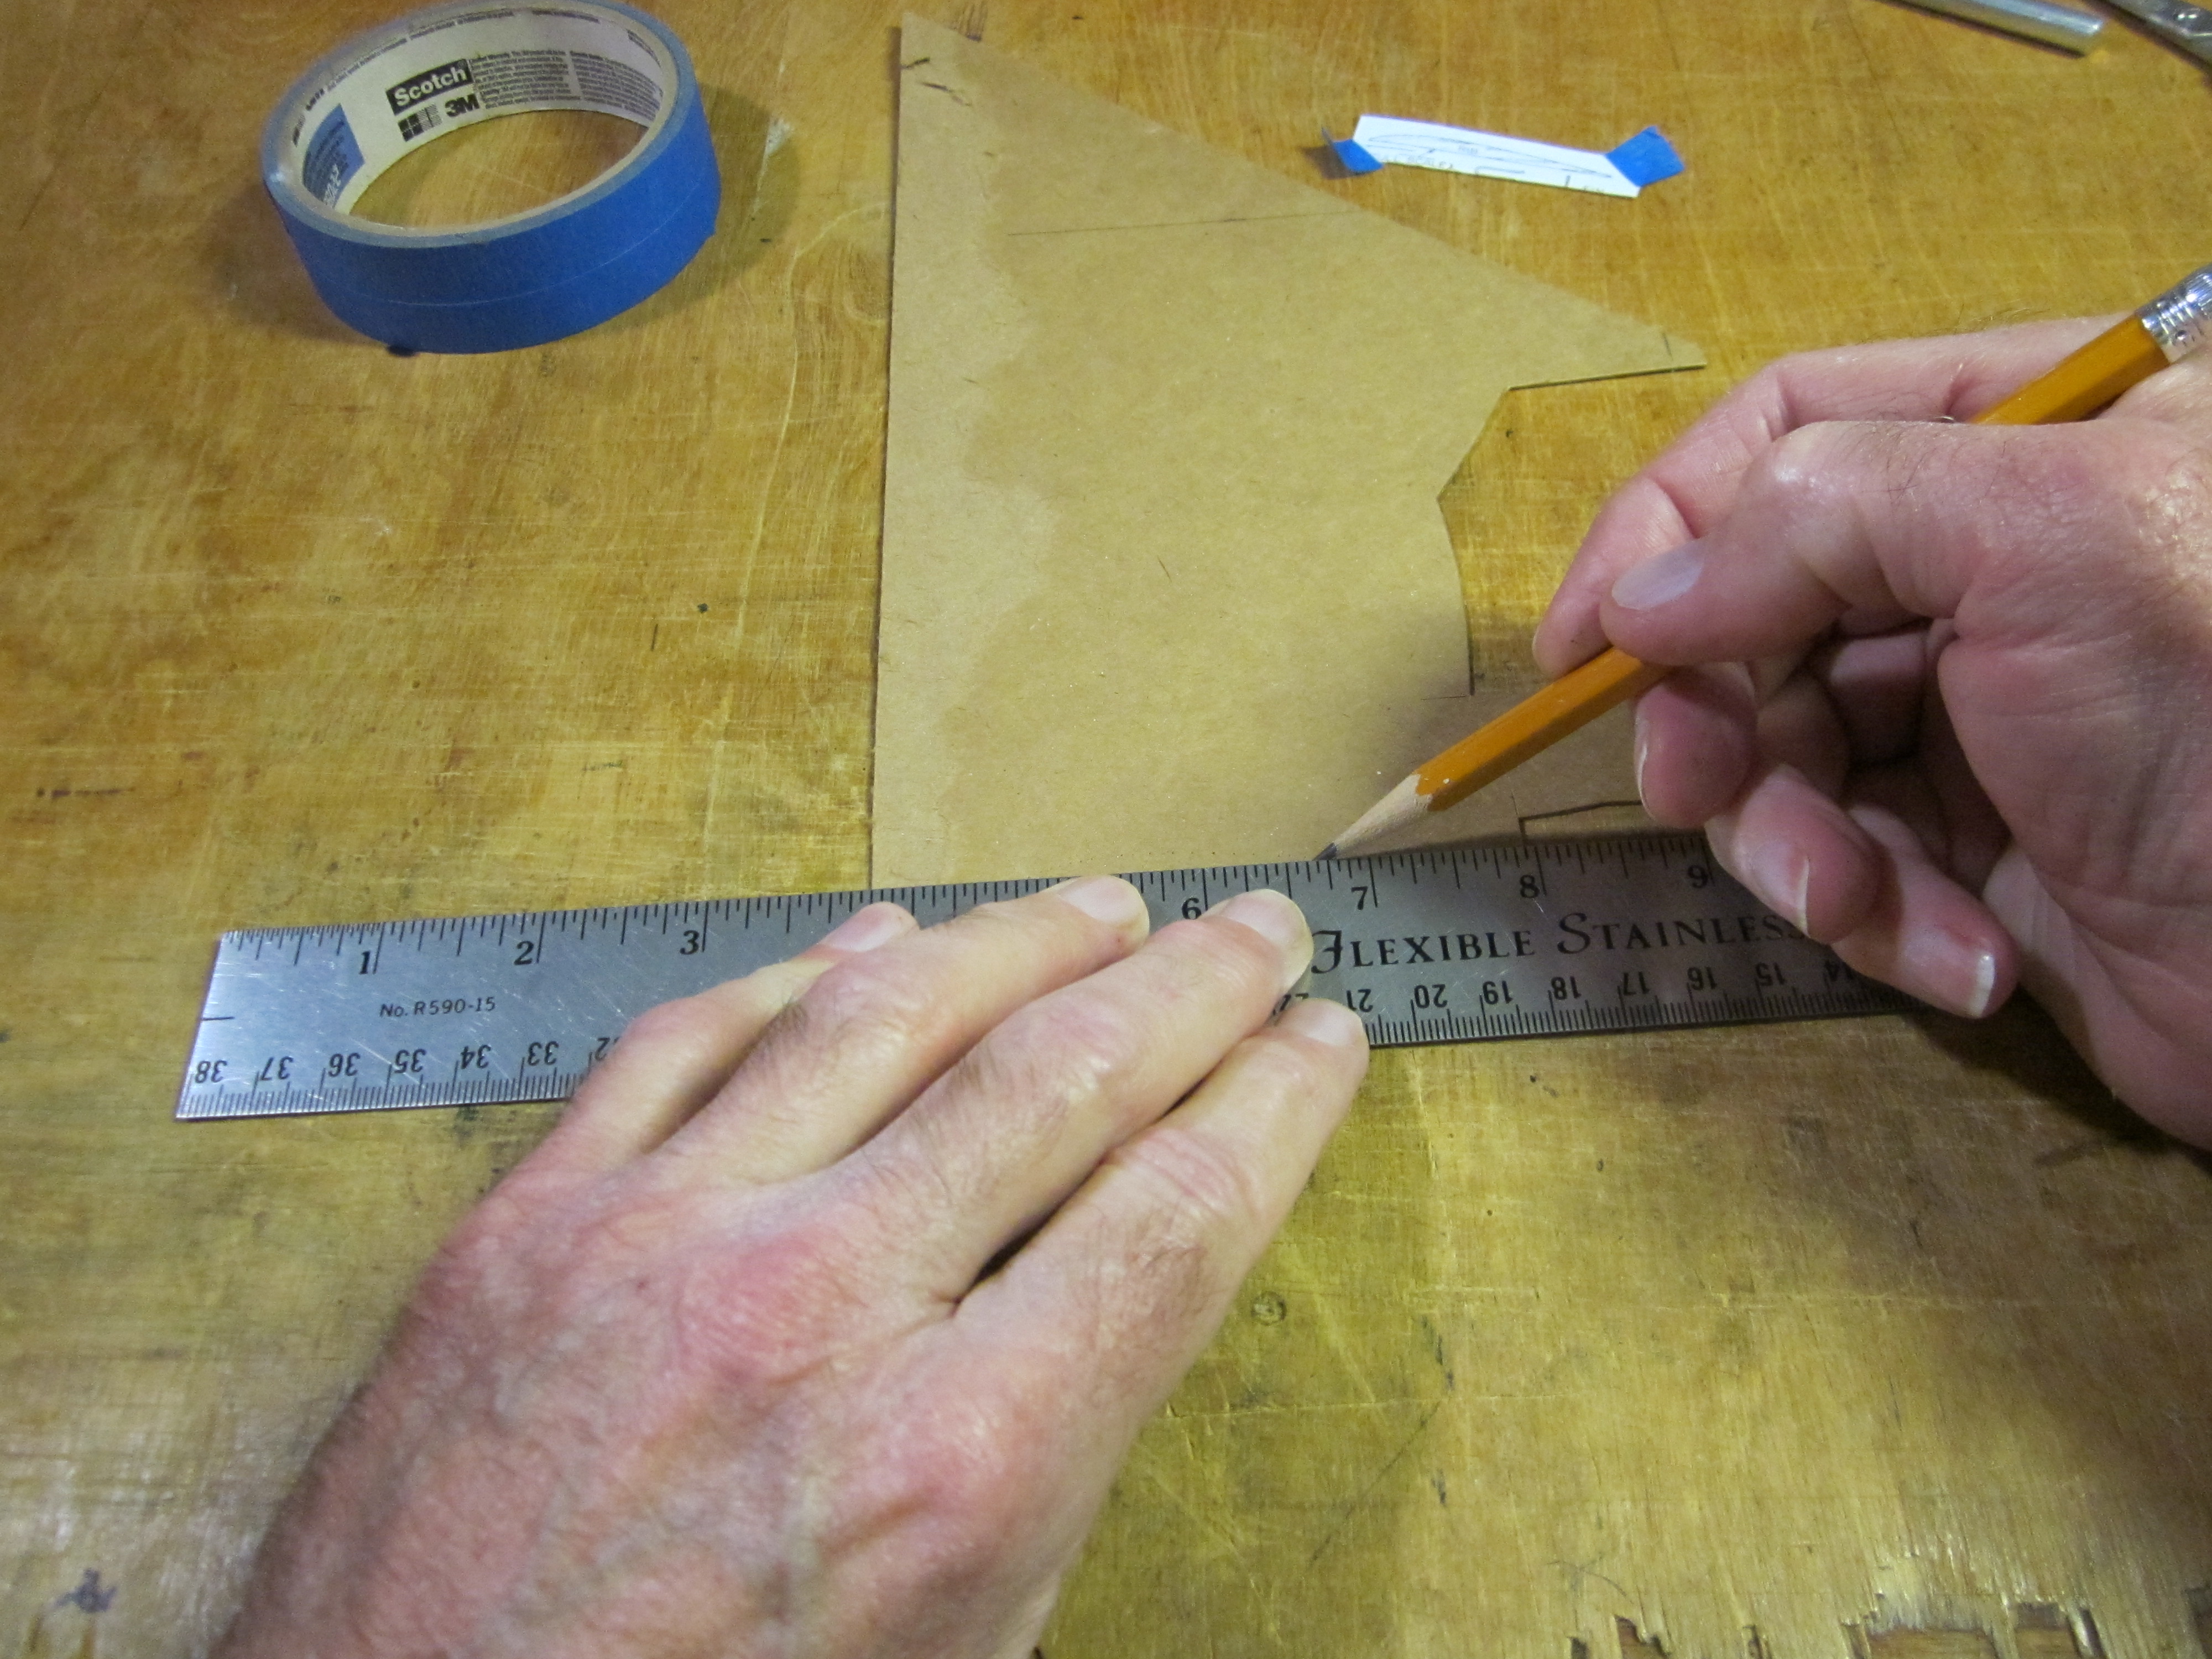
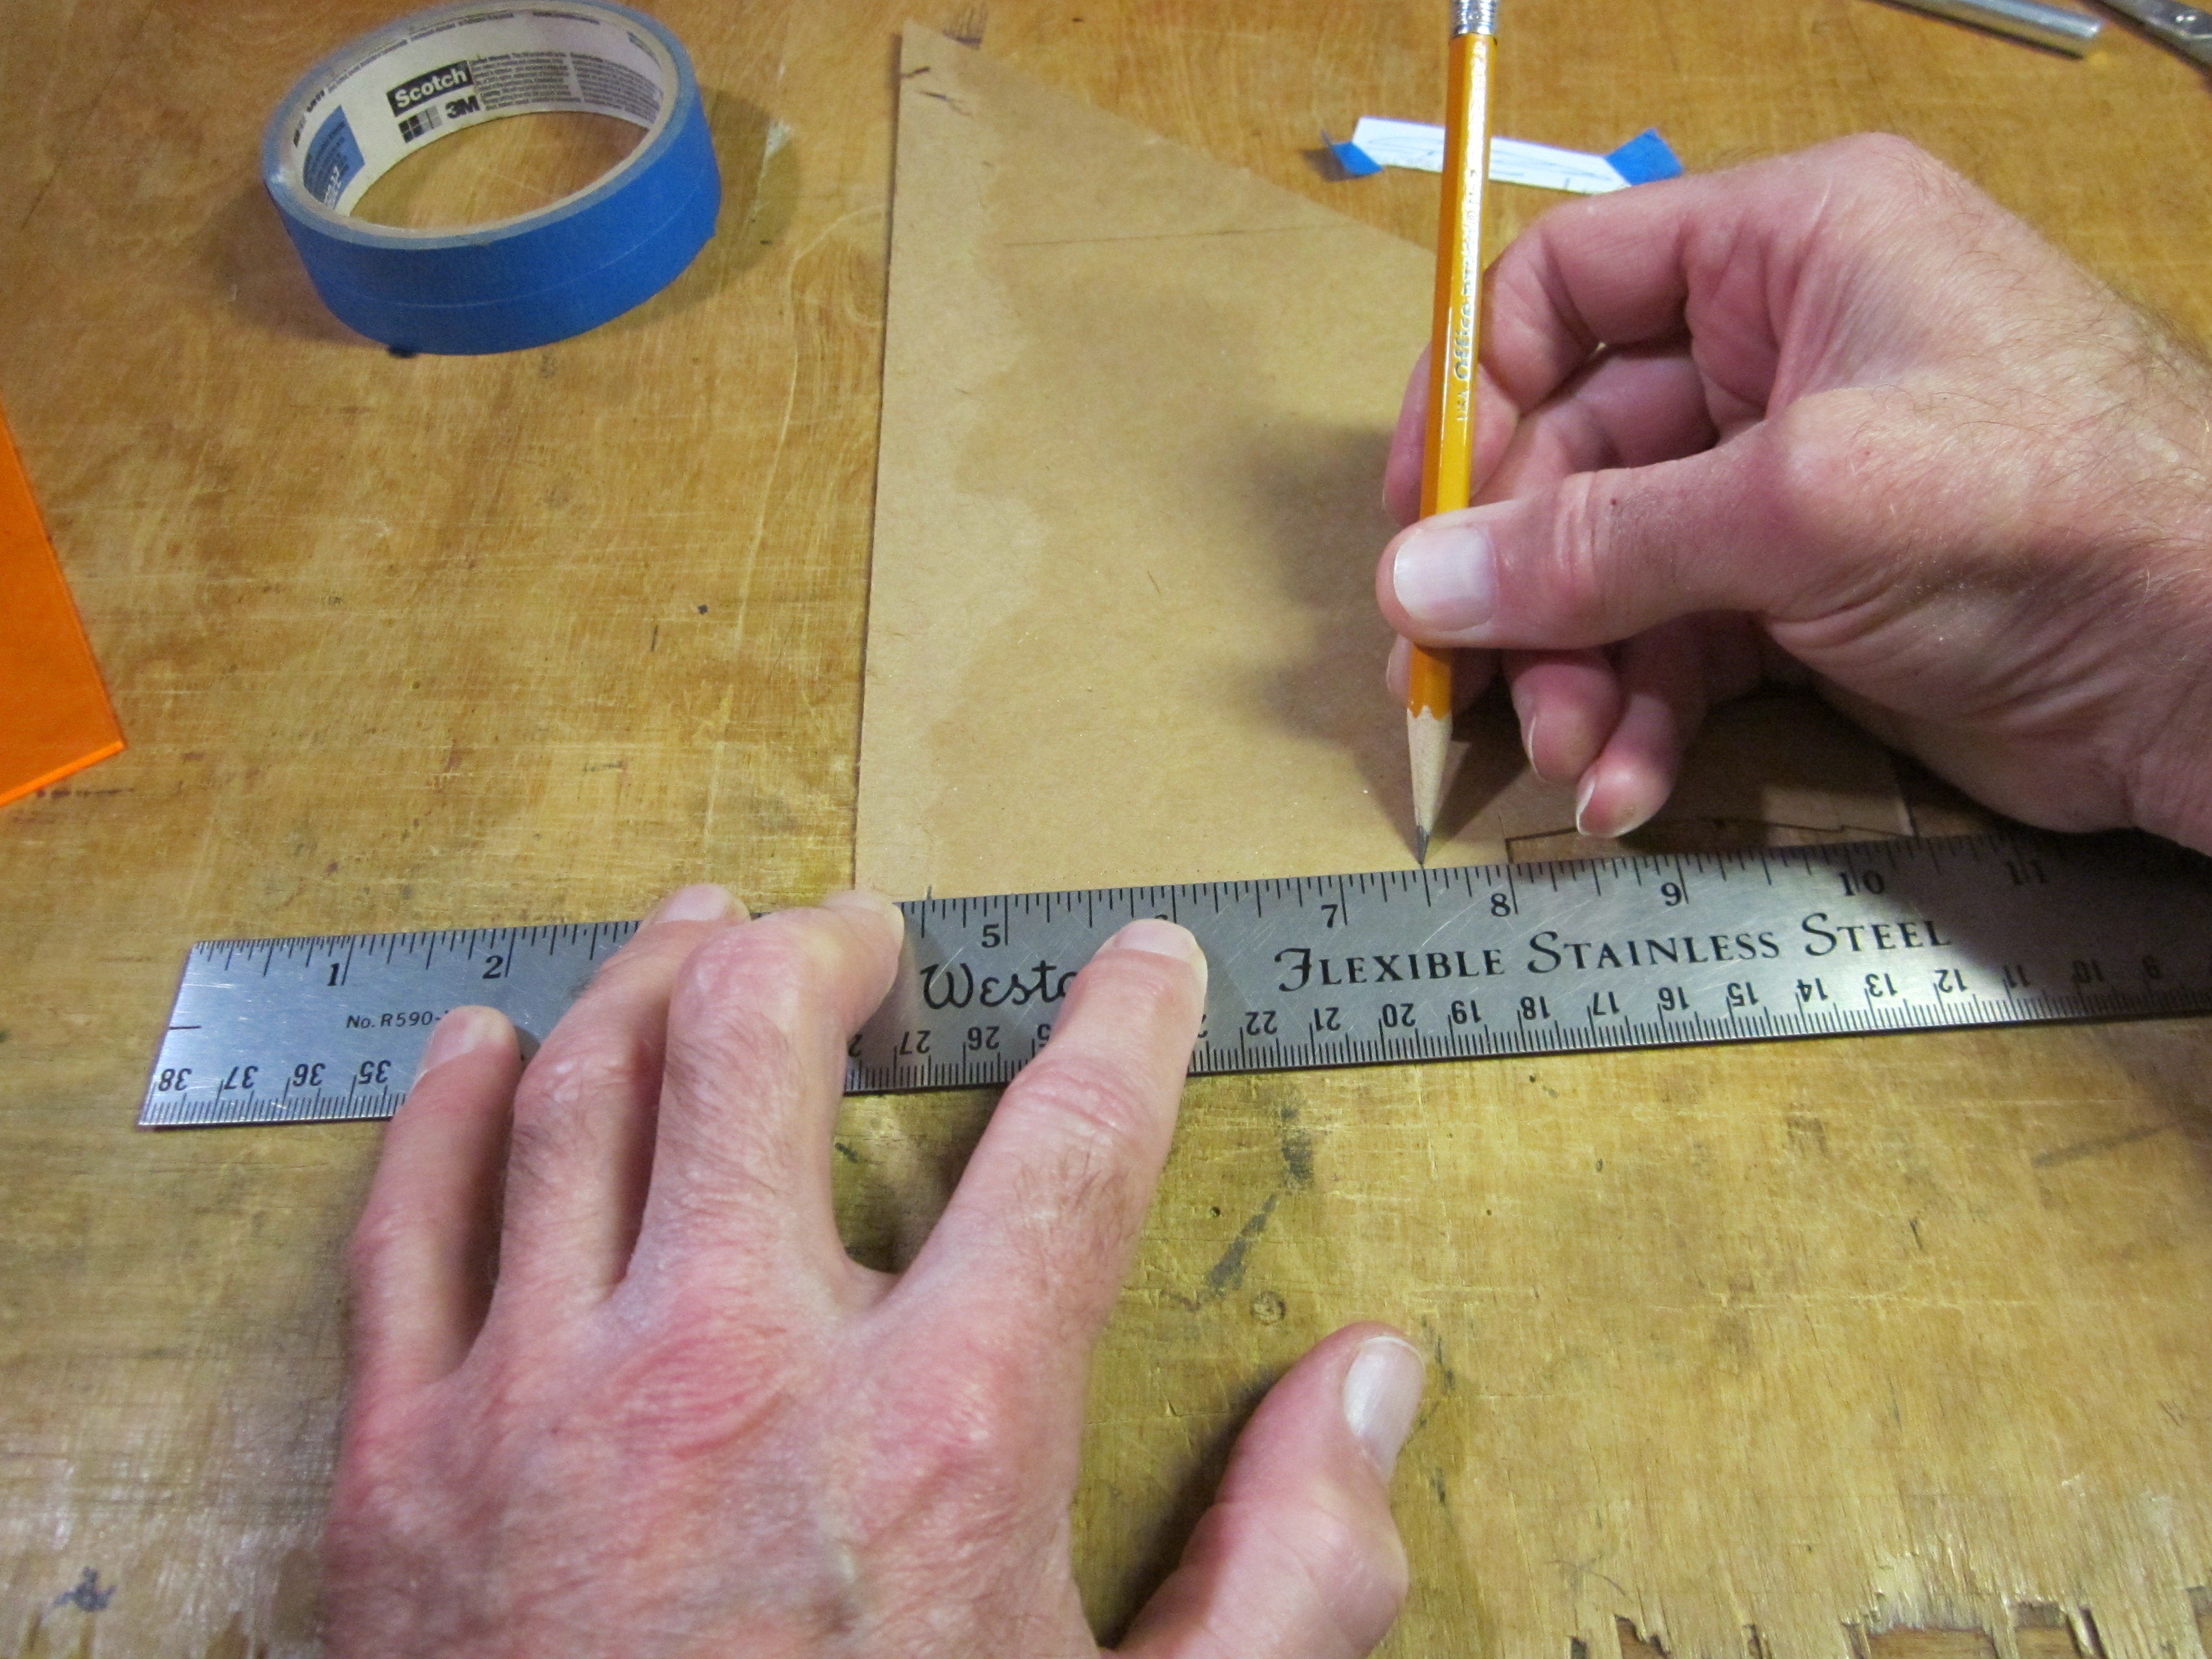
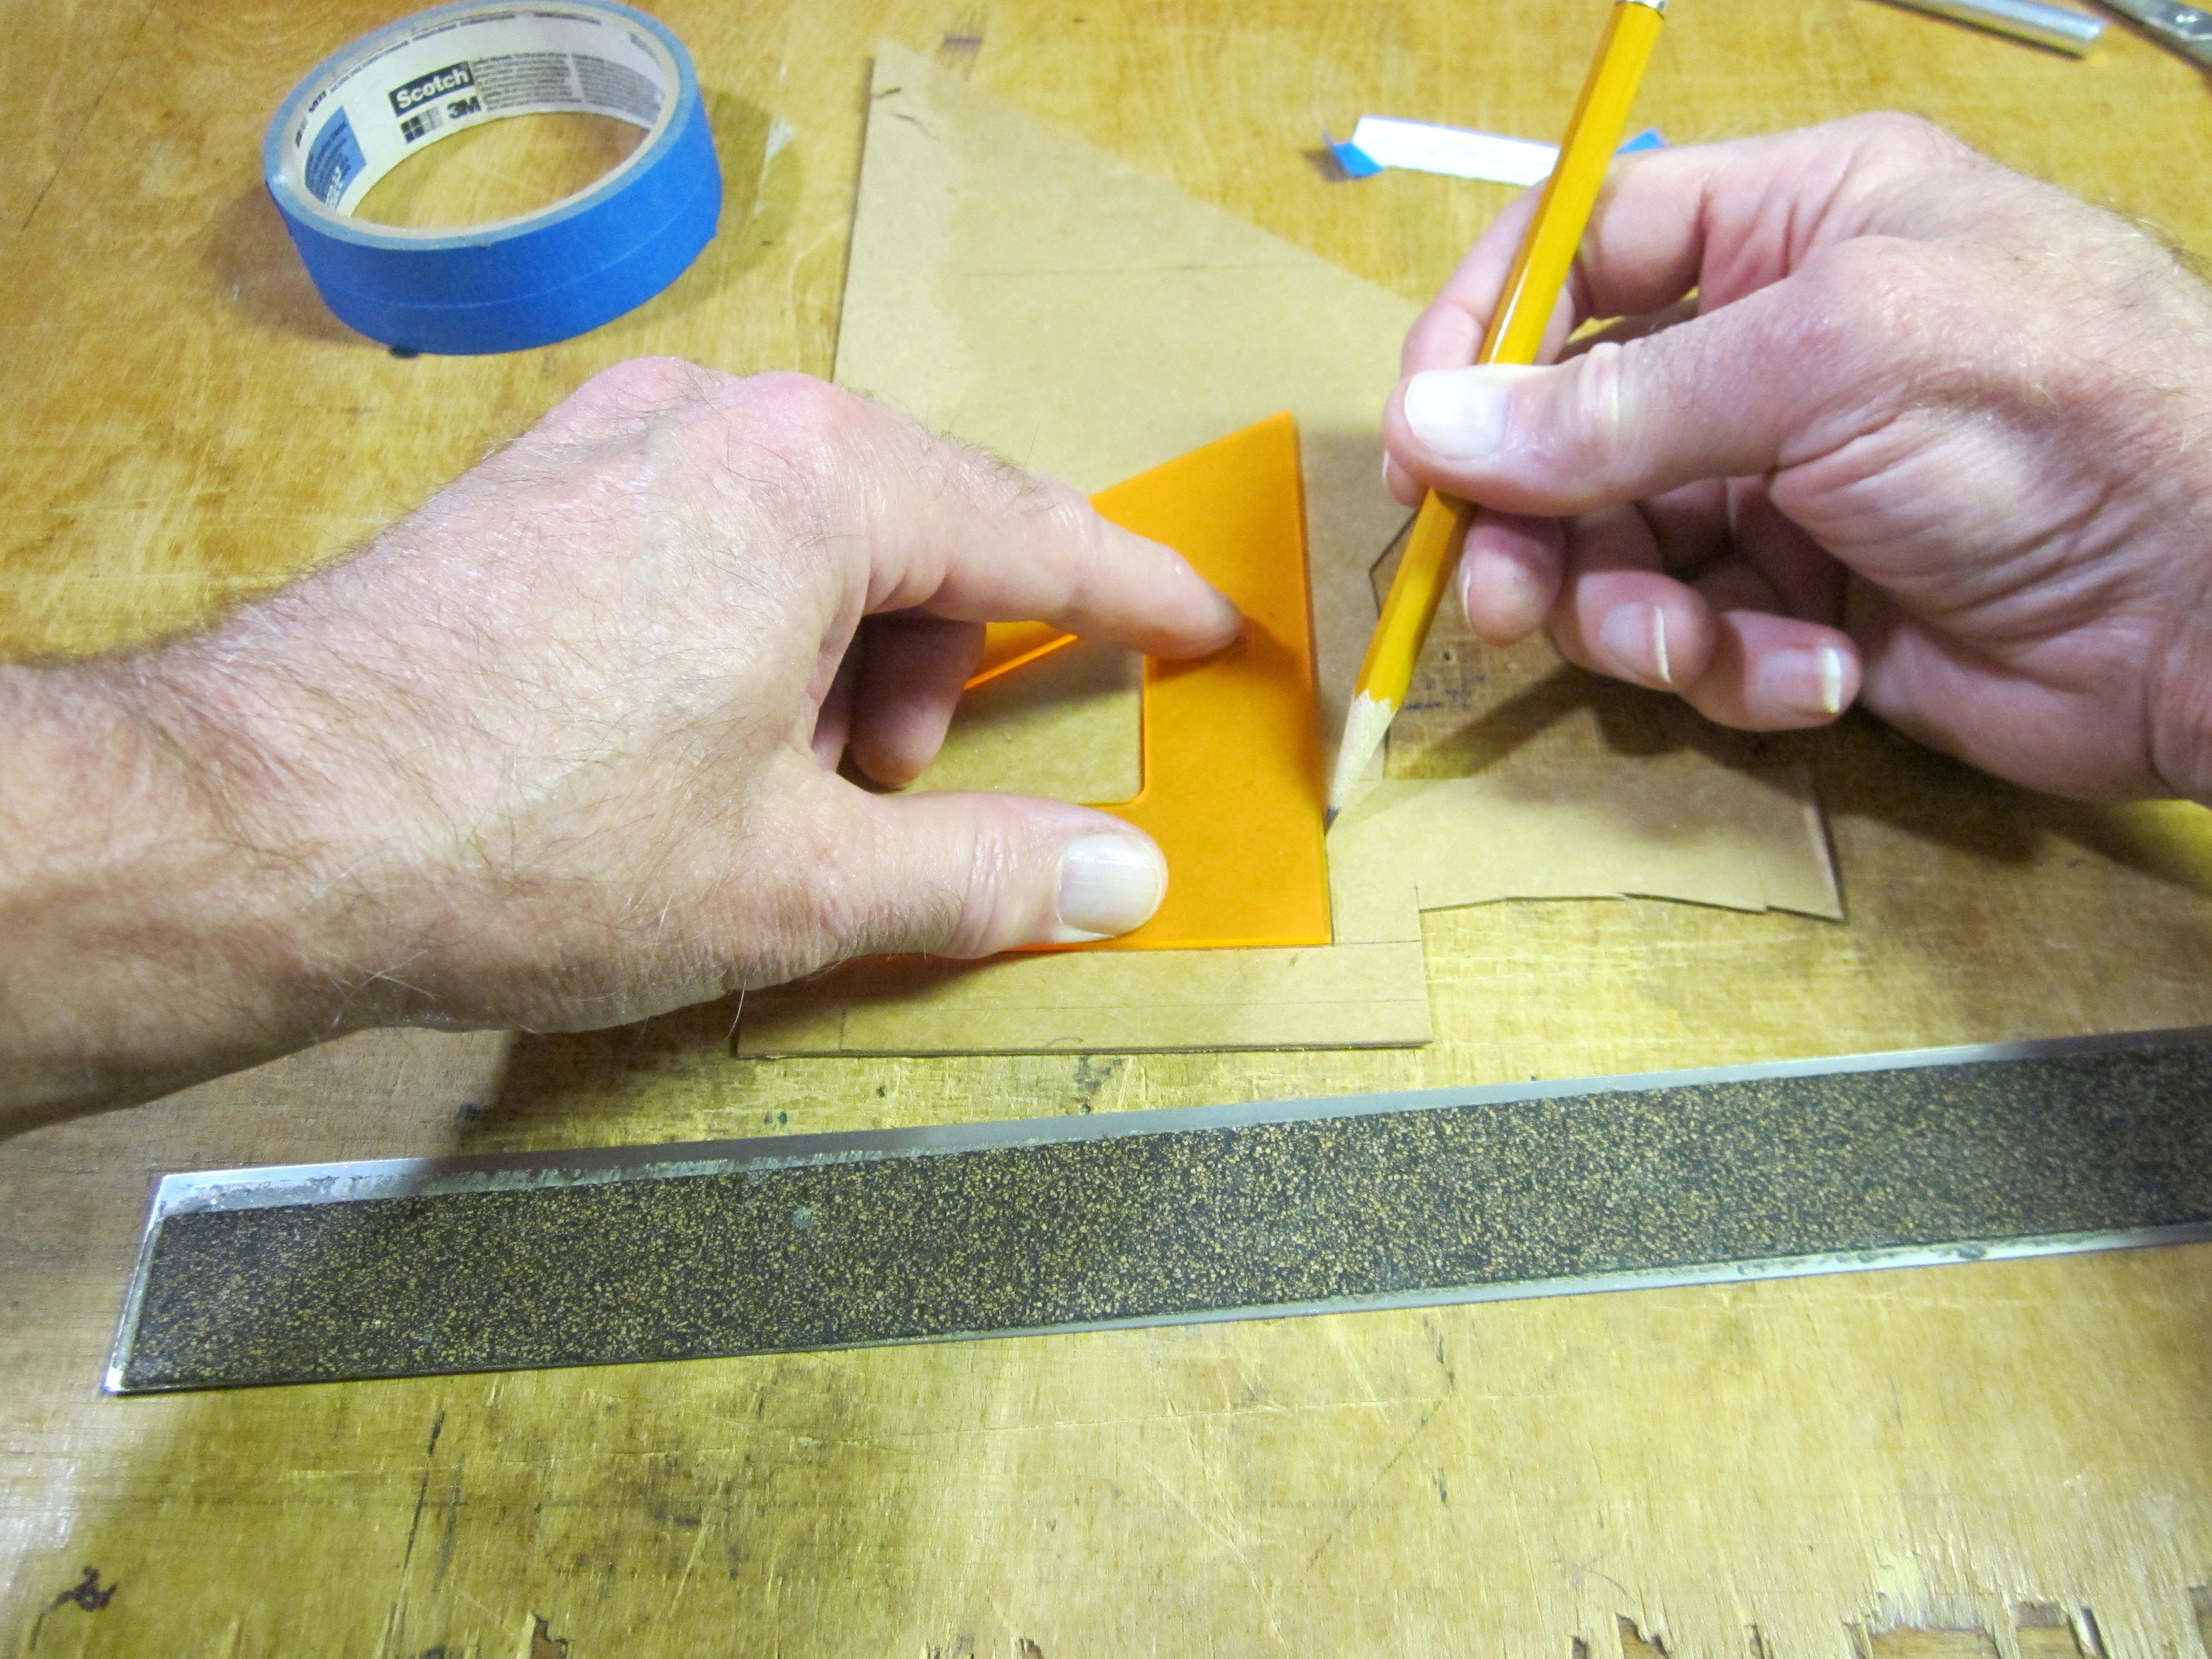
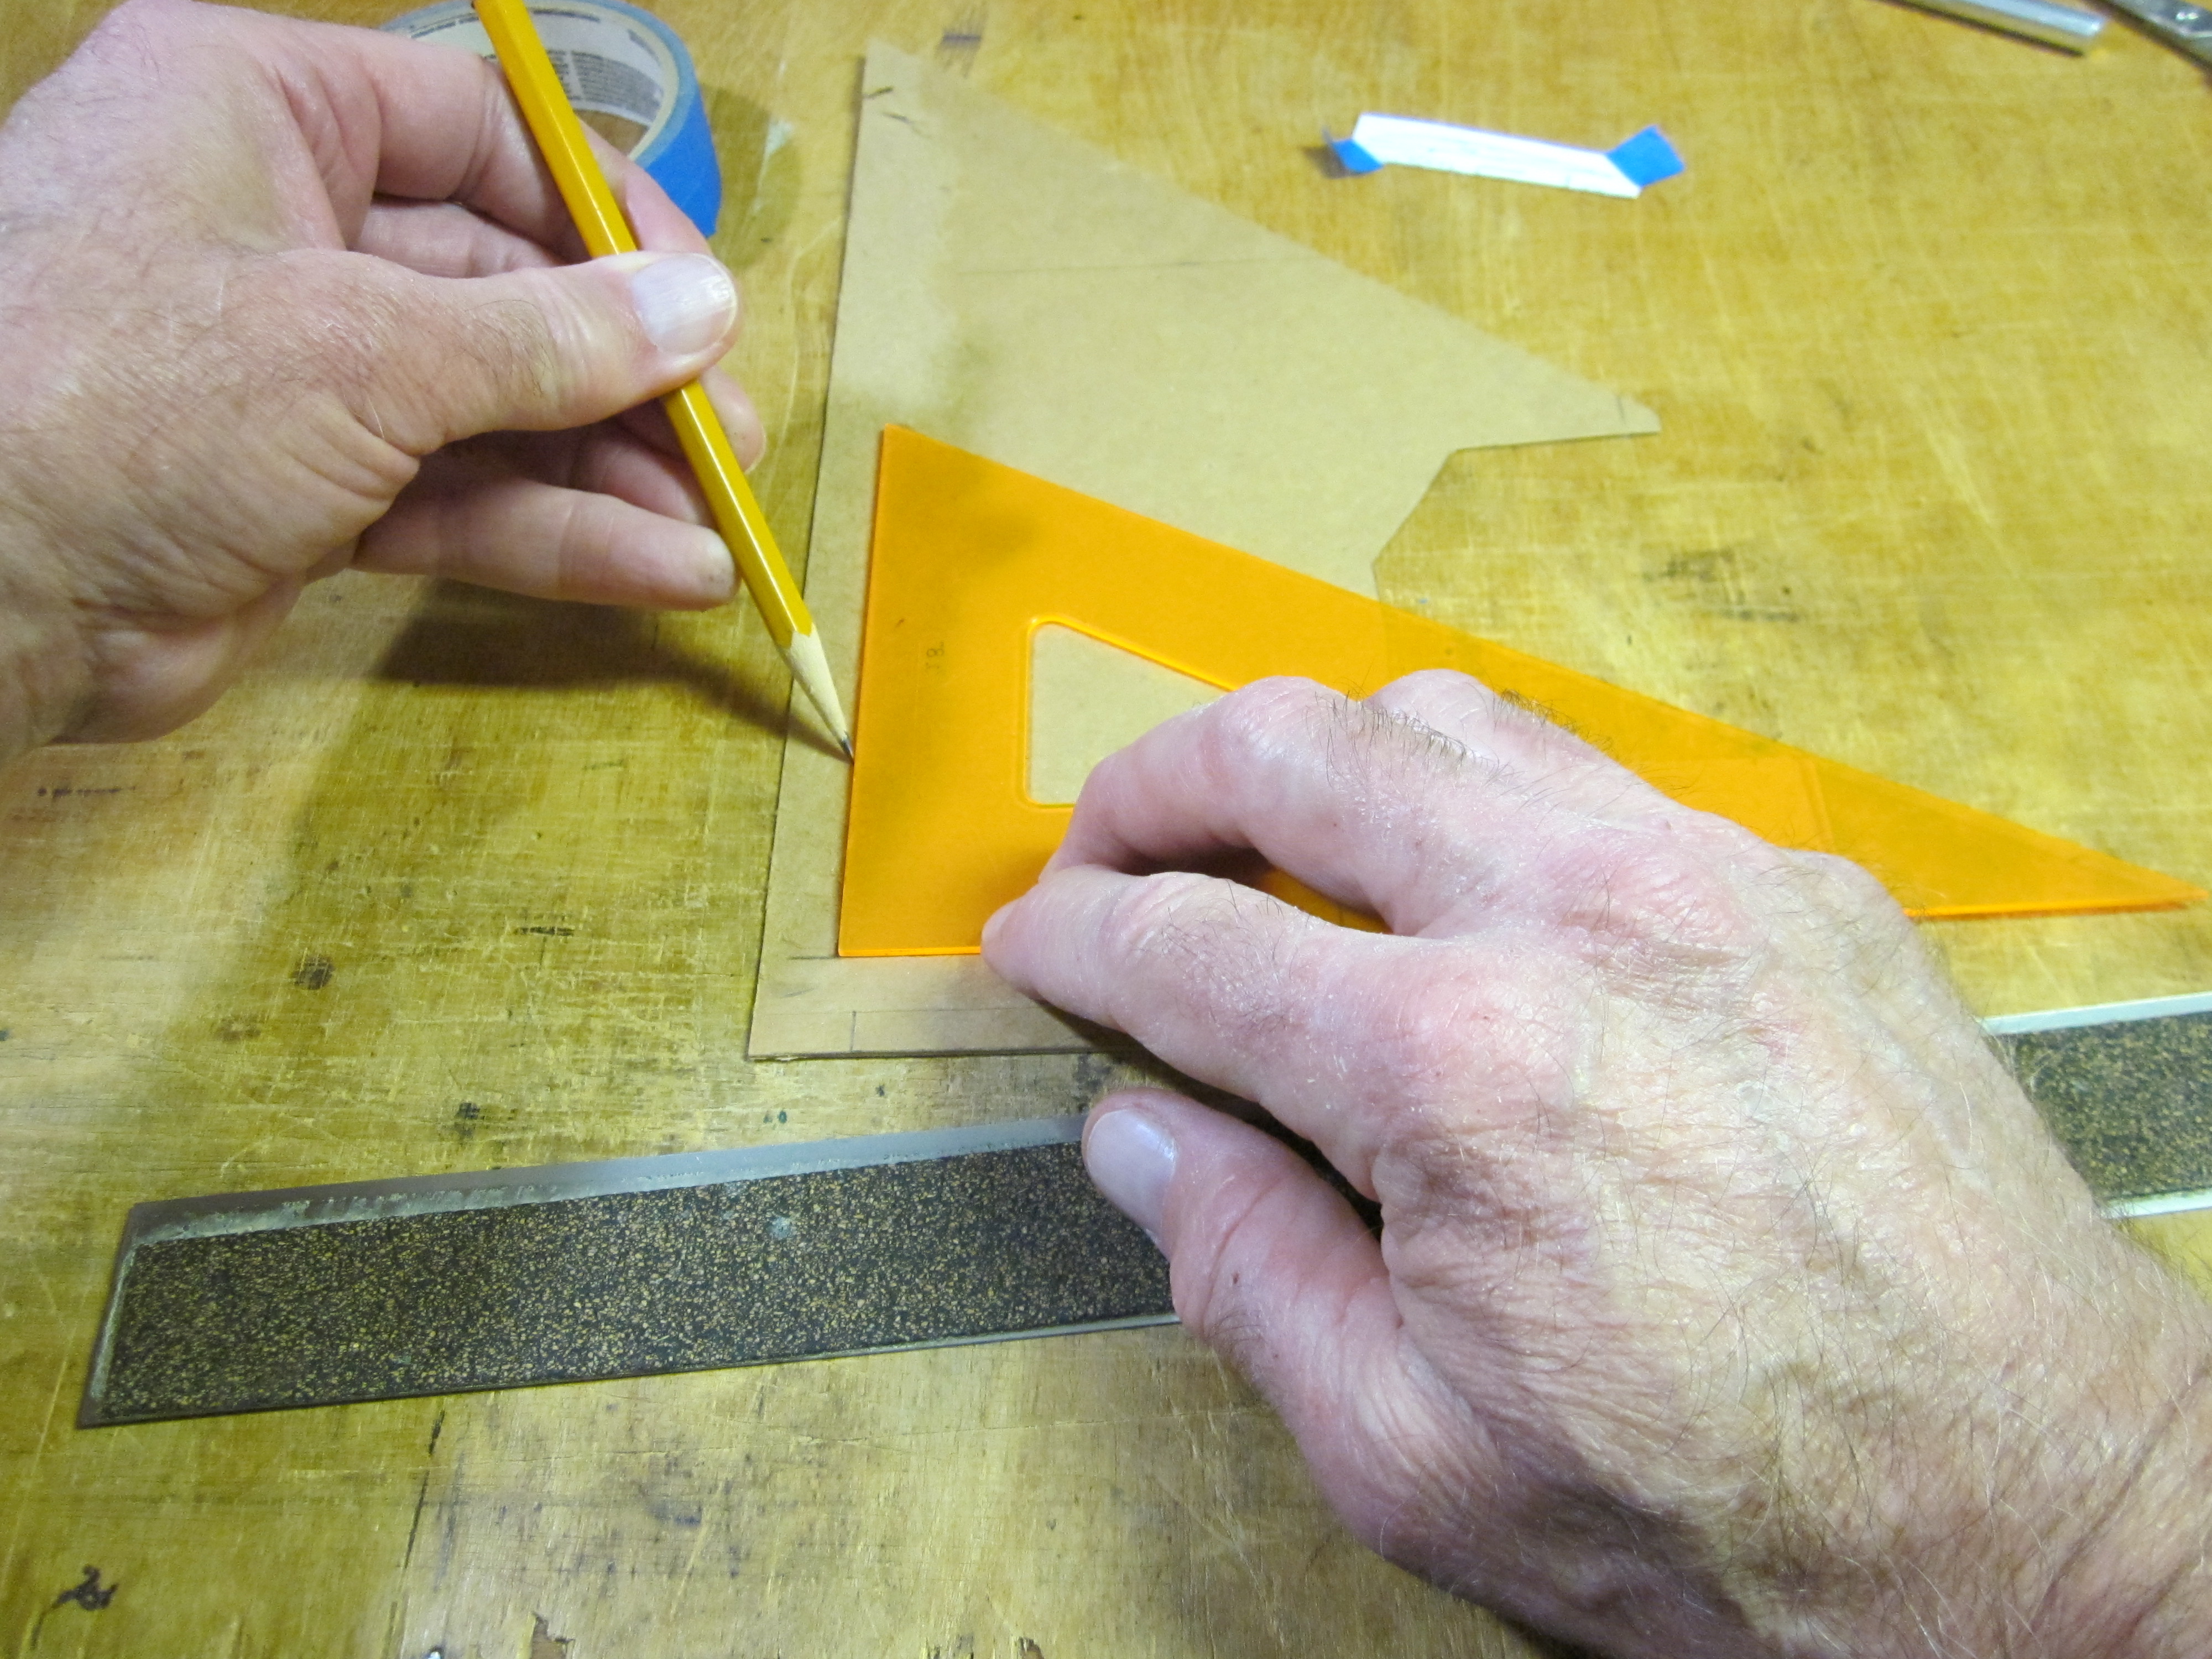
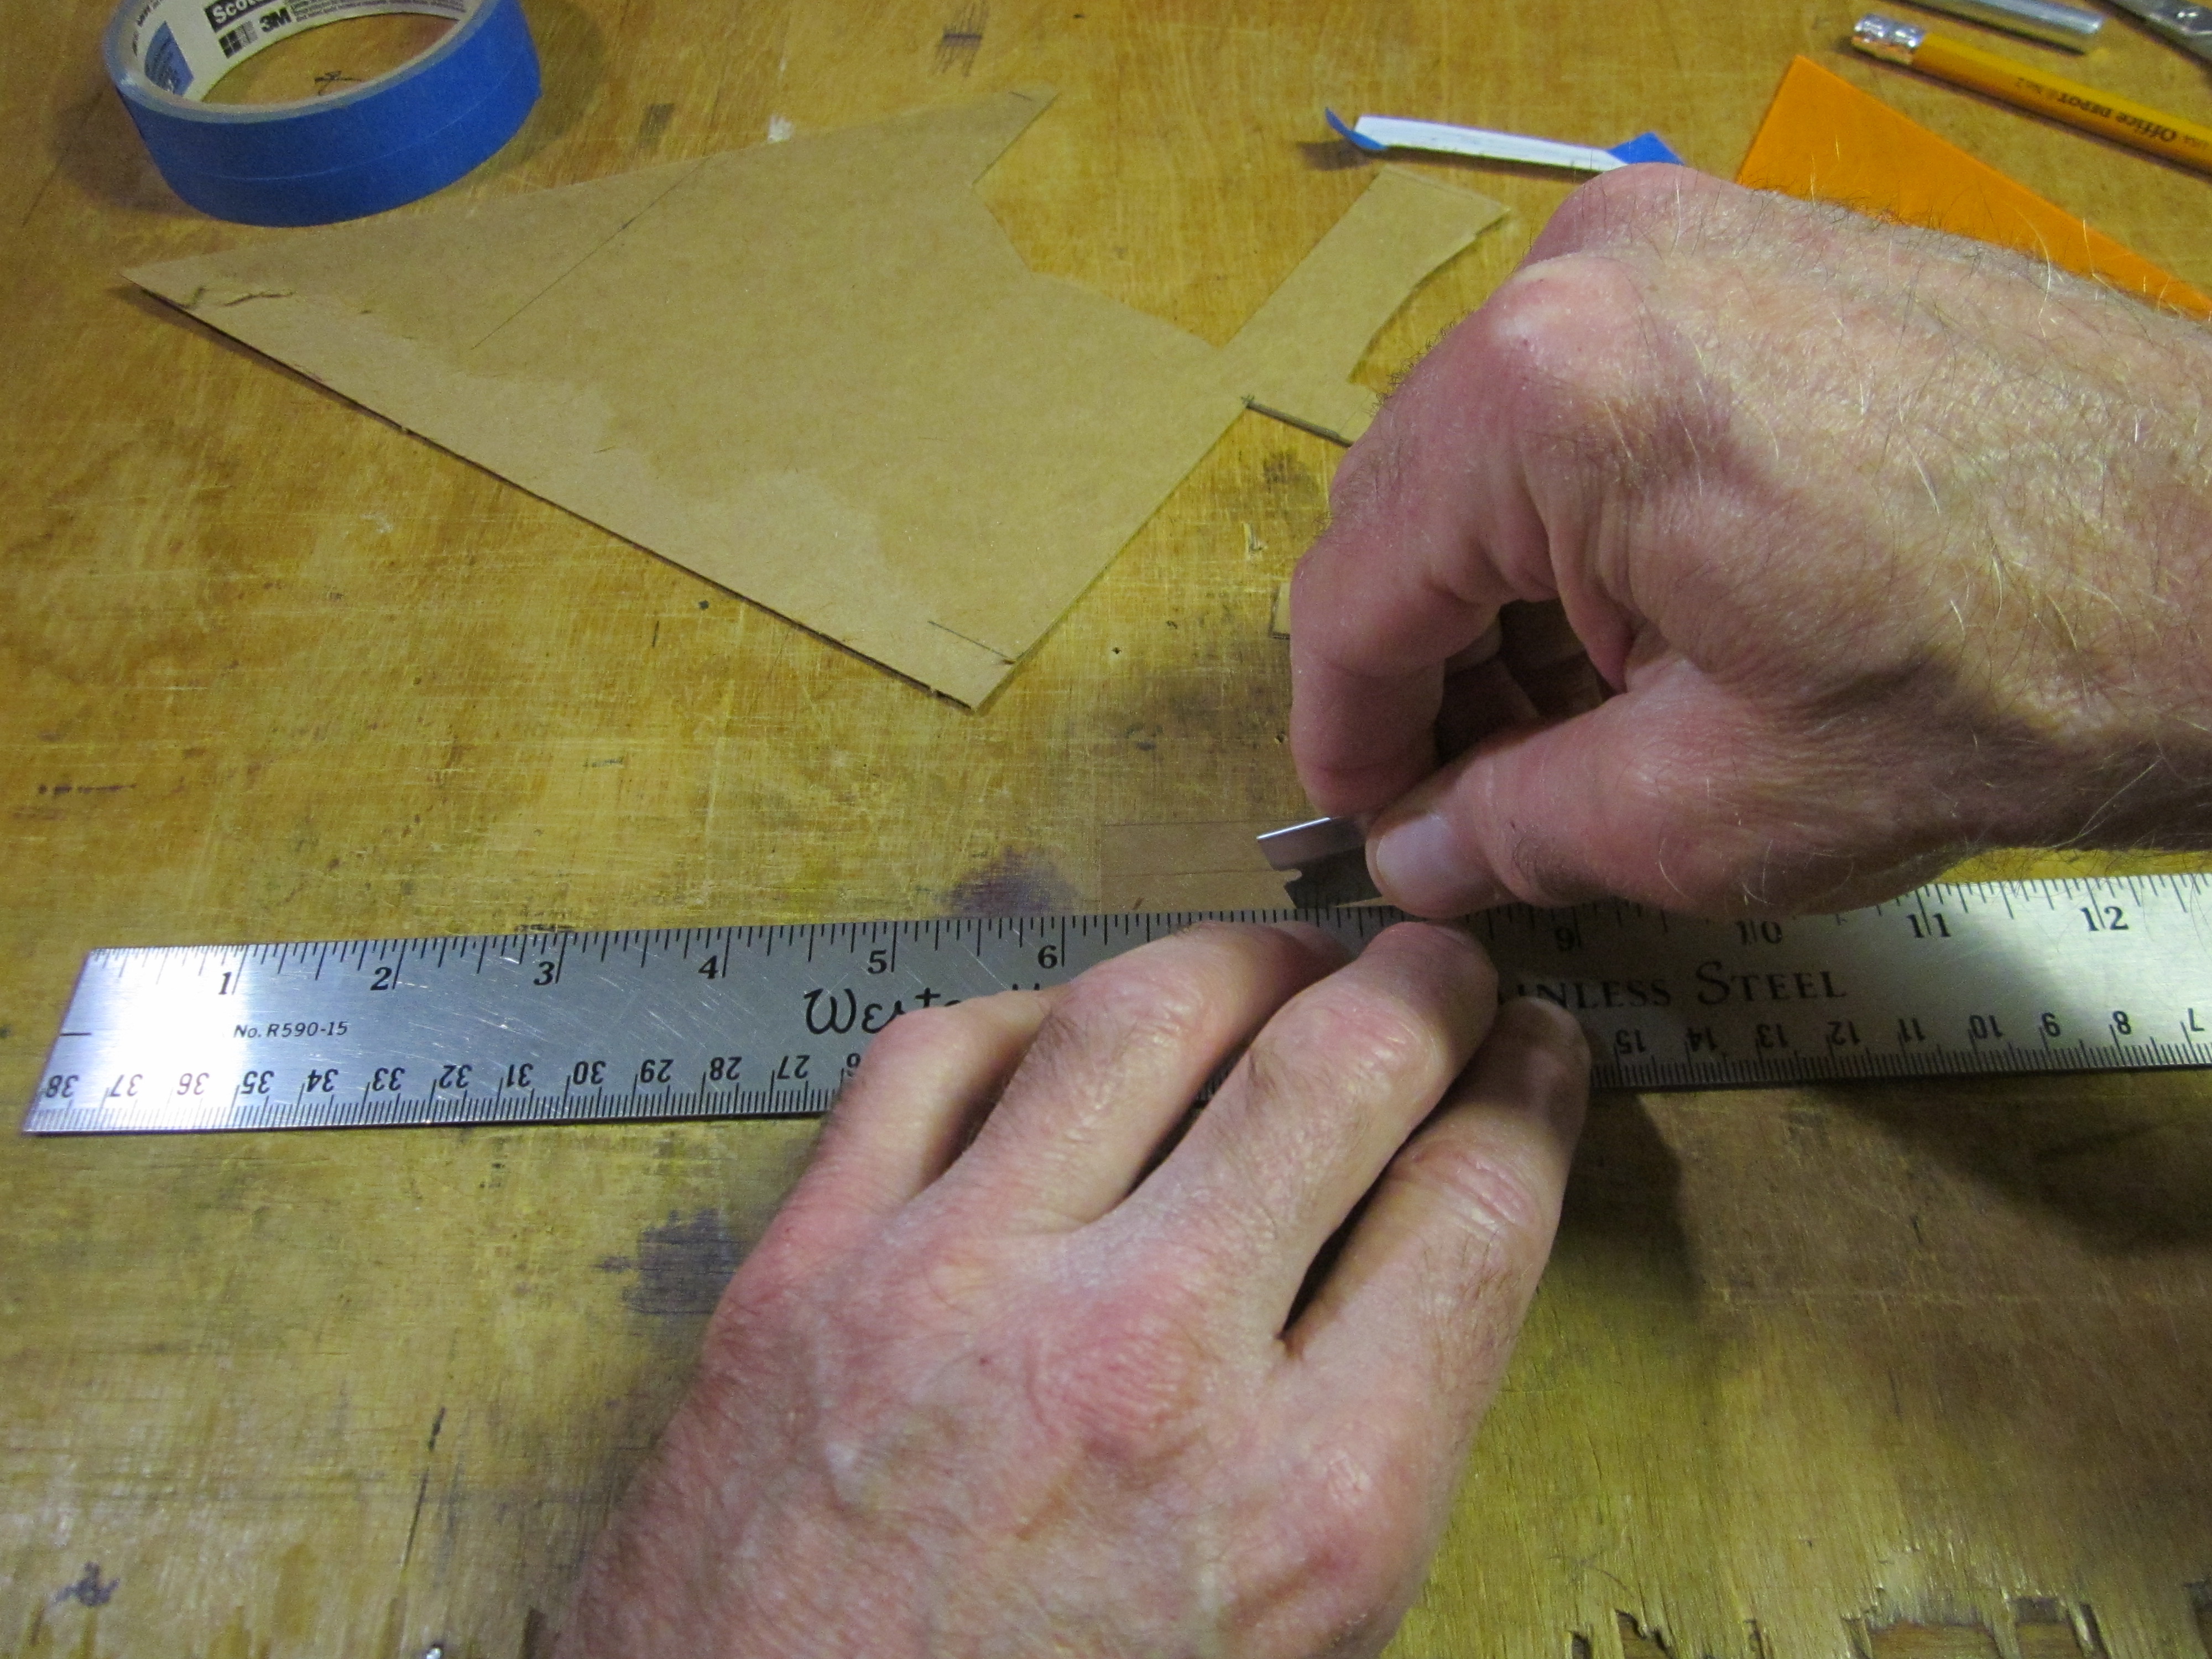
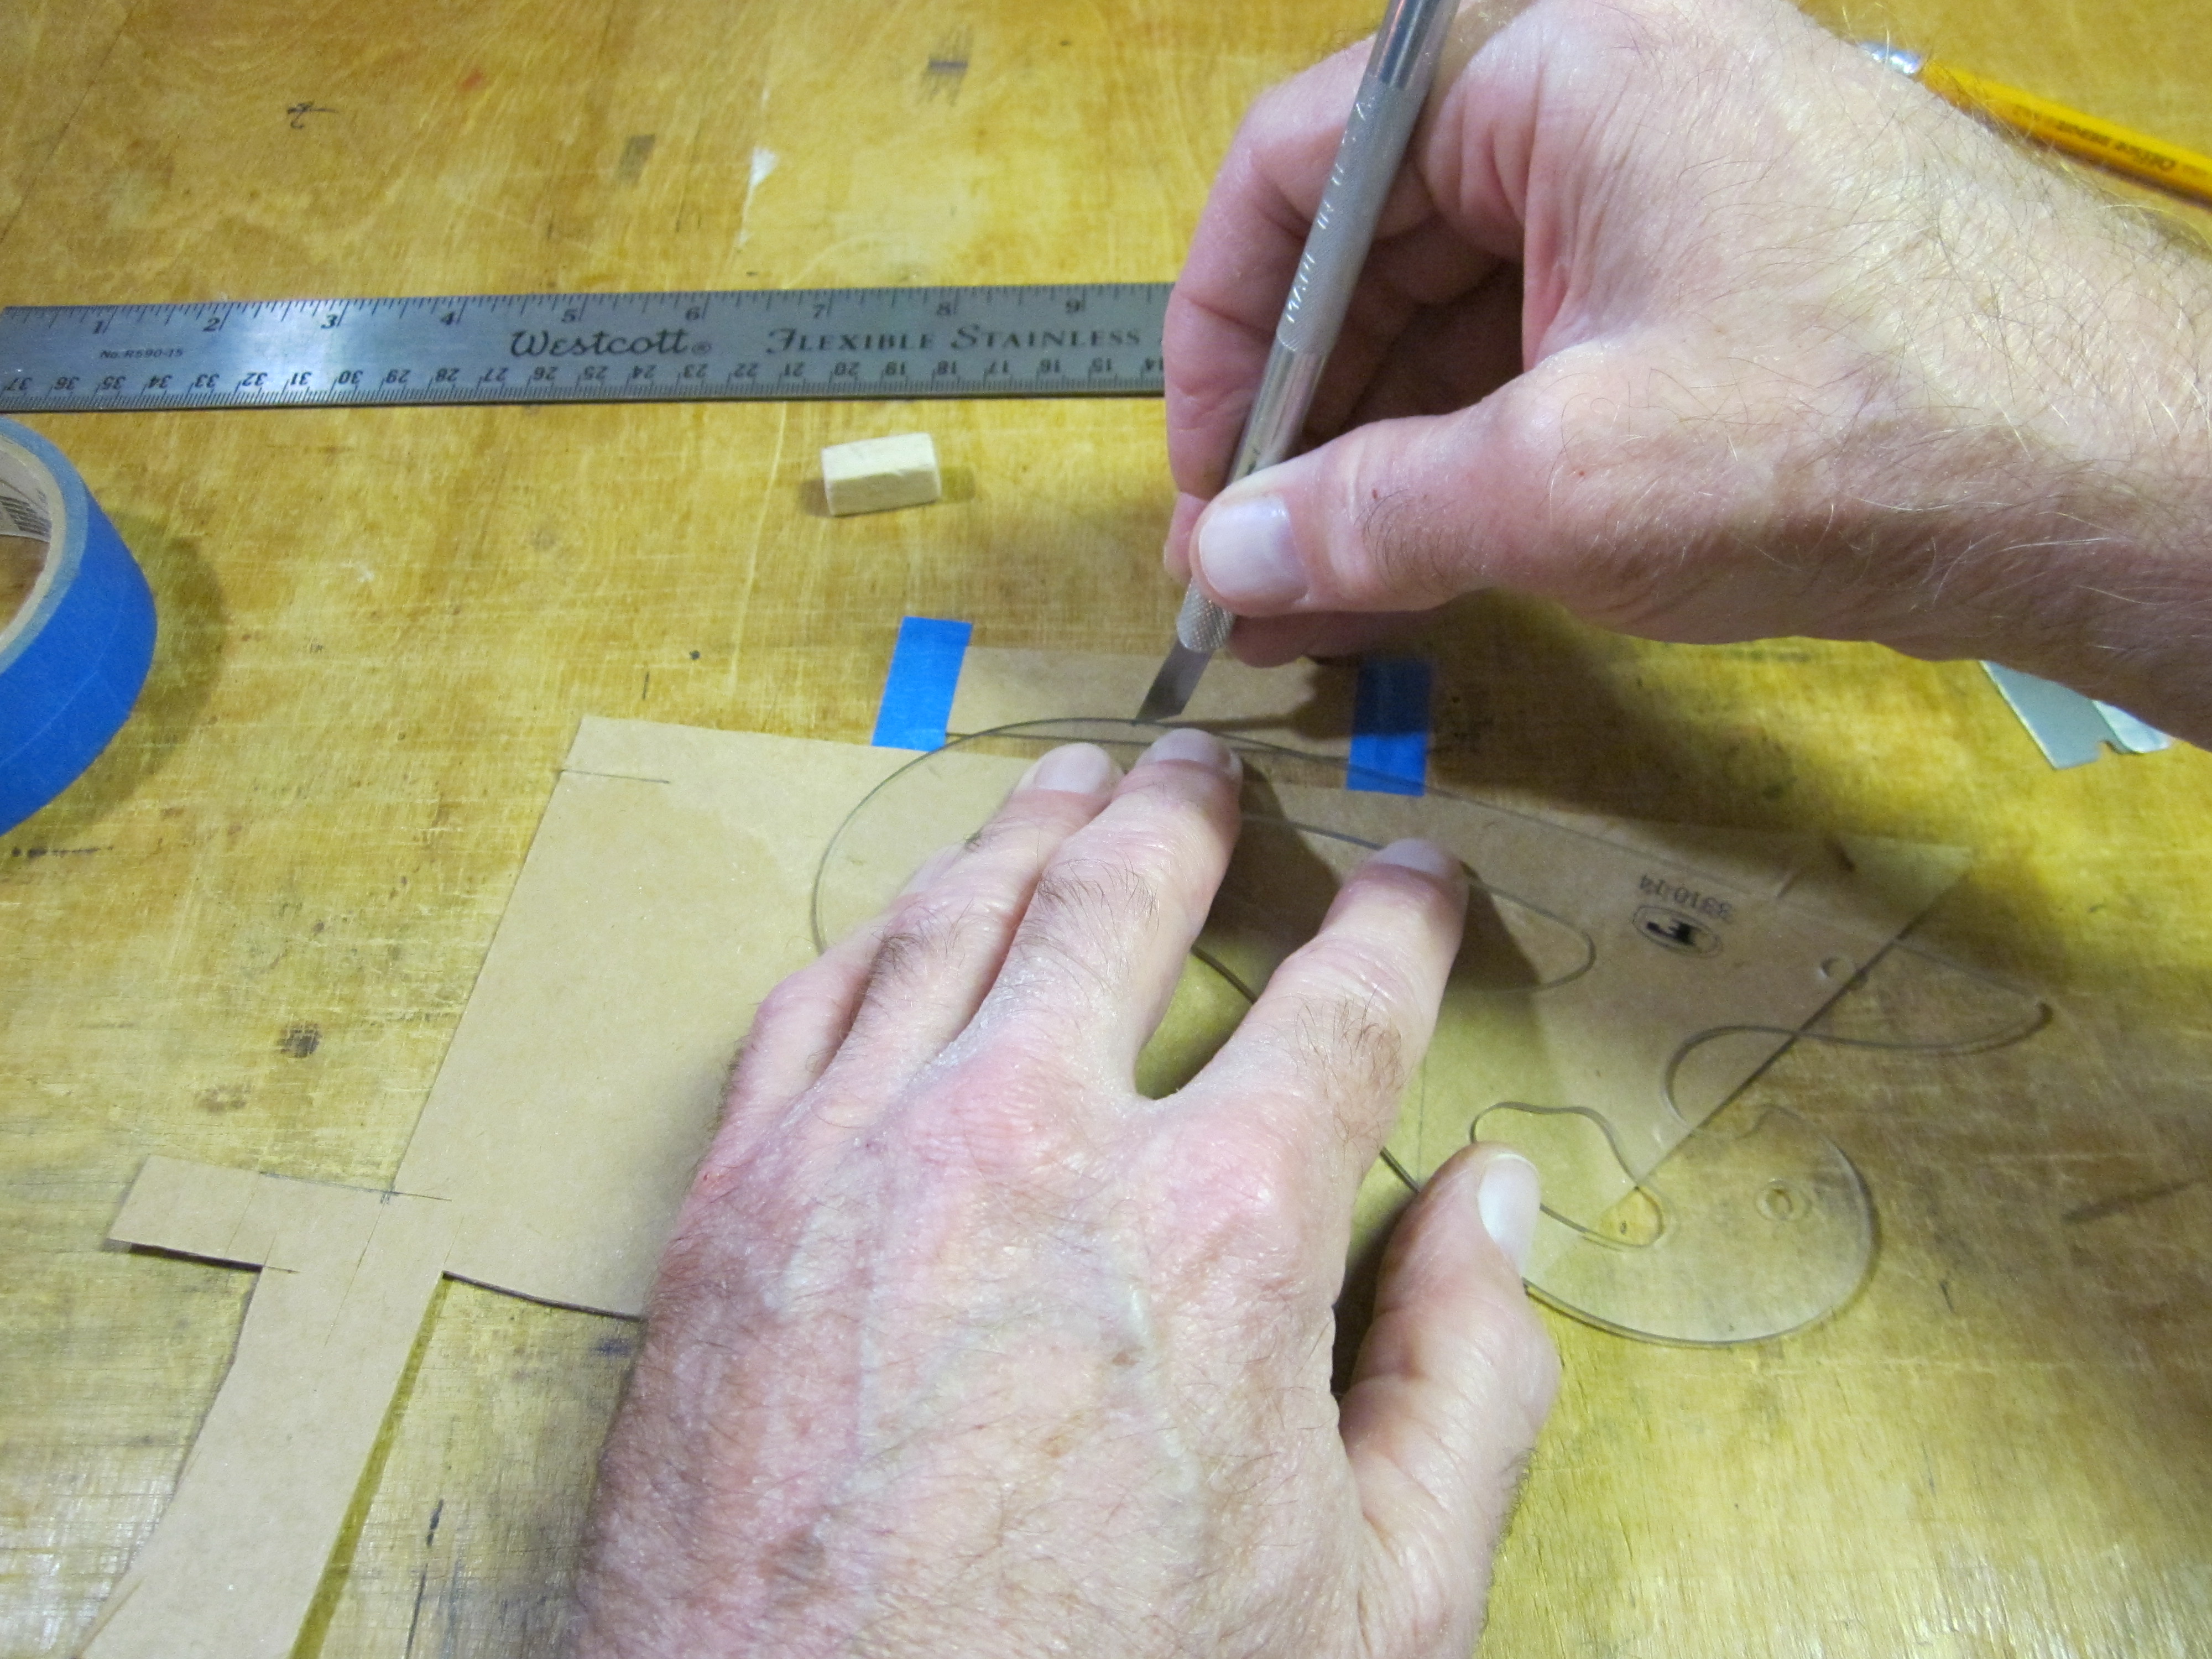
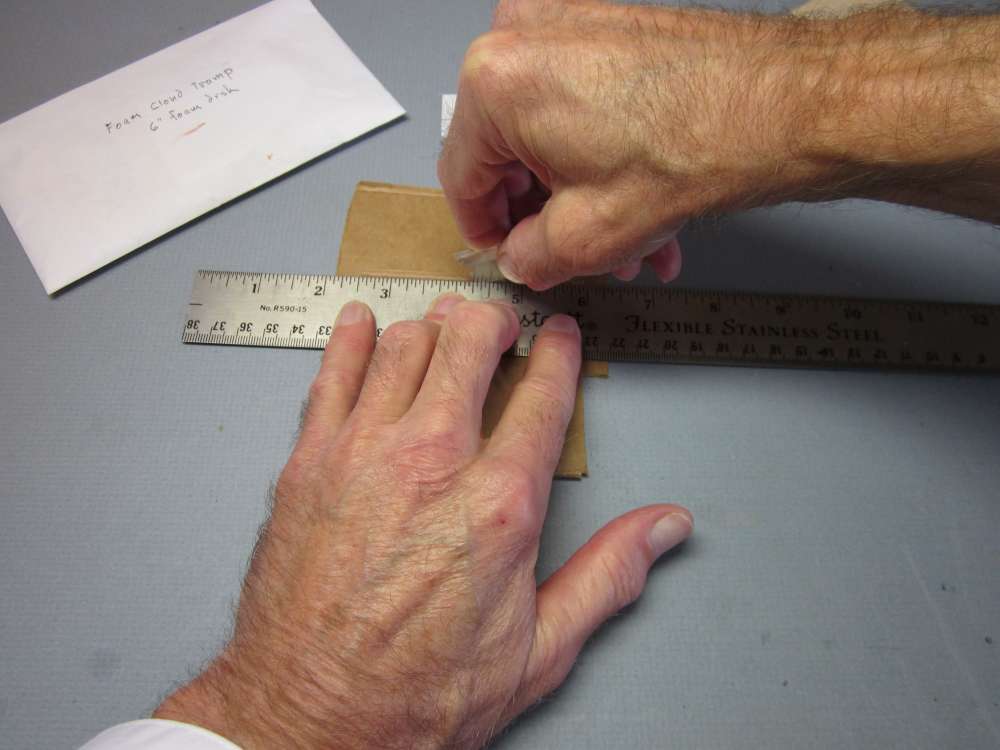
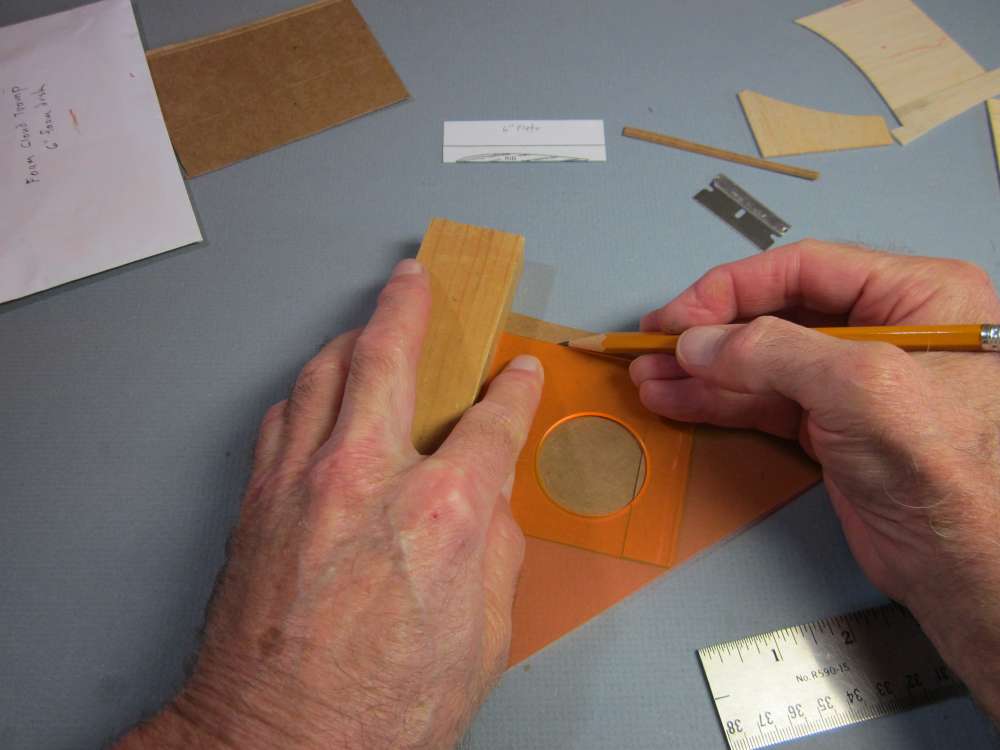
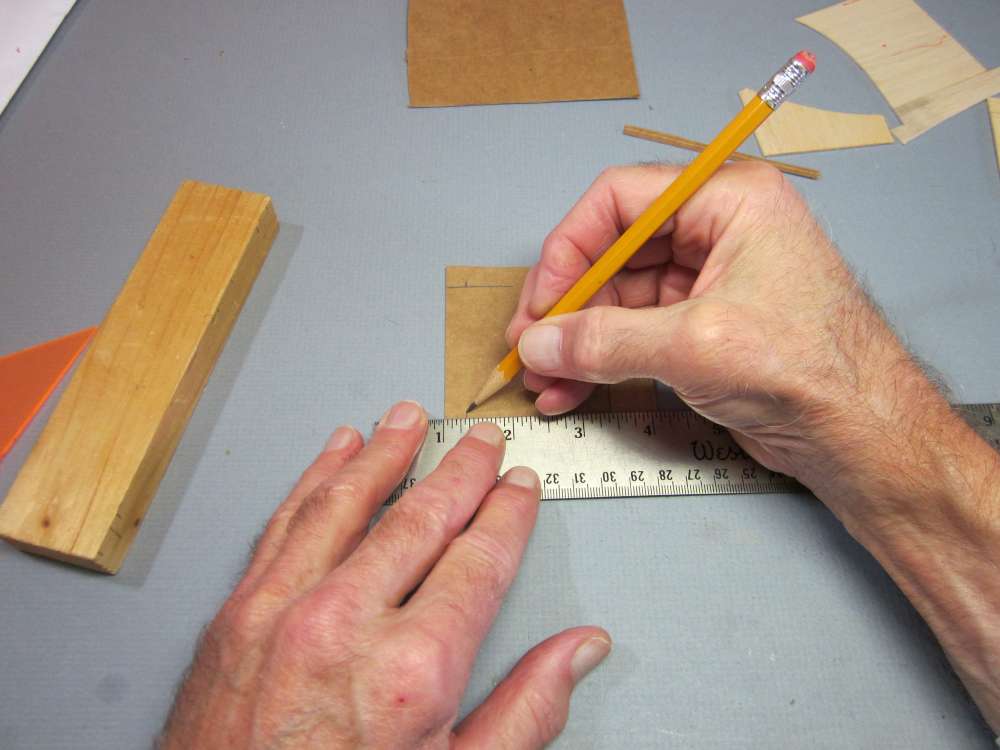
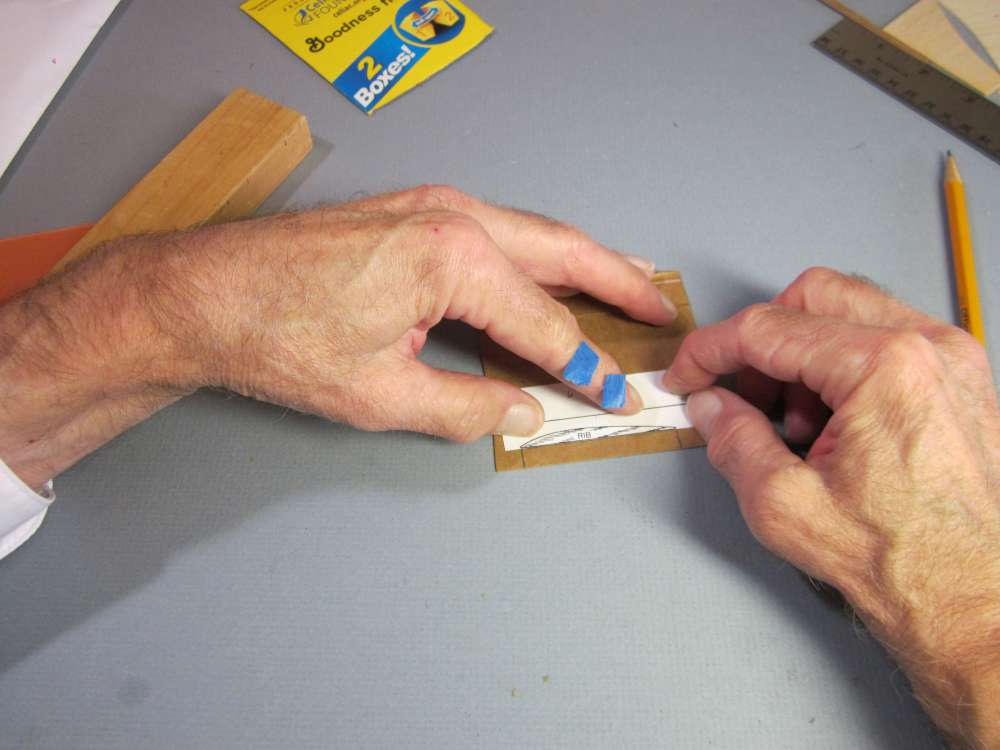
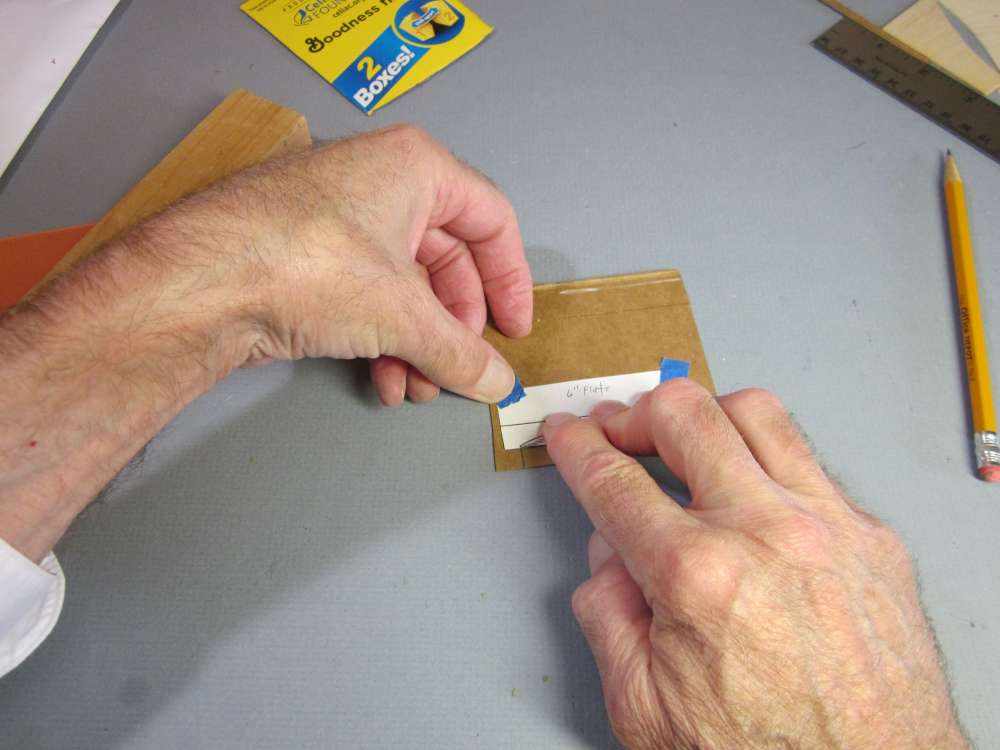
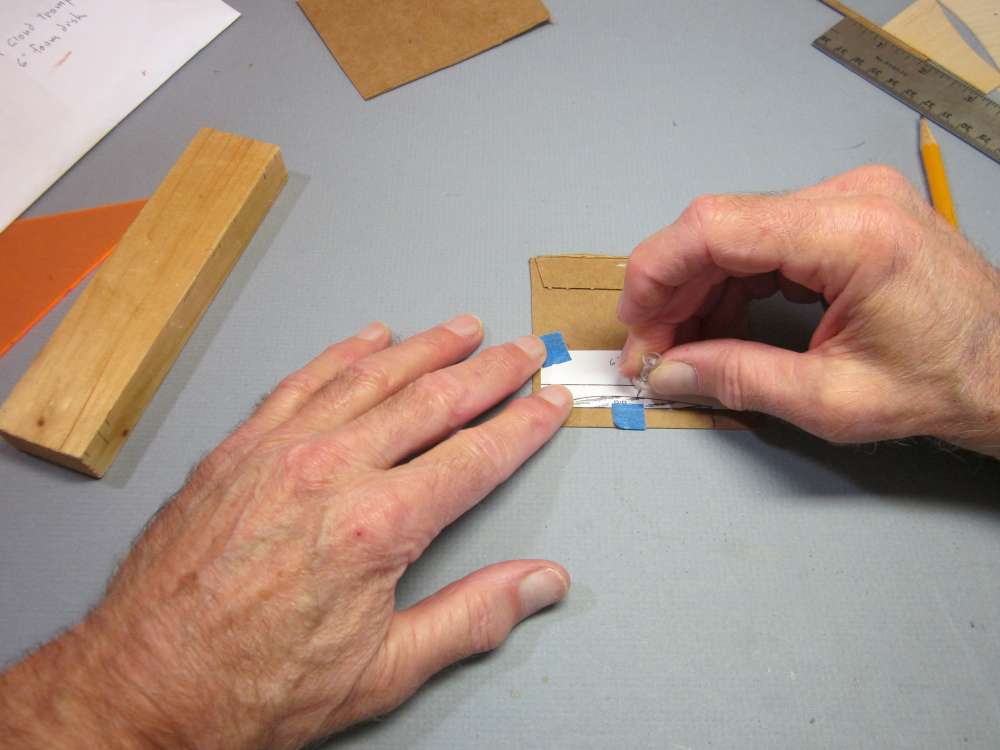
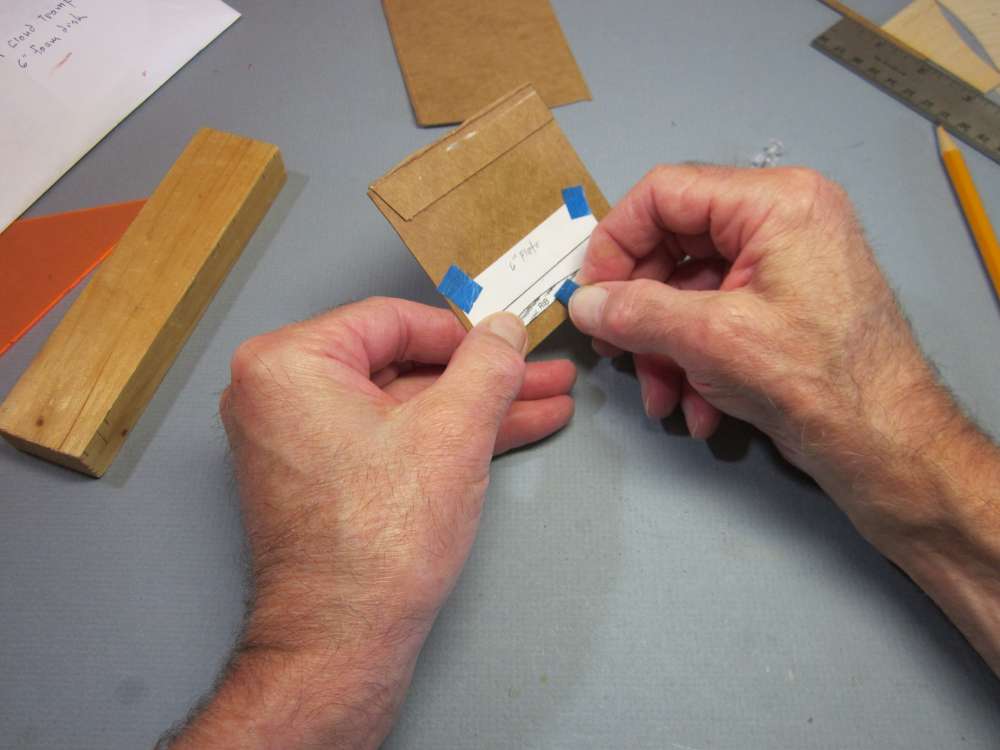
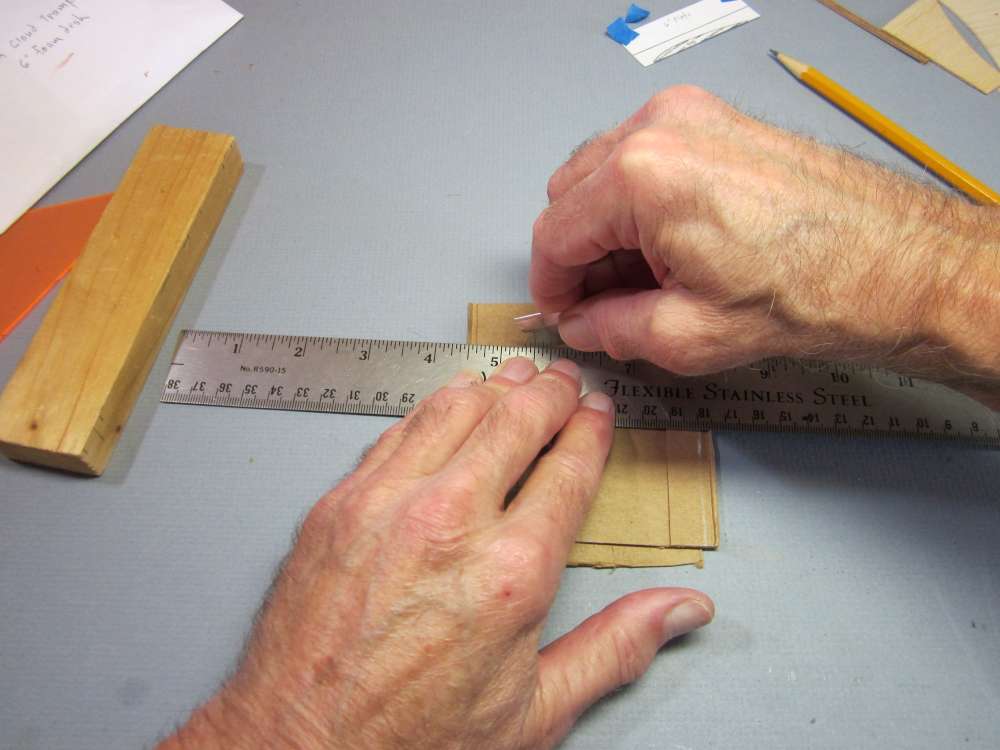
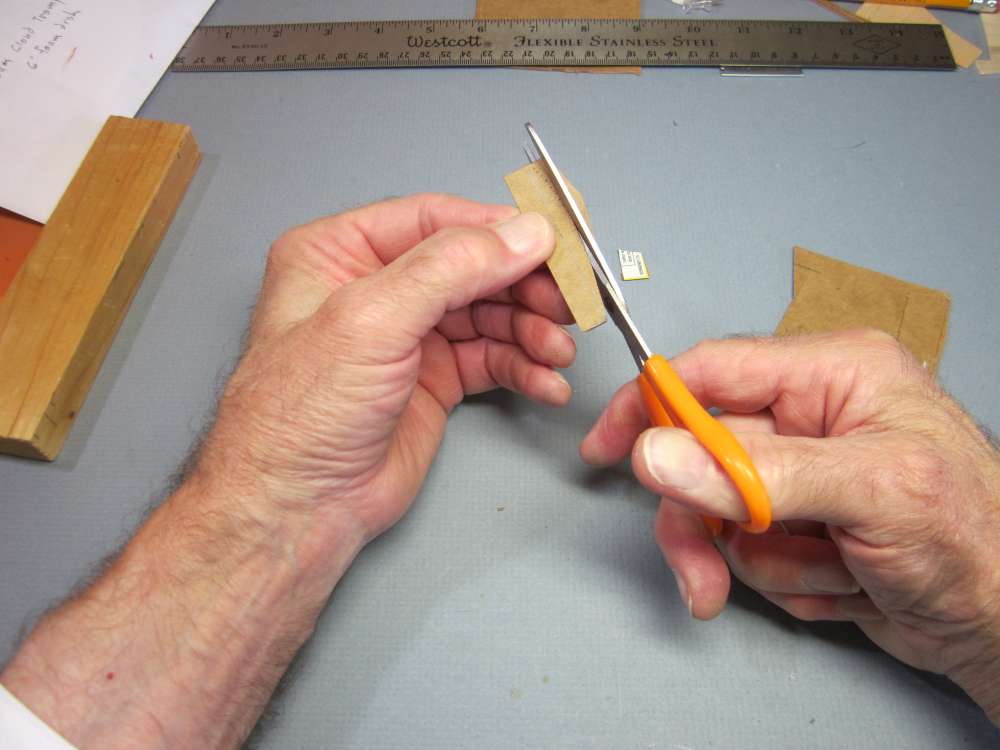
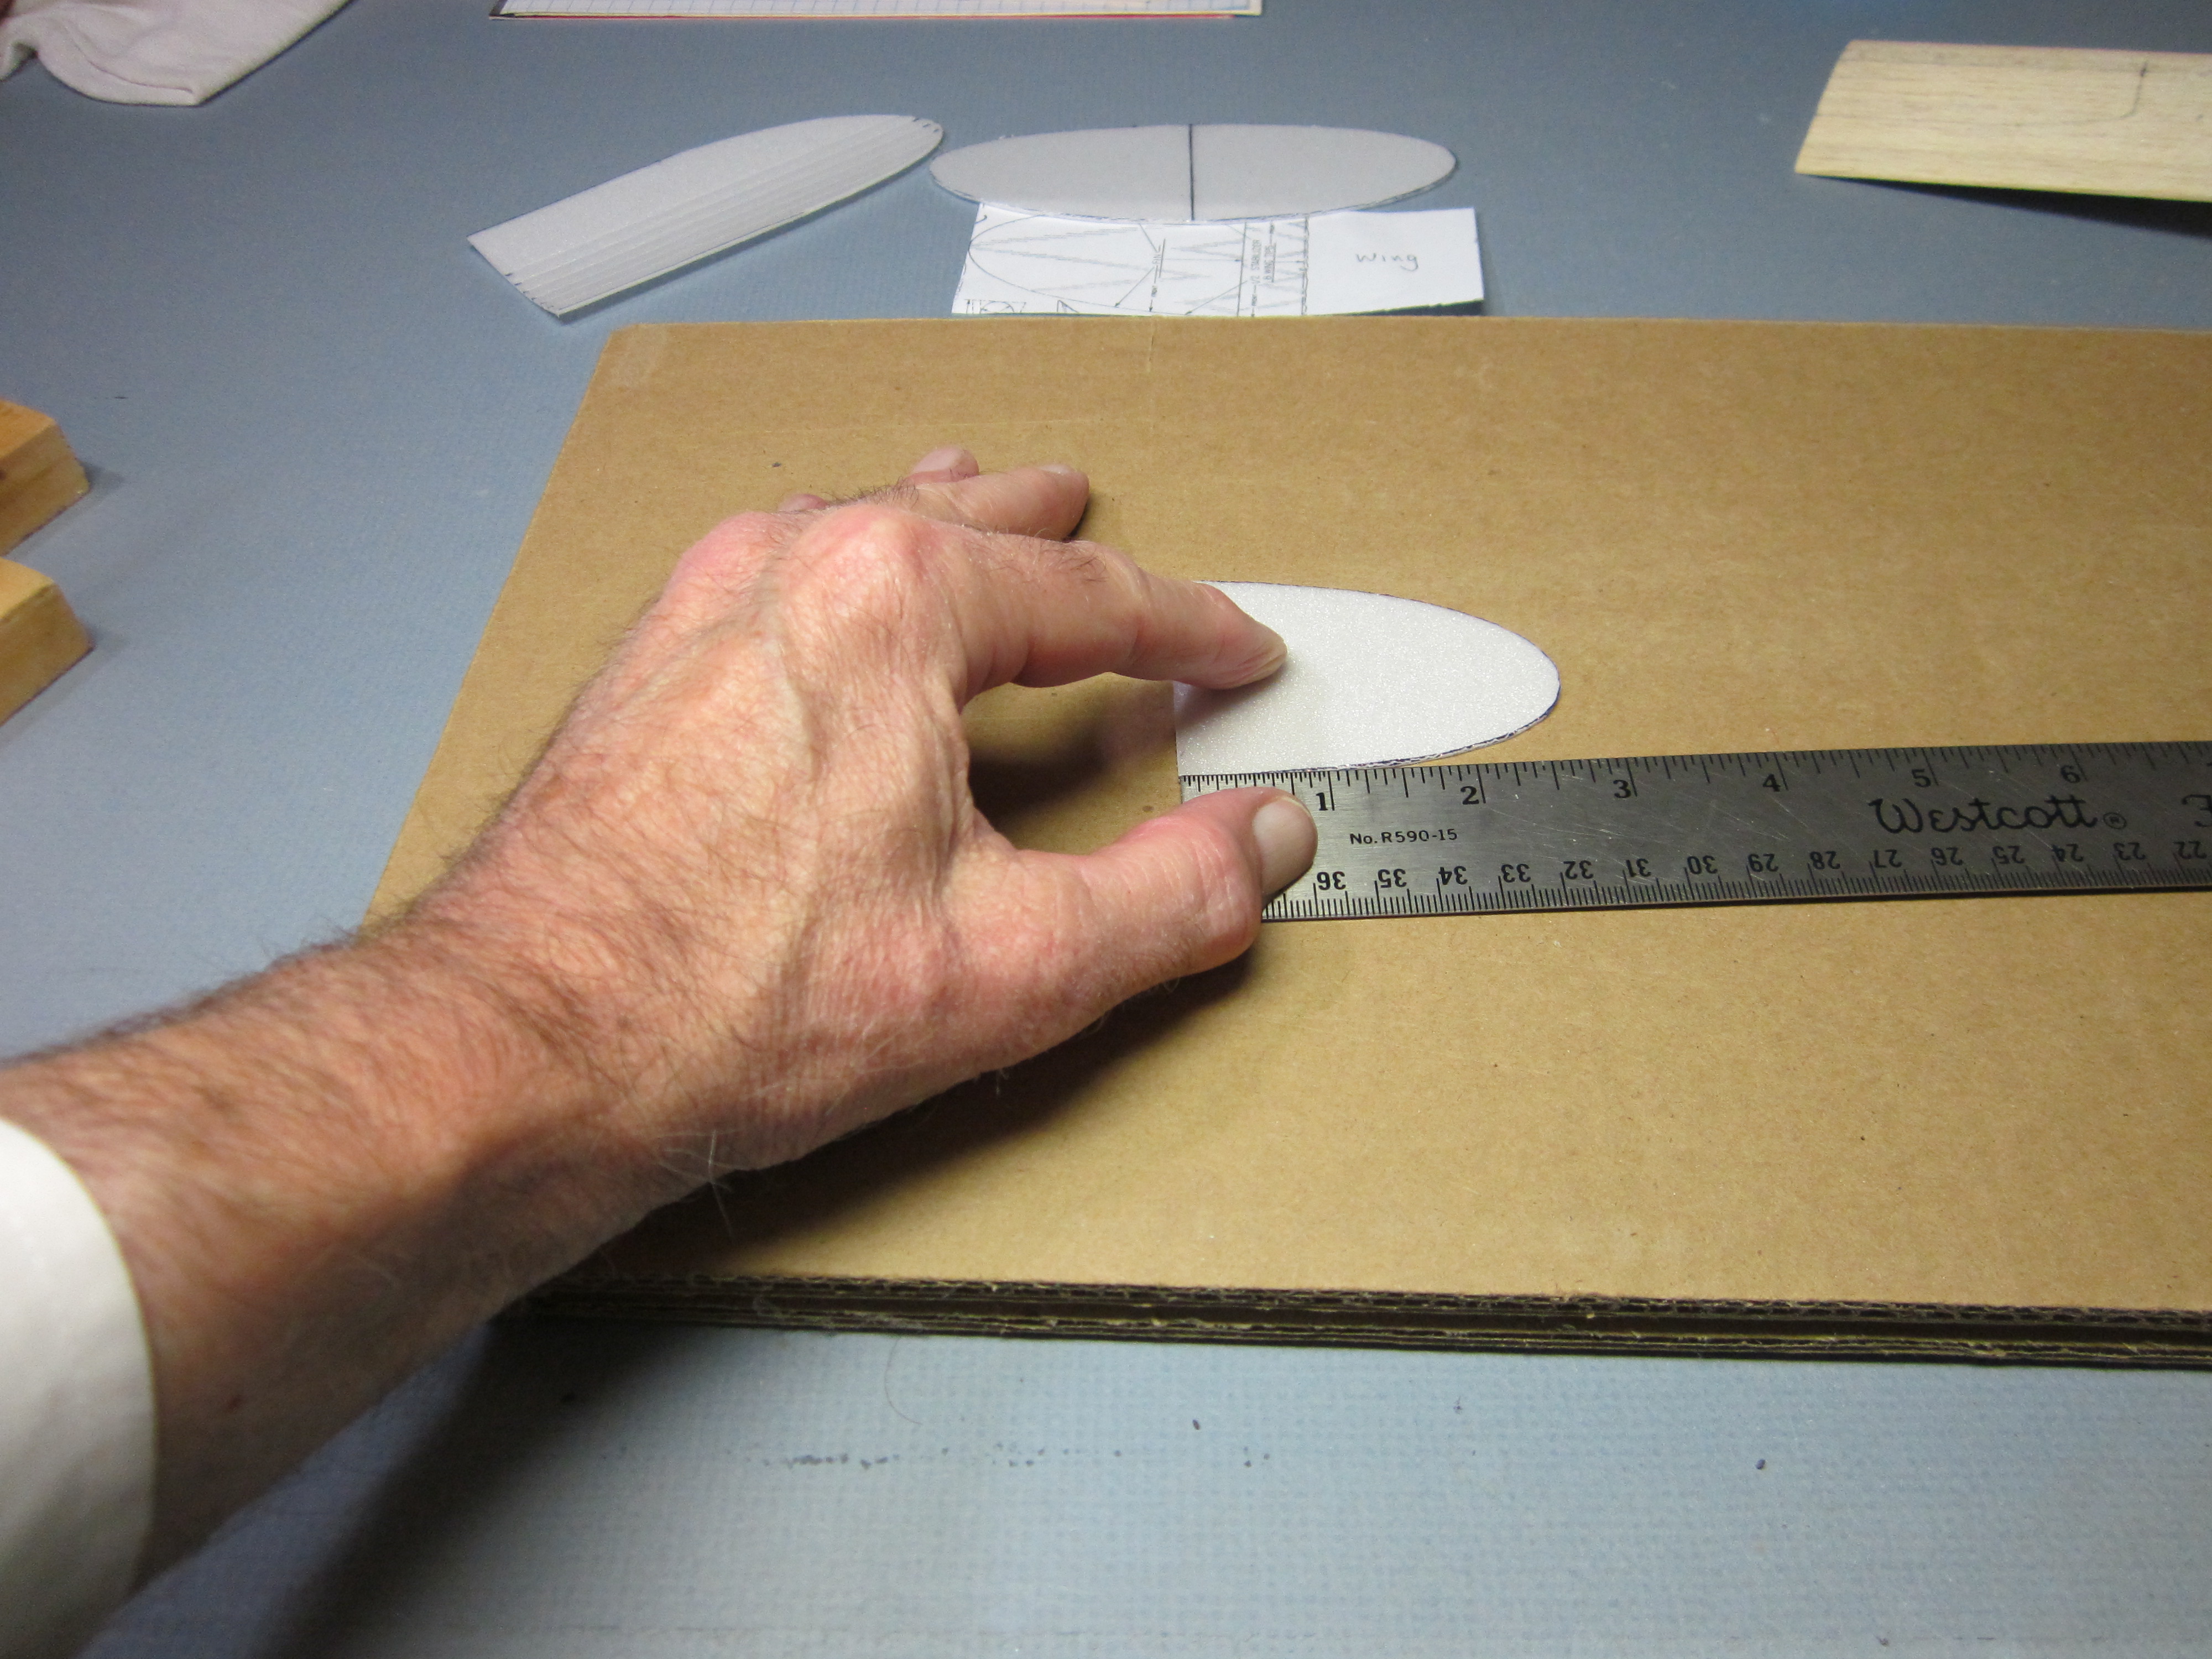
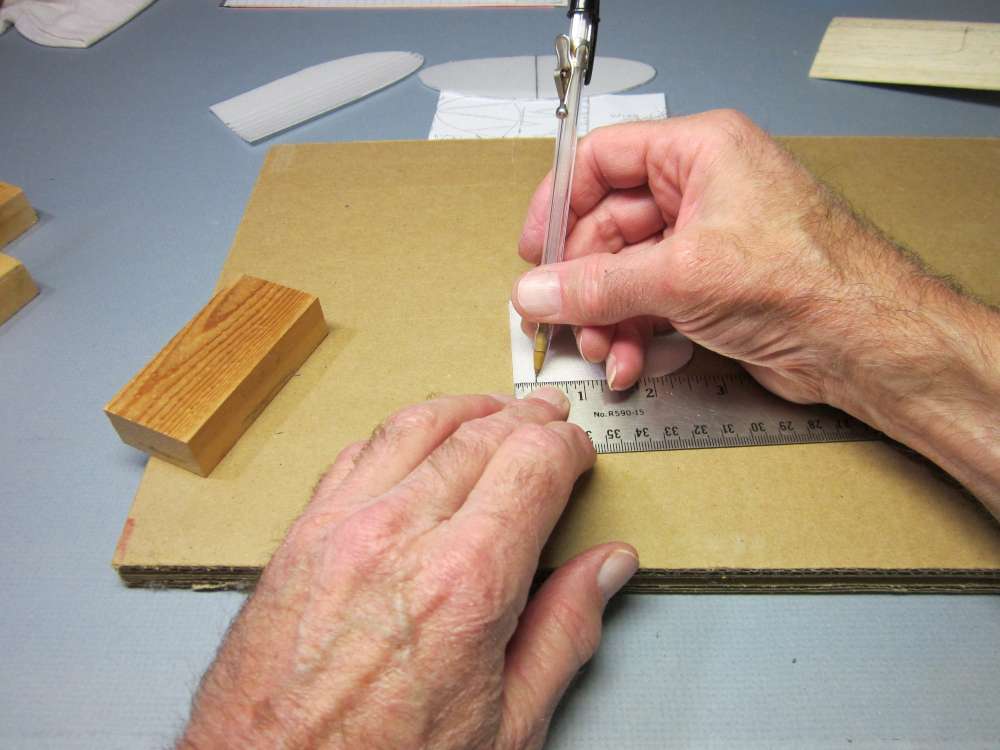
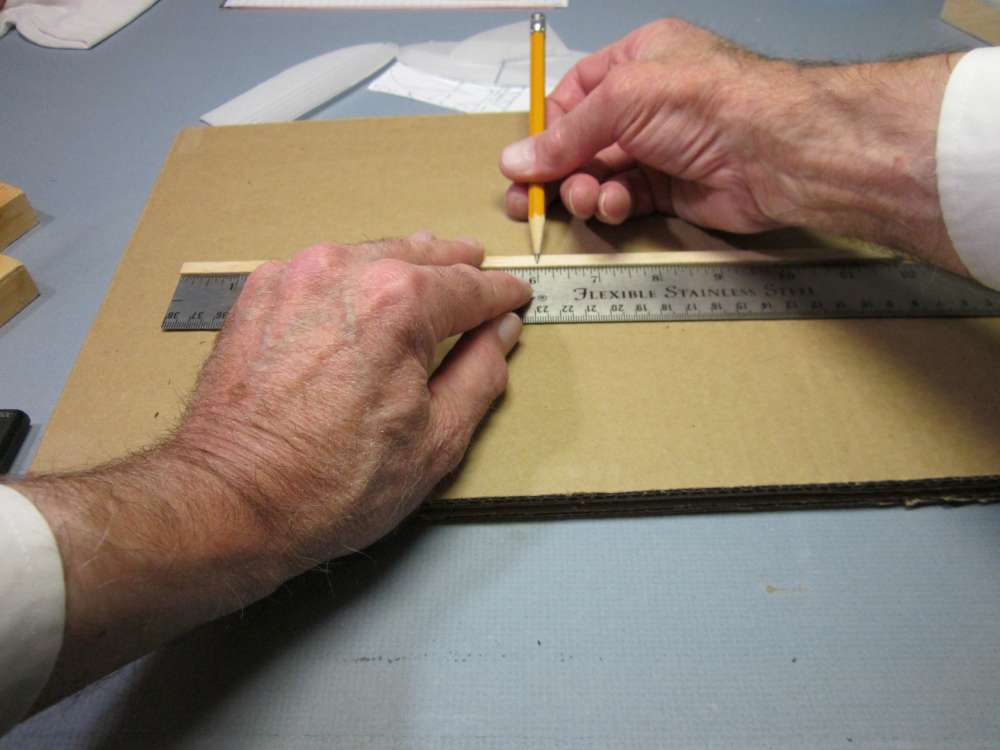
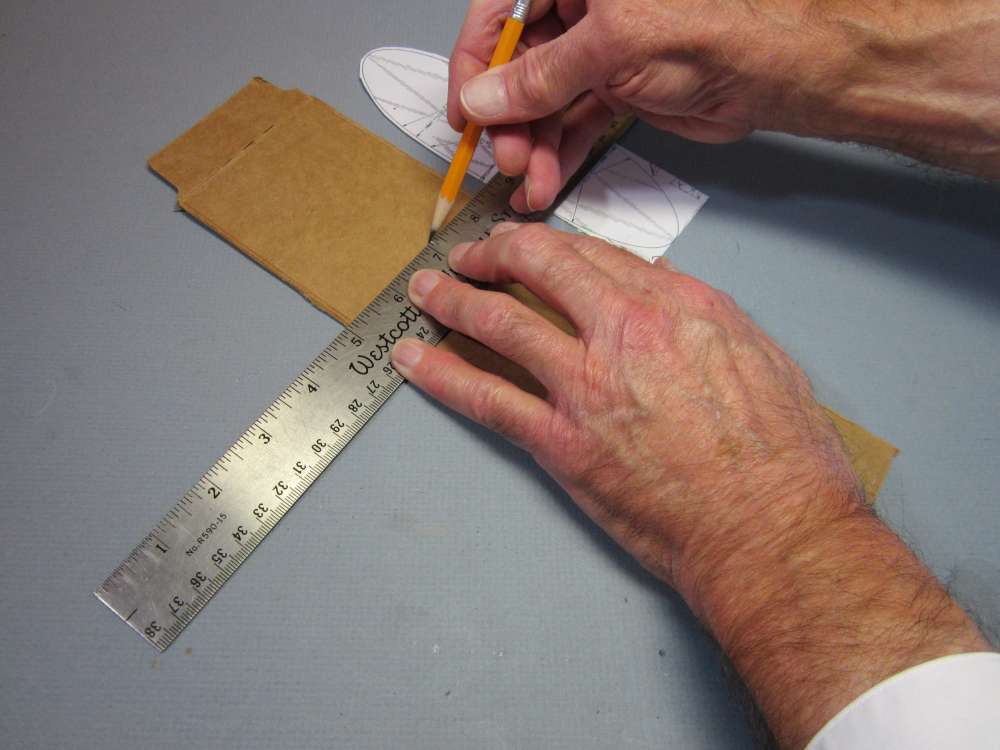
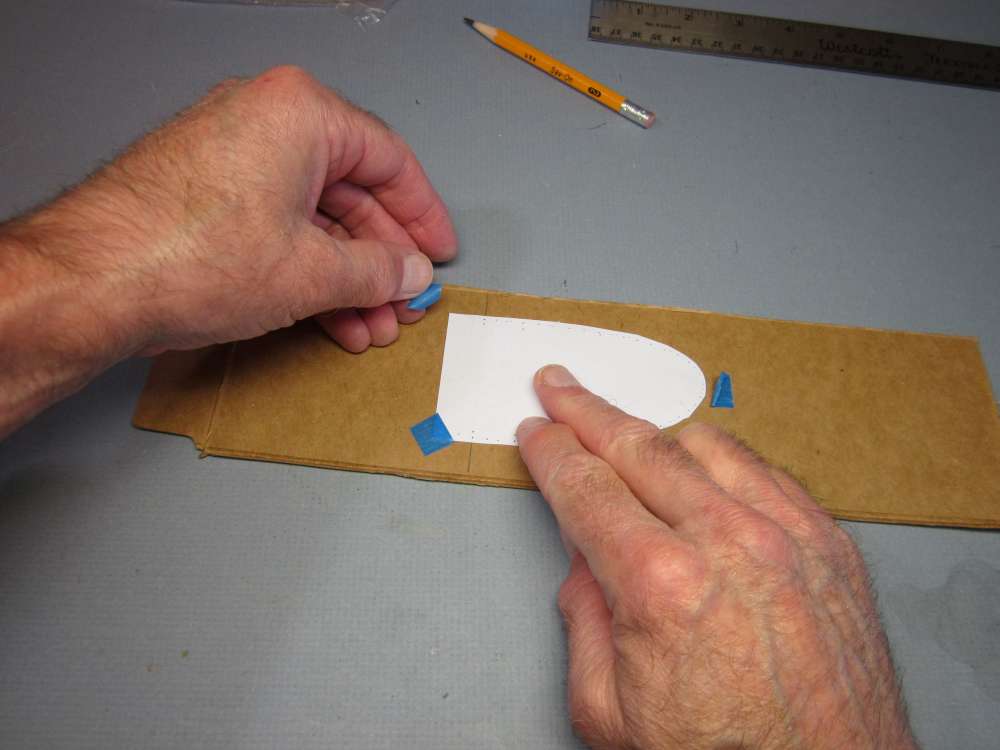
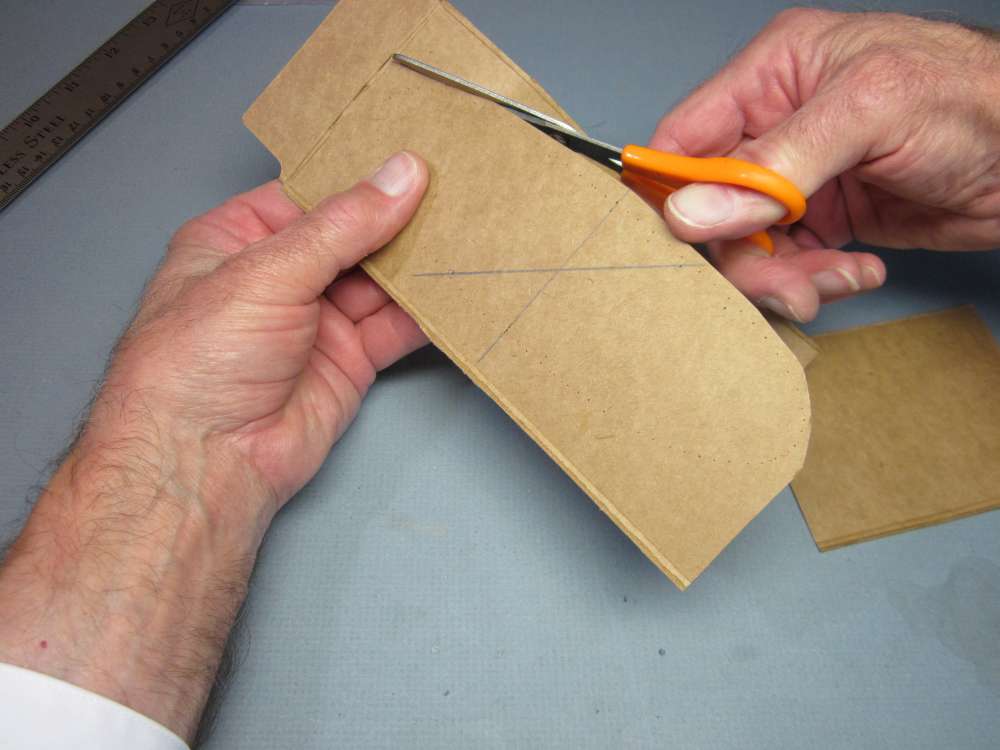
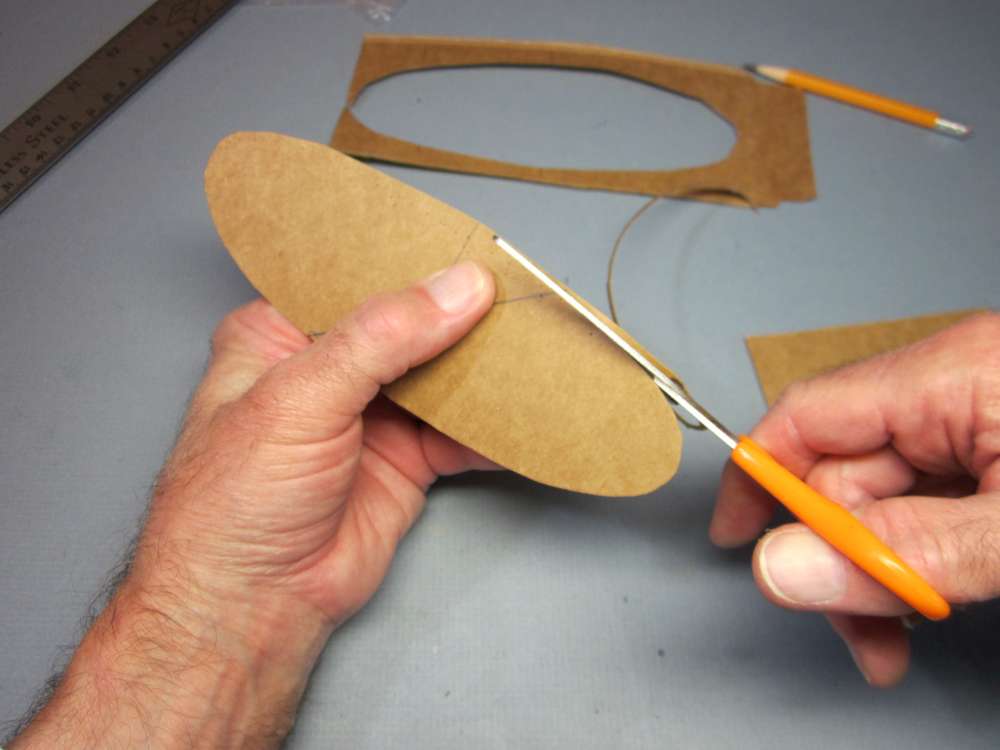
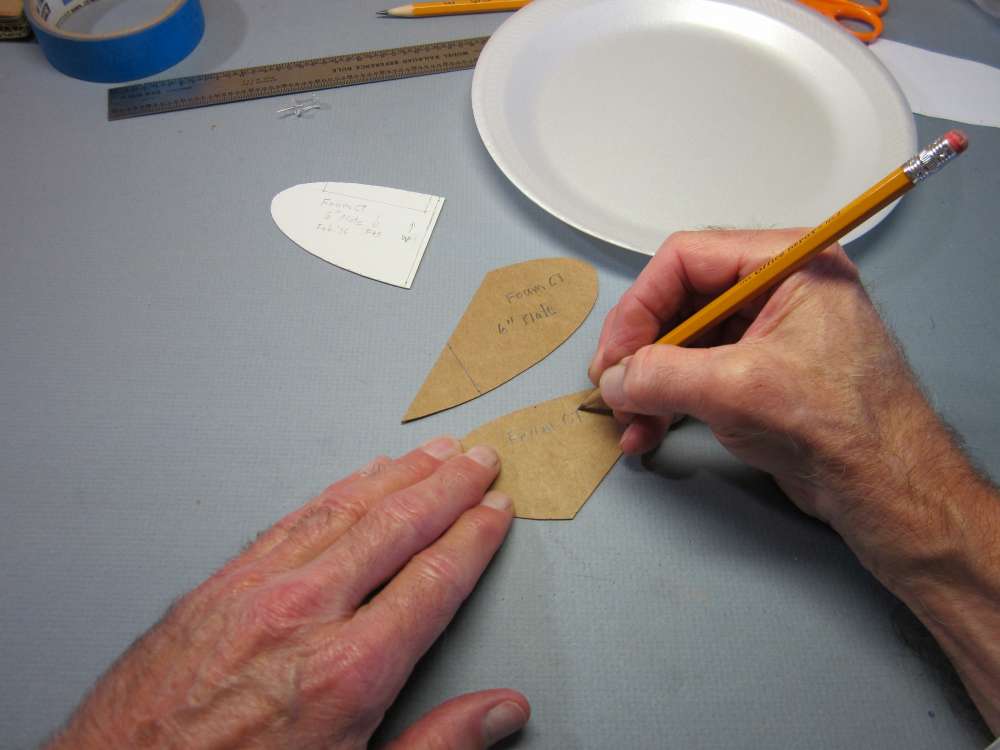
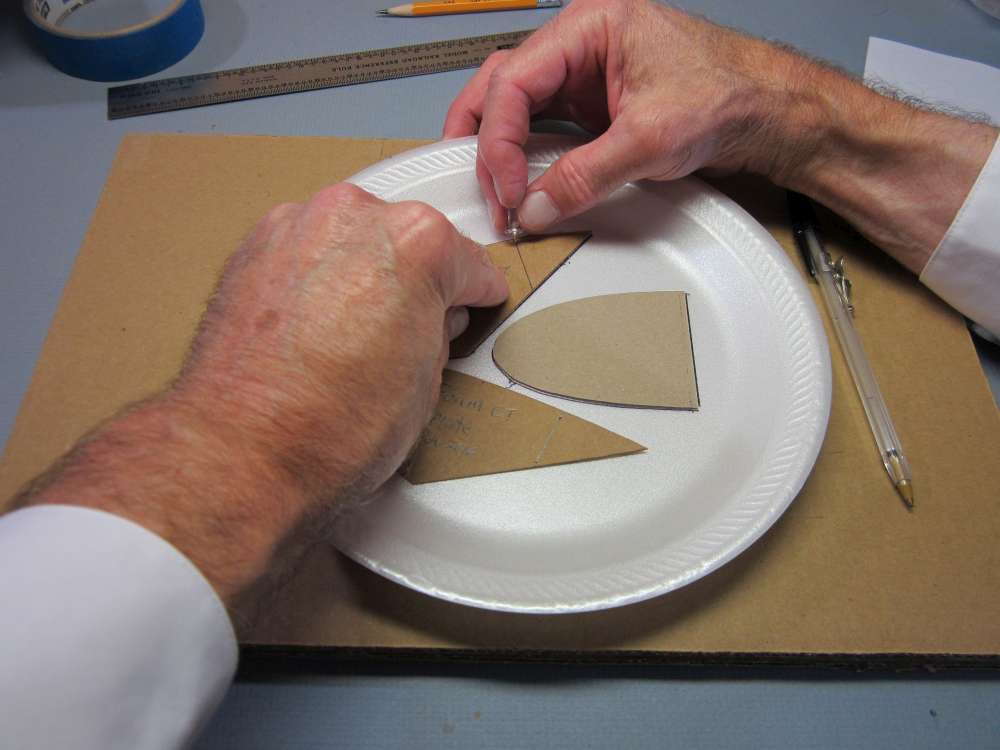
Make cardboard patterns
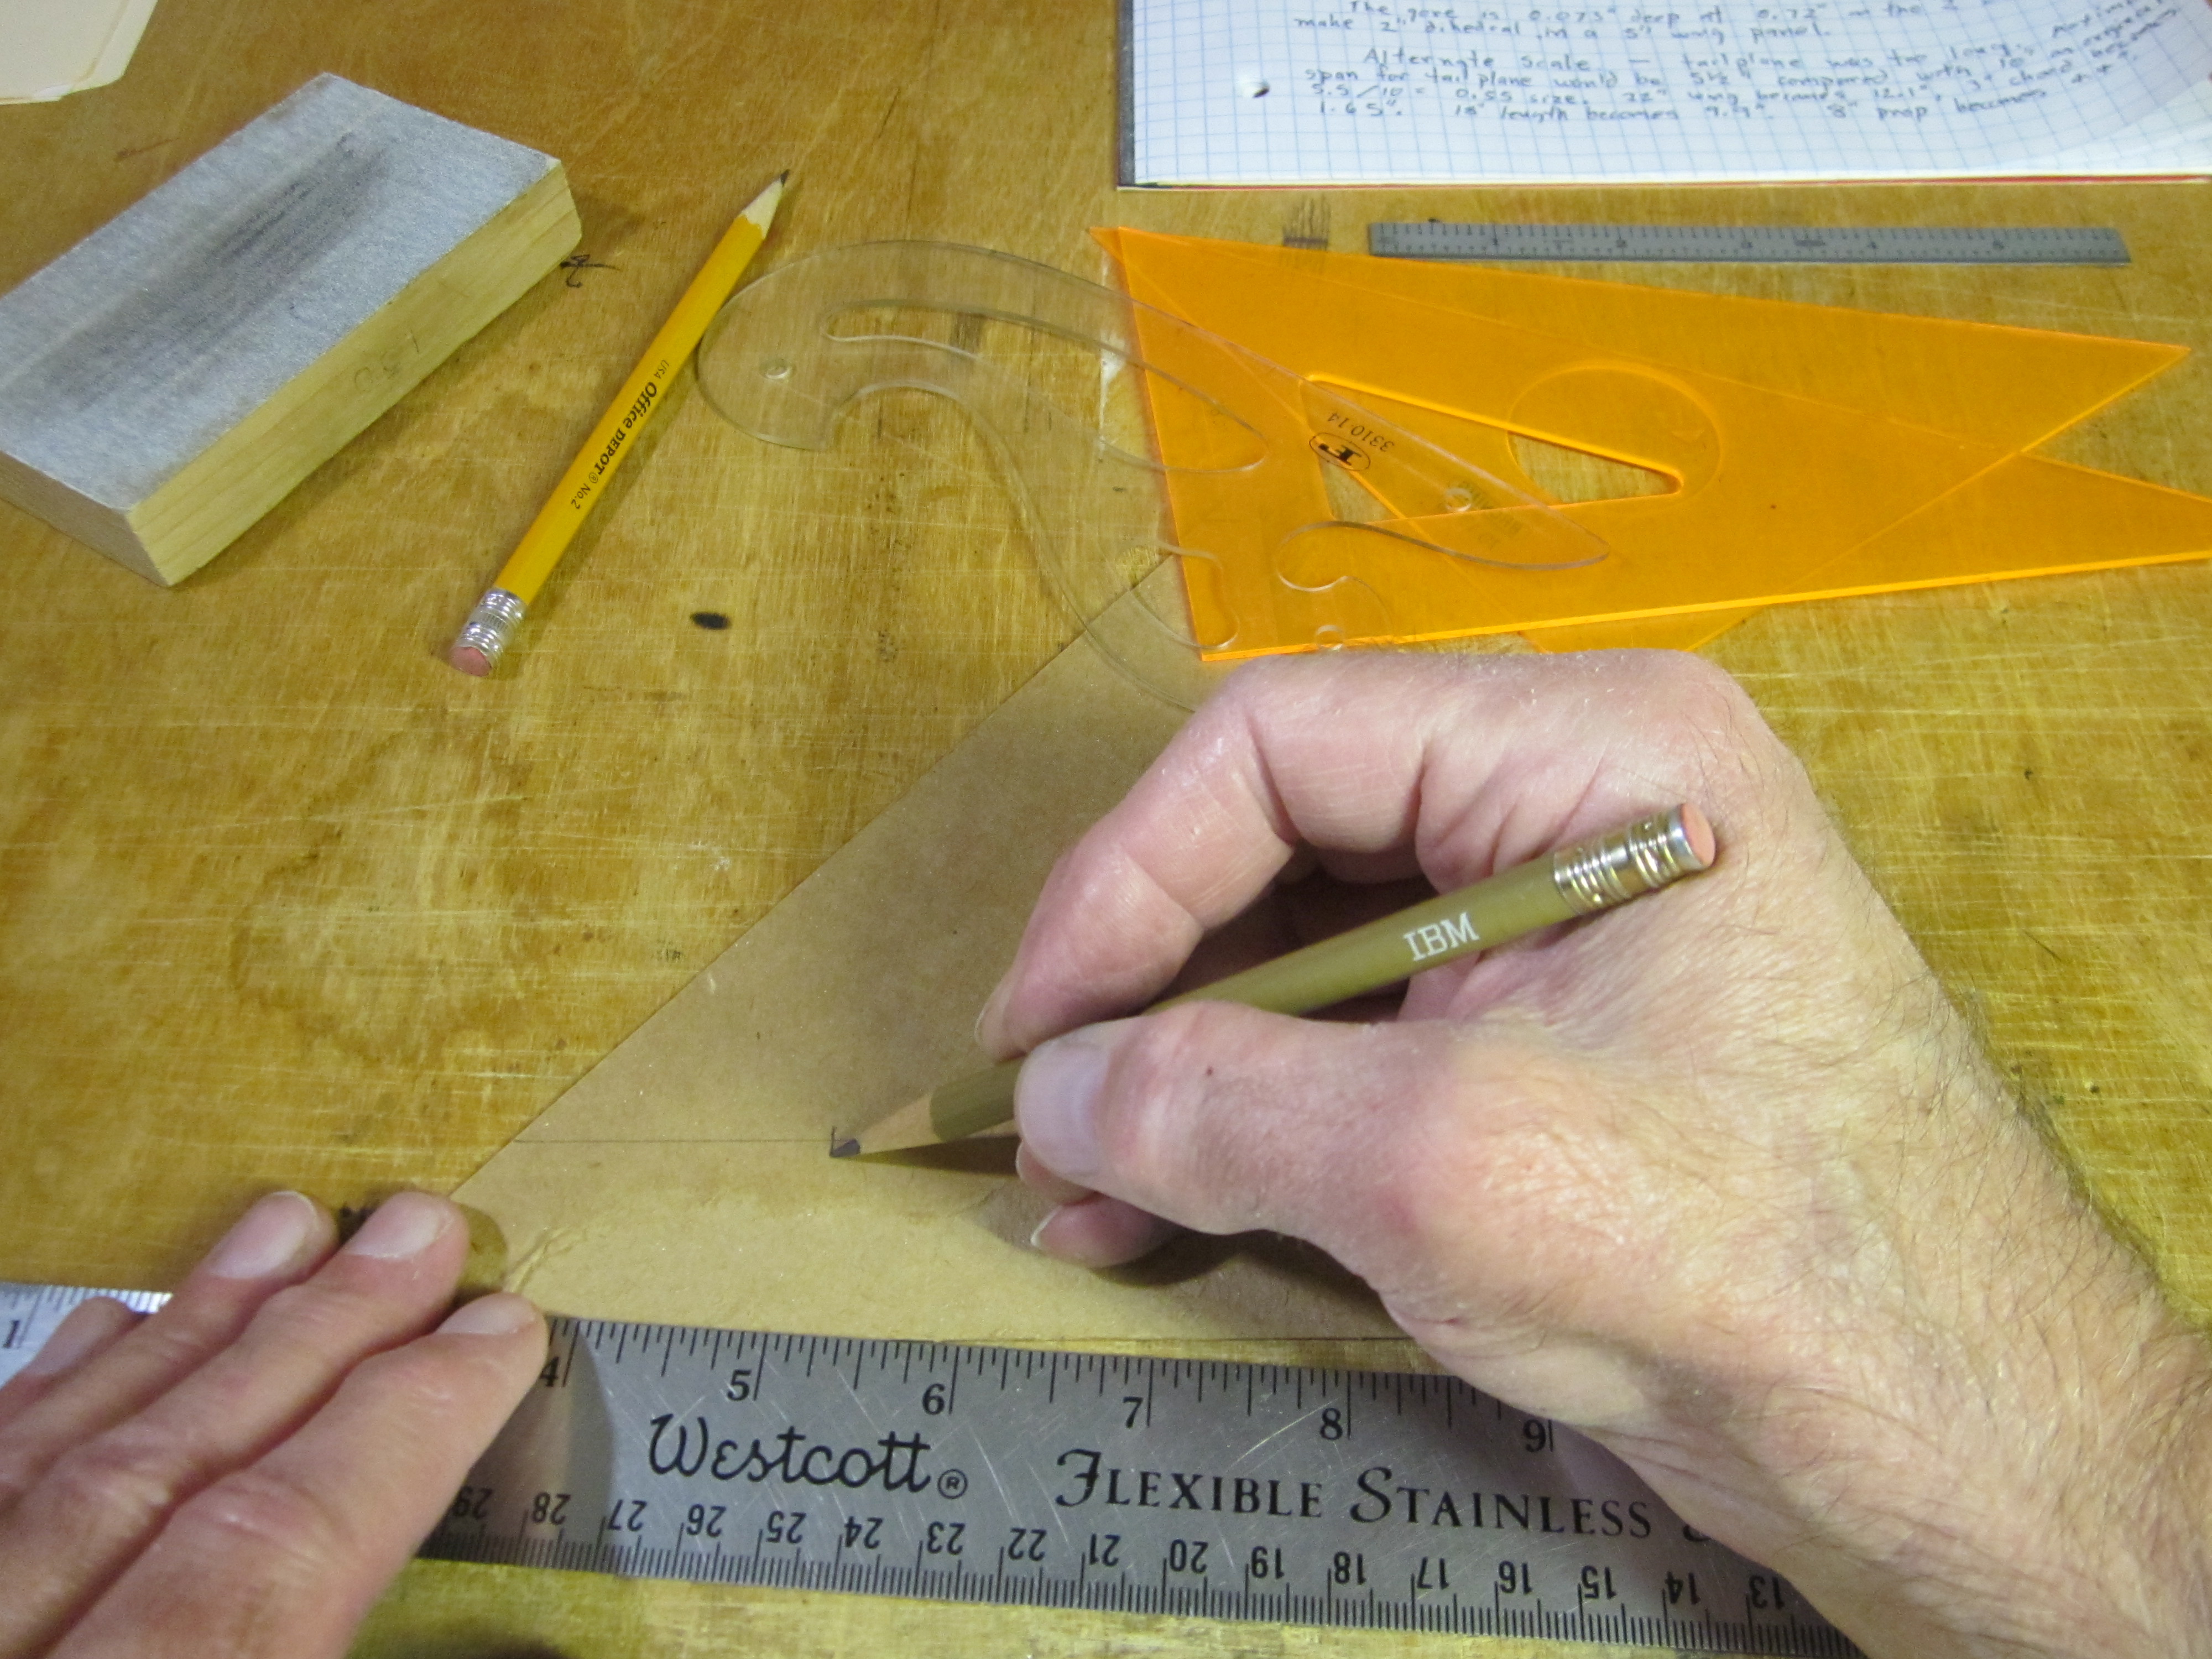

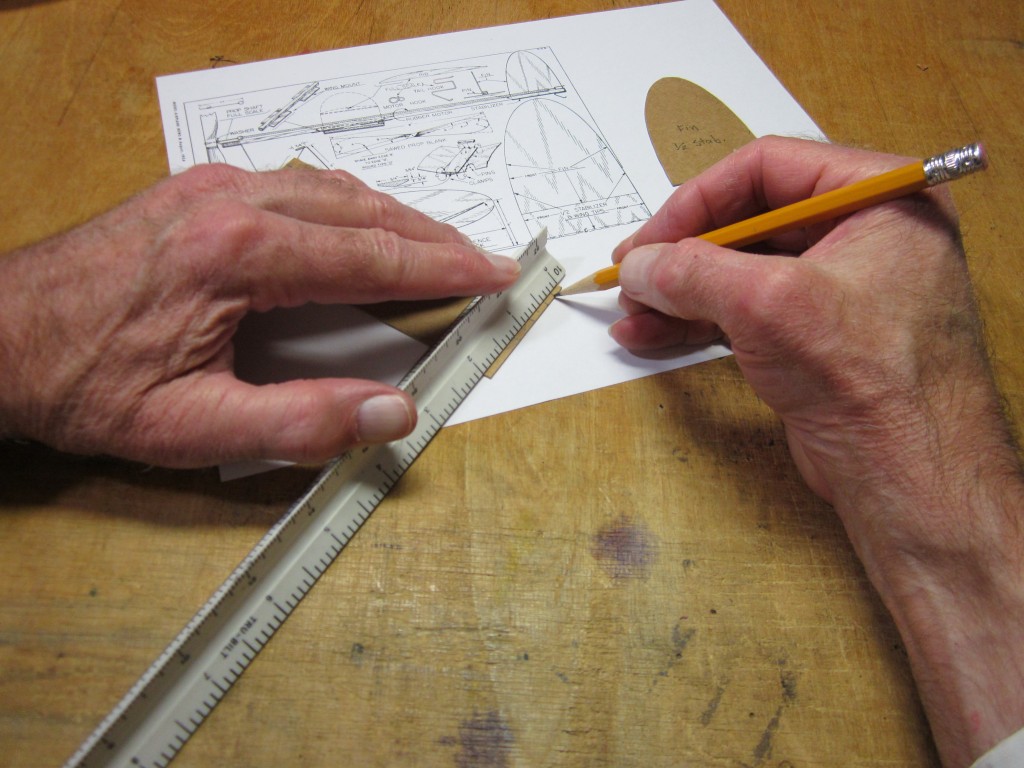
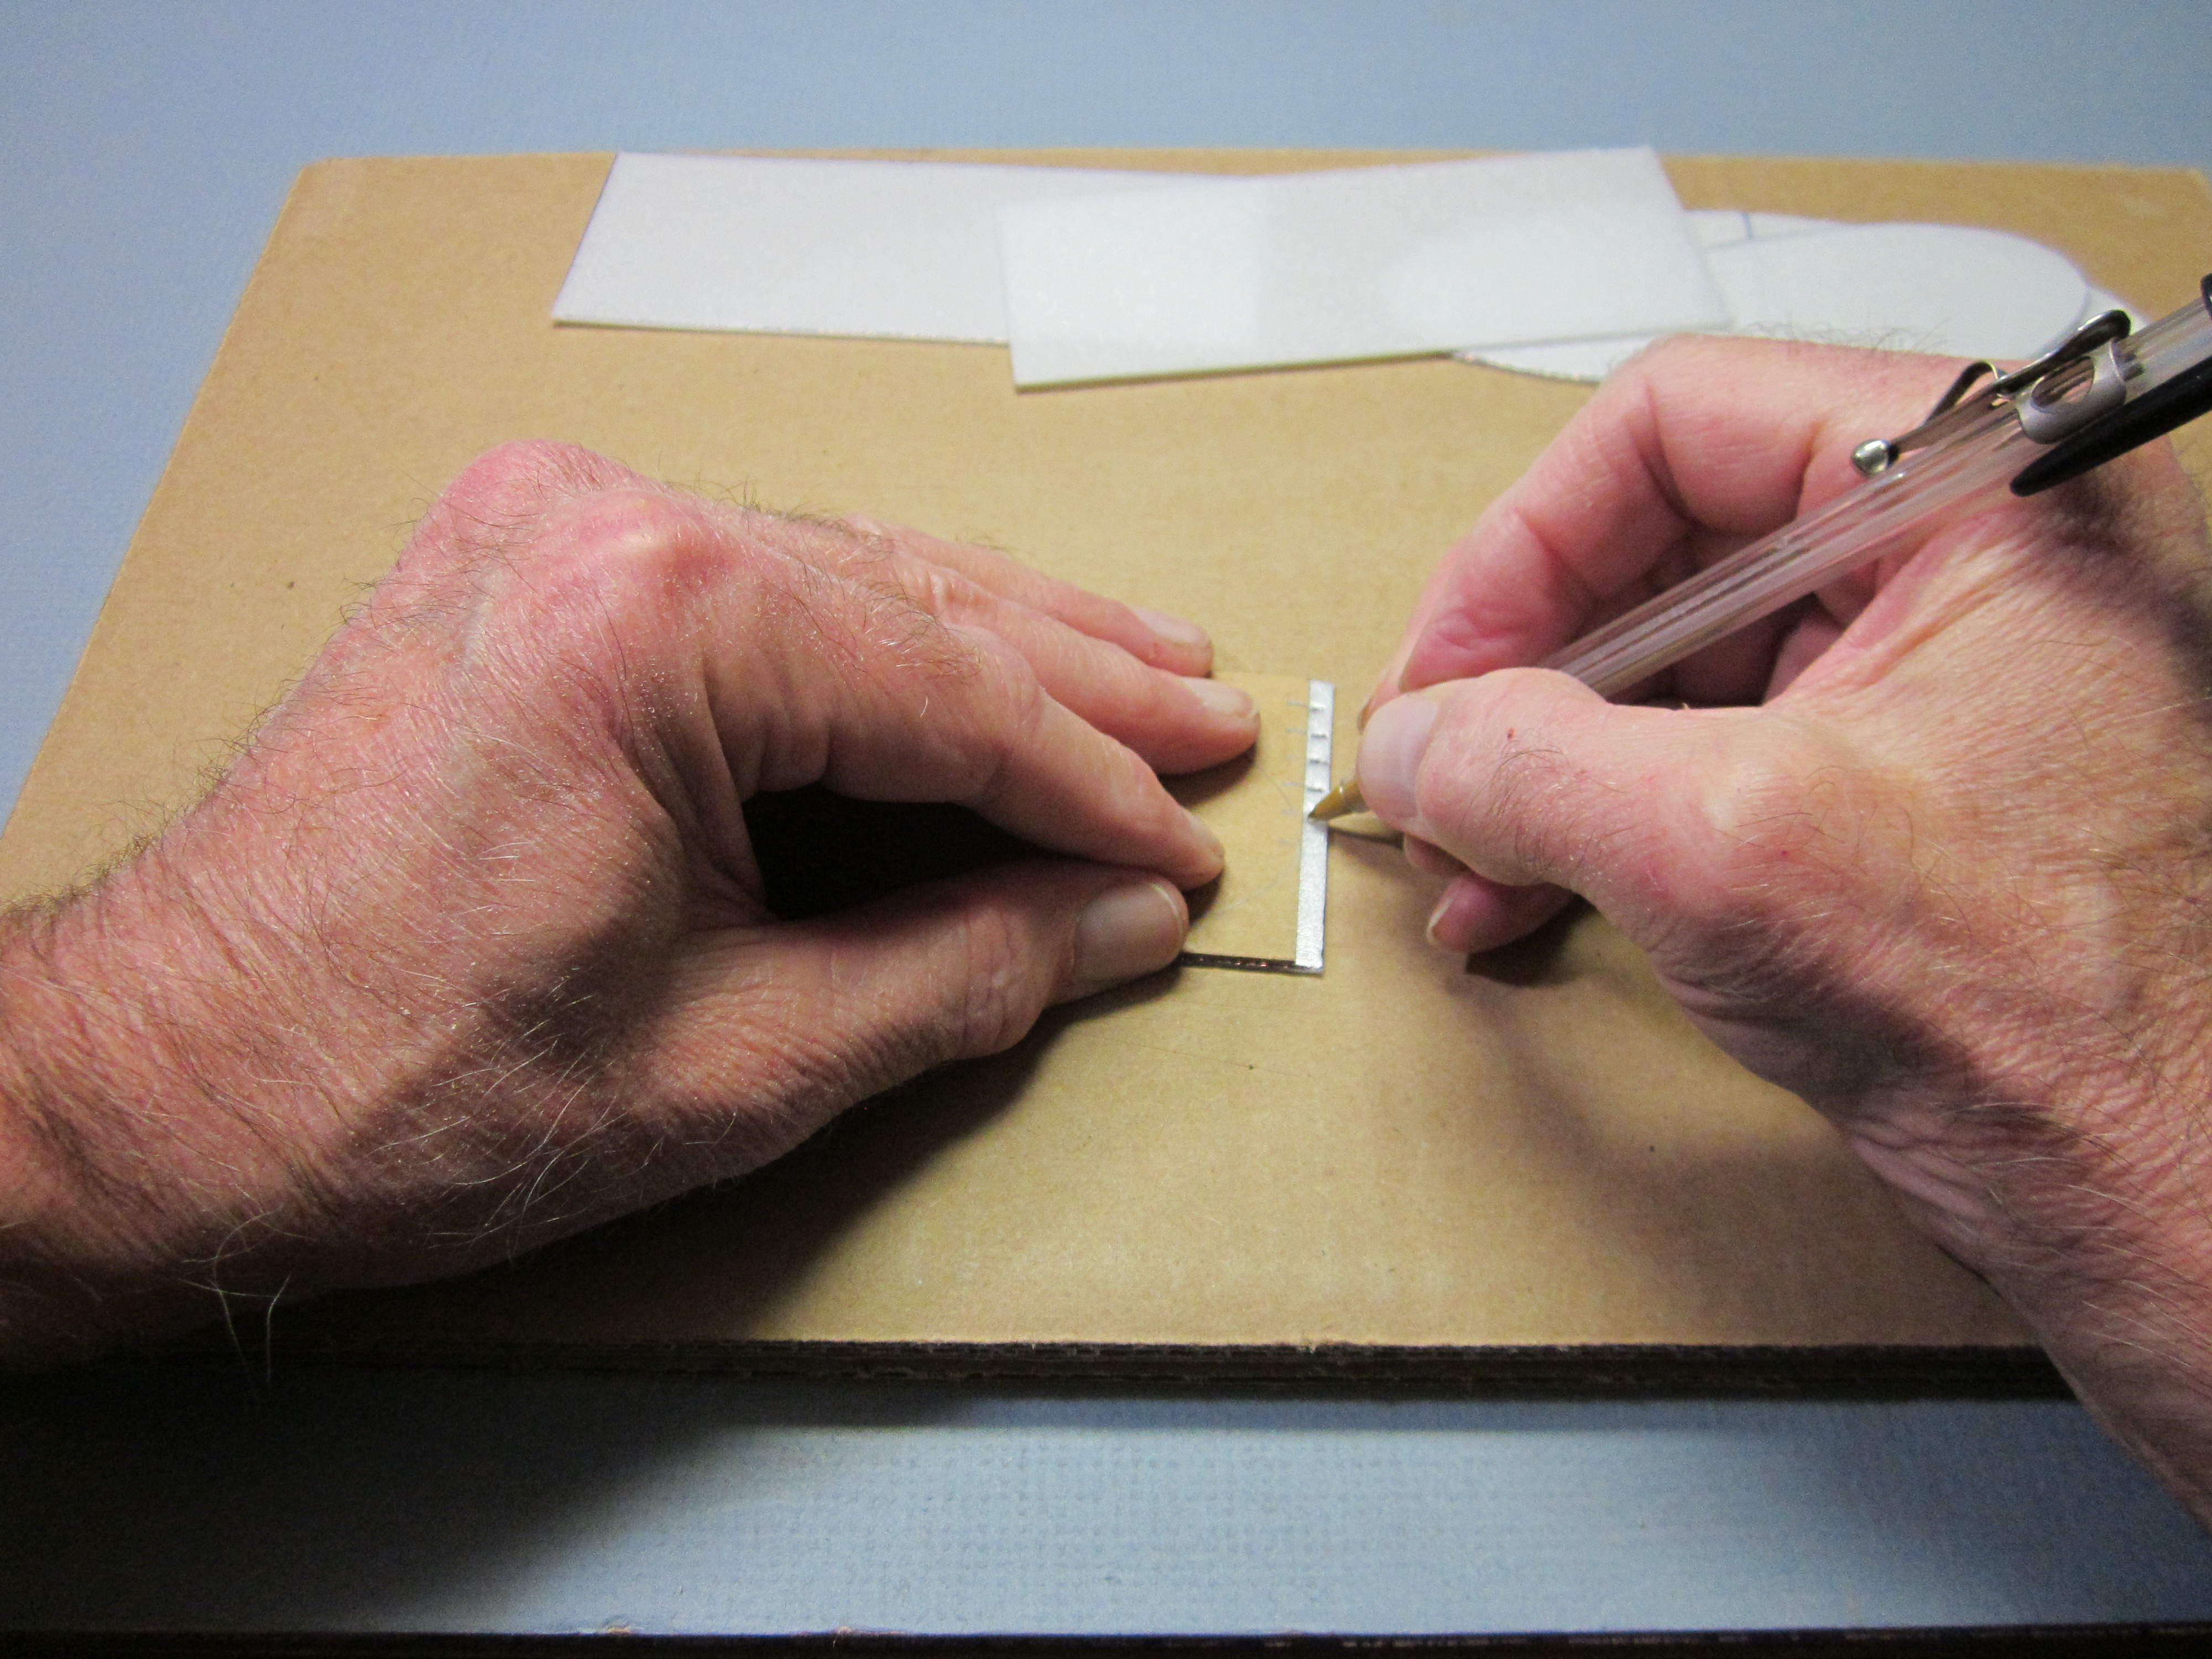
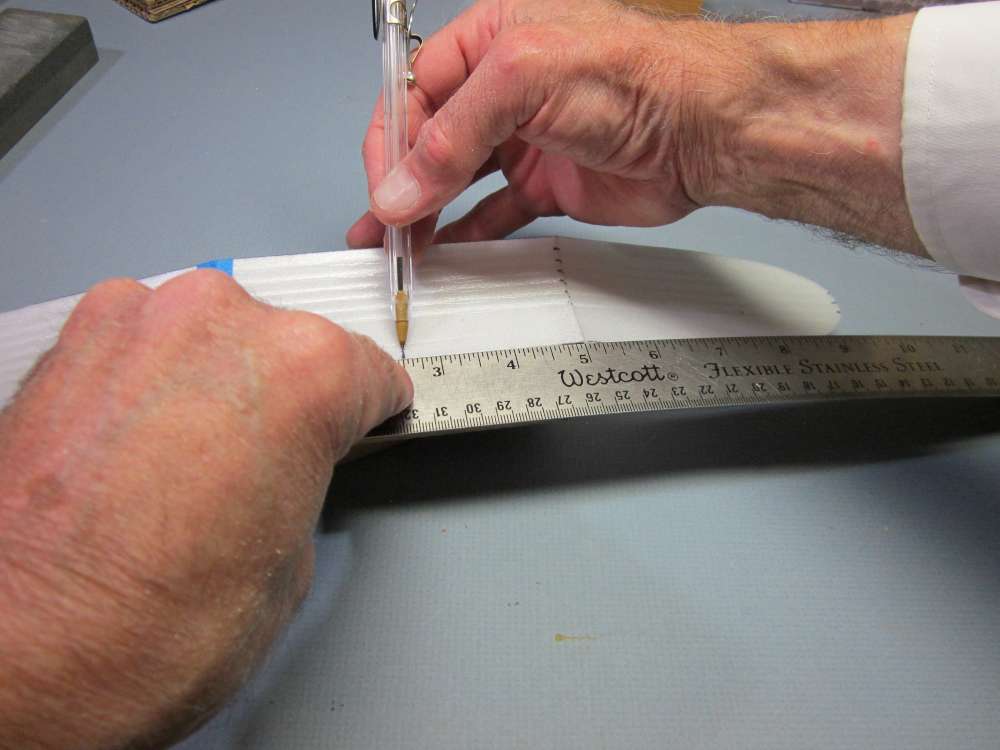
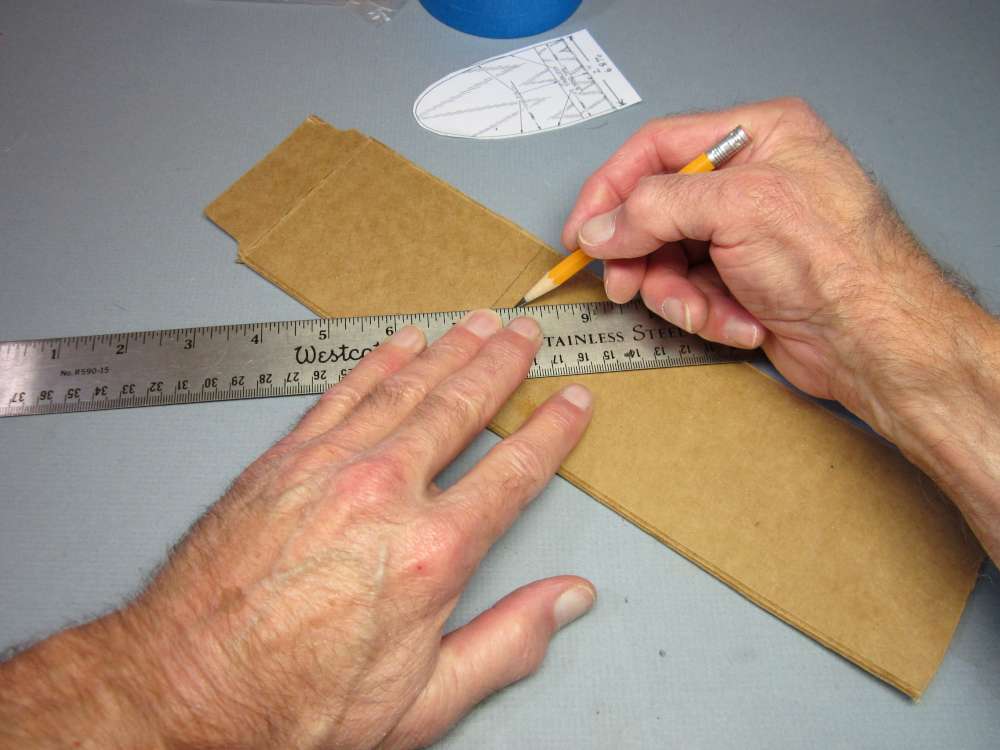
Mark along one of the 2″ [2 9/32″] edges every 0.2″ [7/32″] up to 1.2″ [21/32″]. These marks will locate the positions of the crease lines at the edge.


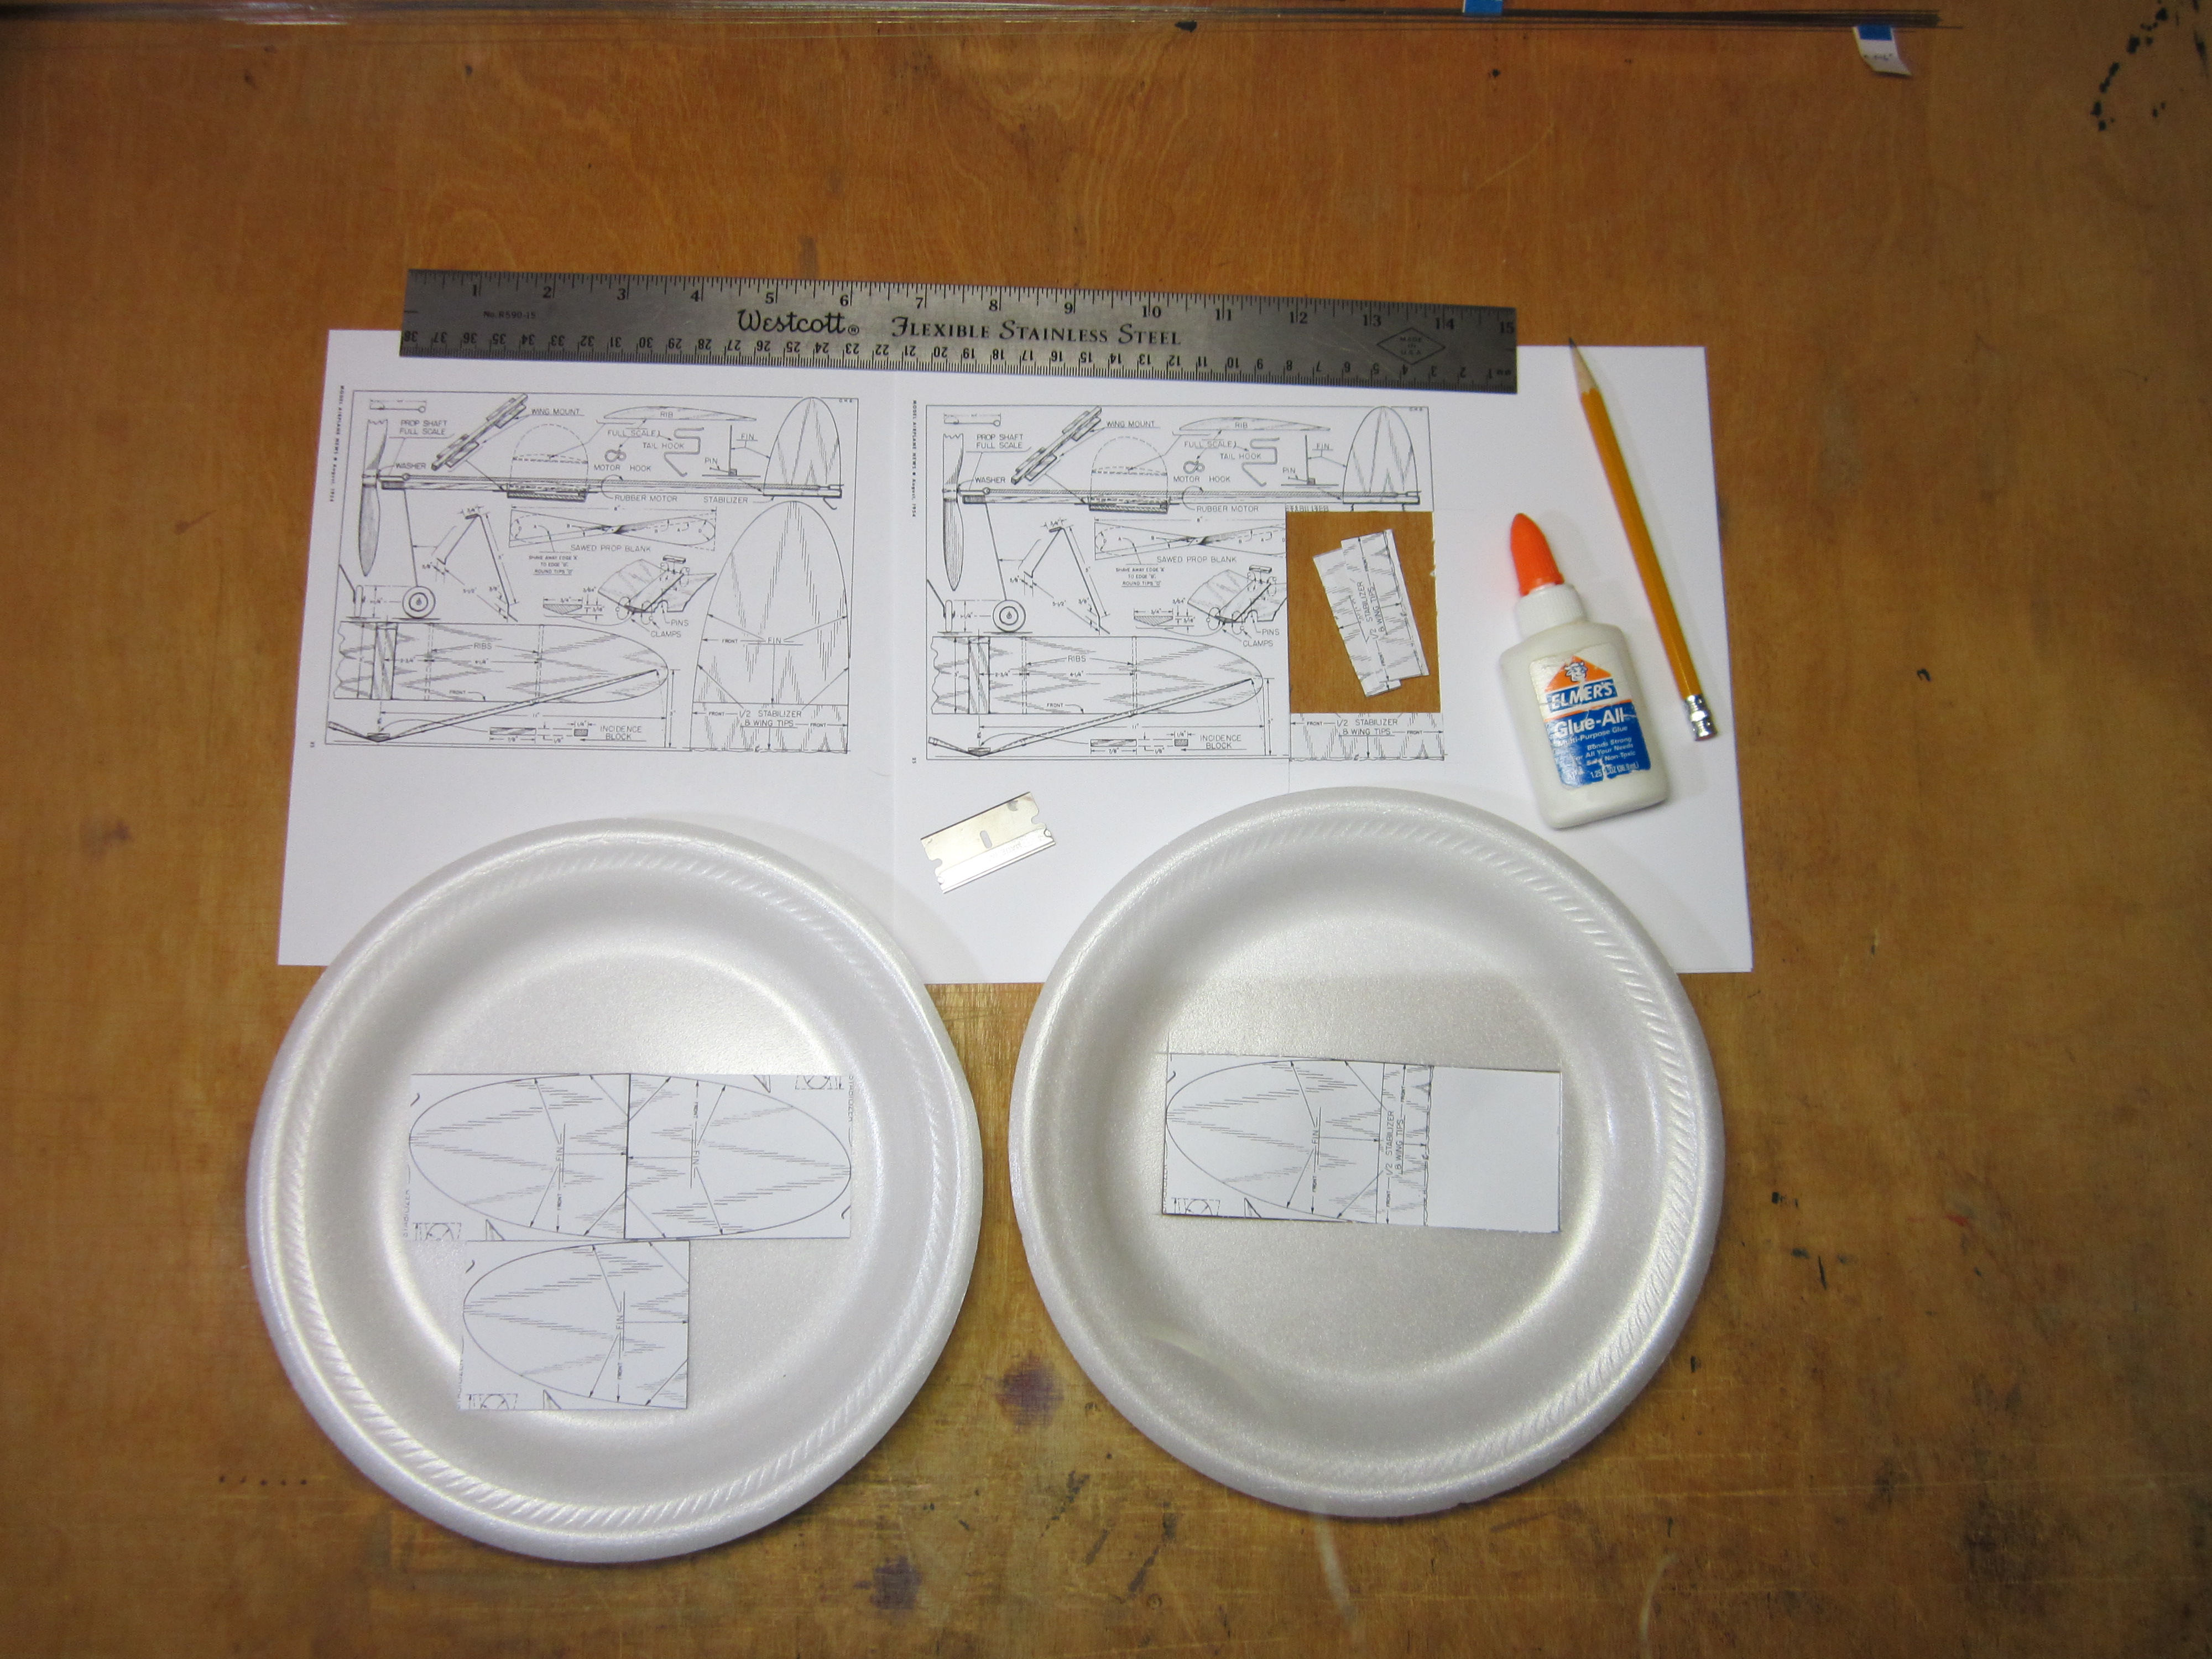
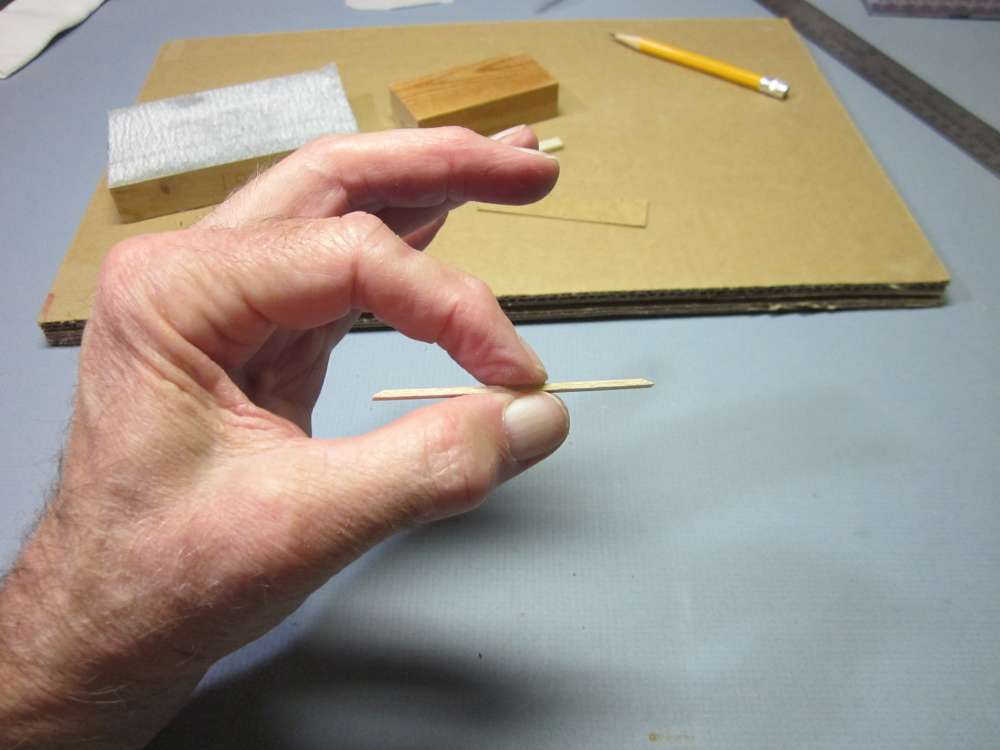
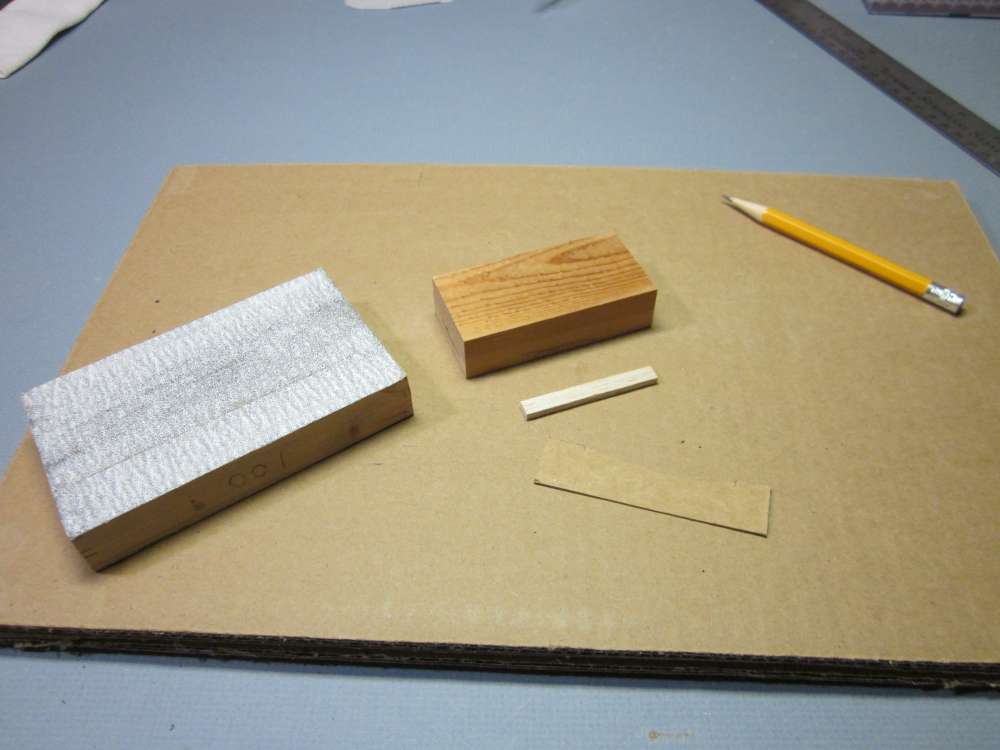
gather materials and tools
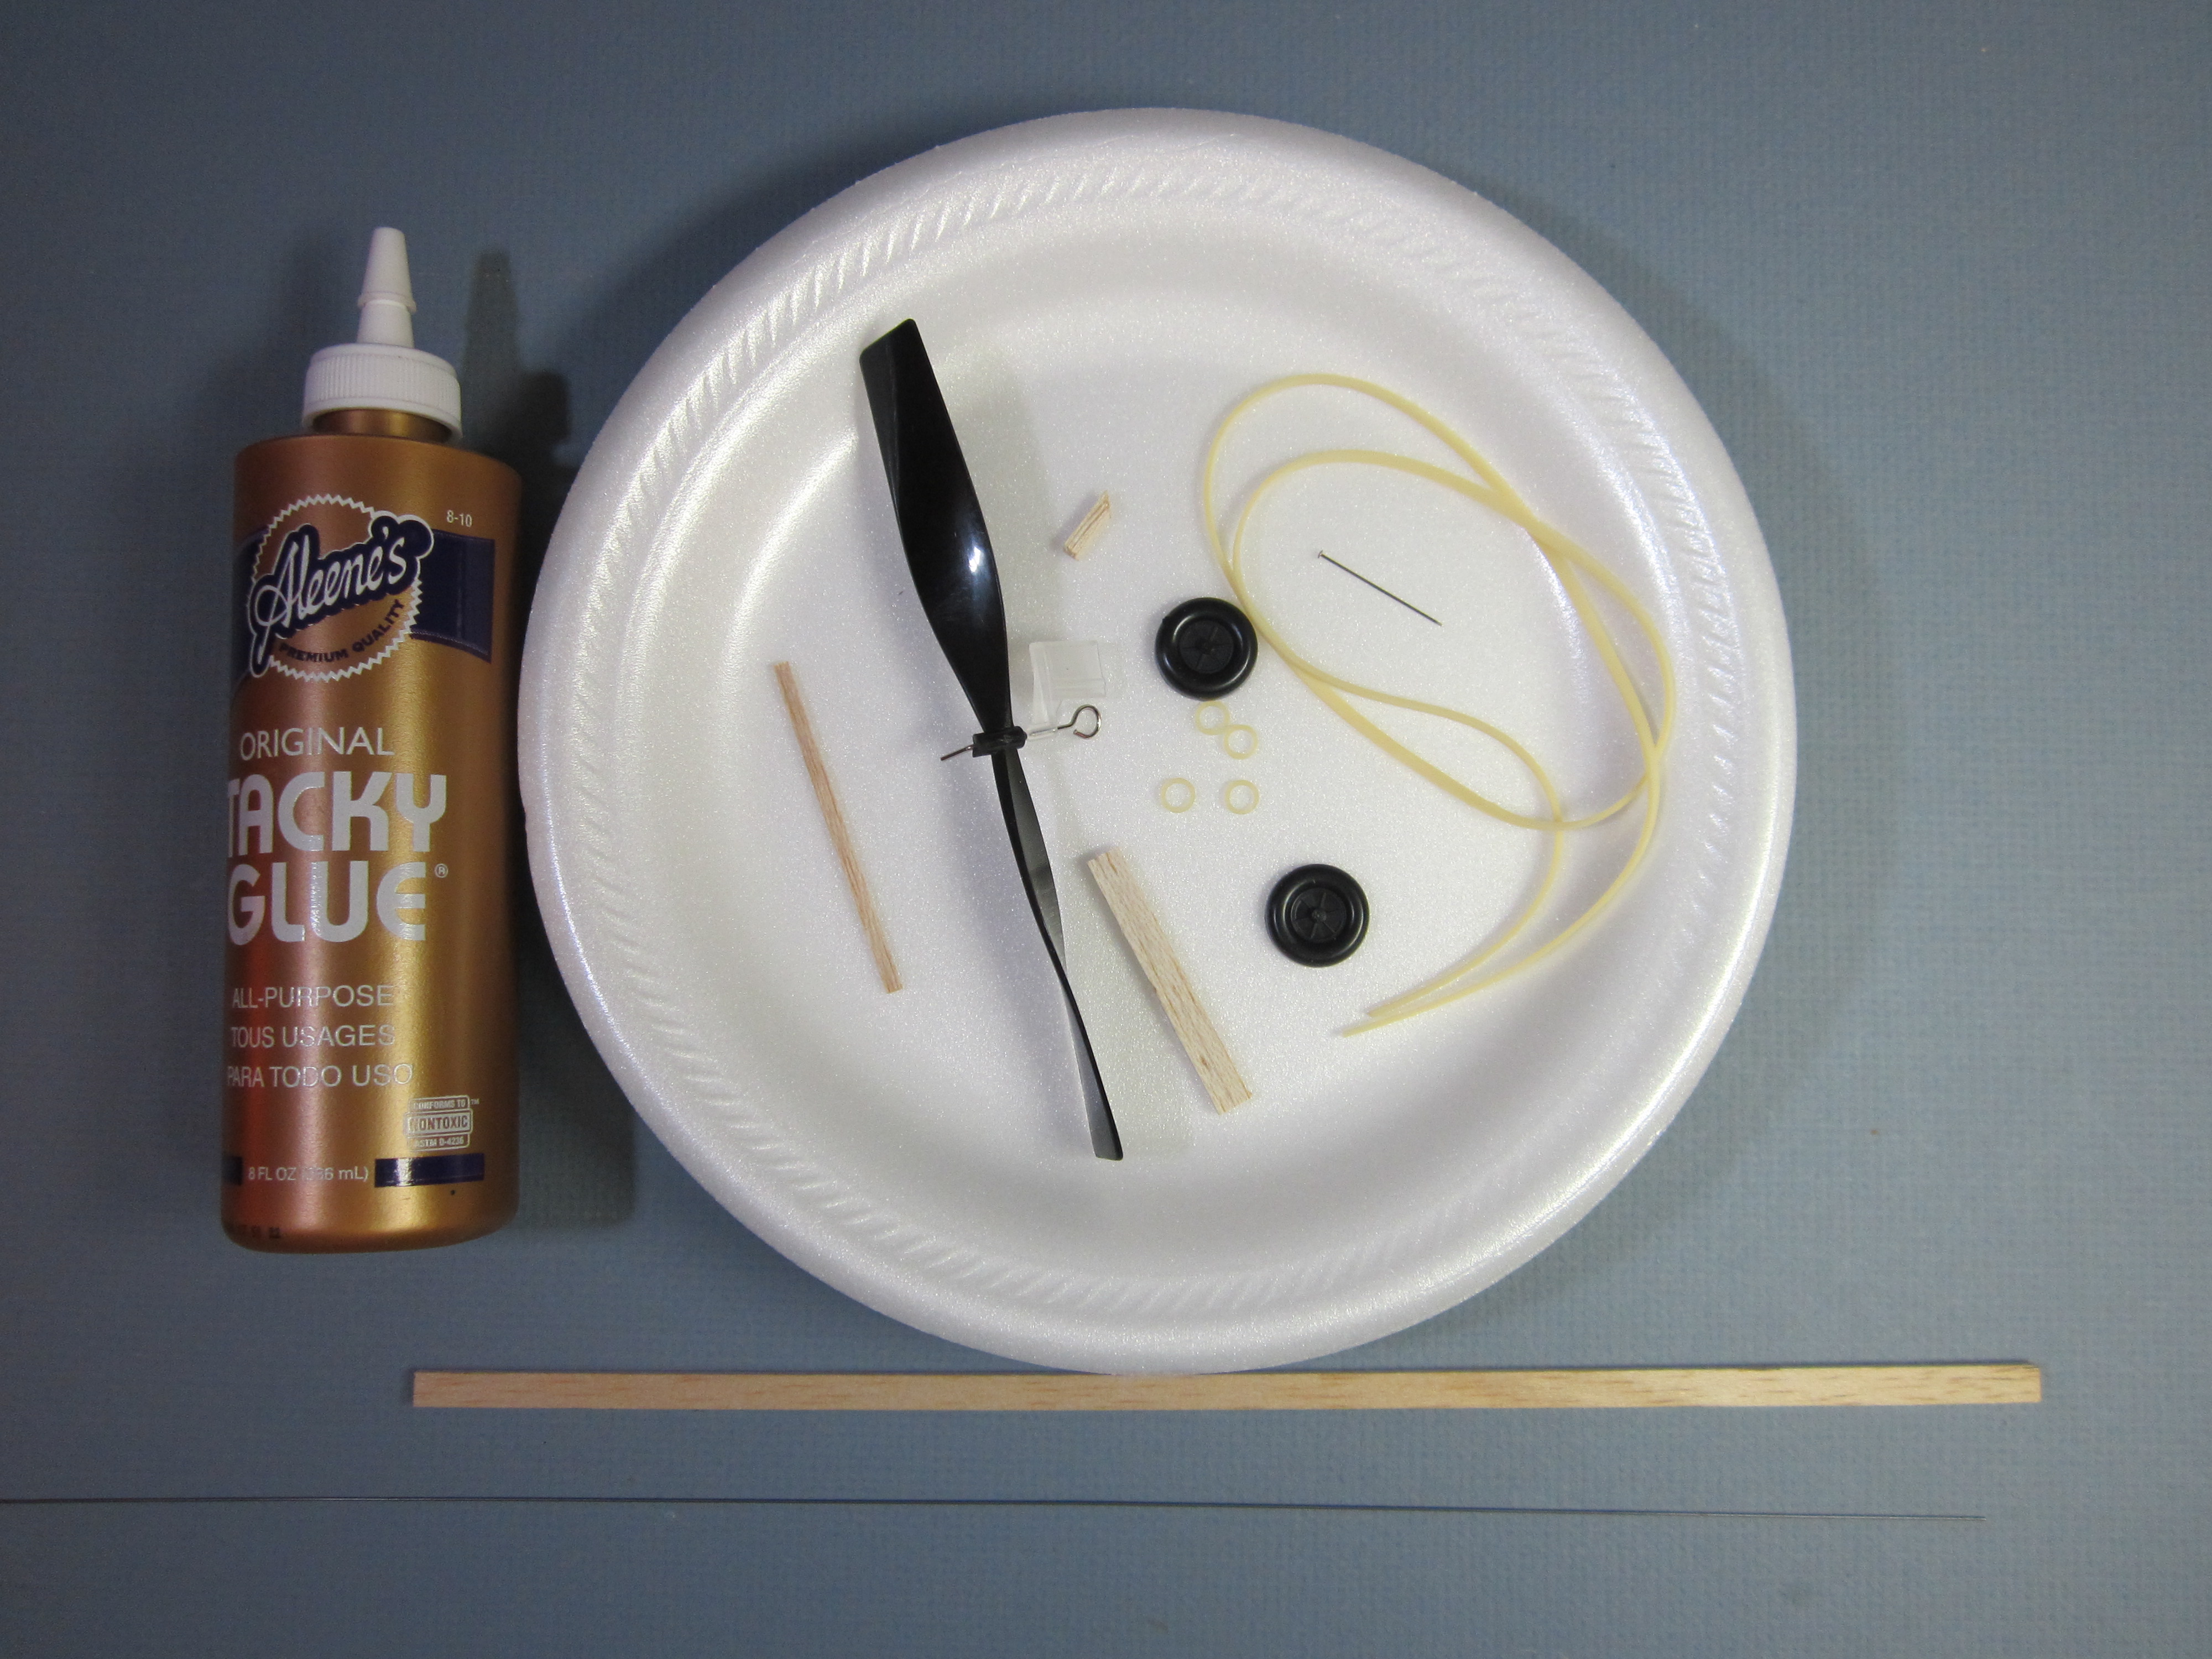
The materials required to make this plane are:
Four 9″ foam plates from your local grocery store, or salvaged from a nearby picnic 😉 .
A 6″ Peck-Polymers propeller and bearing assembly. The hanger fits on a 1/8″ x 3/8″ stick.
A 10″ piece of 0.025″ steel wire for landing gear. Or a Peck-Polymers landing gear wire set will save you a lot of work.
Two 3/4″ Peck Polymers wheels.
A 3/4″ straight sewing pin for rear motor hook. Or a pack of Peck-Polymers motor hooks.
Four 3/16″ heavy dental elastics for wing hold downs.
A 1/8″ x 1/4″ x 12″ [1/8″ x 1/4″ x 13 5/8″] medium hard balsa stick for the fuselage.
A 1/16″ x 1/8″ x 3″ hard balsa stick for the wing hold down bar.
A 1/8″ x 1/4″ x 2+” [1/8″ x 1/4″ x 2 9/32+”] medium soft balsa block for the central wing rib.
A 1/8″ x 1/8″ x 1/2″ balsa block for the nose block.
22″ of 3/32″ rubber strip for the elastic motor. You can get that from Peck-Polymers, too. This motor is good for test flights and small field flying. Longest flights will be made with a motor about twice the distance between the hooks. You will need to move the wing to properly balance with this heavier motor.
An O-ring for the motor. (Left out of this picture, see the next one.)
A tacky glue suitable for sticking foam together. Most glues for wood or plastic models contain solvents that will melt foam plastic. If you can smell solvent, don’t use it. Use a water based glue.
All of the balsa wood for my planes came out of my scrap box. You can find balsa wood at your local hobby, craft or art store. You can buy it online from Sig or Midwest.
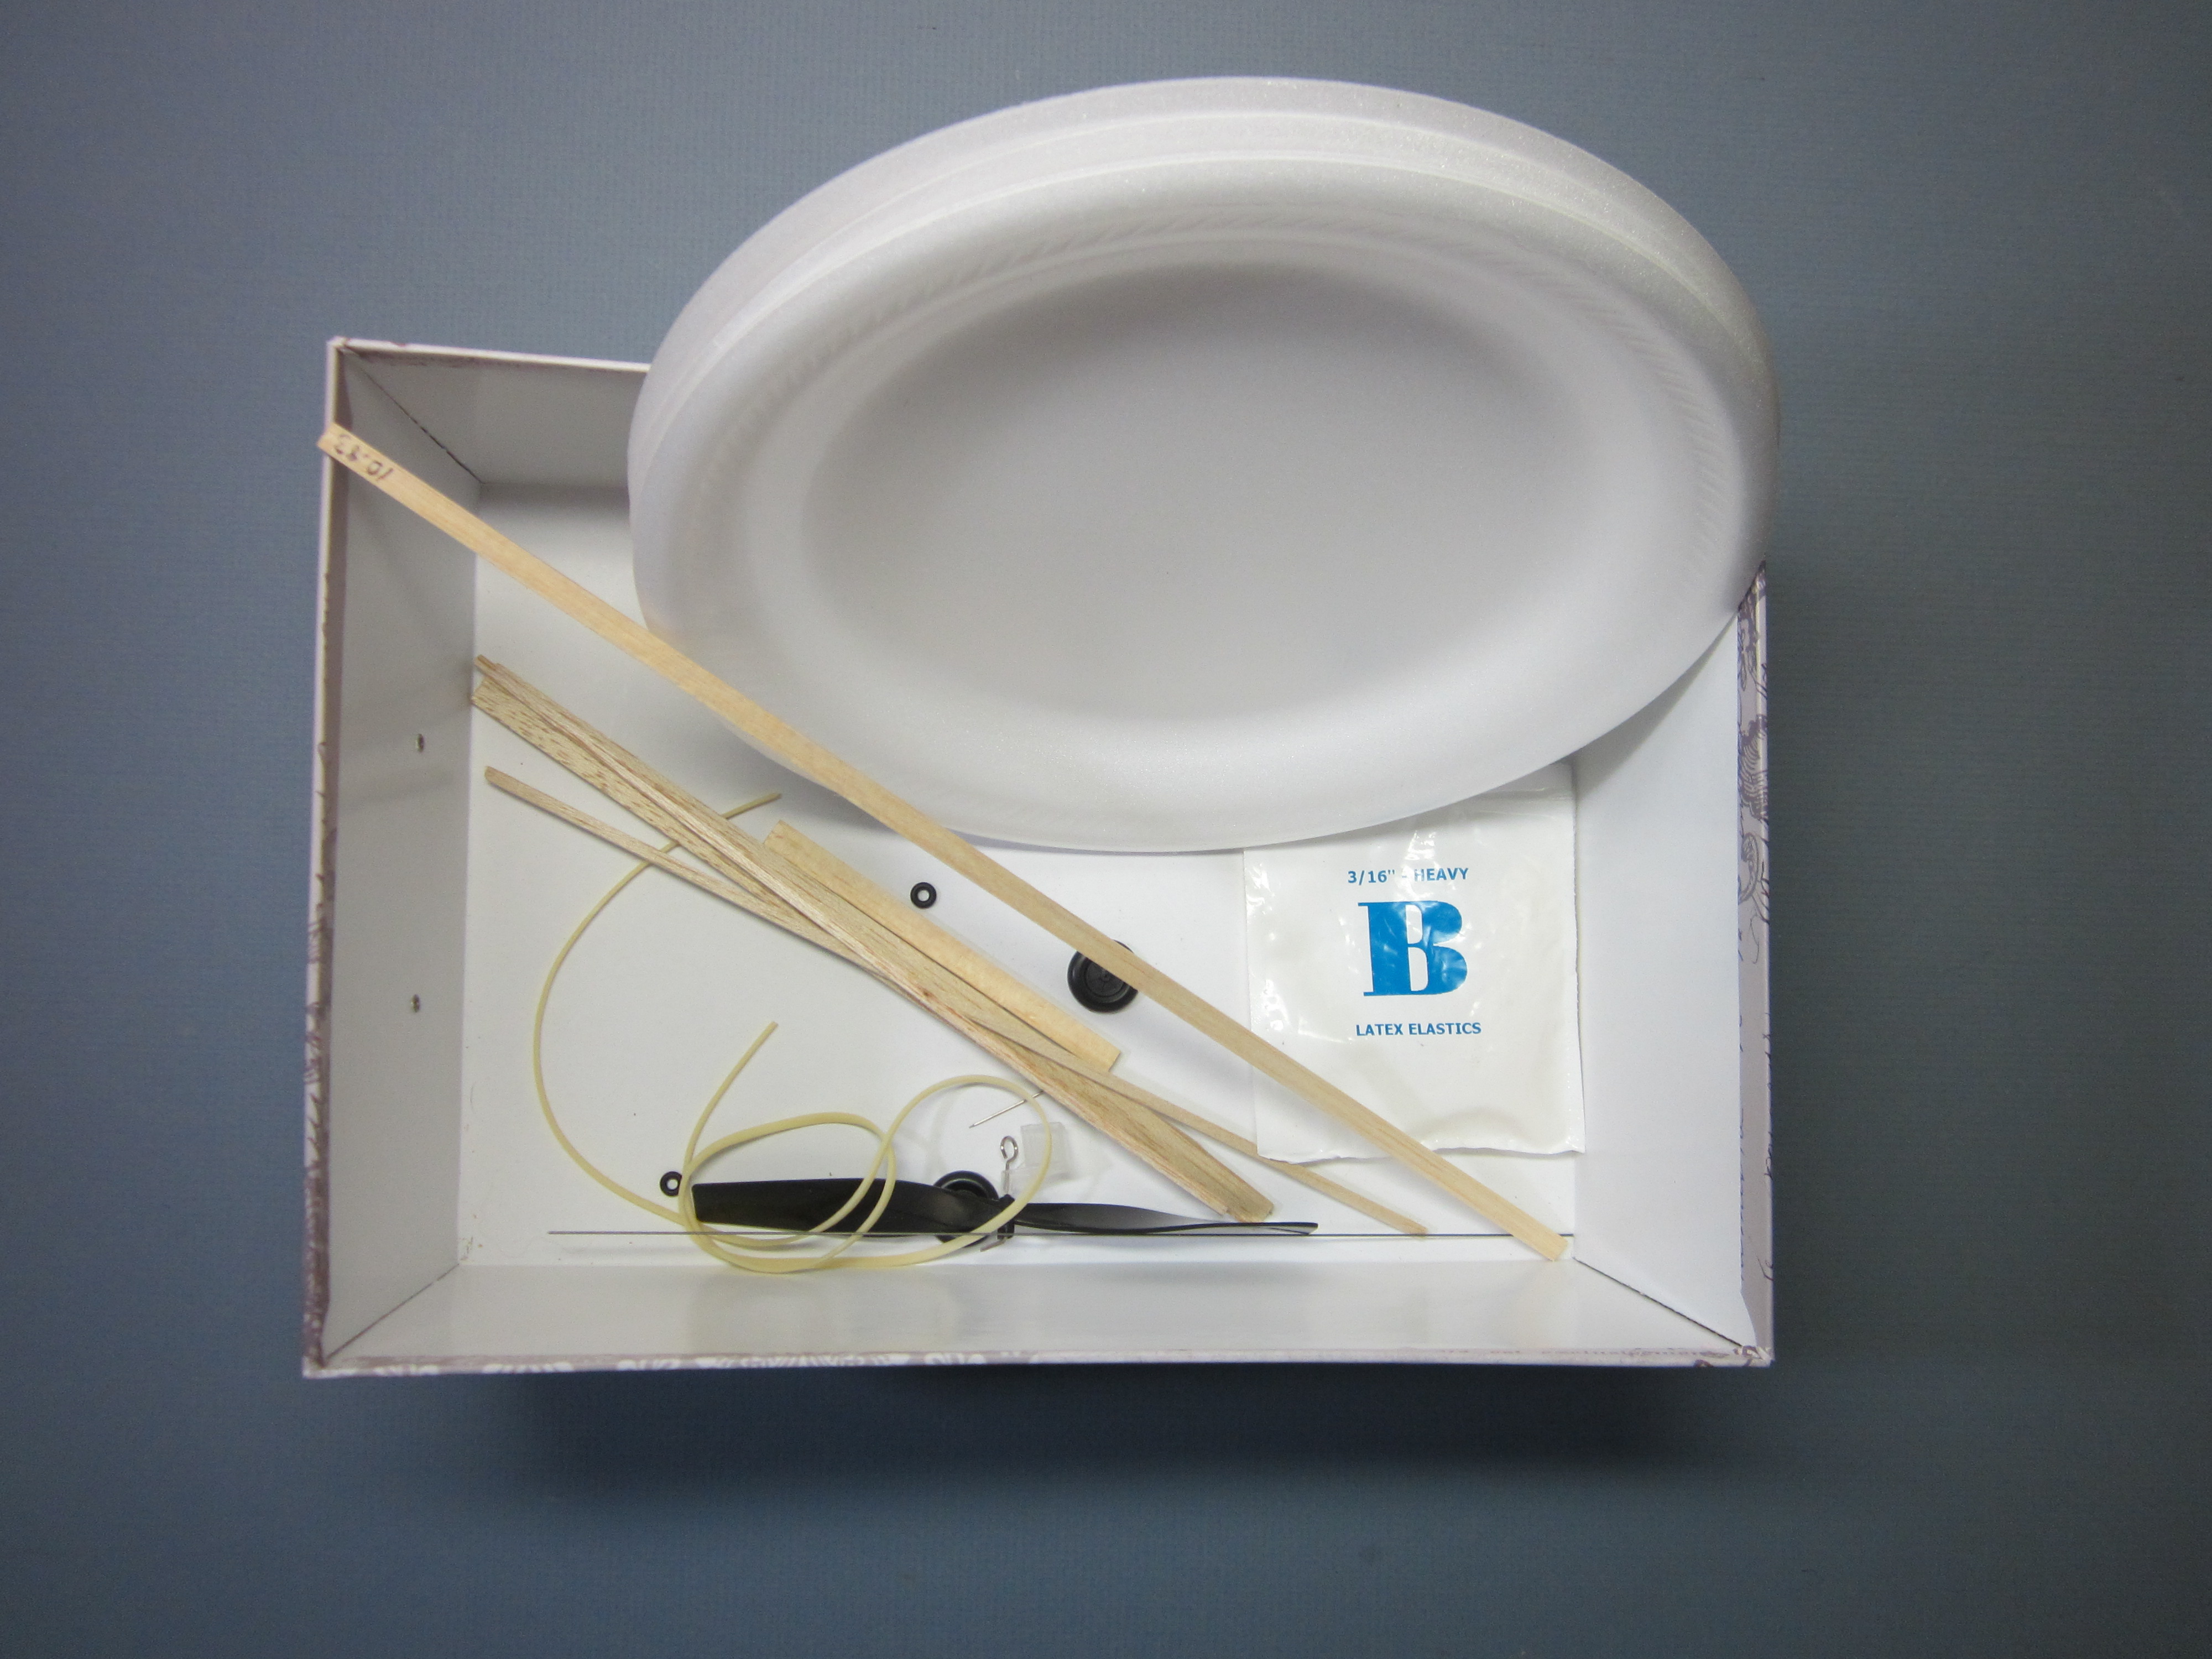
I store the materials and completed parts in a box to keep them from getting lost or broken.
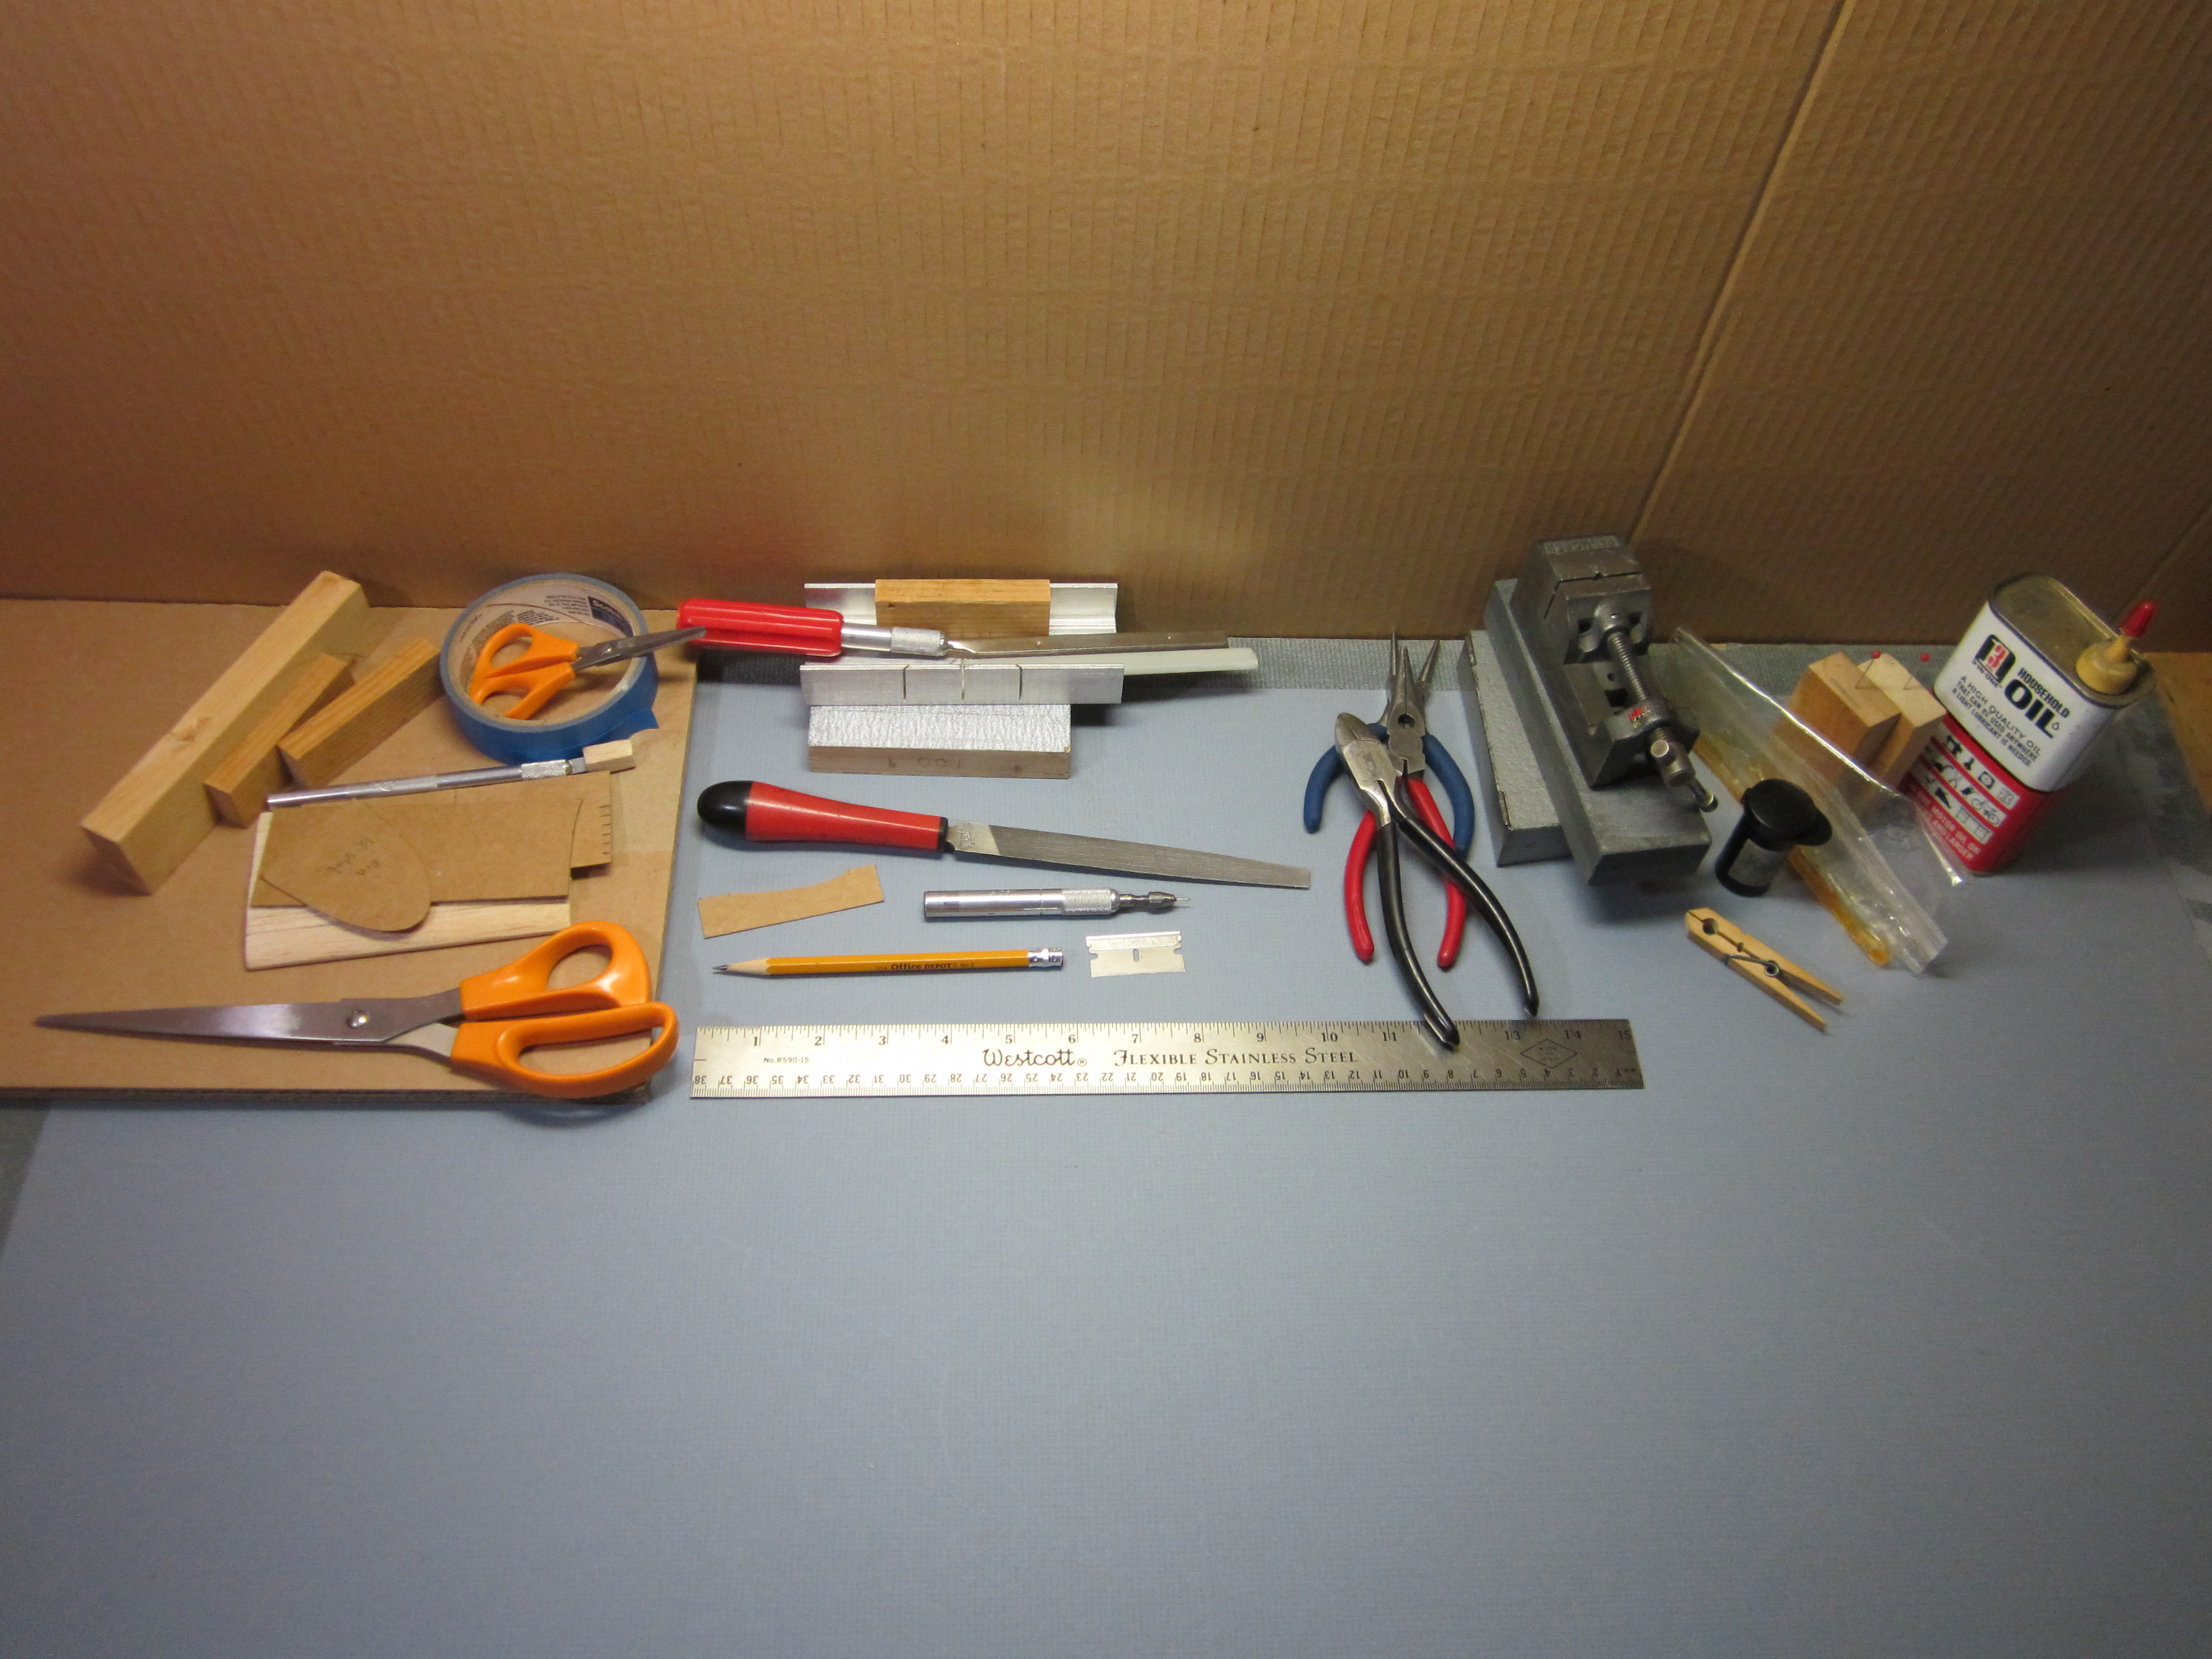
At the same time, I cleared all the boxes, books, bits and pieces off the back of my work table and arranged all the tools I will need for this plane across the back, in roughly the order, left to right, that I will need to use them. This eliminates the need to dig through my tool box every time I need a tool; I get everything out at one time.
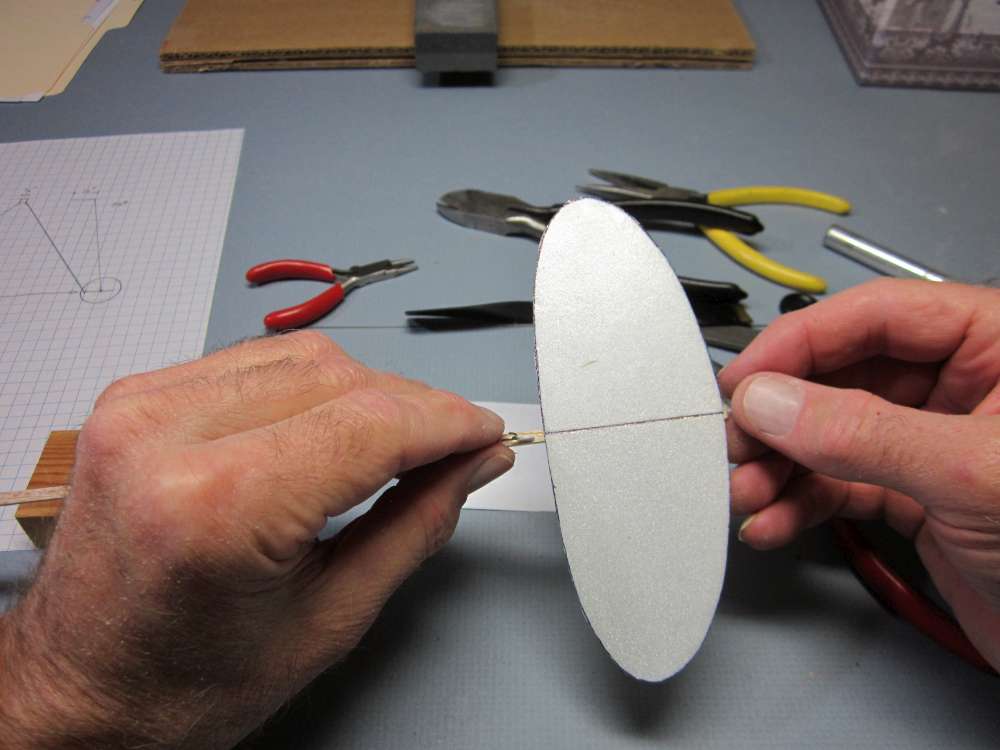
Trace the foam parts
First we trace the patterns onto the flat areas of the foam plates.
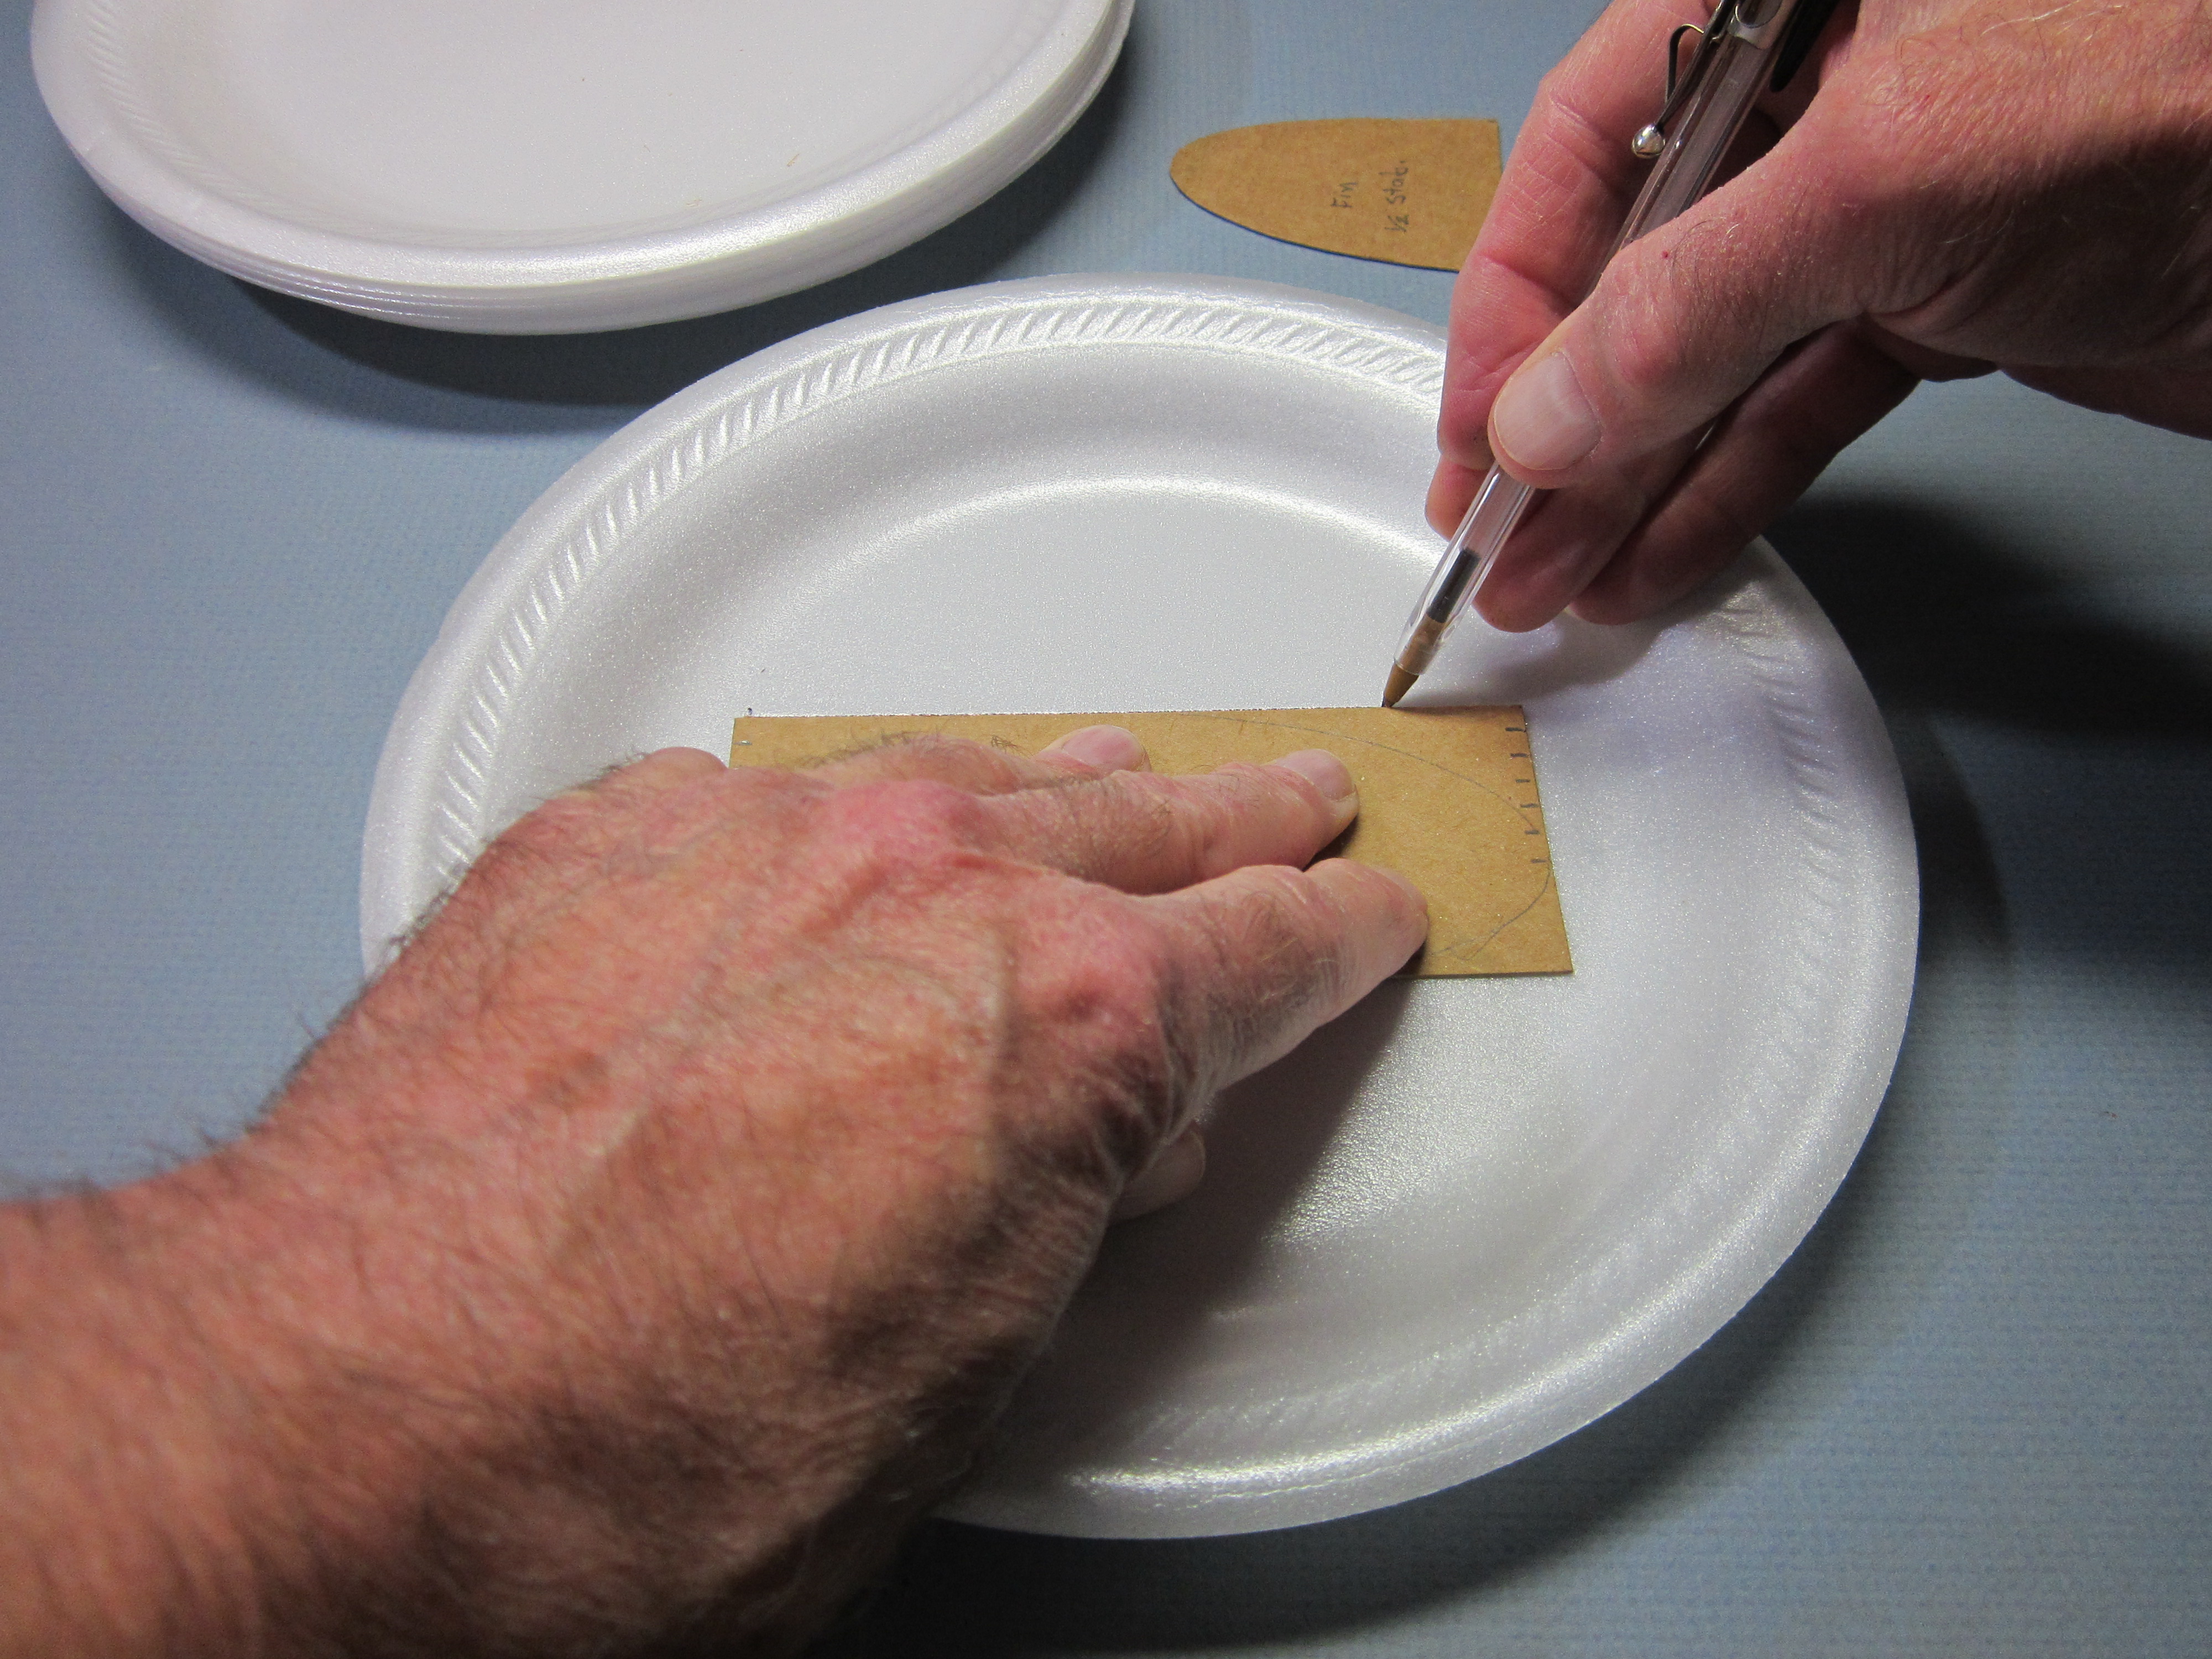
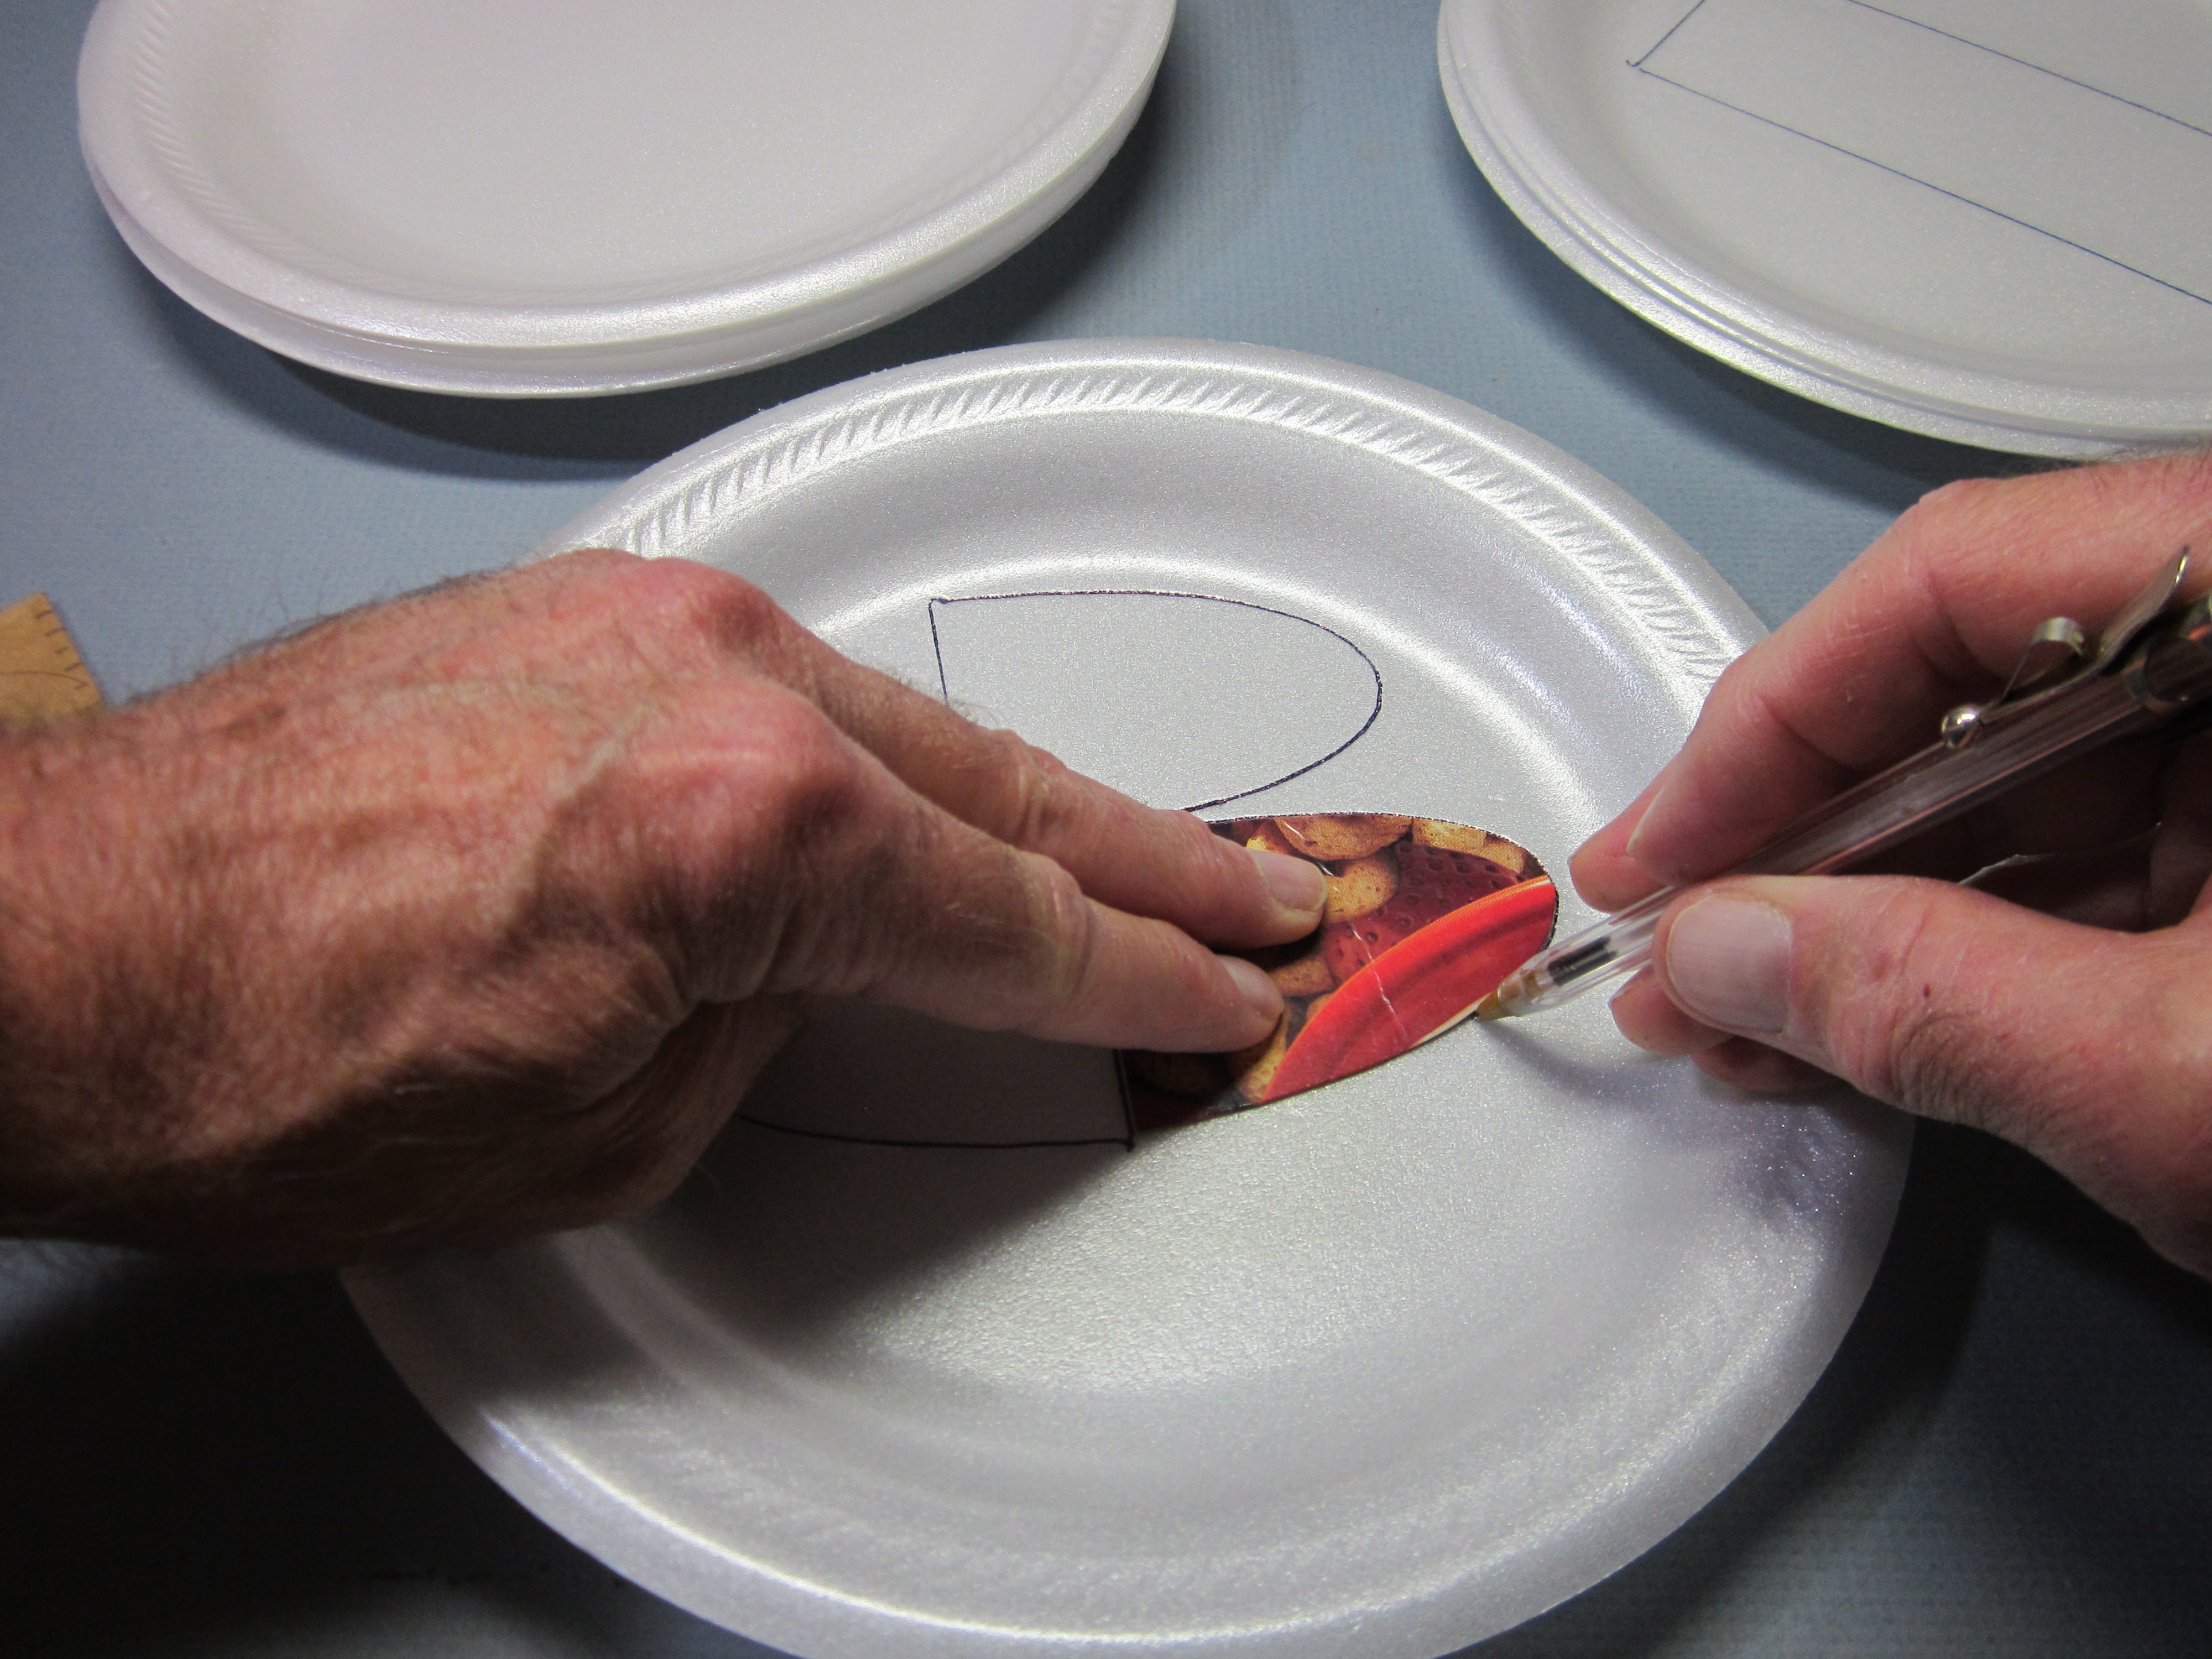
Hold the pattern firmly to the foam so it doesn’t slide around, and trace around it with a pen. Point the pen inward against the edge of the pattern. Trace three 2″ x 5″ [2 9/32″ x 5 9/16″] wing panels on three plates.
On one of the wing plates, poke holes through the pattern near the ends of the centerline, to mark the centerline on the foam. This will be the center panel of the three part wing.
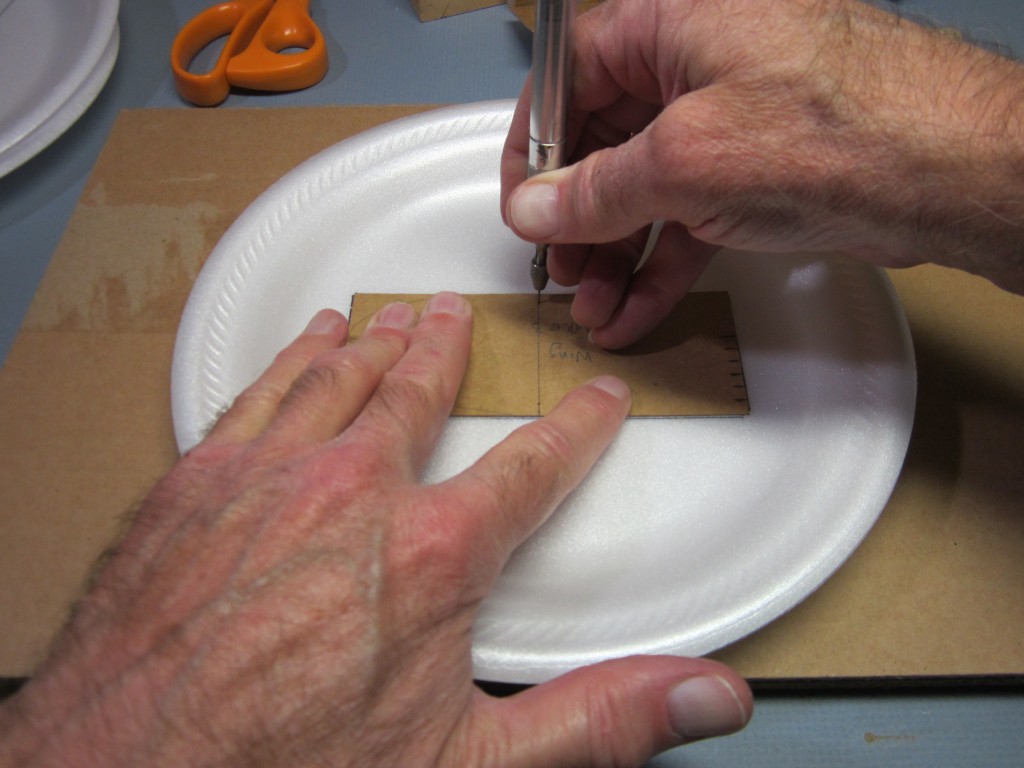
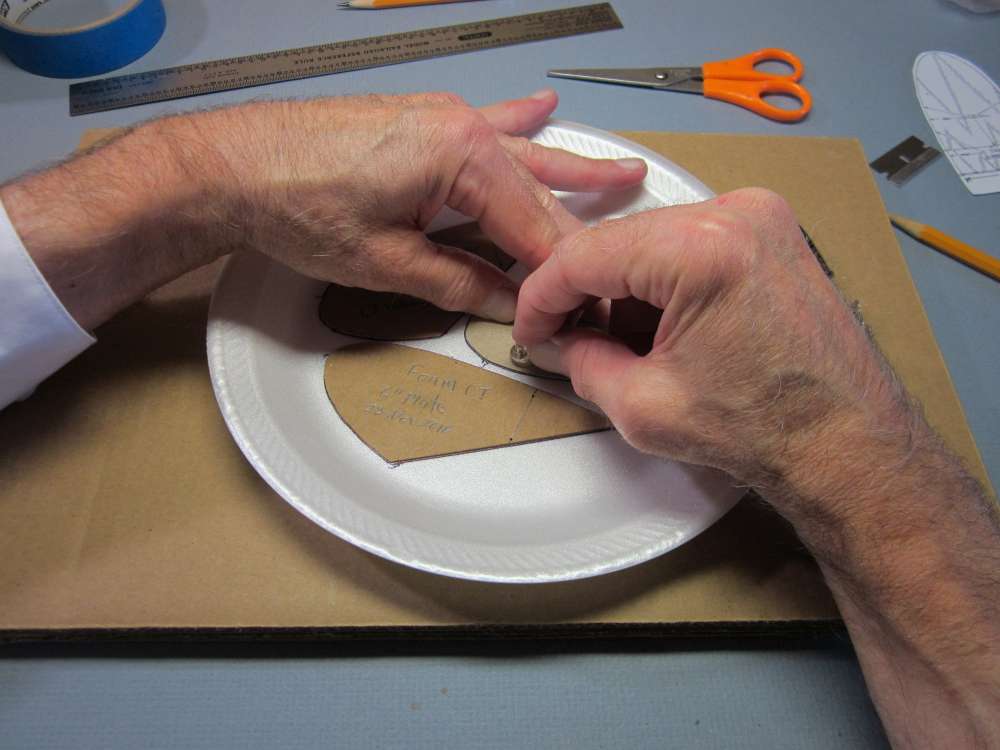
Place the fin pattern along the edge of the flat area, right along the foot of the rising edge.
Poke holes through at the corners of the rudder.
Trace one half of the tailplane around the same pattern.
Flip the pattern over, carefully align the pattern with the first half and trace the second half.
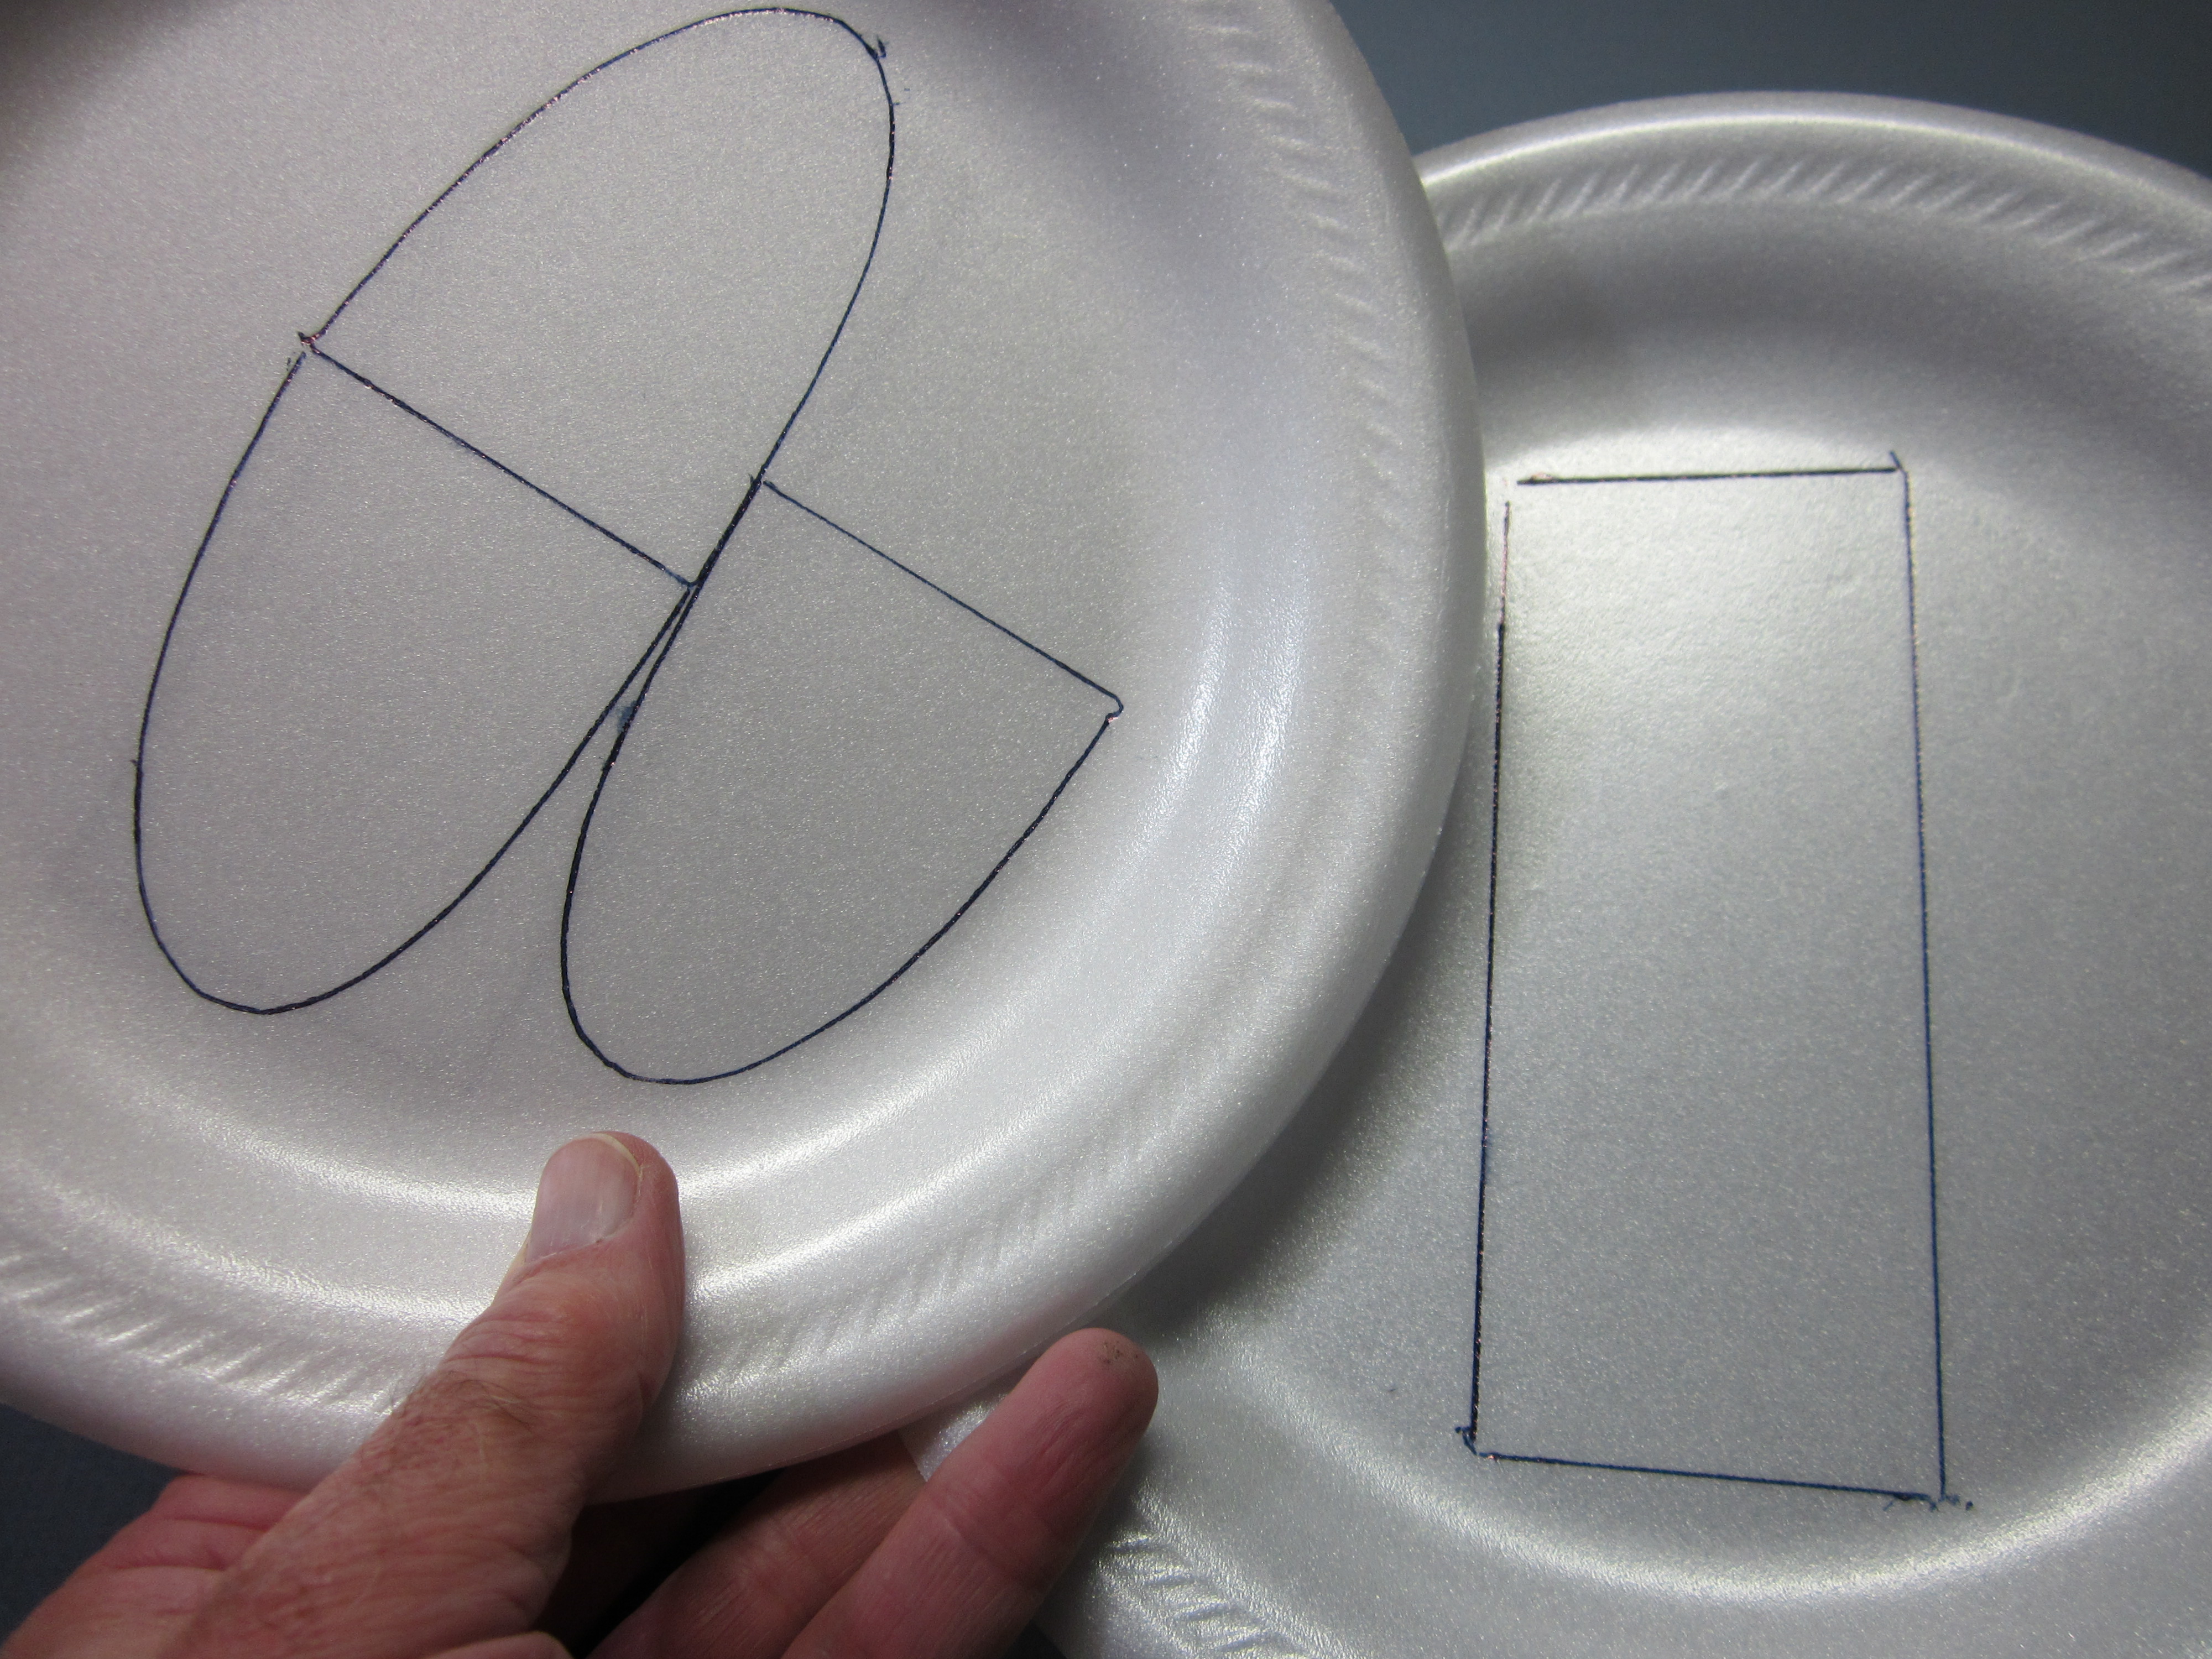
That completes the tracing out of all the foam parts on four plates.
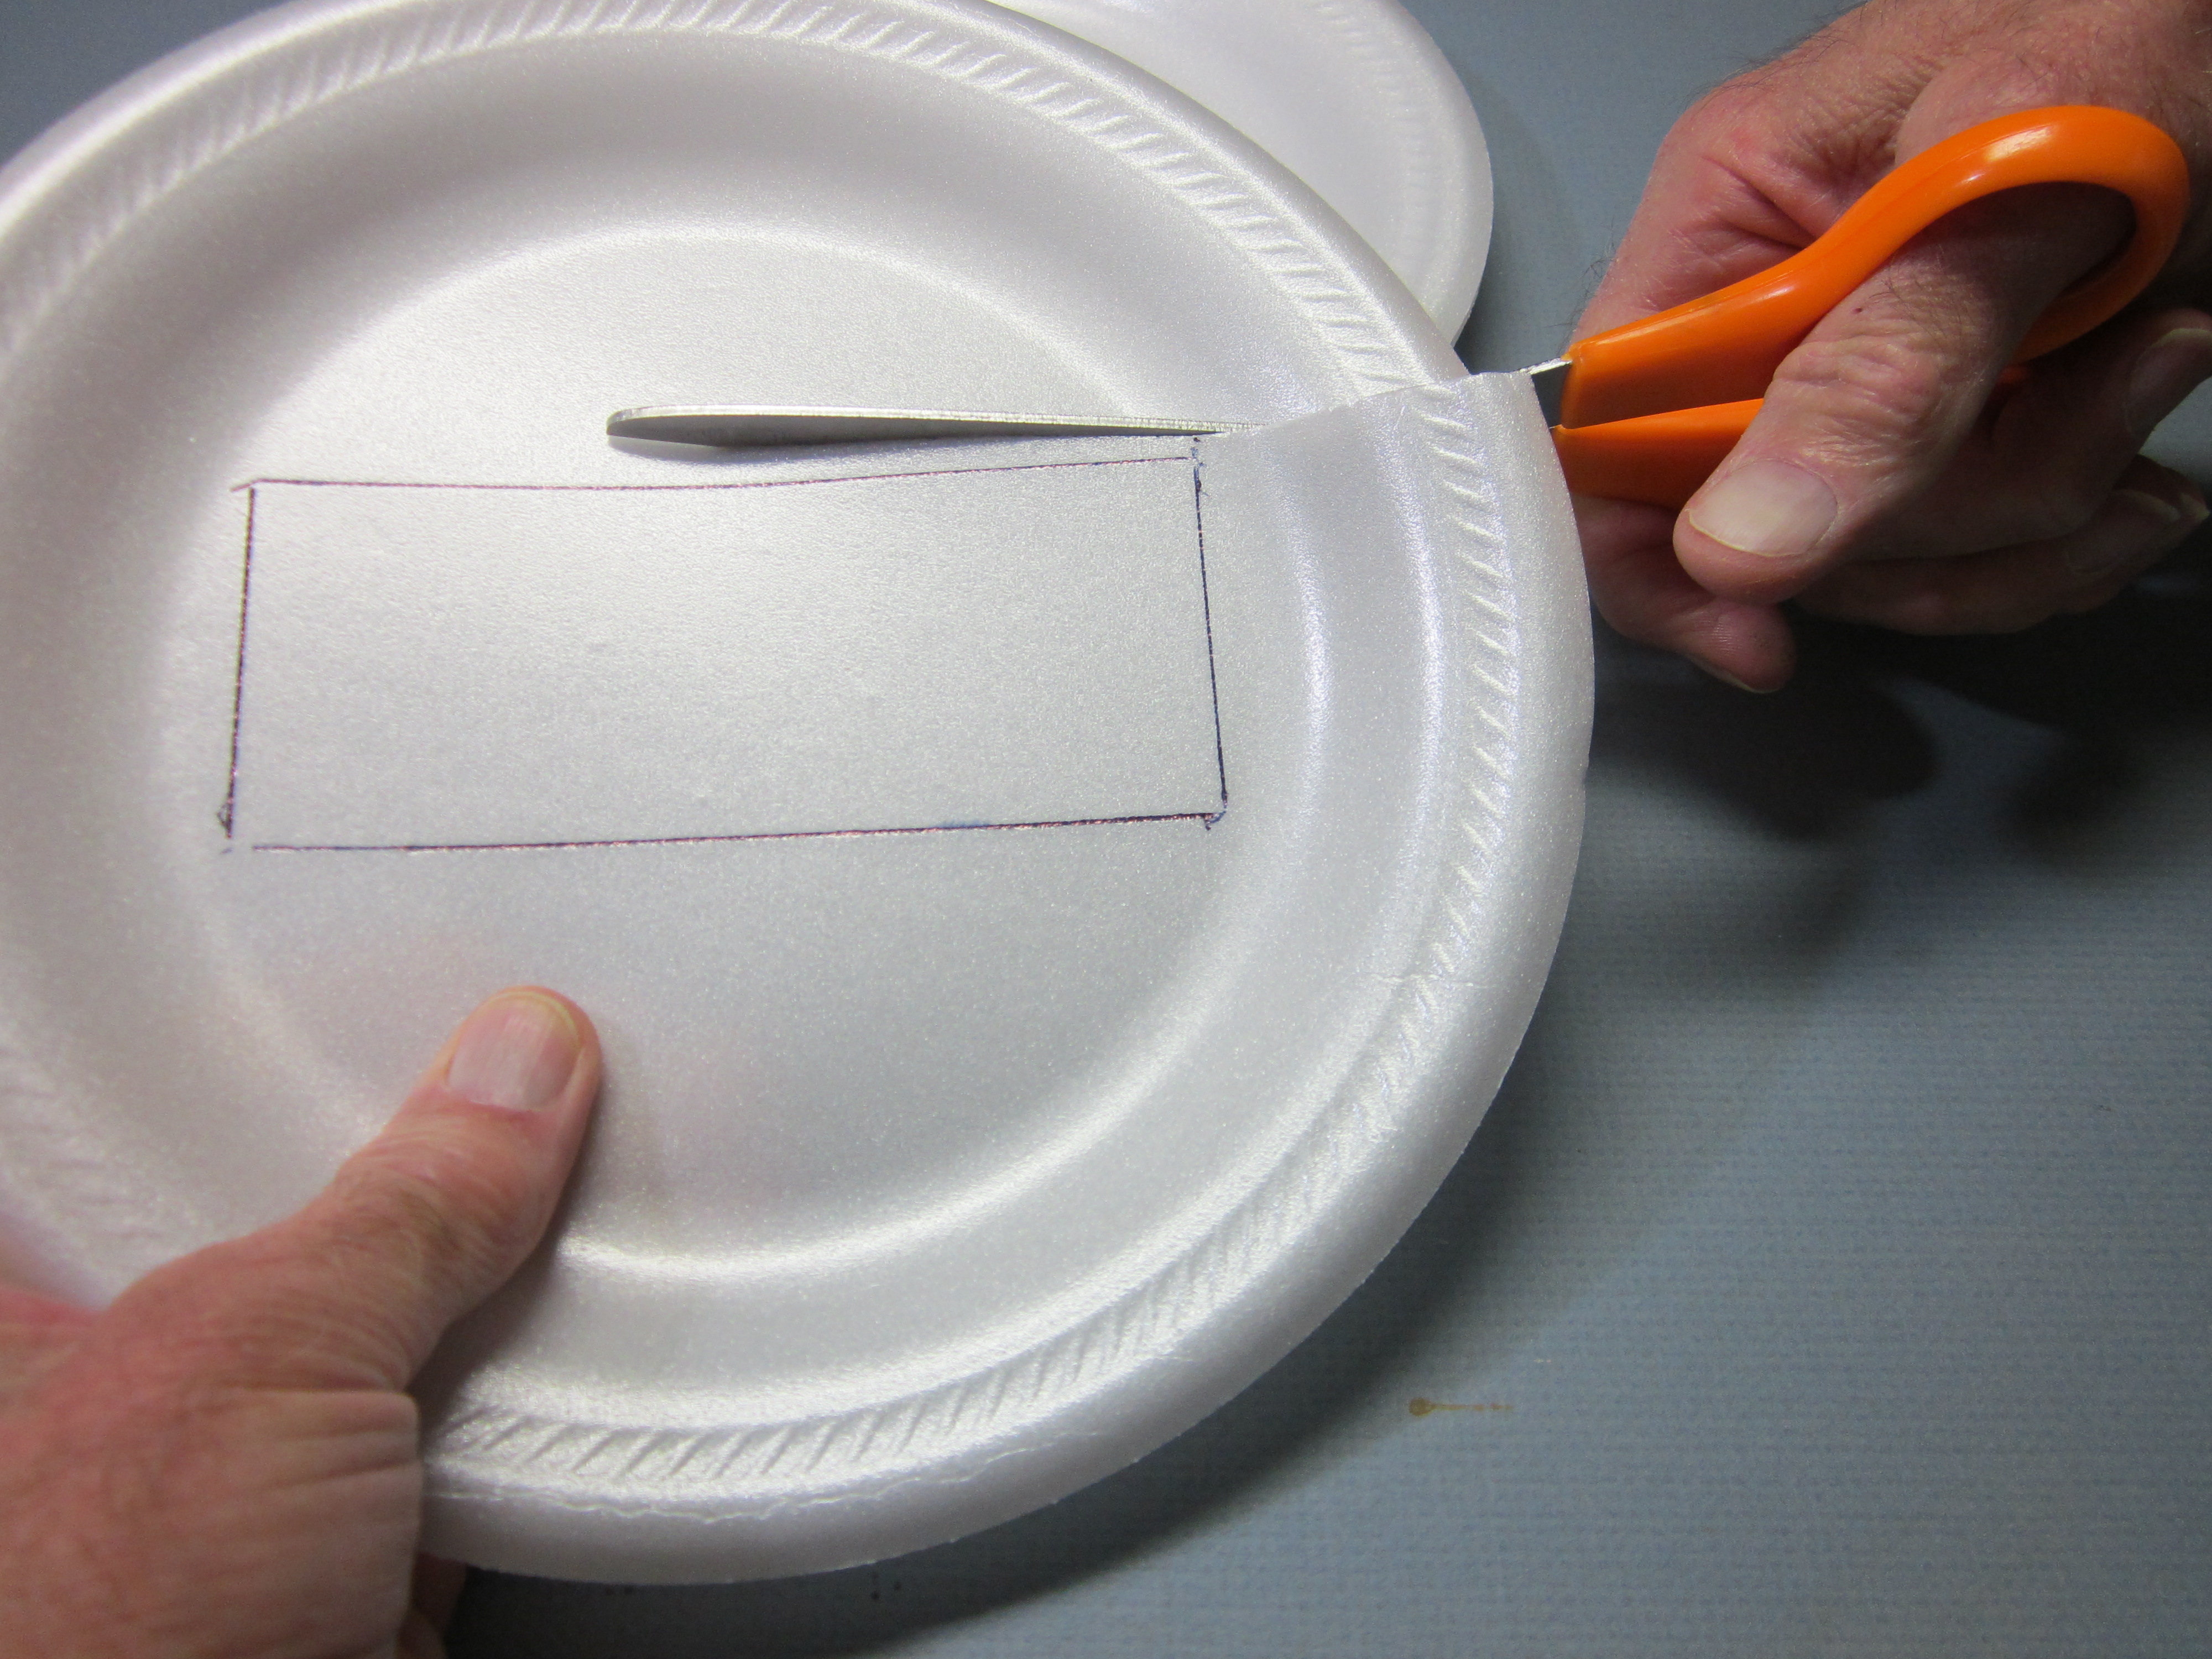
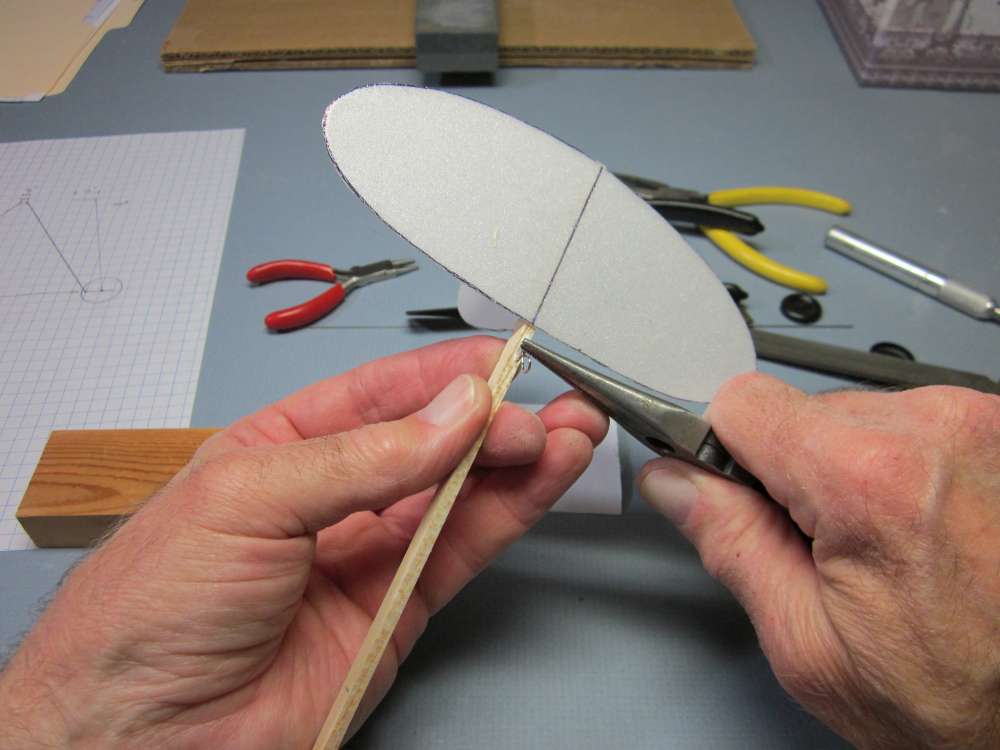
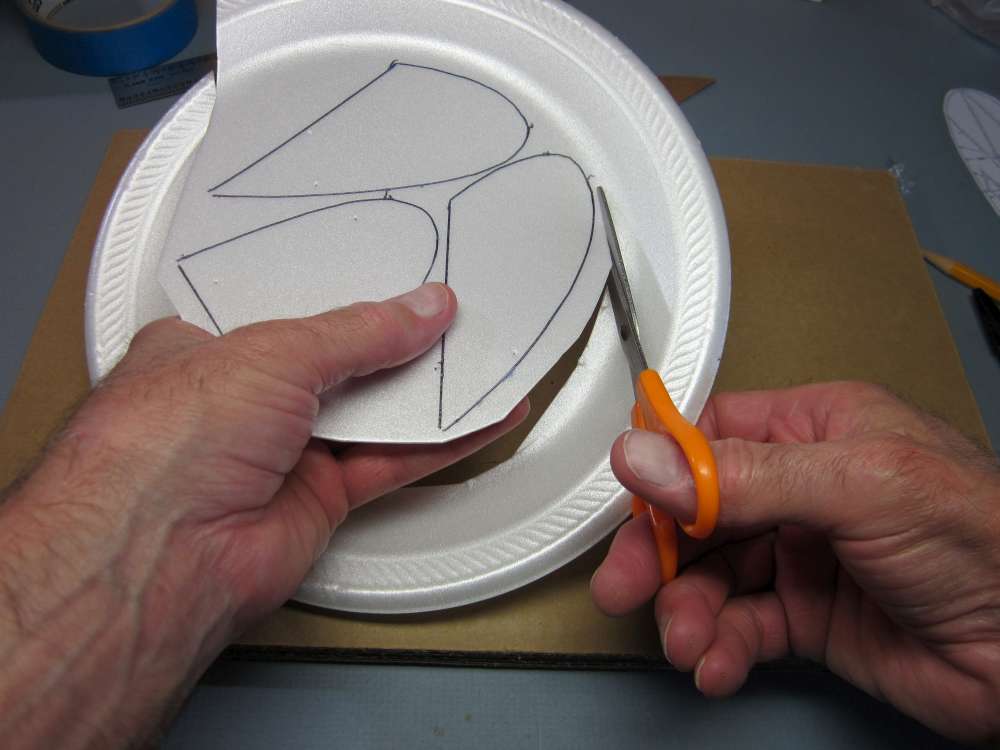
Cut out the foam parts
Cut out around the three wing panels.
Rough cut out the parts a little out from the edges.
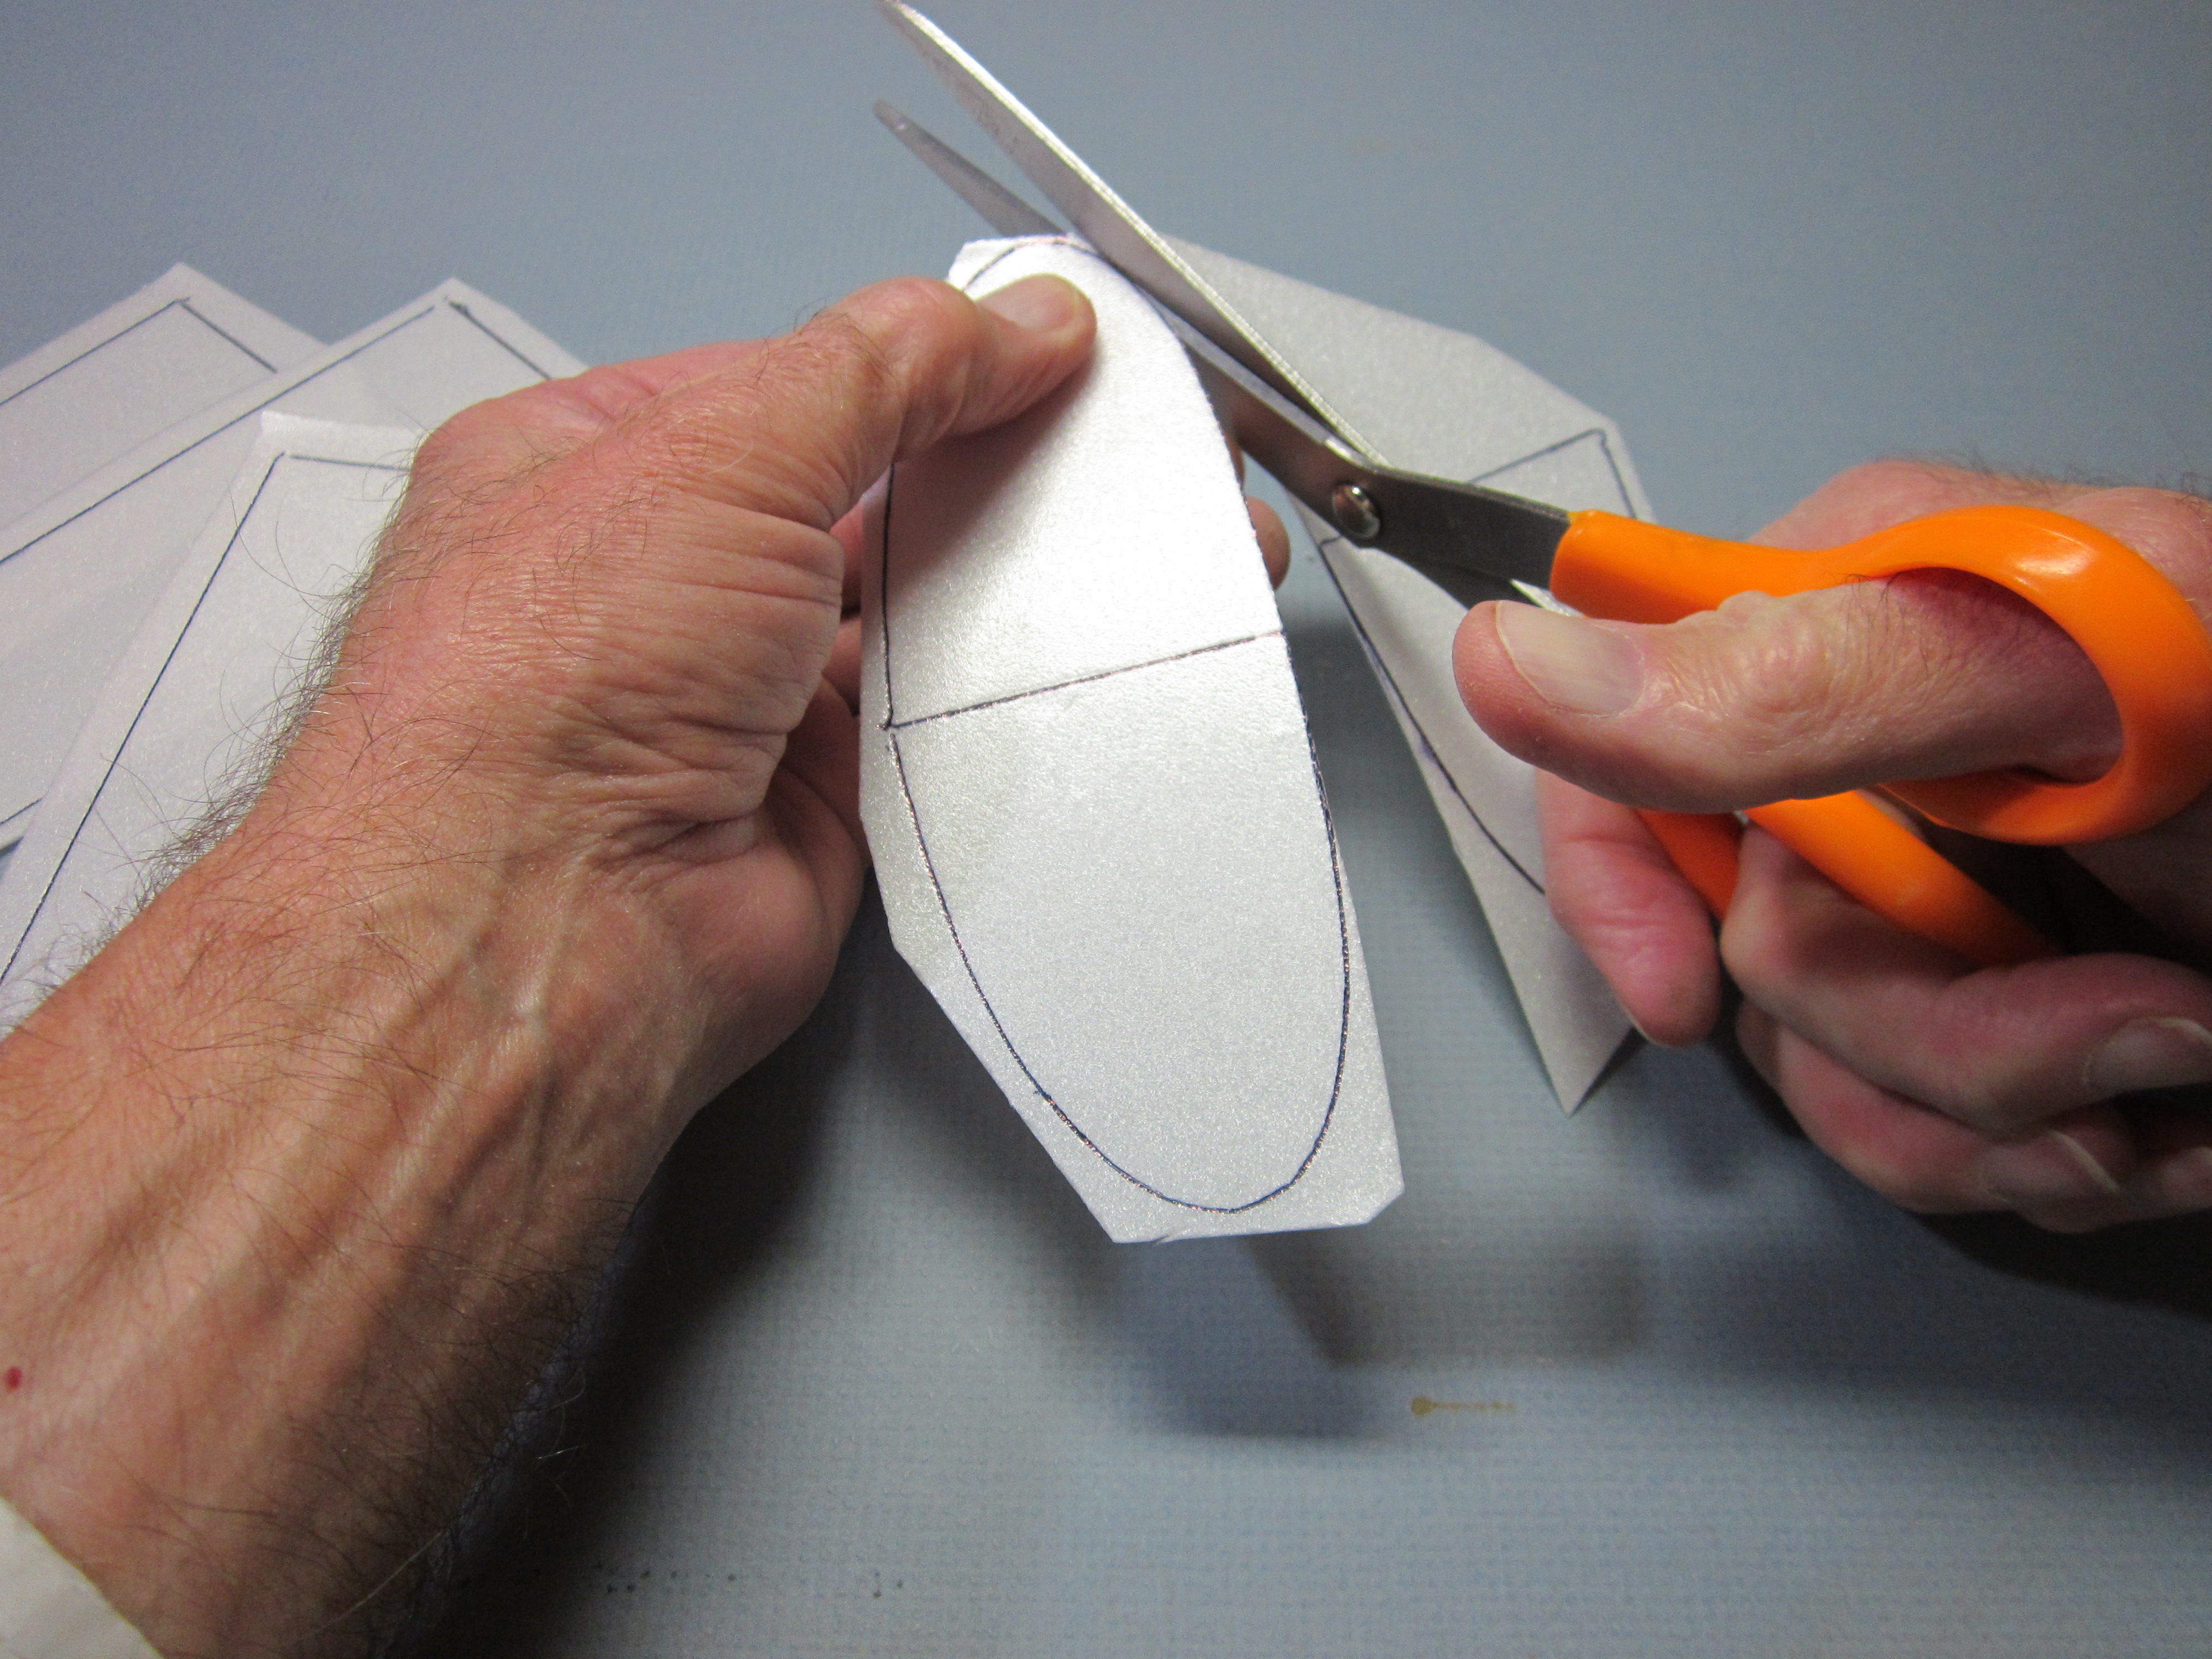
Cut the curved parts exactly along the edge with scissors.
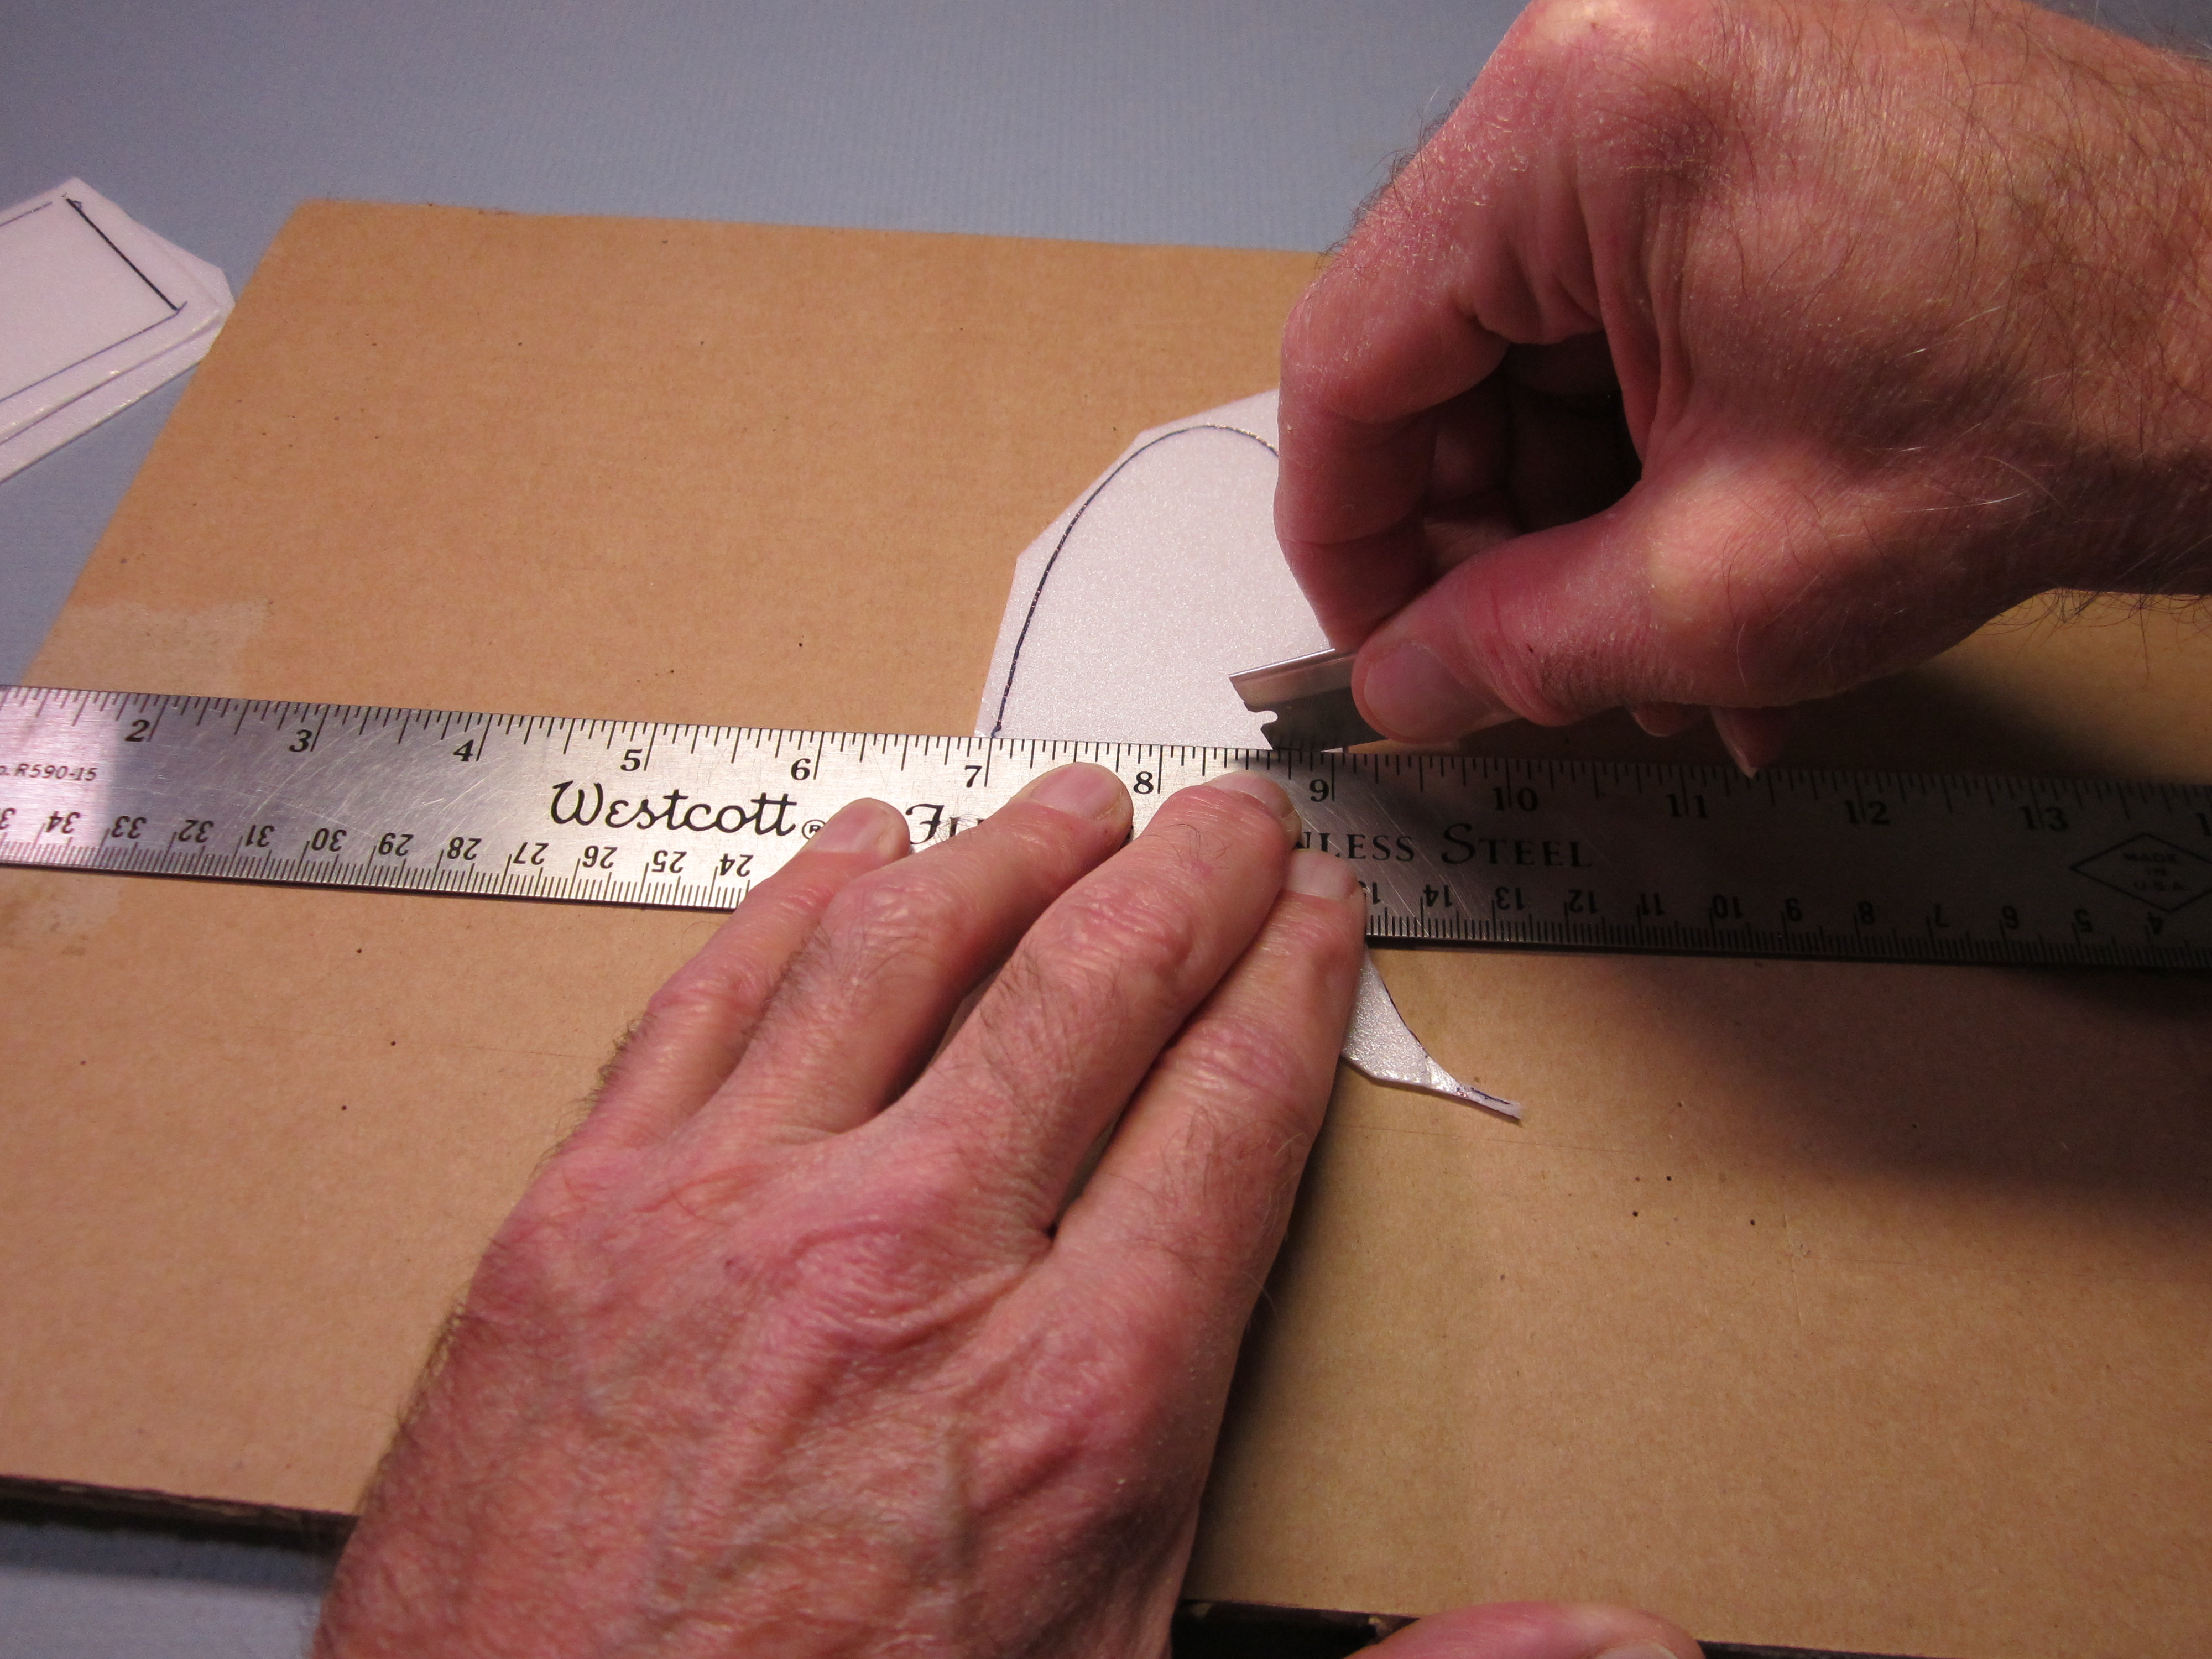
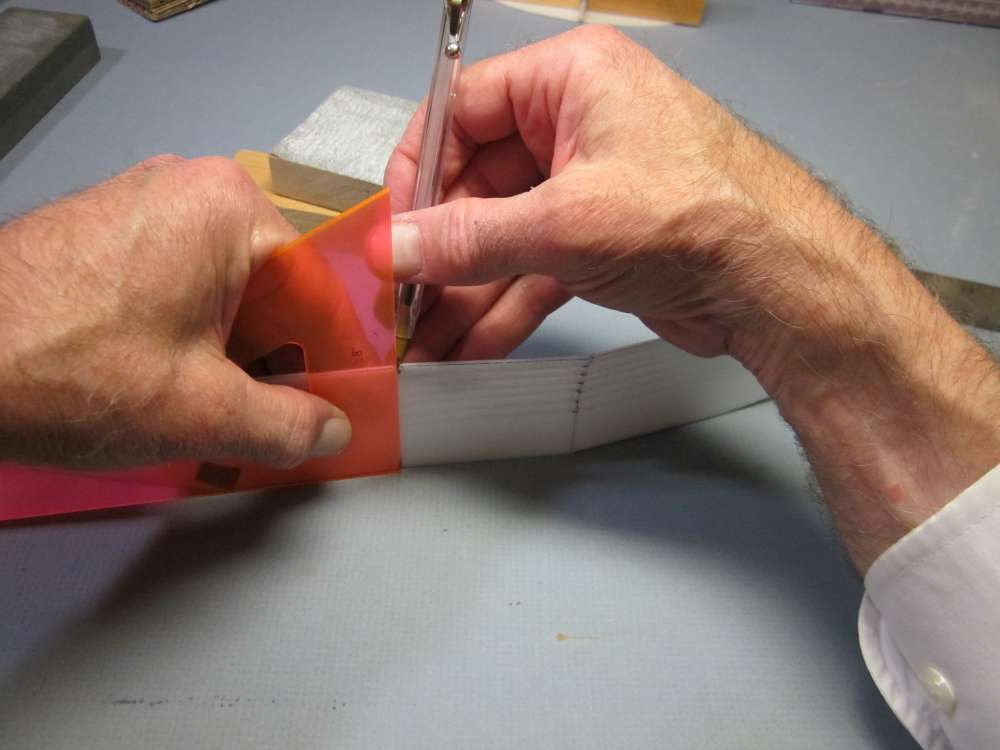
Use the steel straightedge to guide the blade while cutting the straight edges.
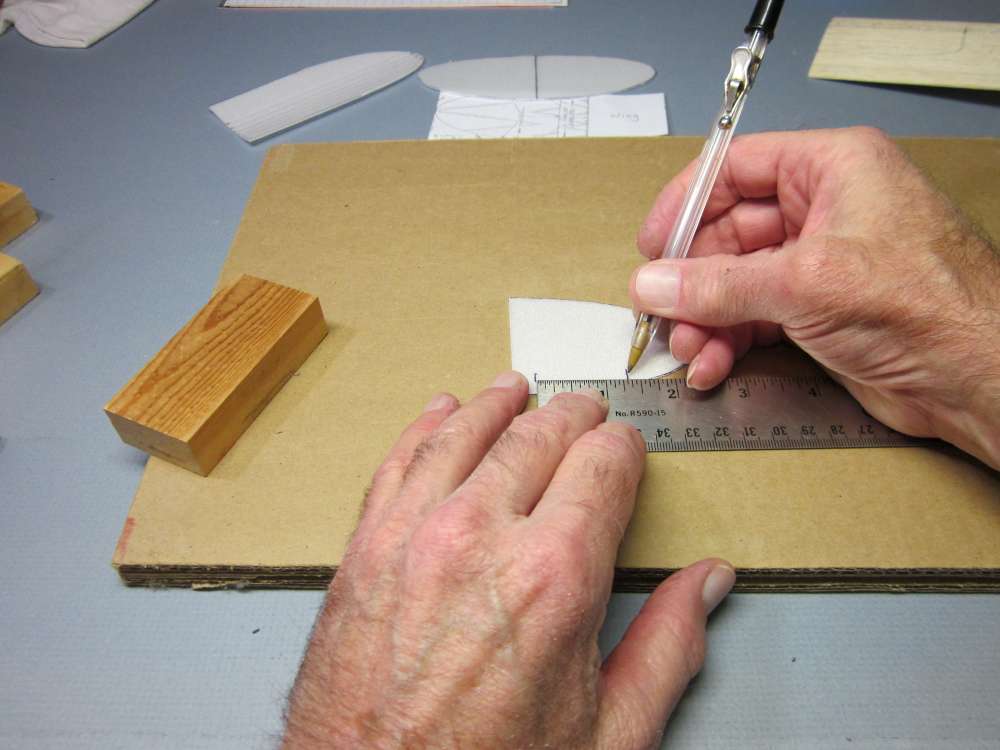
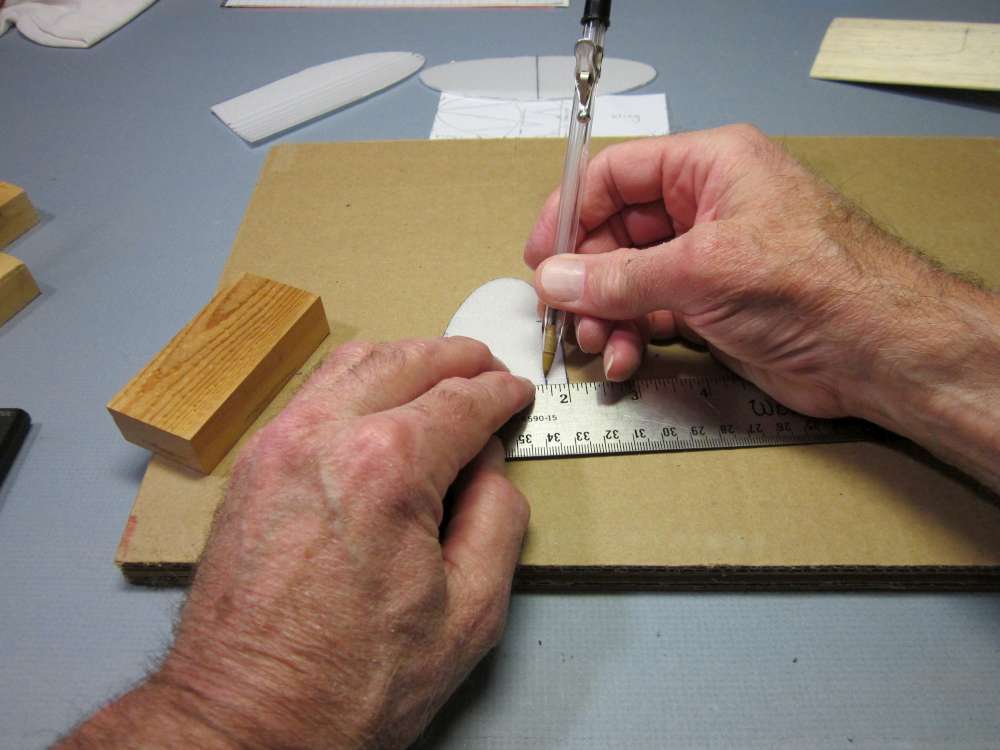
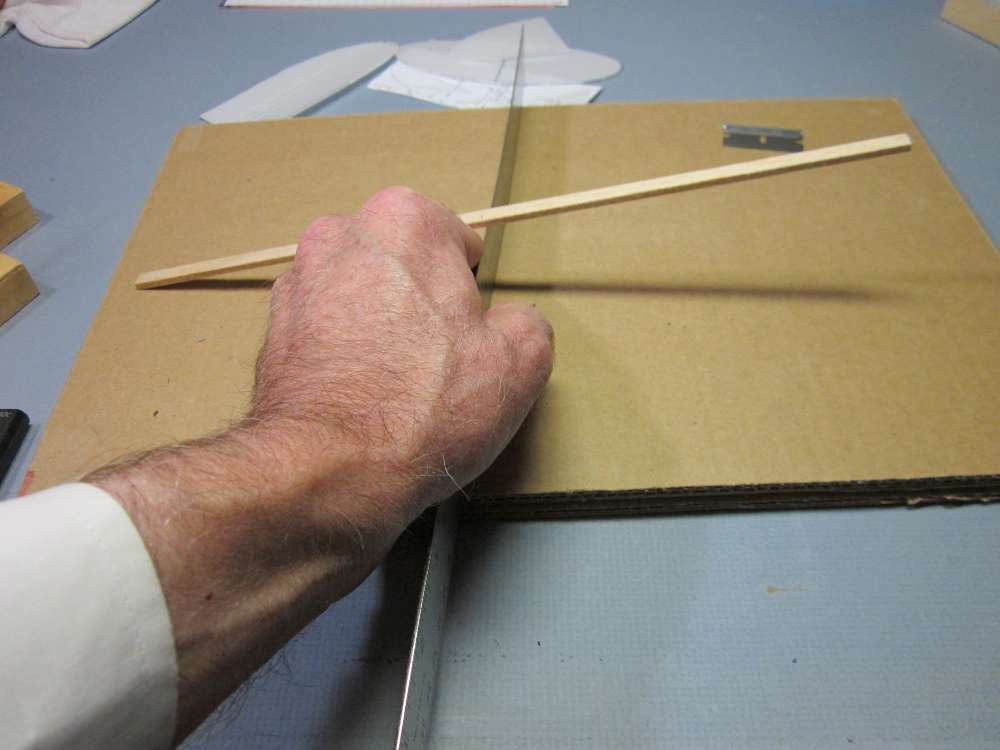
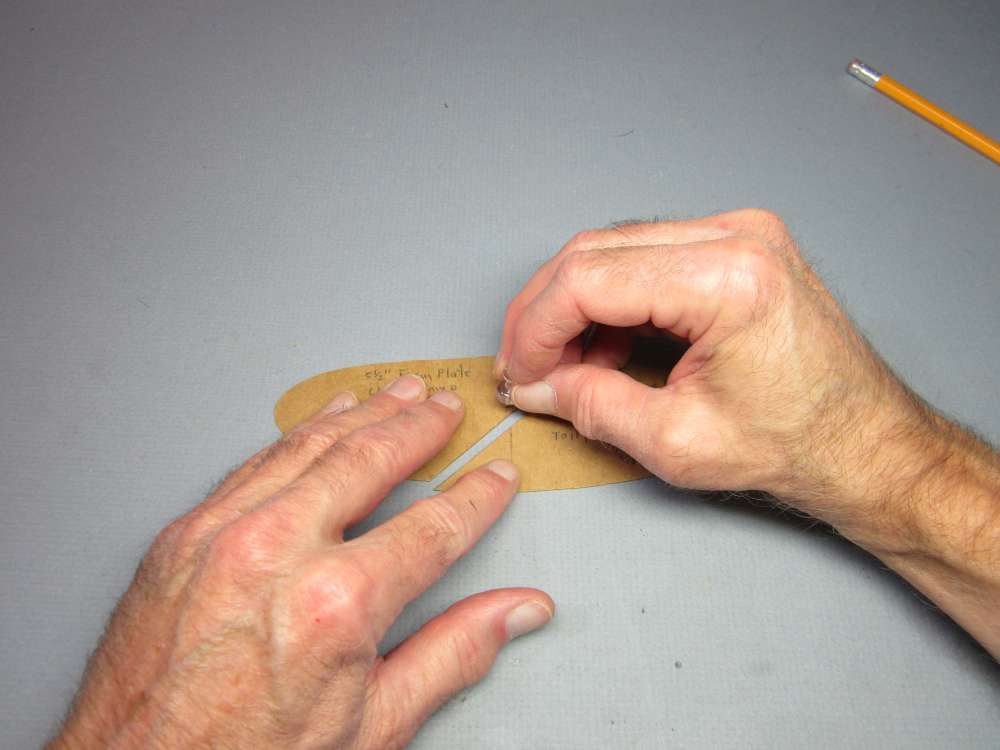
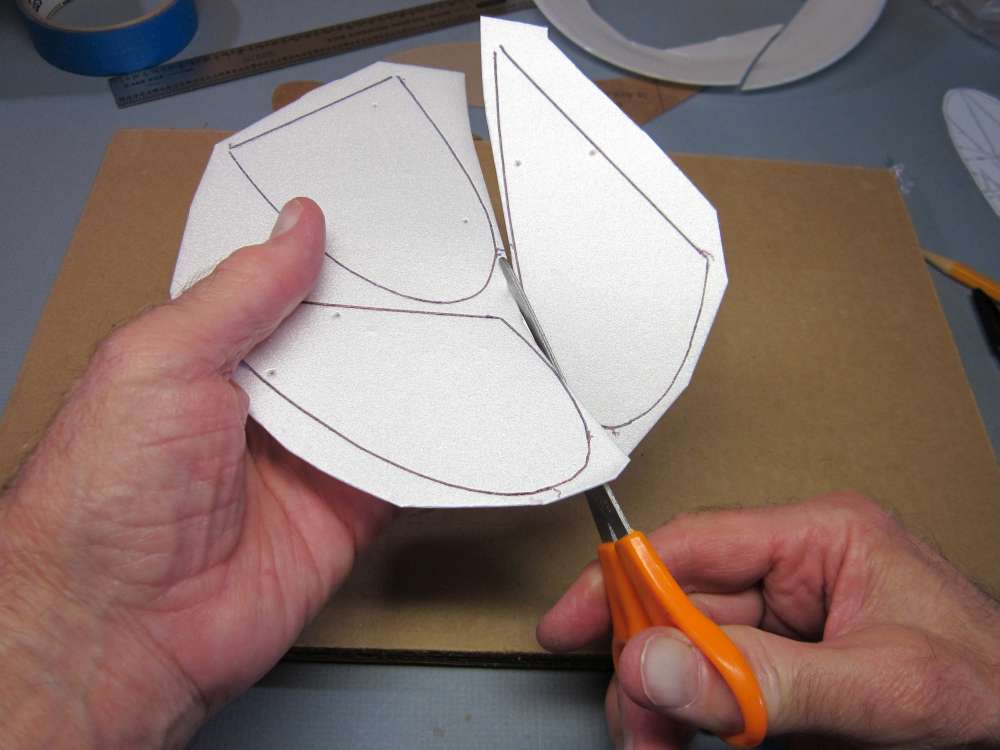
Mark the crease points along the edges of the wing panels. Make sure they start at the same edge on both ends. They start at the leading edges, closest to the deepest part of the dihedral gores.
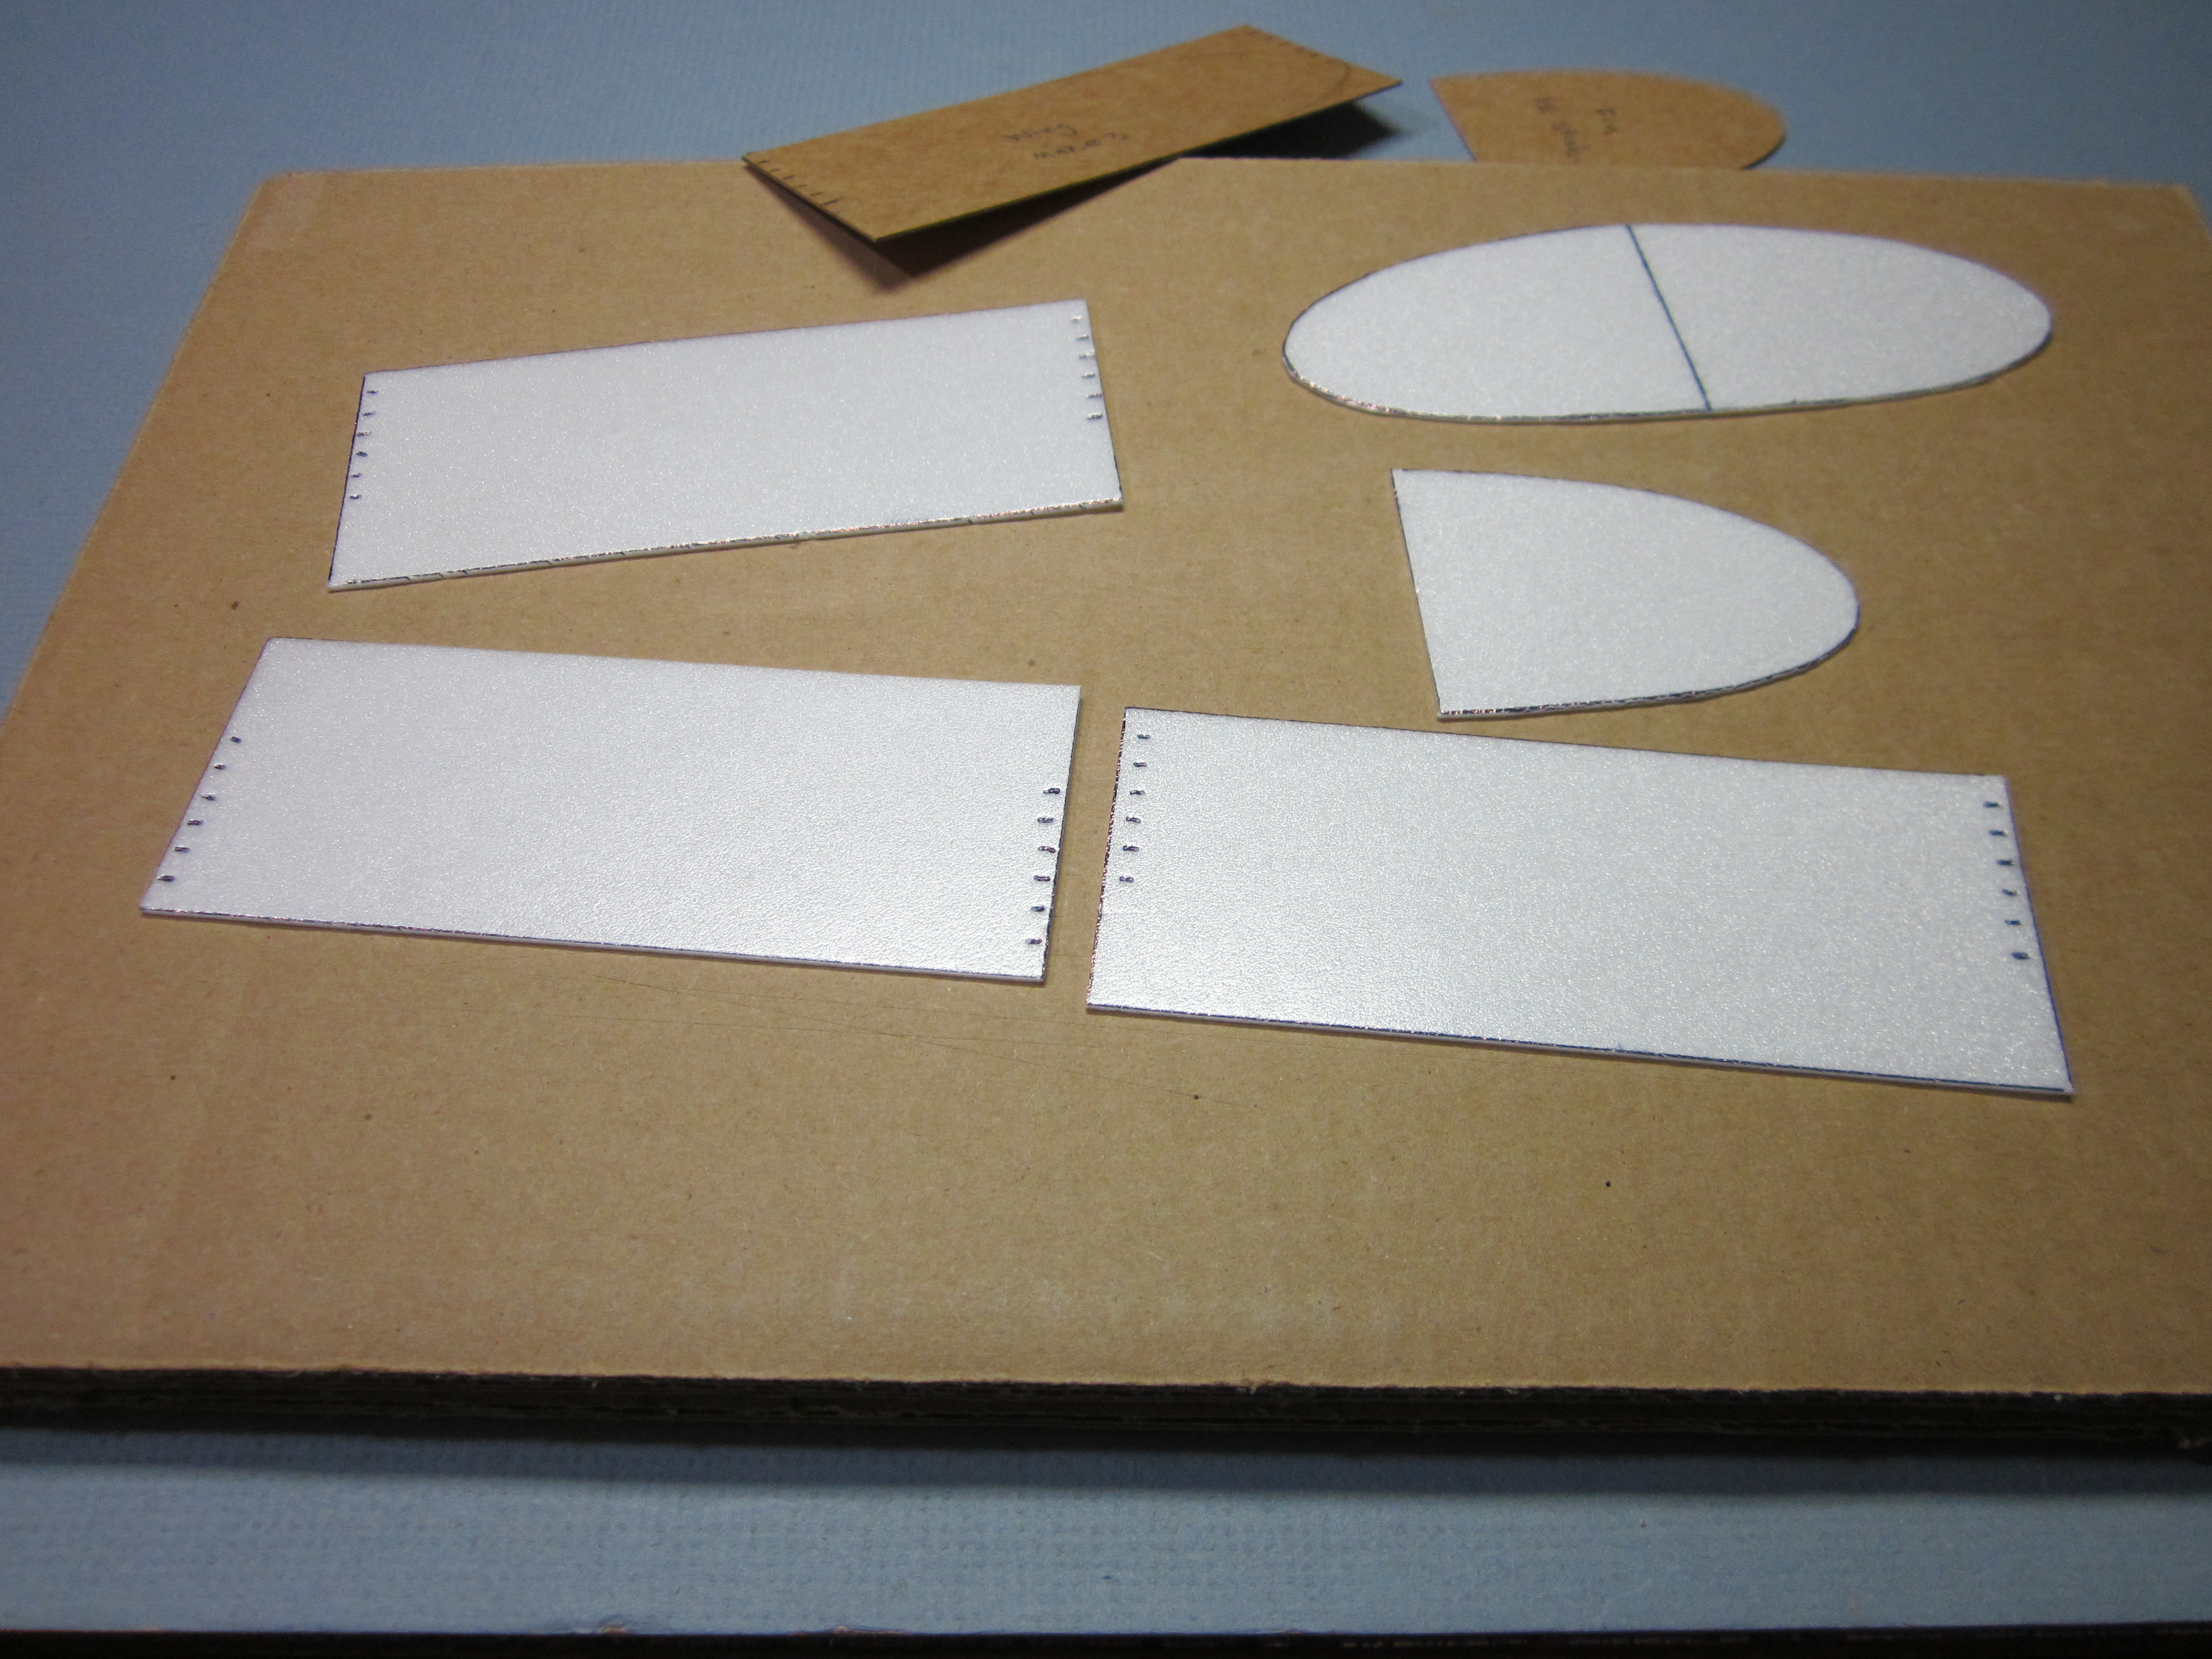
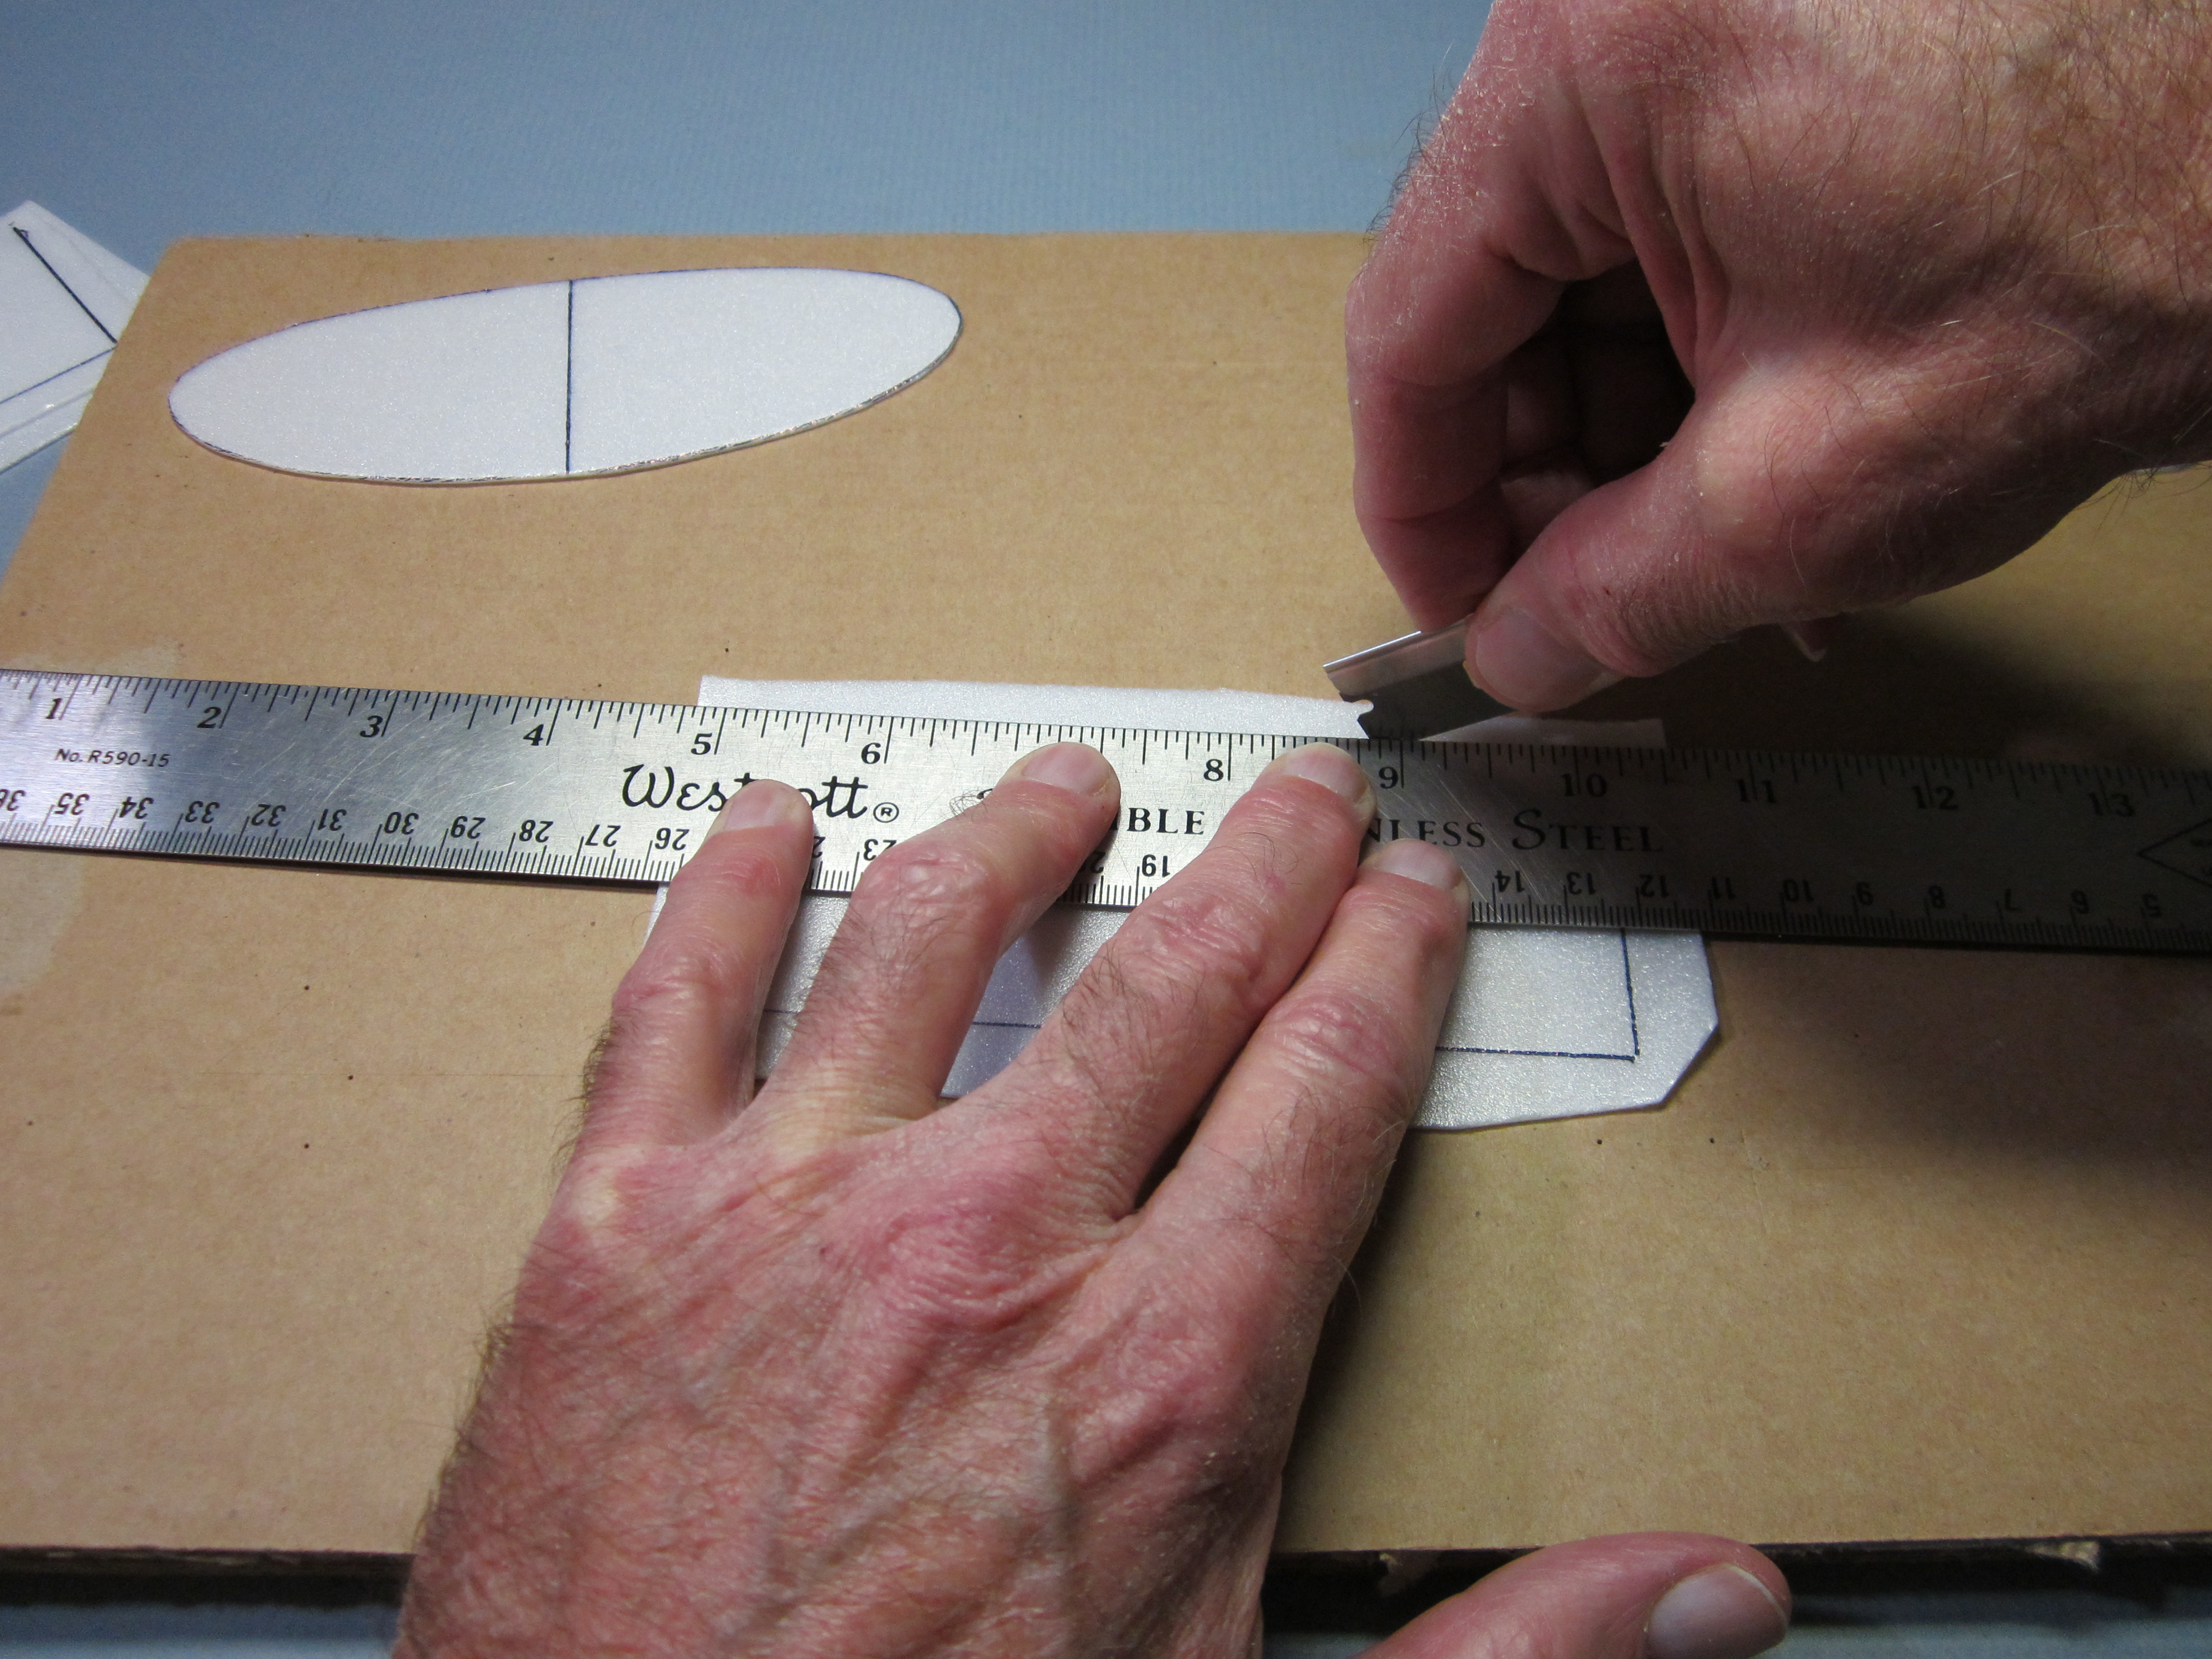
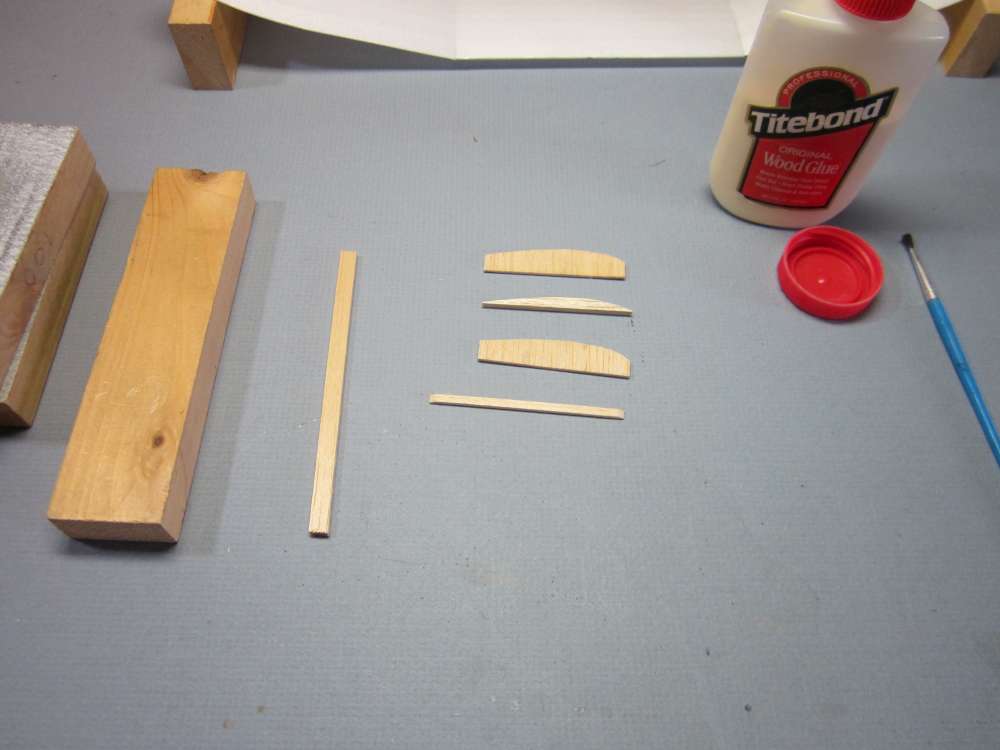
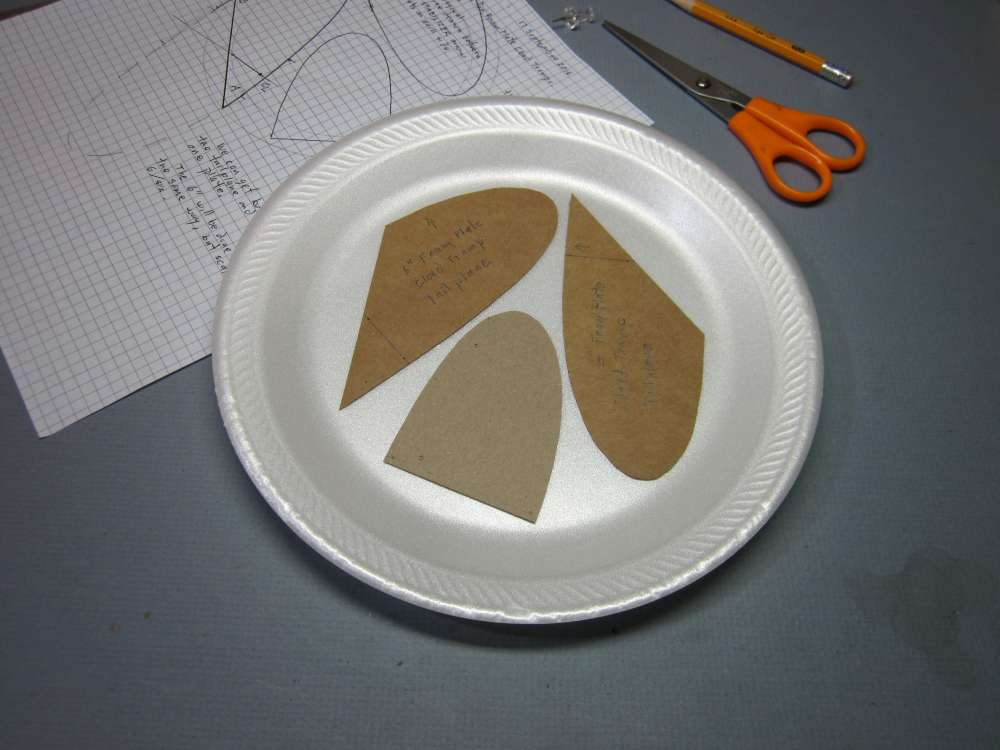
Here are all the foam parts cut out and marked.
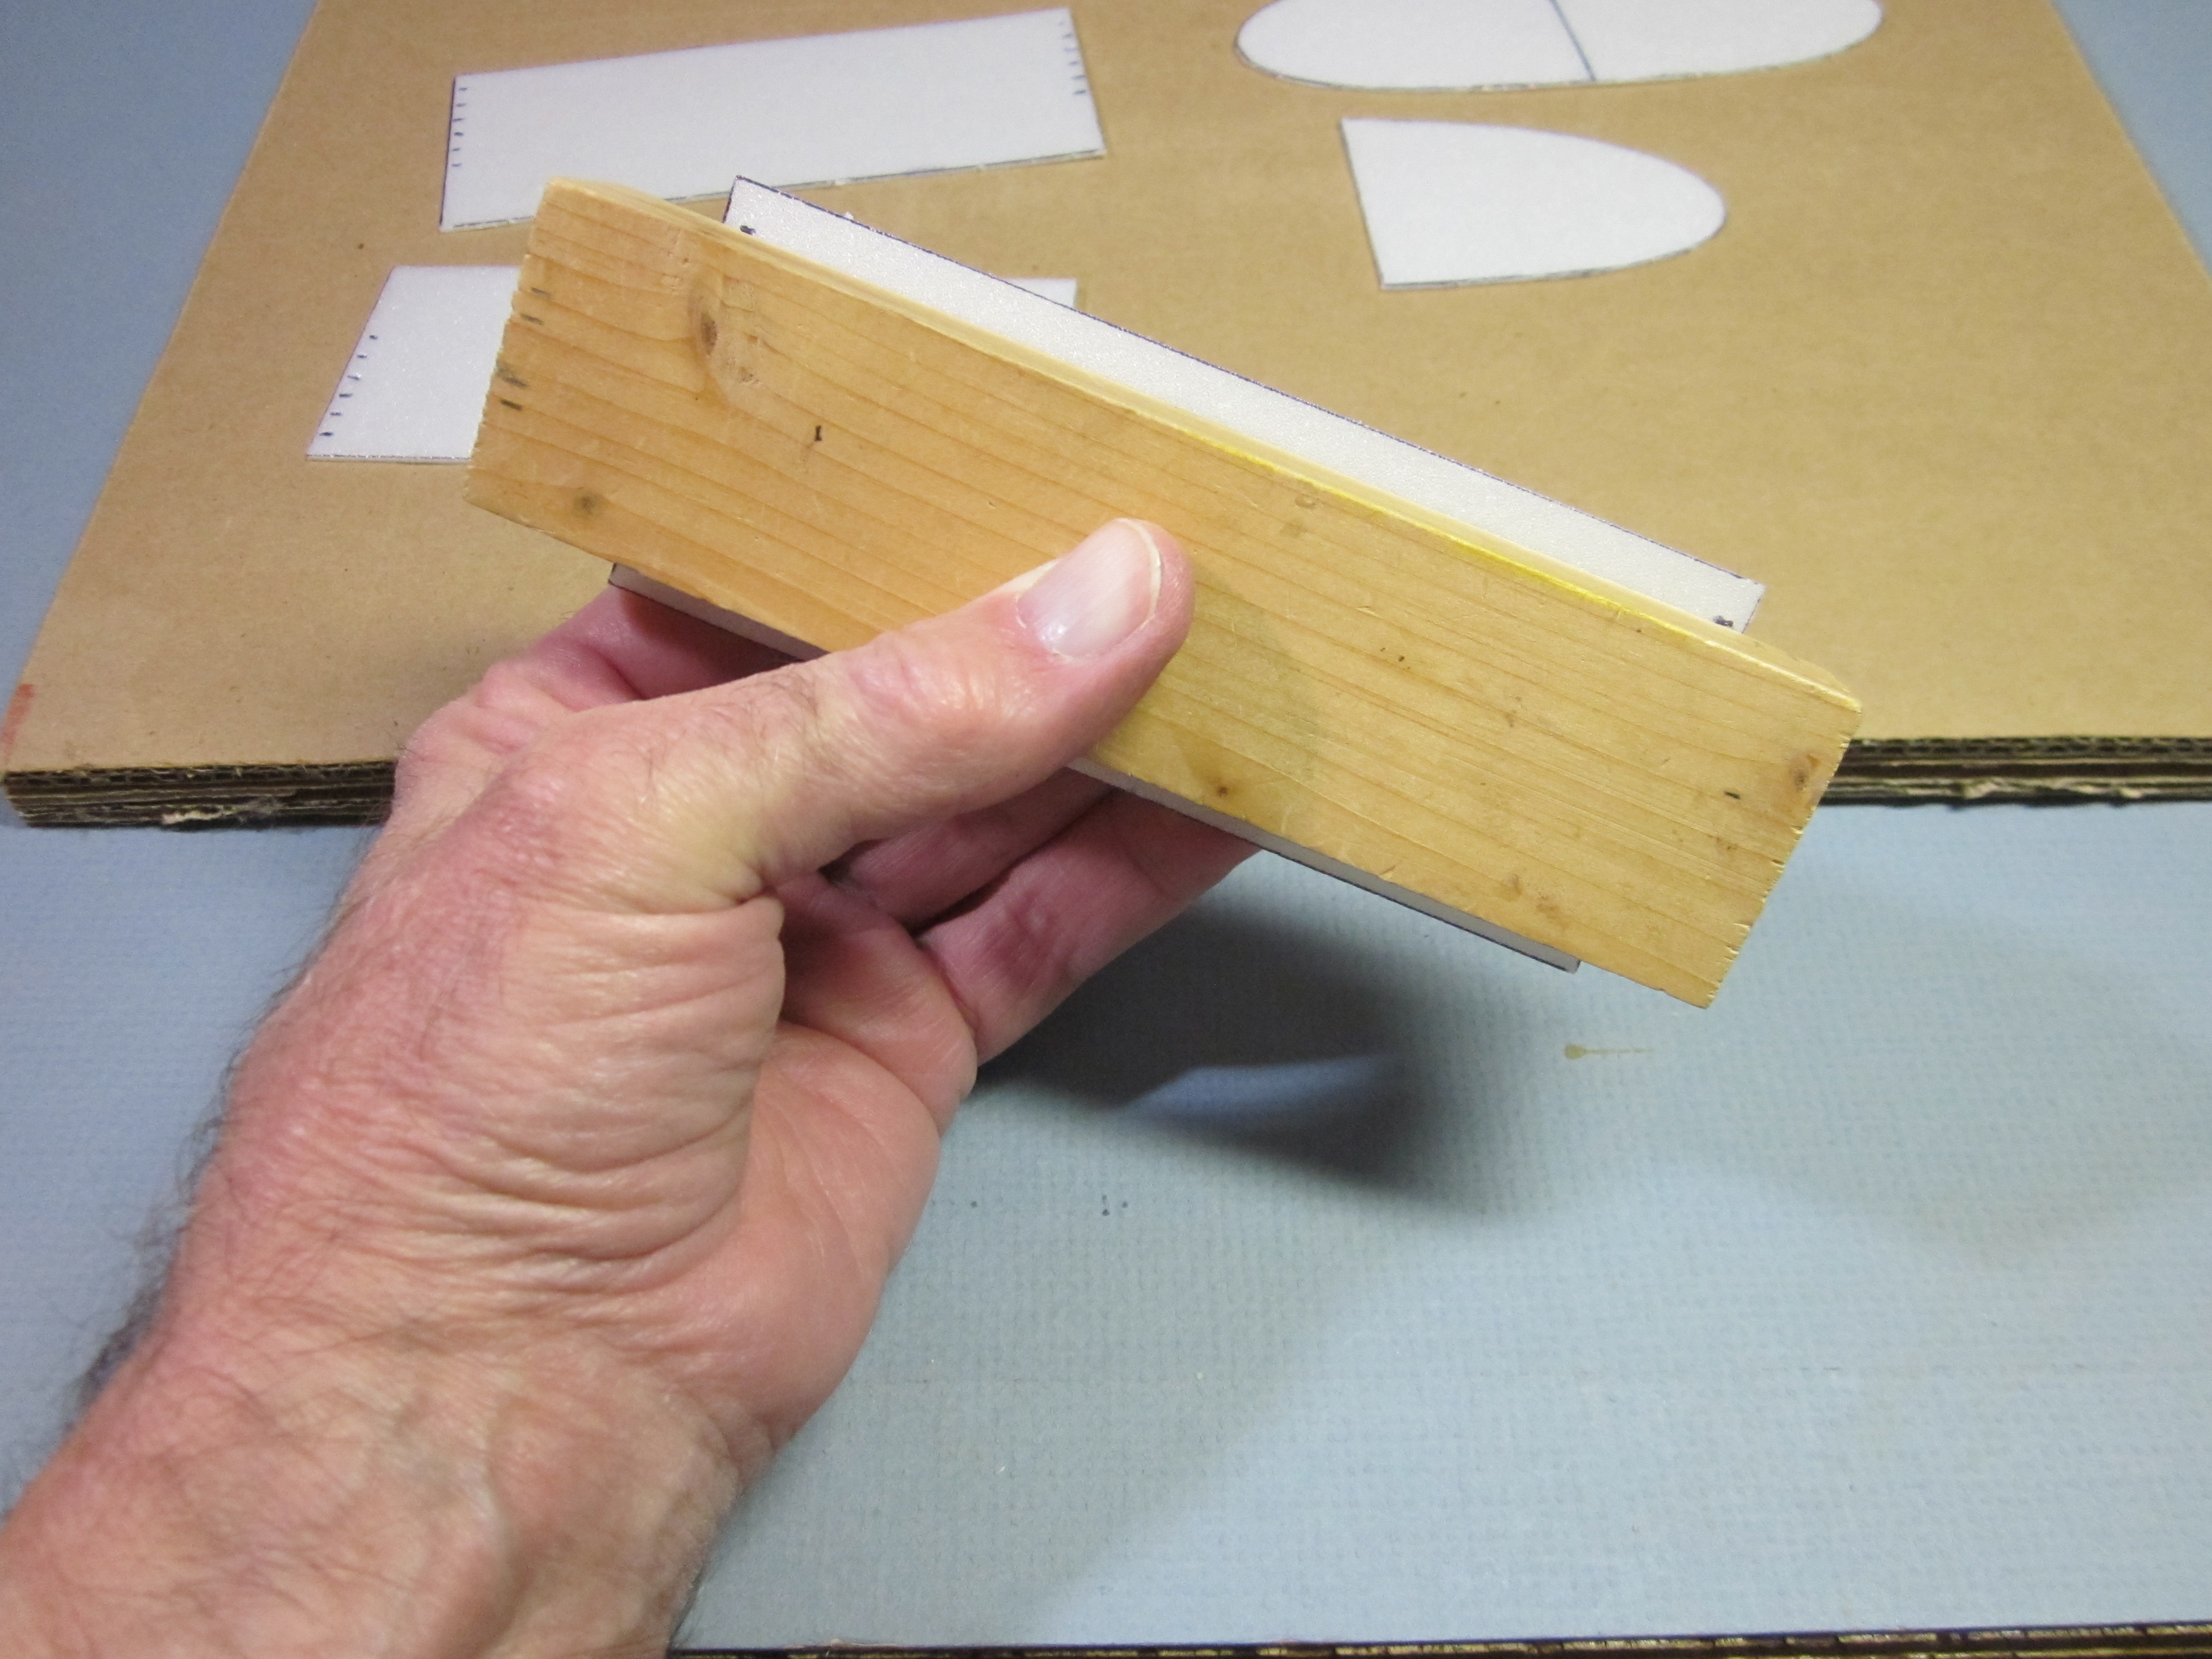
Place the wing against a block of wood or sturdy ruler and line corresponding crease points with the edge.

Press the overhanging panel down on the table top to form a crease along the line between the marks. Do this for all six corresponding pairs of marks on all three wing panels.
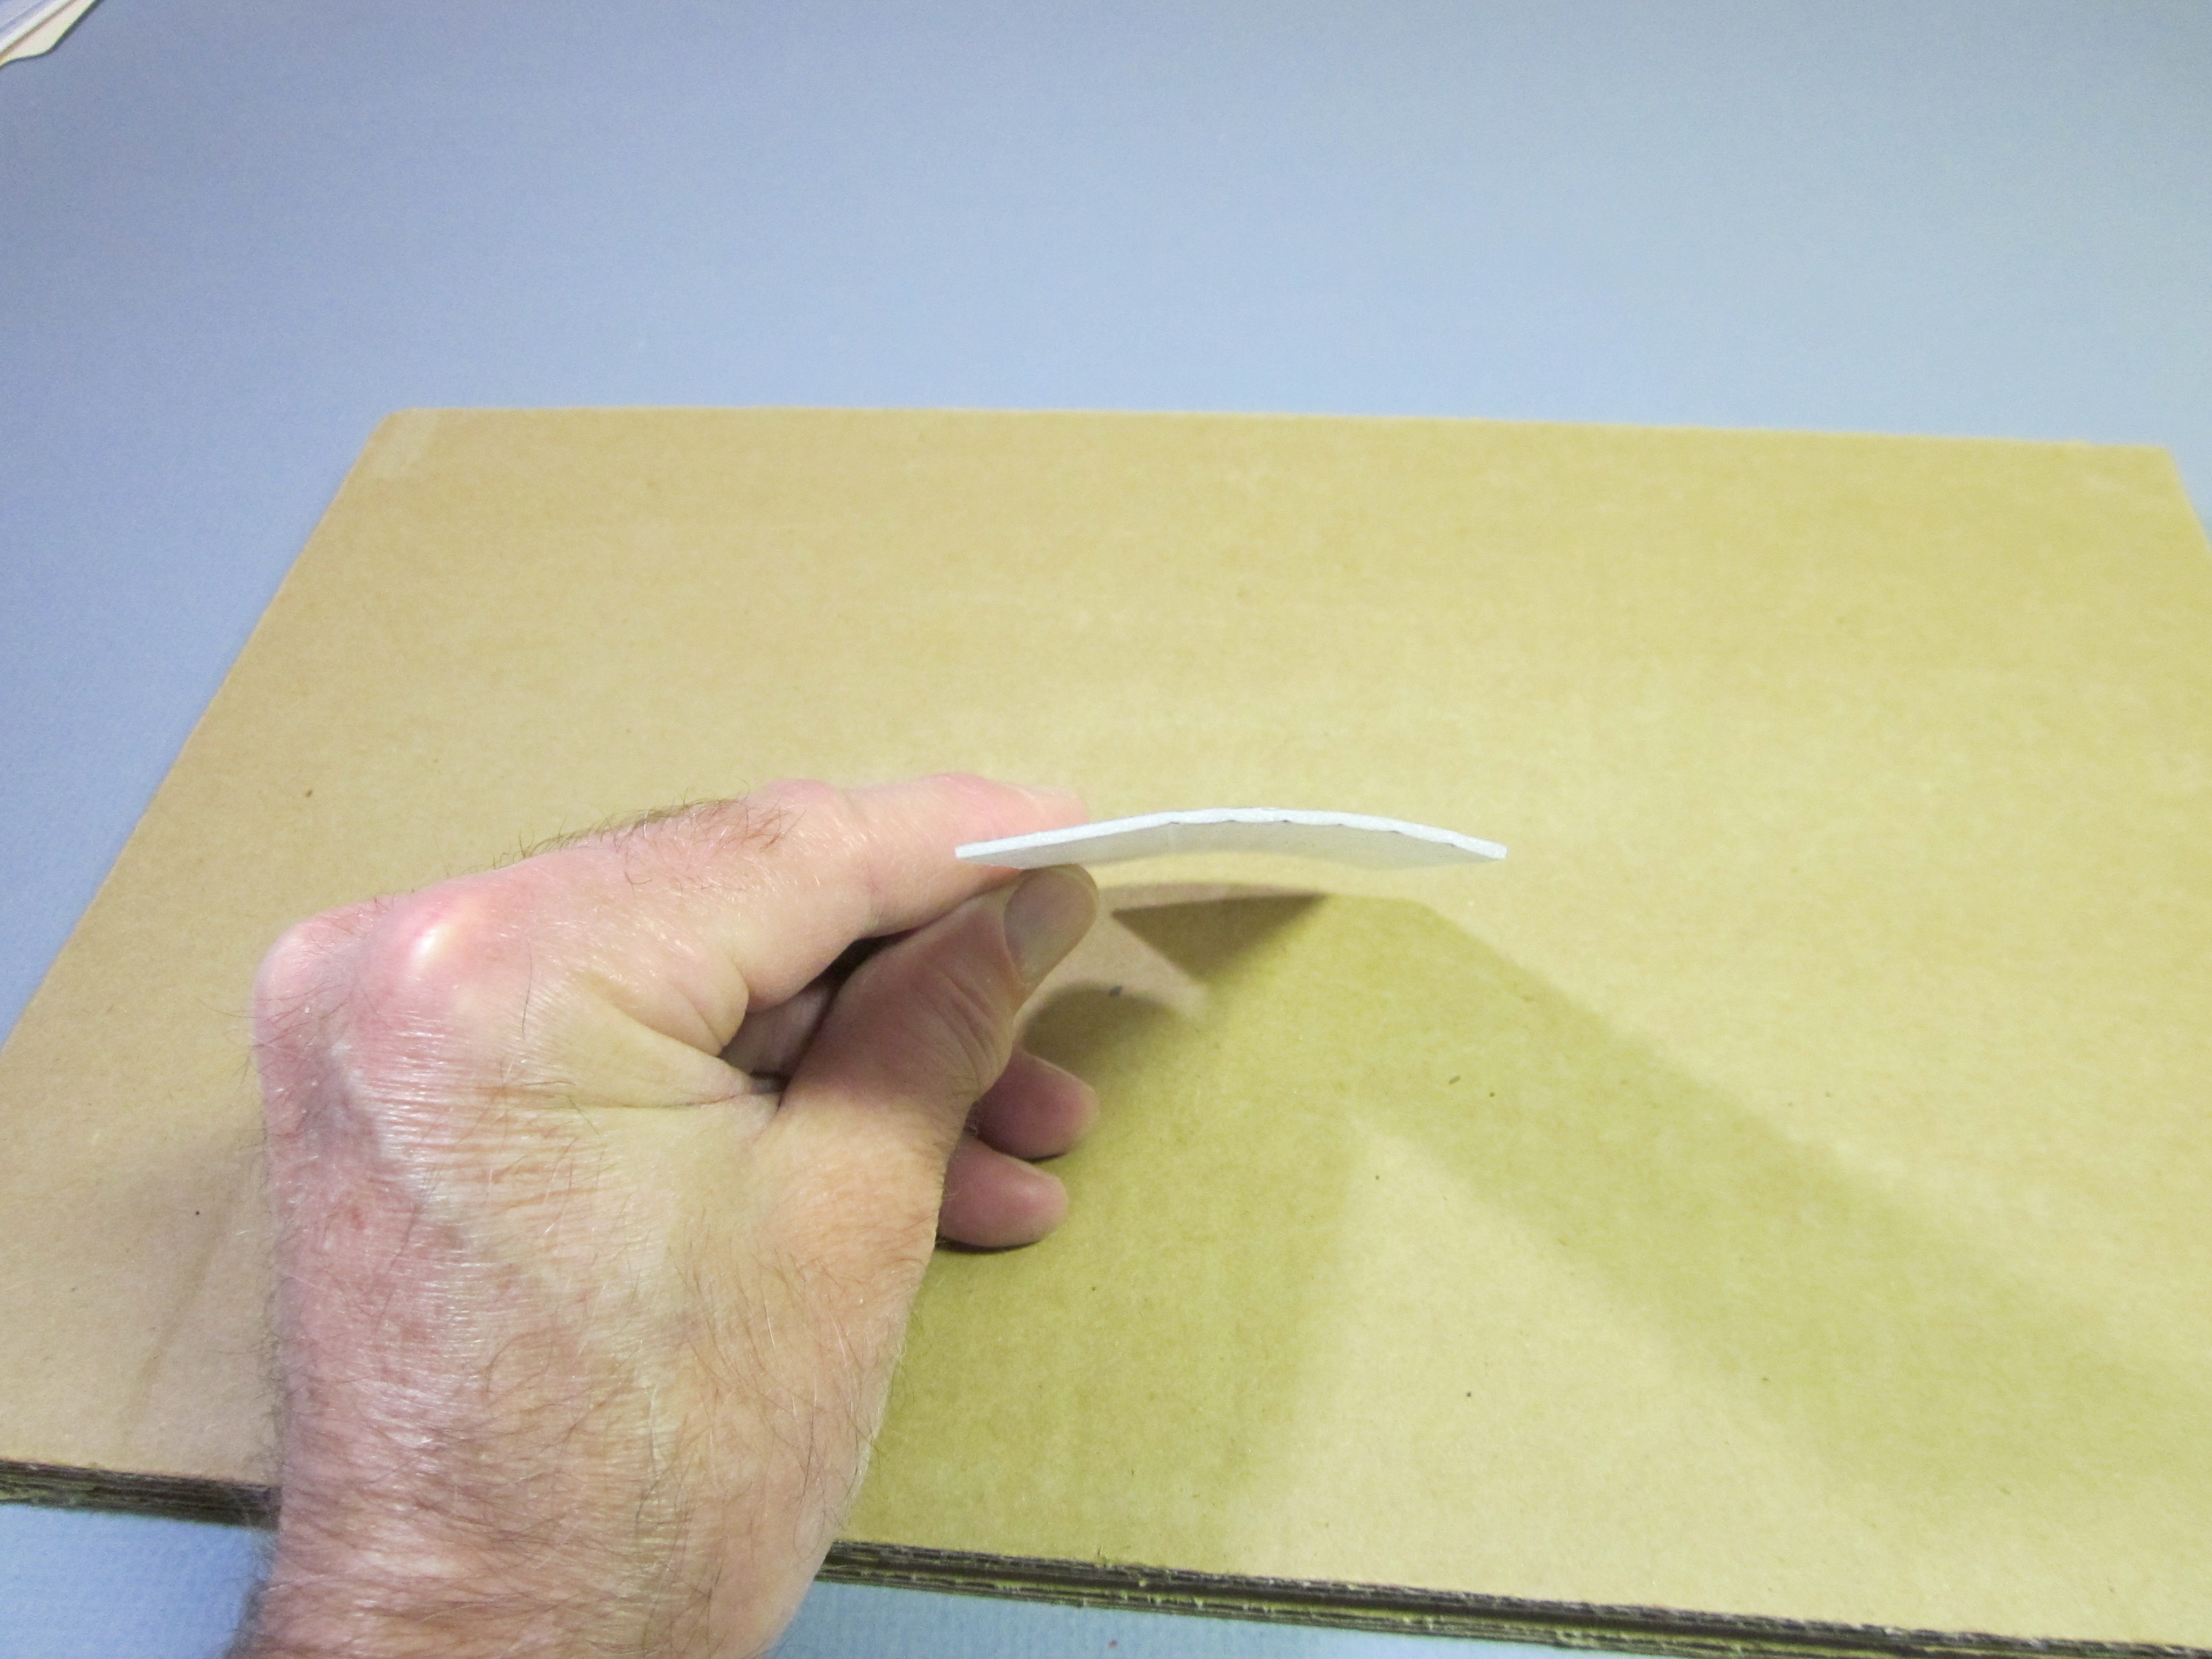
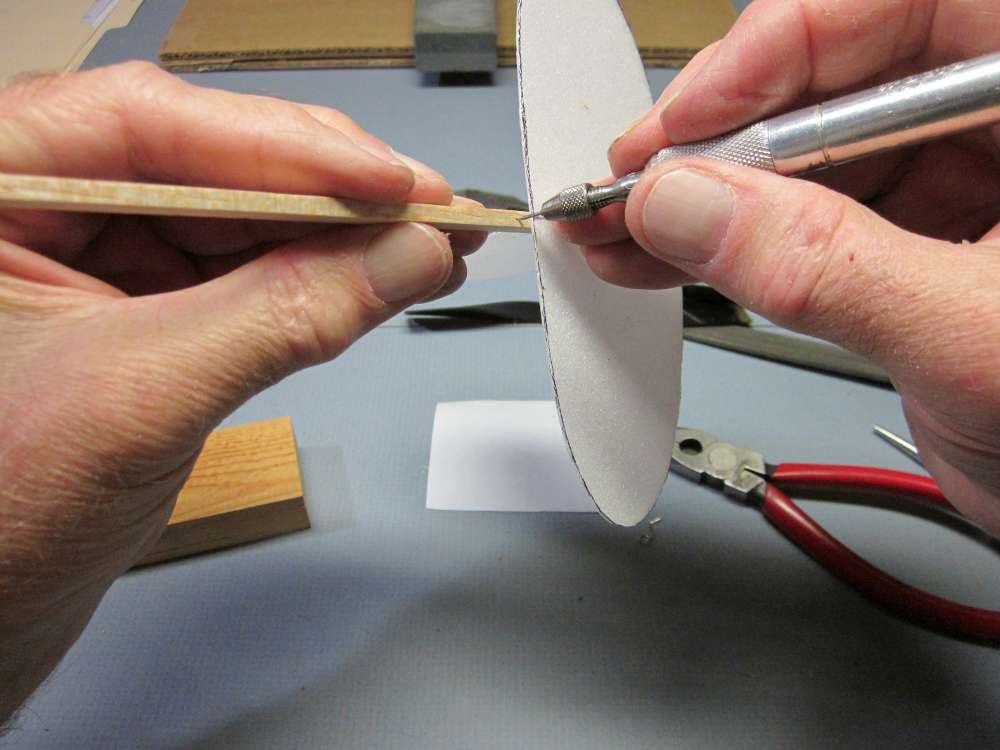
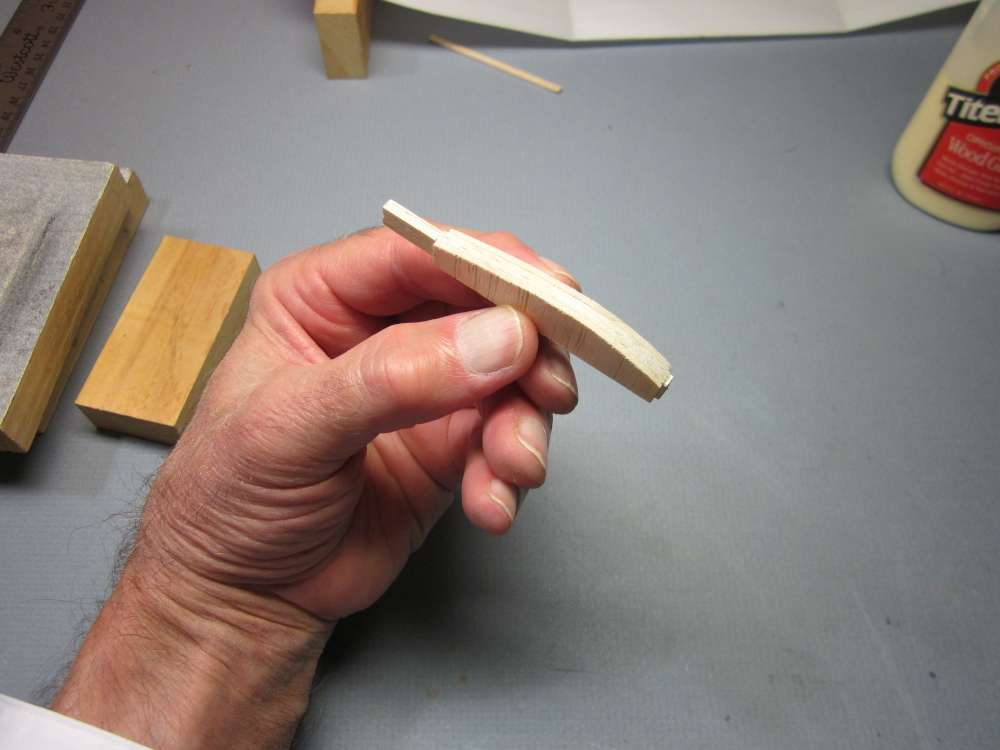
Shape the airfoil to match the one on the plan.
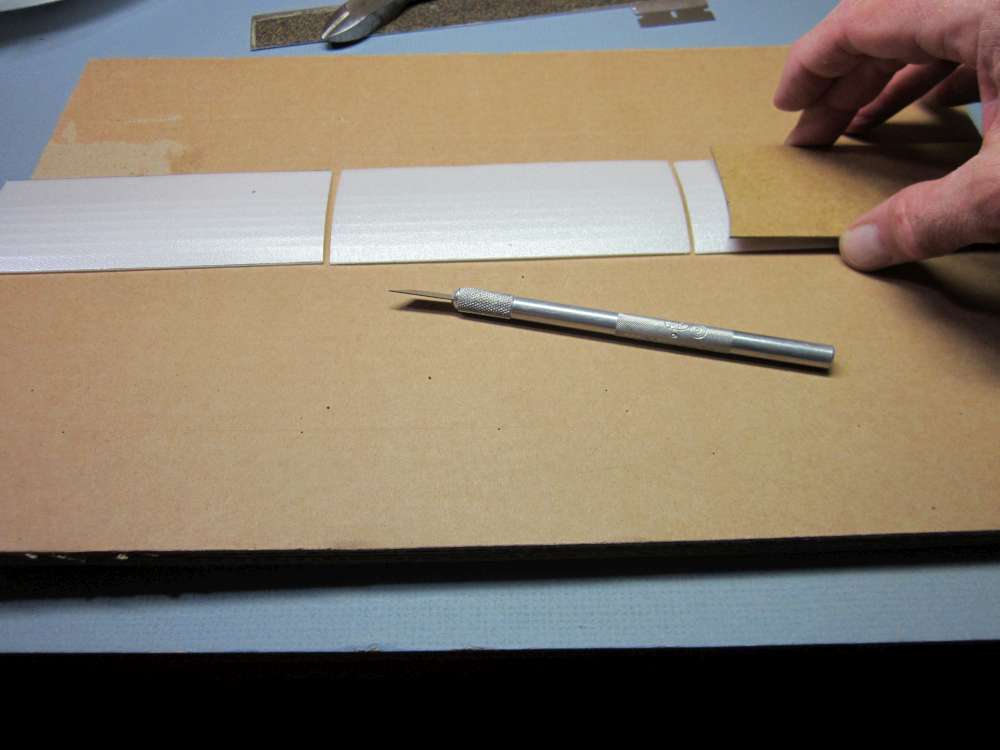
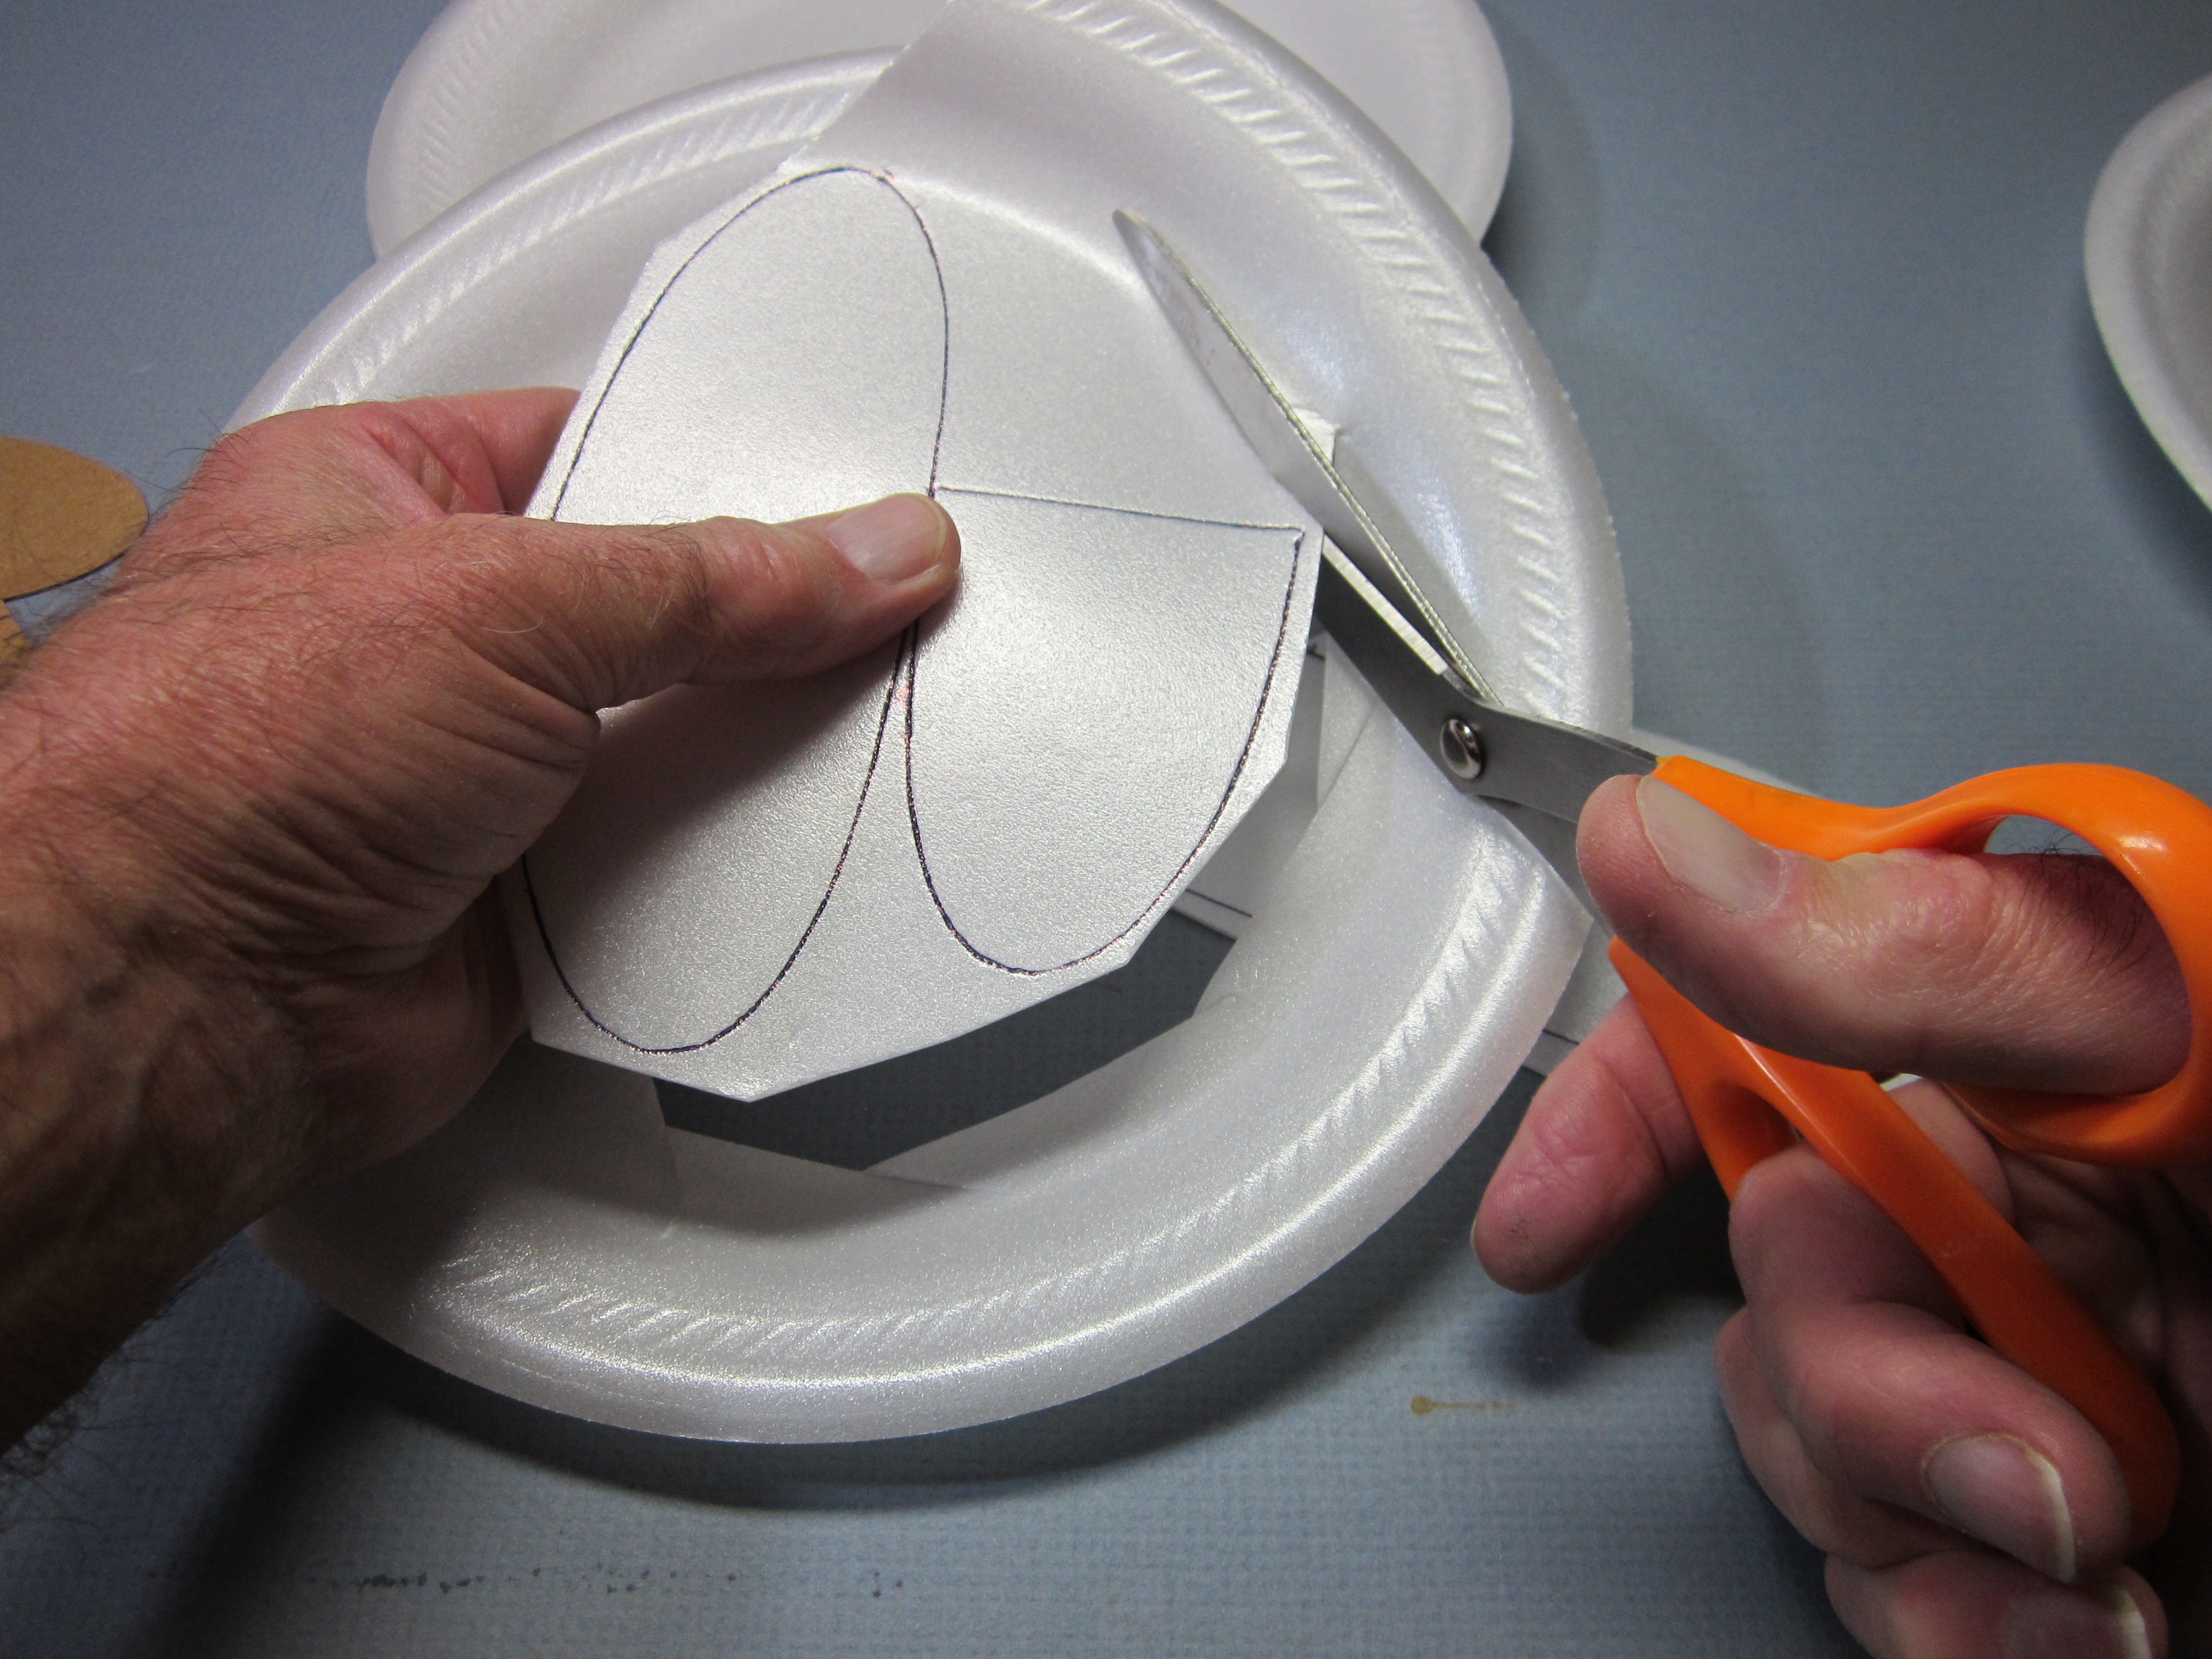
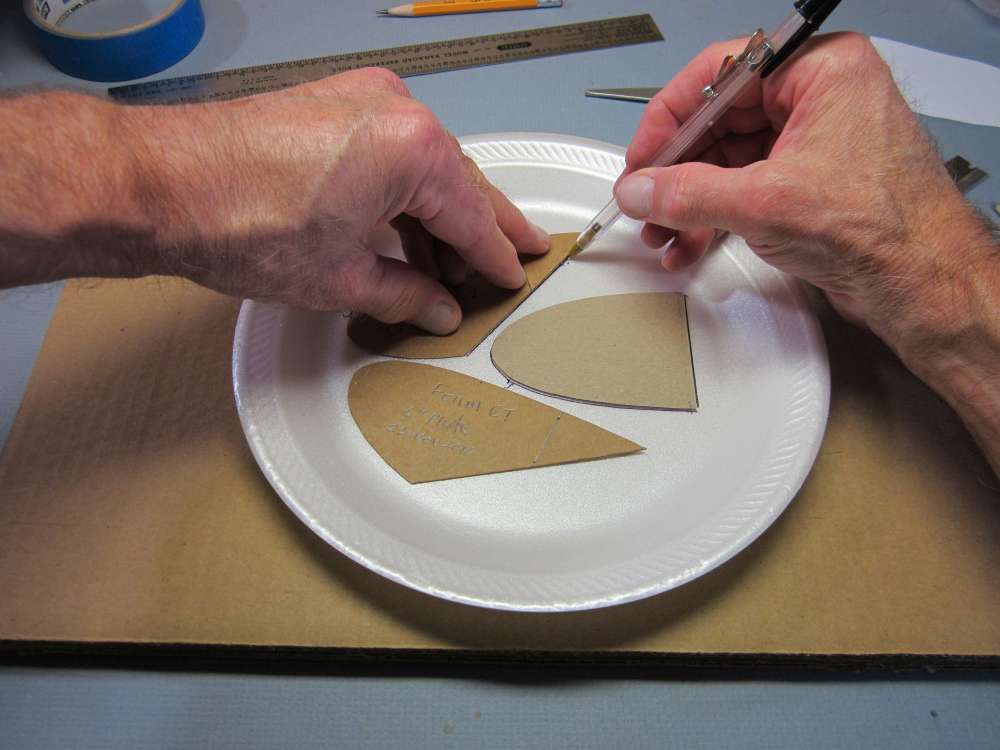
Lay out the three wing panels end to end with the center panel in the middle. We are going to cut the curved gores into the ends of the panels. Be careful to orient the wing panels and the pattern so their leading edges correspond; the creases start at the wing leading edge and the high point of the gore is toward the leading edge. There will be three wing panels, each different. The left panel will have the gore cut on its right edge, the center panel will have the gore cut on both edges and the right panel will have the gore cut on its left edge. Lay them out end to end and keep them in the same orientation as you work on them to keep track of which is which.
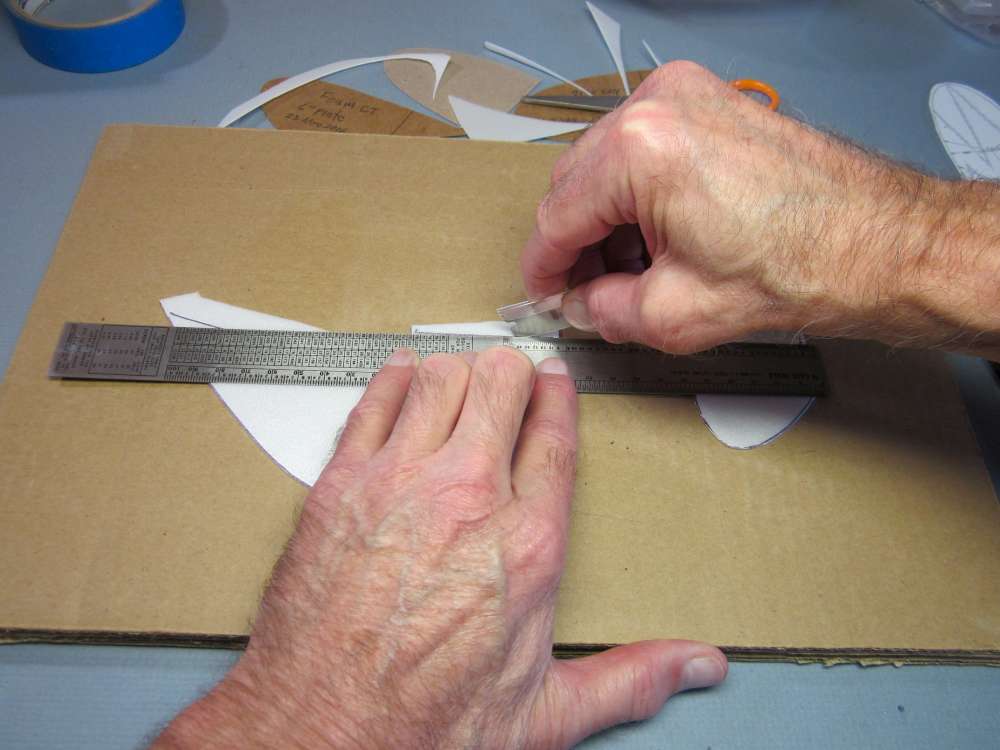
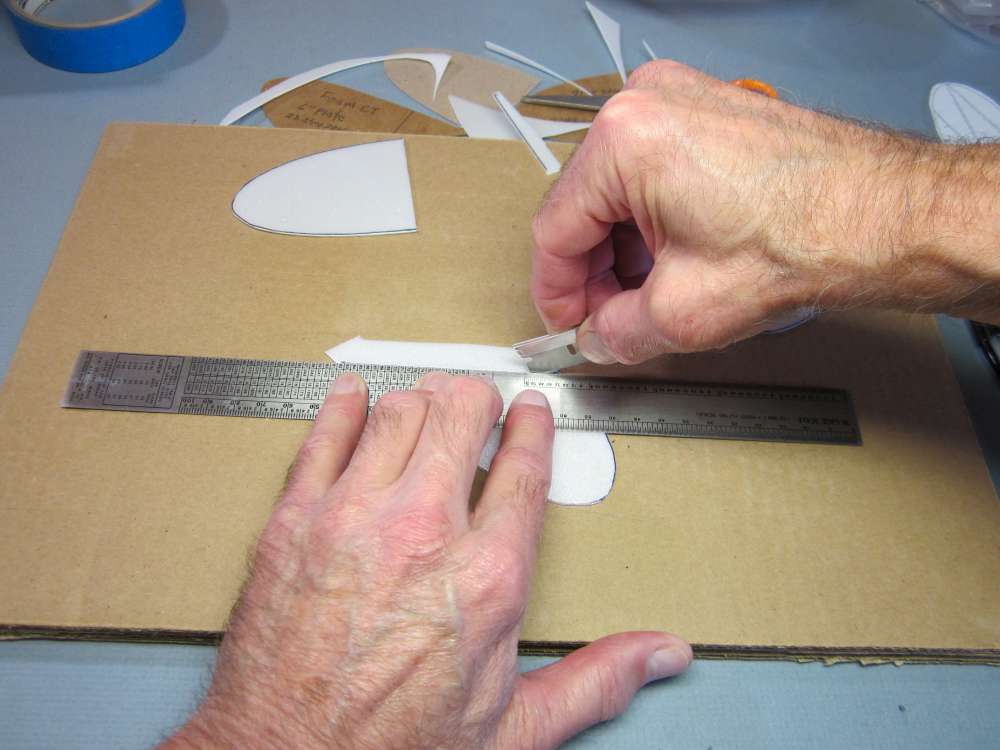
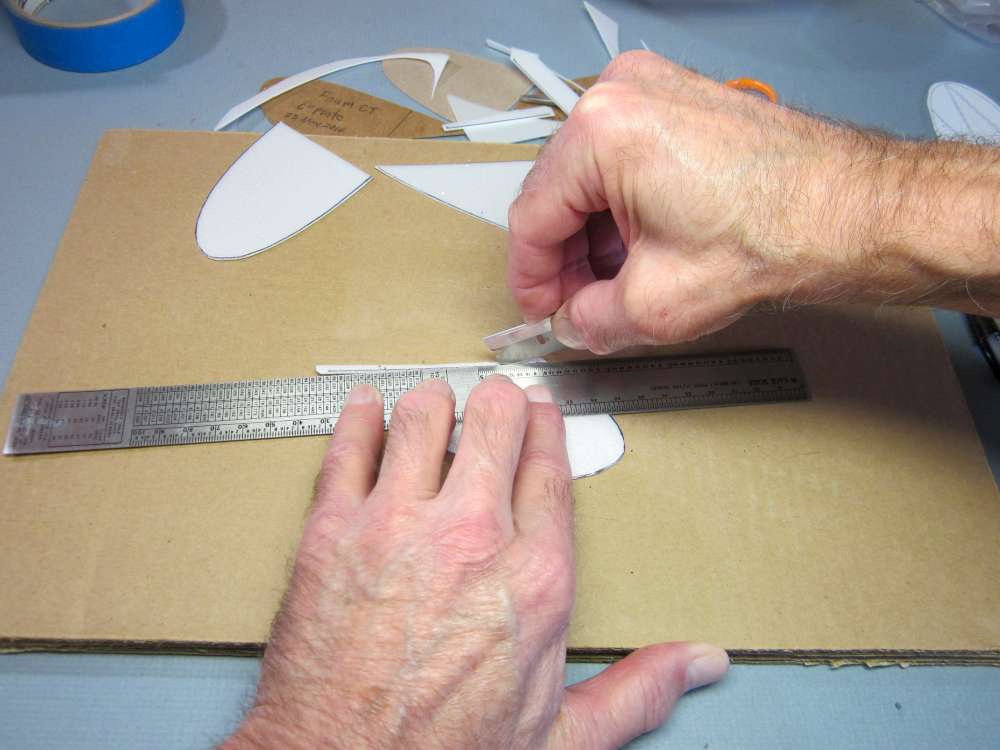
Cut the wing gores off the four ends, as necessary.
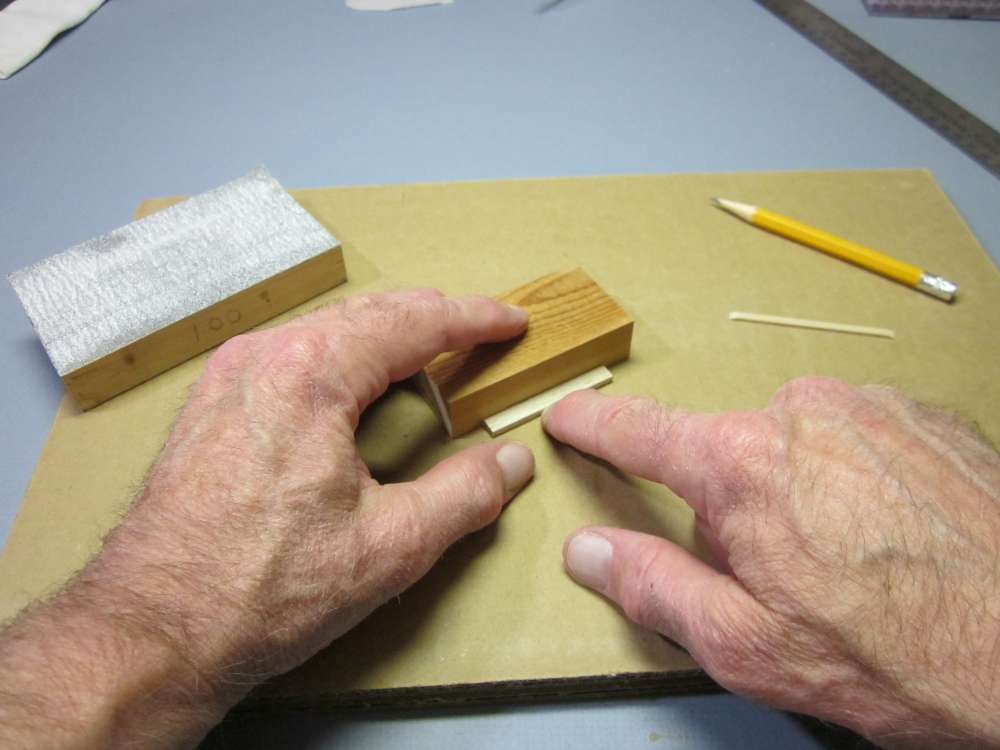
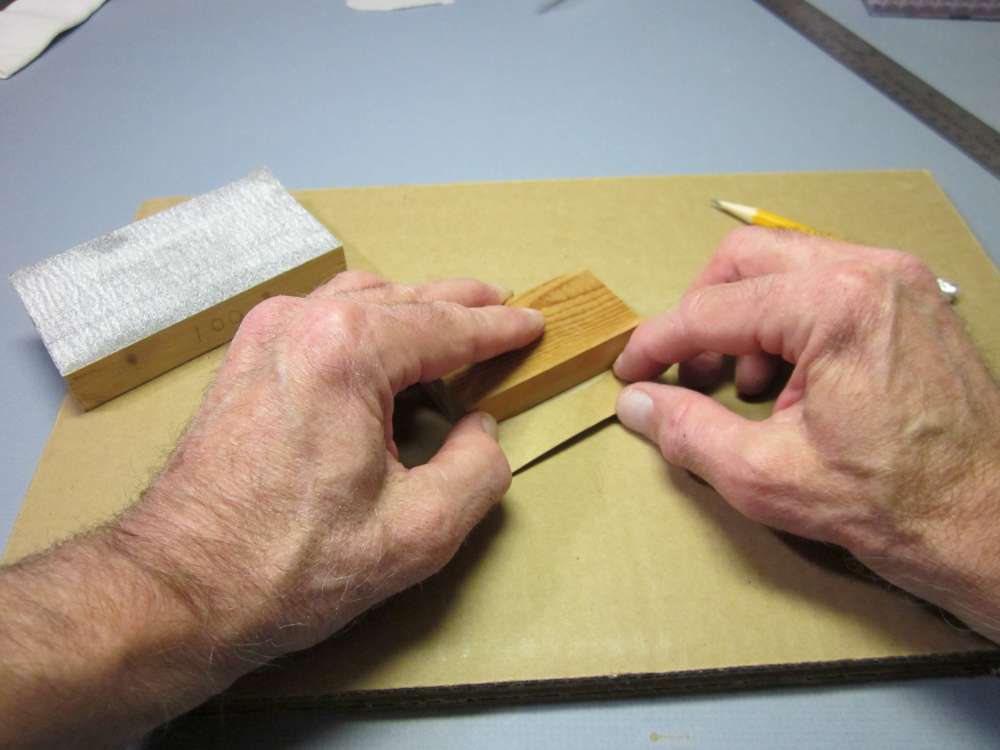
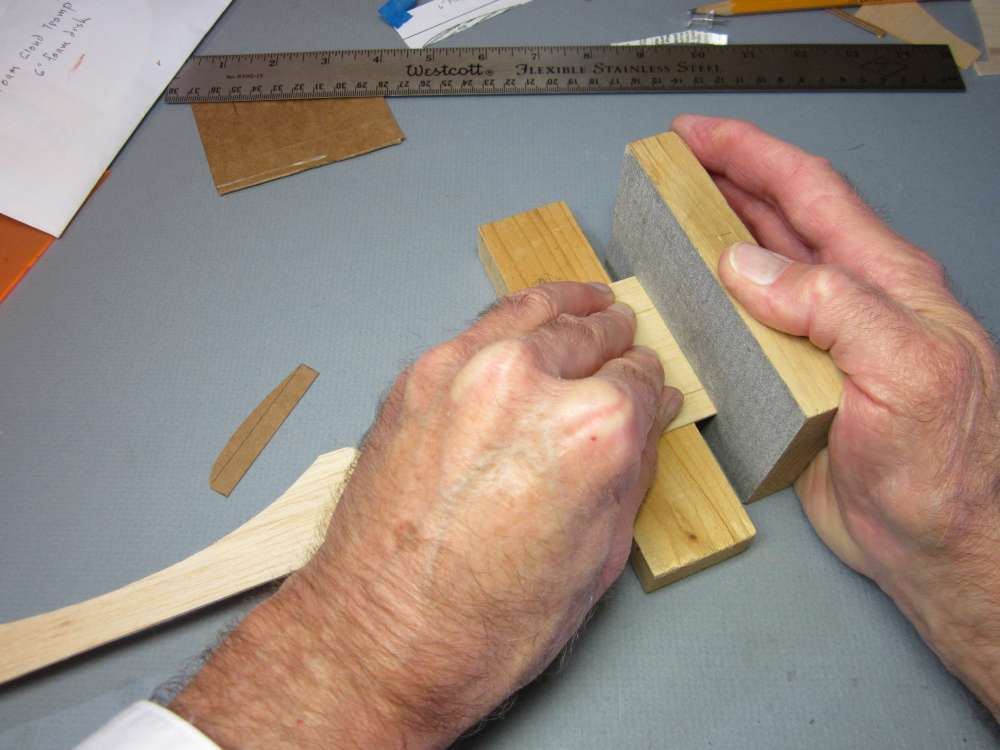
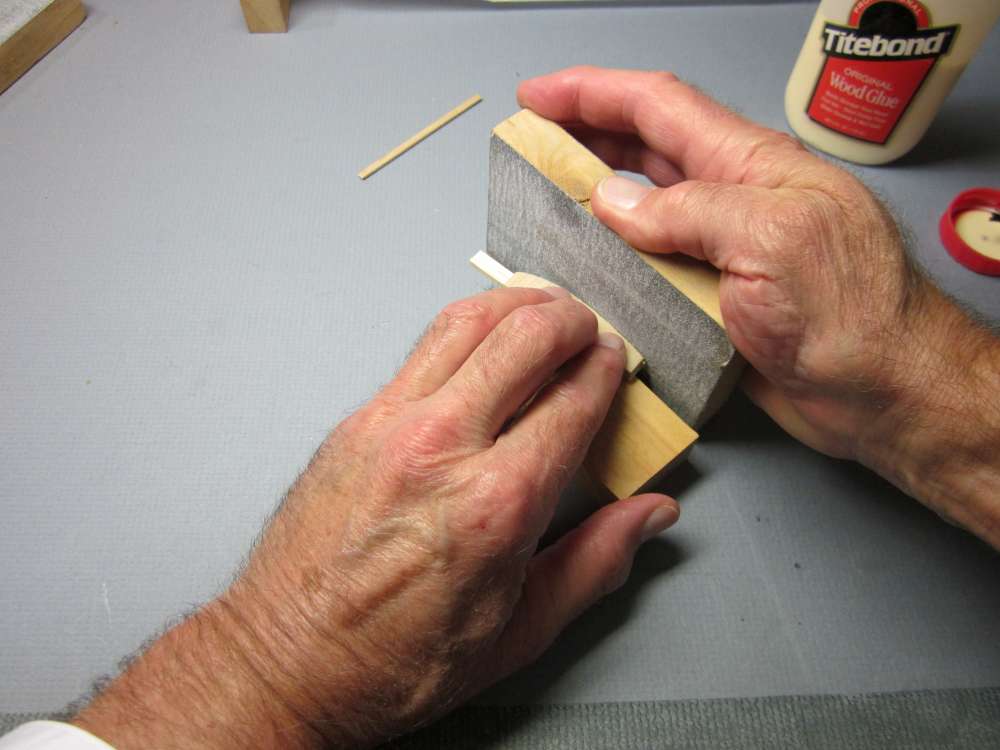
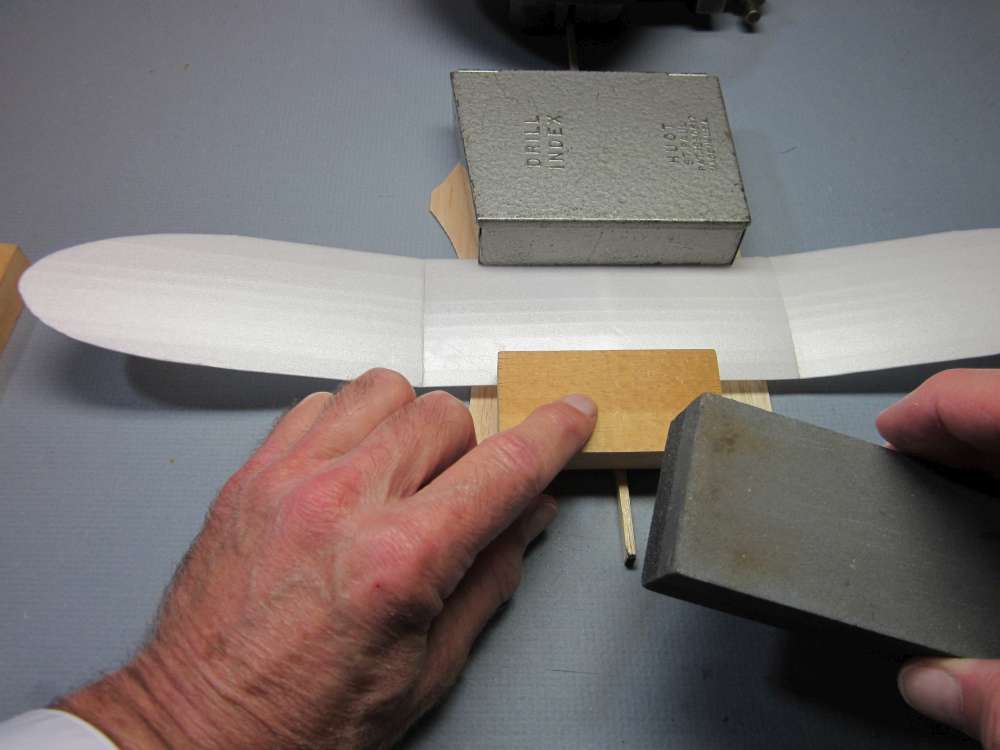
Place the wing on a 5″ length of Sig airfoil form with the leading edges together and one end sticking out a little beyond the end.
Put the other end up on a 3/4″ thick block and lightly sand the bevel in the low end with a vertical sanding block. Sand away only enough to flatten the end surface and roughen it slightly for better glue adhesion.
There will be three wing panels, each different. The left panel will be sanded on its right edge, the center panel will be sanded on both edges and the right panel will be sanded on its left edge. Lay them out end to end and keep them in the same orientation as you work on them to keep track of which is which.
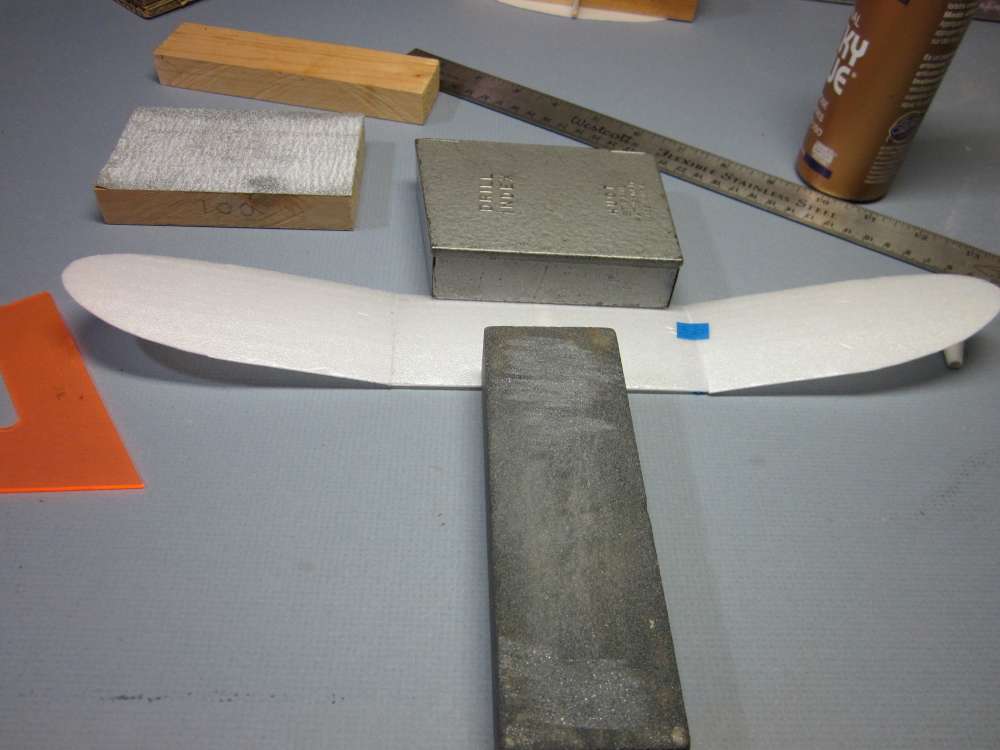
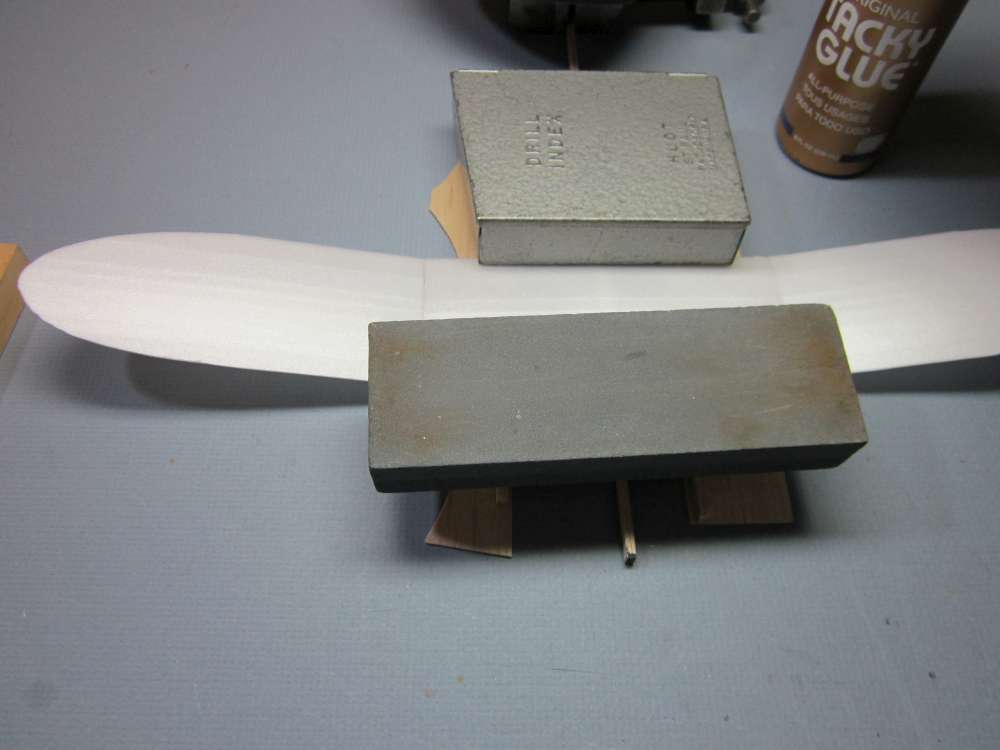
You will know when this is done correctly when the wing panels are put together end to end with blocks under the tips and there are no gaps in the joints. They are now ready to glue together.
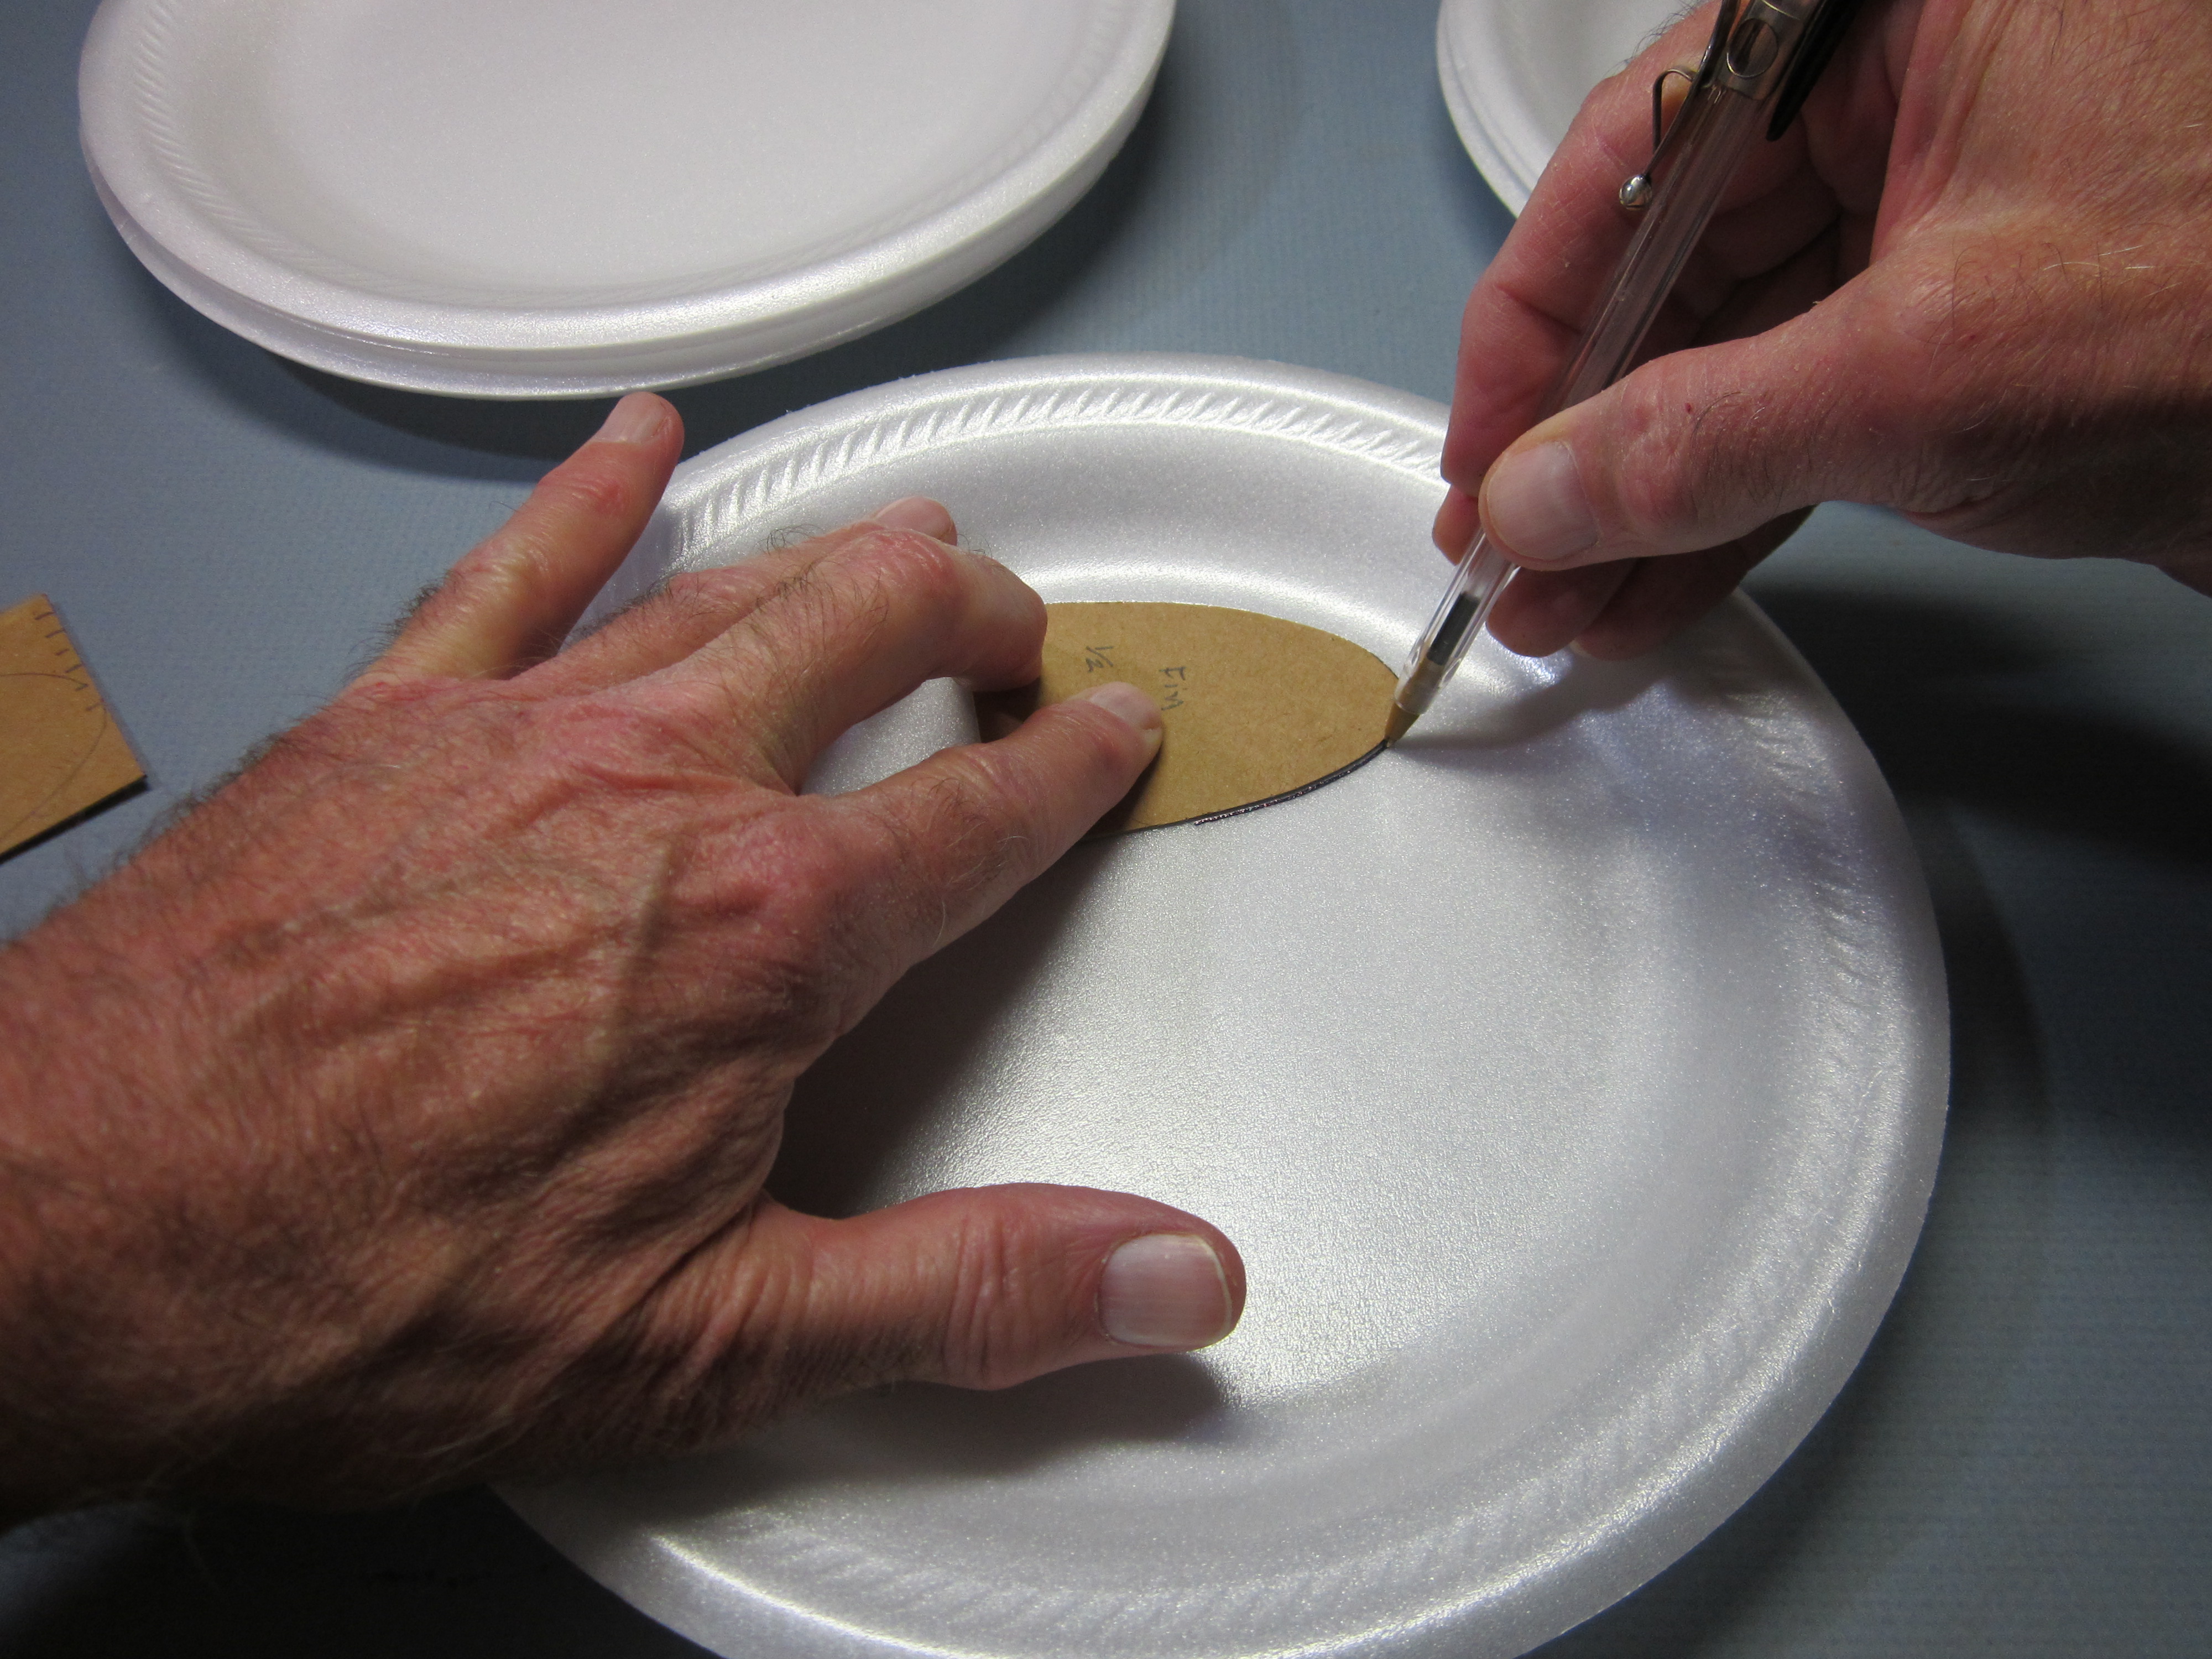
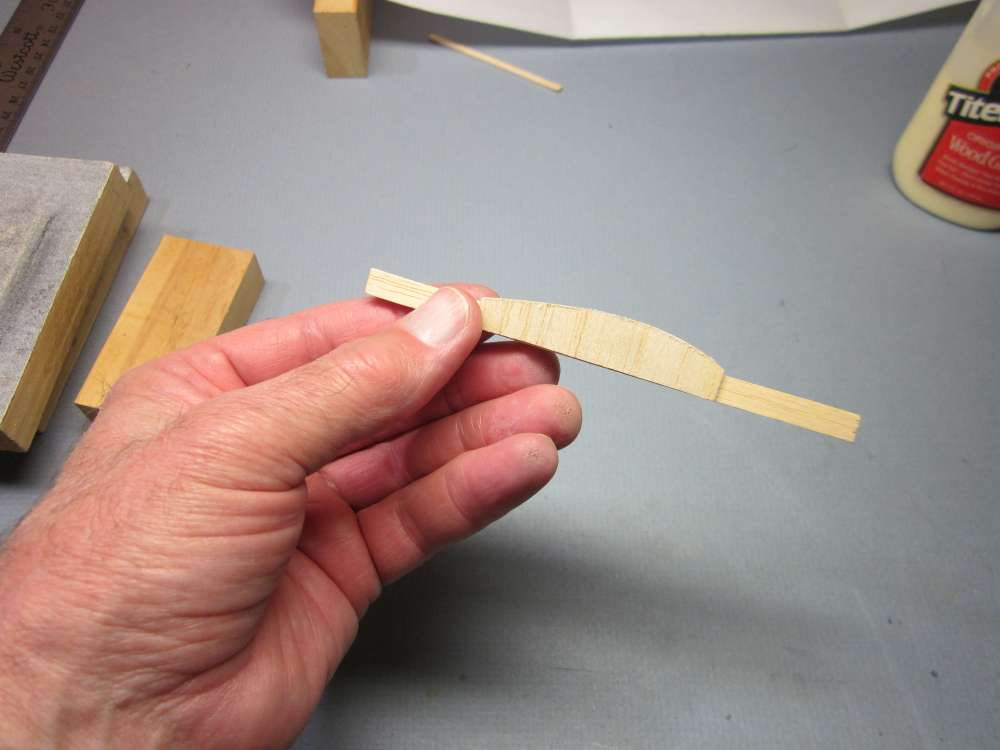
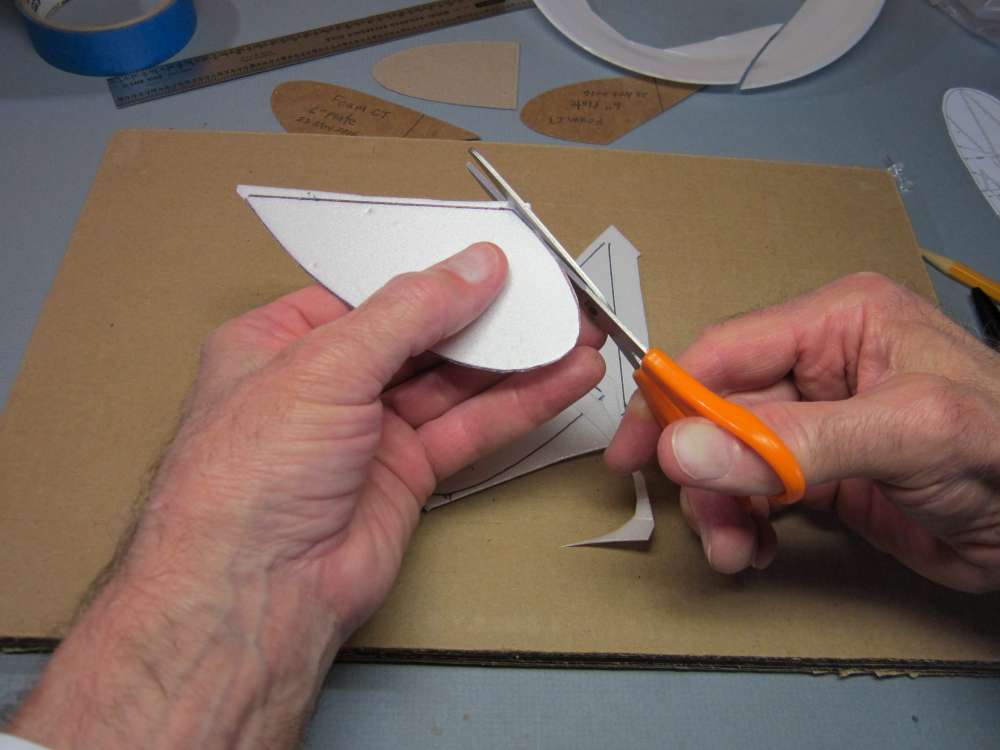
But first let’s form the charming elliptical wingtips. Set the tip pattern on top of a tip panel with the tip opposite the end with the curved dihedral gore, the very tip aligned with the fourth mark back from the leading edge. Then cut around the curve with the knife.
Turn the pattern over and trim the opposite wingtip.
That completes all the foam parts.
Sheathe the knife so you don’t accidentally cut yourself while looking for something else.
Assemble the wing
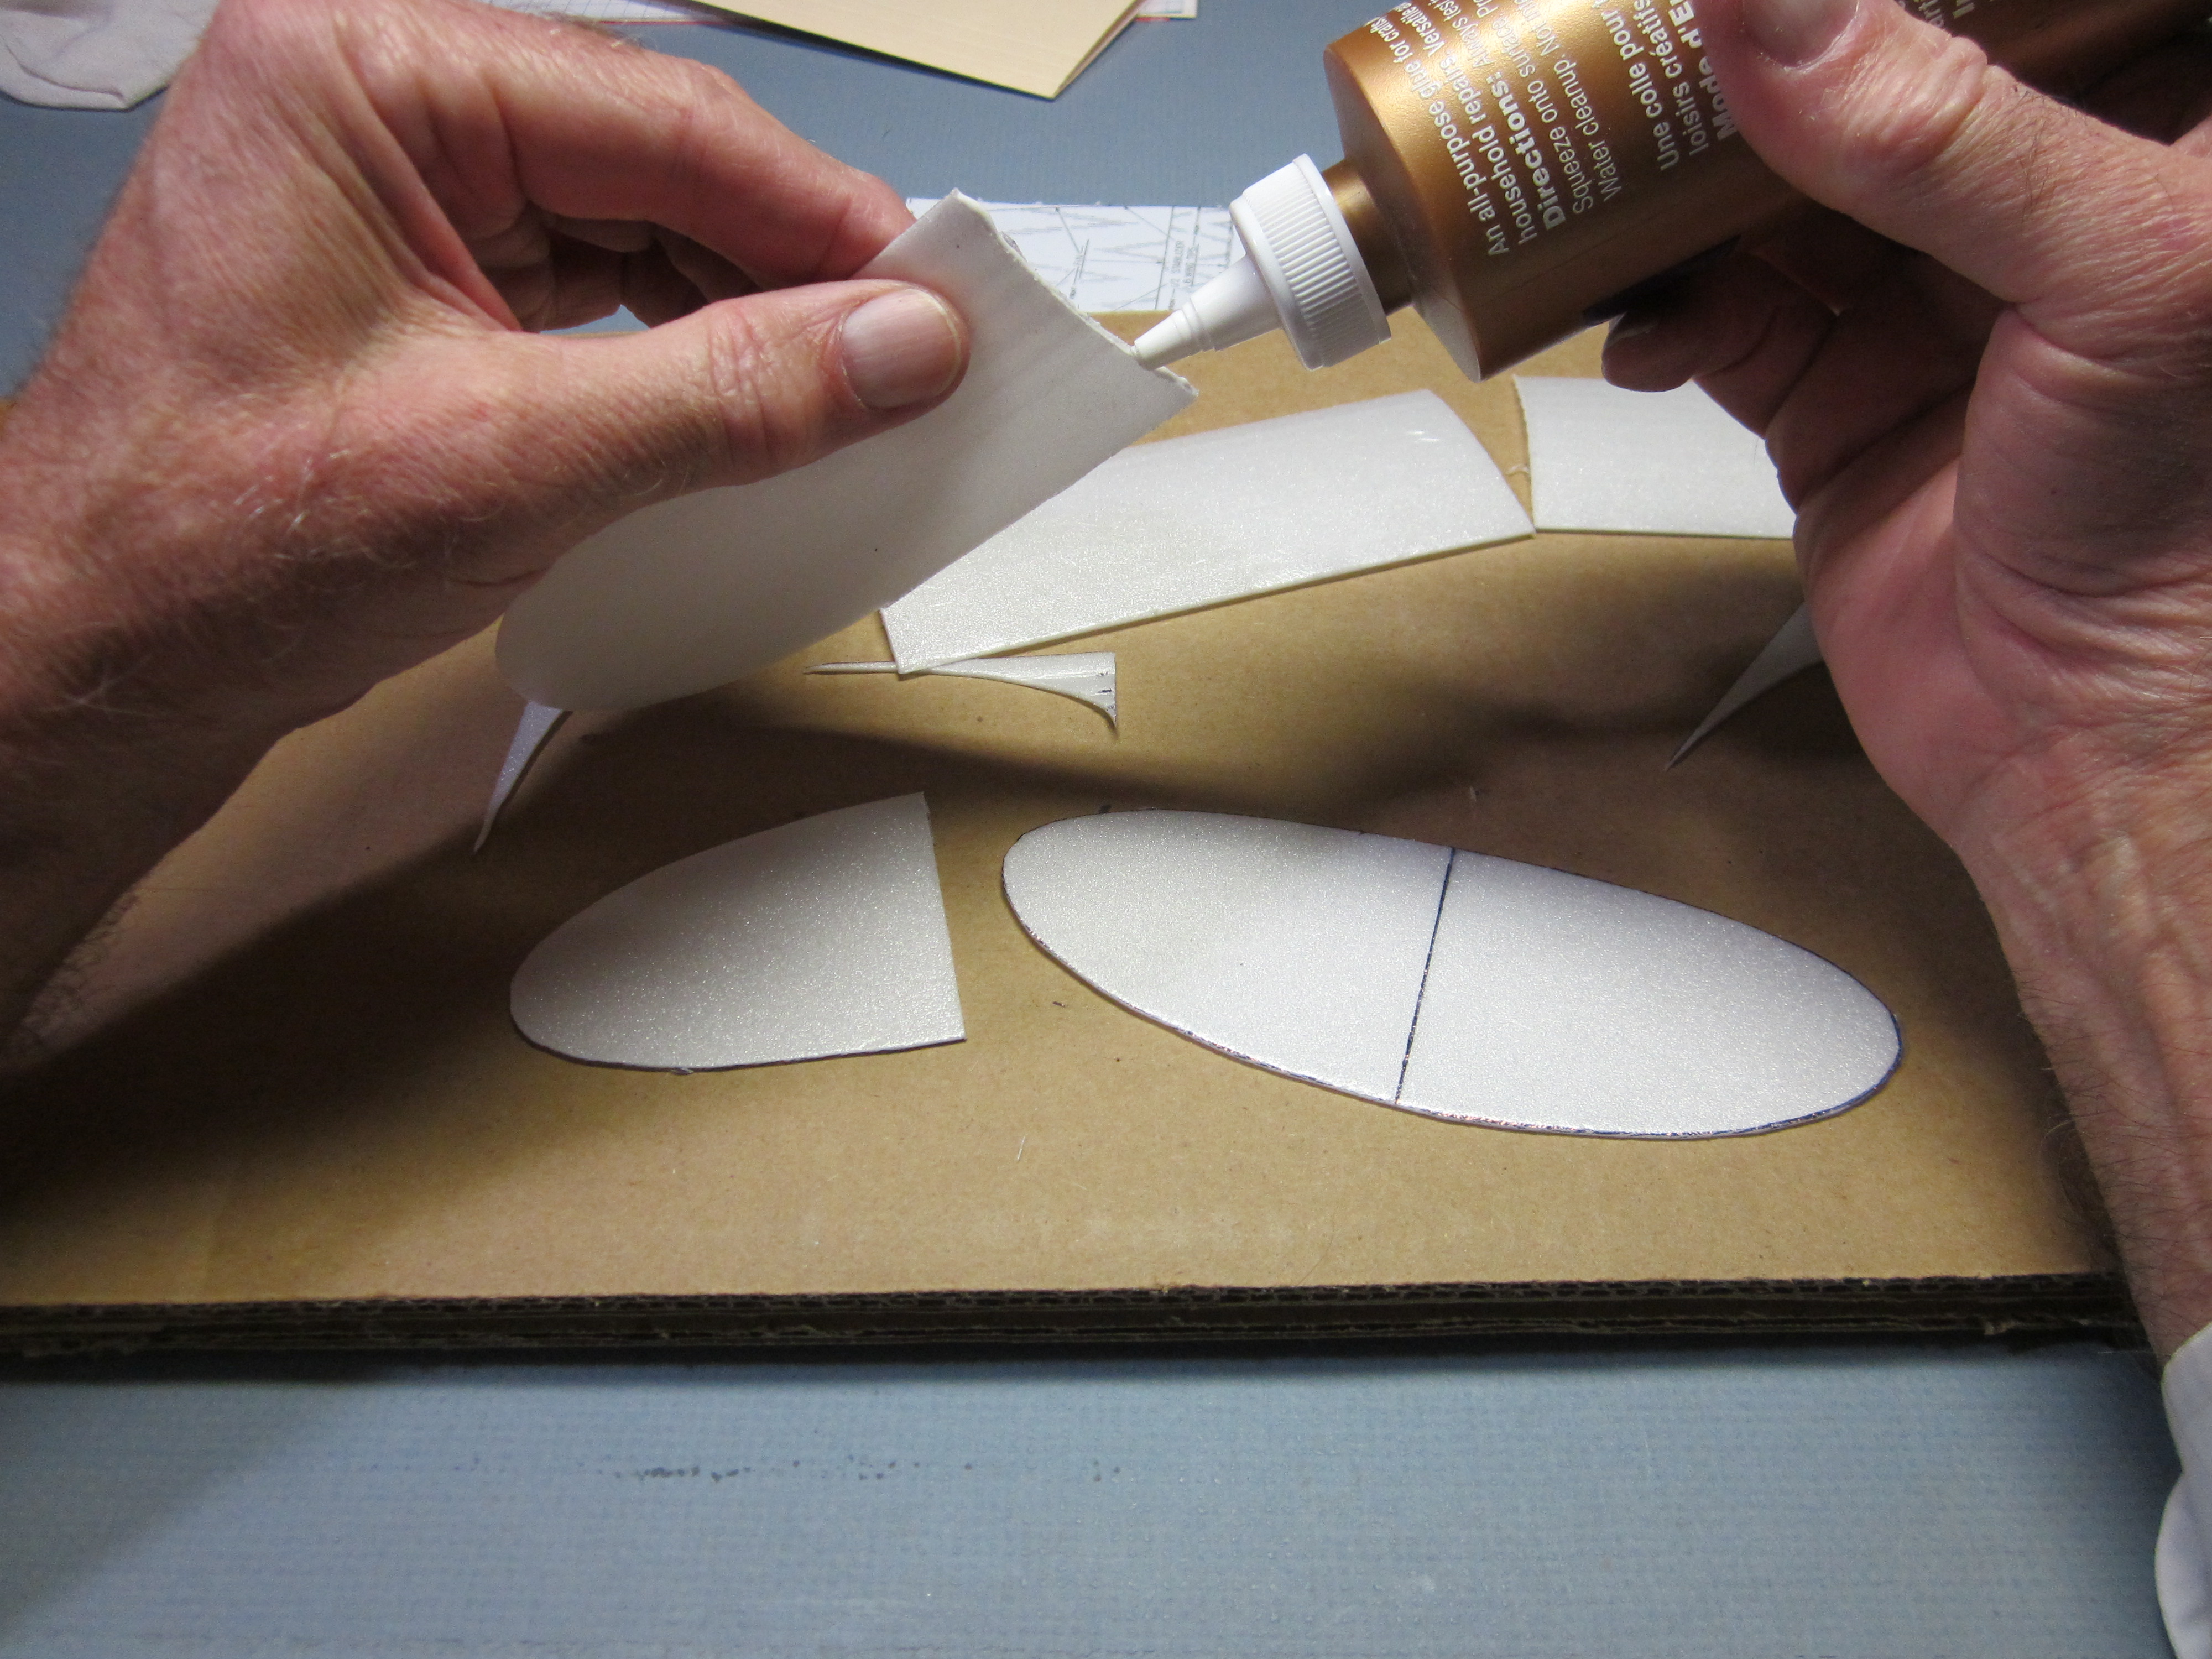
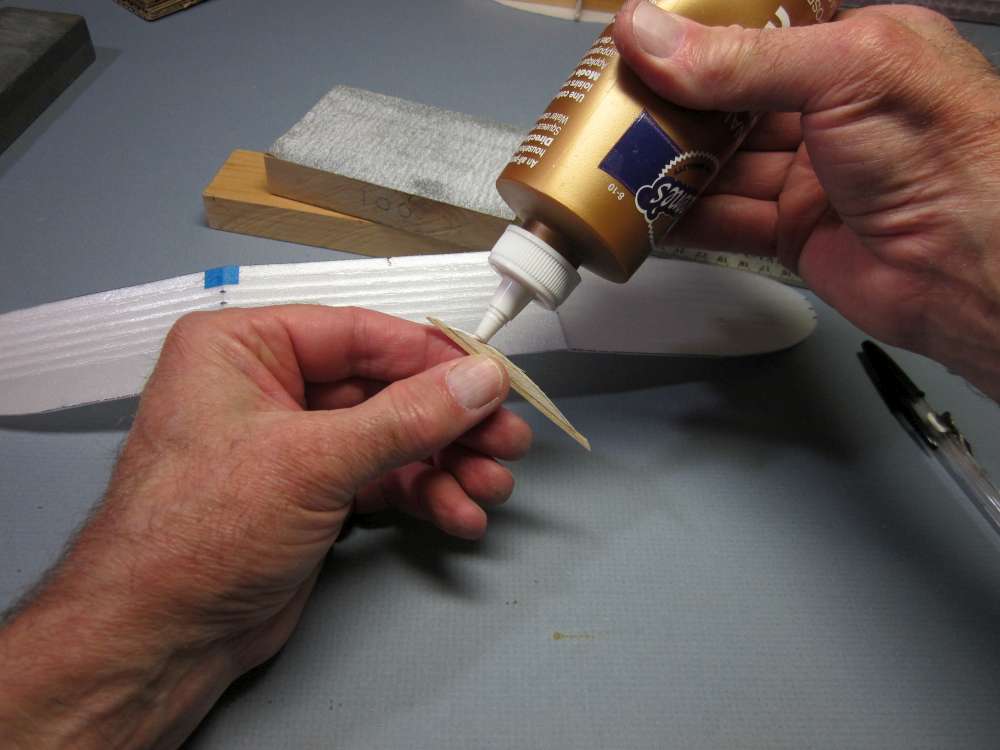
Run a bead of glue along the inner edge of one of the tip panels.
Rub the end against the corresponding edge of the center panel to spread glue uniformly on both edges.
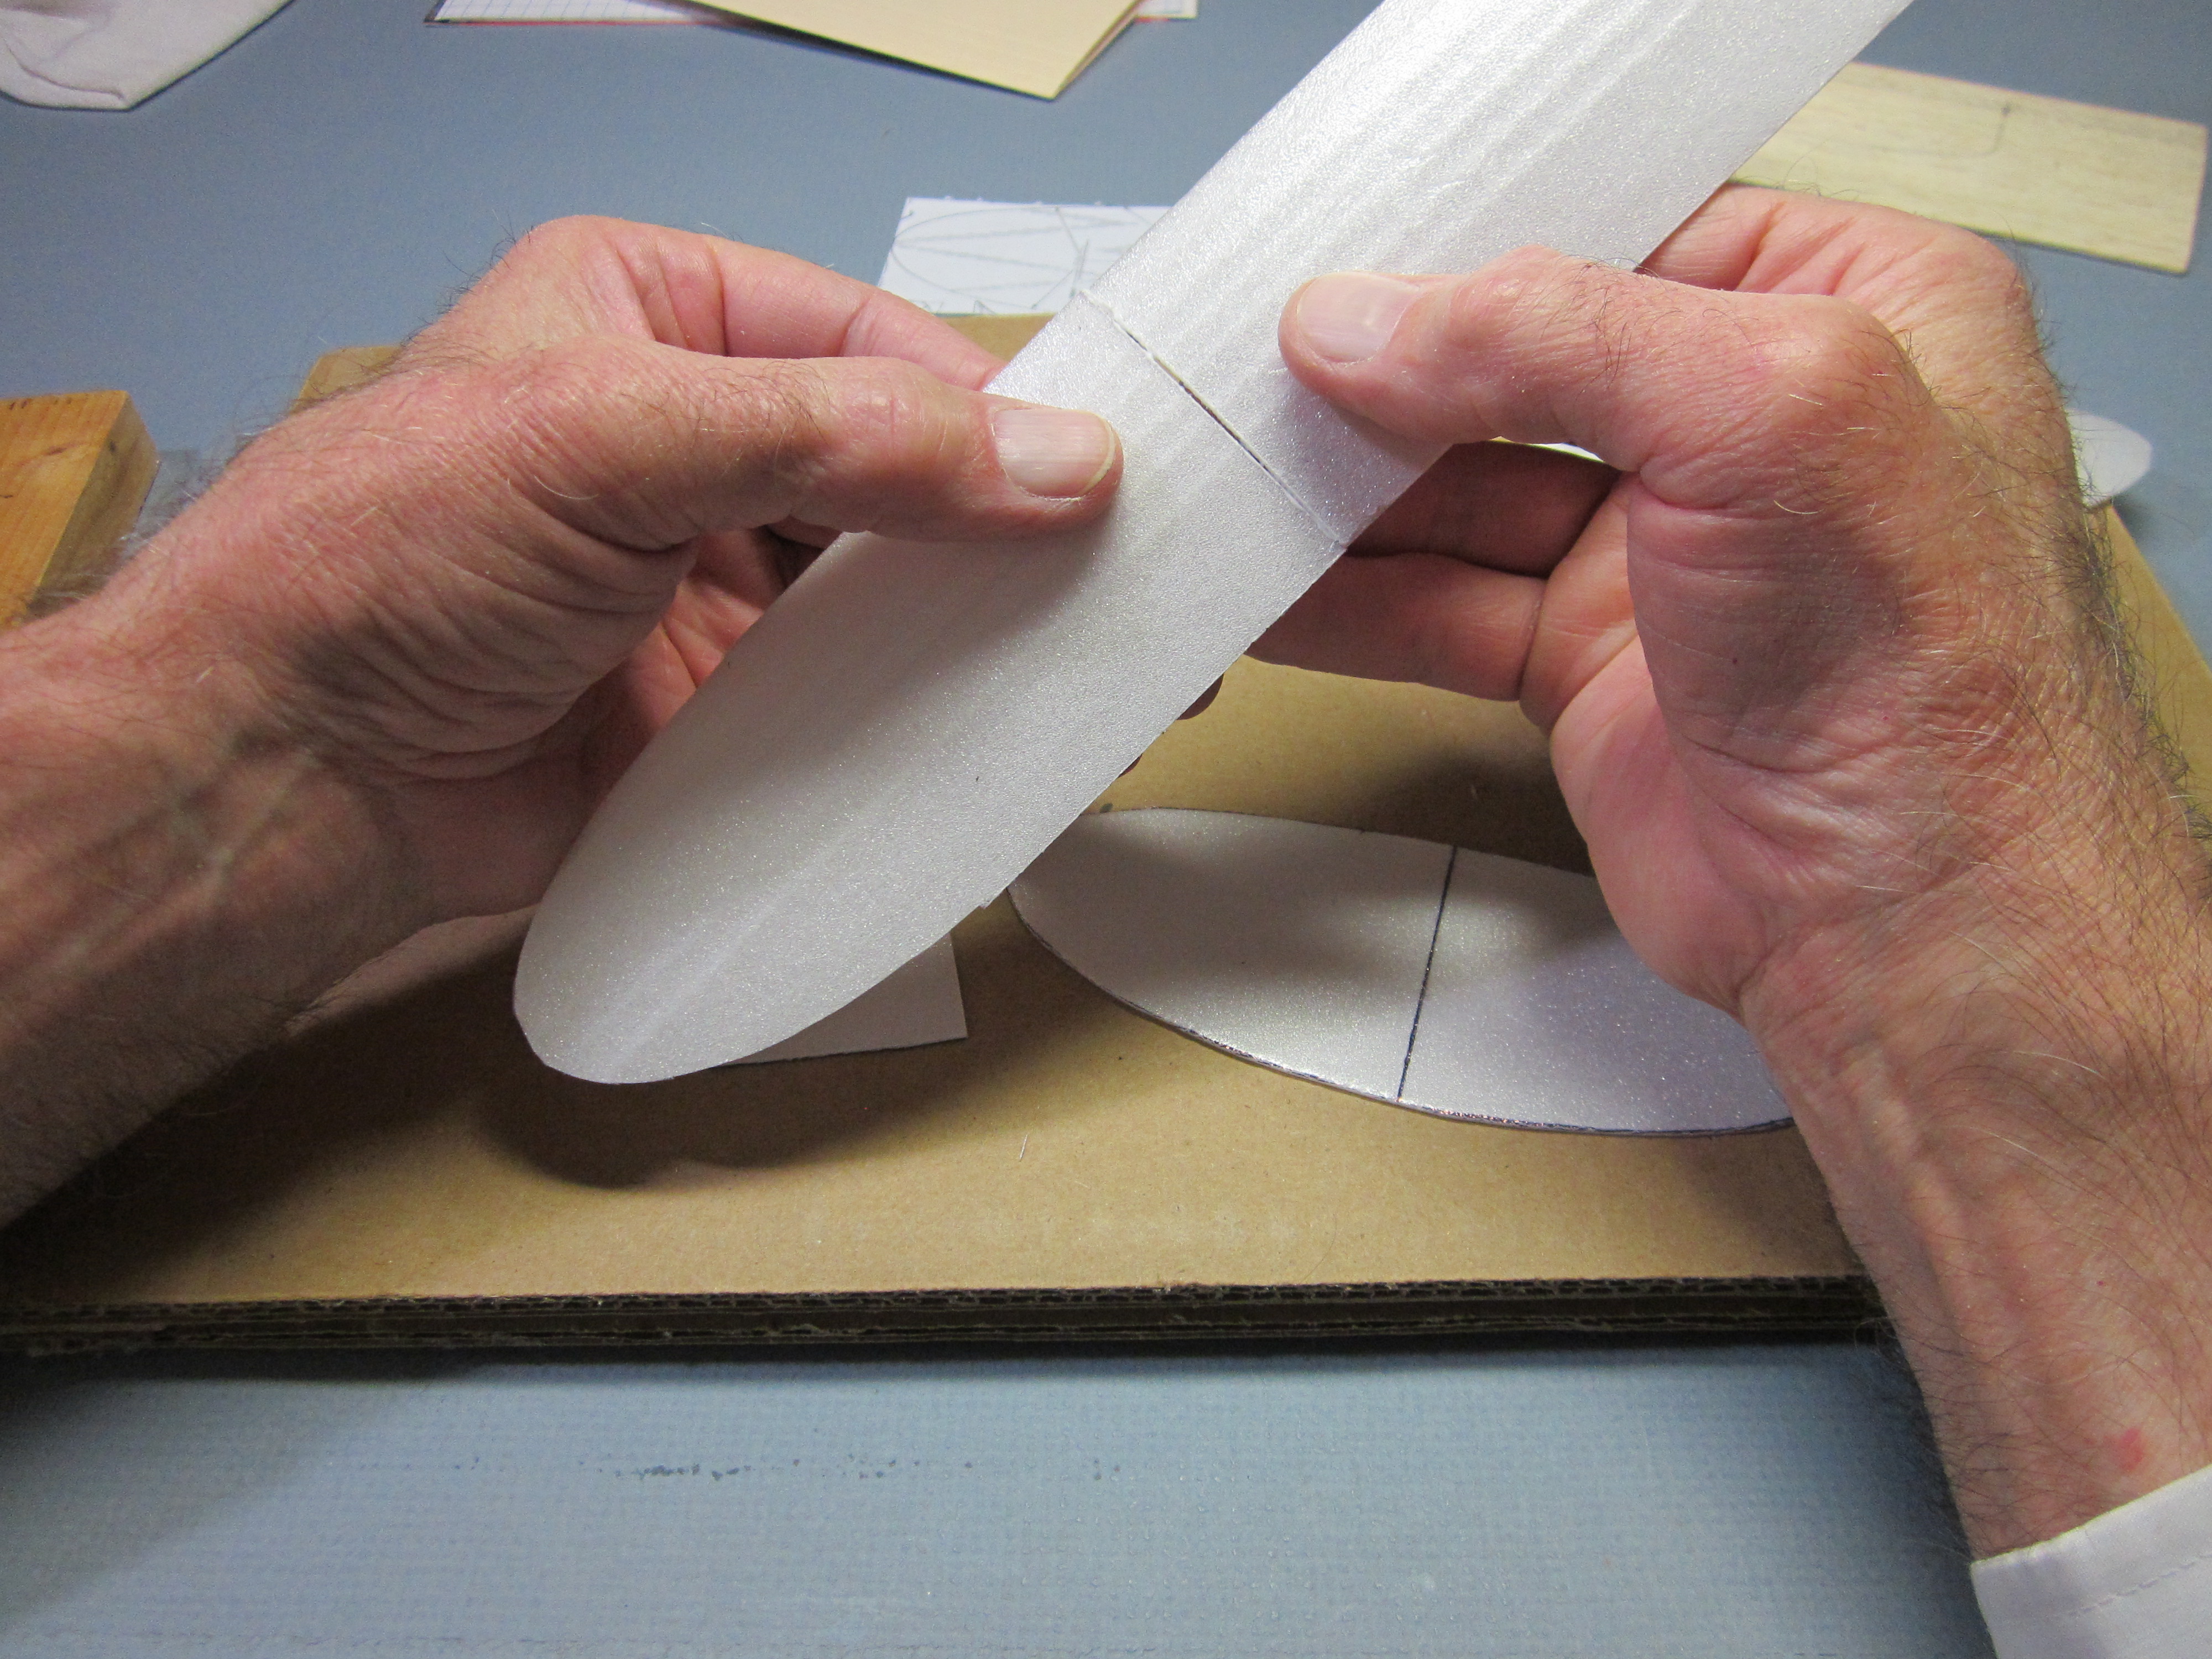
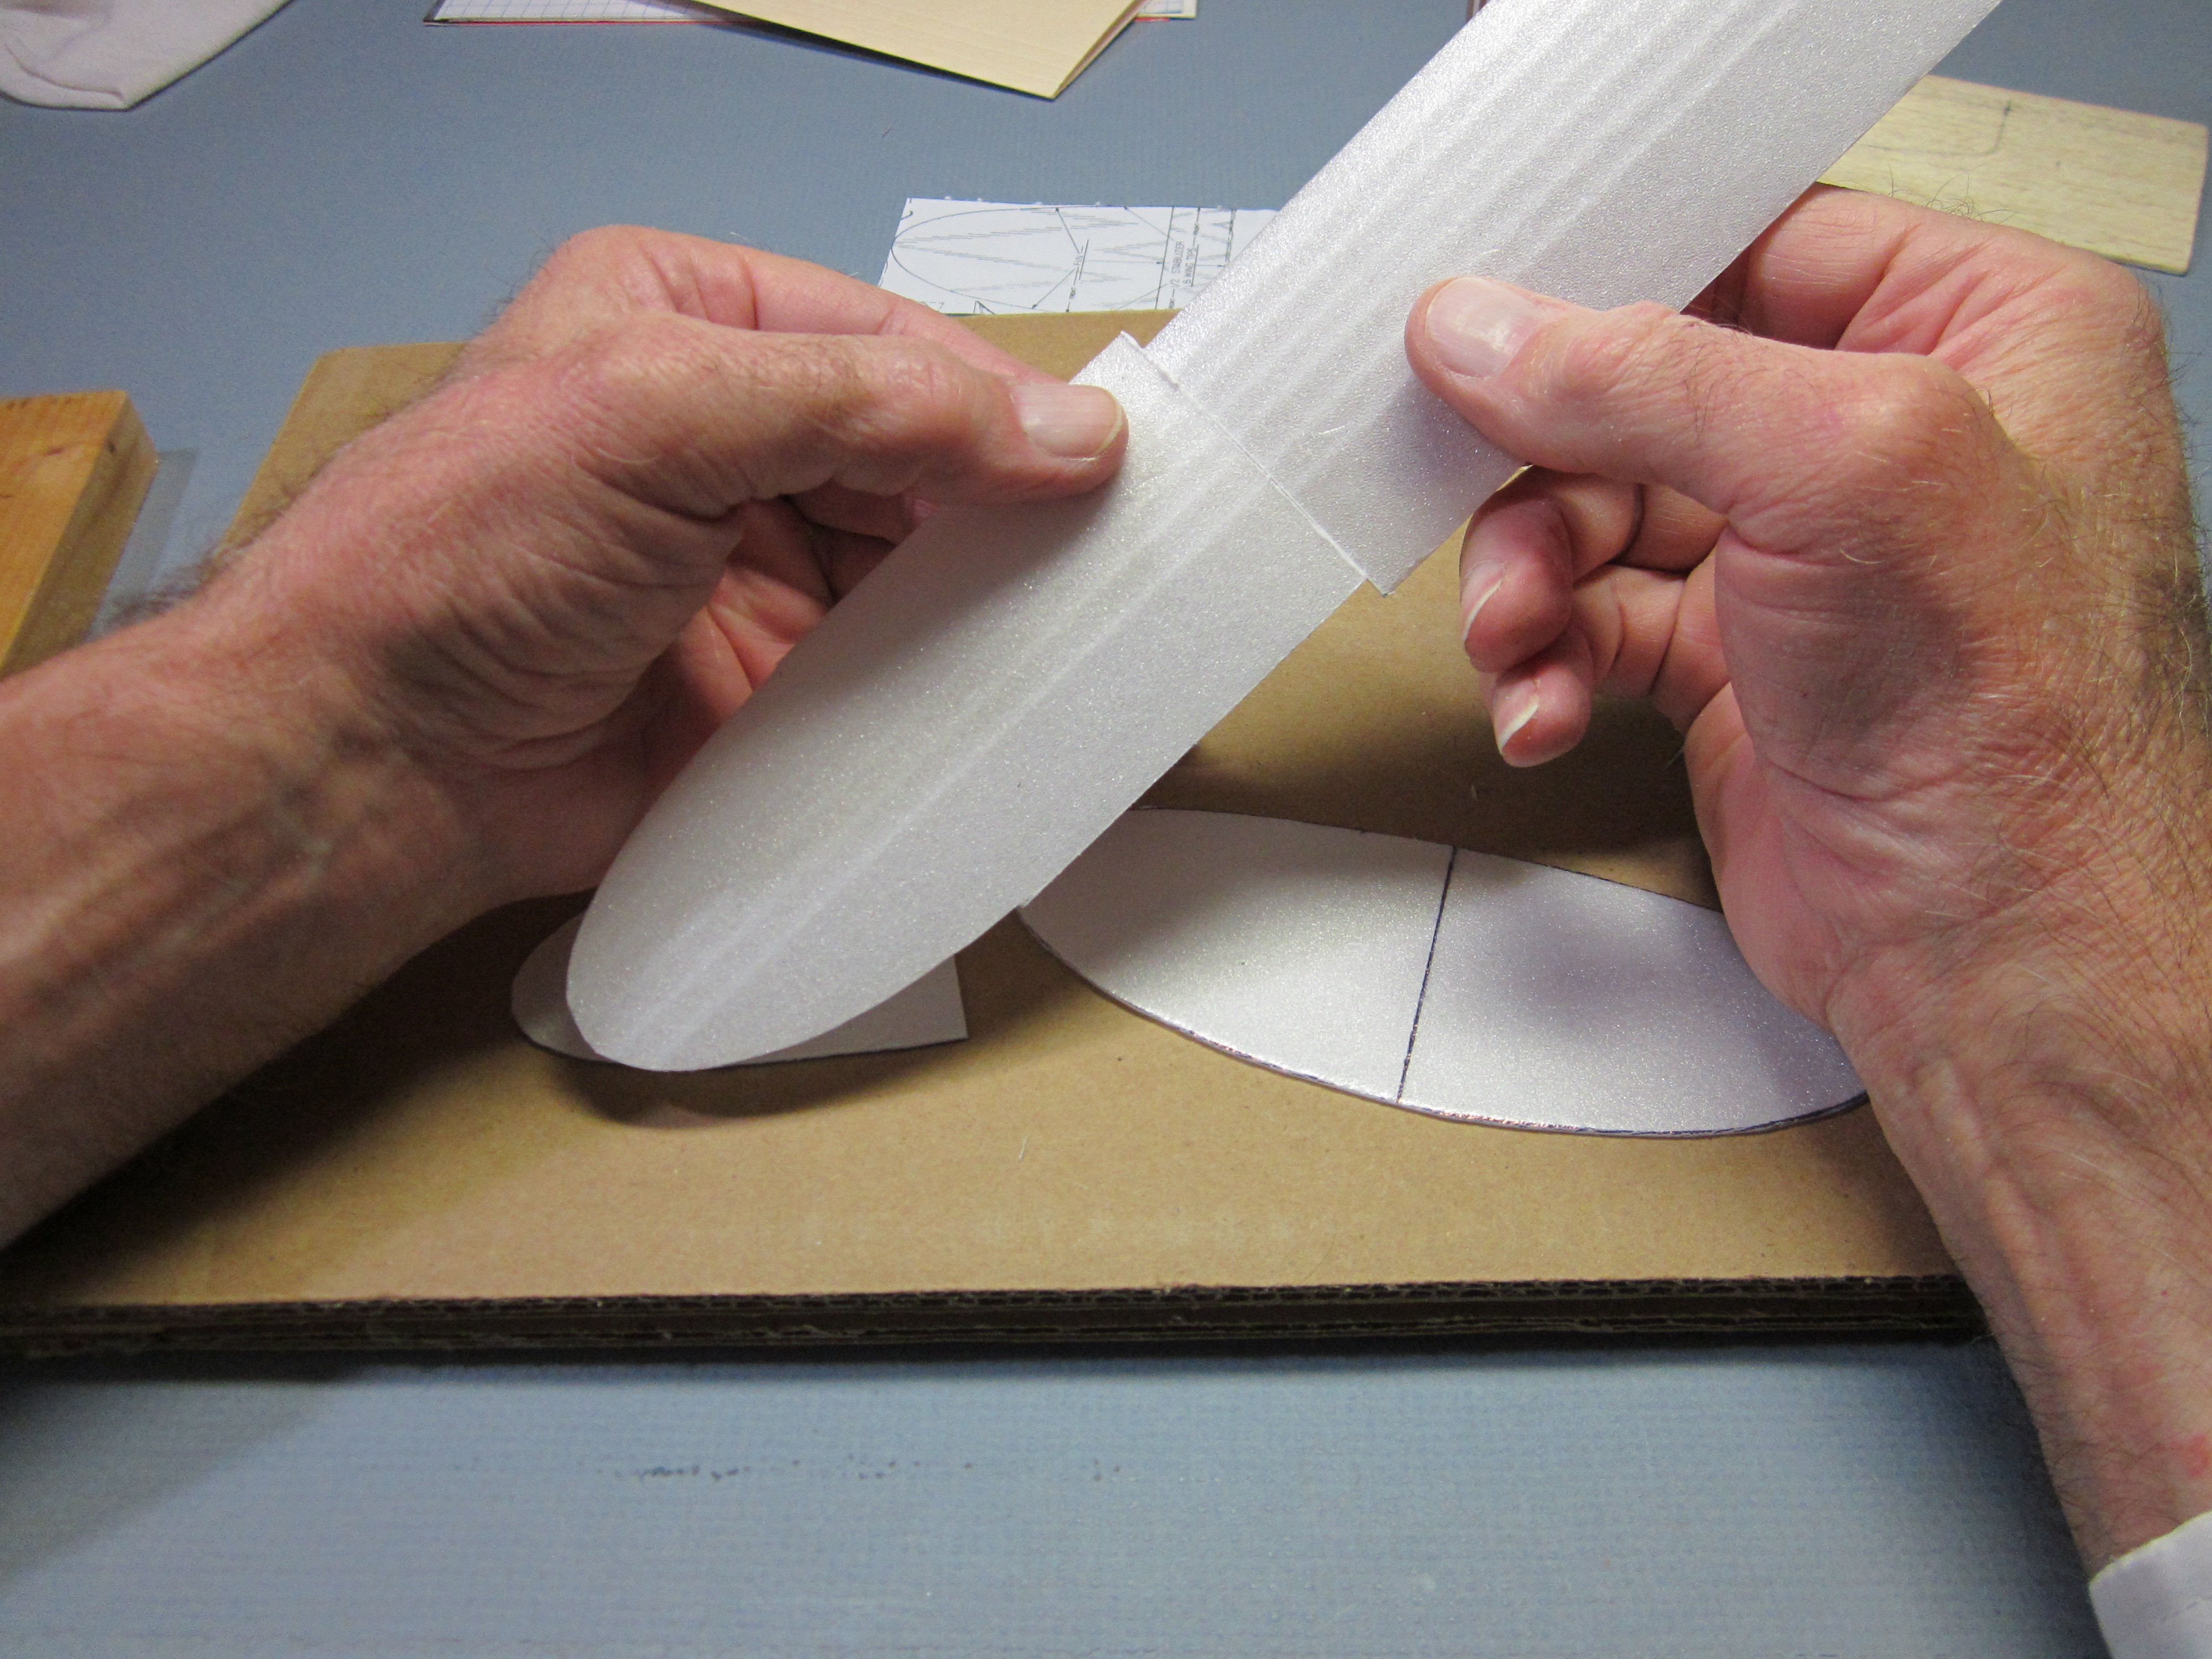
Align the leading and trailing edges with each other.
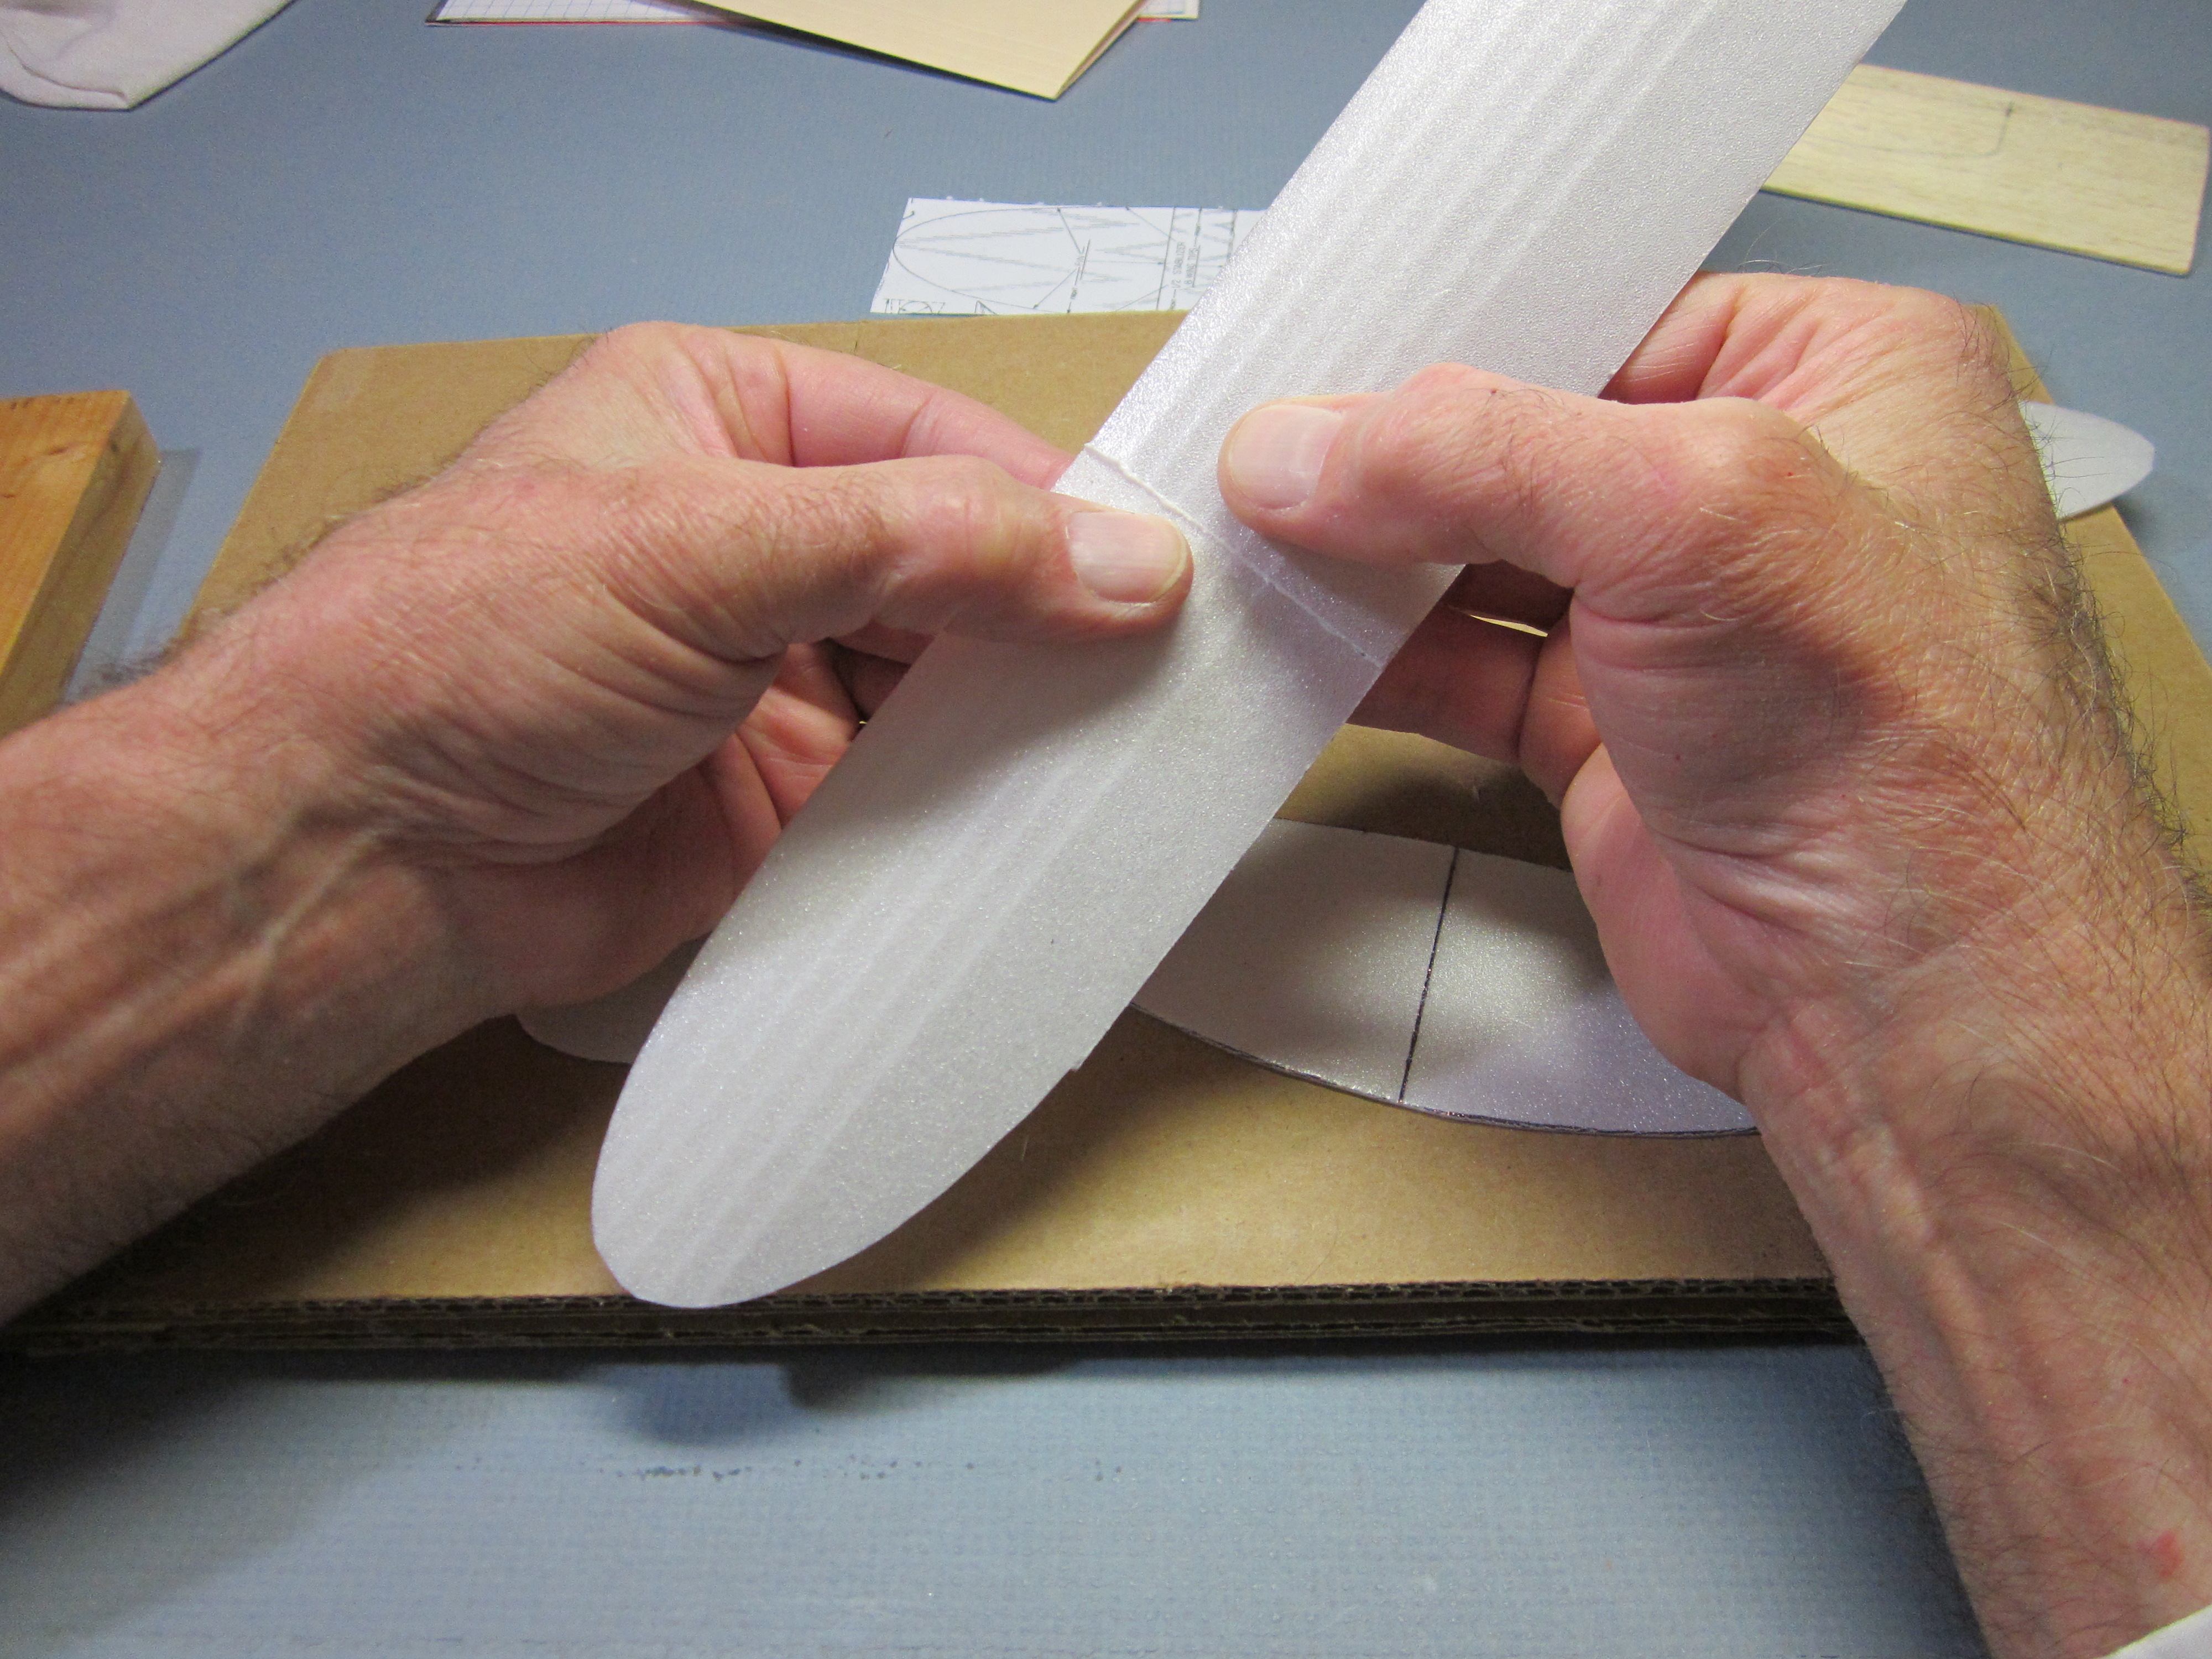
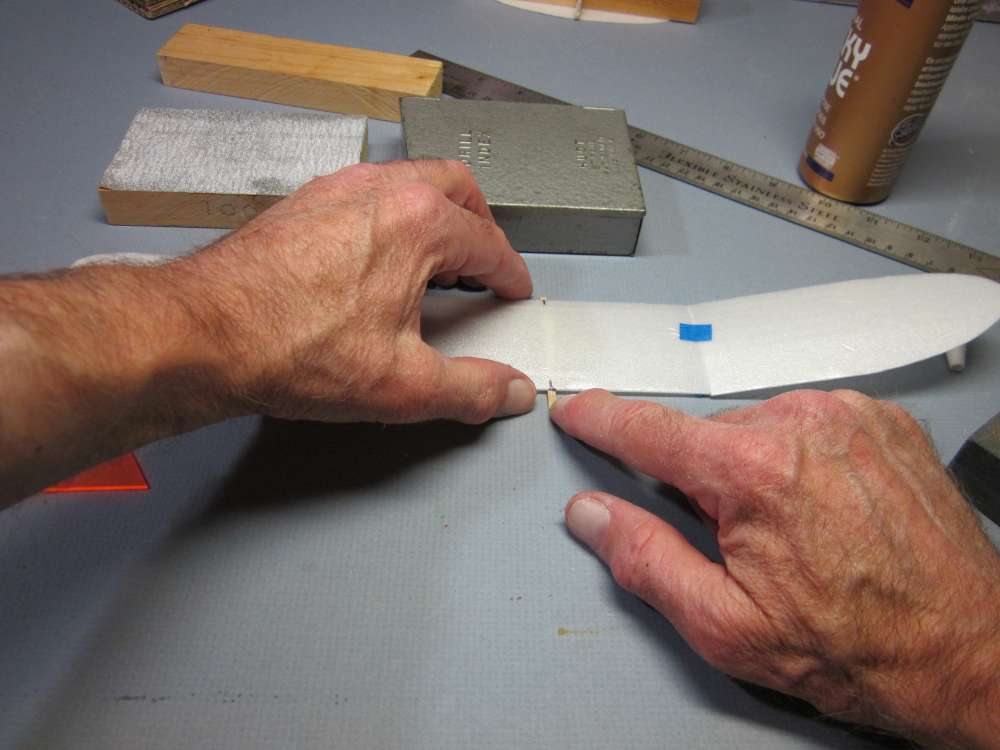
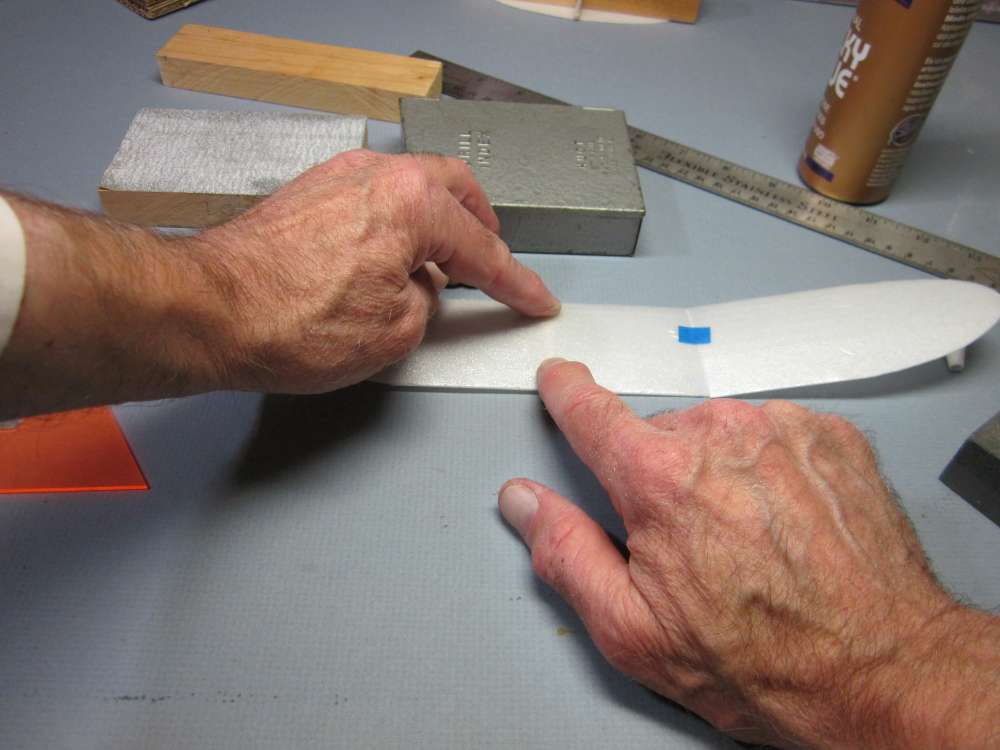
Rotate the high points of the wing together while holding the leading and trailing edges together. Adjust so all the panels join smoothly. Hold until the glue sets. You can rest it on the leading edge to let the glue dry while doing something else, then come back and glue on the opposite wing tip.
Later I found that tape could help hold the wing joints together and in alignment as the glue dried. I started by putting tape on the under surface at the leading and trailing edges, pressed the wing panel edges together and put tape across the top of the wing at the high point.
Marking and Cutting the Rudder
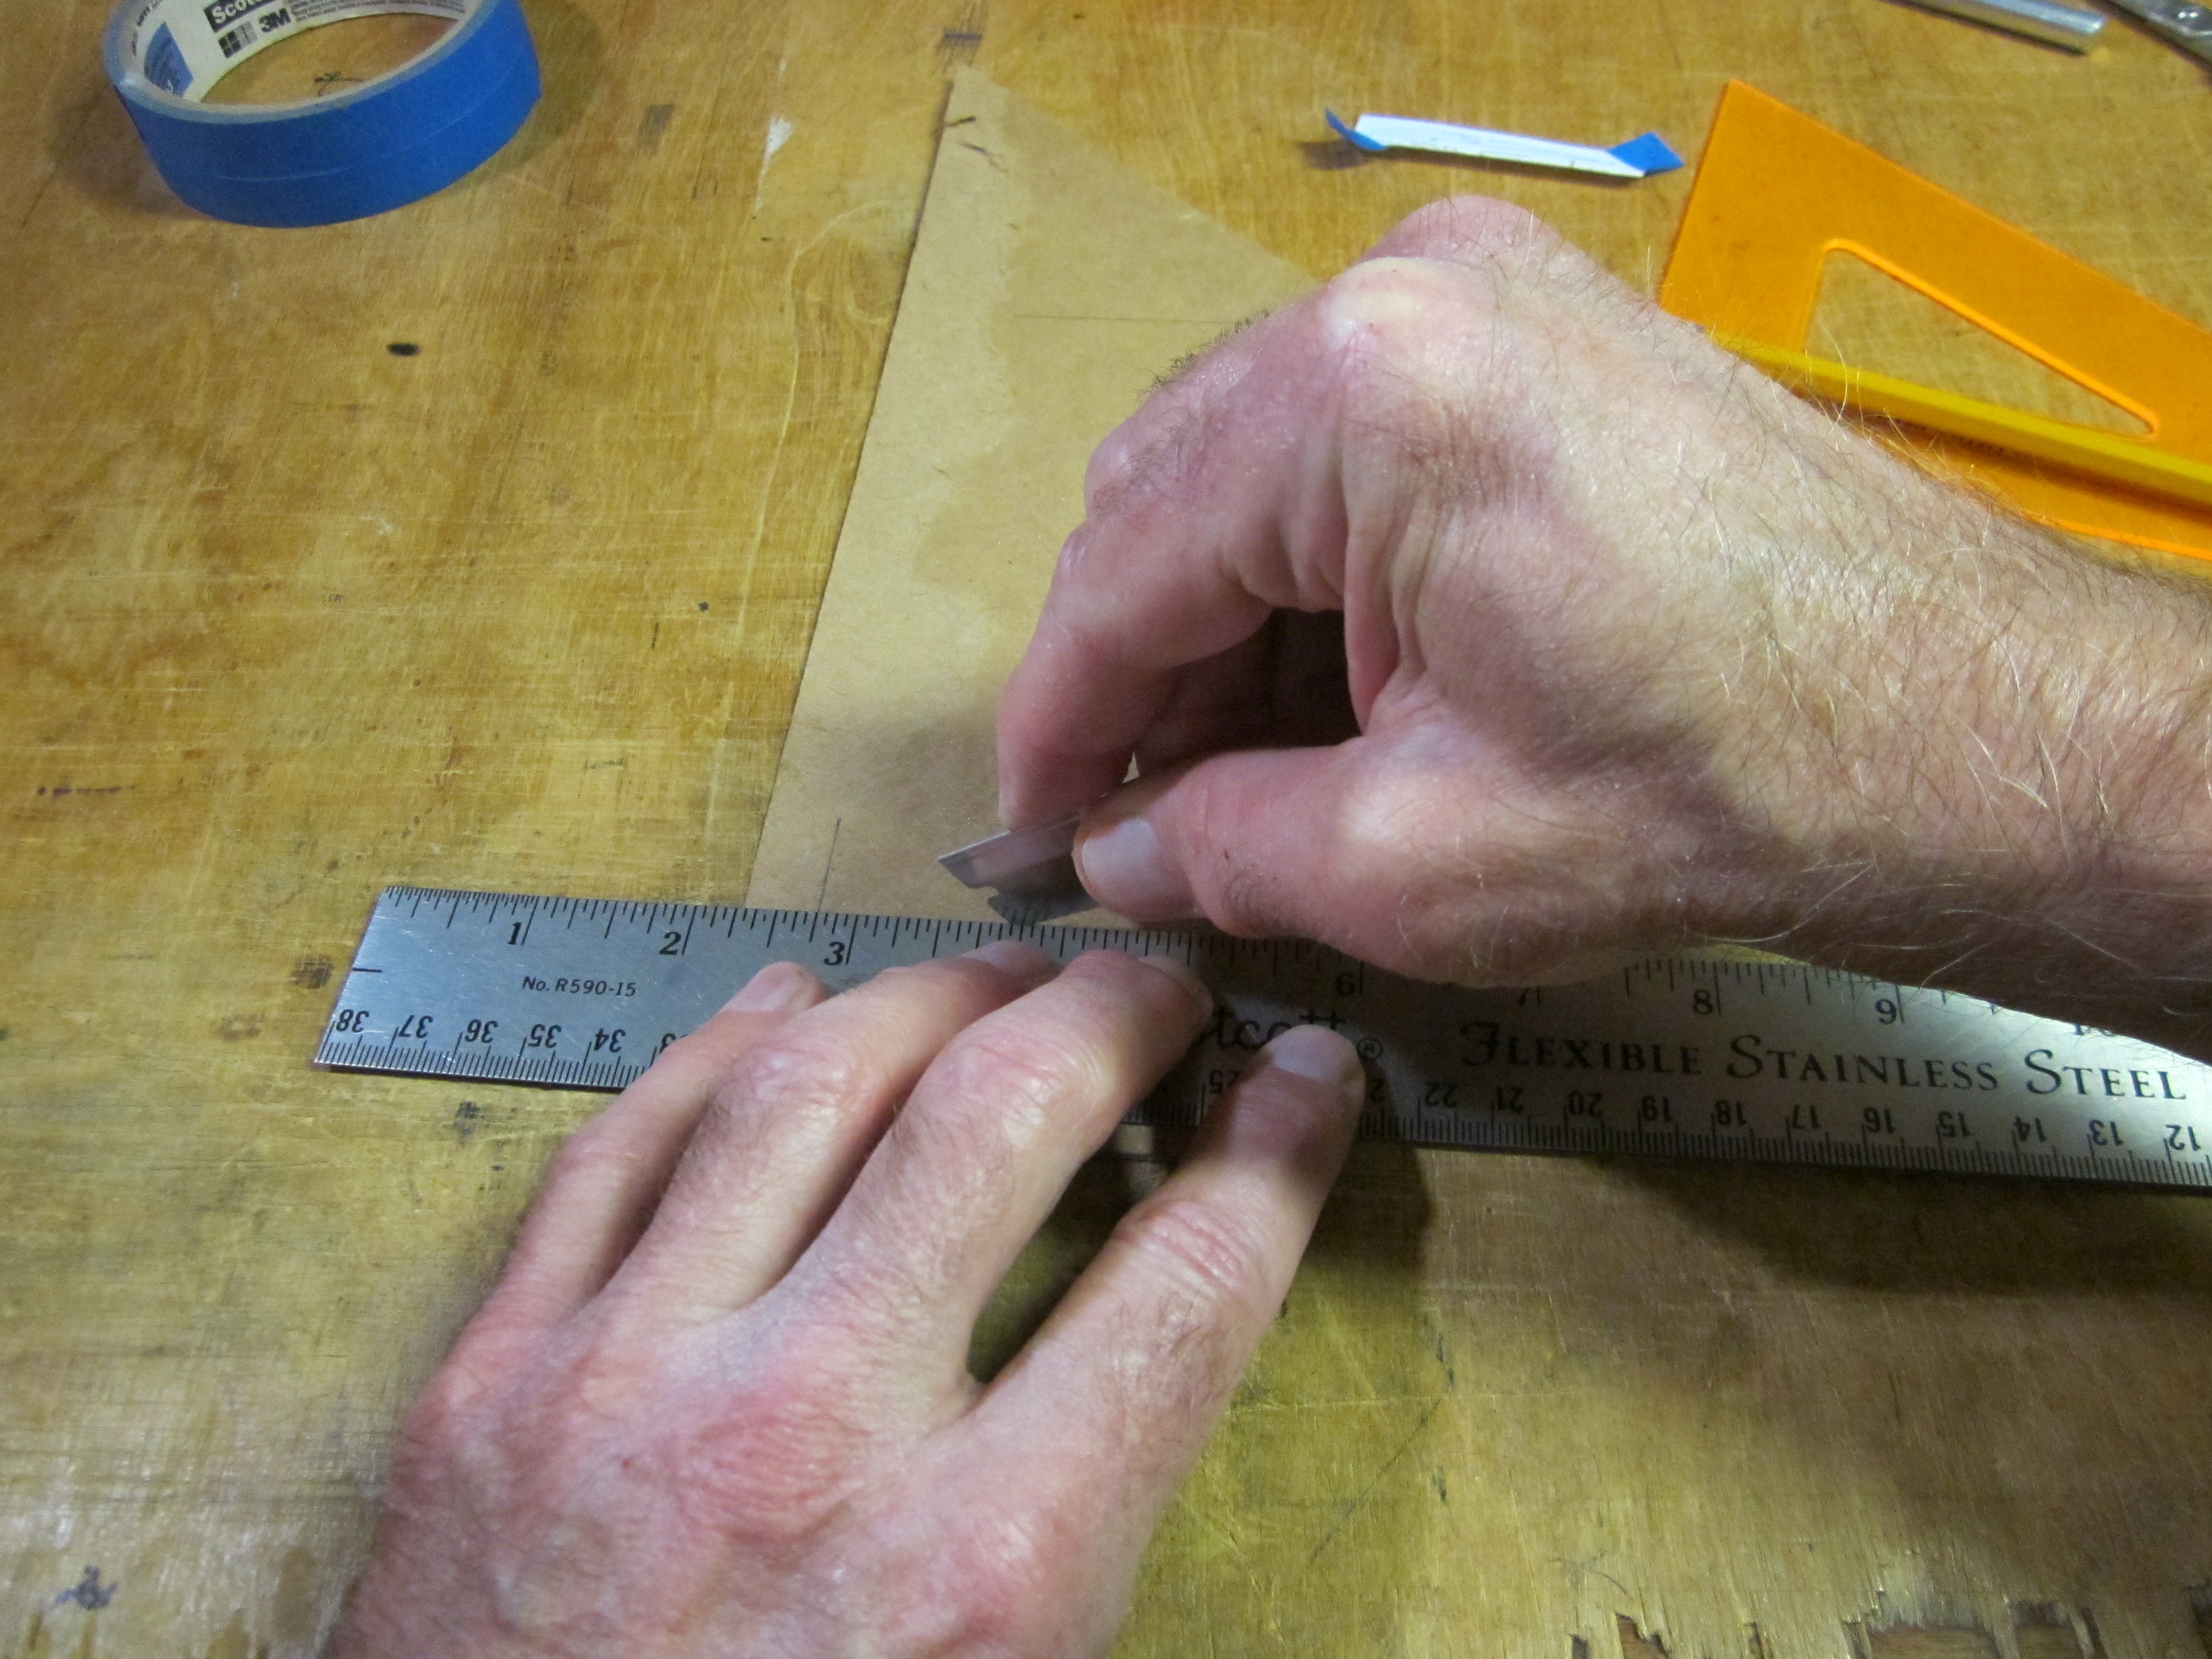
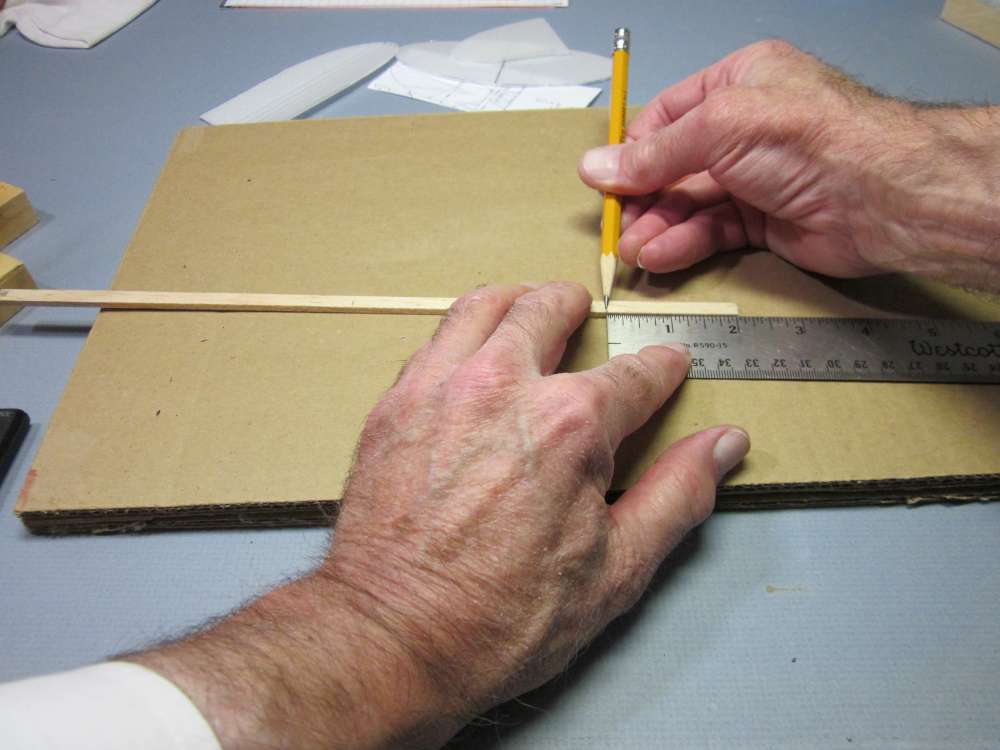
The rudder will be made by making two slits into the trailing edge of the fin and bending the resulting panel to the right along a hinge line. Line up the ruler along the trailing edge of the fin with the end at the base of the fin.
Put a mark 5/16″ up from the base.
Put another mark 1 5/16″ up from the base.
Put a mark along the base 5/16″ in from the trailing edge.
Draw a line up from that point, perpendicular to the base, between the two marks on the trailing edge. This is the rudder hinge line.

Make a cut at the lower mark from the hinge line to the trailing edge, perpendicular to the hinge line.
Later I marked the lines out on the cardboard pattern and poked pin holes through the inner corners of the rudder. Then I could mark these points at the time of cutting out the fin by poking a pin through the holes in the pattern into the foam.
Make a cut at the upper mark from the hinge line to the trailing edge, perpendicular to the hinge line.
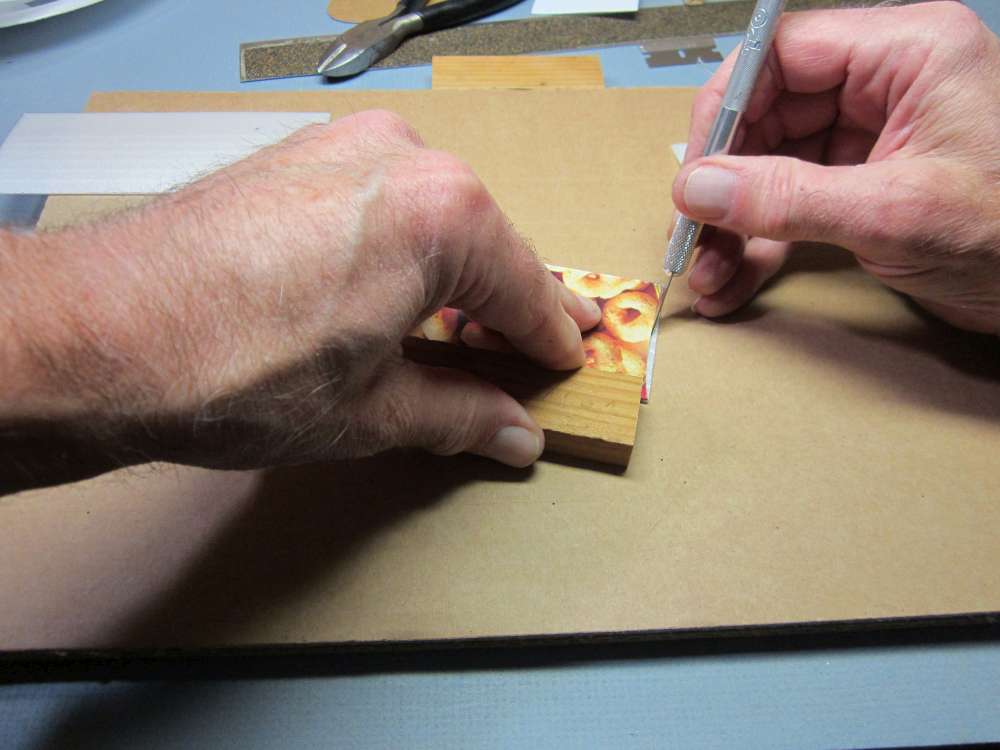
Put the fin on a block with the hinge line aligned with the edge and press the rudder down to bend it to the right.
Adjust it so it is deflected about one thickness of the foam. We will adjust it later during flight testing.
making the fuselage
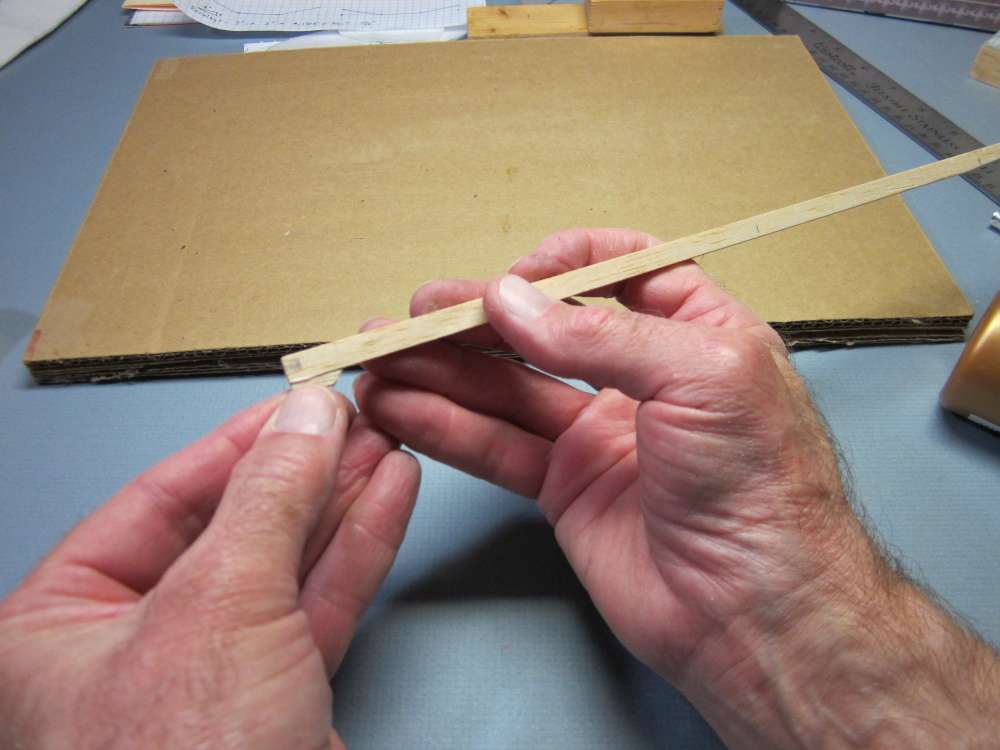
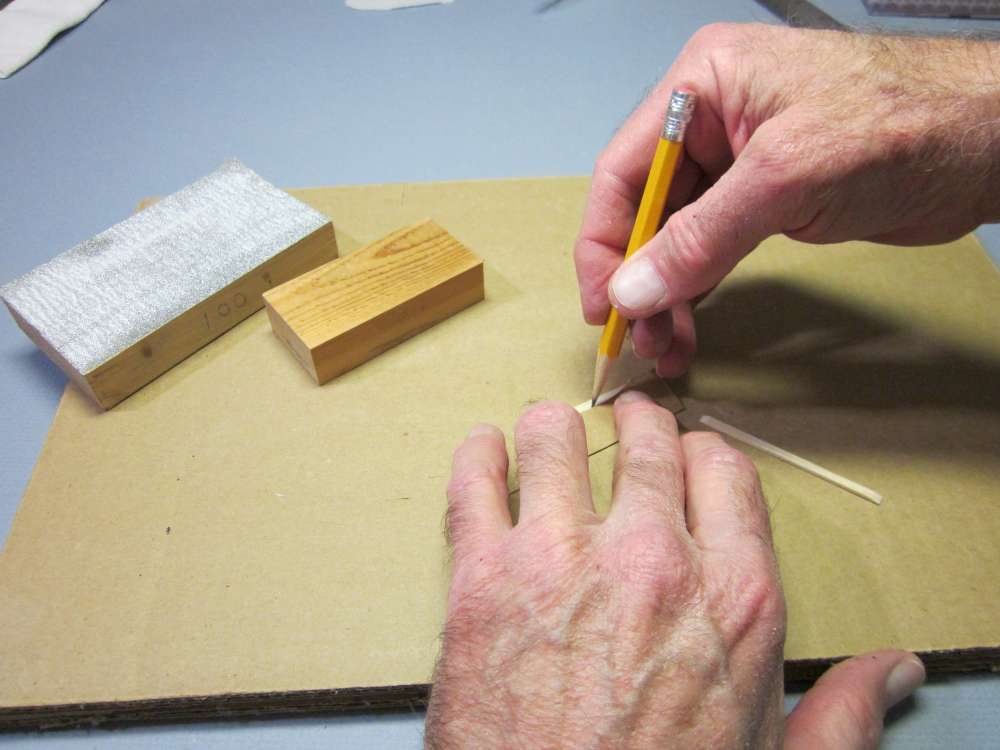
Mark the center of the stick.
Balance the stick at the marked point and notice which end goes down. Mark this end with a pencil. This heavy end will be put at the front.
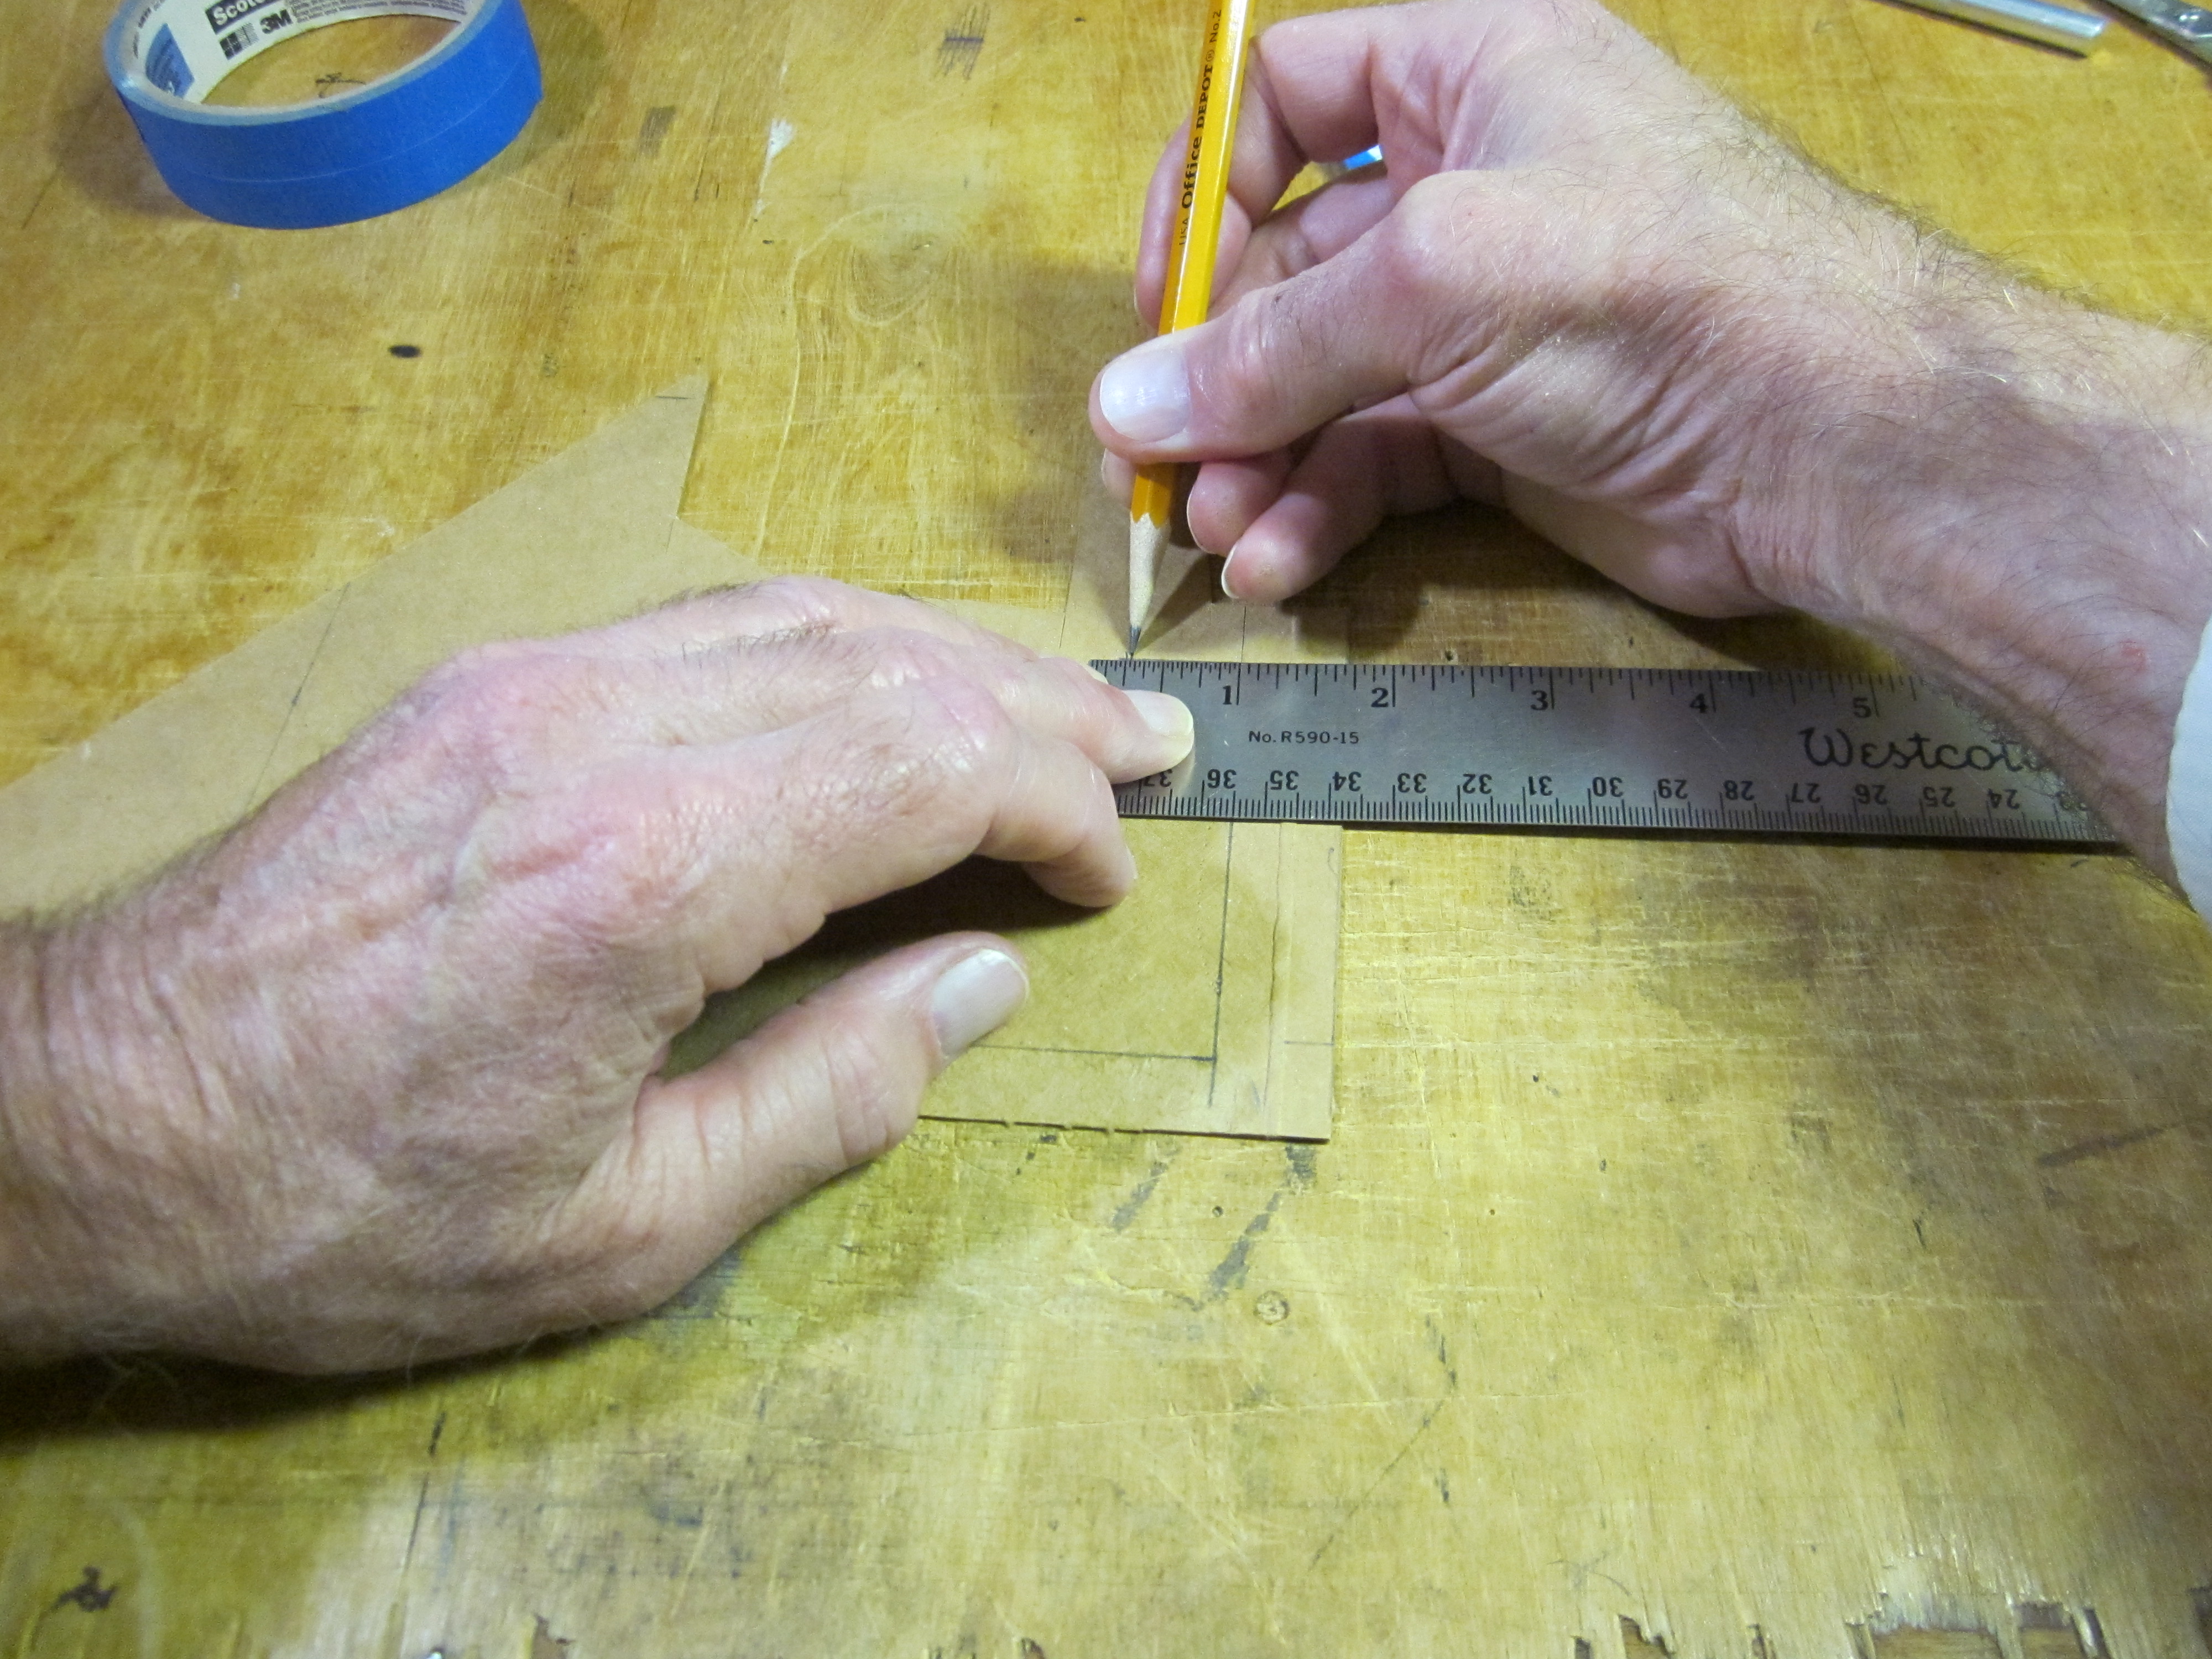
Put a mark 2″ [2 9/32″] from the back end of the stick on what will become the underside of the stick. This corresponds to the chord length of the tailplane. We will be cutting the bottom corner off the stick to form the tailplane taper.

Put a mark 3/16″ up from the bottom edge of the stick at the tail end.

Draw a line between these two points.

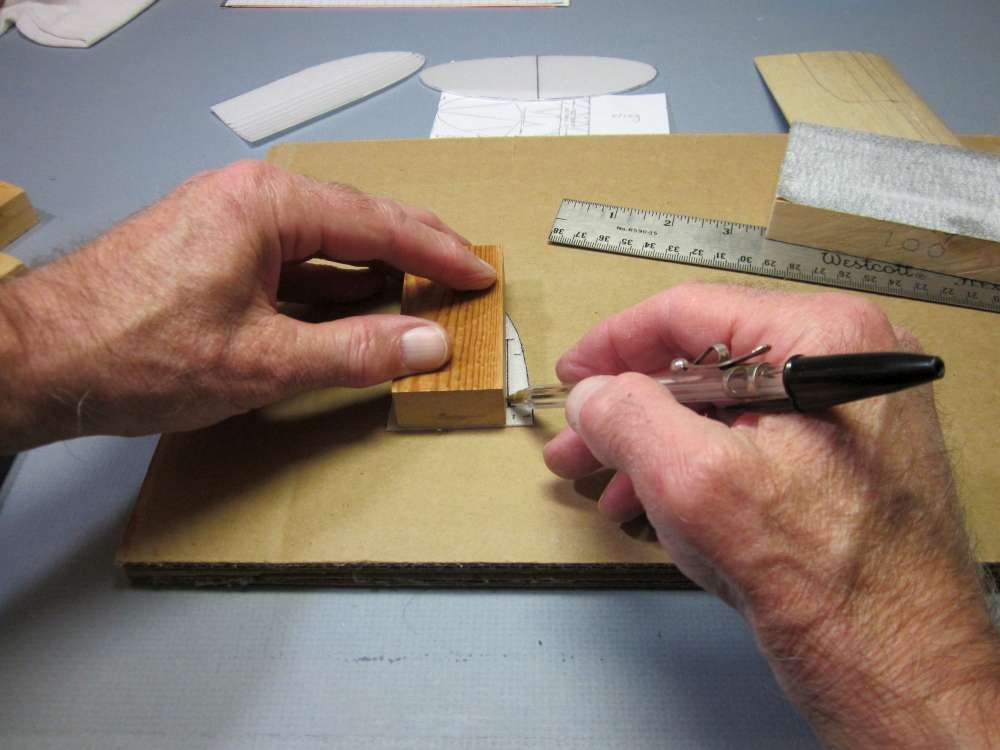
Cut the excess wood away. (You can use a razor saw if you have one.) Be careful to not cut into the wood we want to keep. Cut a little outside the line. The excess will be sanded away to the final line.
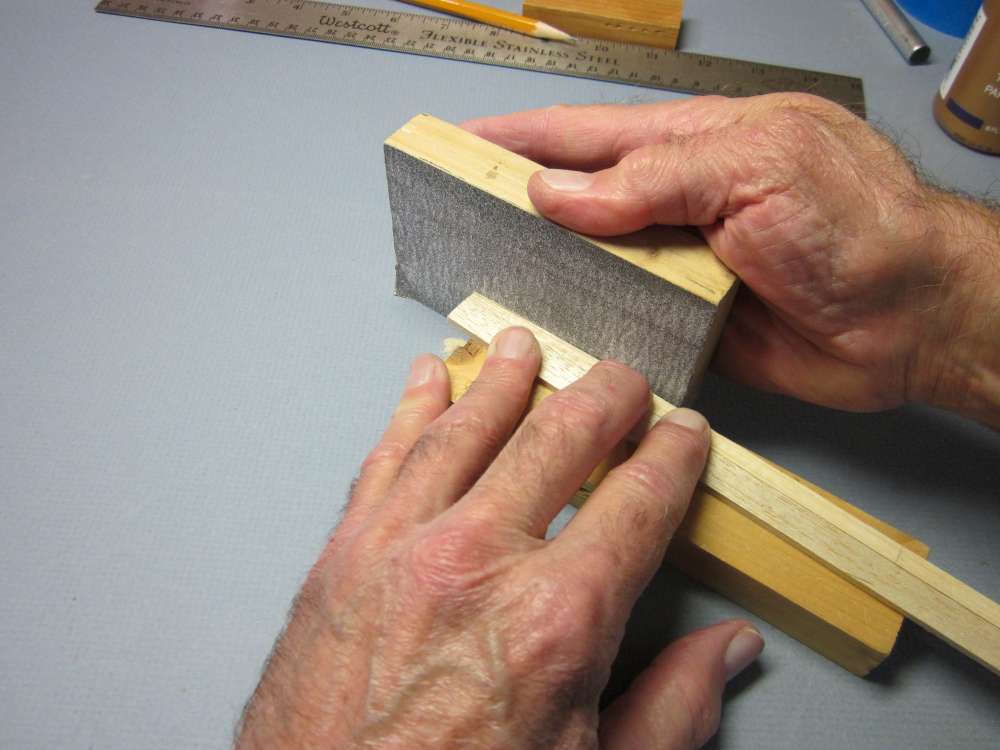
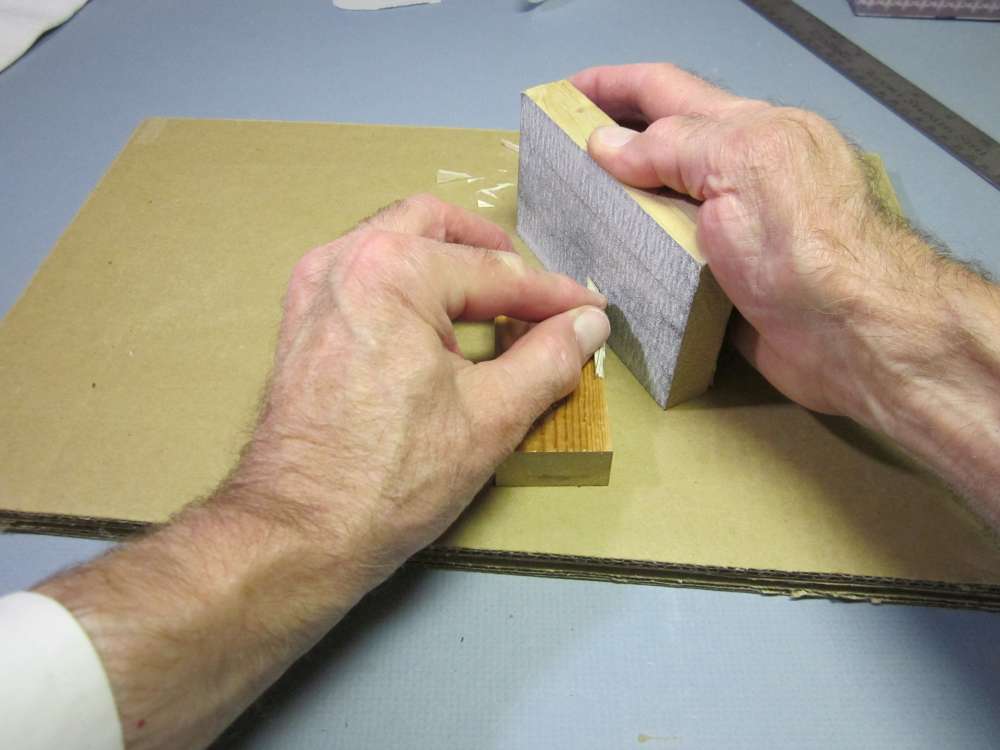
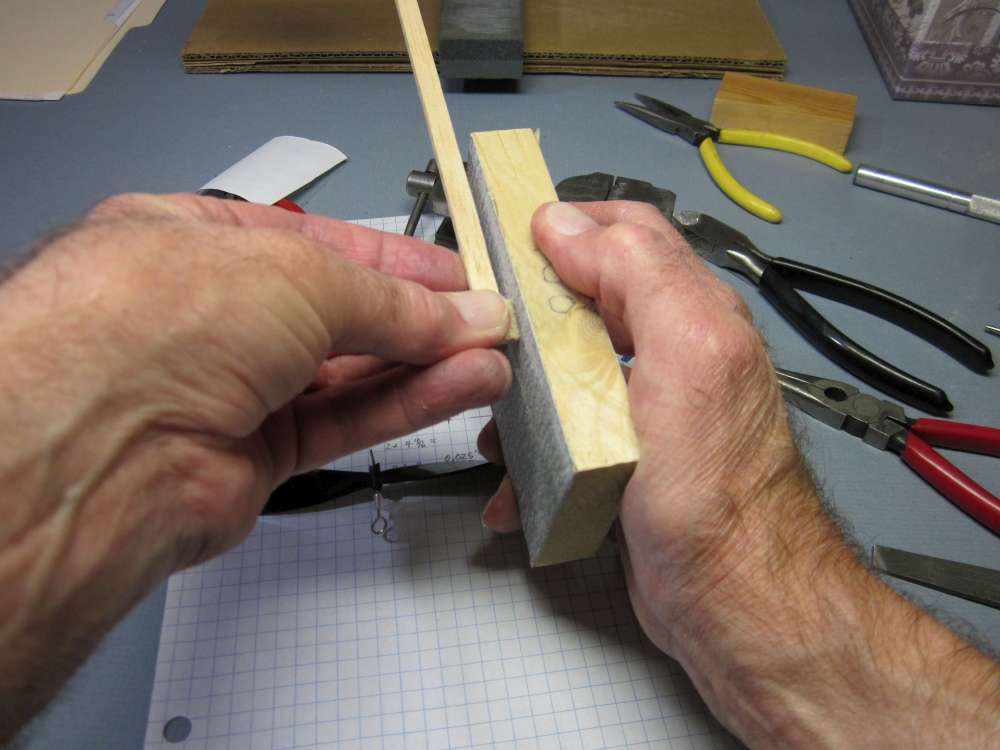
Put the stick on a block of wood to space it up from the table top, back it up with a stiff piece of wood and sand the taper to the line. Holding the squared sanding block snugly against the table assures that the sanded surface will be perpendicular to the sides of the stick.

Apply glue to the top surface of the nose block.
Glue the nose block to the front underside of the stick. Make sure it is flush with the sides and front end of the stick.
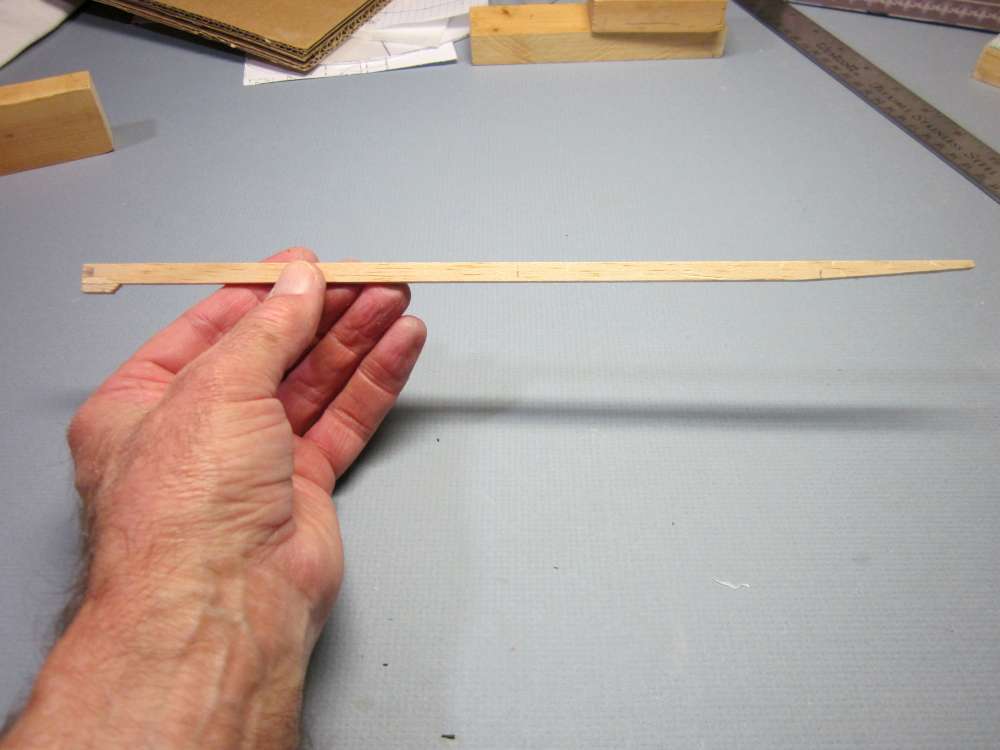
The finished fuselage stick. Note that the nose block and the tailplane taper both go on the underside of the stick.
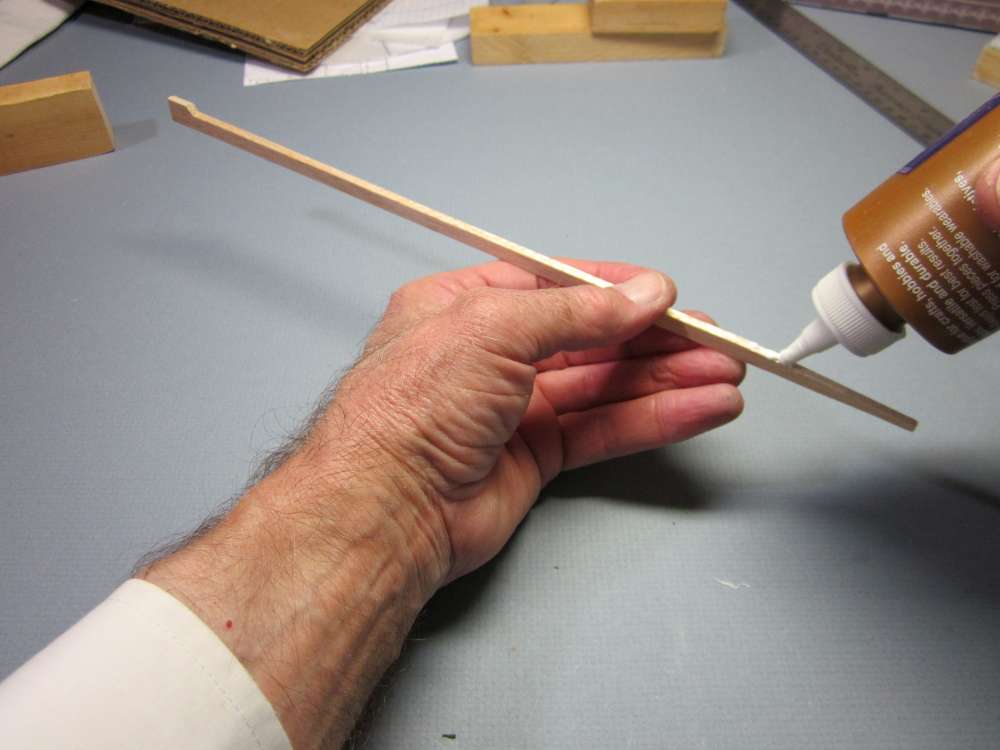
Apply a thin layer of glue to the tailplane taper.
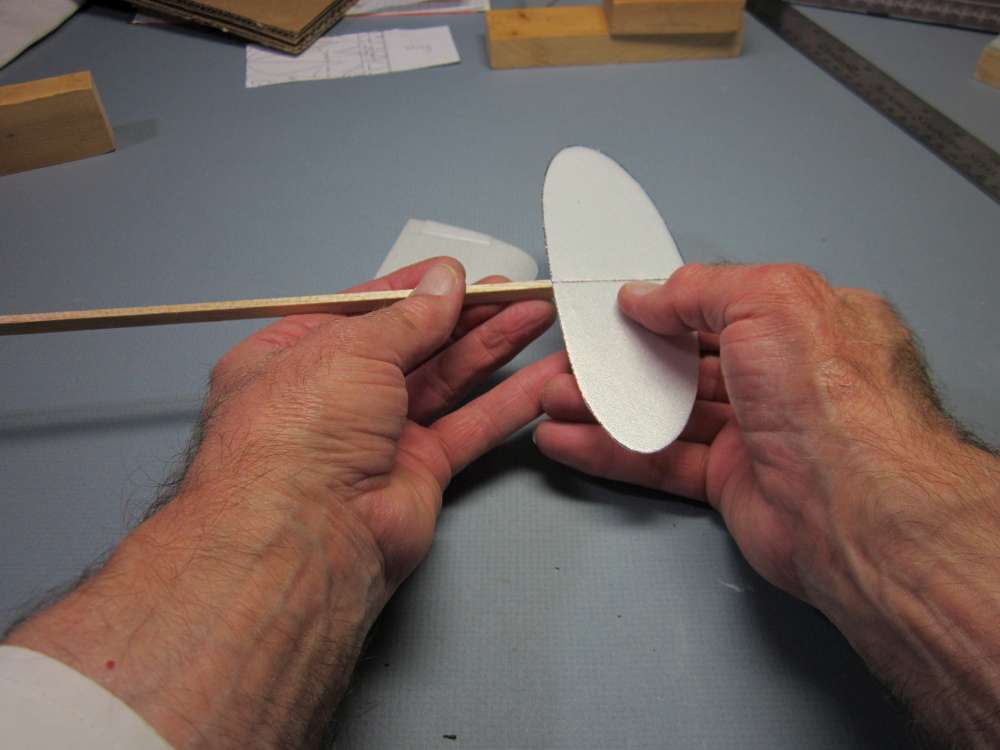
Carefully center the tailplane on the stick and press it in place.
Put it in an out of the way place and place a weight on the stick to hold it down until the glue dries.
When the glue has dried on the tailplane, you may add the fin. Apply a generous bead of glue along the base of the fin.
Place the fin on the stick, with the rudder to the back, and slide it around a bit to spread the glue. Hold it in place until the glue takes hold. You may want to block it in place while the glue dries. You can place a block on each side of the tailplane and a block on top of each of those, slid together to hold the fin in exact perpendicular alignment.
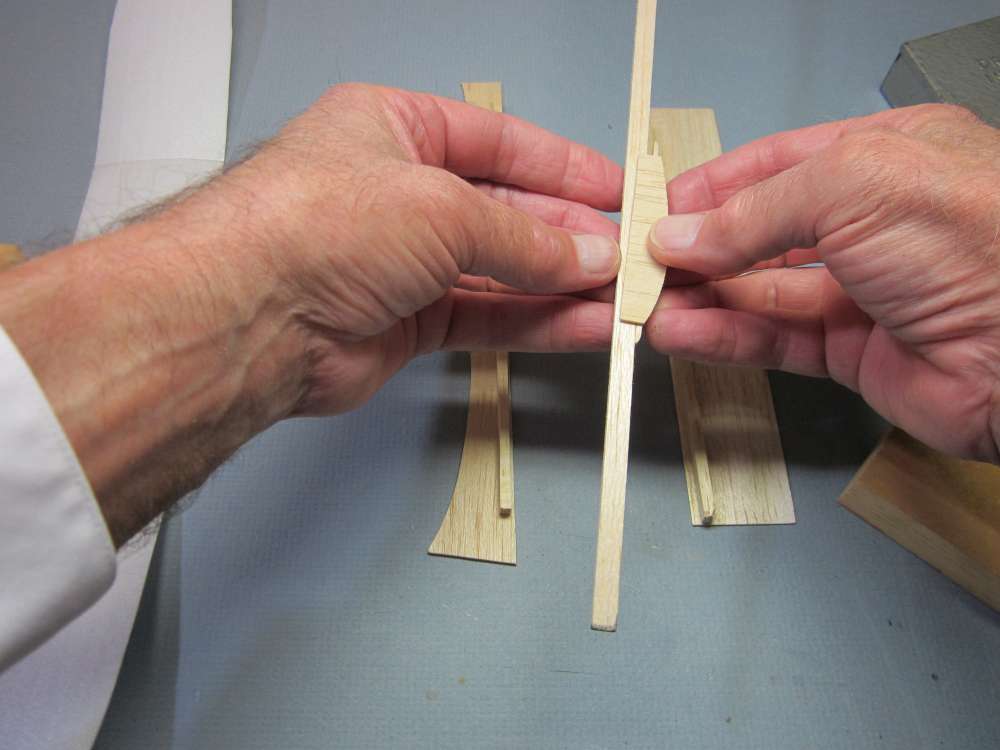
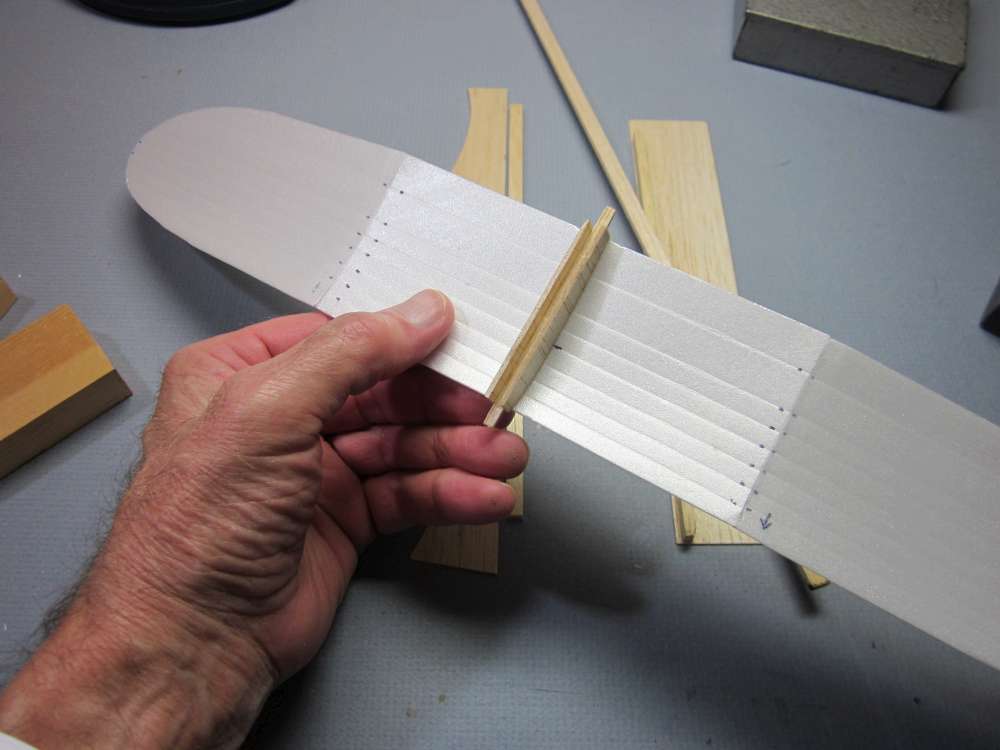
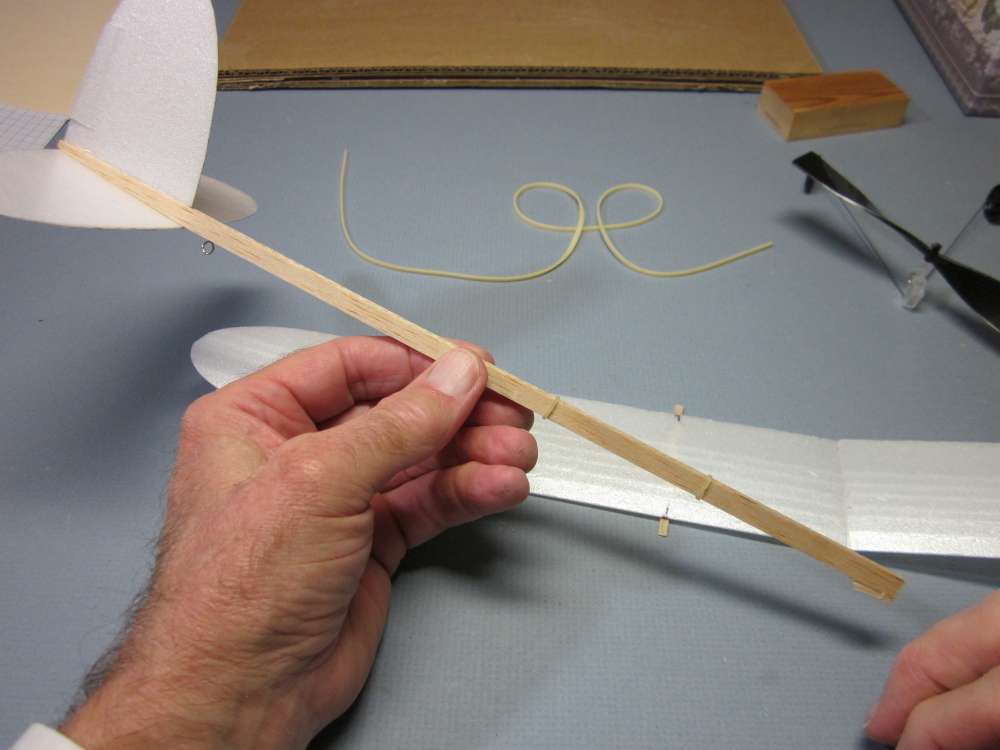
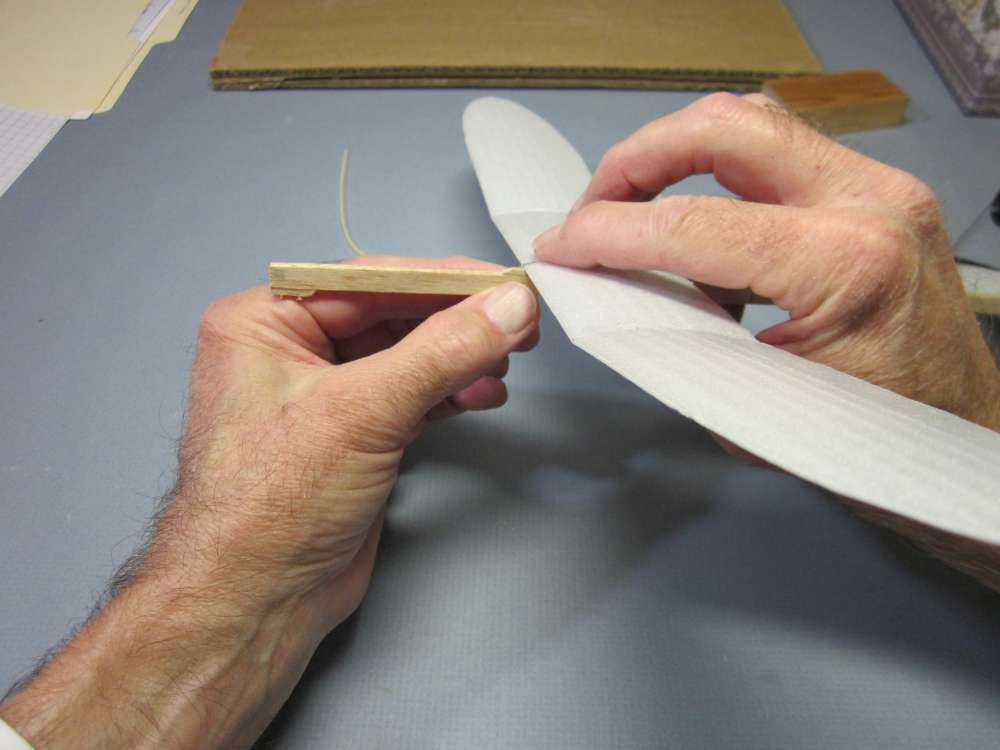
Adding the wing rib and hold down stick
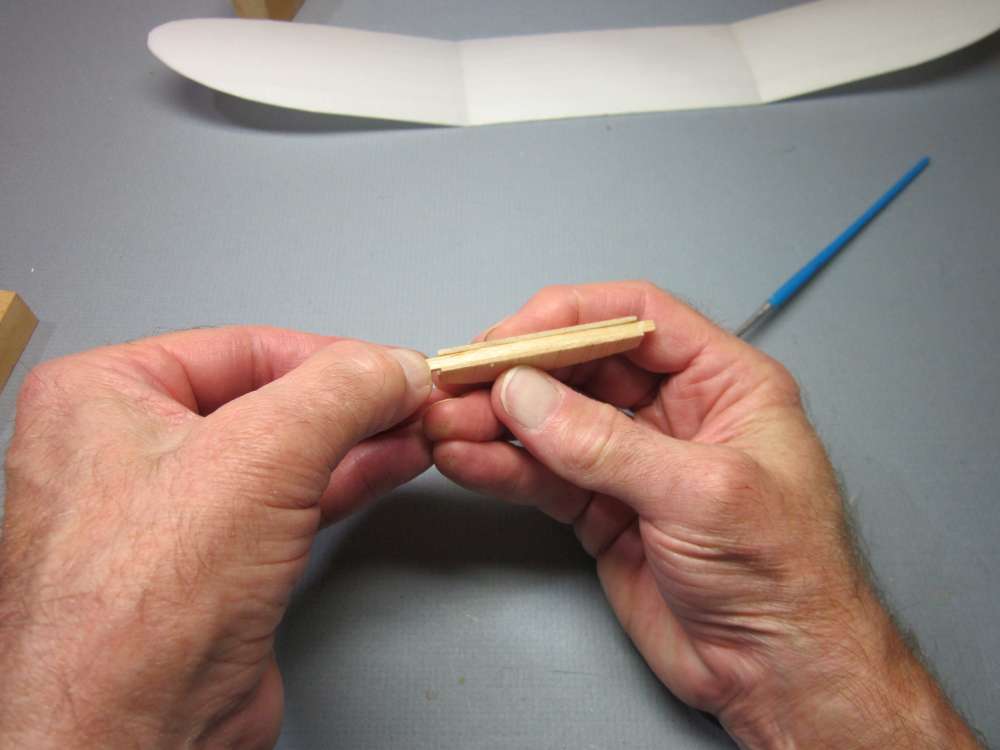
Sand bevels on each end of the hold down stick. Sand at about a 35 degree angle until the end just about disappears. Both bevels are sanded in the same side of the stick. The bevels enable the hold down elastics to be rolled up onto the stick.
Here is the finished stick.
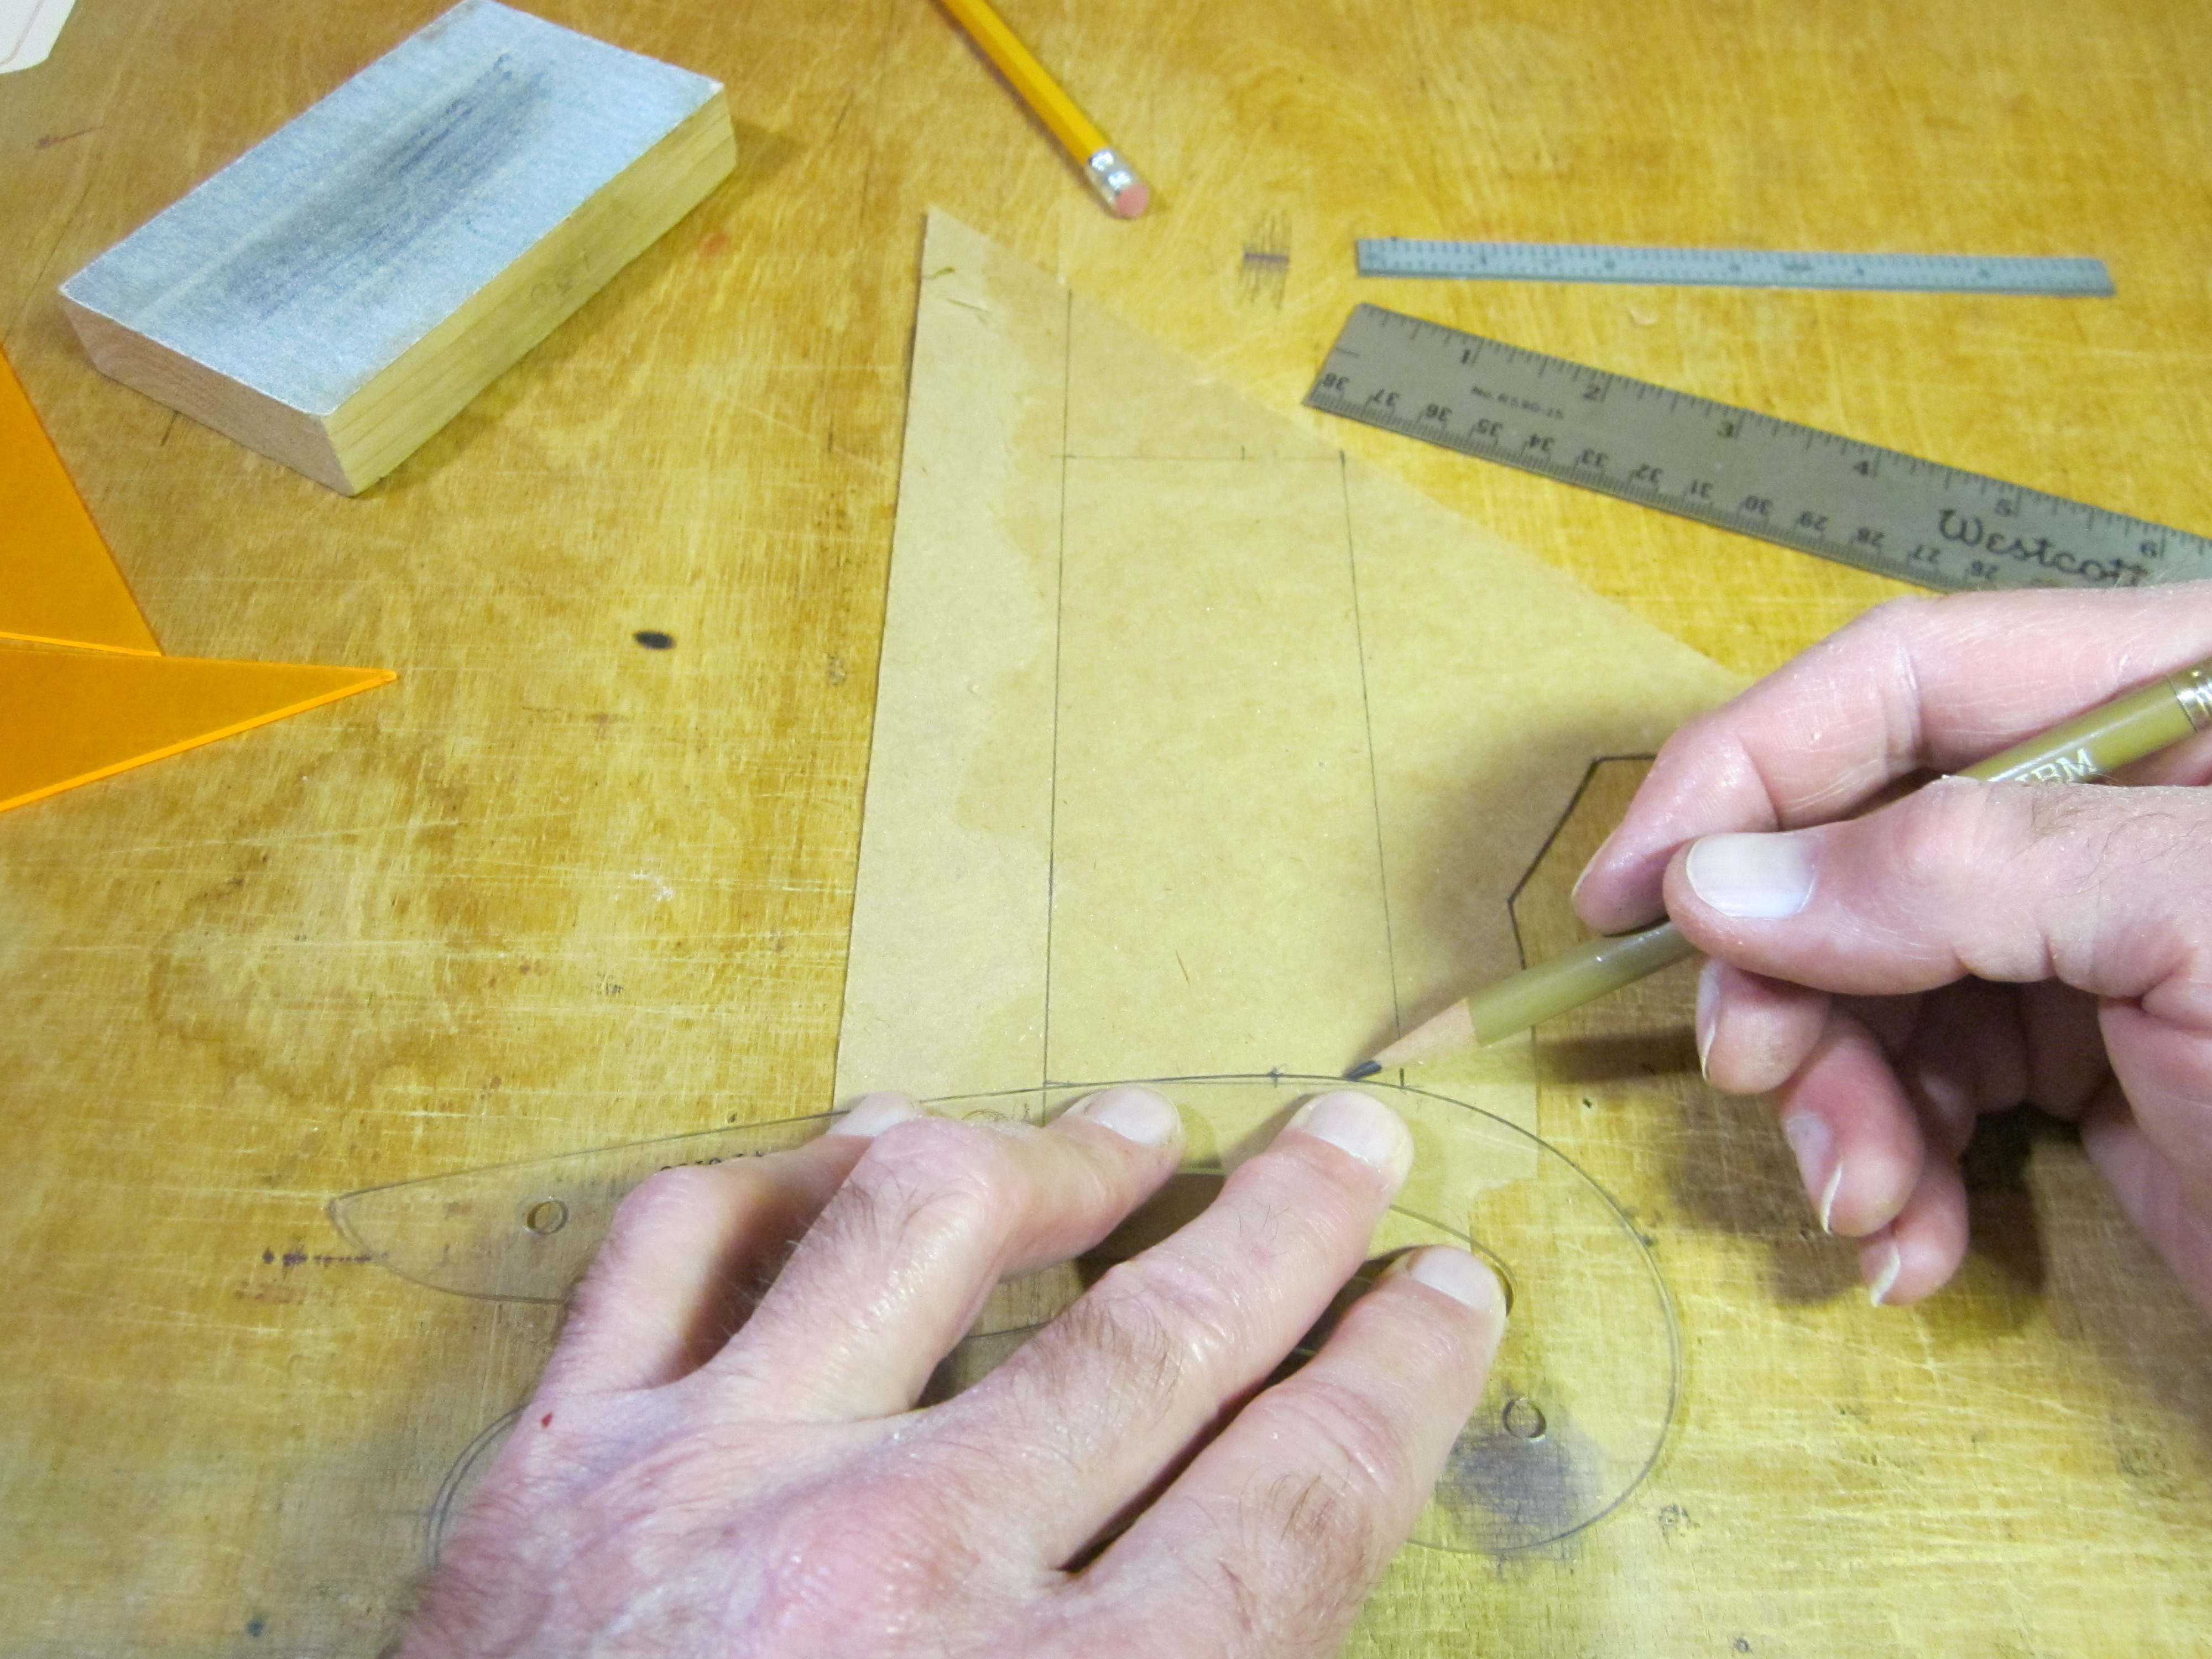
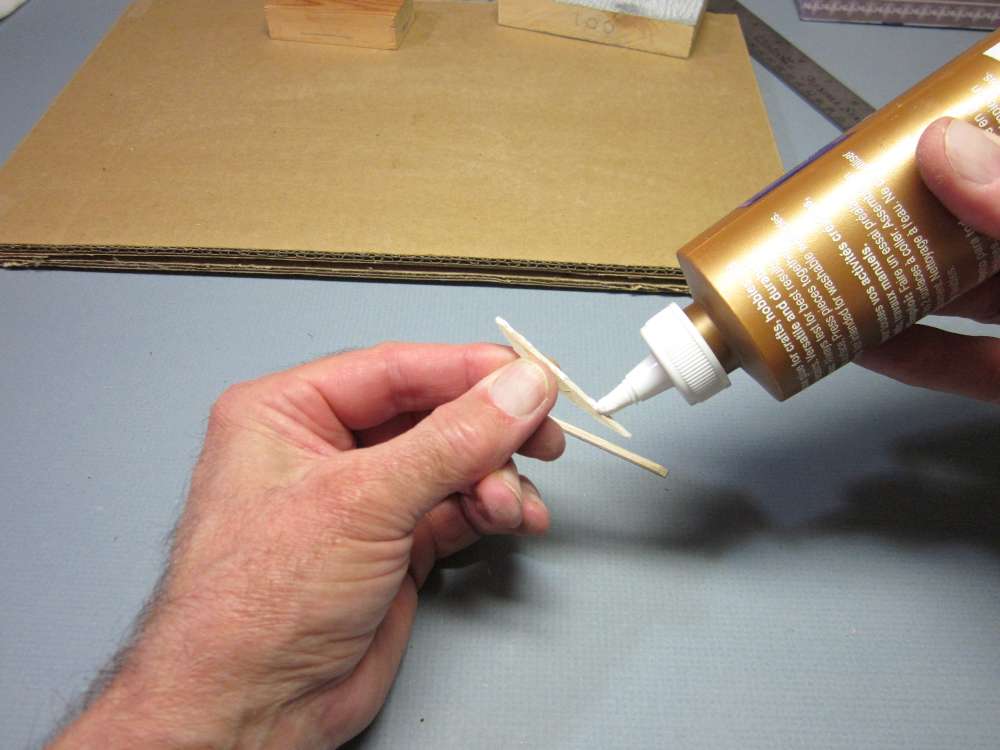
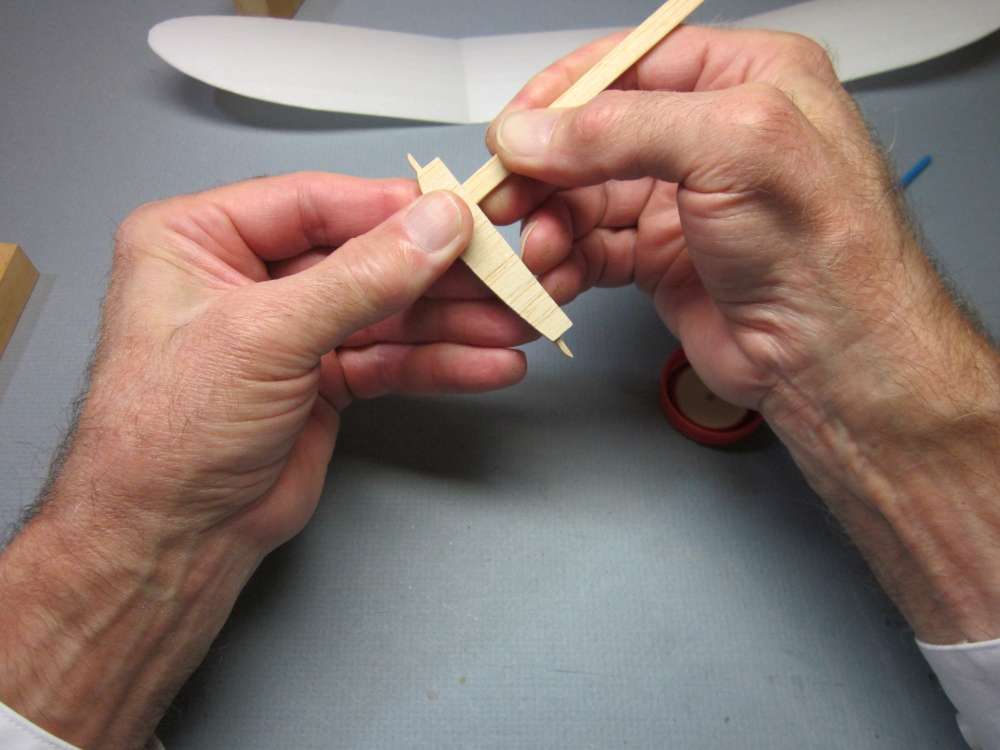
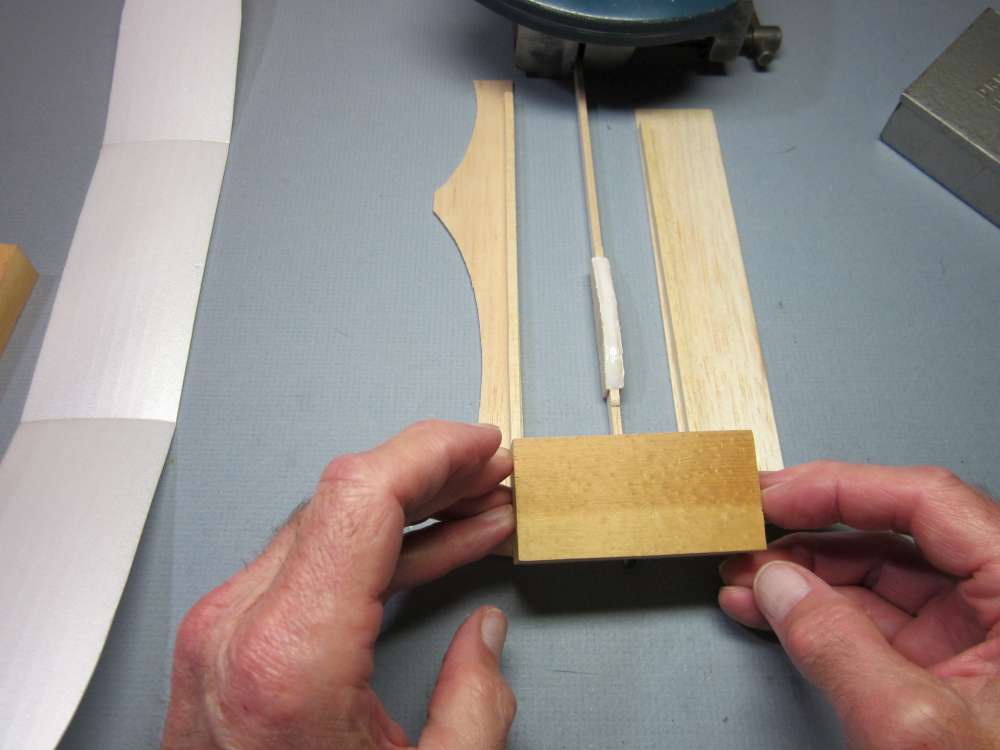
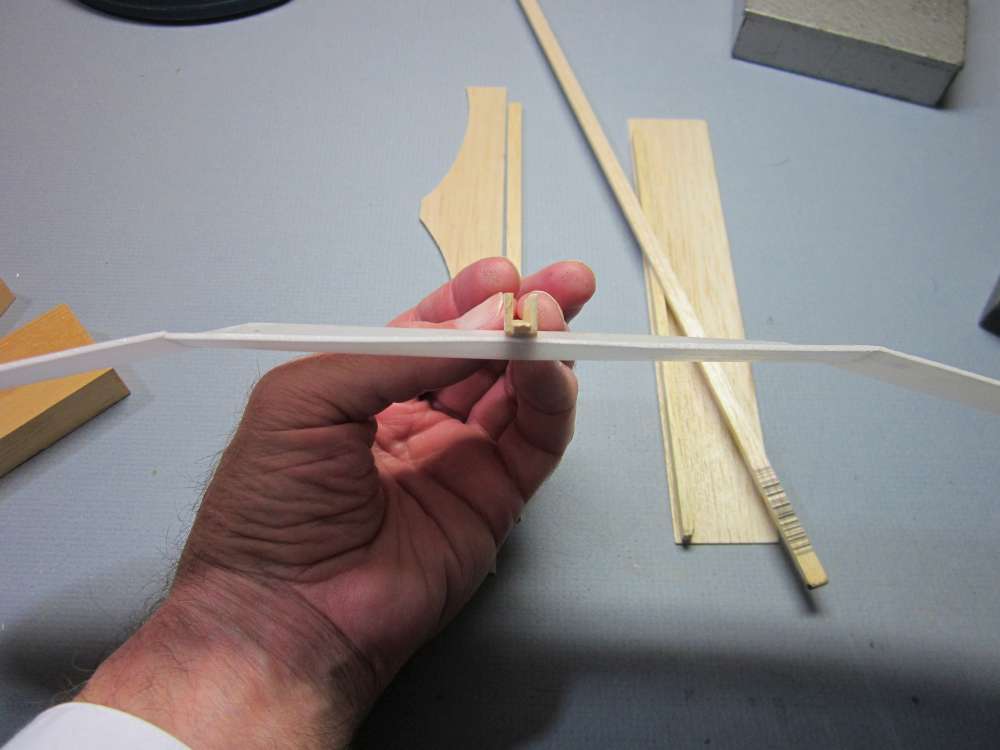
Next we will make the wing rib.
Place the rib material against a block.
Place the rib template on the rib wood and against the block. The edges of the rib stock and the template should be aligned against the block.
With a pencil that has been sharpened to a chisel point, draw the rib pattern onto the rib stock.
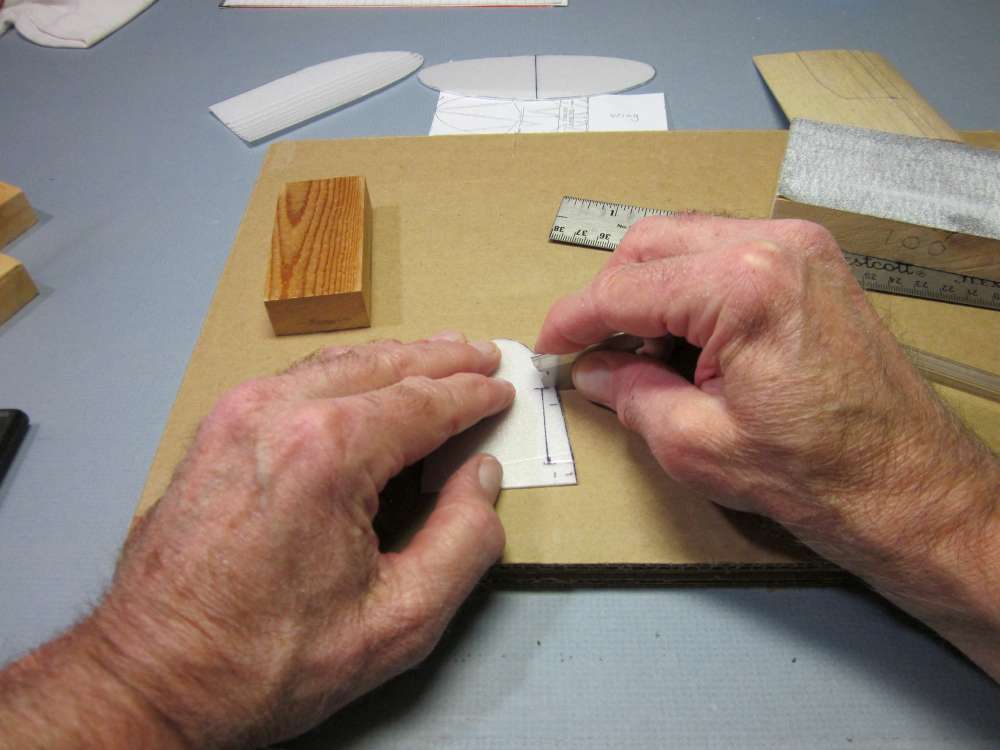
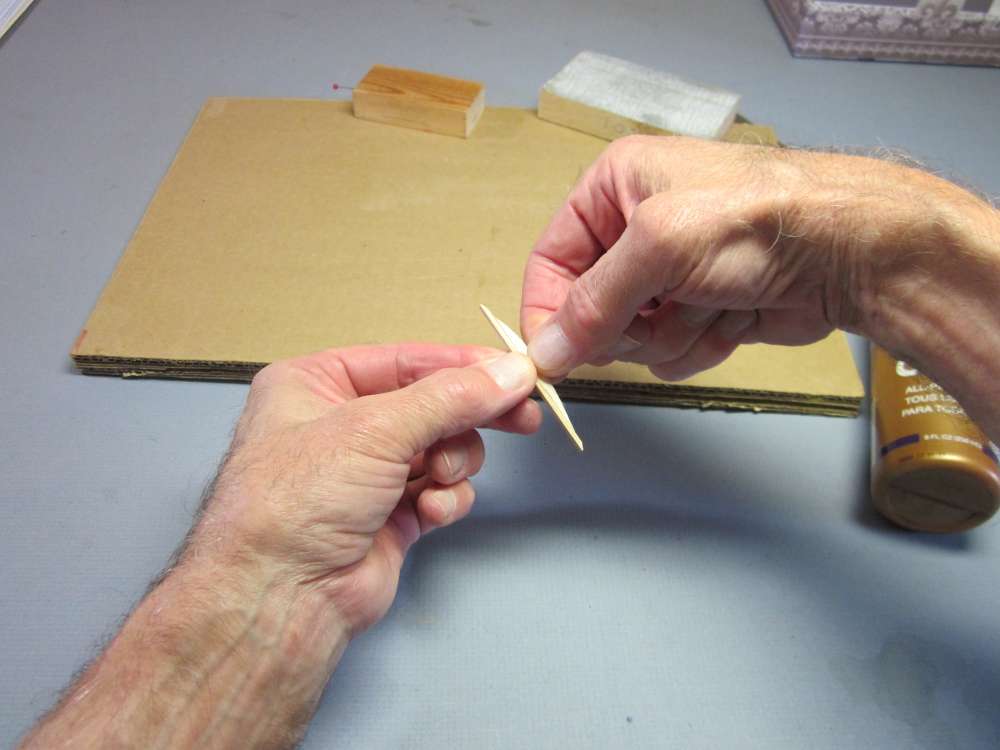
Rough cut the rib. Don’t cut into the rib material, leave a little extra outside the line. It will be sanded to final shape.
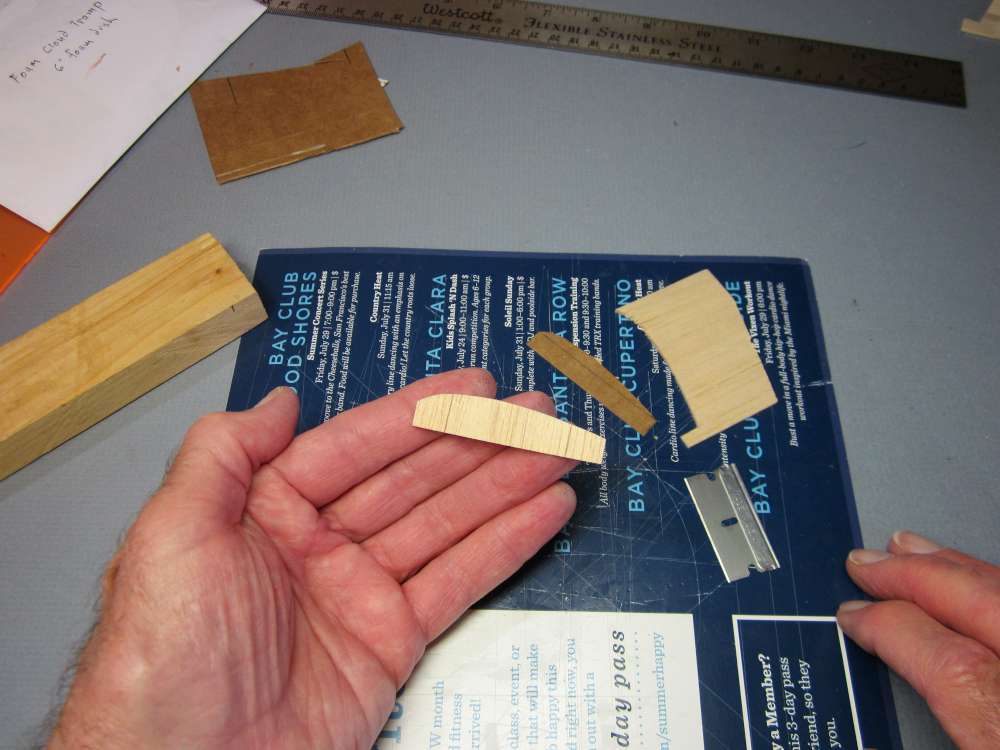
Here the rib has been cut close to the final shape.
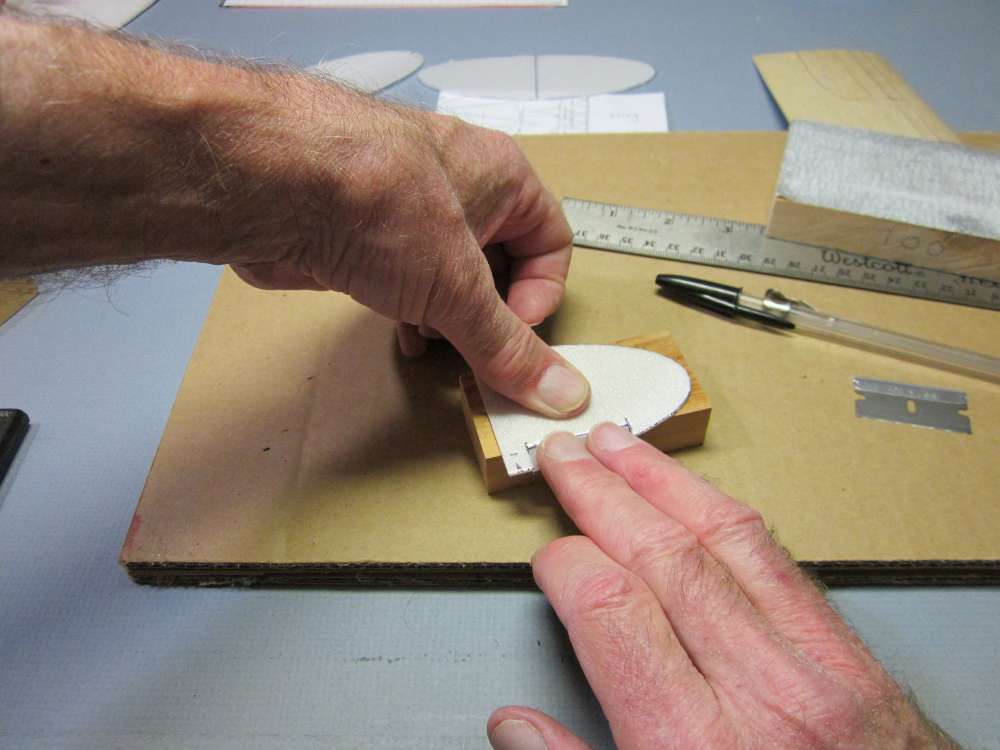
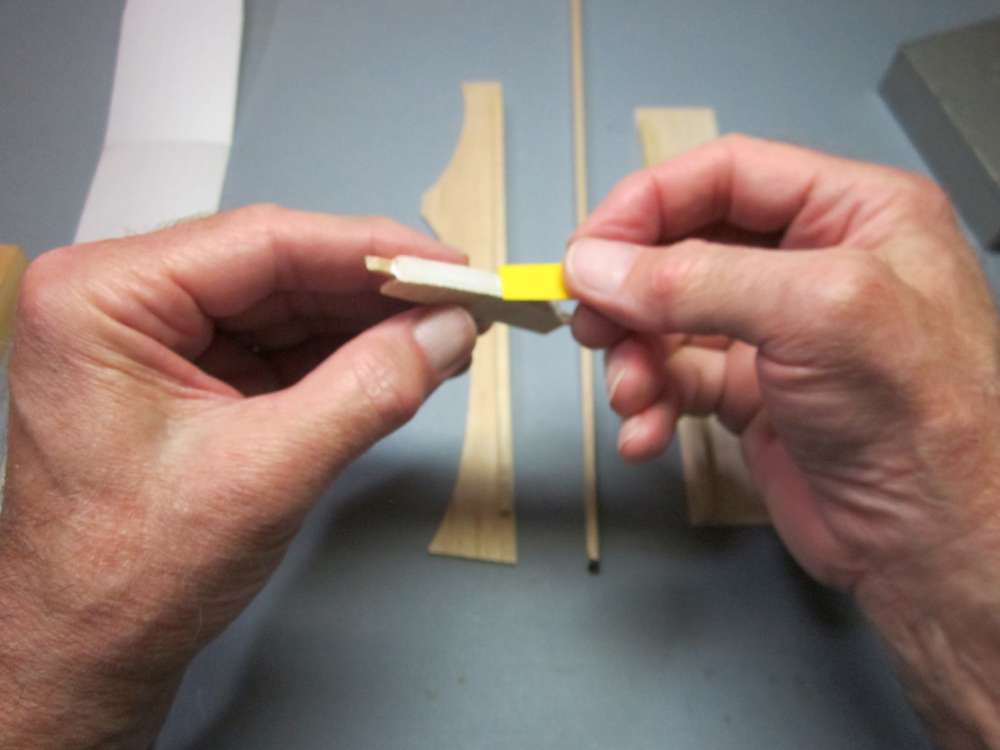
This would be a good place to glue the side plates to the rib. A short bit of 1/8″ x 1/4″ could be put between the side plates and they could be sanded to final contour together with the rib. Since I added them as an afterthought, that is what I will show later. “Do as I say, not as I do.”
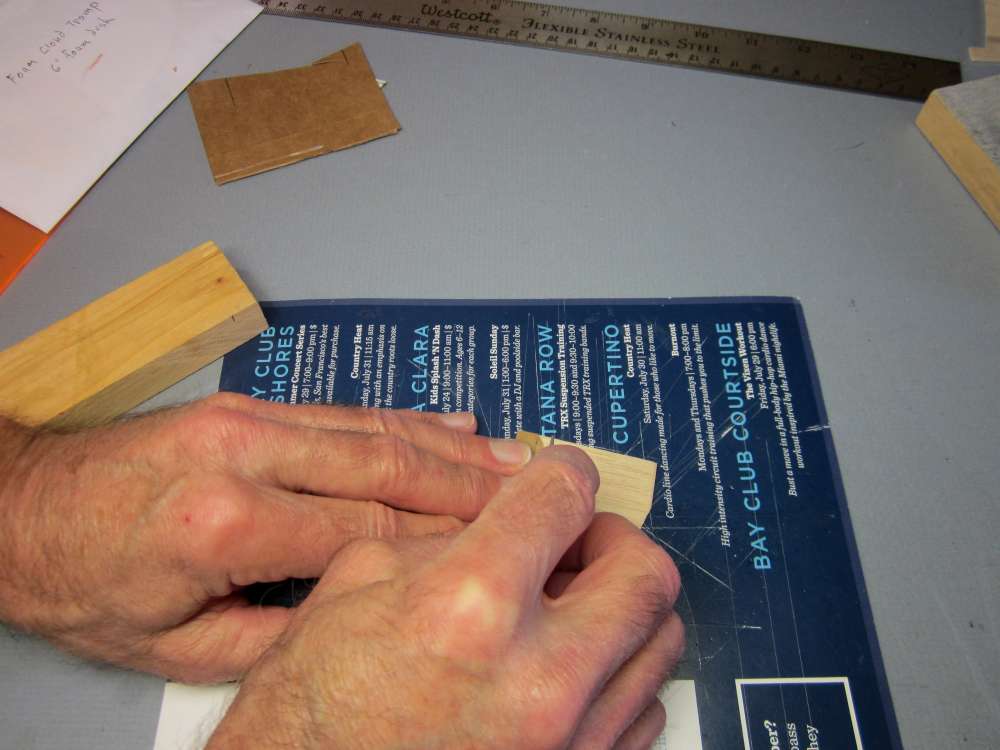
Place the rib on a block and sand to the line. Keep the sanding block perpendicular to the table and keep as much of the rib as possible flat on the block. Sand a little at a time, in sections, first the front, then the middle, then the back.
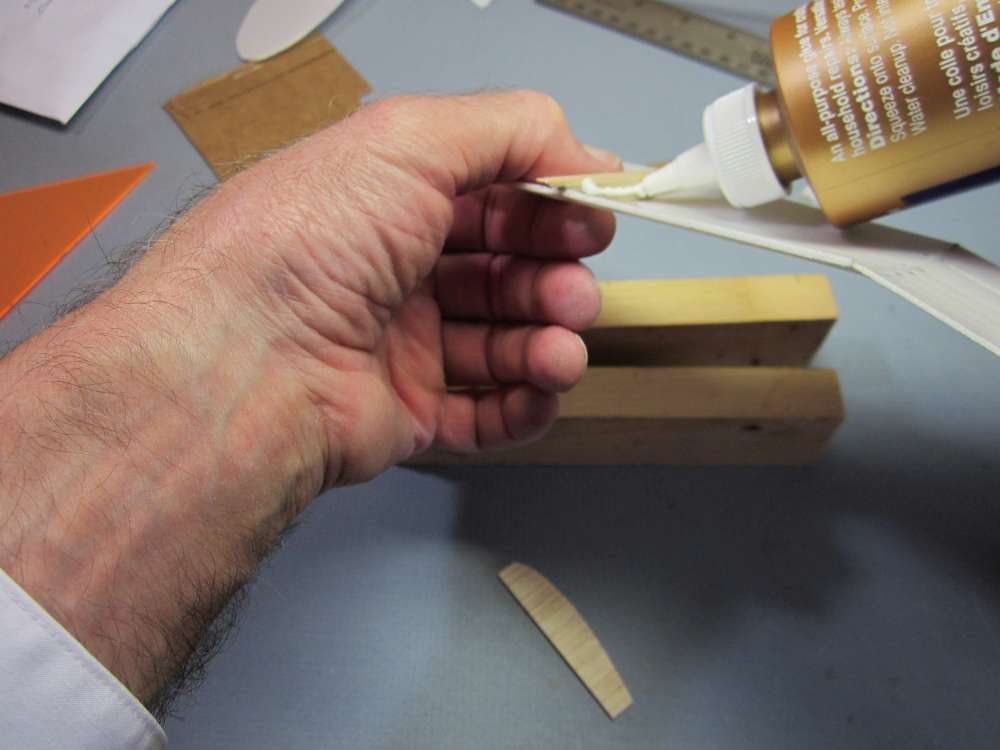
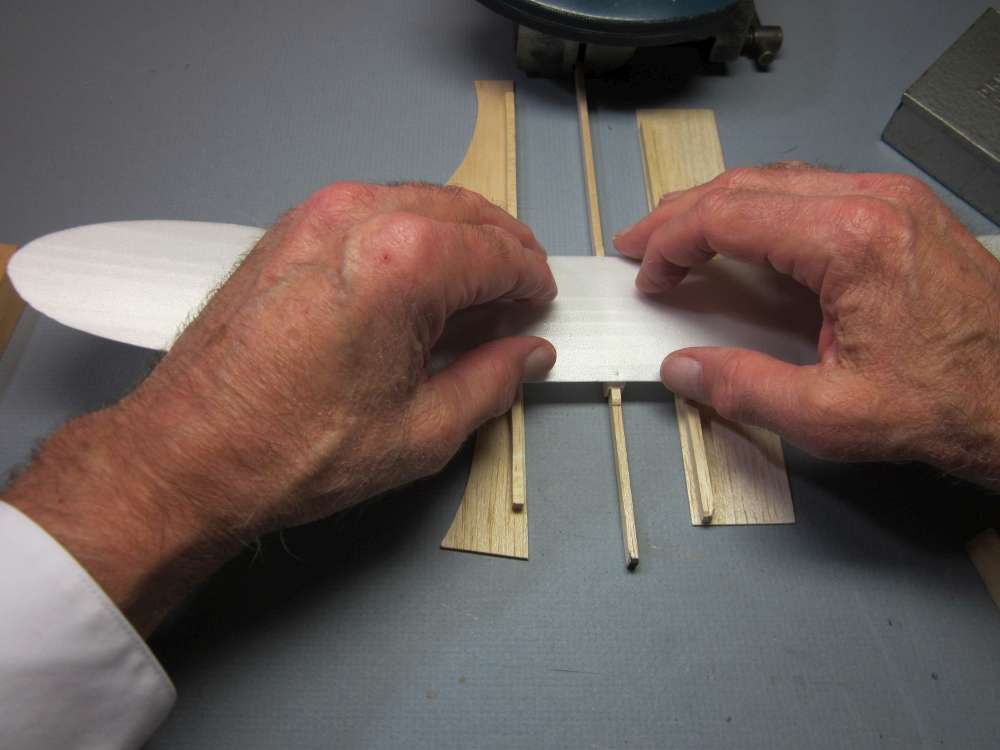
Apply glue to the flat under surface of the rib.
Press them together, aligning them carefully, with the hold down stick extending equally in front and in back of the rib. Let the glue dry.
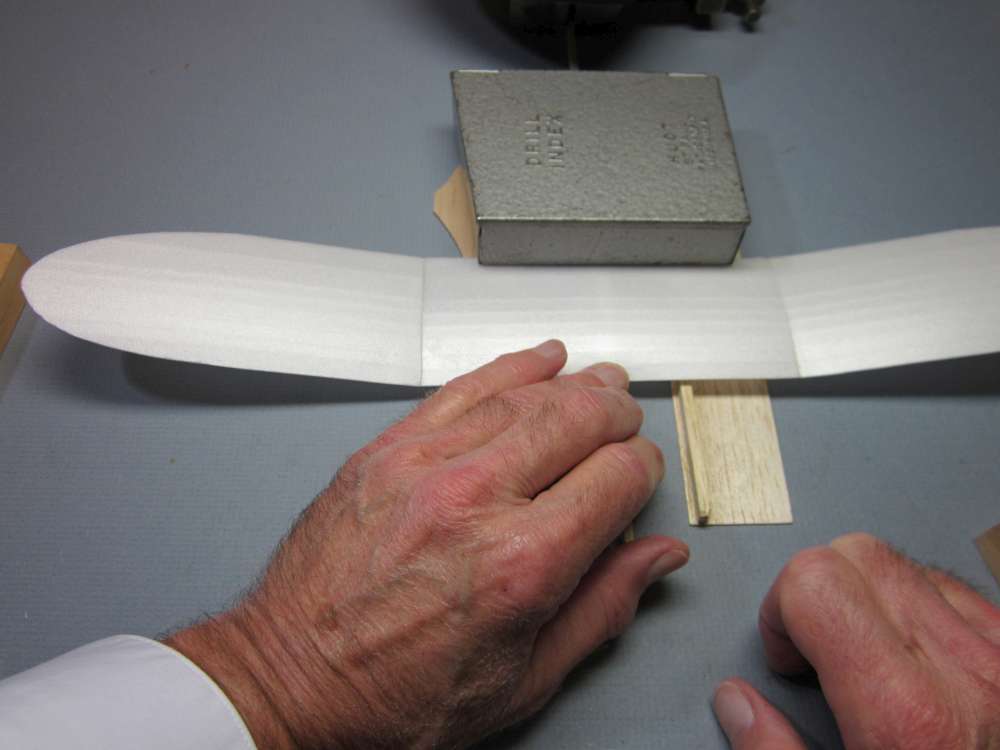
Mark the wing centerline on the leading and trailing edges on the top surface. (Ignore the photos, I had to transfer the marks to the top.)
Make sure the marks are on a line perpendicular to the wing edges.
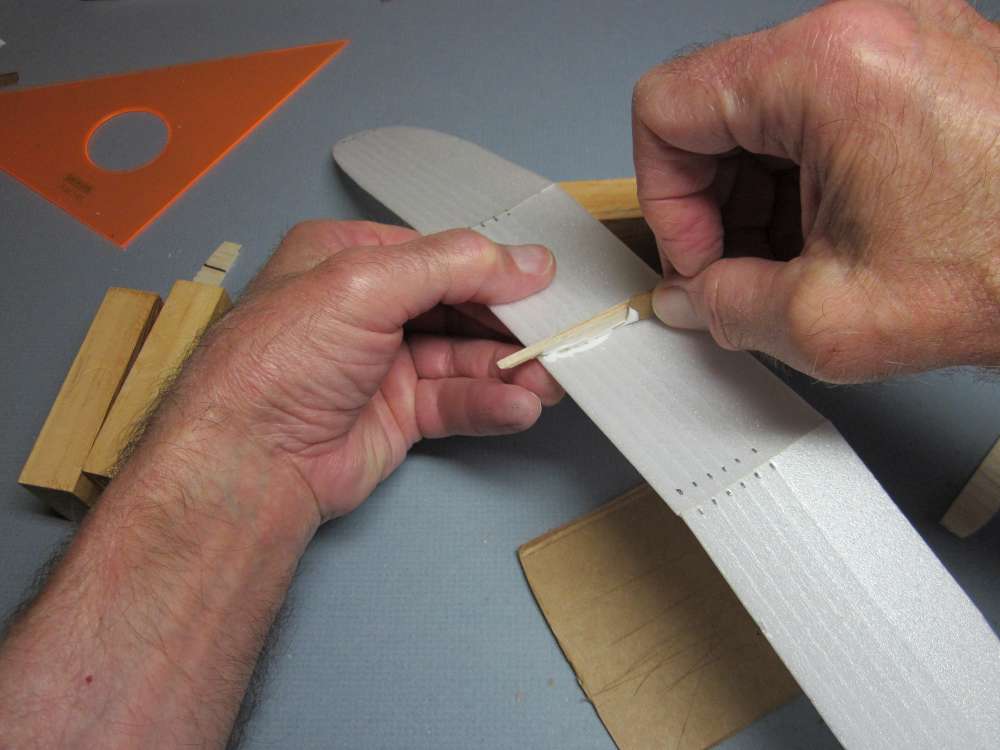
Apply a uniform coating of glue to the top of the rib.
Place the rib flat on the table and place the wing on top of it, centering it carefully, then press it down.
Press the wing down uniformly along the entire top of the rib.
Place weights along the leading and trailing edges to hold the wing firmly in place until the glue dries.
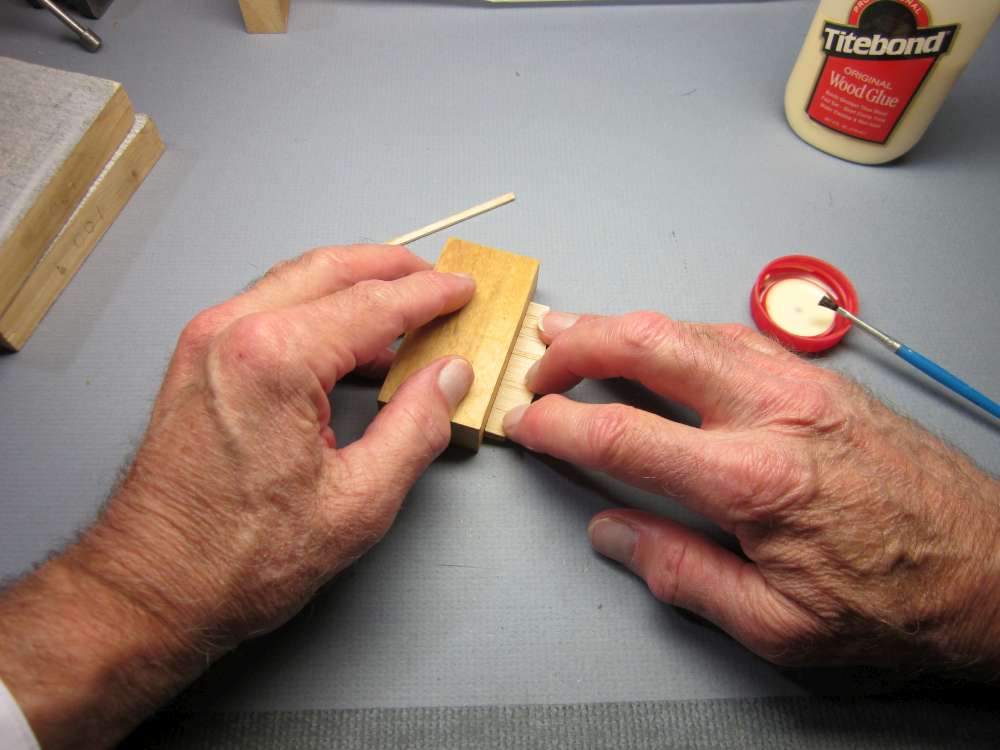
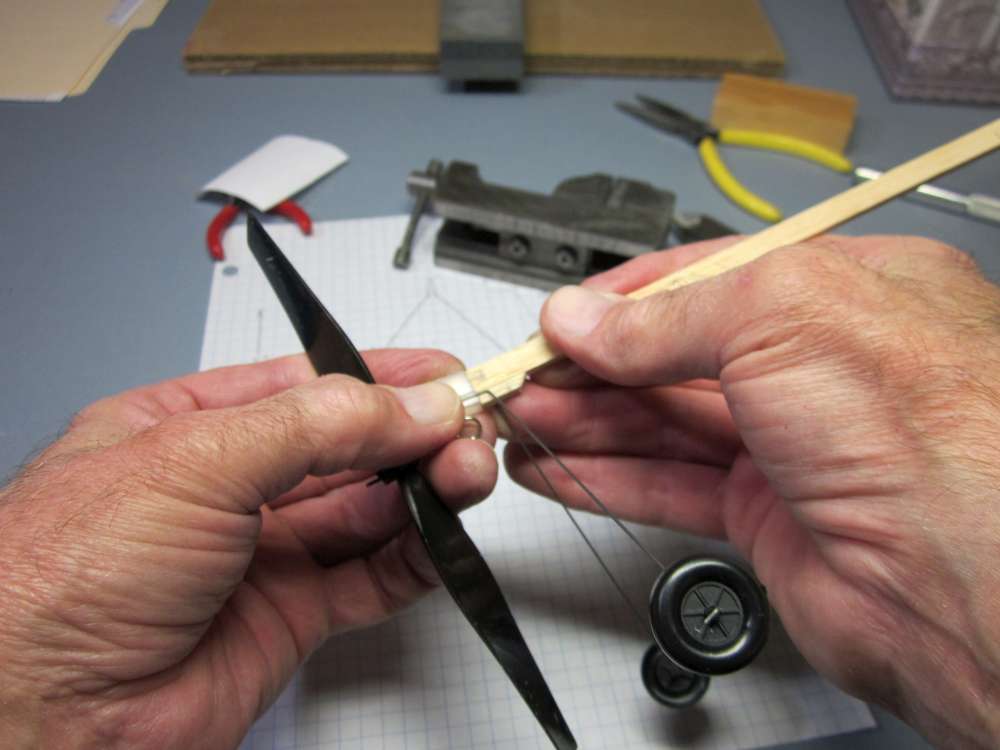
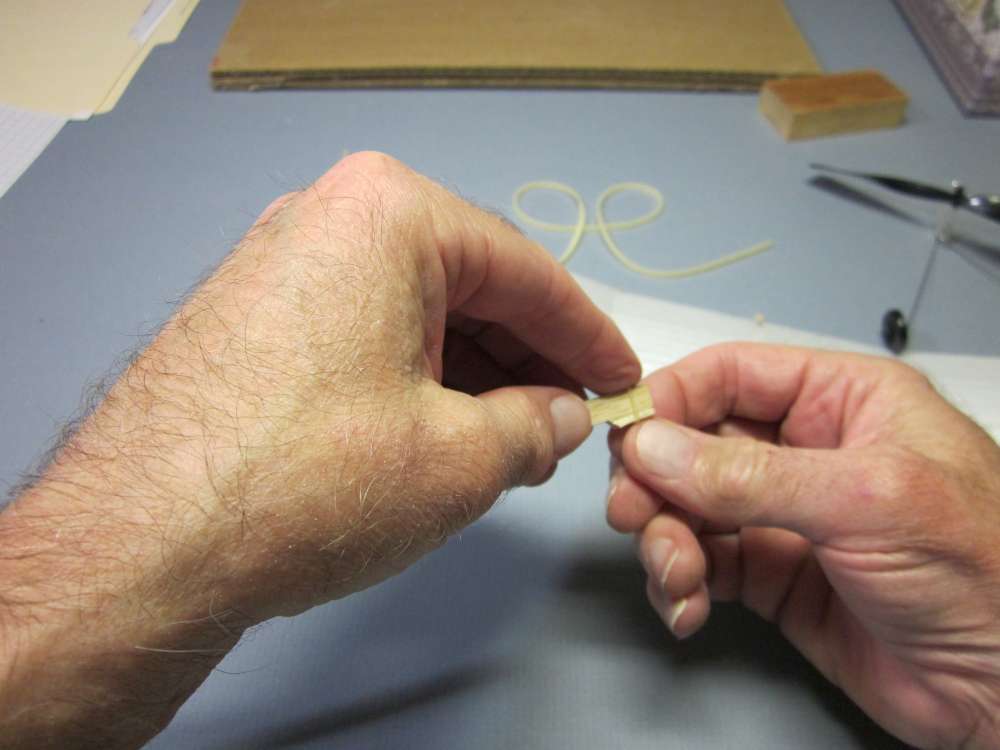
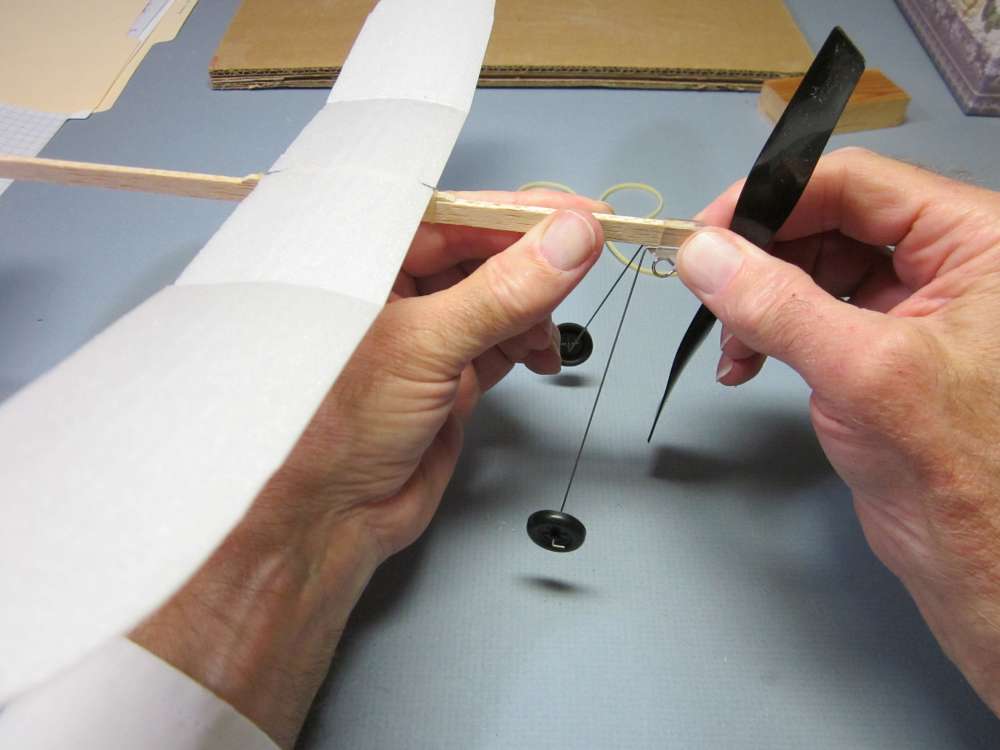
MAKE THE REAR MOTOR HOOK AND GLUE IT TO THE FUSELAGE
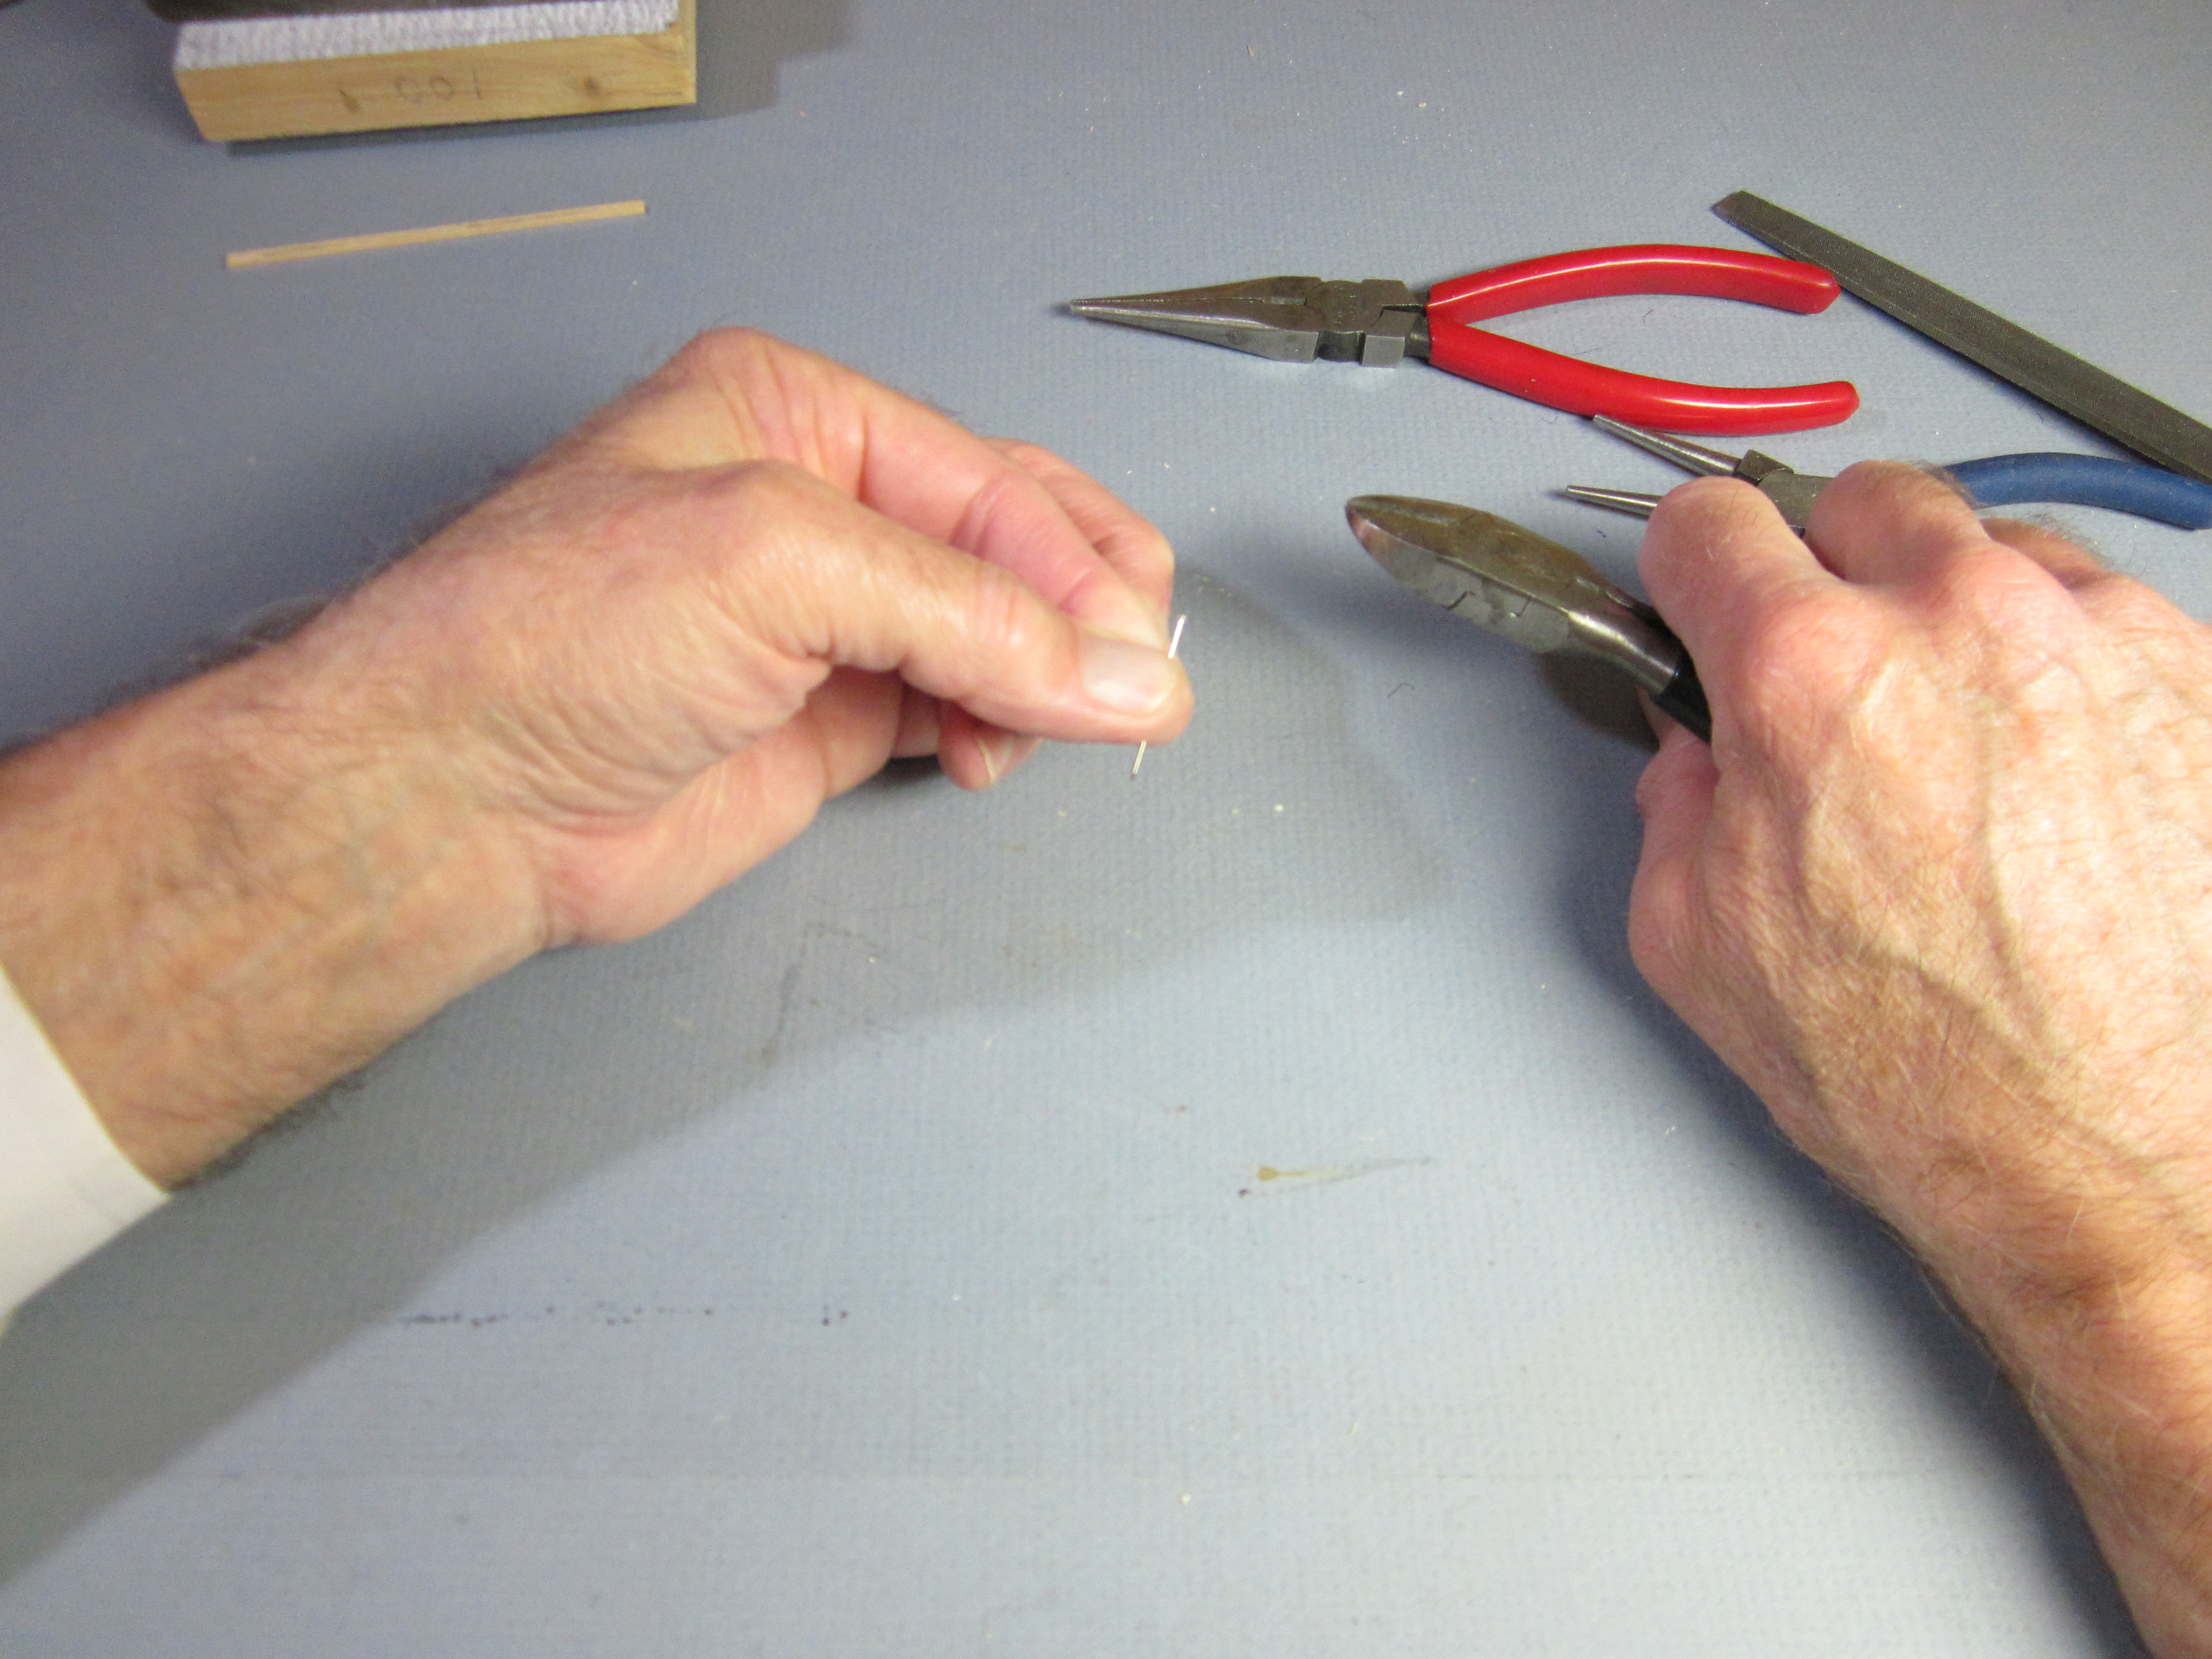
The rear motor hook can be made from an ordinary 1″ straight pin or a 1″ length of 0.020″ steel wire.
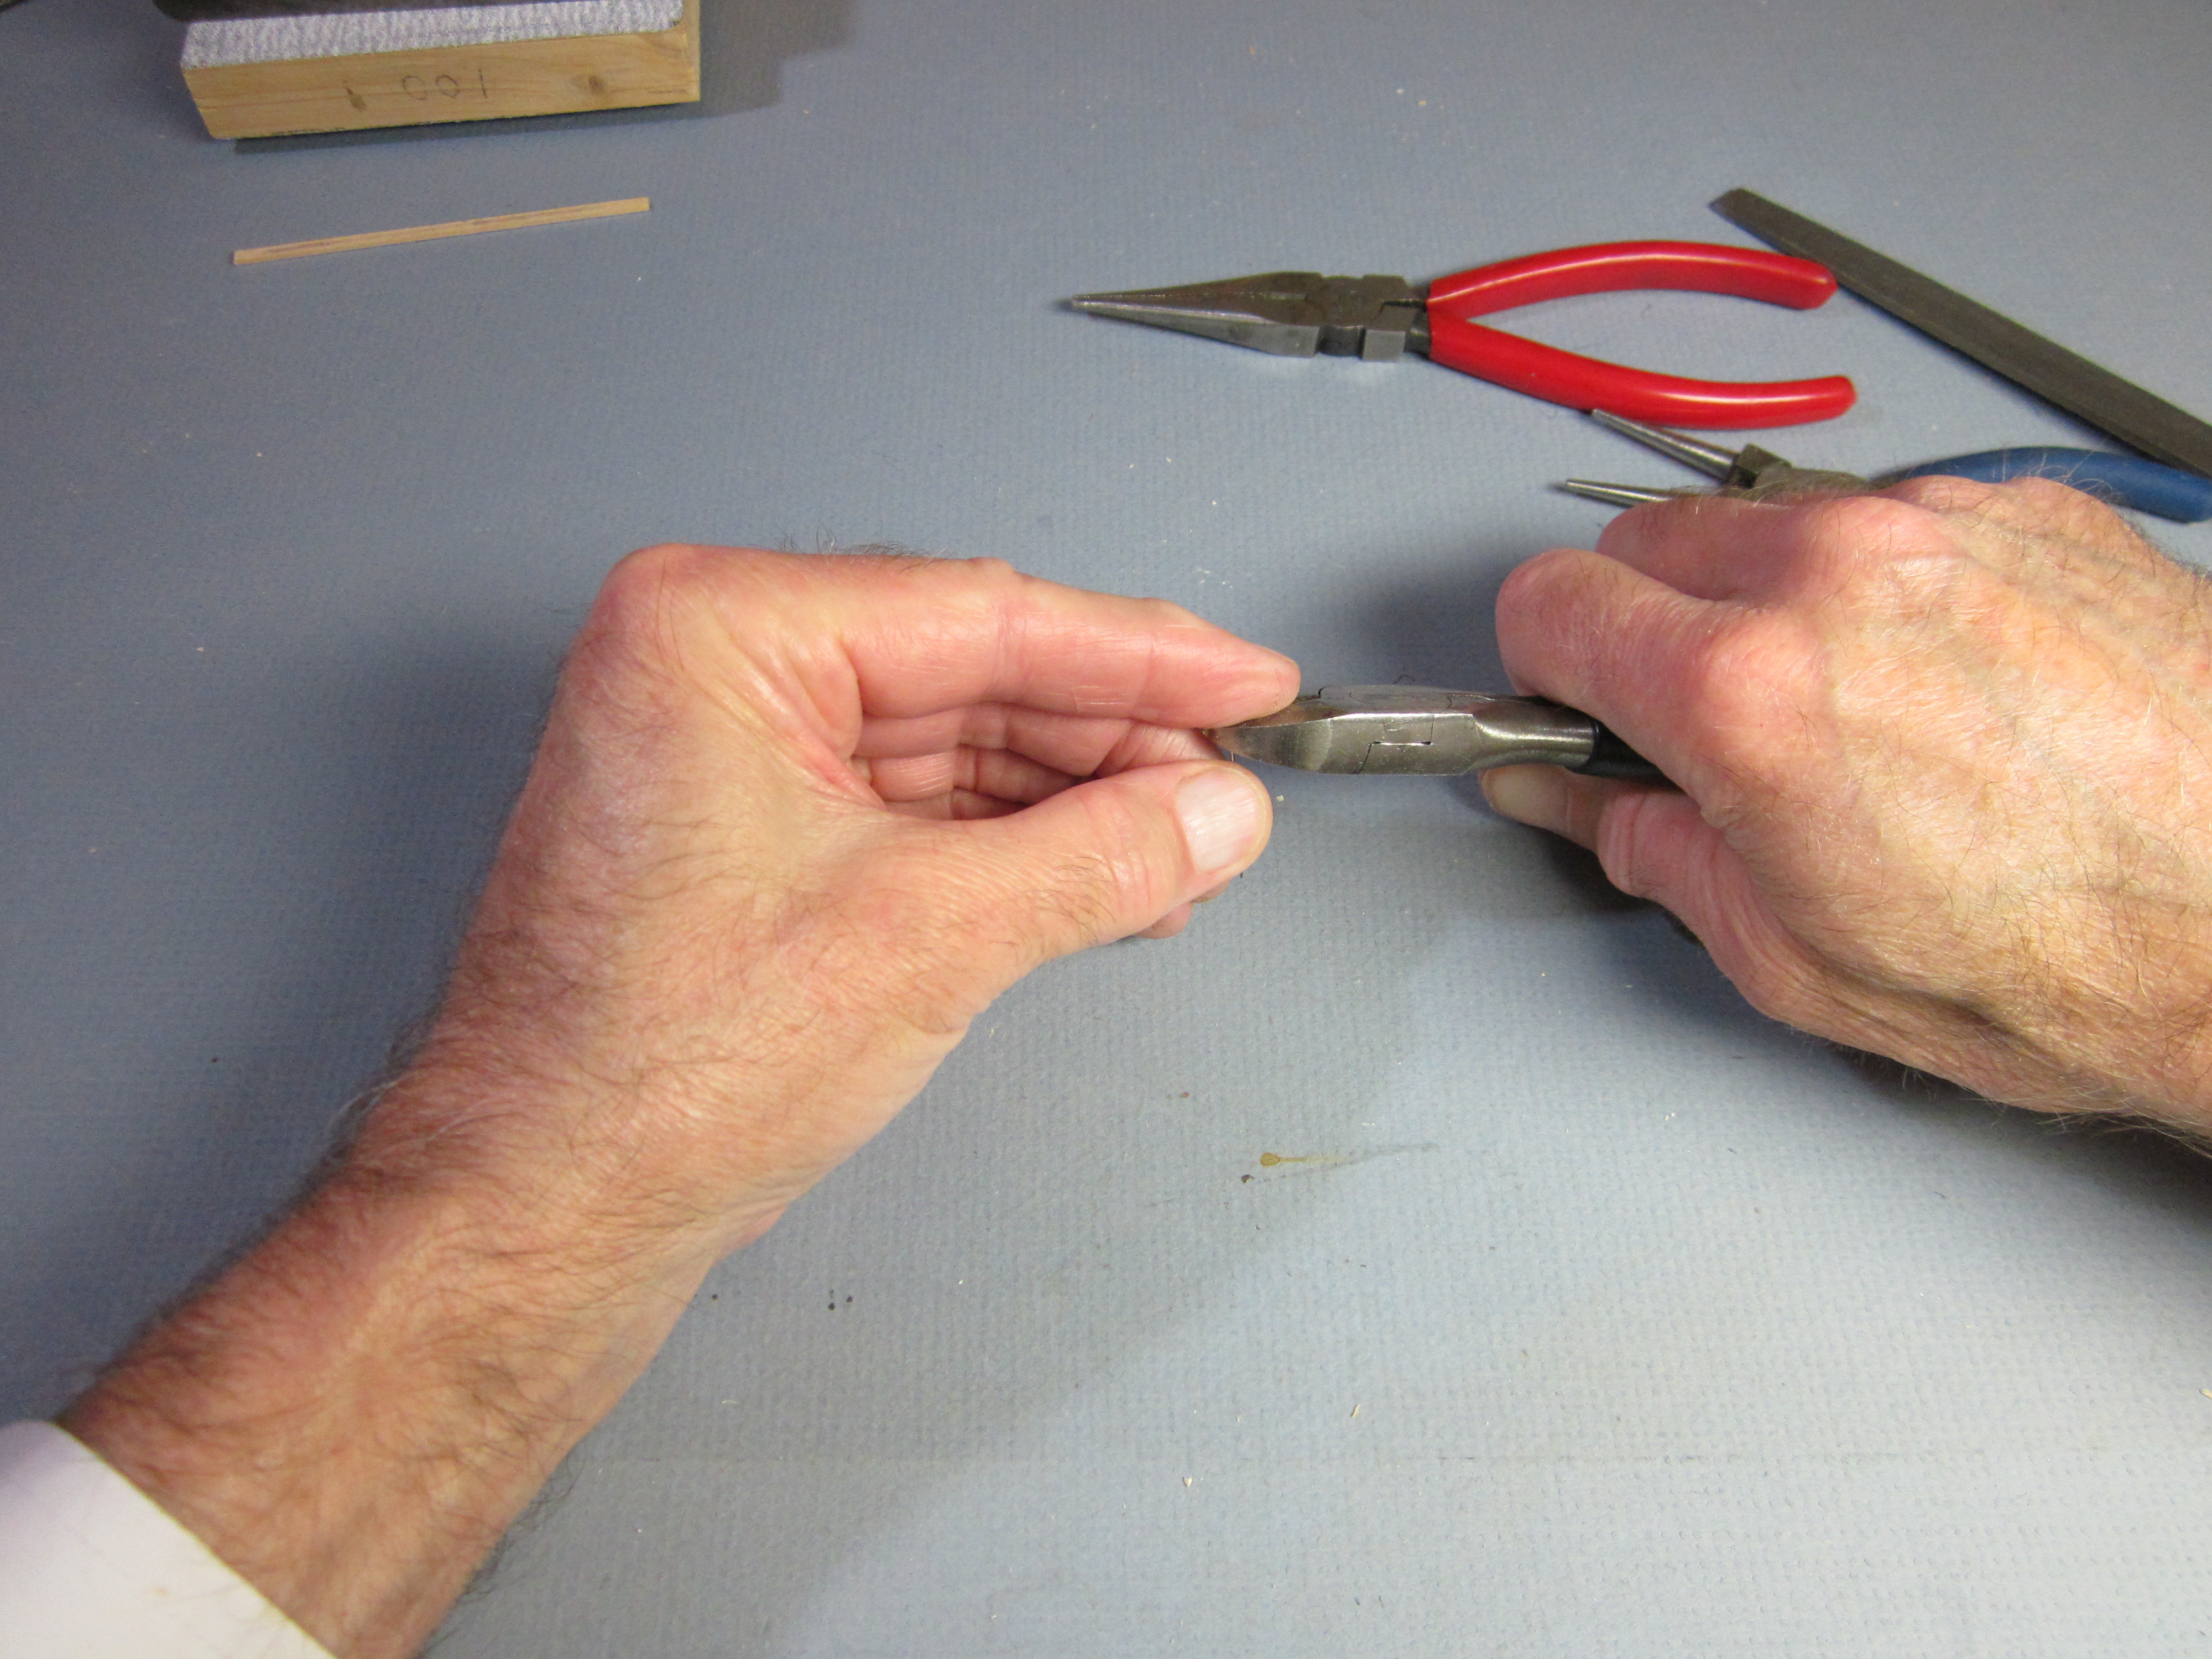
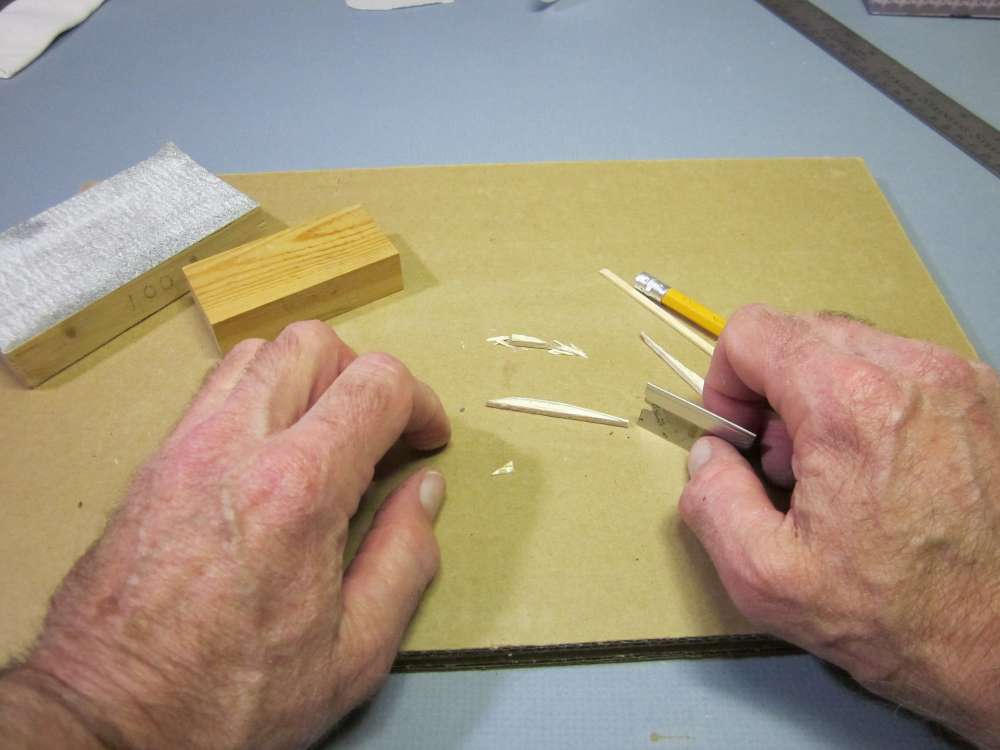
Start by cutting the head off the pin. Hold the shaft between your fingers, place the diagonal cutter against the pin head and put a finger over the head to keep it from flying off.
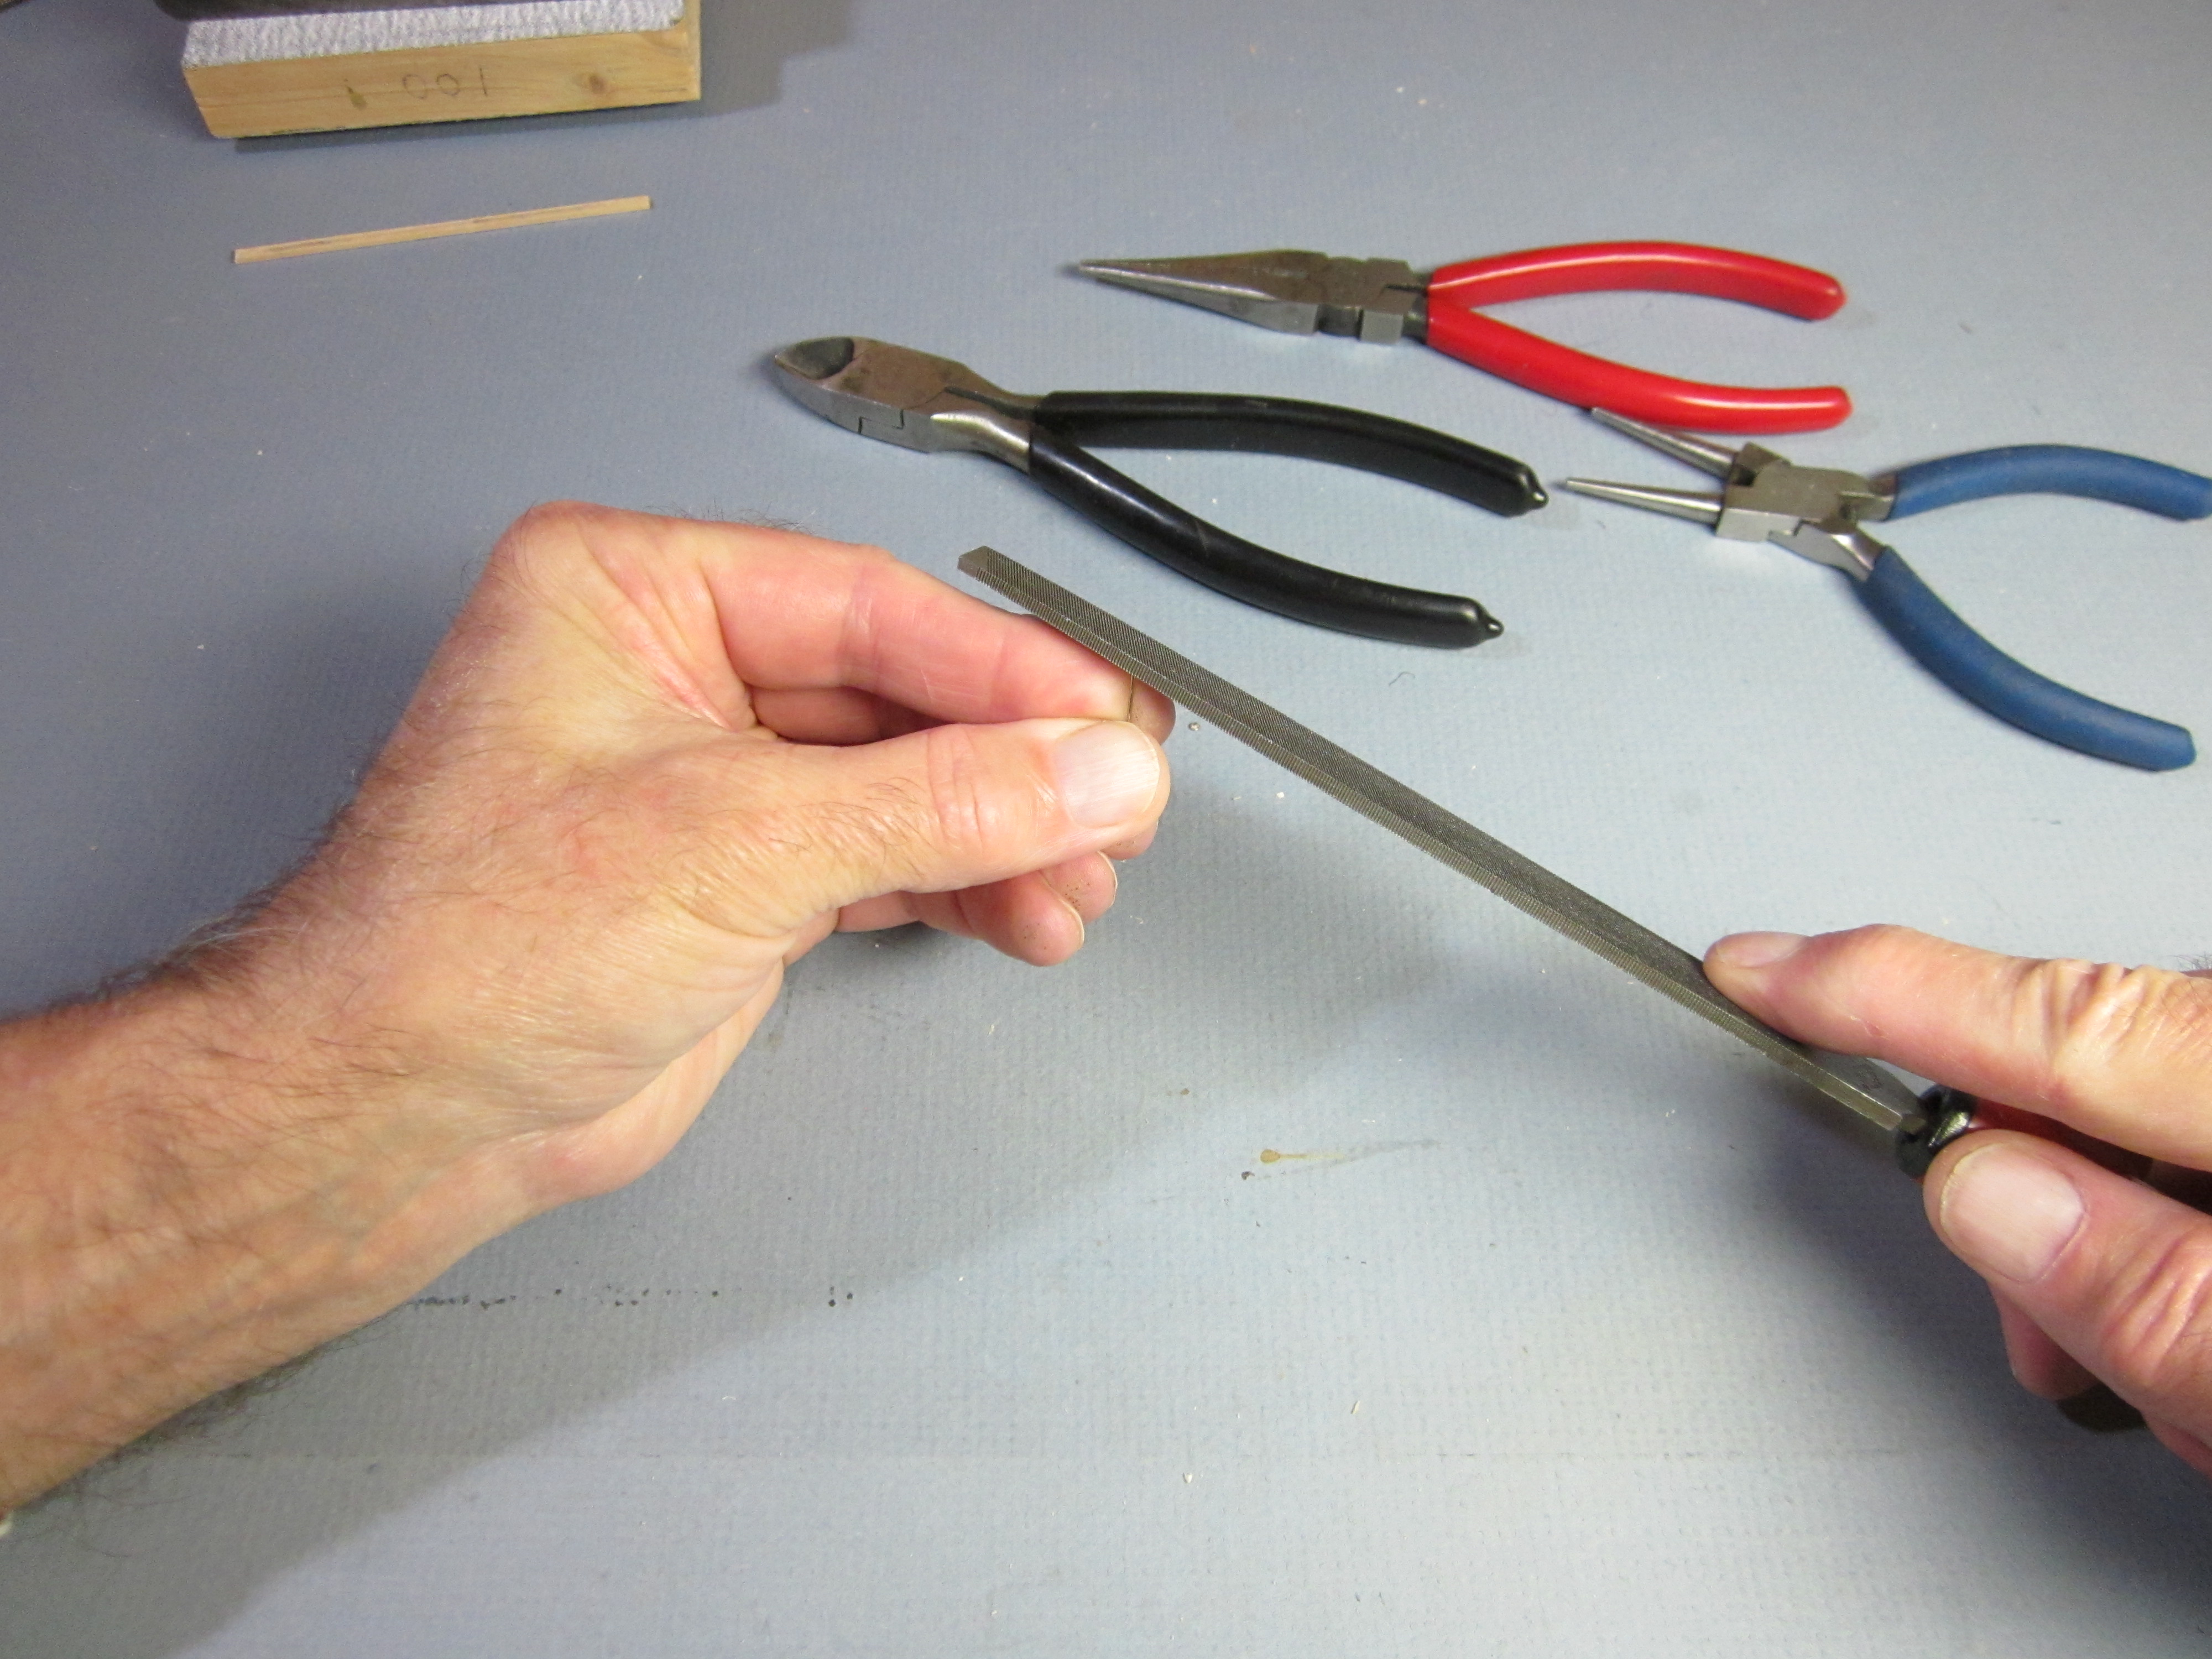
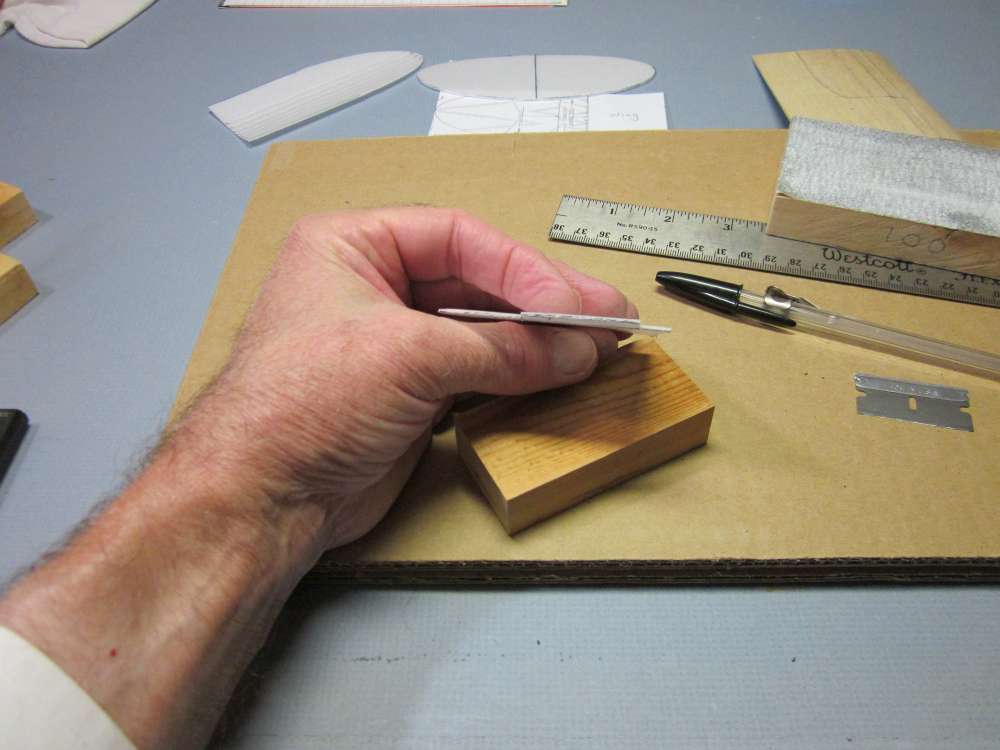
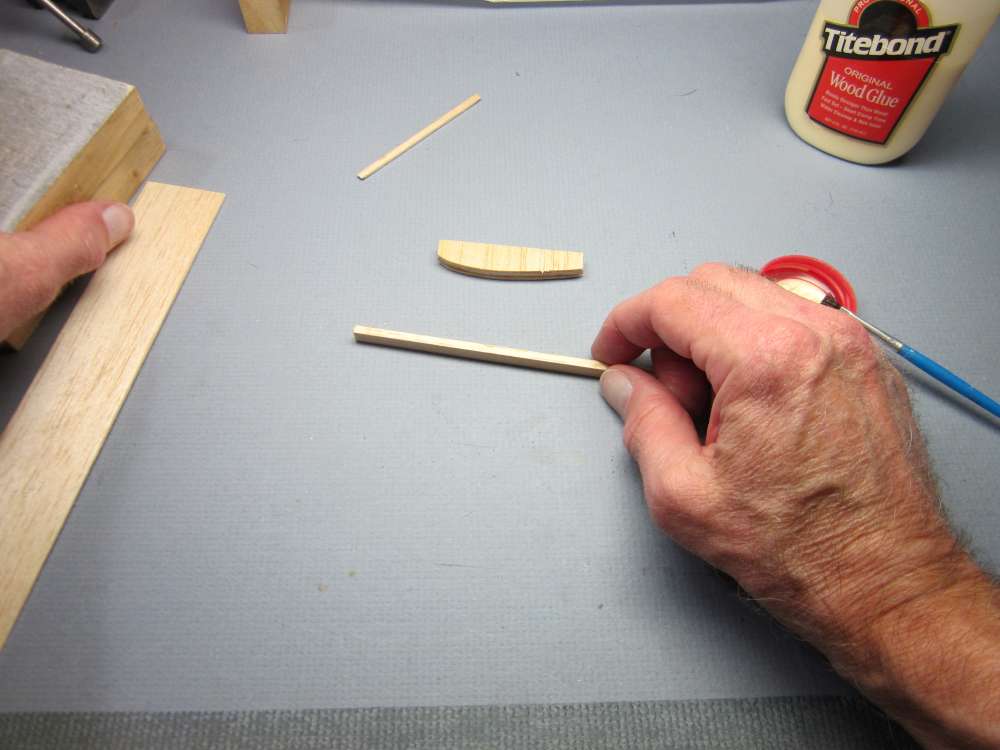
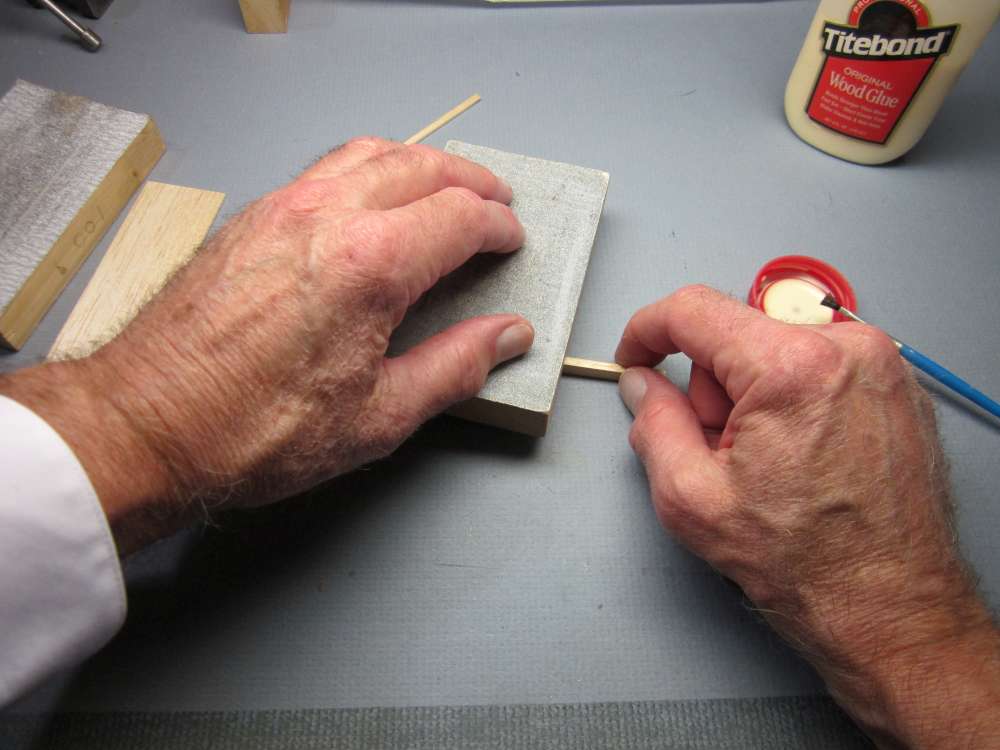
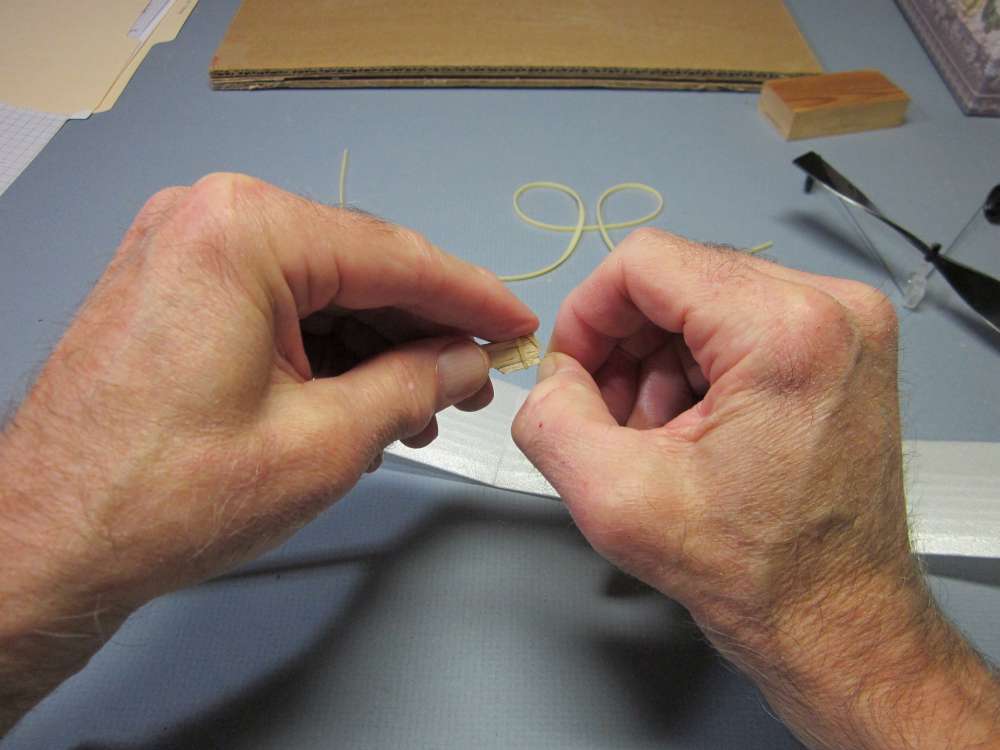
The diagonal cutter leaves a sharp chisel end on the wire. This can cut into your rubber motor, causing it to break when it is wound up. File the sharp end round. Start by filing the end down flat, then twirl the wire between your fingers as you file across the end at different angles.
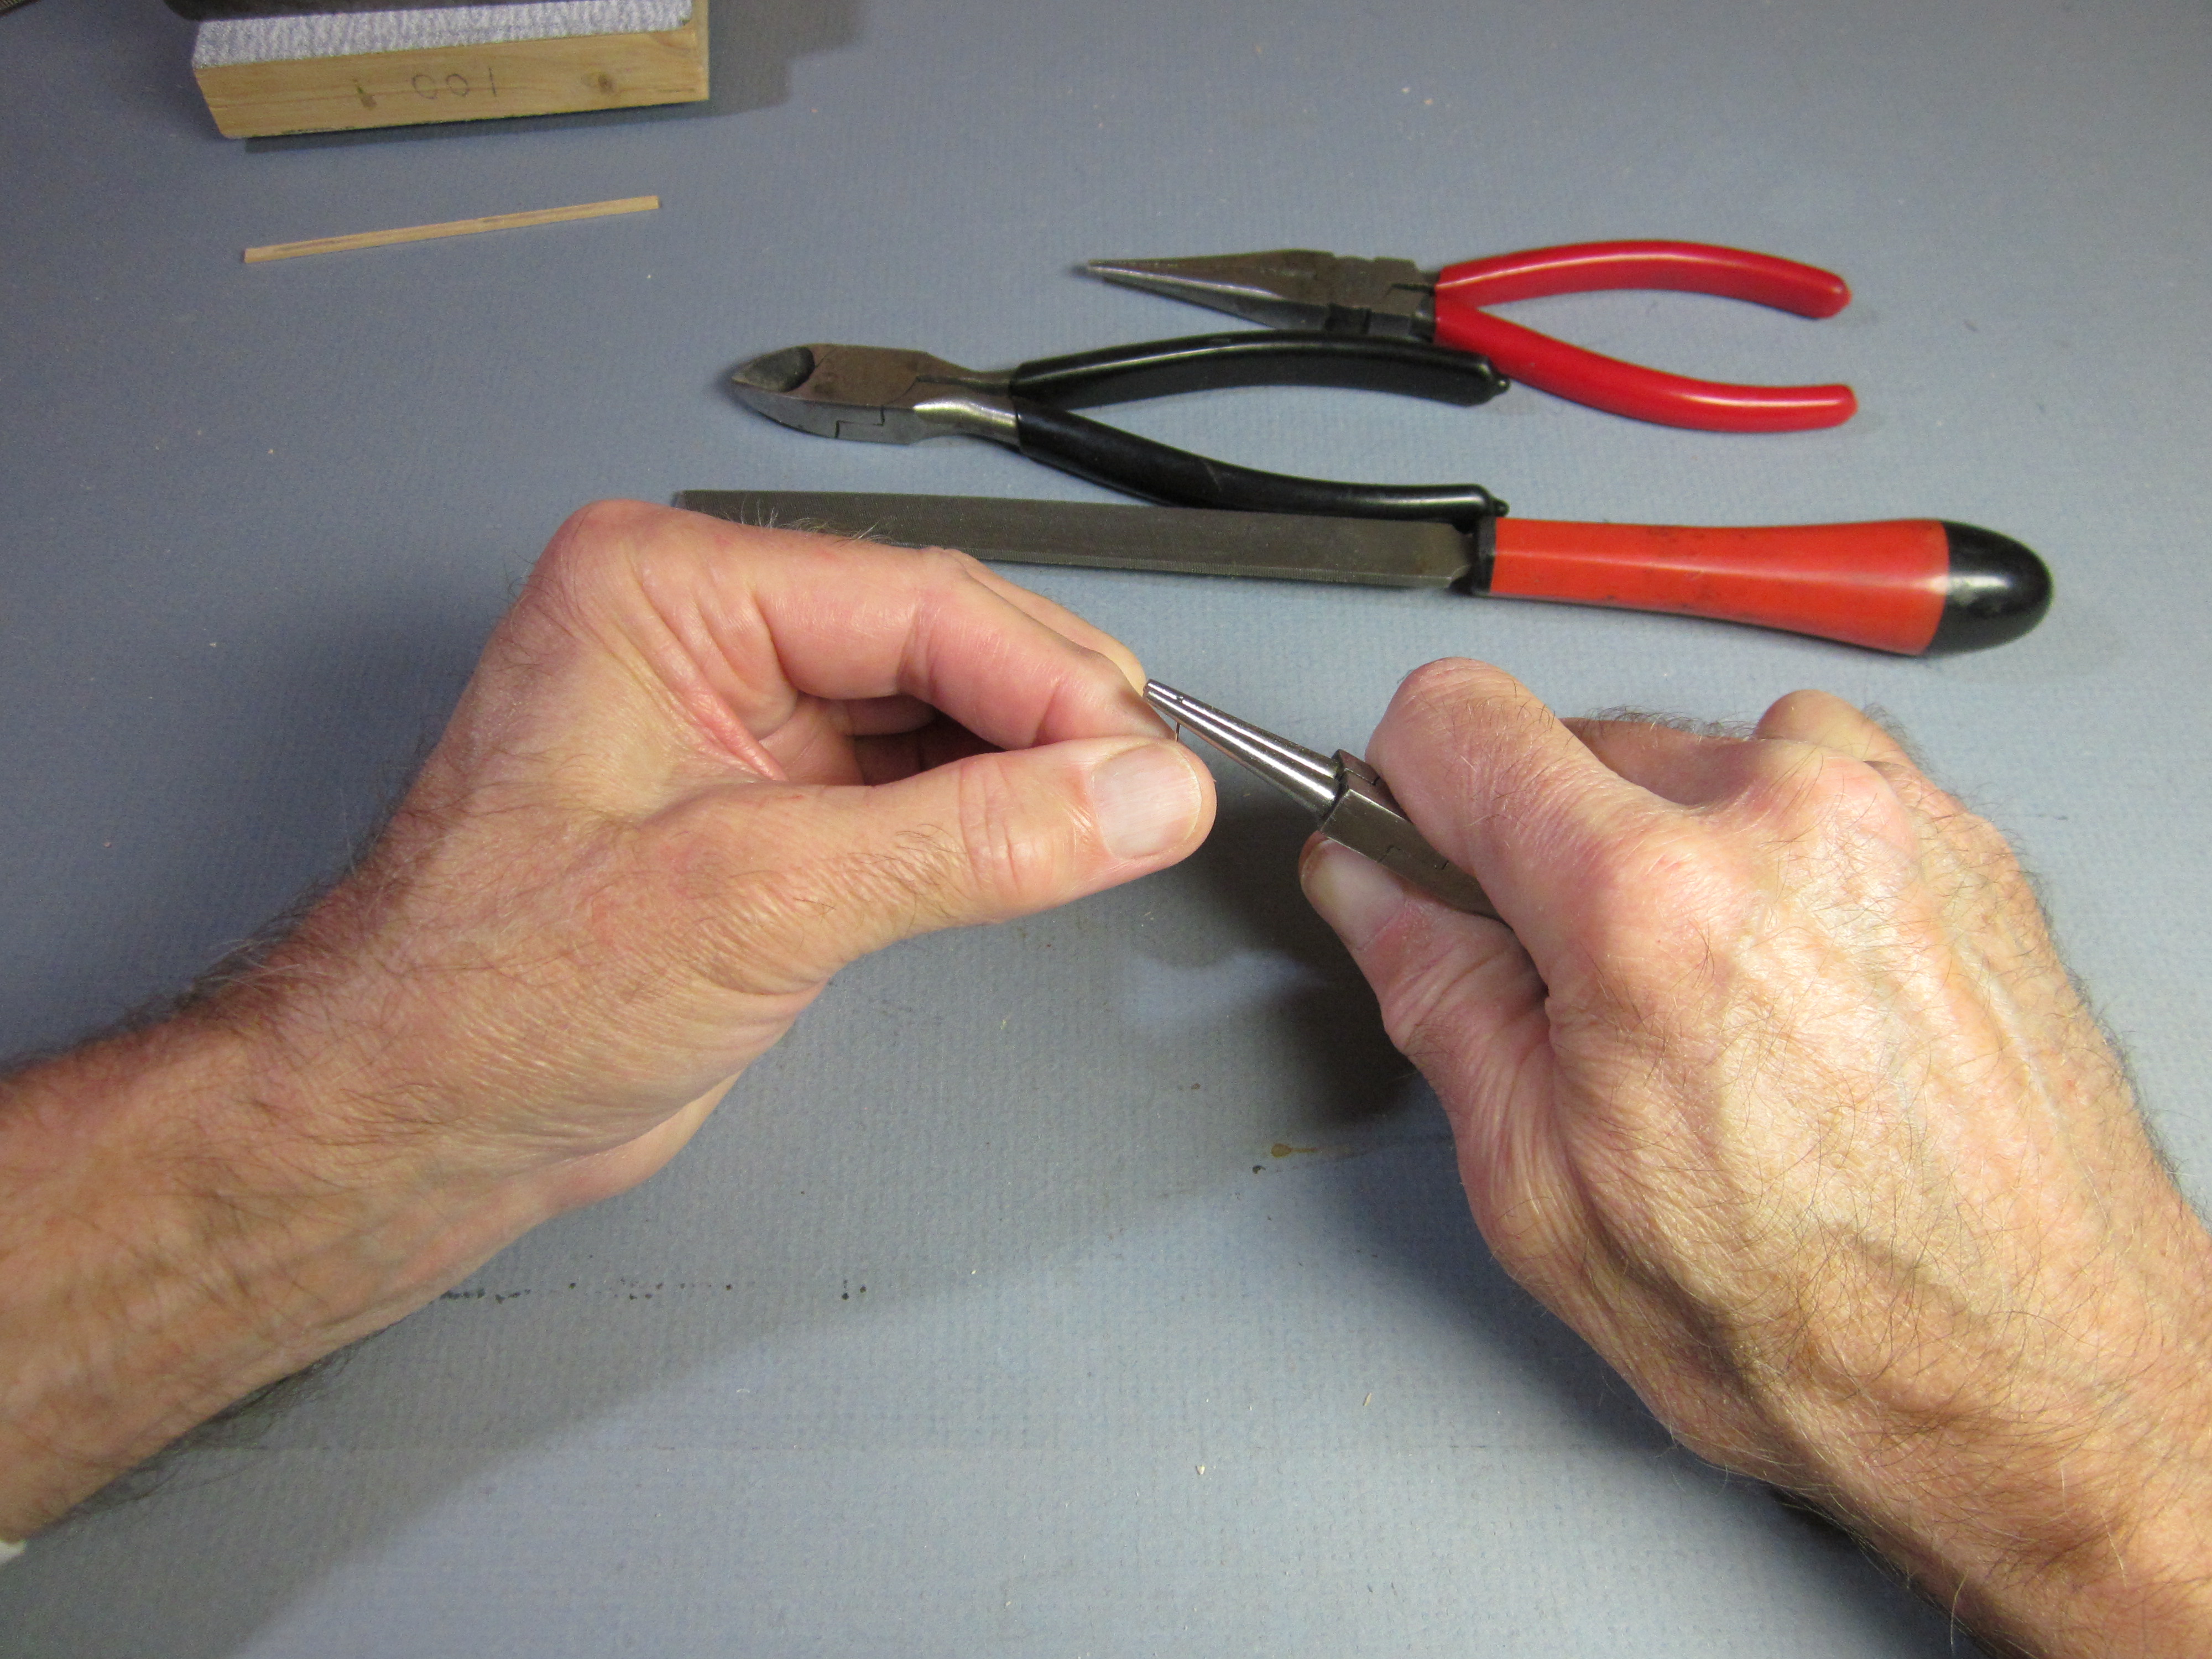
Motors can twist off a hook. The motor will have a clockwise twist in it. With a right handed pig tail in the hook, the motor will twist itself onto the hook. Put the end of the pin in the round nose pliers at an angle where it has about a 3/32″ diameter.
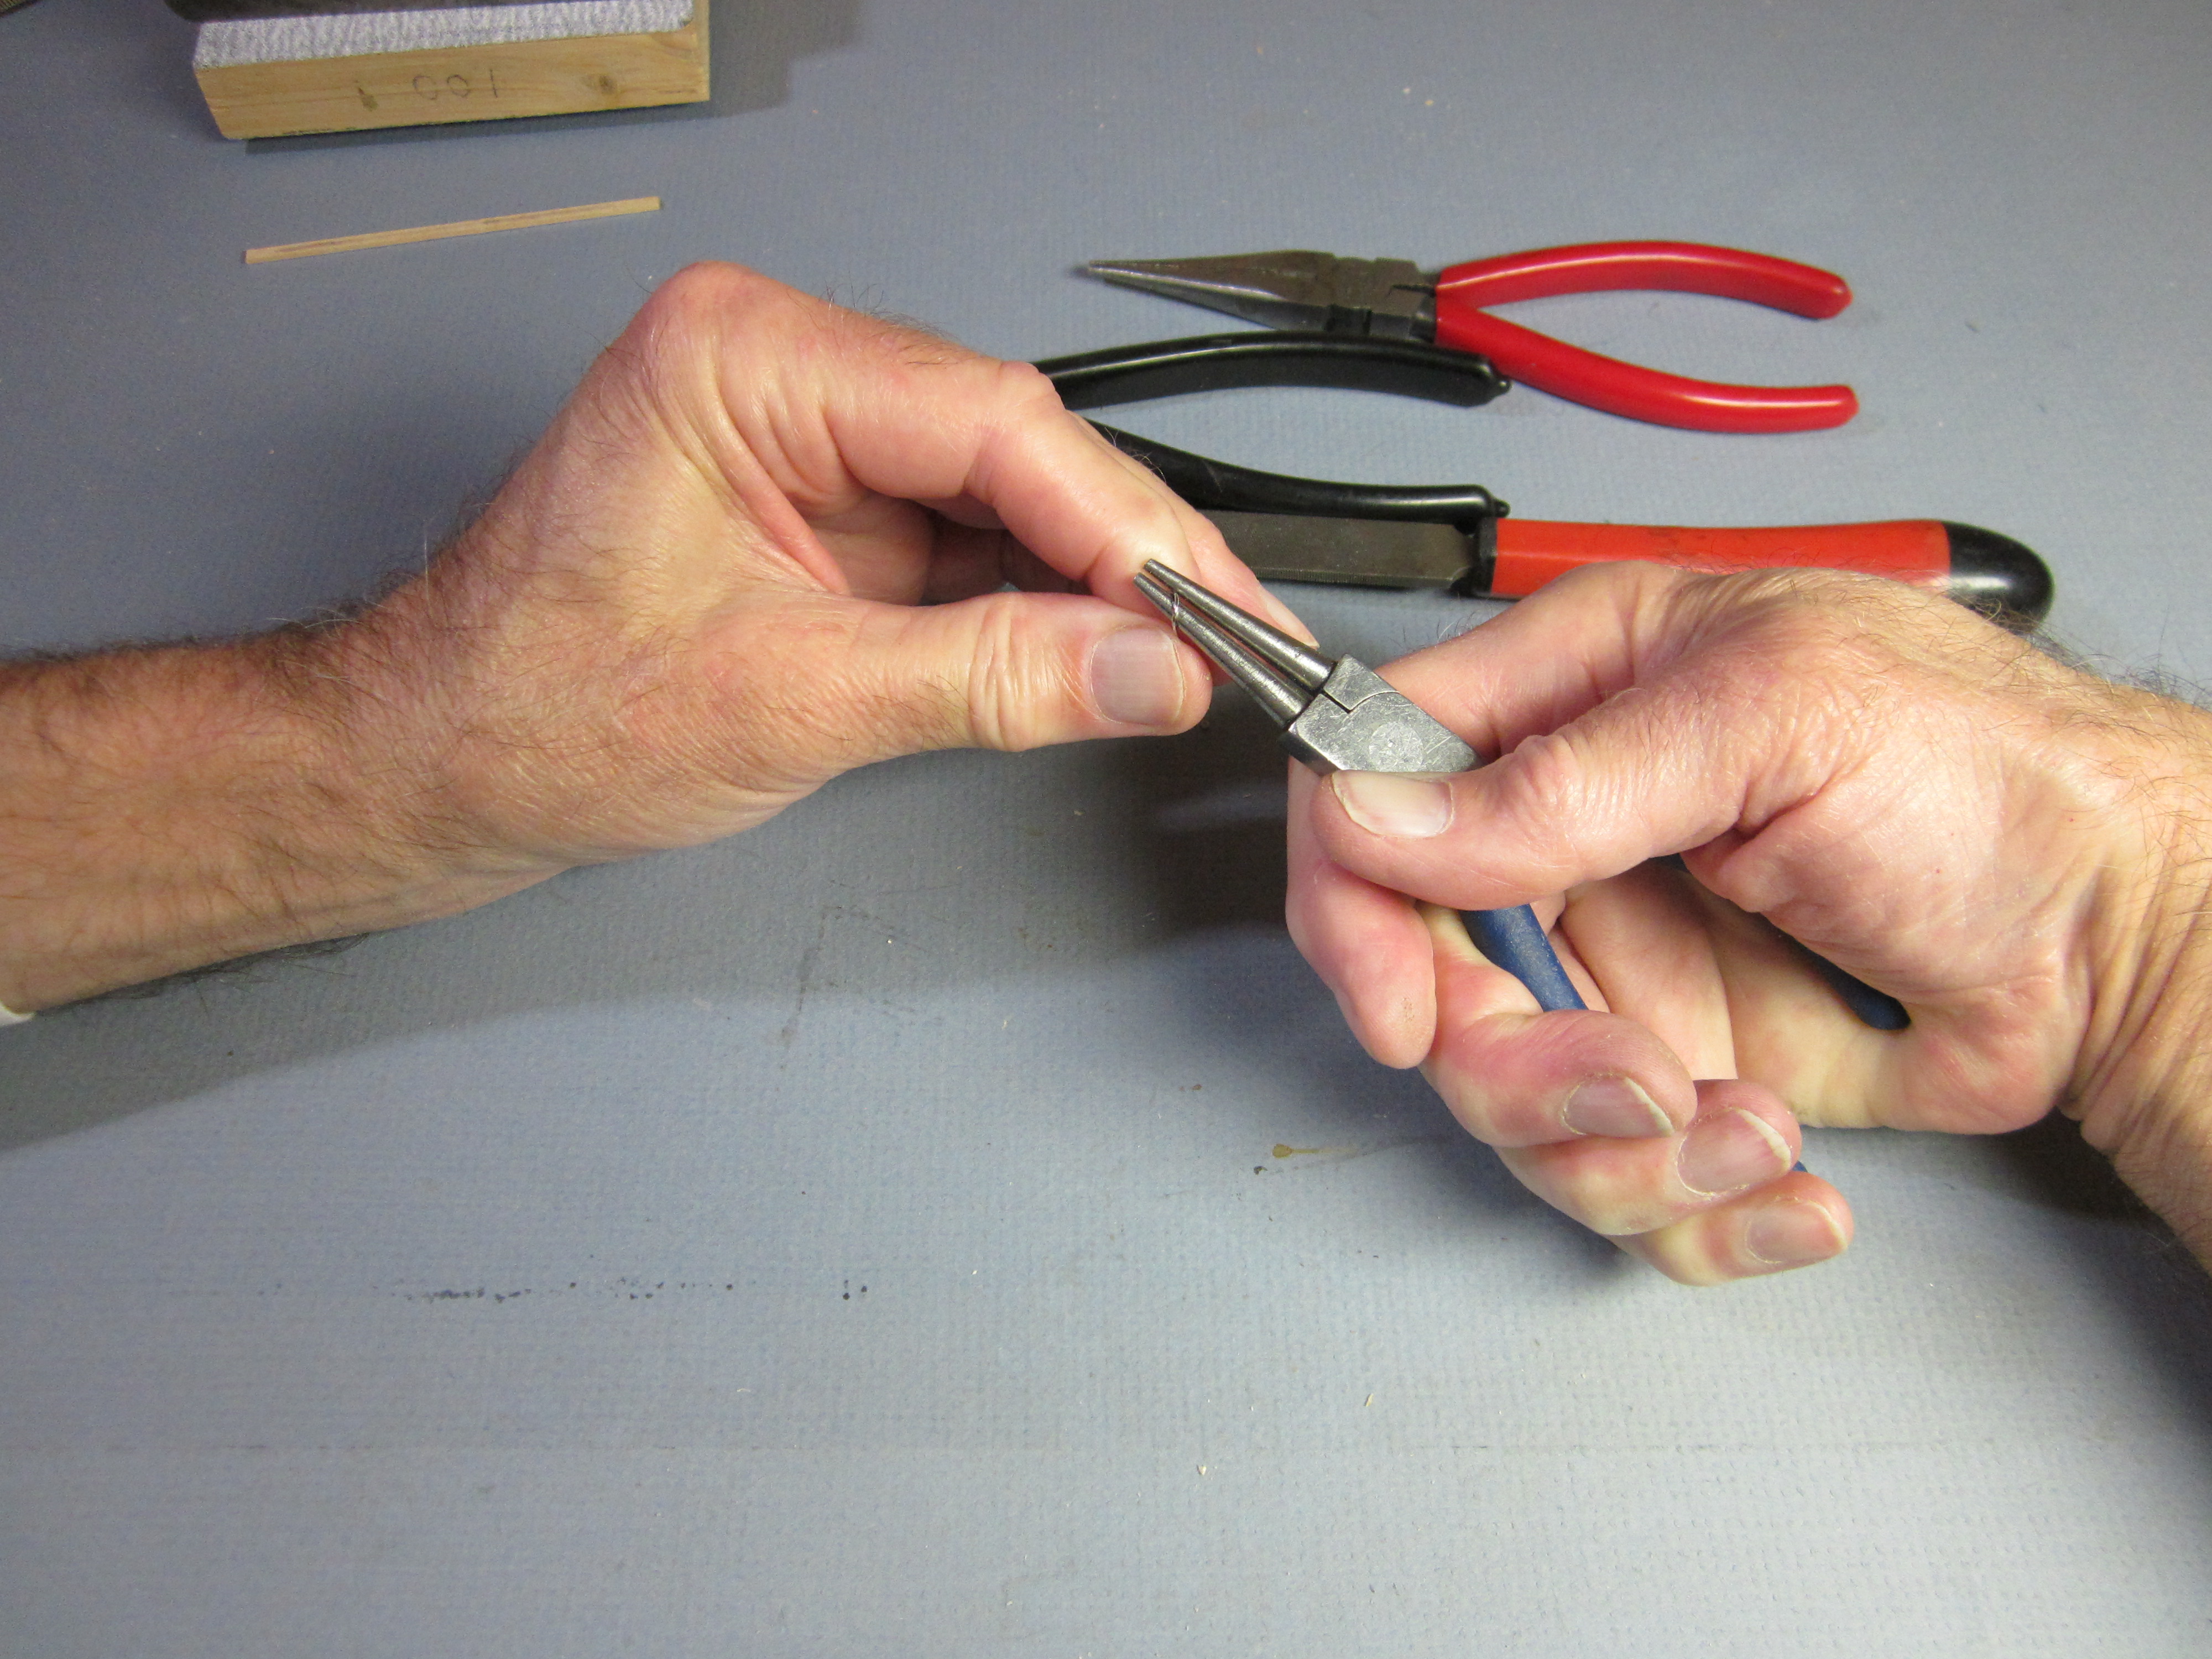
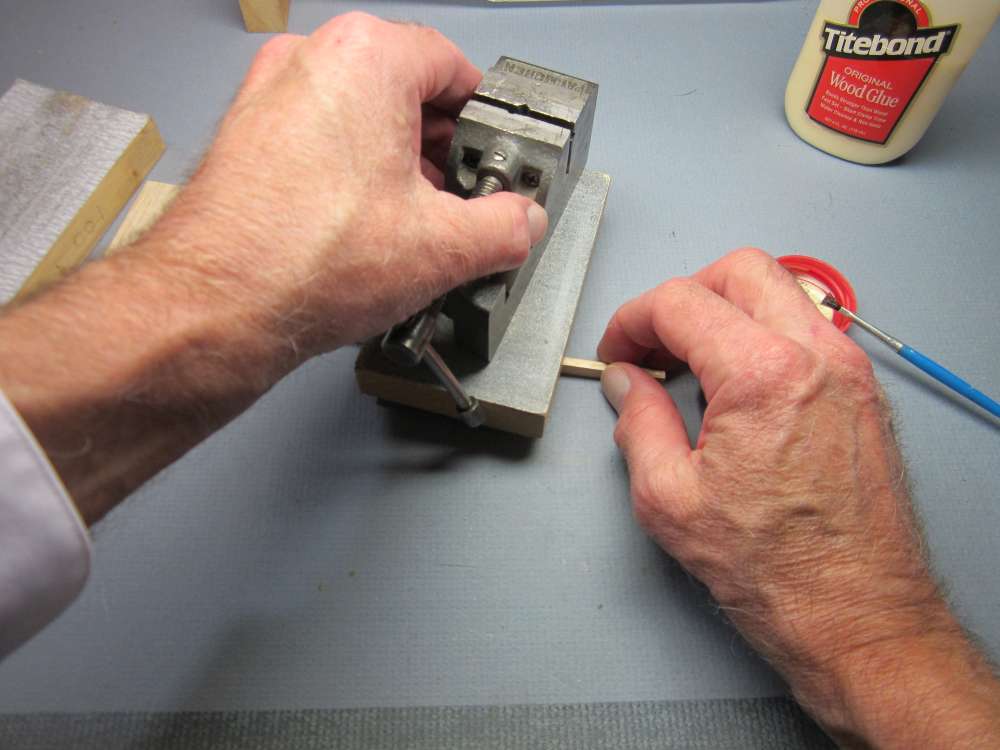
Twist the wire around the pliers to form a right handed helix. Roll up the fingers of your right hand and point your thumb out. A right handed helix goes in the direction the thumb points when going along it in the direction the fingers point.
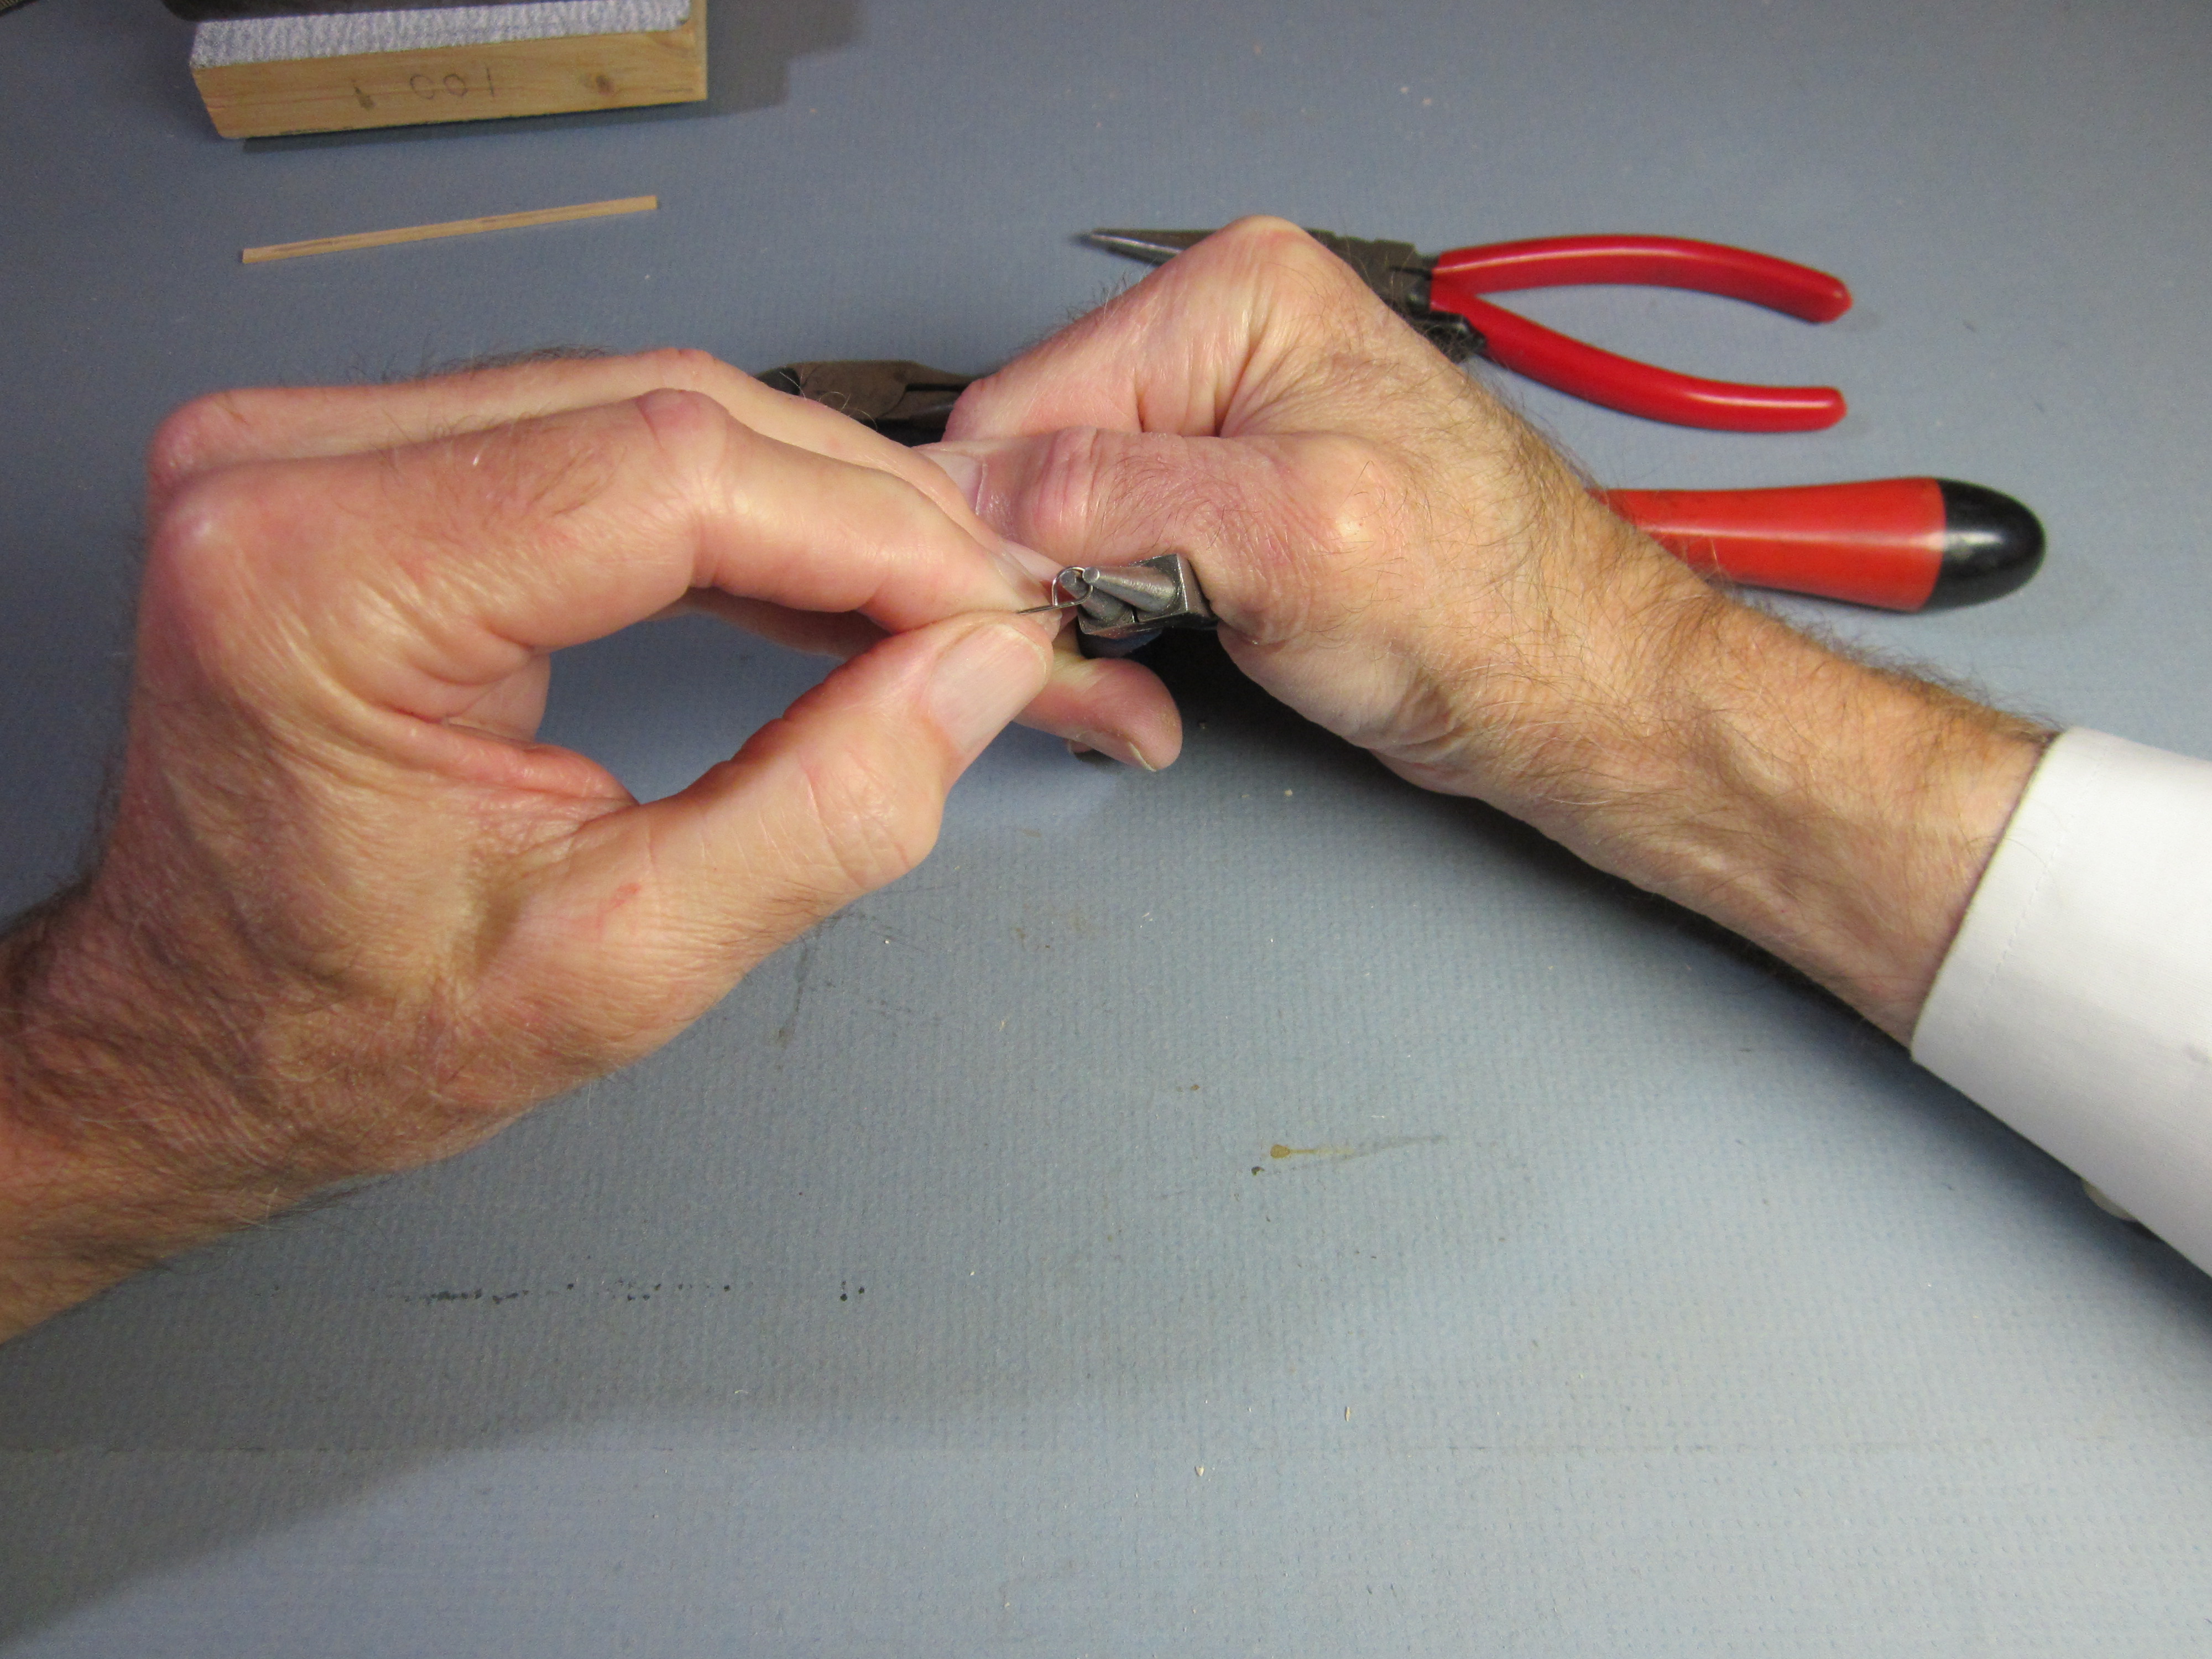
Bend it around to make a complete loop. There should be enough room between the end and the remaining shaft that an O-ring can easily fit through the gap.
Bend the wire 45 degrees to raise the loop up from the stick. The center of the loop should be about 1/8″ above the stick.
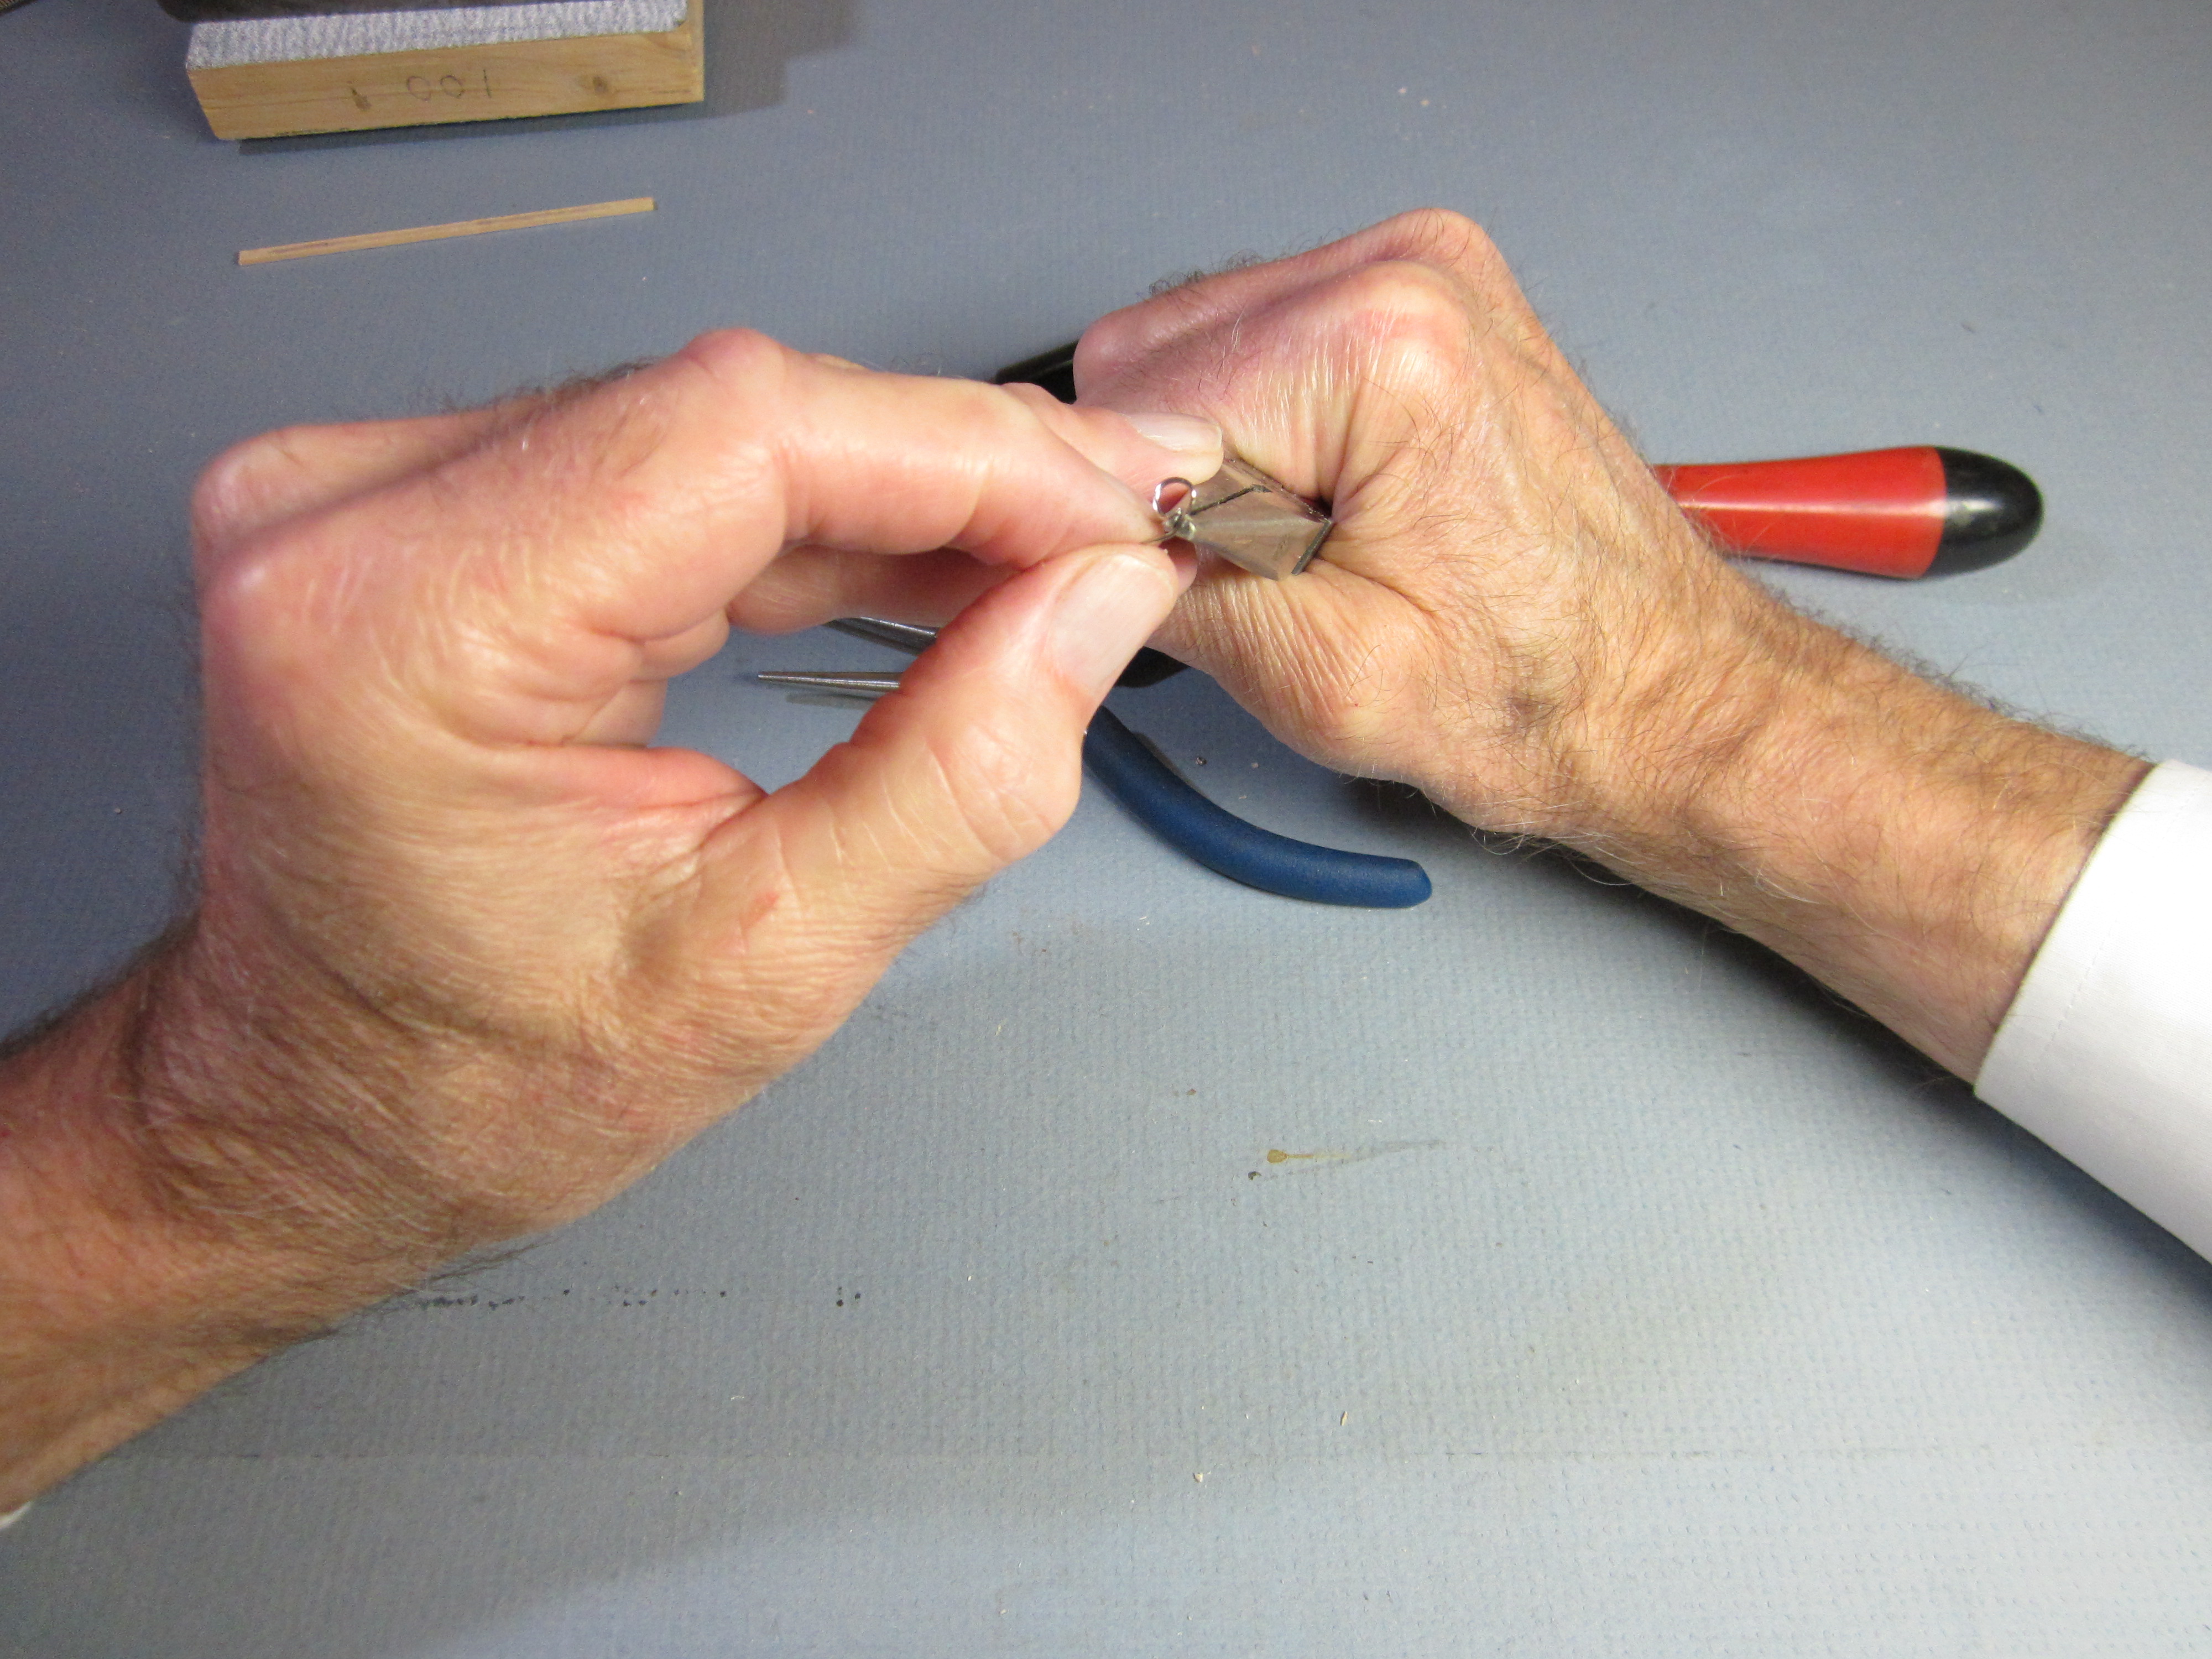
Half of the remaining straight piece is bent down at a right angle. These last three straight pieces lie in the same plane. Since this is short and hard to grip, and has a sharp end, use a block of wood to bend it.
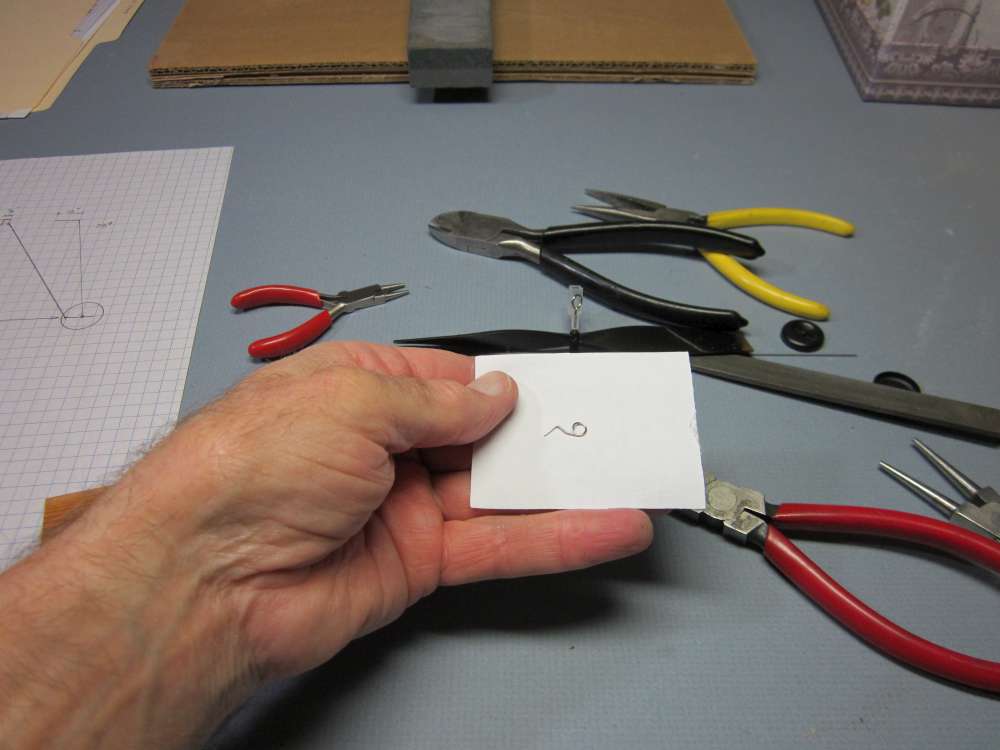
There is the finished hook.
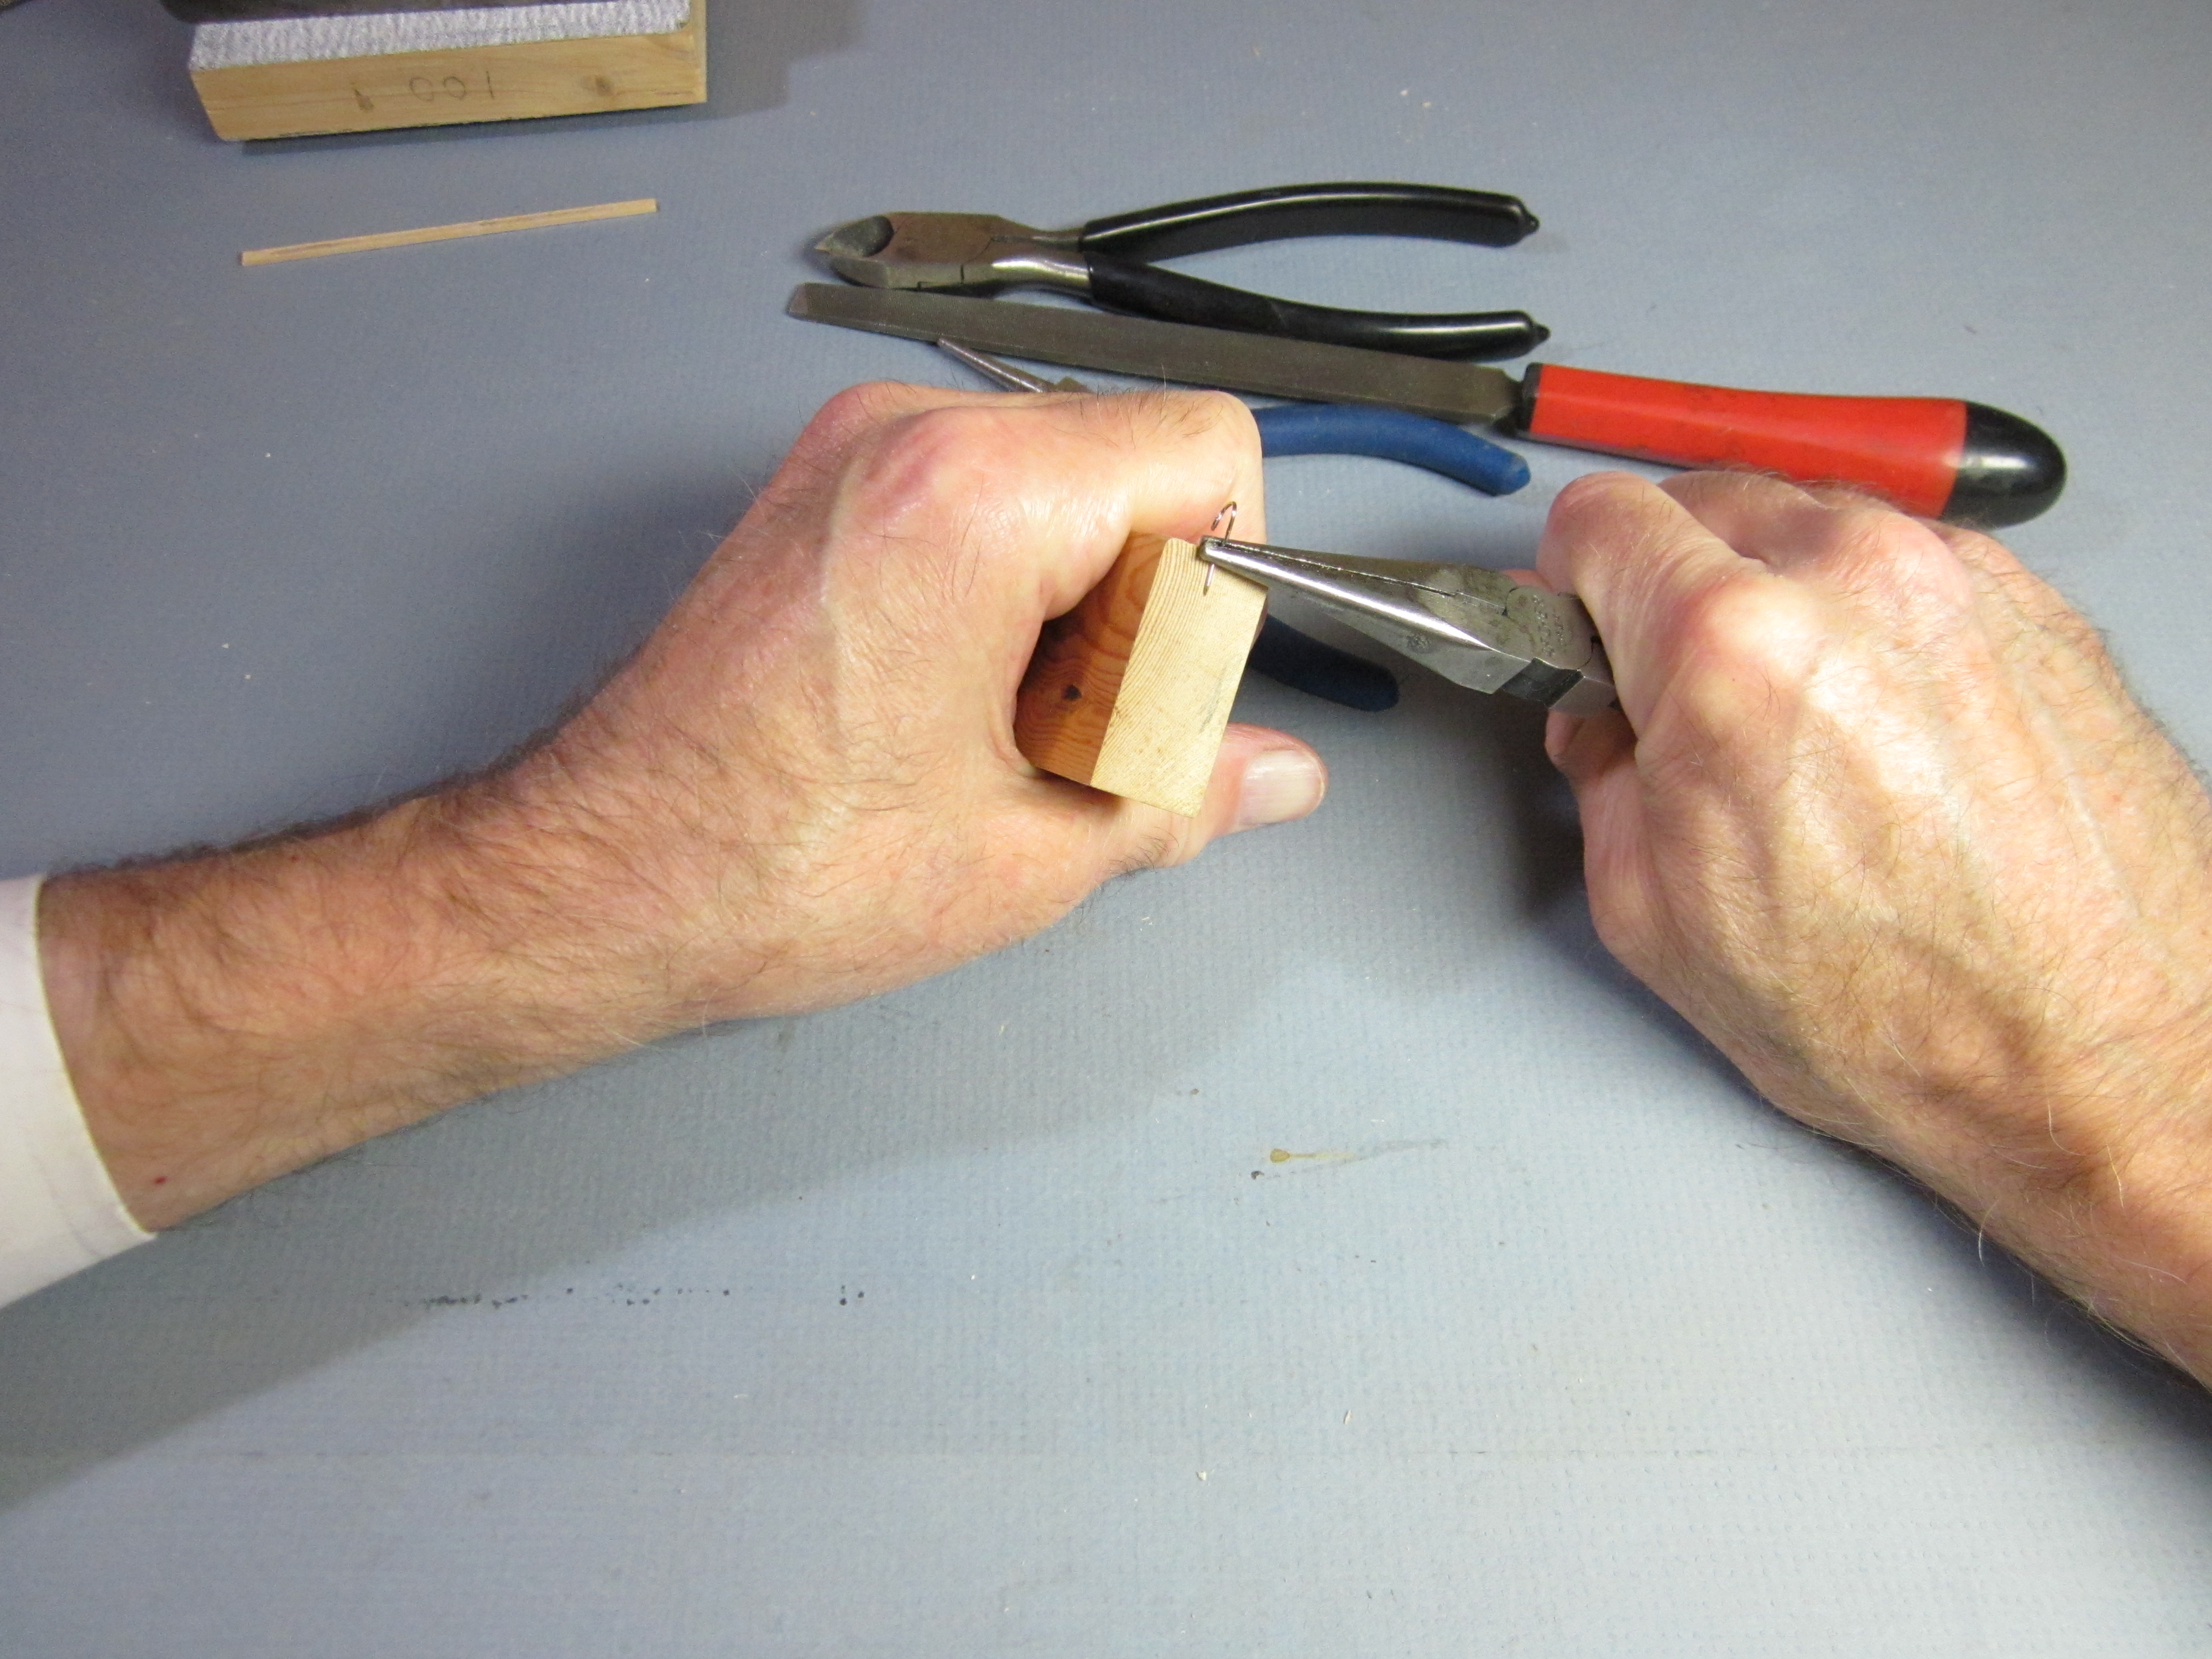
Poke a pilot hole in the underside of the stick, just ahead of the tailplane, at the appropriate angle and centered on the stick.
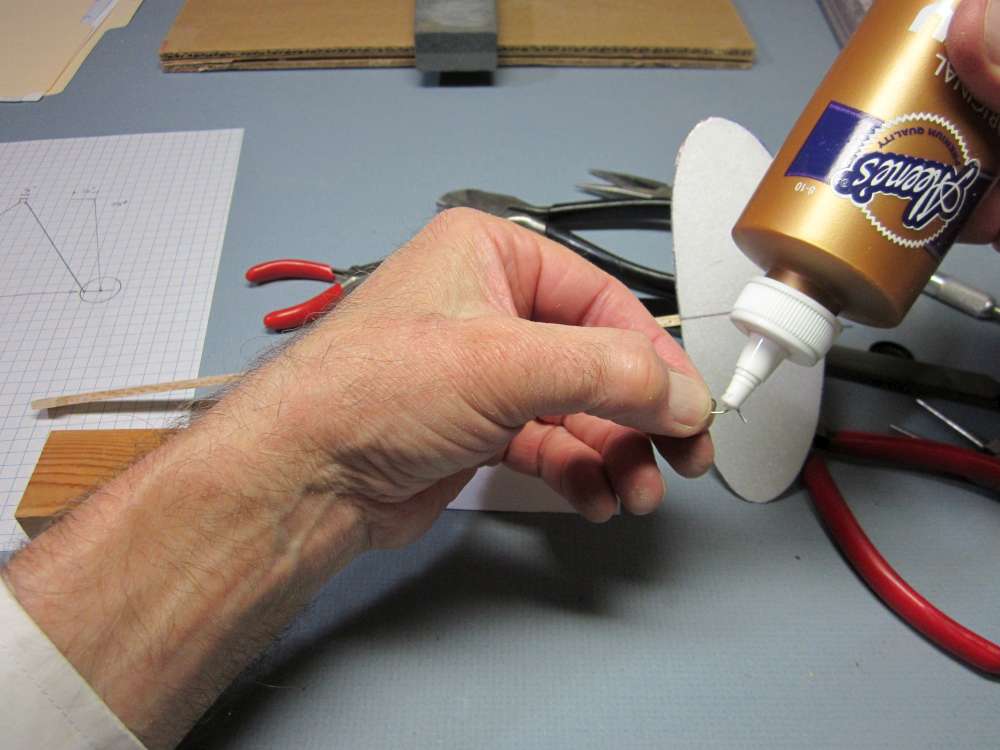
Apply glue to the parts of the hook that will be in contact with wood.
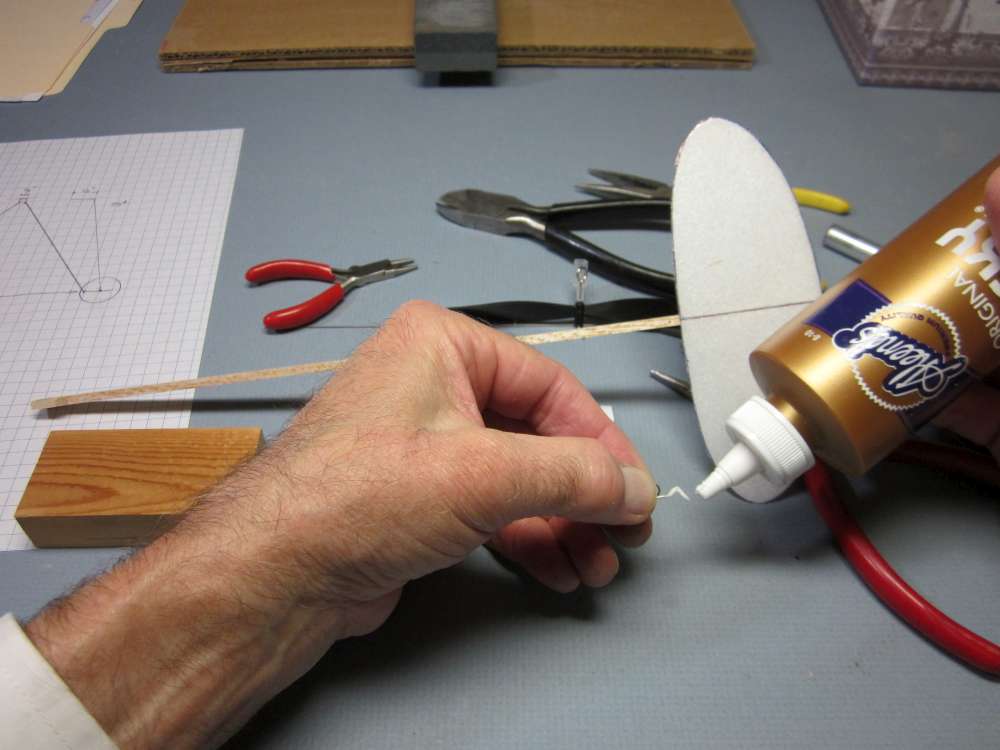
This is one place where the contact area is small and lots of glue is desirable.

Insert the point of the hook into the stick and press it into place.
Center it carefully.
Press it firmly in place. It is a good idea to put glue all around the parts of the wire in contact with wood. Use a fine brush or small stick, like a toothpick. Some builders wrap and glue thread around the wire and the stick for added security.
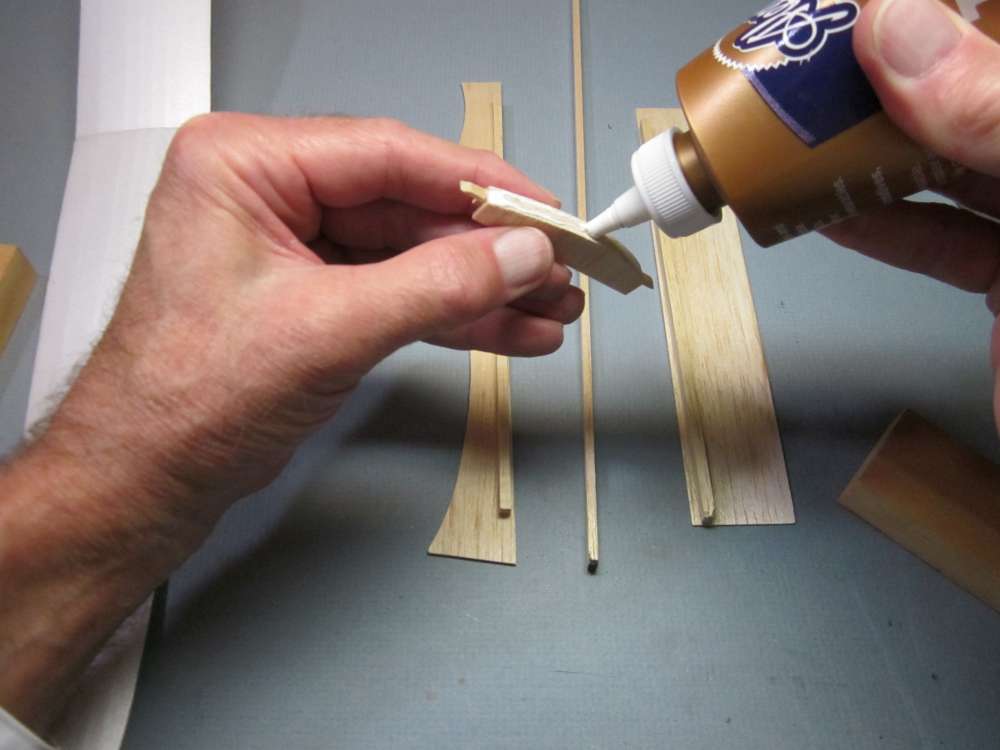
add the side plates to the wing rib
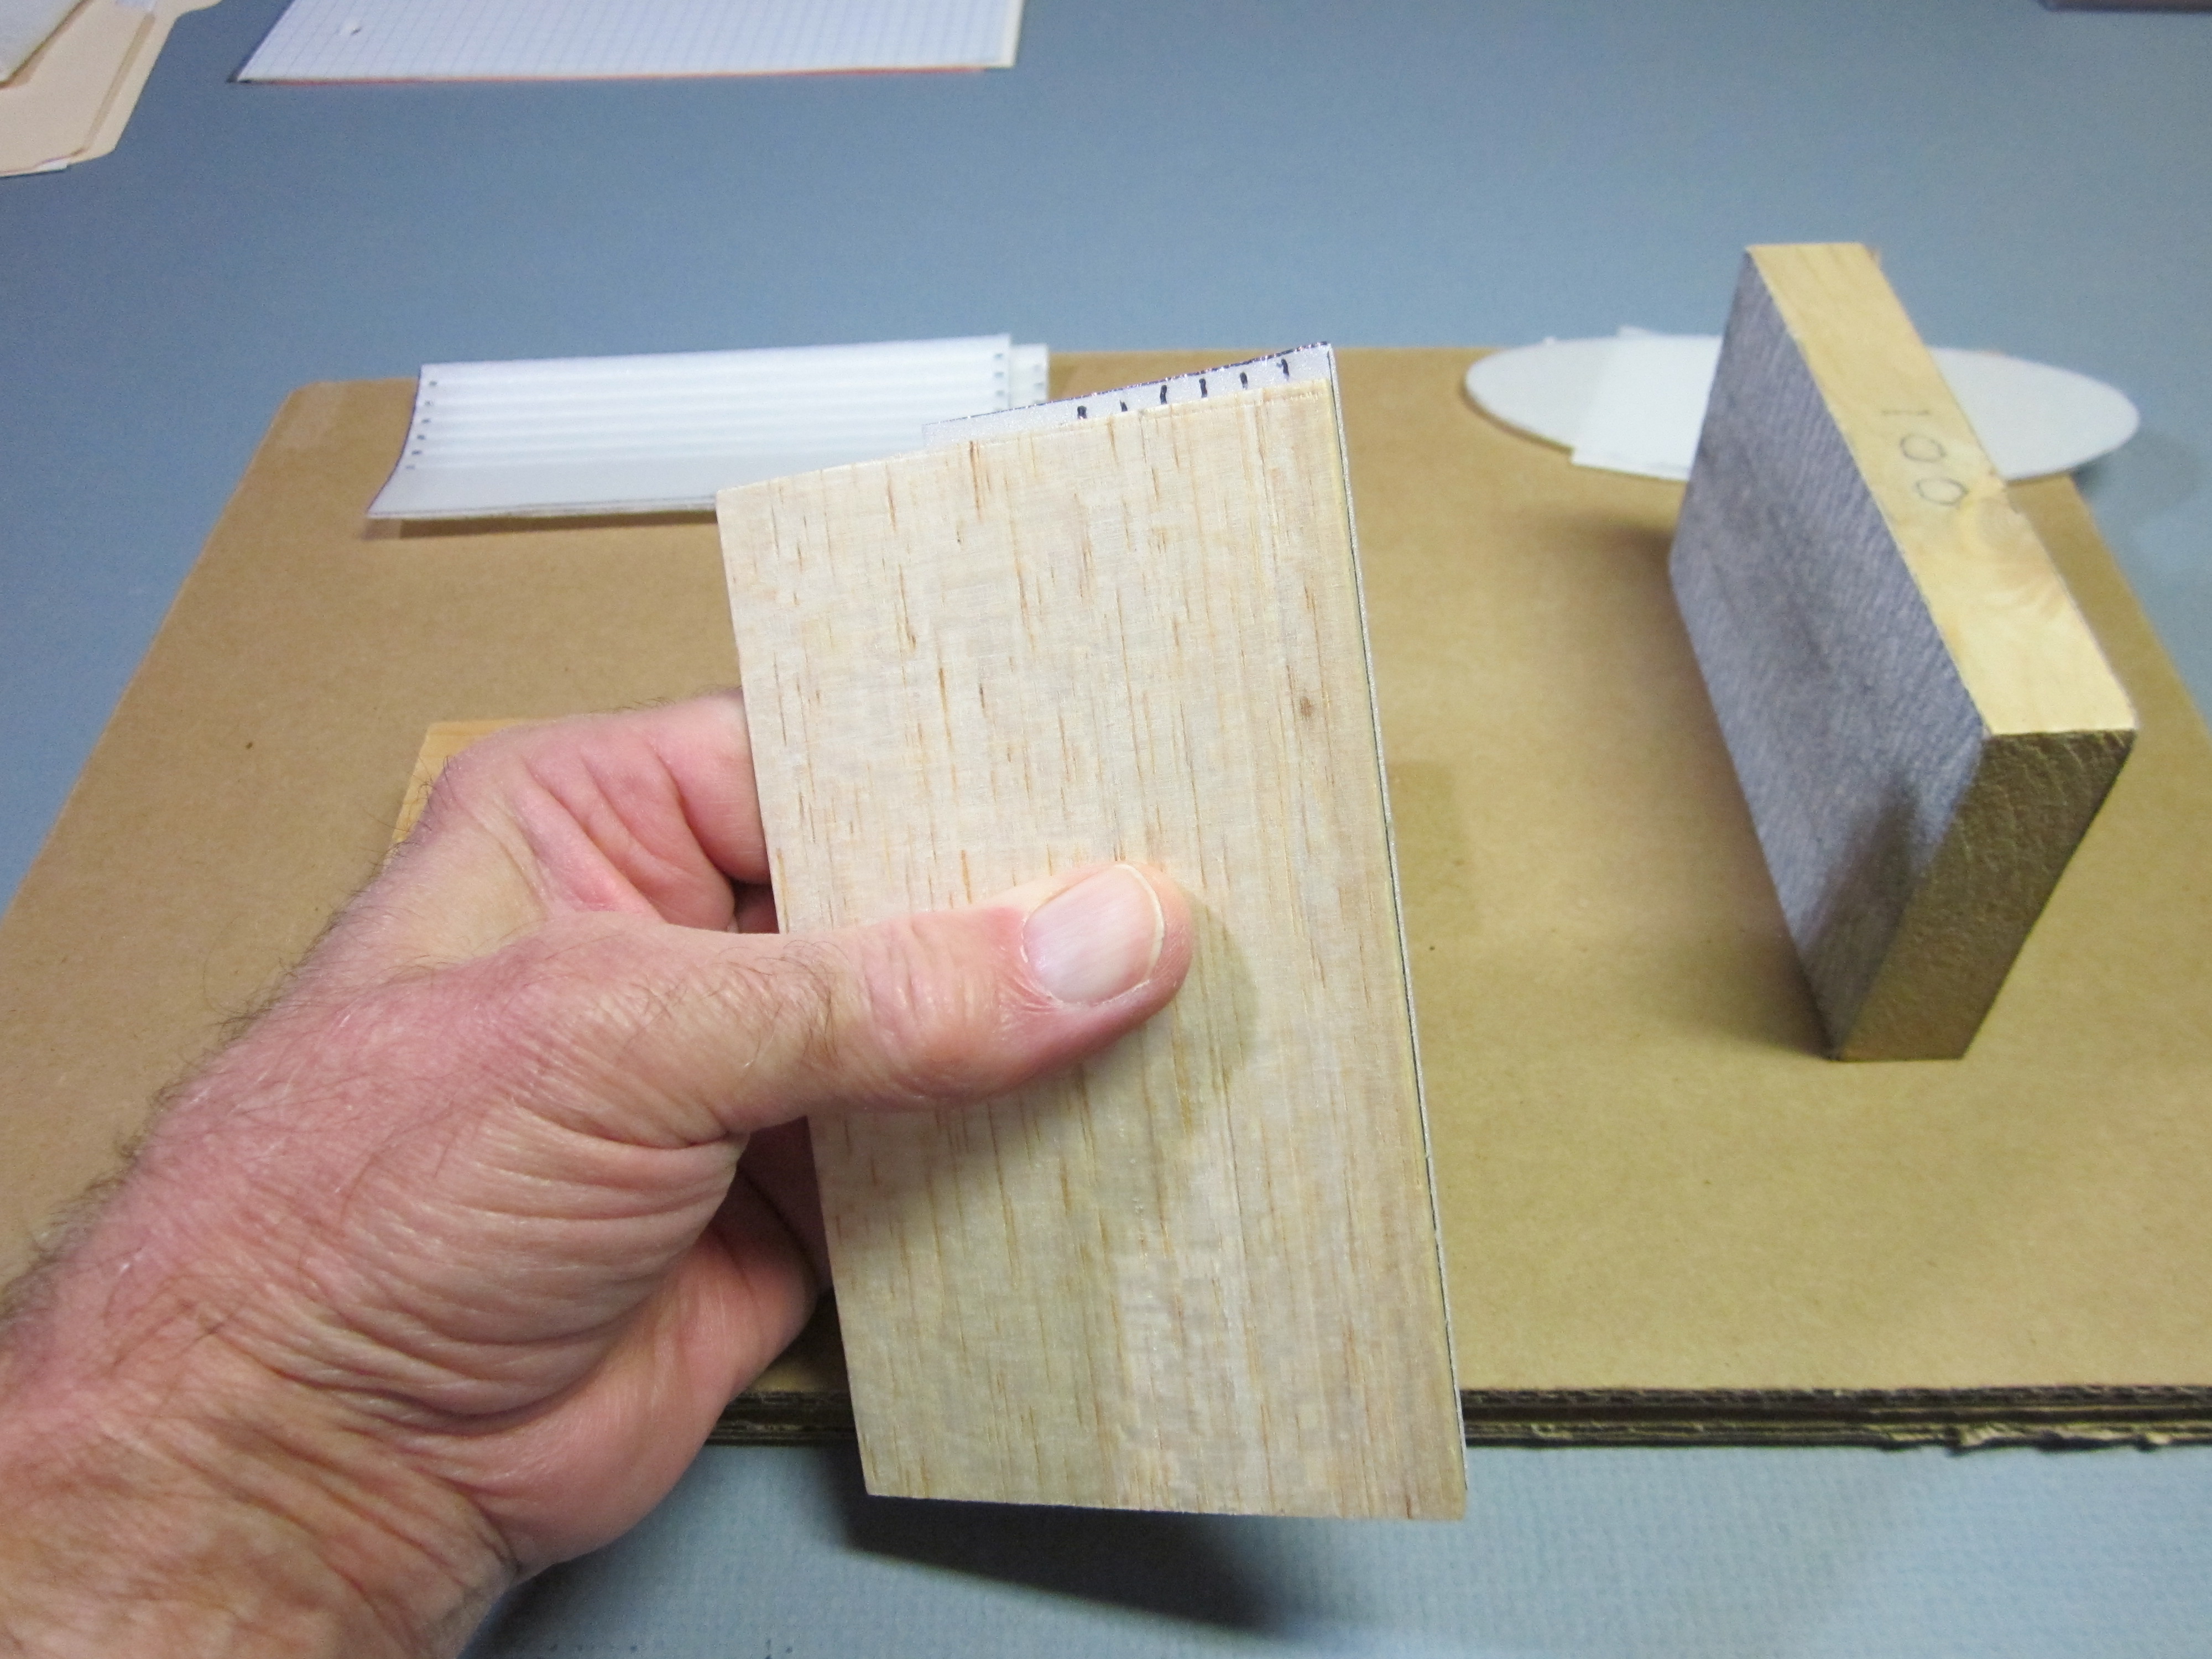
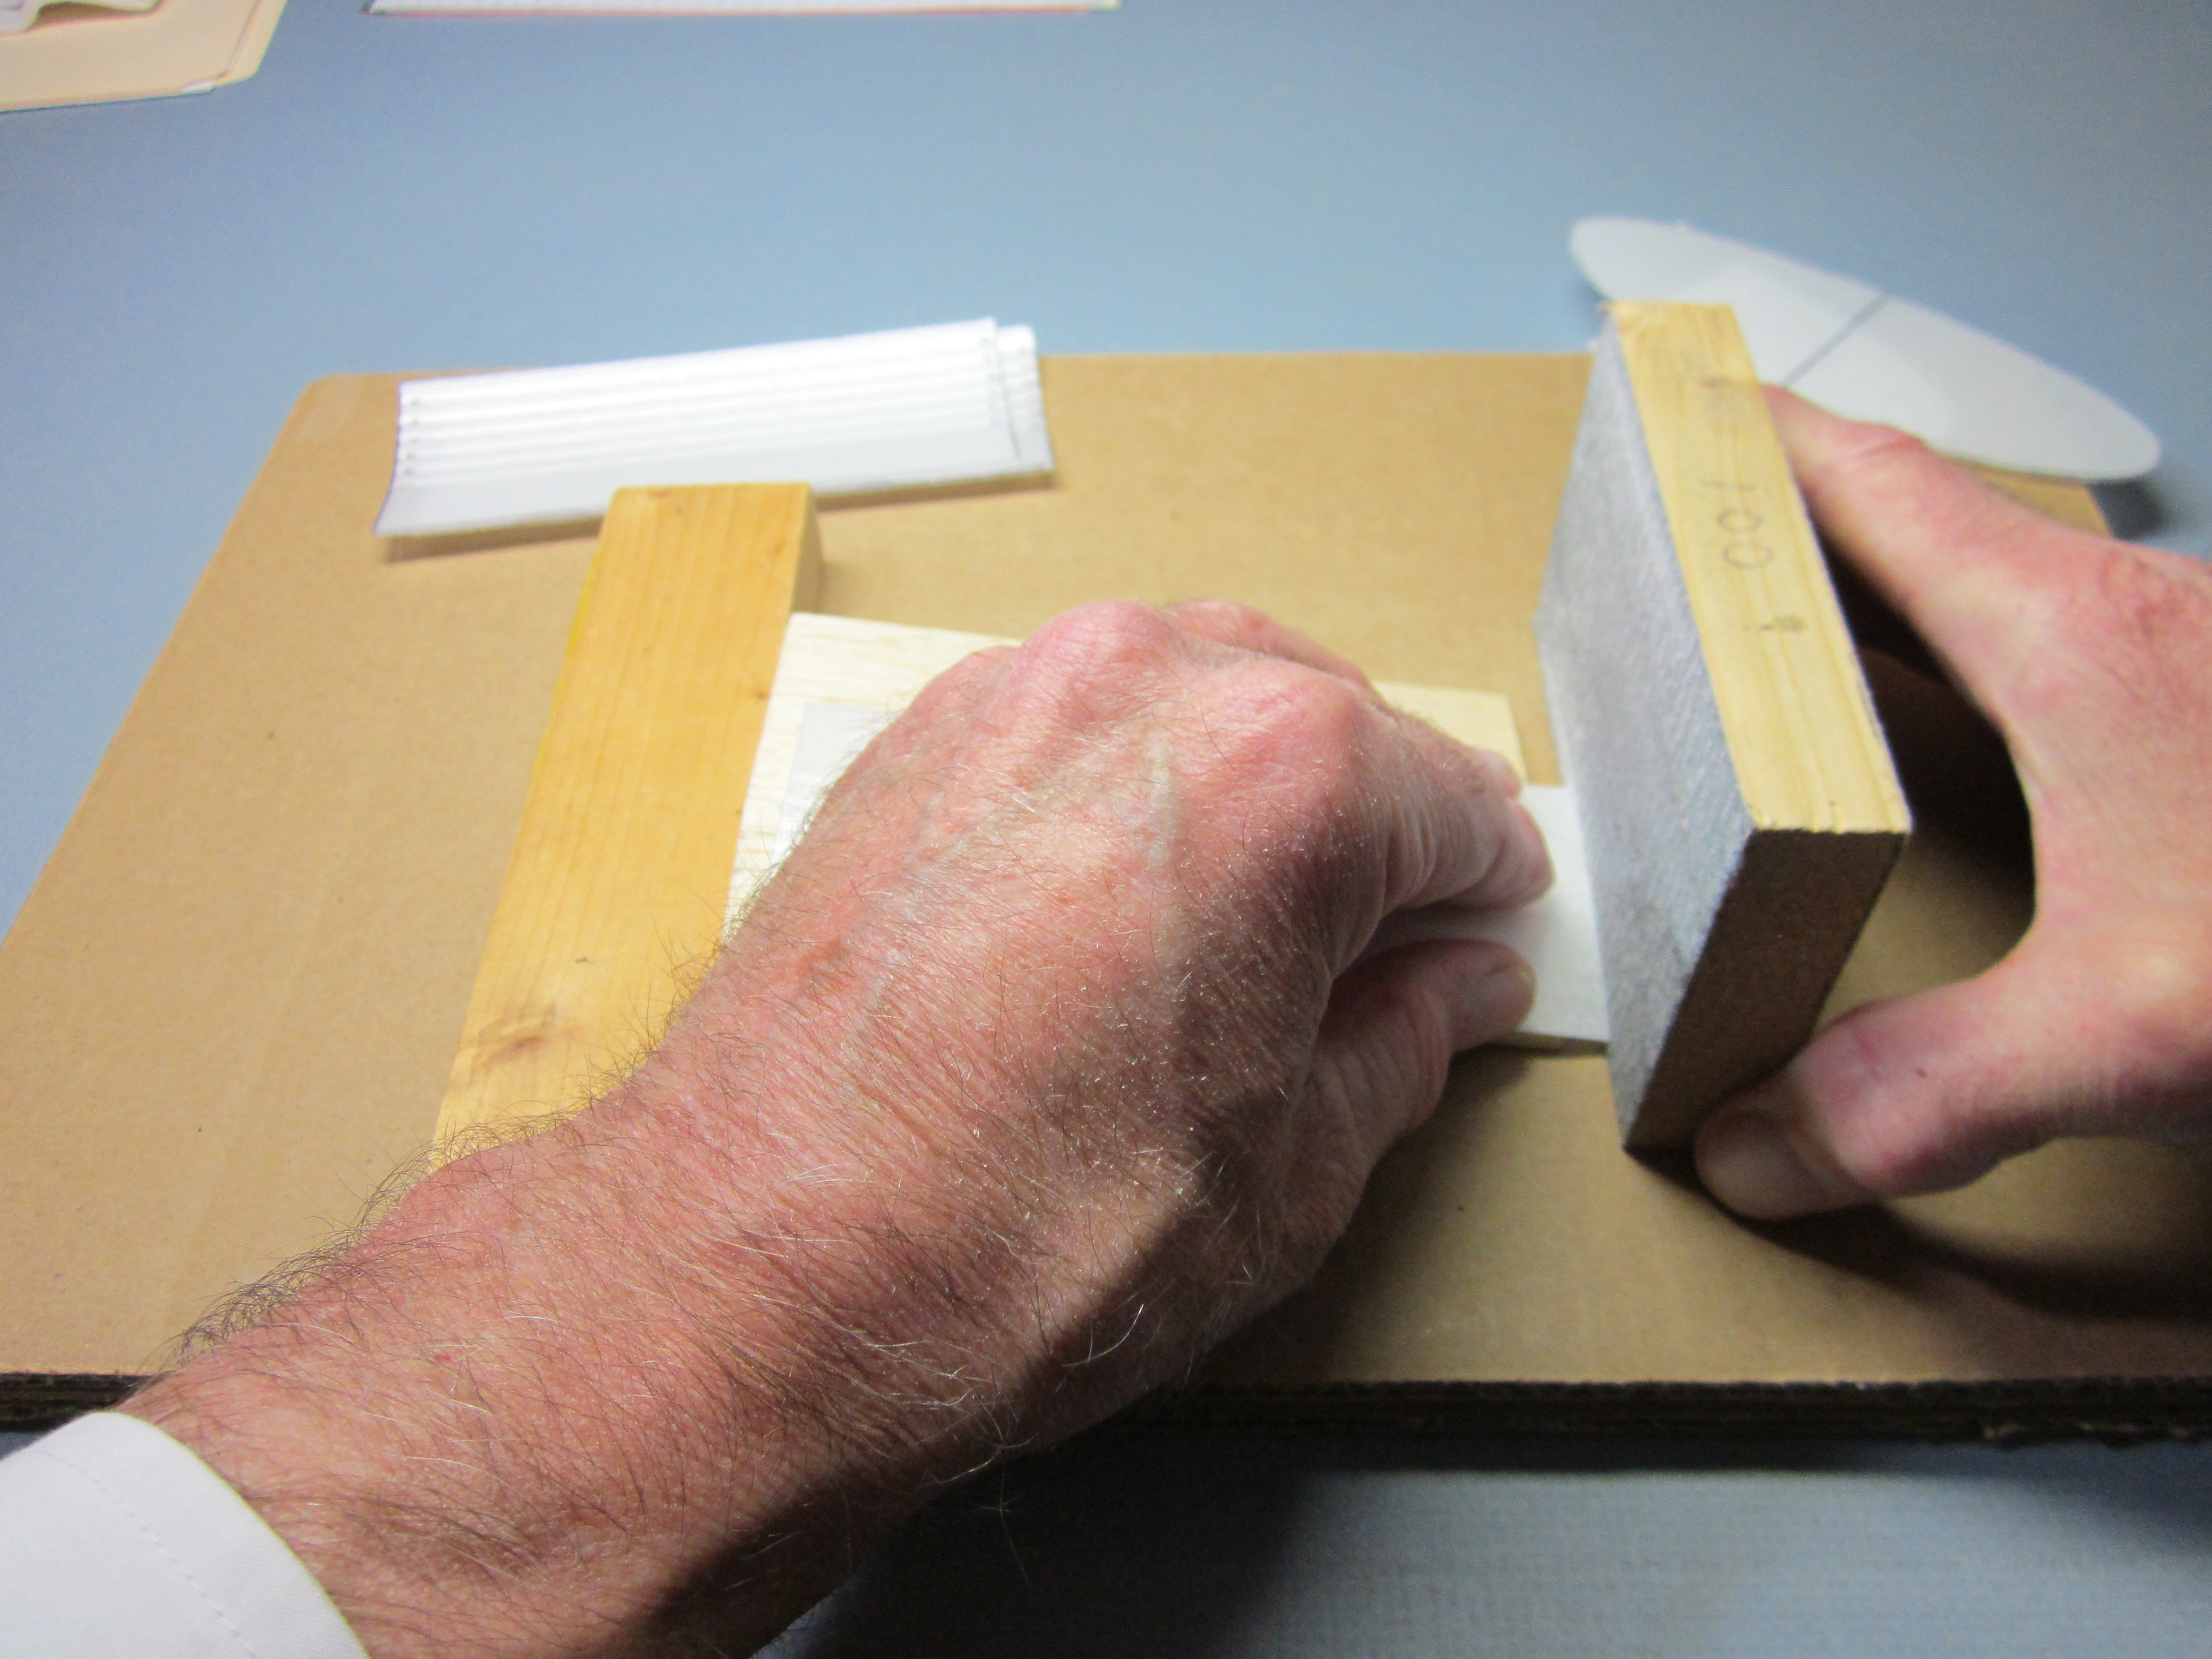
Sand the end grain of some 1/16″ sheet balsa.
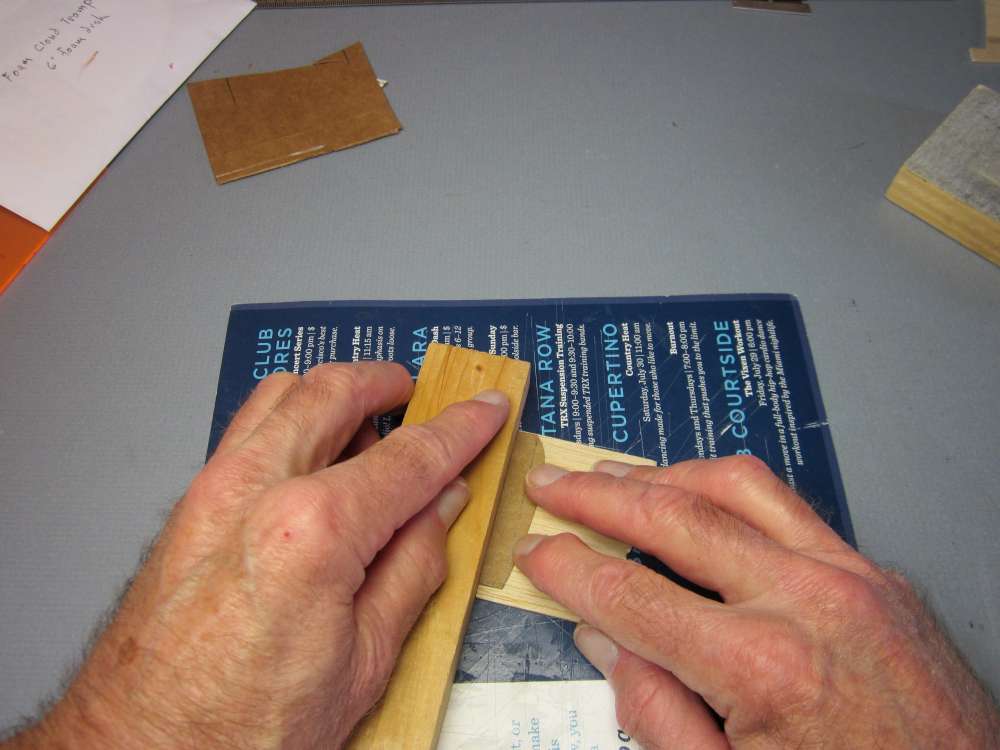
Align the edge of the balsa and the side plate pattern against a block. The leading edge of the pattern aligns with one edge of the sheet balsa.
Cut out the side plate with a razor blade. Always cut into the edge of the balsa sheet. Cutting across an edge going outward will split the wood.
Here is the finished plate. Make another just like it.
Apply glue to the side of the rib.
Spread the glue uniformly to coat the entire surface of the rib.
Put the side plate against the rib. Add the other one.
Align them carefully and press them in place.
Squeeze them together between blocks to make sure they are flat against the sides of the rib.
That finishes the wing. Let the glue dry.
It would have been better to make the side plates together with the rib and sand them together. I show that alternative in the next section.
Making the wing saddle with side plates
The first side plates were glued to ribs that had already been glued to wings. It is better to make the entire wing saddle as a single unit before gluing to the wing. This alternative takes the place of what was shown elsewhere.
We start with the four components of the wing saddle, made as shown in above sections; the rib, the hold down stick and two side plates.
Paint glue on one side of the rib.
Press it to one of the side plates, aligning the airfoil curves. The damp from the glue may make the side plate bend away from the rib. We will press things together when everything is together, before the glue dries.
Paint glue on the remaining exposed side of the rib.
Place the assembly on the other side plate, aligning the bottom edges against a block and the ends with each other.
Place a piece of 1/4″ stick alongside the saddle assembly, which is also 1/4″ high.
Place a block over both.
Place a weight on top of the block to hold everything tightly together as the glue dries.
Bottom view.
Top view.
Place a short piece of 1/8″ x 1/4″ in the slot to support the sides as we sand the finish airfoil on the top surface.
Place the saddle on a block, spacing it up from the table top, and sand the airfoil, keeping the sandpaper perpendicular to the table. This surface must be uniformly smooth and perpendicular the the side plates to keep the wing from being twisted.
If I had used a shorter stick, I would not have needed to move it to sand the other end of the saddle.
Check that it is uniformly sanded.
It is a smooth curve without bumps or flat spots.
Paint glue on the top of the hold down stick where it will be in contact with the rib.
Put the hold down stick between the side plates, glued top toward the rib, sticking out equally on each end.
Press it in place.
Apply glue to the top of the saddle.
Spread the glue with a bit of card.
Put the saddle on the fuselage stick.
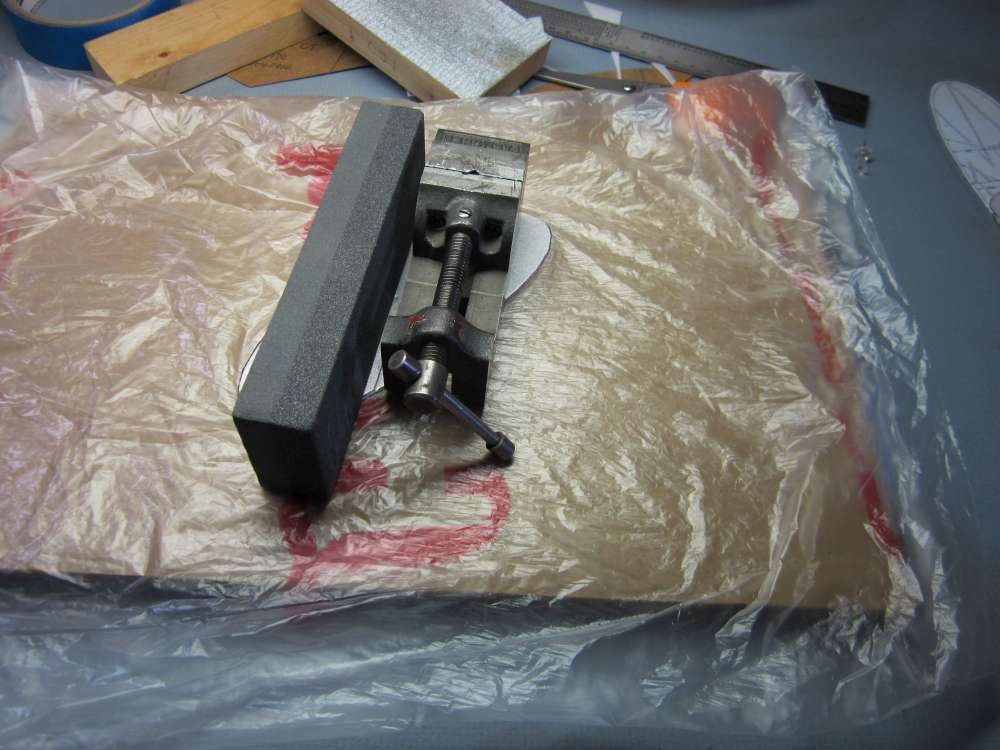
I have prepared a jig to hold the wing down on the saddle as the glue dries. The stick is held between the jaws of the machinist vise. (If you don’t have a vise, you can use blocks of wood, held down with weights, such as soup cans.) This keeps the stick vertical. On either side I have placed 1/8″ x 1/4″ sticks on top of 1/16″ sheets to produce rails with their tops 5/16″ up from the surface, corresponding to the height of the bottom of the rib. The 3″ long block will sit on top of these rails.
Place the wing on top of the saddle and use the pin holes to align it carefully.
Place a weight on the rails and along the trailing edge.
Press the wing down across the entire arc and hold the leading edge down with a block.
Place a weight on the block to hold the wing firmly in place until the glue dries.
When the glue has dried, carefully remove the weights.
Check the wing for warps and twist out any that you find.
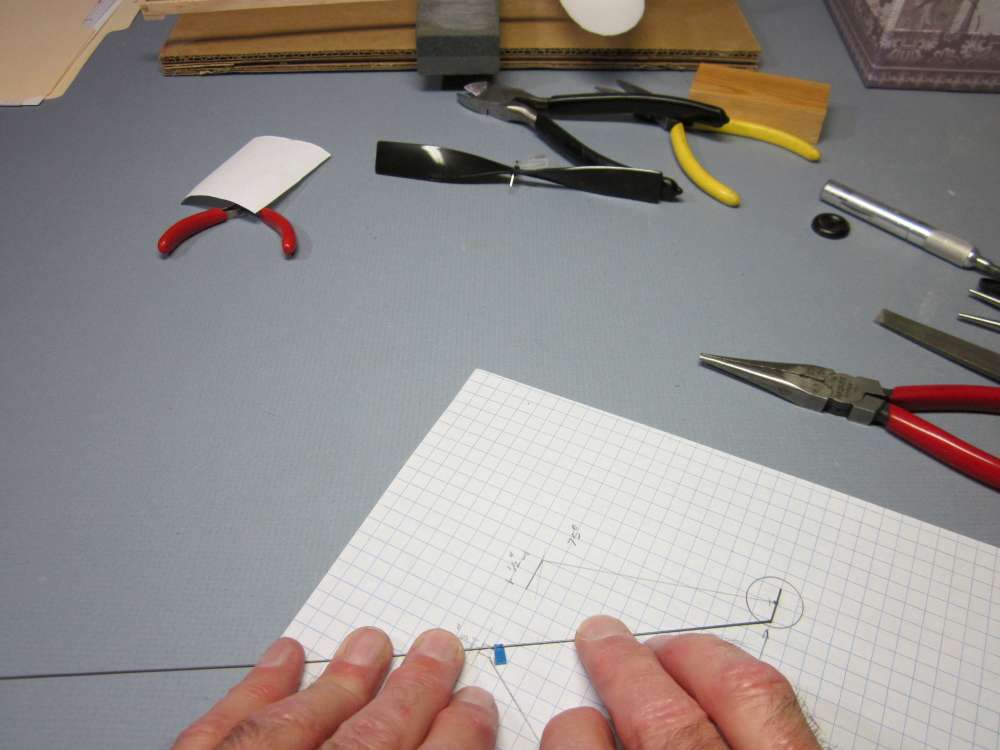
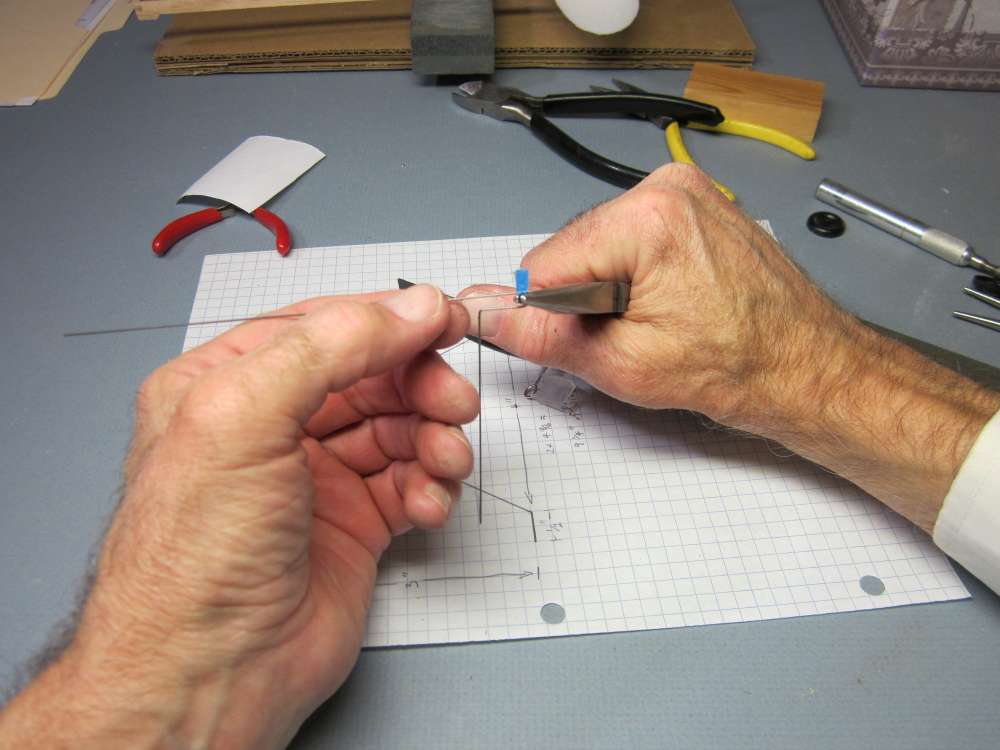
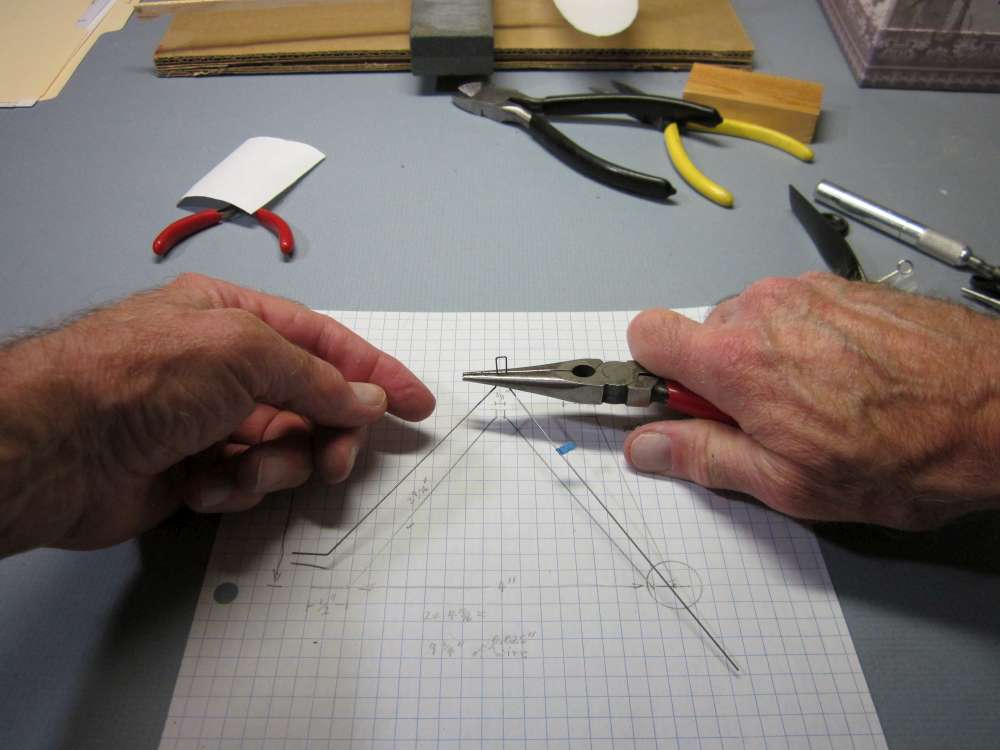
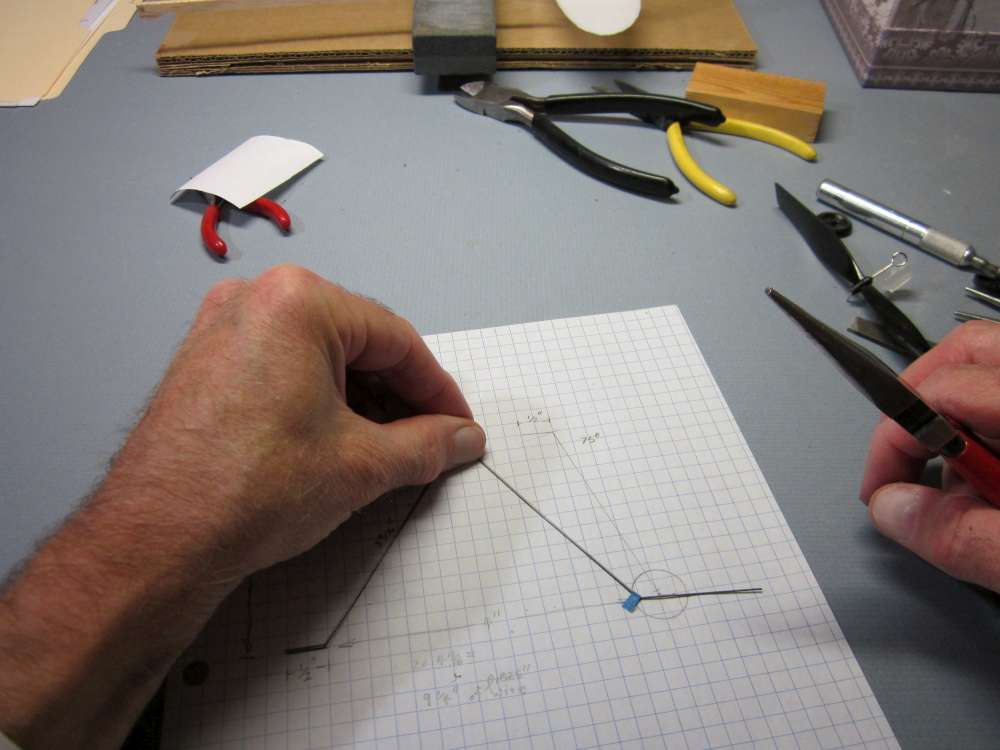
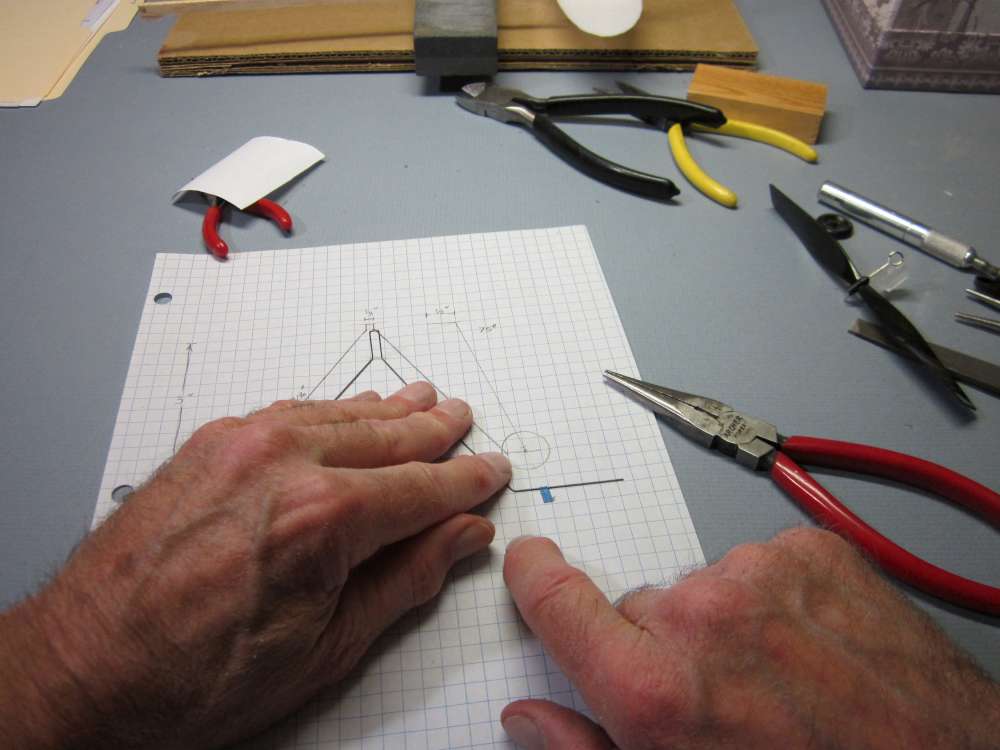
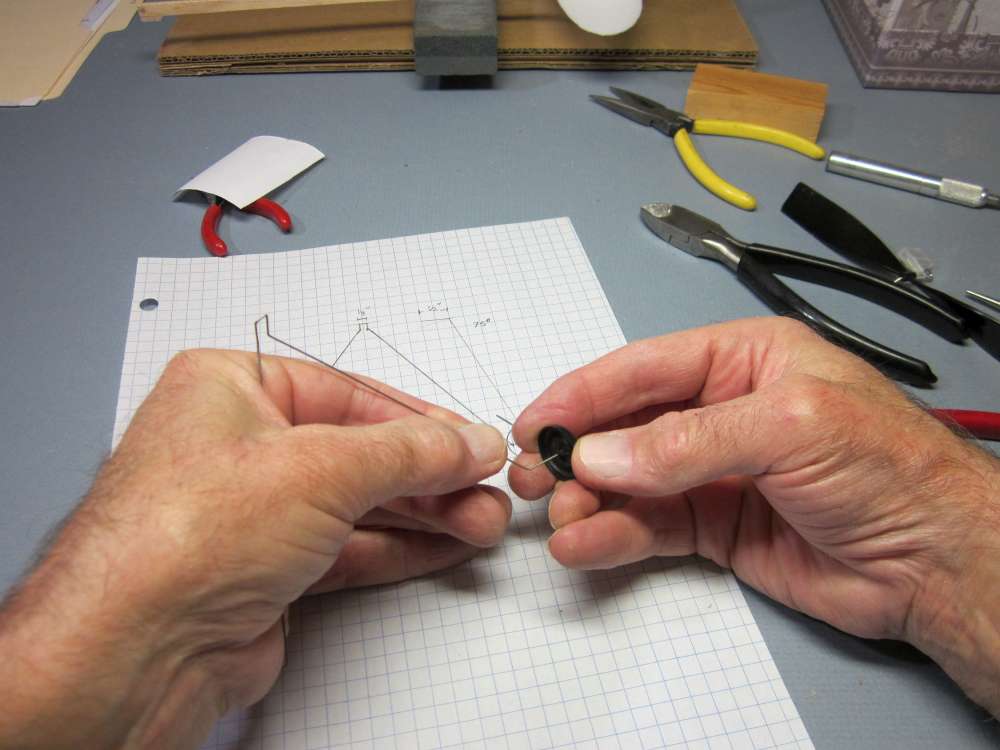
Making the wire landing gear legs
You can buy prebent landing gear wire, or you can bend your own. Skills learned in bending this simple landing gear will come in handy when there is no commercially available unit. Bending steel wire is one of the important skills of any aeromodeller.
I find that the prebent commercial units often require reworking before they can be used, anyway. In particular, check that the wheel axles are not curved. If they are curved, the wheels may not spin freely.
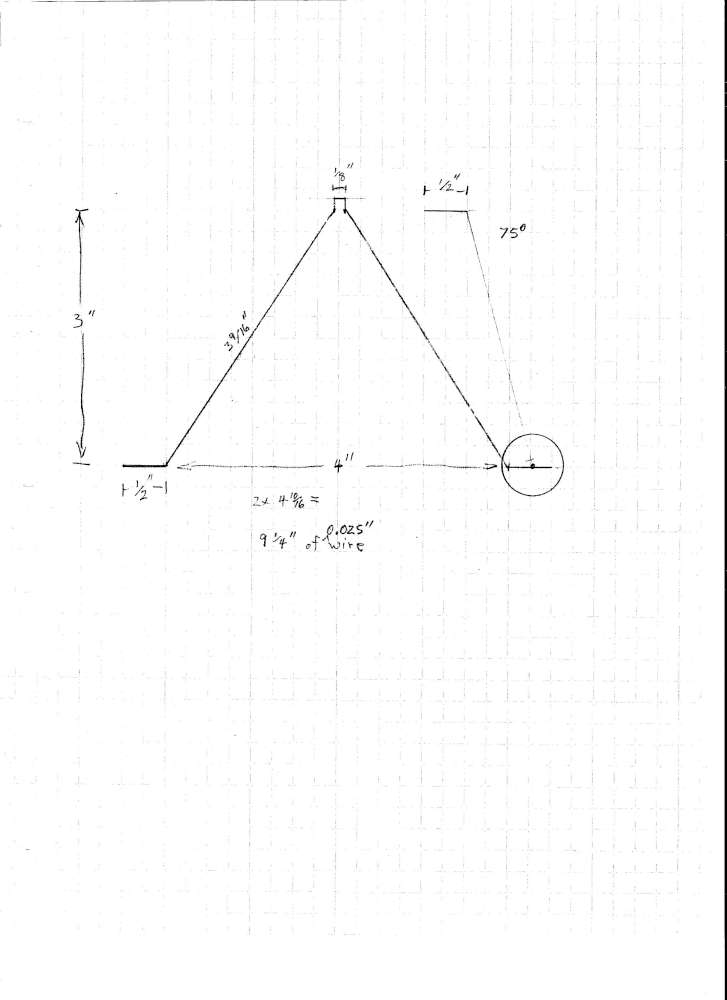
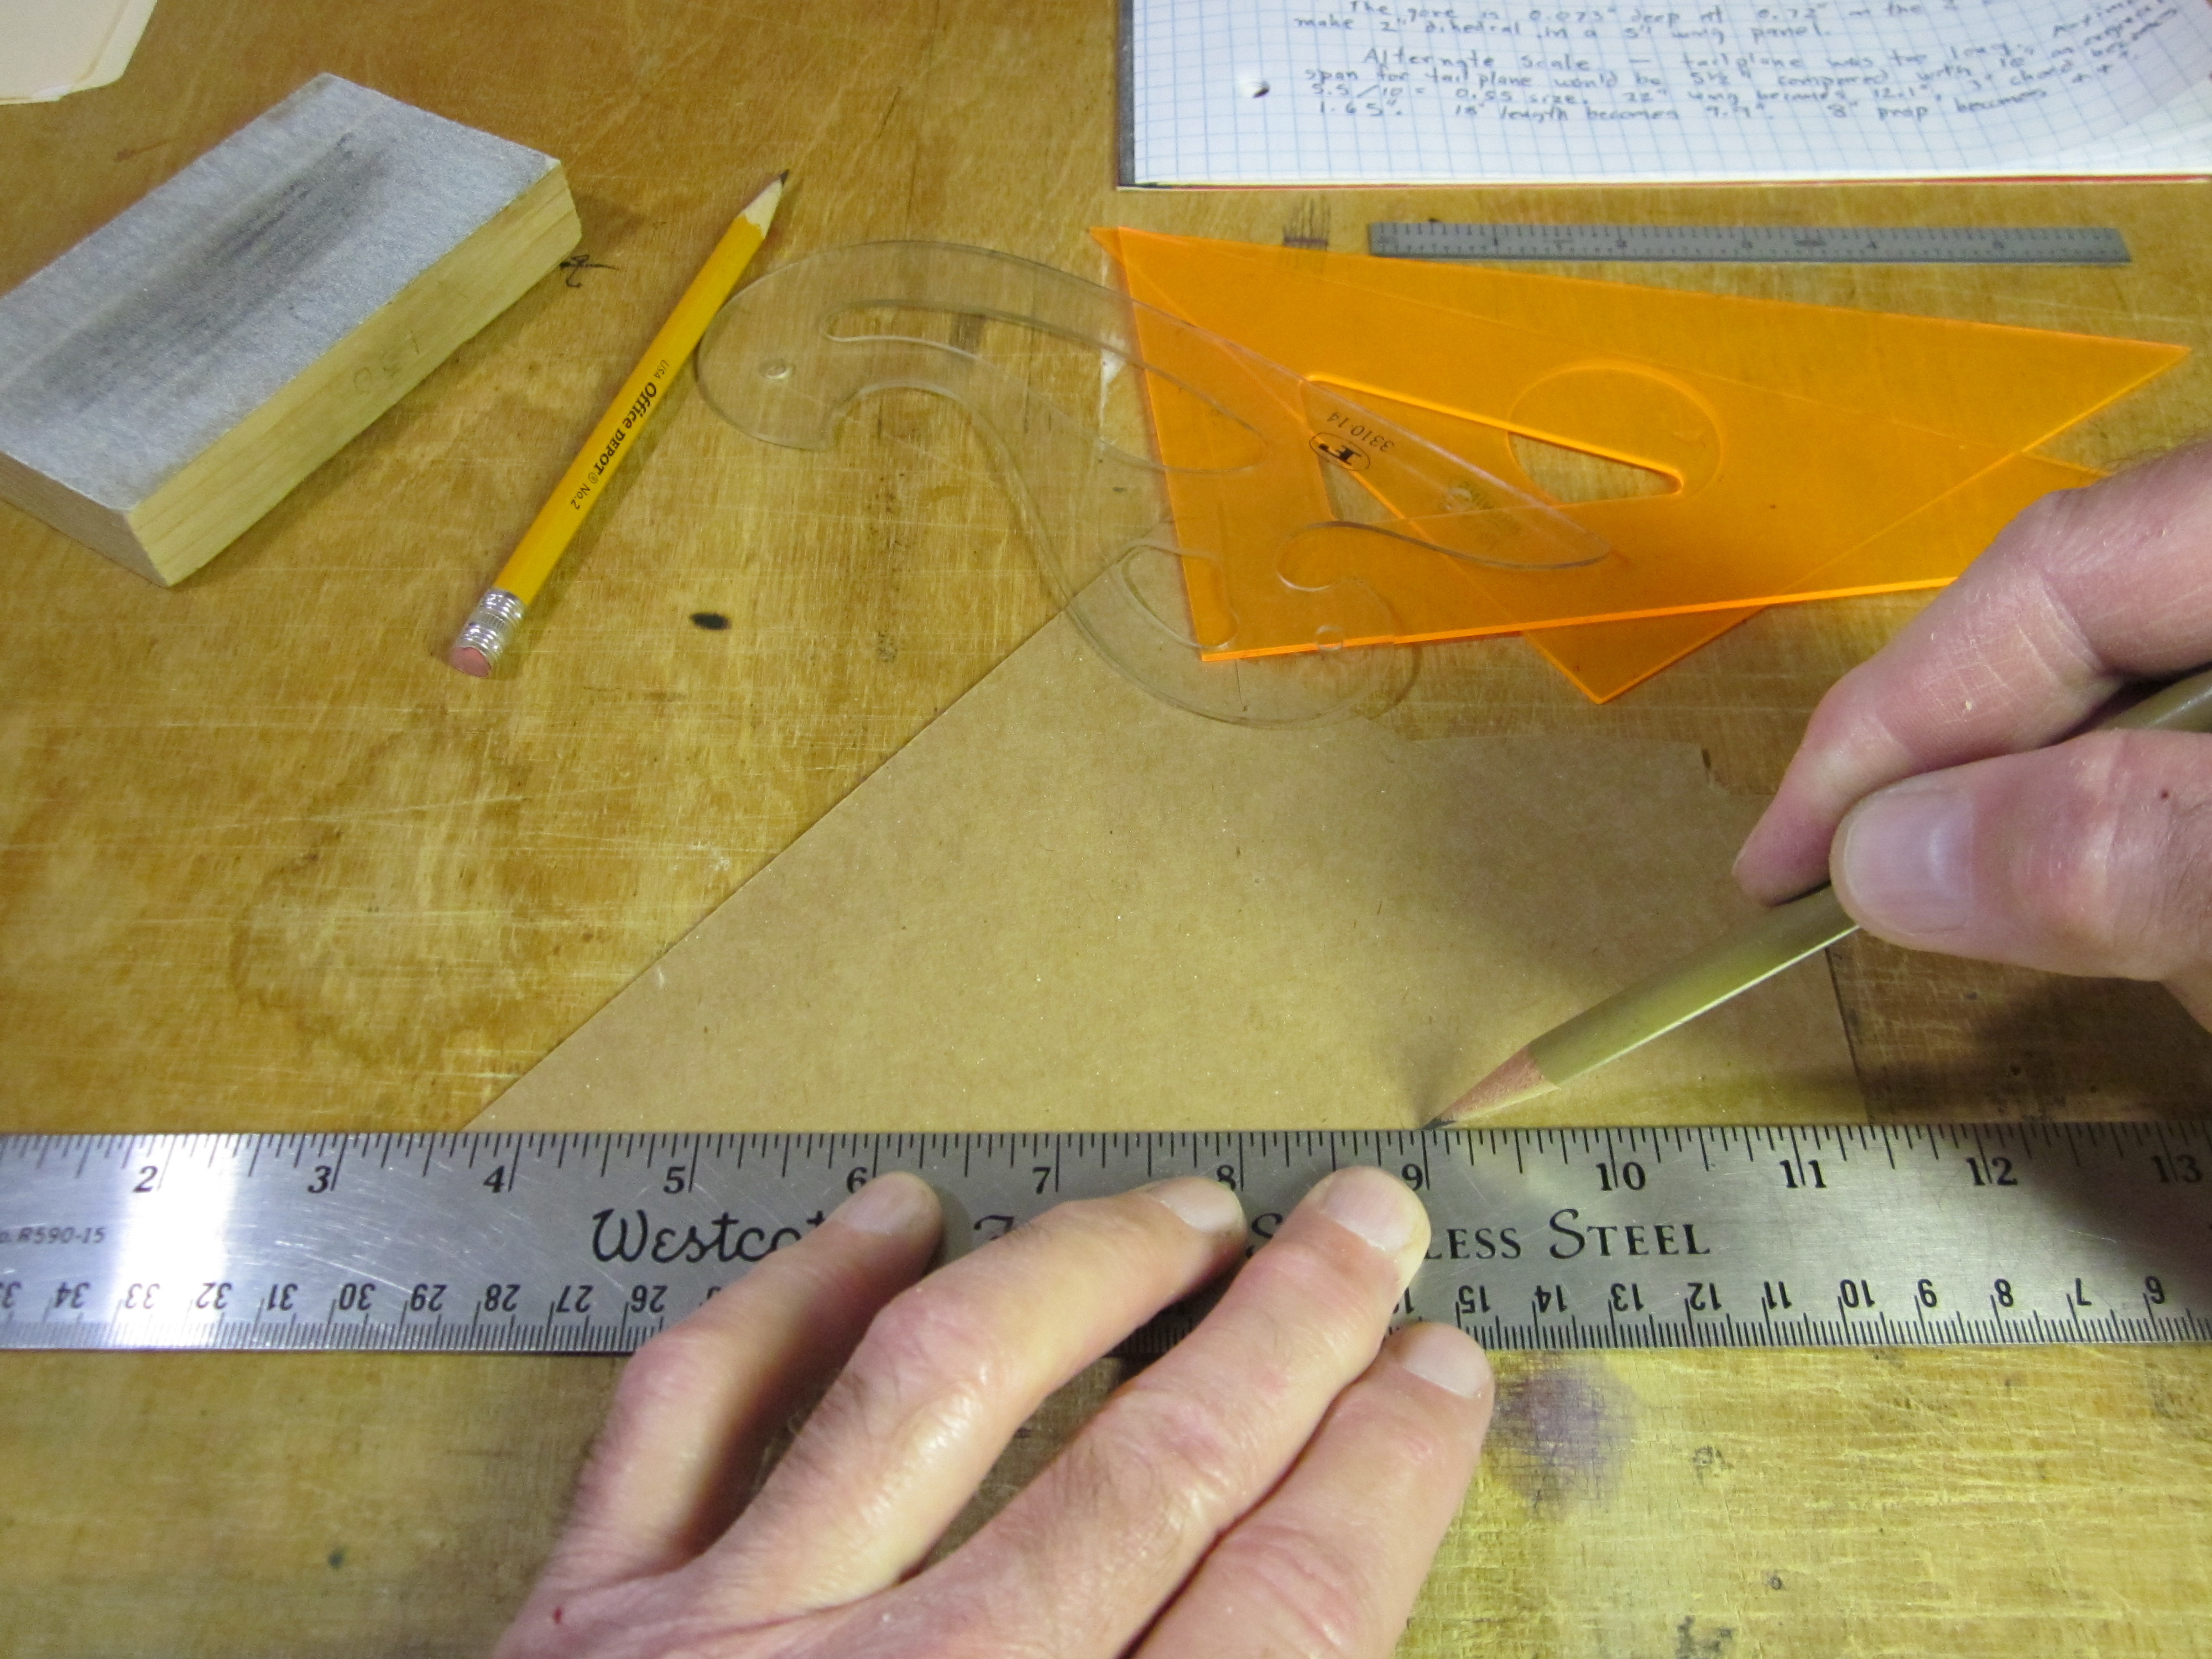
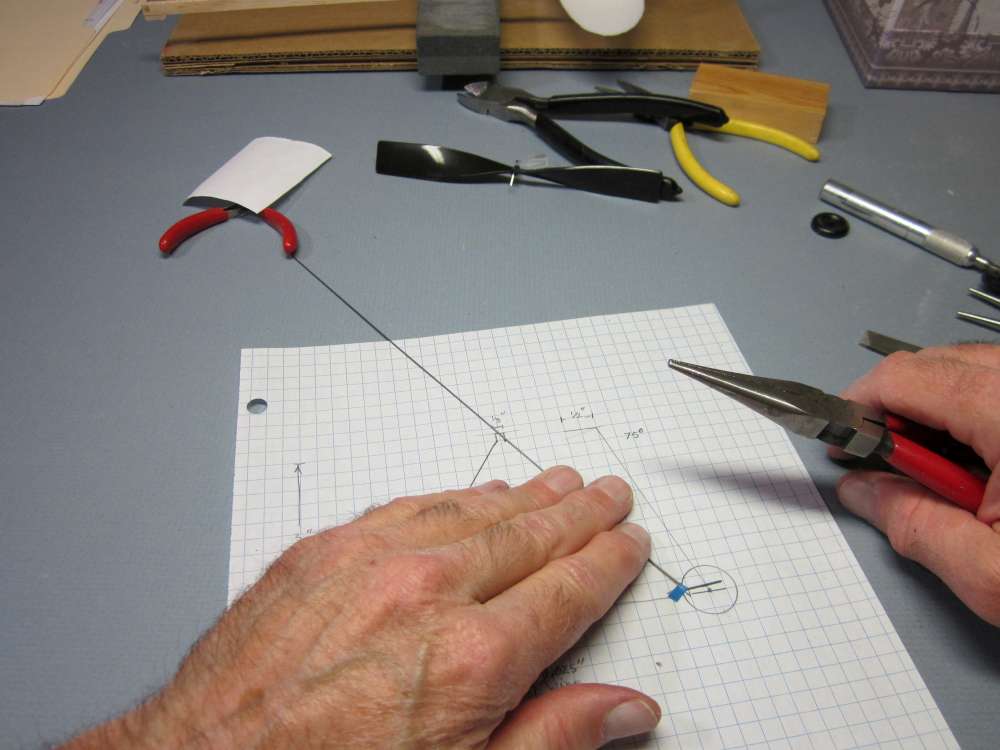
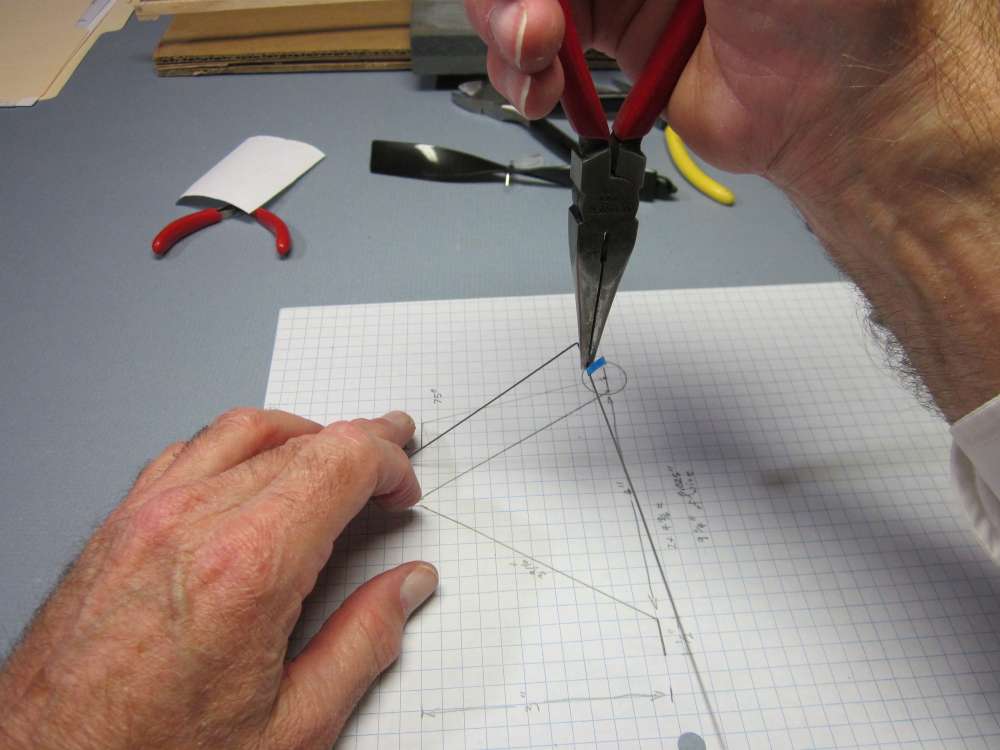
We start with a dimensioned, full scale drawing. You can redraw this one or you can copy, download and print this one, adjusting your printer settings to get the correct size. Actually, you can measure directly on the wire, so the important things on this drawing are the angles.

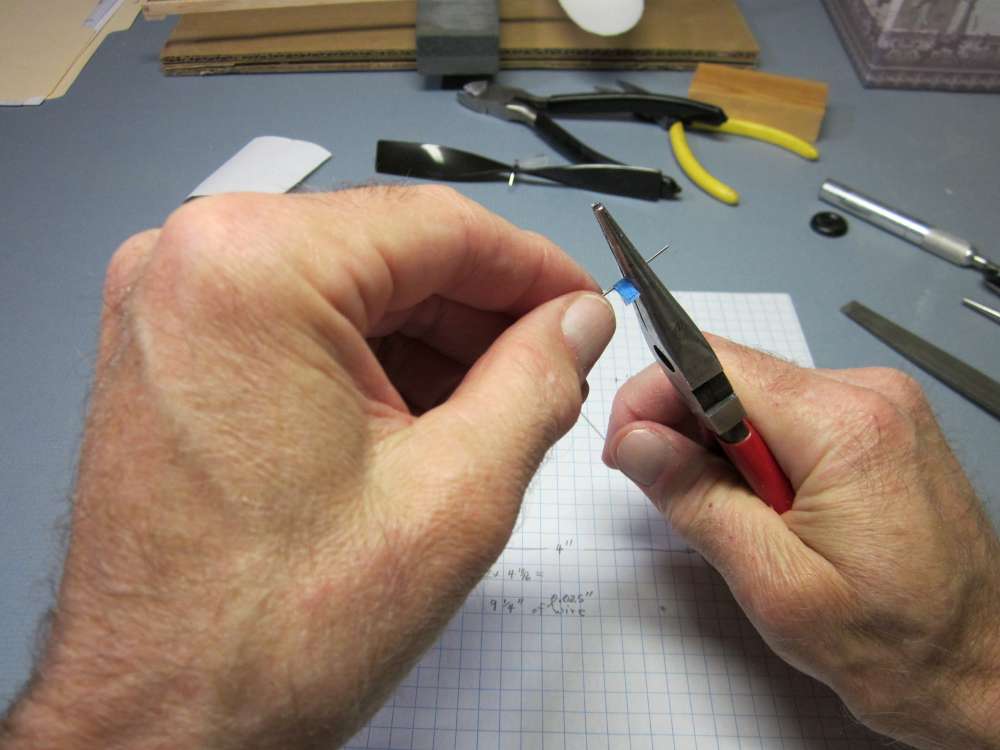
We will make the landing gear out of 0.025″ steel wire. The total lengths of the sections of the landing gear is 9 1/4″. I prefer to have a little extra, so I started with a 10″ length of wire. The first thing to do is file down the sharp chisel edge that results when you cut wire with diagonal cutters. File it flat and then file the corners down to round off the end.
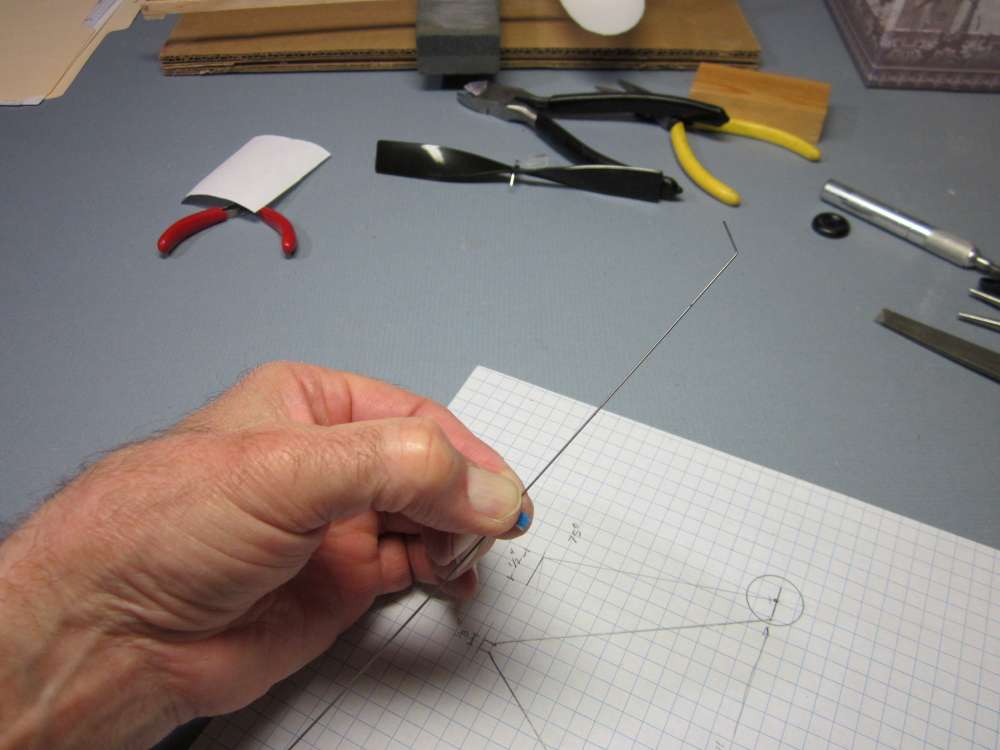
We will make the bends in sequence, starting from one end.
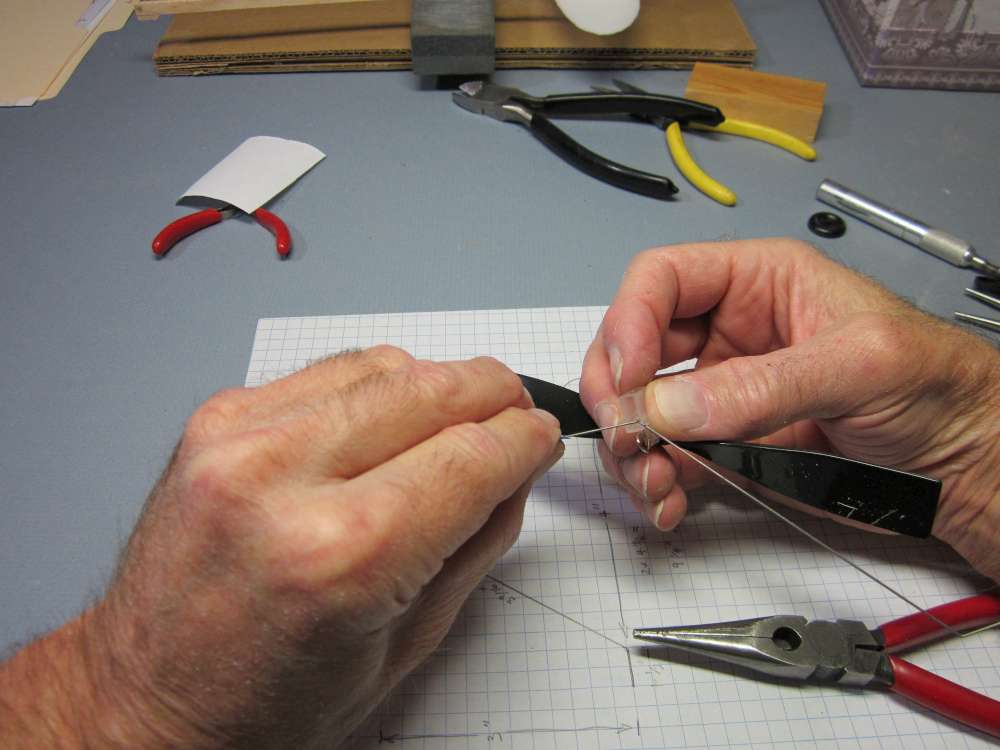
We start by bending the wheel axle on the end of the wire. Put a short piece of thin tape cut from the end of the tape roll against the wire 1/2″ from the end.
Fold the tape over the wire.
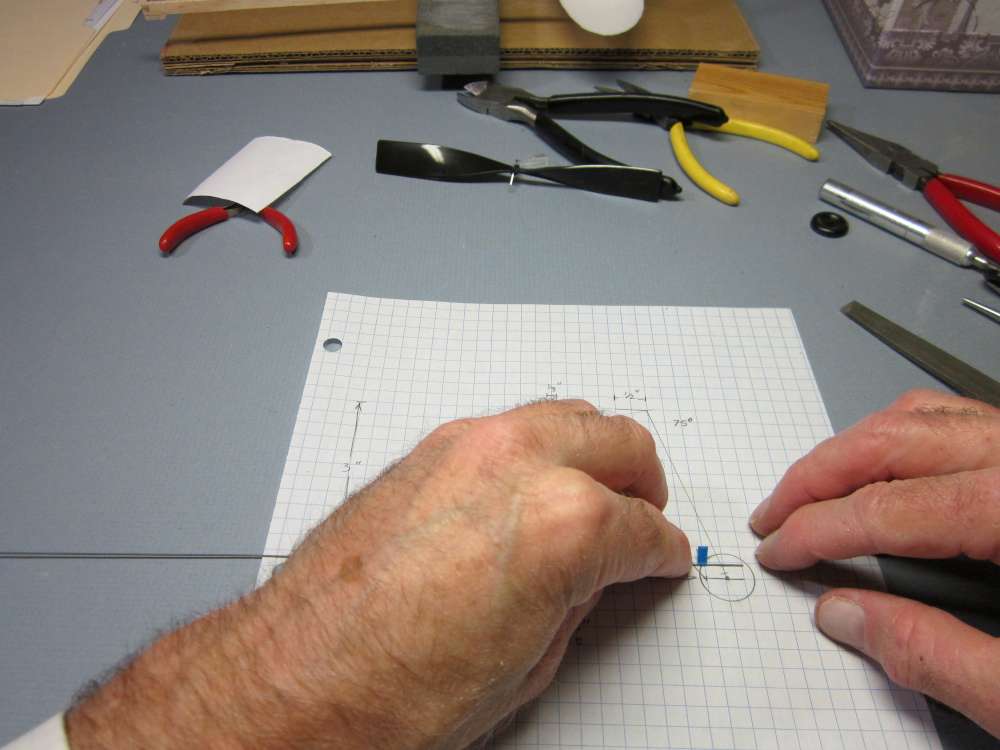
Check the length against the plan.
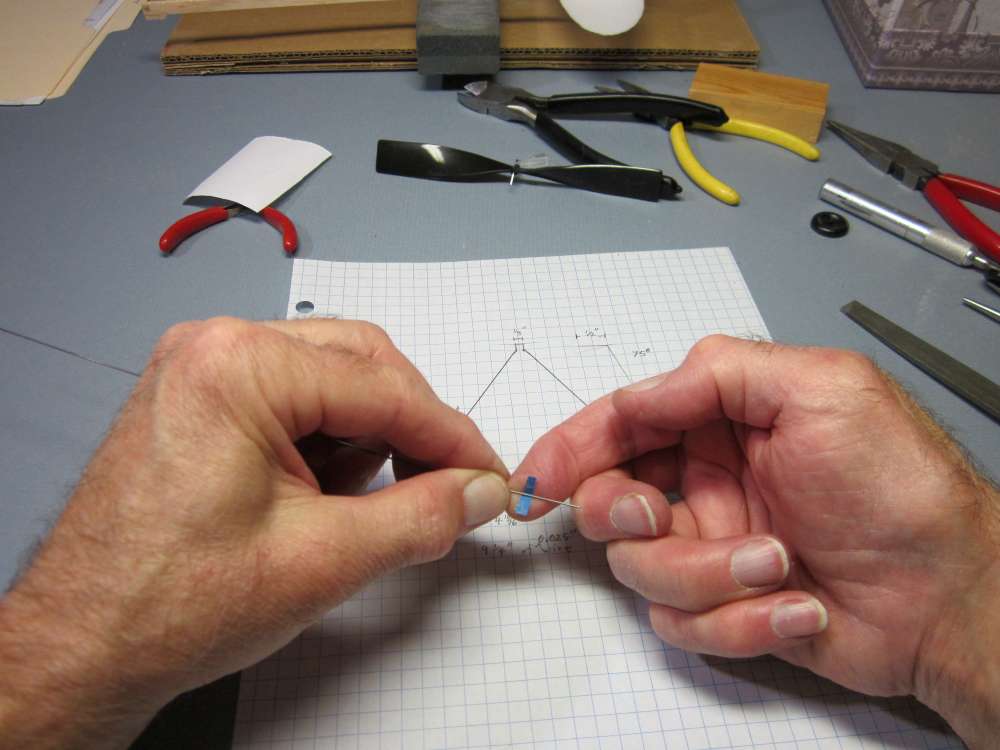
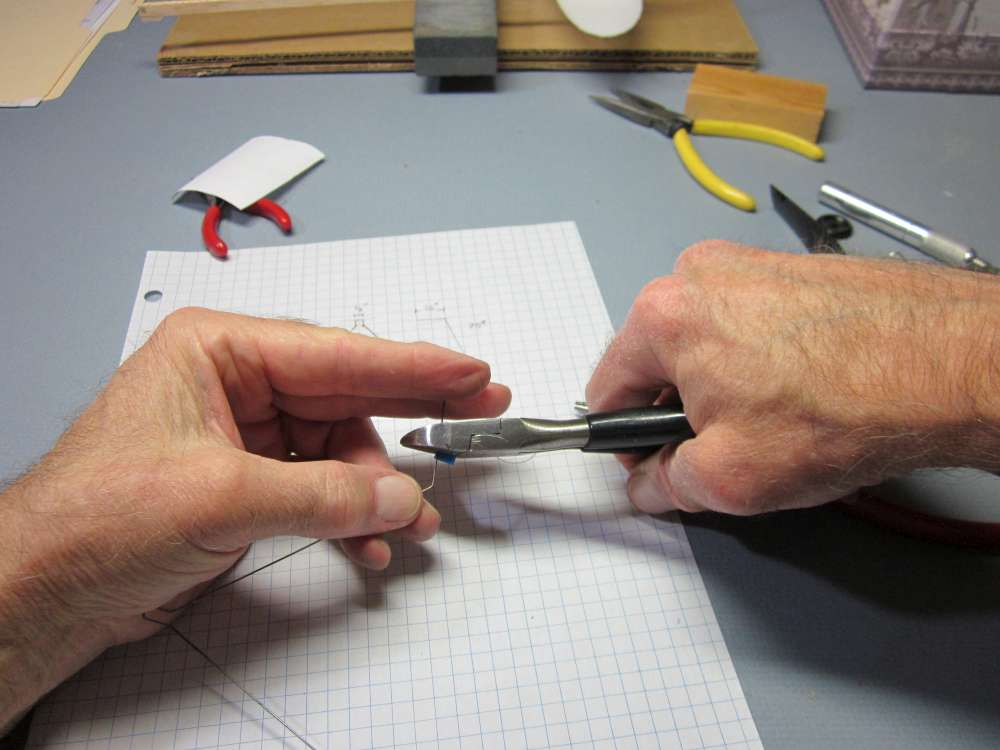
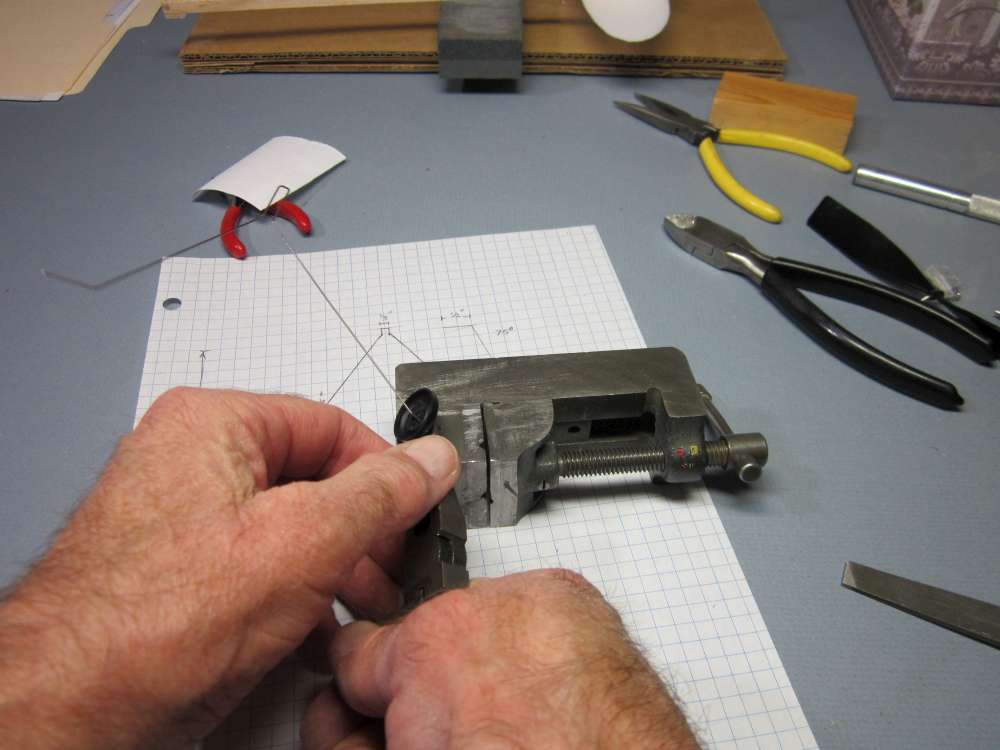
Grip the wire in the pliers right next to the tape.
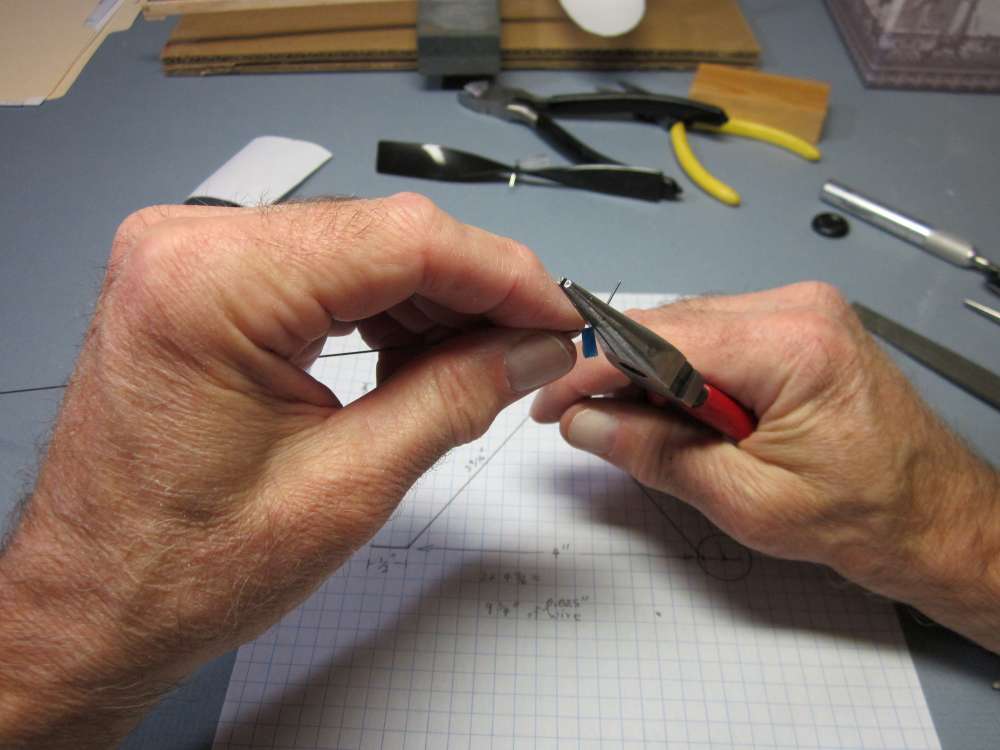
Bend the wire perpendicular to the face of the pliers. Bend it a little more than the angle you want, the wire will spring back some. Experience will teach you how much.
Check the angle. Here we went a bit too far. It must be unbent slightly.
Adjust and check until it is right.
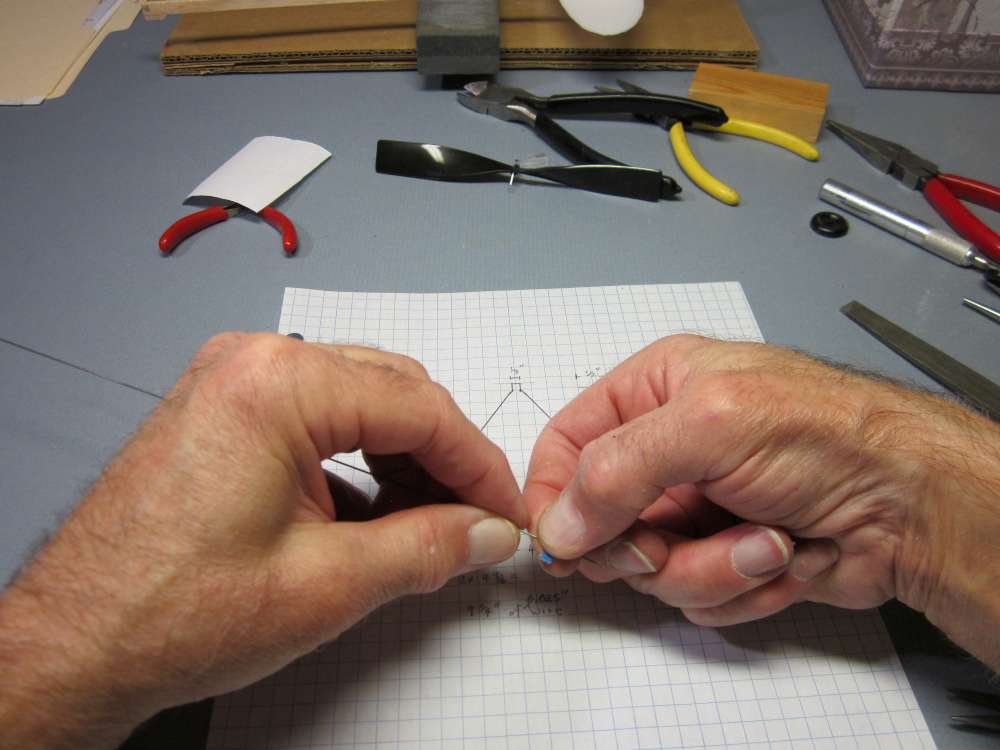
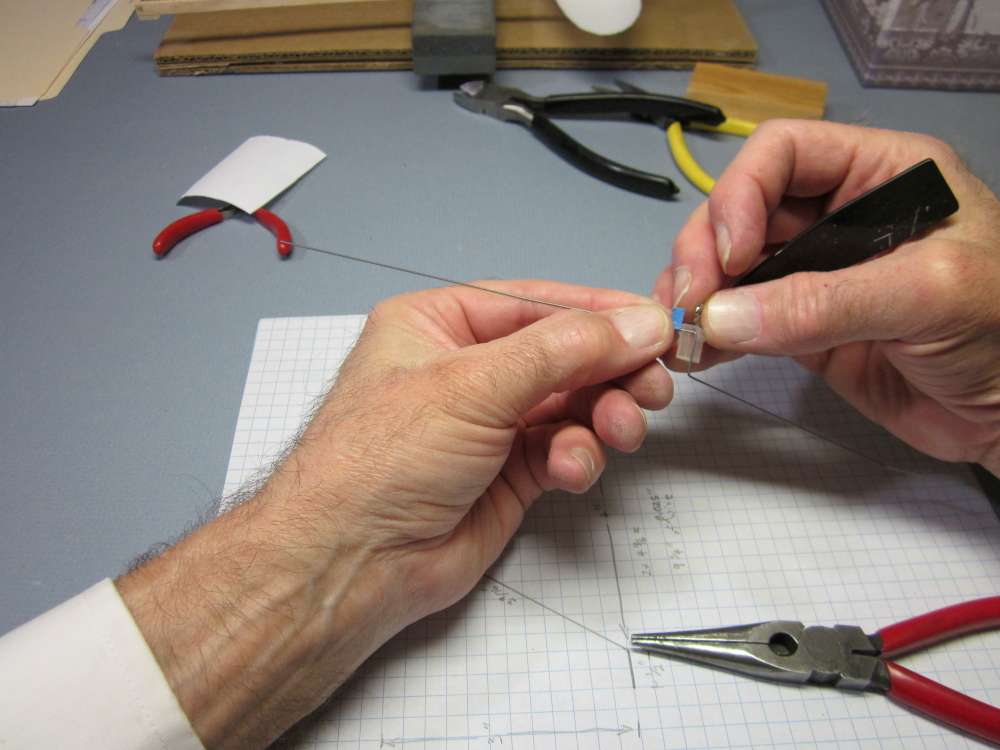
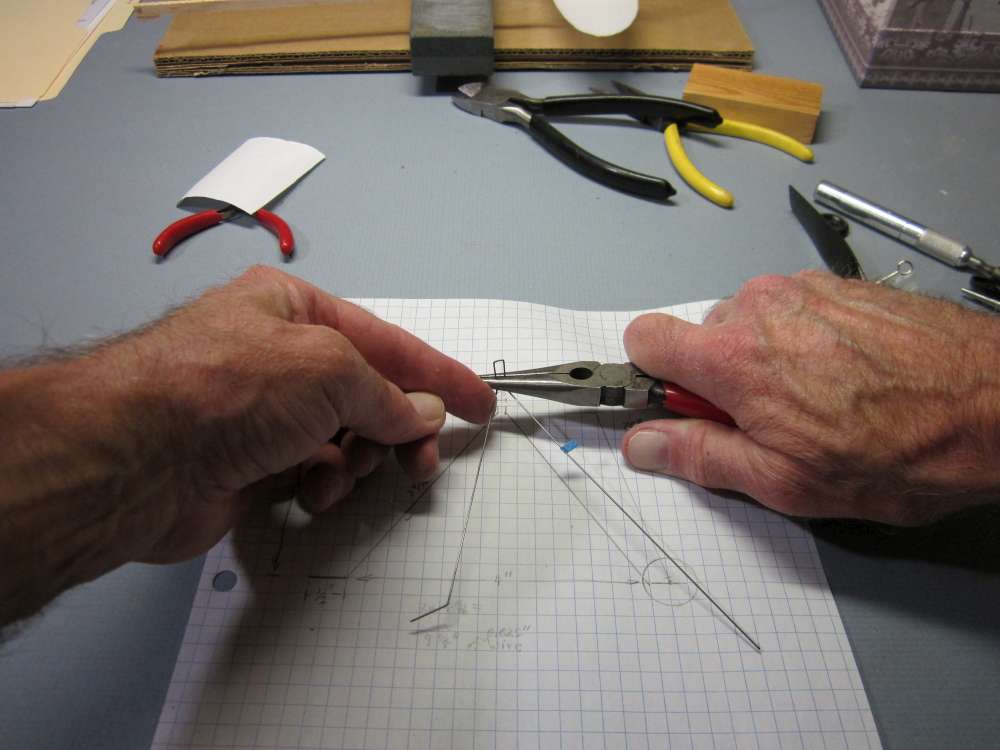
Position tape for the next bend.
Press the tape firmly in place so it won’t slip.

Grip the wire in the pliers. This bend is out of the plane of the previous two lengths of wire. It must be visualized in three dimensional space. Once you have figured out which way the wire must be bent, rotate the wire so the direction of the bend will be perpendicular to the face of the pliers. Push the wire to bend it. Push close to the position of the bend. If you push from too far away from the bend, you may put a curve in the wire. You want a sharp bend.
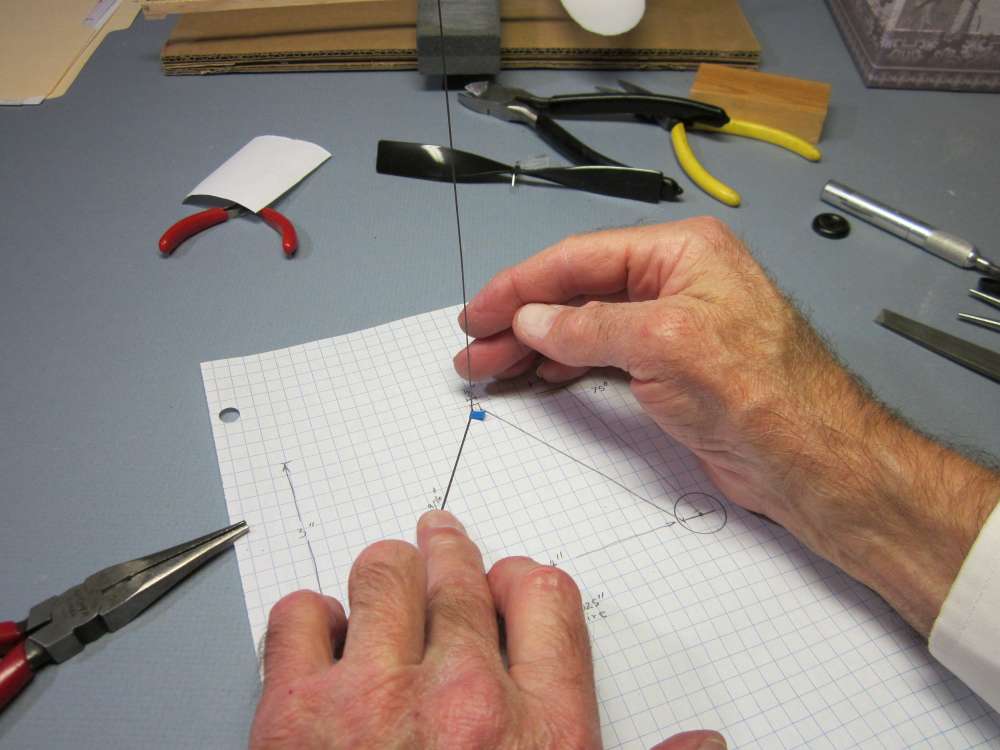
Check the bend. This is a three dimensional object, so view it from both directions. The wire sticking up must be parallel with the central plane of the landing gear, a plane perpendicular to the drawing sheet, and it must allow the landing gear to project forward. The wire will lean away from you as seen in the photo.

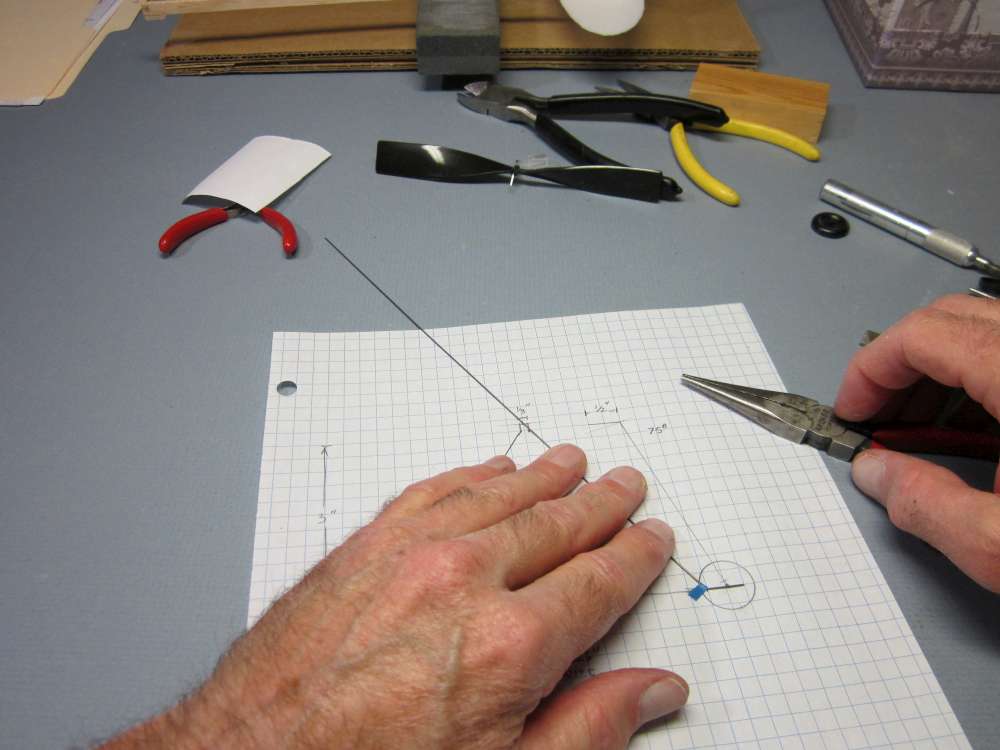
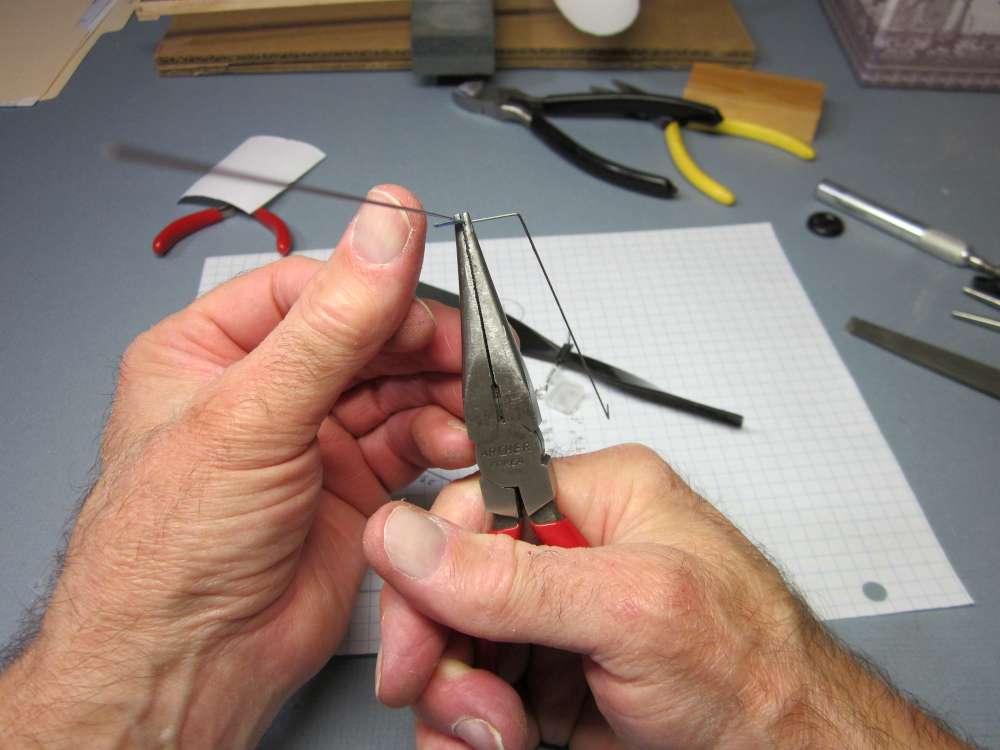
Mark next bend. This is one side of the piece that fits into a slot in the plastic propeller hanger box.
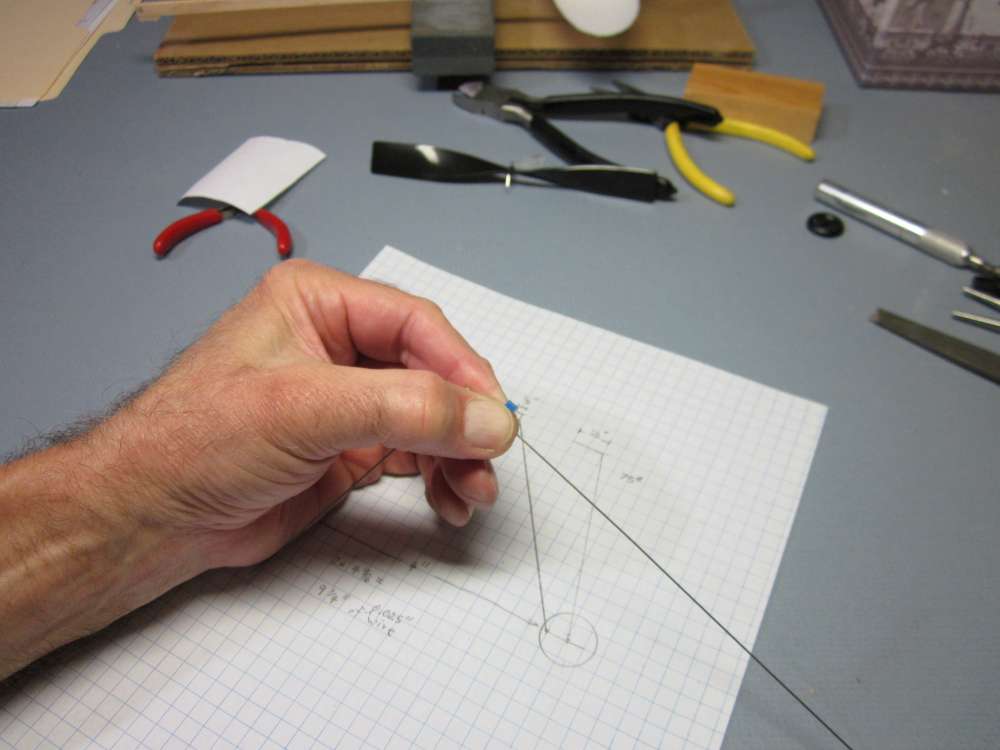
As always, squeeze the tape tightly in place so it doesn’t slip.
This next section will be horizontal when the axles are horizontal. I held the axle to the board to orient the assembly so i could orient the pliers for the bend.
Bend the wire.
This next bend is the most dimensionally critical one. The length of this section determines whether the wire will fit properly in the plastic nose piece. It must be made to exact tolerance. Put the existing edge in one slot and mark the bend position with tape. Keep in mind that the bend takes place about one wire diameter outside the face of the pliers. Place the edge of the tape about one wire diameter inside where you want the bend to be.
This next section must be in the same plane as the previous two. Align the previous two so your eye is in the plane that contains them and make the bend, keeping the next section in that same plane.

The completed section is in the same plane as the previous two.
It is parallel with the one on the other side of the box. Adjust as necessary.
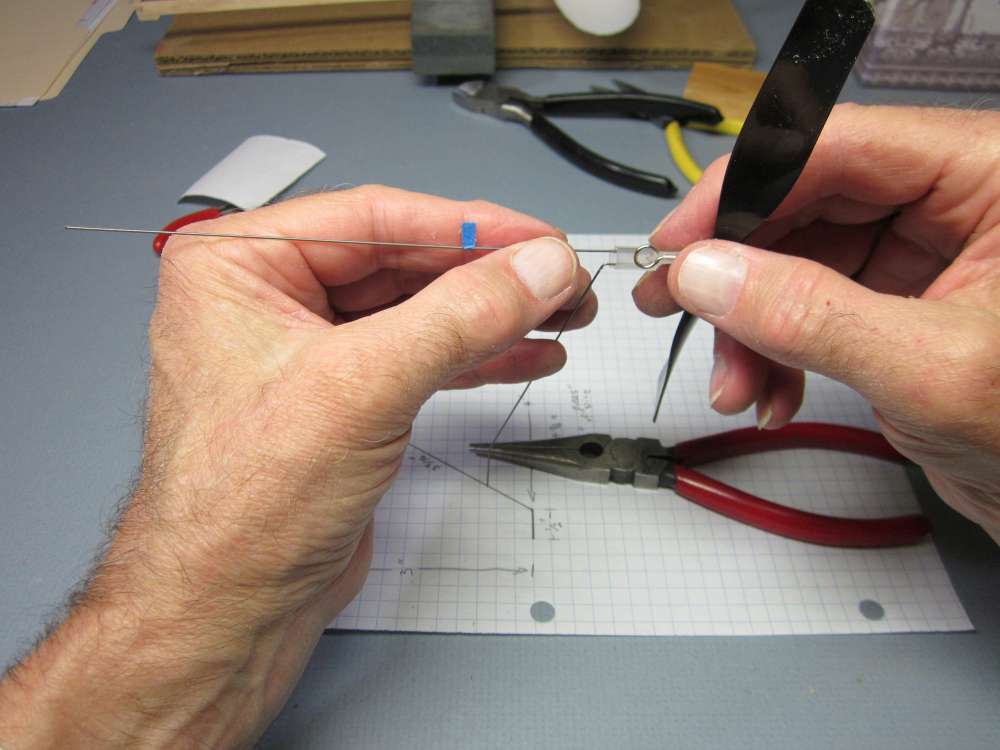
Check the fit in the nose piece. It should be a snug friction fit.
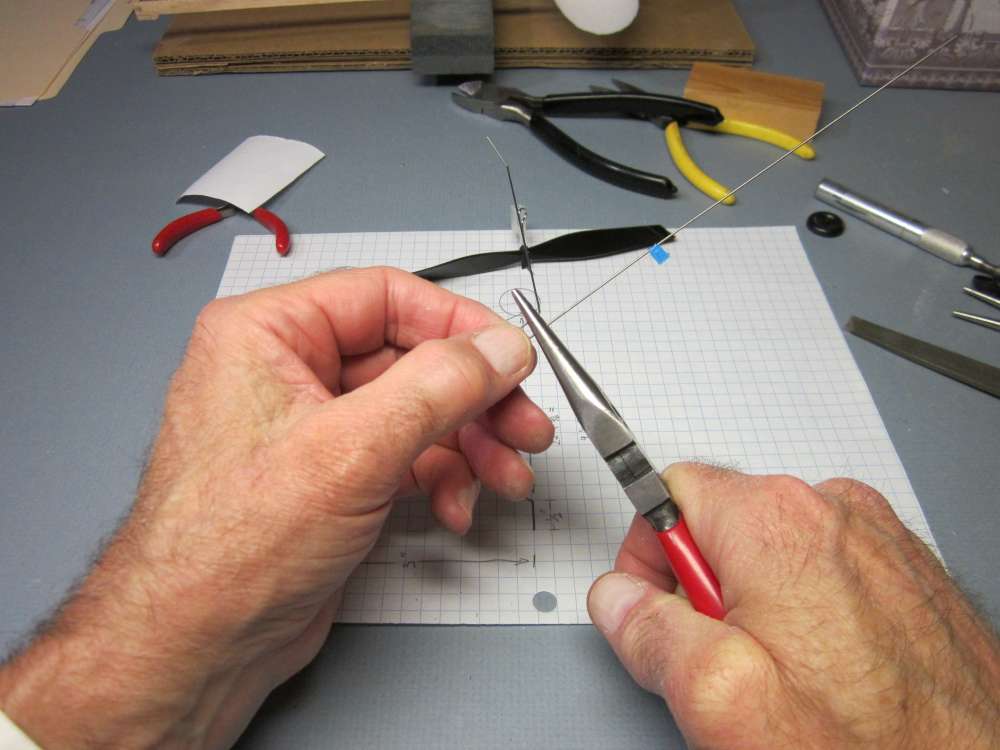
This next bend is a bit tricky. It is a compound angle bend close to the previous two bends. This next section must be the same length as the parallel one on the other side of the box. Lightly grip the two pieces of wire and slide the pliers along until it stops at the first leg. Keep the face of the pliers perpendicular to the wires. The next bend is not made perpendicular to the inside faces of the pliers, it must splay the wire out from the center as well. Refer to the drawing and note that this leg is symmetrical with the other.
Check the bend. From the side, this leg is in the same plane as the first leg. Adjust as necessary.
This leg is symmetrical with respect to the first one.
Adjust as necessary.
Check against the drawing.
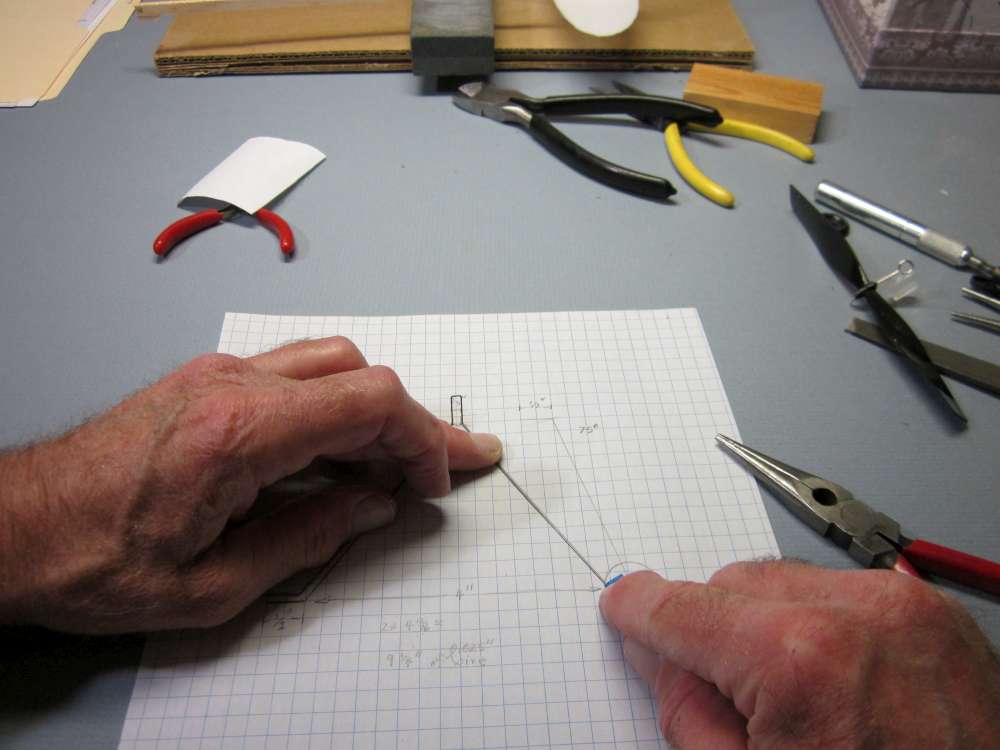
The final bend makes the other wheel axle. Mark with tape. This section is in the same plane as the previous axle and the two legs. Align that plane with your eye and make the bend.
Check against the drawing and adjust as necessary.
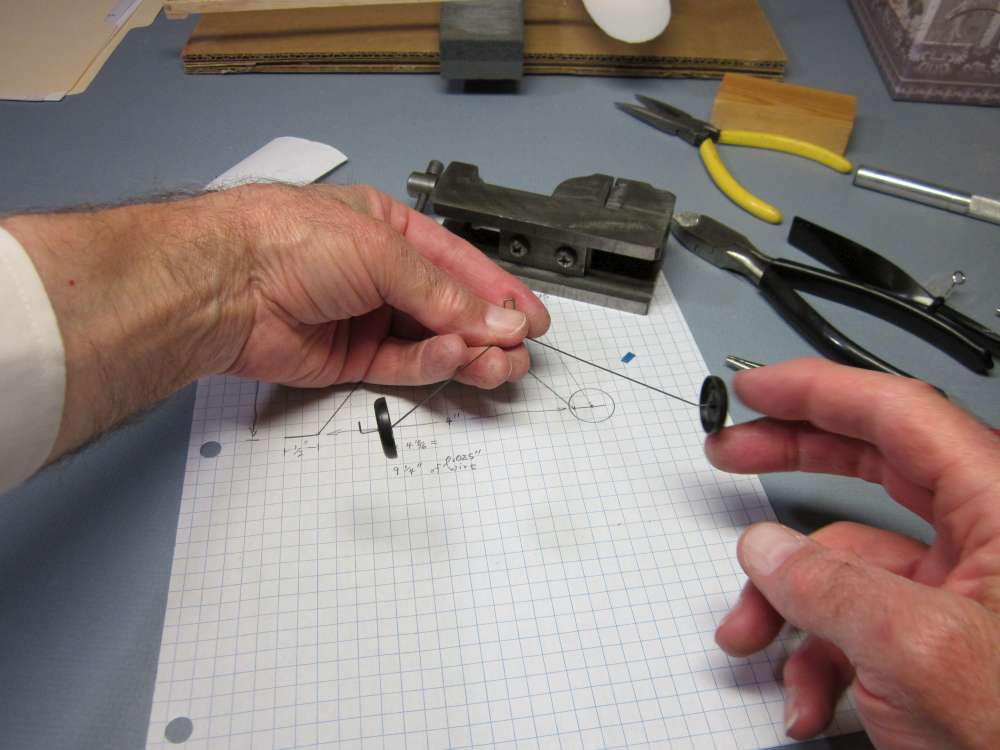
Looks good! Mark the end of the axle where we will cut the wire.
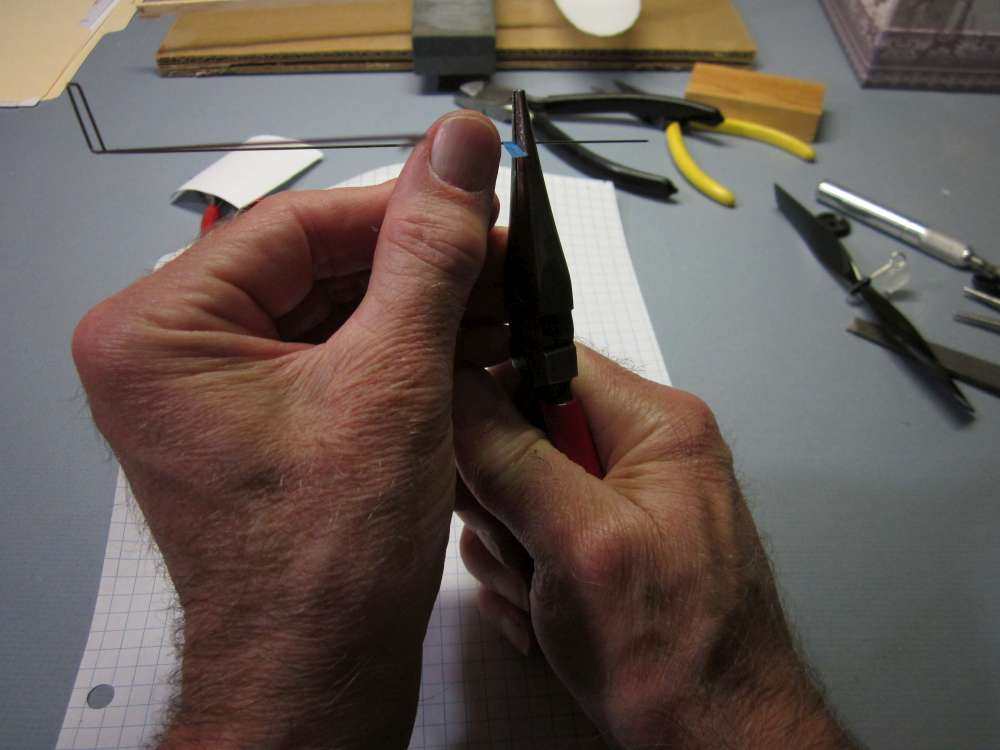
Cut off the excess wire.
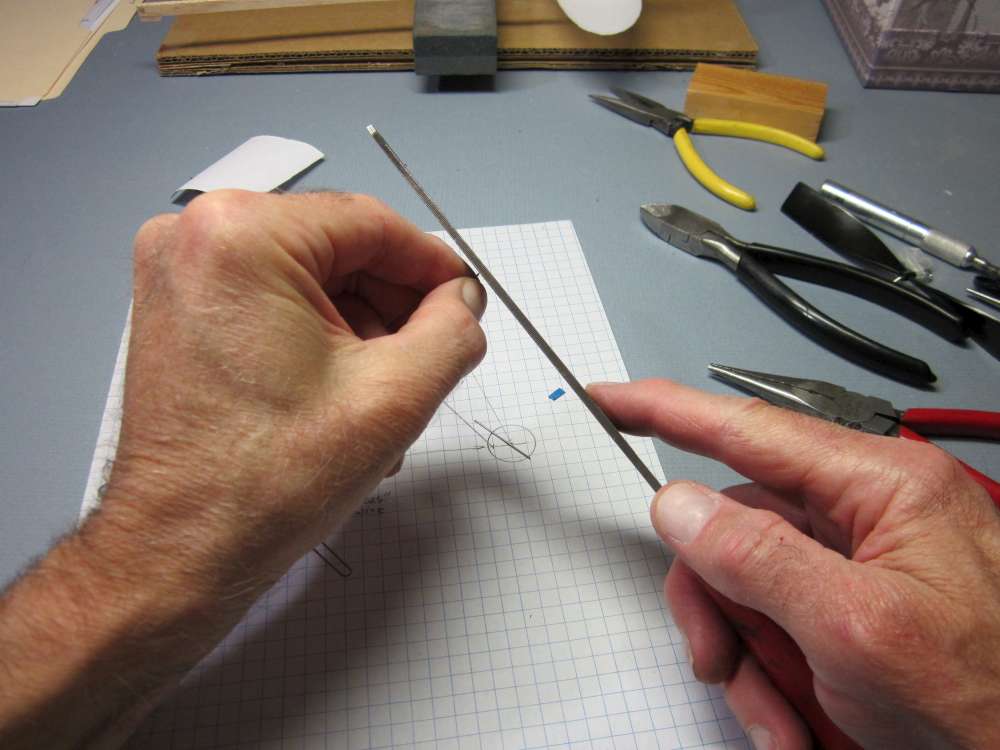
File away the sharp cut end.
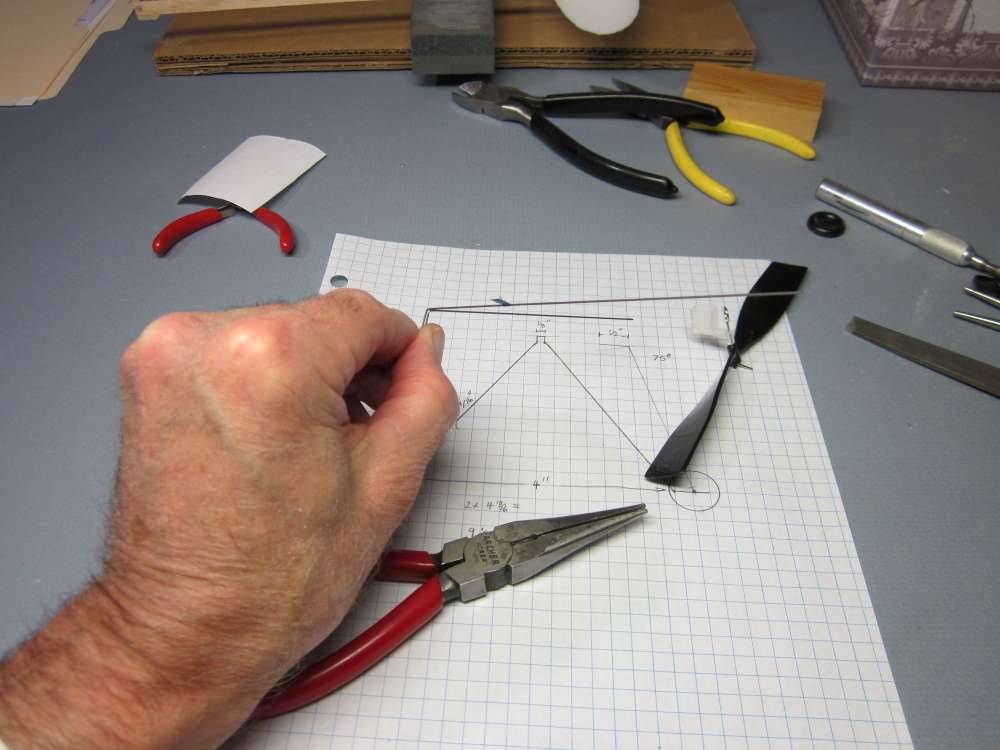
Slide a wheel onto one axle. The hollow part goes inside, the rounded surface faces out.

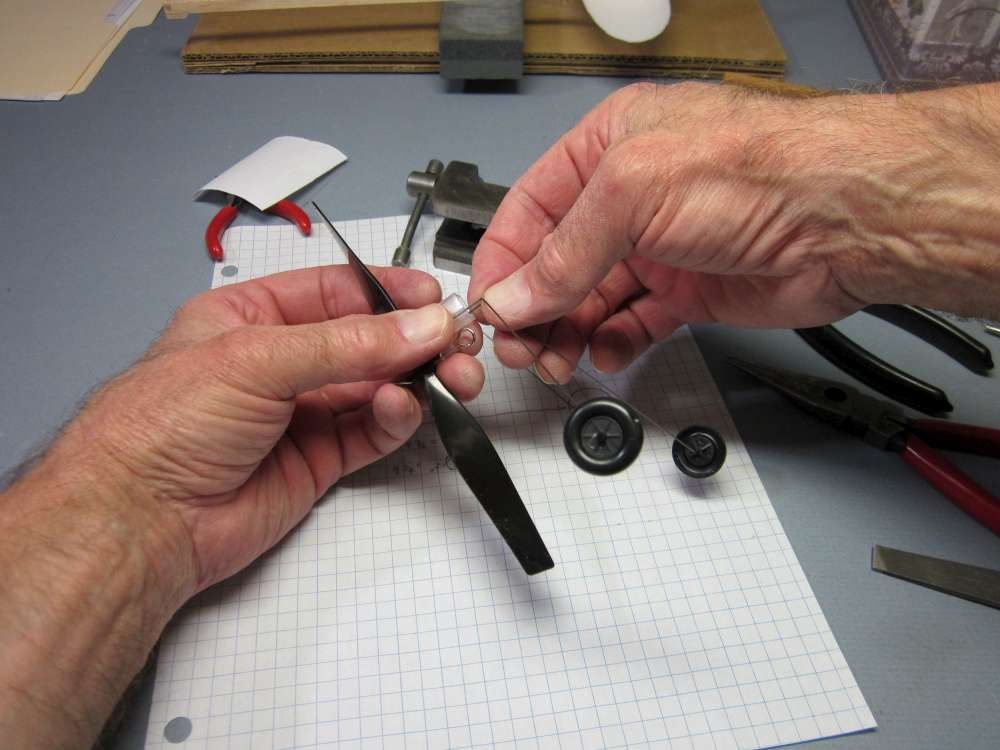
Grip the wire so about 1/8″ sticks out beyond the face of the pliers.
Press the end of that 1/8″ piece against a hard surface to bend it over to a right angle. This section will keep the wheel on the axle.
Do the same with the opposite wheel. Check that the wheels spin freely.
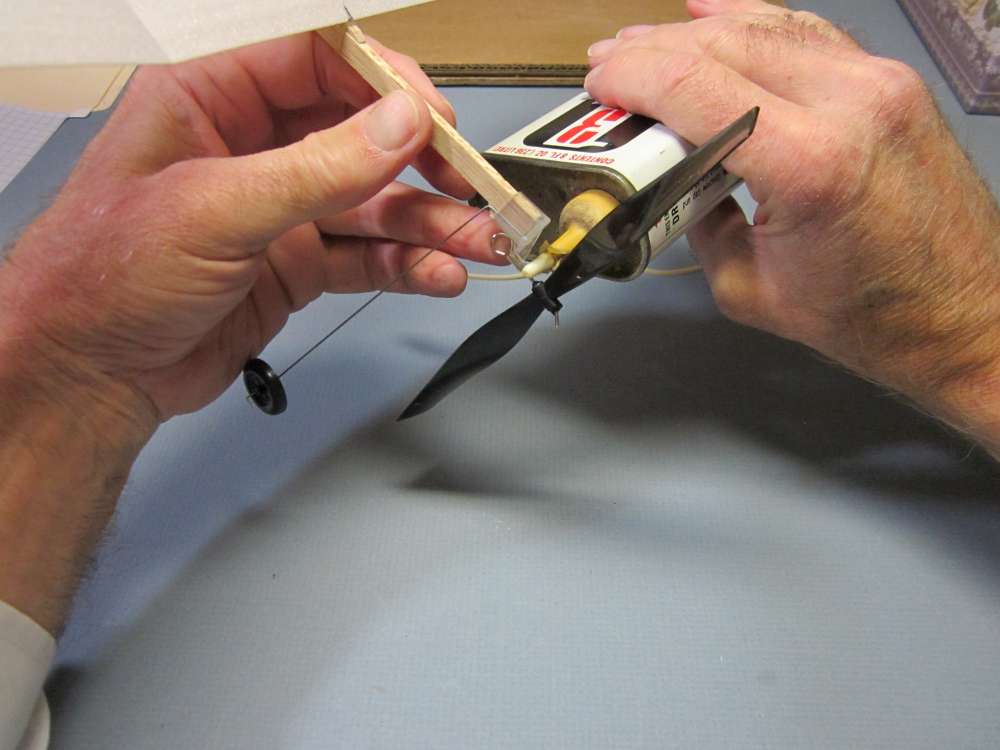
Press the wire box into the slots in the plastic nose piece.
Check the fit of the nose piece on the nose of the stick. If it is too small. put the top of the stick against the top inside of the nose piece and press it in to make an indentation across the bottom of the balsa nose block.
If the stick is too small, glue on a shim of hard balsa. The prop assembly needs to be a snug fit on the stick.
Sand the nose block down to remove the thickness that was indented. Be careful to not overdo it. Approach it gradually, with frequent test fits, until you get a tight fit.
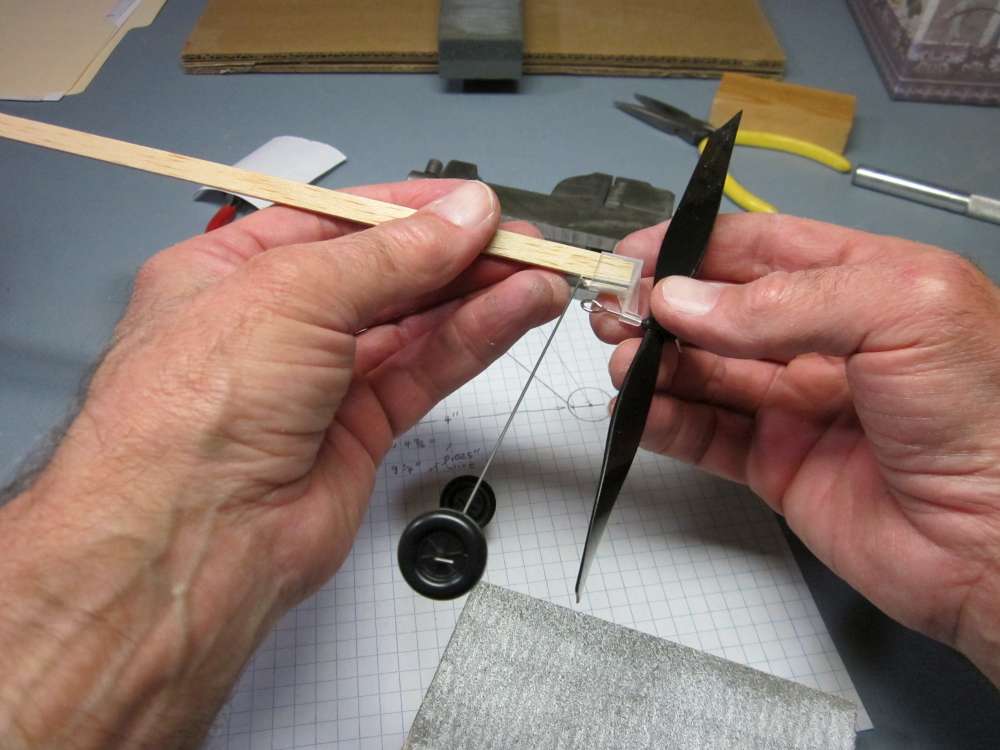
When you get a tight fit, press the stick all the way into the nose piece.

This completes the fuselage assembly. We will take the propeller assembly off temporarily to put the wing on.
final assembly
If you used tape to hold the wing panels together while the glue dried, you can remove it now.
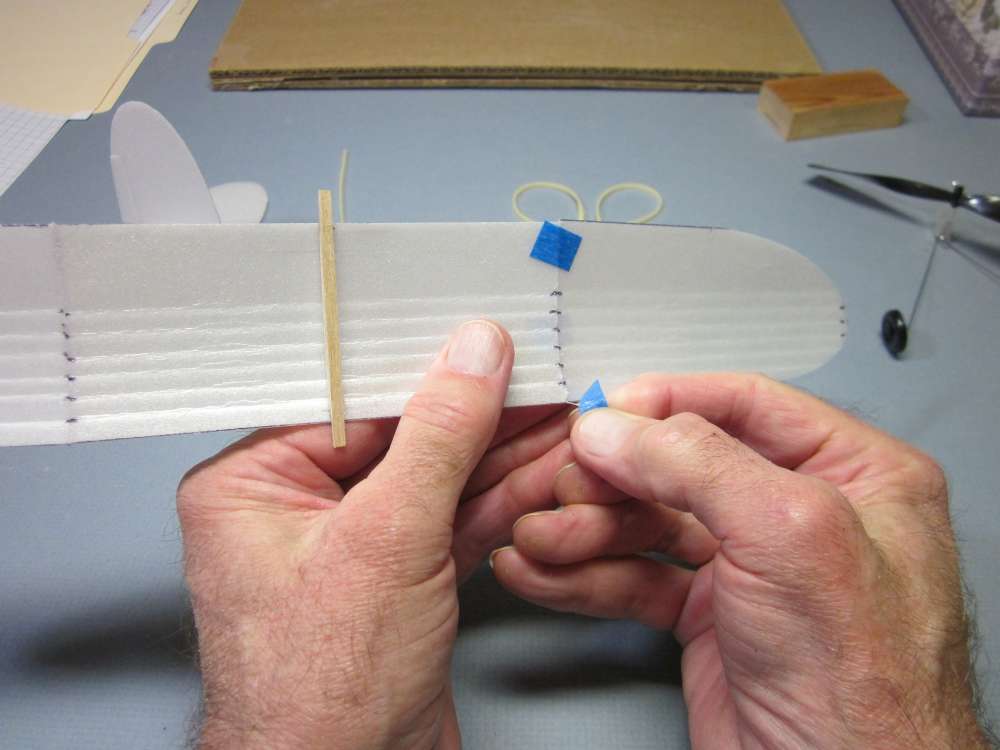
Pull two dental elastics over the nose and roll them about 5 1/2″ back on the stick. You can double them up if you want them to be tighter.
Put two more on and roll them about 2″ back on the stick.
The wing will go on between the bands.
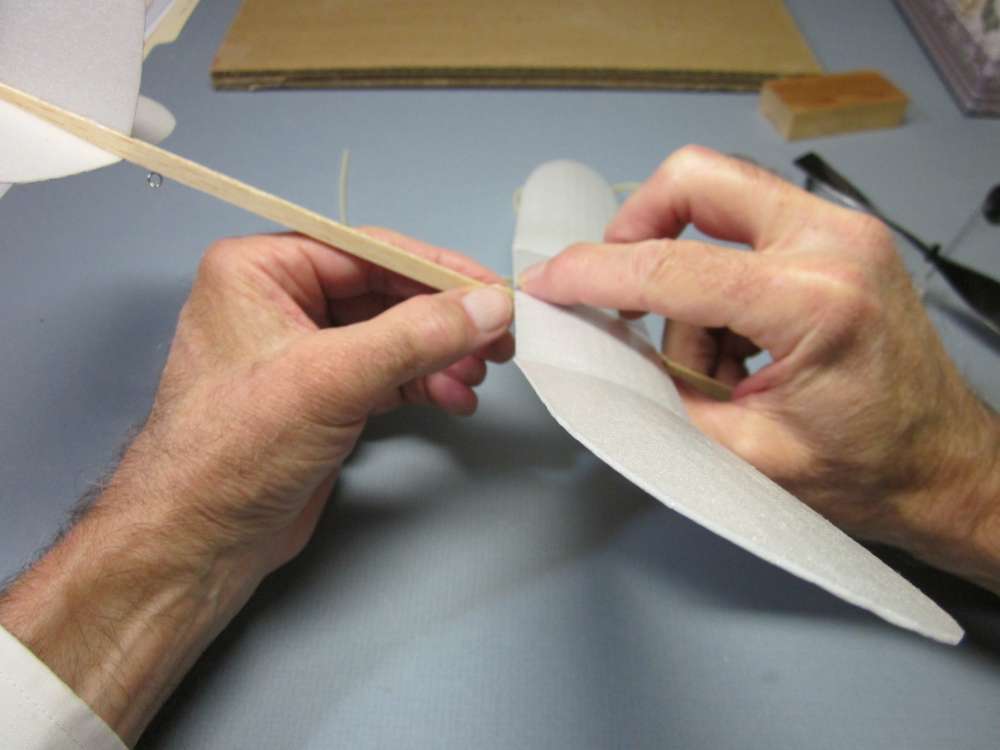
Place the wing on the stick and, while holding it in place with one hand, use the other hand to roll the back bands up on the hold down stick.
Turn it around and put the hold down bands on the front of the wing.
Put the propeller / landing gear assembly back on.
Put a tiny bit of light machine oil on the prop shaft and bearing.
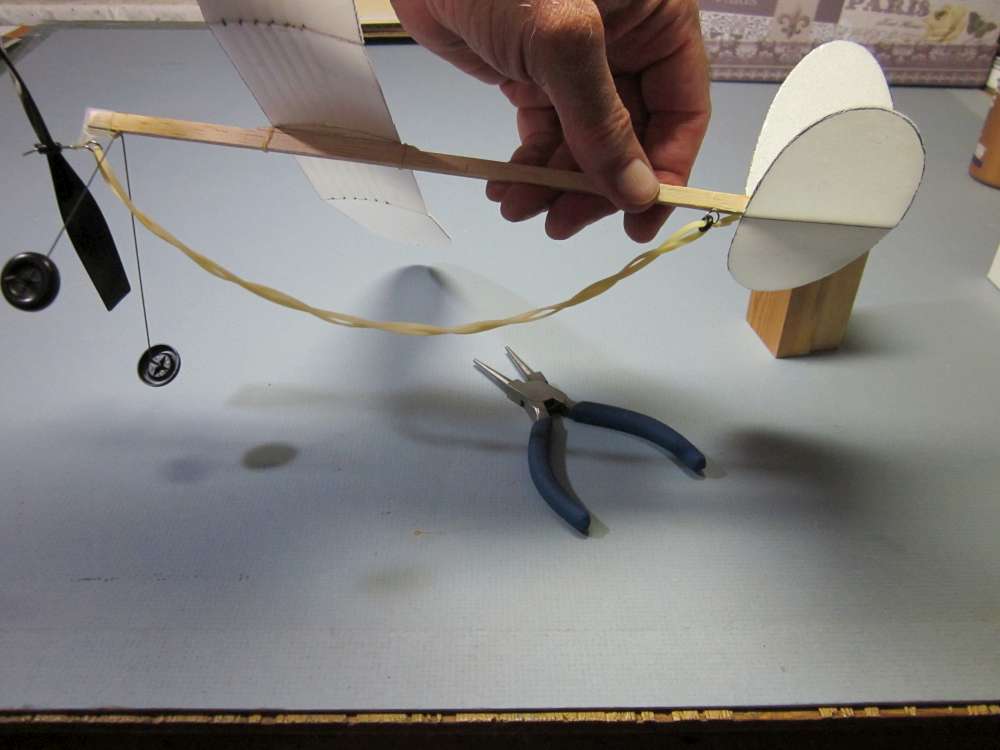
You will have made a motor according to our Motor Making instructions. This plane will use an 11″ loop of 3/32″ rubber for test flights and small field flying. For longest flights, a motor about twice the distance between the hooks is good. You will need a pretty big flying field for that, and a time with little or no wind.
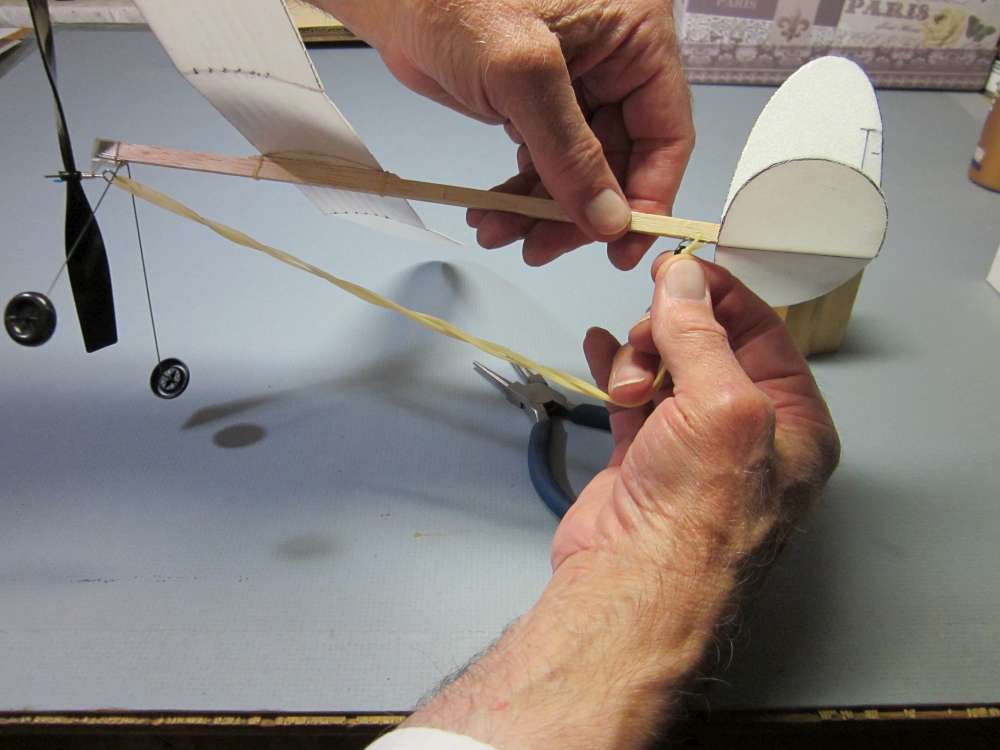
Put the motor on. The O-ring goes on the back hook. Make sure the hook is open enough so the O-ring can go in with very slight clearance.
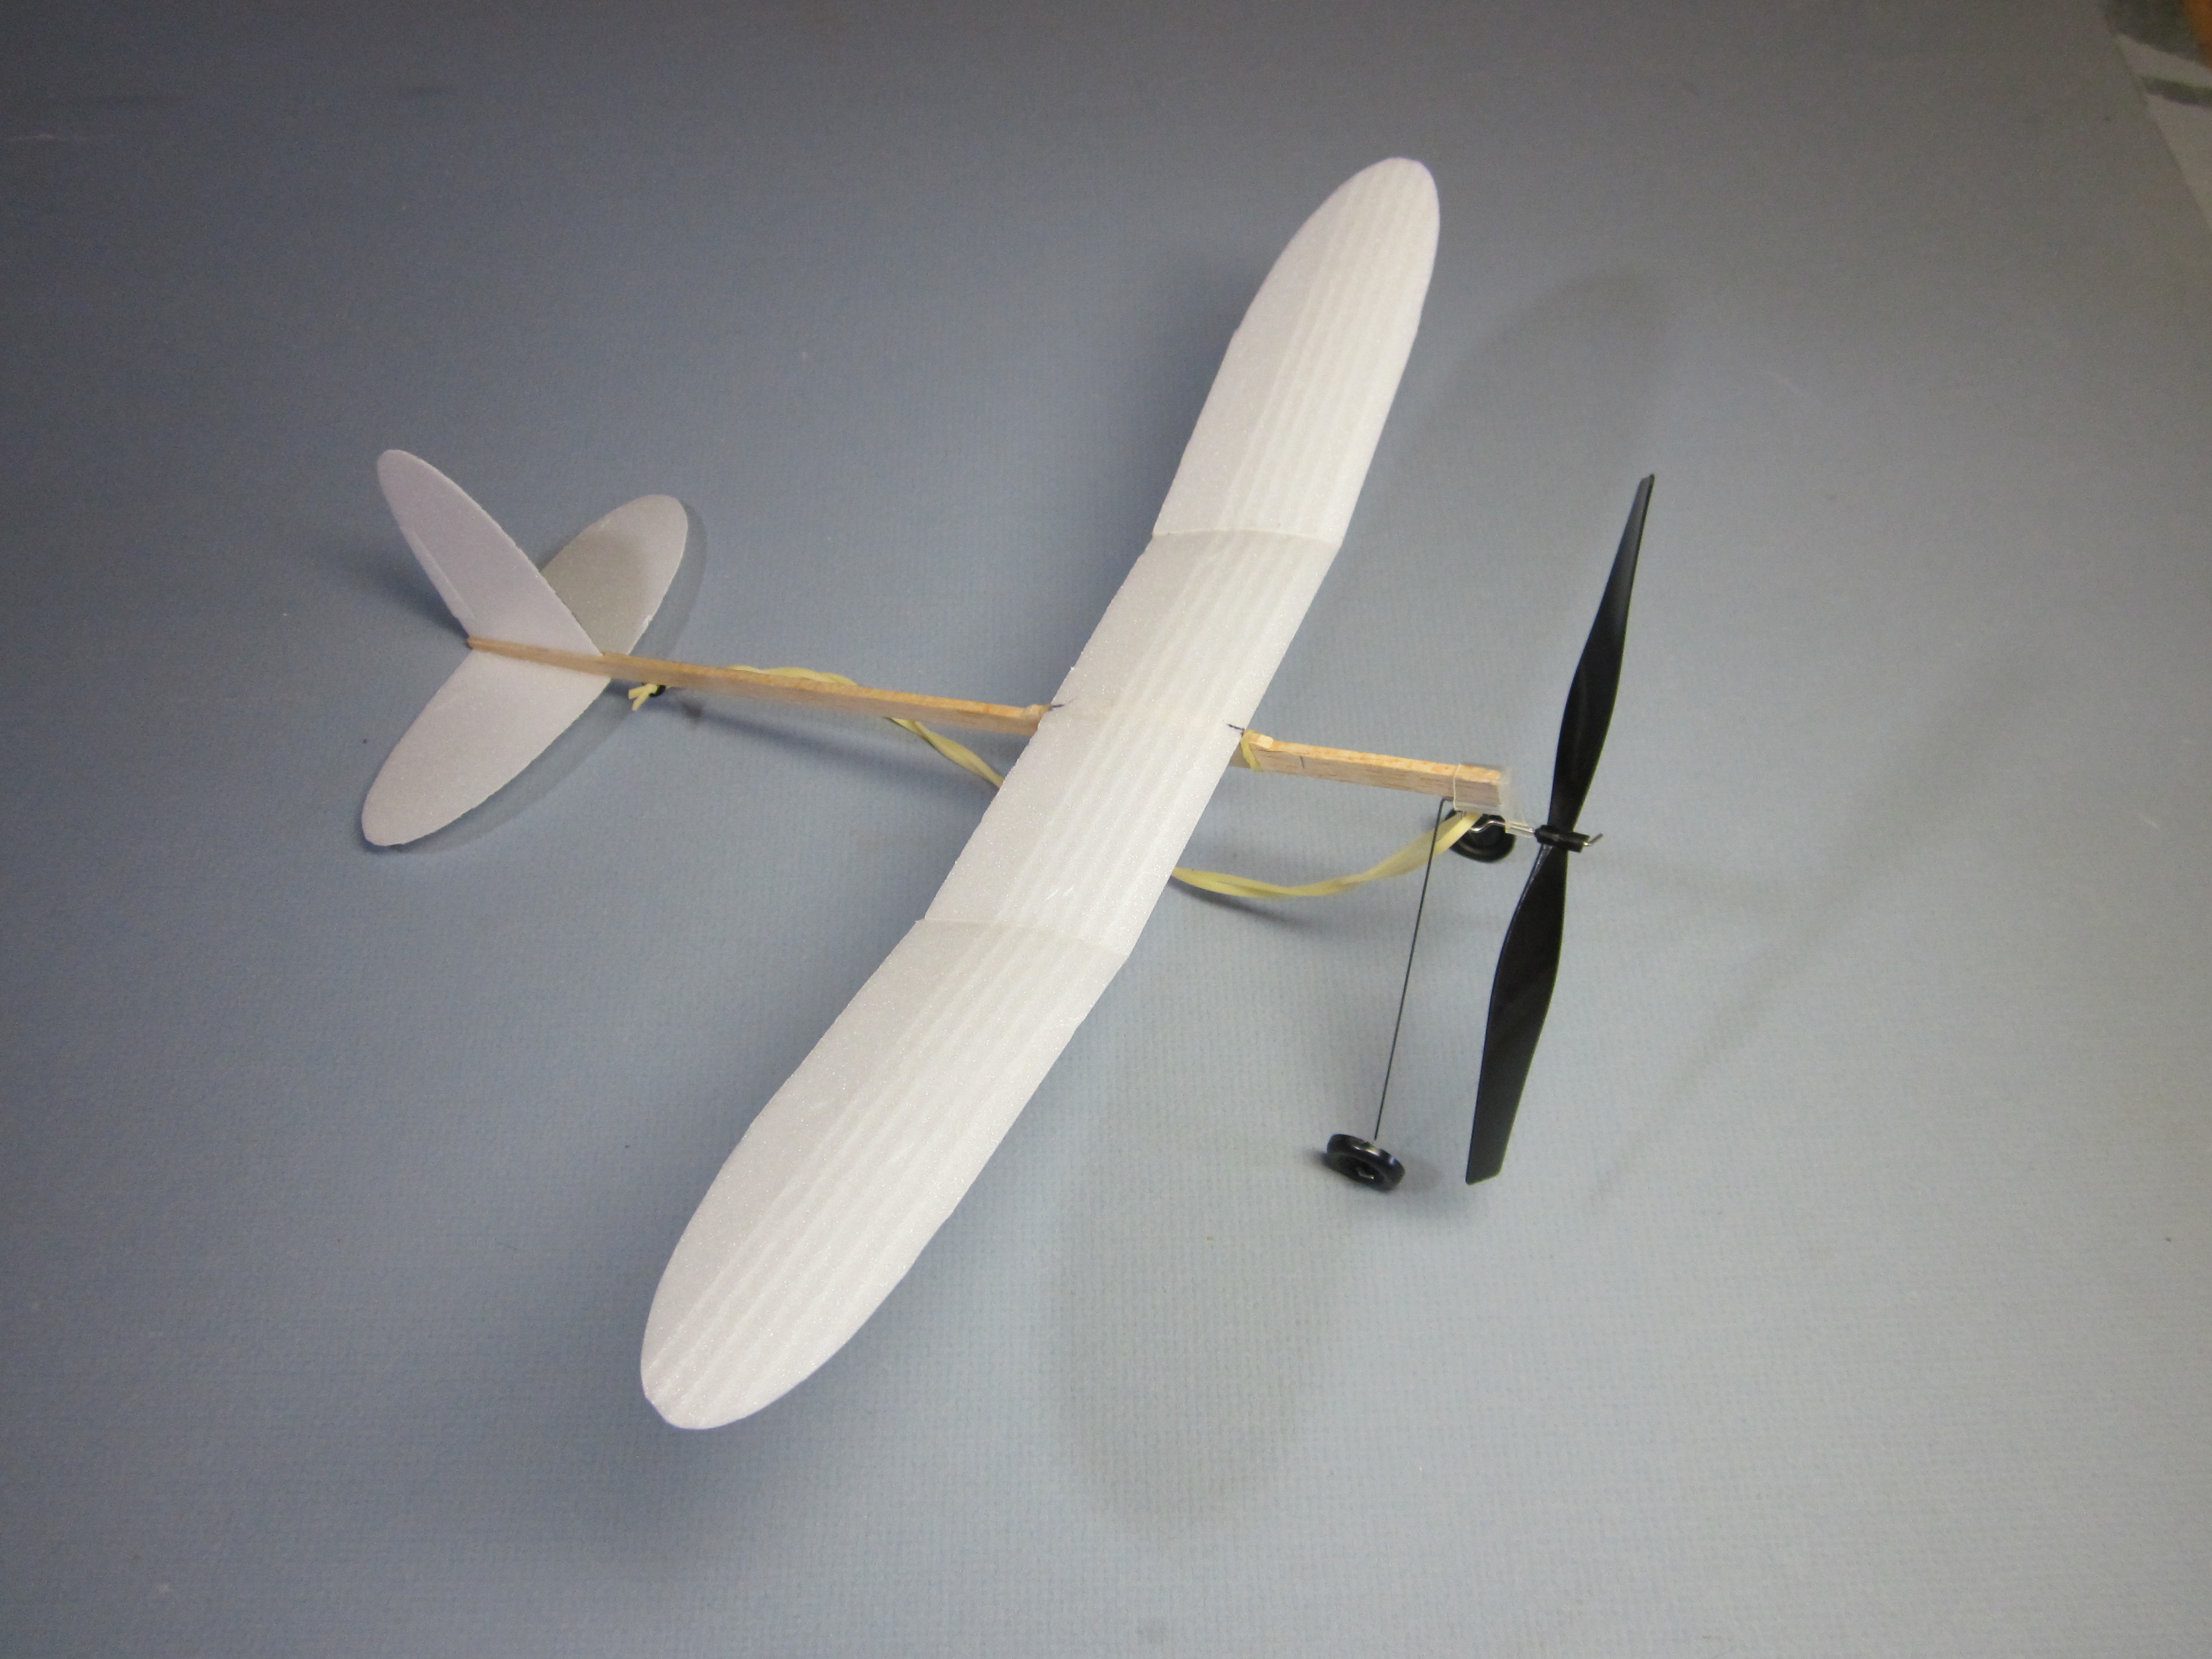
That completes the construction.
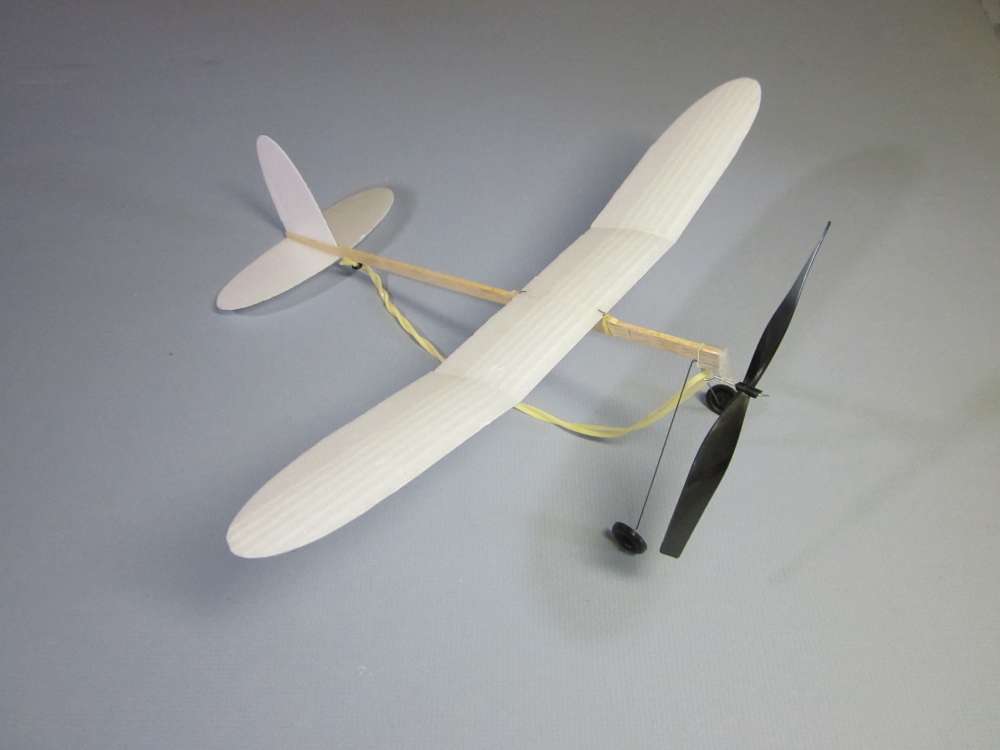
Sit back and admire your work.

We need to adjust the wing position to get proper balance. Prepare a couple of balancing supports. Stick round head pins into the ends of some blocks.
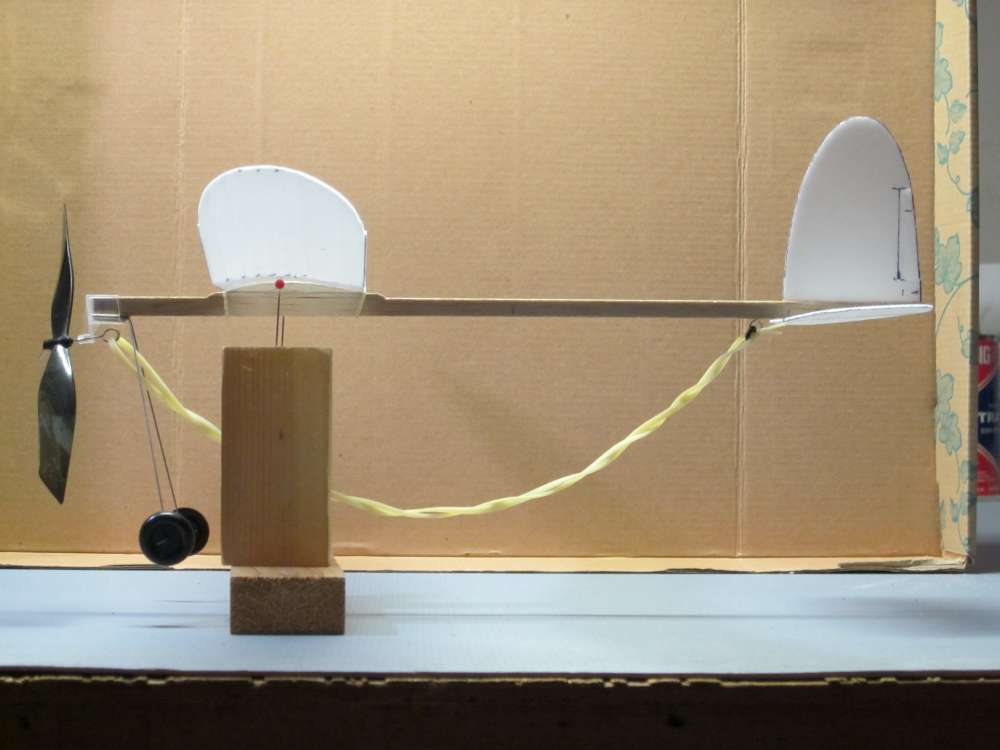
Support the plane on the pinheads so it balances at the 40% mark on the wing, the high point, with no part touching anything else. Put a pencil mark on the stick so you can find this location again. If you use a different motor, you will need to move the wing to rebalance the plane.
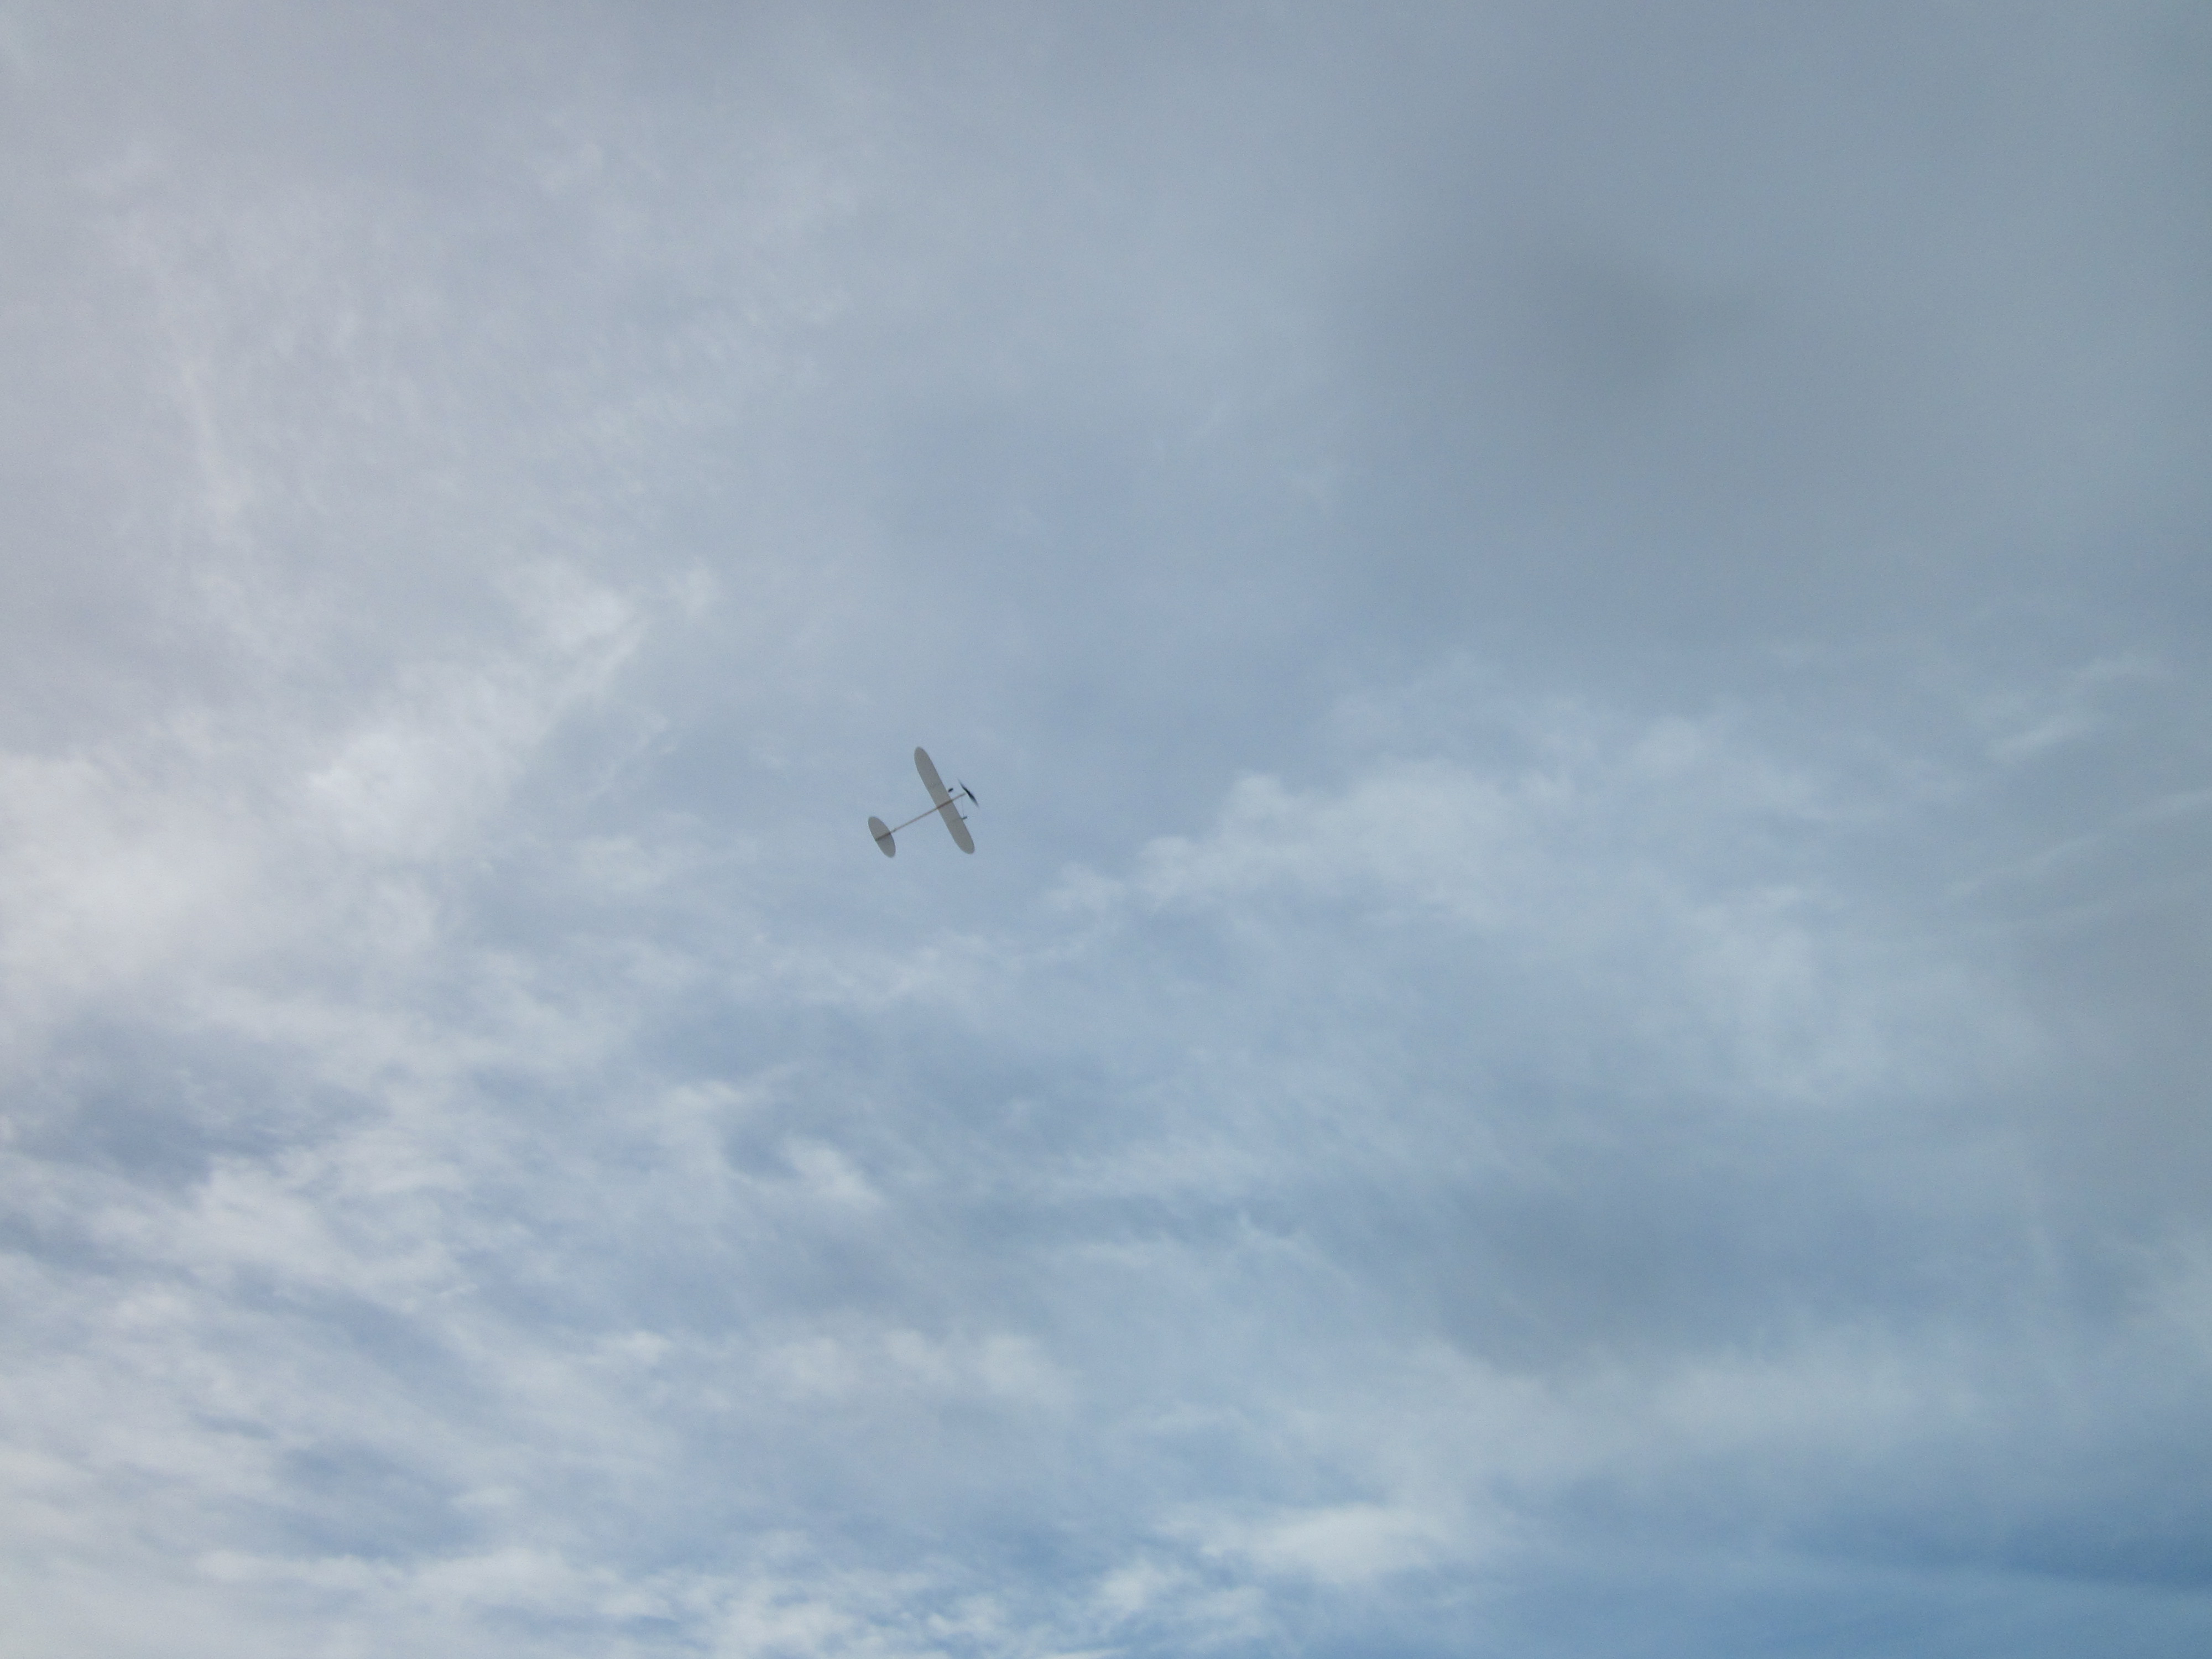
We are now ready to fly the plane. Check the wing for warps and any other problems. Fix anything that is out of line before starting to fly. Read our instructions elsewhere on Winding the Motor. This plane flies best with a tiny bit of right rudder and a tinier bit of right thrust. Test fly, gradually increasing the number of turns in the motor. Start with about 150 turns in the motor and increase the number of turns by 50 on each succeeding flight if all goes well. Adjust so it climbs and descends in about 50 foot circles.
Initially flights should go high enough so you can judge the glide with the prop freewheeling.You can do that by using a motor slightly thicker than required for best time. I use a loop of 1/8″ rubber for test fights, then a loop of 3/32″ for duration flights. Adjust the rudder to get the diameter of circle you want in descent, then adjust the sidethrust, by slightly bending the prop hanger, to get the diameter of circle you want in climb.
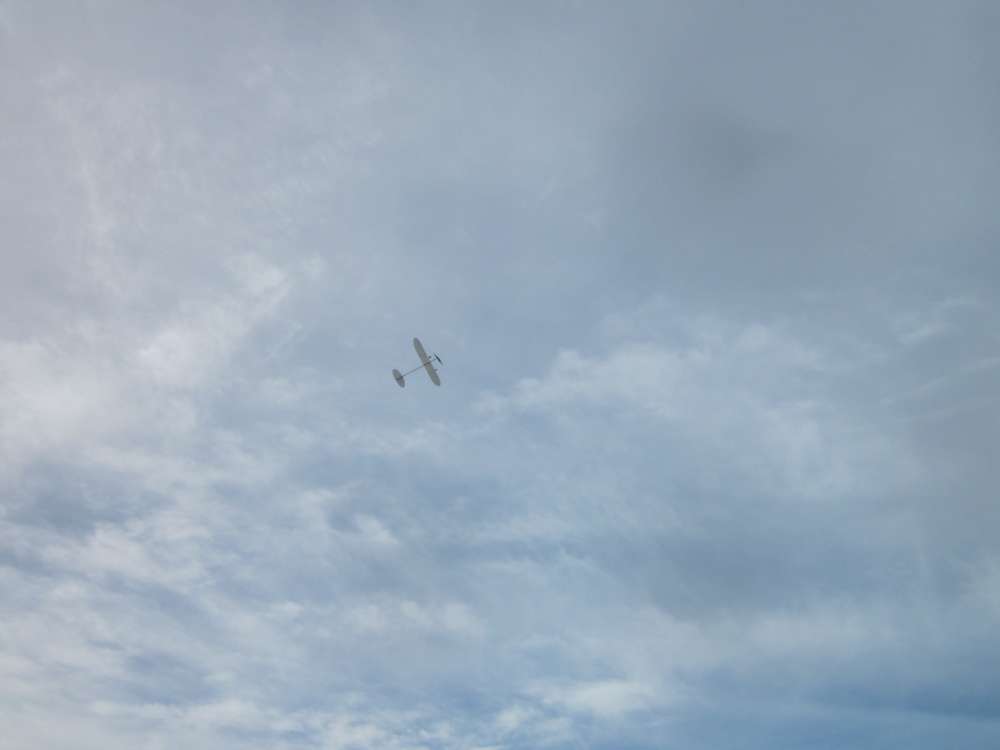
Happy flying!
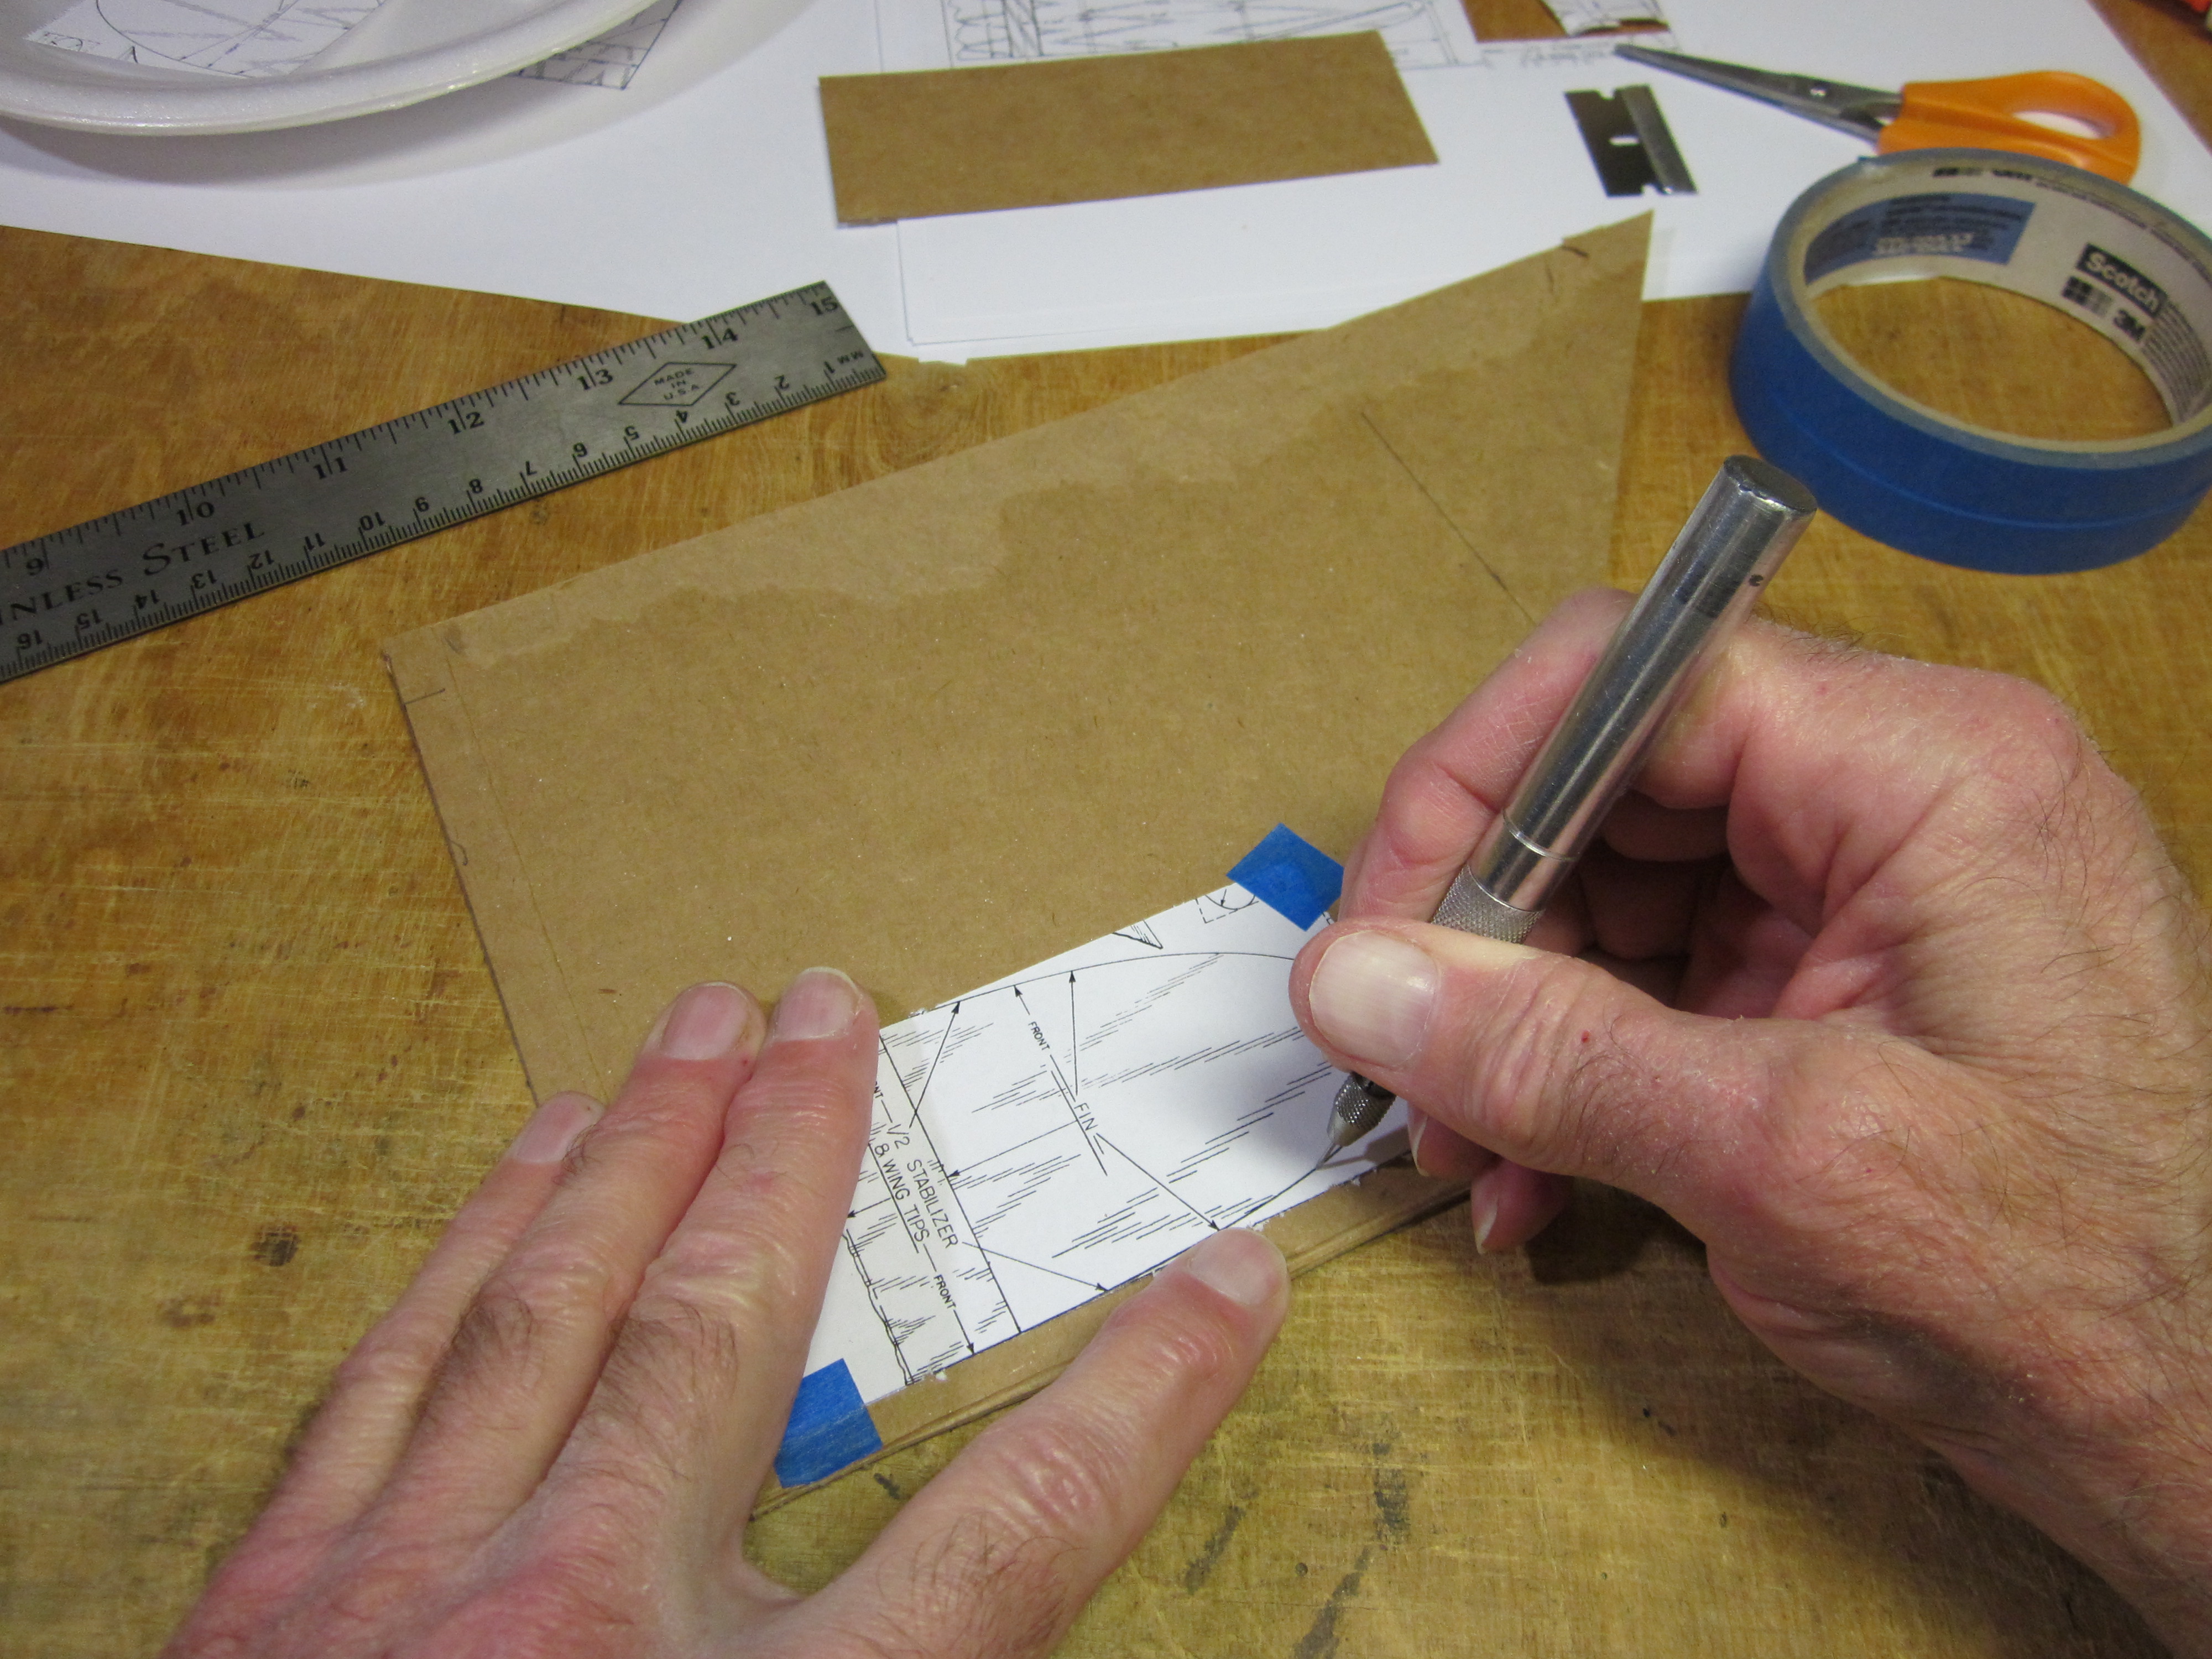
Making TWO PART full span tailplanes
In the build above I shortened the span of the tailplanes to fit inside the flat area of the plates. As I was writing this tutorial and making my fourth Foam Plate Cloud Tramp I saw a way to cut the full size patterns on a diagonal and make the tailplanes in two parts. These instructions are generic. You can use them for either the 5 1/2″ or 6″ foam disk.
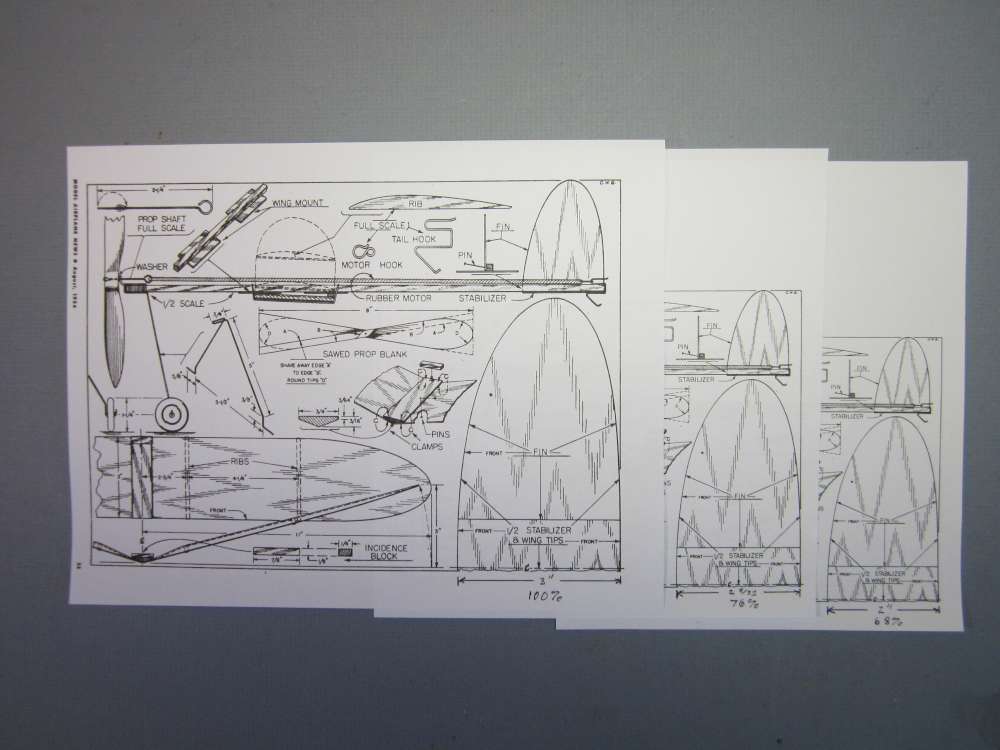
Print out the plan to match the size you want. For the 5 1/2″ disk, adjust your printer settings to make the tailplane chord 2″. For the 6″ disk,make the chord 2 9/32″. I made one of each; one to replace the tail on an earlier plane and one for my new plane.

Cut out the tailplane pattern a little outside the perimeter, to allow a margin for taping to the cardboard.
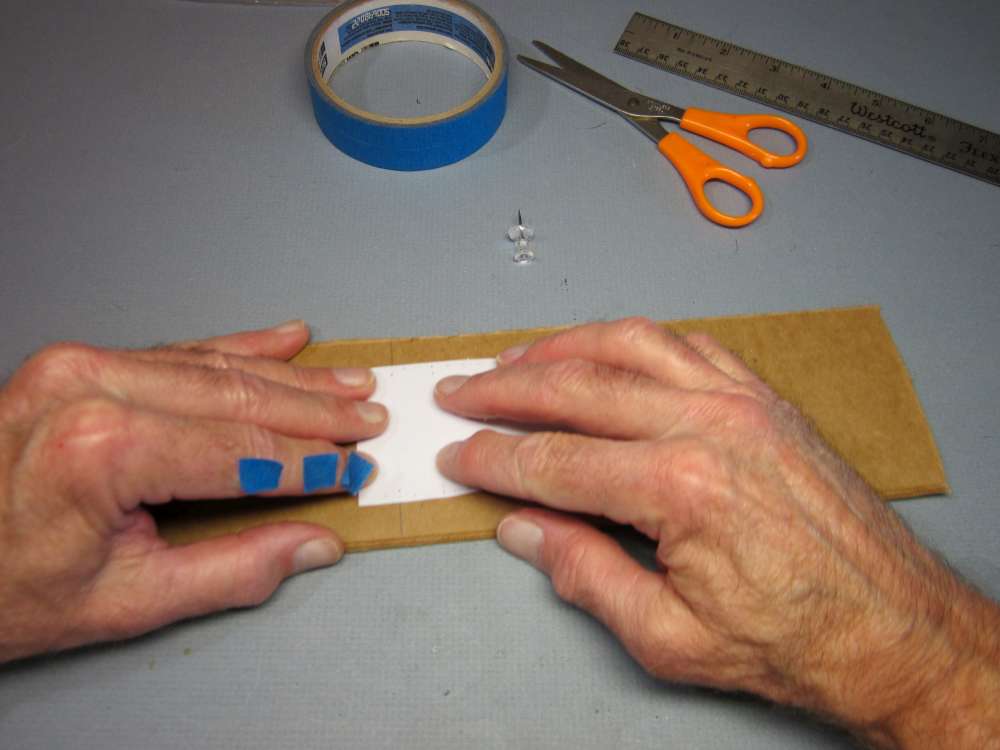
We will make templates from thin cardboard. Get a piece of cardboard large enough to contain the entire tailplane, a bit more than twice as wide as the half pattern. Draw a chord line on the card. Space it a little more than half a tailplane span from each edge.
Align the centerline of the tailplane pattern with the centerline drawn on the cardboard and tape the pattern to the cardboard at both corners.

Tape down the tip to keep it from shifting.
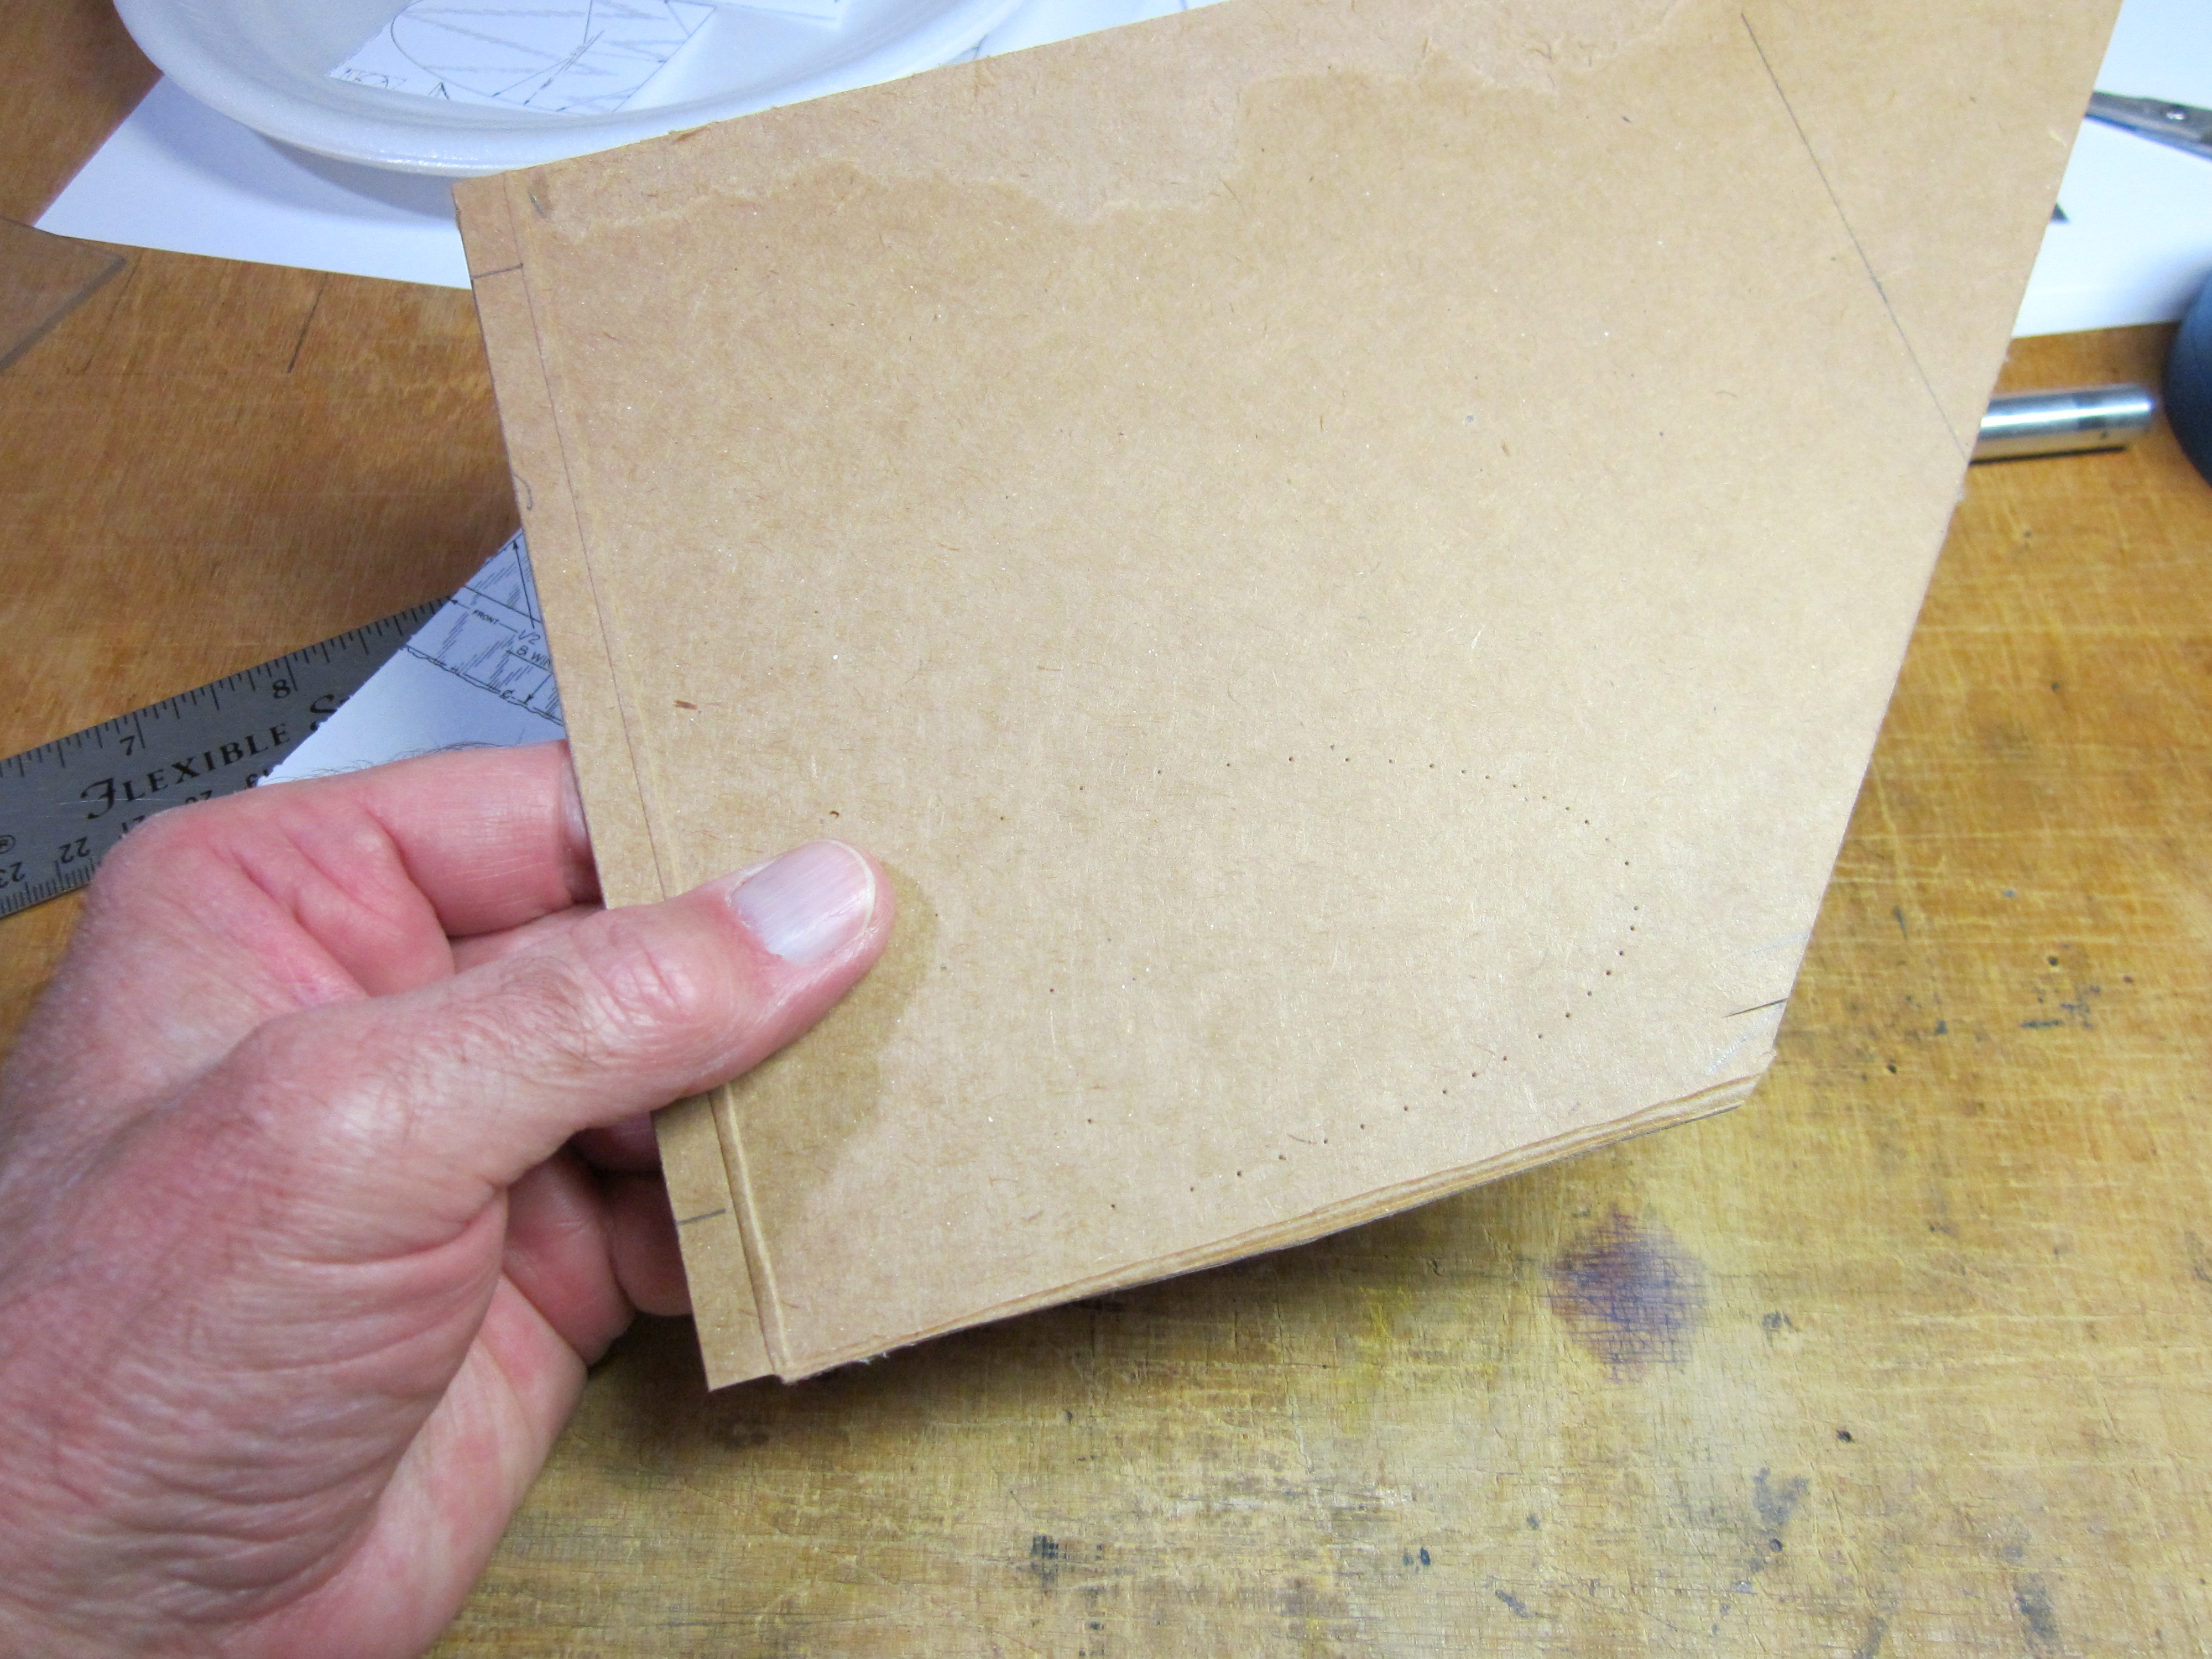
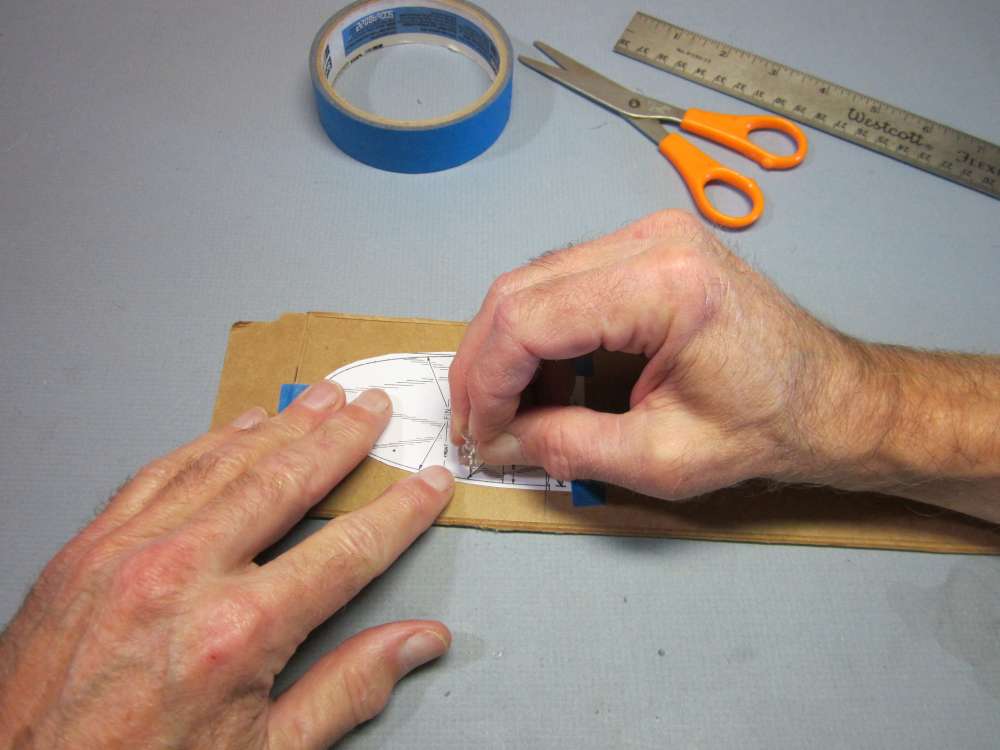
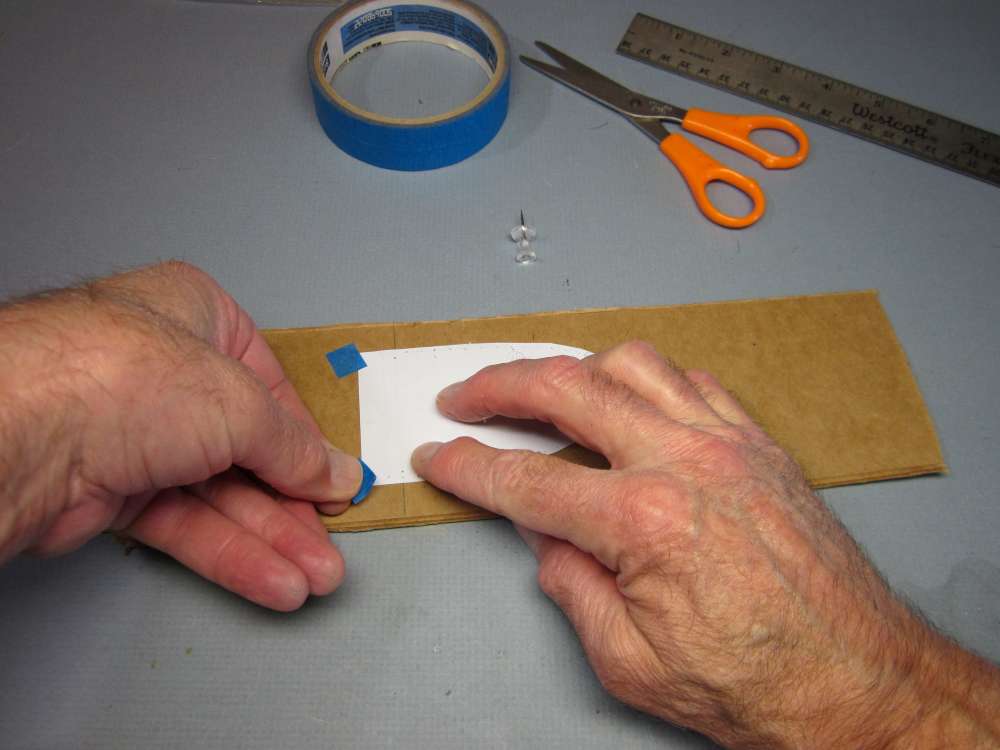
Use a push pin to poke a hole through the corner of the tailplane pattern to make a small hole in the cardboard underneath.
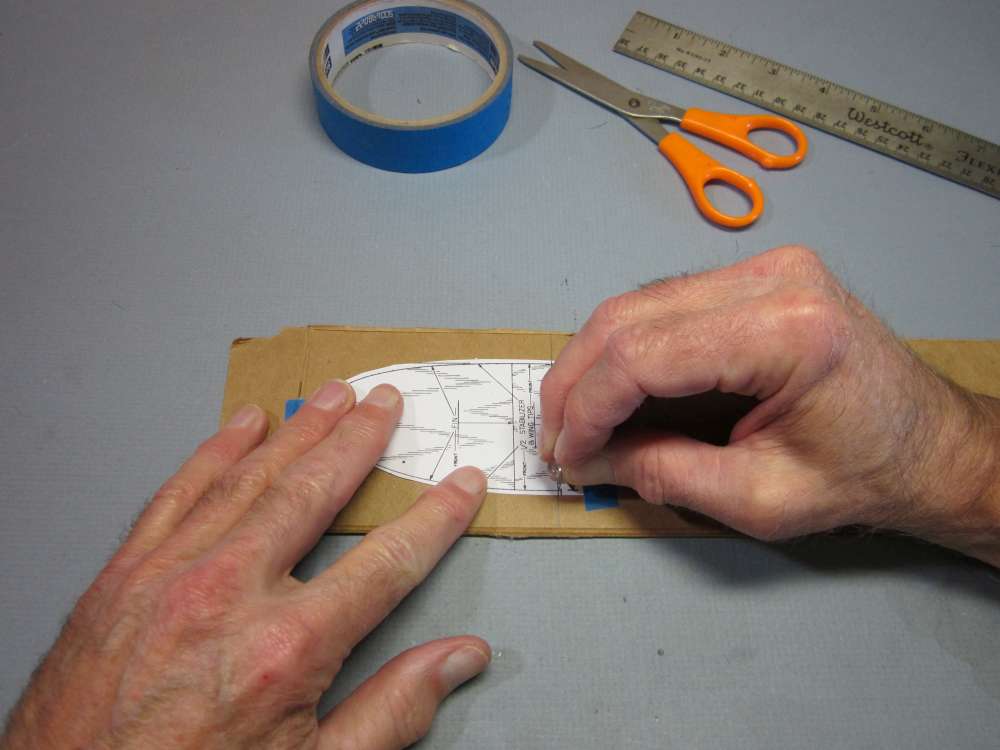
Mark the opposite corner.
Also poke holes on the centerline about 3/32″ in from each corner.
Poke holes all around the perimeter about every 1/8″.

The holes can be a bit closer together where the curve is tighter. Go all the way around the perimeter.
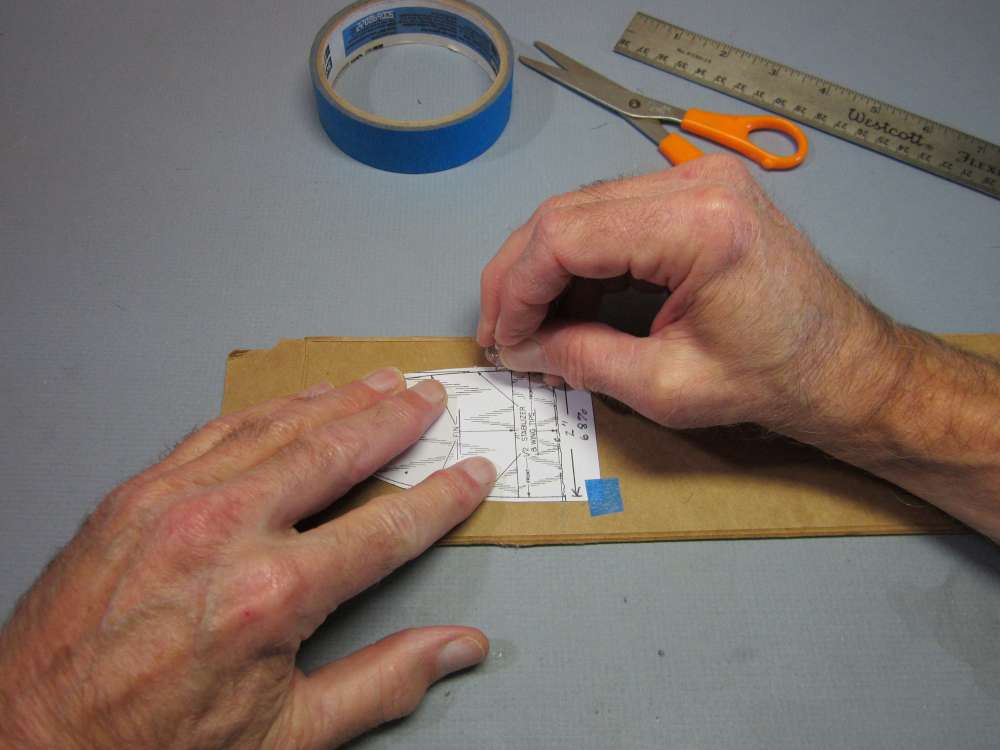
Poke a hole through the base of the arrowhead.
Poke a hole through the base of the opposite arrowhead. These mark where the pattern will be cut in half to fit both pieces onto a plate.

Remove the tape.
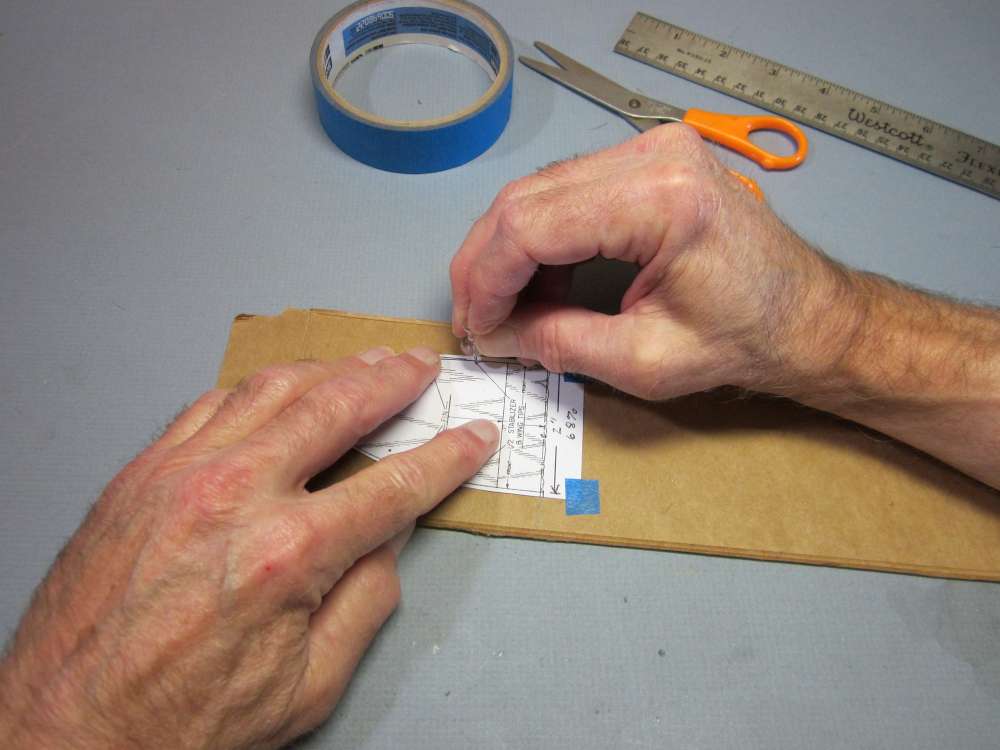
Flip the pattern over and carefully align the center lines. You can use the push pin through the holes in the pattern to line up with the holes in the cardboard.
Tape it down again.
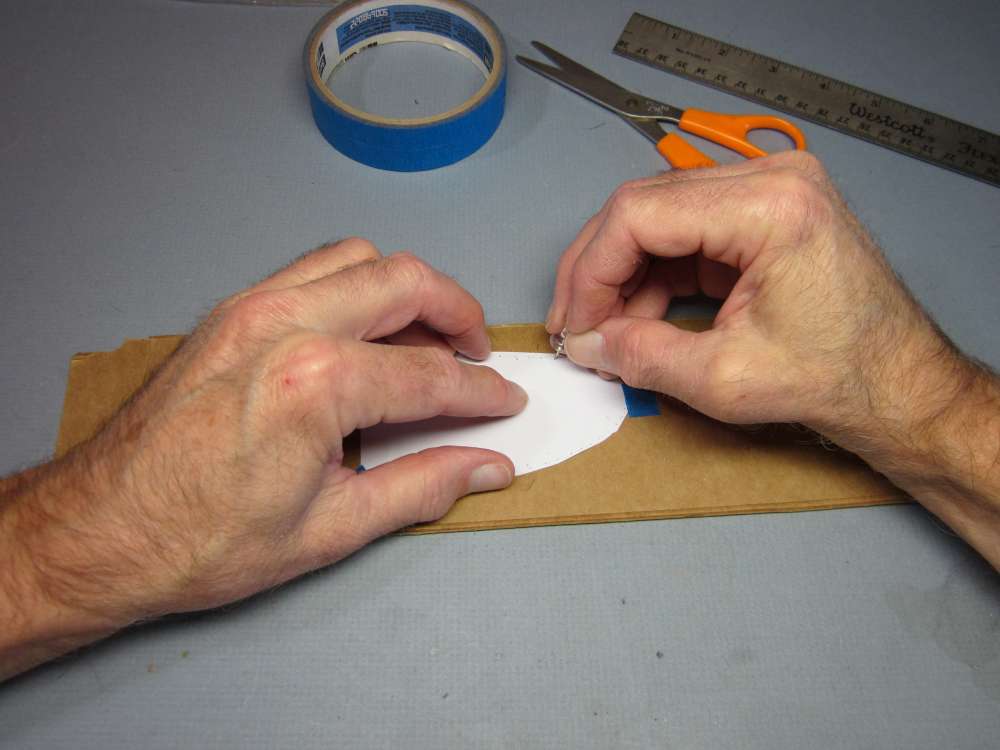
Poke through all the same holes into the cardboard.
On this side you need to poke through only one of the arrowhead bases.
Remove the tape.
You can draw a pencil line through the two holes made through the arrowhead bases. This is the line along which the pattern will be cut in half. You could cut a line between these holes later without the pencil line if you prefer.
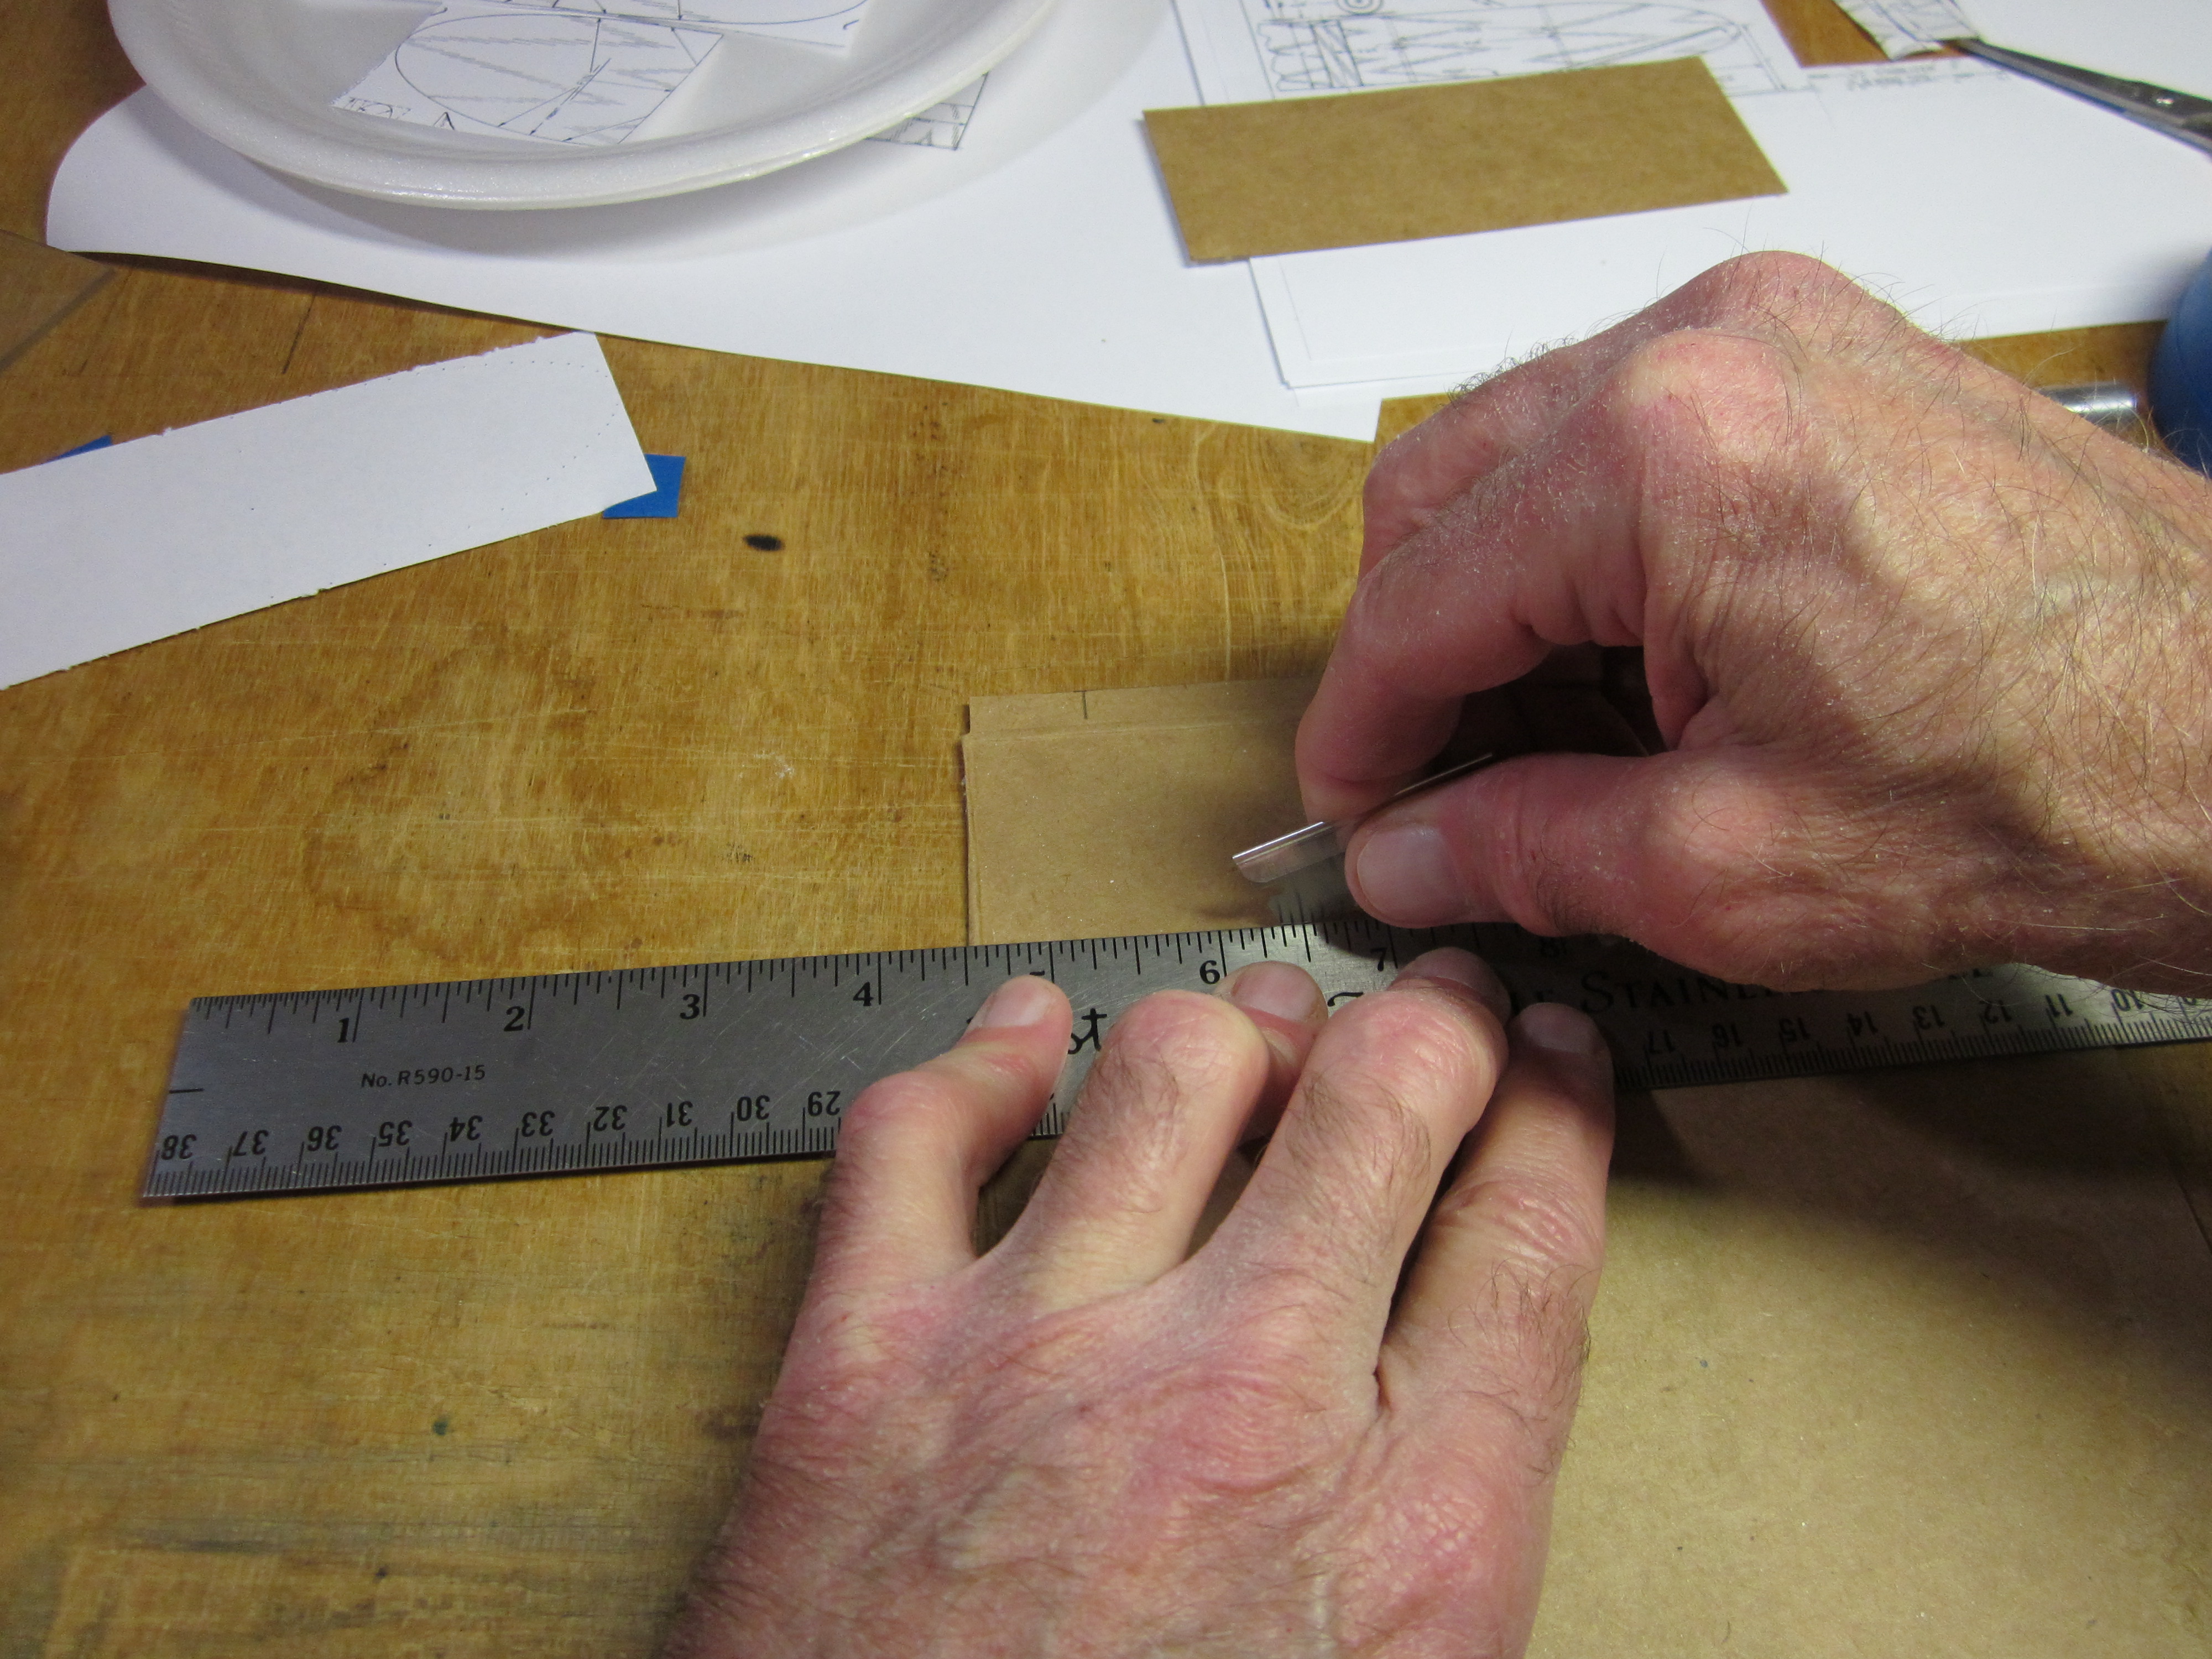
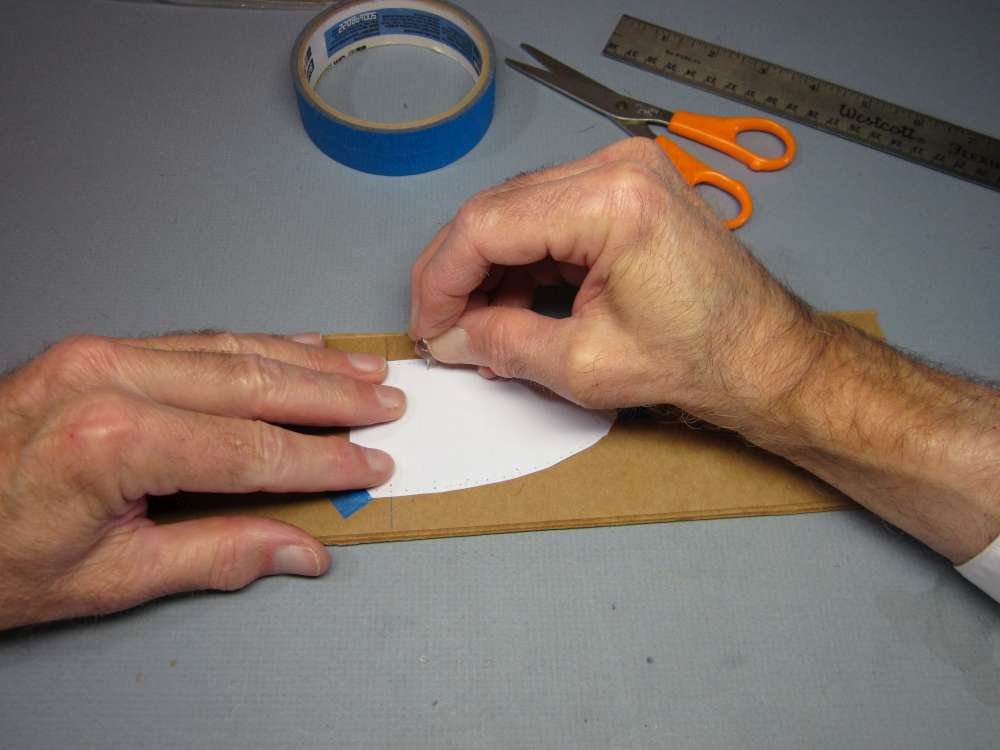
Rough cut about 1/8″ outside the pinholes. It is easier to make a precise cut along the pattern if there is only a thin bit of card being removed.
Cut a smooth curve between the pinholes.

Cut the pattern in half along the diagonal line.
Write labels on the patterns.
Poke holes about 3/32″ in from each edge on each of the half patterns. These holes will be used to mark the centerlines on the foam parts.
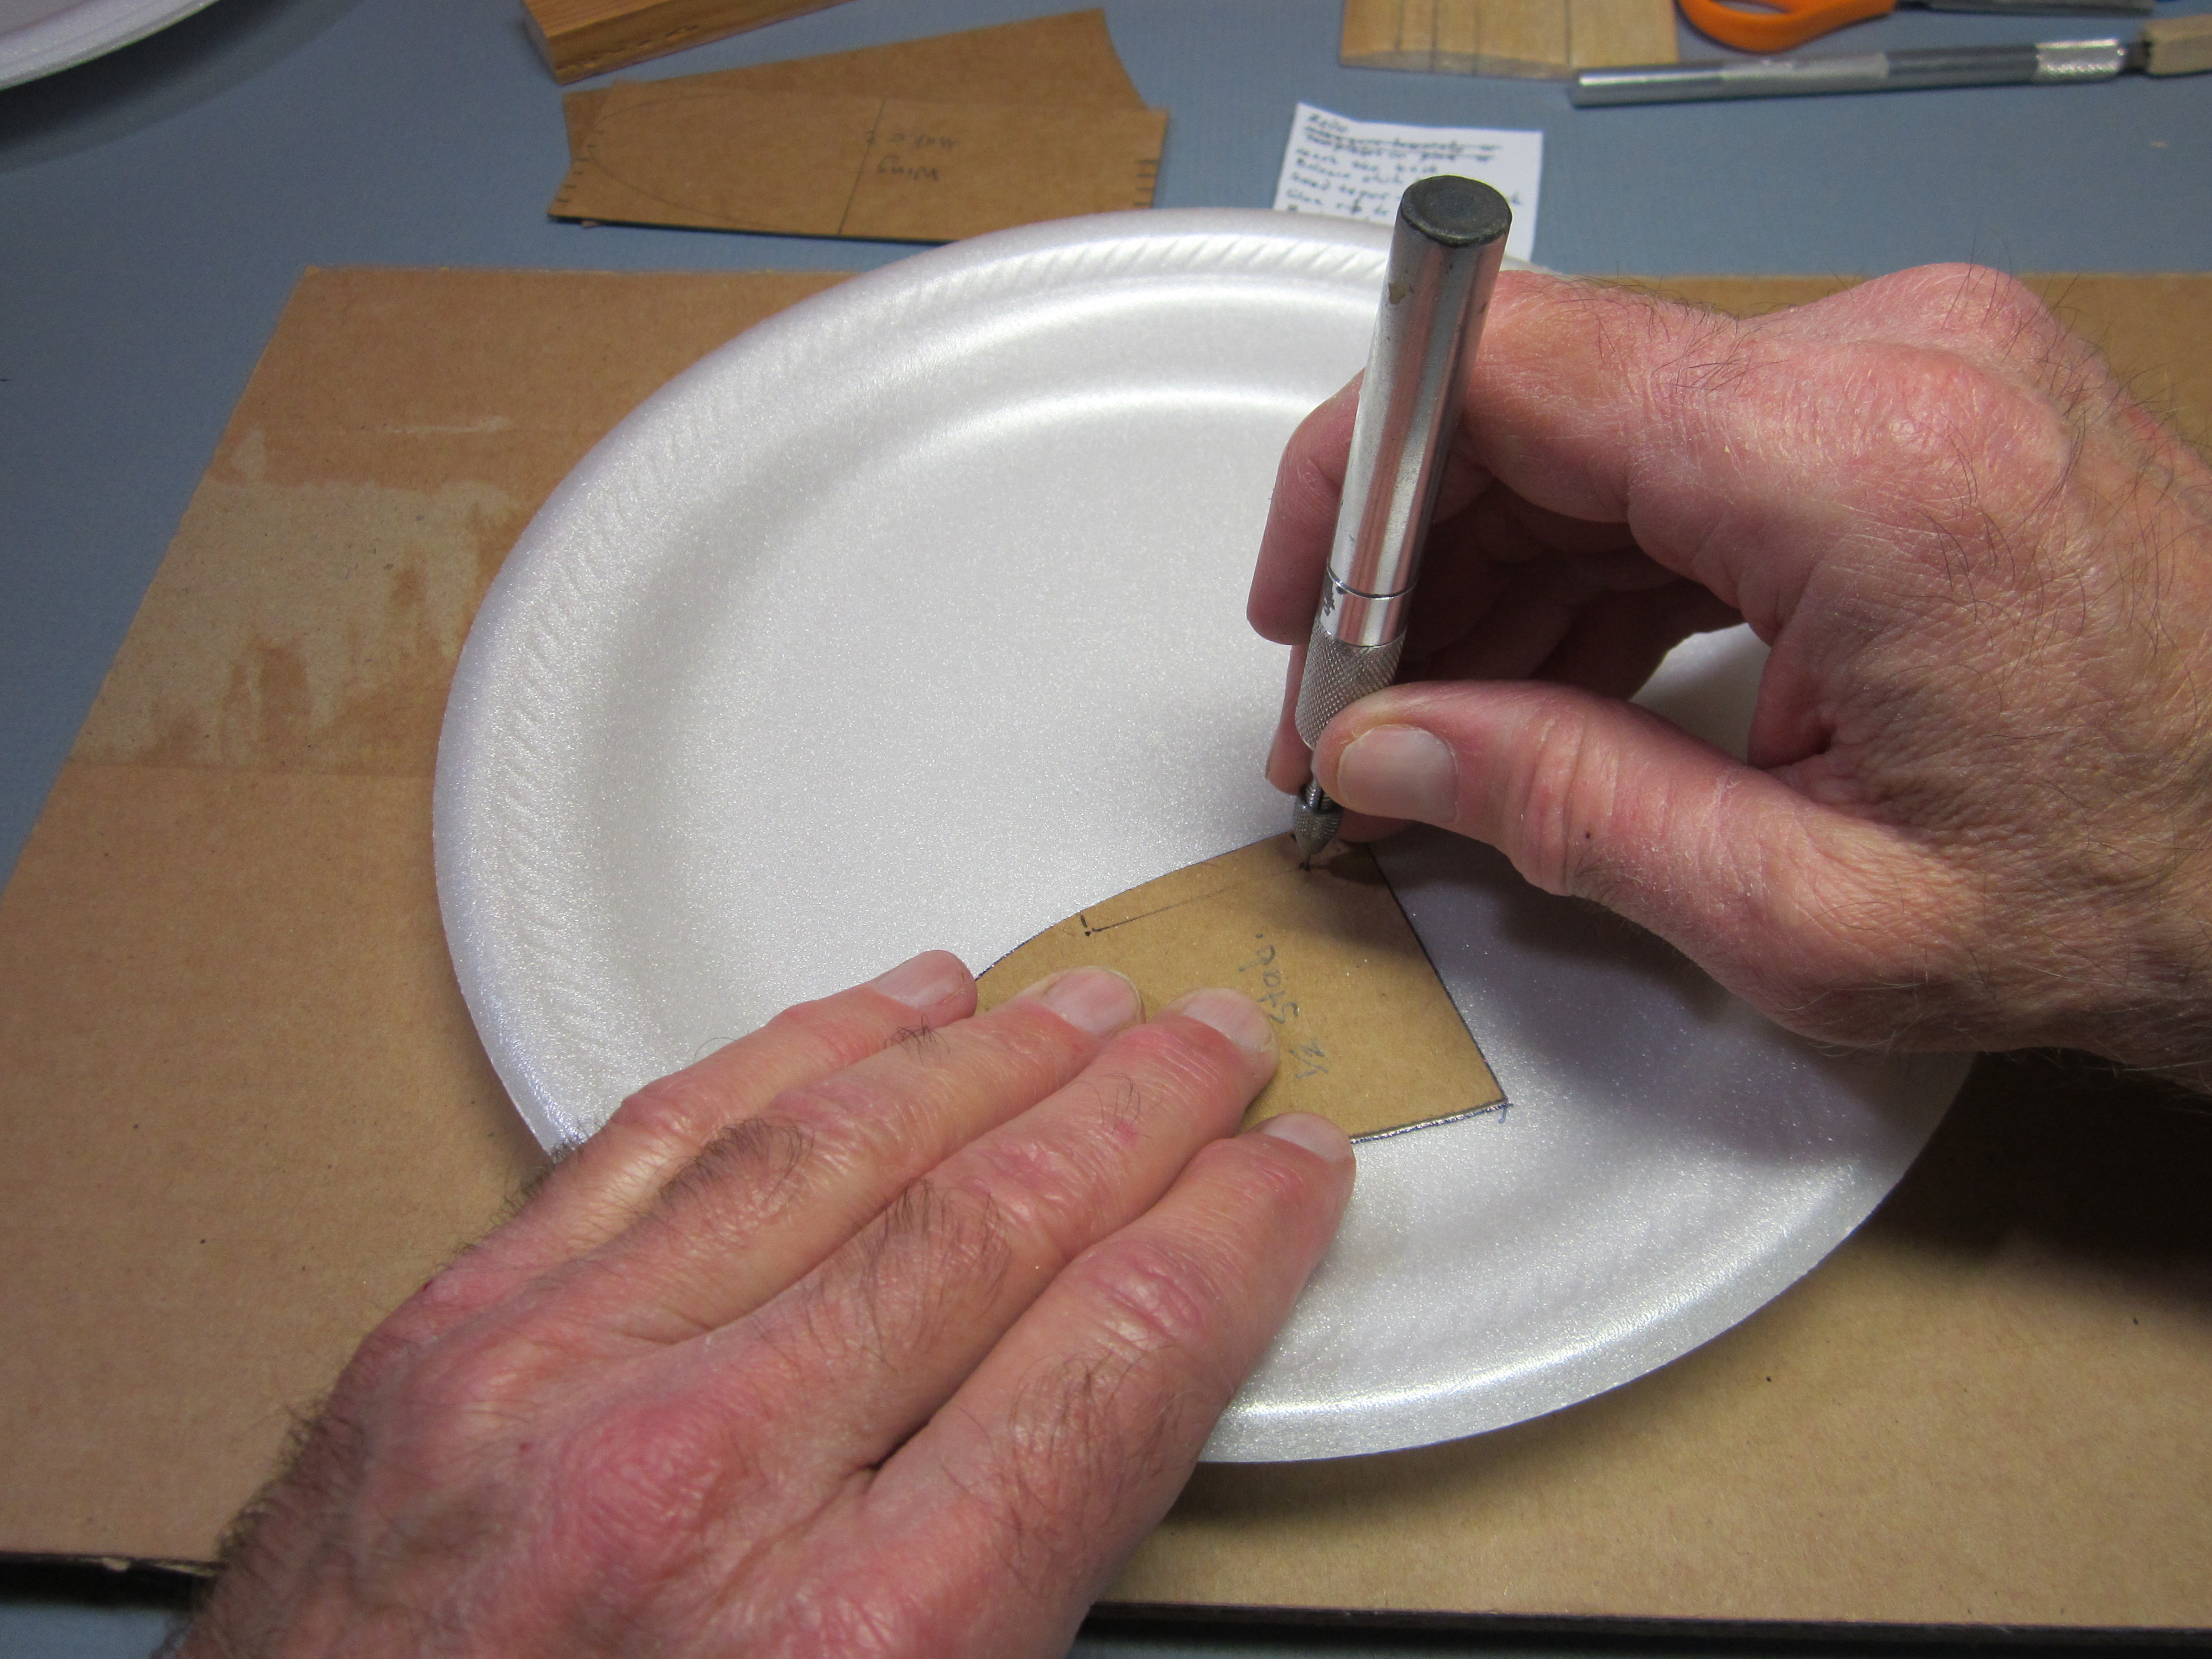
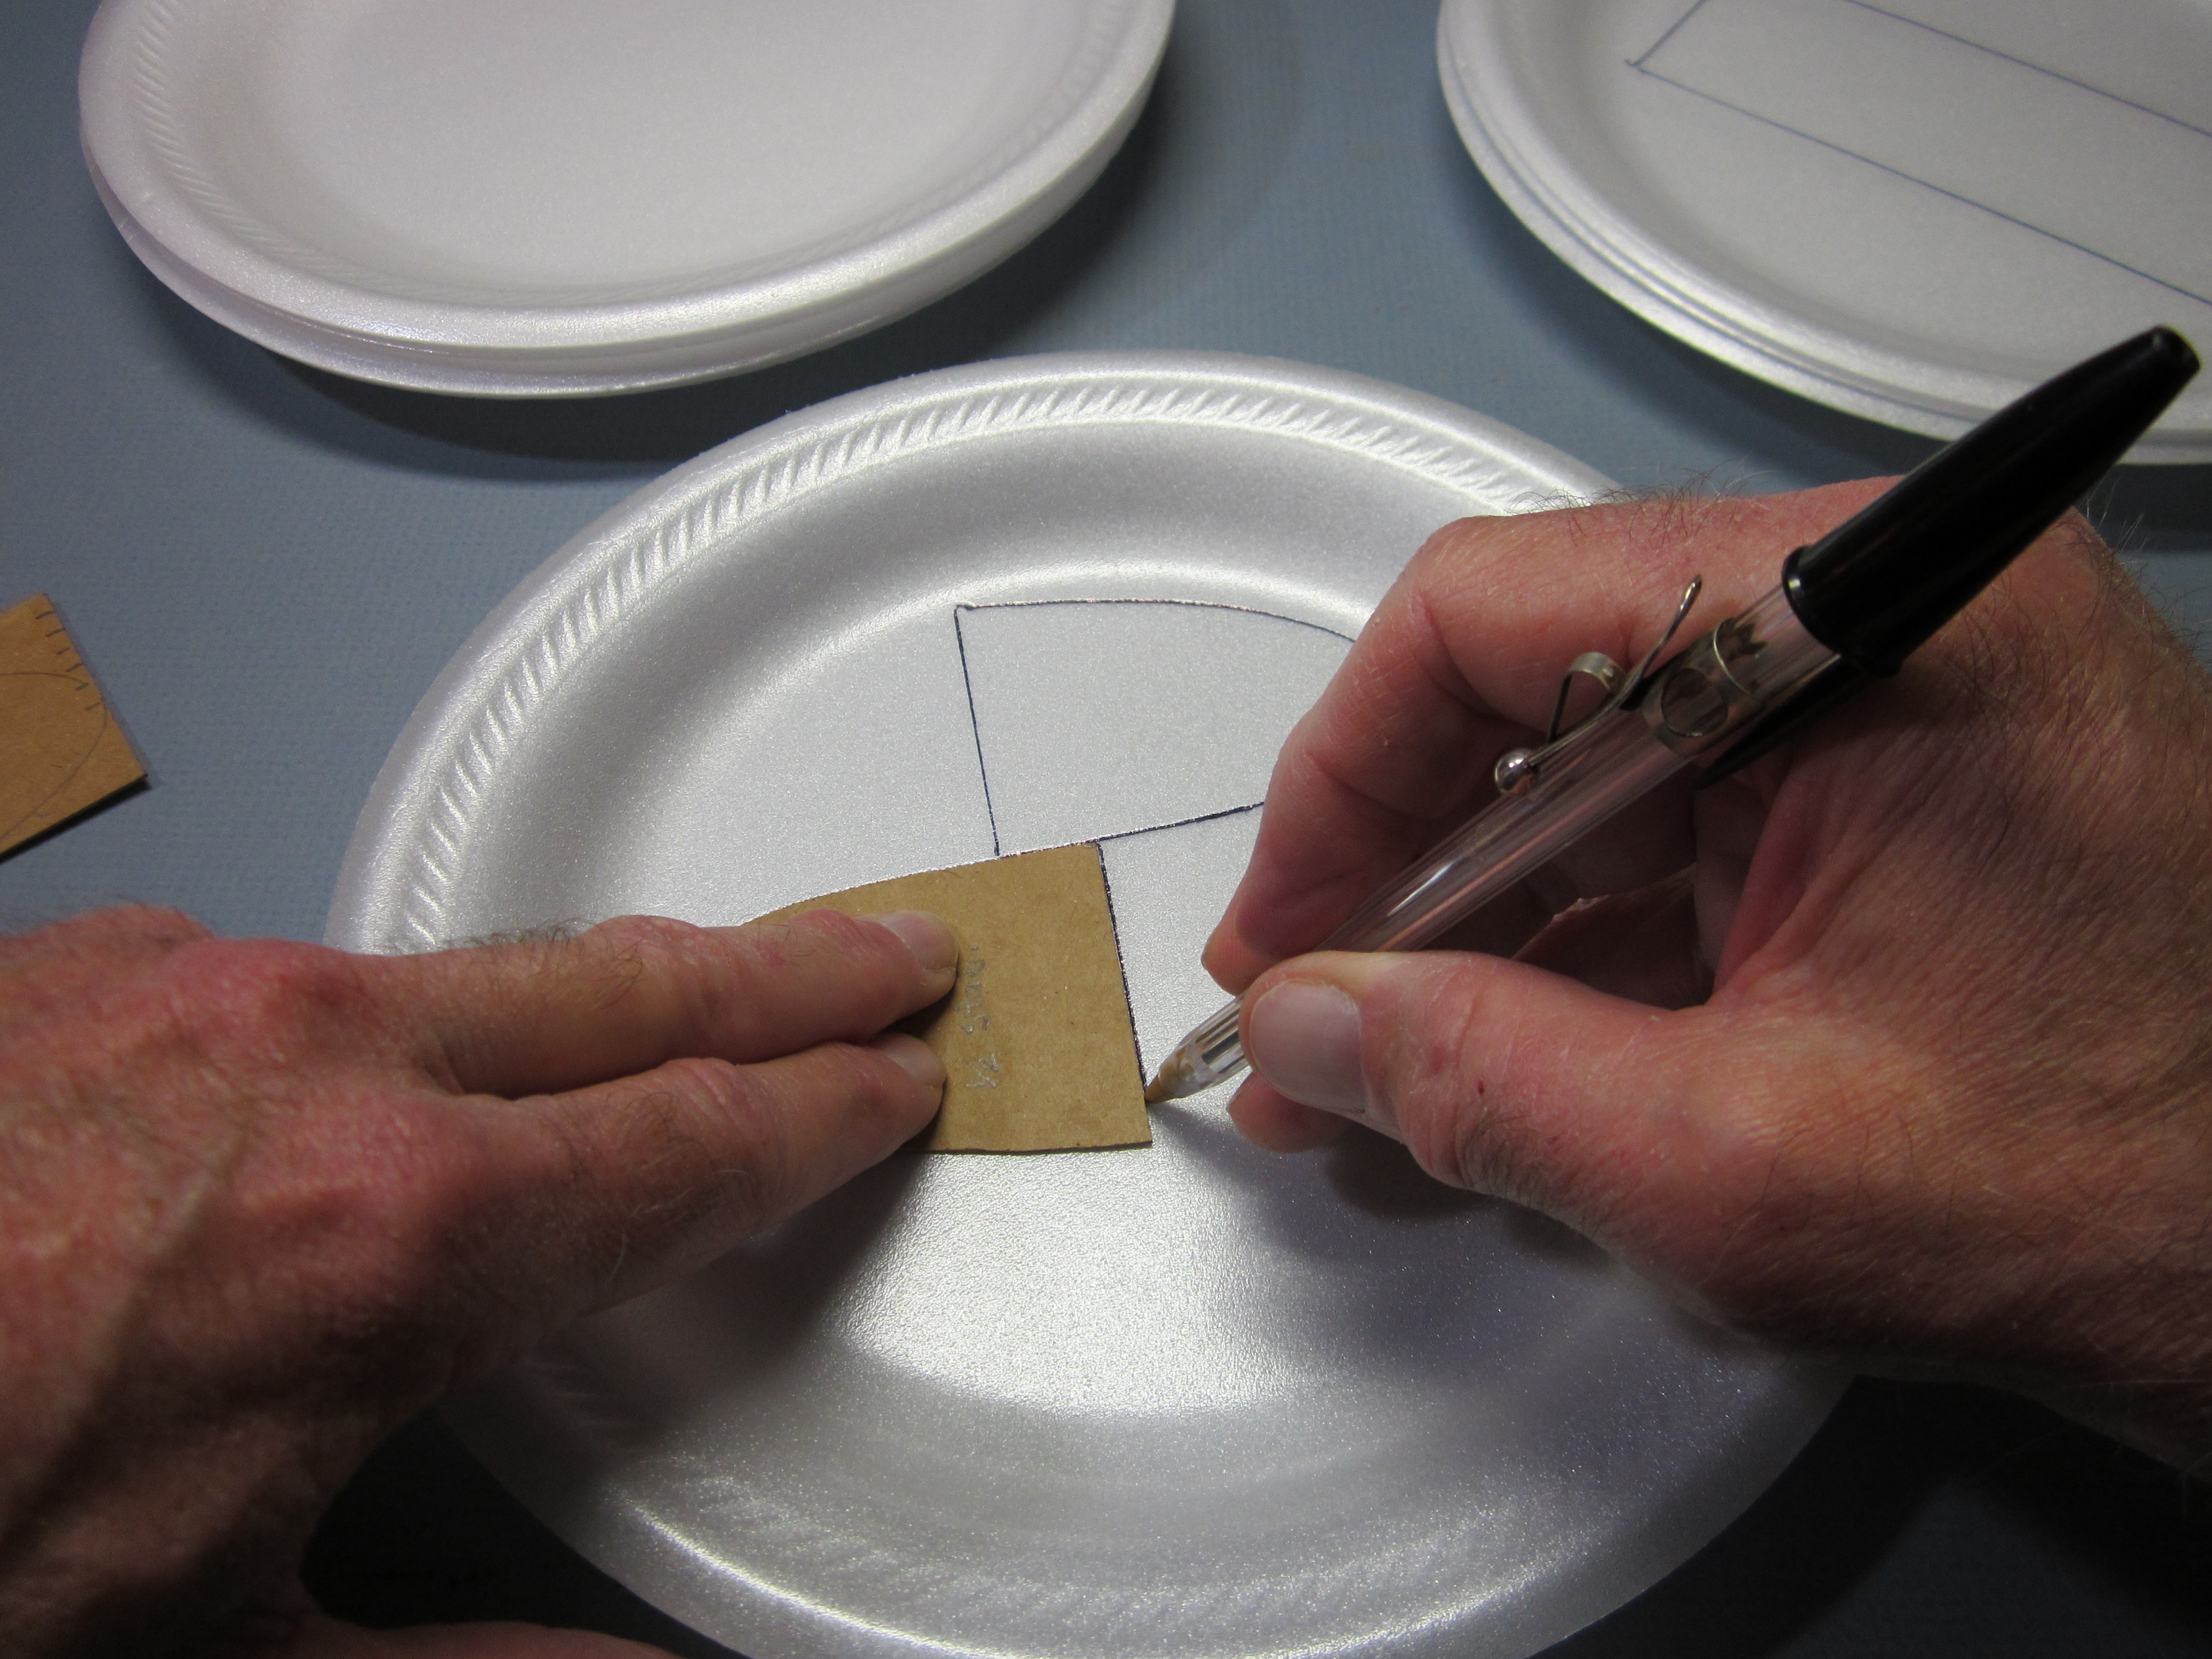
Place the patterns on the plate and arrange them so they are entirely on the flat part and there is a small gap between them.
Draw around the patterns, pointing the pen inward. If you want, you can cut around the patterns with a sharp blade.
Poke the four holes marking the centerline.
Poke the holes marking the inside corners of the rudder.
Cut out the center of the plate.
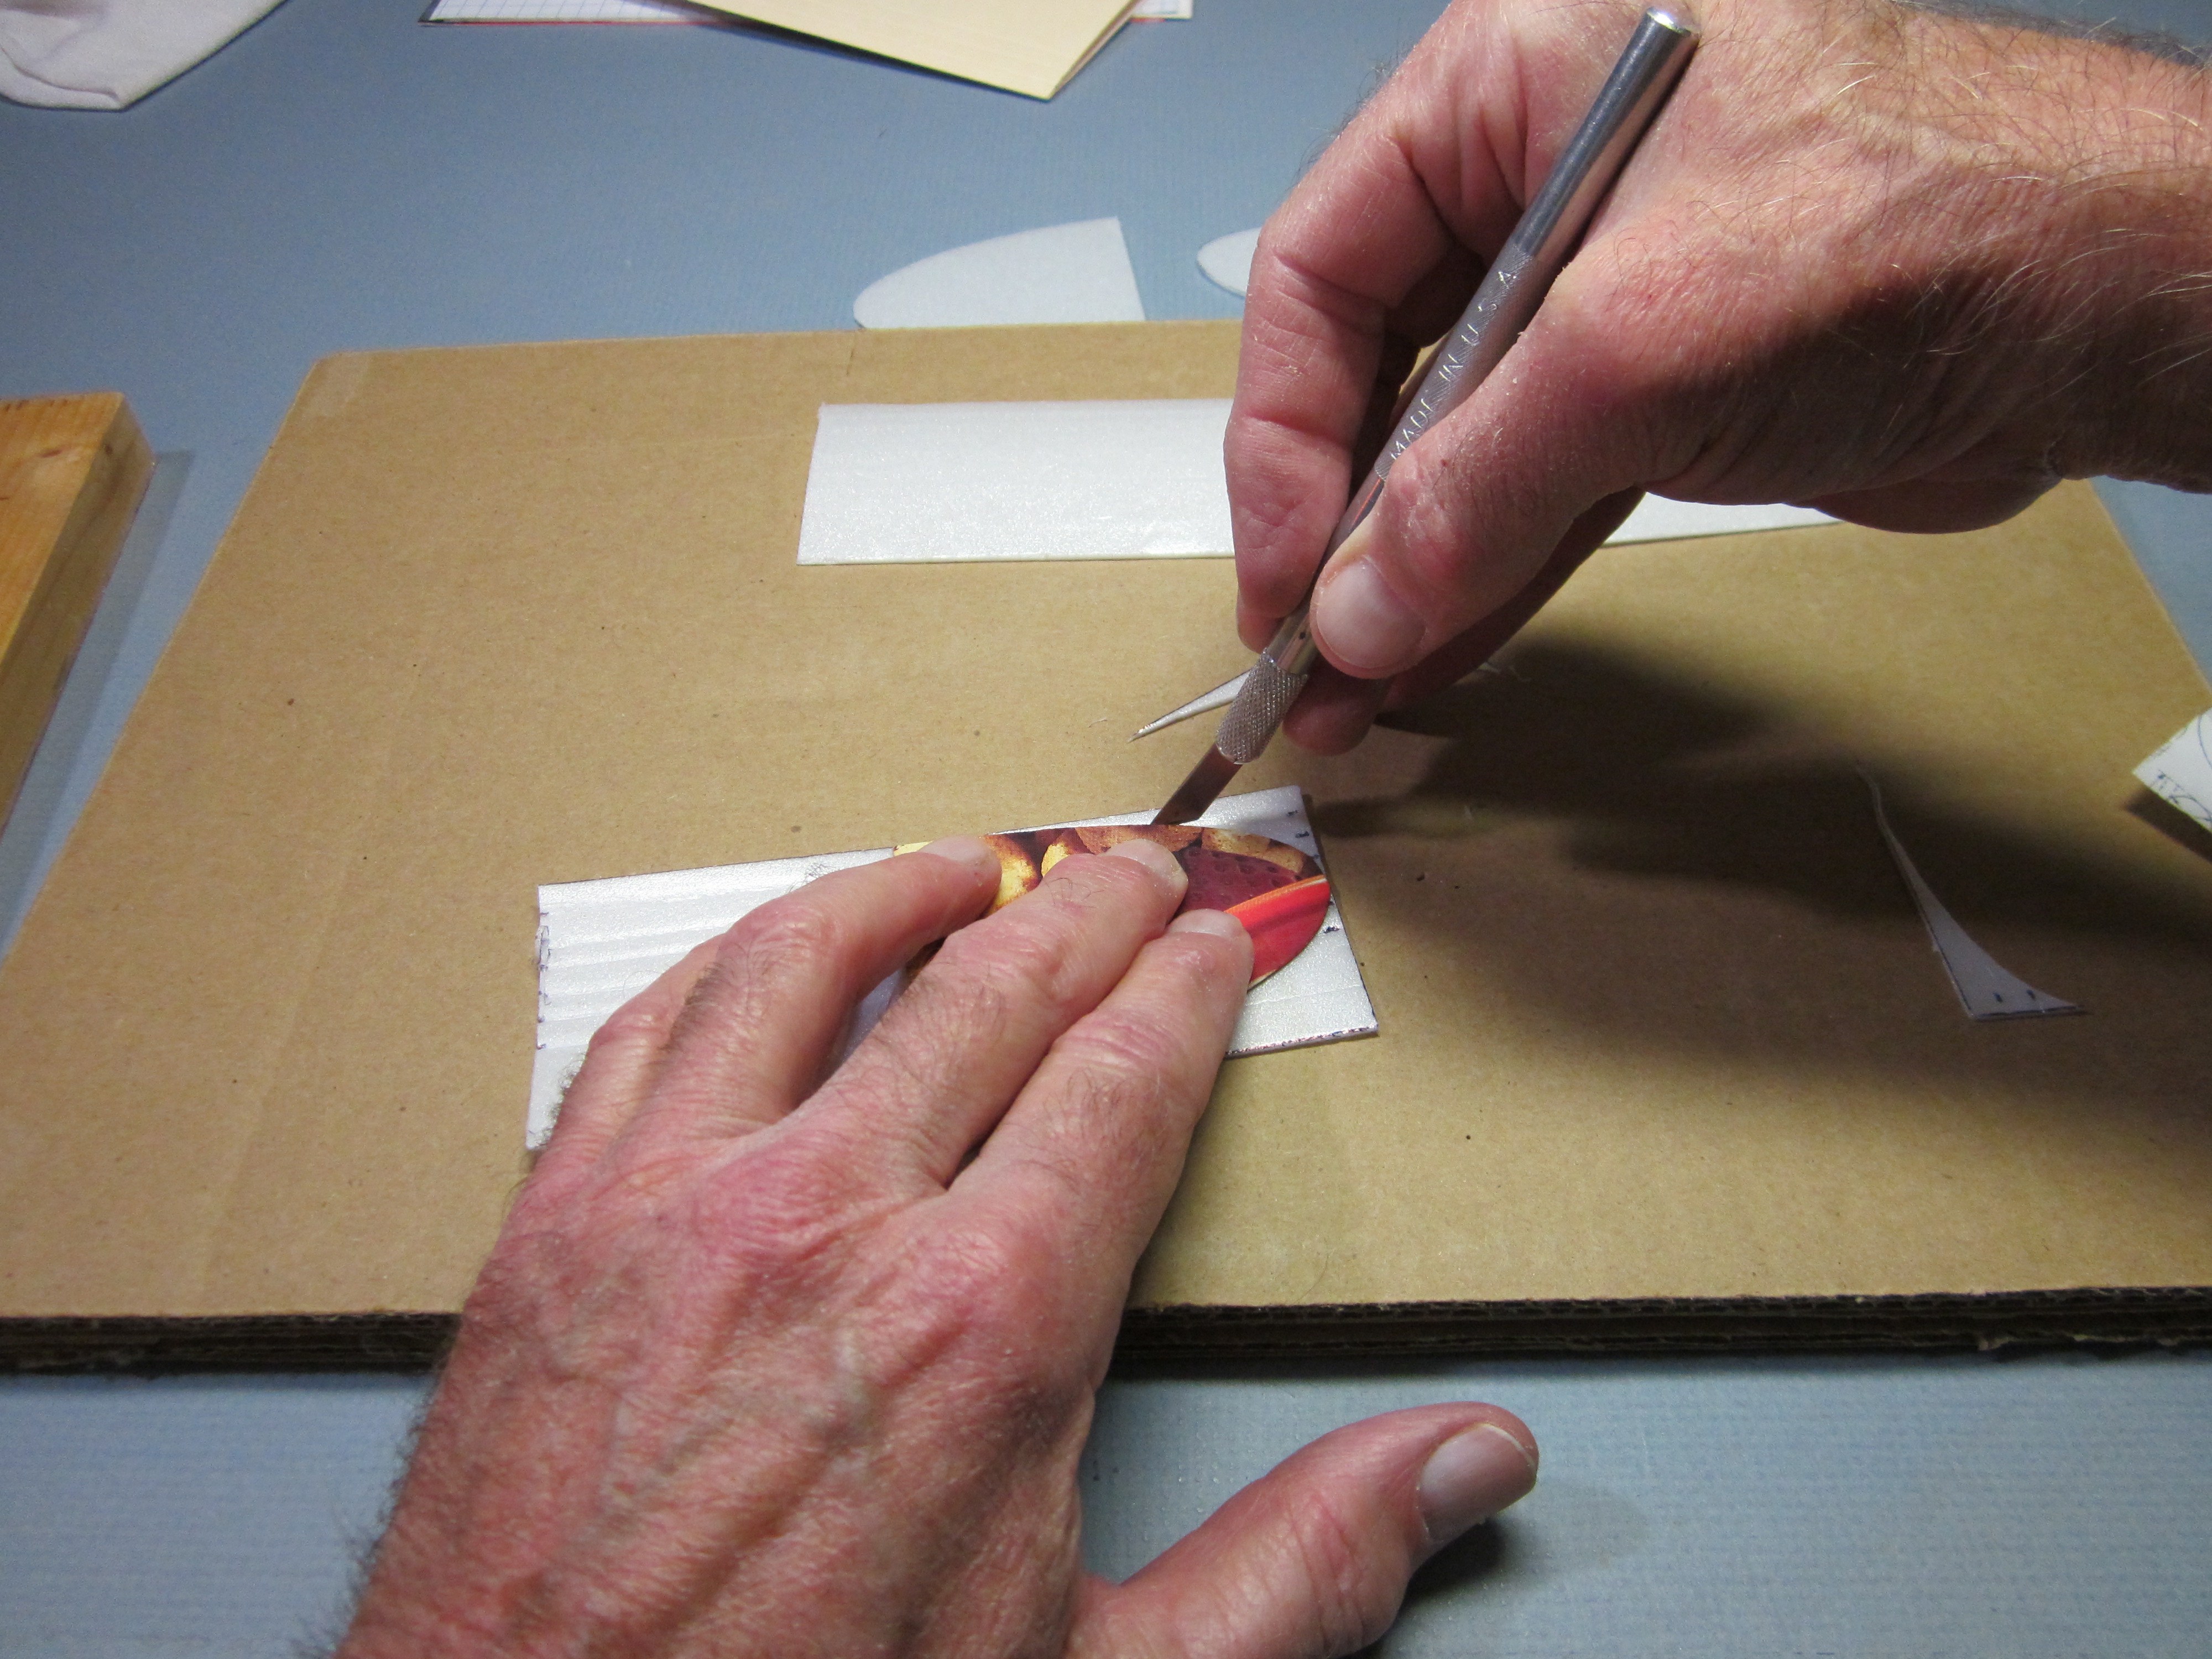
Rough cut each part to separate them.
Cut precisely along the inside edge of the ink lines.
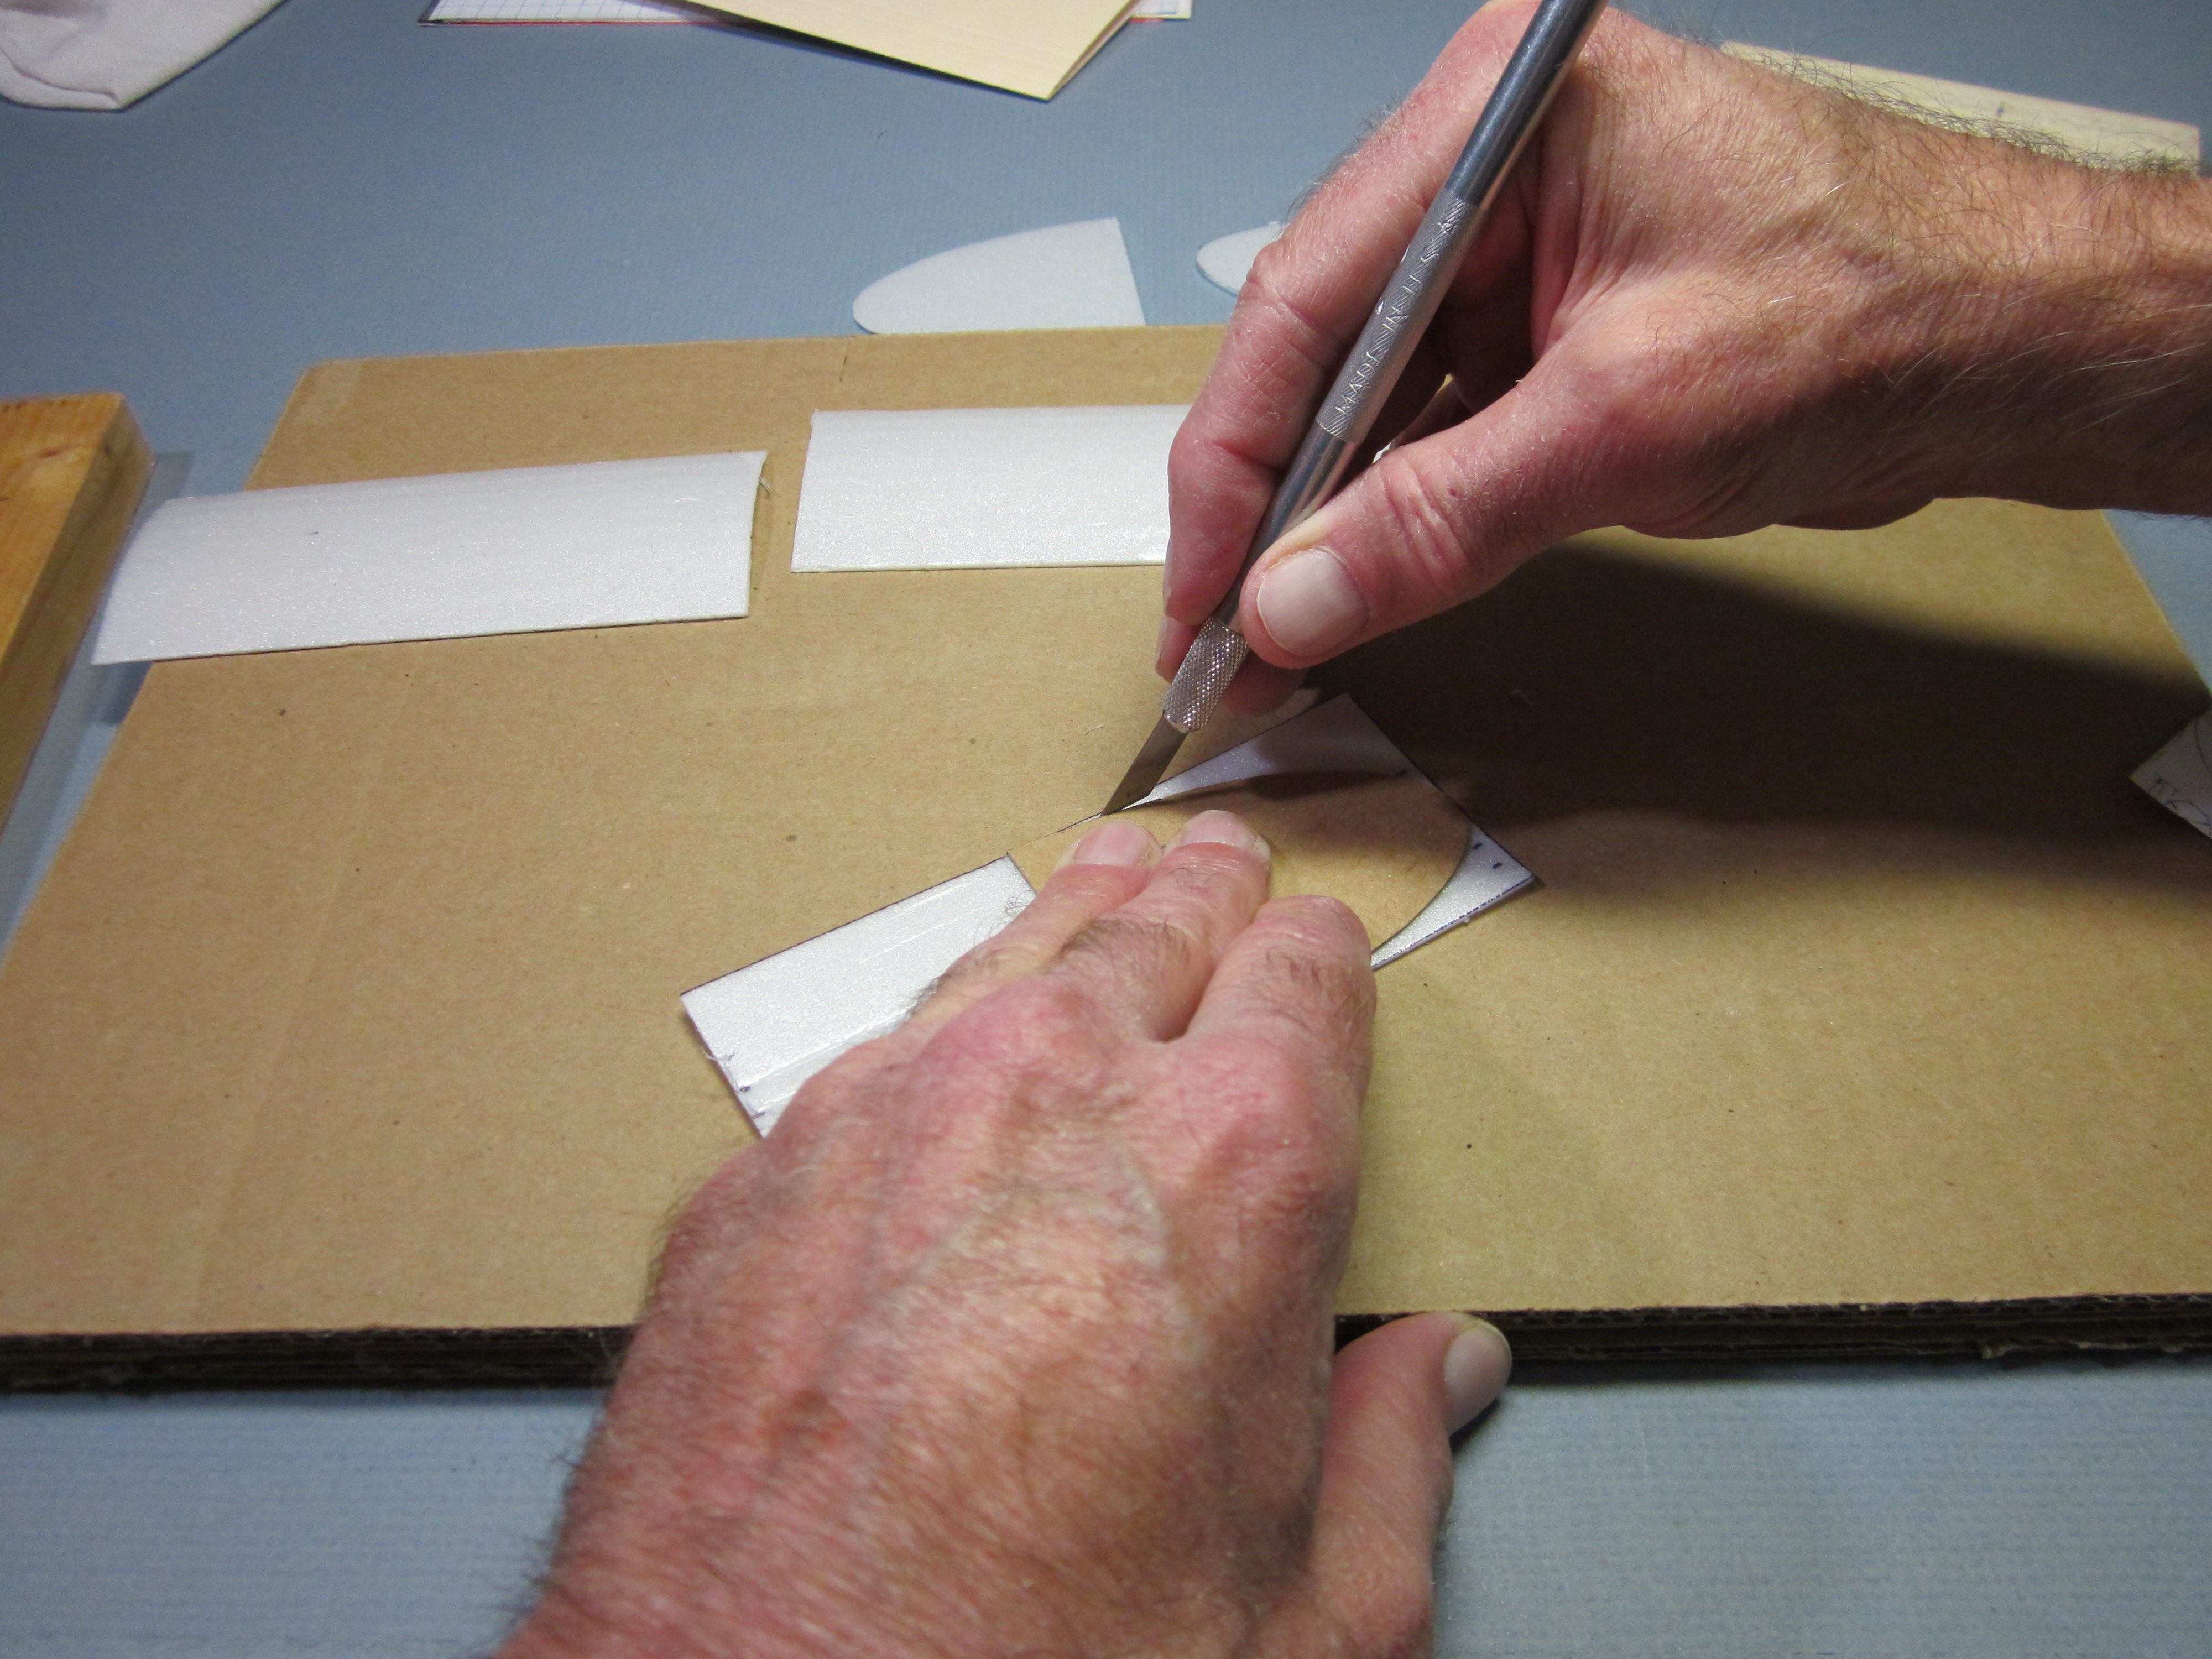
Use the straightedge to cut the base of the fin.
Use the straightedge to cut the diagonal lines on the tailplane parts.
Use the straightedge to cut the diagonal lines on the tailplane parts.
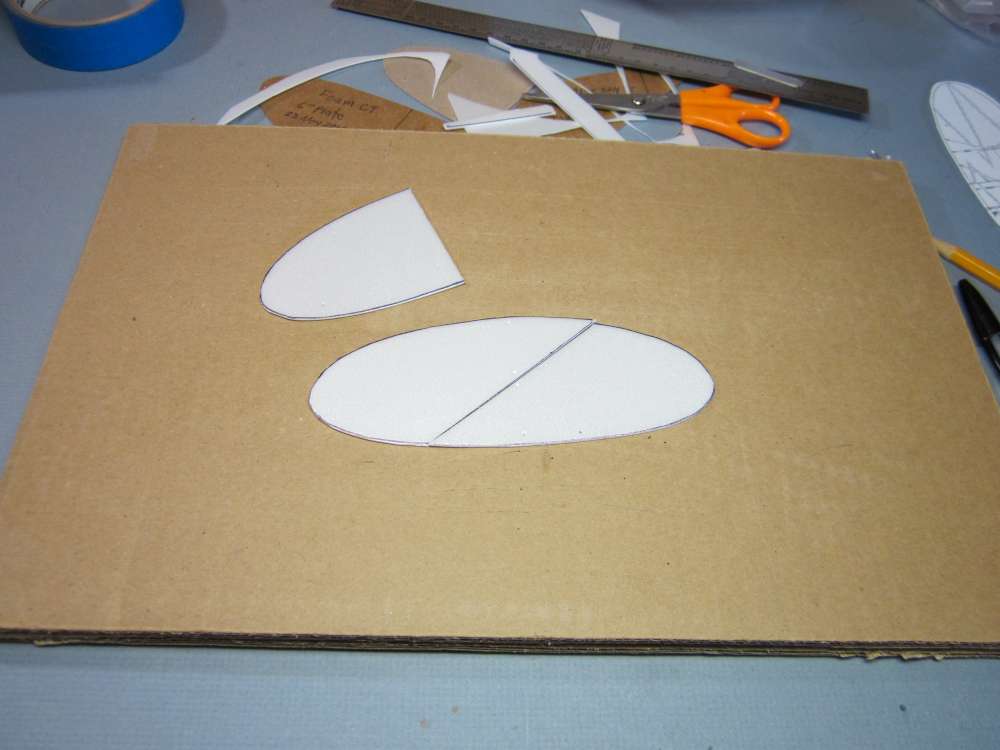
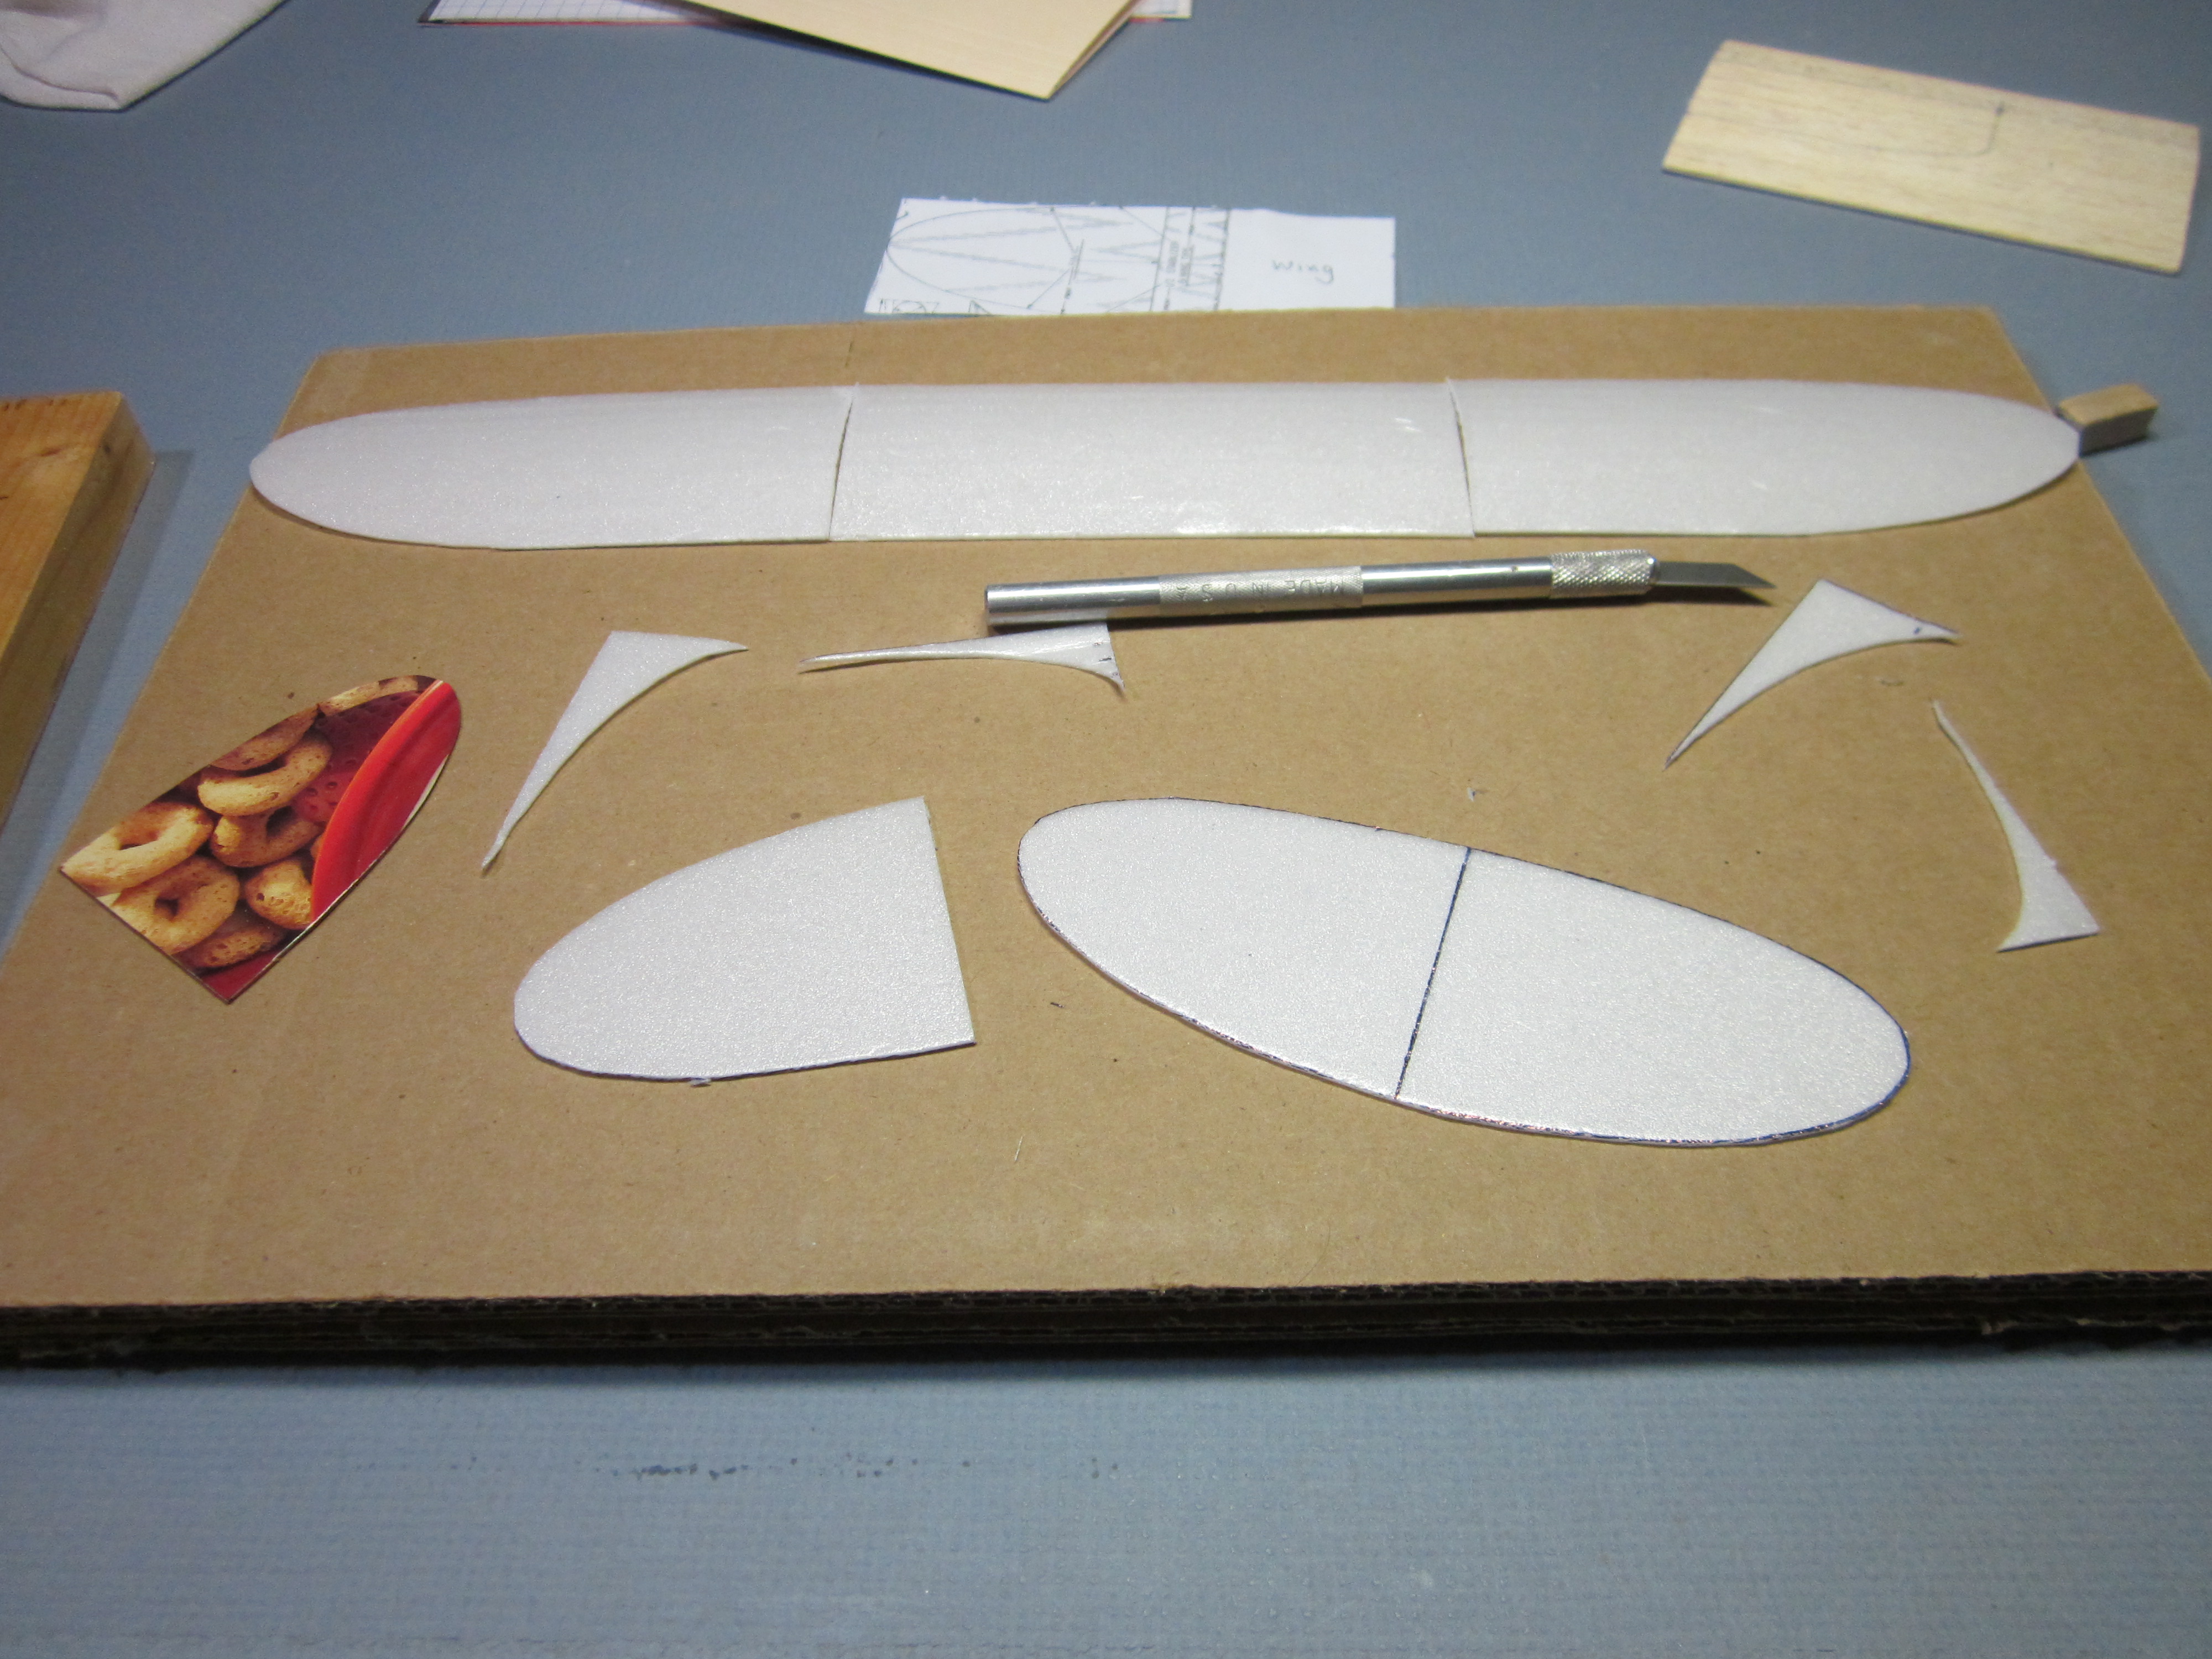
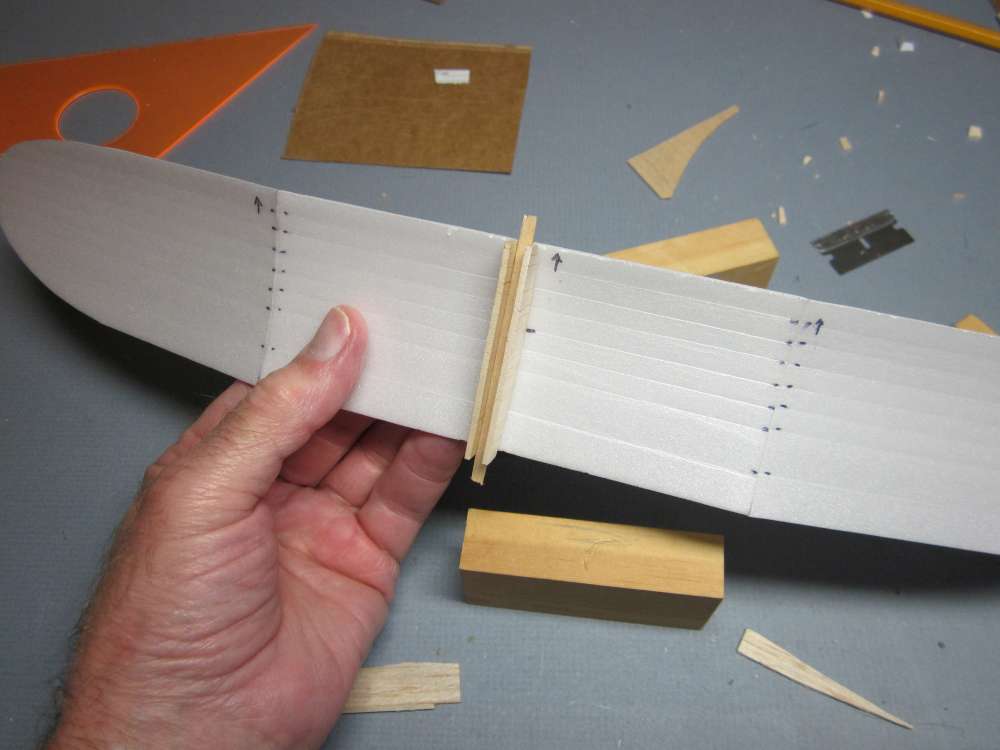
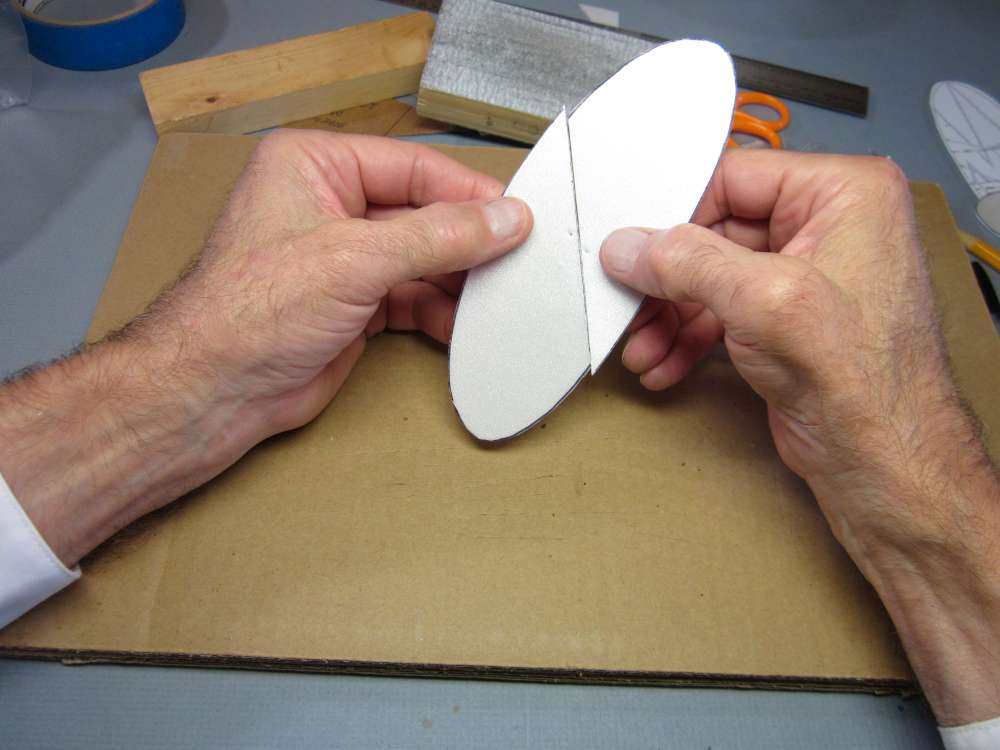
Here are the cut out parts. You can see how the tailplane parts will fit together.
Cut a slit for the lower rudder separation.
Cut a slit for the upper rudder separation.
Line the pin holes up with the edge of a block and press the rudder down to form a crease for the rudder hinge. The rudder should bend to the right in flight.
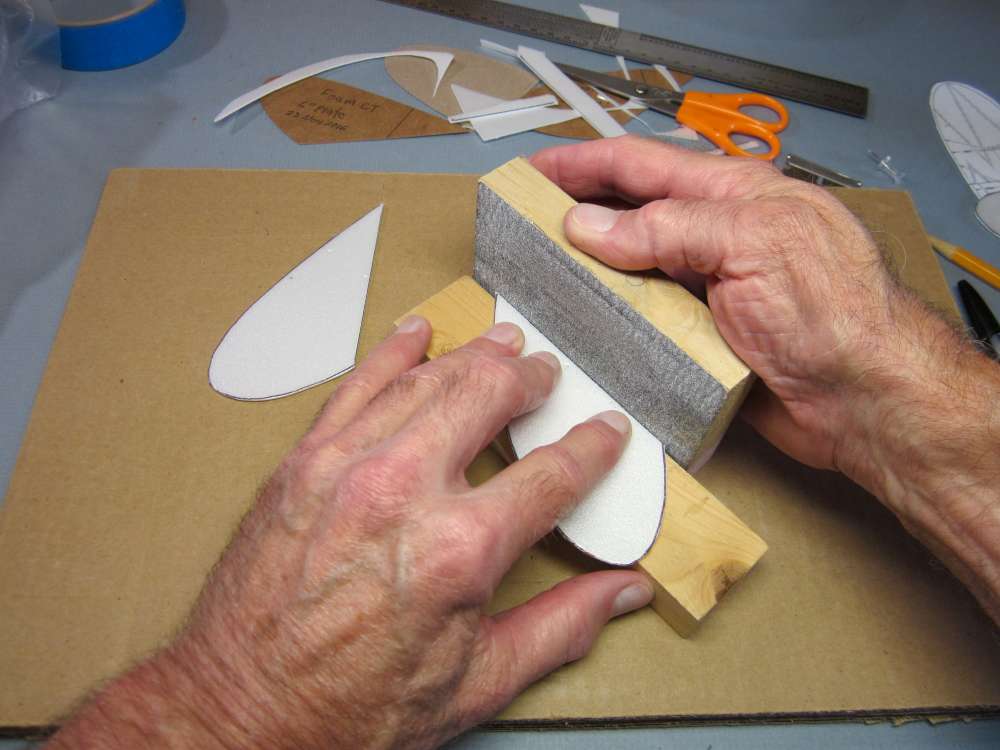
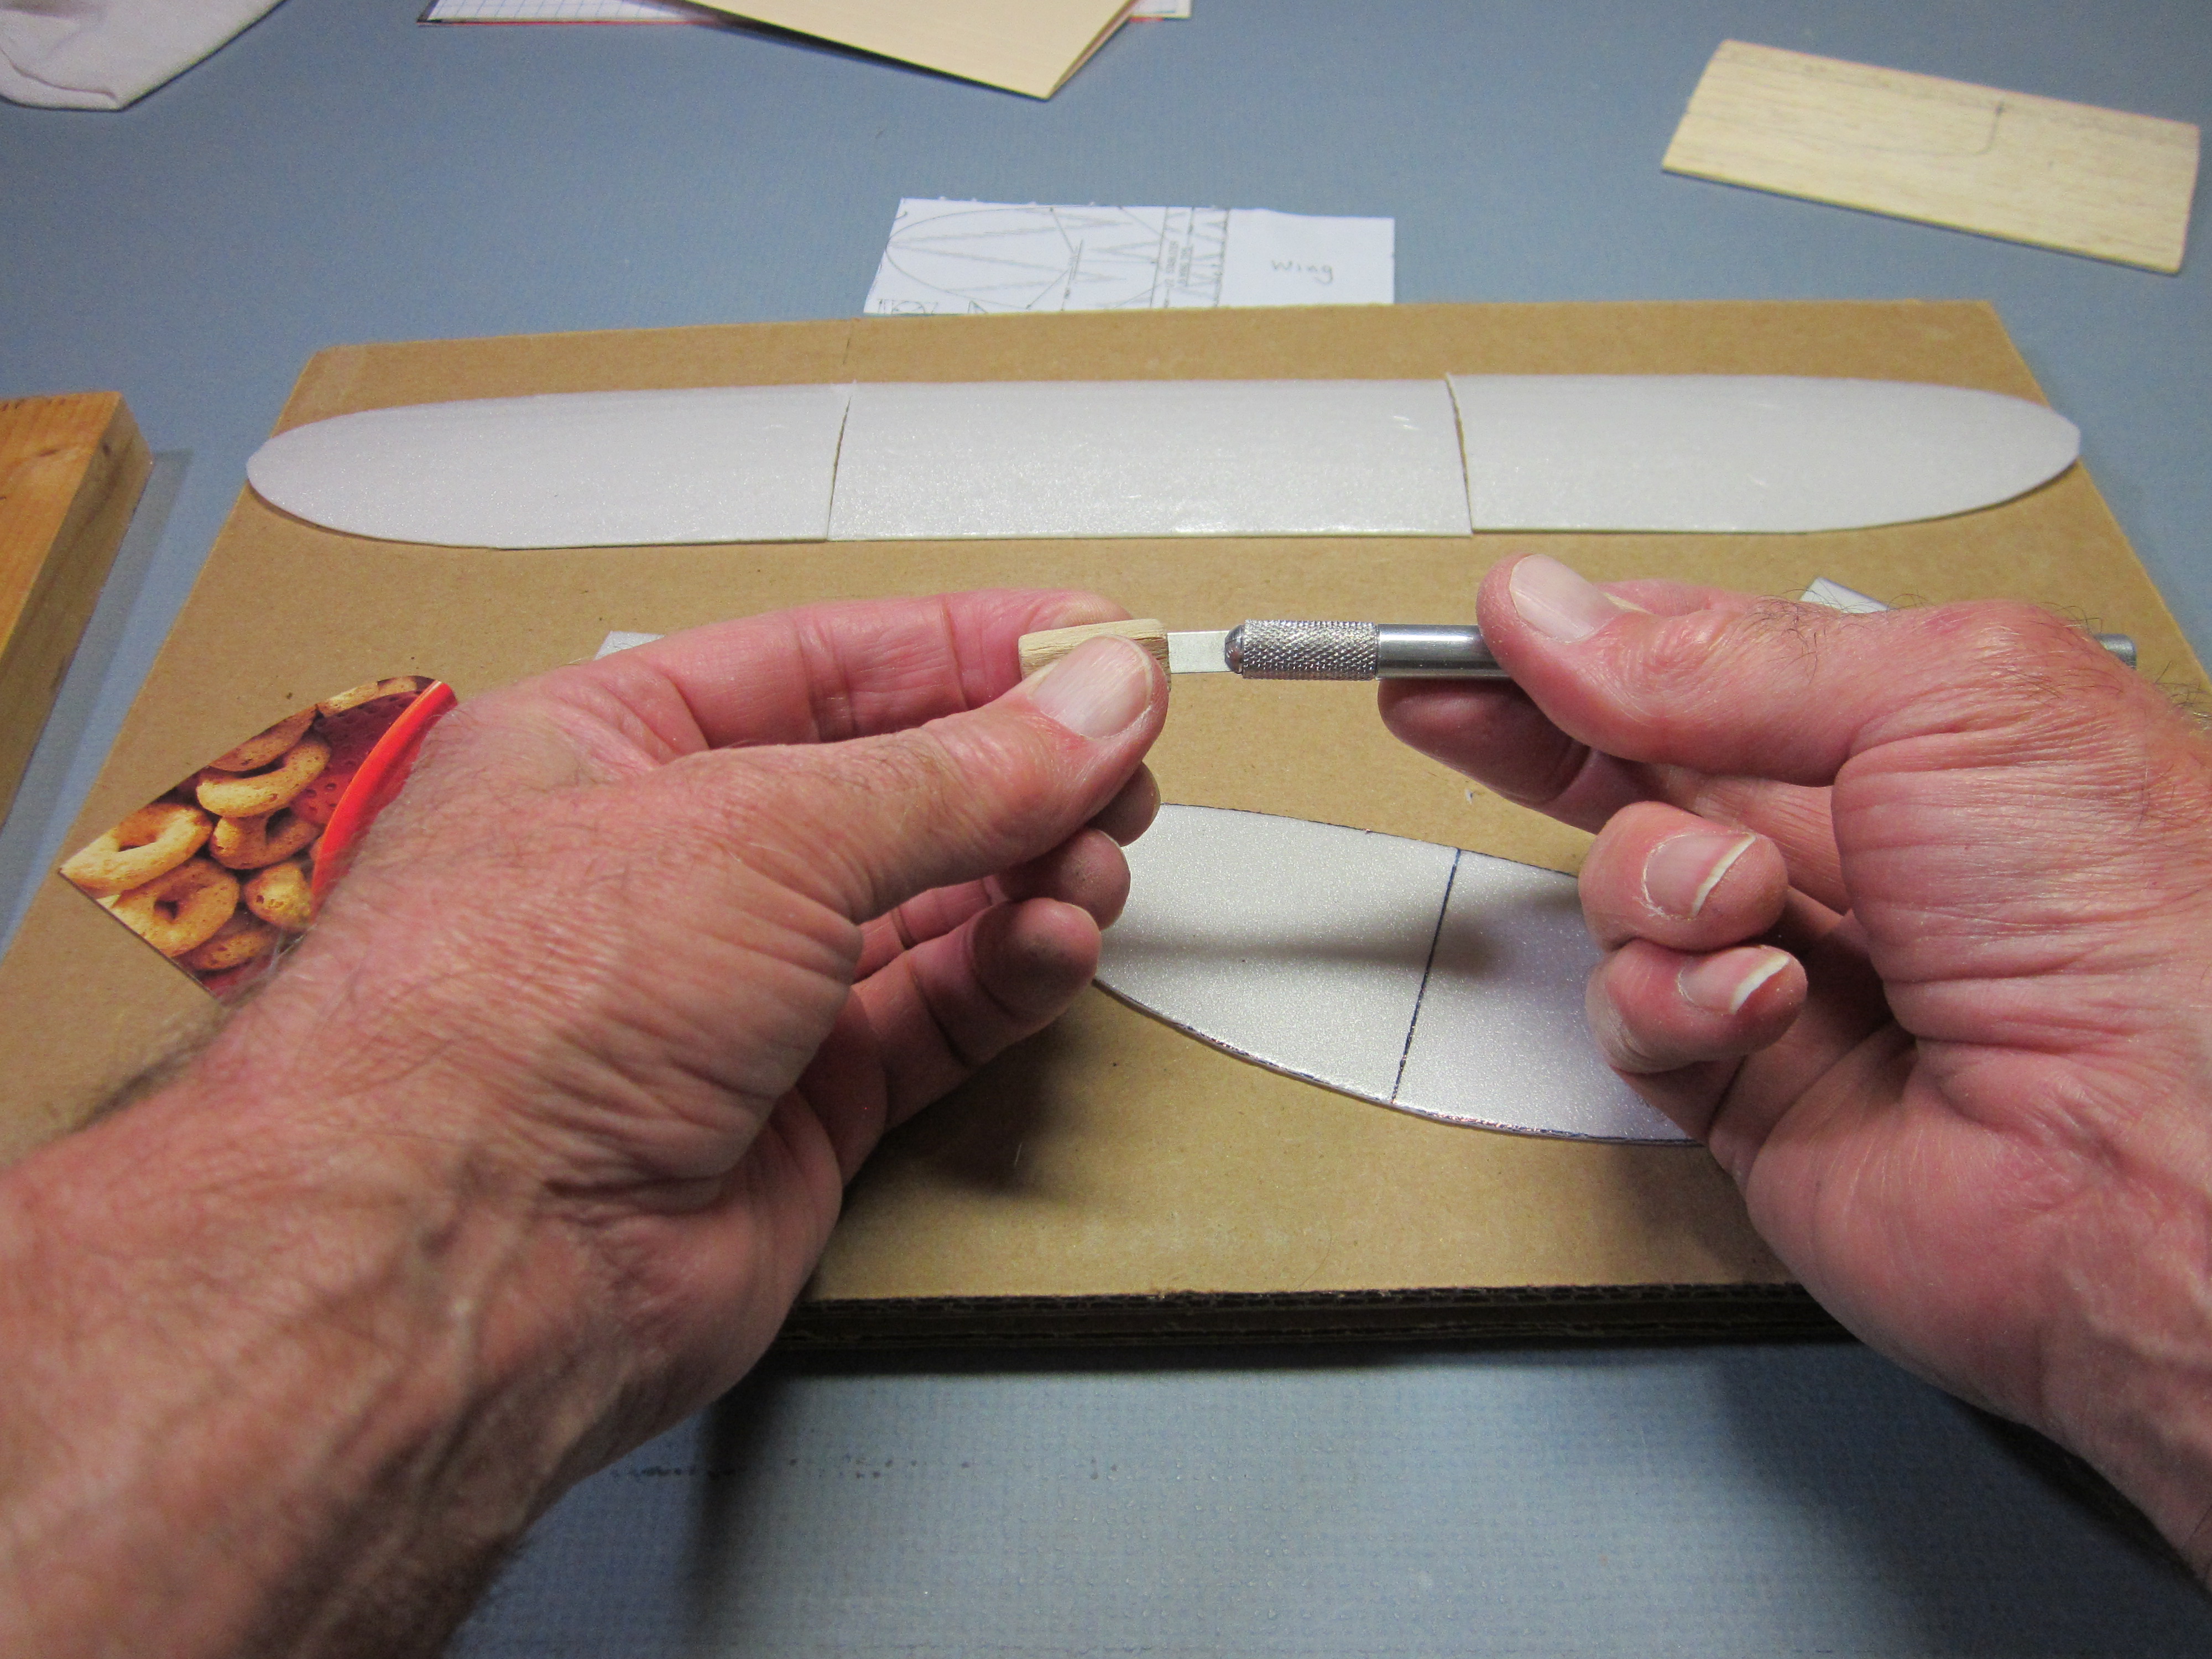
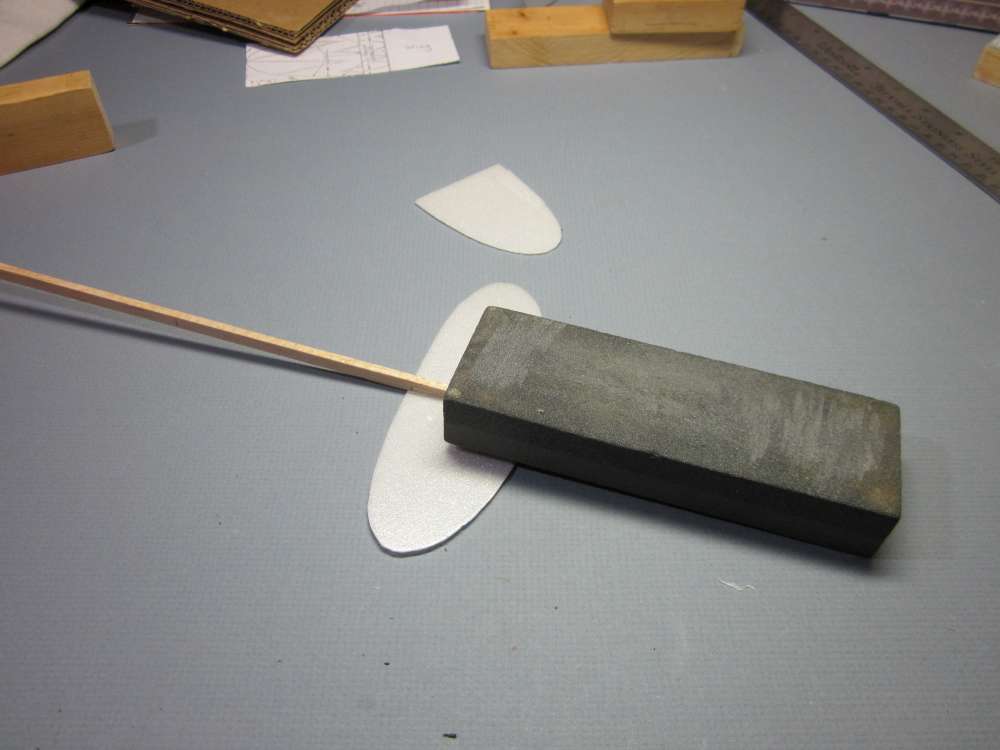
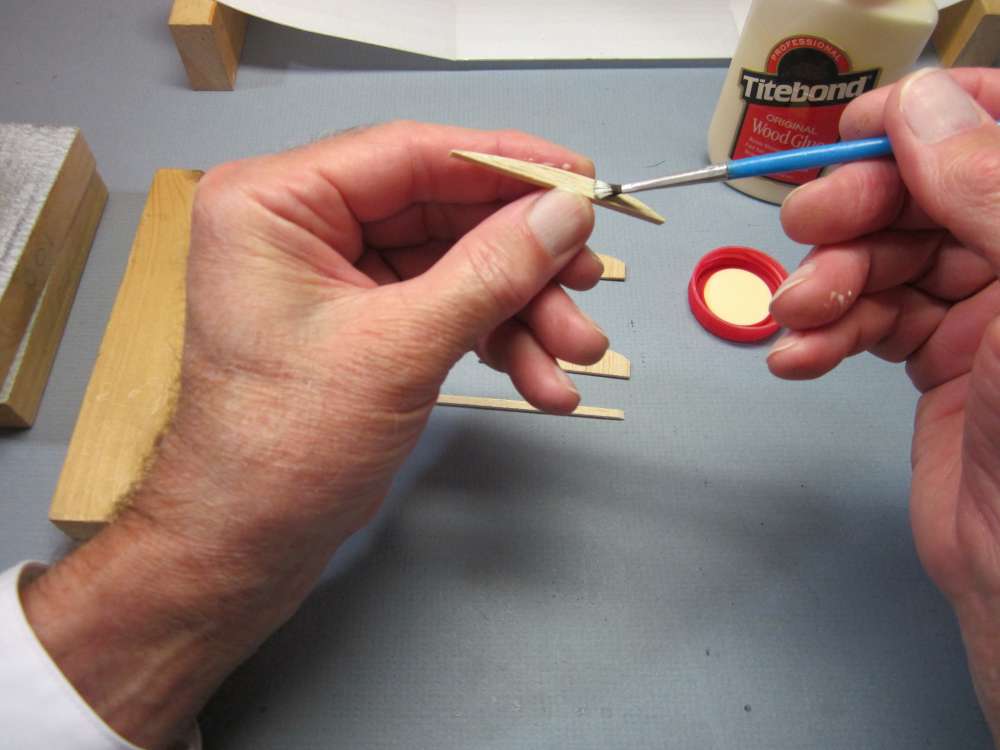
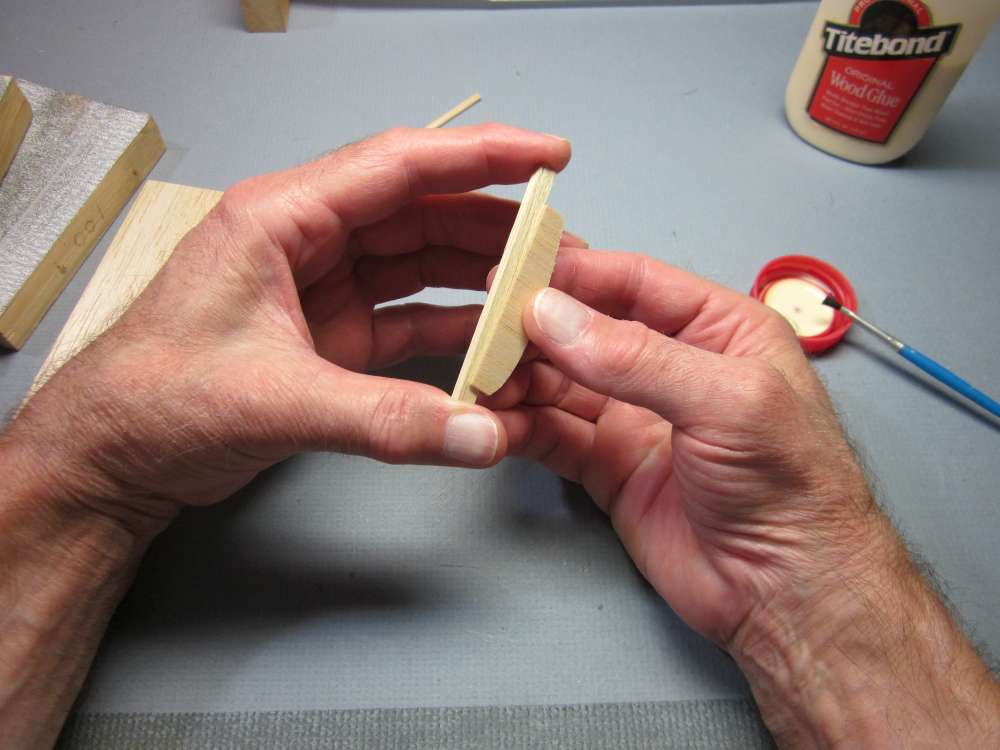
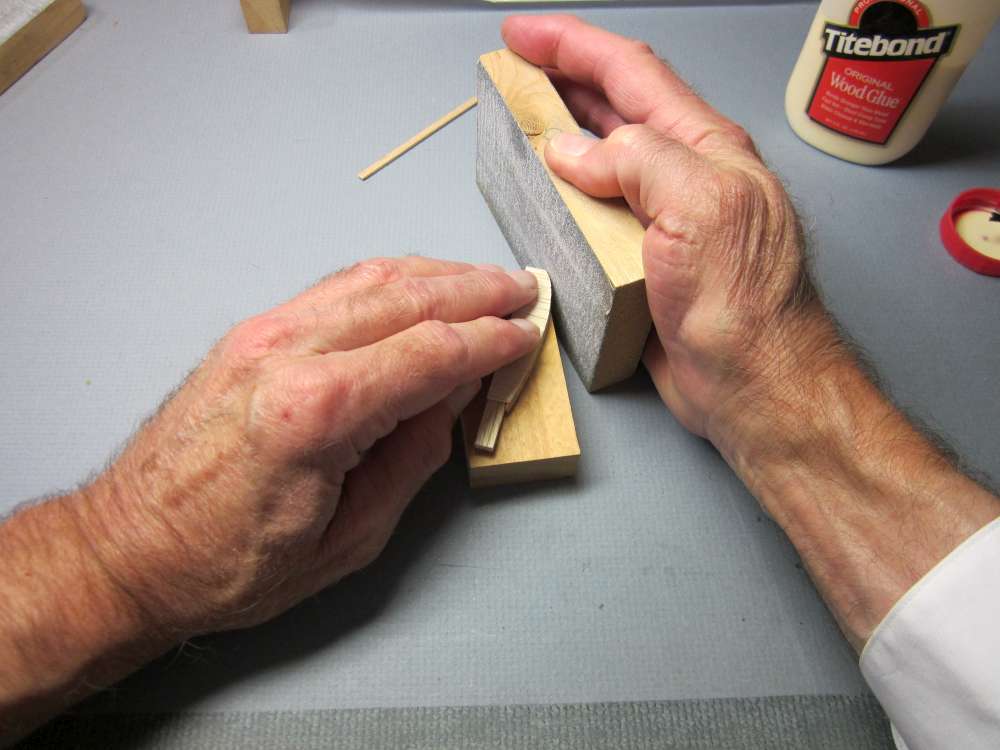
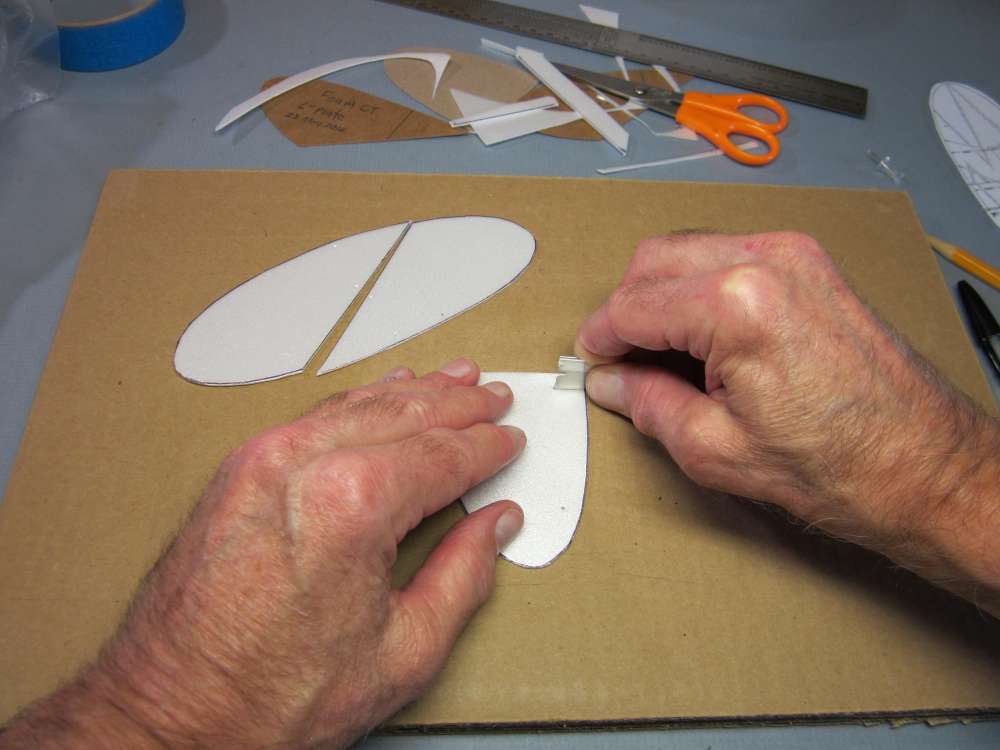
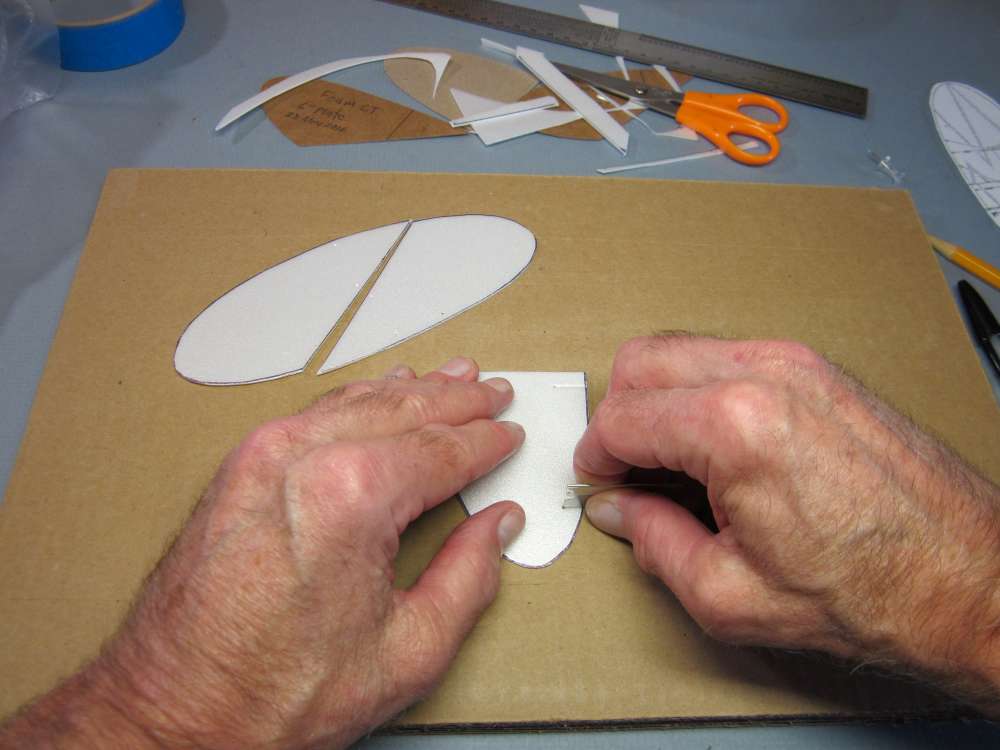
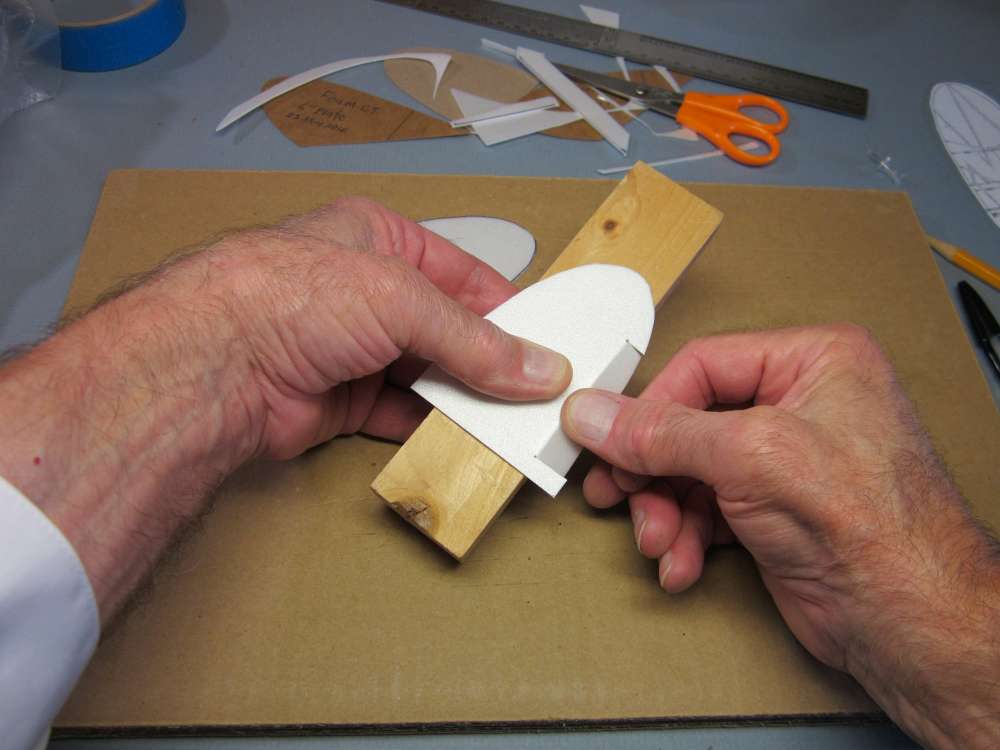
Lightly sand the straight edges of the two tailplane parts and the base of the fin. They are sanded just enough to get them square and roughen the surface. Place them on a block to space them up off the table and hold the sanding block so it stays perpendicular to the table.
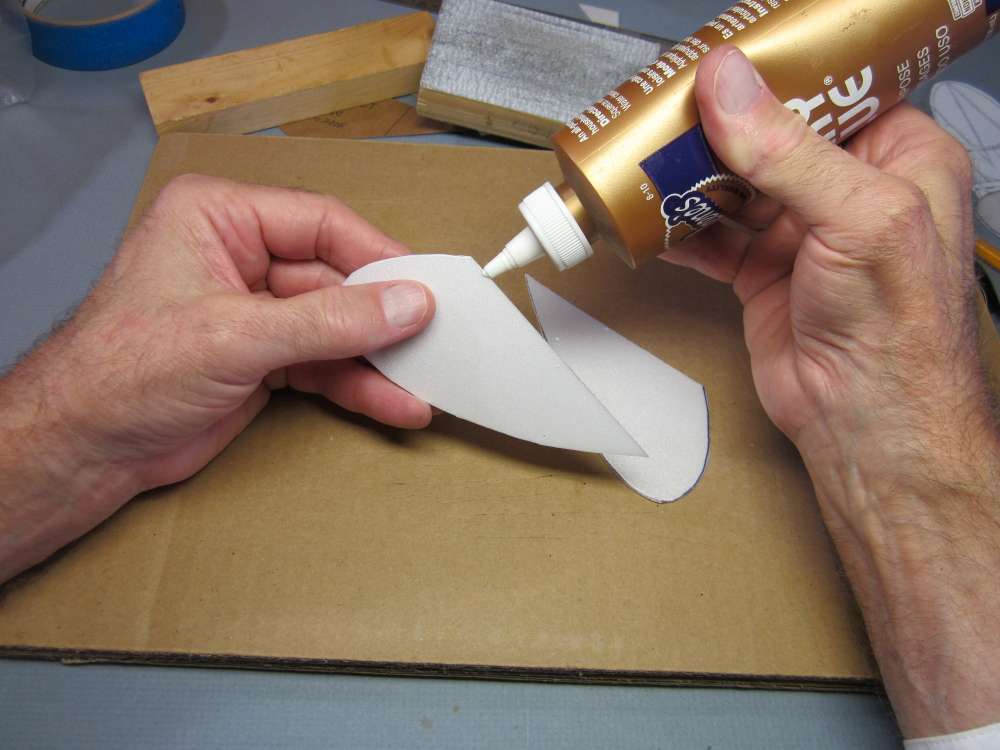
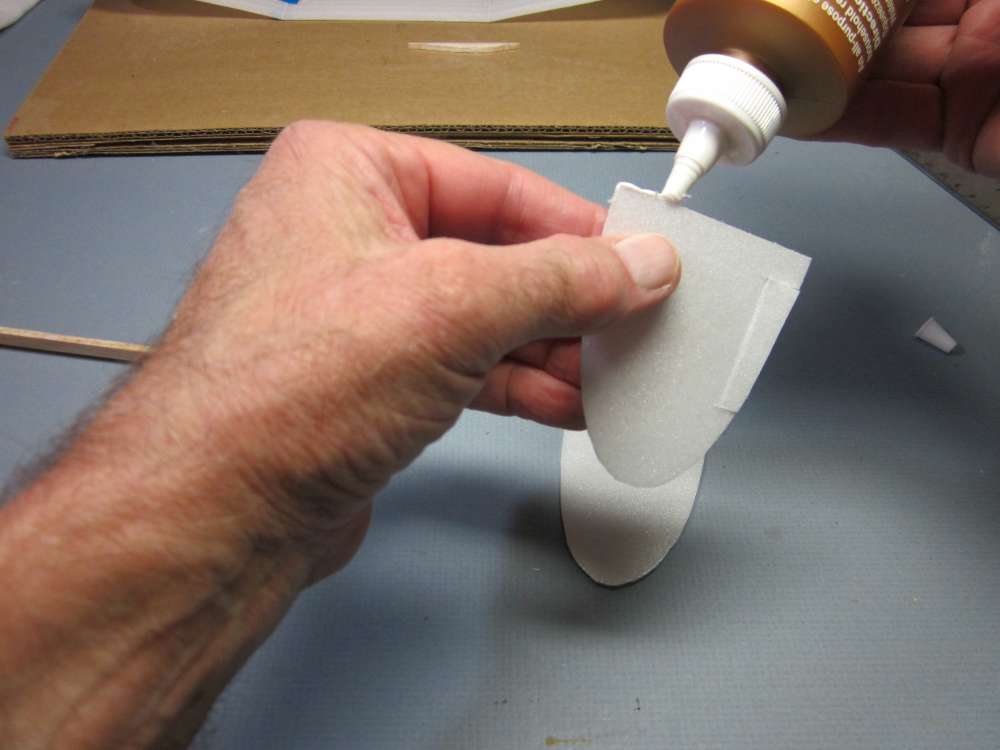
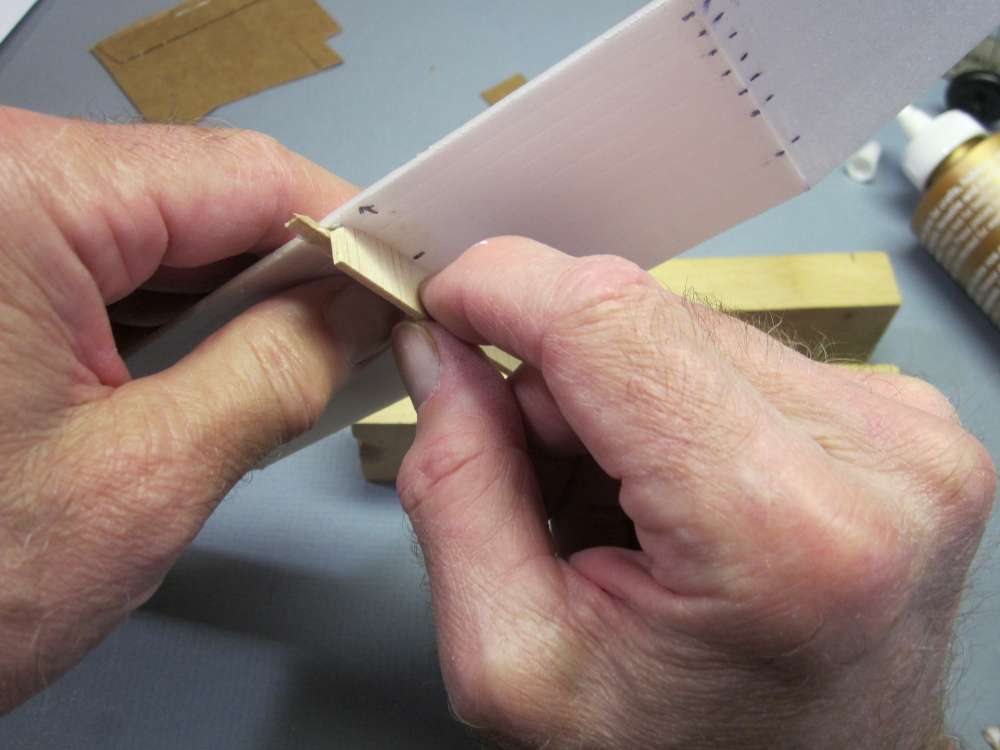
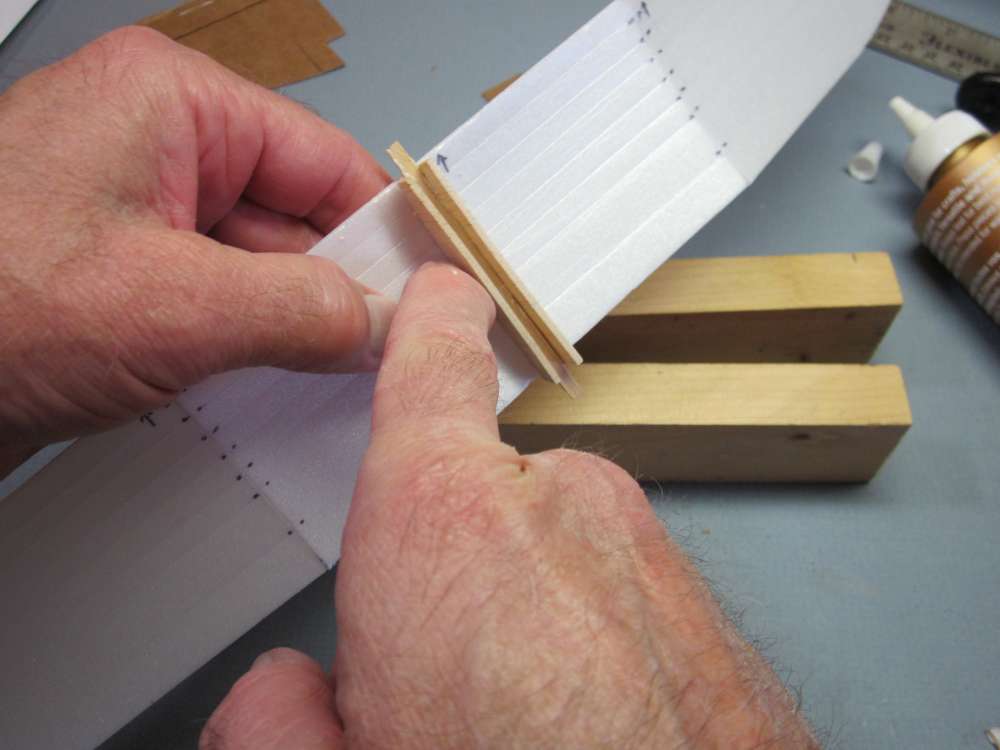
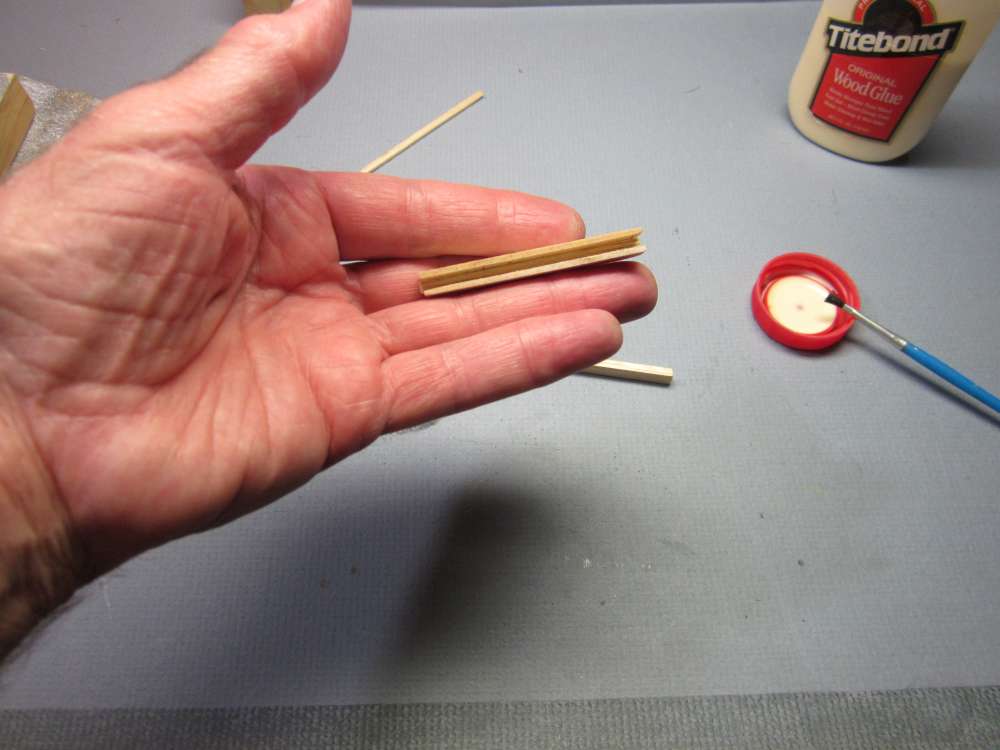
Apply glue along the straight edge of one of the tailplane parts.
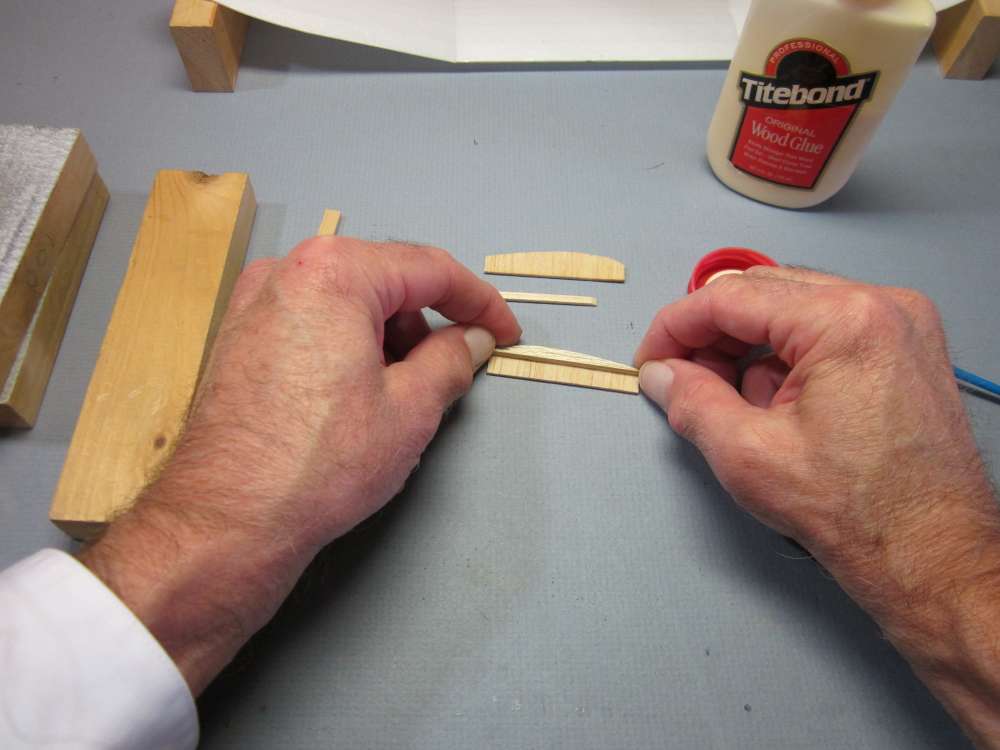
Rub the two edges together to spread the glue uniformly.
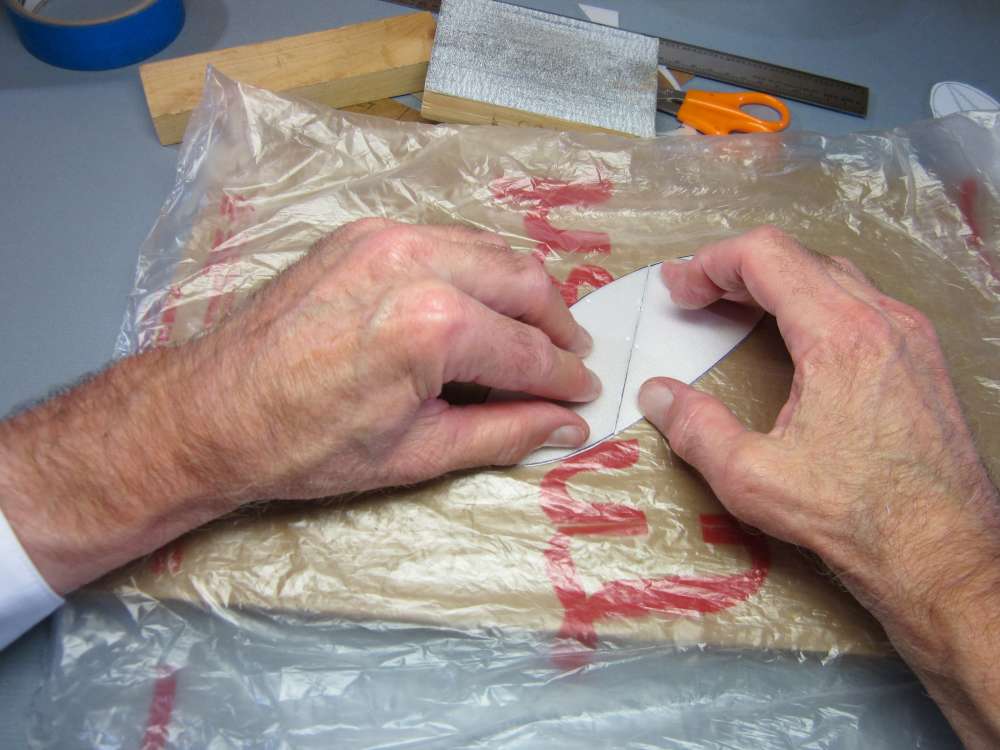
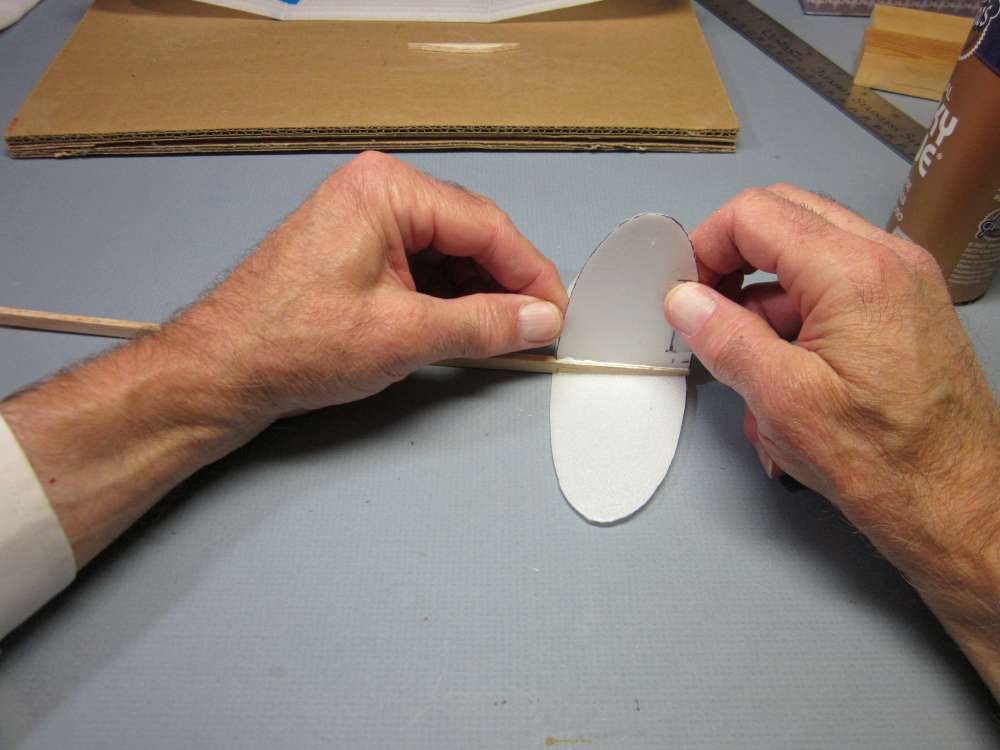
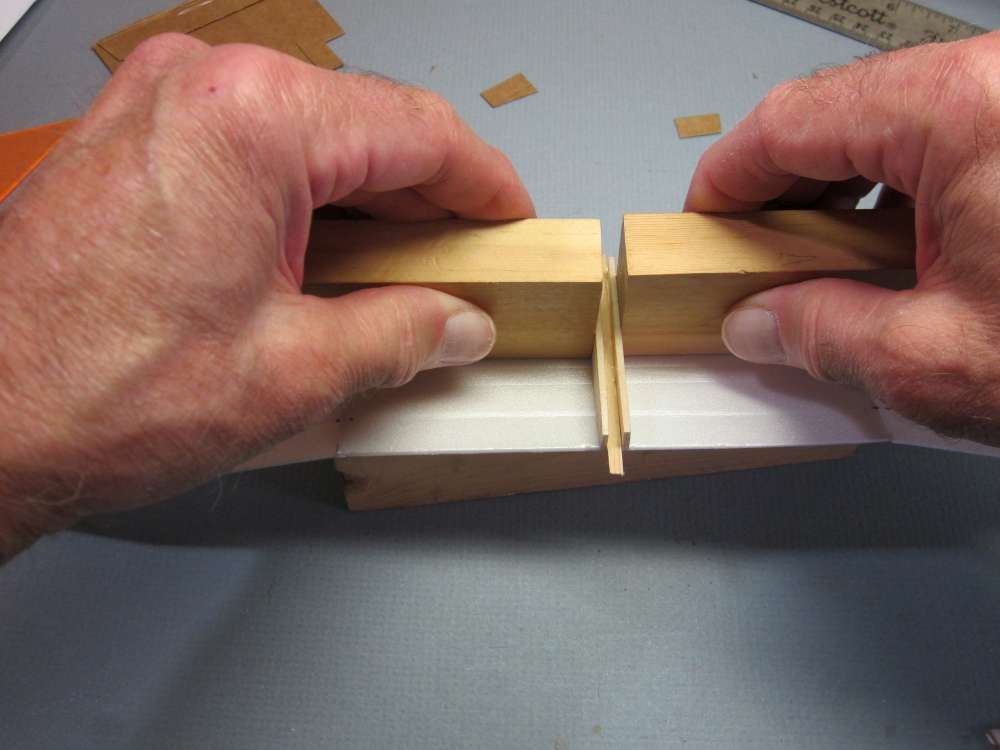
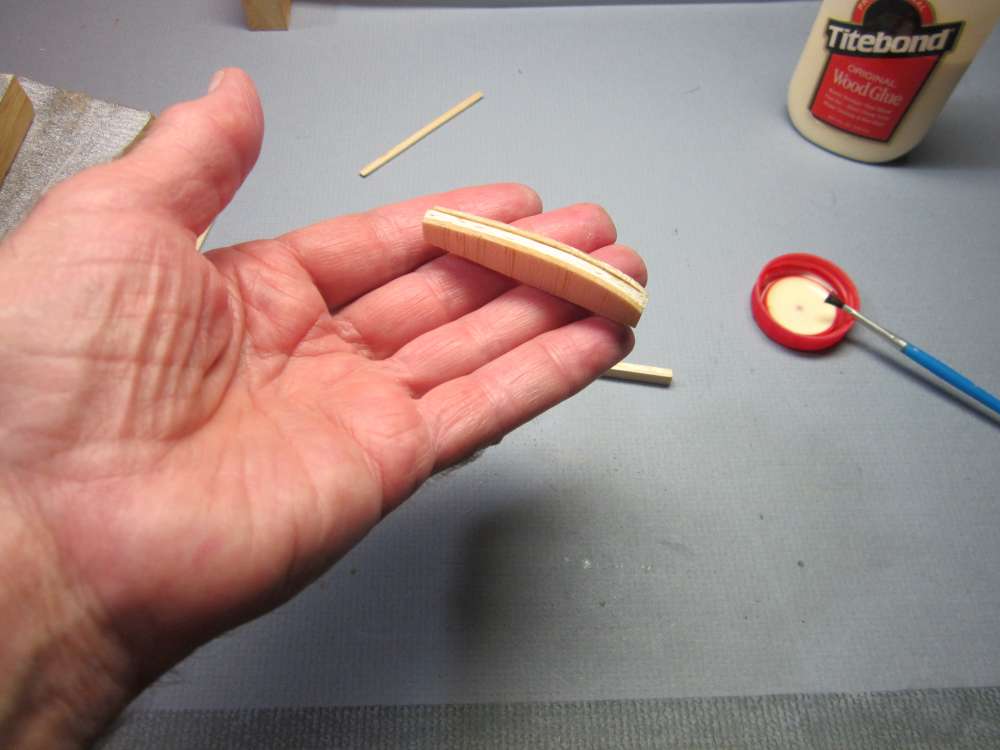
Protect your board with plastic sheet. Press the edges snugly together.
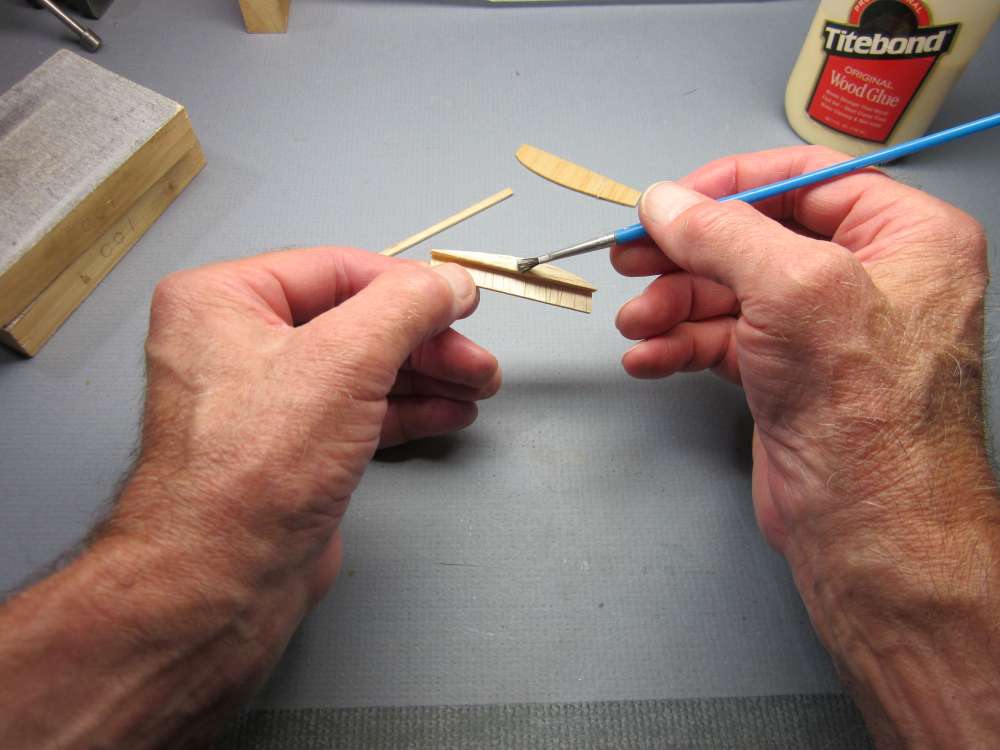
Place weights onthe pieces to hold them flat and in firm contact as the glue dries. After the glue dries, you can peel the plastic film off the underside. The glue might still be damp under the file, so let it dry. Then you can line the pinholes up with the tailplane taper on the stick and glue the tailplane to the stick.
One thought on “Foam Plate Cloud Tramp”