Construction Sequence
The recommended general sequence for building the components is: cut out stripwood, jigs and parts, build first fuselage side, build tailplane and fins, build wing center section, build second fuselage side, glue fins to tailplane, make nose block, join fuselage sides together, make prop assembly, make landing gear, cover tail group, wing center panel and fuselage with tissue paper, glue wingtips to center panel at dihedral angle, cover wing tips with tissue paper, glue wings and tail group to fuselage, install motor peg and motor. The construction sequence is chosen to avoid having to reach over one assembly to work on another and to allow glue to dry while working on another component.
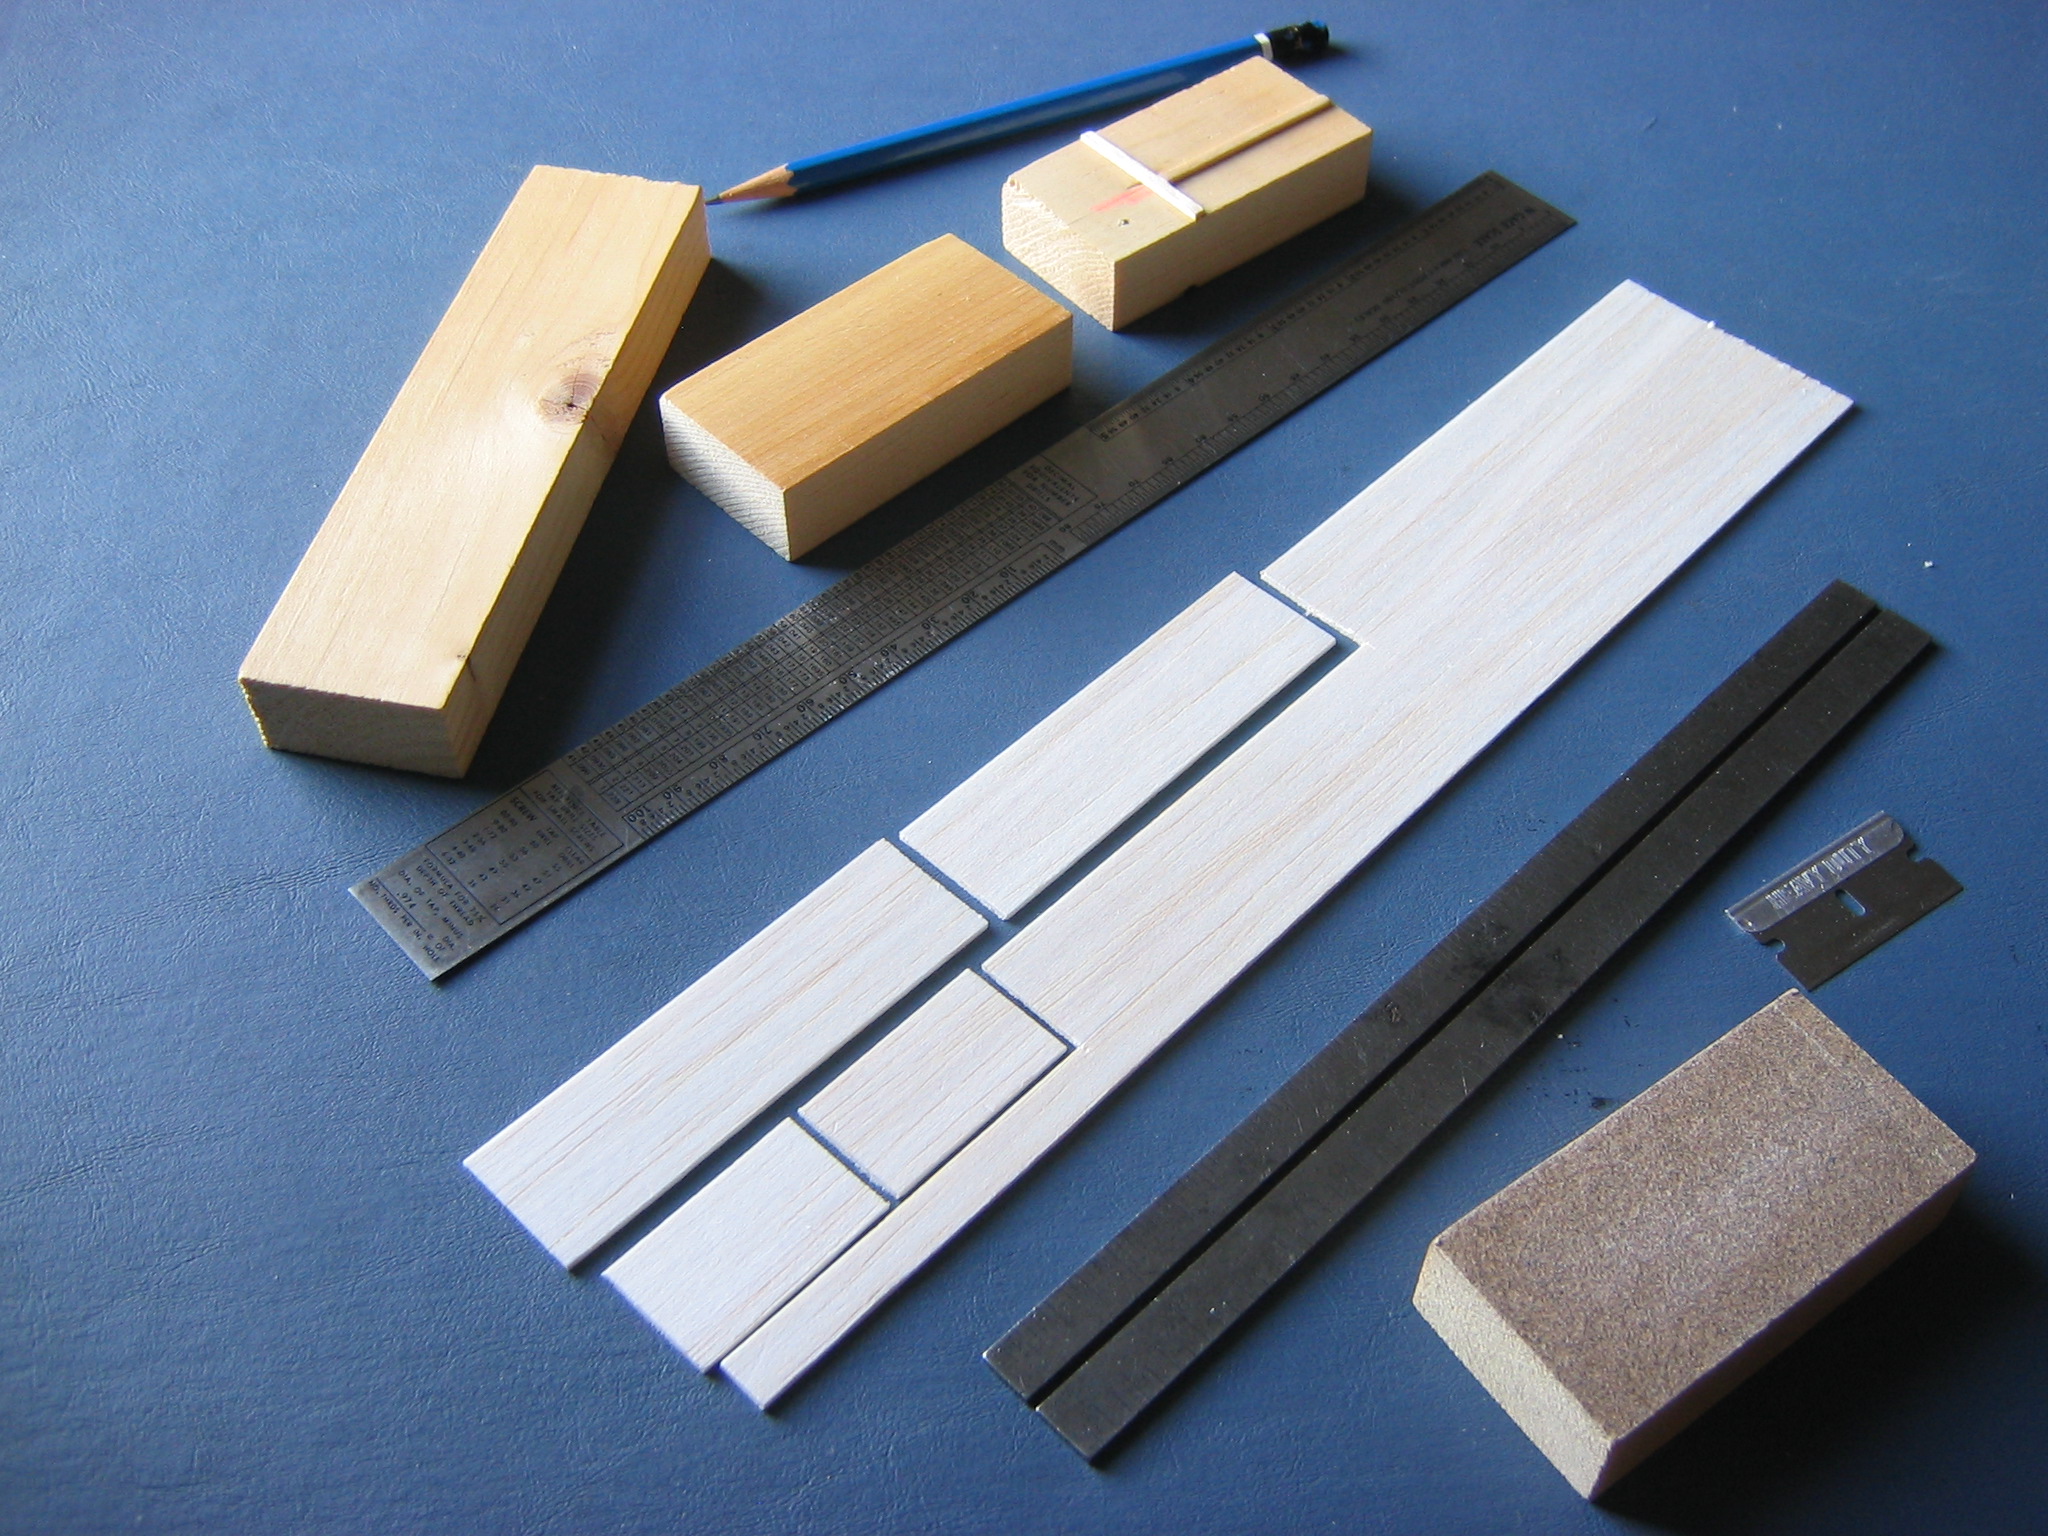
Cut Out Stripwood and Jigs
Use the lighter wood where possible, save the harder wood for the noseblock parts. You don’t need the whole 36″ length of the 1/16″ balsa sheet, so start by cutting it into two 18″ lengths. Mark the center of one edge with a pencil.
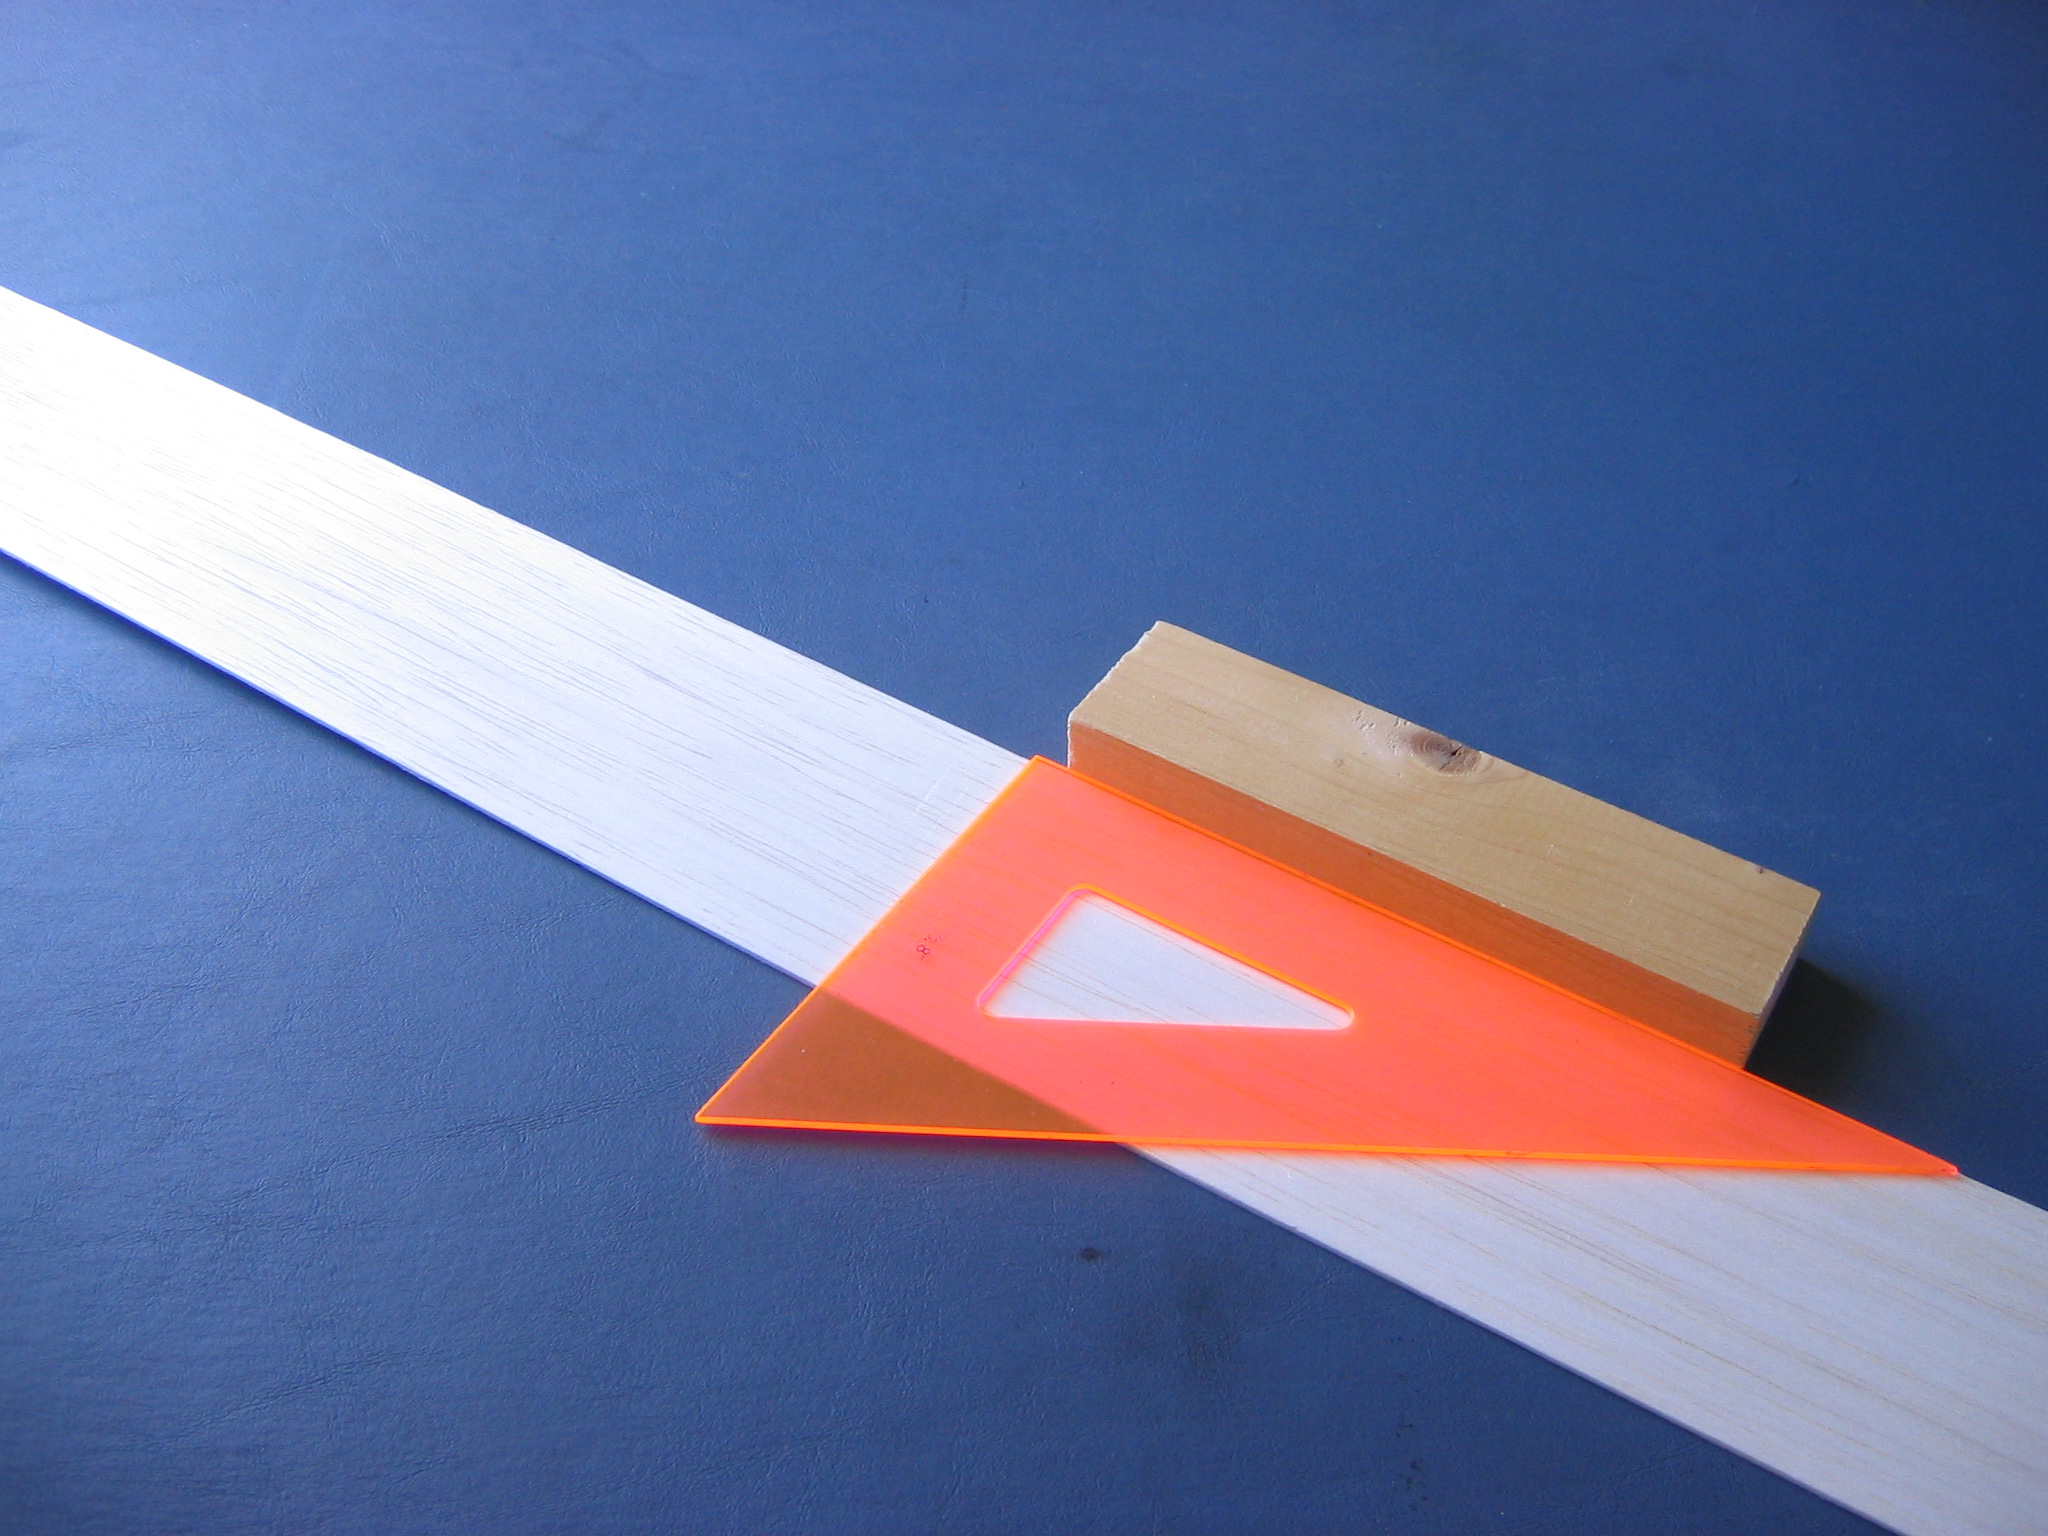
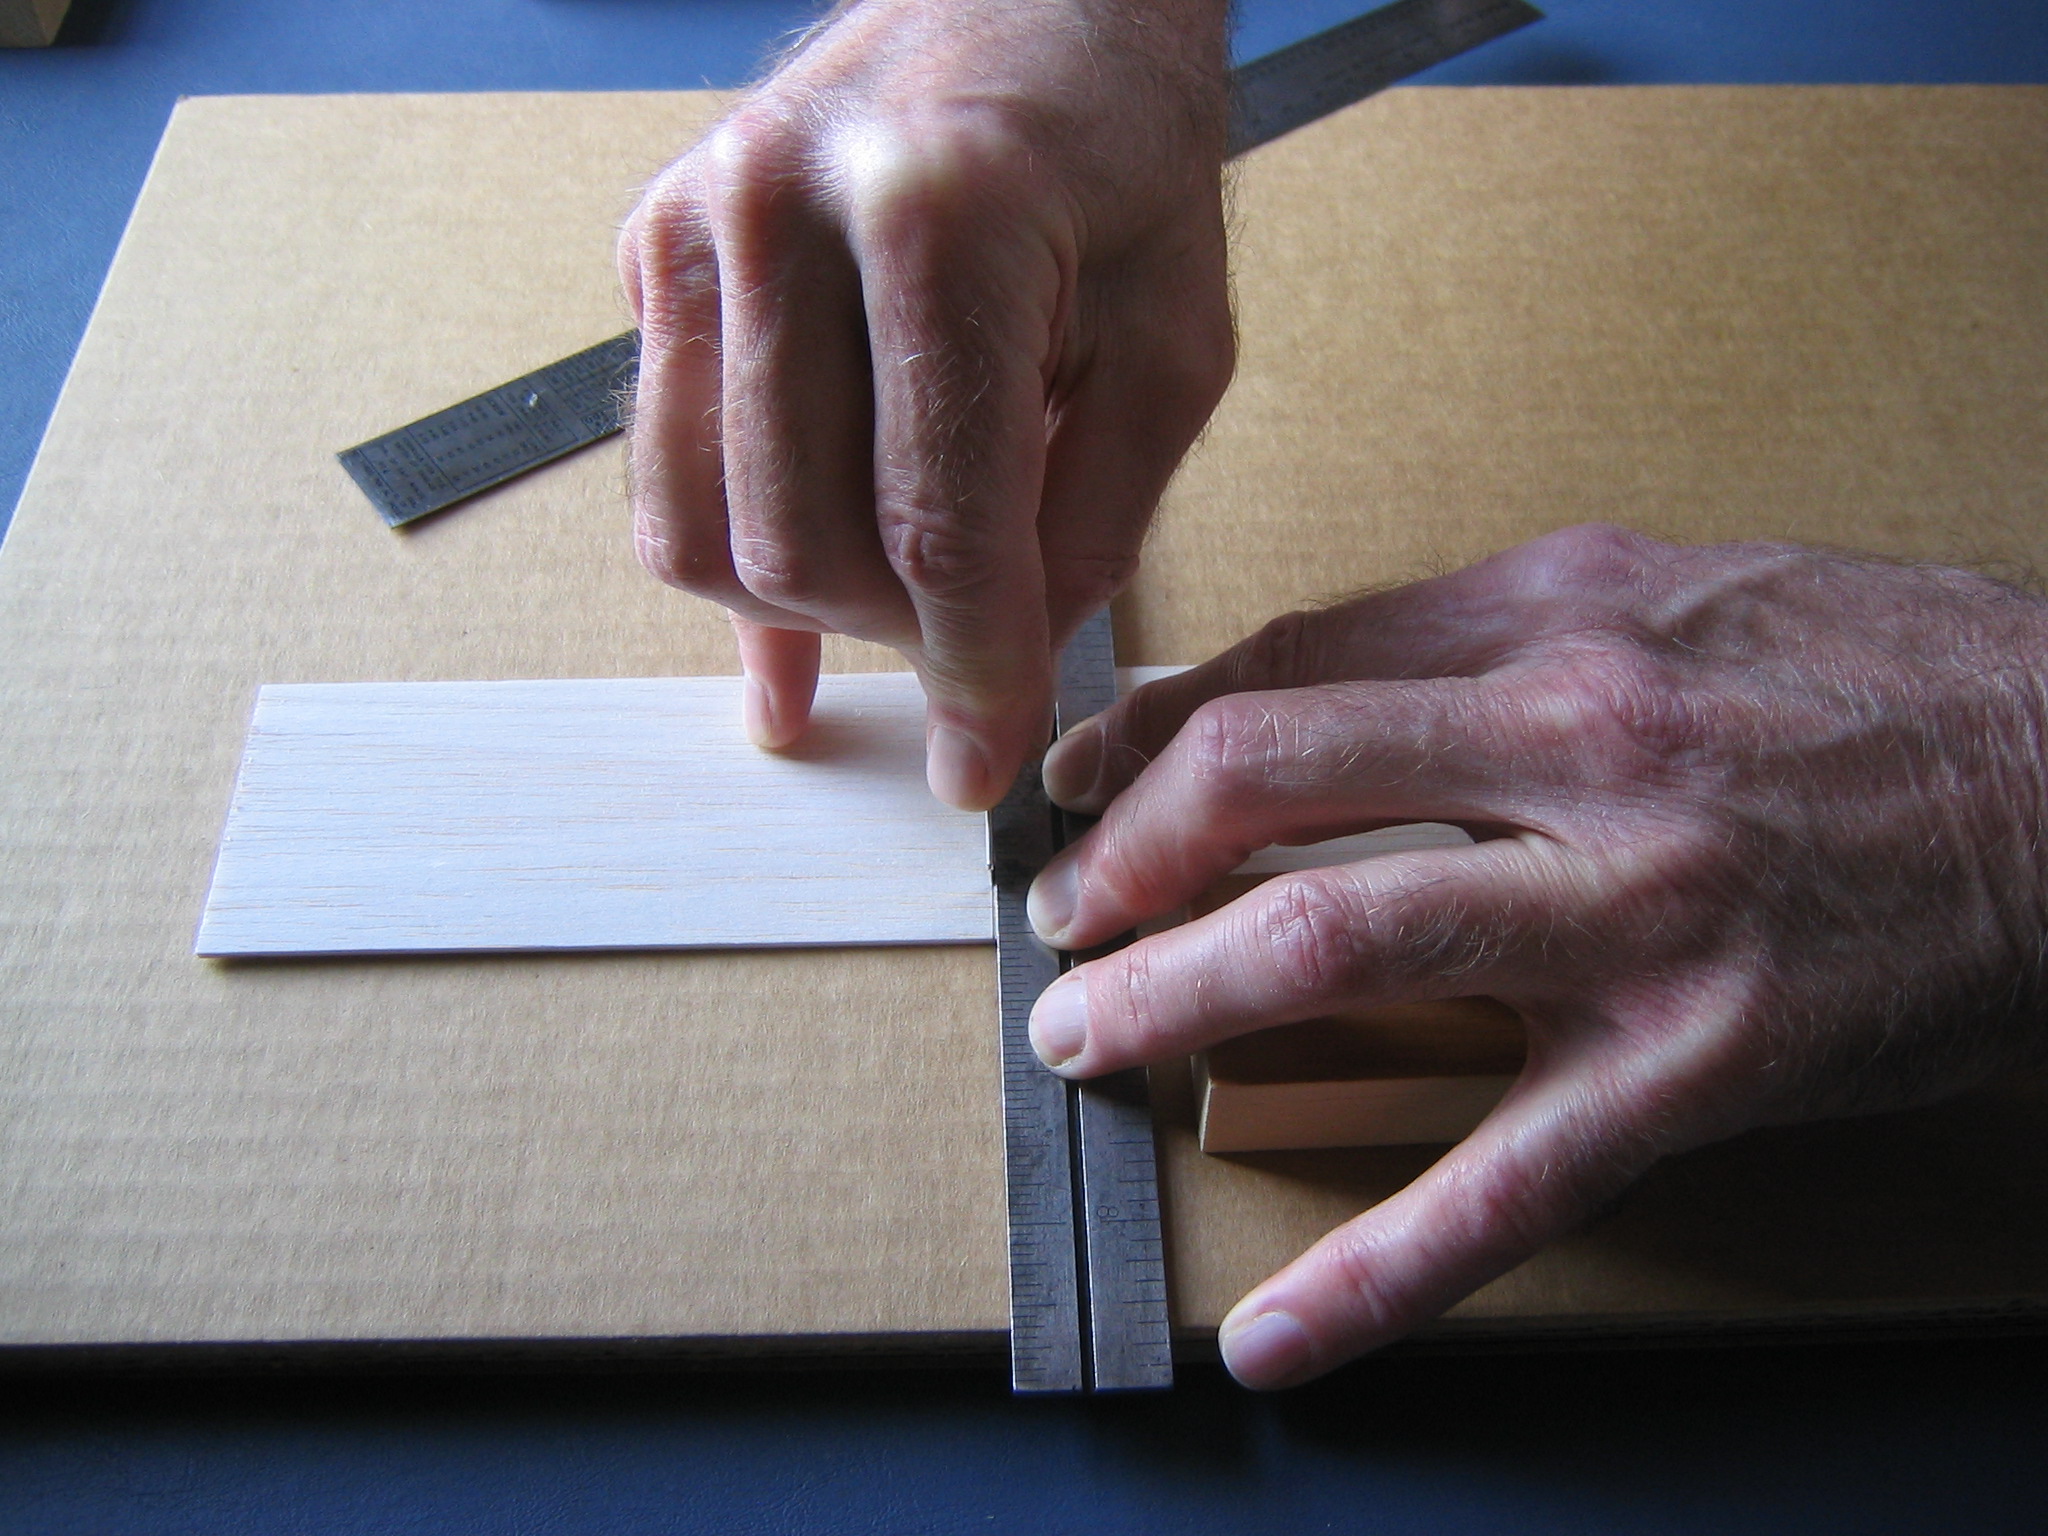
Here the wood block aligns the triangle with the edge of the balsa sheet…
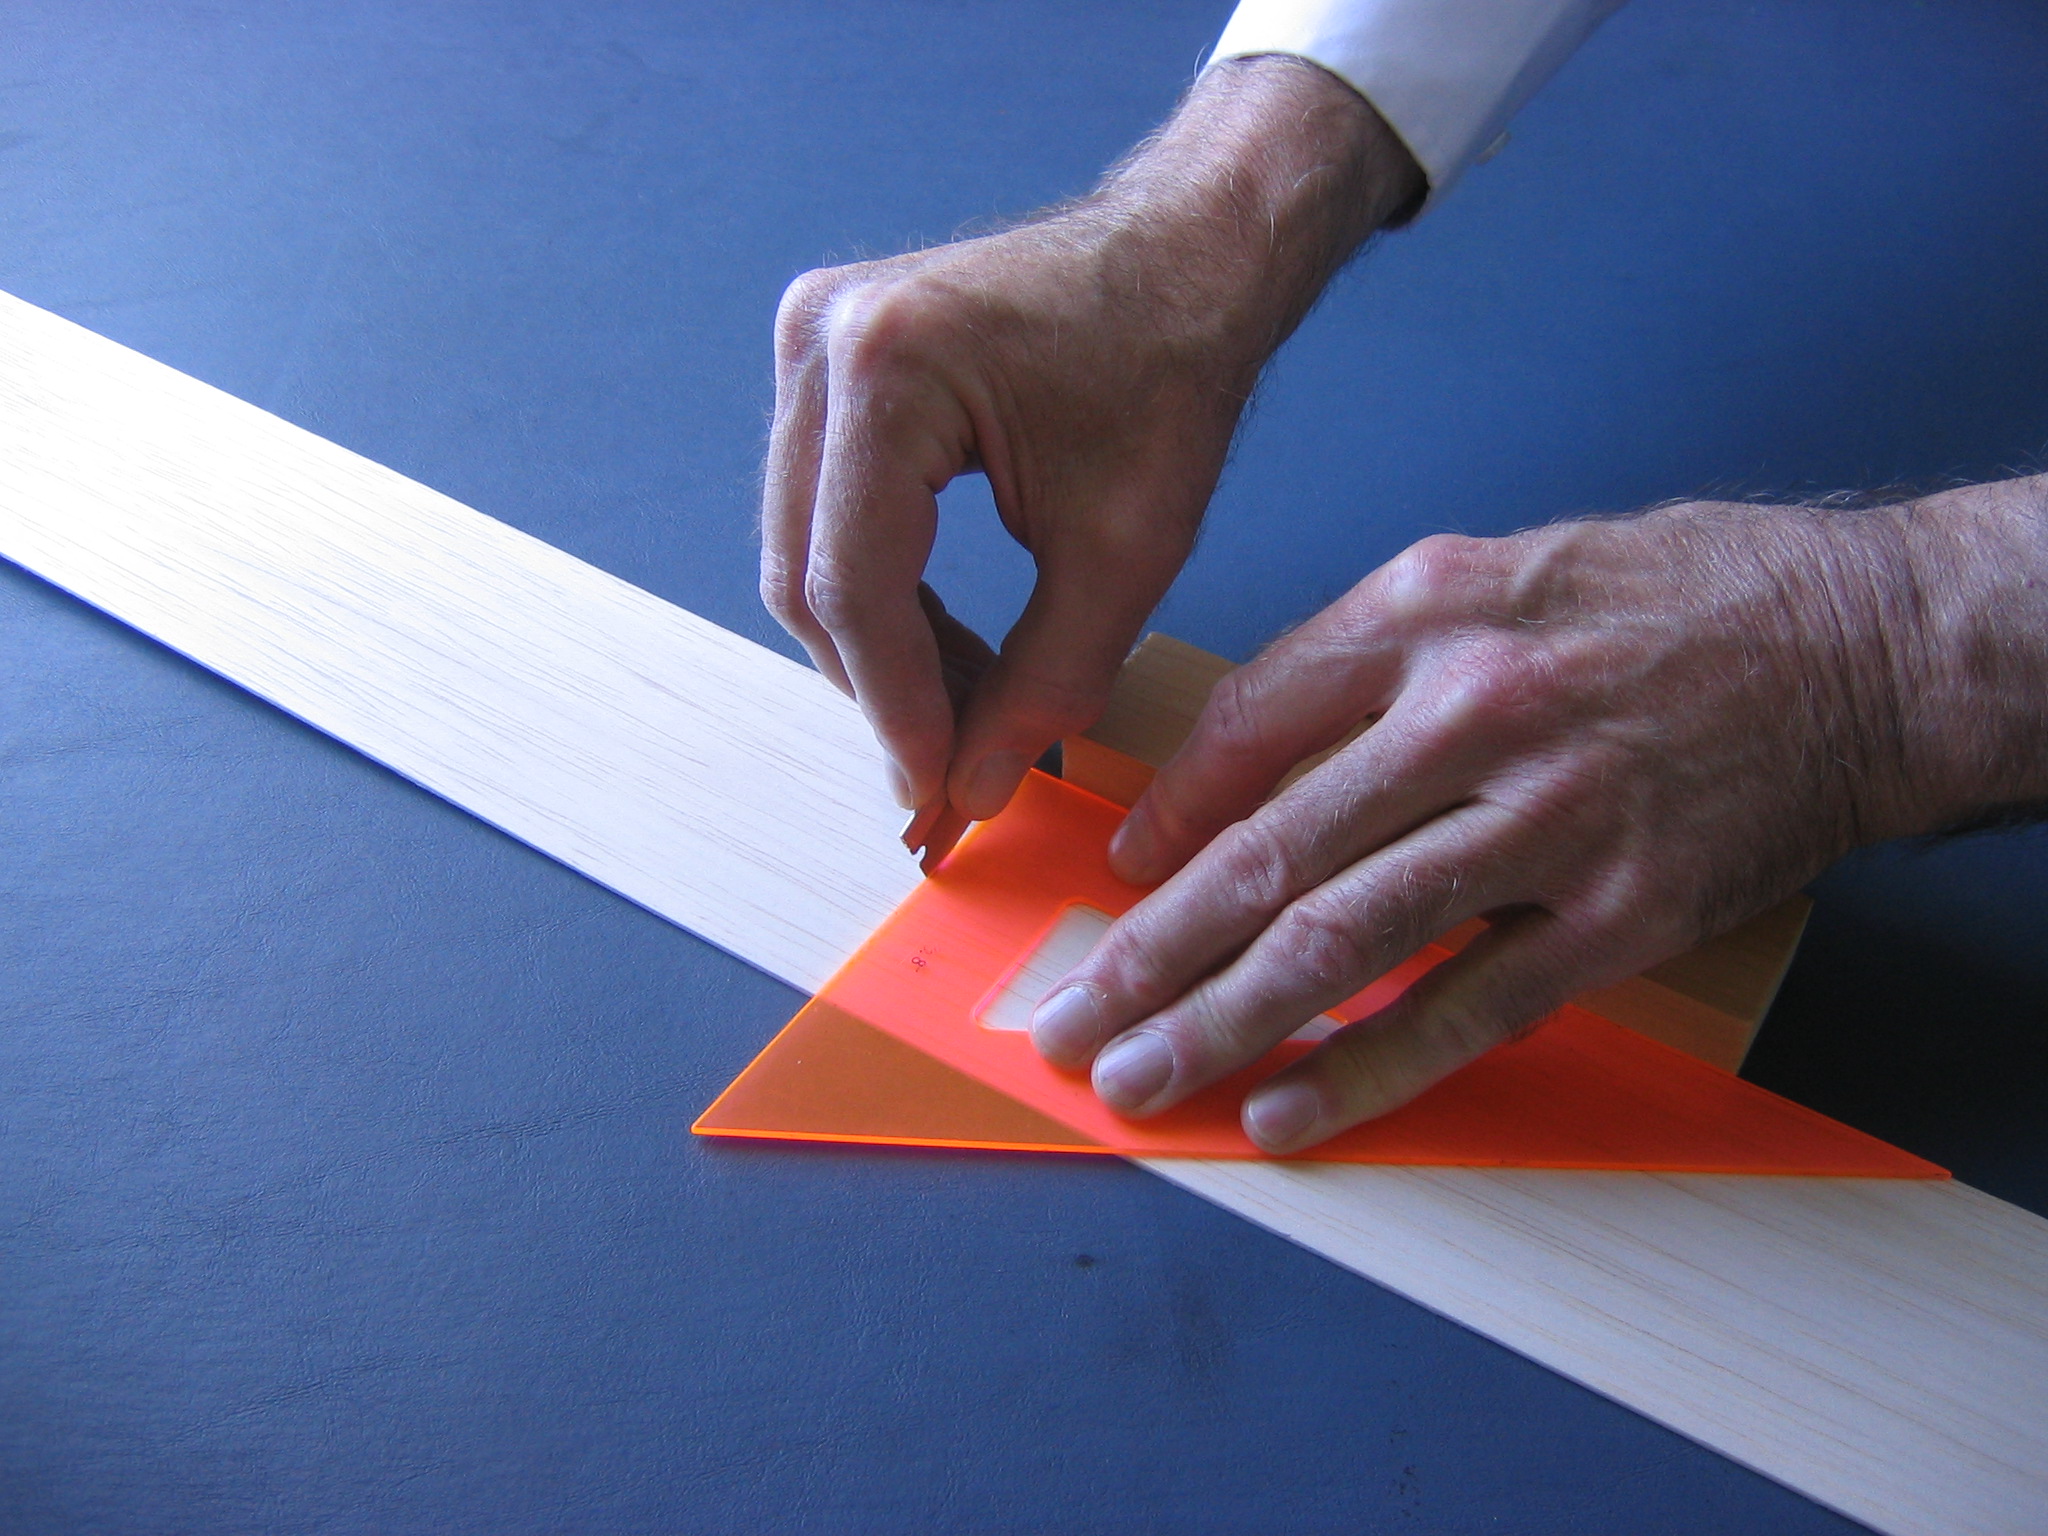
…while the triangle guides the razor blade. Not an approved use of a drafting triangle!
Put the extra half away in a safe place for your next project. It is a good idea to have a box for saving scrap wood. My first Big Pussycat was made entirely of scrap wood left over from kits and other projects.
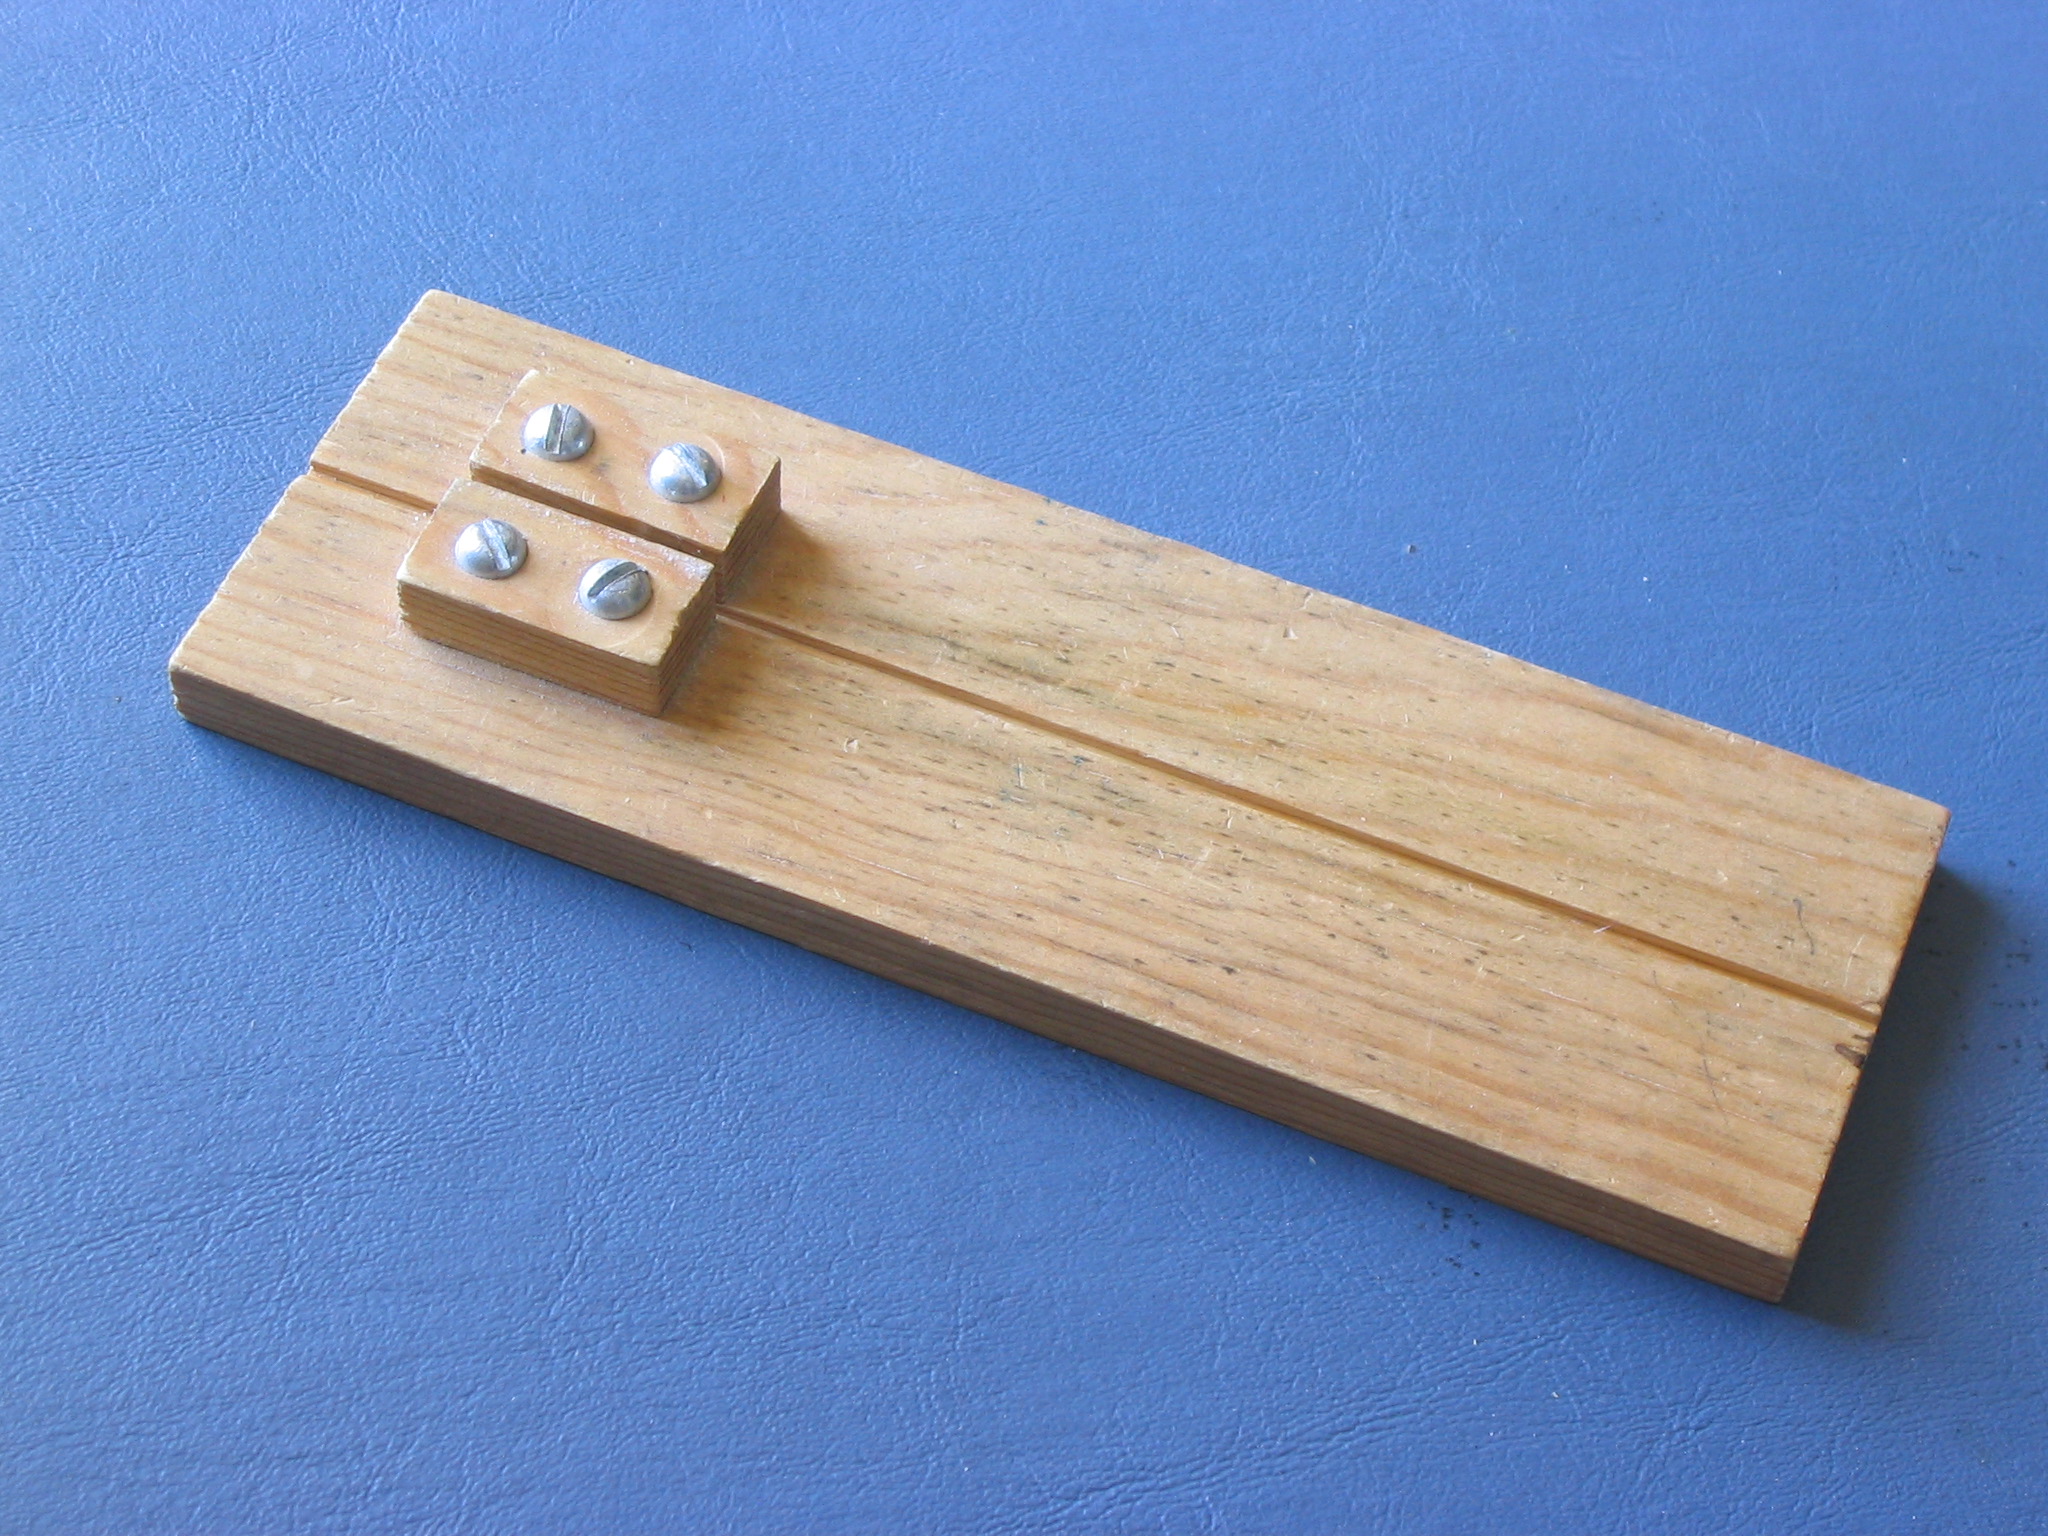
The fuselage and tail group are made mostly from 1/16″ square stripwood. Rather than buy stripwood and pay for the labor and sawdust, we will strip it ourselves. You can cut strip wood with a steel straightedge and a razor blade, but it is difficult to get straight, uniform and square strips that way. Using a balsa stripper, strip 7 pieces of 1/16″ square. This is my home made stripper. The slot in the board is 1/16″ wide and 1/16″ deep, cut on a table saw. The two blocks hold a piece of razor blade across the top of the slot. Similar tools are available from local hobby shops or on the Internet, click HERE or HERE for links.
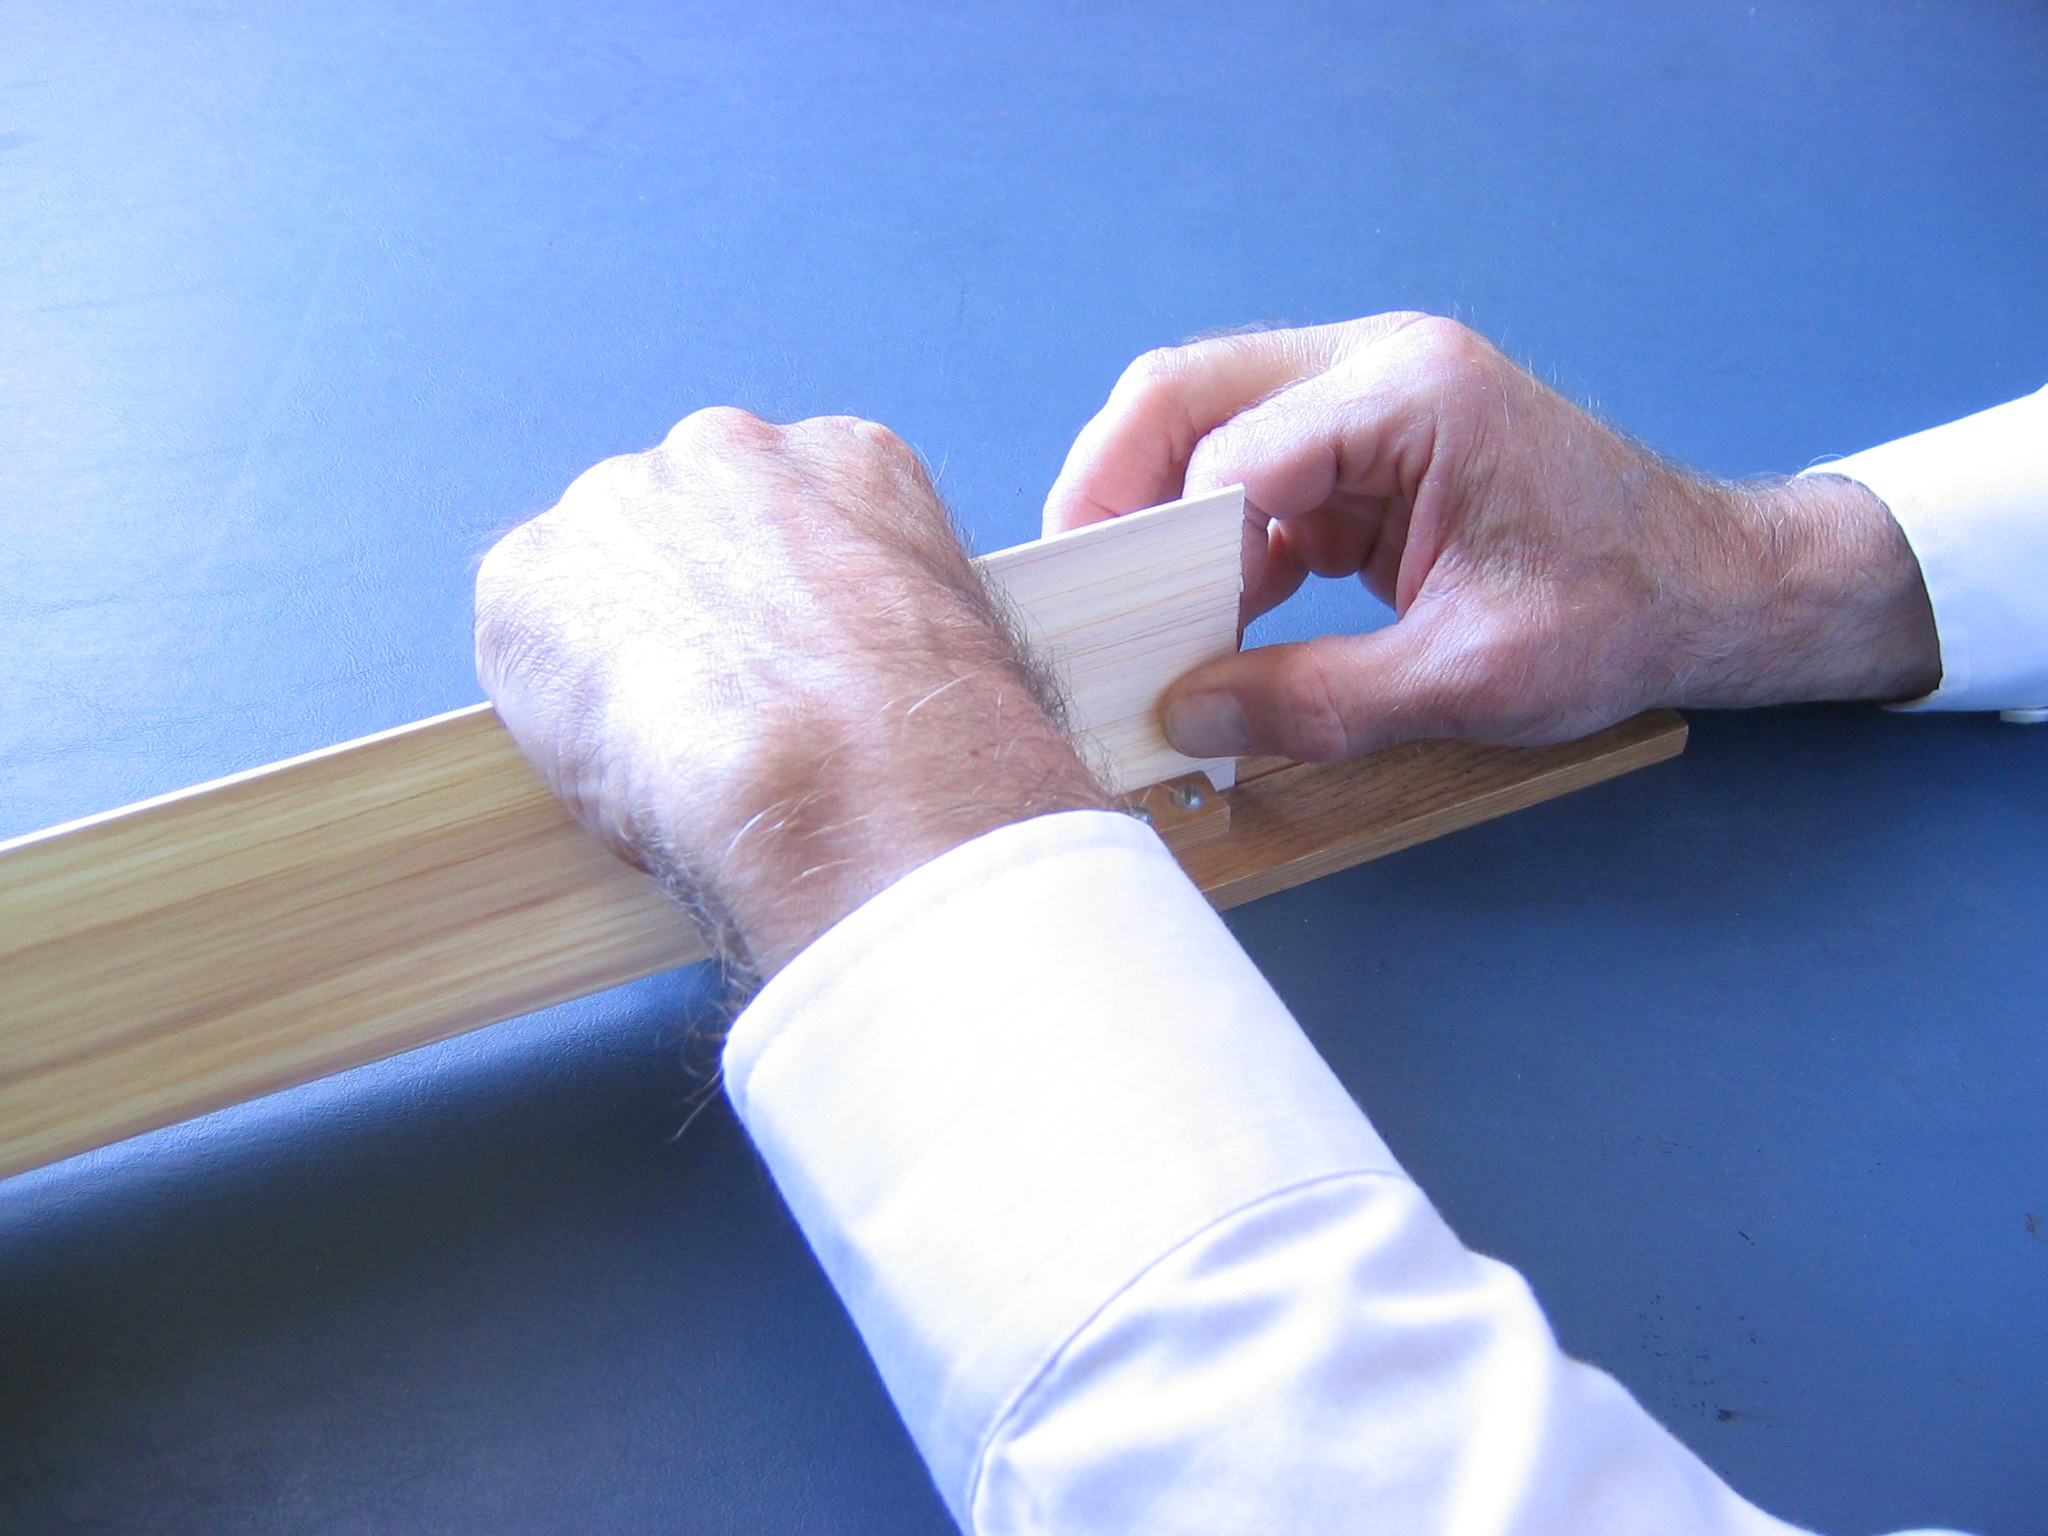
Hold the balsa firmly against the bottom of the slot and push it through the blocks that hold the razor blade down. Keep your pushing hand opposite the board to assure that the sheet is always firmly in contact with the bottom of the slot and does not tip over the edge.
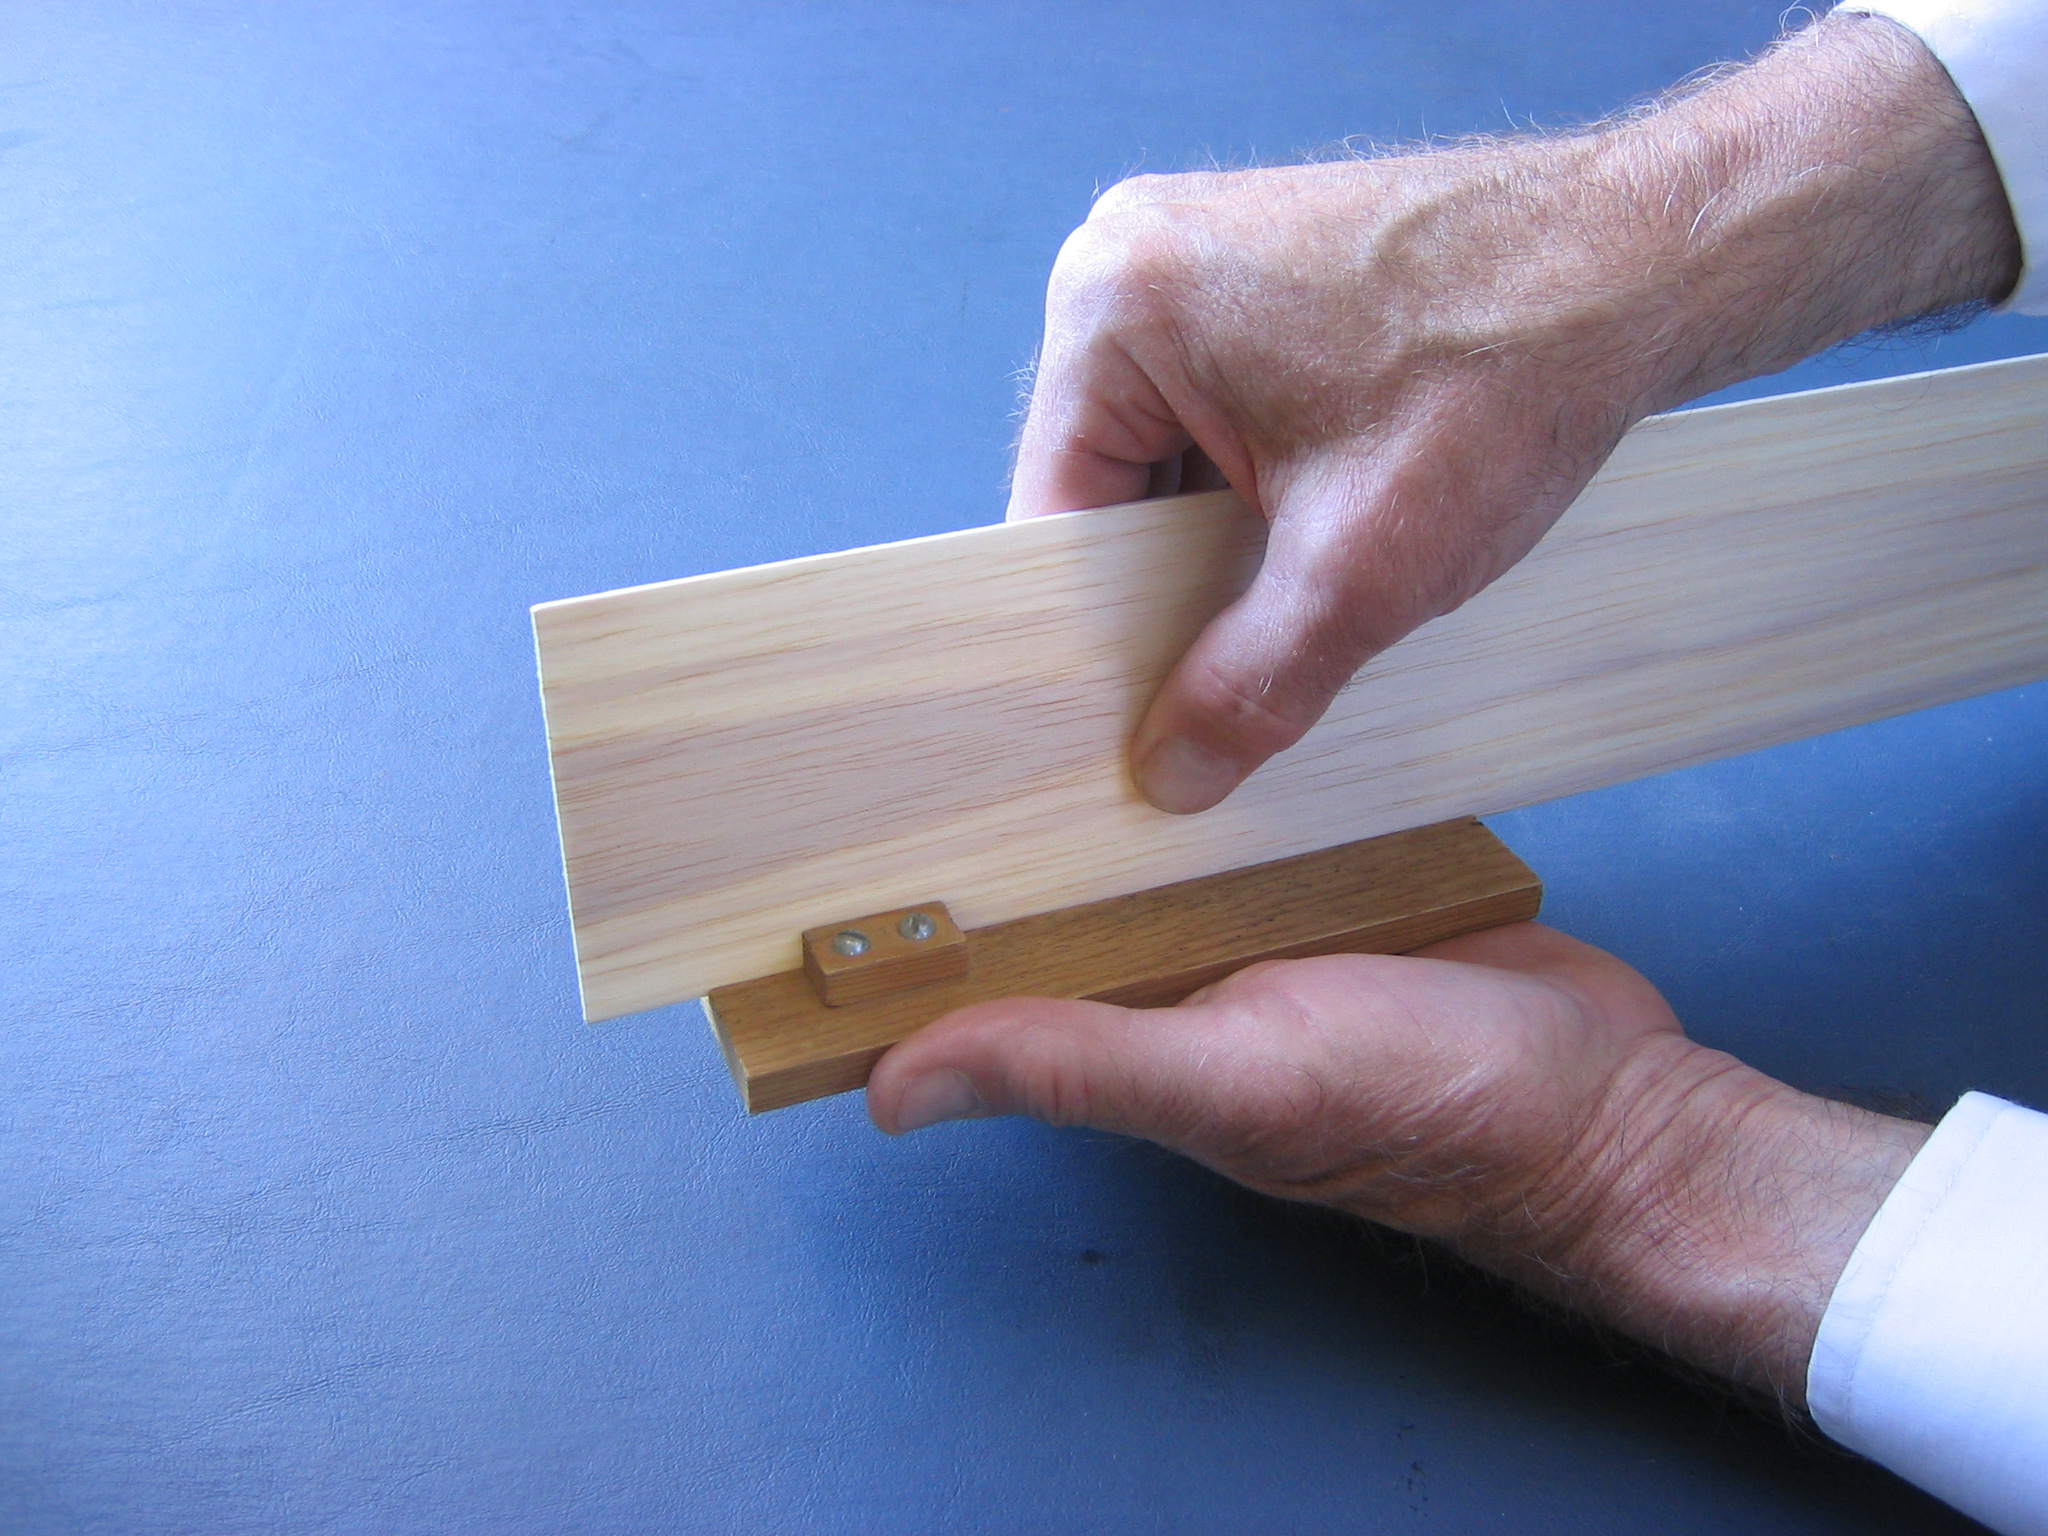
At the end of the cut, hold the sheet in the slot with the right hand and pull it through with the left hand.
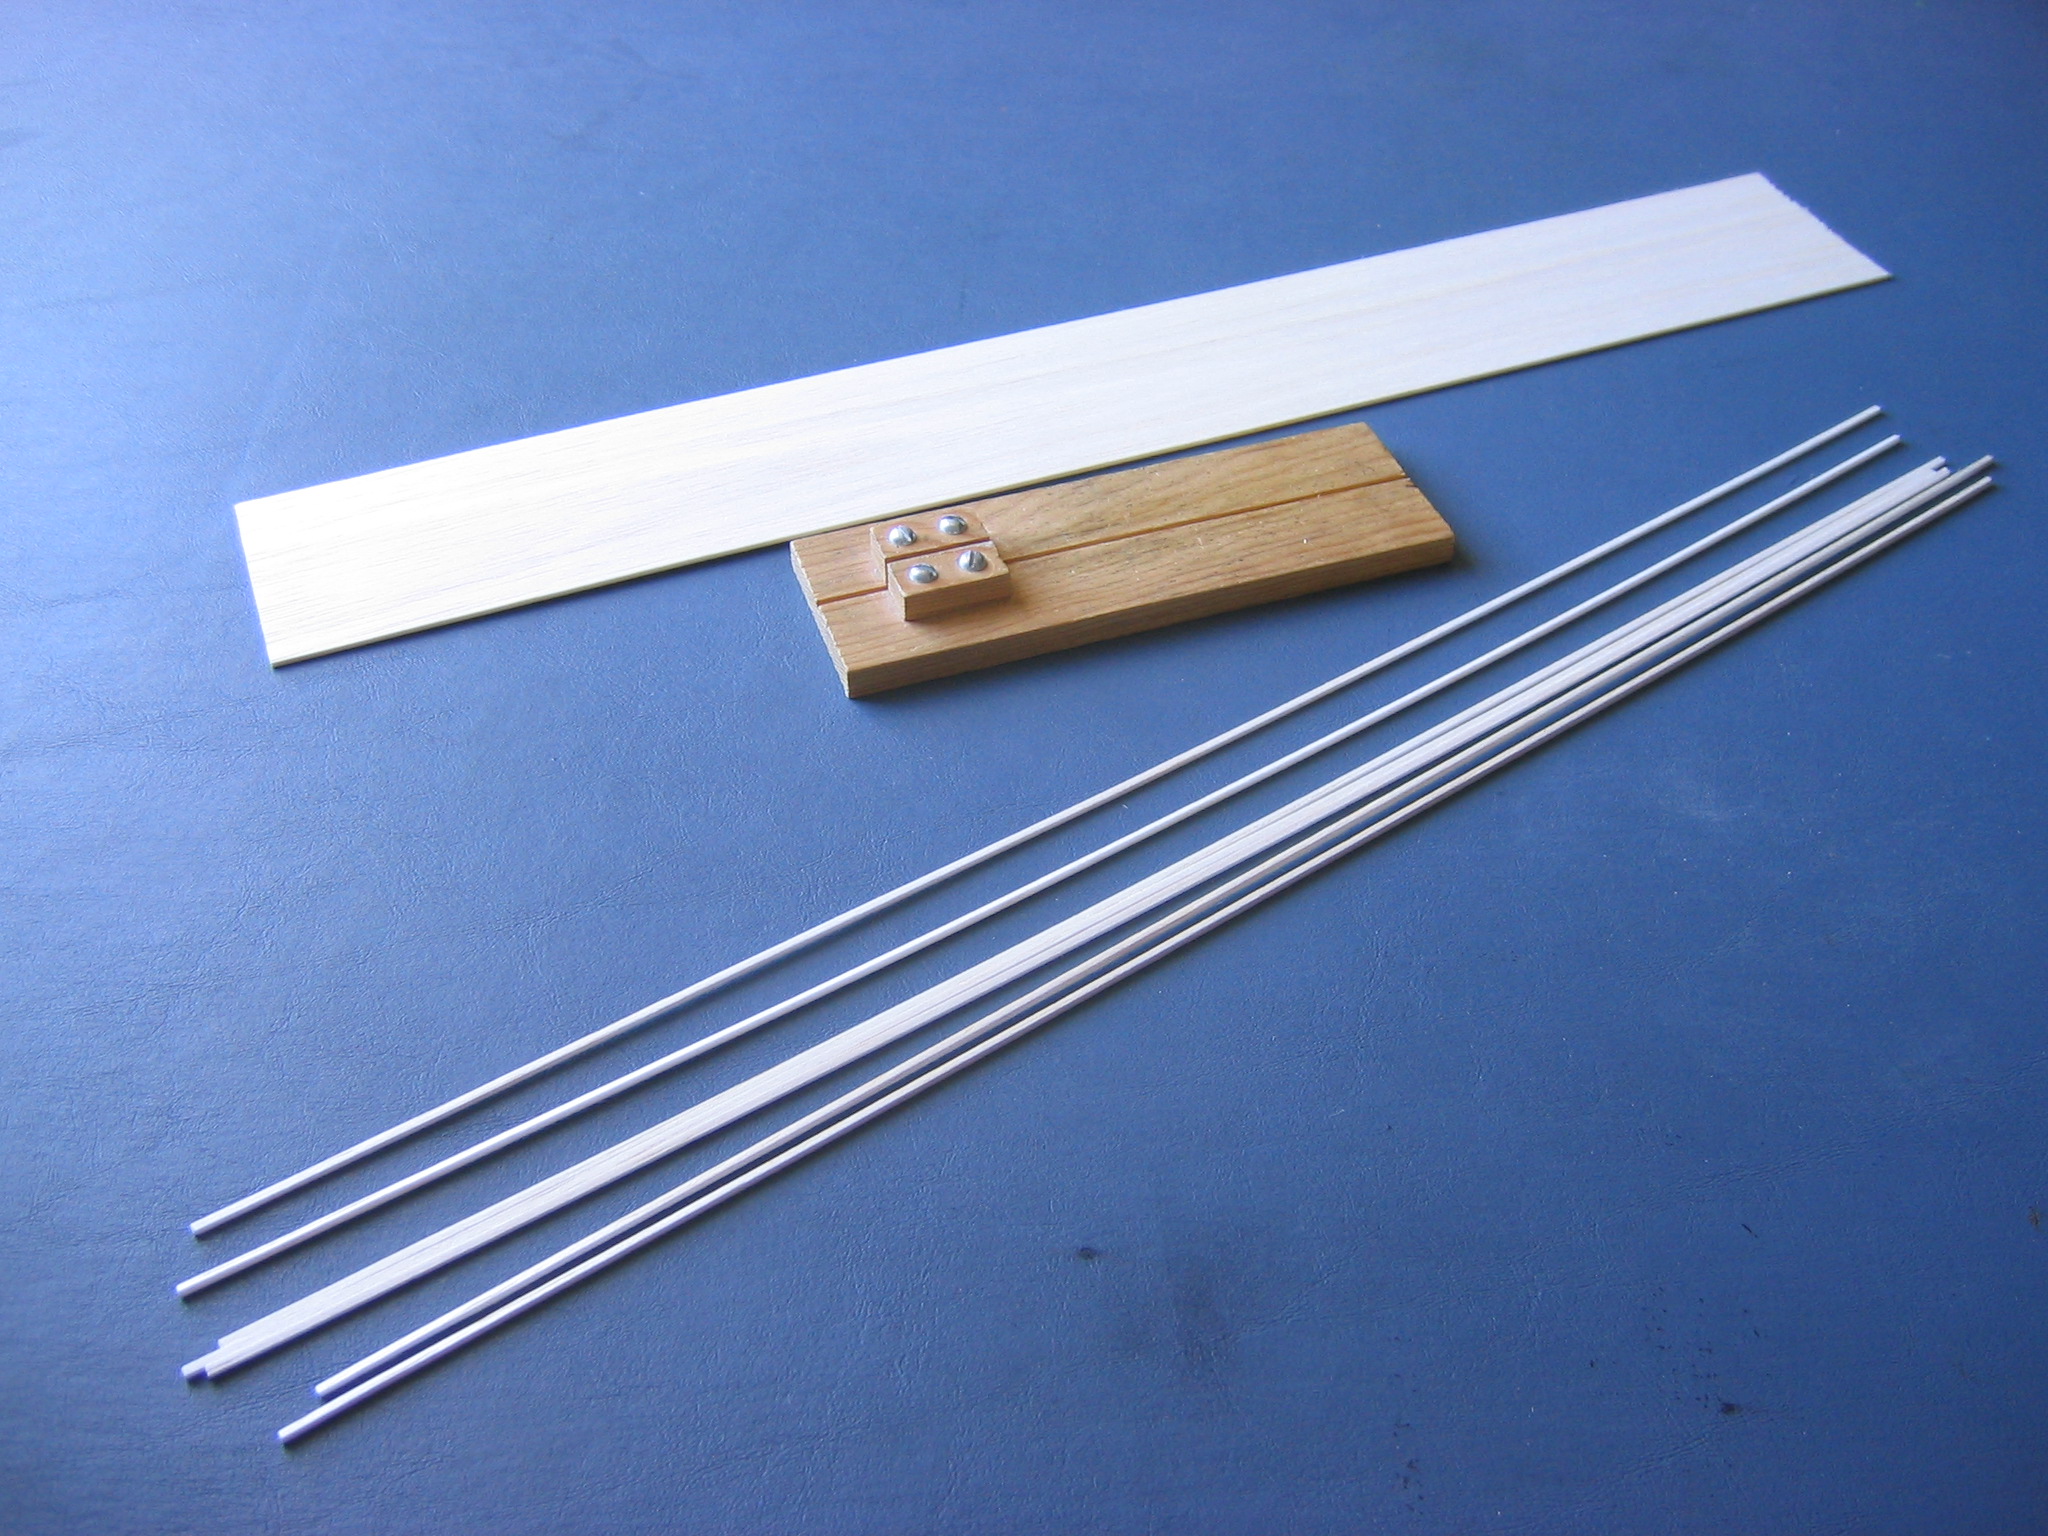
We have just made 7 strips of 1/16″ square, without a saw or wasted sawdust.
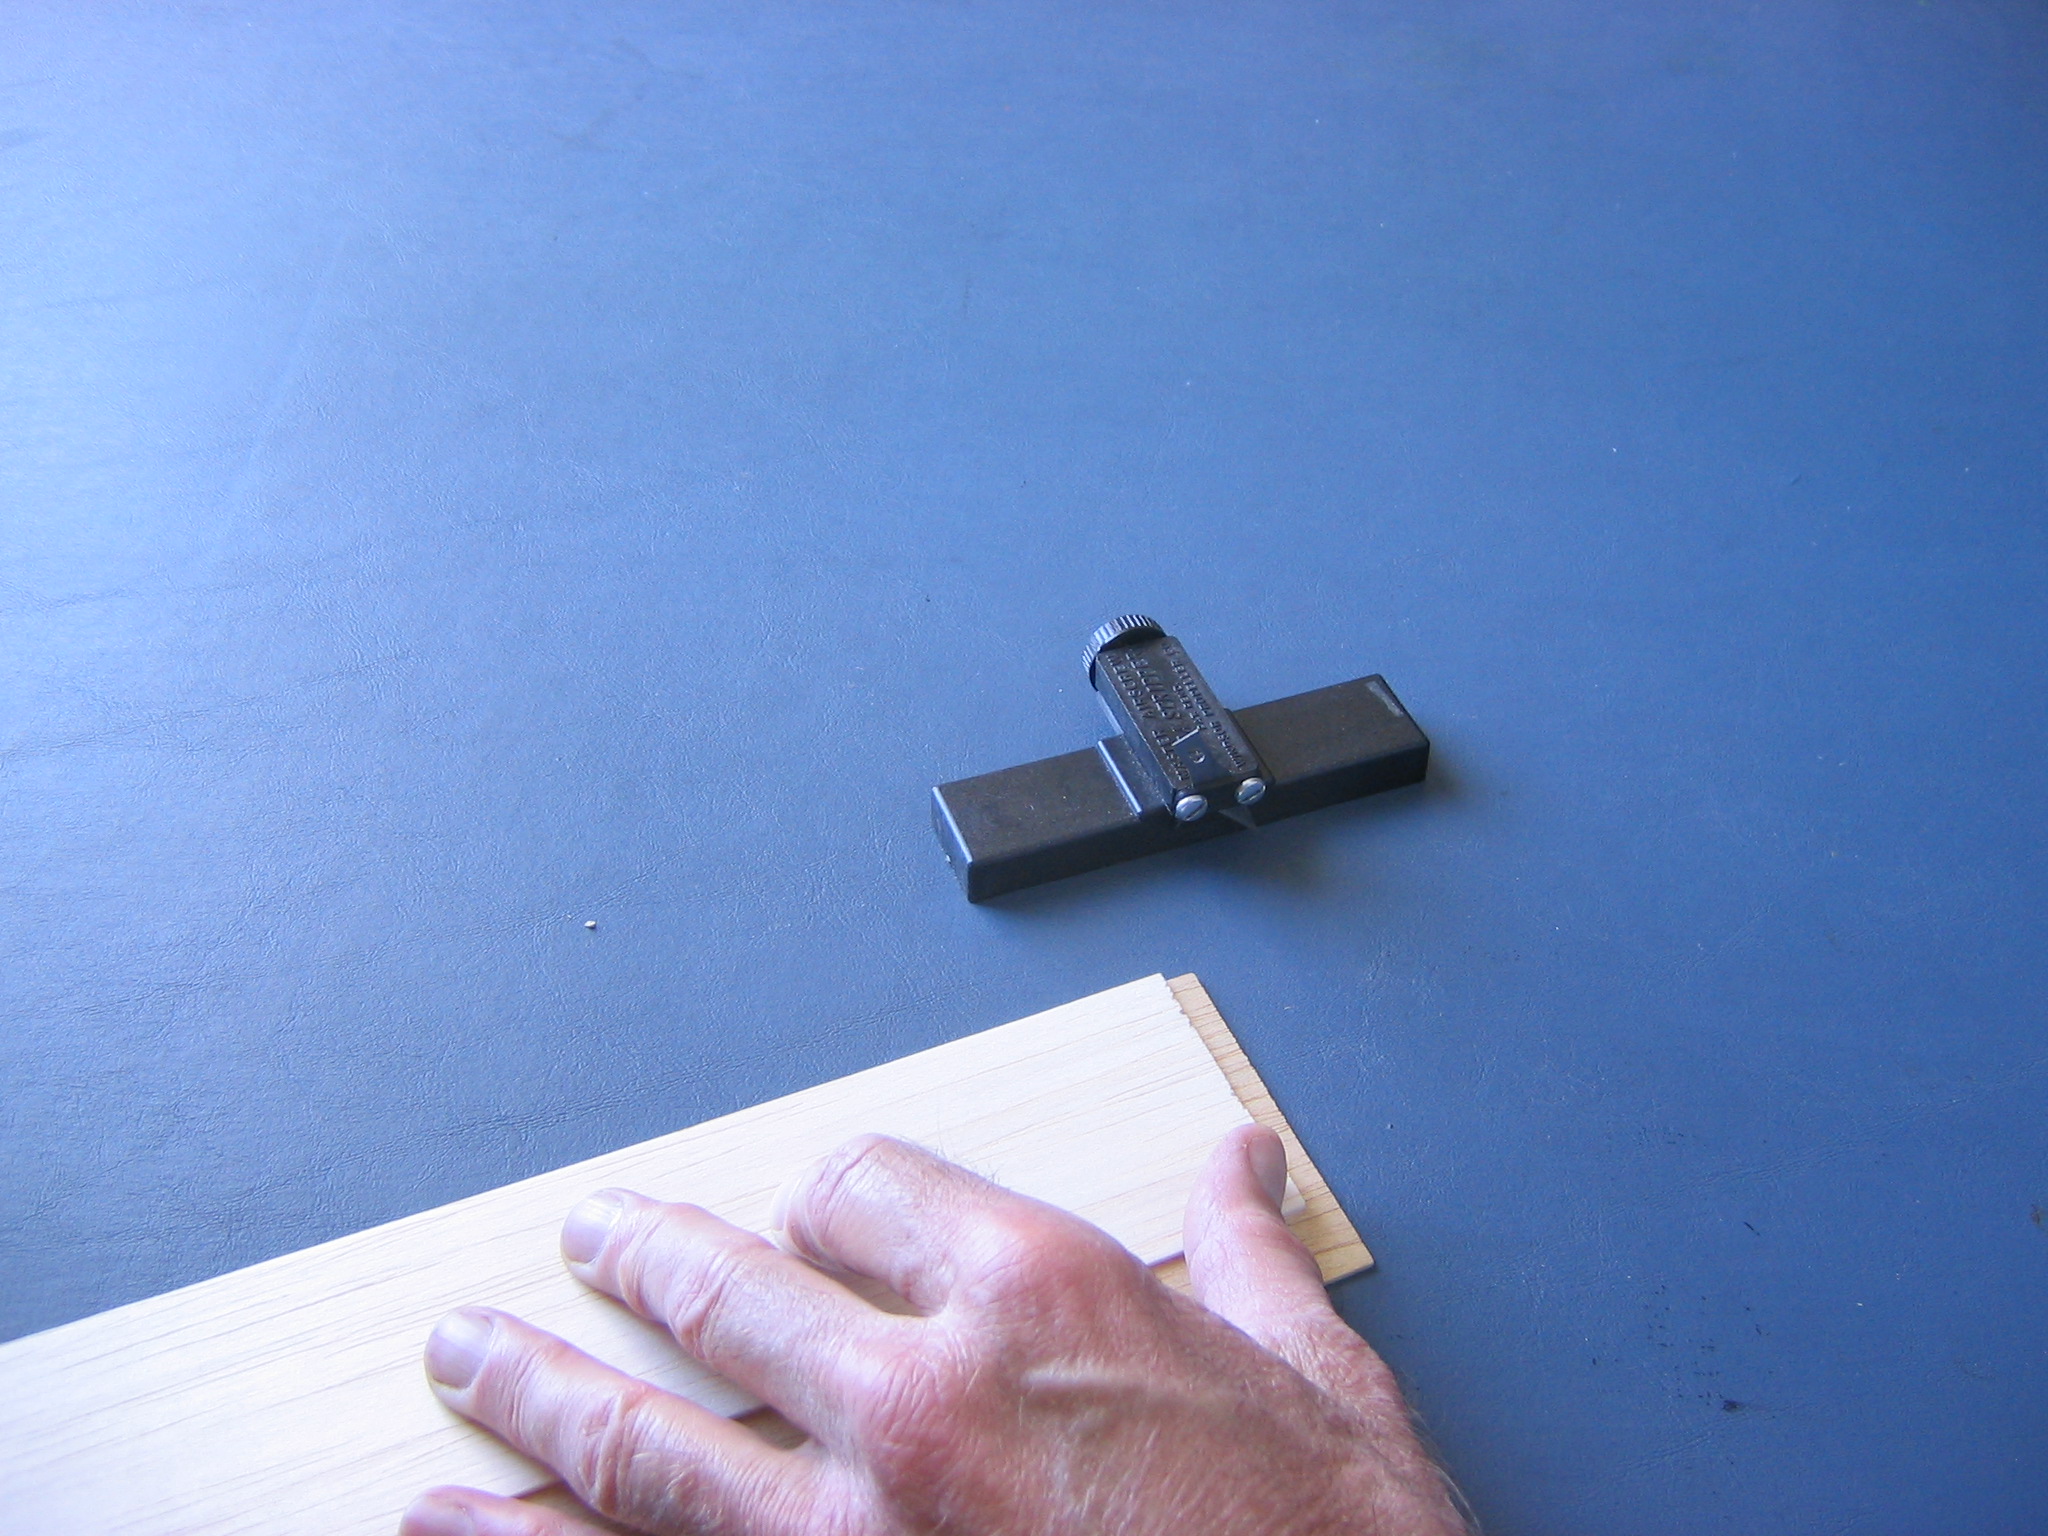
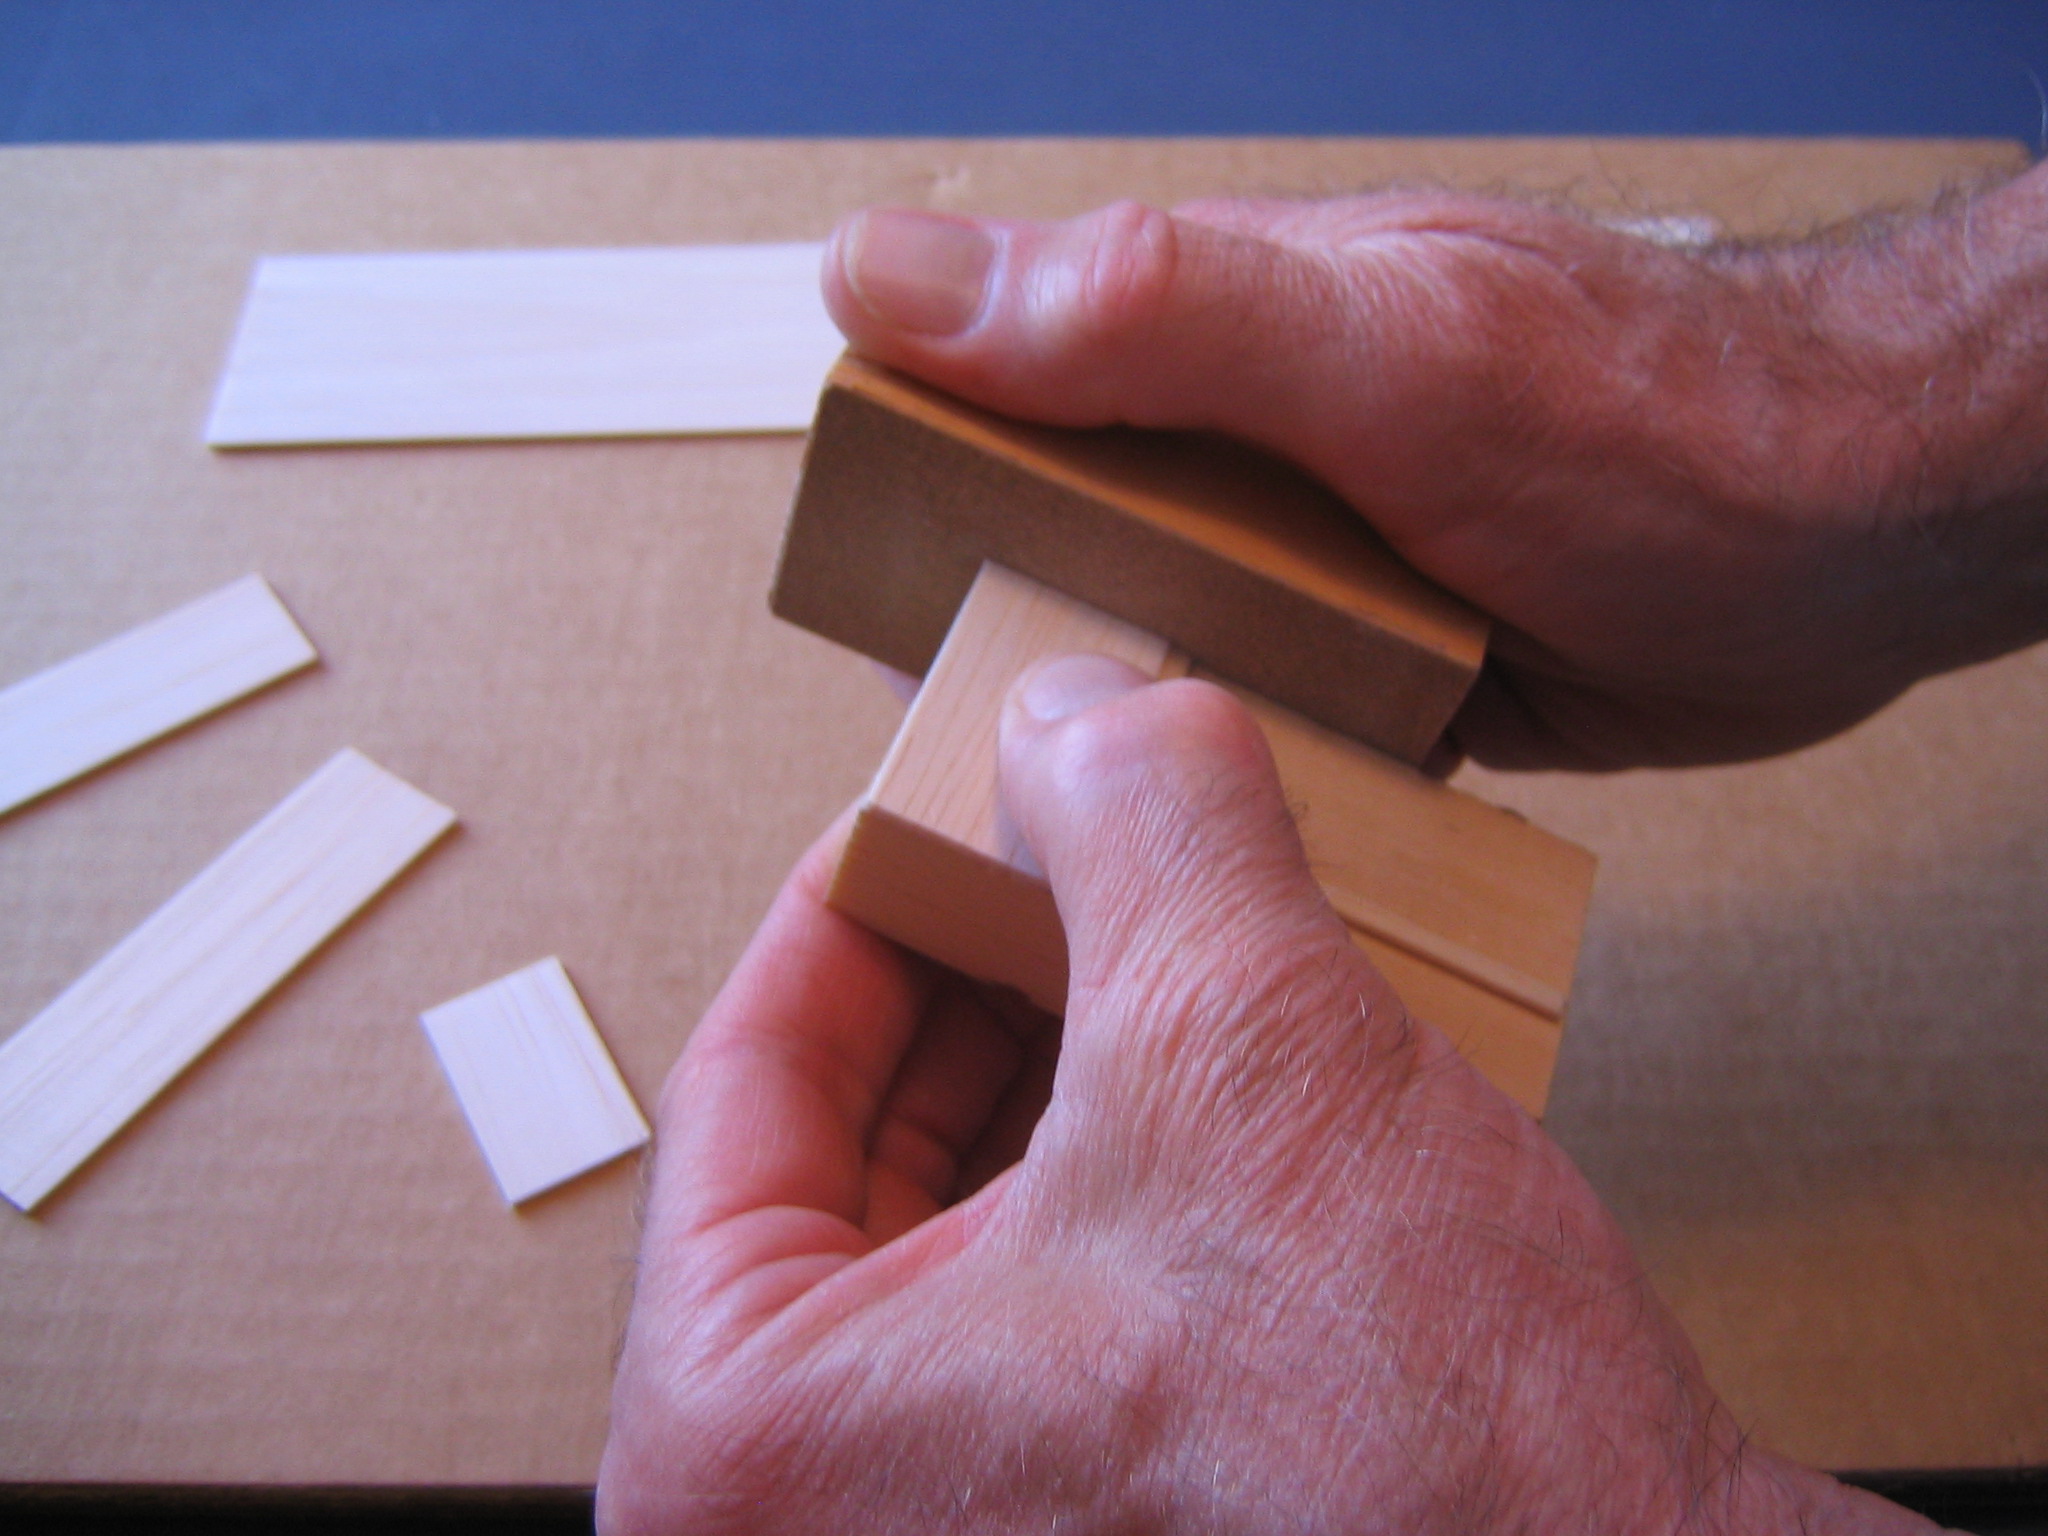
The wingtips and trailing edge are made from 1/16″ x 1/8″ strip. Use the Master Airscrew stripper to make 2 pieces. To reduce the distance the blade extends beyond the holder and reduce blade wobble, the piece to be cut is spaced up from the work surface on a spacer board. I extended the blade just enough to scratch the surface of a thin piece of paper placed on top of the spacer board.
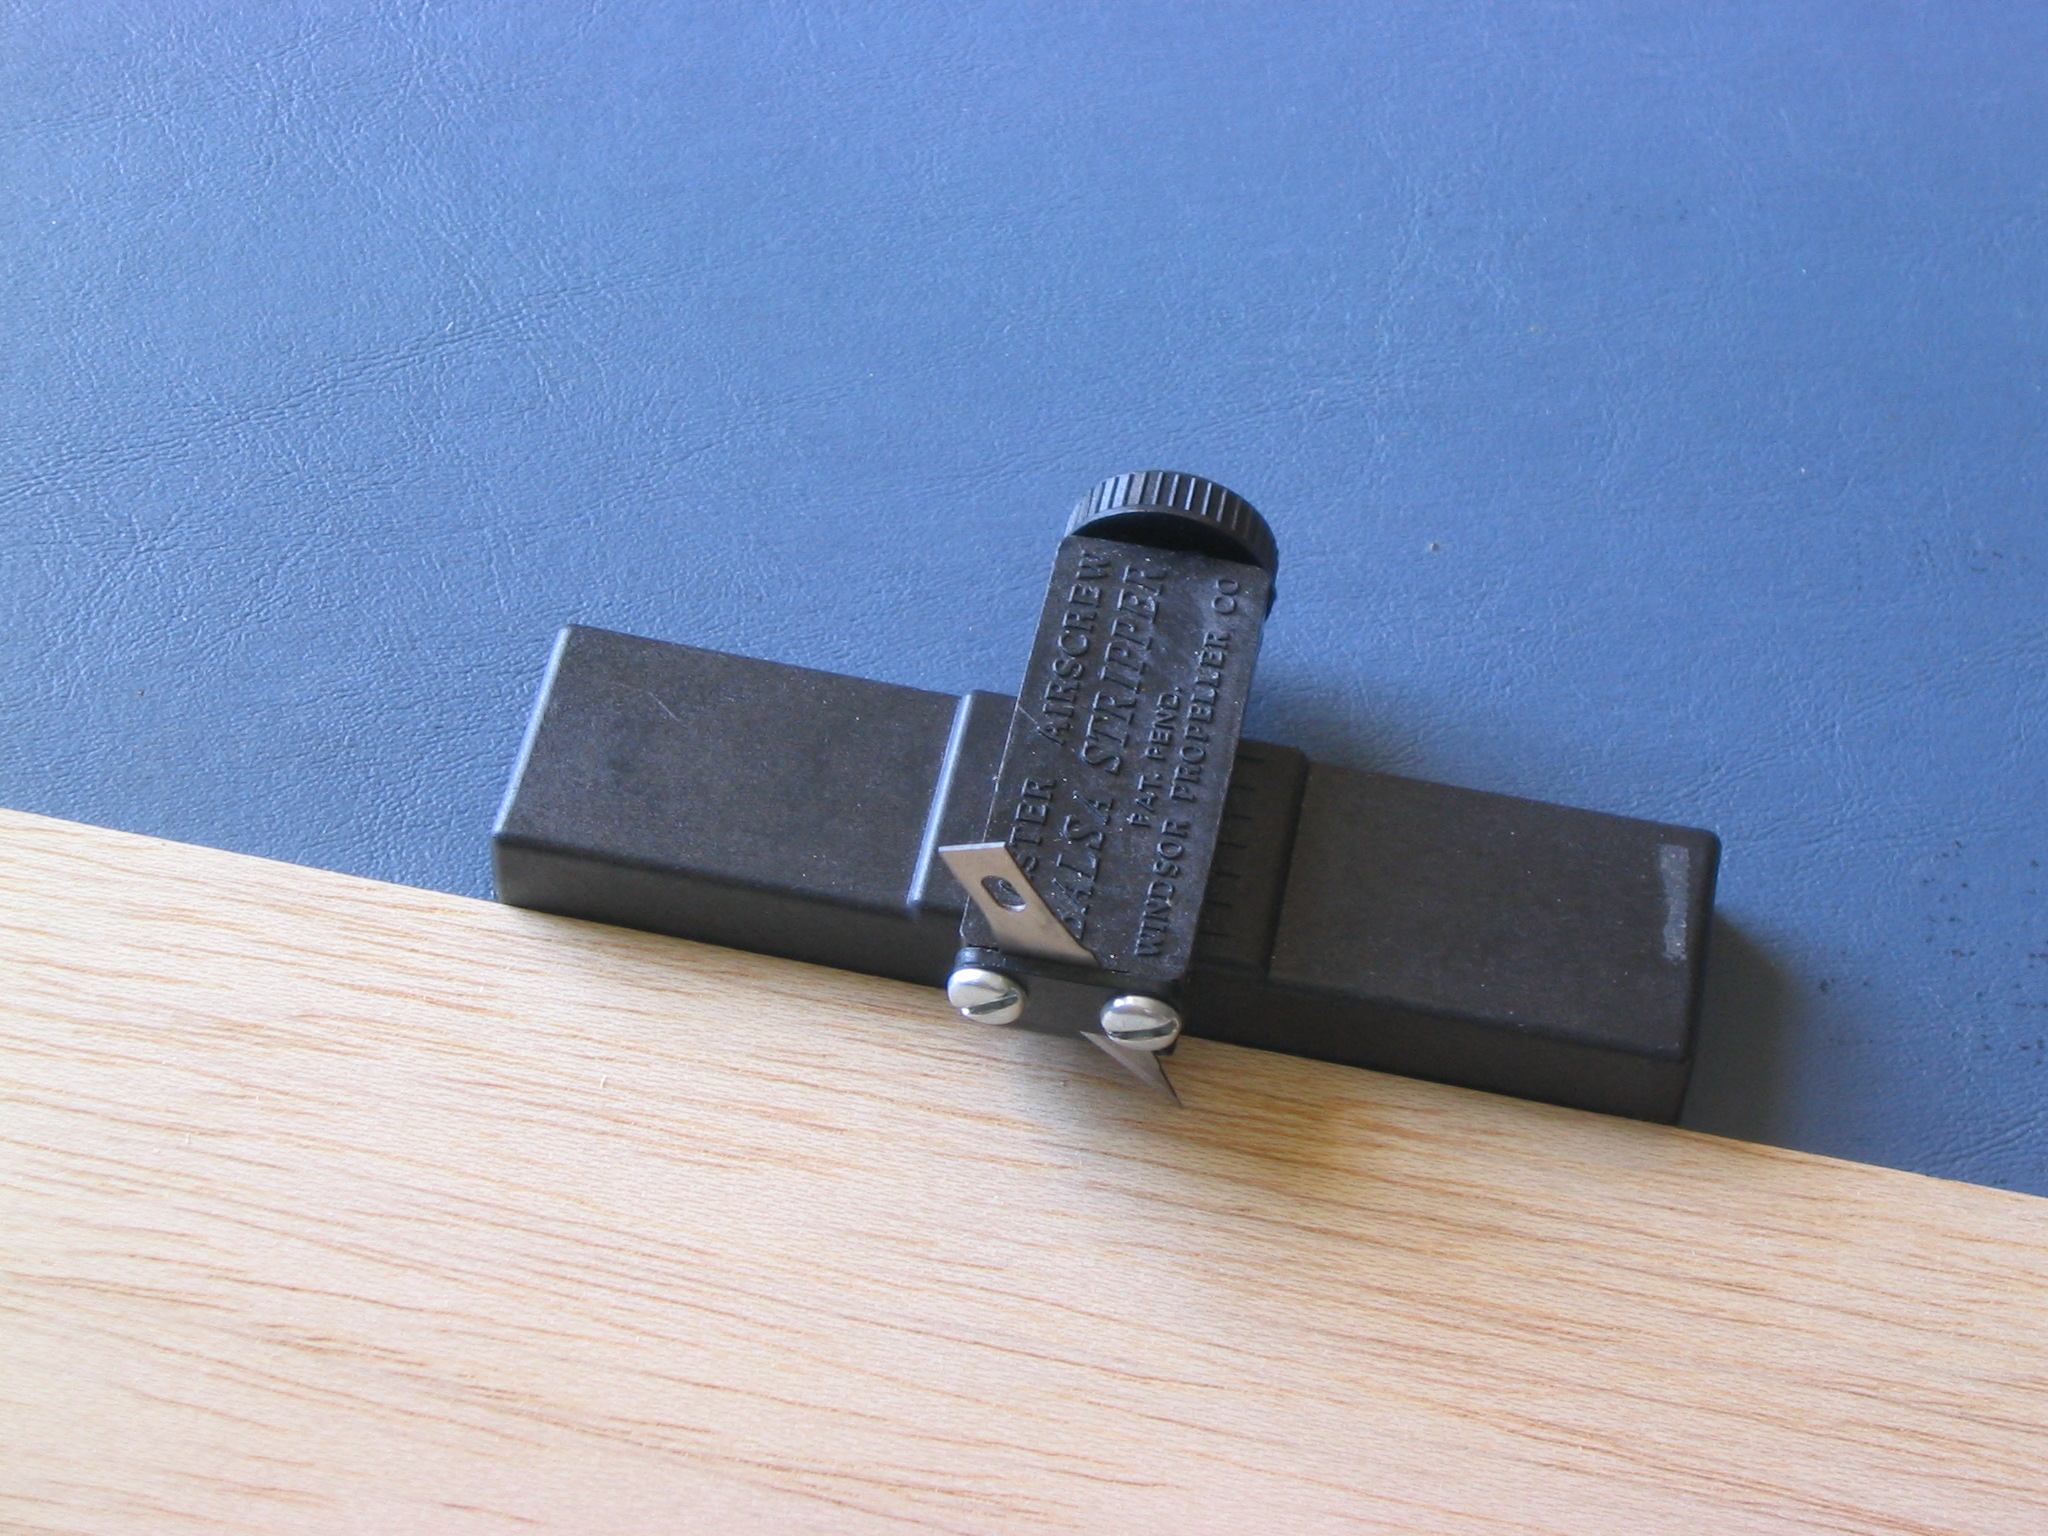
Set the blade to cut 1/8″ width. Hold the steel rule firmly against the face of the stripper while turning the adjustment wheel.
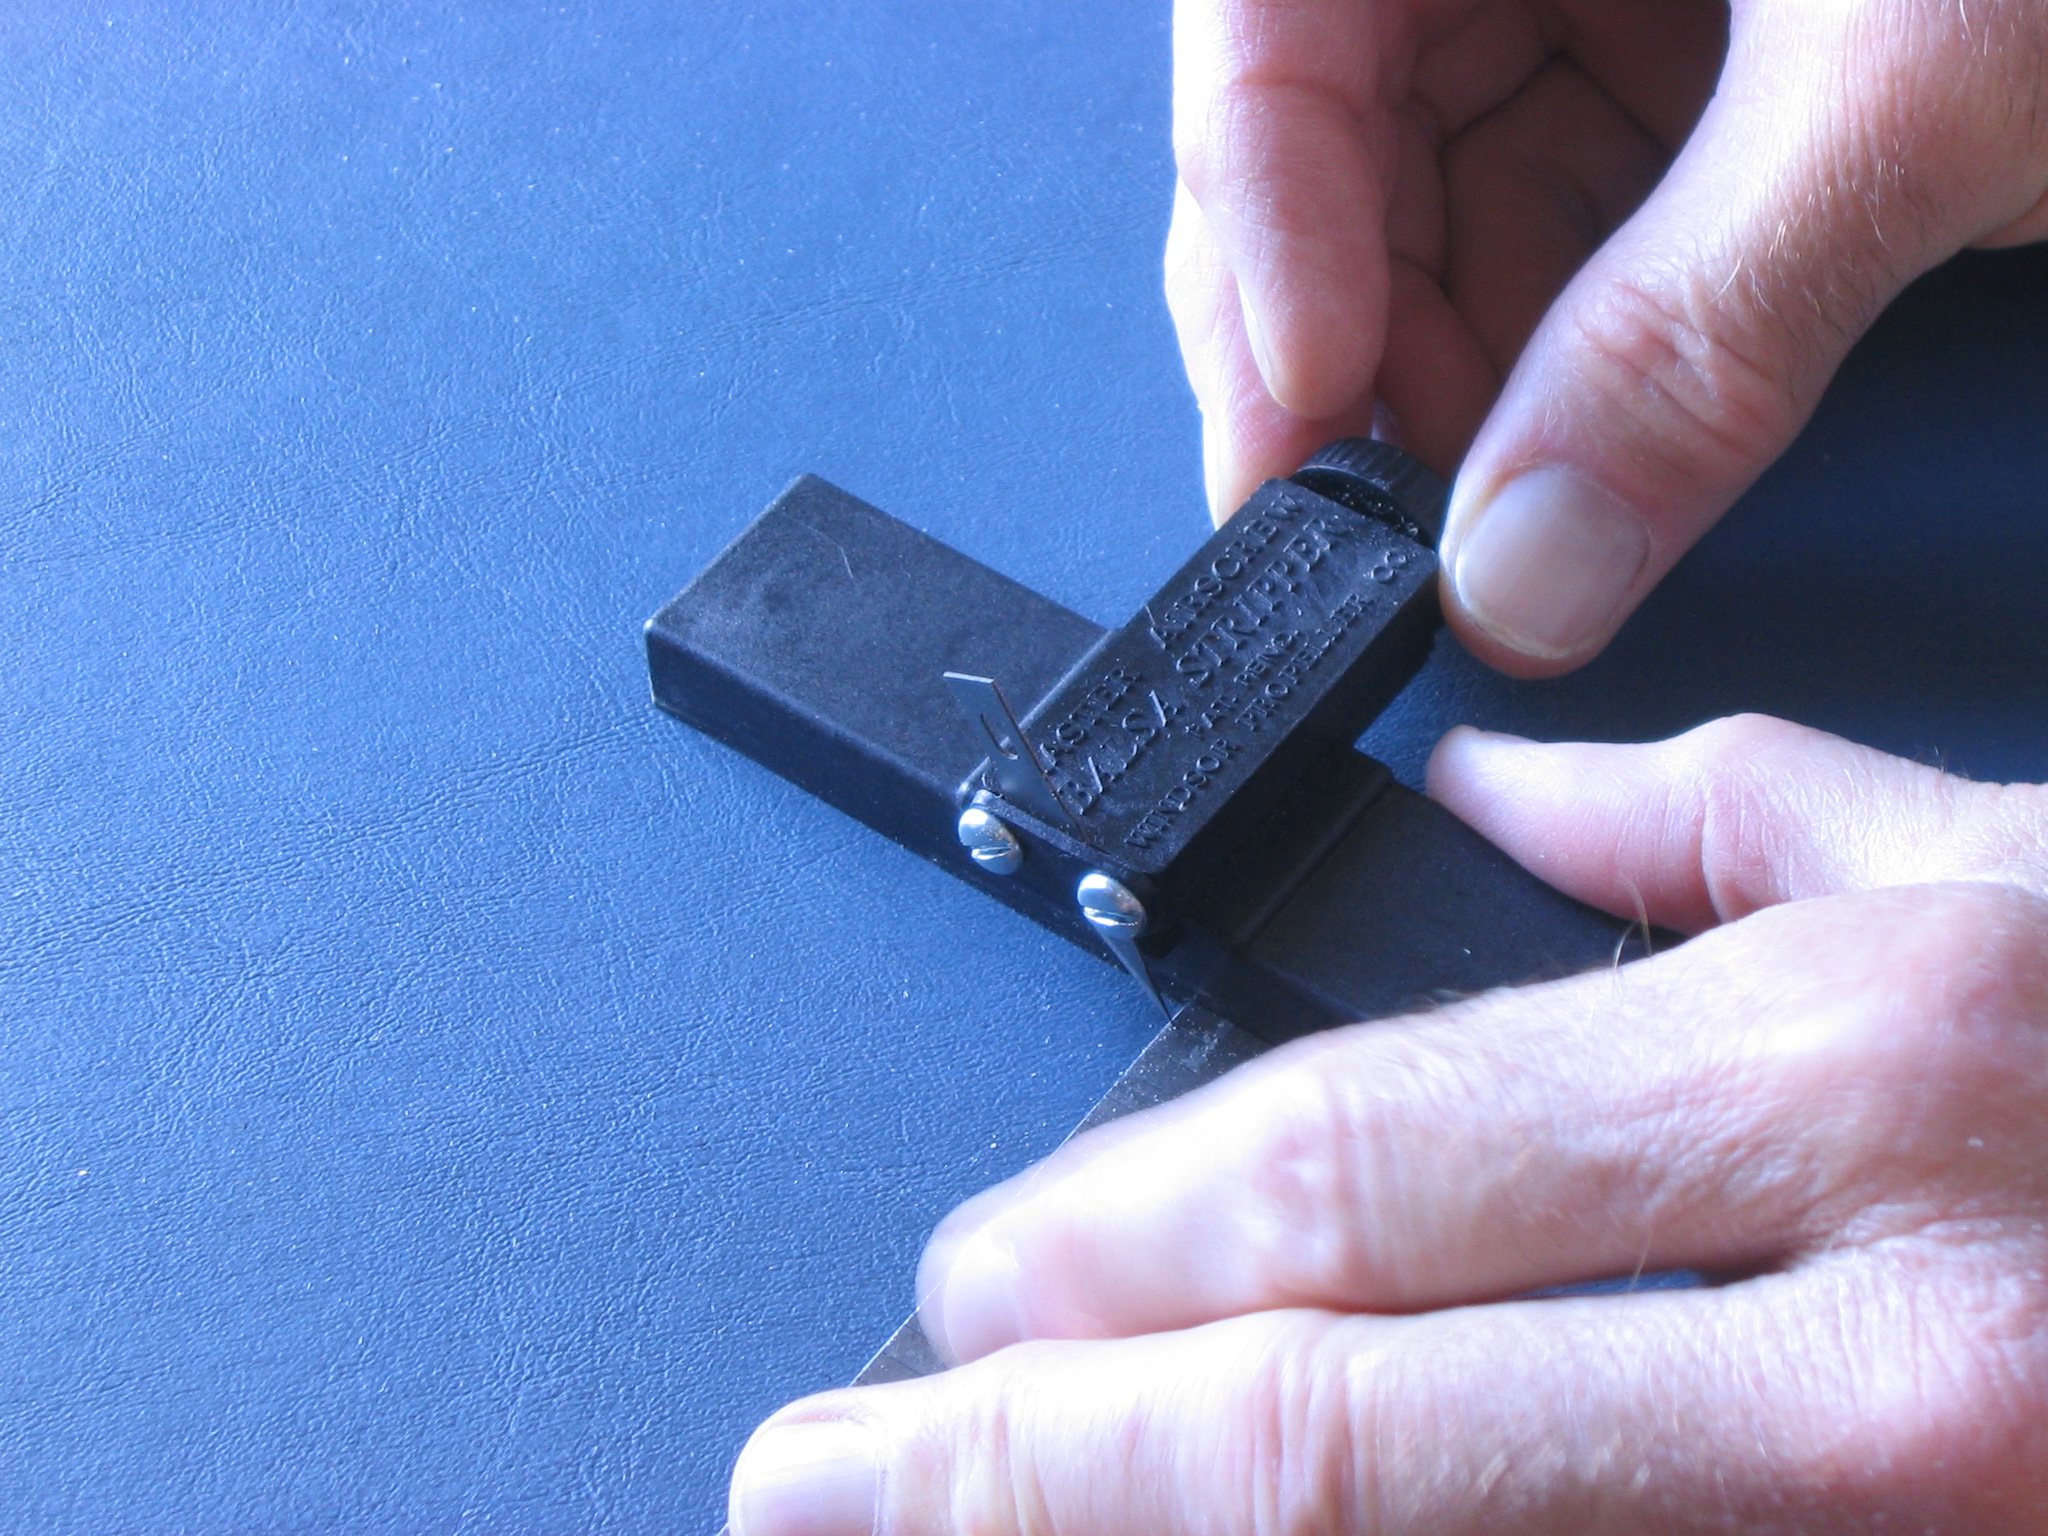
Double check that the setting is correct. There is an old saying “Measure twice to cut once.”

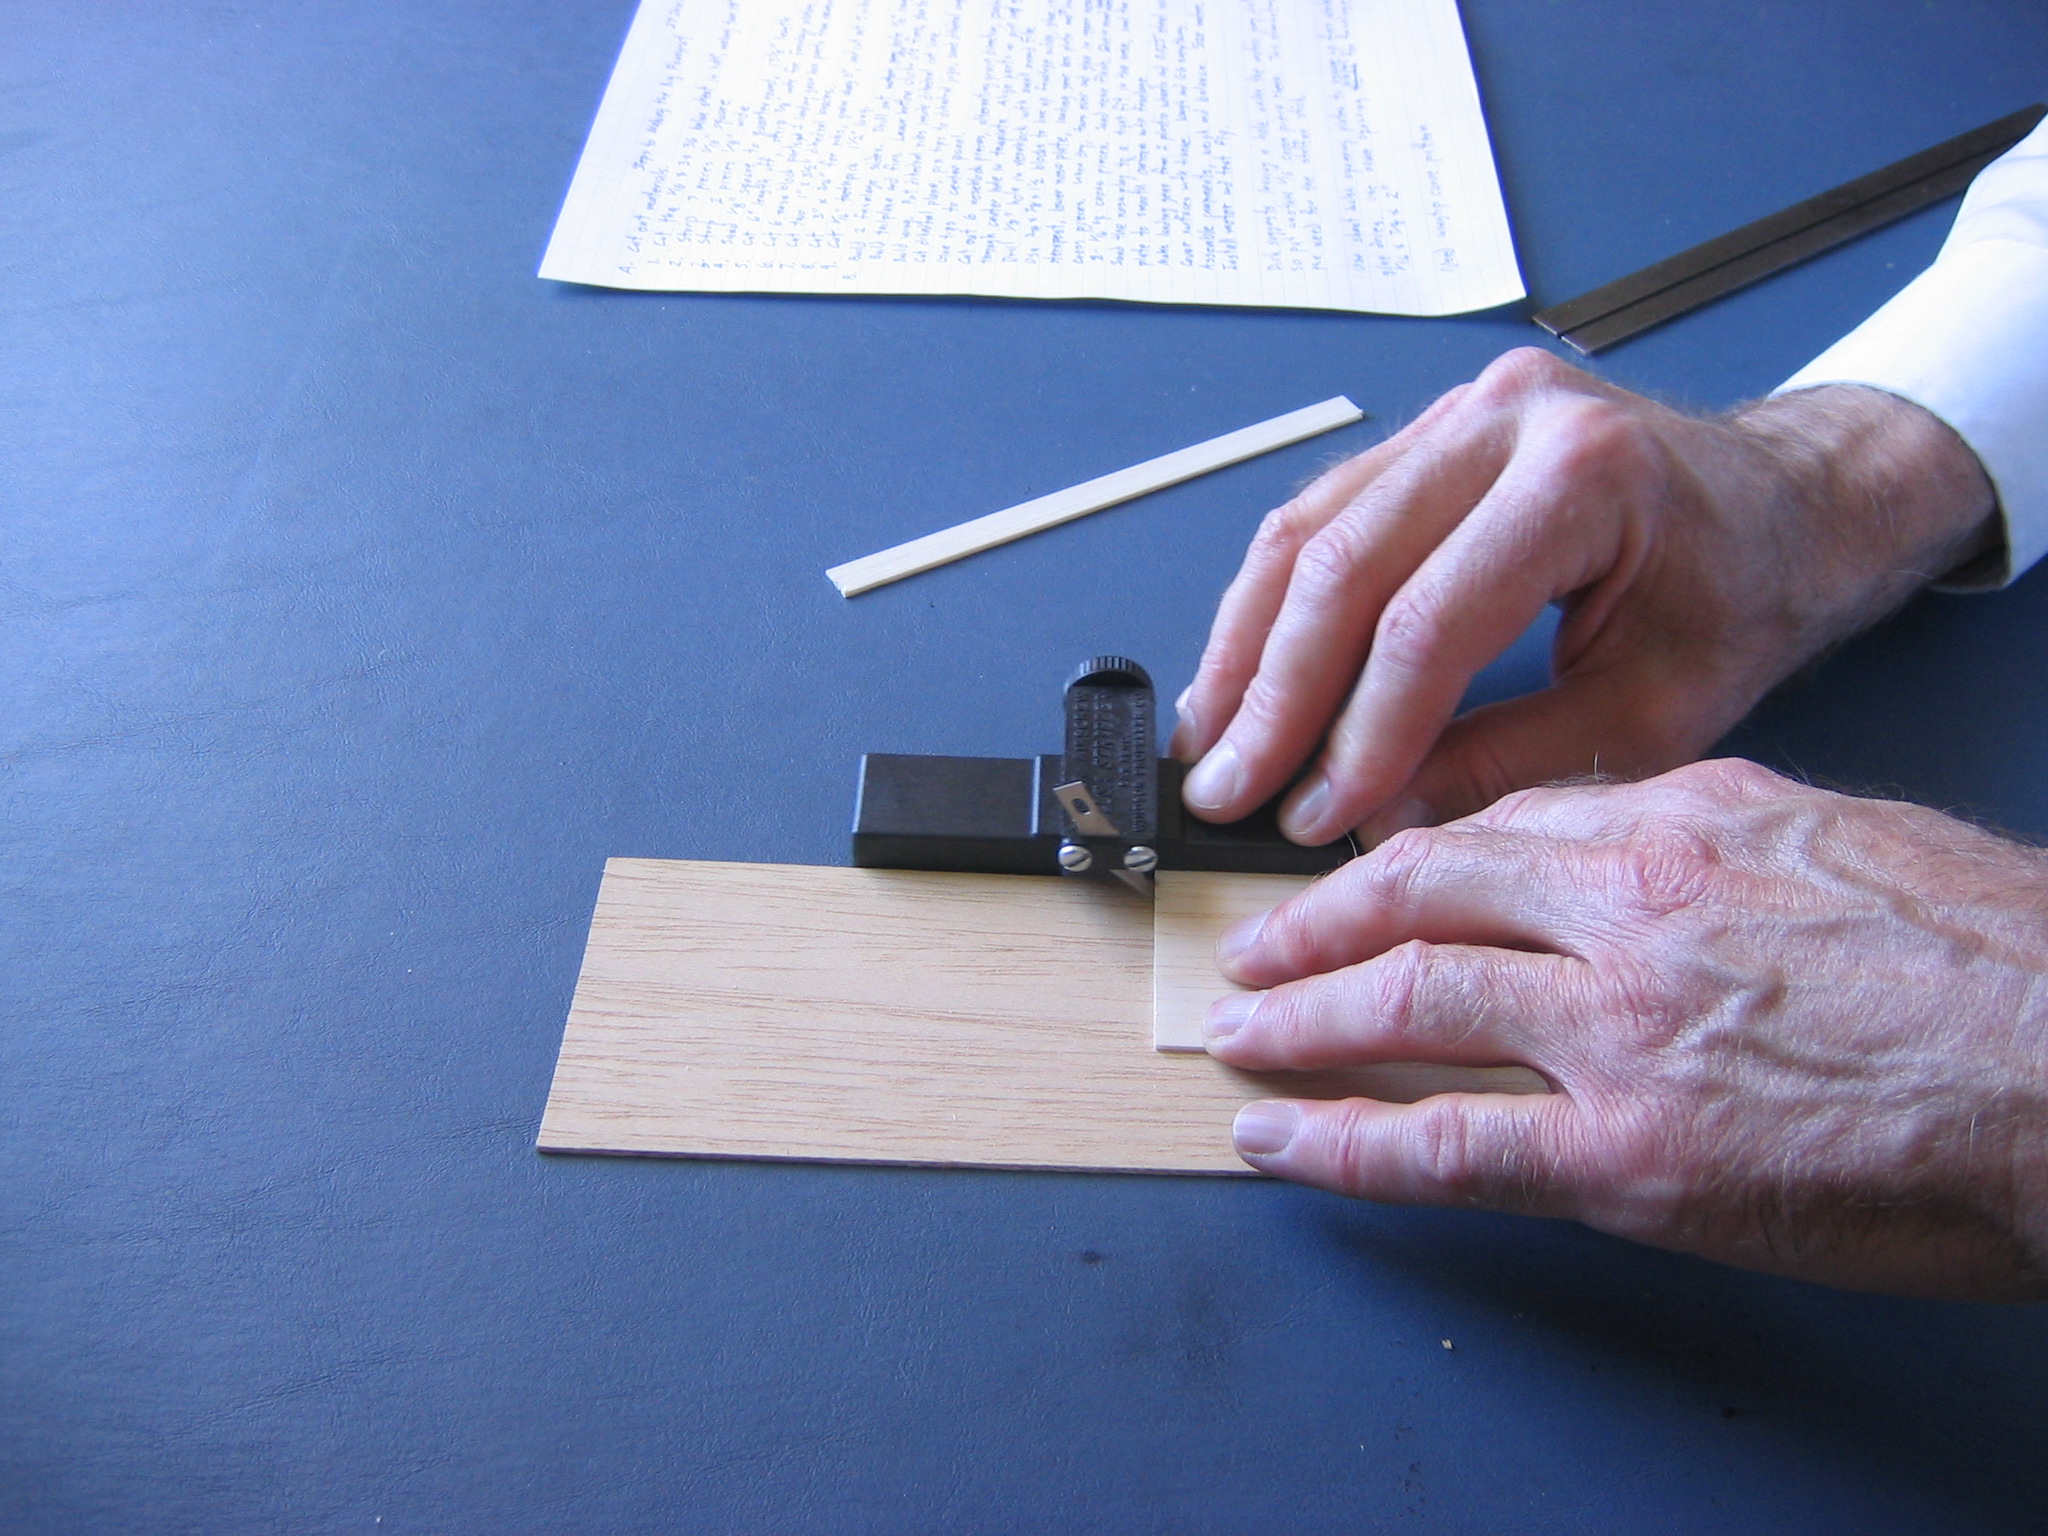
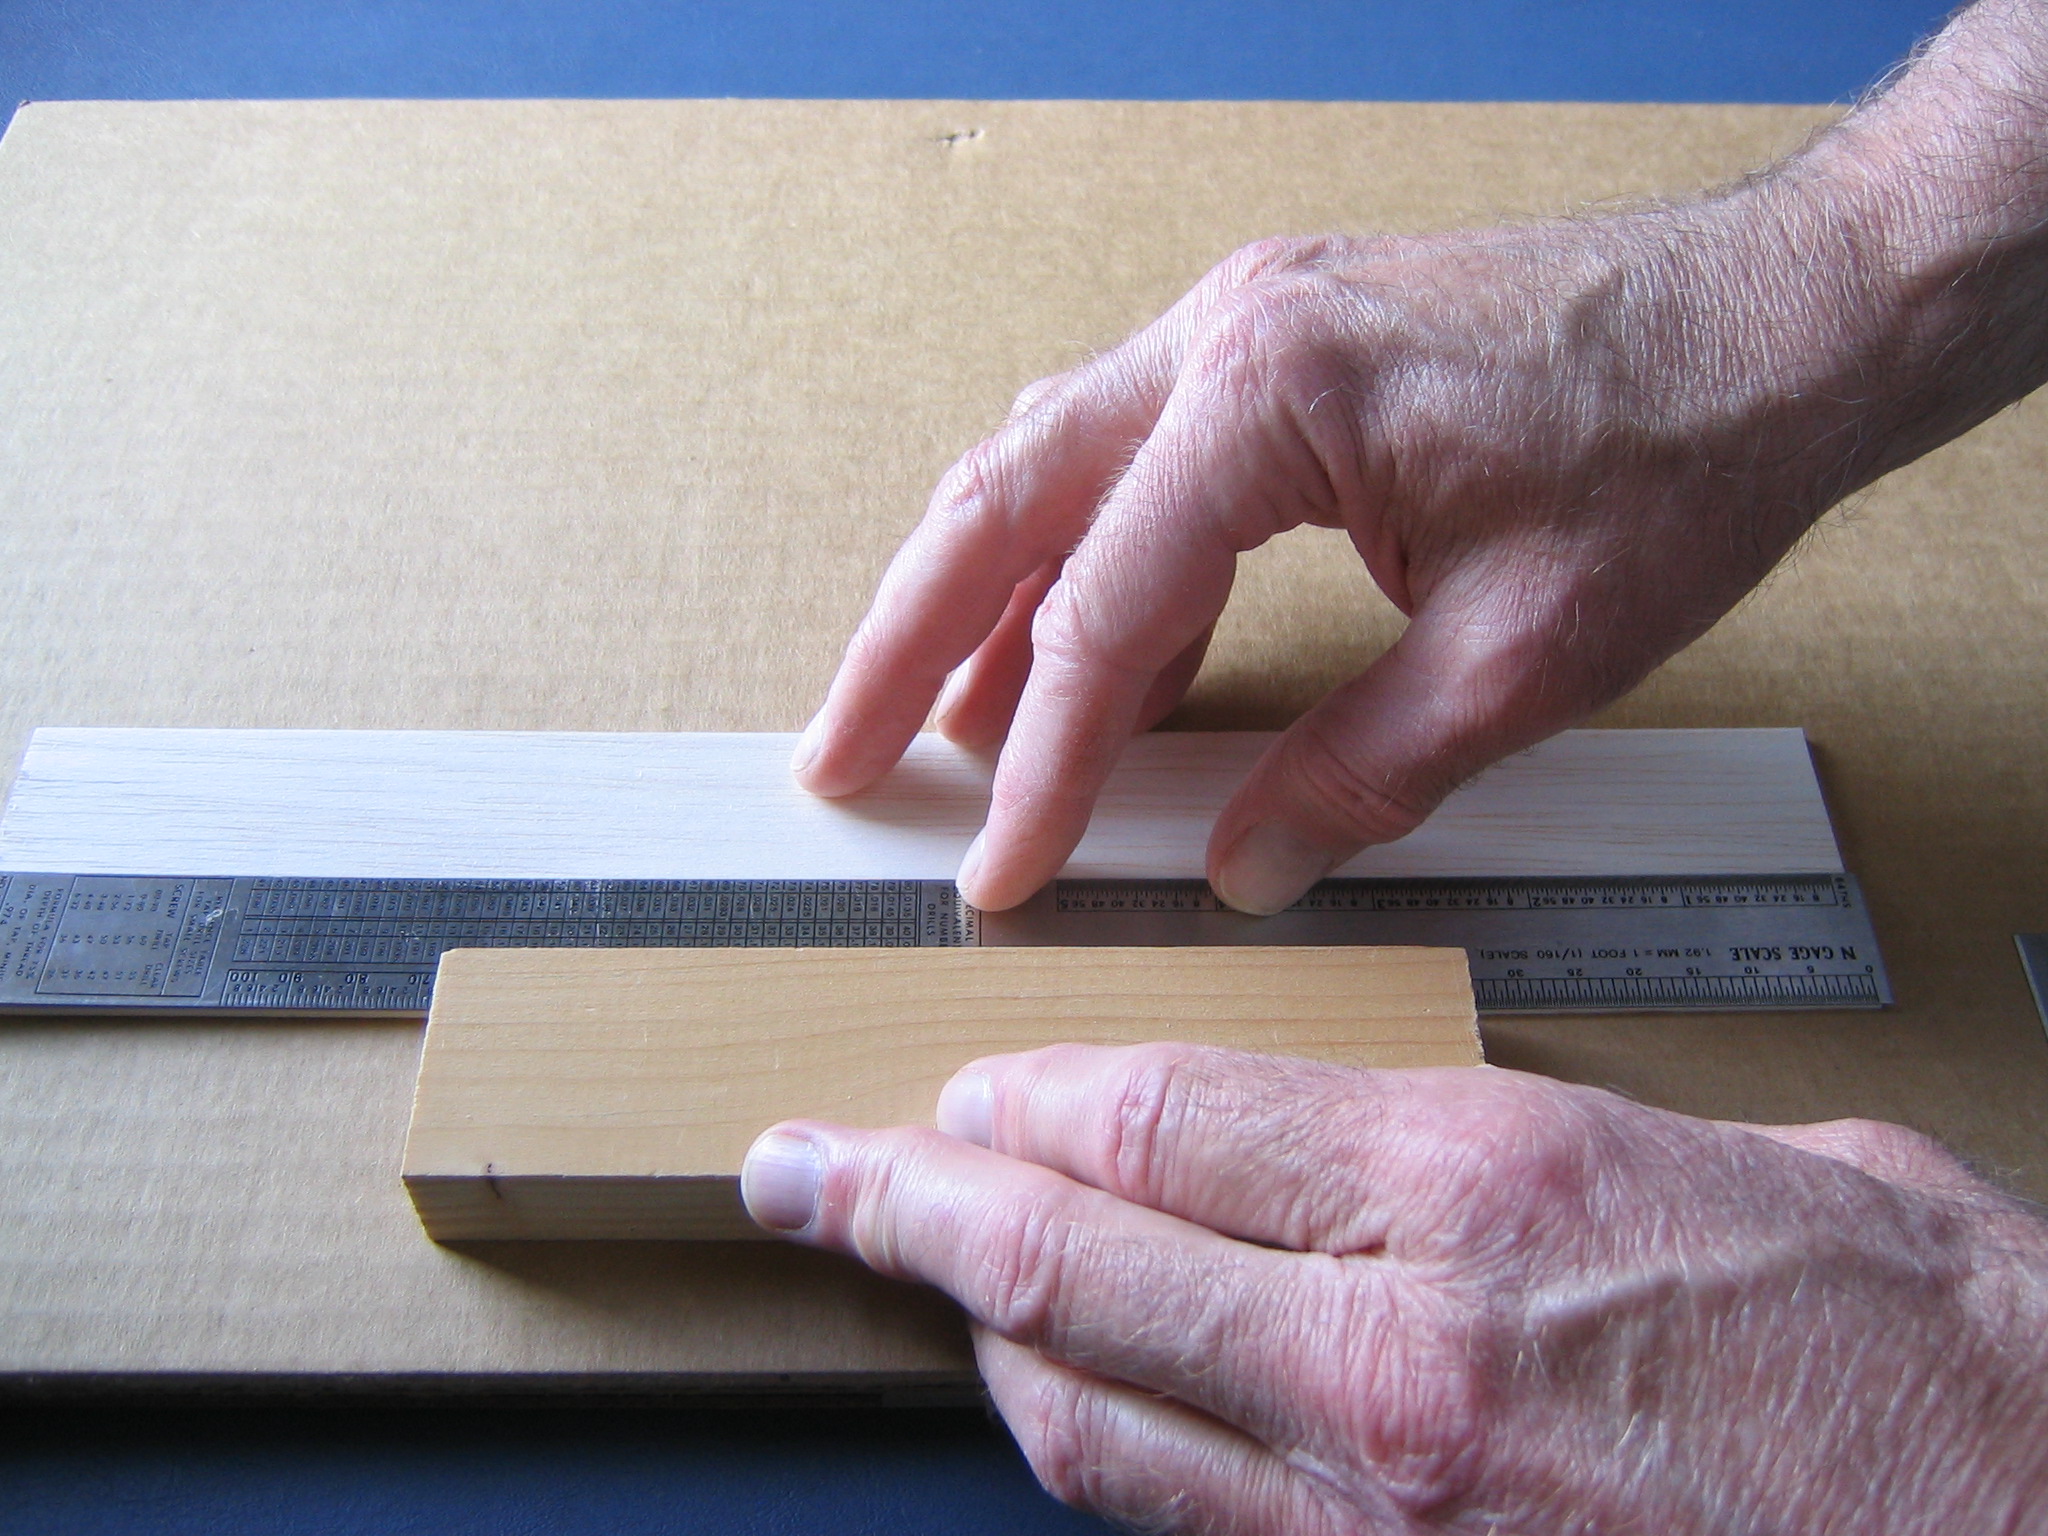
Place the stock on the spacer so it slightly overlaps. We want the edge of the wood we are cutting to guide the stripper, not the edge of the spacer. If the spacer projects beyond the wood, the cut will not be the correct width or straight.
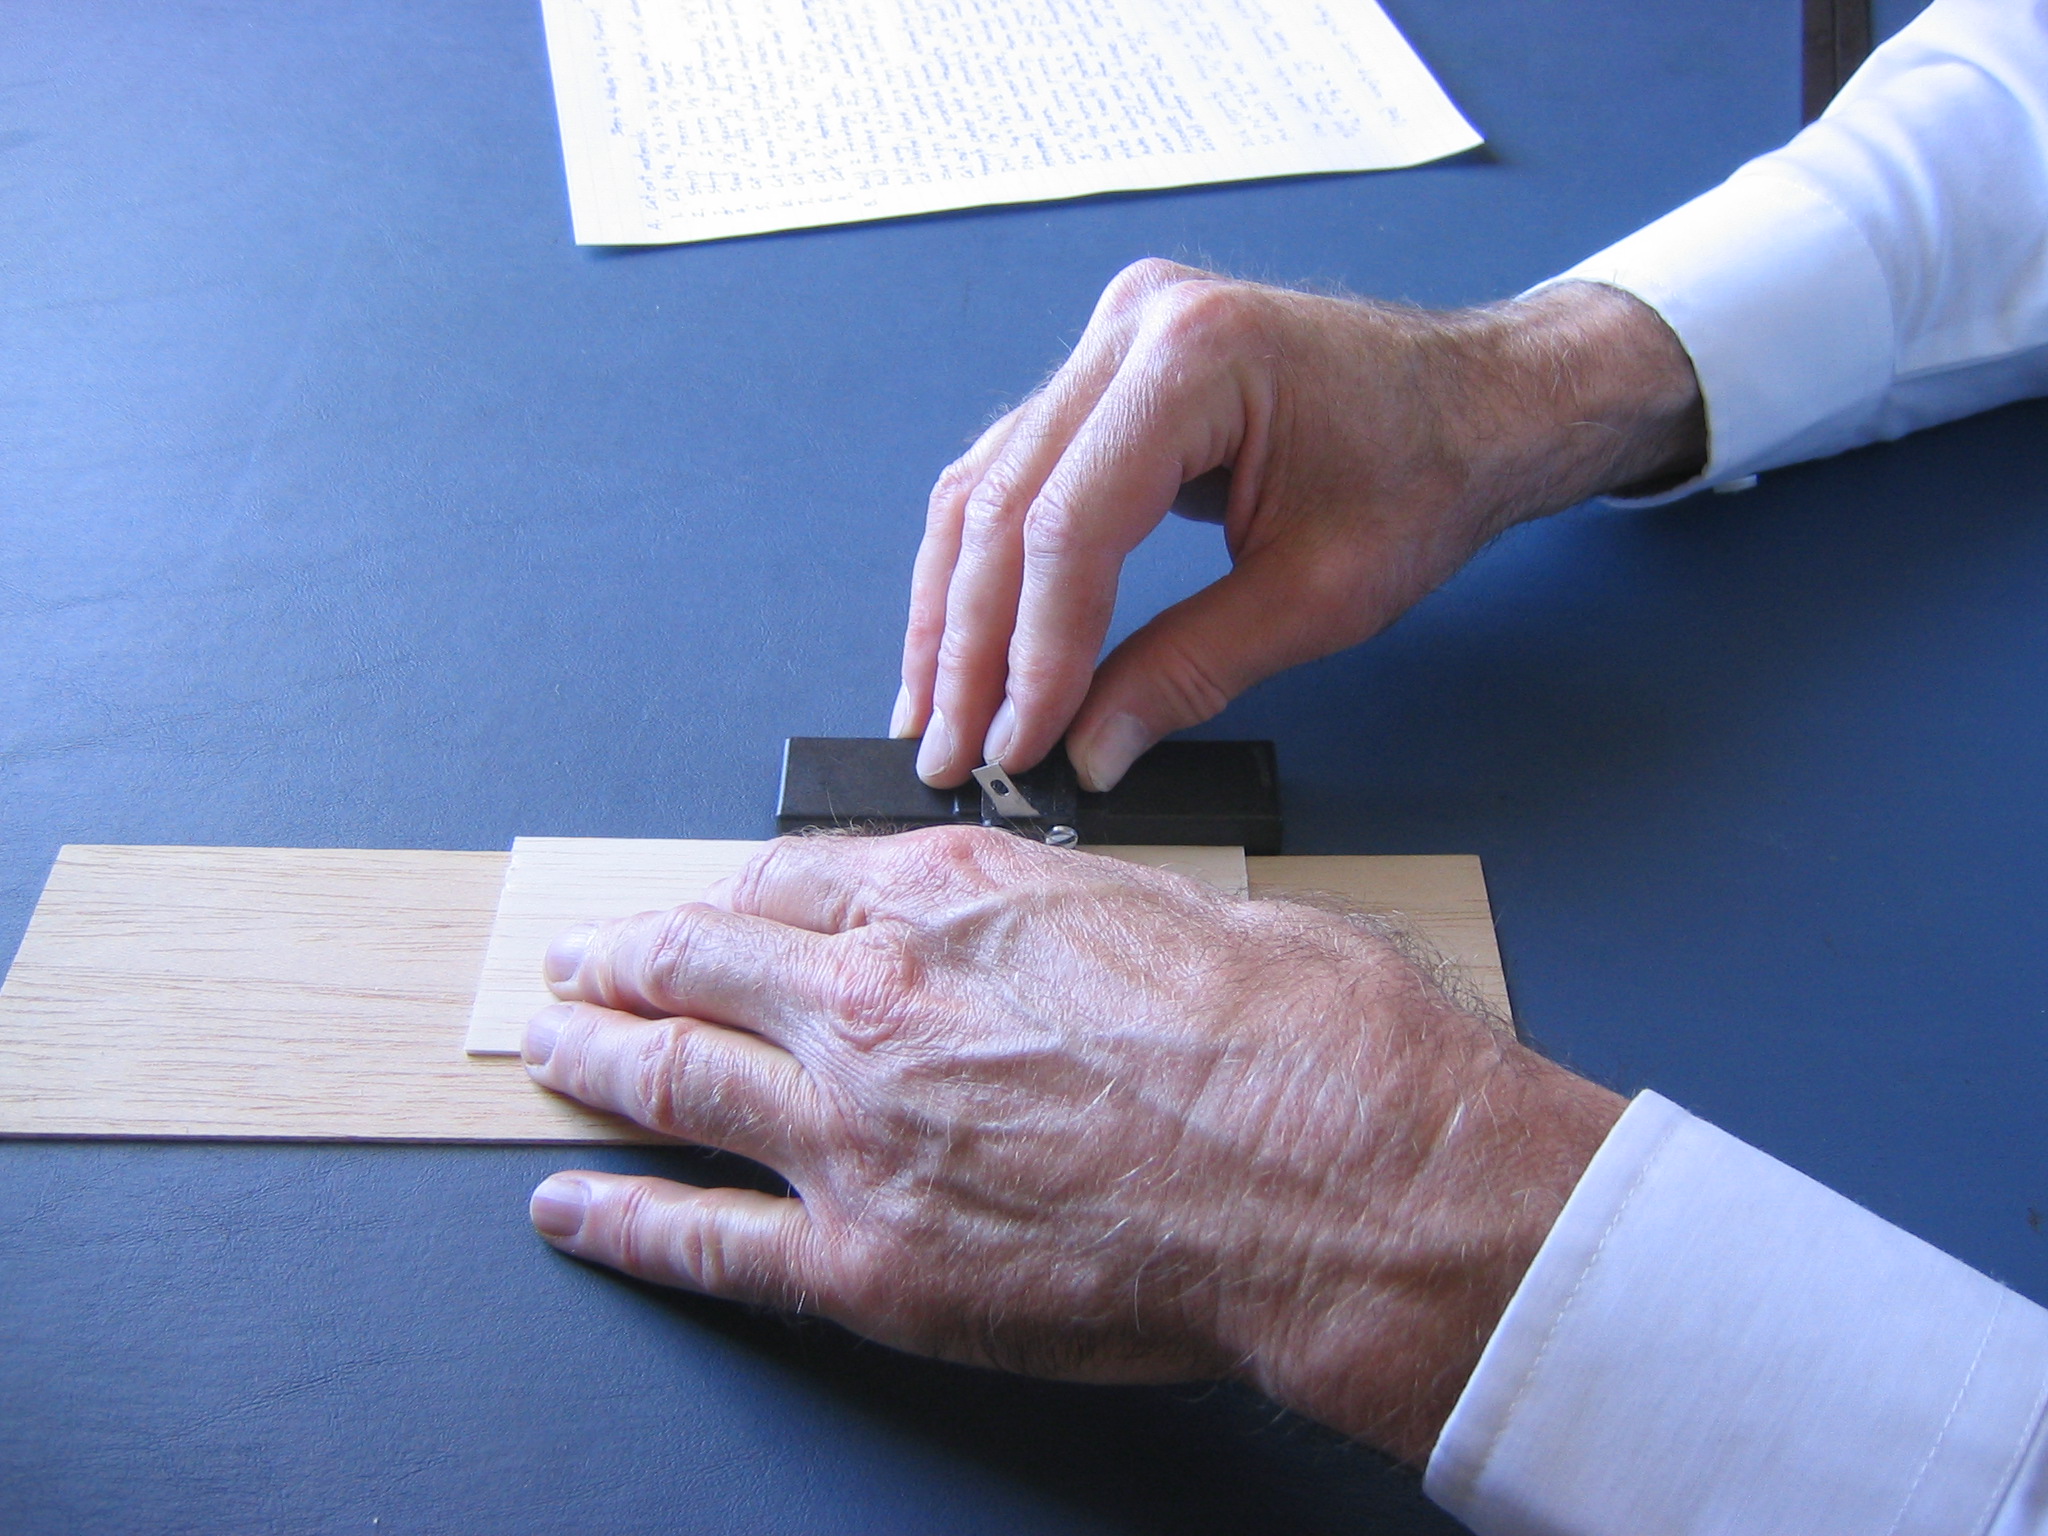
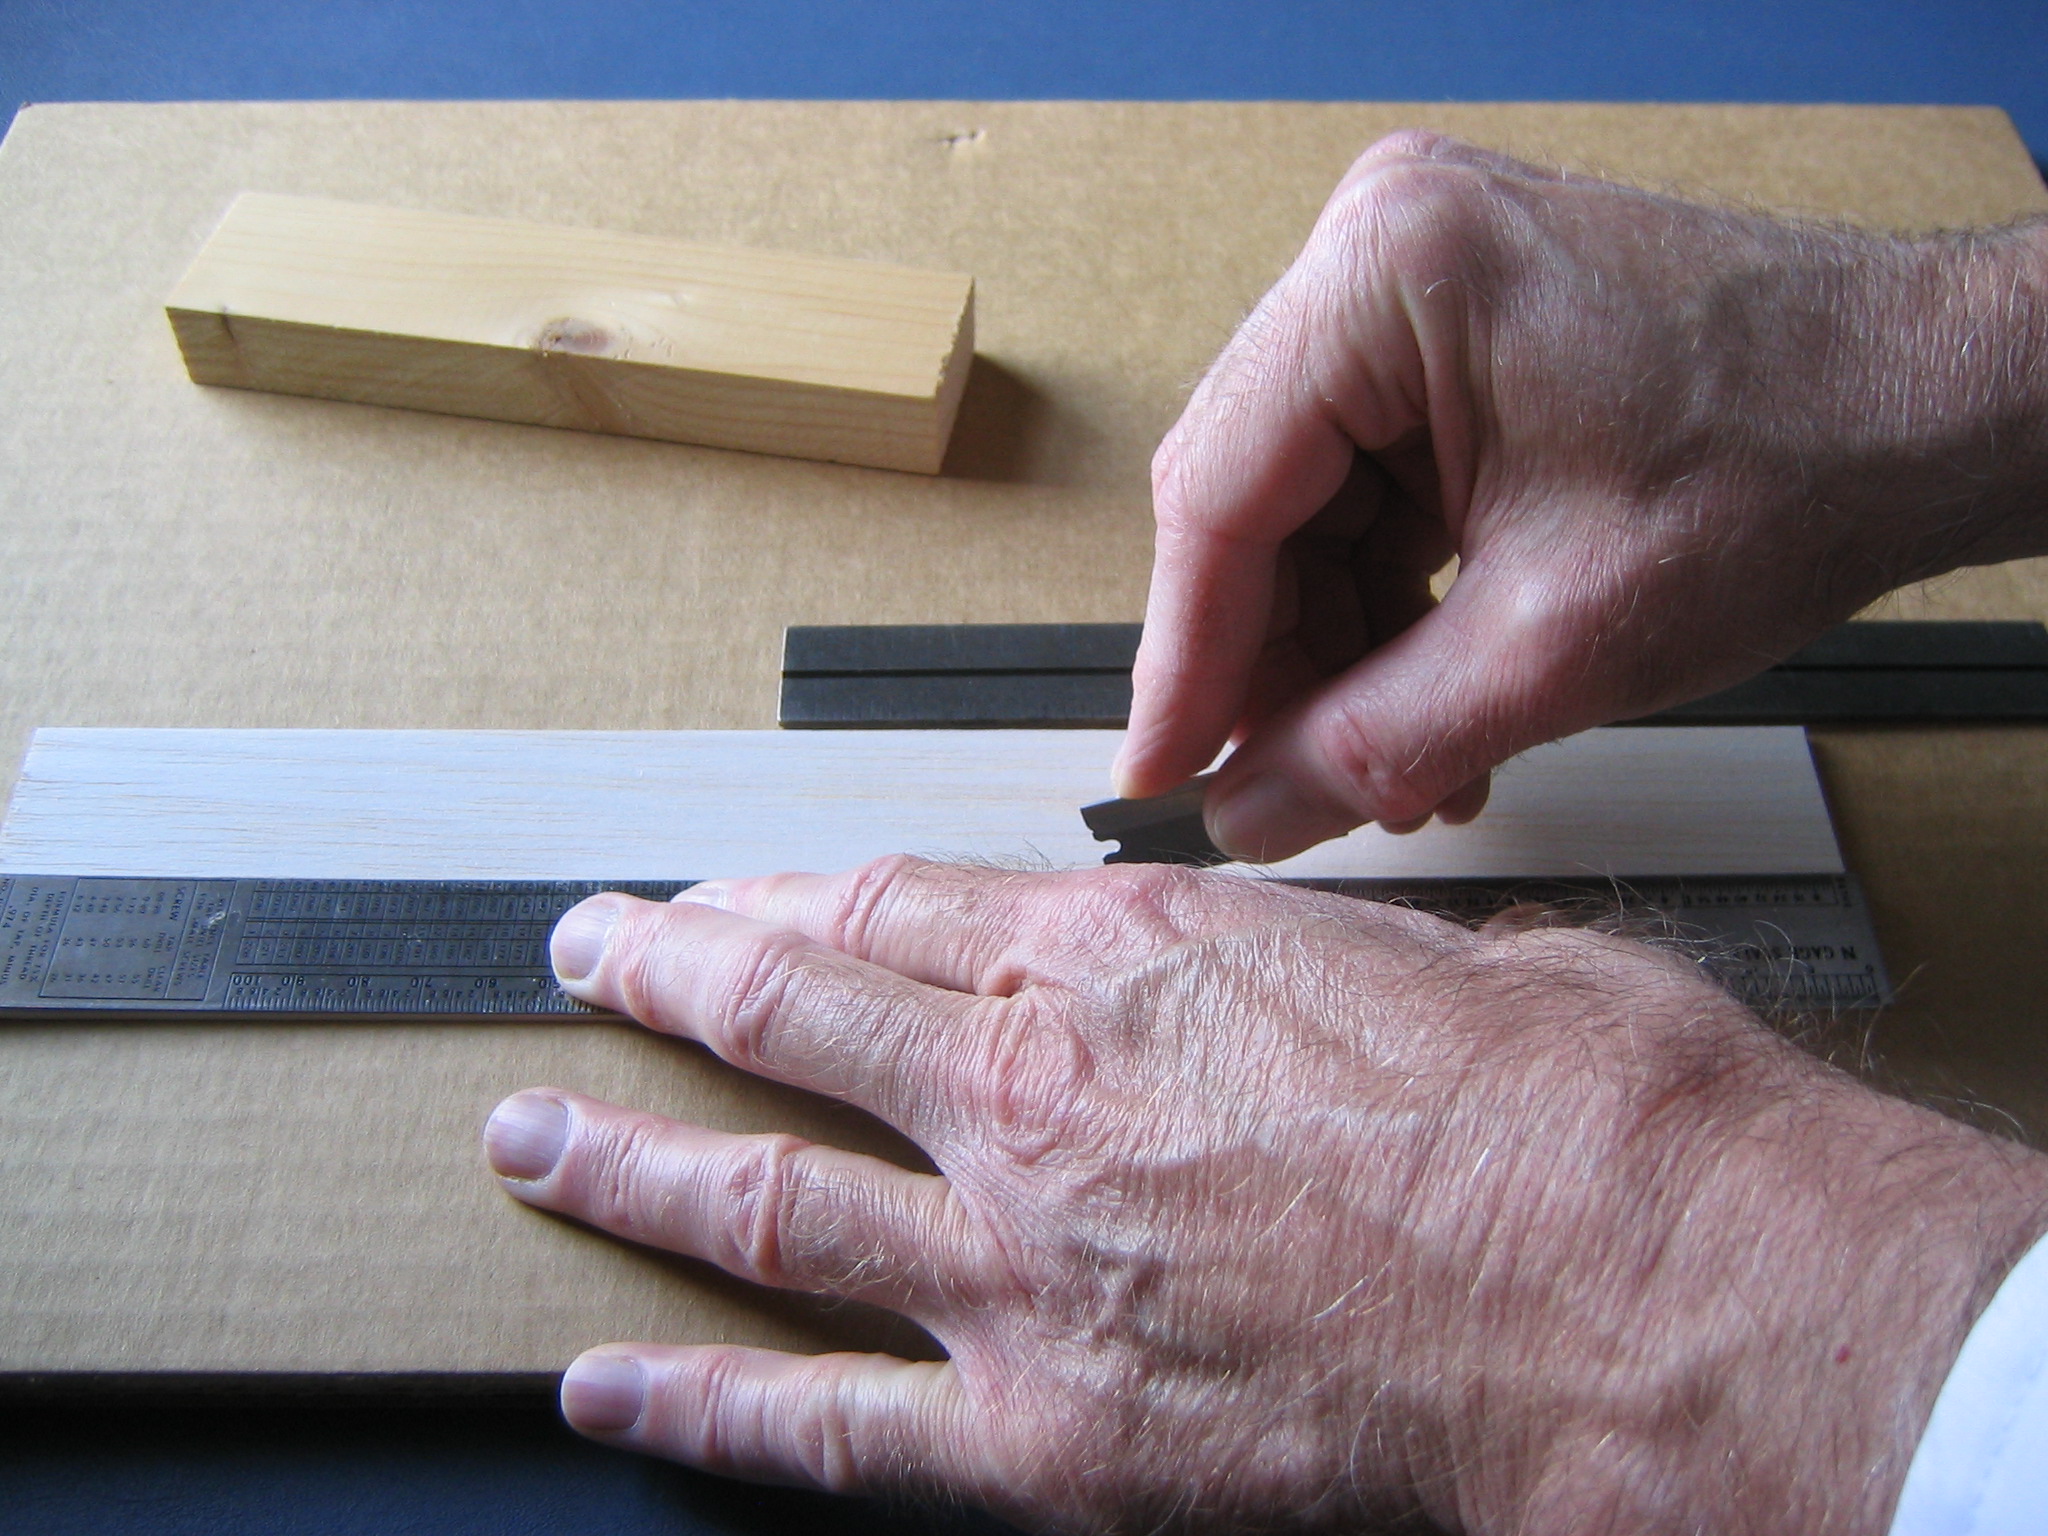
Holding the stock firmly to the spacer, slide the stripper slowly along the edge of the stock, keeping the face of the stripper in uniform contact with the edge of the stock at all times. Keep your hands near each other, you will need to stop and shift them from time to time. Always keep your hands as close as possible to support the work and guide the tool. Be careful not to push the cutting blade against a finger.
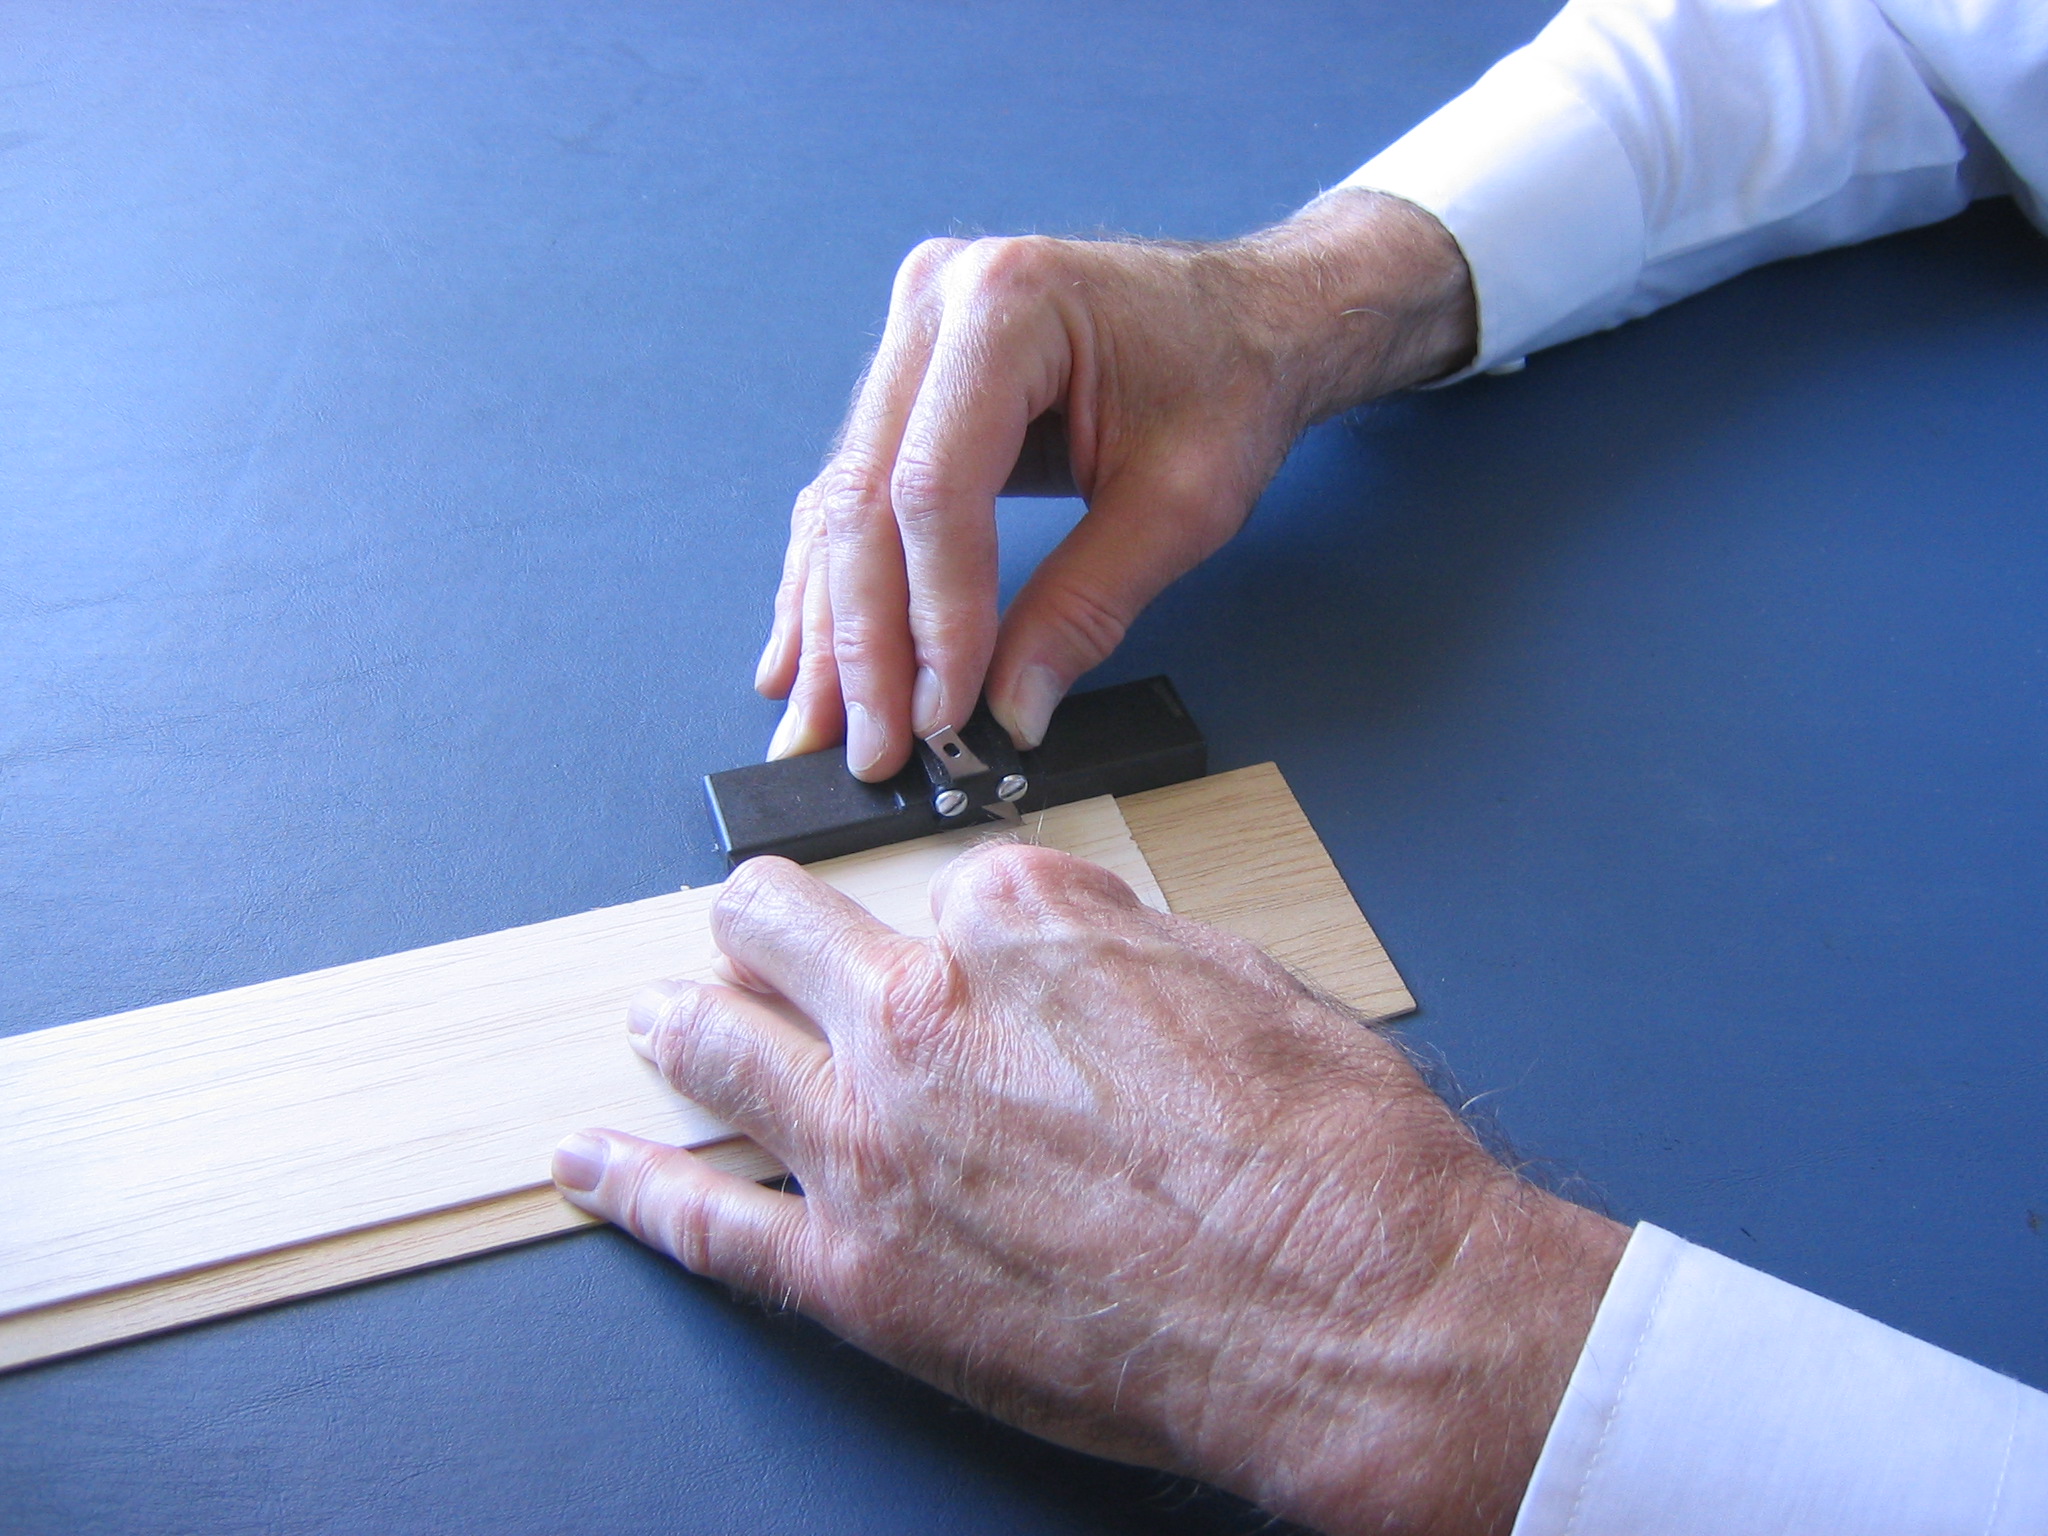
At the end of the cut, push the stripper from behind to keep the face in uniform contact with the edge. You don’t want the stripper to turn the corner because your pushing hand has passed the end of the wood.
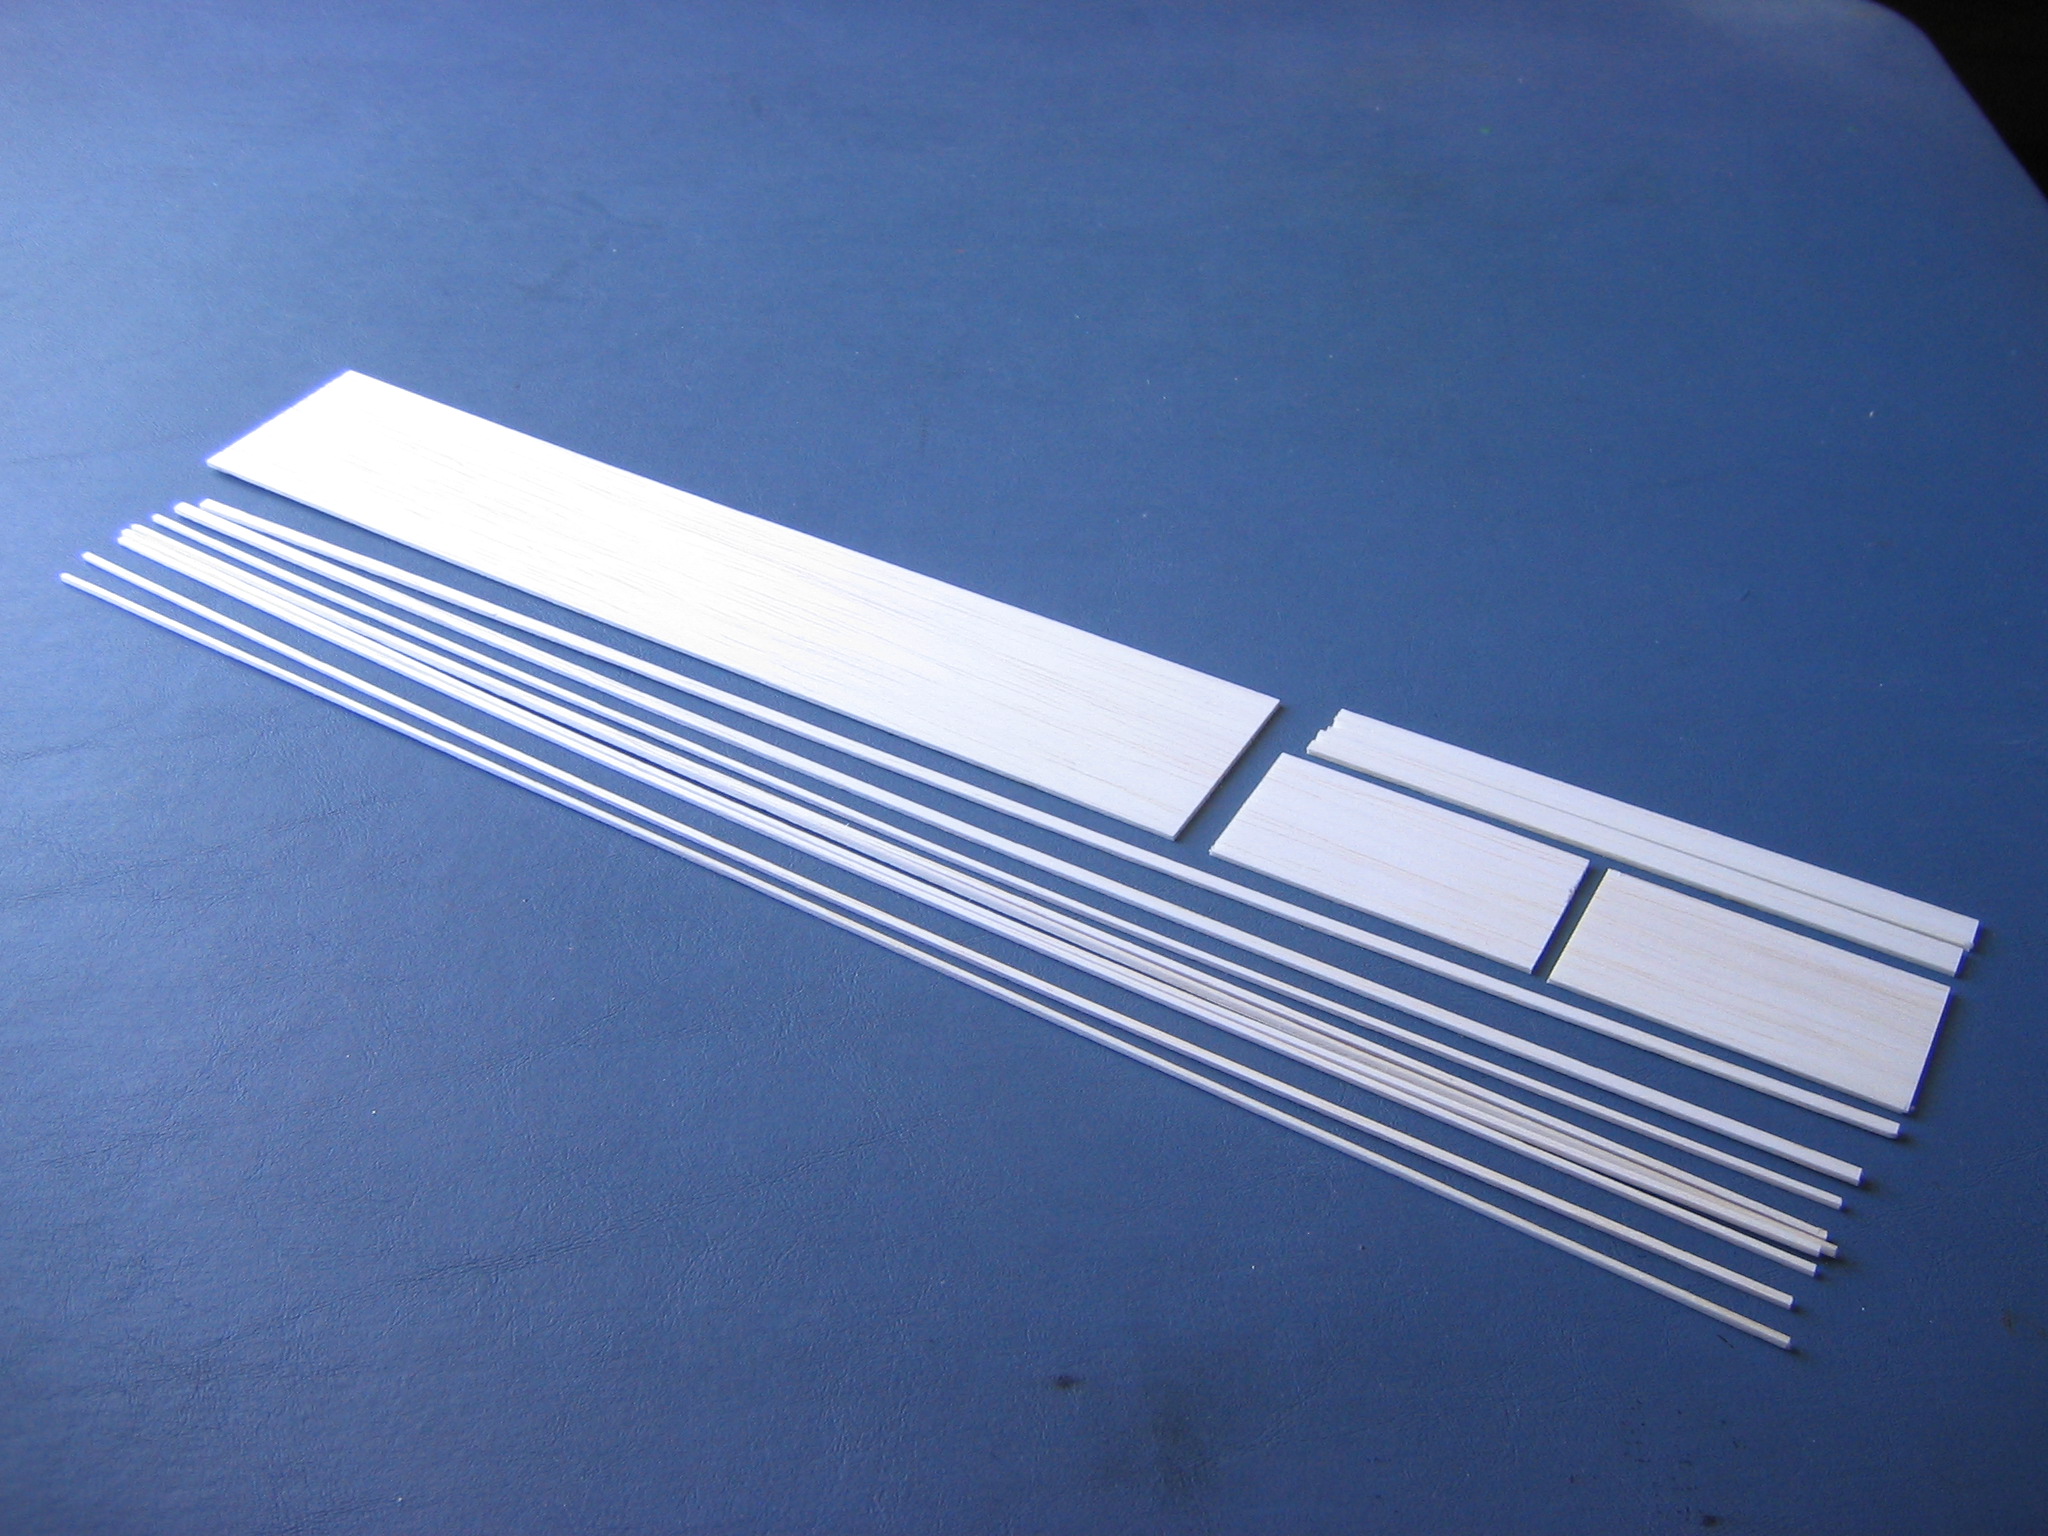
Cut 6″ off the end of the remaining balsa sheet. Using the Master Airscrew stripper, strip one piece 3/8″ wide and one piece 5/16″ wide.
These will be used for making the fuselage plates and the landing gear box.
Cut the 6″ remainder in two in preparation for making the wing ribs. It is cut 2 3/4″ (2 13/16″ on the original plan, equal to the longest ribs, which are the ones on the ends, at an angle.) from one end, using a block to square the rule across the sheet. (The block has moved slightly after the rule was aligned. This is much better than using your drafting triangle.)
This is what we have now.
From the larger remaining sheet, cut two 1″ x 3 ½” fin/dihedral jigs and two 7/8″ x 1 3/8″ fuselage jigs. I have steel rules 1″ and 7/8″ wide, so this was easy. Using the straight face of a block to align the rule with the edge of the stock,
the razor blade was drawn along the other edge to cut out the pieces. They were then cut to length.
Place their edges against the stop on the sanding jig and sand both ends of these jigs square. This is important because these jigs will be used to make the fuselage and fins square. The exact lengths are not critical, just don’t sand away a lot.
Set the remaining pieces aside, later we will cut the noseblock parts from them.
Click HERE to go to Chapter 3.
One thought on “Big Pussycat Chapter 2 – Stripping Wood and Cutting Out Jigs”