The Academy of Model Aeronautics has been using the FPG-9 to teach simple aeronautics. It is a simple flying wing glider made from a 9″ foam plate, thus the designation Foam Plate Glider-9. You can learn about it HERE. The FPG-9 has a fin and raised tips for stability.
I knew from experience with paper flying wings that a simple flat plate glider could be made to fly without dihedral, fin or stabilizer. You can learn about some simple paper airplanes HERE. I wanted to see whether a completely flat foam glider could be made and flown.

The raw material is 9″ foam plates with flat bottoms. There is about a 5 1/2″ diameter circle of flat material in the center. I wanted to use as much of it as possible.
I planned to use cardboard templates to outline the wings. I had already made some to experiment with the location for the balancing penny weight. The template must fit inside the 5 1/2″ flat circle.
To start, I drew a 1/2″ wide strip along the edge of a cardboard sheet.
I cut the strip off.
I drew a line down the center.
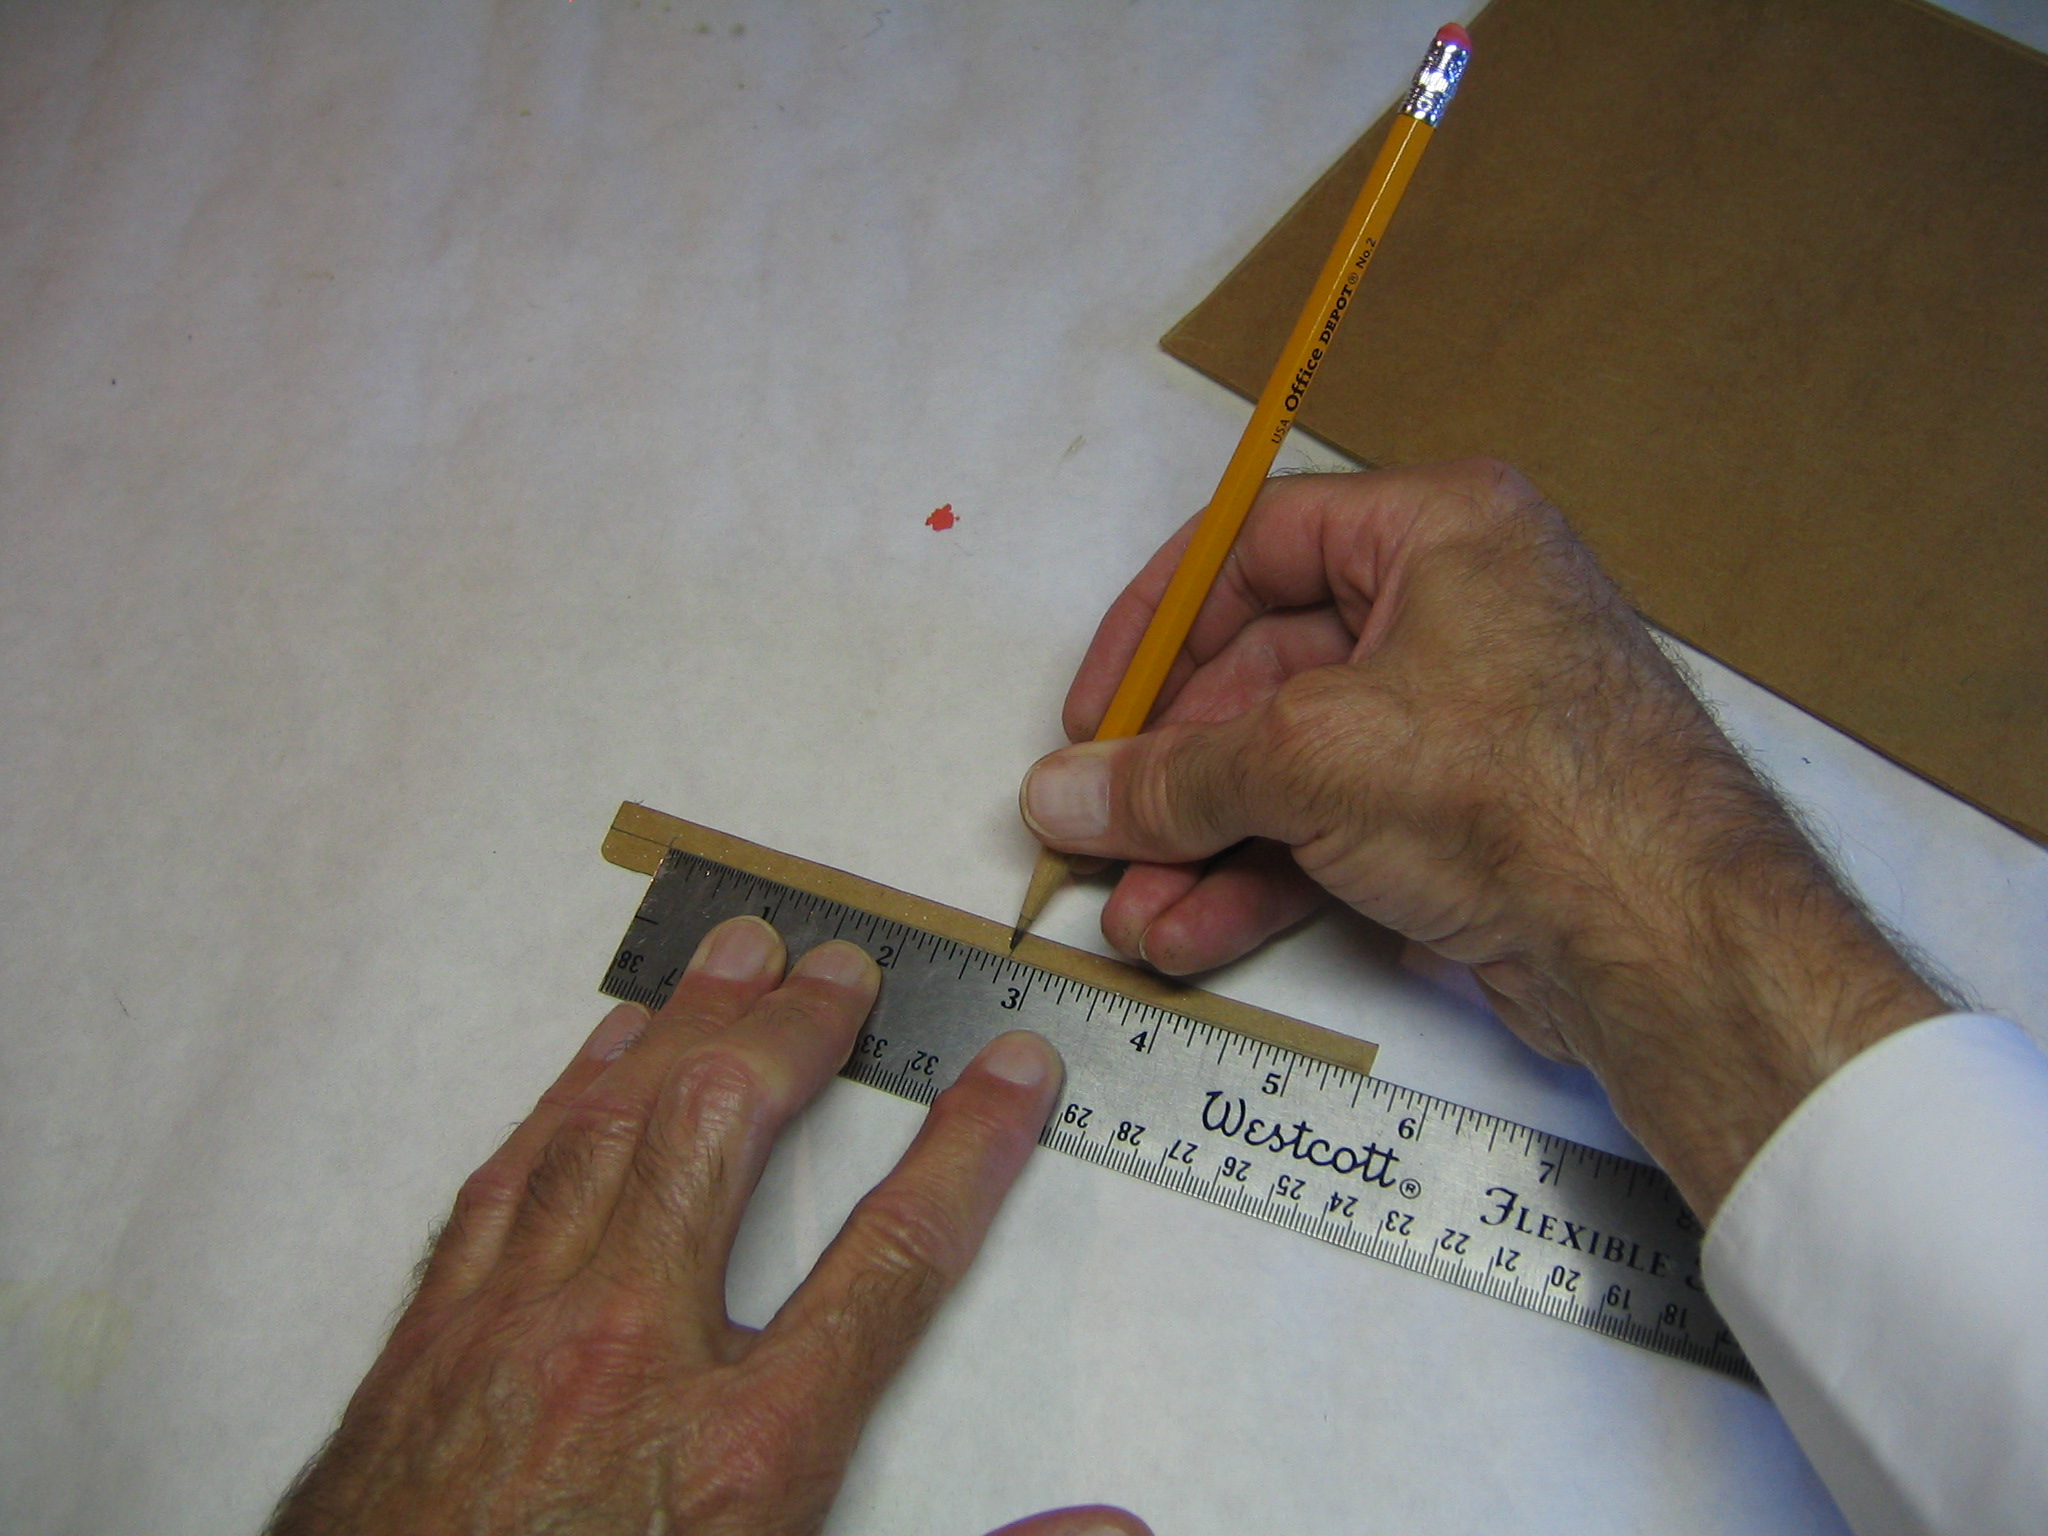
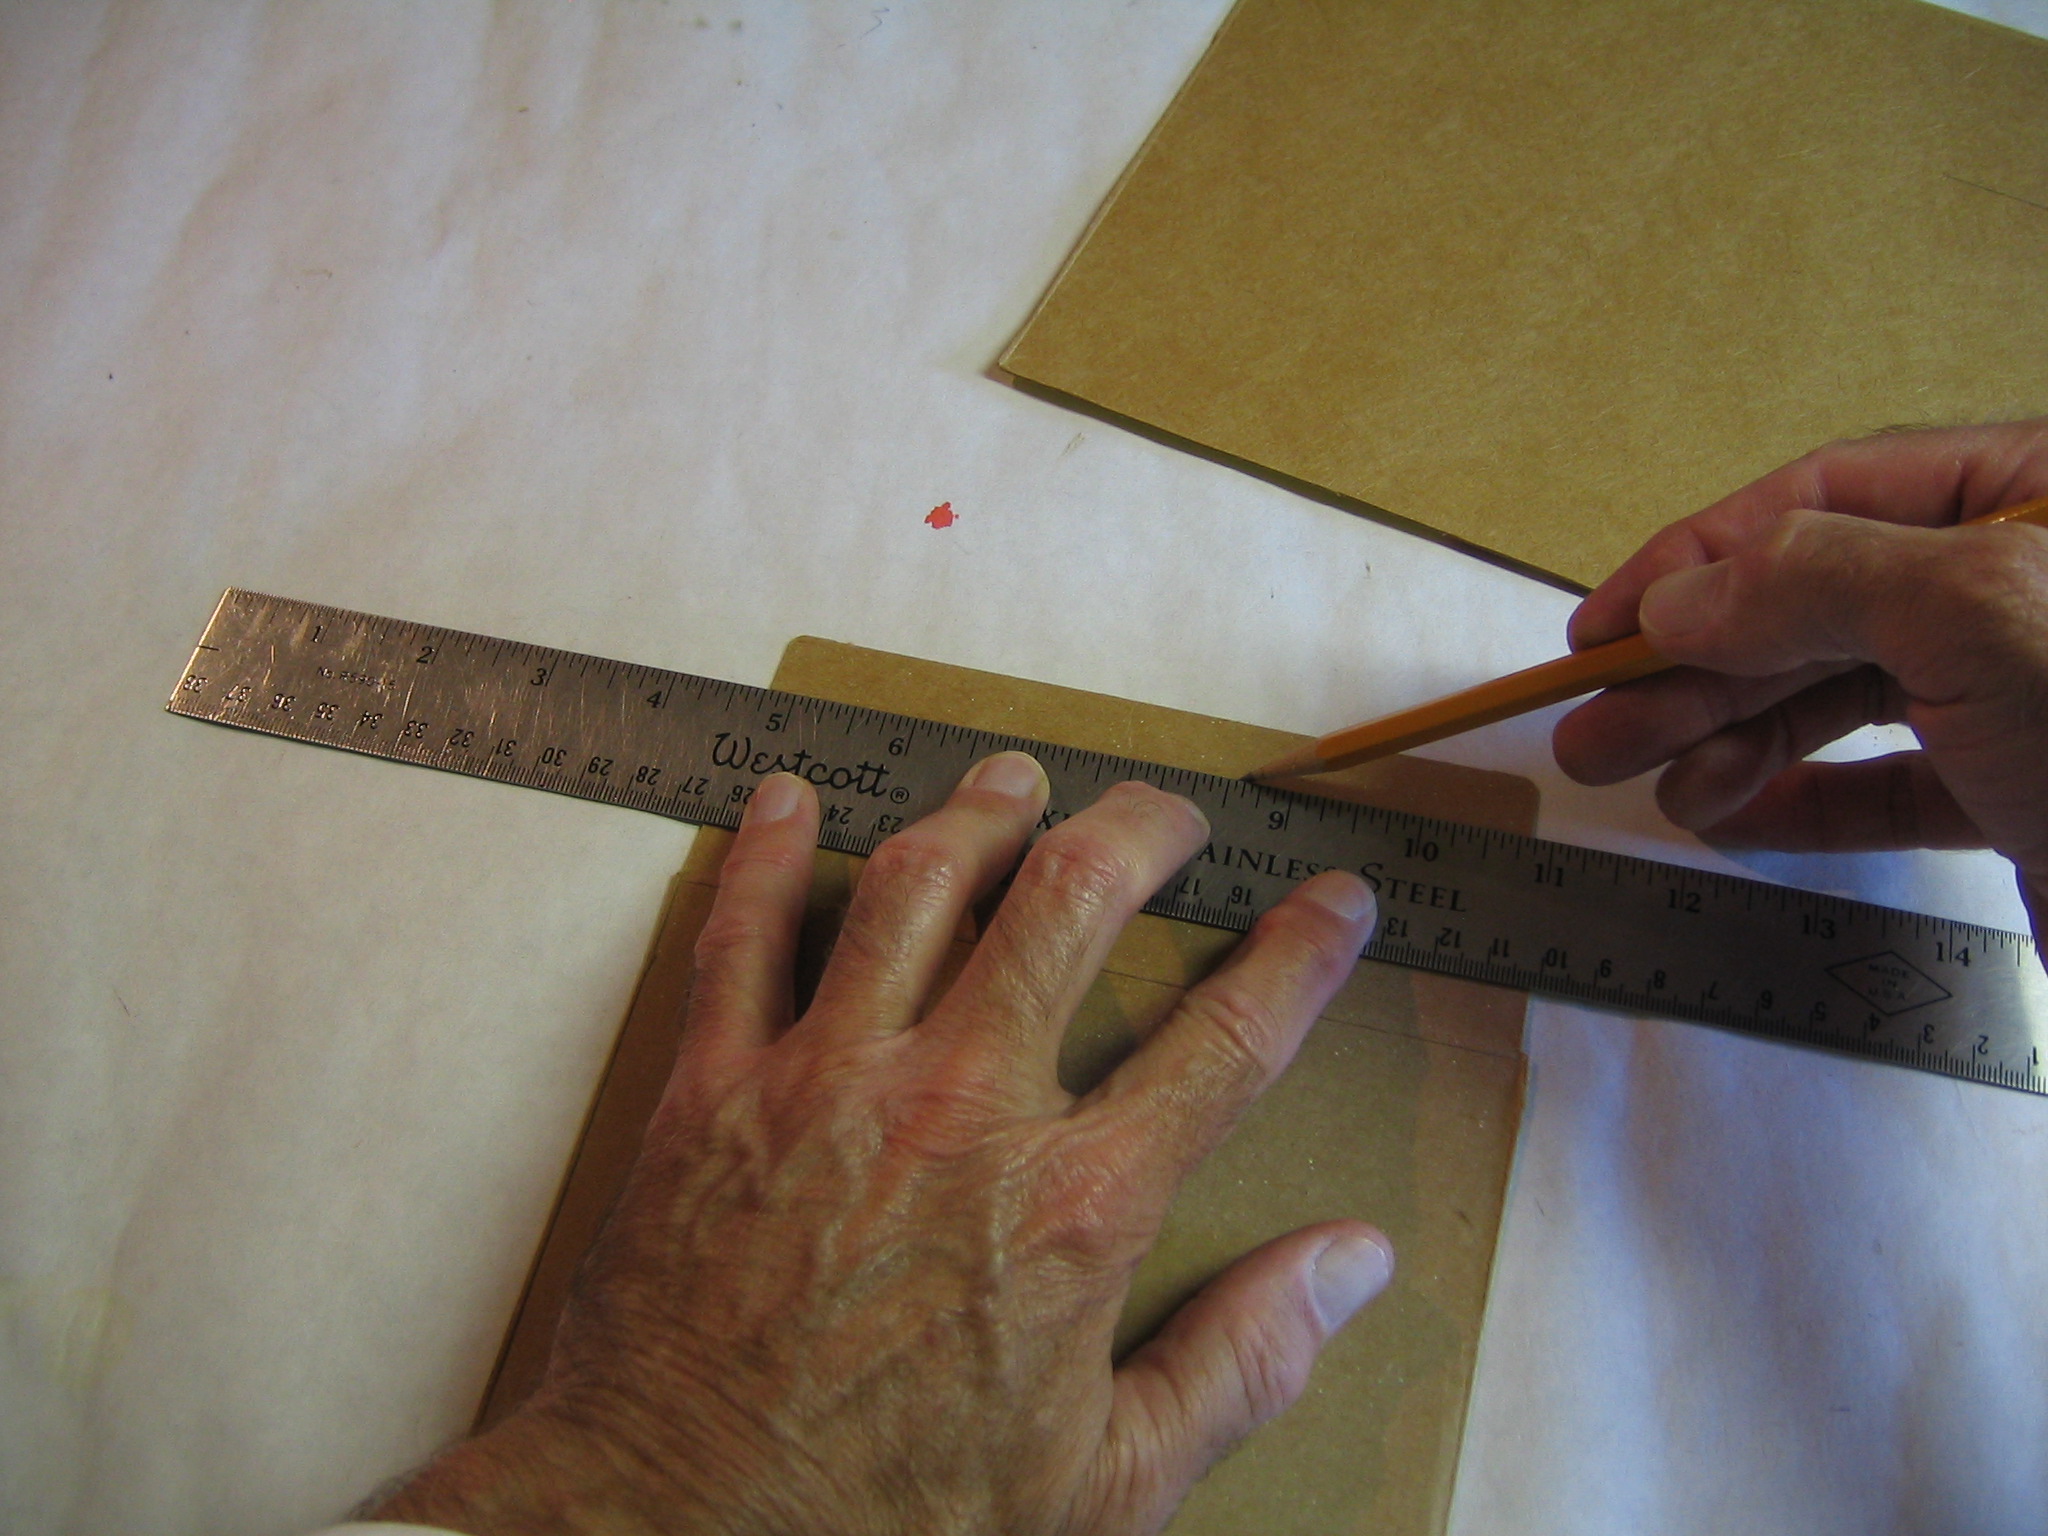
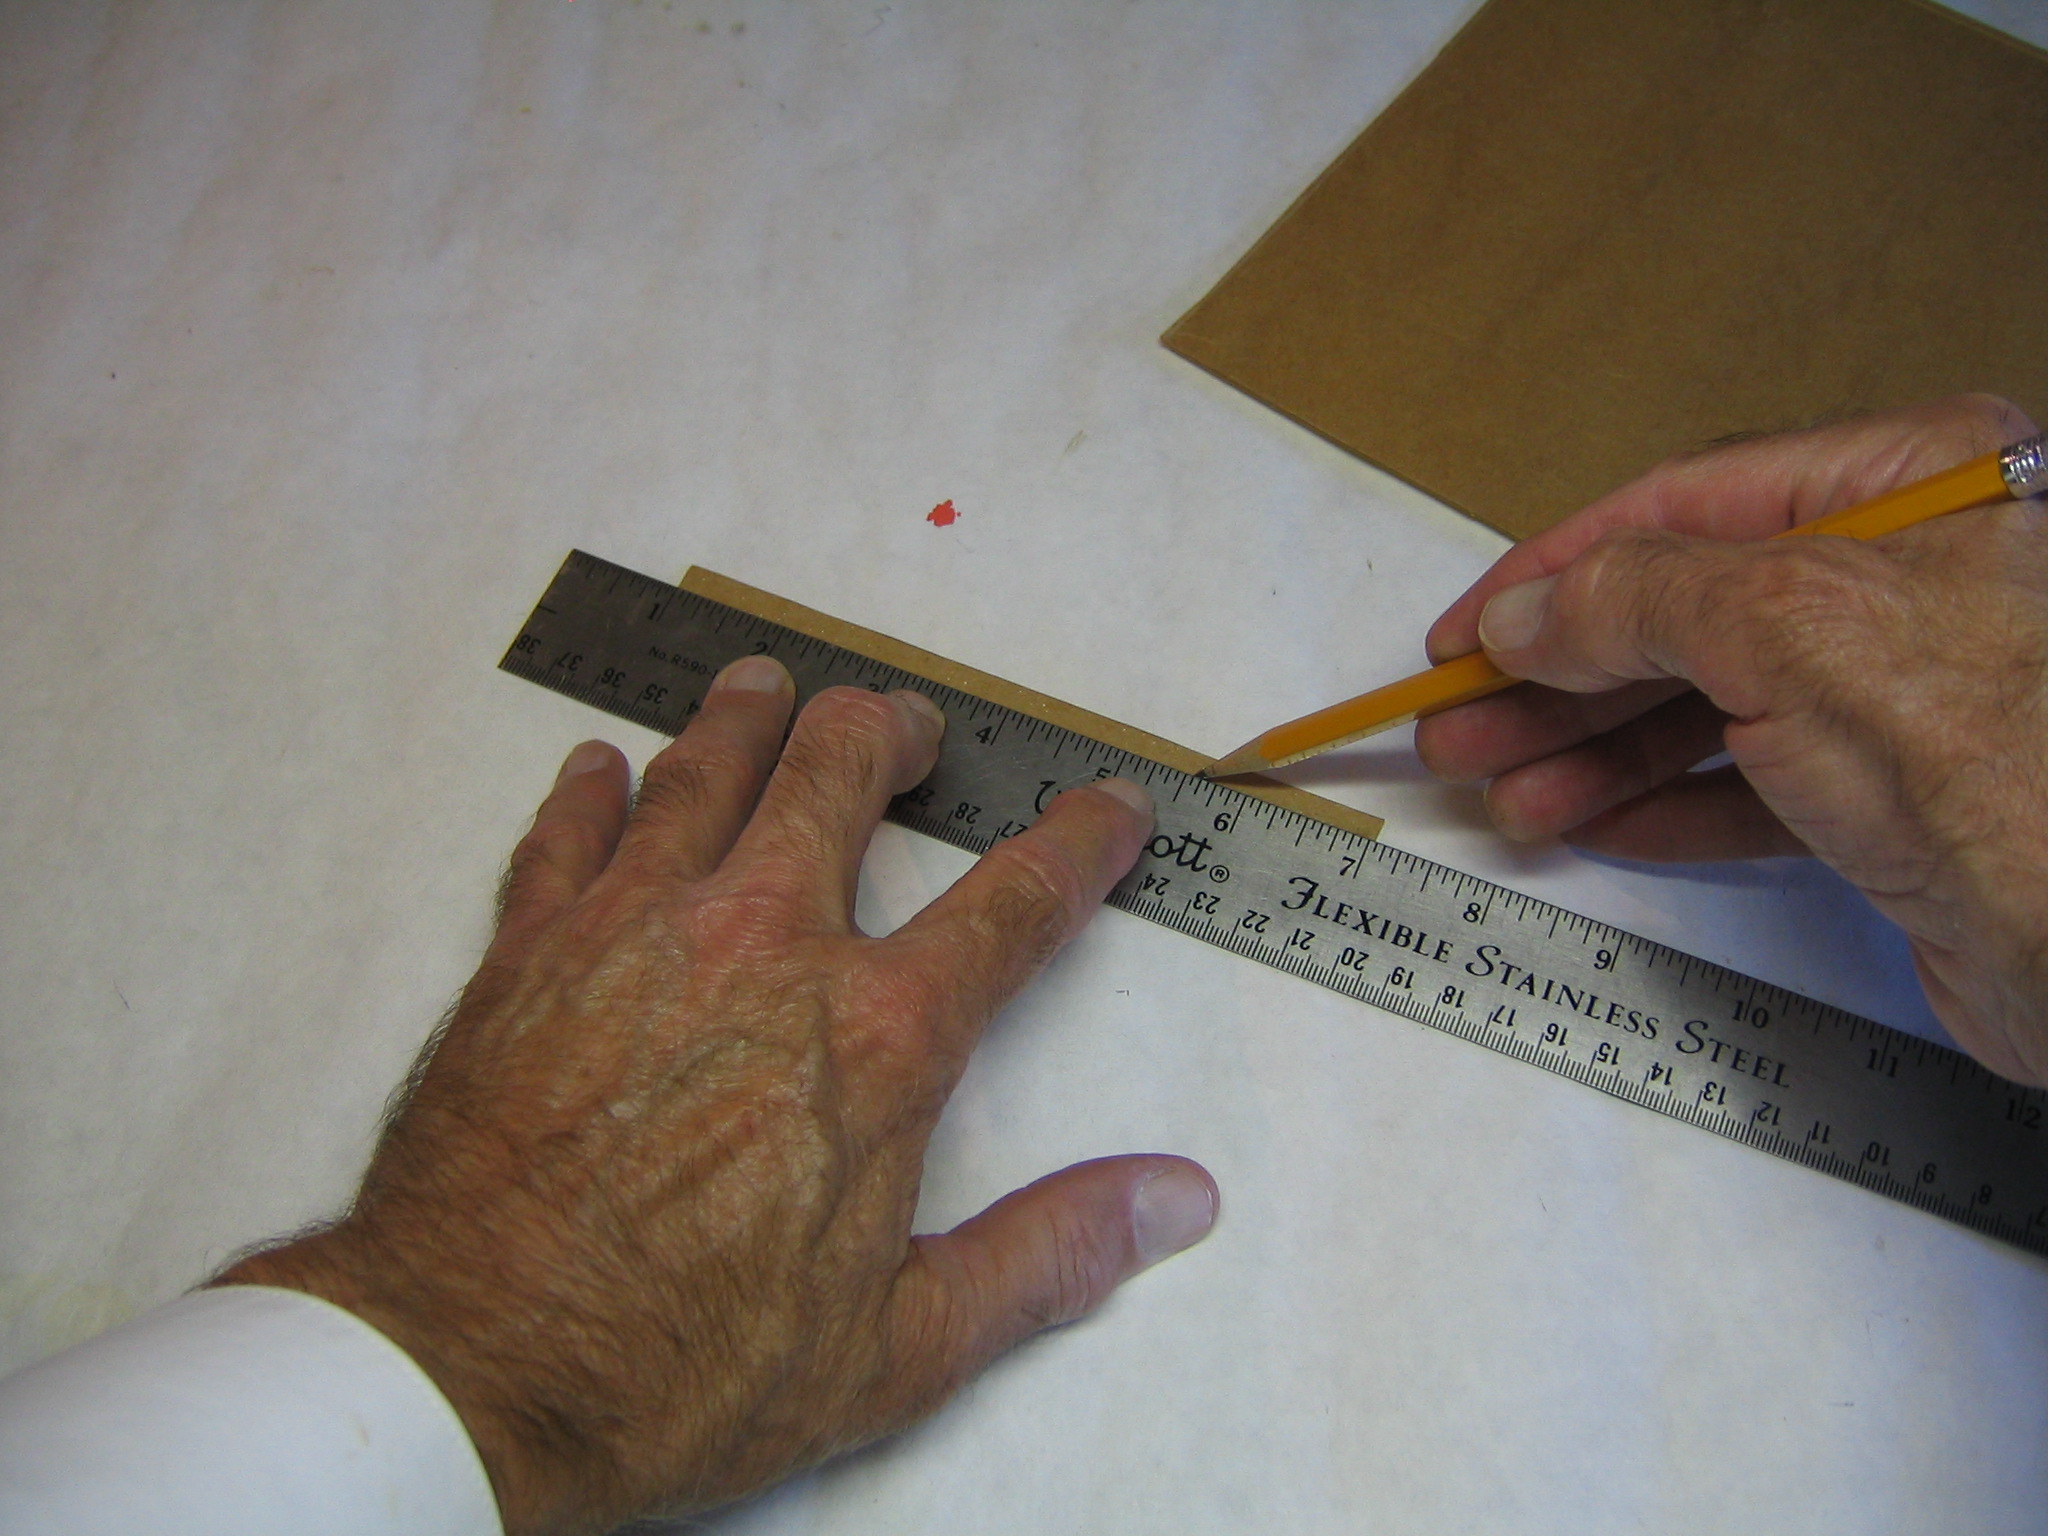
I put a mark near one end and another 2 3/4″ away to establish the radius of a 5 1/2″ circle.
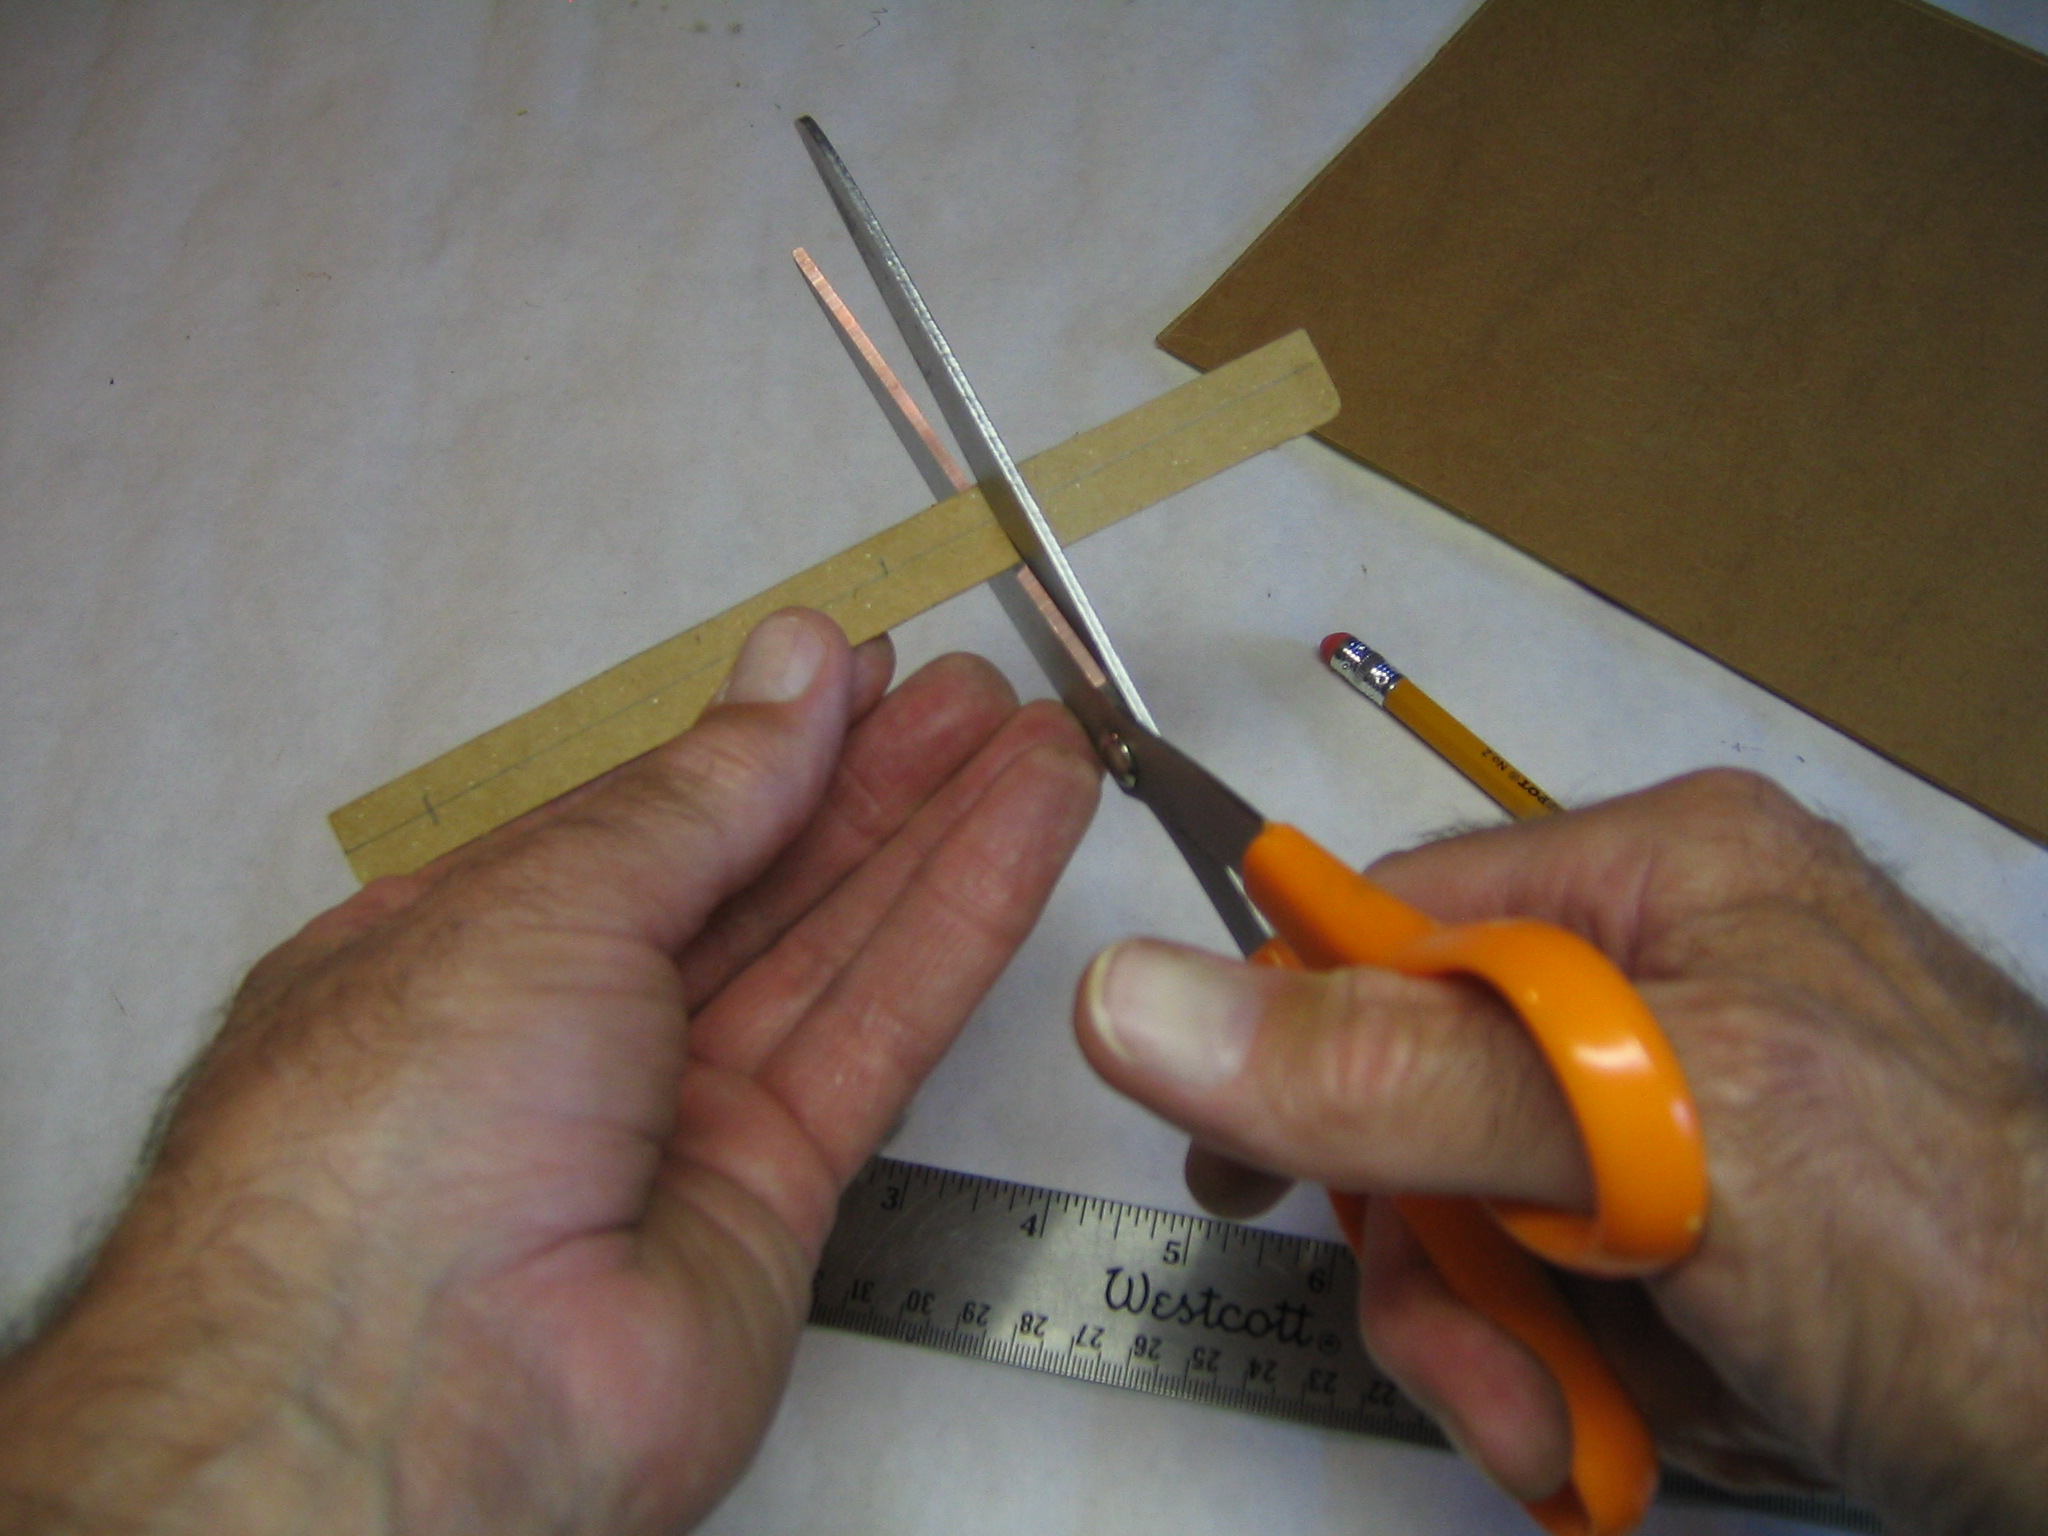
I cut off the excess.
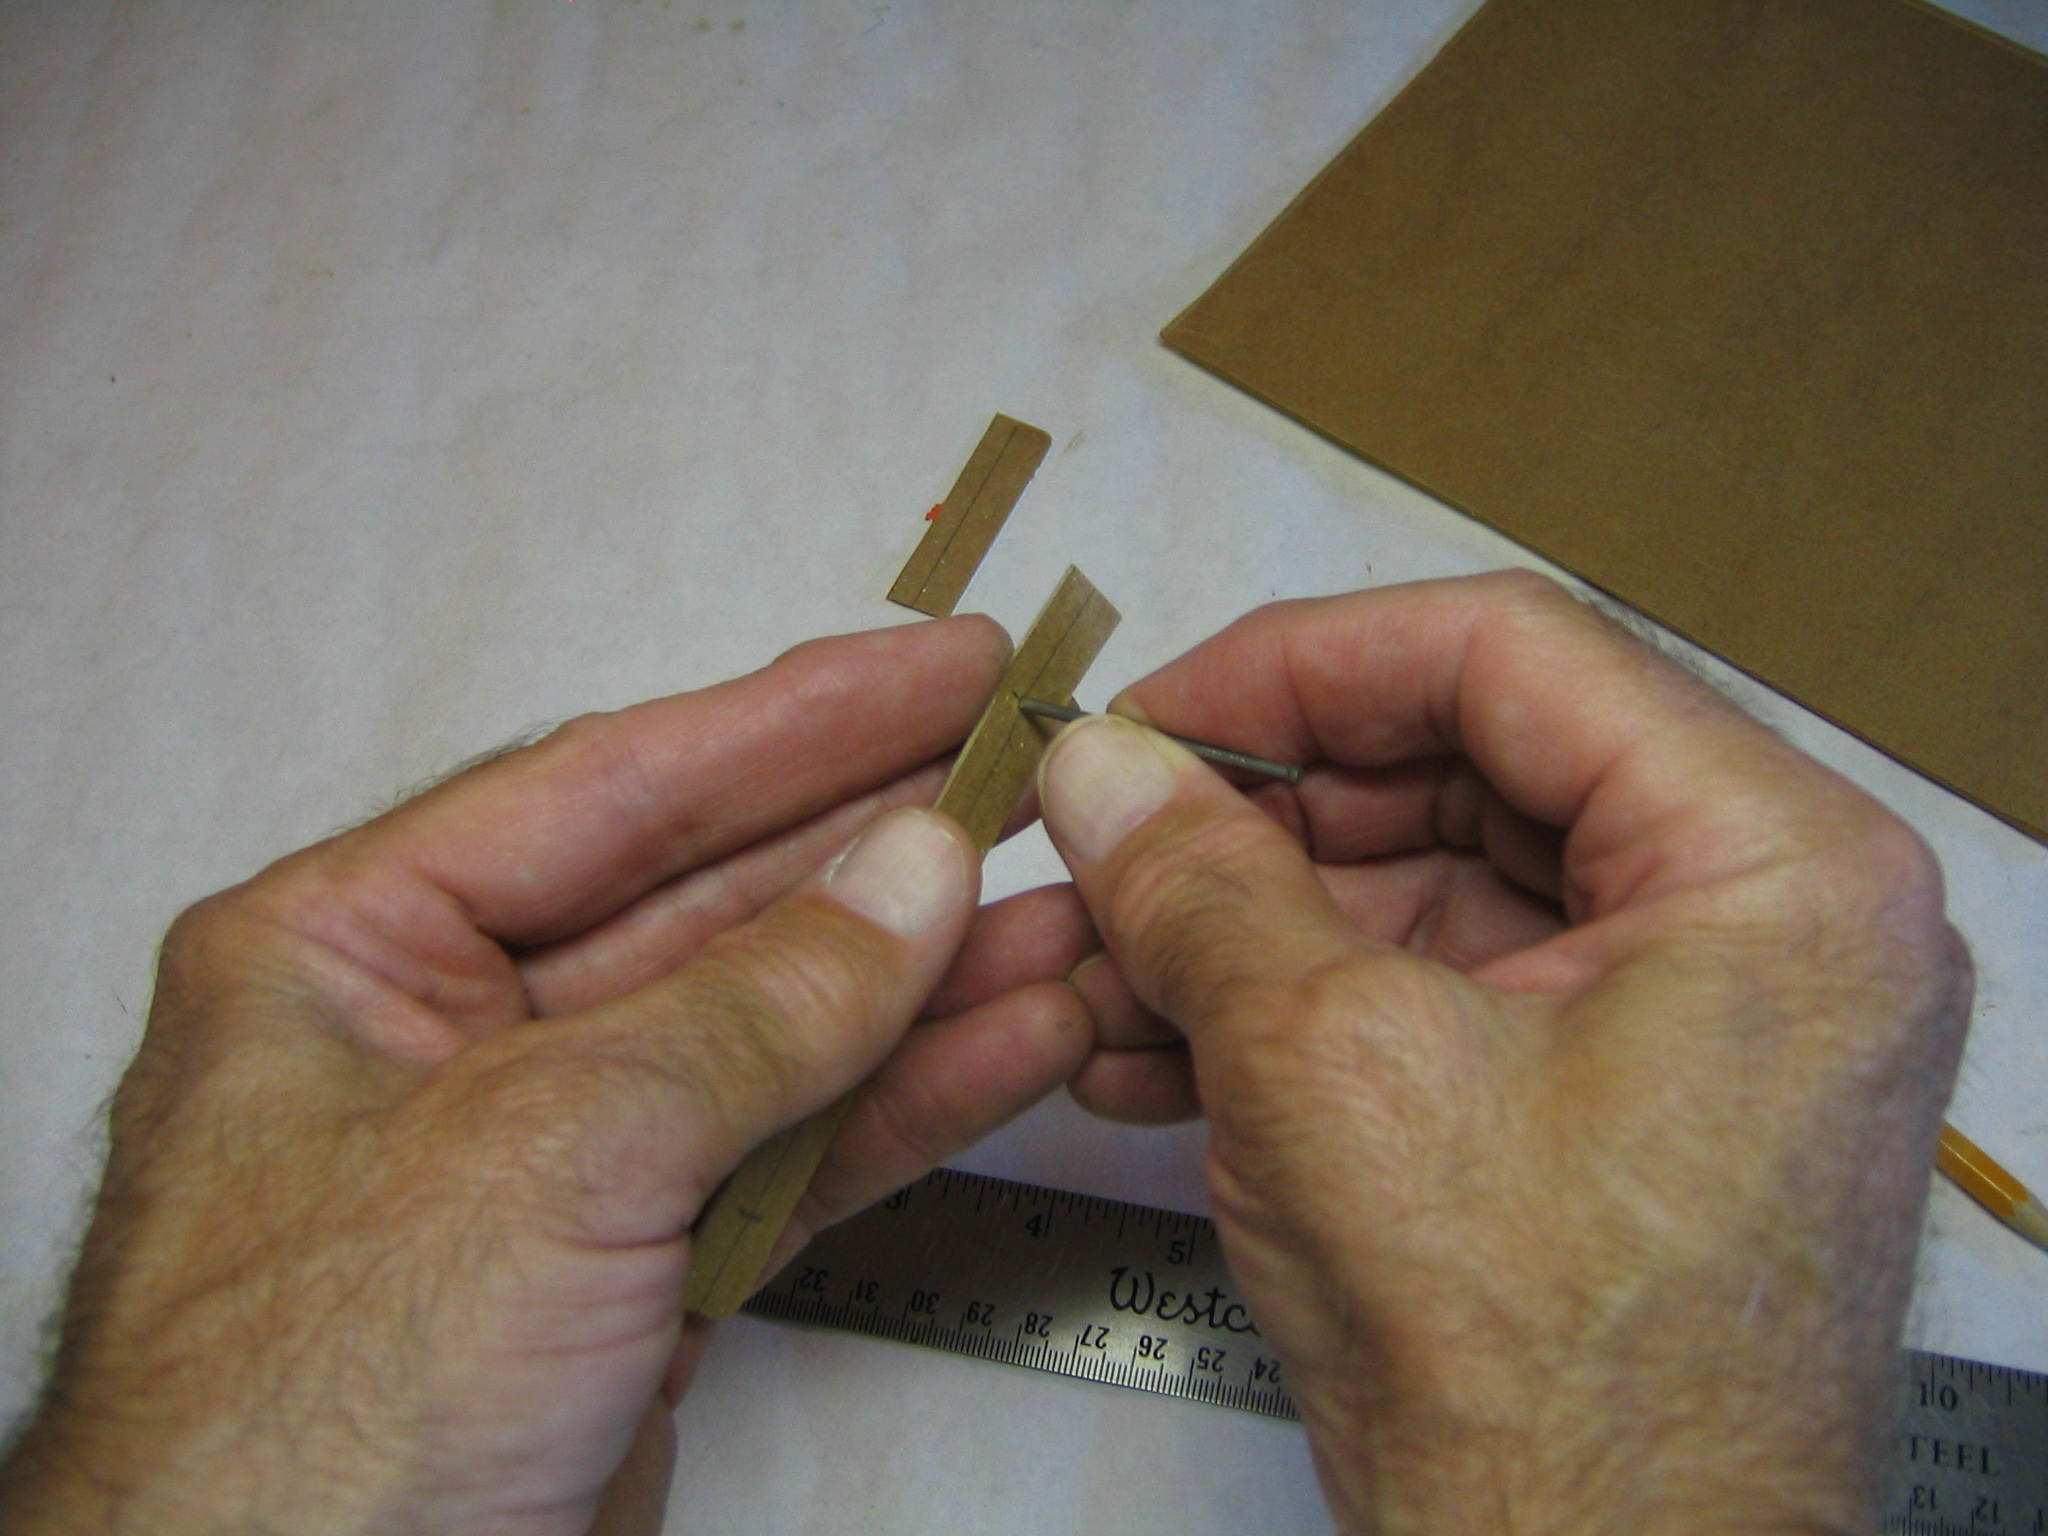
I poked a hole with a sharp nail at one mark.
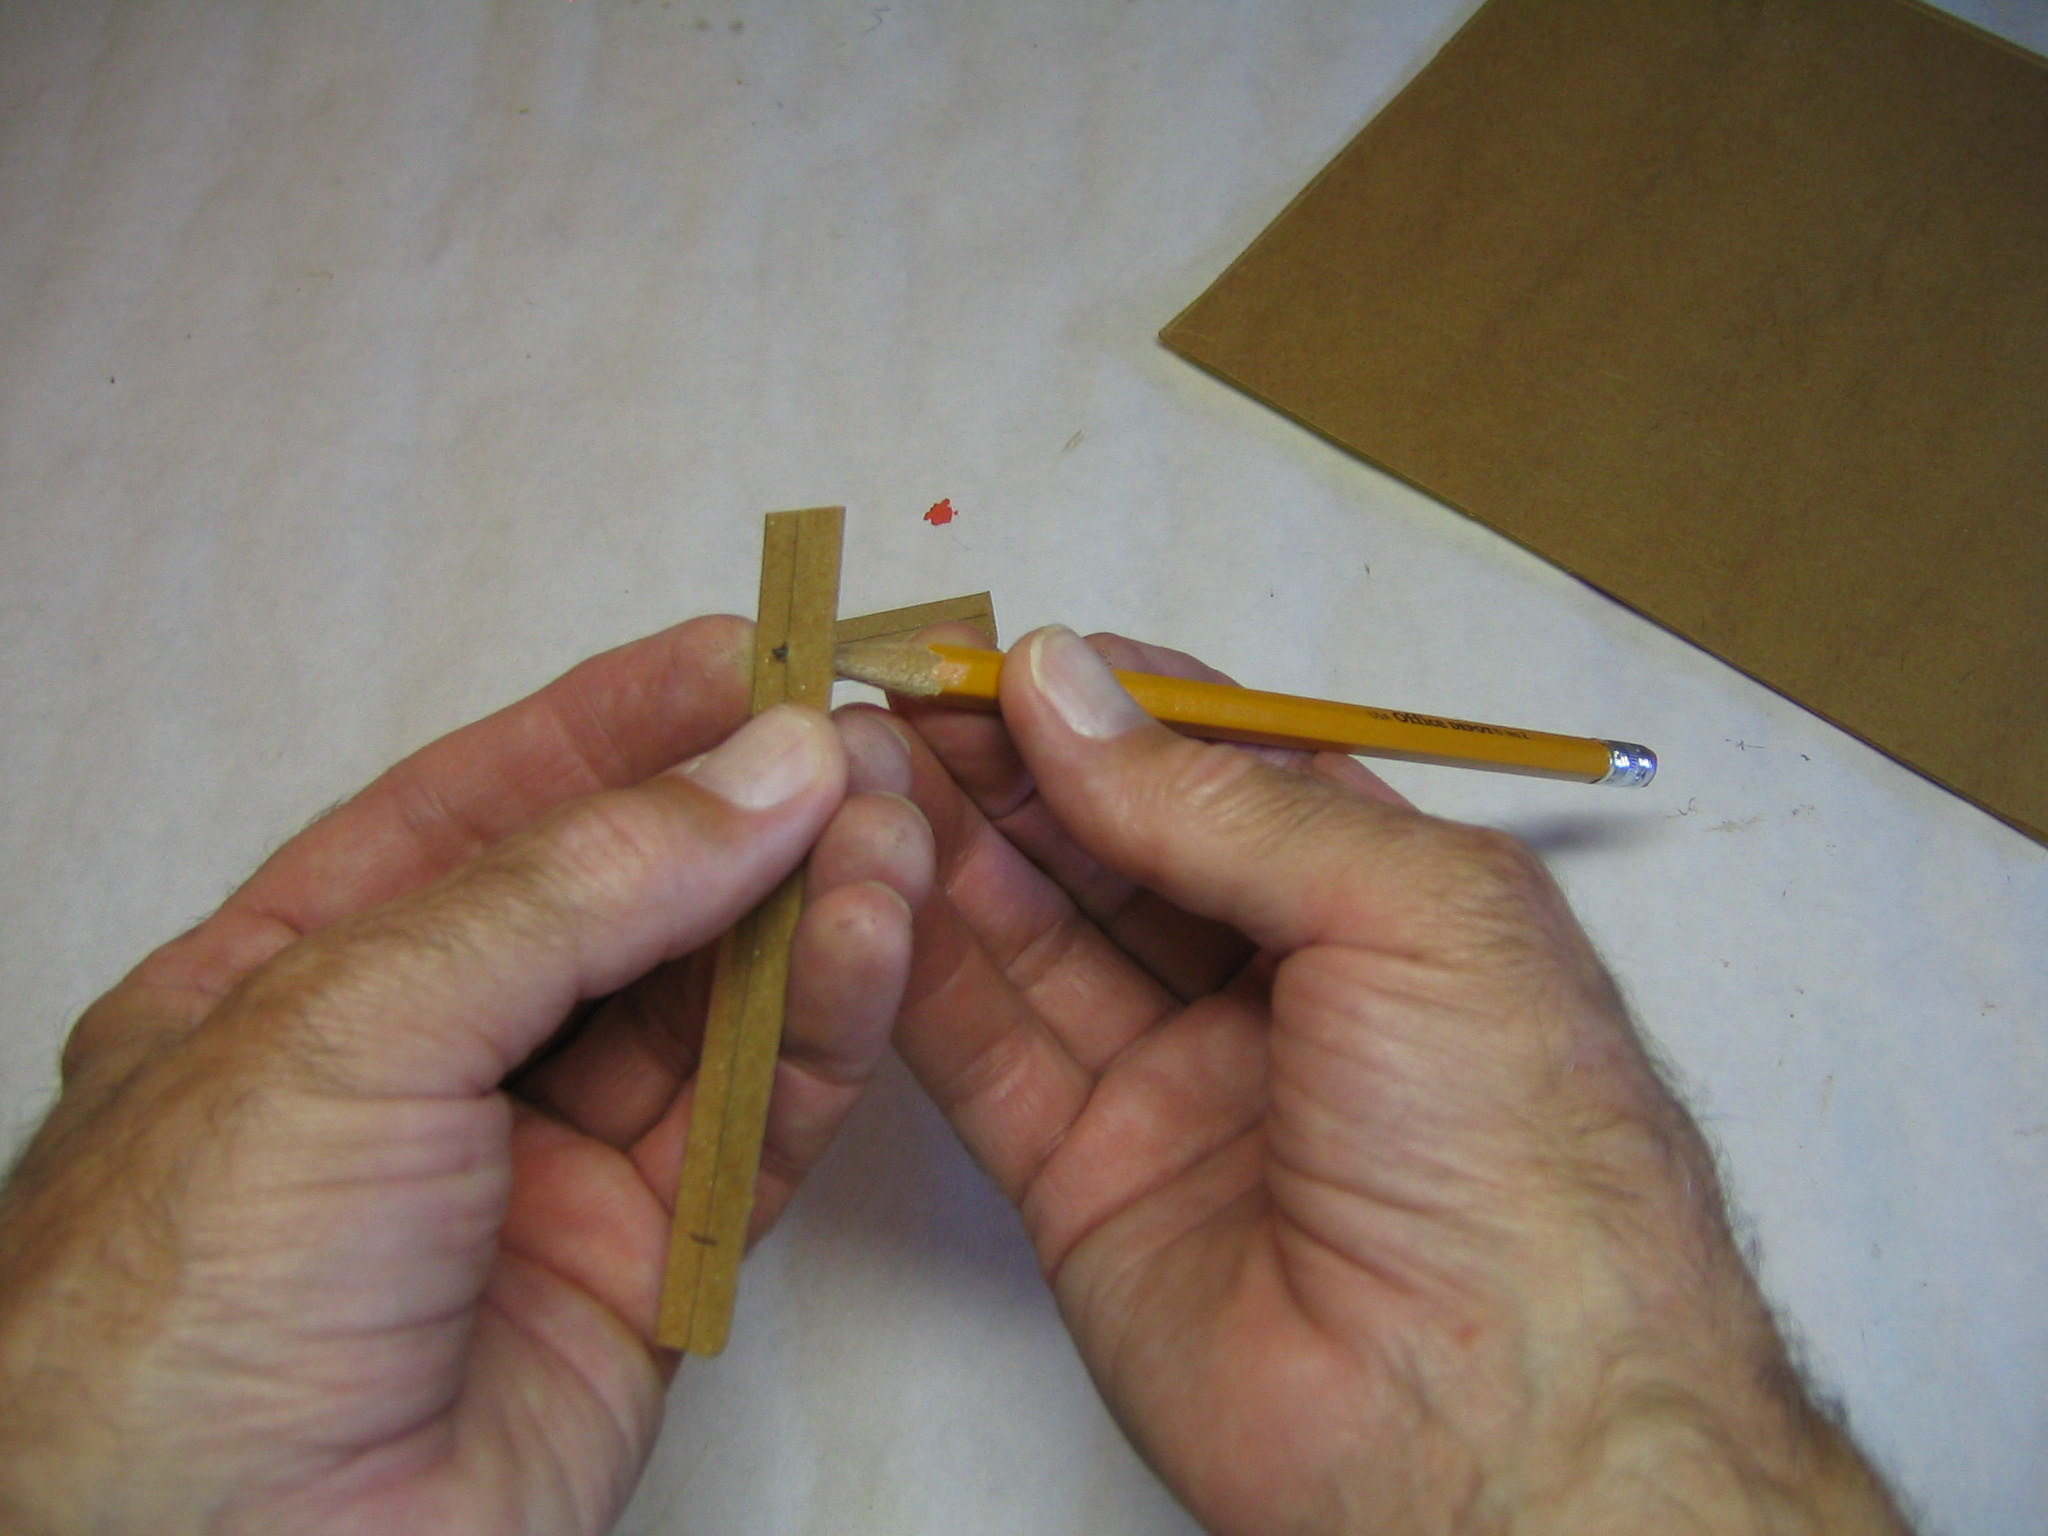
Just big enough for the point of a pencil to poke through.
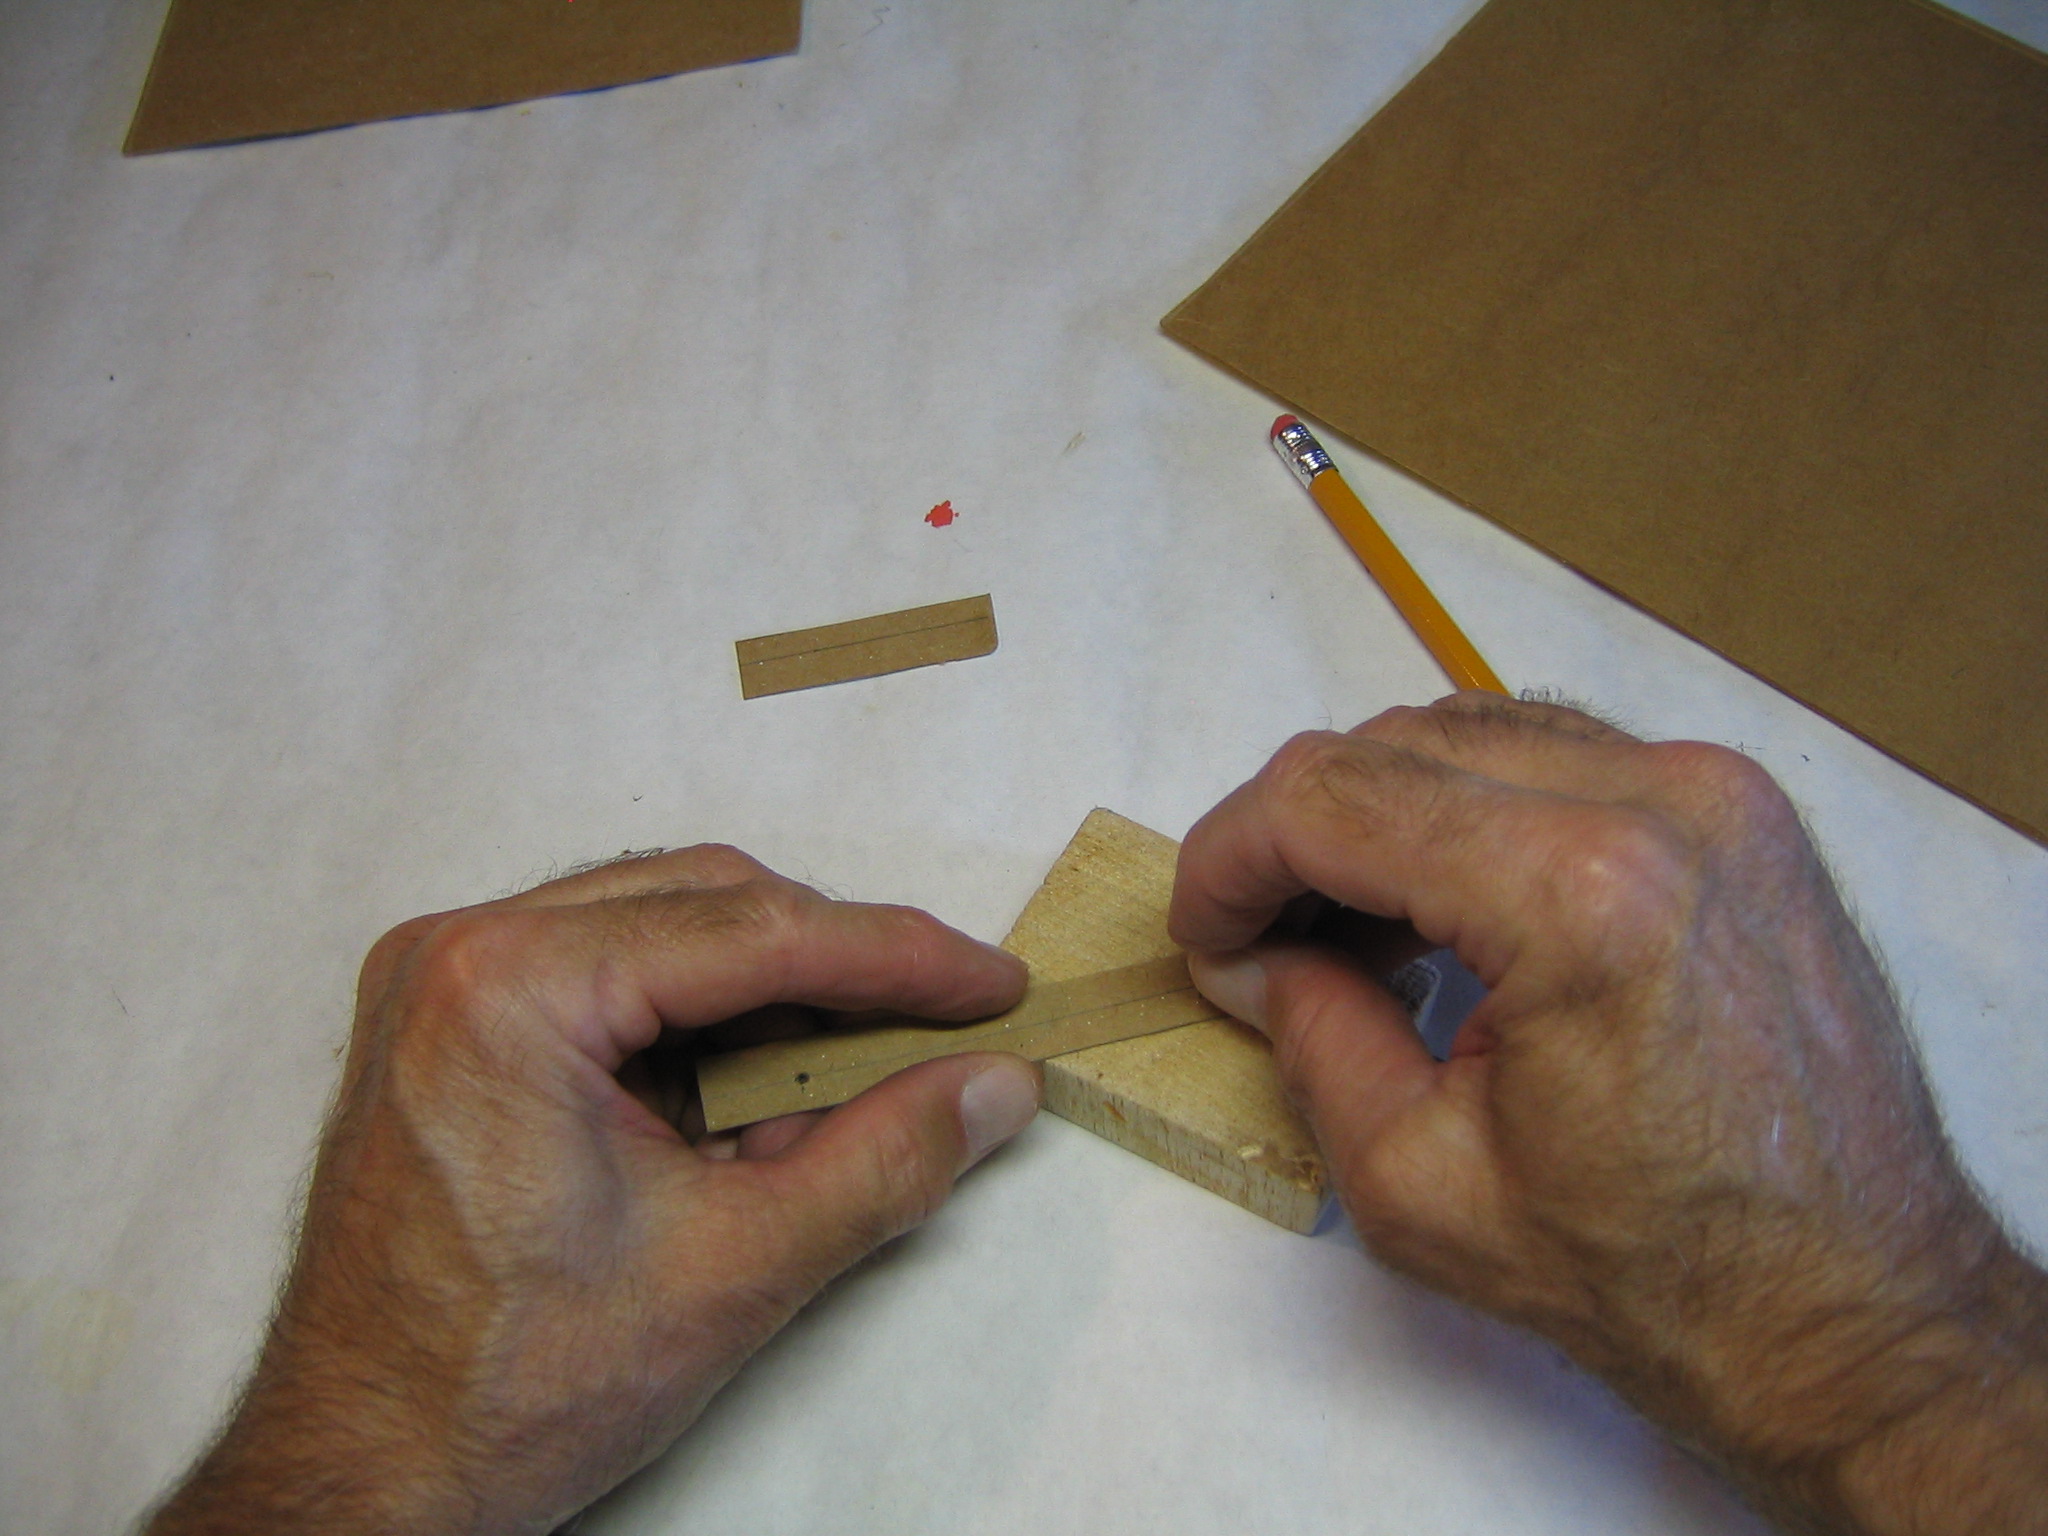
I pushed a pin through the other point, into a block of soft balsa.
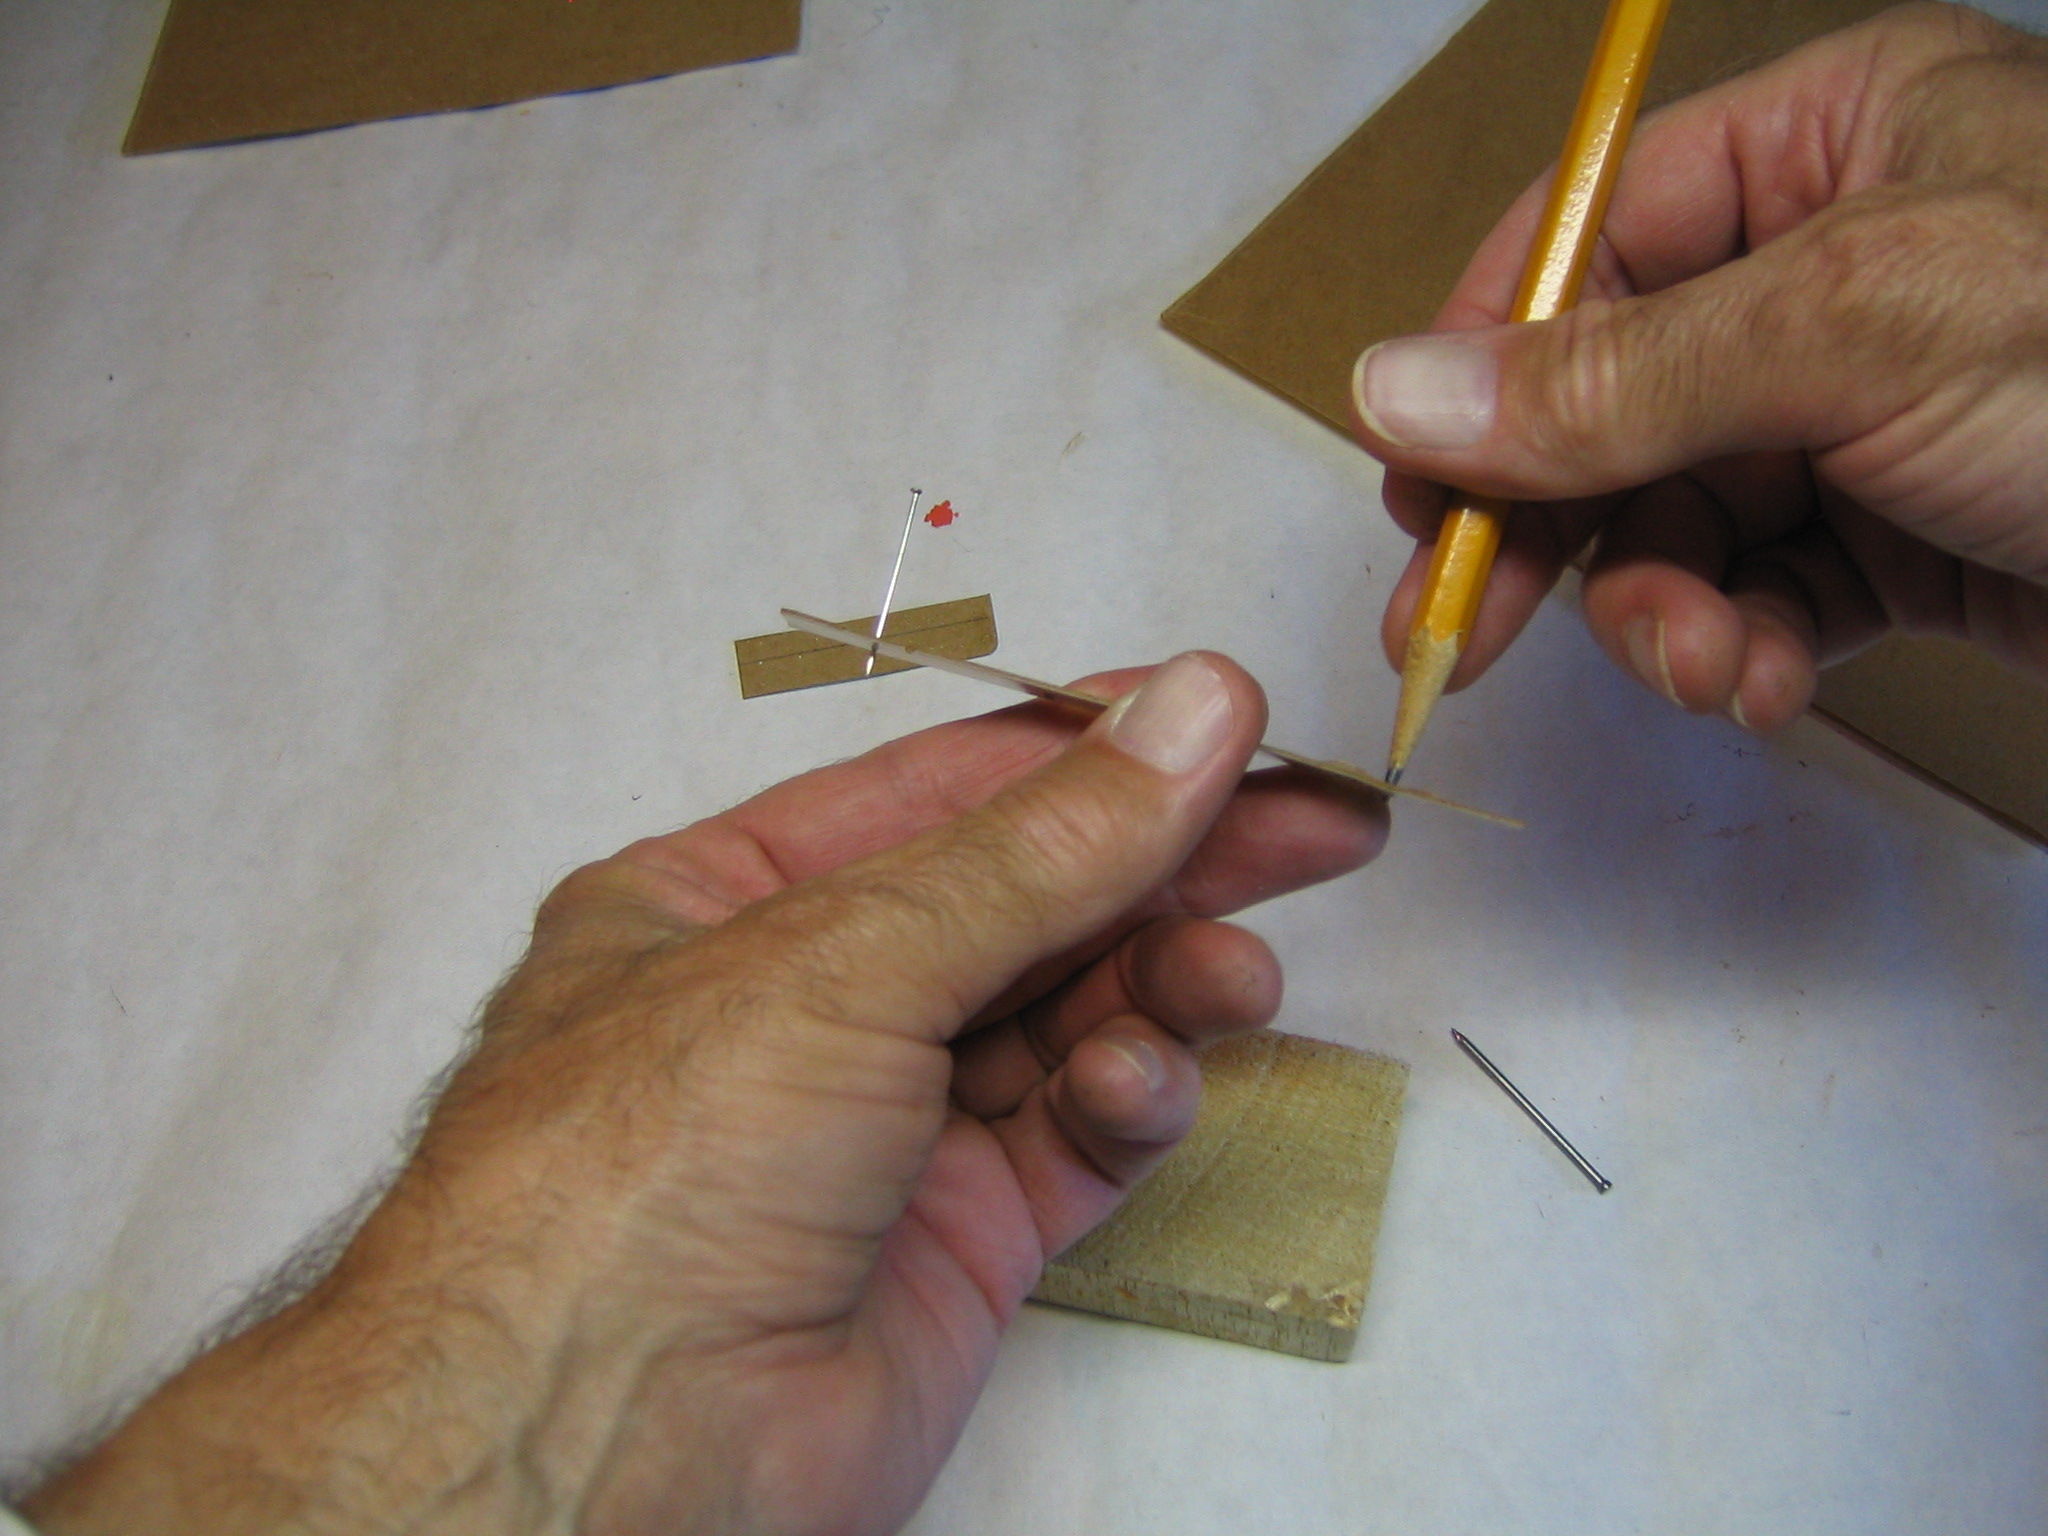
This makes a compass that will draw a 5 1/2″ circle.
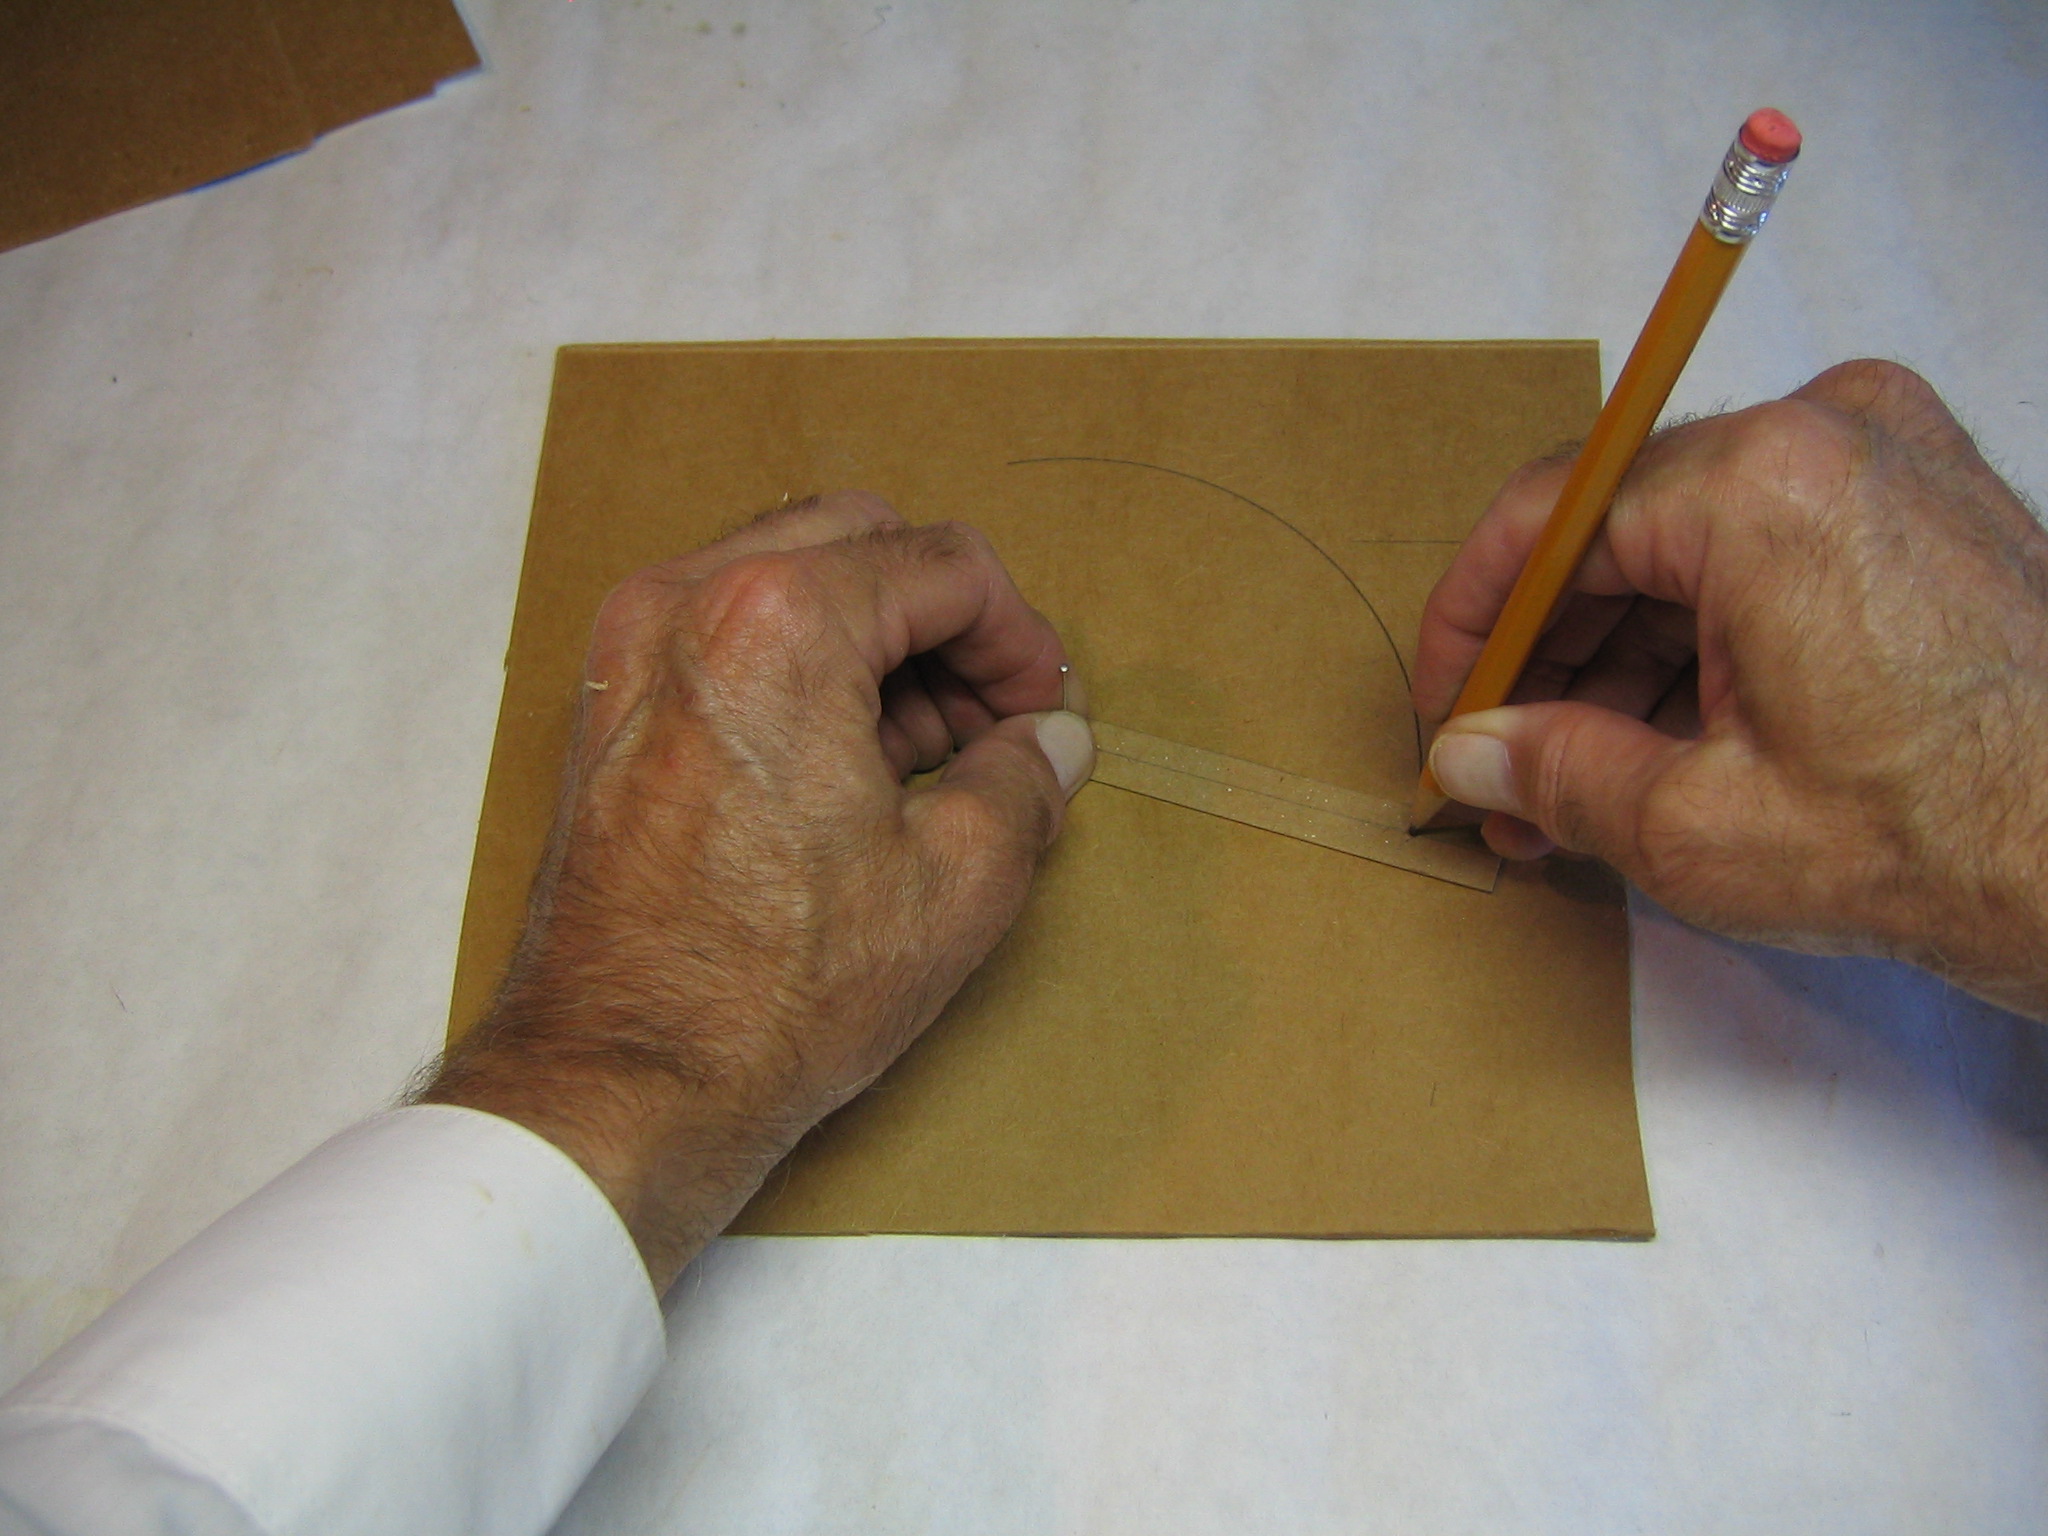
I drew a circle on a piece of sturdy cardboard.
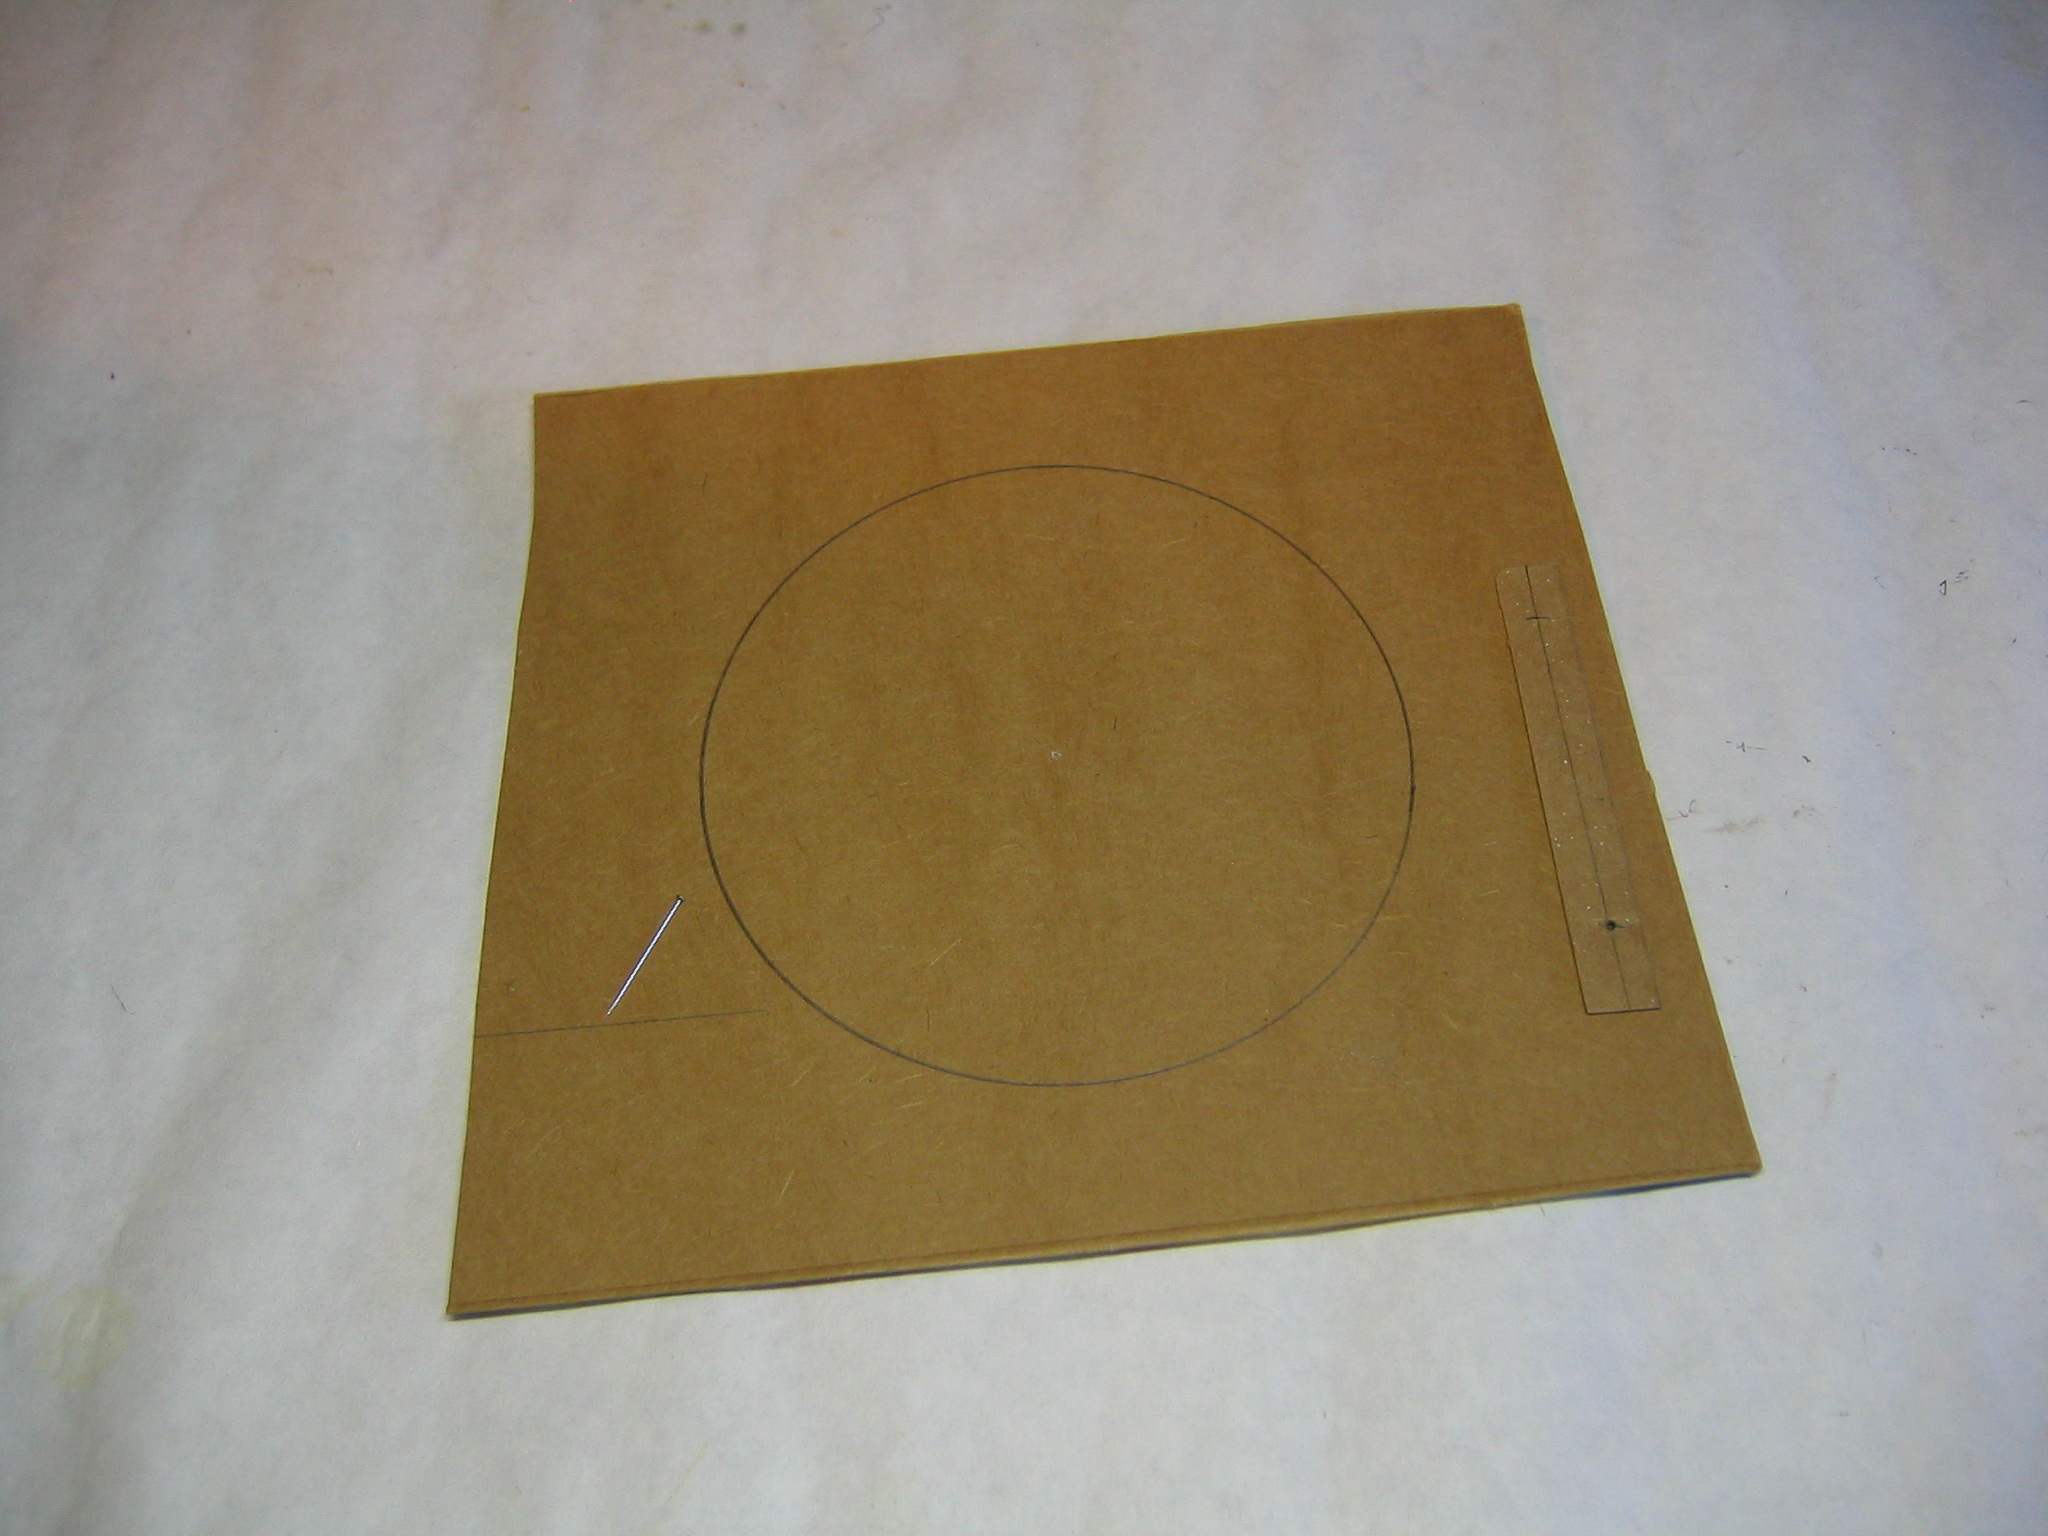
The wing templates must fit within this circle.
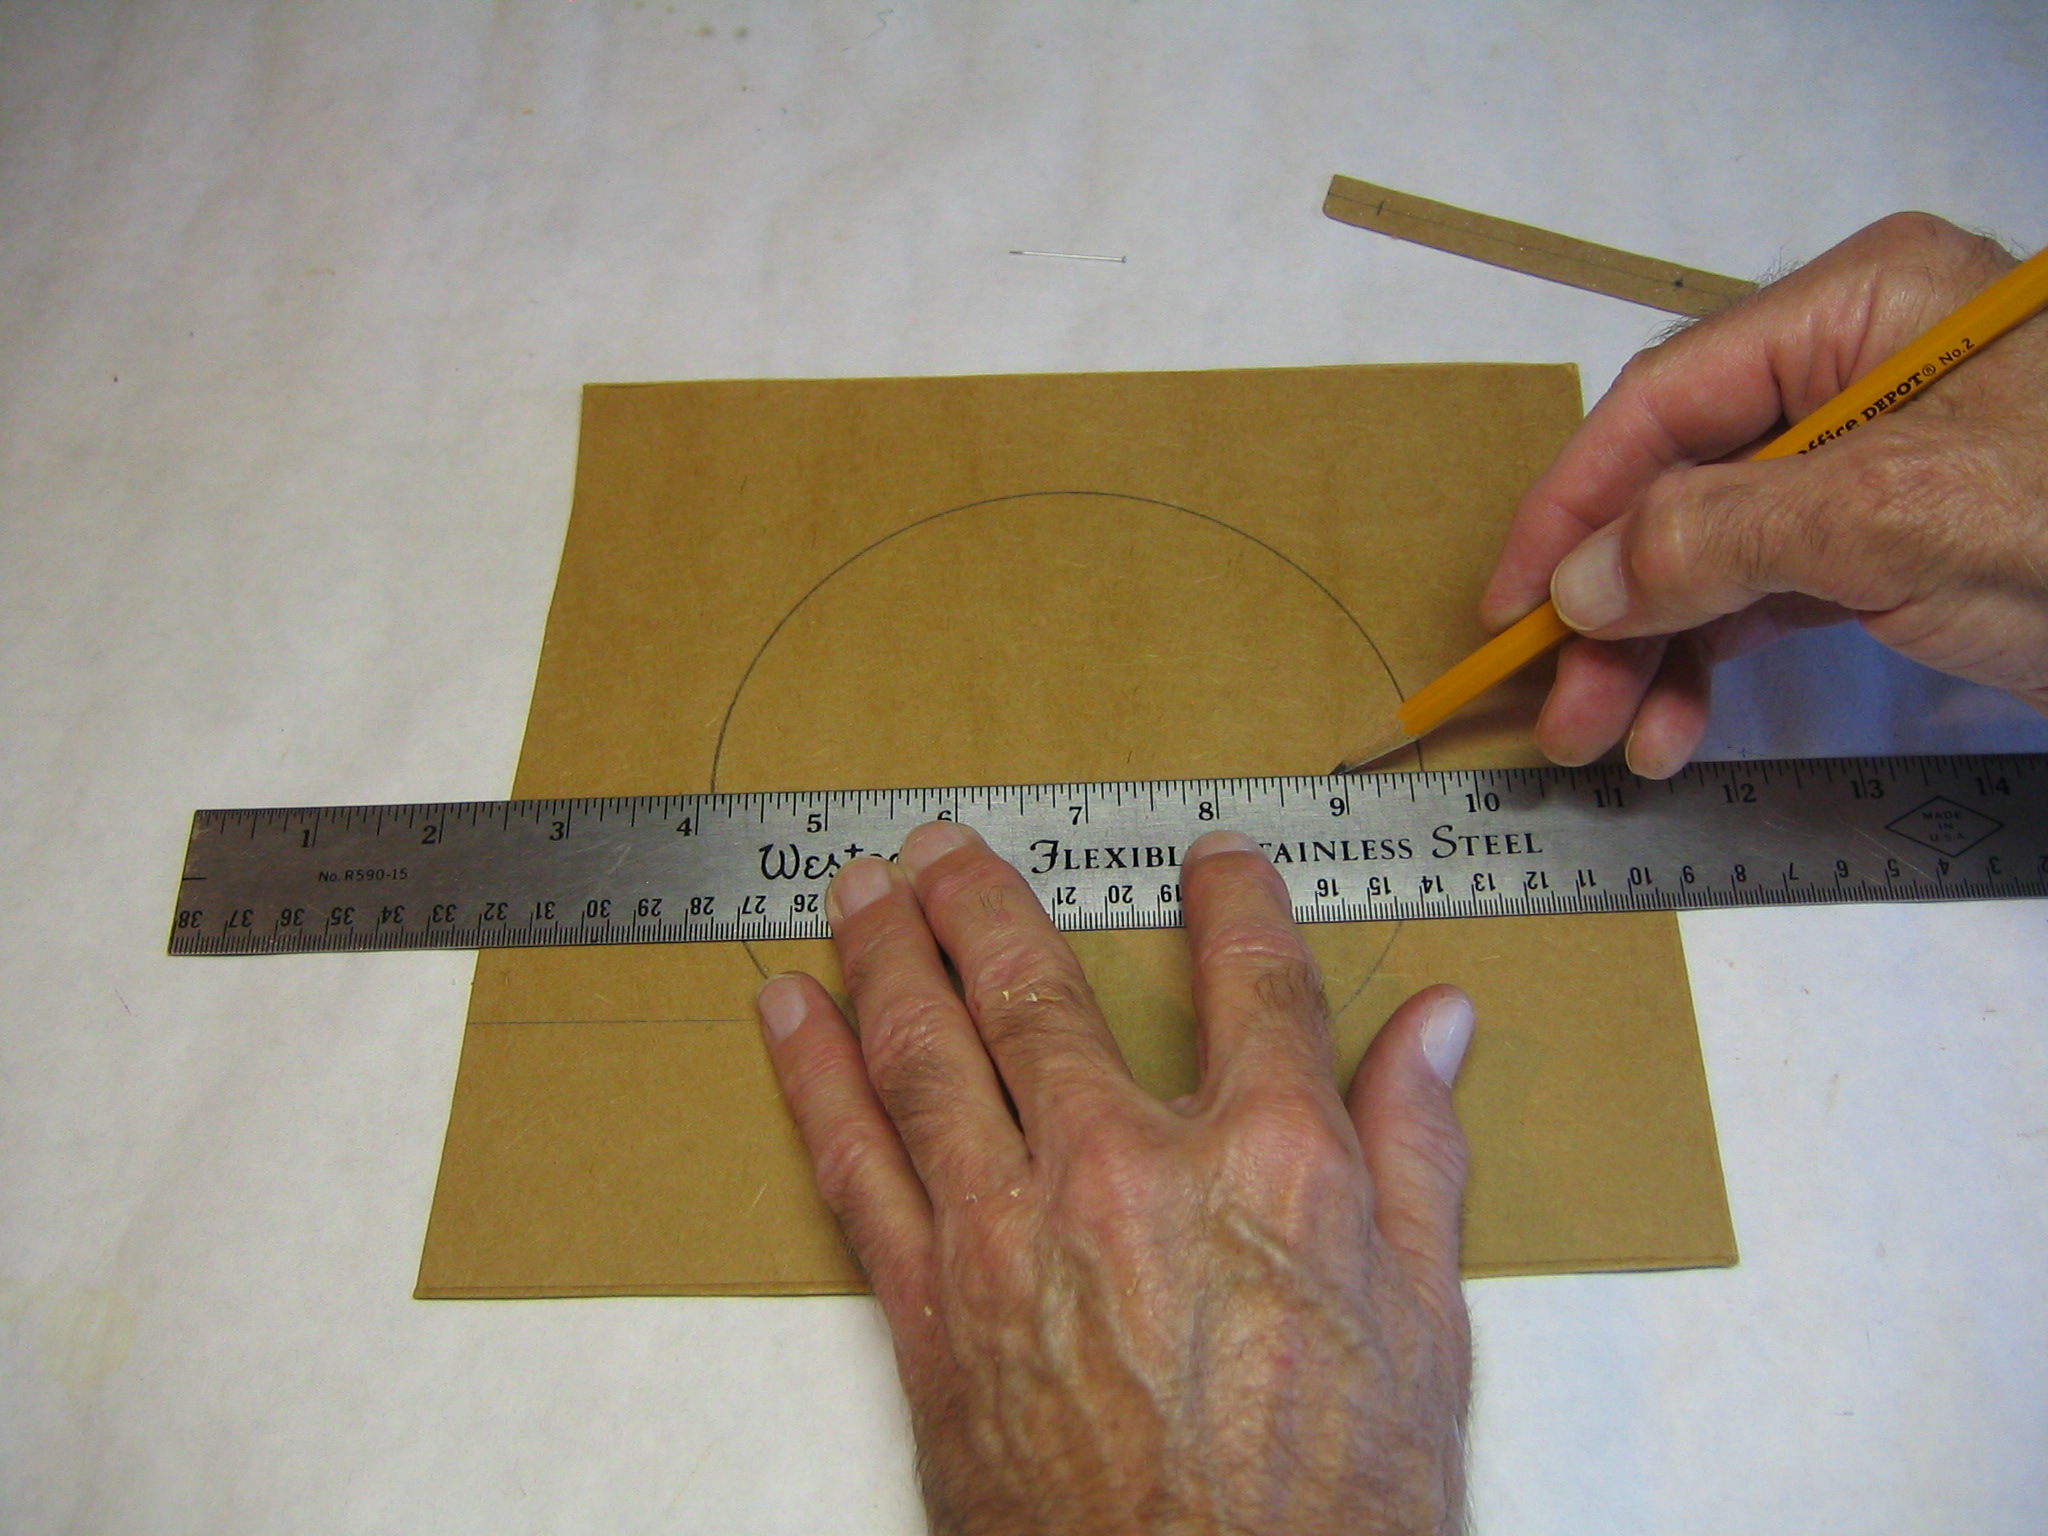
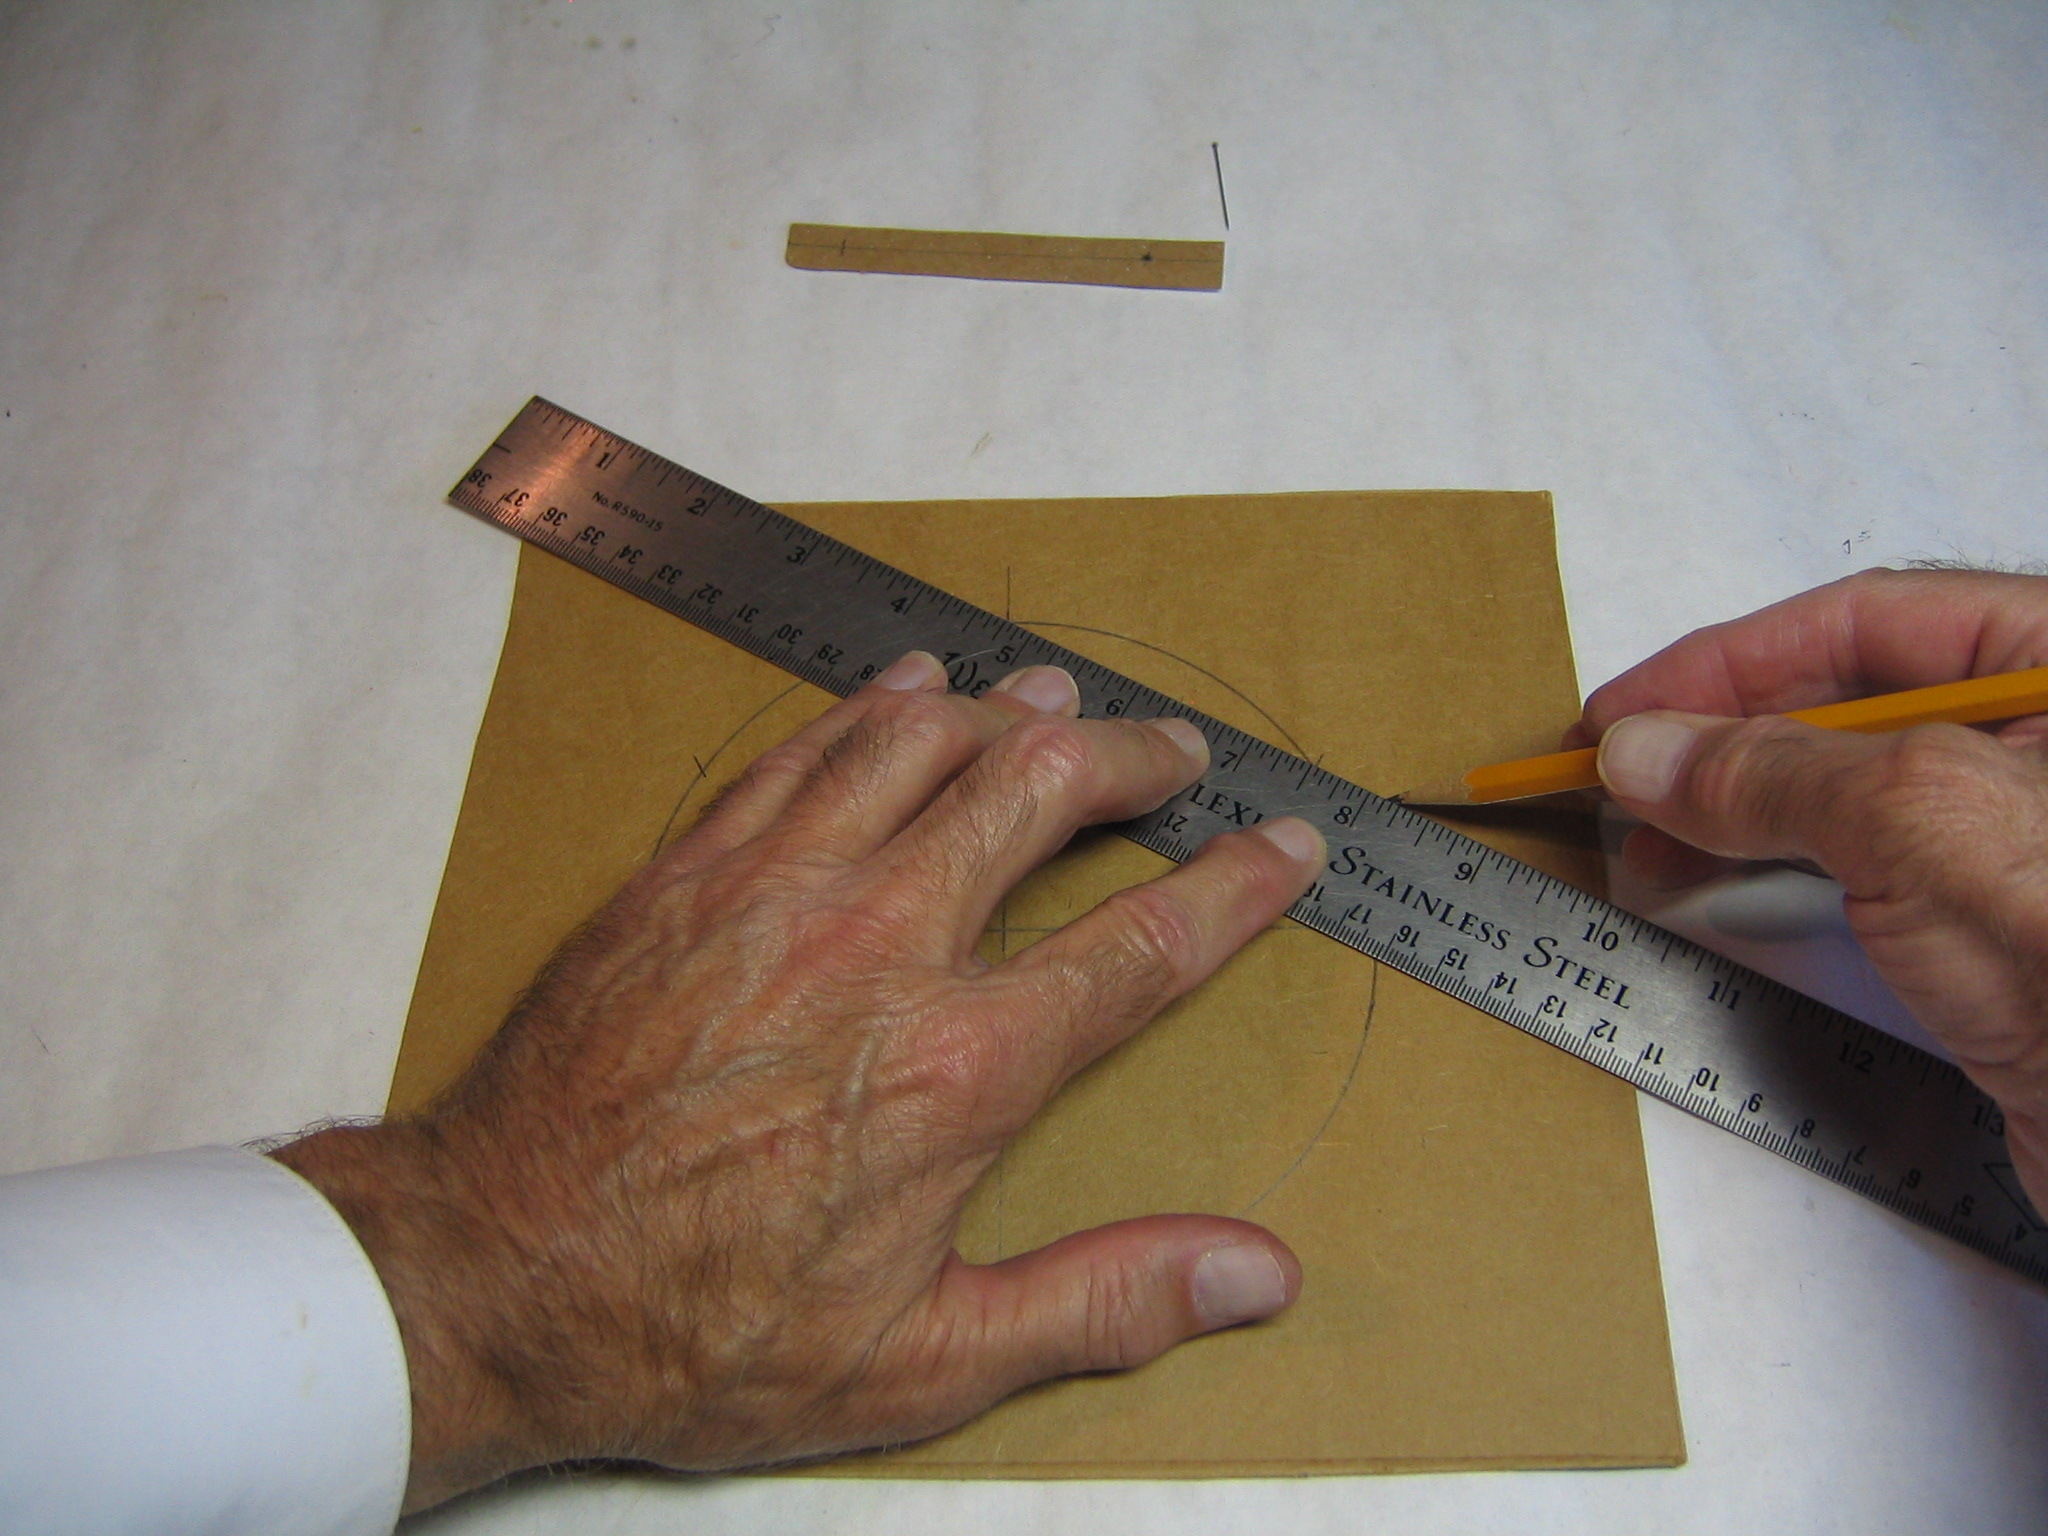
I drew a diameter through the center of the circle.
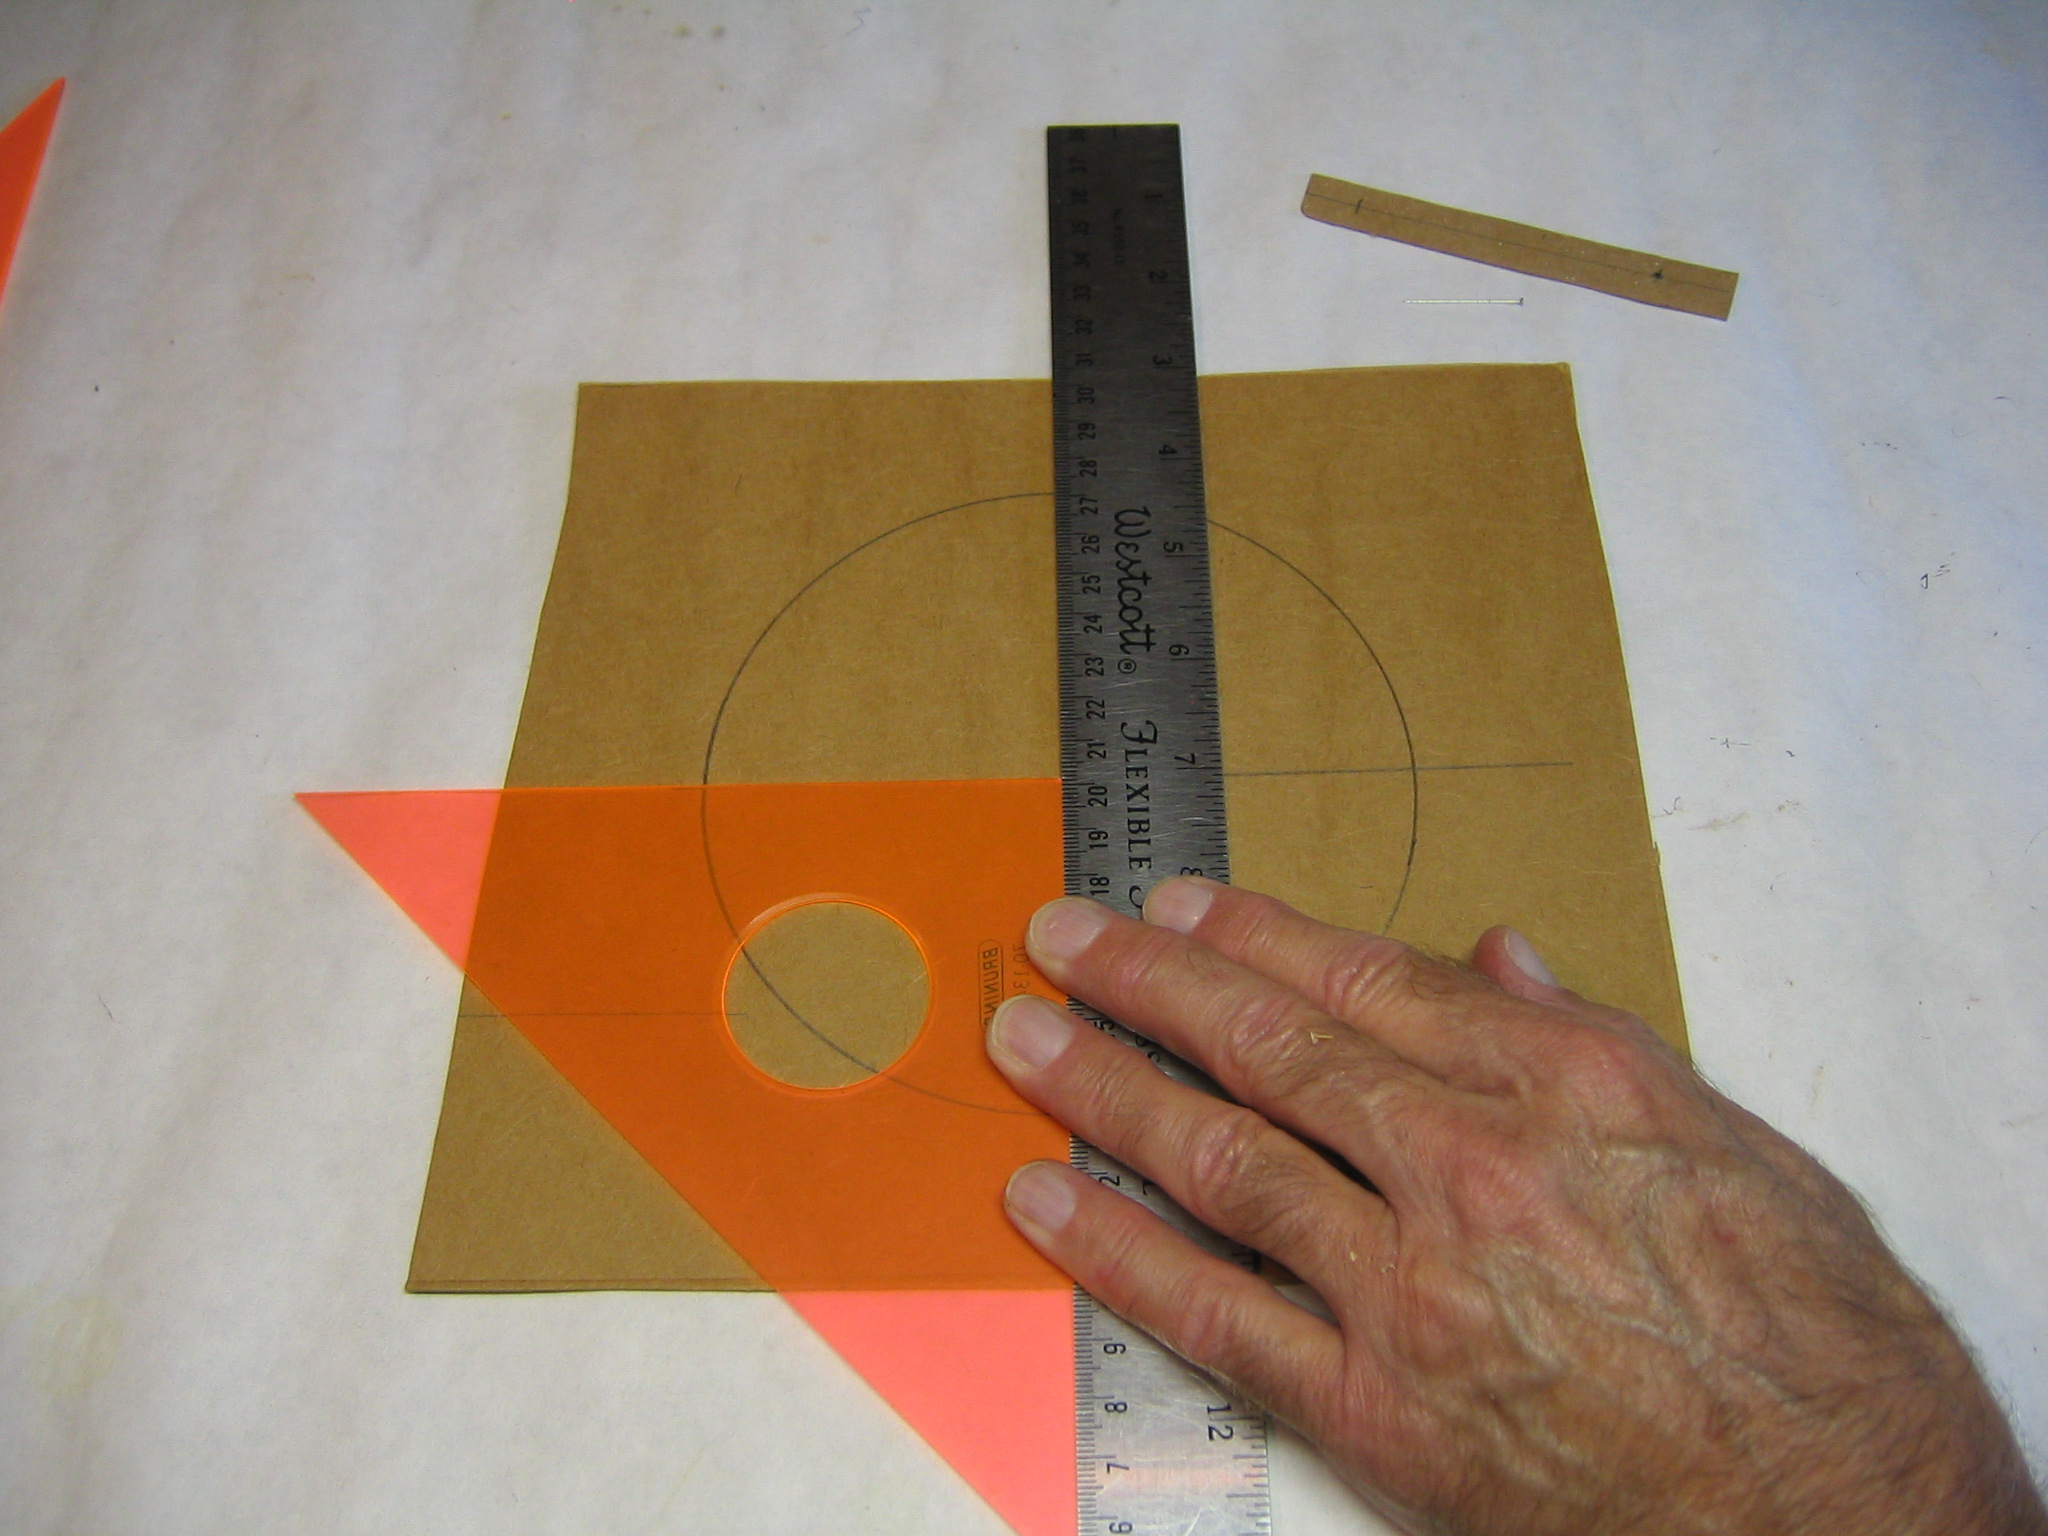
I set a straightedge to draw another diameter through the center and perpendicular to the first.

Then I drew the perpendicular line.
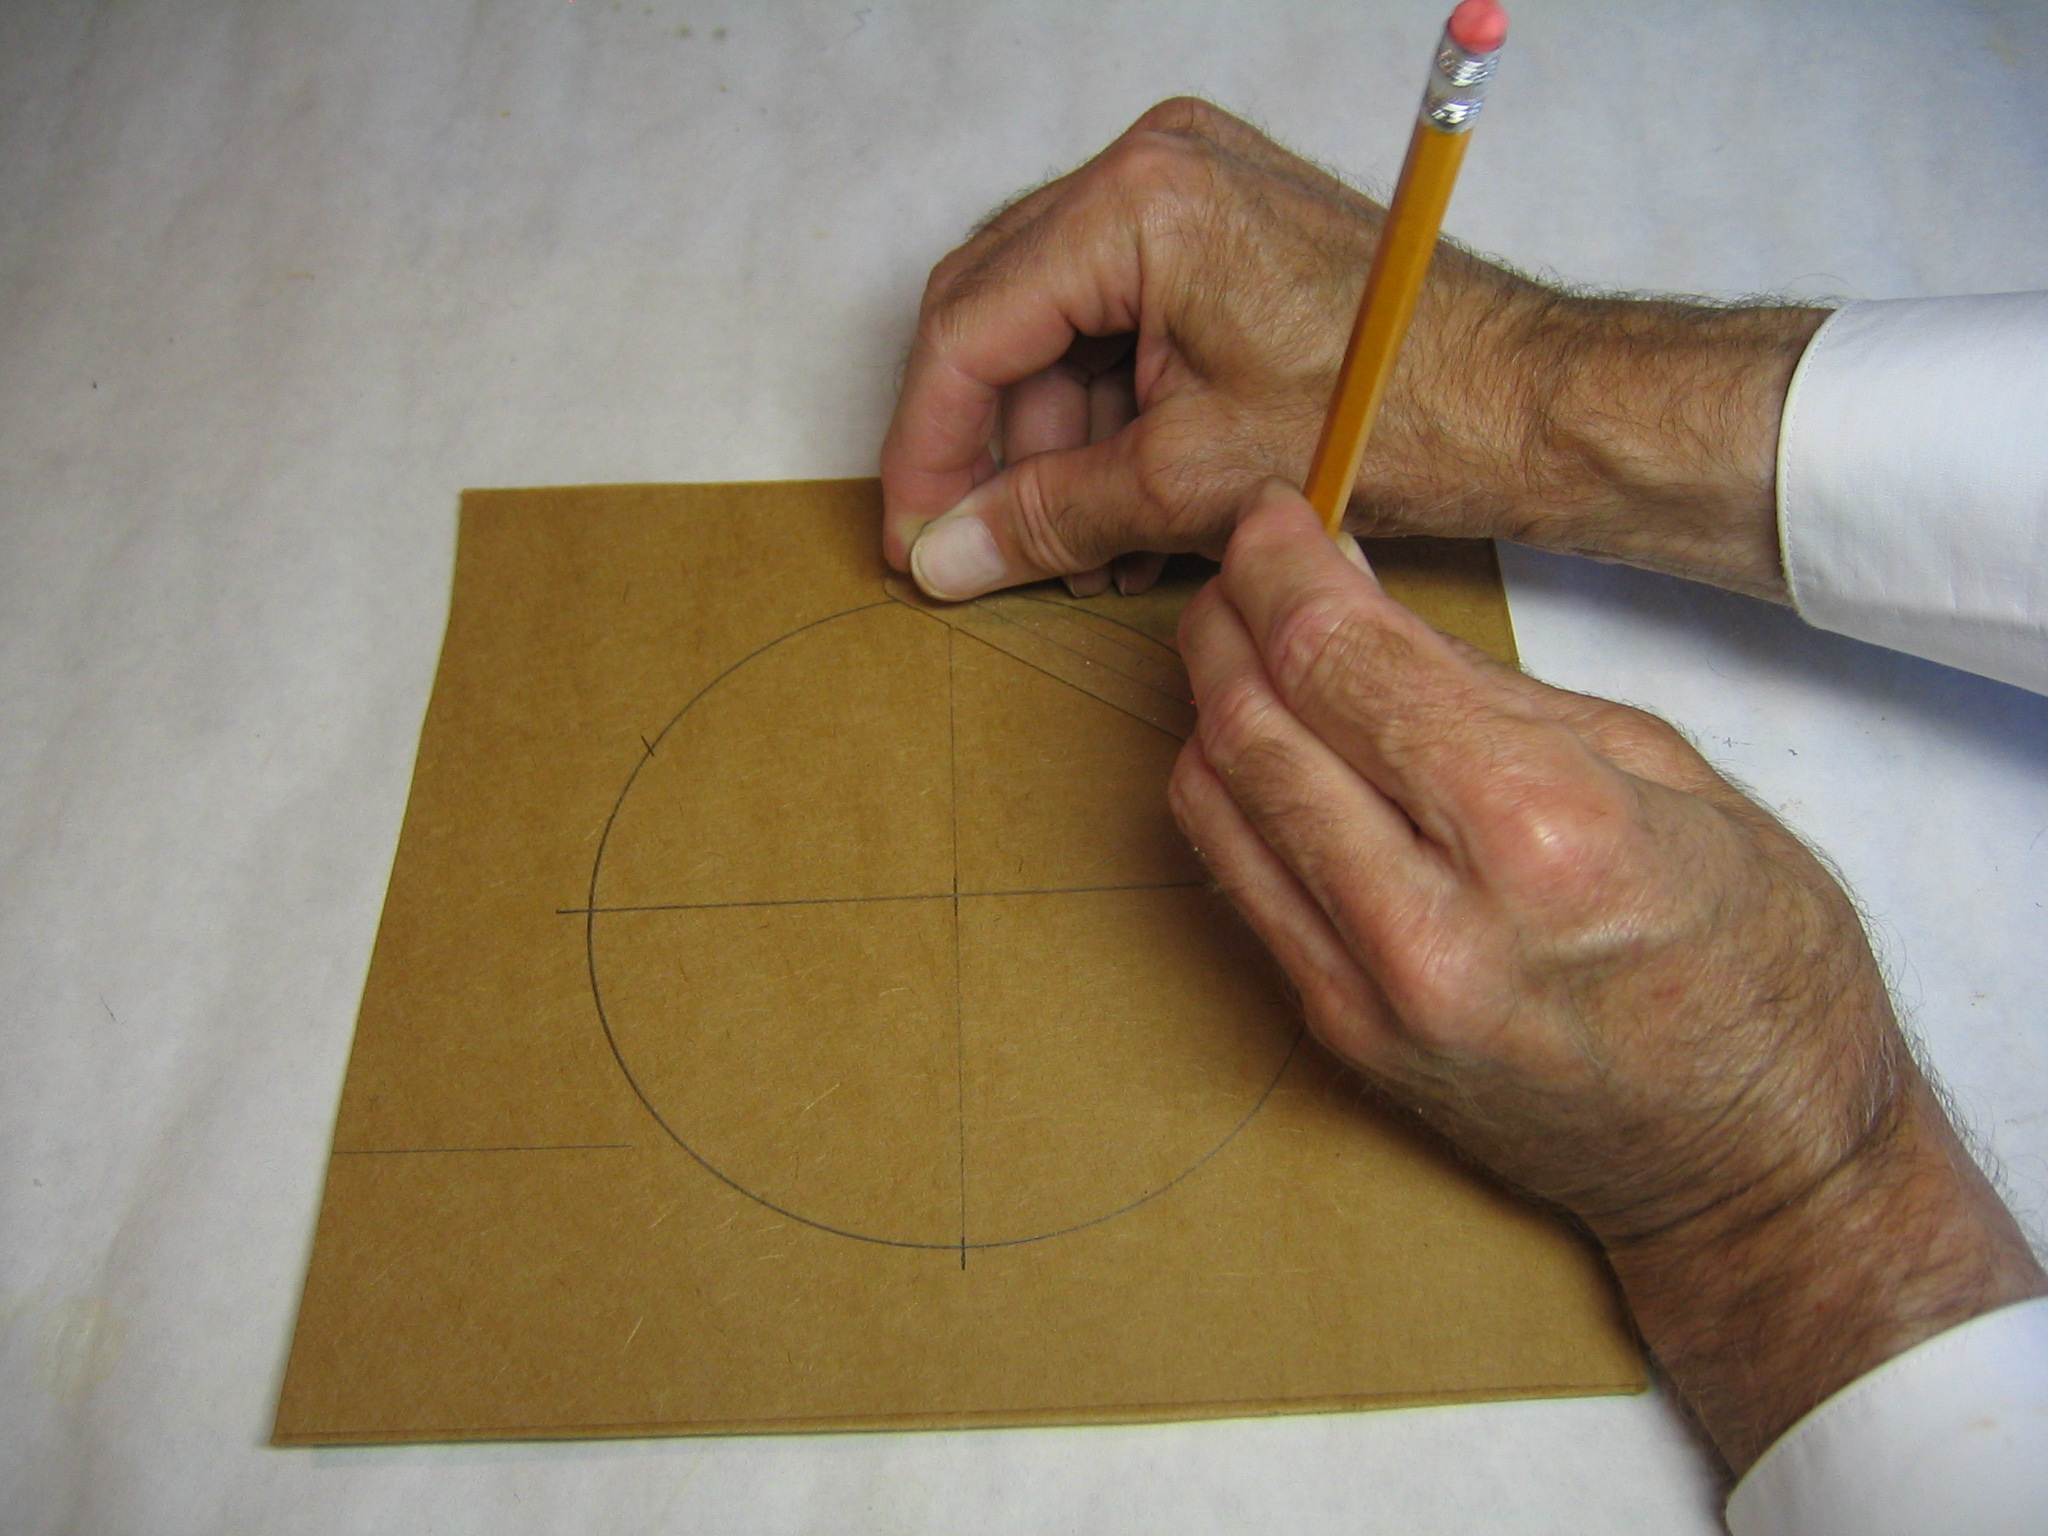
Next I marked off a radius from the top point to each side of the circle.
Then I drew lines connecting these points to the top point.
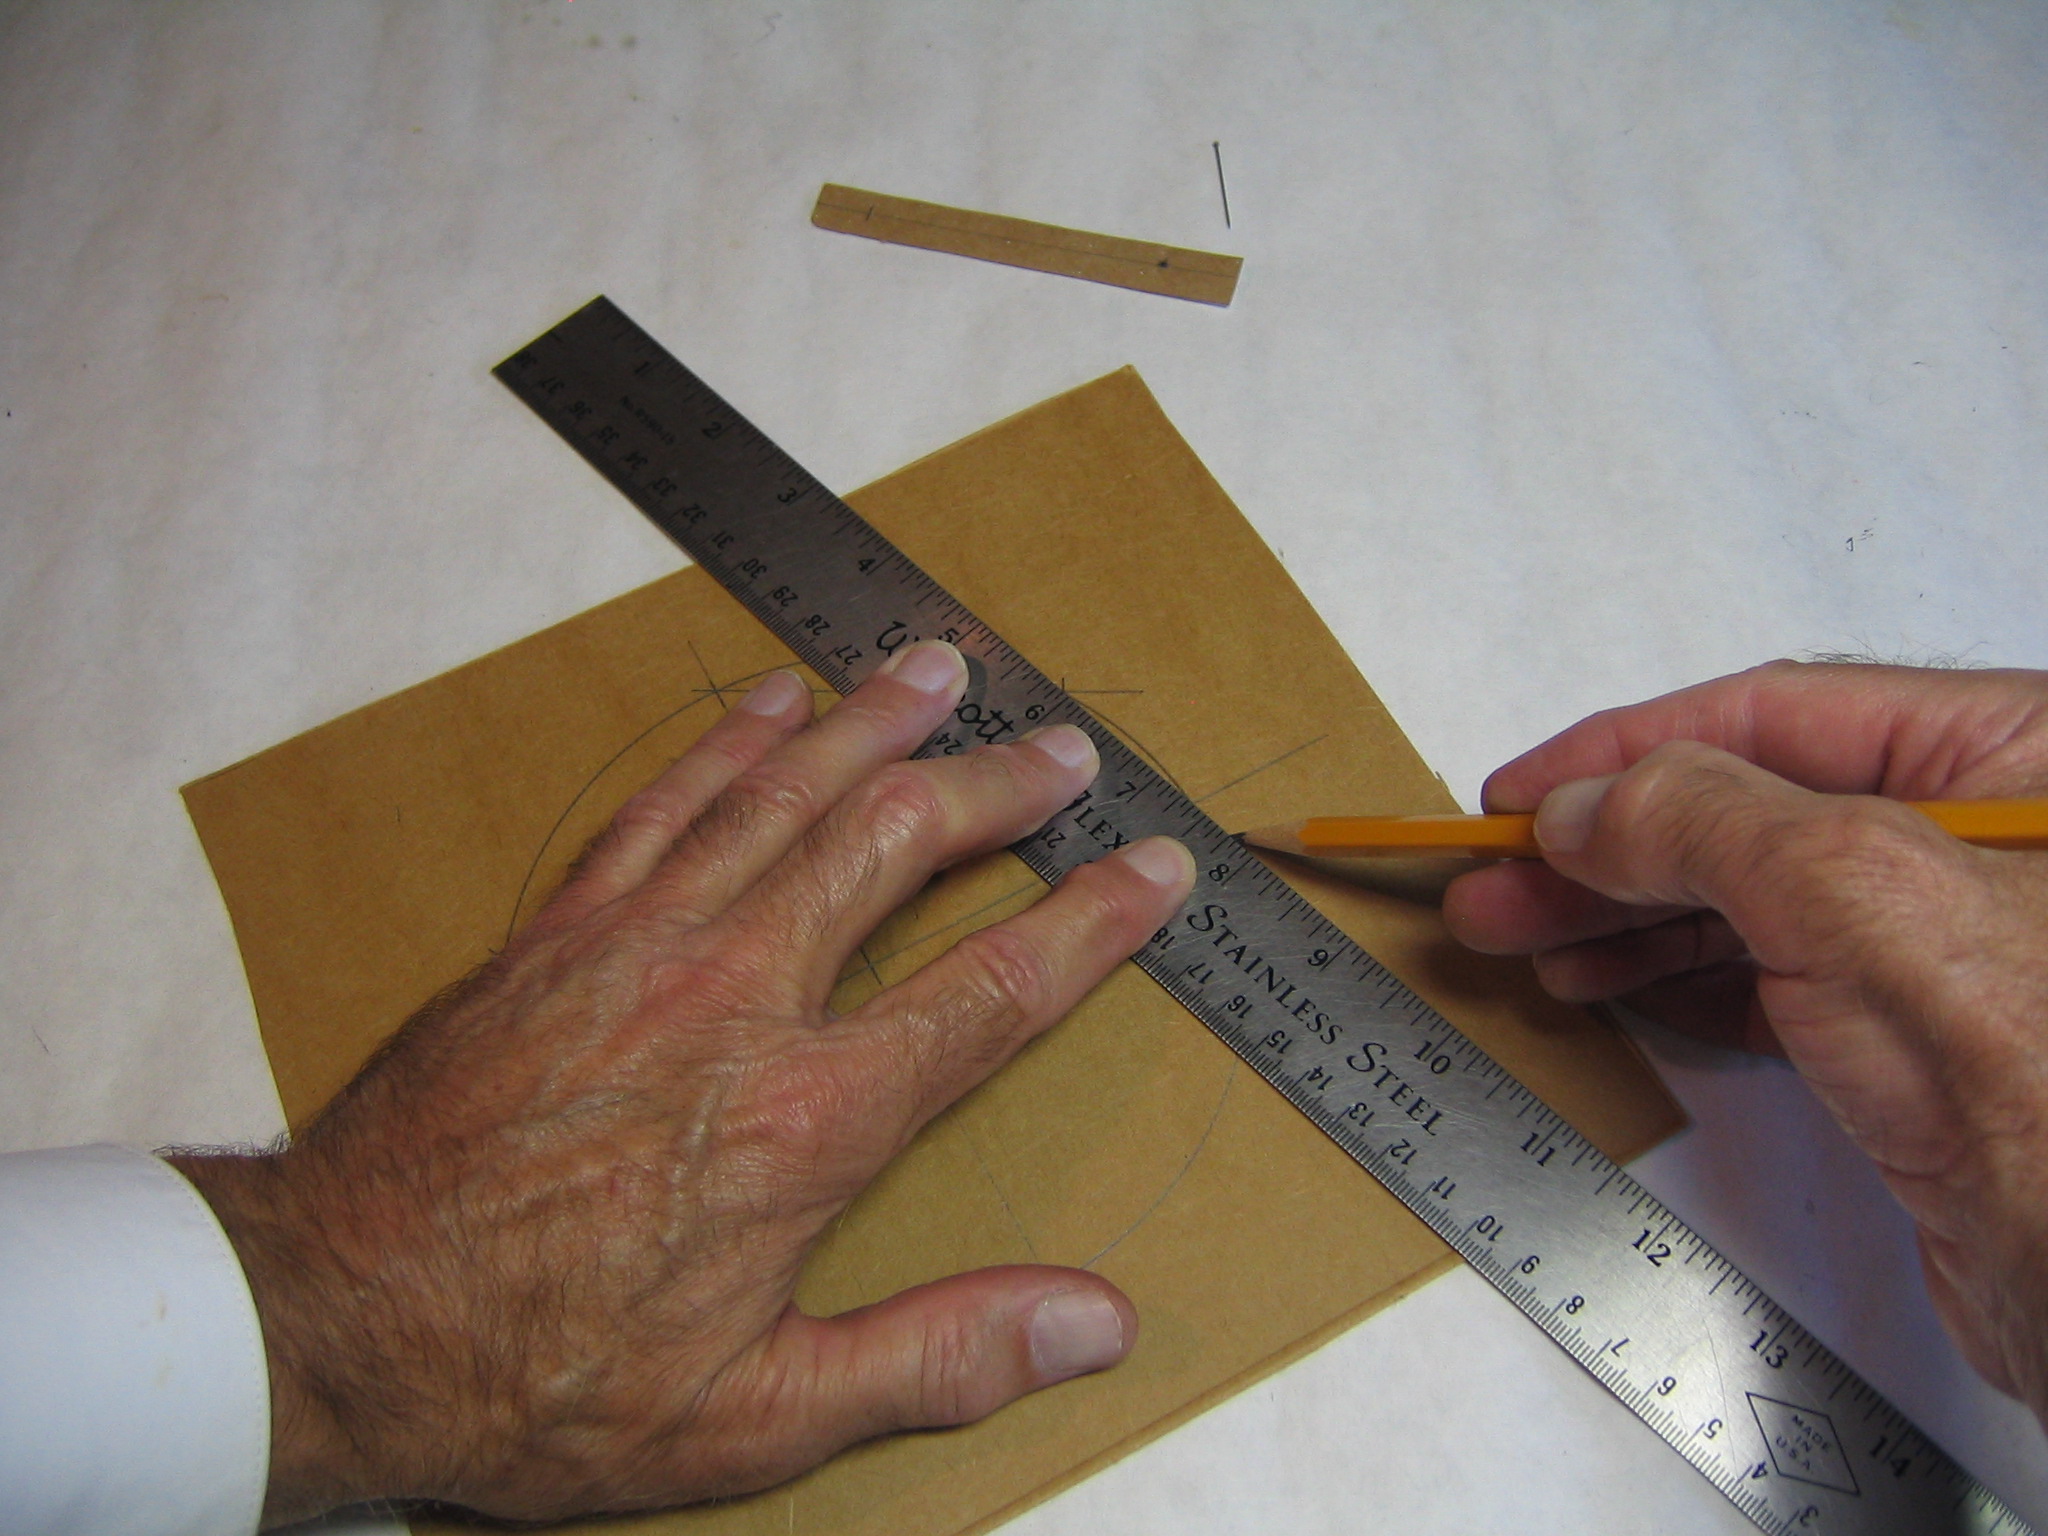
Next I drew lines connecting the two side points to the tip points.
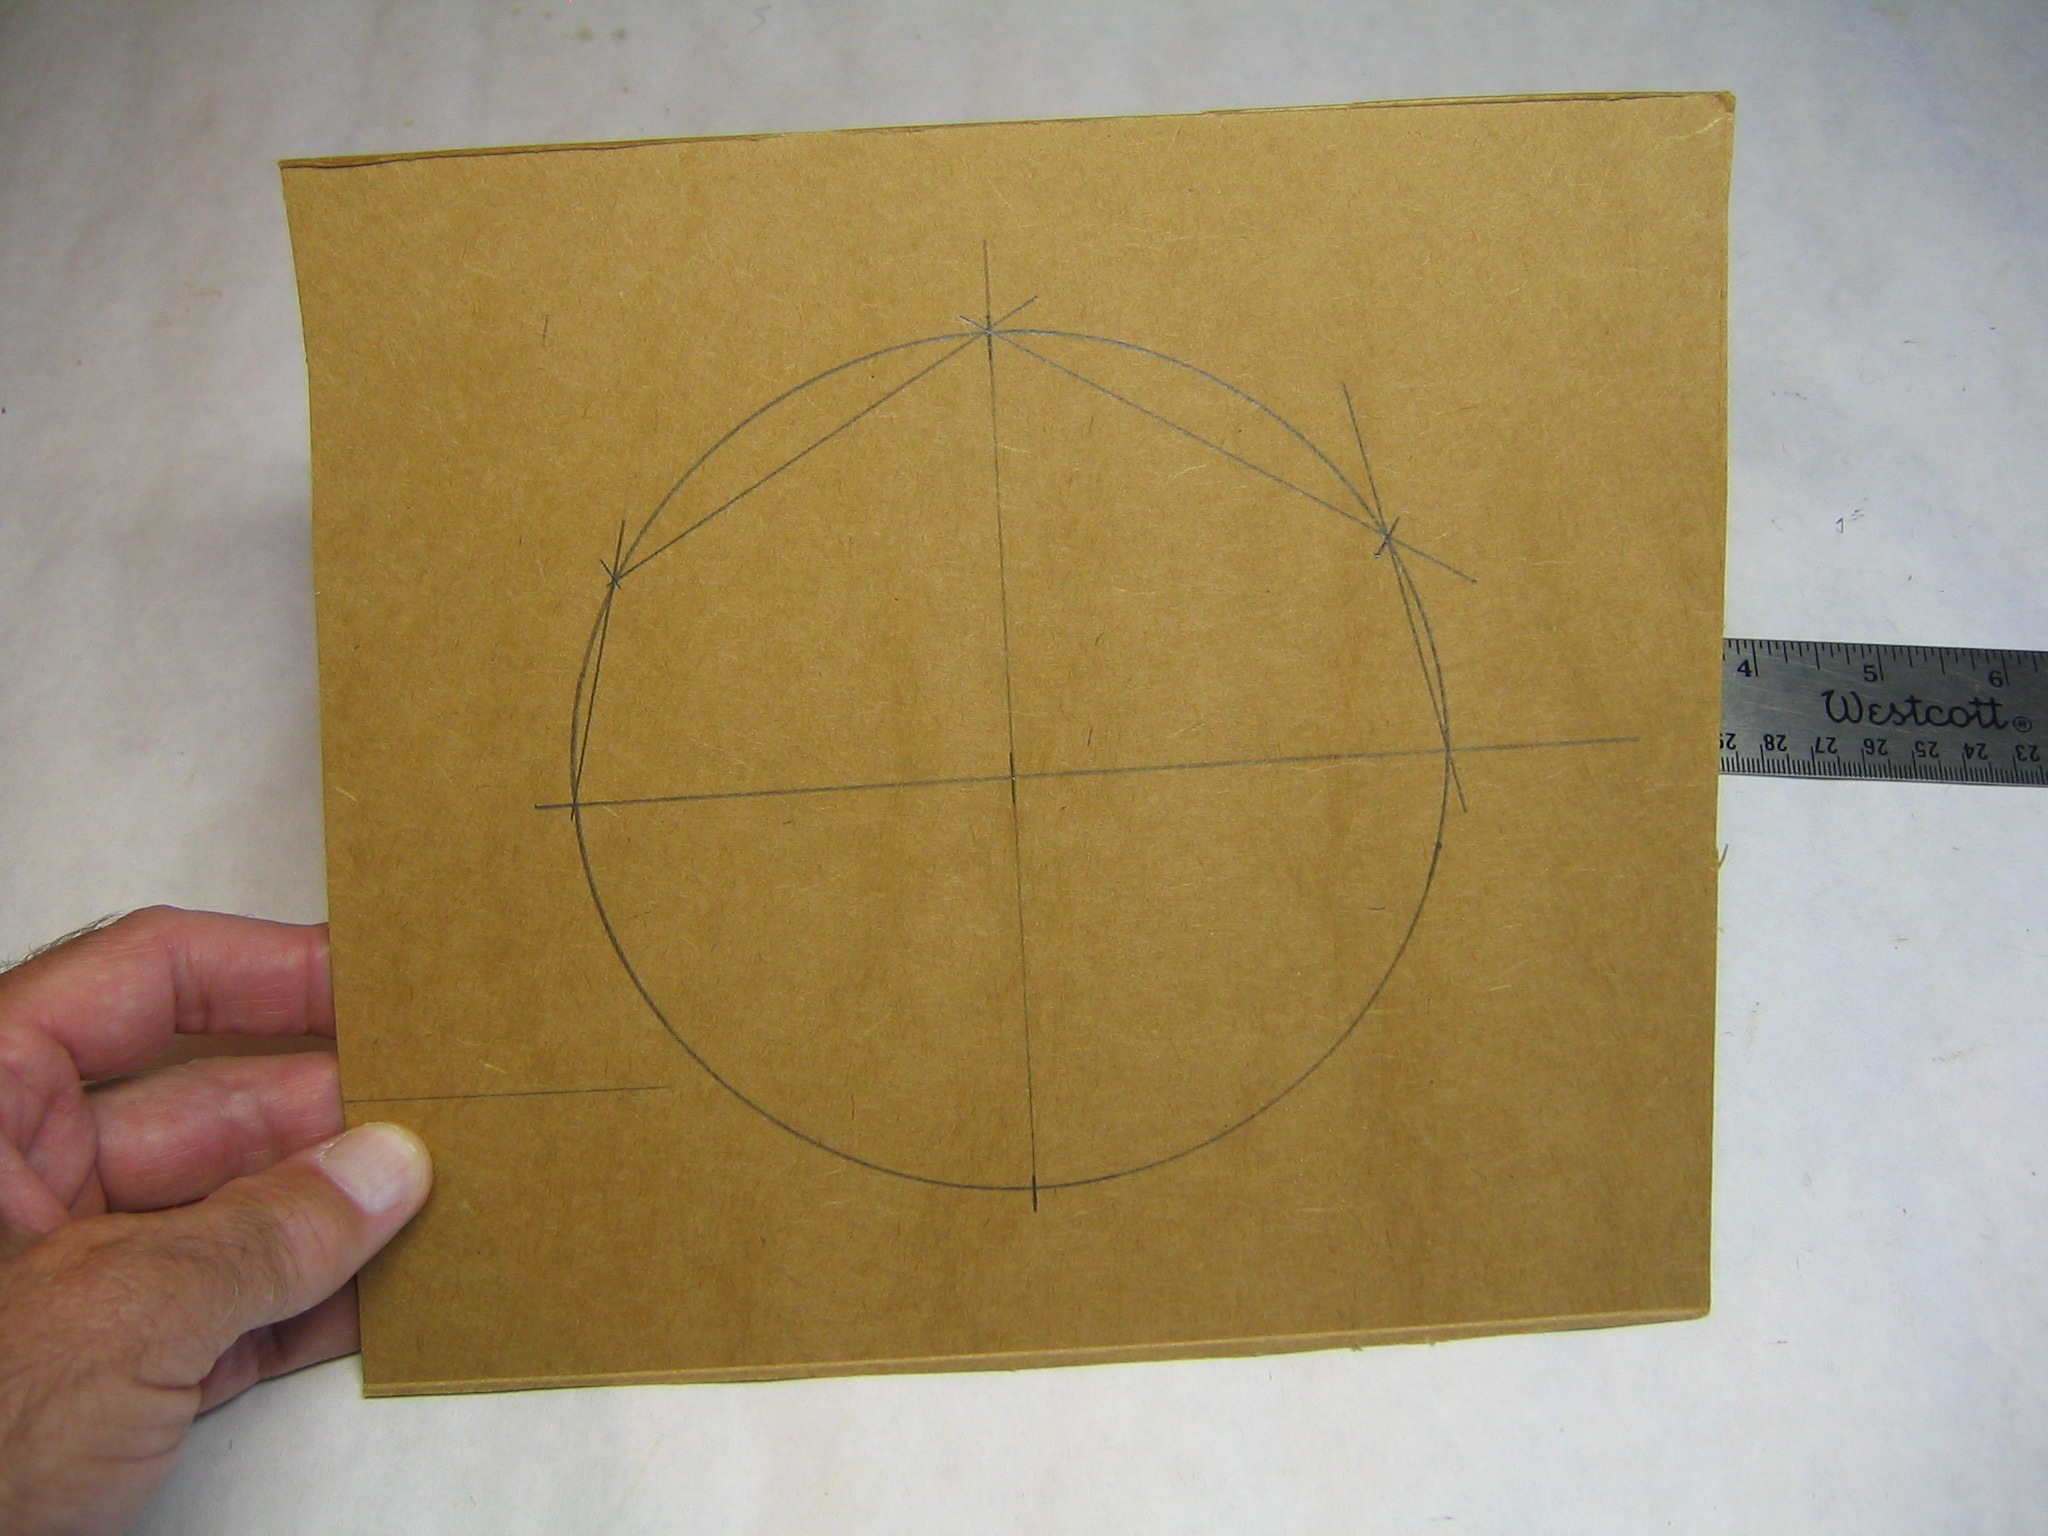
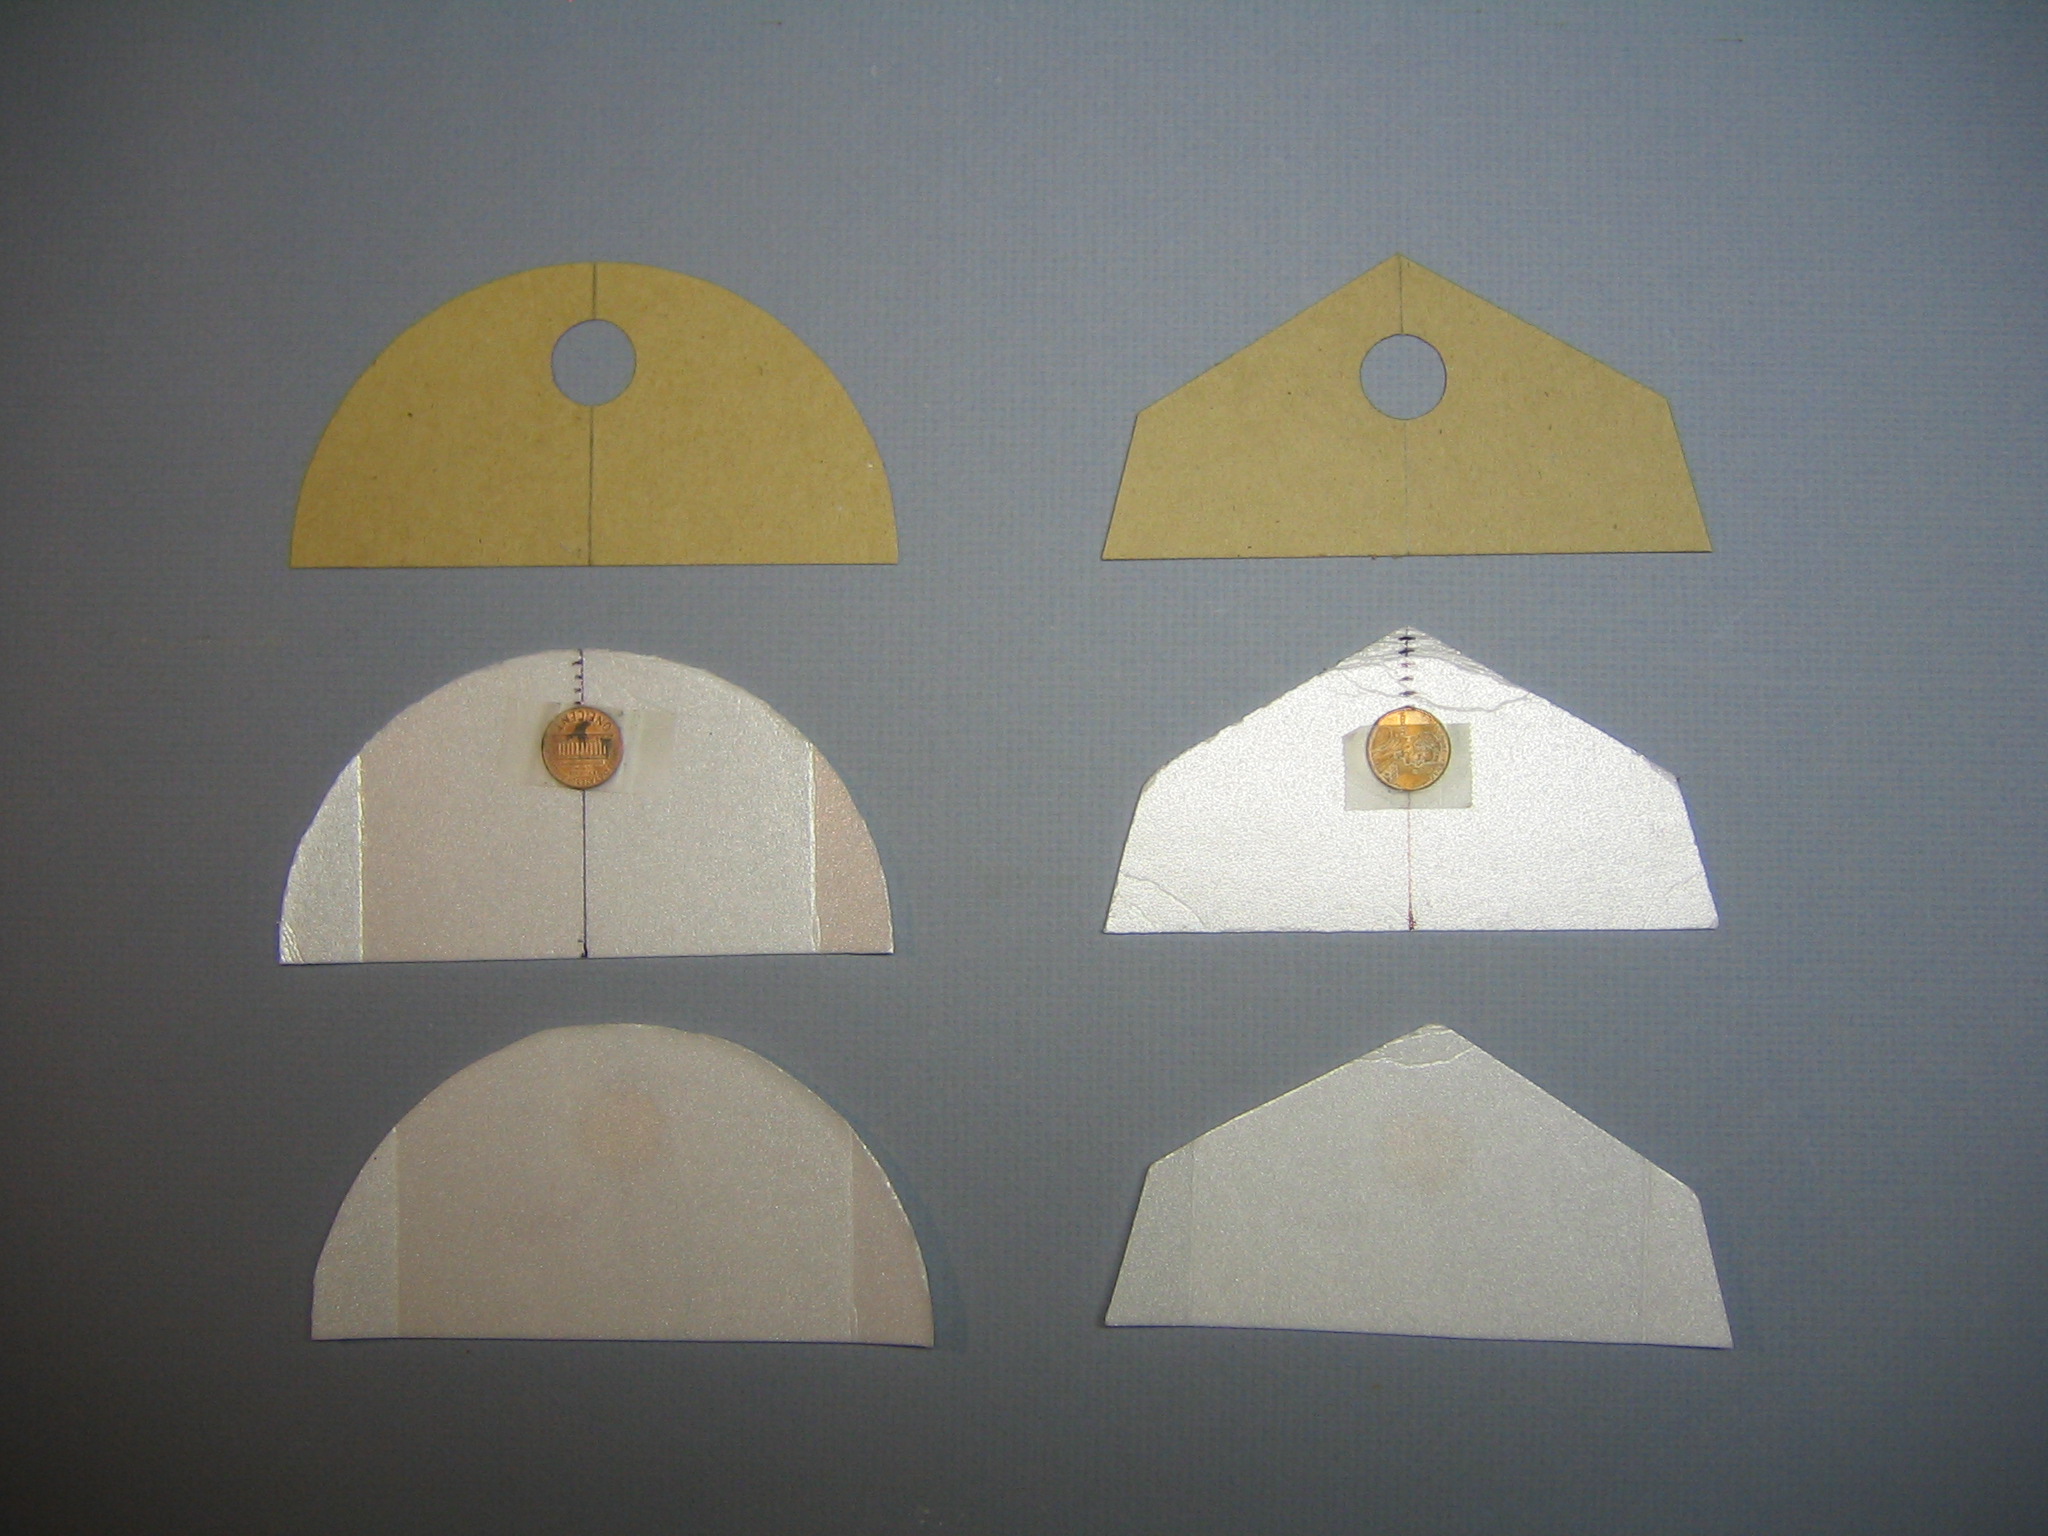
This divides the circle into two wing patterns, a pentagon and a half circle.
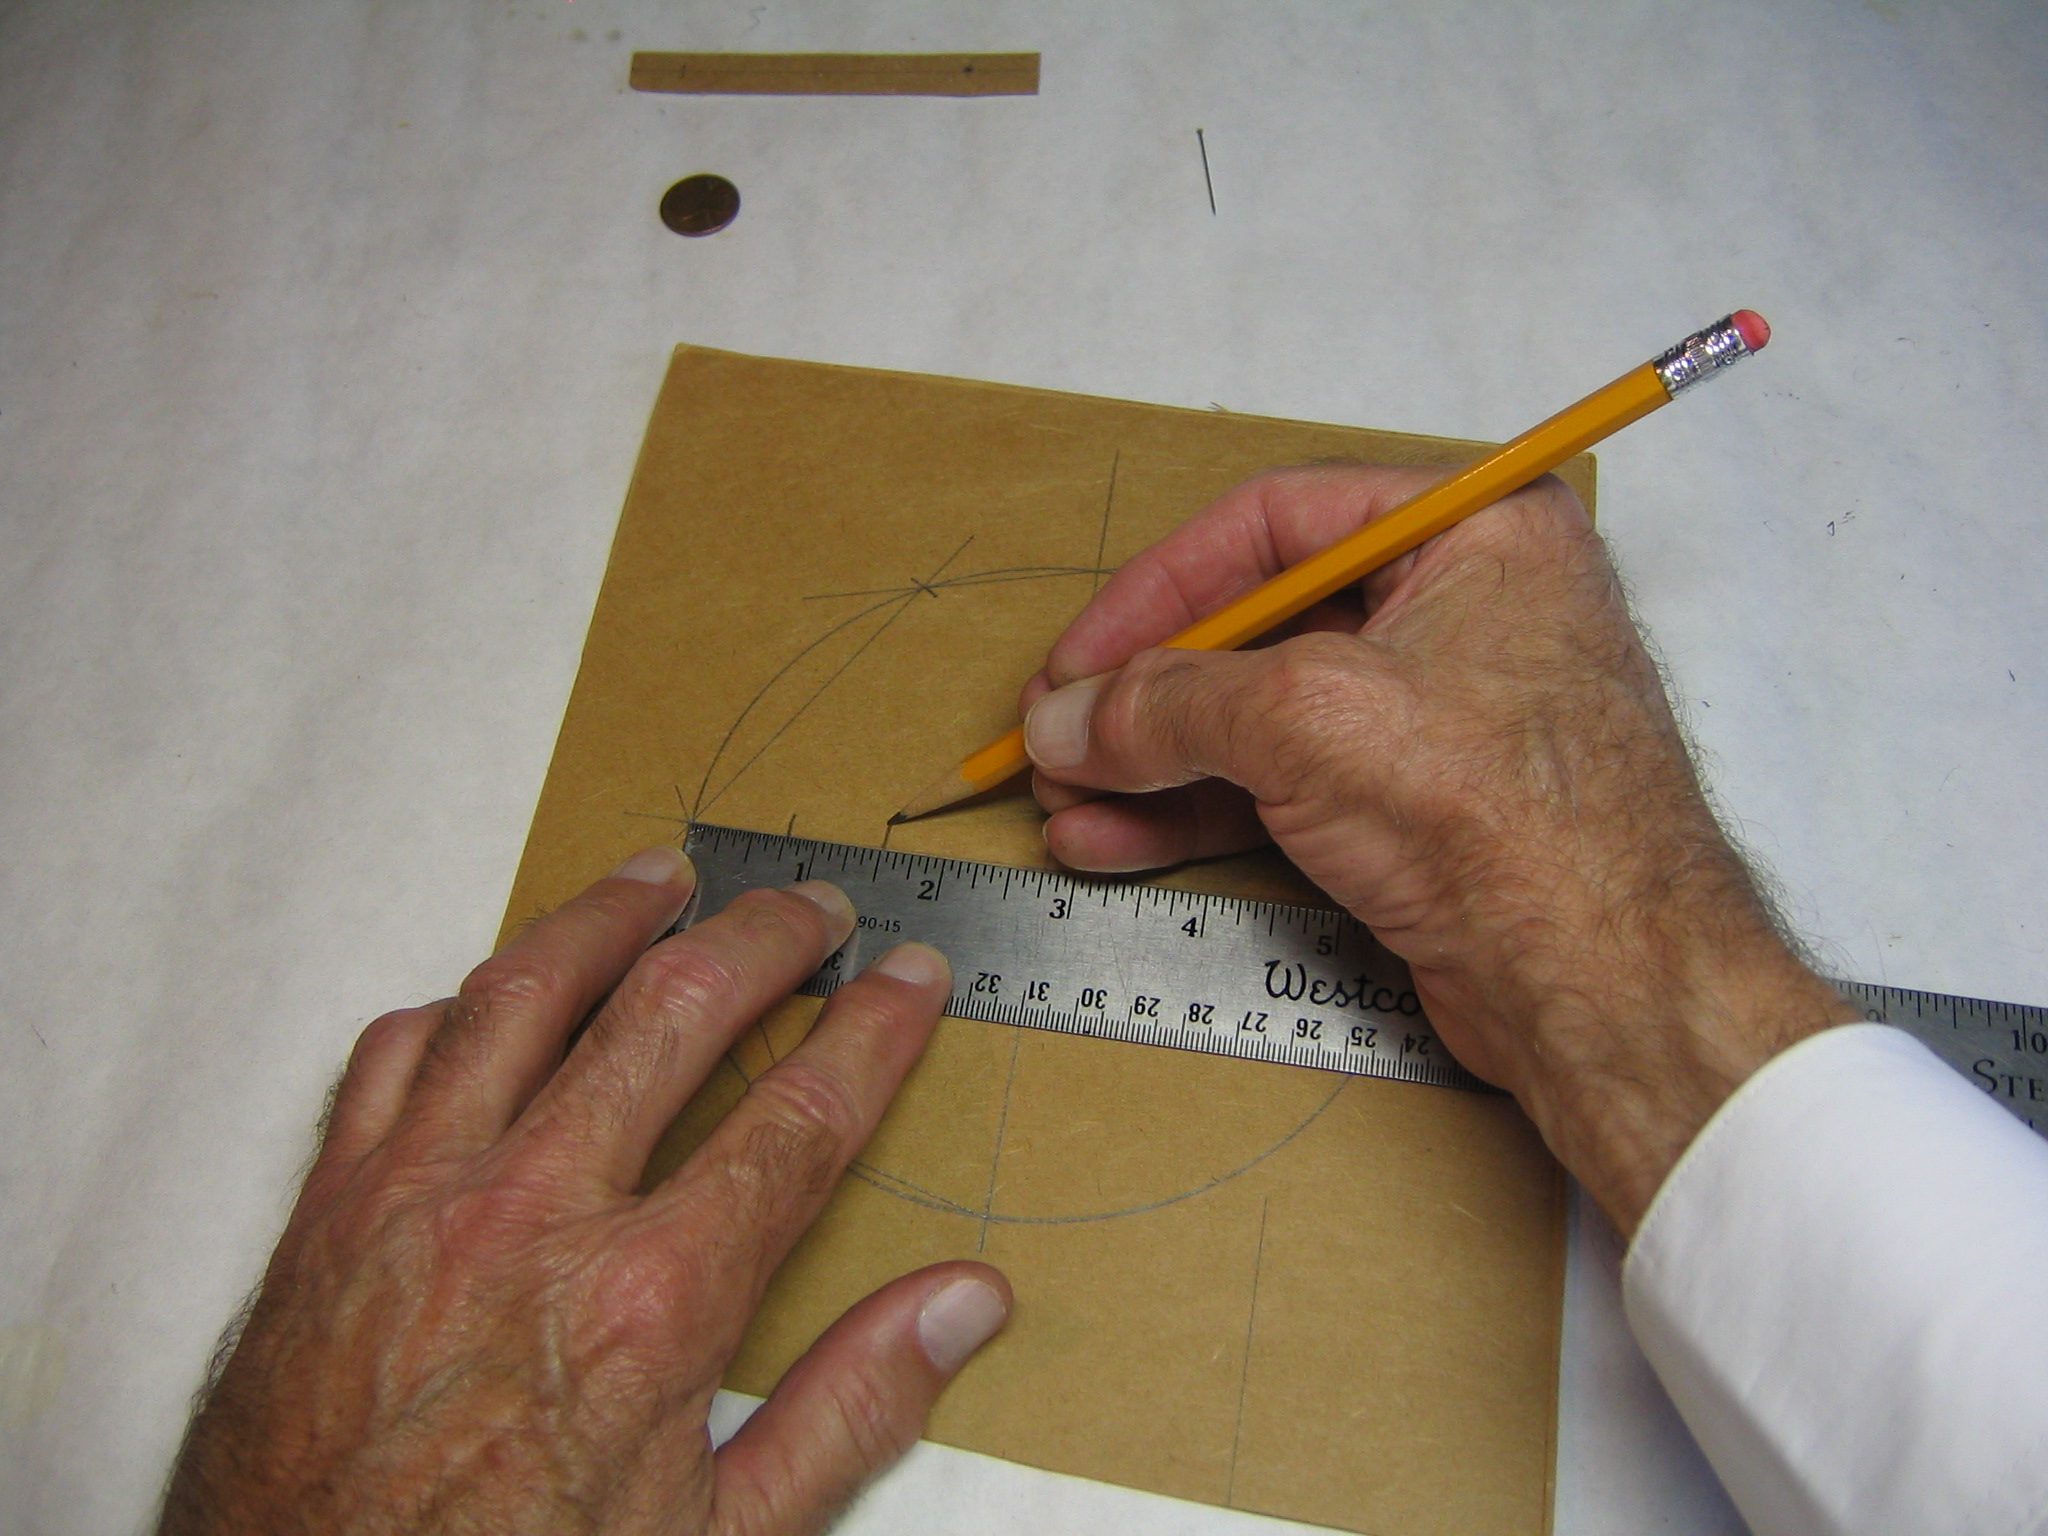
I marked points 3/4″ and 1 1/2″ from the tip of the pentagon to locate the penny that will be used to balance the wing. A US penny is 3/4″ in diameter. It weighs 2.5 grams. This location was determined by testing on prototype models.

I marked 3/8″ on either side of the center line about midway between the other two marks.
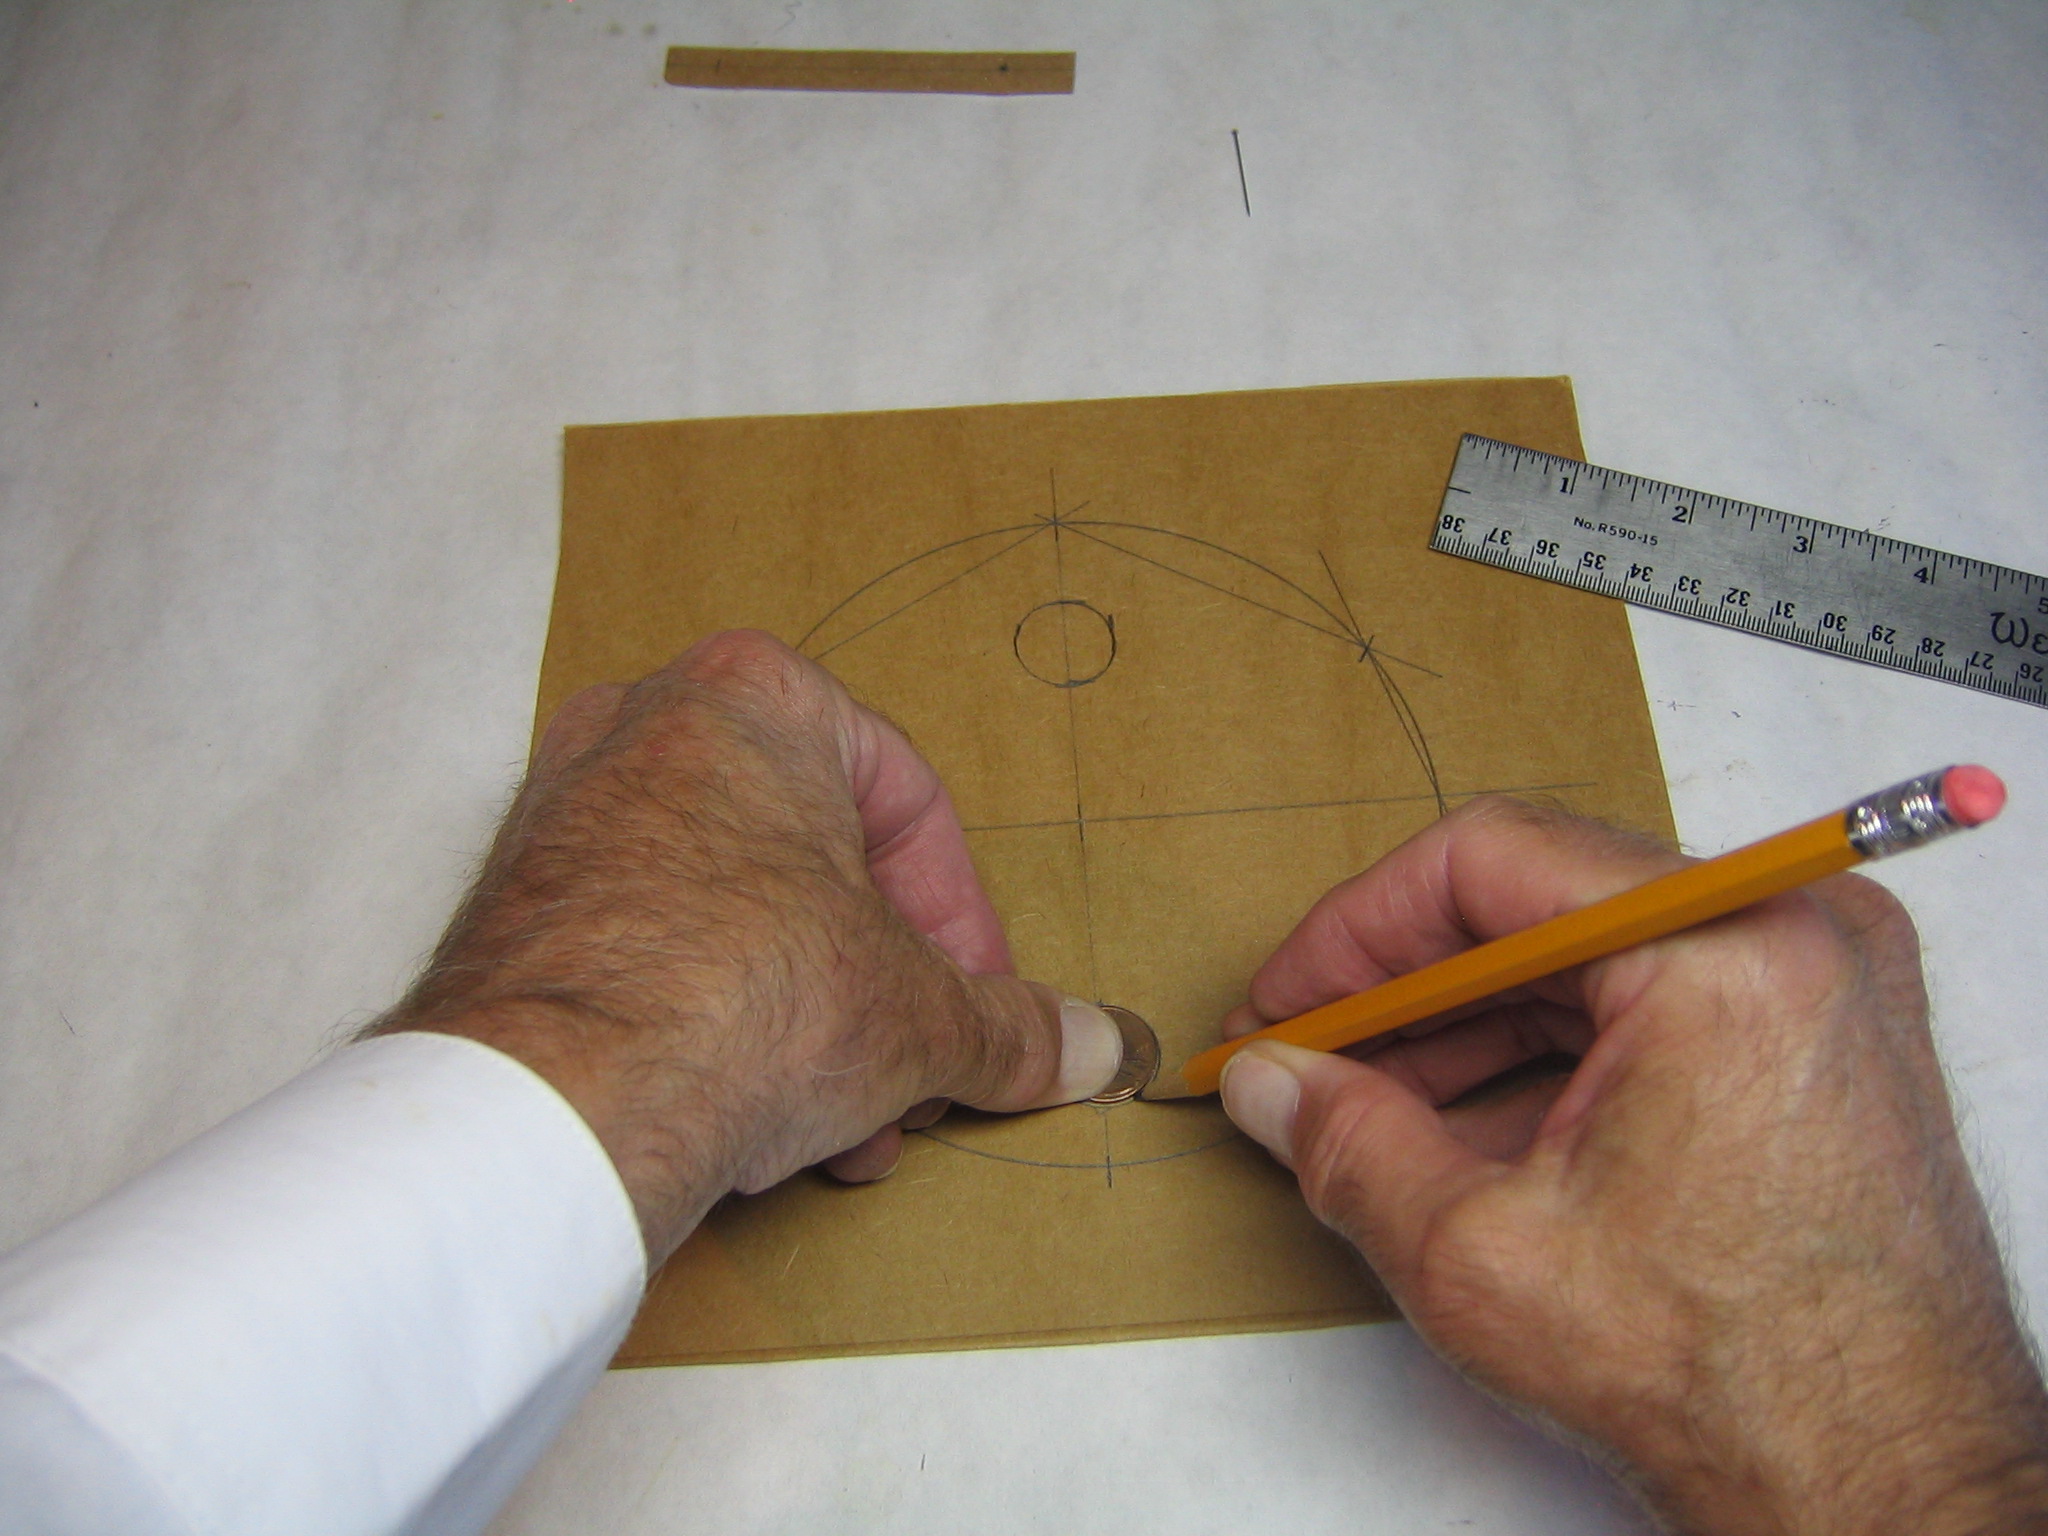
I centered a penny between these marks and traced around it. The penny is located 7/16″ back from the front edge of the semicircular wing.
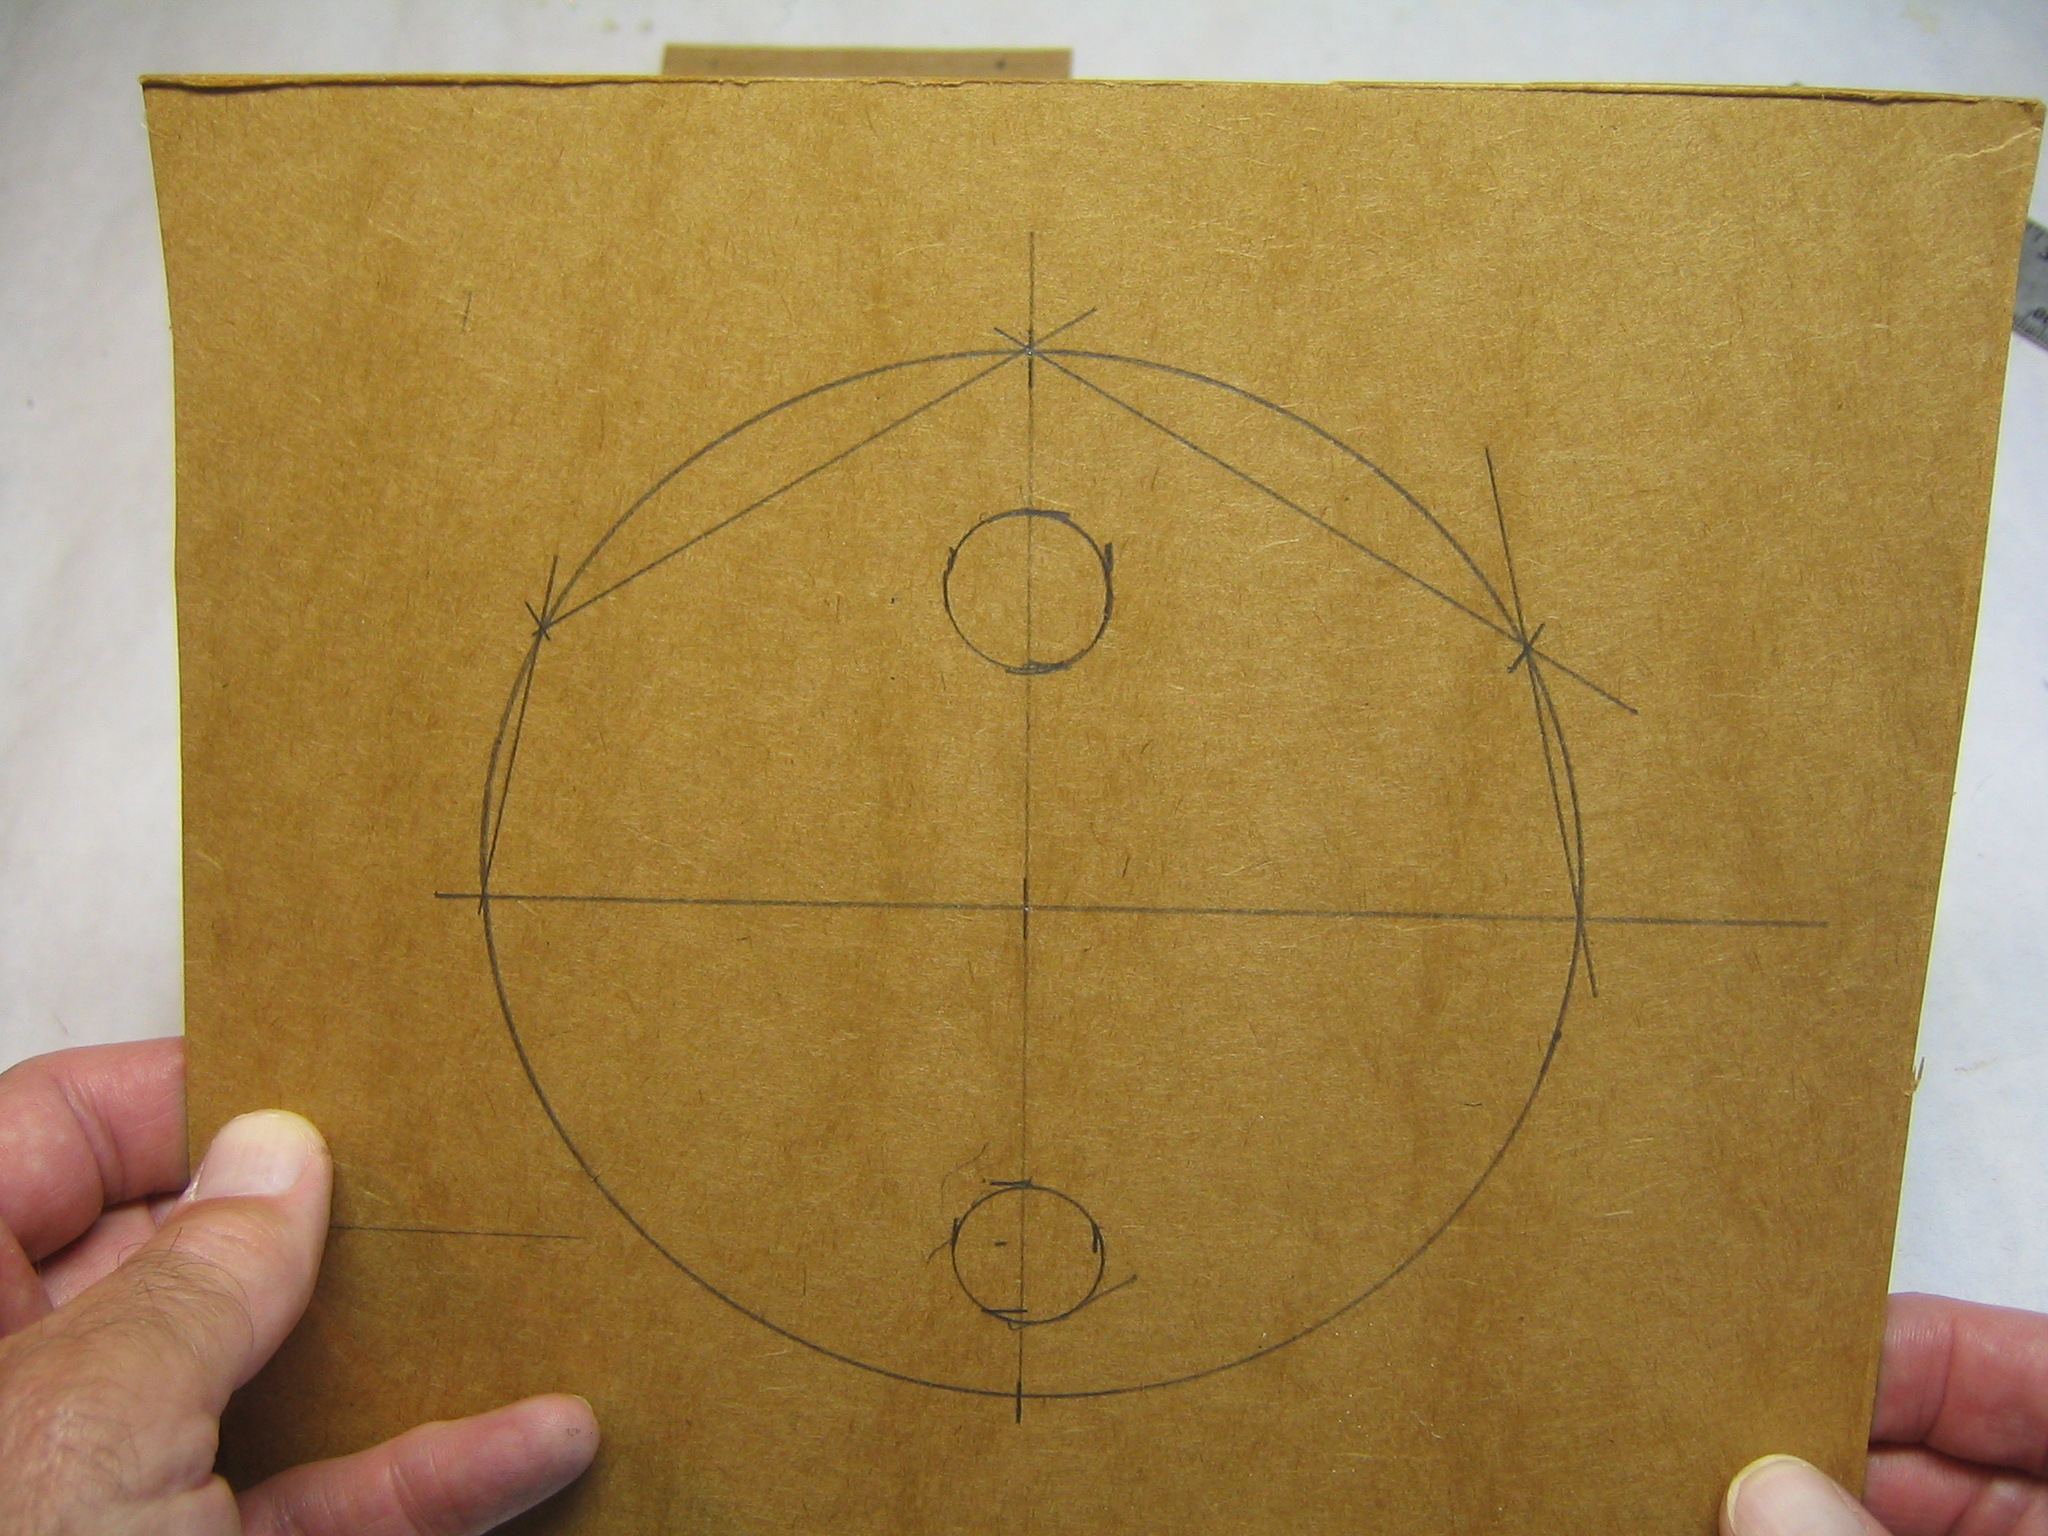
This completes the drawing of the wing patterns.
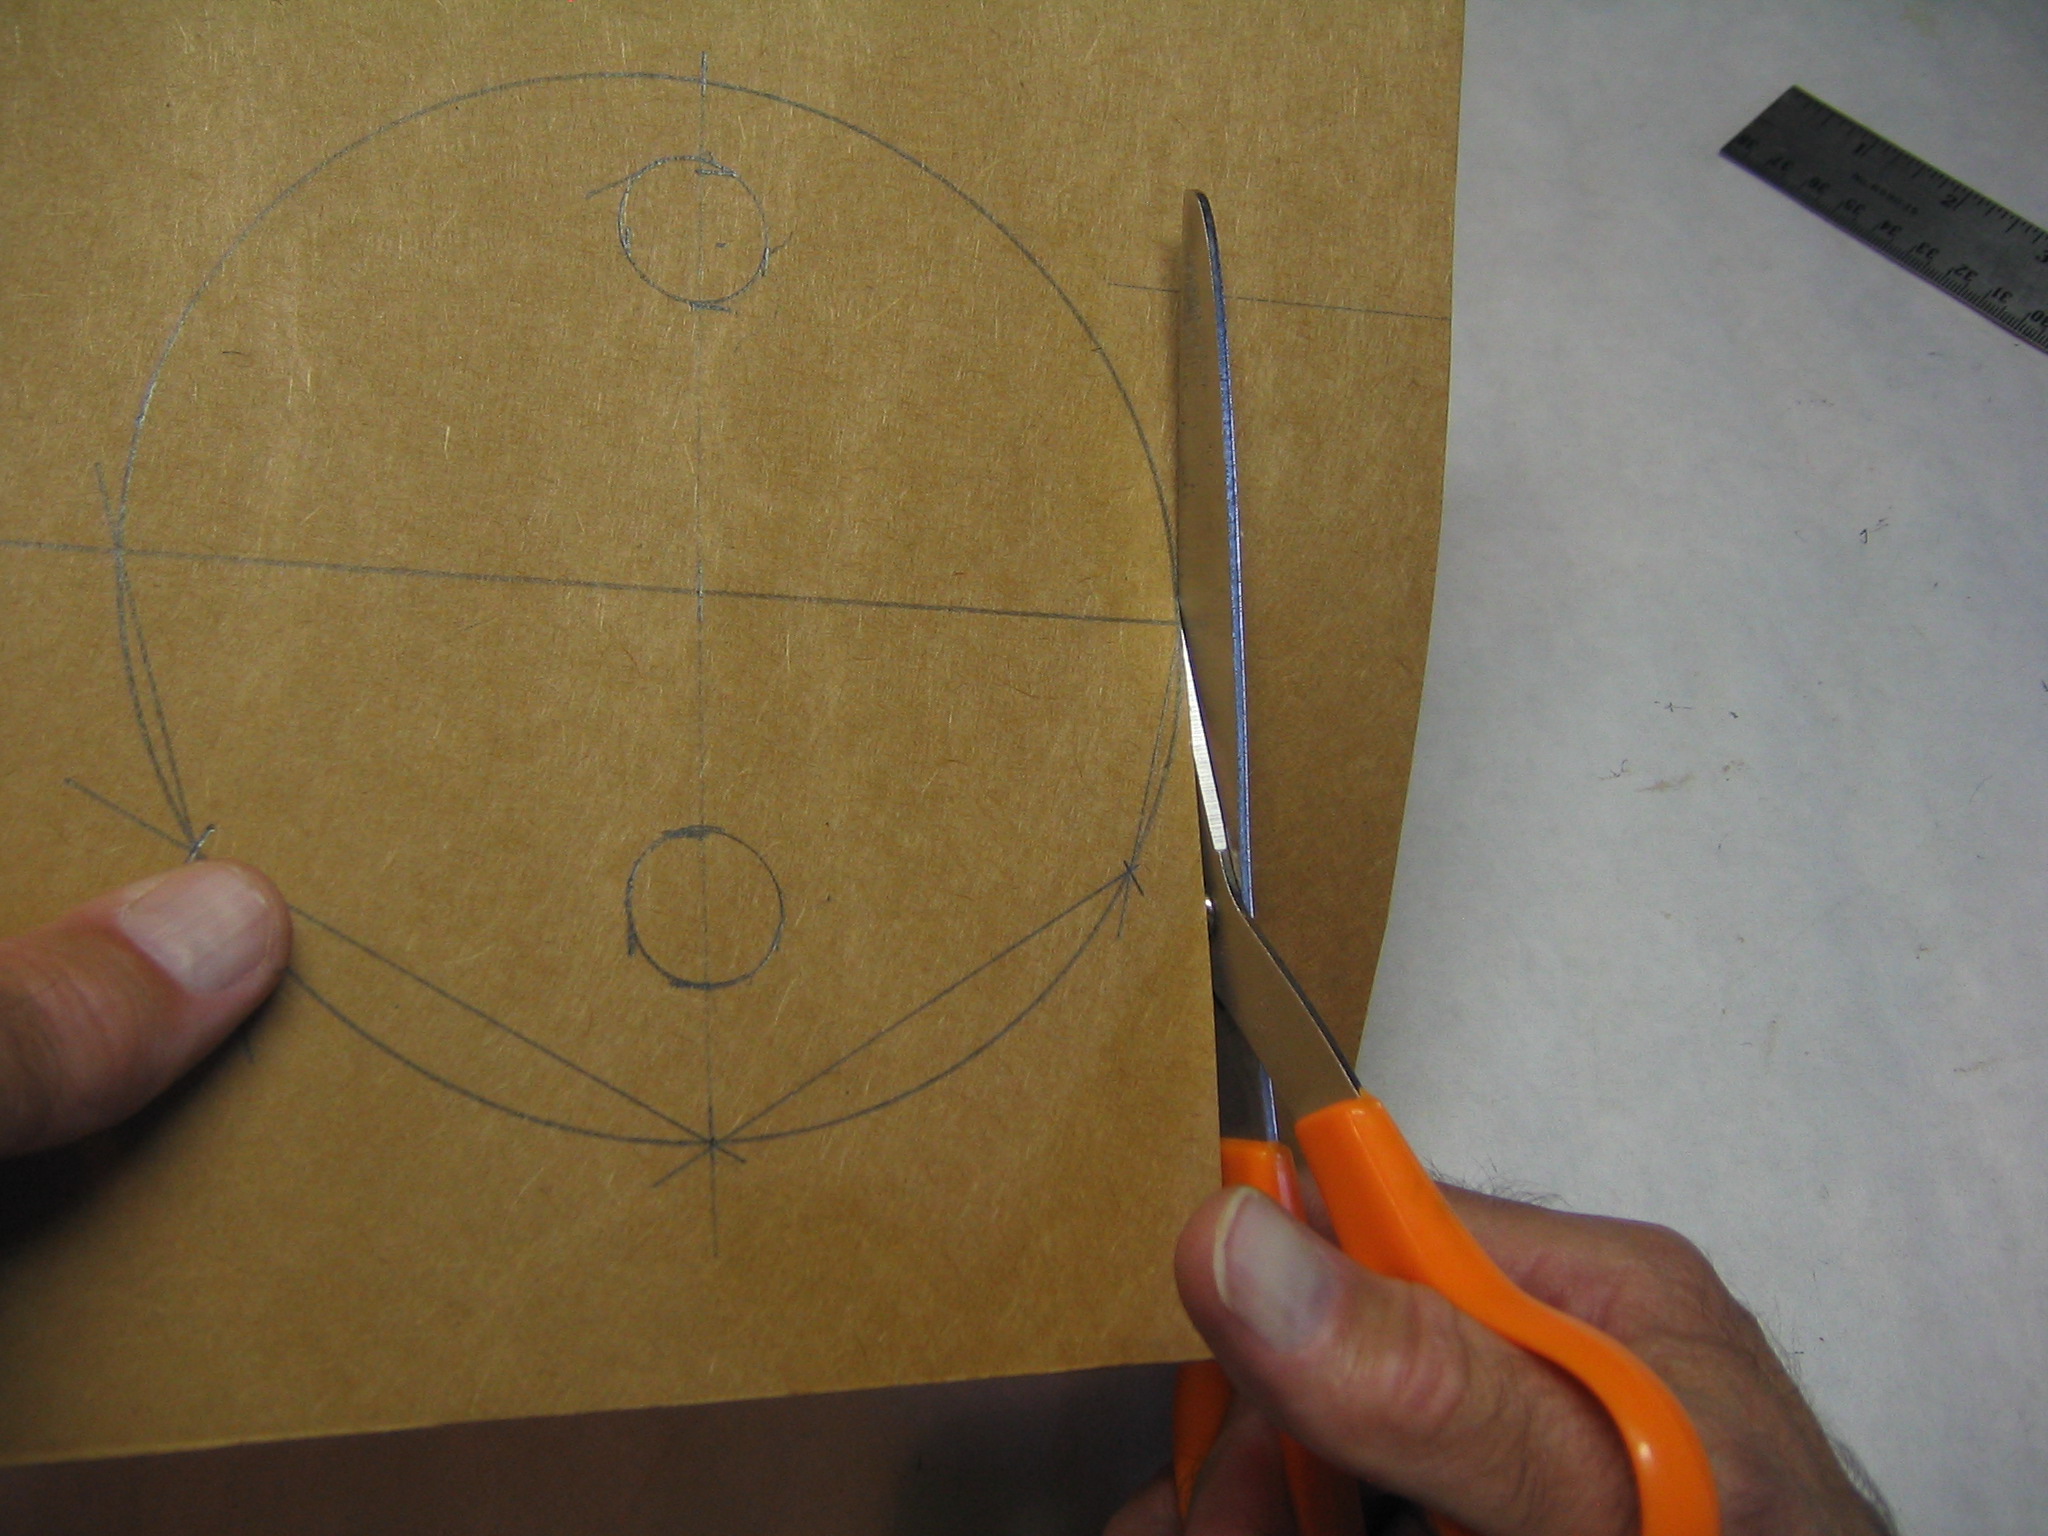
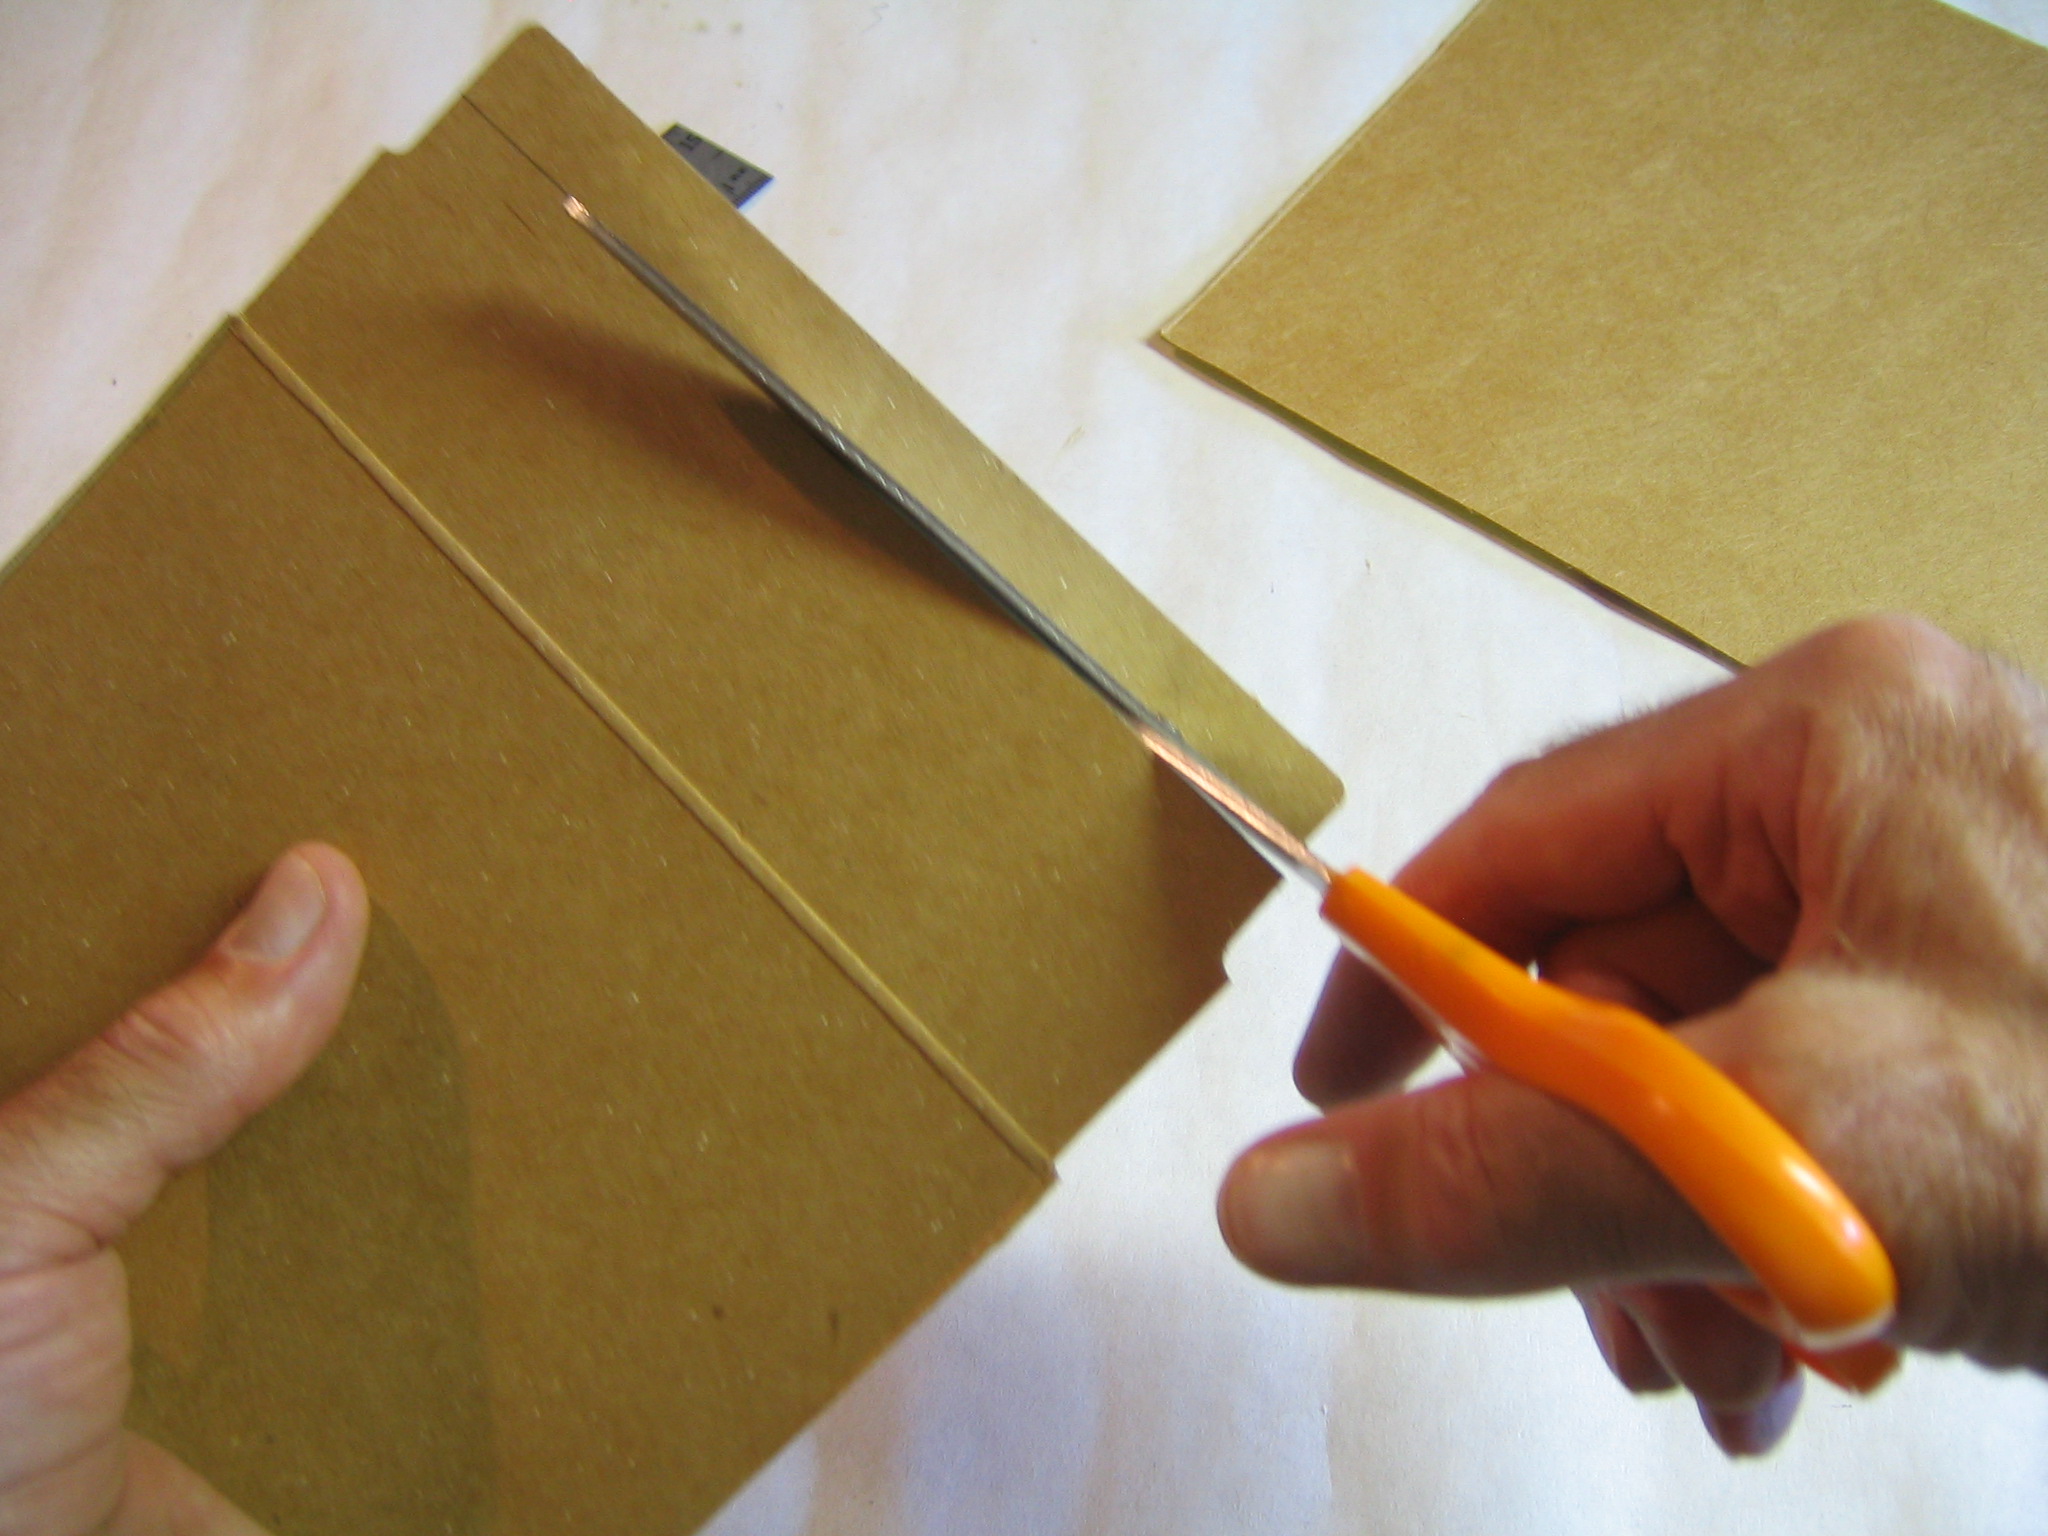
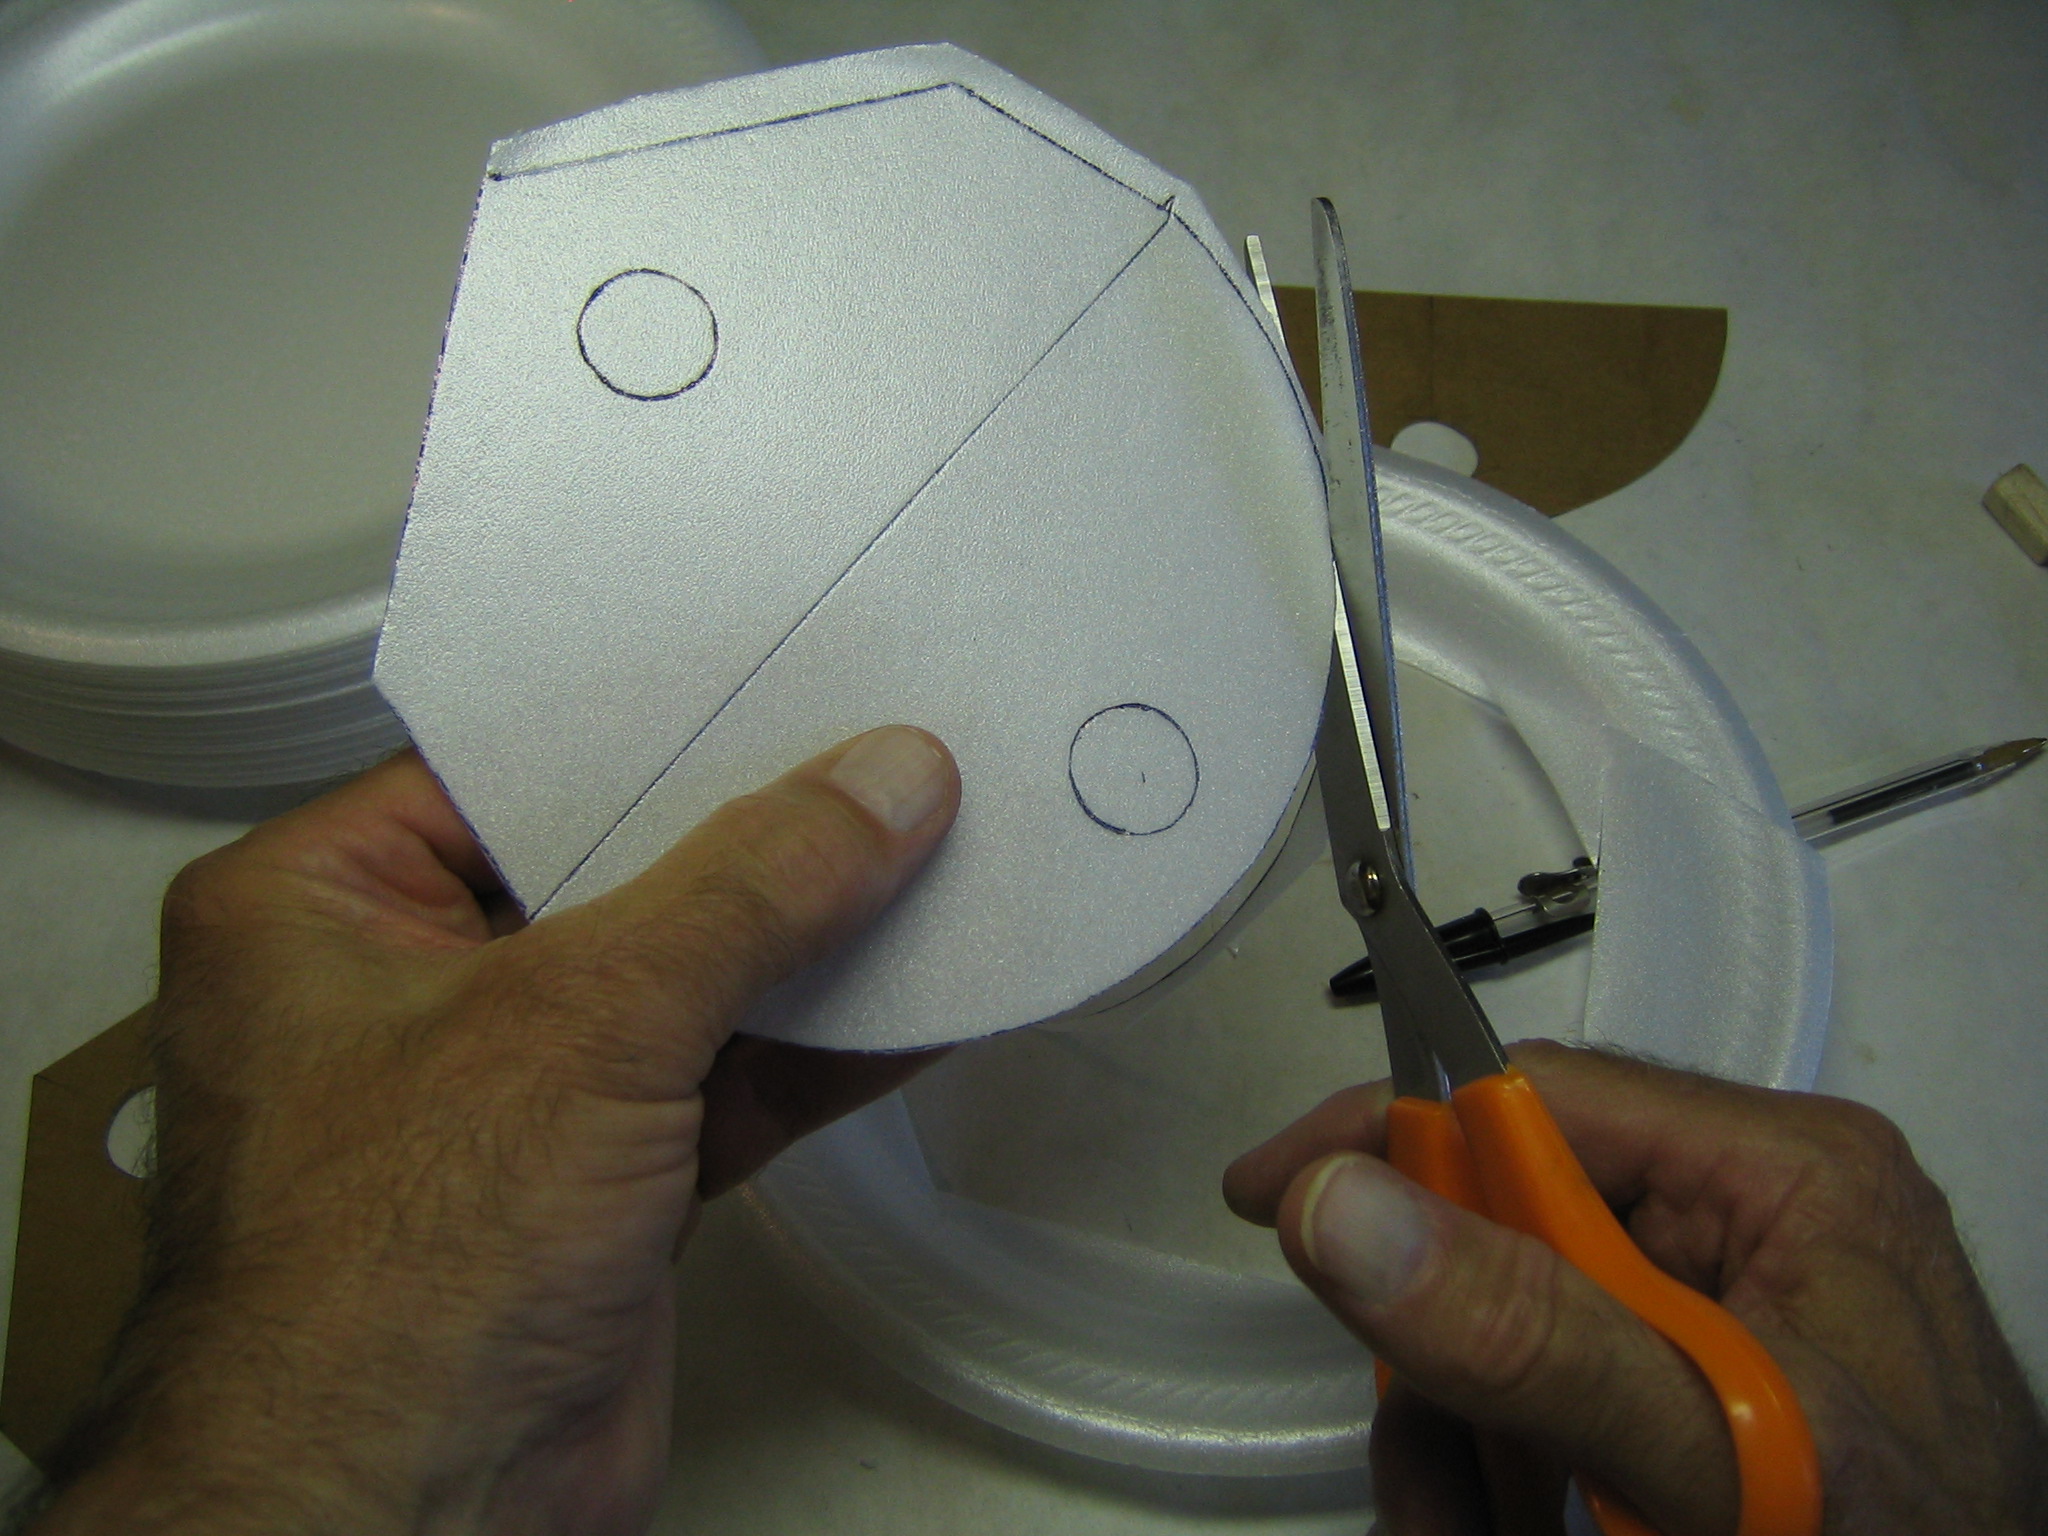
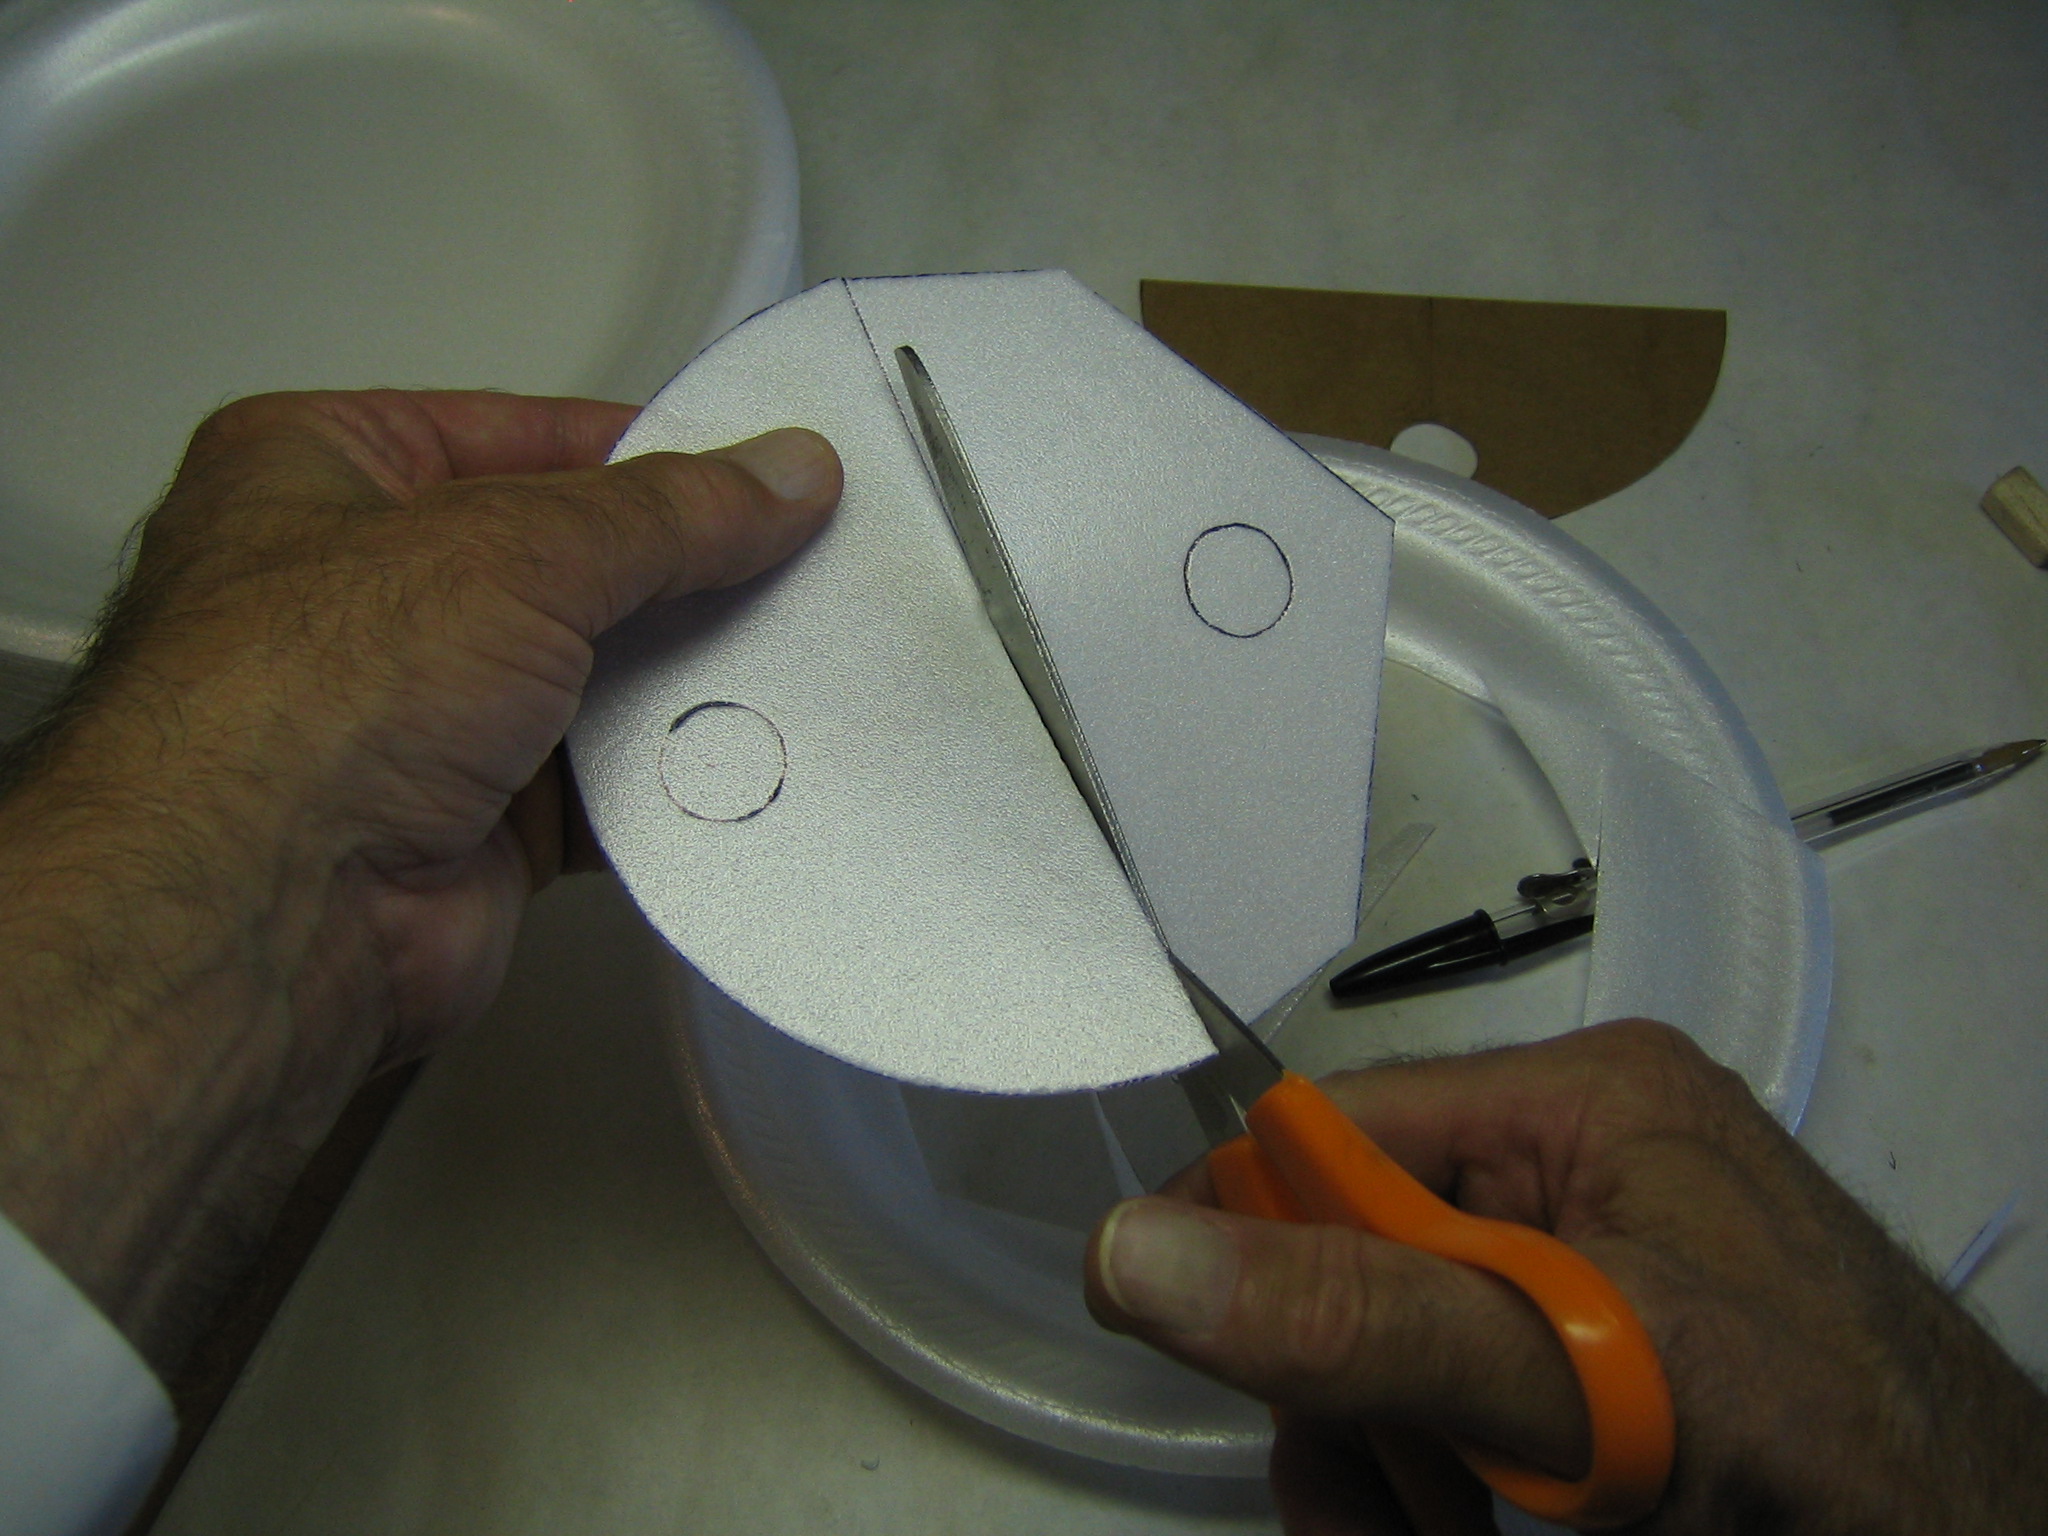
Next I cut out the patterns.
I cut the wing patterns apart along the joined trailing edges.
I cut out the disks where the pennies will be located.
That completes the making of two wing templates.
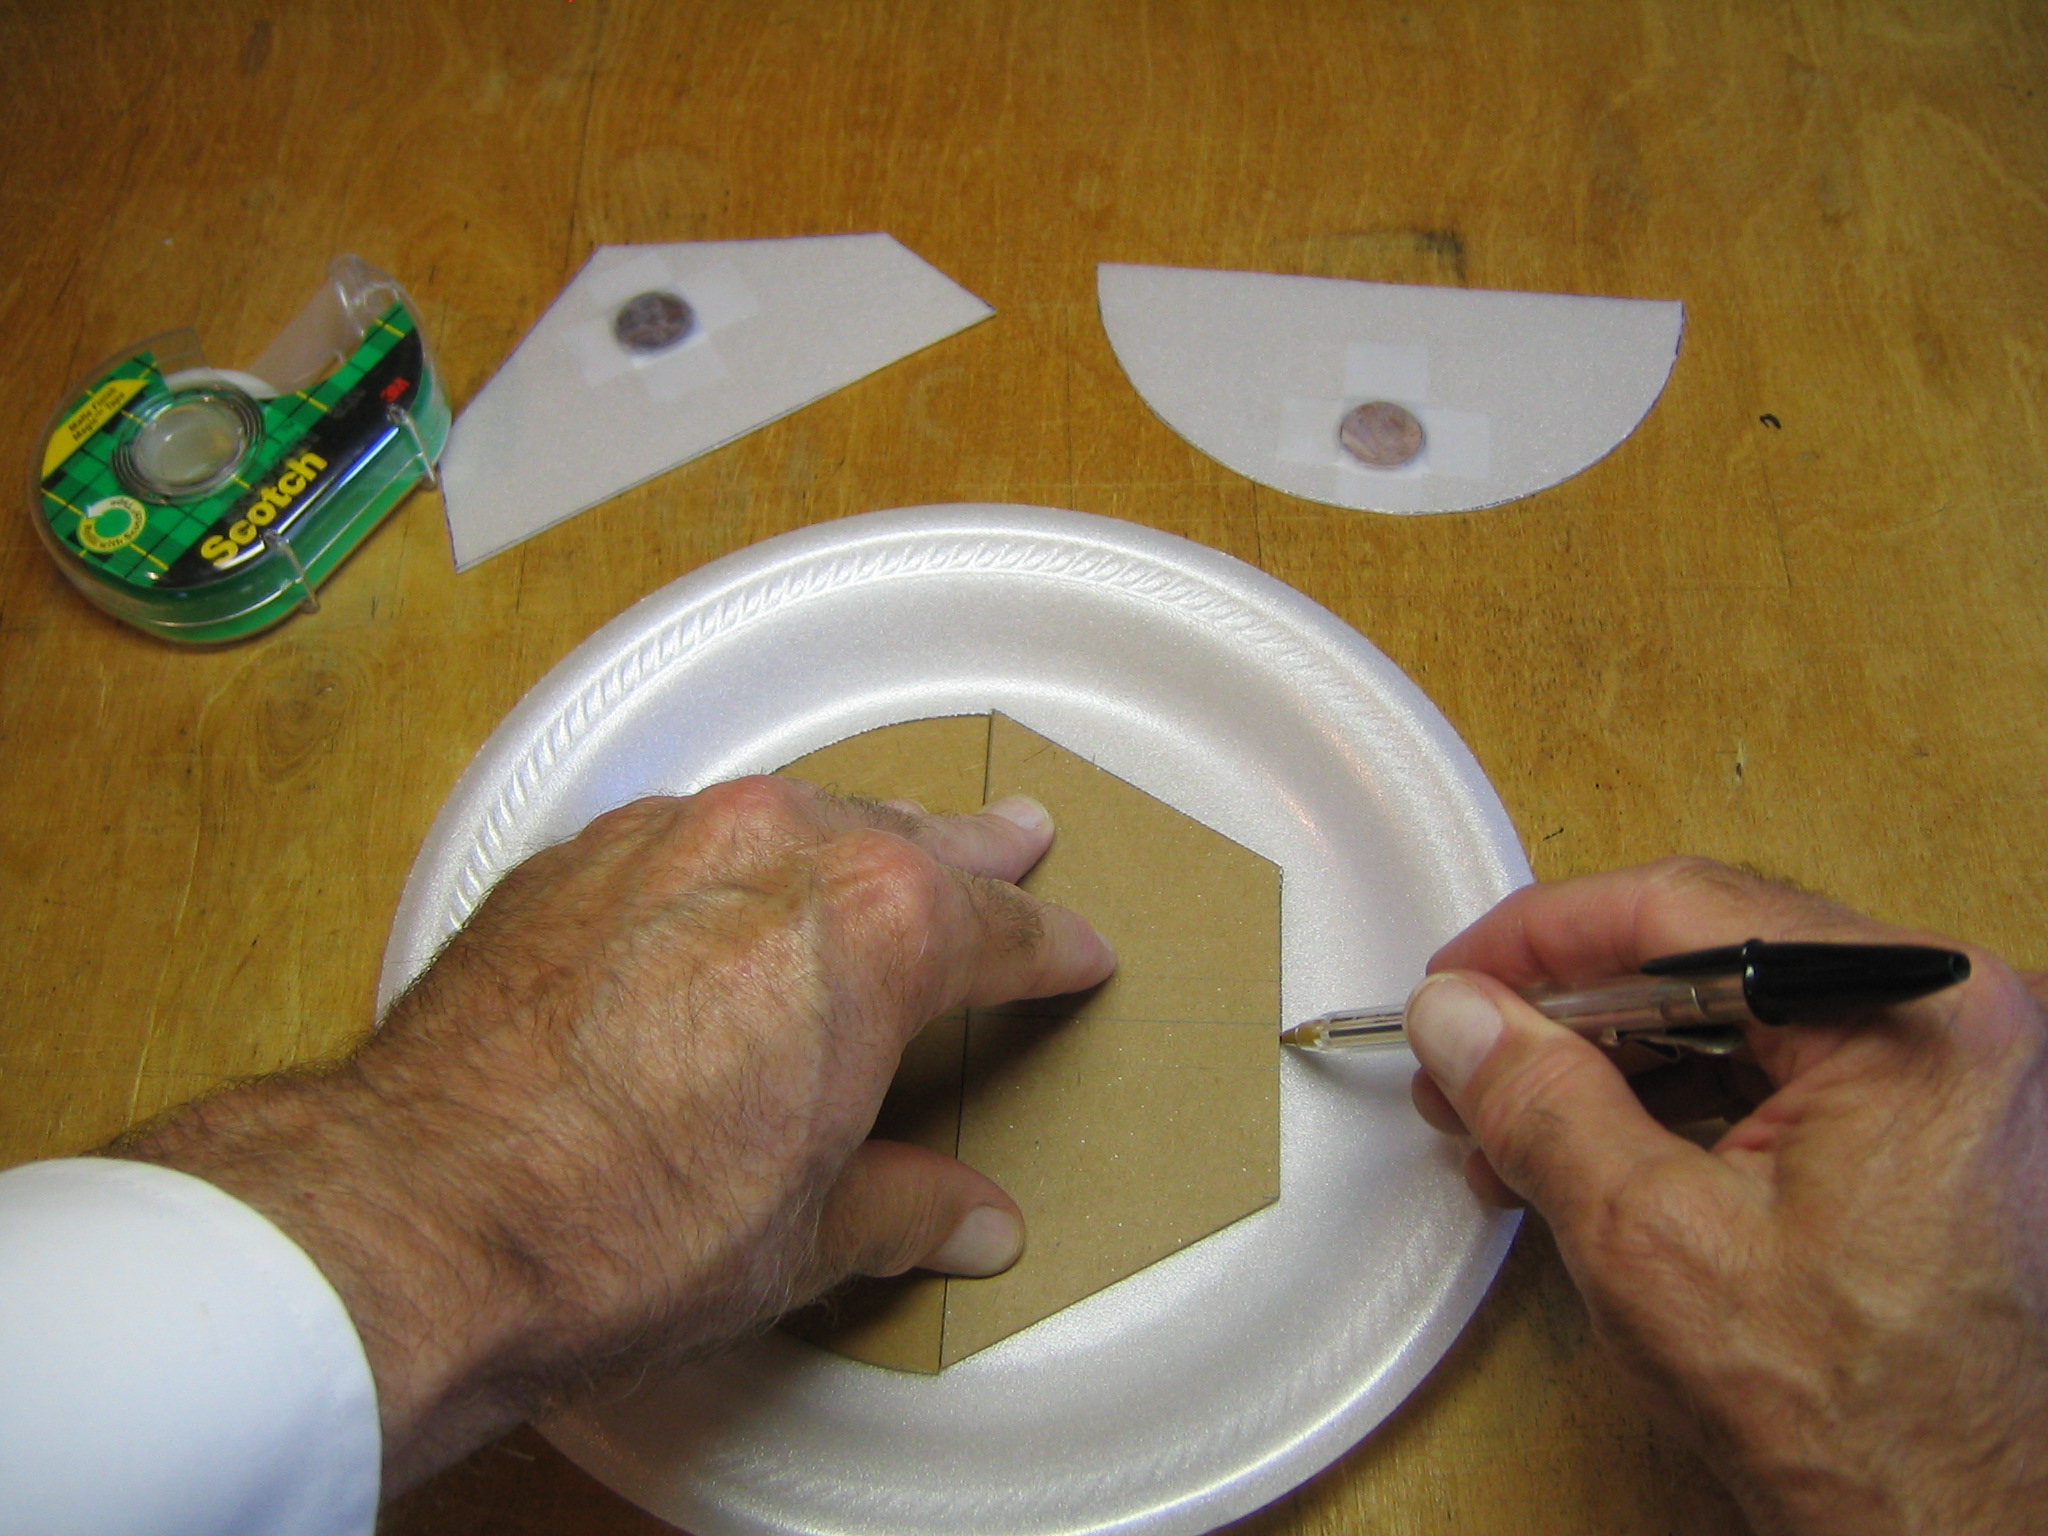
The templates are placed in the center of the foam plate.
The patterns are traced onto the foam with a ball point pen.
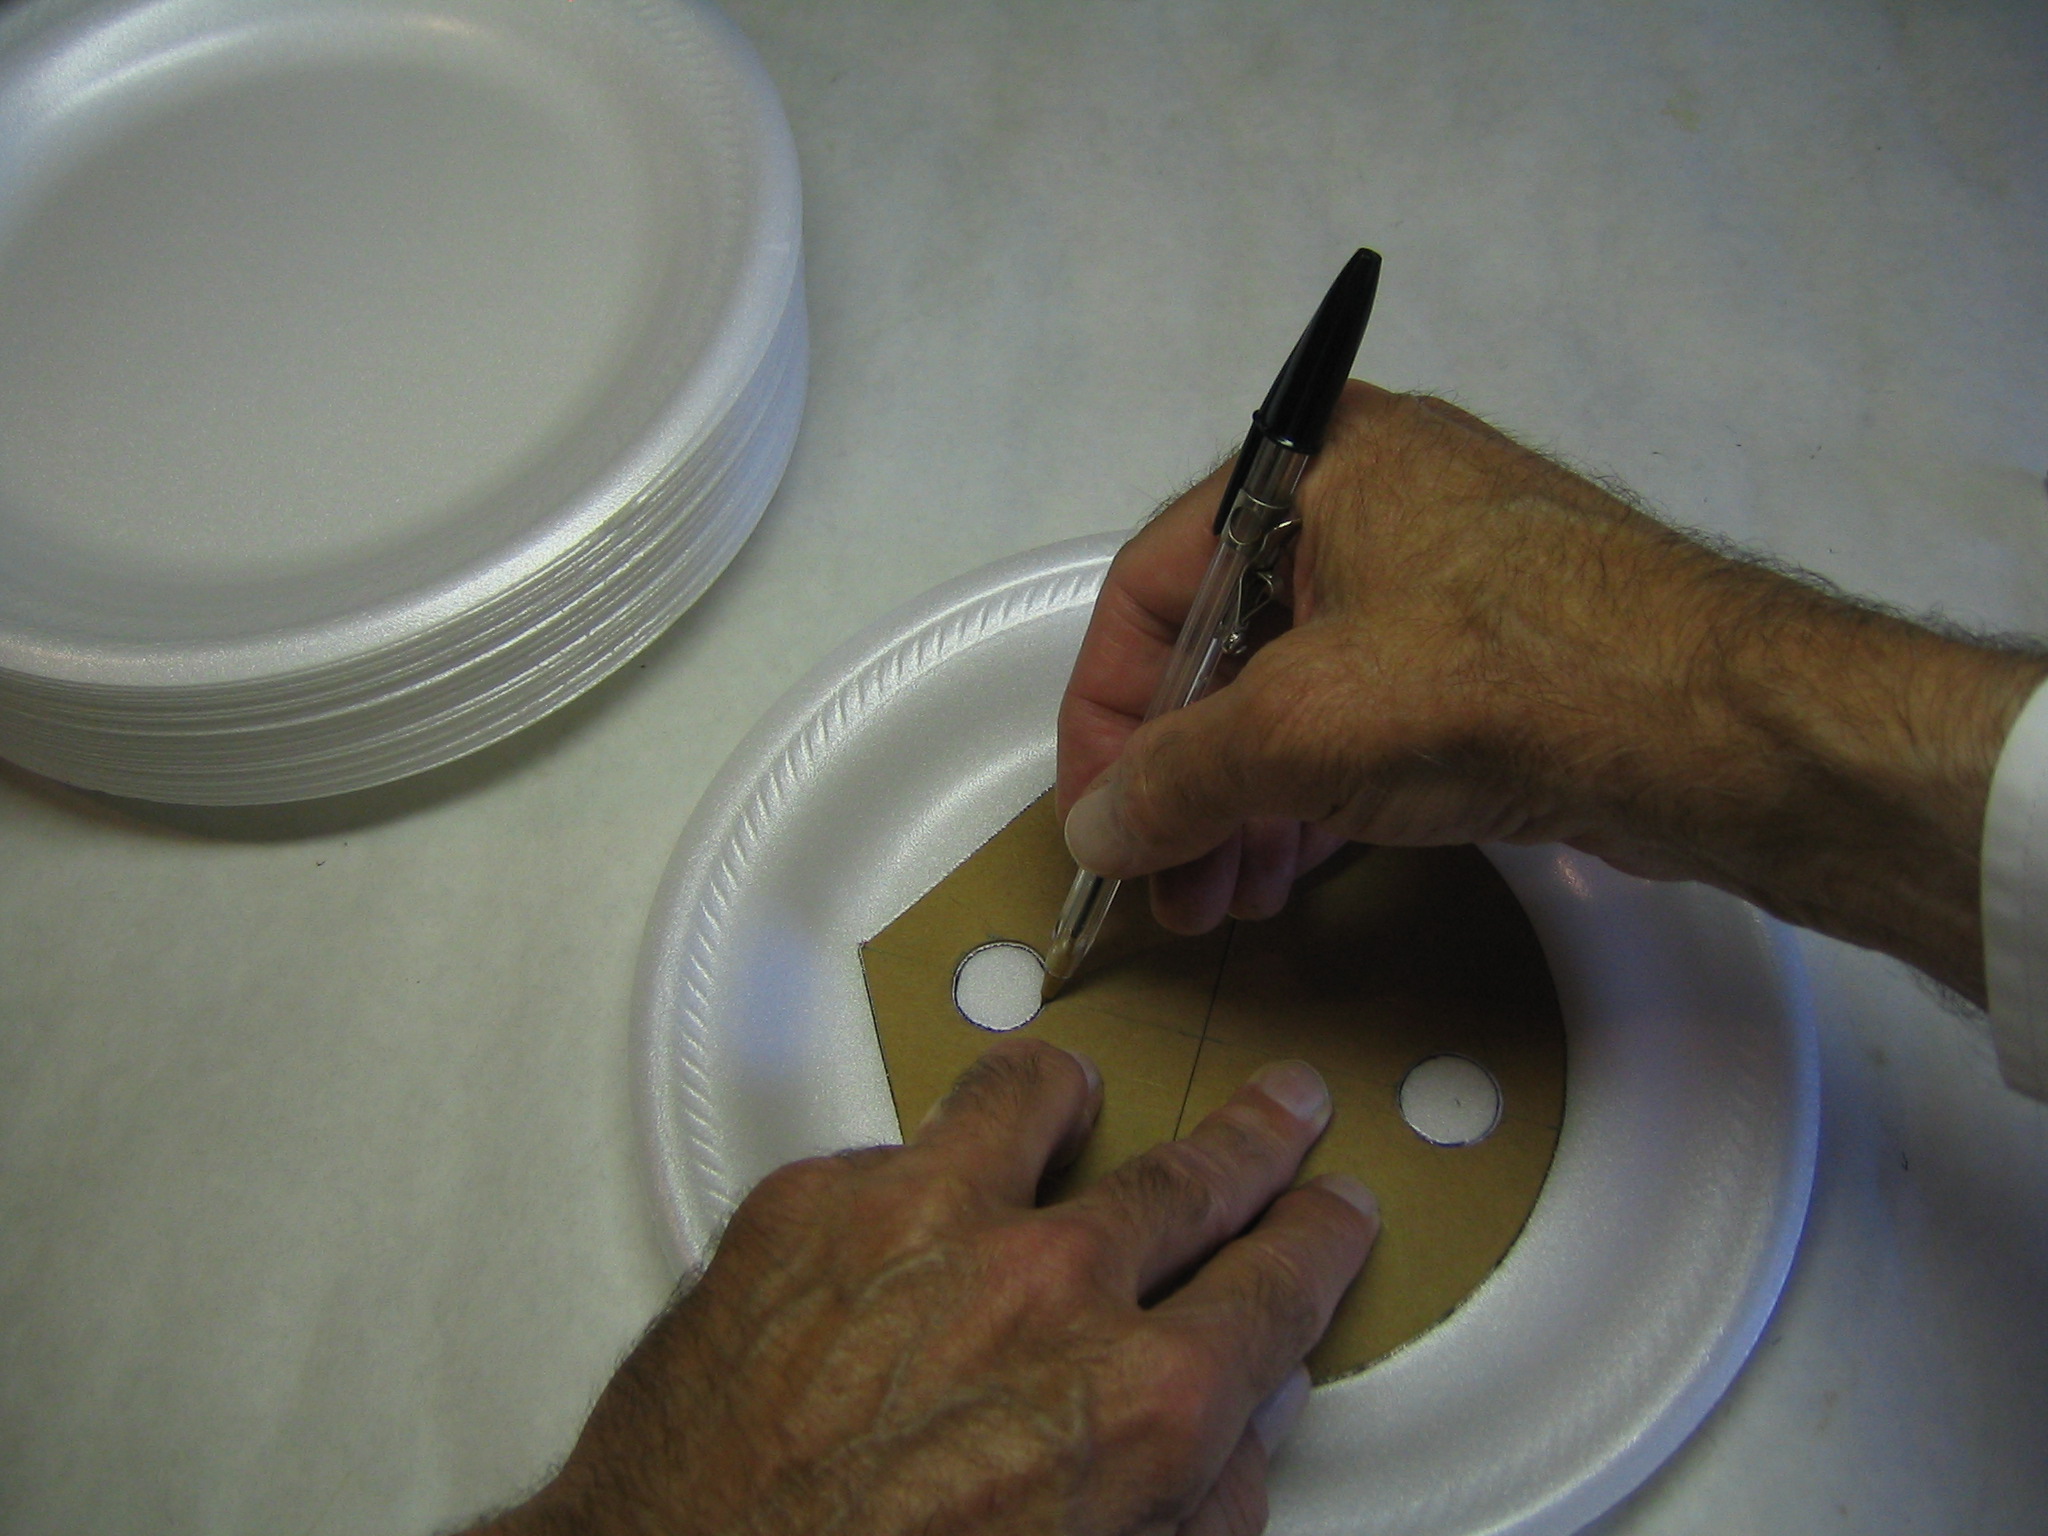
The penny locations are traced onto the foam.
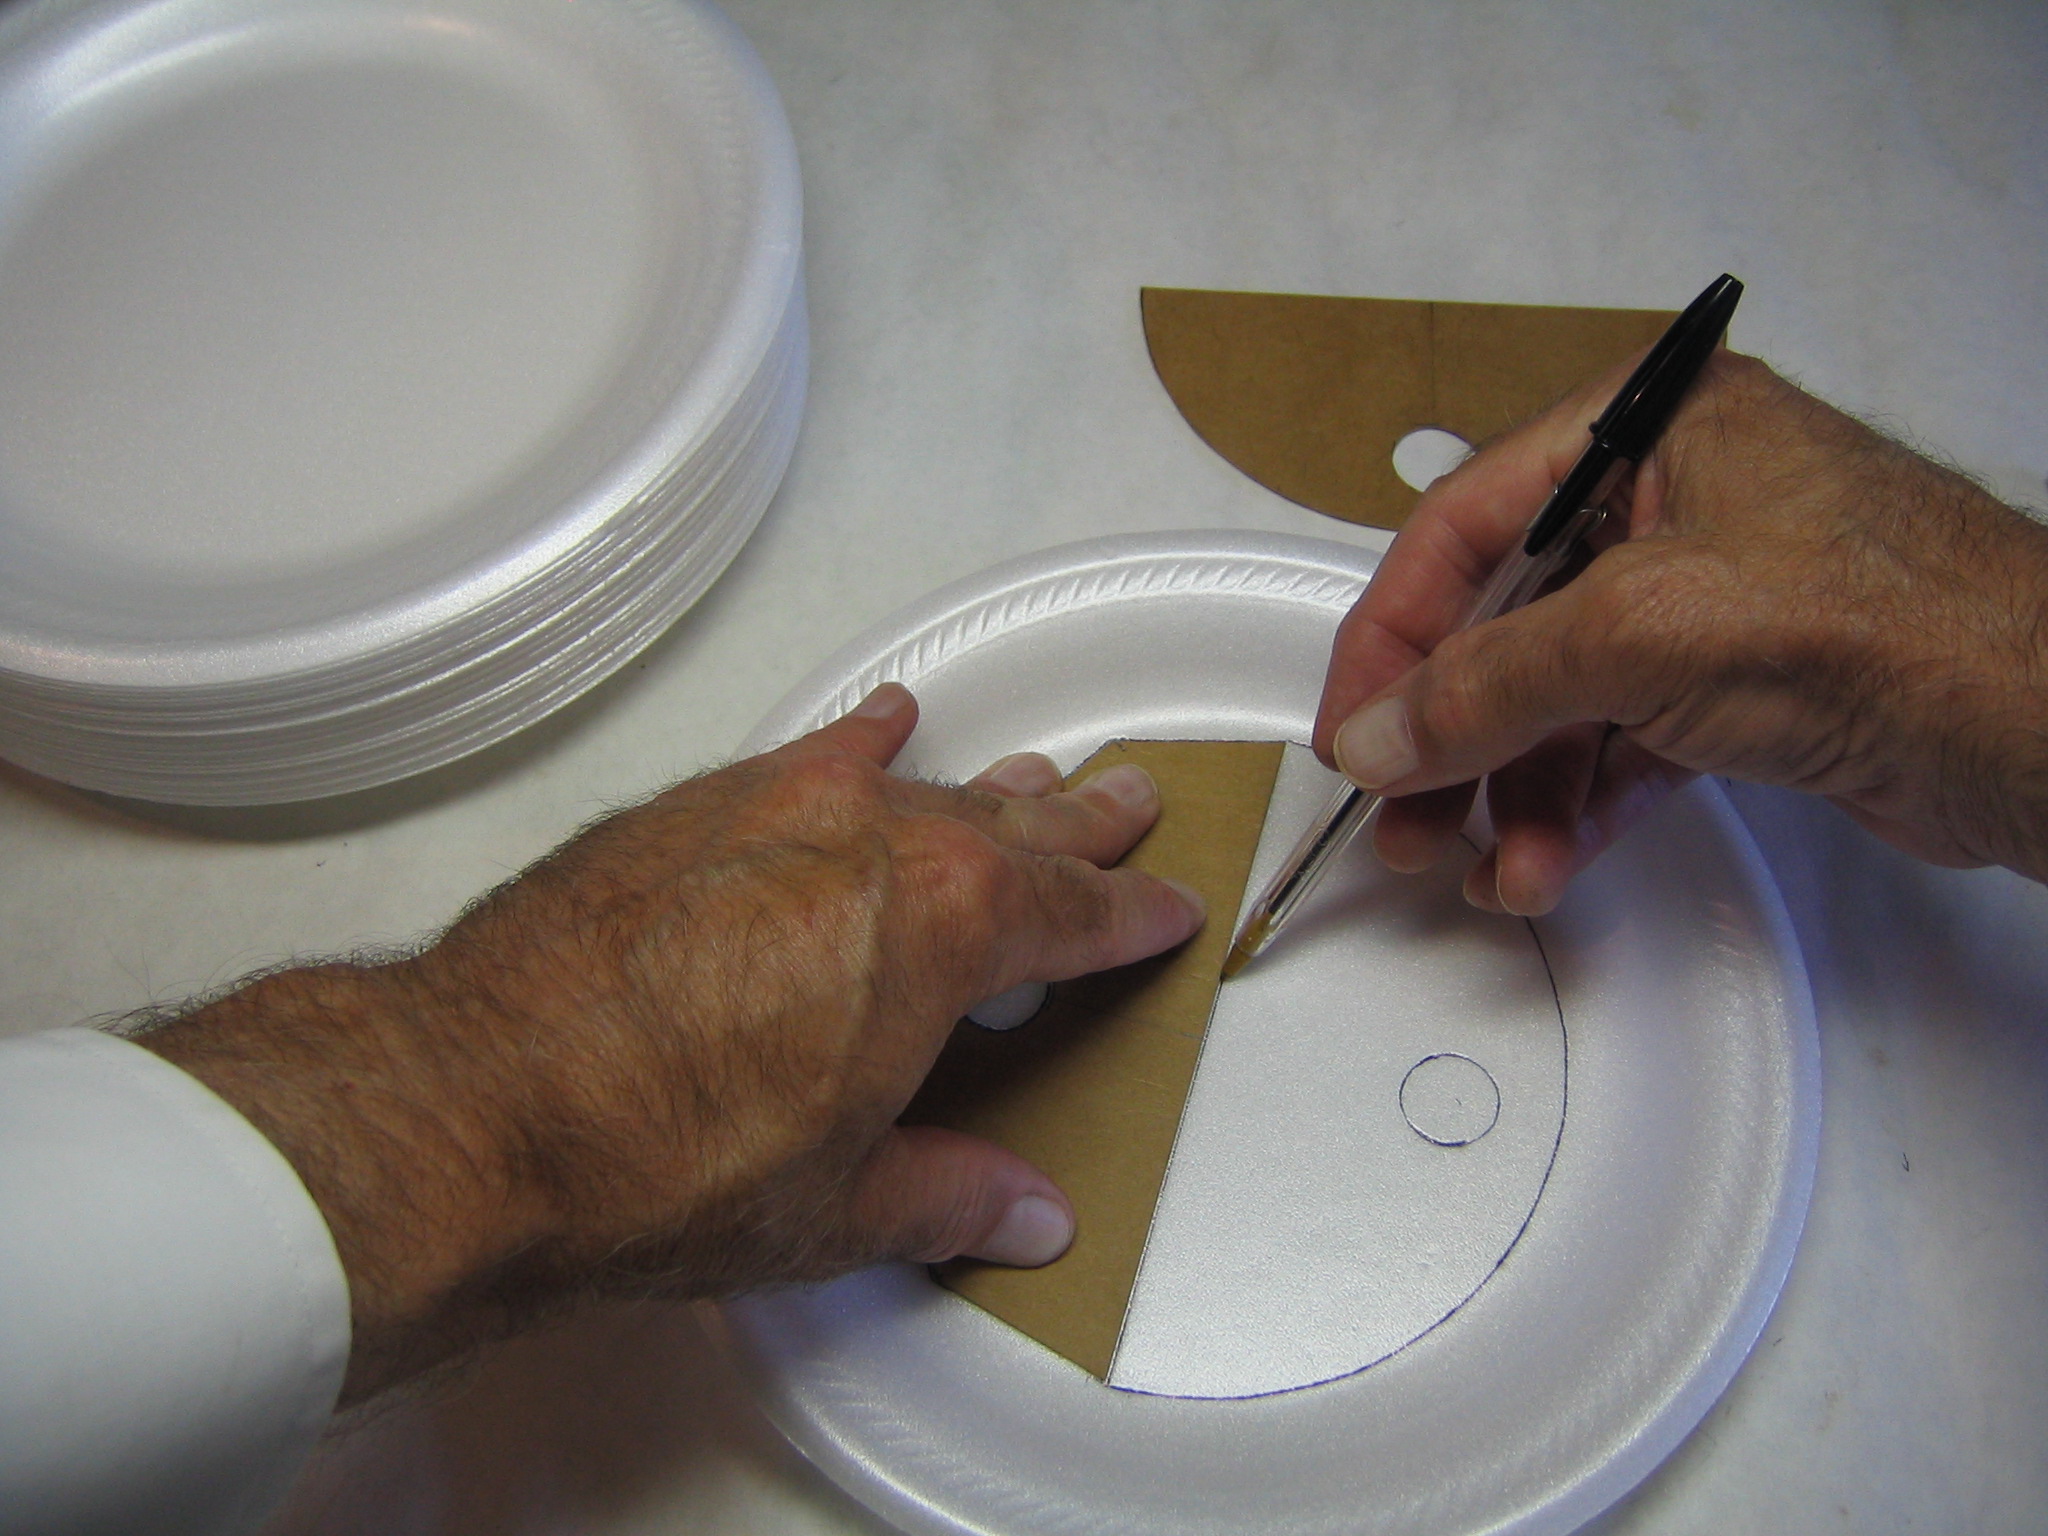
One pattern is removed and the trailing edge is traced onto the foam.
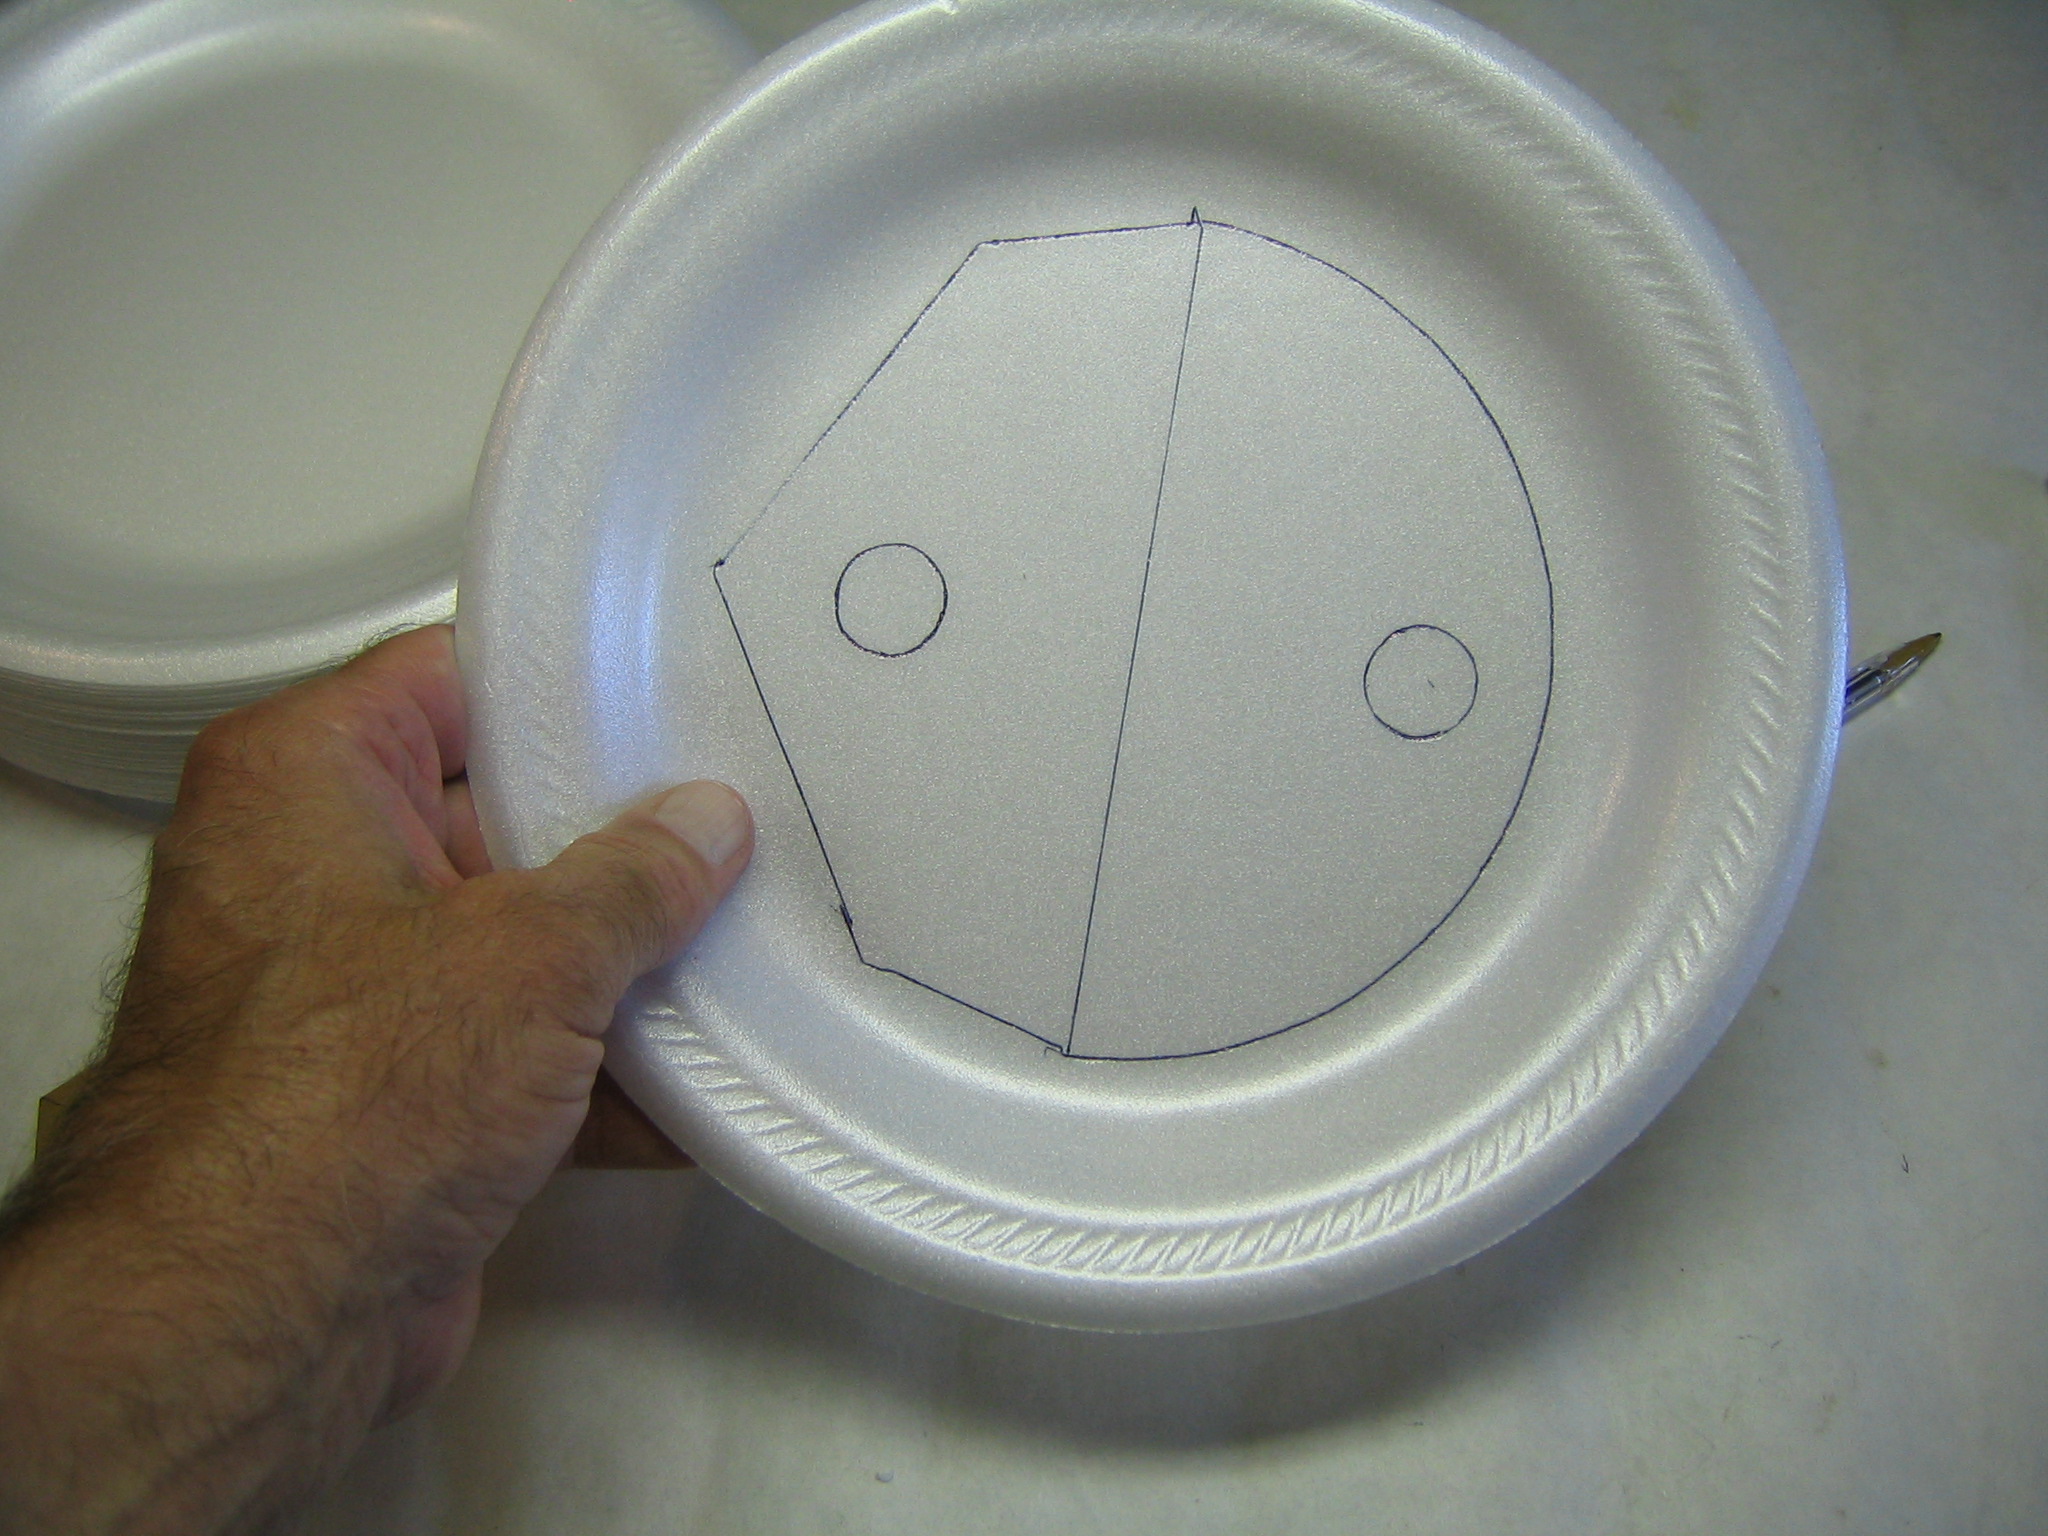
The tracing of the patterns onto the foam is now complete.
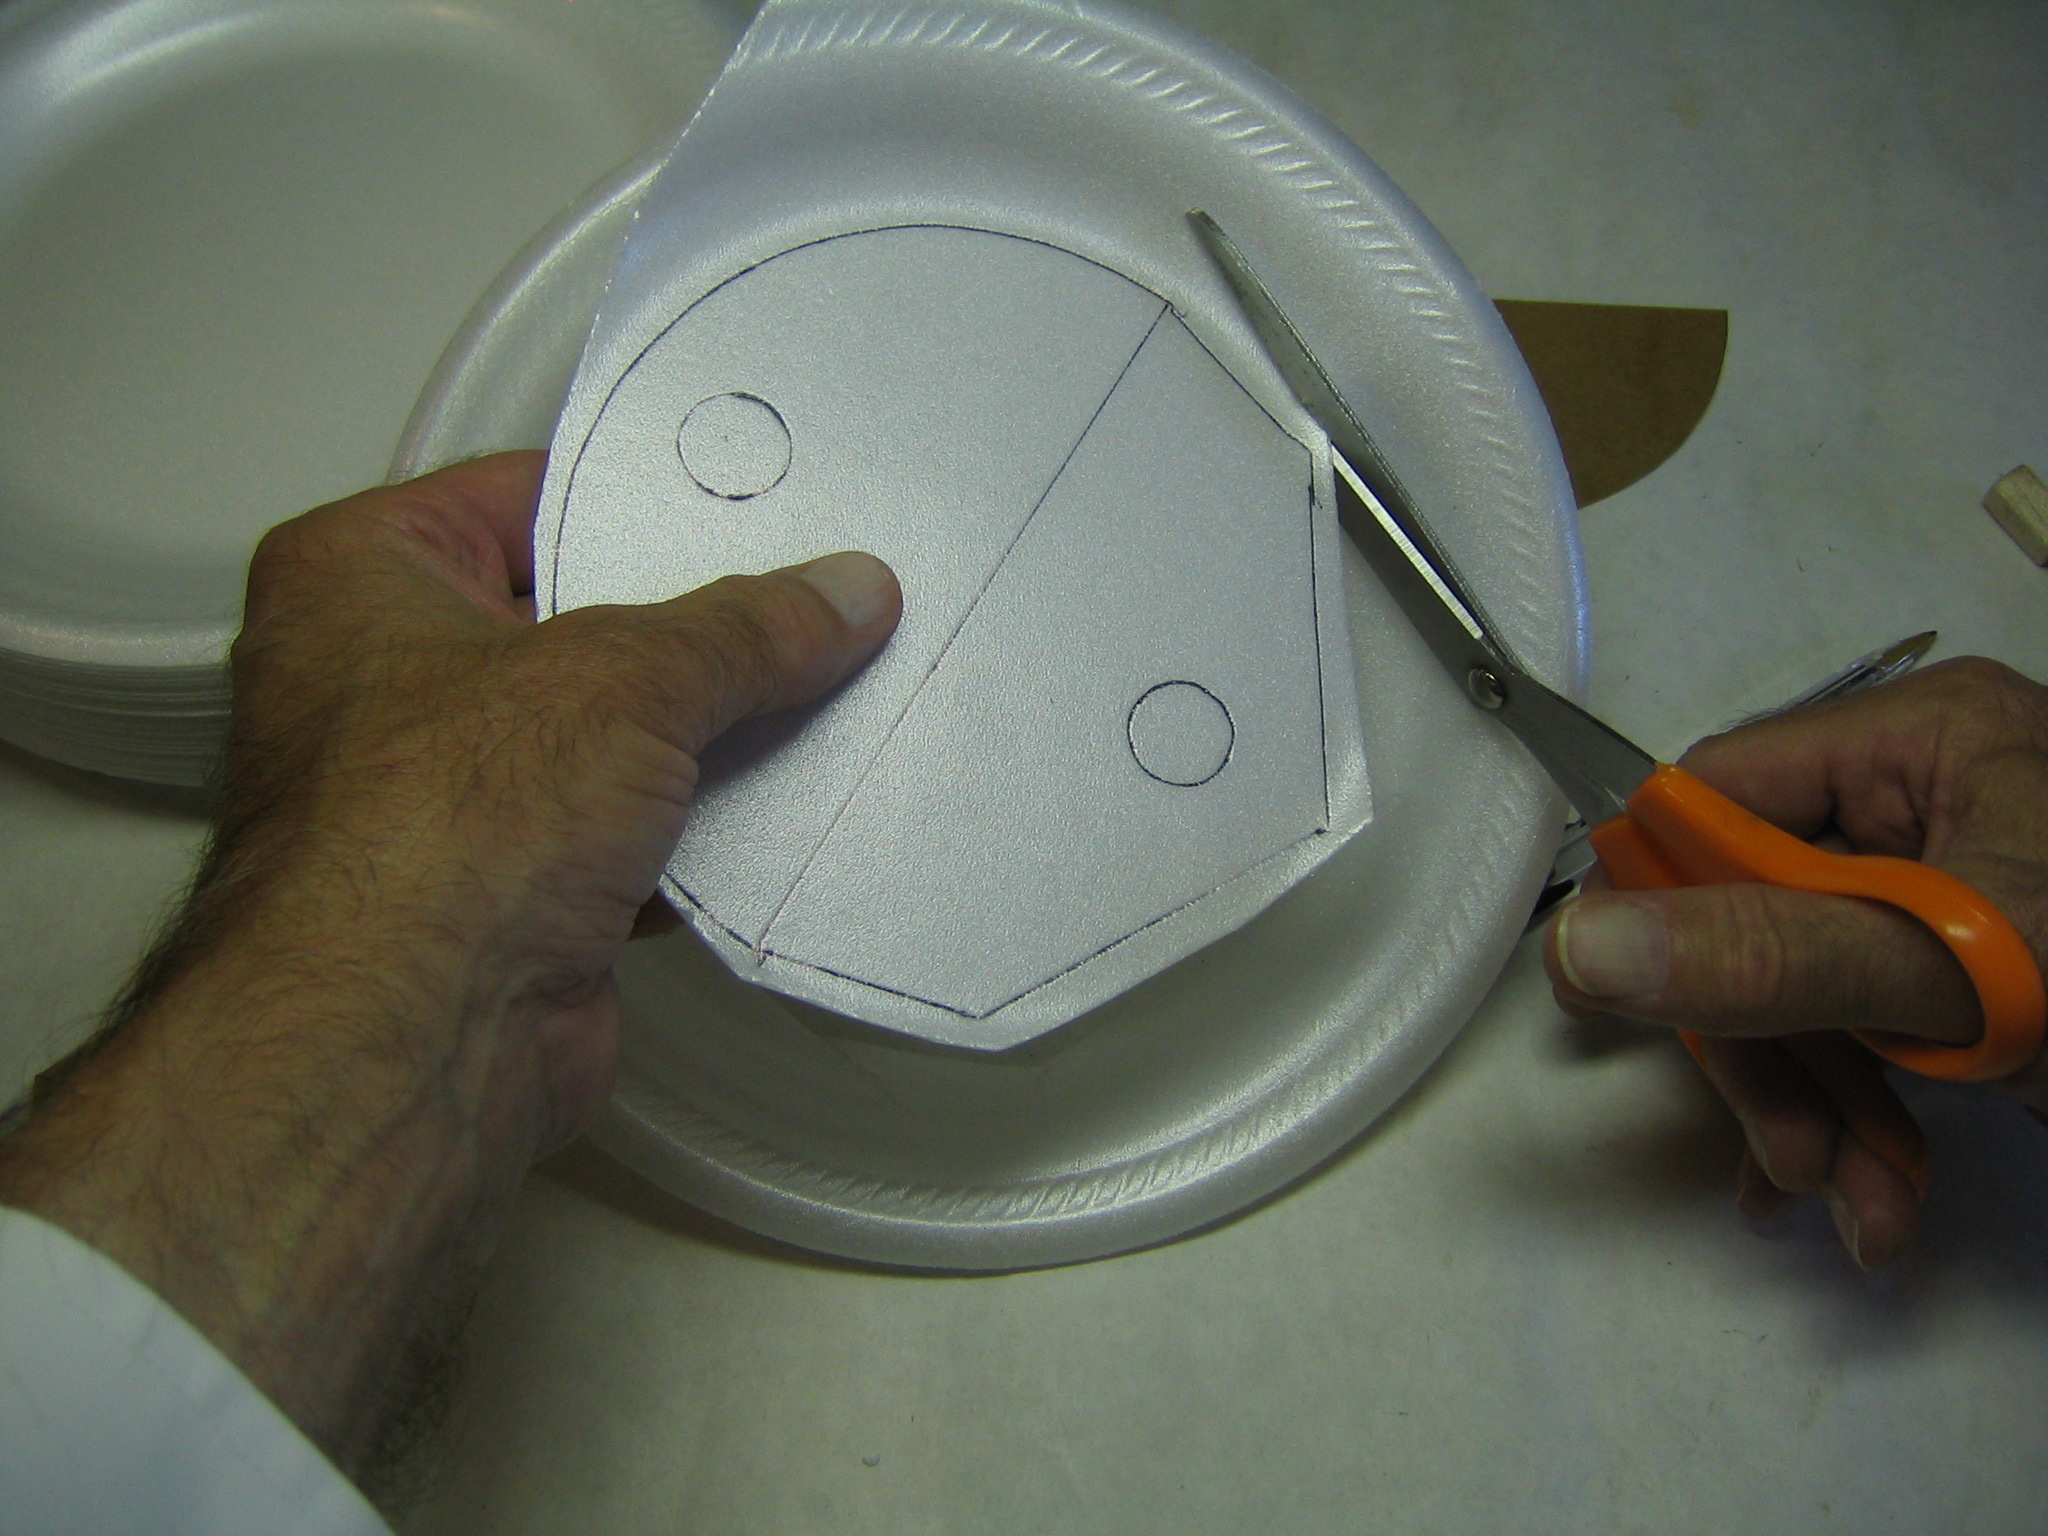
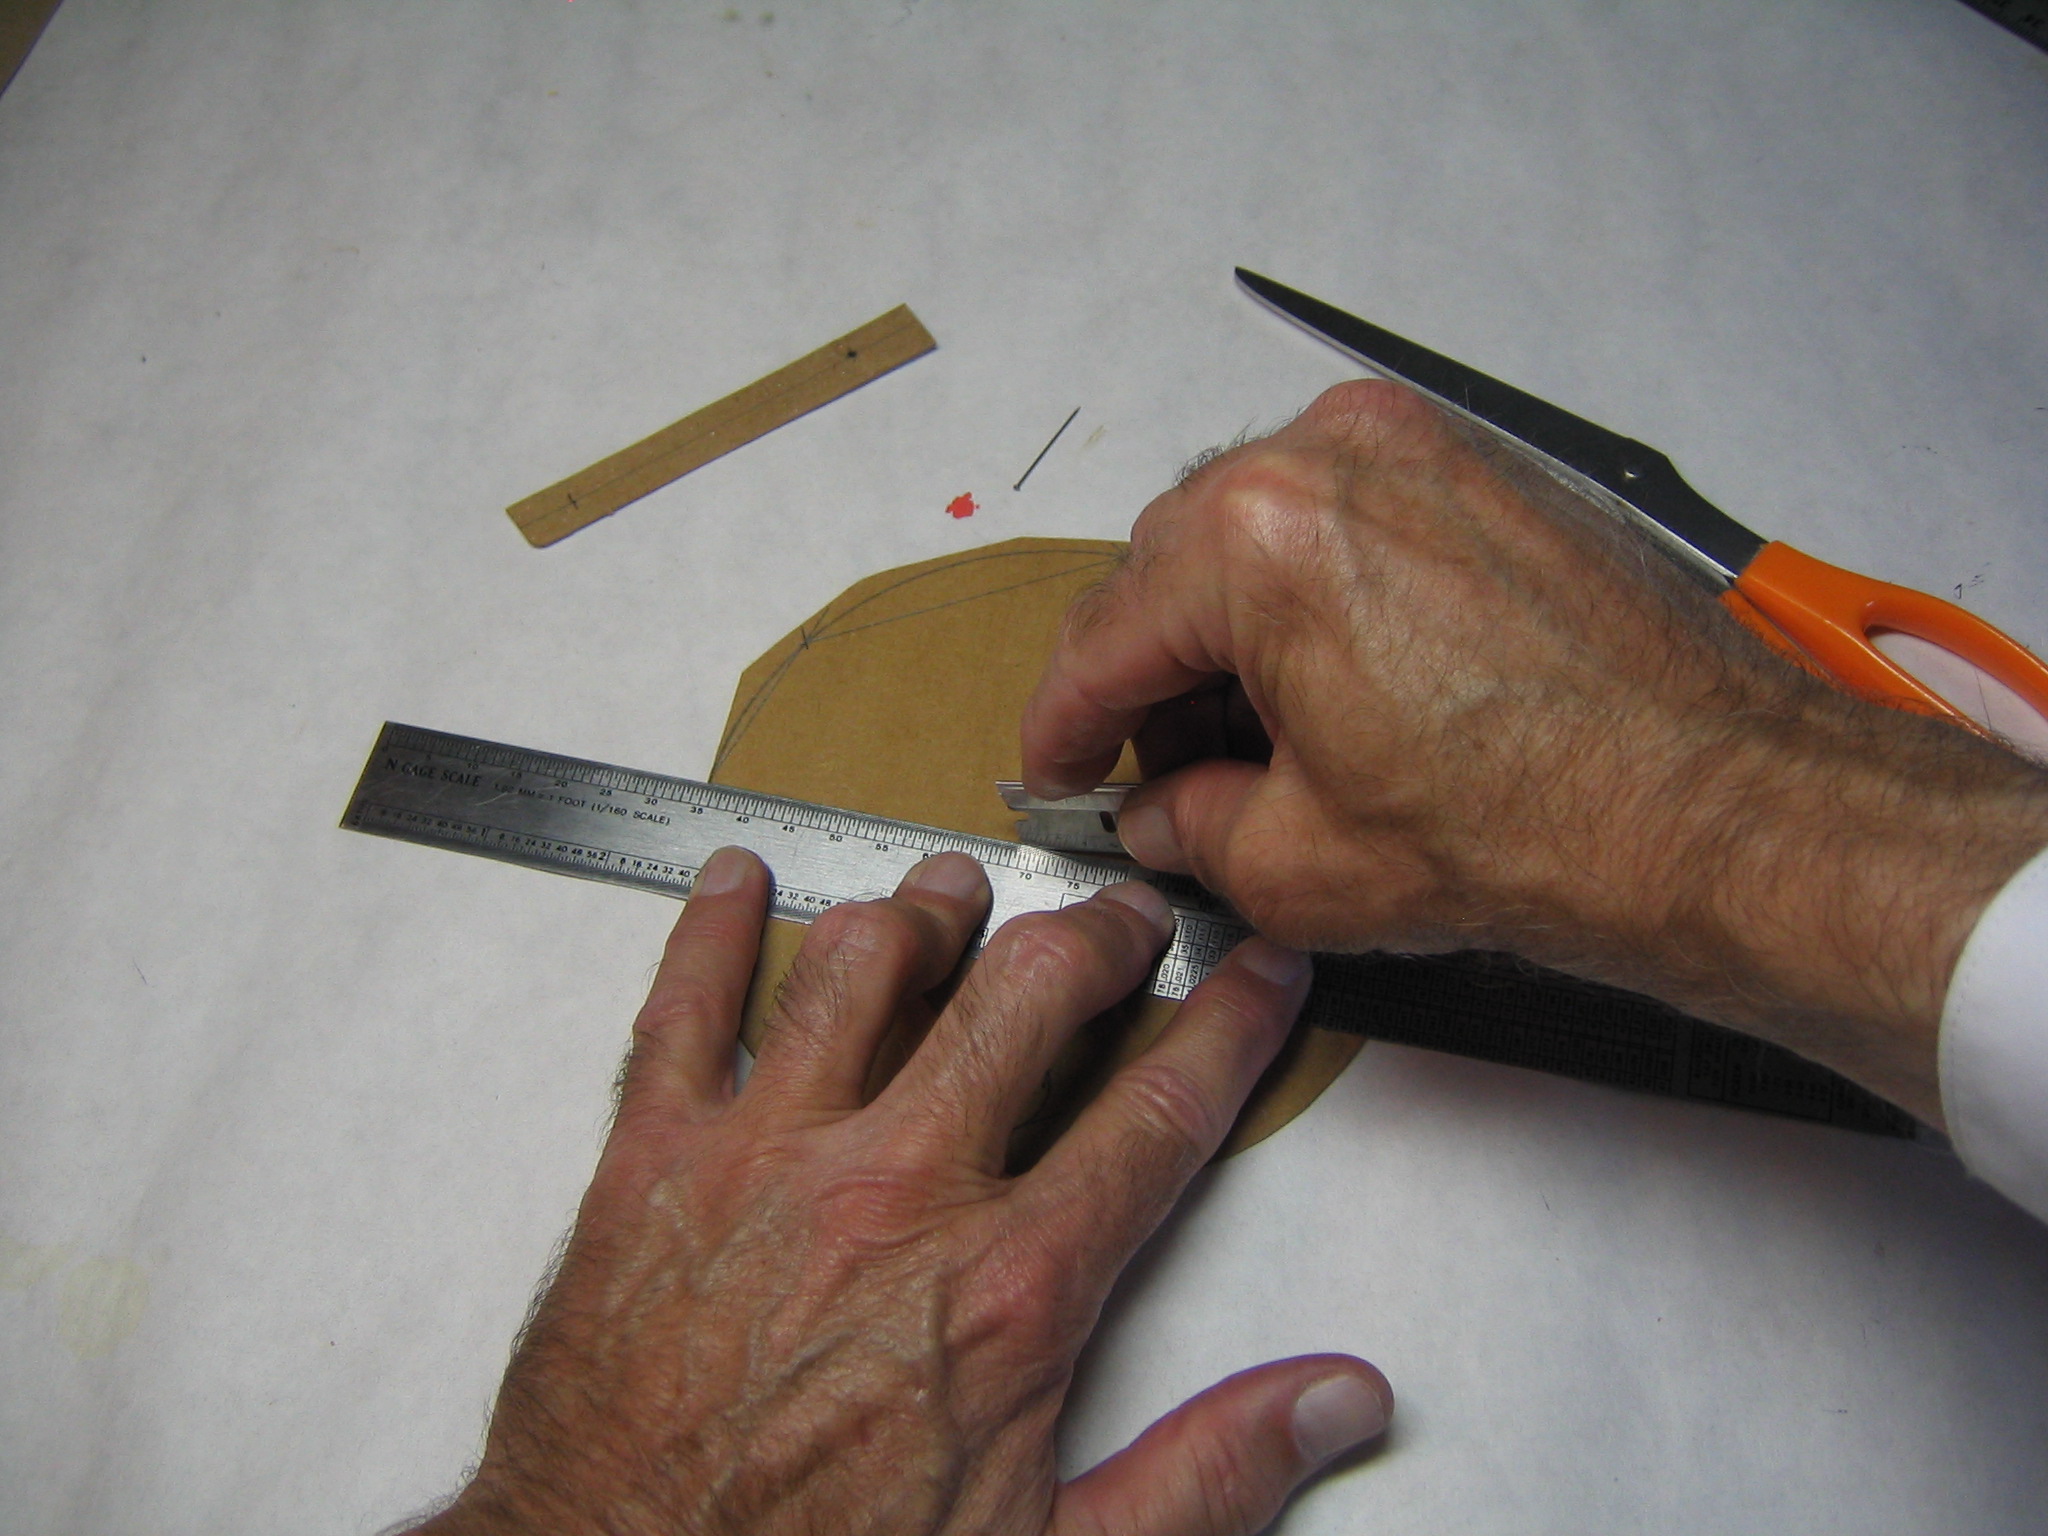
Cut around a bit outside the pattern.
Now cut exactly to the line. Removing the excess makes it easier to cut exactly to the edge of the patterns.
Cut along the trailing edges.
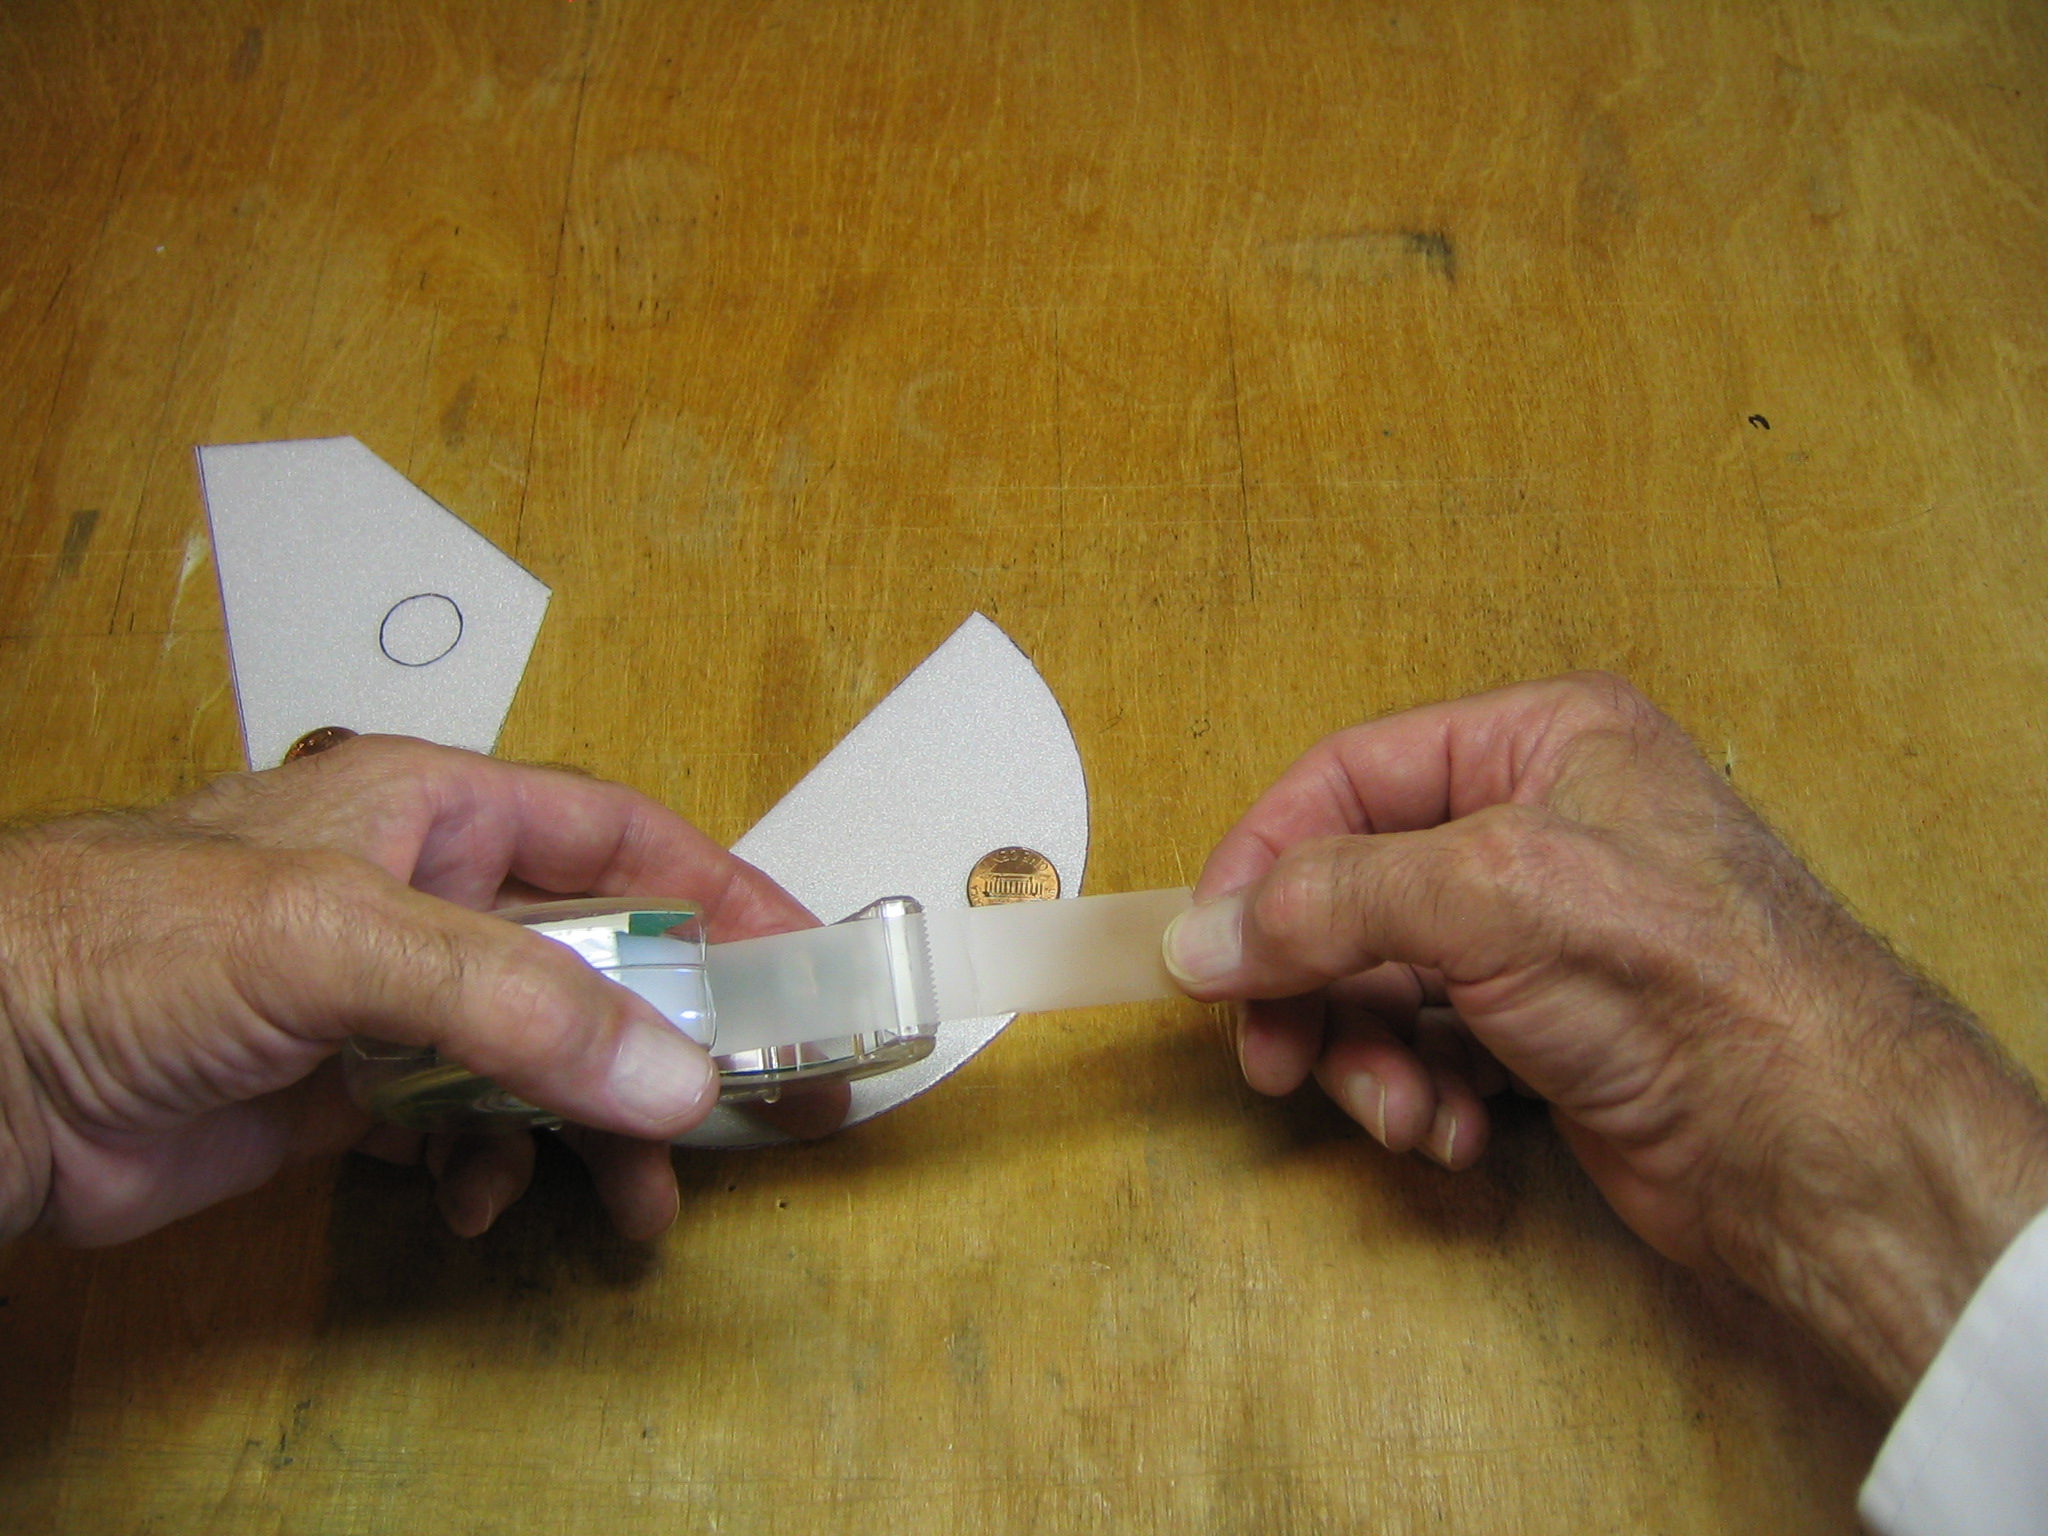
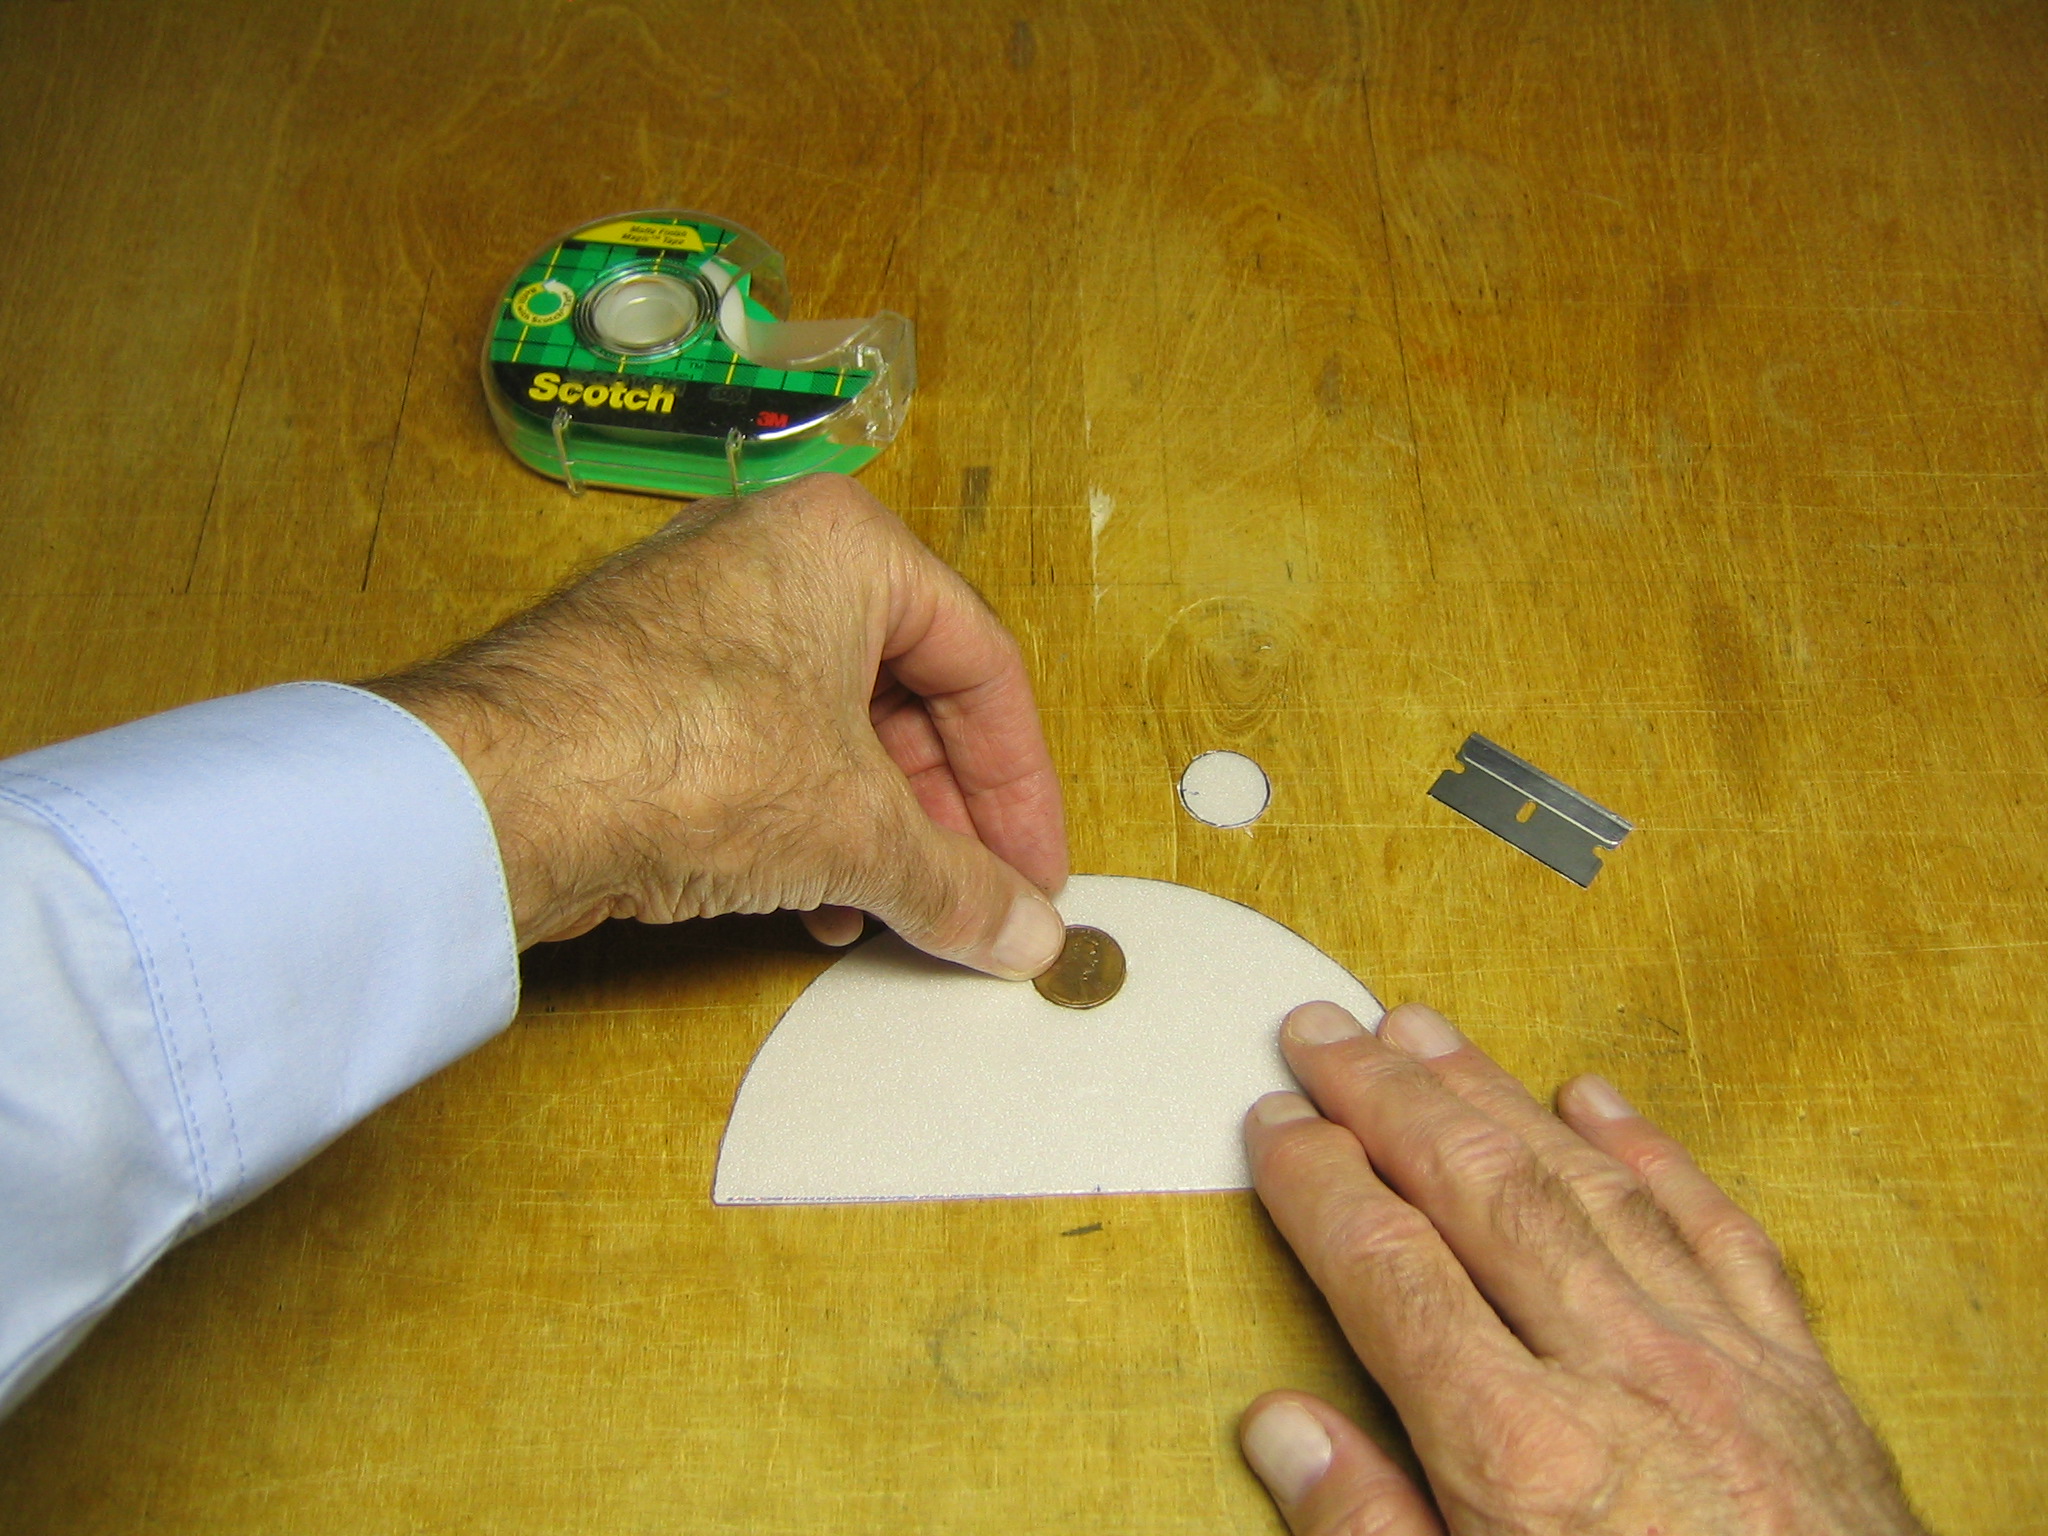
The pennies will be attached with tape. You could also use tacky glue. Test the glue on scrap foam to make sure it won’t melt the foam.
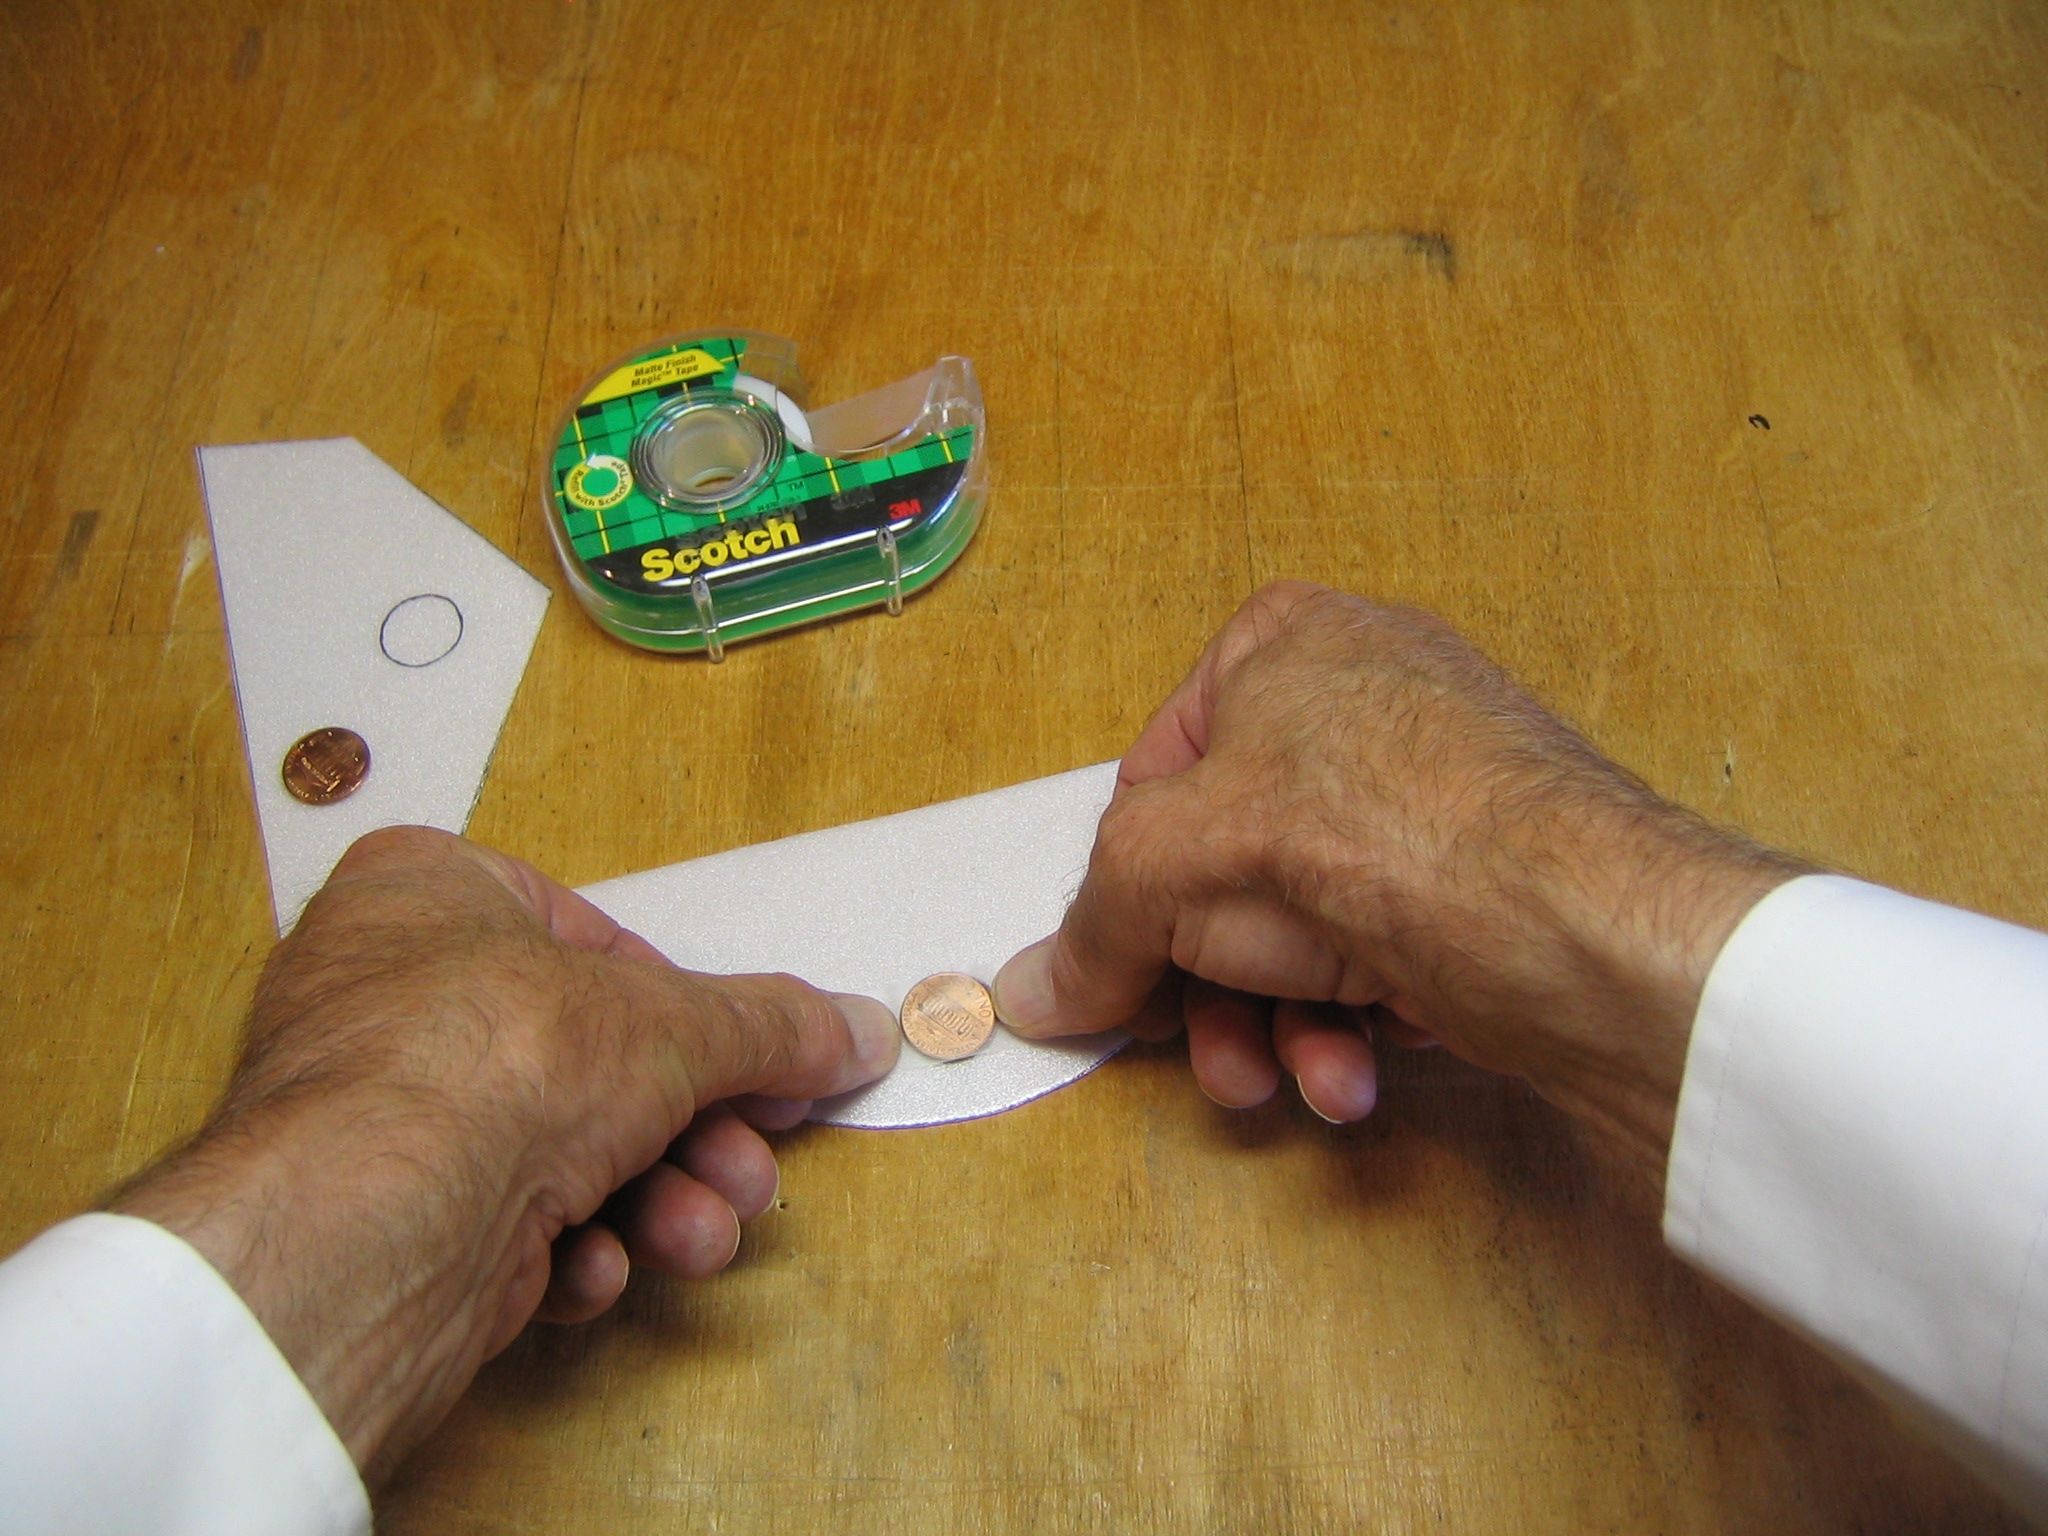
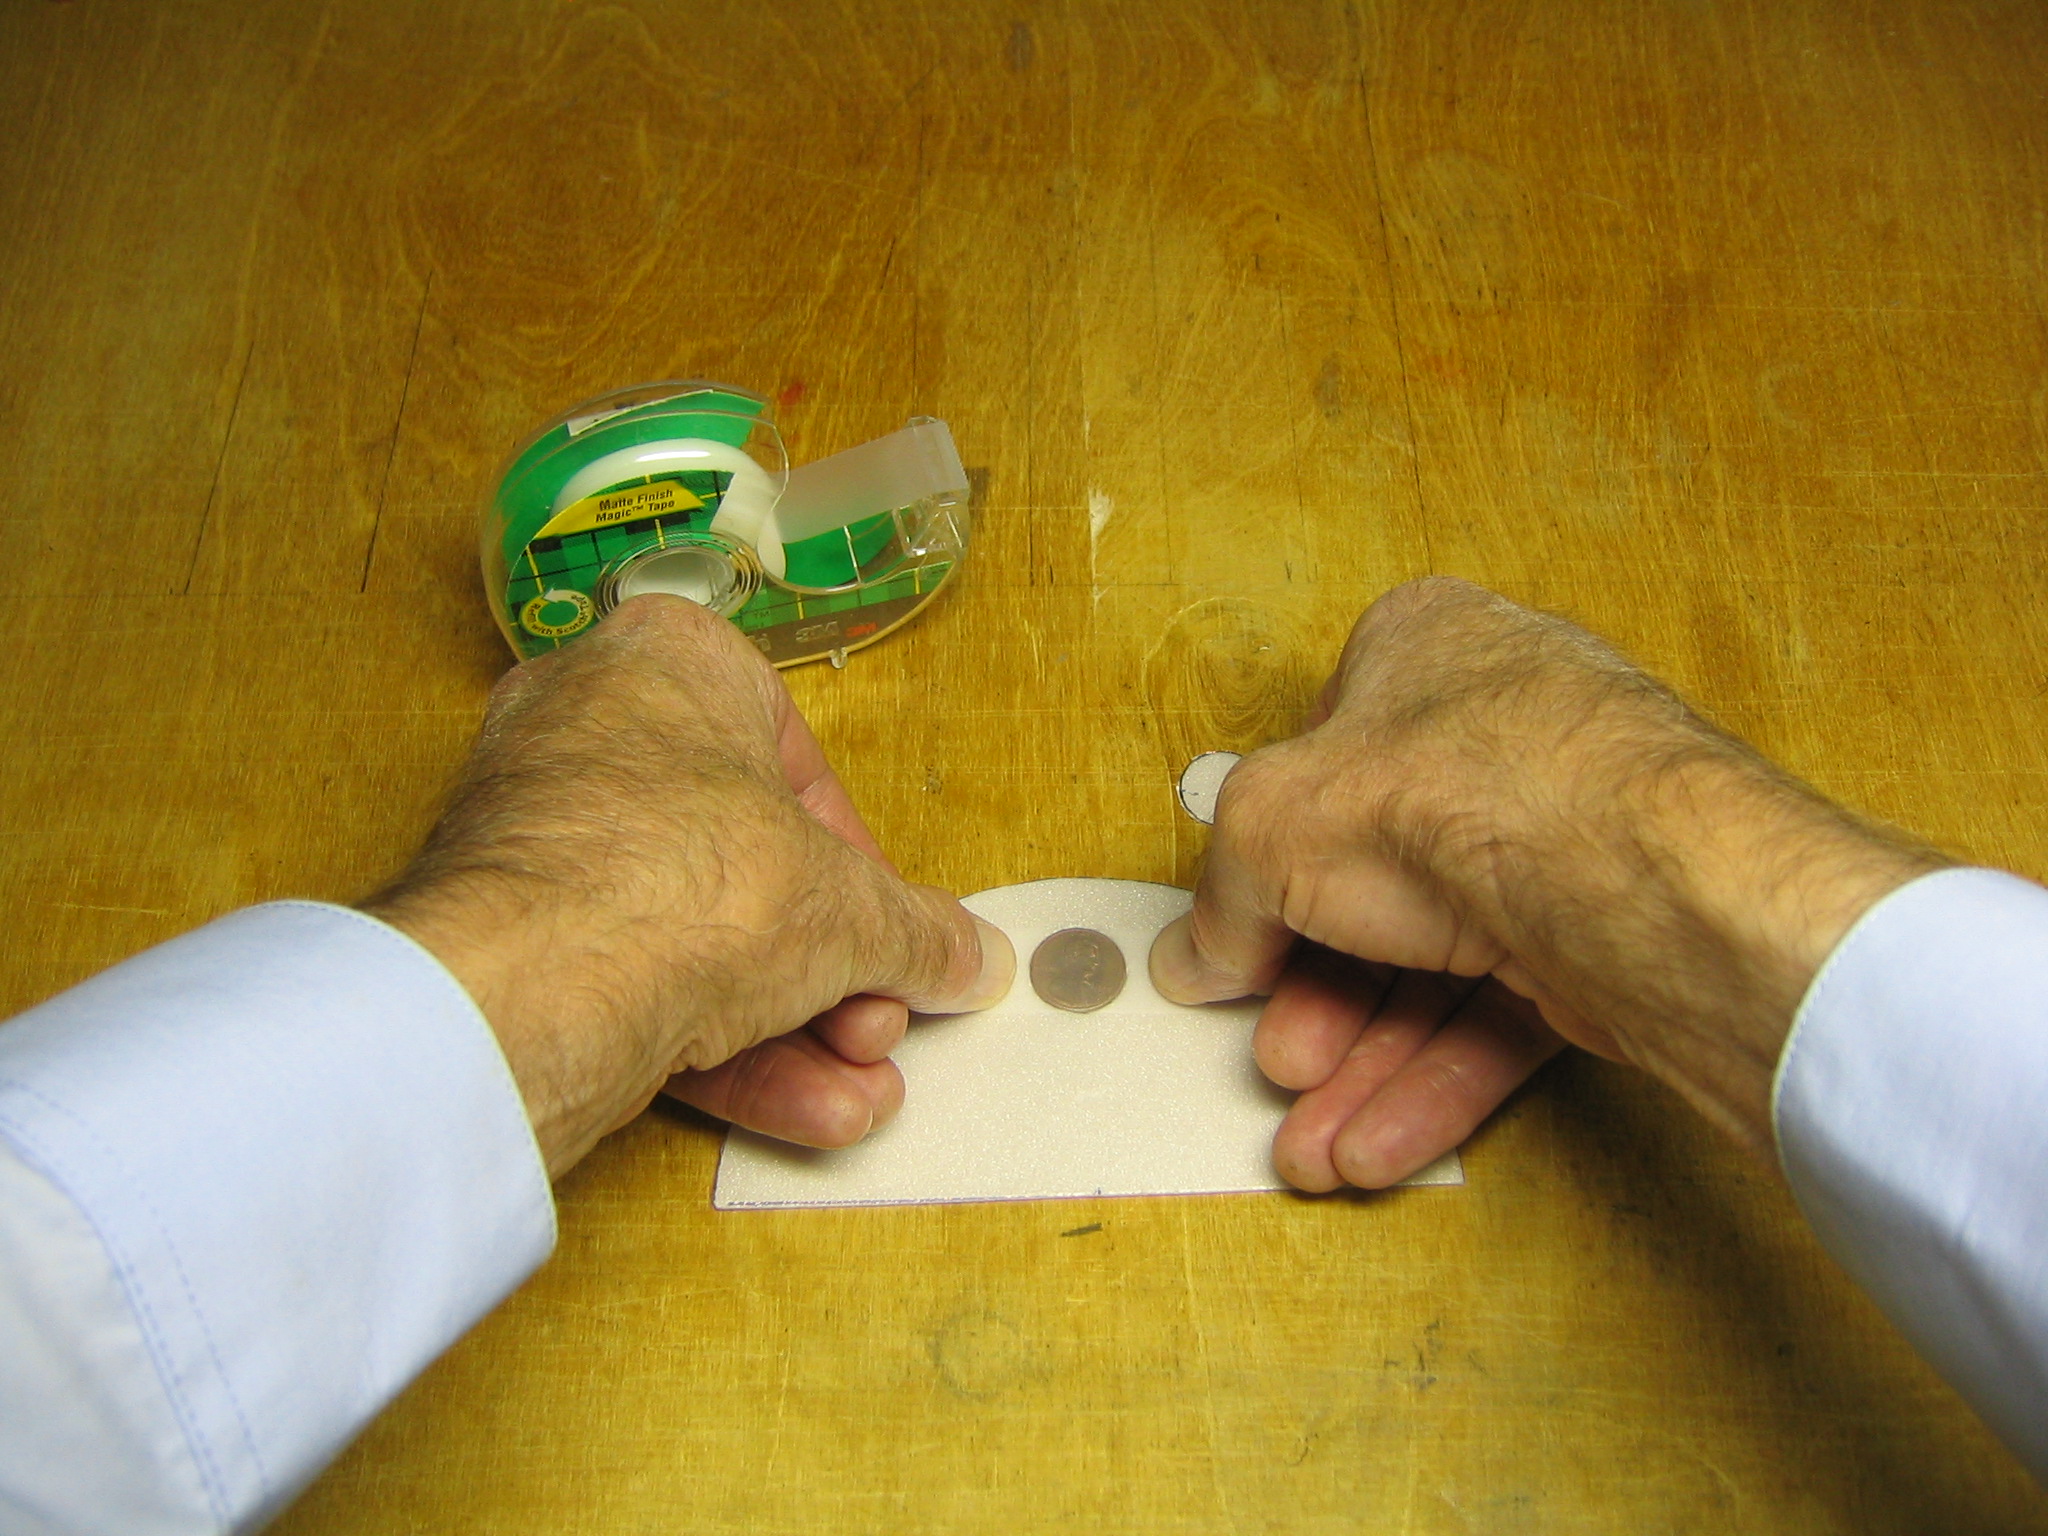
Put a strip of tape across the penny from side to side.
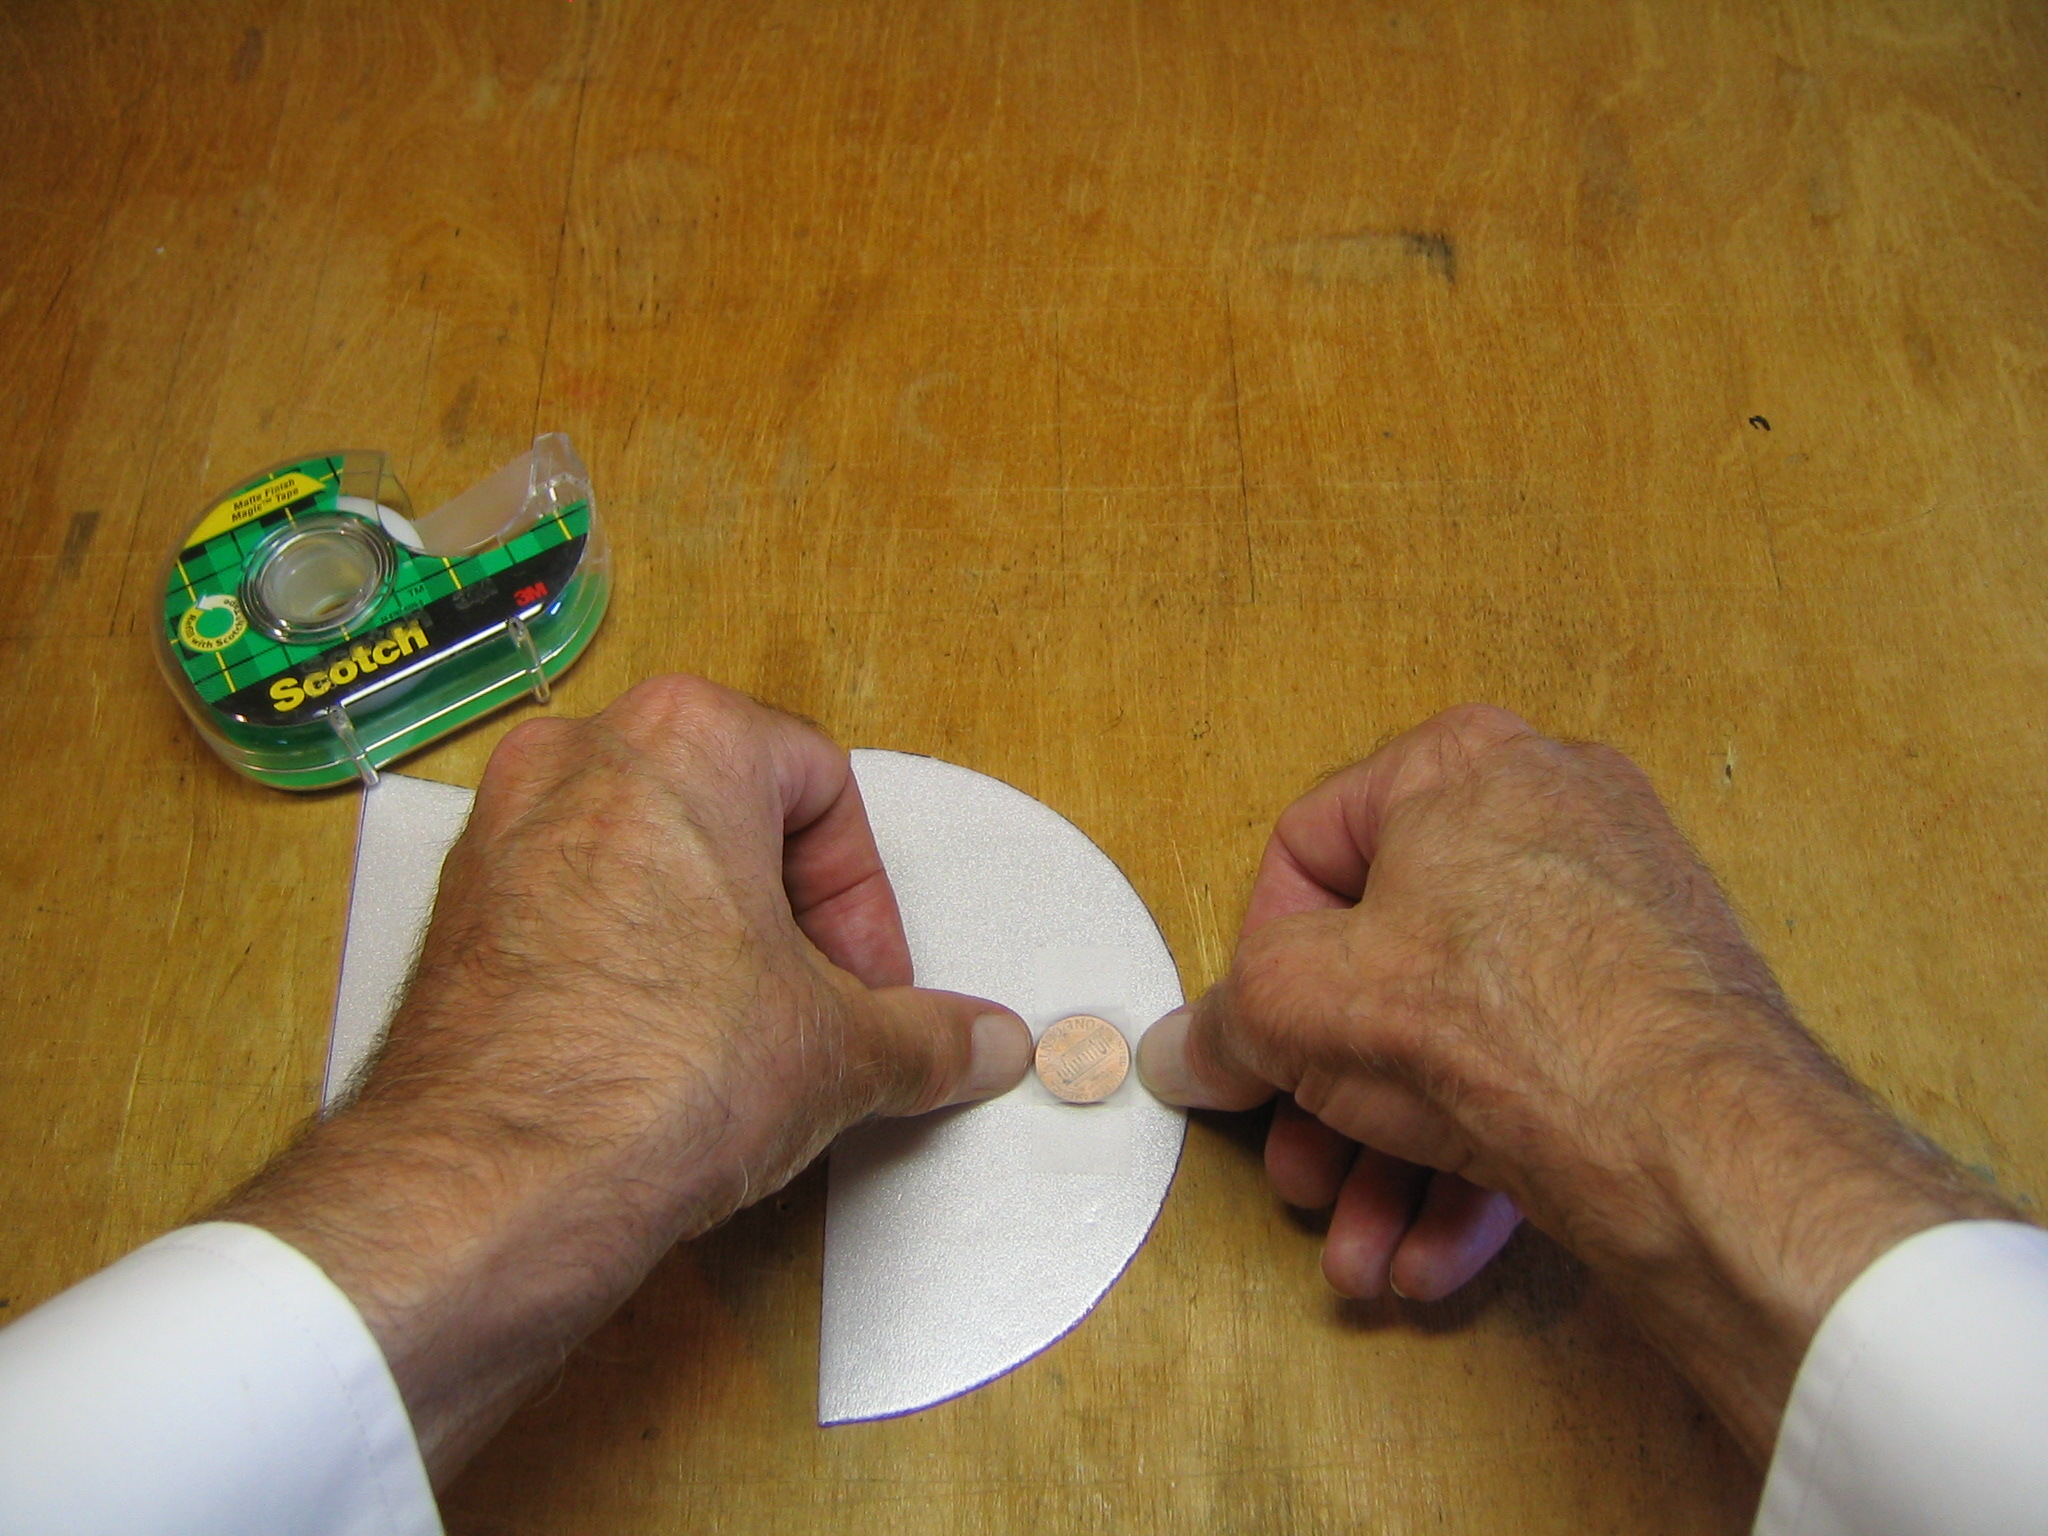
Put another strip of tape across the penny from front to back.
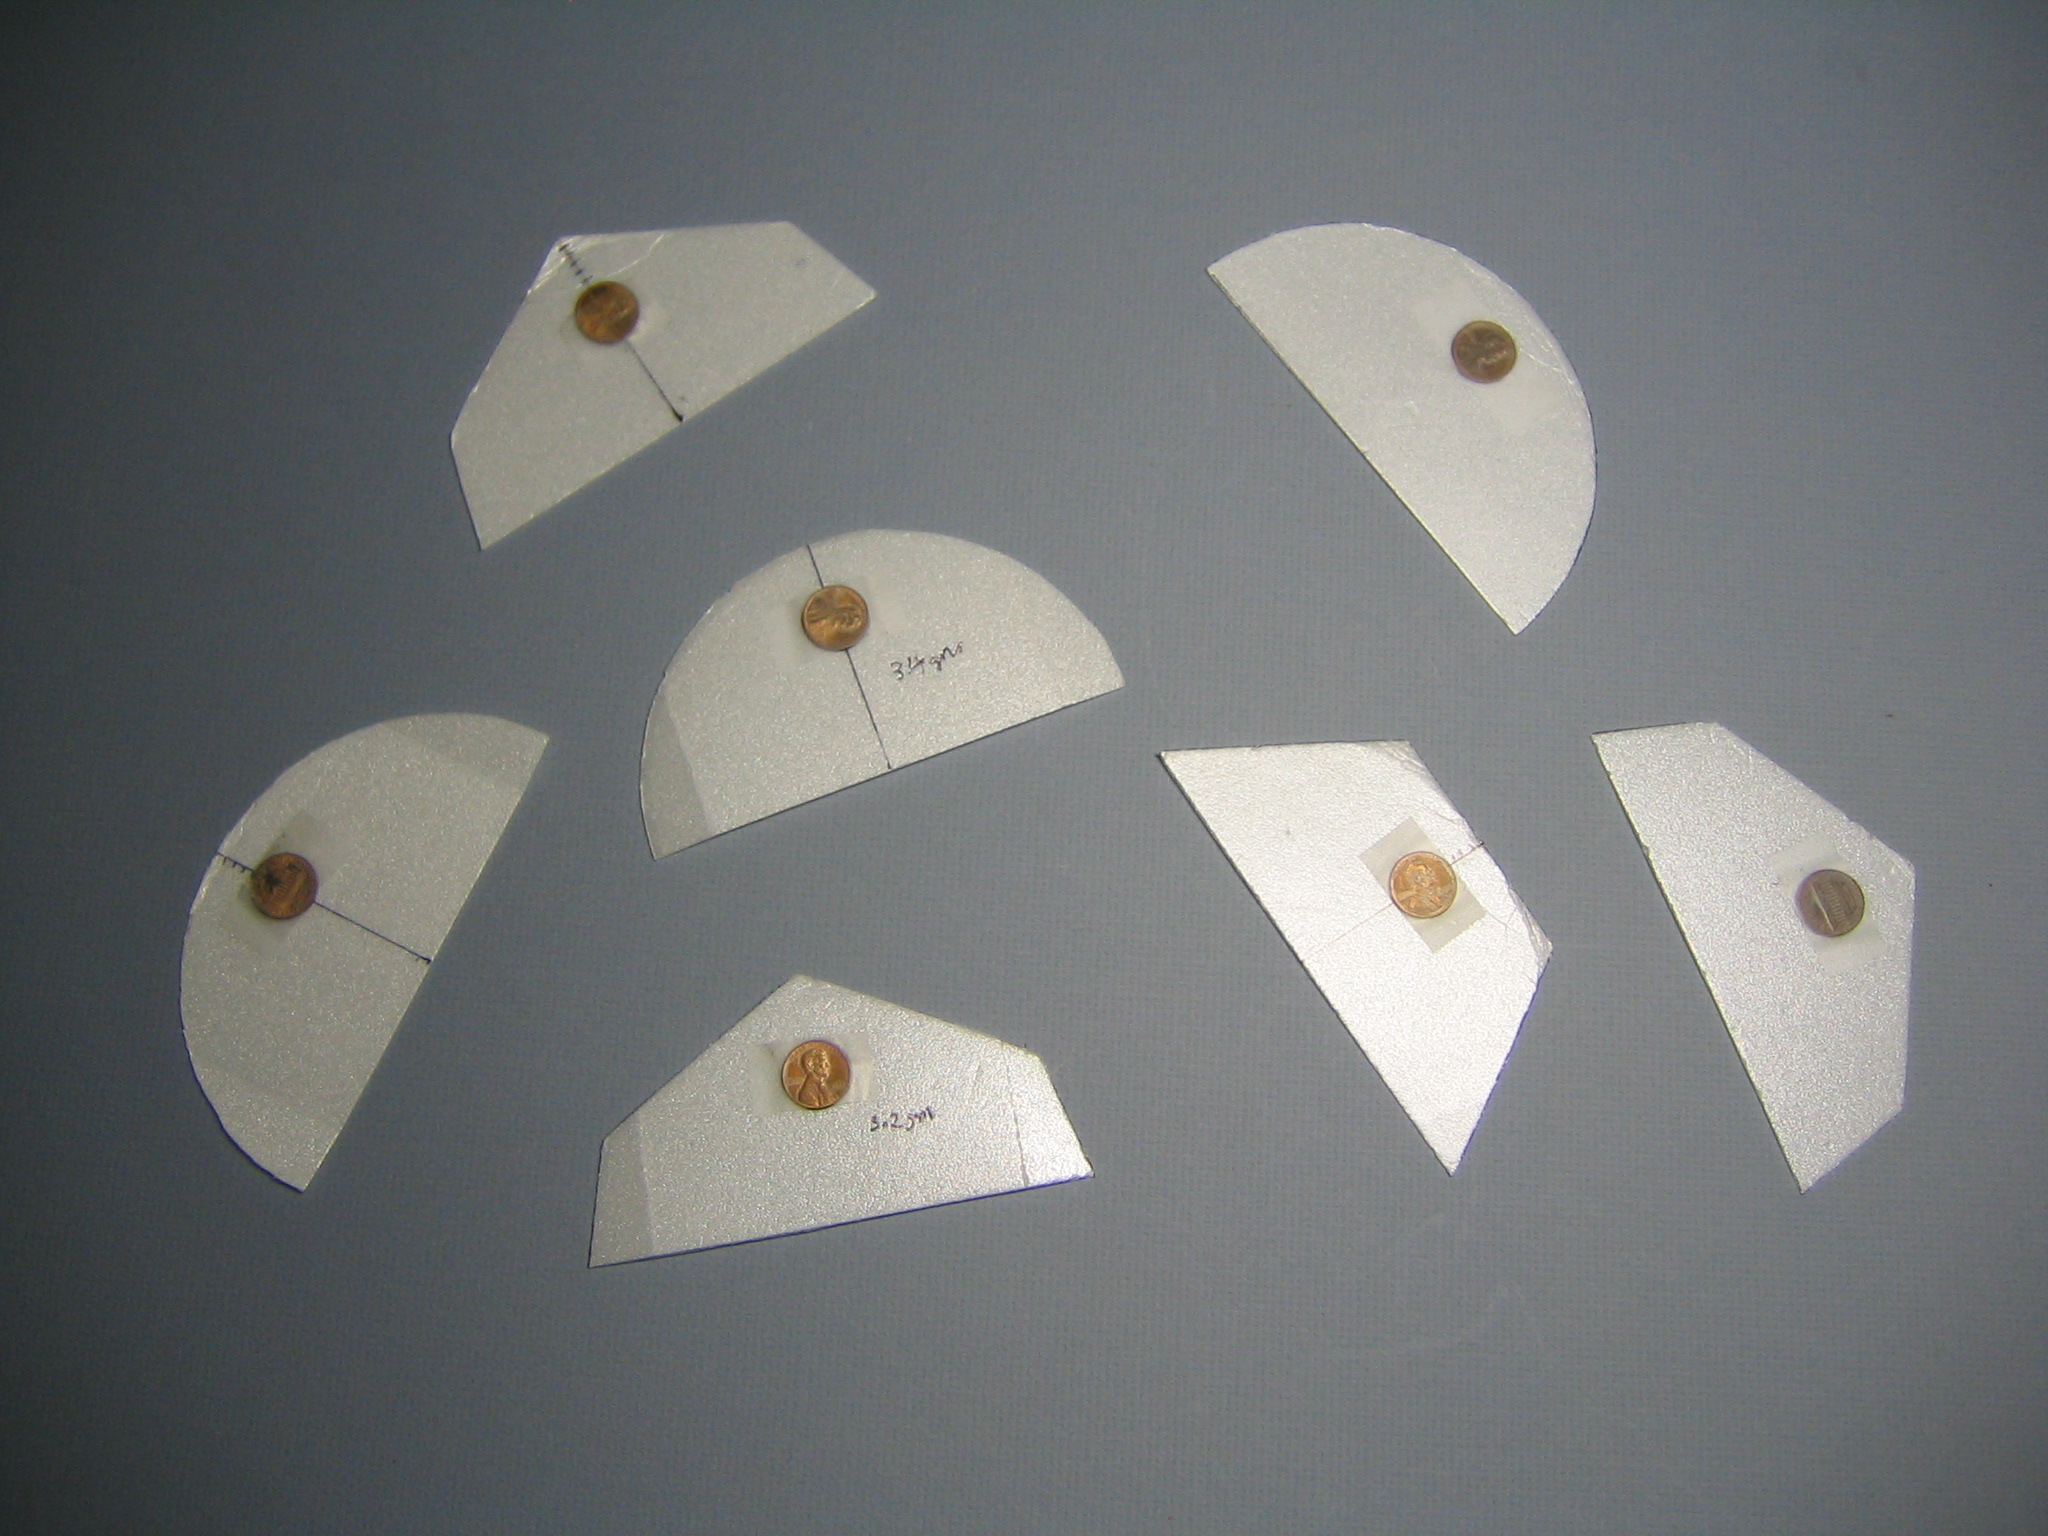
I also made a trapezoidal pattern. This is half of a hexagon.
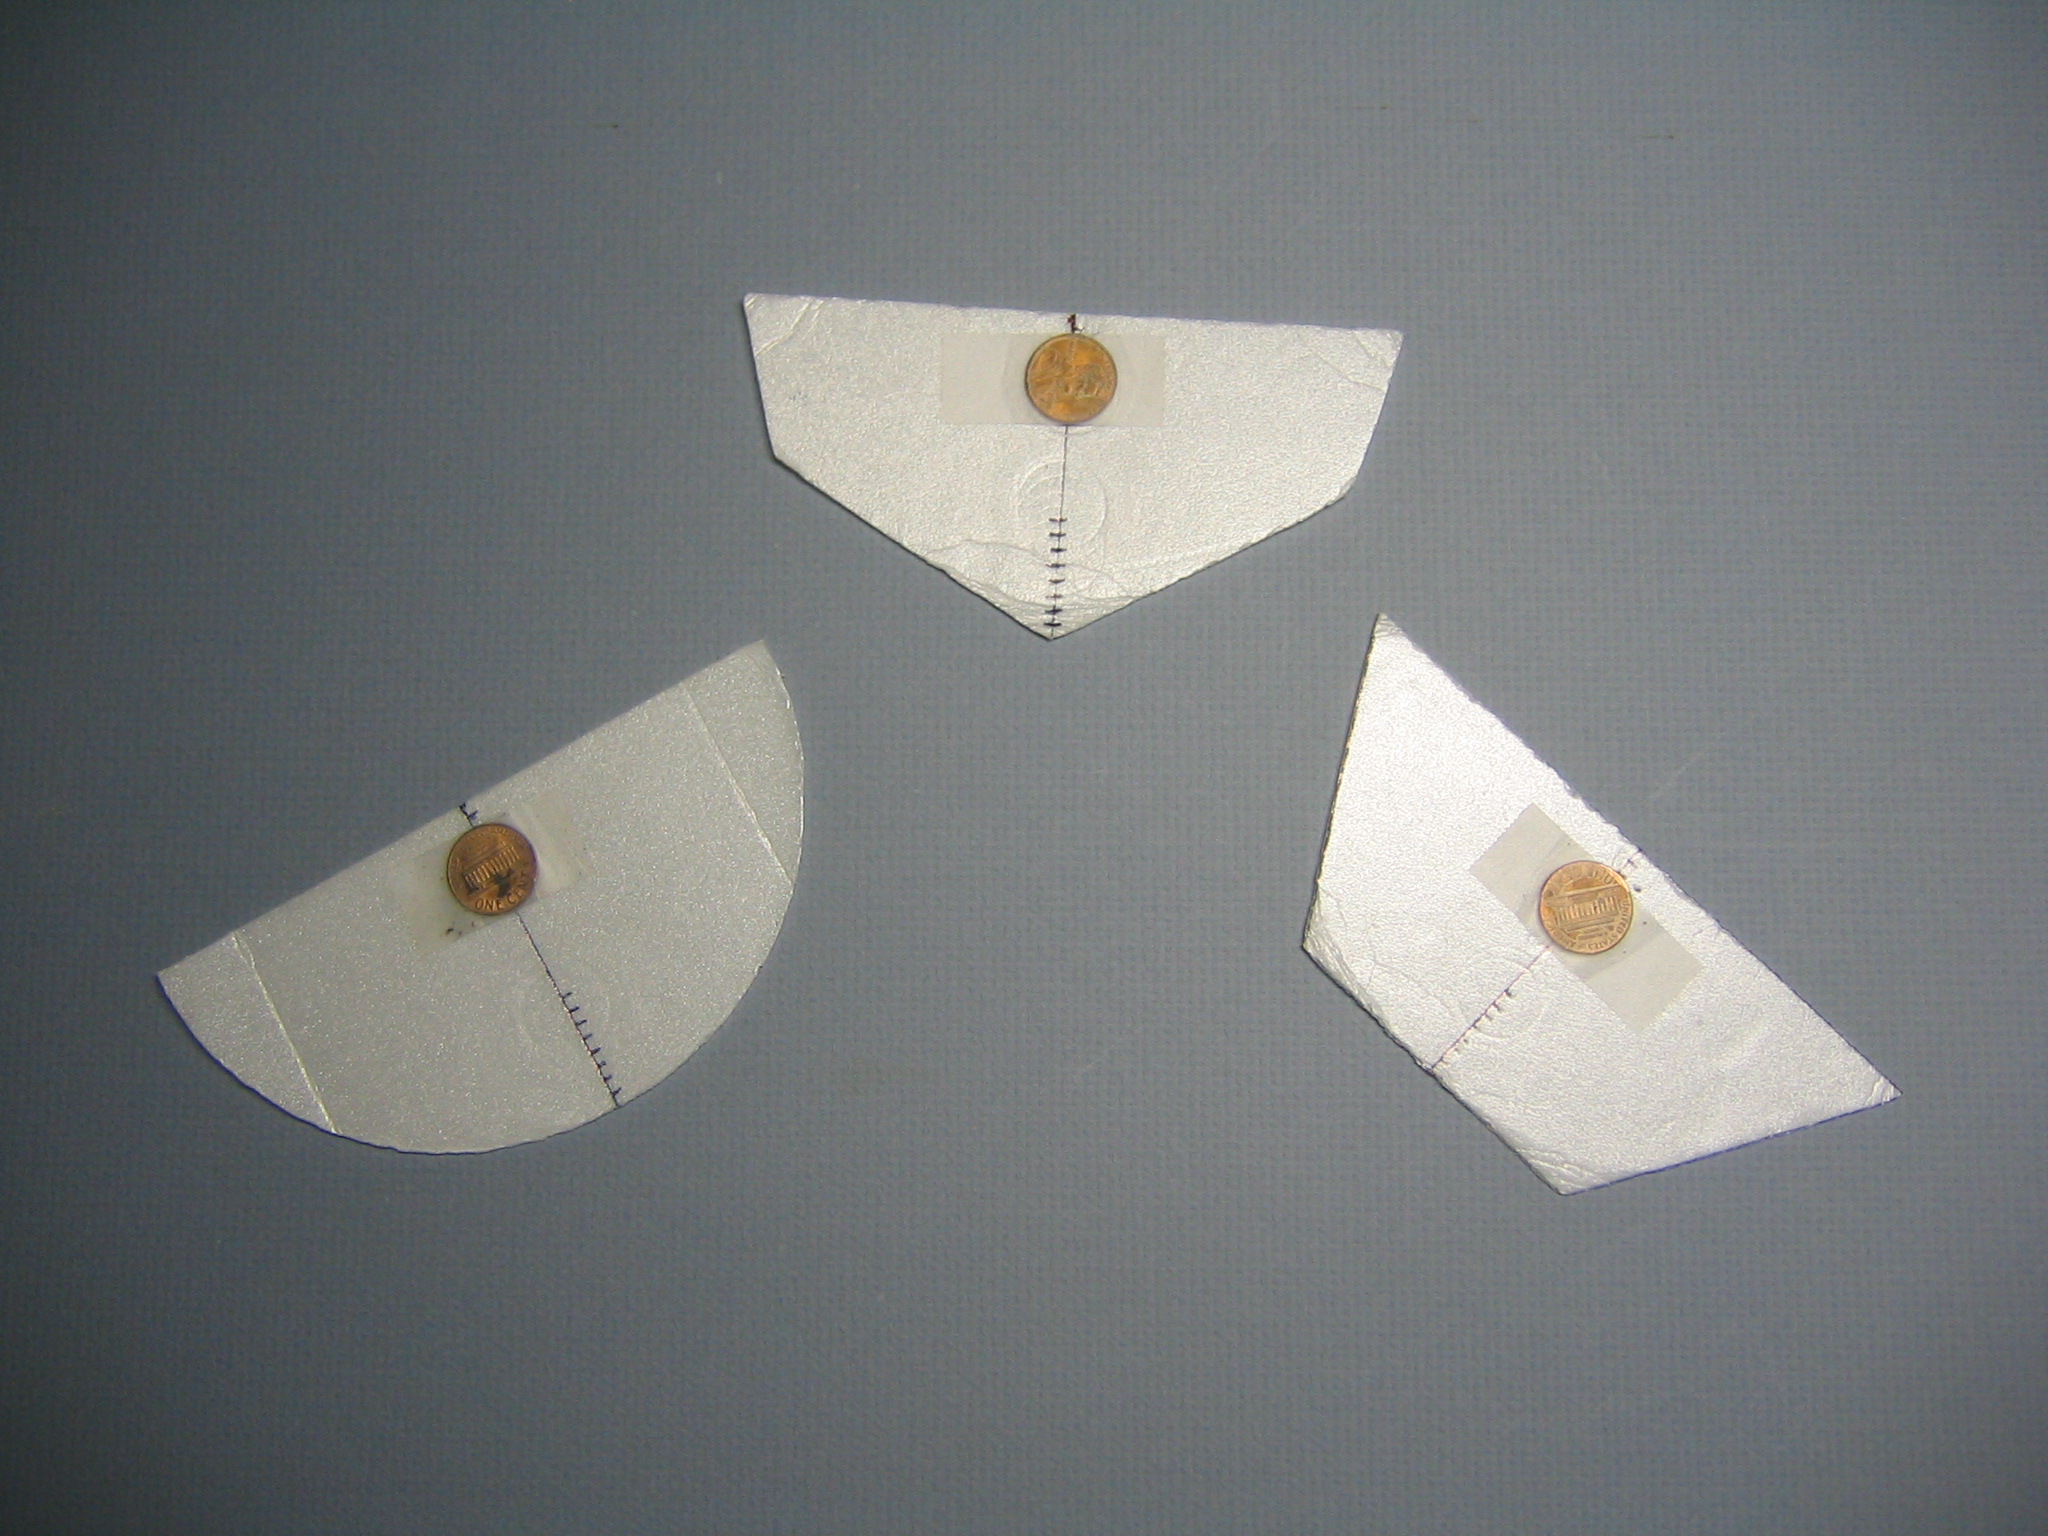
You can experiment with other shapes or try flying these wings backwards. The penny is 1/4″ back from the leading edge on the half circle and trapezoid, 3/16″ back on the pentagon. These have an interesting property, they are statically stable in pitch, but dynamically unstable. They pitch up and down in a rapid oscillation as they fly. The difference is that these have more area forward and less aft, so less area moment or tail volume to damp the oscillation.
Because these are marginally stable, they are very sensitive to twists, dents and other irregularities. There can be a noticeable difference in flight from moving the penny 1/32″. Having the penny slightly off center will produce a turn.
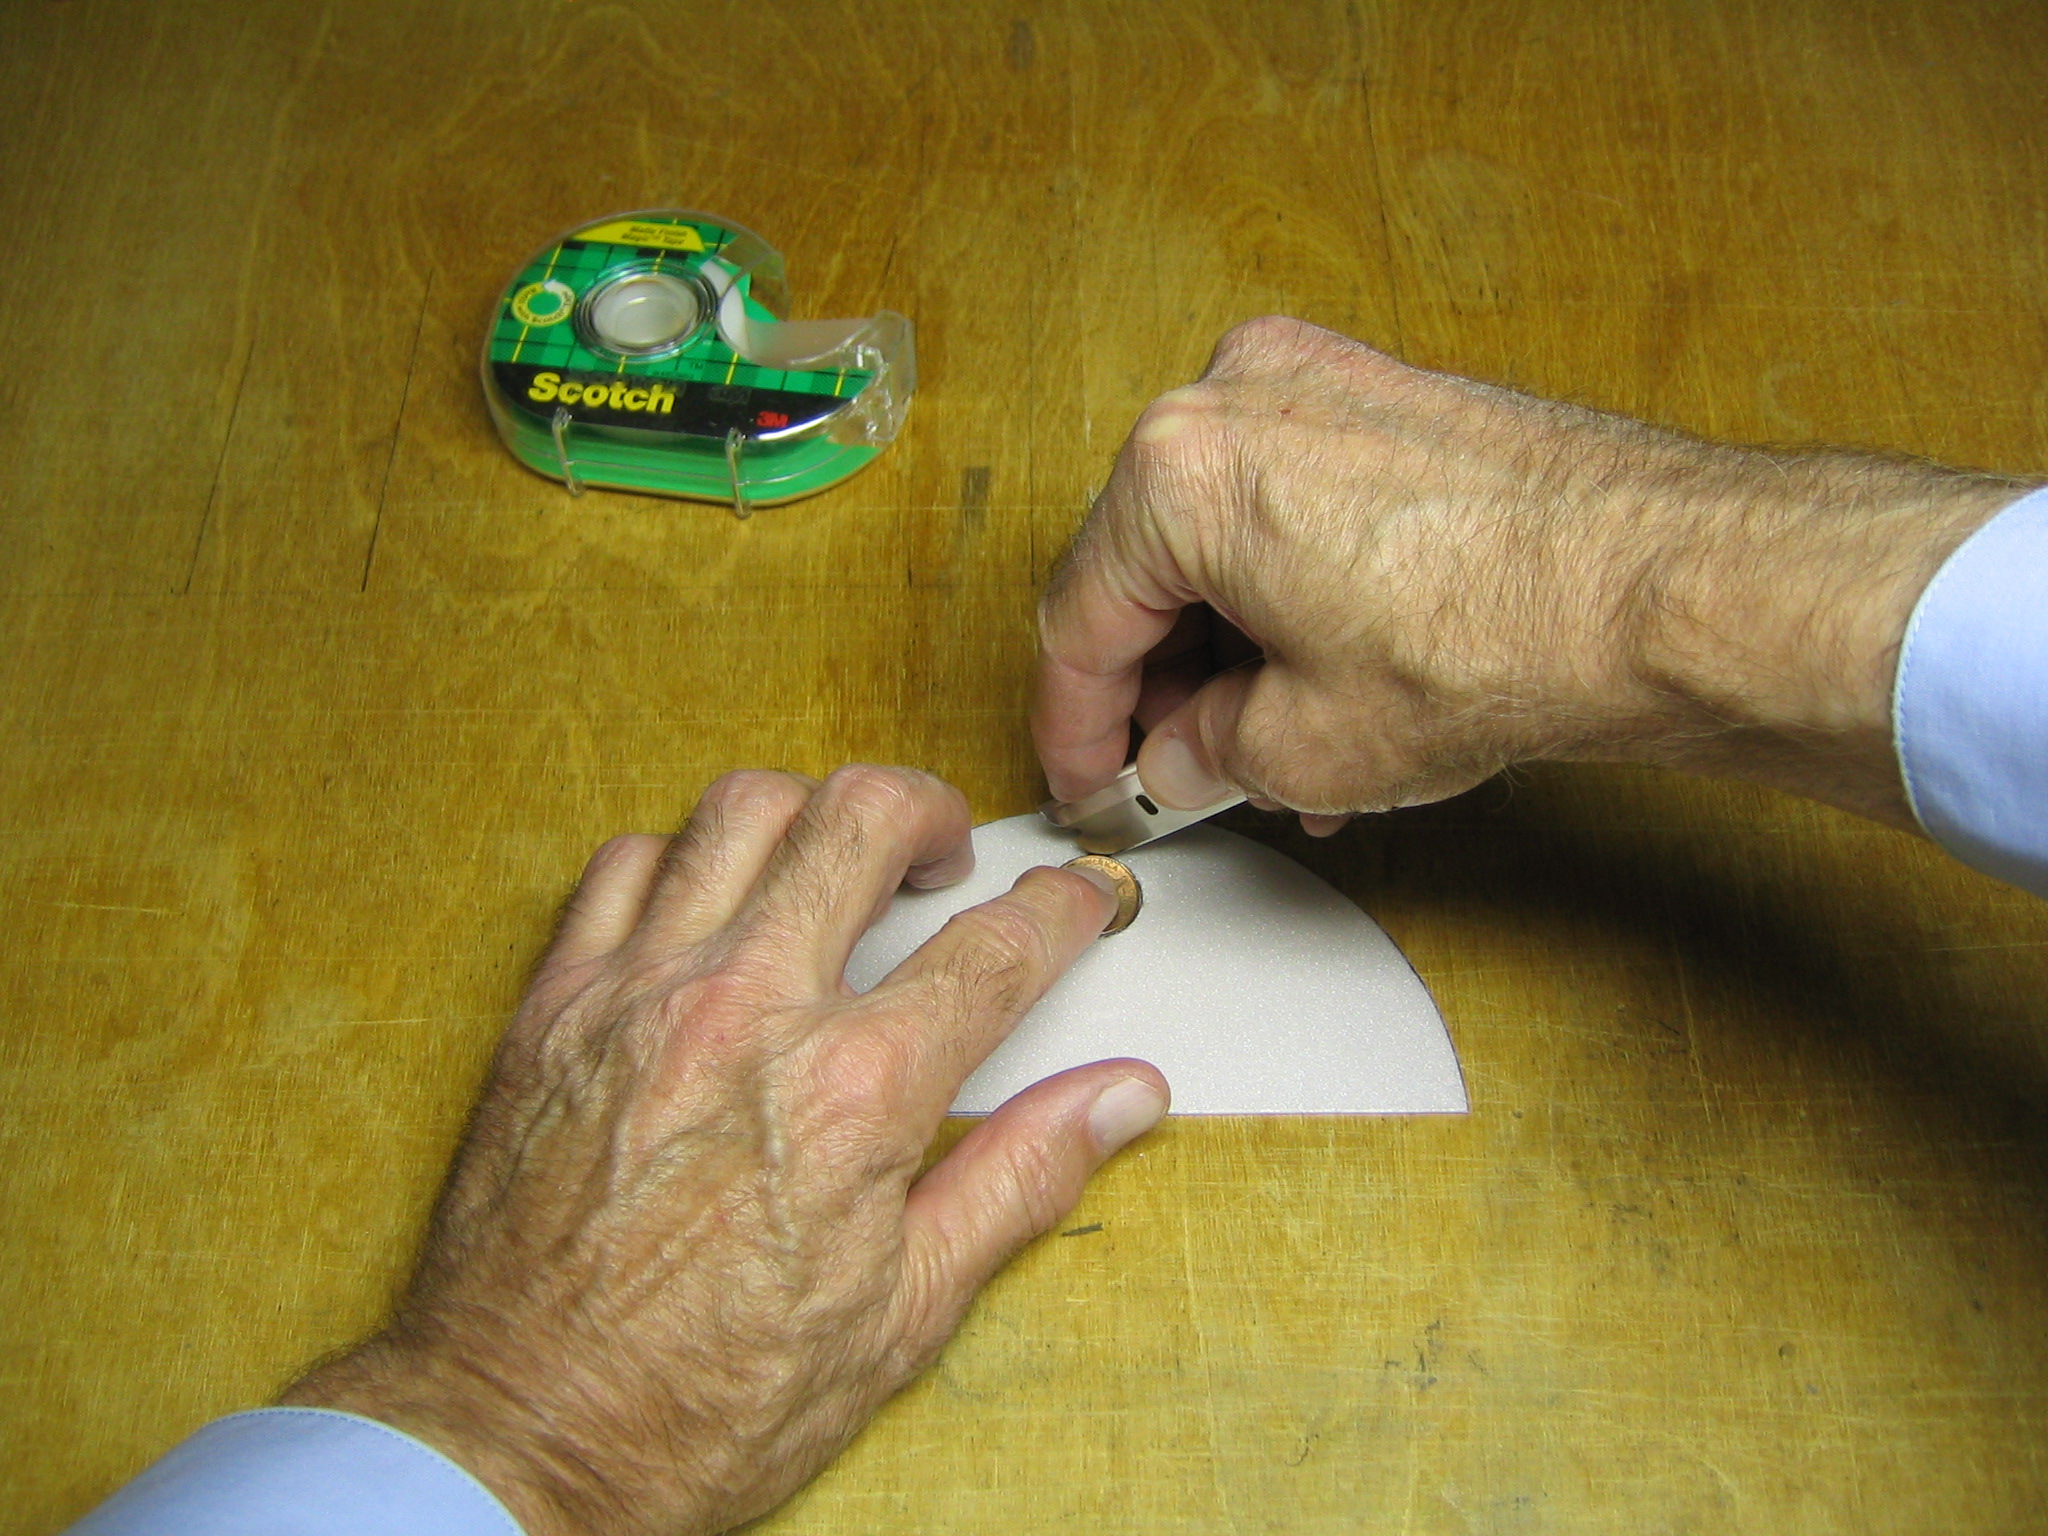
Another variation is to use a penny as a template and cut the foam disk out.
Remove the foam disk and place the penny in the opening.
Put tape over the penny.

Flip it over and put tape over the other side.
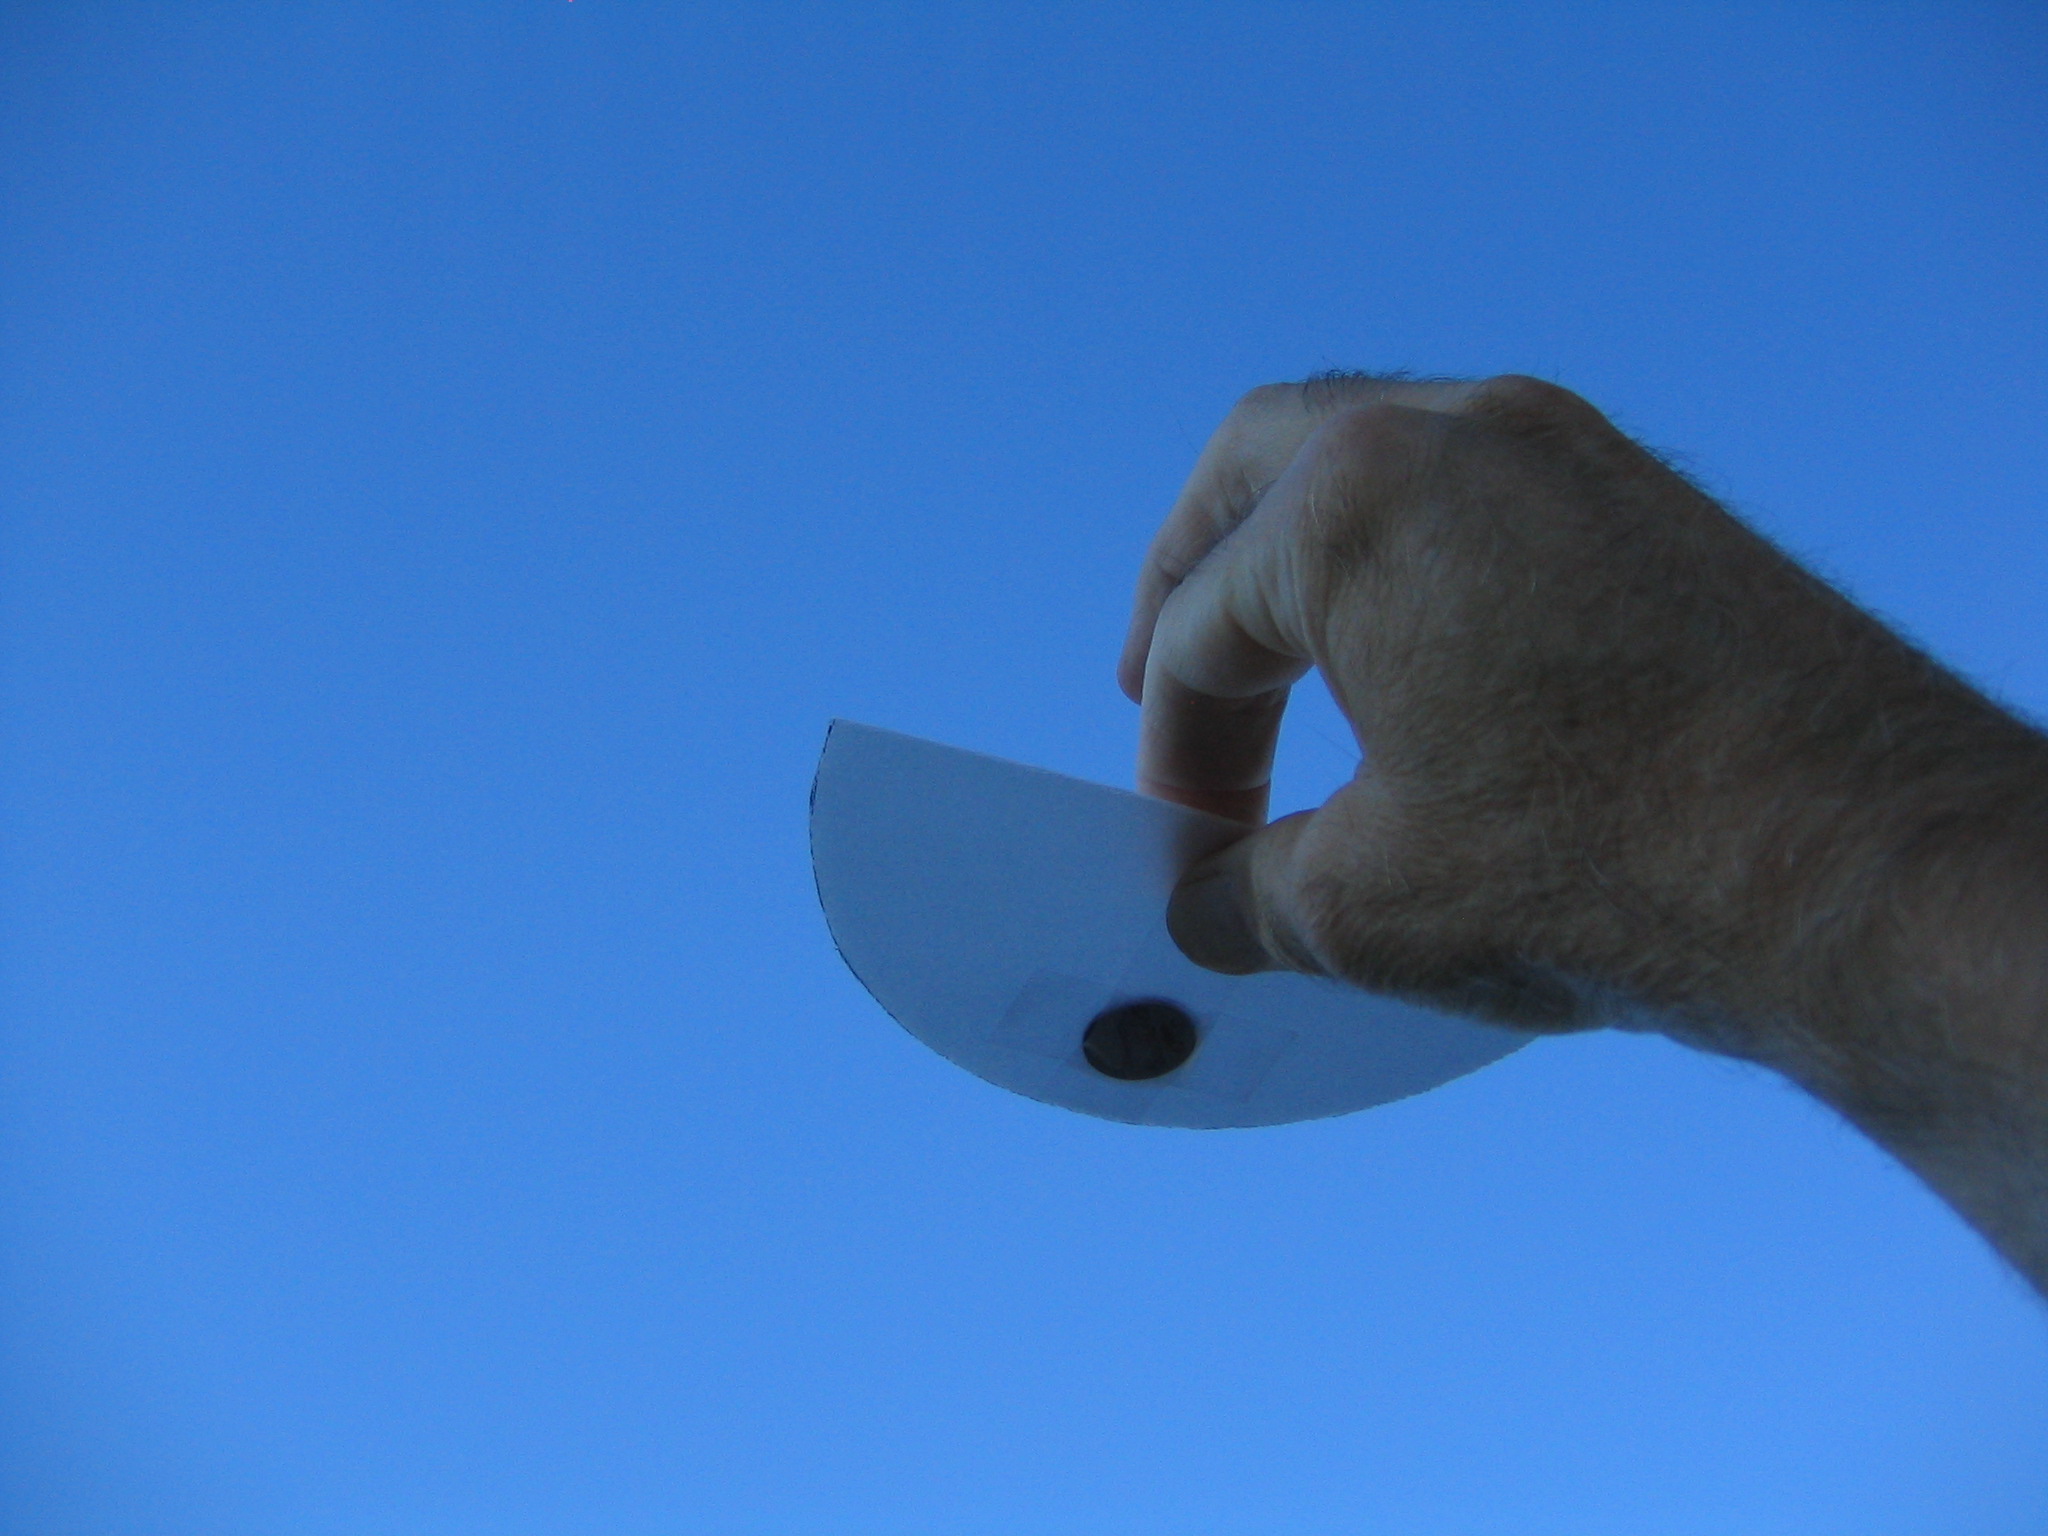
These gliders are normally launched overhead by holding them from behind and giving them a little push. How fast to push them is determined by trial. This method of launching won’t get them up very high.
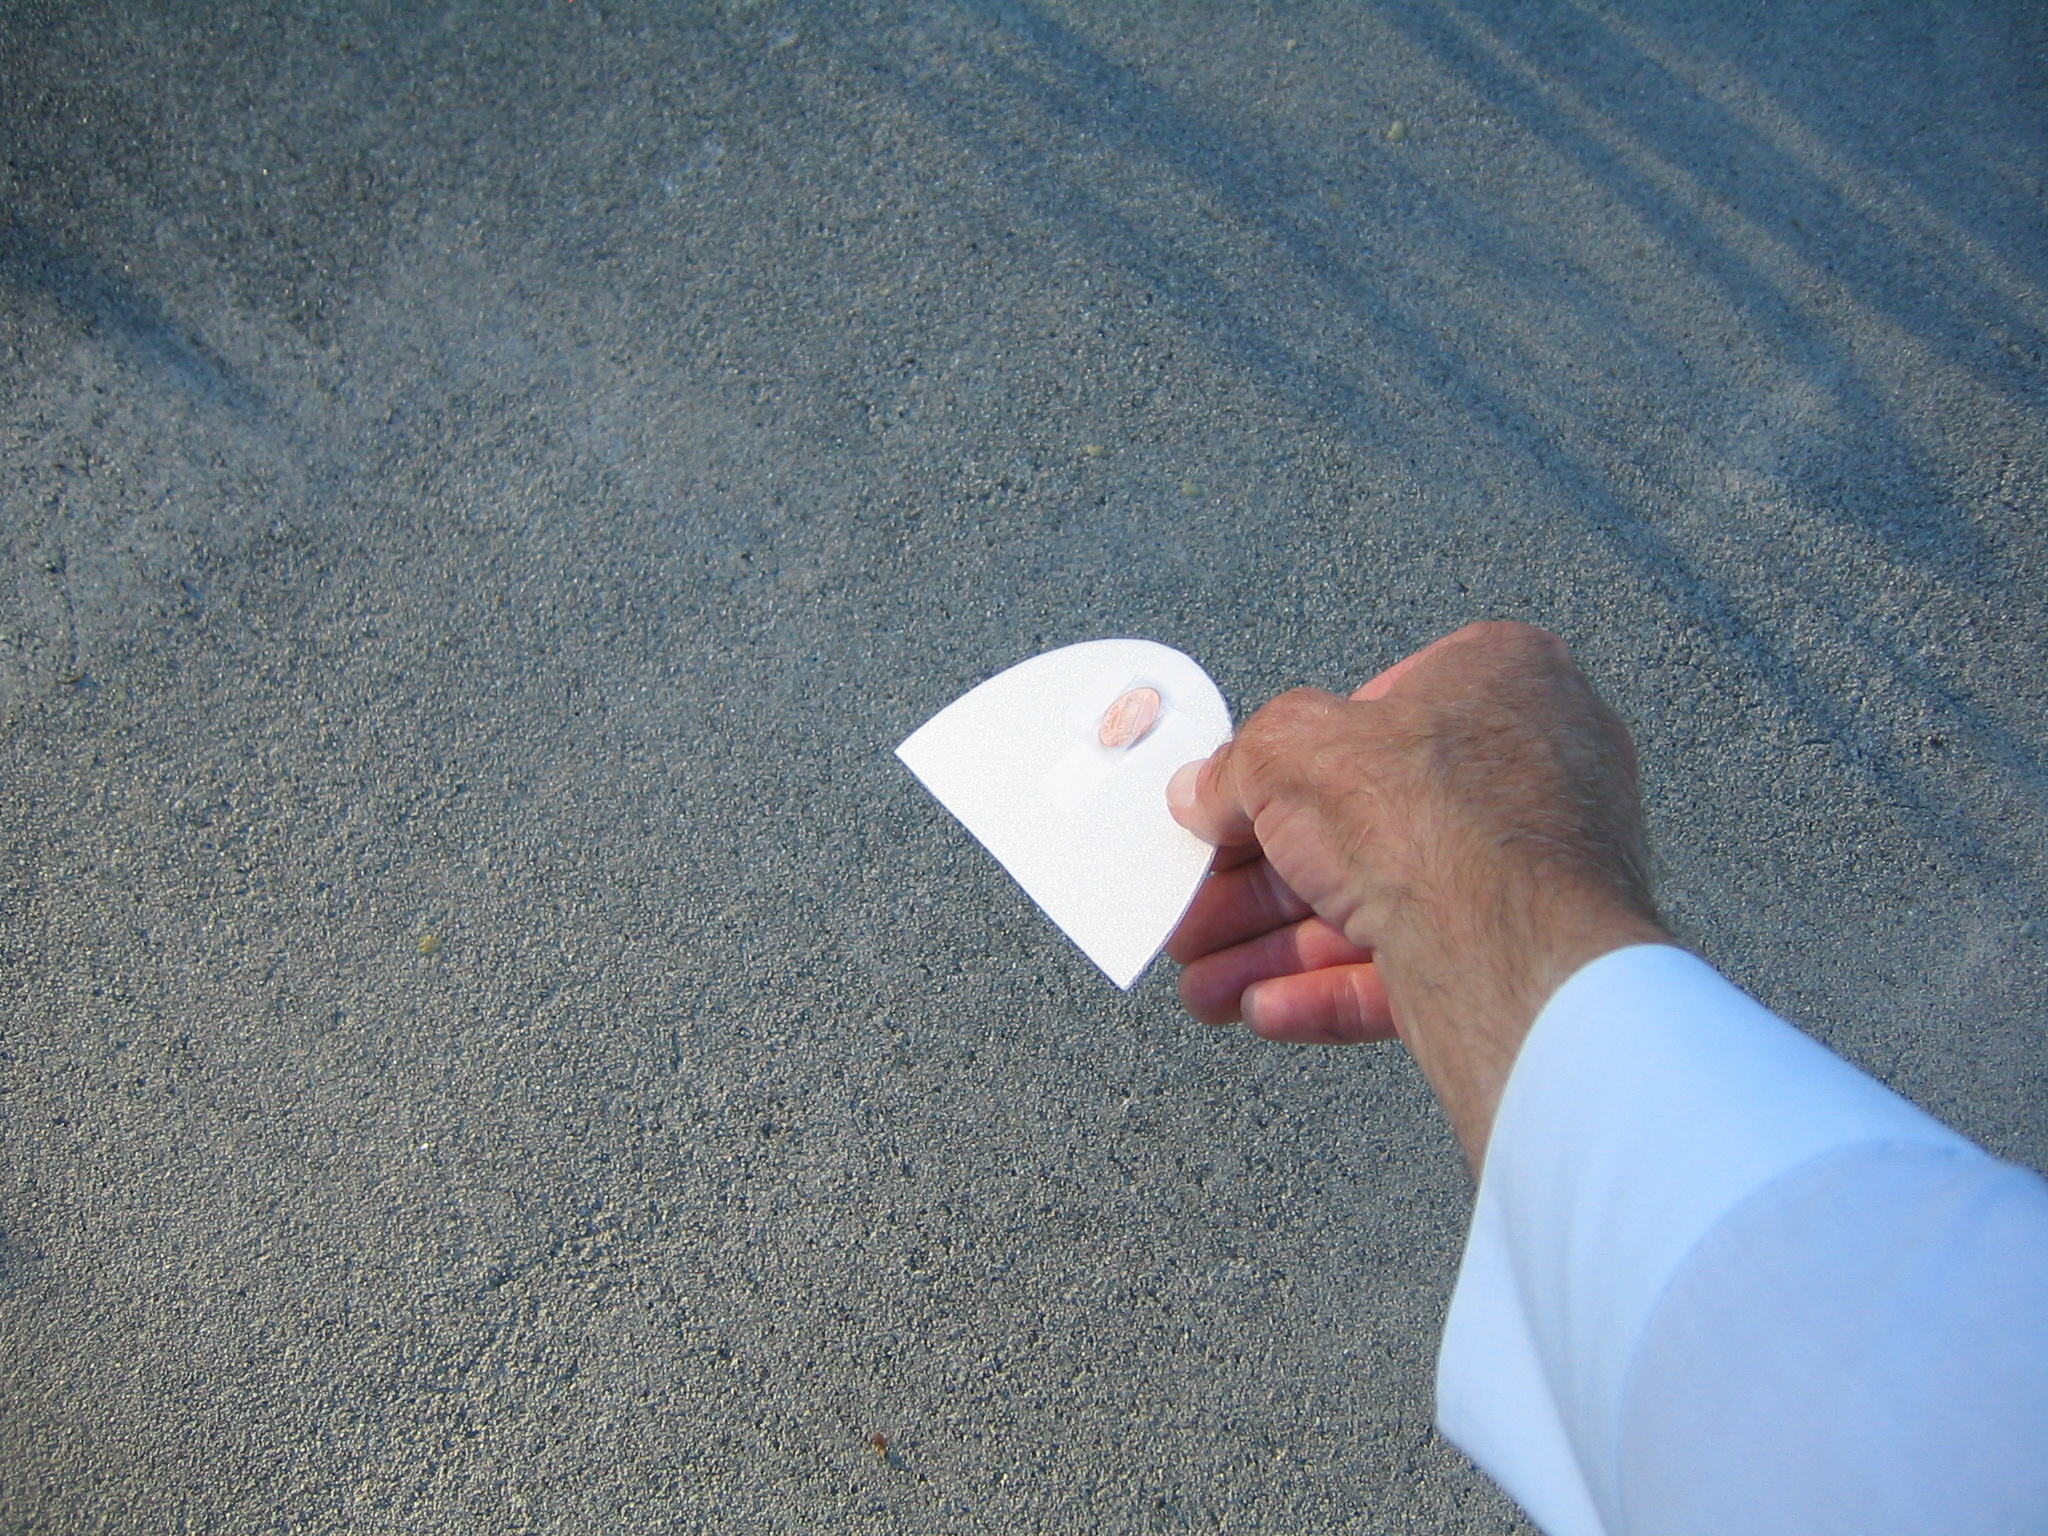
I found that I could get them up higher, for longer flights, by holding them near a tip and launching them backhanded. Adjust the angle and speed of launch until you get the best flights. I found that a steep angle of bank and a moderate speed gave the longest flights. A fast launch will result in them looping and coming back down to the ground, maybe hitting you! Fortunately they are very light.
These fly pretty fast and don’t stay up very long. I found it hard to get flight photos. The digital camera pauses between the time I press the shutter button and the time it makes the exposure. This is the only shot I got after many tries.
What makes these gliders interesting aeronautically is that they have none of the required stabilization features. No fin for directional stability, no dihedral for roll stability and no tailplane for longitudinal stability. They seem to violate all the rules. Yet they are stable flyers. They may be marginally stable, they may wobble a lot, but they can maintain a steady heading in still air. So what is going on?
A glider moves in three dimensional space. It can move up or down, left or right, forward or backward. It can also rotate from side to side, left or right , up or down. A requirement for steady flight is stability around all three axes. A longitudinal rotation around an axes through the wingtips is called pitch. A lateral rotation around an axis from front to back is called roll. A directional rotation around a vertical axis is called yaw. Each of these is governed by different forces.
Flat wings have an unusual property. In any glider there are two forces acting, the weight of the glider acting through a fixed center of gravity and an aerodynamic force acting through a center of pressure that moves when the angle of the wing to the oncoming air changes. In steady flight, these two forces must balance and be in line with each other. In a flat wing, if the nose pitches up from the steady flight angle, the center of pressure moves back from the center of gravity. With the lift pulling up in back and the weight pulling down in front, the forces rotate the wing back down to the steady flight angle where the forces will be back in balance. If the nose pitches down from the steady flight angle, the center of pressure moves forward of the center of gravity. With the lift pushing up in front and the weight pulling down in back, the forces rotate the wing back up to the steady flight angle where the forces will be back in balance.
If the wing tips to one side, with one wing tip lower than the other, the wing will side slip toward the low wing. A similar situation arises where the center of pressure will move toward the low wing, raising it back to level. A wing with sweep back also provides some roll stability.
The center of gravity is close to the leading edge of the wing. There is more wing area behind the center of gravity than in front of it. If the wing turns to one side, the greater area will be offset to one side and the center of resistance will move to that side and push it back to align with the direction of flight.
These stabilizing mechanisms are marginal. Any little imbalance will disturb them. Any asymmetry in the wing will make it turn or bank.
where did it go? did it come back?
Interesting stuff. I stumbled upon this page while researching home made r/c flying wings. You provided some good food for thought in the quest for the simplest wing configuration, though it may require electronic stabilization. Thanks!