Many years ago I taught classes in paper airplanes. Someone made off with my master copies and I was left with a copy that was too poor to hand out. Unfortunately, that is all I have now, but here it is. The illegible text is typed below.
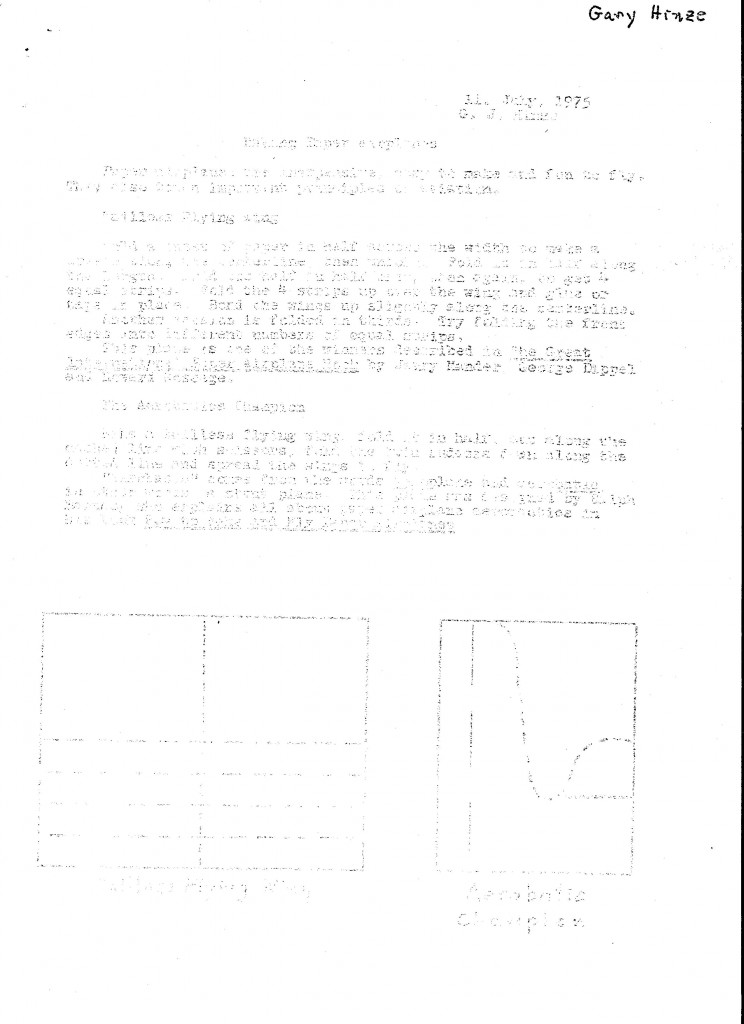
The first page is the worst. The diagram is usable. As best I can make out, this is what the text said:
11. July, 1975
G. J. Hinze
Making Paper Airplanes
Paper airplanes are inexpensive, easy to make and fun to fly. They also teach important principles of aviation.
Tailless Flying Wing
Fold a sheet of paper in half across the width to make a crease along the centerline, then unfold. Fold it in half along the length. Fold one half in half once, then again, to get four equal strips. Fold the four strips up over the wing and glue or tape in place. Bend the wings up slightly along the centerline.
Another variation is folded in thirds. Try folding the front edges into different numbers of equal strips.
This plane is one of the winners described in The Great International Paper Airplane Book by Jerry Mander, George Dippel and Howard Gossage.
The Aerobatics Champion
Make a Tailless Flying Wing. Fold it in half, cut along the dashed line with scissors, fold the twin rudders down along the dotted lines and spread the wings to fly.
“Aerobatic” comes from the words aeroplane and acrobatic, in other words, a stunt plane. This plane was designed by Ralph Barnaby, who explains all about paper airplane aeronautics in his book How to Make and Fly Paper Airplanes.
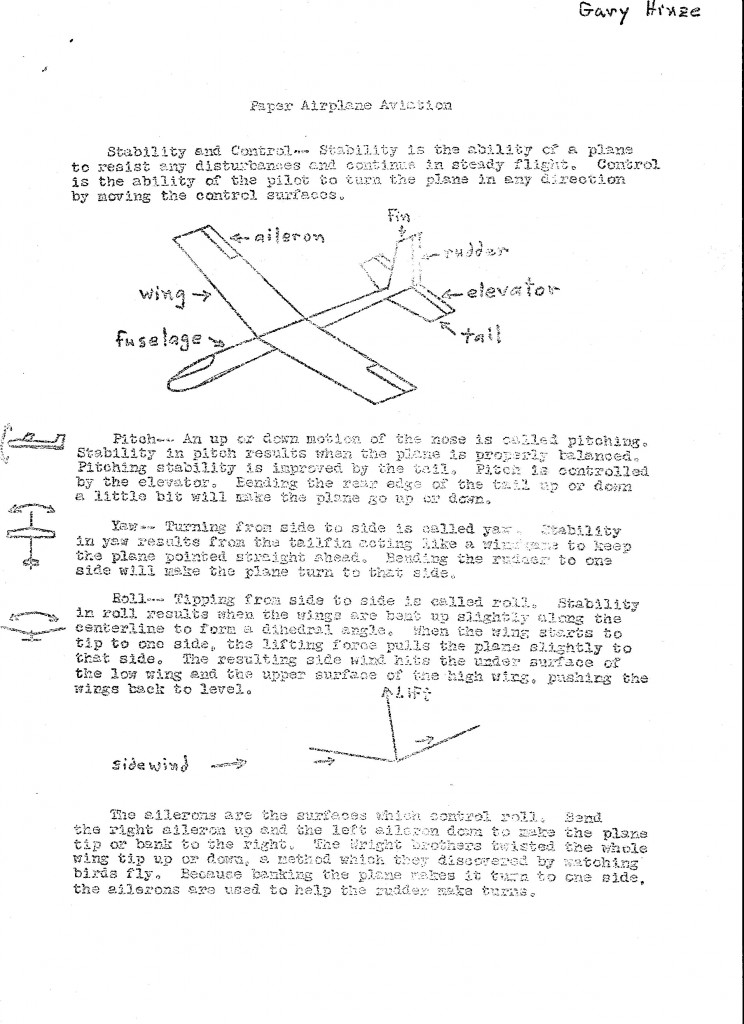
I think the remaining pages are readable.
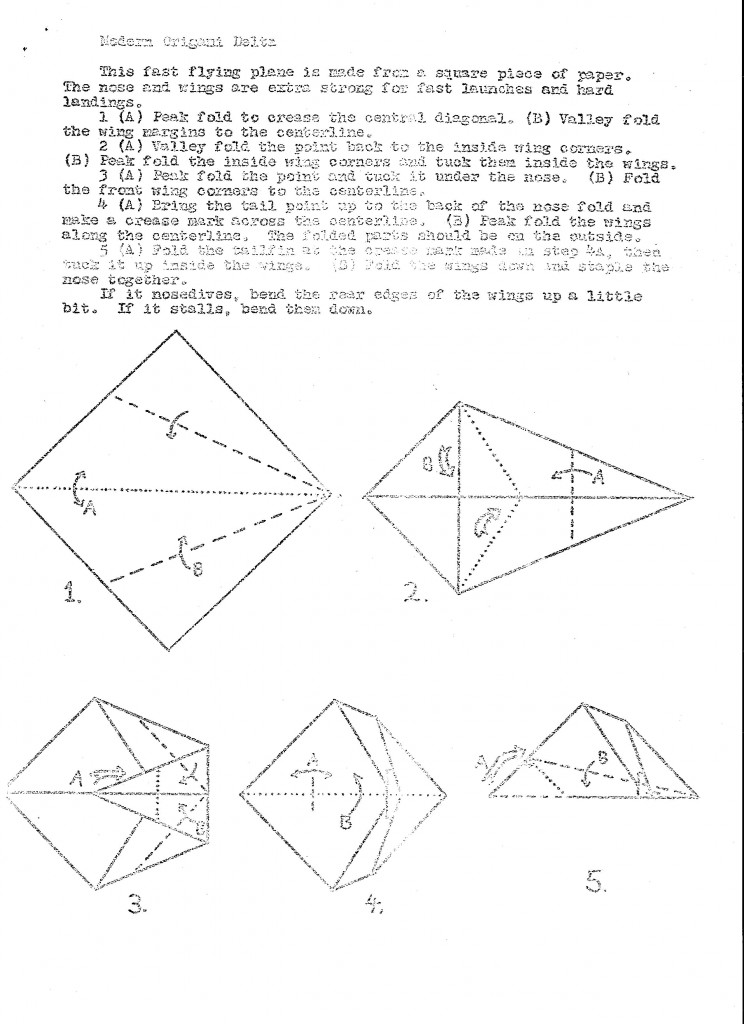
The Origami Delta used square origami paper. I designed it especially for this class. You can make square paper from rectangular typing paper by putting a short side along a long side and folding down. Cut off the rectangle that projects out beyond the triangle of folded over paper.
Rather than staple the nose, you can use several small spots of glue inside. A clothespin will hold the nose together while the glue dries.
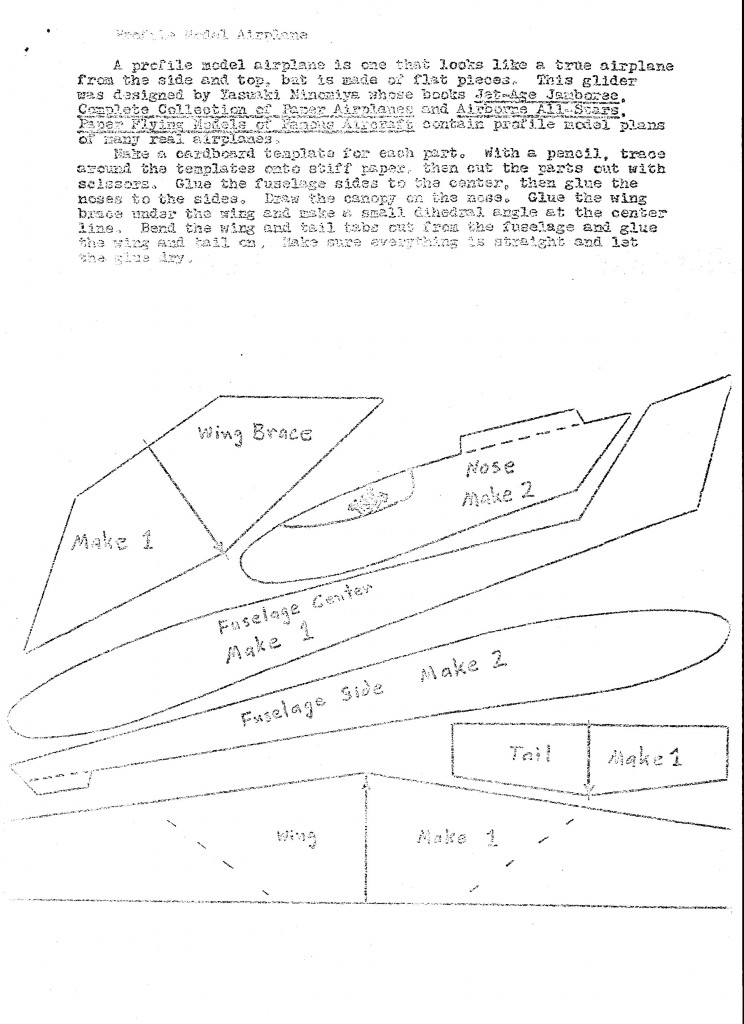
Draw a picture of yourself in the cockpit. When you glue the fuselage sides and nose pieces on, be careful to not glue the tabs together. They must be folded out later to attach the tail and wing. A steel straightedge helps make crisp, straight folds. You could make one of these out of thin foam.
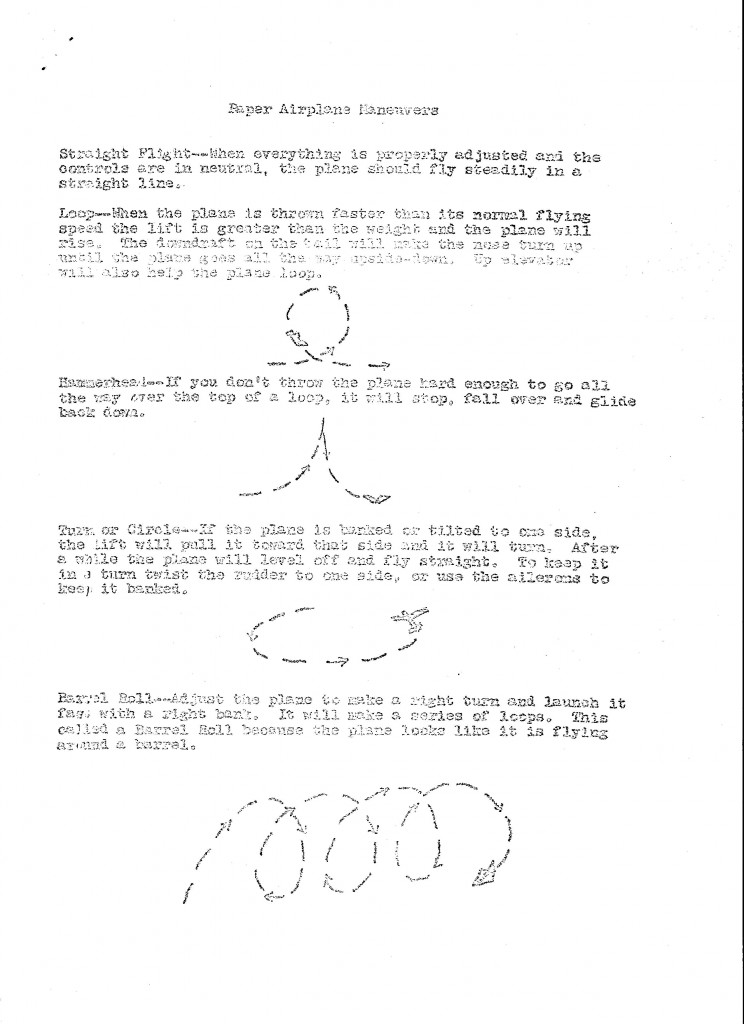
The second handout is about flying the planes built in the class.
The instructions for the High Launch work well for someone who is left handed. Reverse if you are right handed; trim the plane to turn left in glide and launch in a right bank.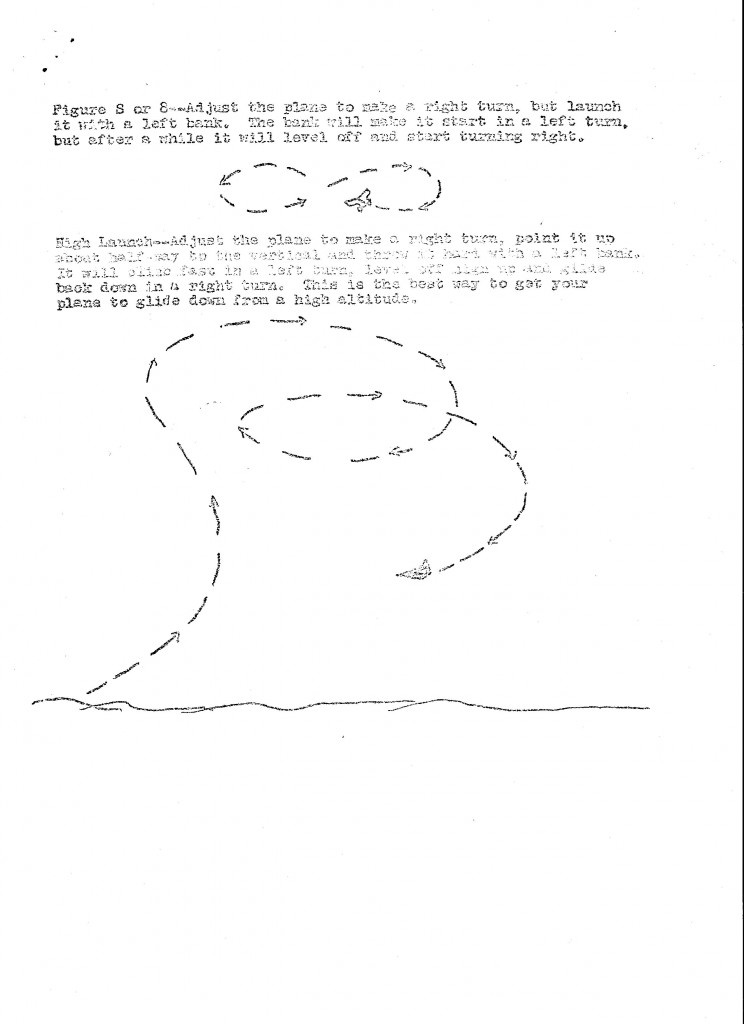
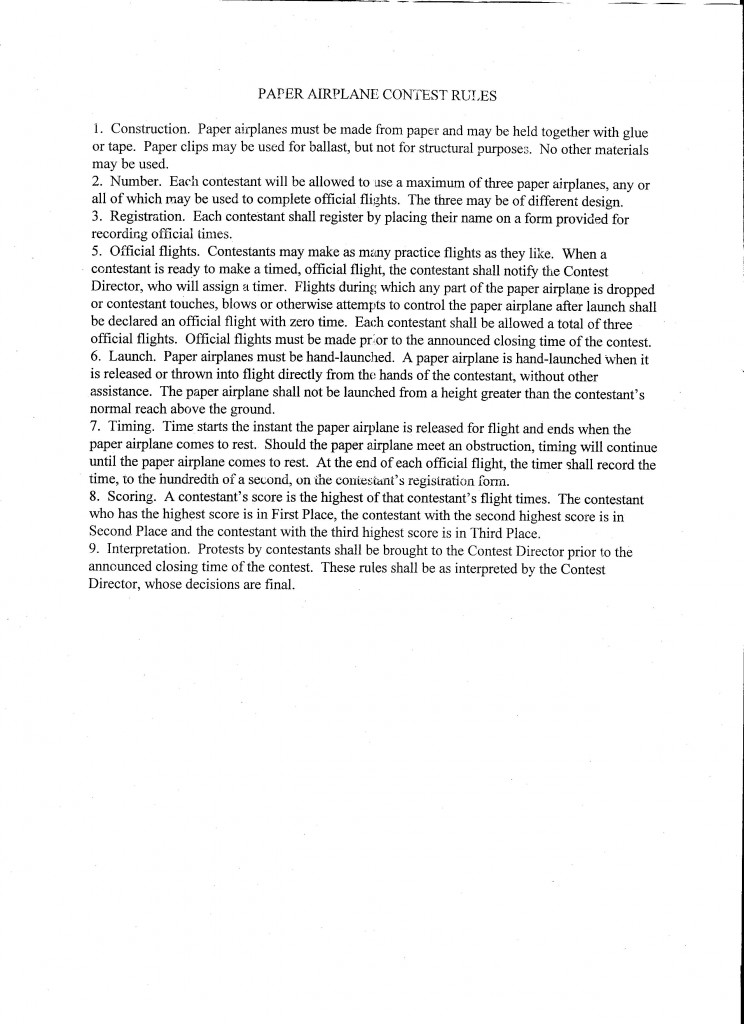
These contest rules were used a decade later for an office picnic lunch.
I just made the Delta airplane after my 5-year-old daughter was asking me to make one. All the versions I remember from my childhood failed to really stay up in the air. My jaw dropped in amazement as the Origami Delta not only sailed across the room, but also seemed to have *LIFT*! Amazing!! thank you very much!!