The AMA Cub may be flown in ways other than with rubber power.
The AMA Cub Glider
The simplest way to fly is gliding without motor or propeller. The AMA Cub may be converted to a Hand Launched Glider (HLG) by removing the rubber motor and the propeller assembly.
Without the weight of the motor and propeller, the Cub is no longer balanced to fly. You can do a quick check of the balance by supporting the Cub with a fingertip under each wing tip. The tail hangs down. With the motor and propeller on, the Cub hangs level. That means the center of gravity (CG) is in back of where it should be. It will be necessary to add weight to the nose to restore the balance.
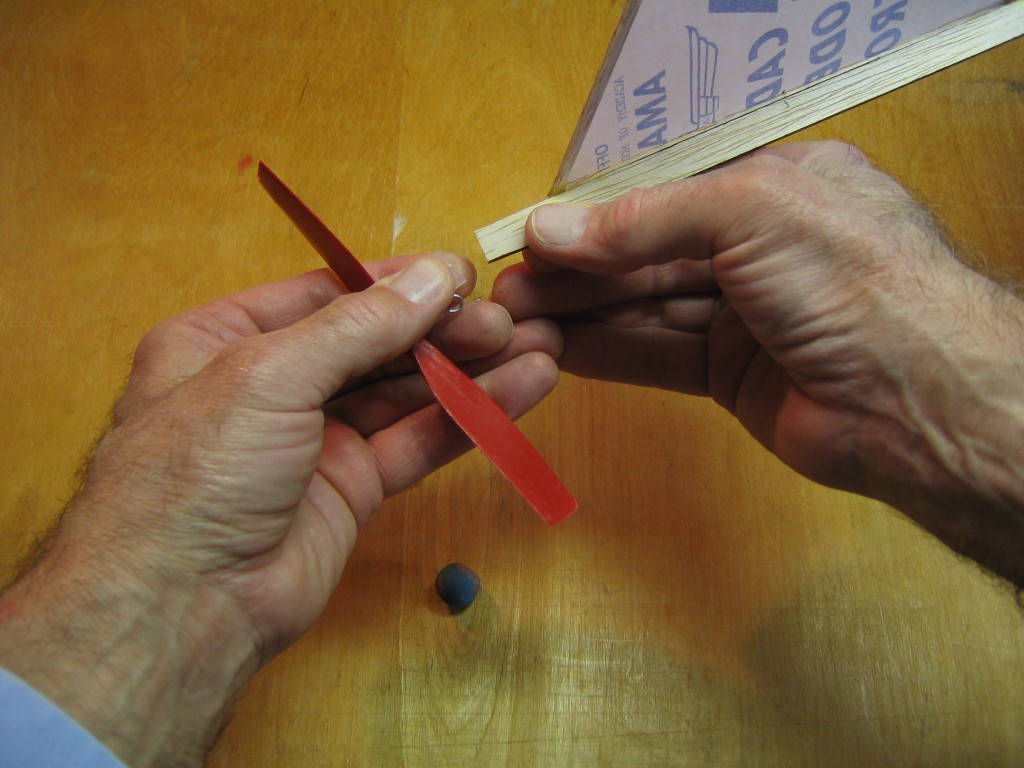
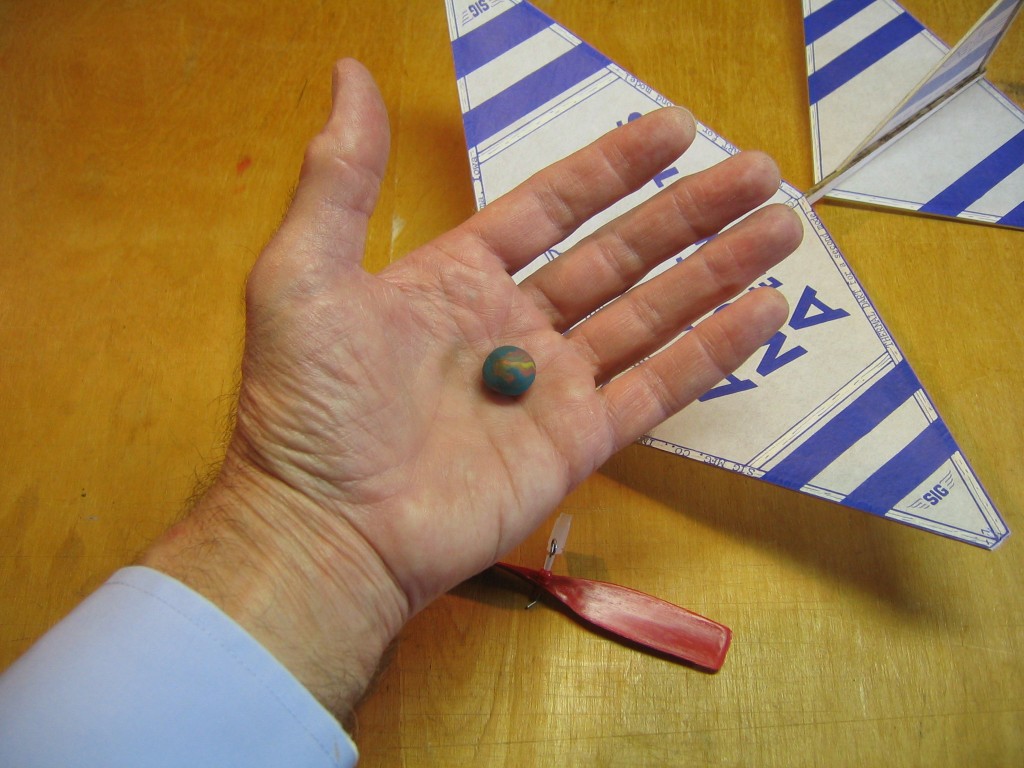
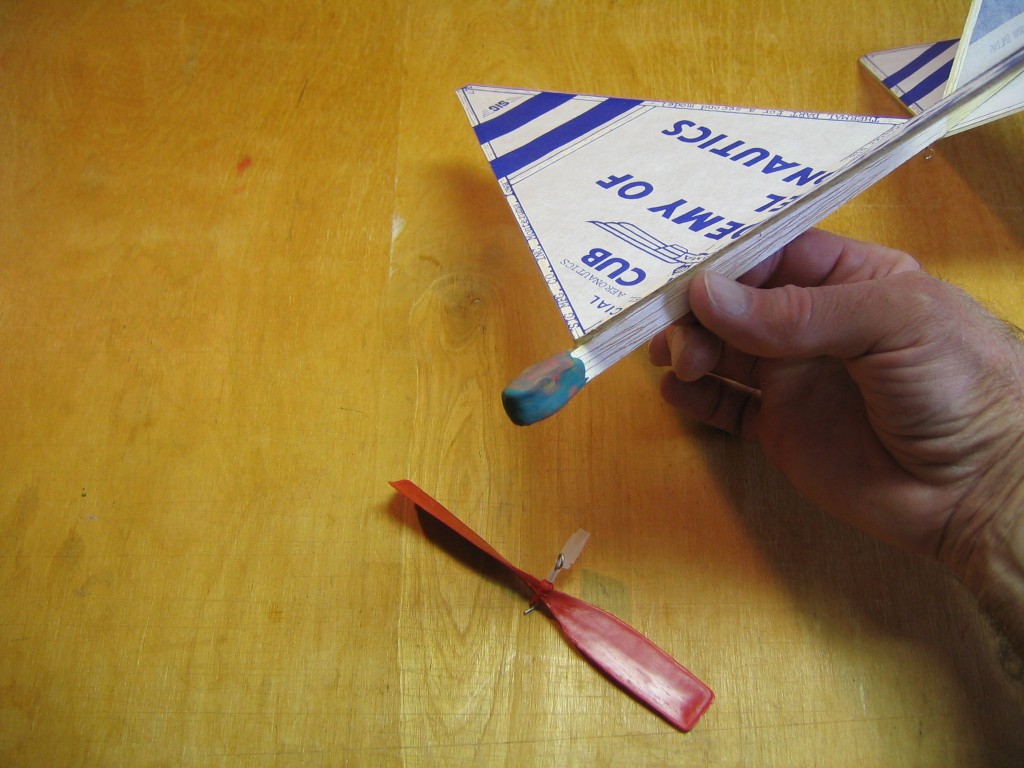
A simple way to add weight is to wrap some clay around the nose end of the stick. Add enough so the Cub balances about where it did with the motor and propeller on it, near the pencil marks you made on the wing and side of the motor stick. Start with a ball about this size (1/2″ diameter, 3 grams) and adjust by adding or removing small bits.
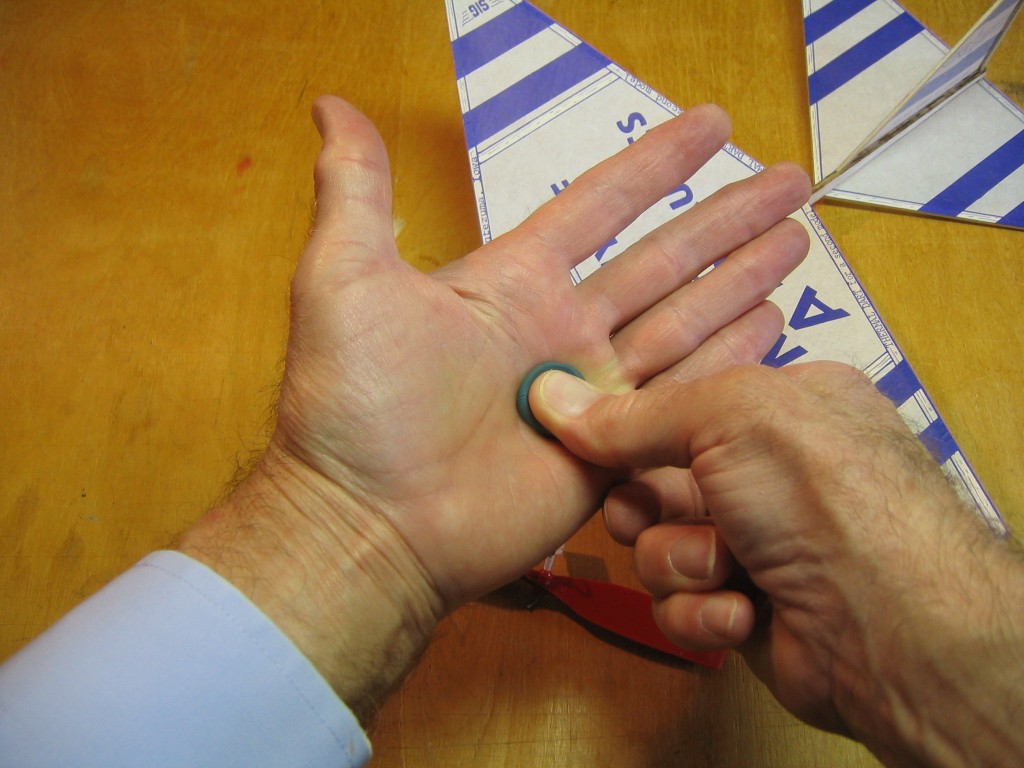
Work the clay between your hands to soften it, then flatten it.
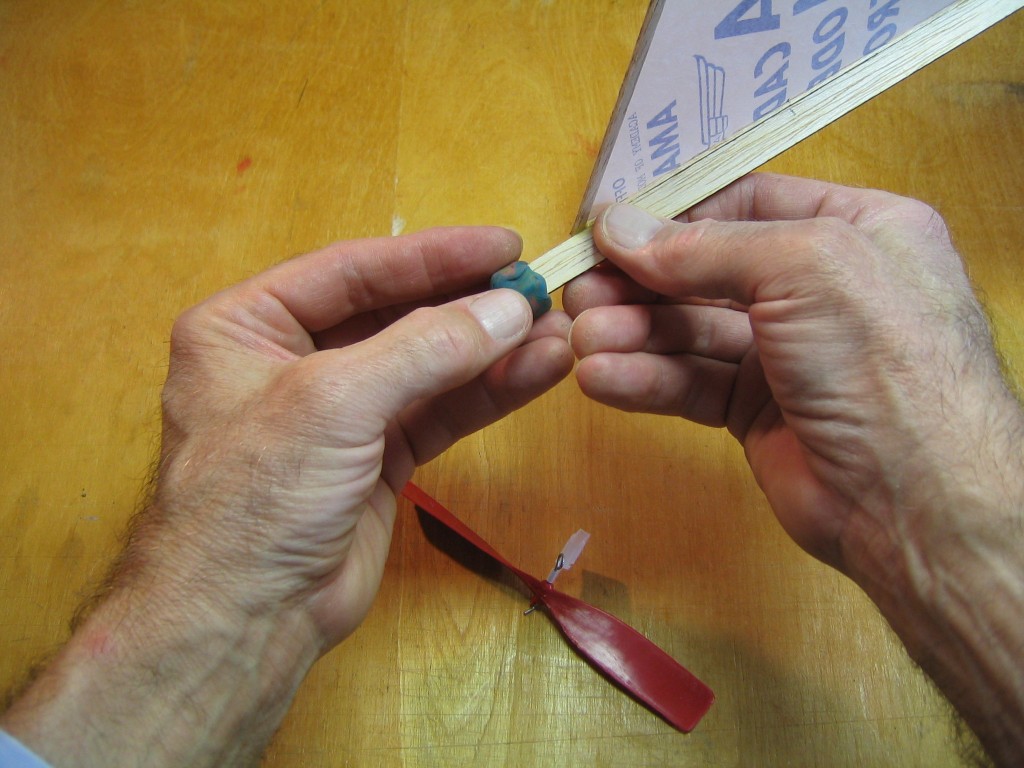
Wrap it around the front end of the stick.
Shape it to a snug, streamlined fit.
Check the balance by giving it a gentle toss. Hold the stick just below the CG mark, with the wings level, point the nose at a very slight angle down and gently throw it forward. Once you have seen it glide, you will know how fast to throw it. To trim the glide, you adjust the CG by adding or removing small bits of clay. If it noses up, slows and then drops, it is stalling. The CG is too far back. The center of lift is ahead of the CG, rotating the nose up, presenting the wing to the oncoming air at a high angle. The drag increases, the lift decreases, it slows and drops. You must add clay to the nose. If it flies straight, fast and steeply down, it is diving. The CG is too far forward and you must remove a bit of clay. What you want is a slow, steady descent. The goal is to have the plane stay in the air for the longest time. That can happen when its rate of descent is at minimum. You can time the descent with a stopwatch if you want to be precise.
If you would like to explore the physics of gliding flight further, see my Simple Gliders in the Science and Mathematics Curriculum. In that article, I discuss how simple measurements of distance, time and weight can be combined through simple geometry and mathematics to construct derived concepts like speed, glide angle, lift, drag, power and energy.
Once you have the glider trimmed for a slow, steady descent, you can try launching with more force. Be careful how hard you throw it and especially how you hold it as you throw it. If you throw it so the air hits the face of the wing, the wing may break.
You will need to take it back to the hanger for repairs. You may need to put on extra glue if you want to fly the Cub as a glider. Try to throw it with the wing parallel with the direction of flight.
If you hold it with the wings level, the nose pointed straight ahead, and throw it faster than its gliding speed, the wings will develop more lift than just what is needed to support the glider. The excess lift will pull the glider upwards. As it moves upwards, the air will come down on the tail, making the nose rotate up. If you don’t throw it hard enough to complete a vertical circle, gravity and air drag will slow it. The wing will be at a very steep angle and it will begin to fall. The air will come up to the wing at a steep angle and the wing will lose lift. This is a stall. It will drop, the nose will fall, the glider will gain speed and it may repeat the movement before hitting the ground. If you can throw it hard enough, it will complete the vertical circle and loop. It will likely slow enough coming out of the loop that it will glide away from the bottom of the loop, close to the ground, and not continue over the top again. This results in a very short flight.
Aeromodelers discovered many years ago that if you tilt the wings away from level when you throw a glider, the lift will pull the glider out to the side and it will circle out to the side. If you hold the wing vertical it will make a horizontal circle. If you hold the wings at an intermediate angle, it will fly a circle intermediate between a vertical circle and a horizontal circle. If you point the nose up when you launch it, the glider will go higher up. With the right combination of elevation angle, bank angle and speed, the glider will climb to a high altitude, roll out into a glide and then glide back down slowly. Finding the best combination of elevation angle, bank angle and launch speed is a mater of trials. The ideal flight path is one where the glider starts by climbing at a steep upward angle of elevation with the wings banked to one side. The speed and elevation angle make the glider go high. The bank angle makes the glider side slip toward the low wing. The sideslip puts the wind against the low wing. That produces a force that rolls the wing level. At the same time, gravity and air drag are slowing the glider. It will begin to fall, the air will hit the underside of the tail and the nose will rotate down. If everything is properly balanced, the wings will roll level at exactly the same time the speed drops to gliding speed and the nose drops to glide attitude. The glider will then begin its slow glide down from a high altitude. You can spend may pleasant hours honing your skill, getting the launch that will rollout at the highest altitude and get the longest glide.
If you are flying indoors or on a small field, you don’t want the glider to roll out at the top into a straight glide. You will want the glider to circle on the way down to stay inside the walls or nearby on the field. You can make the glider circle by putting a small paper rudder on the back of the fin, placing a small bit of clay on one wingtip or tilting the tailplane to pull to one side. If you throw right handed, you will want to launch with the wings banked to the right and the glide to circle to the left. If left handed, trim for a right circle glide and launch banked left.
Glider pilots learn to use thermals. A thermal is a body of warm, moist air that is lighter than the air above it. Warm air is lighter than cold air. Water vapor is lighter than air. As the sun warms the ground, the air immediately above it becomes warm and water evaporates from the surface. The warm, moist air will irregularly rise as a bubble like a balloon into the air. Watch the water warming in a coffee pot to get an idea how this works. If you get your glider into a thermal and it is rising faster than your gliders sinking speed, the glider can be carried high into the air. If you are lucky, or unlucky, your glider can be carried away out of sight (OOS). The thrill of a very long flight, combined with the loss of a glider, is a bittersweet experience. Fortunately, it is easy to replace an AMA Cub.
Tow Launched Glider (TLG)
You can get your glider even higher than you can throw it by towing it up on a string like a kite.
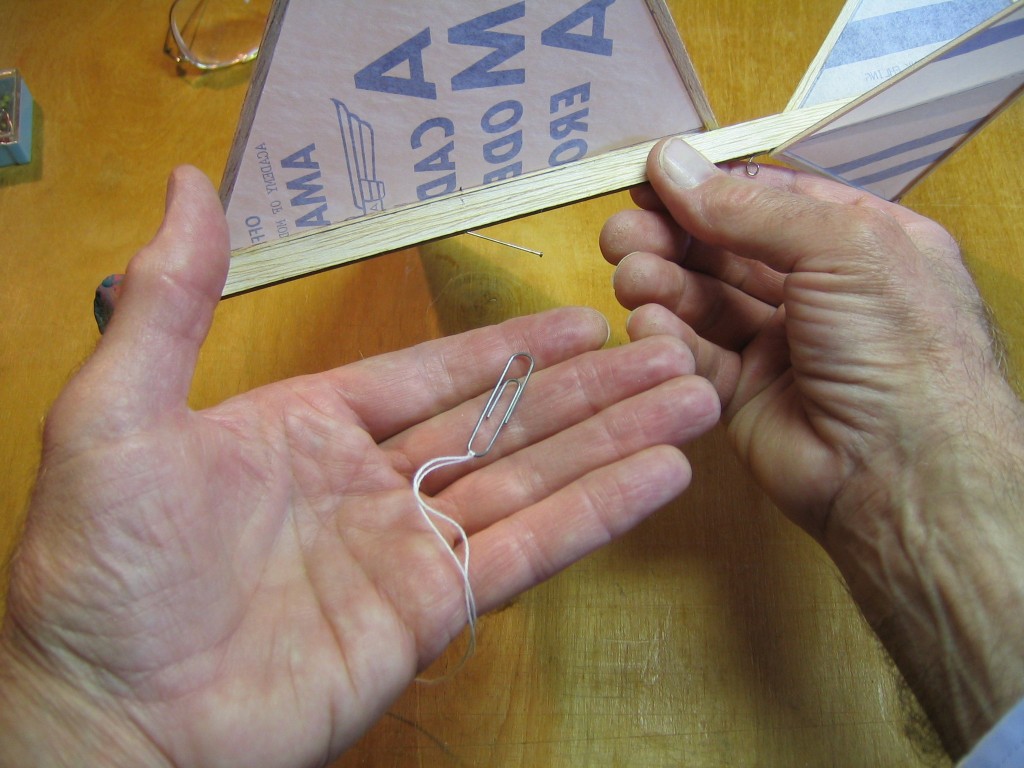
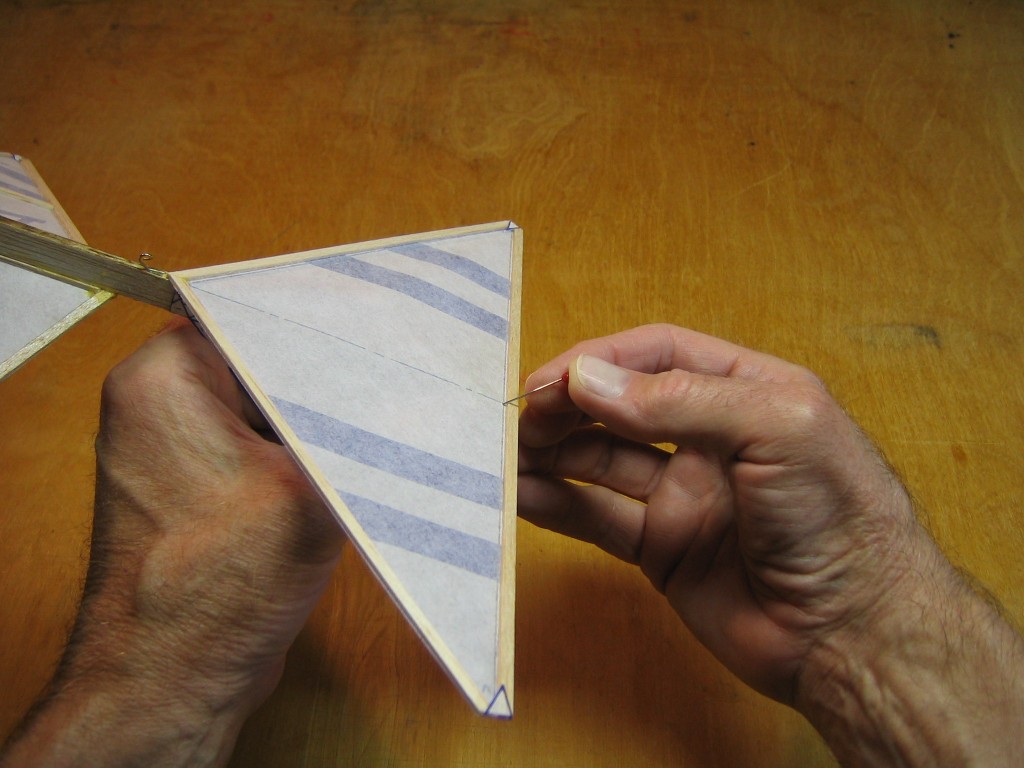
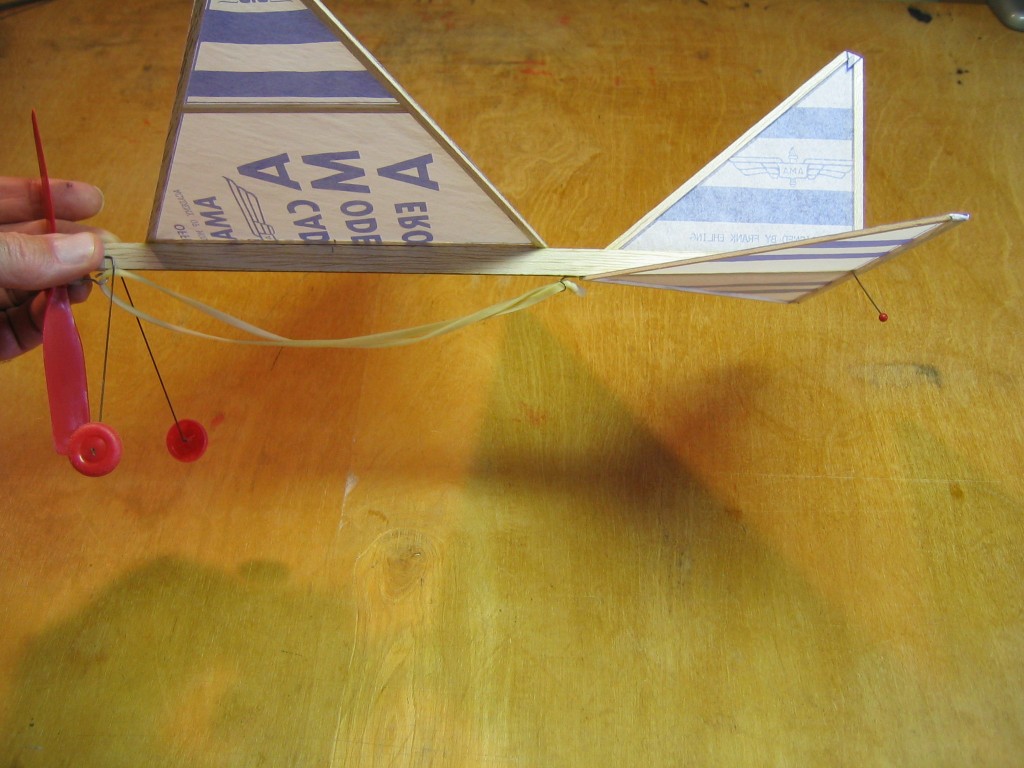
Stick a pin into the underside of the stick at about a 35 to 40 degree angle at a point a little ahead of the balance point, to serve as the towhook. Tie the end of a kiteline to a paperclip or a split ring to serve as a towring.
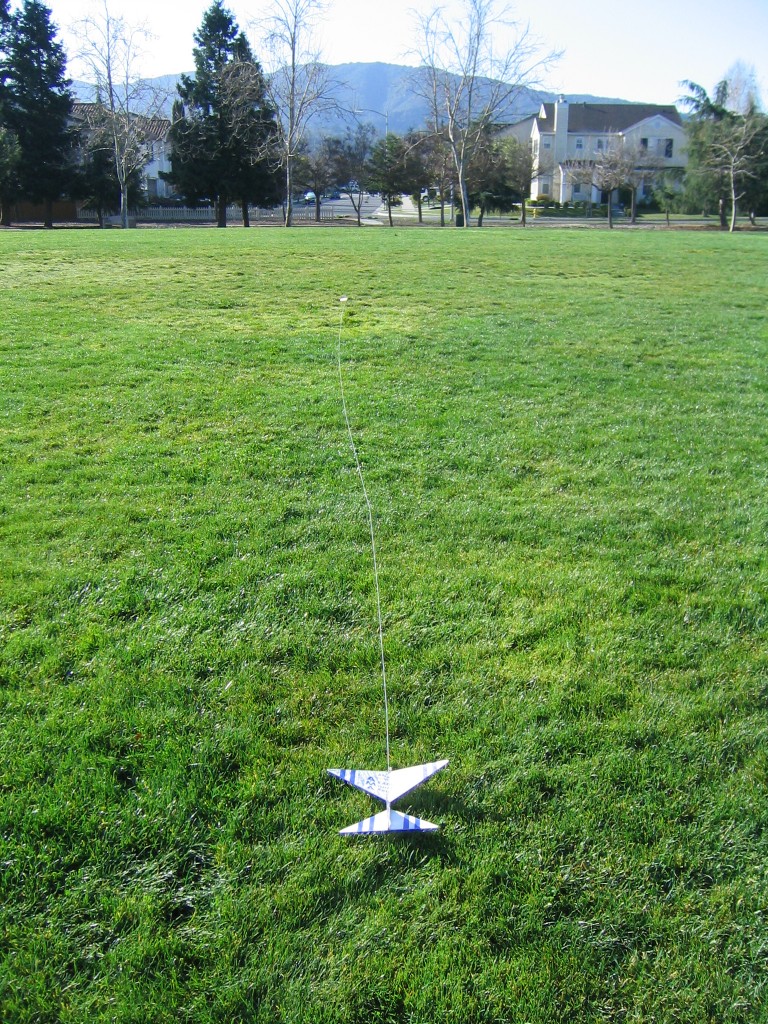
At the flying field, lay out about 100 feet of the string, slip the towring onto the towhook, pull the string taught, go to the far end of the string and with a sharp tug, pull the glider into the air and run to tow it to altitude. You must keep the line taught. Once the glider is high enough, let the string go slack and the ring will slip off the hook and the glider will fly free. It is easier to keep the line taught if you have a helper hold the glider.
Again, you will want the glider to fly in a circle. If you have trimmed it to fly in a left circle, it might spin left under tow. To correct that, move the towpin to the right.
High Start Launcher
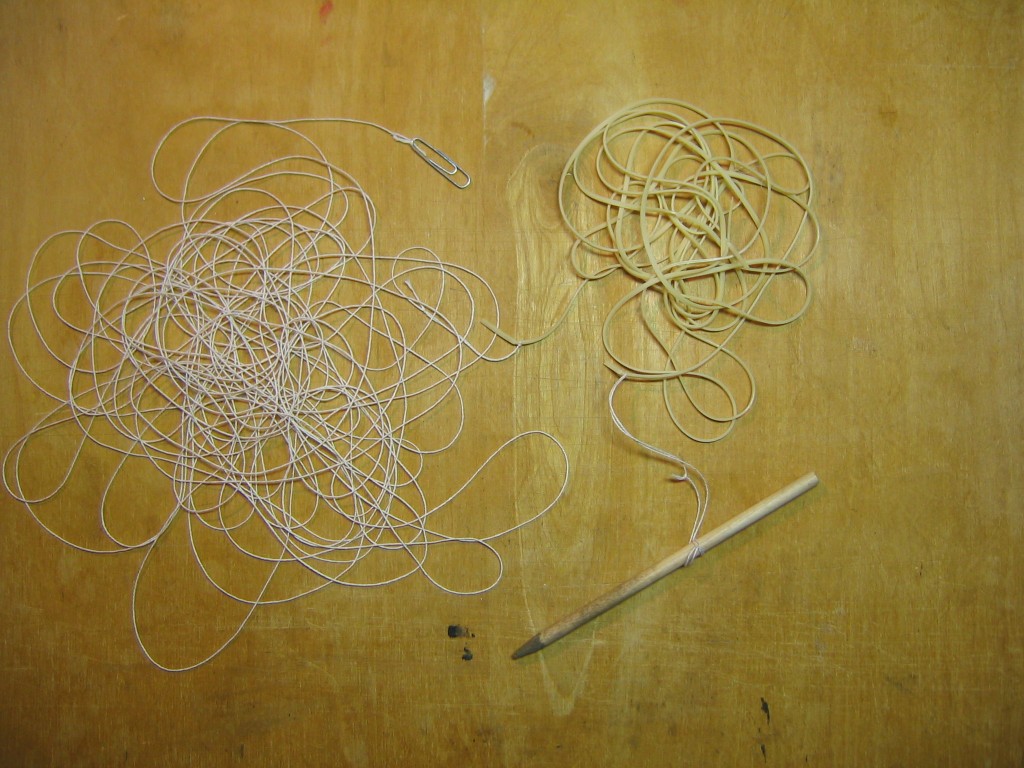
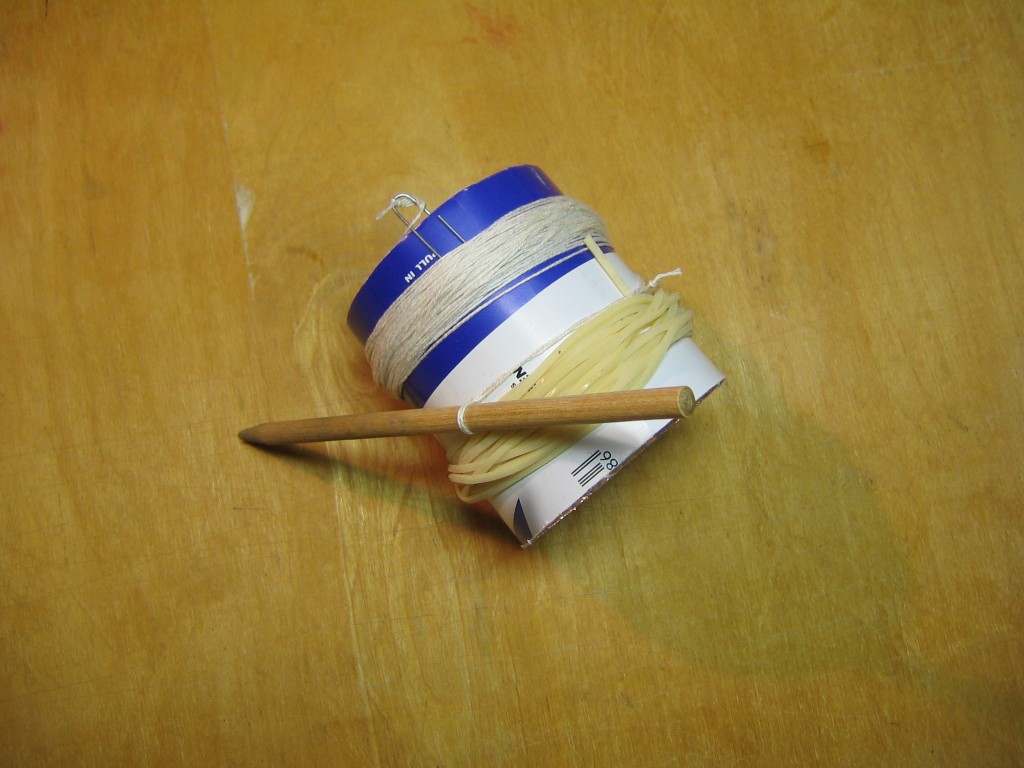
You can make a high start tow launcher that uses a stretched length of rubber strip to pull the string. Tie 100 feet of towline to 25 feet of 1/16″ rubber strip, tie the other end of the rubber strip to a loop of string that is tied to a 6″ length of 1/4″ dowel that has had one end sharpened in a pencil sharpener.
Roll the string and rubber strip around a short piece of cardboard tube for storage and transport.
At the flying field, push the dowel firmly into the ground, unroll the rubber strip and string, put the towring over the towhook and take several steps backwards to stretch the elastic. Hold the glider at the juncture of the fin and tail. Release it to launch.
As with the hand launch, trials are necessary to find the right combination of stretch and bank to get the best time. If you have a bigger field, you can use a longer high launcher.
Add Control Surfaces to Your AMA Cub
You can add stiff paper control surfaces to the tail, fin and wings to experiment with their effects on the flight of your AMA Cub.
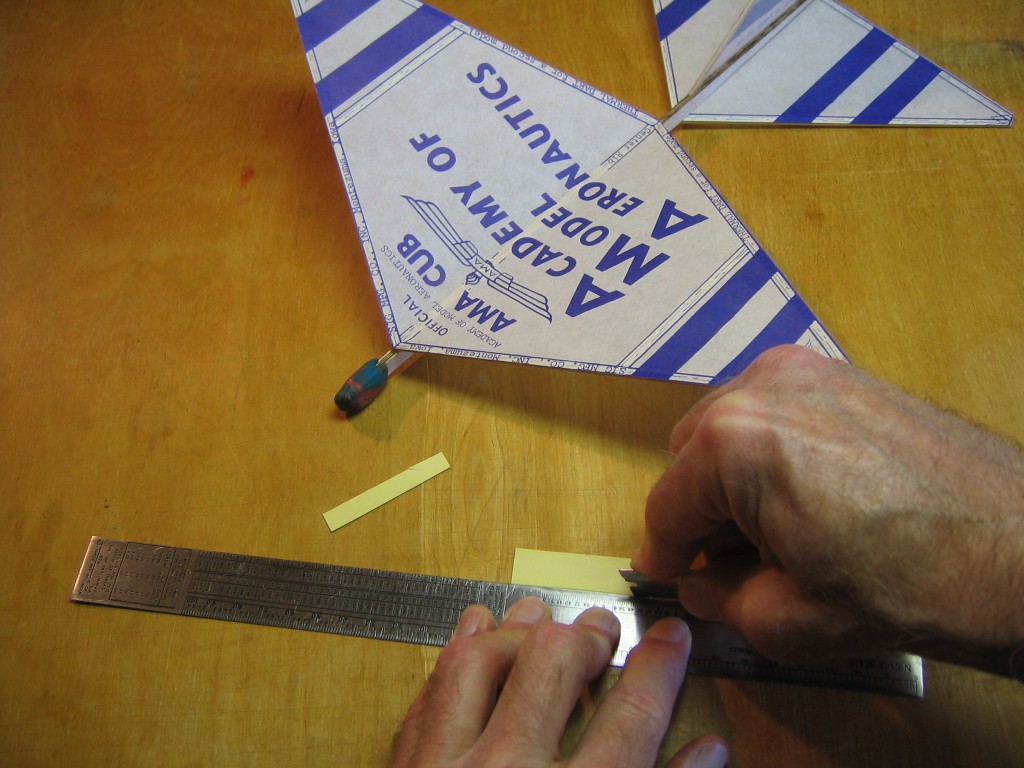
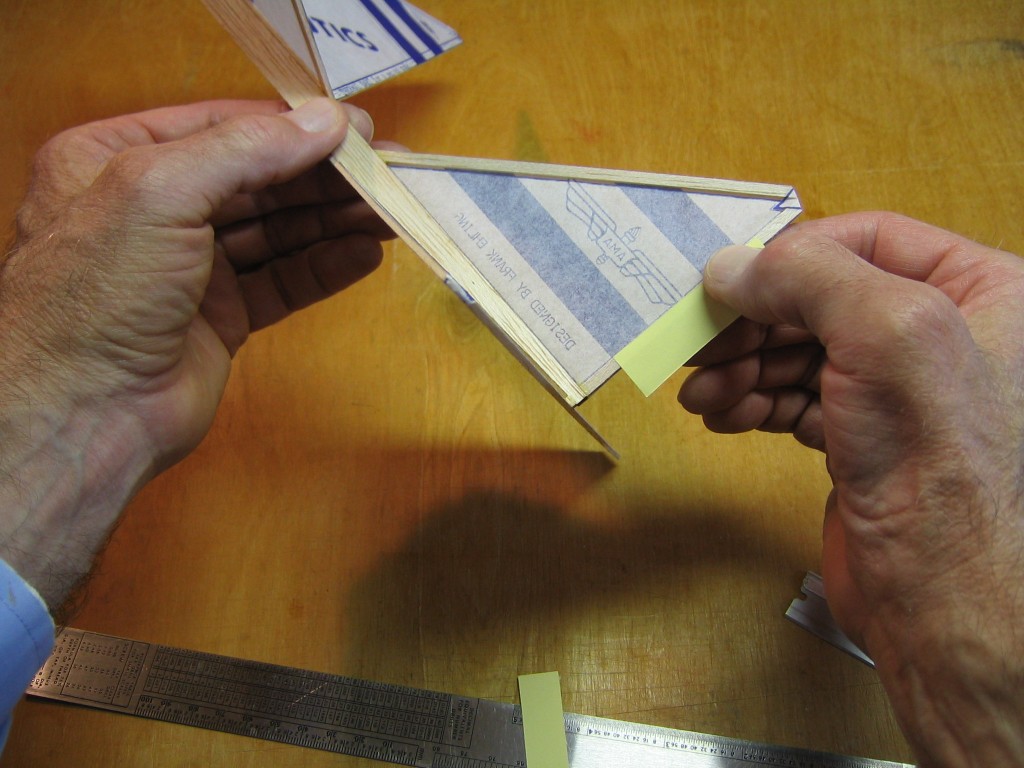
I cut away enough of the gum from four pieces of Post-It notes to leave a 1/8″ wide strip of gum. I then cut the edge off to leave an additional 1/2 inch of paper. You can also cut some strips of paper 5/8″ x 2″ and glue them to the spars. I like Post-It notes because they can be removed easily.
Place the gum edge of one strip of paper onto the trailing edge of the fin and press it in place. This control surface is the rudder. Bending it slightly to either side will deflect air to that side, making the fin move in the opposite direction and the nose will turn in the same direction. This produces a rotation around a vertical axis, called the yaw axis. A turning around the vertical axis is called a yaw. The rudder helps the airplane turn from side to side.
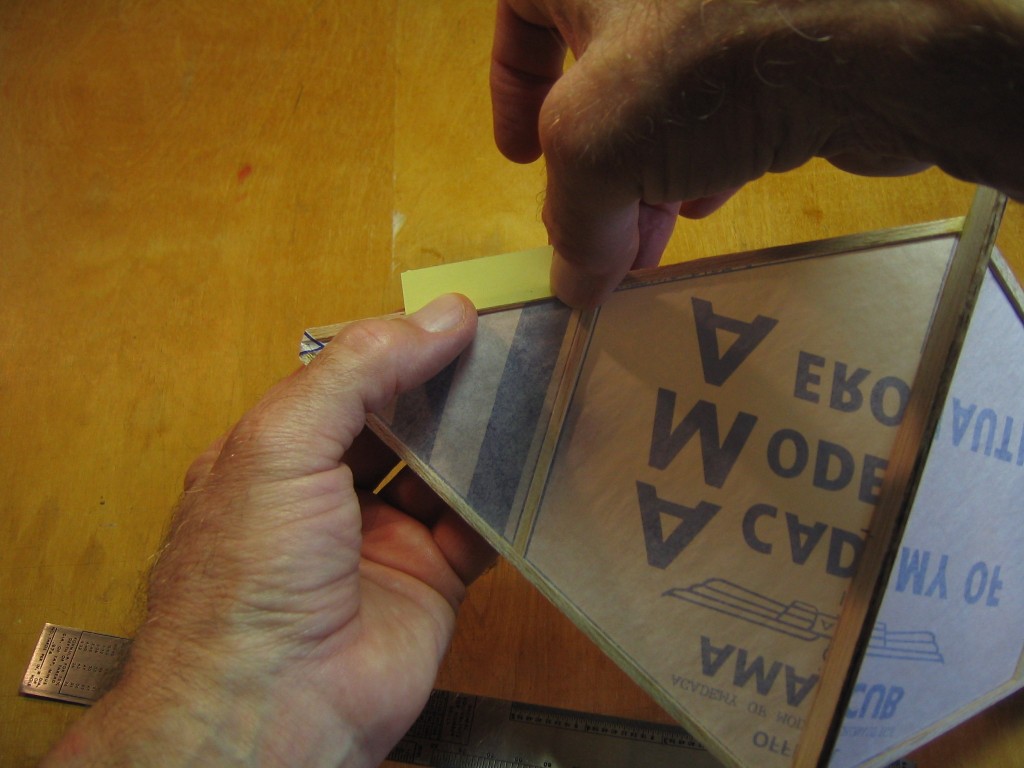
Attach a strip to each wing near the tip. These control surfaces are ailerons. When an aileron is deflected up or down, it deflects air up or down and pushes the wing in the opposite direction. This produces a rotation around a horizontal axis which passes through the nose and tail of the aircraft, called the roll axis. A turning around the roll axis is called a roll. When an airplane’s wing is rolled away from horizontal, it is banked. The ailerons are used together. When one goes up, the other goes down. It is possible to bend both down. This will increase the lift on both wings. When surfaces at the back edge of the wings are deflected down to increase lift, they are called flaps.
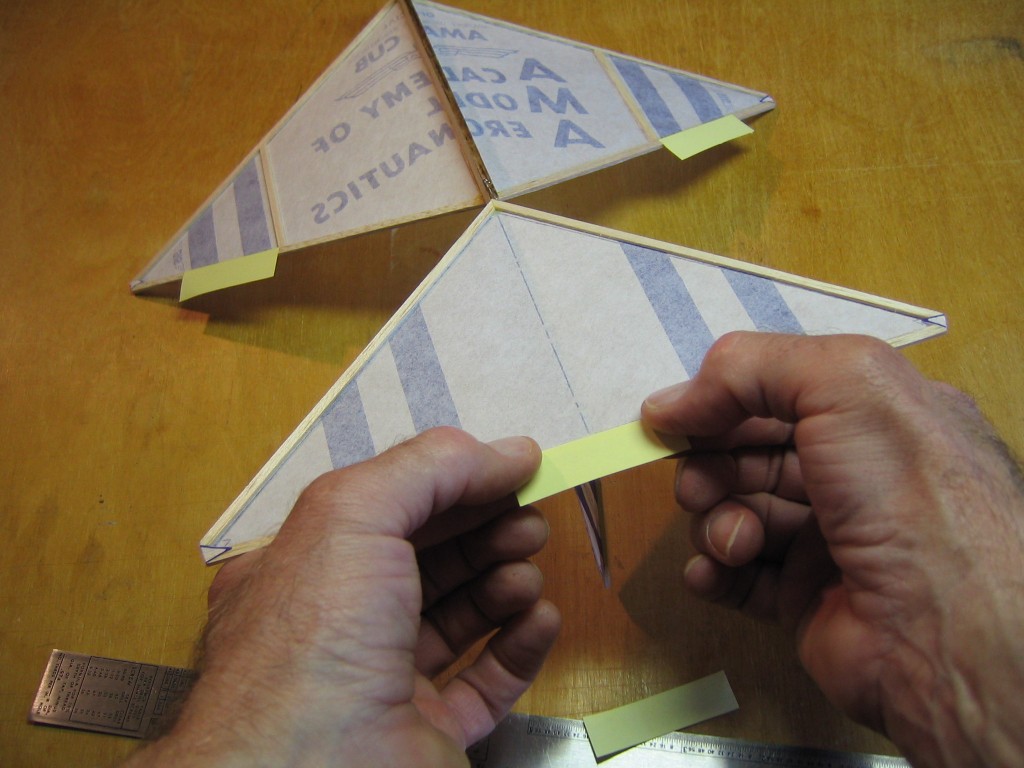
Put the last strip along the trailing edge of the tail, in the center. This control surface is called the elevator because it controls the elevation of the nose. When it is bent up, it deflects air up, which forces the tail down and the nose up. When it is bent down, it deflects air down, which forces the tail up and the nose down. This produces a rotation around a horizontal axis that runs through the wingtips, called the pitch axis. A turning around the pitch axis is called pitching.
The control surfaces allow us to turn the airplane around all three axis; pitch, yaw and roll.
Try deflecting the elevator up or down to see how that affects the gliding angle and how the glider responds to a fast launch with the elevator deflected. With the elevator deflected up, you might get the Cub to do a complete loop. Try it again with both ailerons deflected down. Try gliding the Cub with the rudder deflected to see how that effects the turn. Try bending one aileron up and the other down and see how that affects the glide and how the glider responds to a fast launch. You might be able to get the Cub to do a complete roll. Add a little rudder for a barrel roll.
Yaw and roll are linked. If you deflect the rudder to produce a turn, the wing on the inside of the turn will be going through the air more slowly and it will drop. The bank makes the glider sideslip. The sideslip will push on the fin and make the glider turn more sharply. The glider may spiral into the ground. The inside aileron may be deflected down to hold the inside wing up and the outside aileron may be deflected up to push the outside wing down, to level the wings. If you deflect one aileron up and the other down without bending the rudder, the airplane will bank and sideslip, again pushing air against the side of the fin and causing a yaw. Careful adjustment and balancing of the control surfaces is required to make a properly coordinated turn. In a steep turn, the nose will also drop and the plane will speed up. When the wings are banked, the lift points partly inward, so not all of it is supporting the weight. When the wings are banked, the weight partly pulls the glider to the side.
Once you have tried the controls on the glider and understand how they work, remove the clay and replace the propeller assembly and motor. Read about how pilots control their planes and try the same actions on your AMA Cub. See what stunts you can get your Cub to do. The control surfaces have a stronger action at the higher speed of the power plane.
AMA Cub ROG
Everybody likes to see a model airplane take off from the ground, fly around, then come in for a landing, just like a real airplane. (Of course, the AMA Cub is a real airplane, just a small one.) You can add landing gear to your AMA Cub and do that.
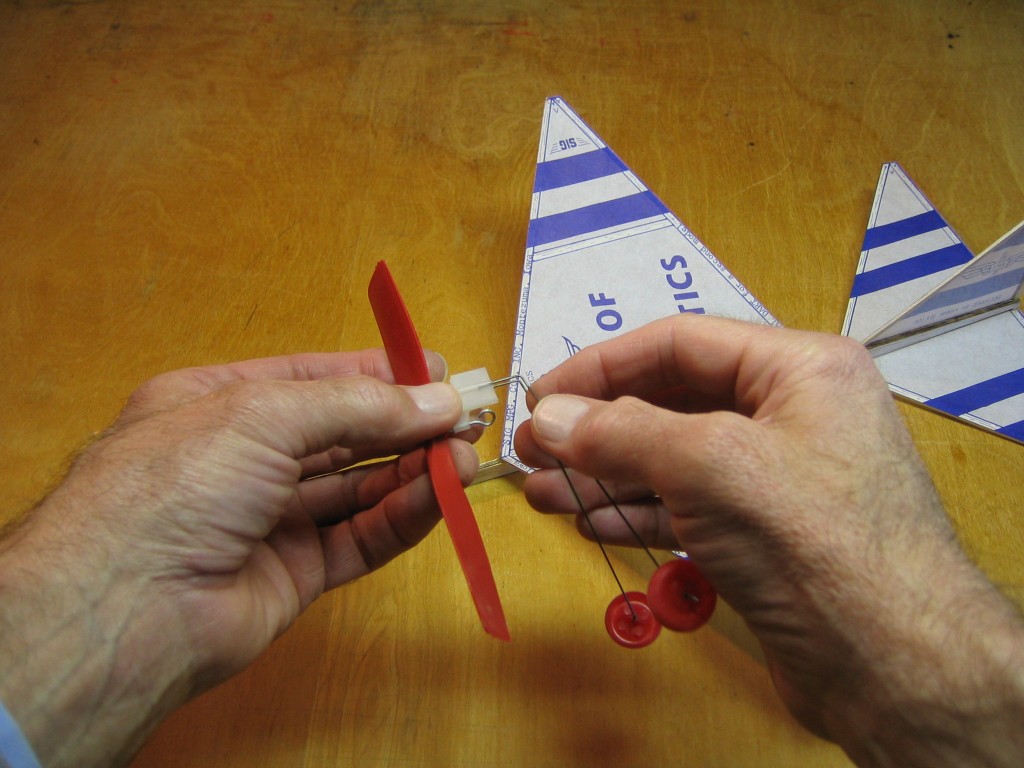
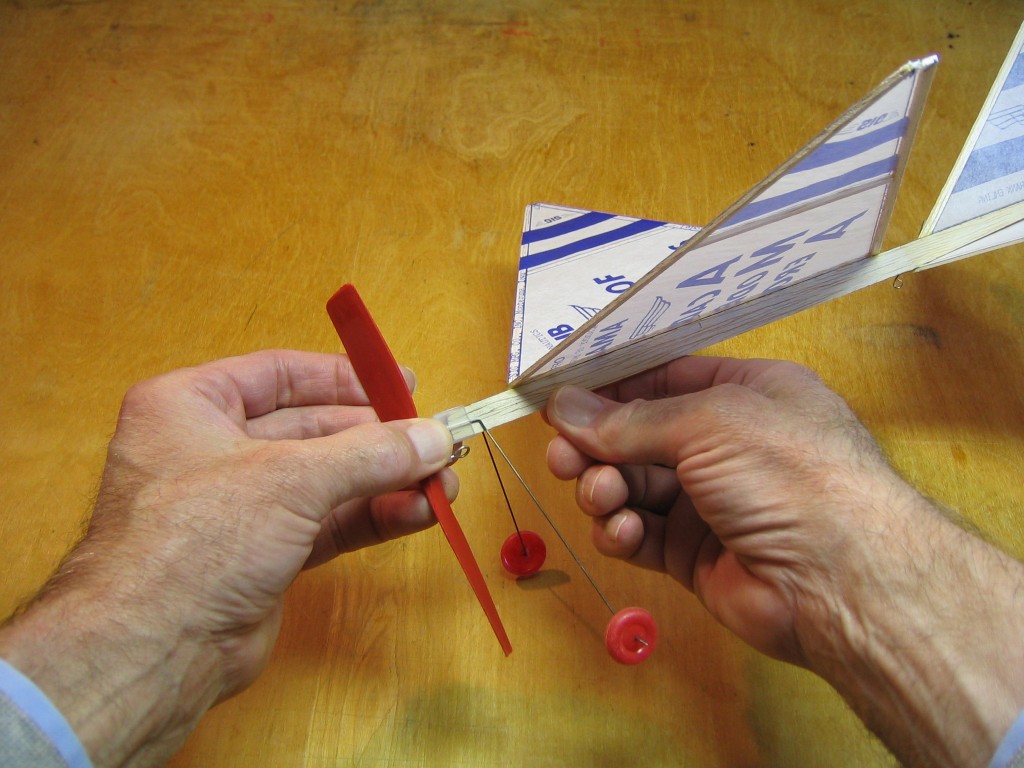
You can take the landing gear off another airplane or make your own.
The landing gear wire fits inside the slots in the sides of the propeller hanger box.
Slide the whole assembly onto the nose.
Push a pin in under the tail for a skid.
Put the motor back on and you are ready to takeoff!
The added weight of the landing gear will make the plane nose heavy and it will dive. You can counter that in several ways. The best is to build a plane especially for ROG and balance it with the wheels in place before positioning the wing. You can use an elevator, bent up. You can put a little block of wood between the motor stick and the top of the tailplane to push the paper down, producing an upside down airfoil in the tail. You can add a little weight to the tail, not preferred. You will also find that the added weight and drag require more power. The Cub will not fly as well, especially on the 1/16″ motor.
Aeromodelers call this Rise Off Ground (ROG).
You can put control surfaces on your ROG, but stunts are unsafe close to the ground.
Fly Your AMA Cub as a Kite
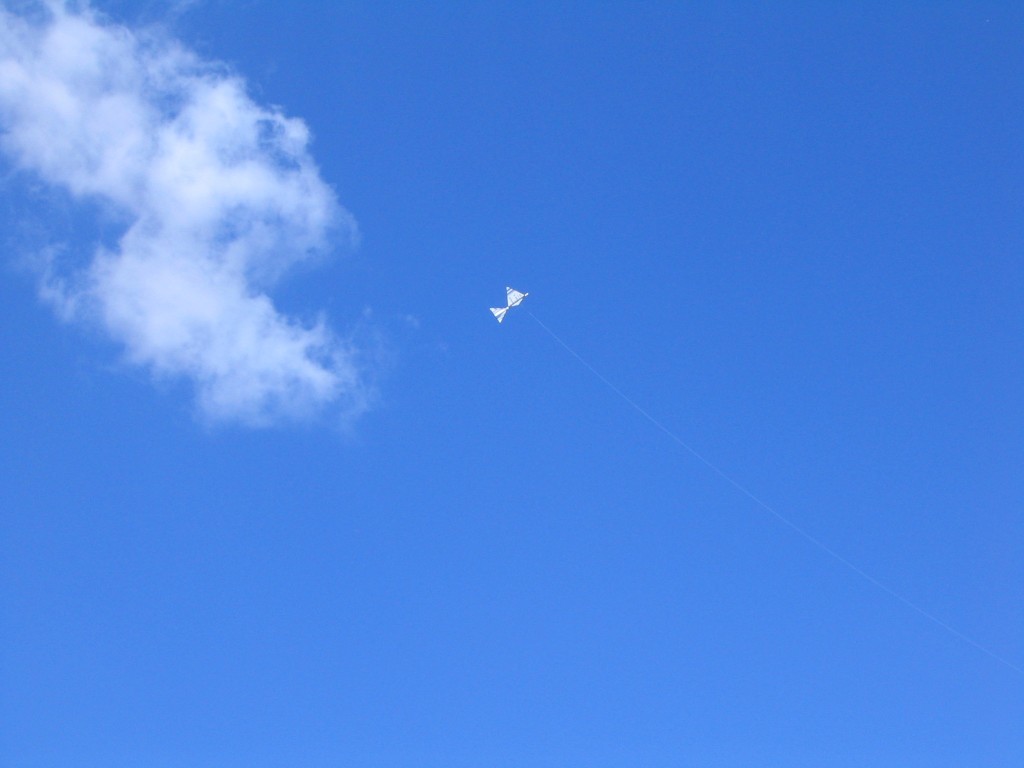
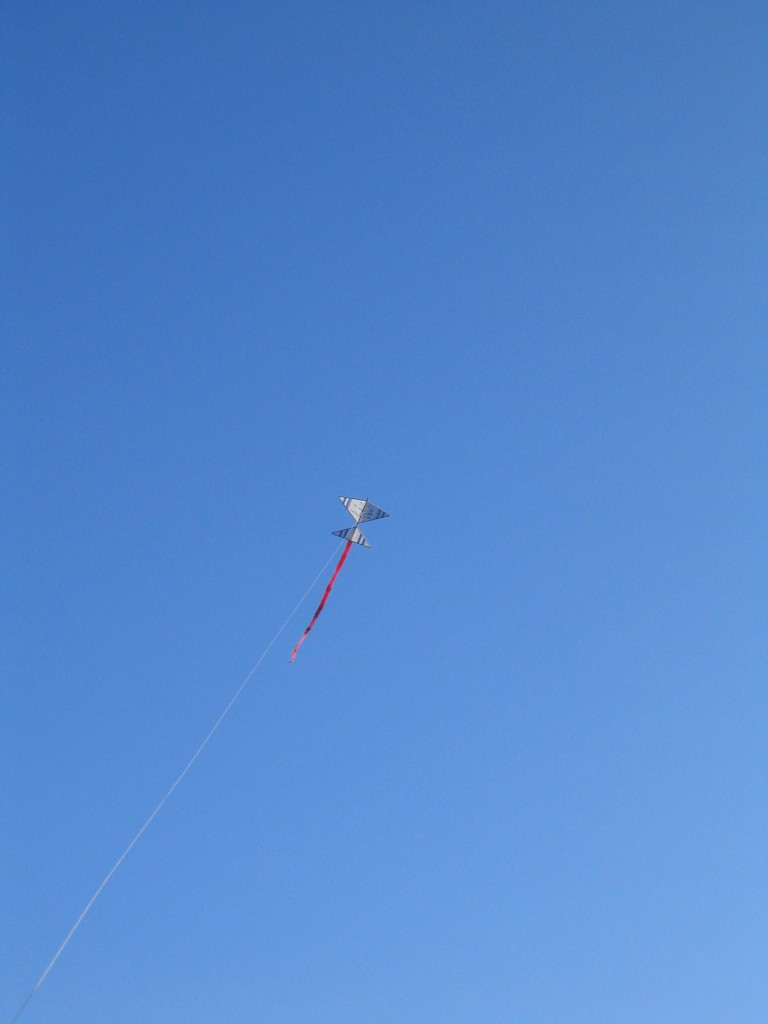
Kites, gliders and powered aircraft have some things in common and there are some important differences. The AMA Cub can be flown as all three. It will fly as a kite indoors at a quick walk. Outdoors it will fly in a wind as fast or faster than a quick walk. Check that it glides in a straight line before flying as a kite. A Cub that wants to turn in glide will spin as a kite. As a kite it will be flying in much faster air. You also may want to reinforce the joints between the wing spars and the fuselage with a little extra glue.
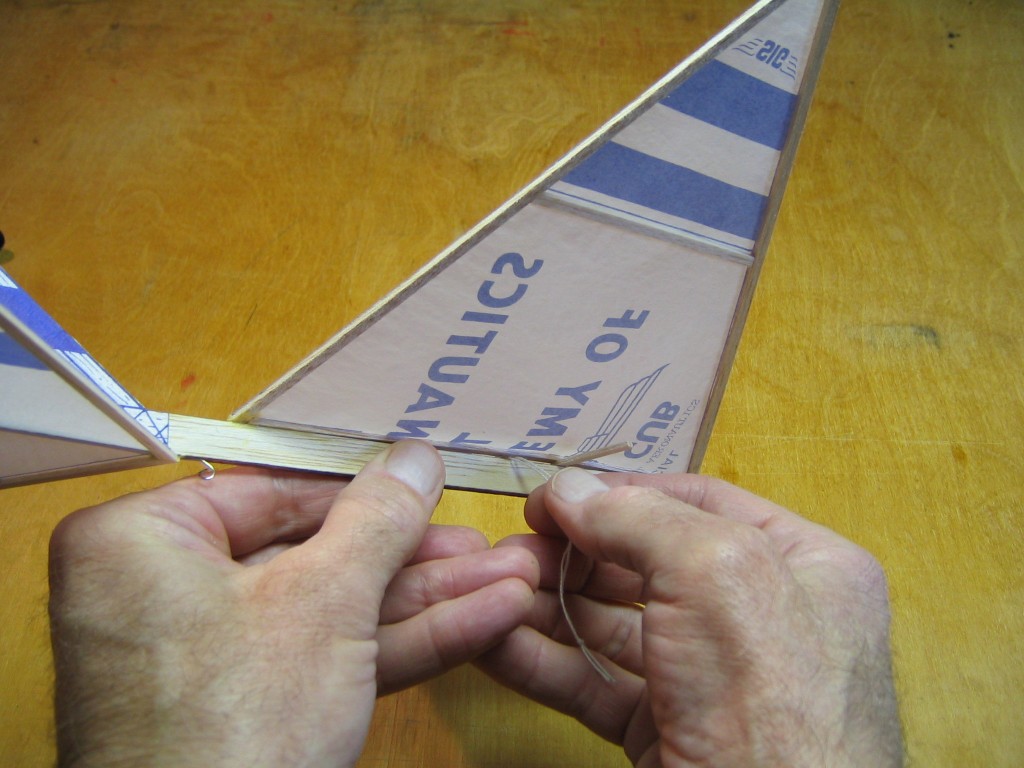
To fly it as a kite, first remove any clay or propeller and motor. Now tie the flying string around the stick just a little ahead of the pencil marks for the flying CG. A sharpened stick will help wedge the wing rib up from the fuselage stick to make an opening for you to push the string through. Now take it out in the wind and fly it. It does not need a tail.
You can fly several as a train, one a few feet above the other, on the same string.
You can add a tail if you like. A 1″ strip of crepe paper about 3 or 4 feet long works fine. You can also cut 1″ strips from a newspaper and glue them end to end. Cut parallel with the grain of the paper, in the direction of the easiest tear. Crumple the tail to soften it before attaching it to your kite.
The balance on a kite differs from the balance on a glider or power plane. The down force on the string replaces some of the weight. The kite flies in a much faster wind than the speed of the glider or power plane. Most of the lift is opposed by the pull in the string.
There are three forces acting on a kite in a steady wind. At the front there is the force of the string, pulling down and slightly forward. Next, in the middle, is the aerodynamic force pulling up and slightly backward. In the back is the weight of the kite being pulled straight down by gravity. In steady flight these forces meet and balance somewhere above the kite.
Gary Hinze
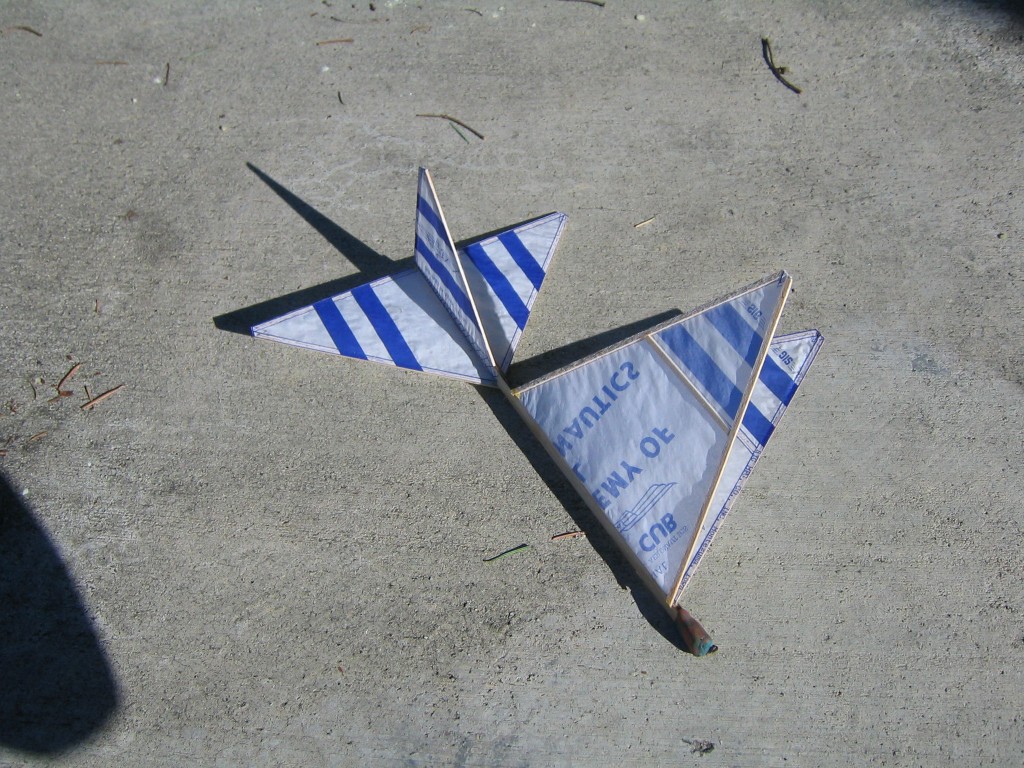
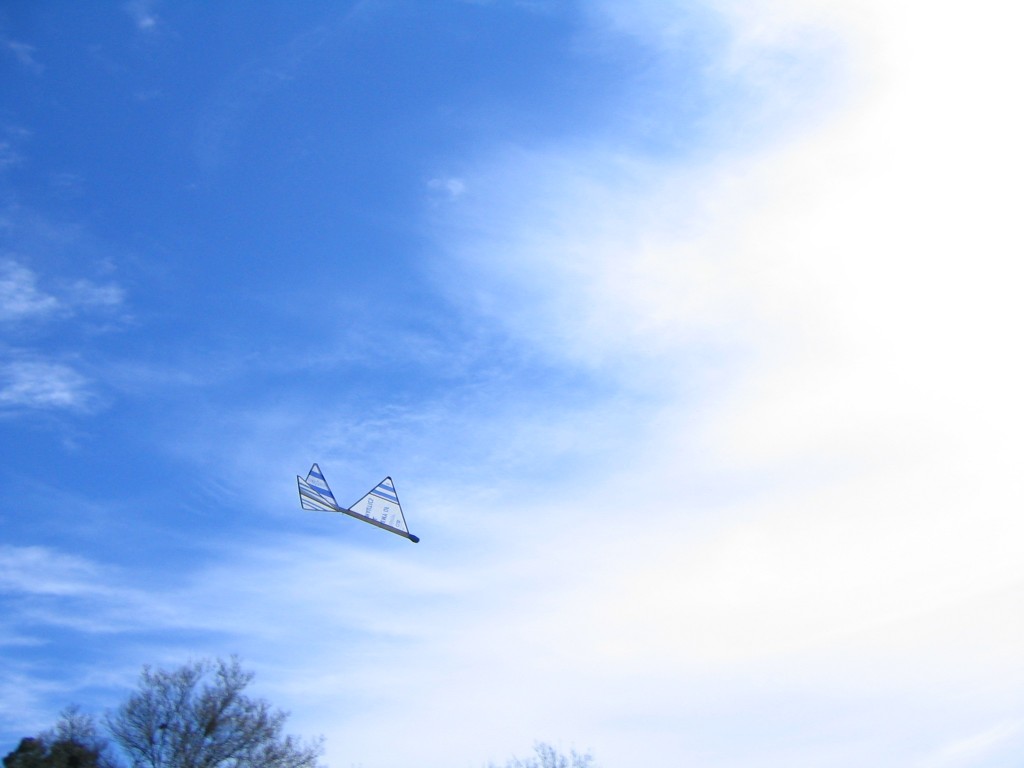
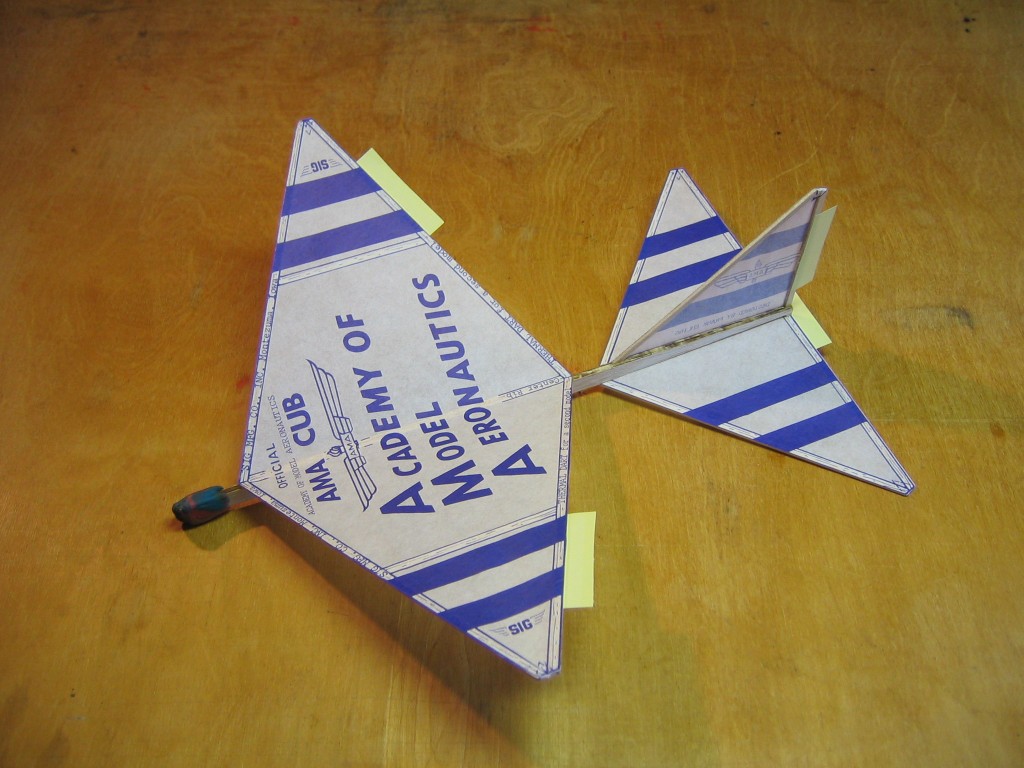
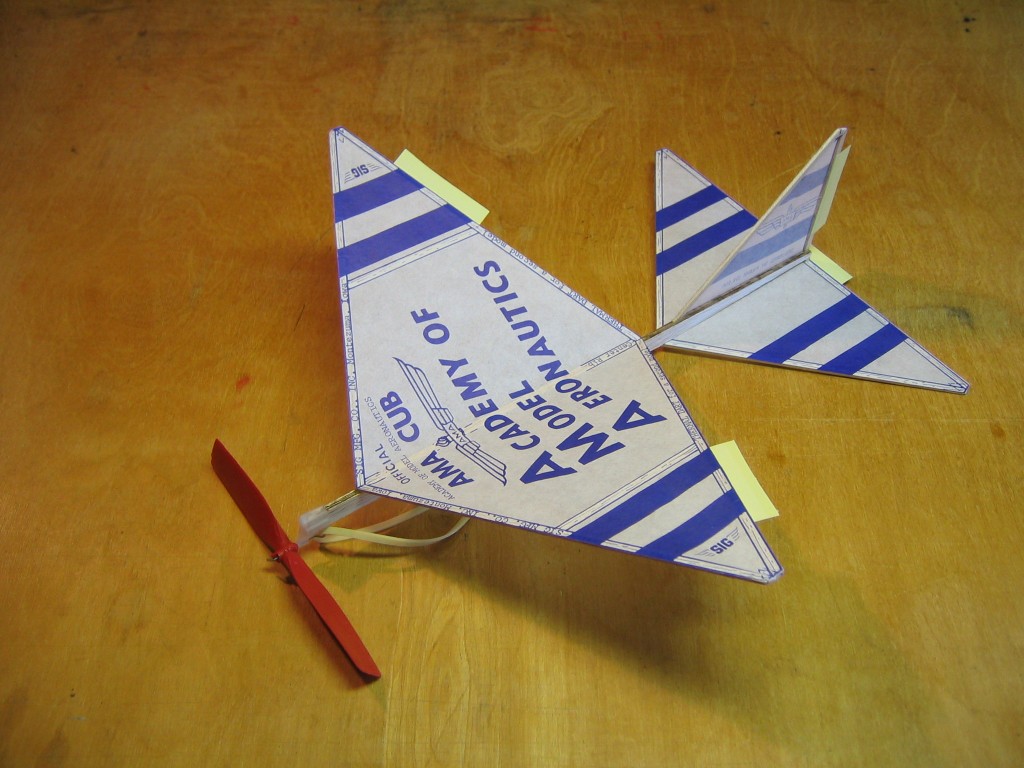
AMA cub kits make a very nice flying wing, sort of like a Dike Delta.
Leave off the horizontal tail.
Cover the wing on the bottom, not the top.
Use clay for pitch trim.
A bit tricky to launch, but stable as a rok after you figure it out.
Gary, What great innovative multi uses of this model airplane. Bill