Model airplanes are often built on a building board. There are many kinds of boards. Some builders use a convenient table, some use a sheet of plywood, some use a door laid flat, some use a drafting board. There are magnetic building boards. The plans are taped to the board, the plan is covered with a protective sheet to keep glued pieces from sticking to the plan and the model framework is built right over the plan. That means the board must be a little larger than the plan. Since parts are often pinned to the board, it should be soft enough to push pins into. Building boards may be bought, but they can be expensive. For many years I have used a balsa core, basswood sheathed drafting board. Recently I have made boards from corrugated cardboard for our kids classes. You might like to make your own from corrugated cardboard boxes, especially if you need many for a group. You will need to know how to make a building board if you continue to make model airplanes.
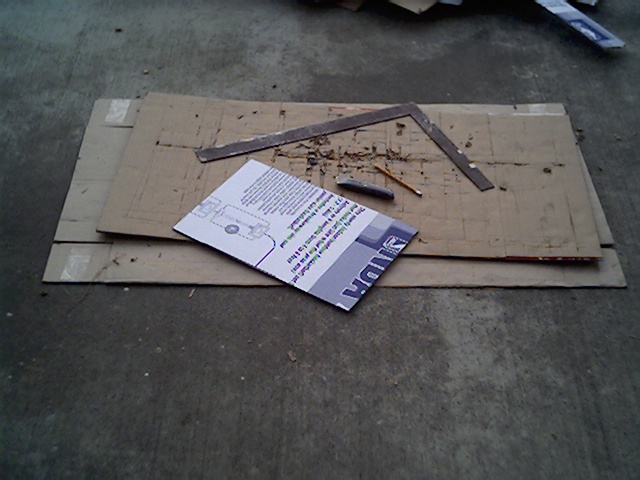
For 11″ x 17″ plans, you will need a 12″ x 18″ building board. Look around and find a big box with sturdy cardboard. Computer and appliance boxes are good. Look around your neighborhood on garbage night. You will need a utility knife such as a Stanley 99A with a short, sturdy, sharp blade. A single edge razor blade can be used, but it is harder to grip and easier to cut your fingers. You will need a flat place to cut upon, such as a work table or floor. You will want a backing to protect the table or floor and to prevent the knife blade becoming dull on a floor or concrete. A sheet of cardboard somewhat larger than the building board is good. I glued up the end panels of the boxes I cut up, gluing strips crosswise, to make a double layer of corrugated cardboard, giving plenty of clearance above the concrete driveway. You will need a carpenters square or steel straightedge for guiding the knife. I put masking tape tags on my carpenters square to mark 12″ and 18″ and other dimensions for other sizes of boards.
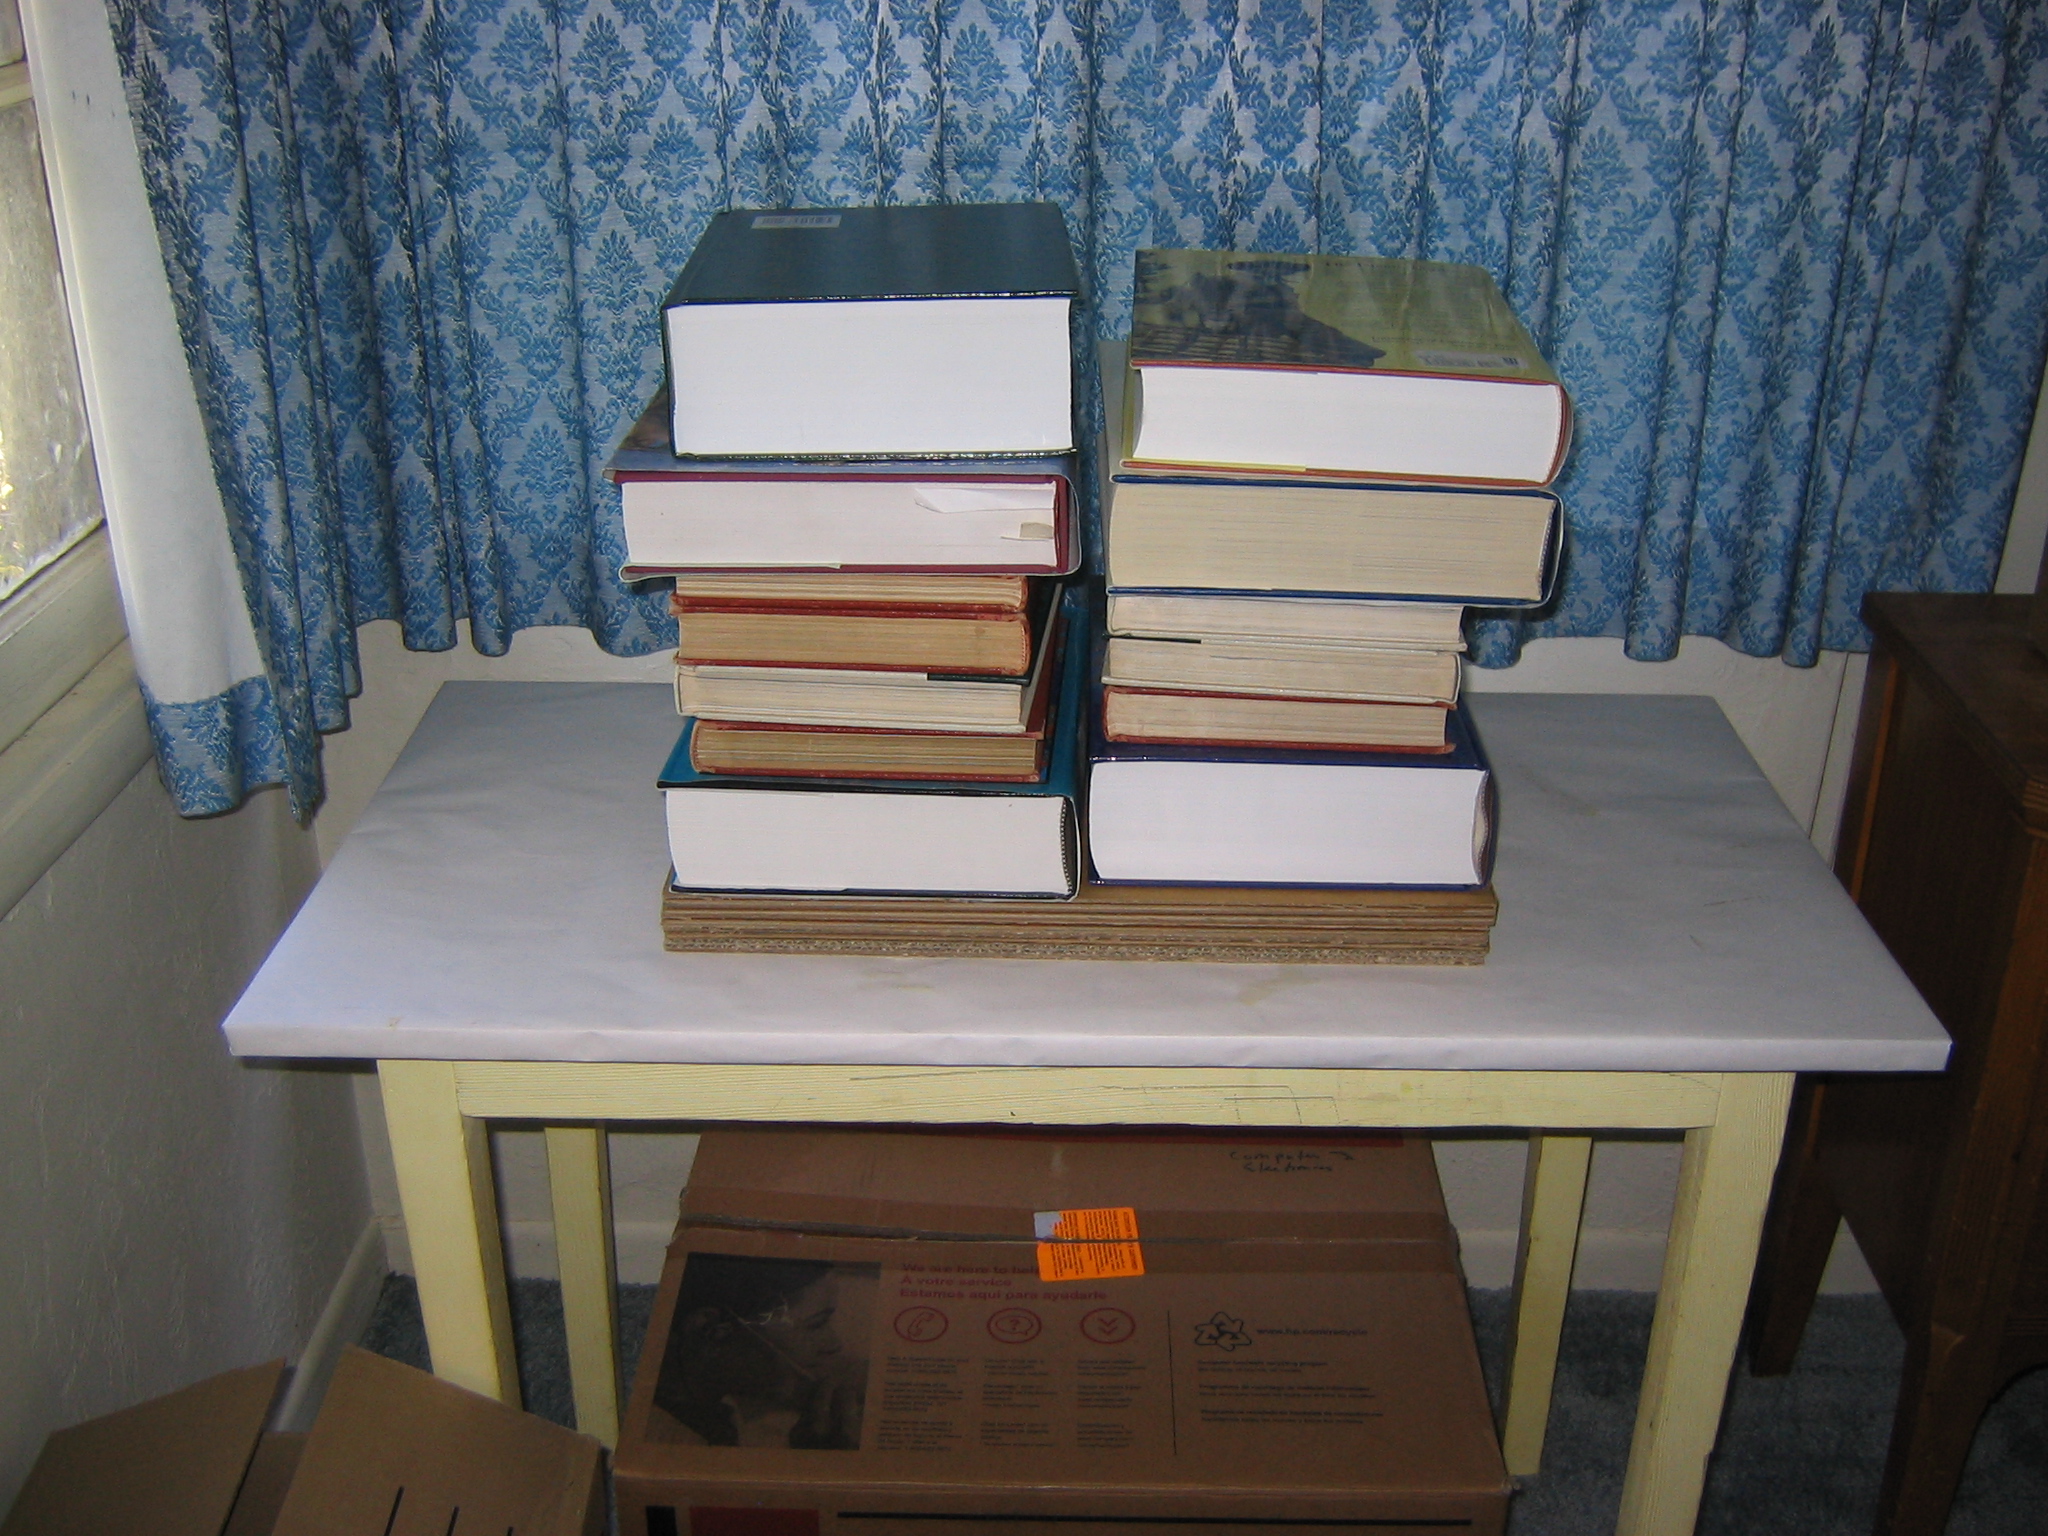
I cut two edges, pencil mark the lengths of sides on each, turn the square around, line up the marks and cut the other two edges. You can also get a 12″ x 18″ piece of construction paper to use as a pattern. Hold the paper down on the cardboard with weights, mark the edges just near the corners with a pencil and use the straightedge and knife to cut the sides. Even with sturdy cardboard, I recommend gluing two or more pieces together to make it stiff. I spread the glue uniformly over the surface with a 3″ rectangle of thin cardboard cut from a cereal box. It will take a lot of glue, so get a big bottle. Place the glued pieces on a flat surface and weight them down with heavy books to keep them flat. Let the glue dry for several hours, preferably at least overnight. Make as many boards as you can from your cardboard supply; you will find that you can build several models at once, working on one while the glue dries on the other.
I find that gluing just two pieces together cross grain will make a board that will warp. Two like that can be glued back to back and will not warp, or glue three pieces with lengthwise grain on the outside with one cross grain in the middle. You want it to be thick enough that you can push pins into it and have them hold without the pins going through. You may also use Homasote, Celotex or other wall or ceiling board, although this is not as smooth as I like. Be careful not to push pins through the board where they could scratch furniture. Don’t work over good furniture. Protect your work surface with newspaper.
We have been using waxed paper or plastic grocery store produce bags to keep the glue from sticking the wood assemblies to the paper plans. I have had problems with these materials for covering the plans. The wax paper absorbs glue and sticks to the assemblies. It can be scraped off with a razor blade, but I don’t like to spend the time. The wax can also dissolve into the solvent glues, possibly softening them. The polyethylene film produce bags don’t stick, but taping them pulls up ridges so it doesn’t lie flat. It takes a lot of trouble to get them flat. The bags inside cereal boxes are HDPE, translucent, but clearer than waxed paper, thicker than produce bags and do not as easily form ridges under tension. It is a bit wrinkled, but it flattens when taped down. Cut the top and bottom strips off and cut along the join line. For an 11″ x 17″ plan, cut the plastic 11 1/2″ x 17 1/2″. Cut it the same way the boards were cut with a carpenter’s square. The cut may be made with a razor blade, because the forces are slight.
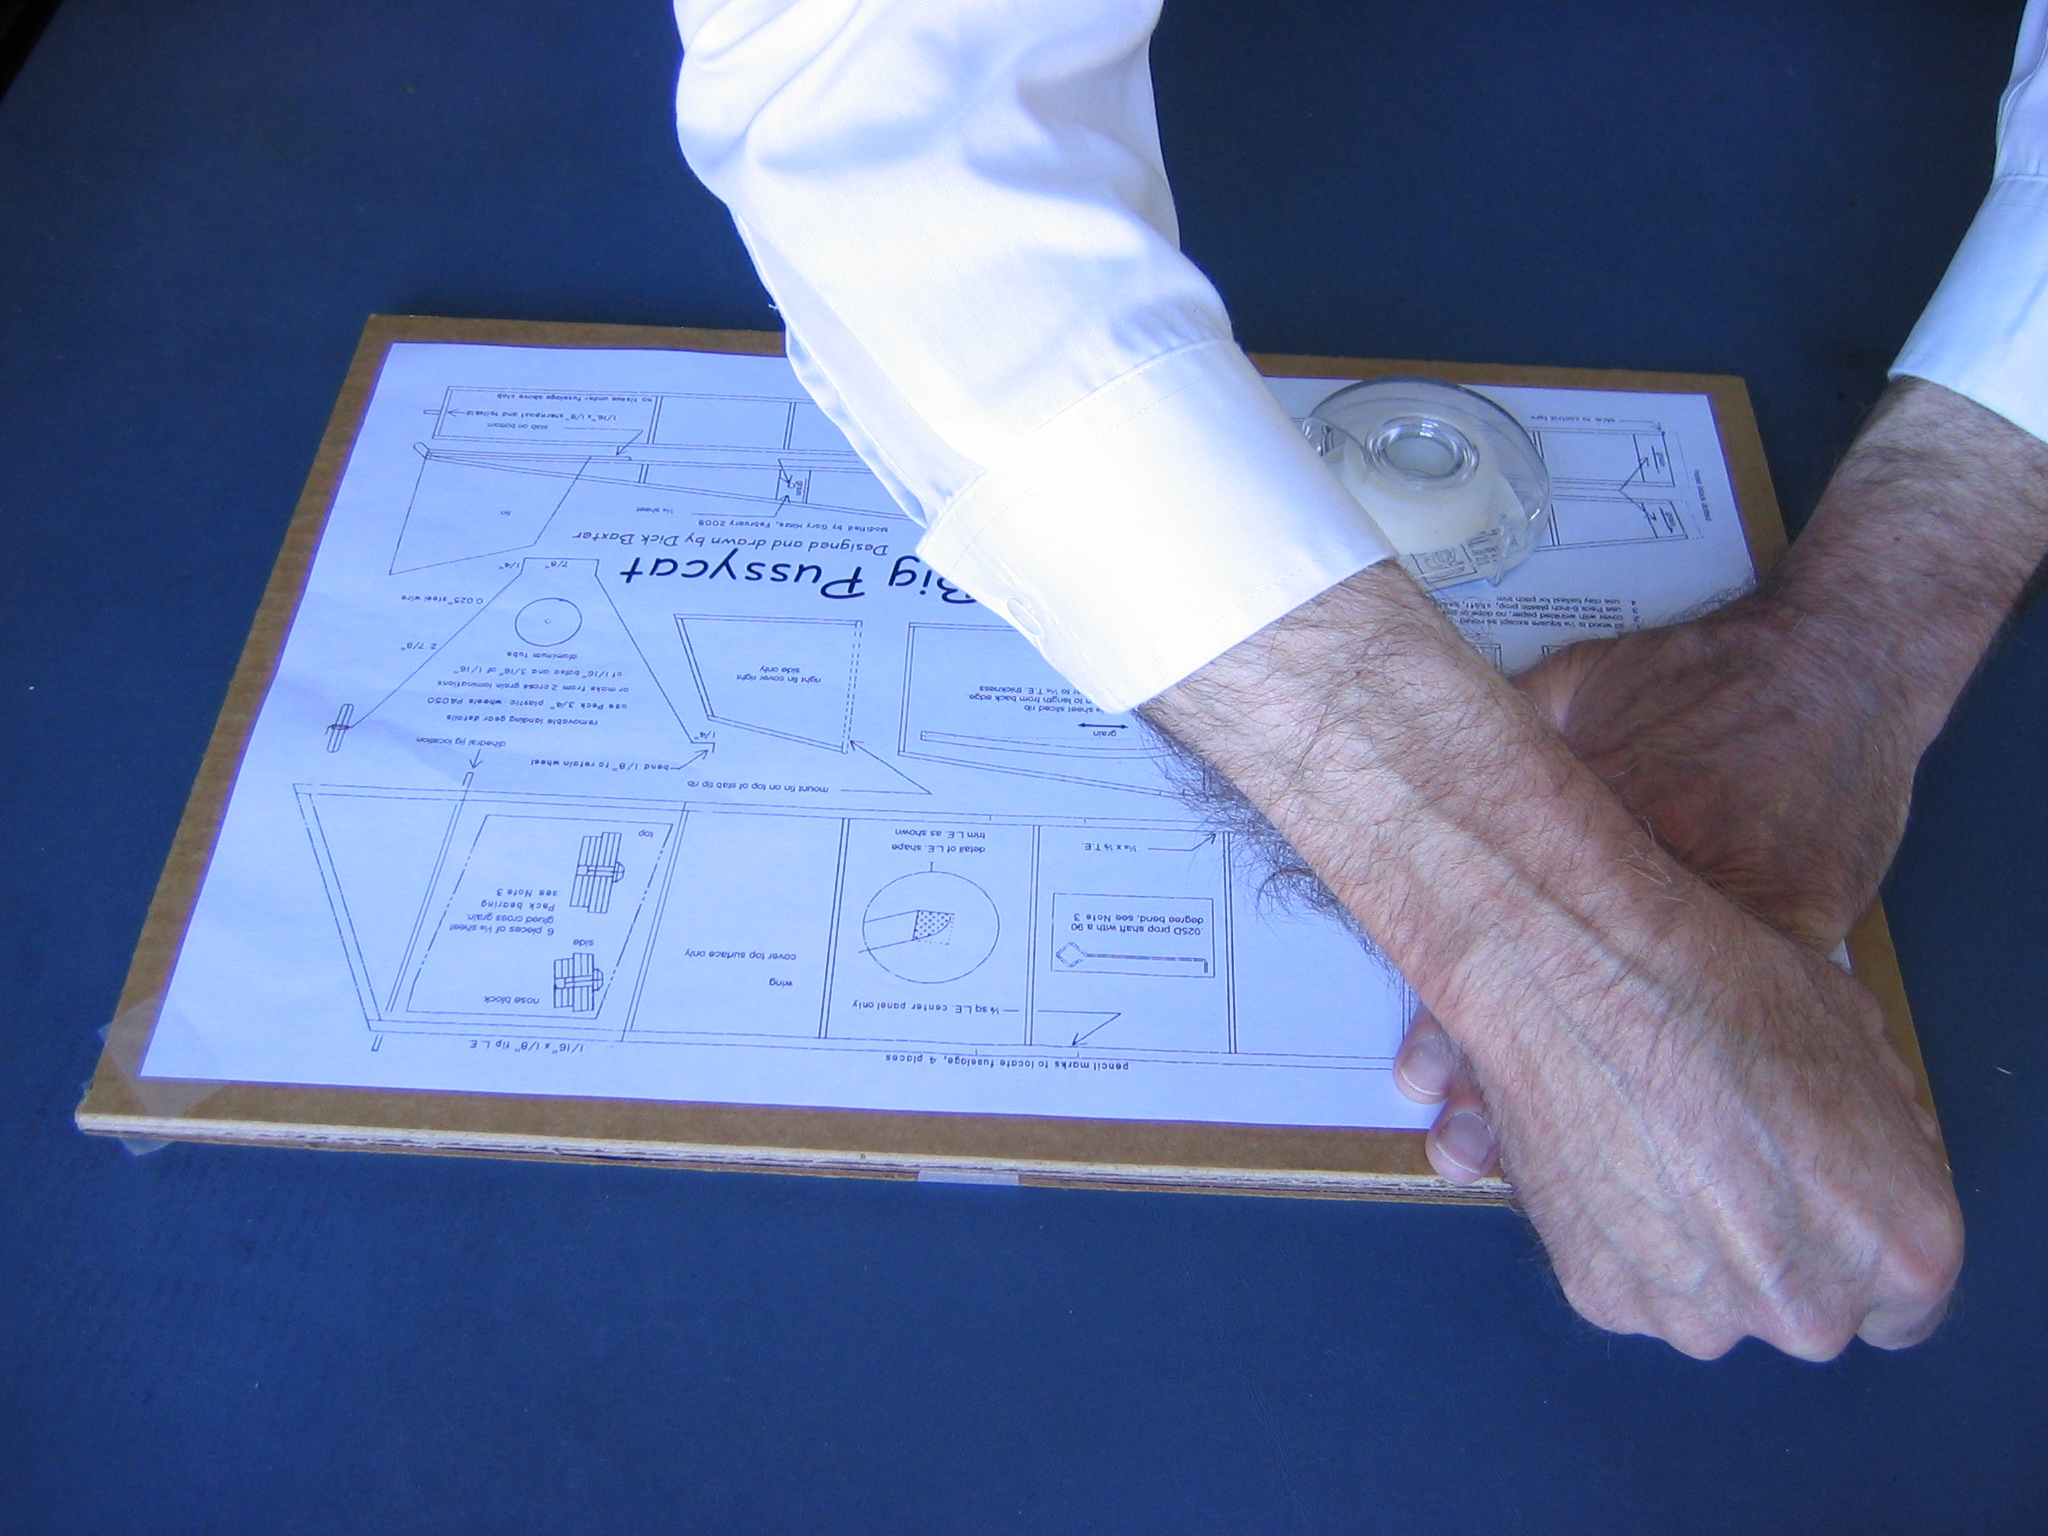
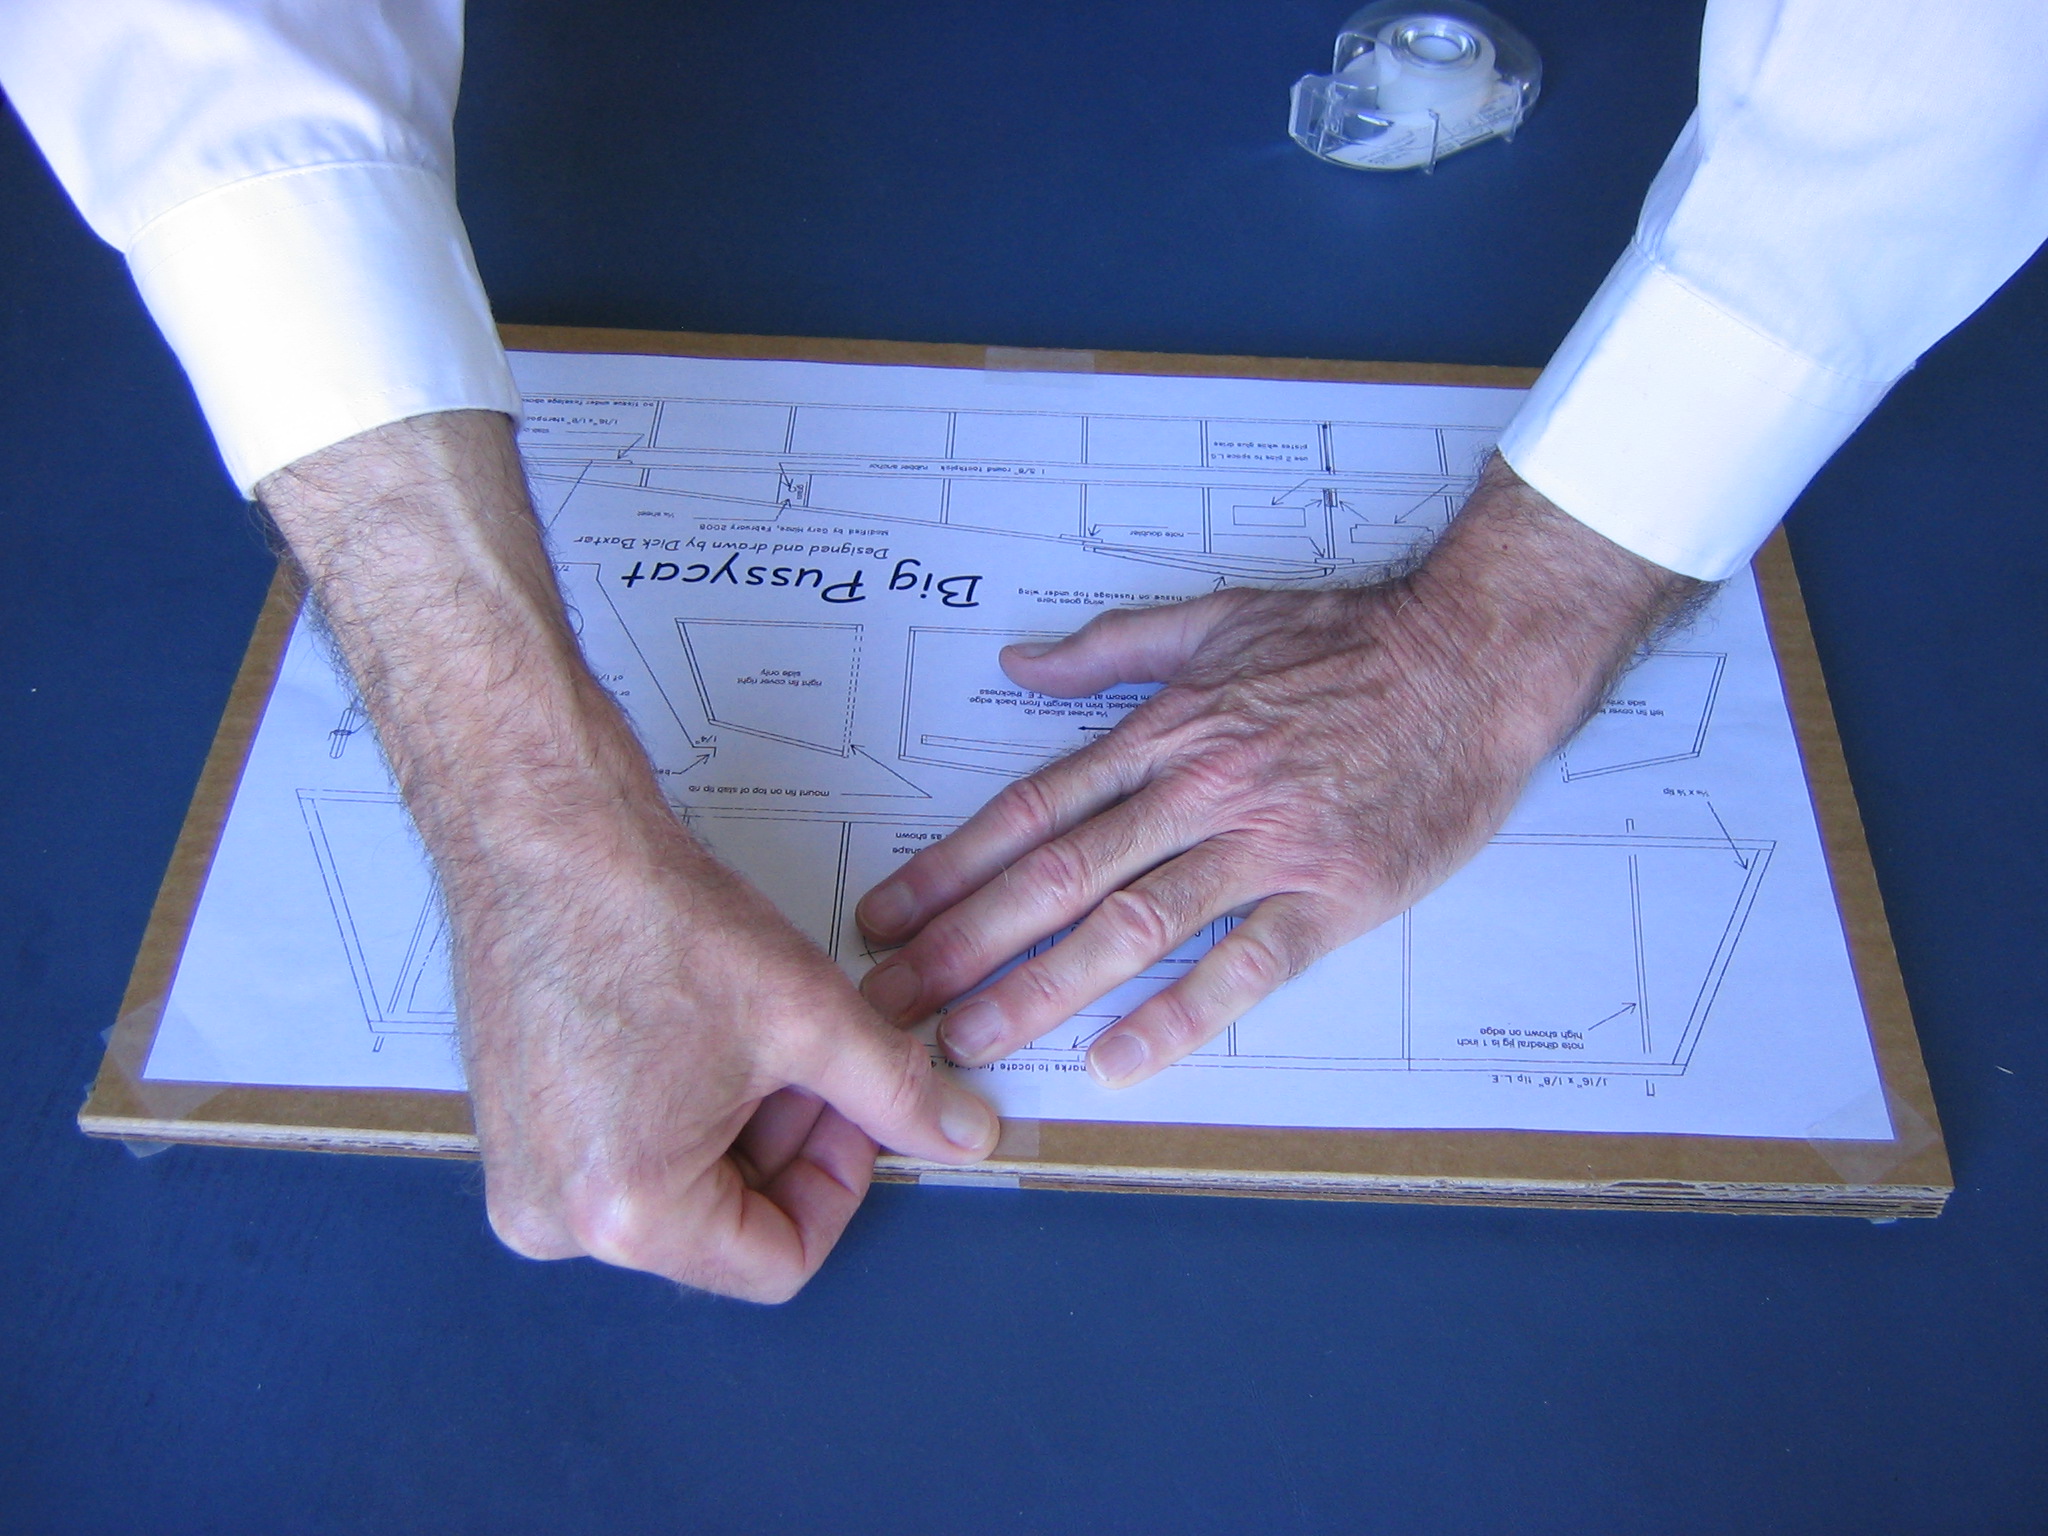
Attaching the plan and protective covering to the building board must be done so the plan and covering sheet are flat. Start by carefully centering the plan on the board and taping the upper right corner down.
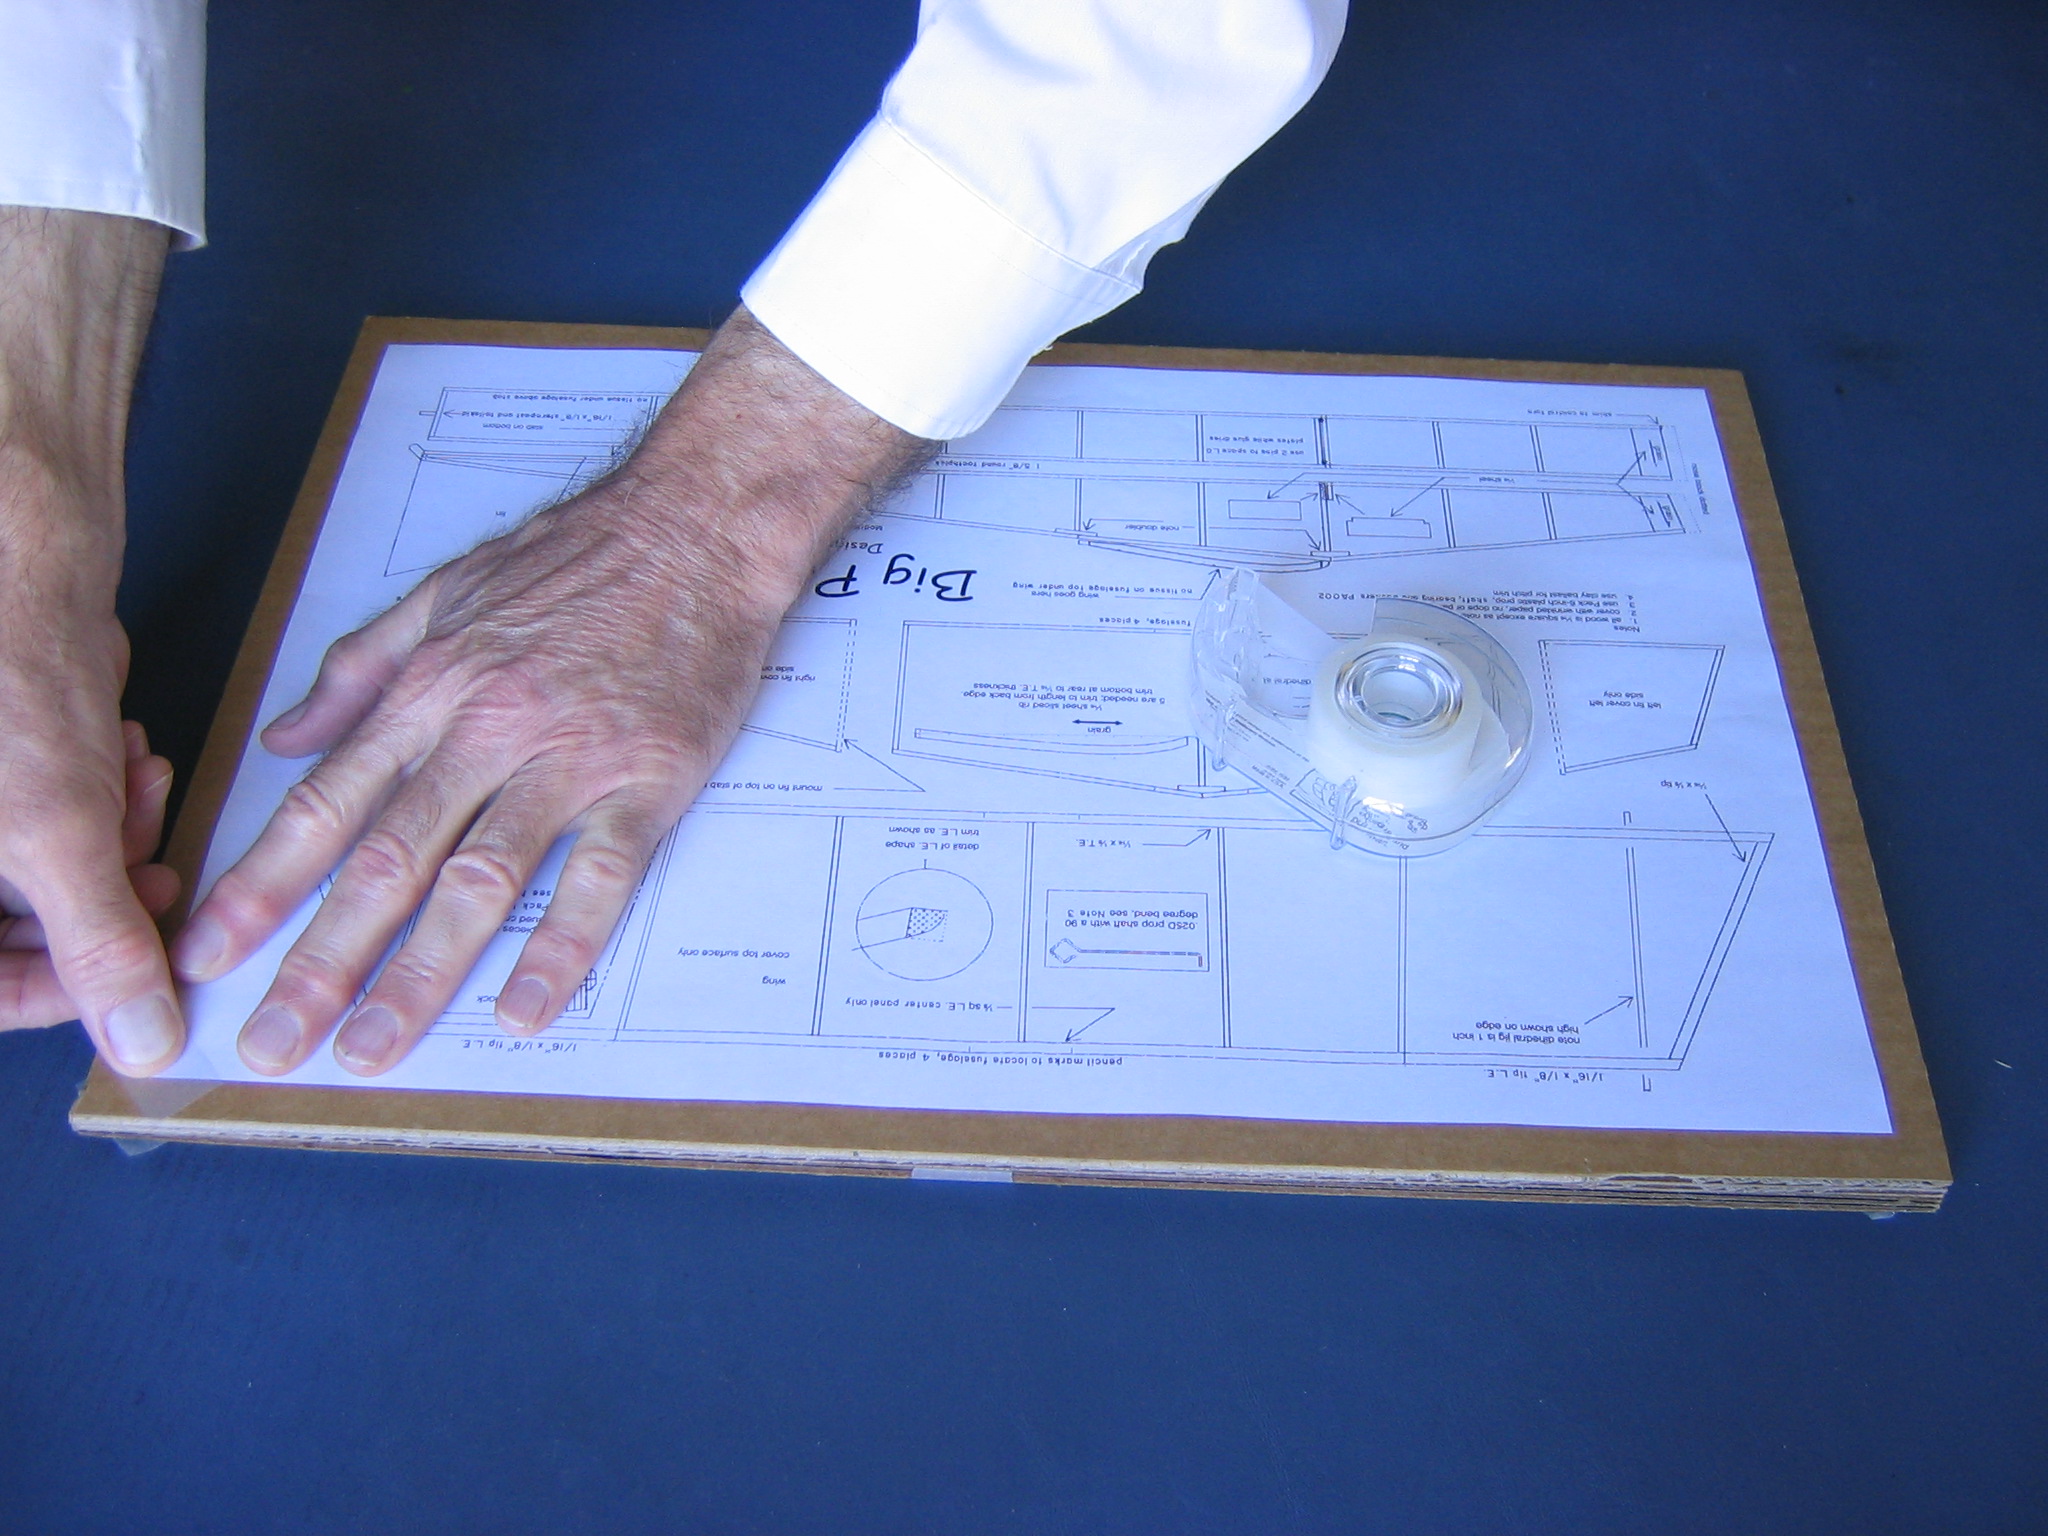
Get another piece of tape on your right index finger, hold the upper right corner in place with the right hand while sliding your left hand across the top of the plan to the left upper corner, and tape that corner down.
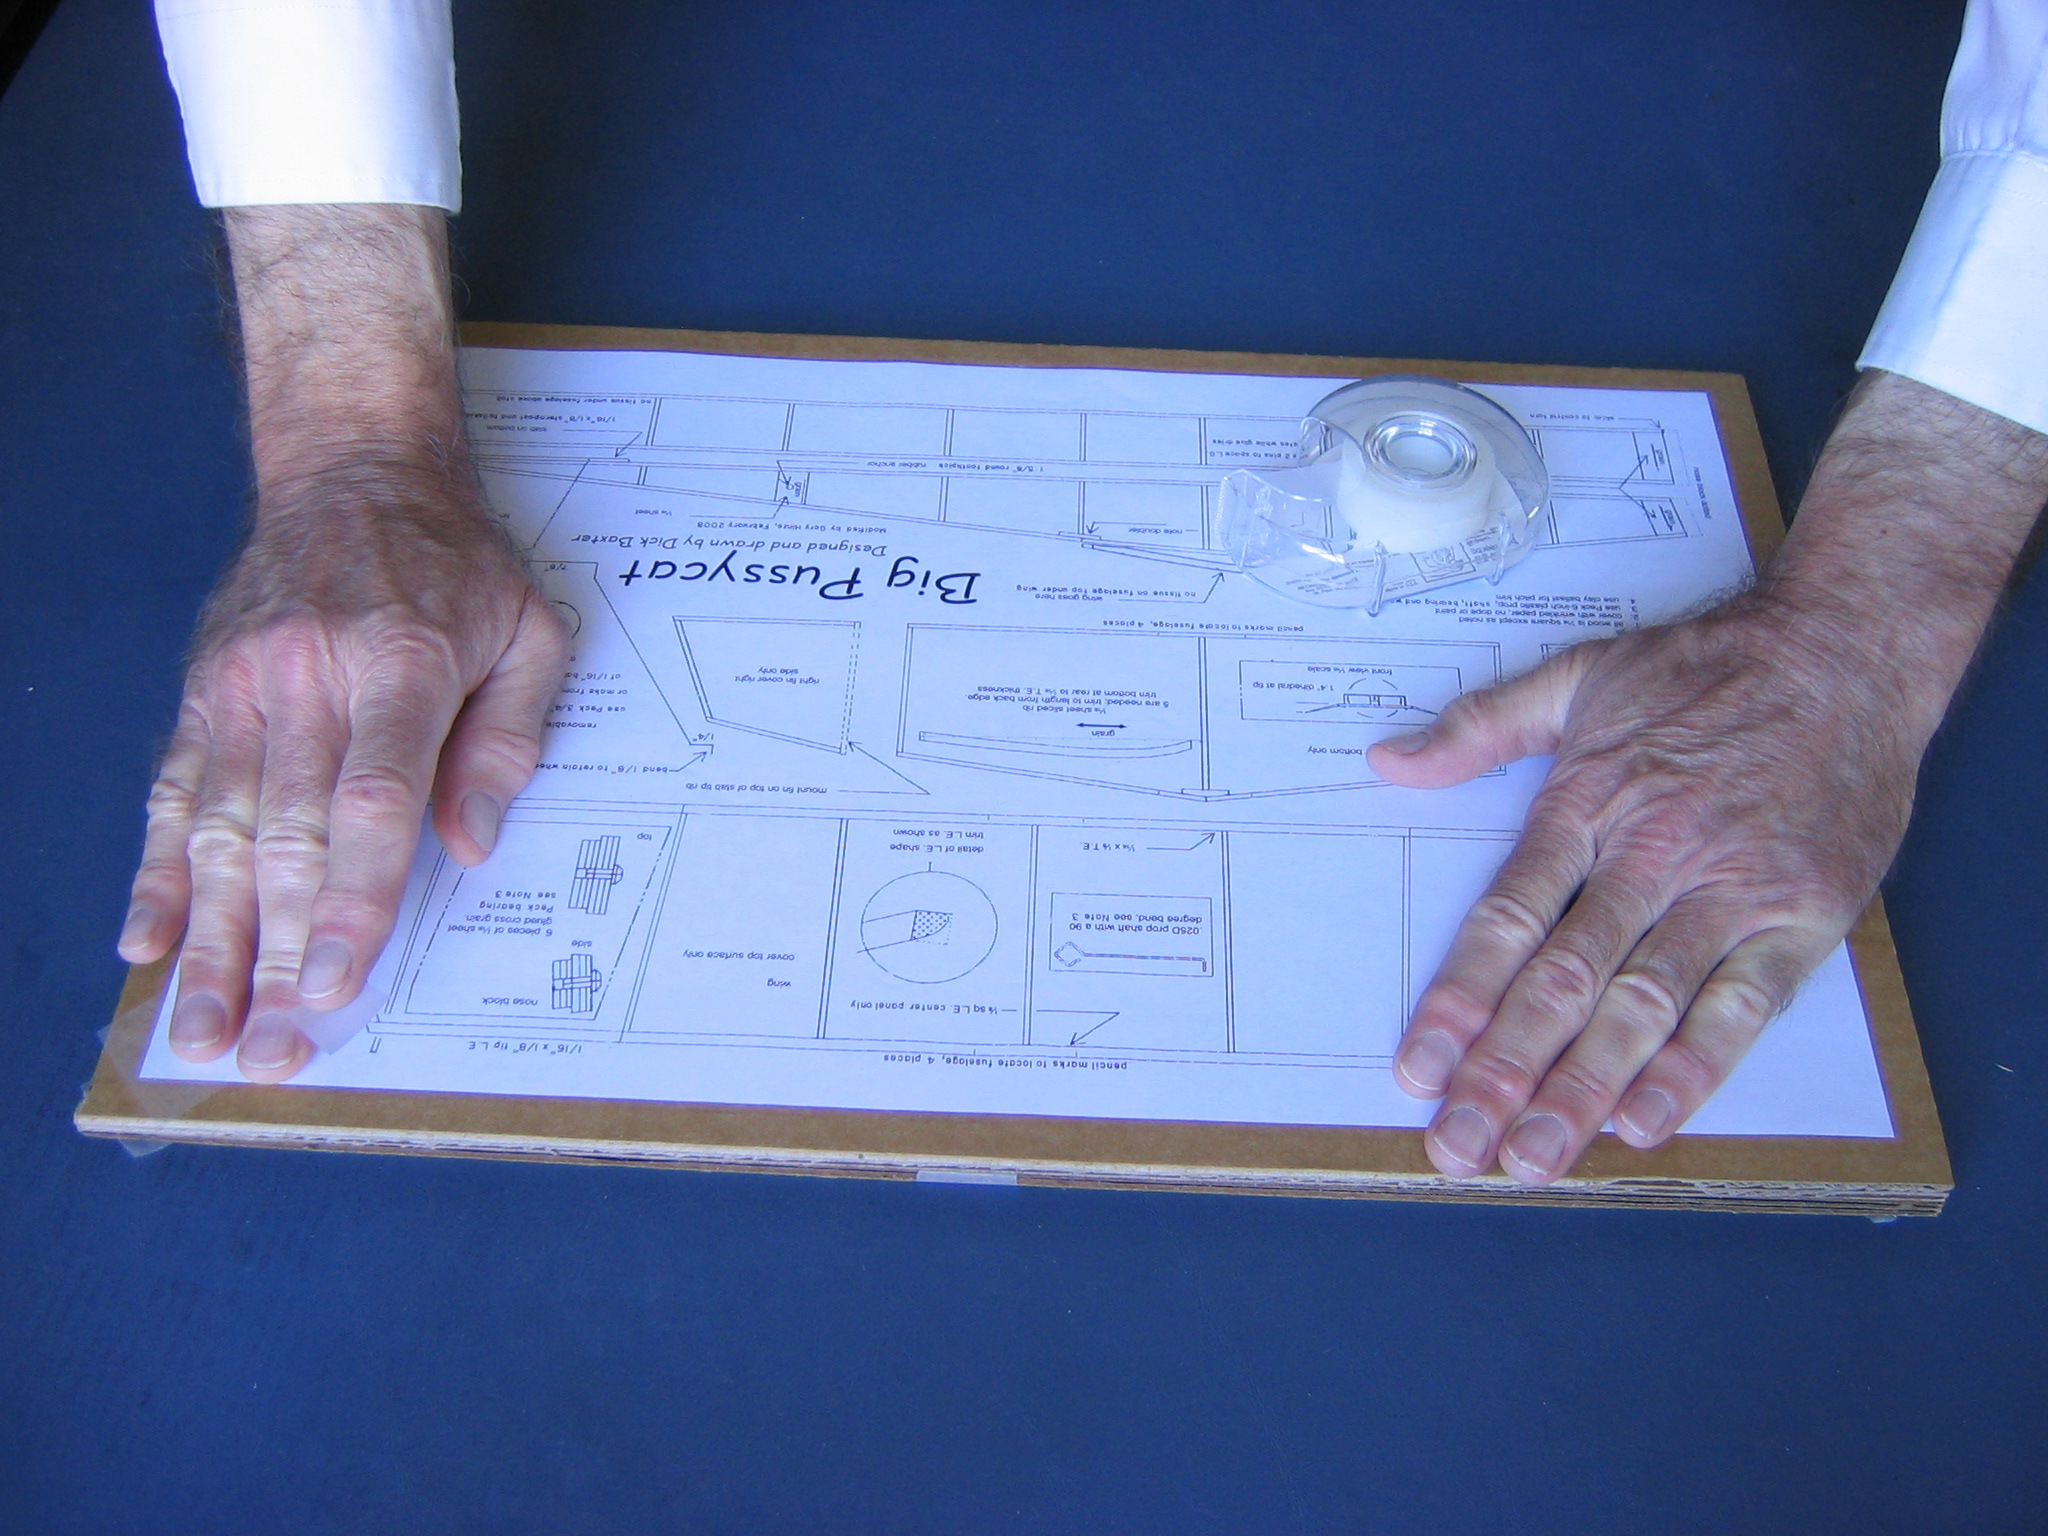
Get another piece of tape on your right index finger, slide your left hand from the center of the drawing down to the lower left corner, and tape that corner down.
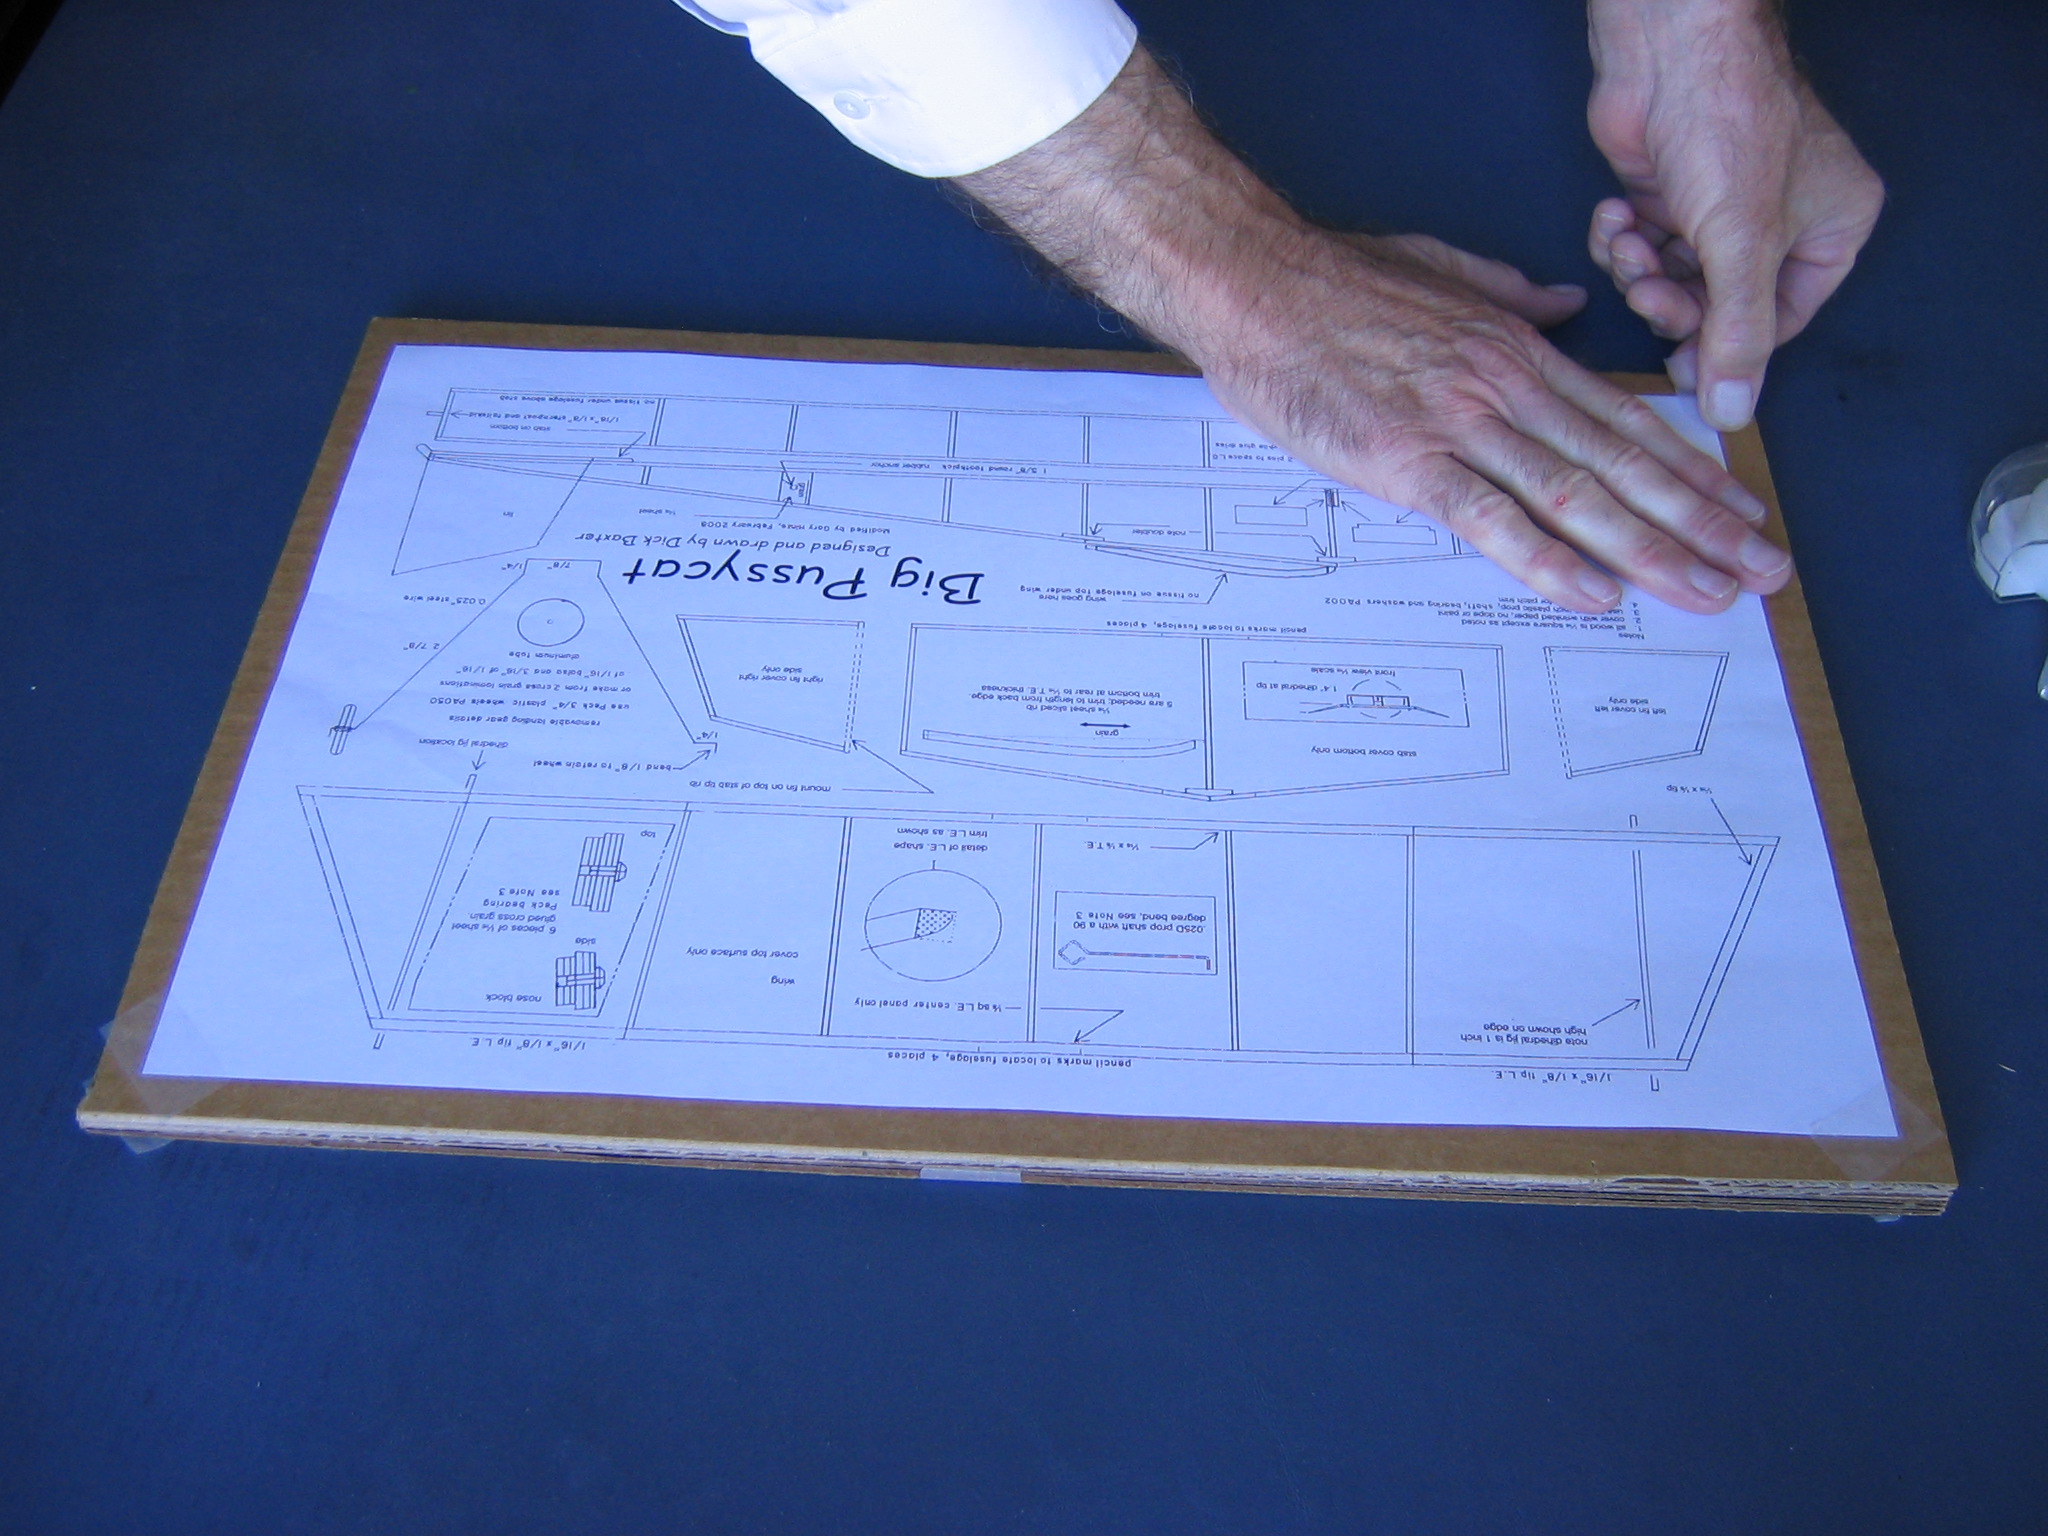
Last, slide your left hand from the center of the drawing down to the lower right corner and tape that down.
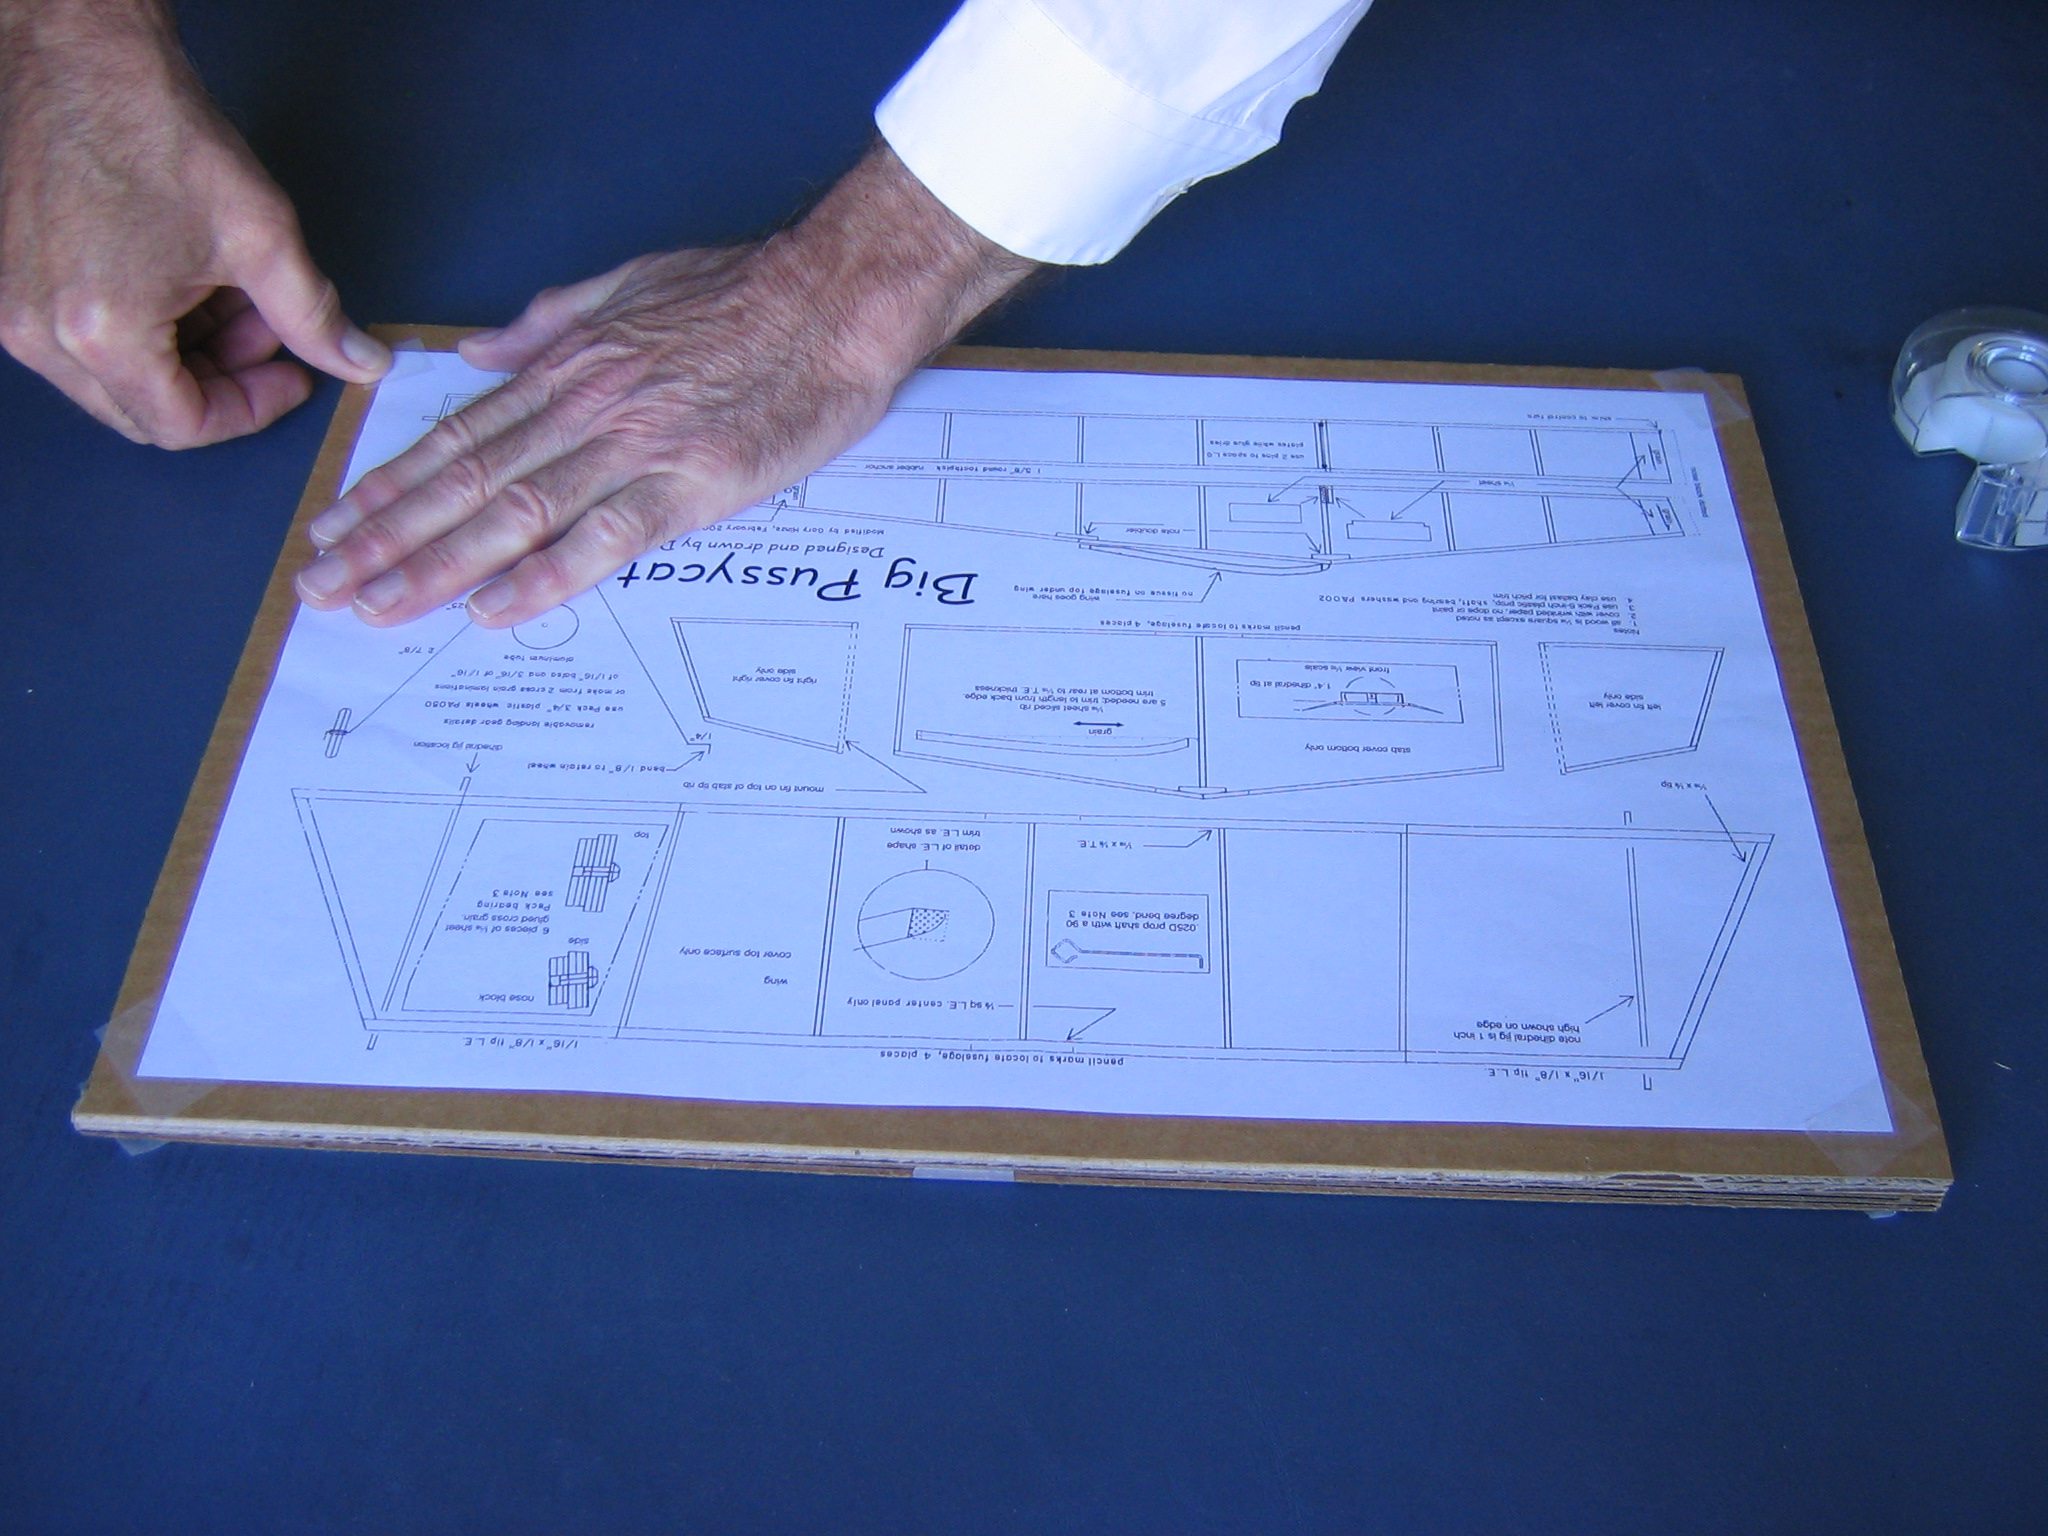
Check that the plan is flat, no bulges. If it is loose, remove the tape and redo it. Tape the top and bottom edges down at their mid points.
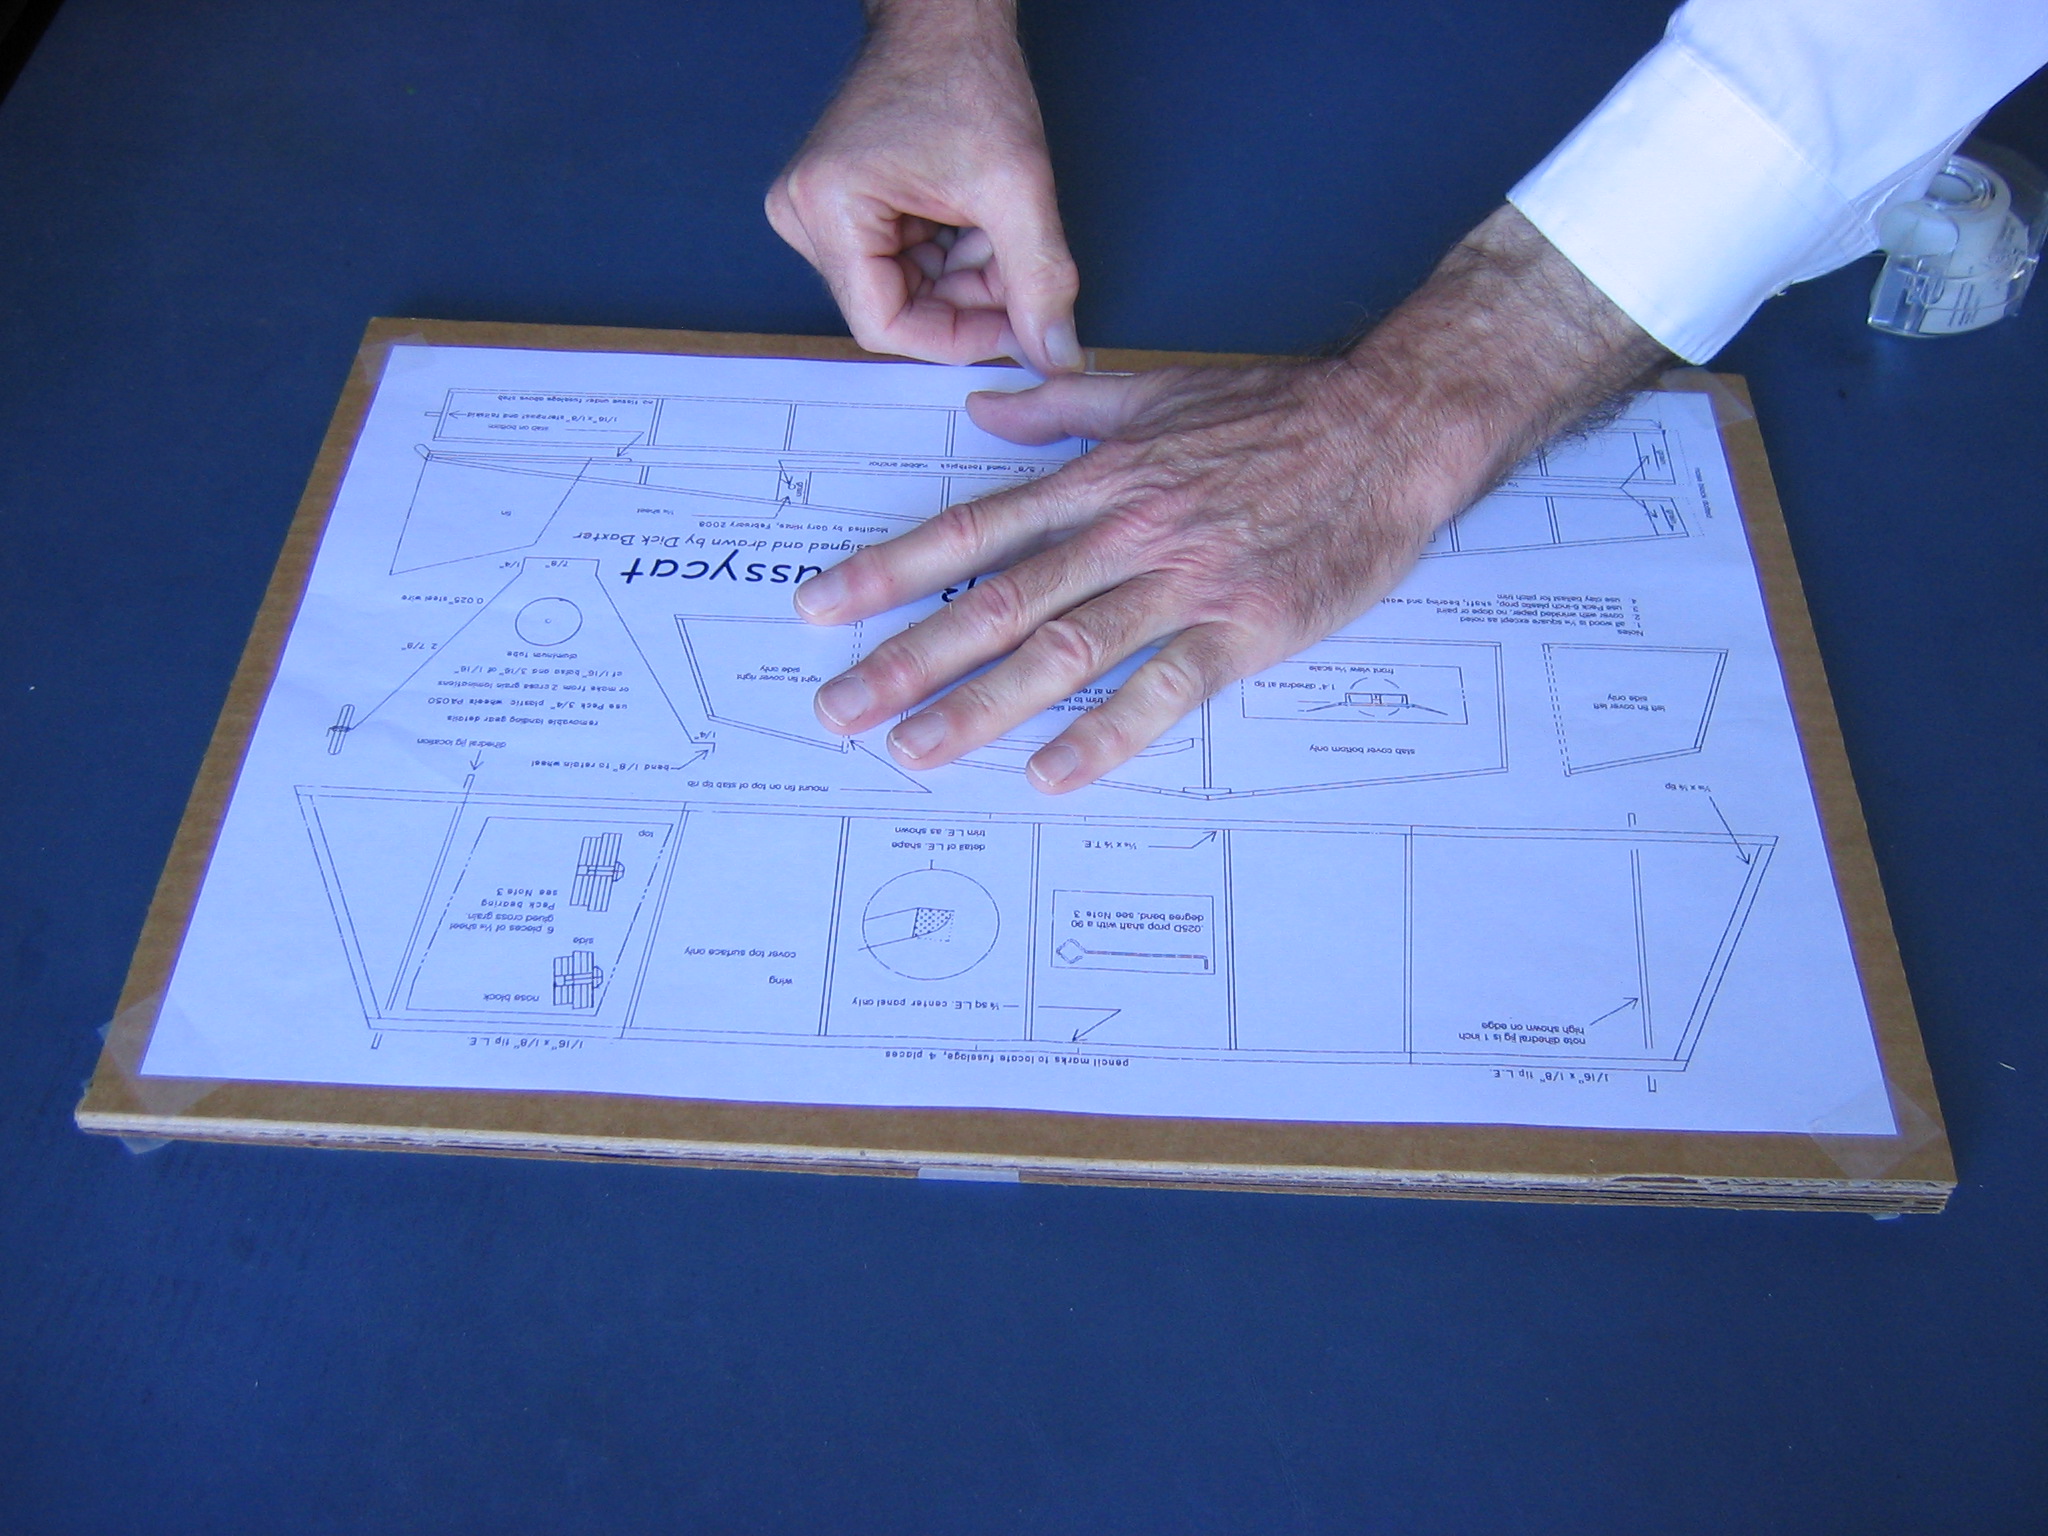
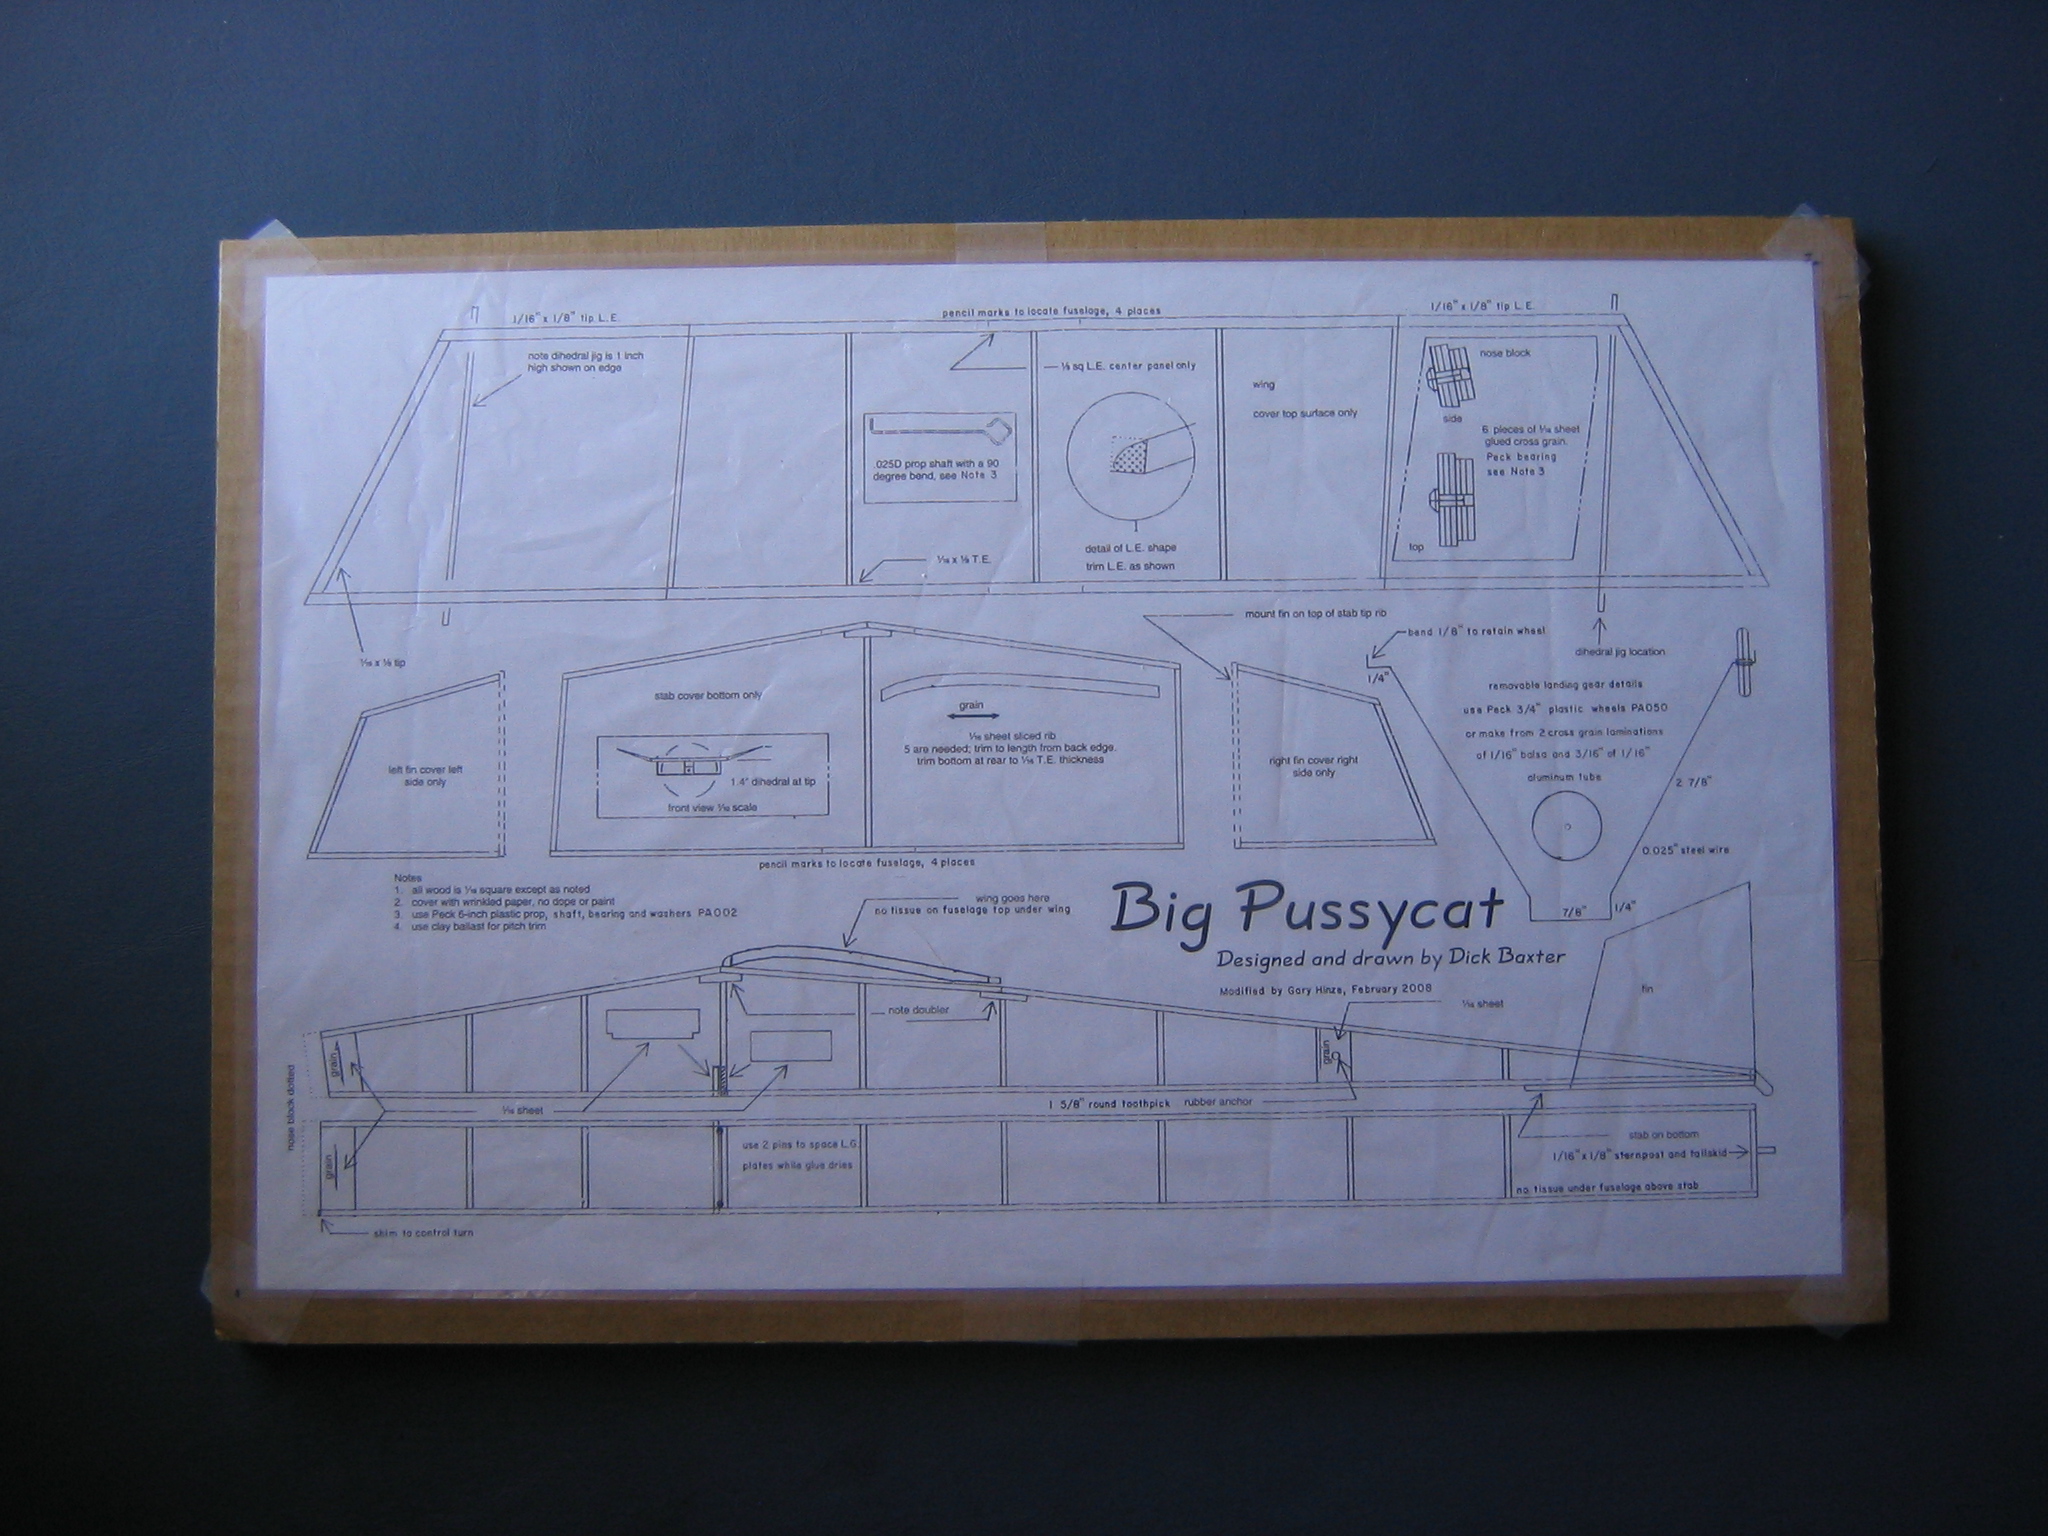
In a similar way, tape the plastic covering down over the plan.
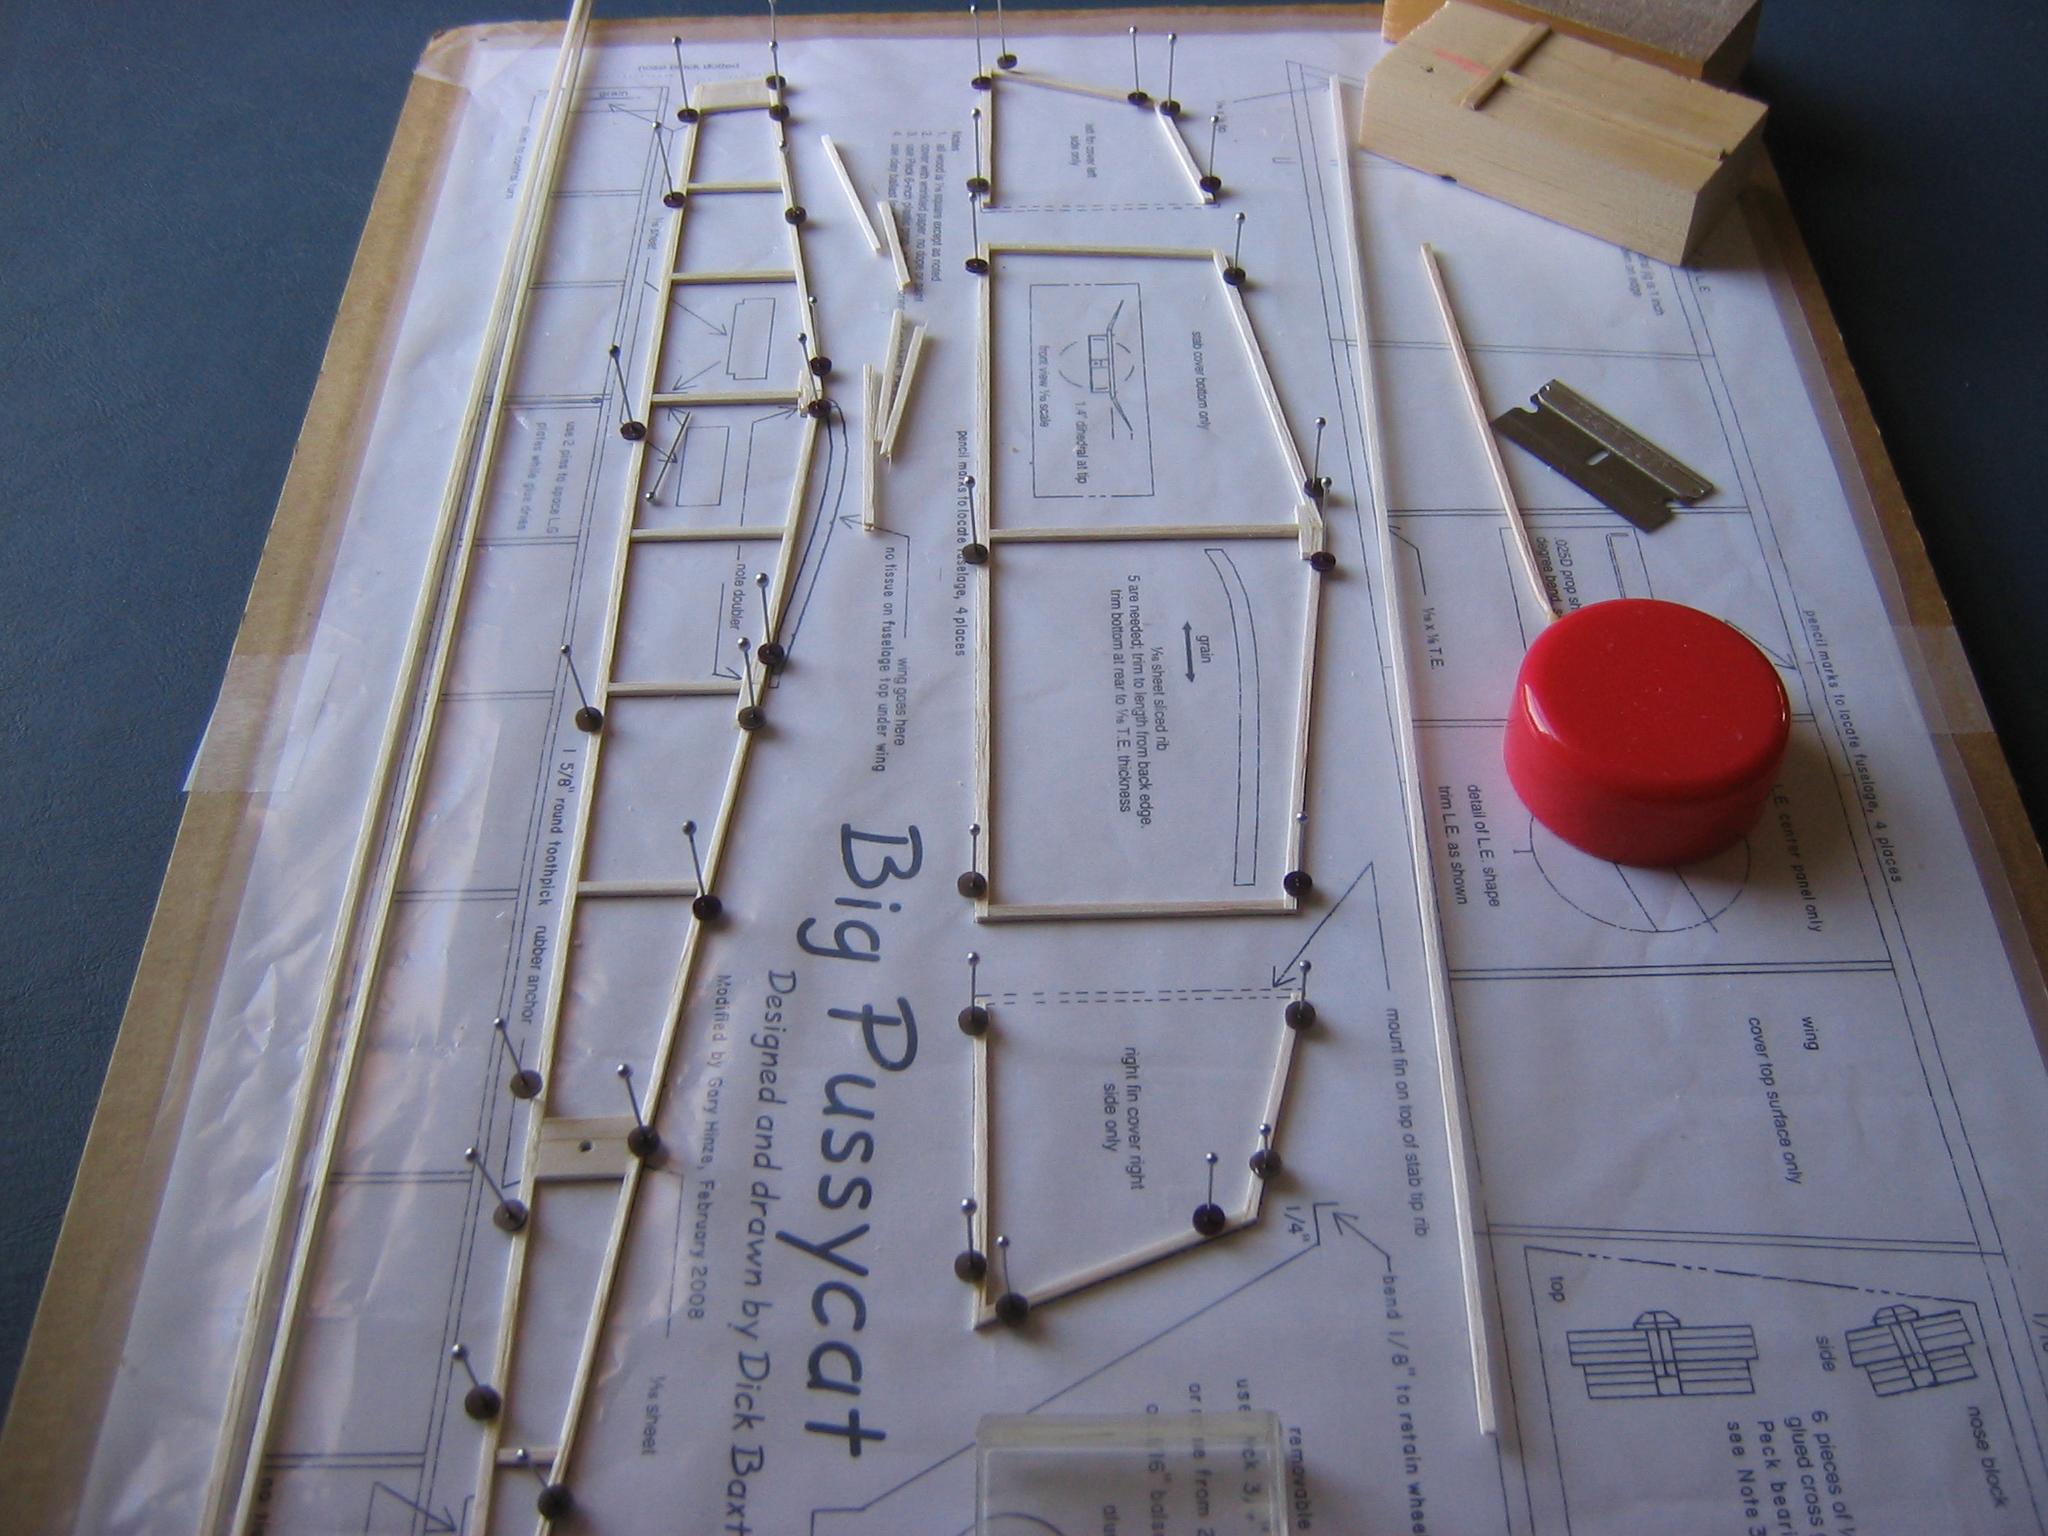
You can see here how the parts are cut and placed right over the plan and held in place with pin clamps until the glue dries.
Gary
I just use a few different sizes of un-warped plywood with thin galvanized sheet steel from Ace Hardware/Home Depot/ Lowe’s contact cemented to one size. The magnets are used instead of pins to hold parts down in place or in vertical alignment. I bought some rectangular magnets from a company selling them for just this purpose but also use others salvaged from hard drives and electric toothbrushes. Works fine unless you allow them to slam together or fall onto a hard surface as the are very brittle and will chip.
i am interested in trying/using the plastic disk “pin clamps”. i have been using small paper rectangles cut from business cards, but i think that the disks will provide more consistent pressure.
thank you again.
See “Big Pussycat Chapter 1 – Materials, Tools and Shopping” for the making and use of the plastic disk pin clamps. Manufactured plastic disk pin clamps are comercially available.
Gary