The Cloud Buster is the third model plane in the Guillow Easy Build Series, so far I have built three of the four, I have not built the first one yet which is a hand launch glider. The idea of offering a progression of increasingly difficult planes is a good one. As with most Guillow products, they put out a good product with a few deficiencies. With Guillow it is normally the weight of the wood and the nose bearing setup, this kit is no exception. The wood for the wing ribs which was laser-cut was fine, it was the stripwood that appeared so heavy. But I made the mistake of replacing the stripwood for the tail surfaces with wood that was too light to handle shrinking the tissue with water. Built as indicated on the plans, the plane will probably come out tail heavy, so saving weight in the tail would be a good goal.
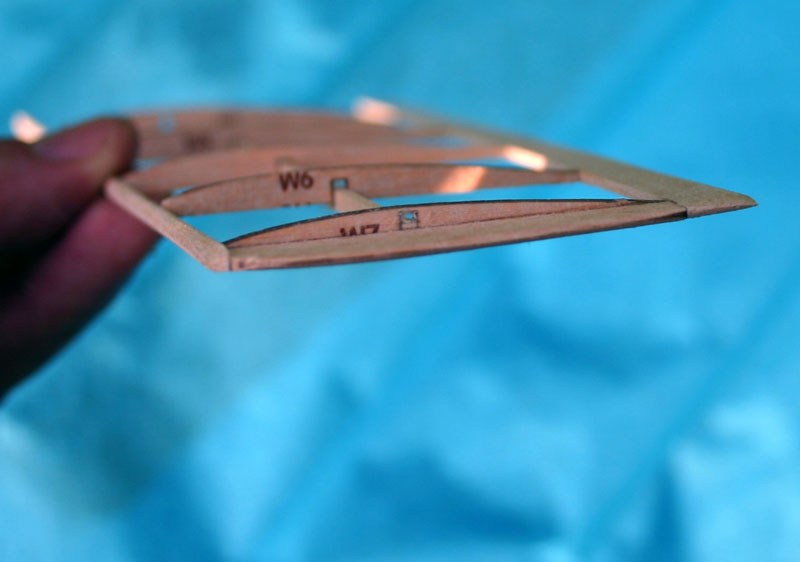
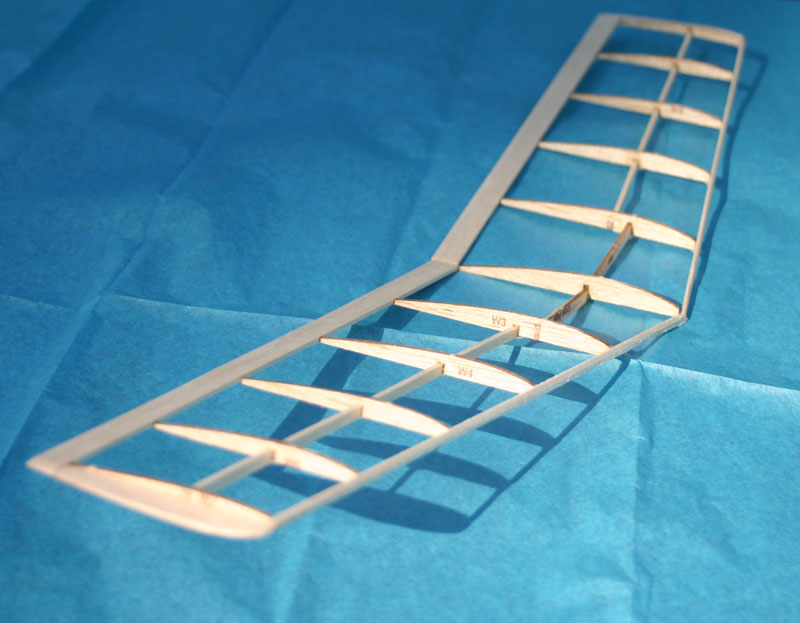
Included in the kits was a small bottle of Elmers white glue which I used for the construction. The difference in construction from the previous plane in the series known as the Cadet, this plane has a true airfoil ribs that taper from the root of the wing to the tips. There is a spar going through the ribs and the amount of balsa above the spar notch in the tip rib is really tiny, it would be easy to break this rib. The structure of the tail surfaces makes for many small pieces but it is not hard to do. The pylon is also built up with many angles which gives you practice for those types of joints.
I covered my Cloud Buster with colored tissue that hopefully was lighter than the white tissue provided. As mentioned before, shrinking the tissue on the stab with such light wood was not a good idea, it would have been better to use slightly heavier wood. As indicated on the plans, the pylon for the wing starts very close to the front of the motor stick, I moved it back another 1/2″ but it should have been more. Making the motor stick shorter to bring the tail surfaces closer to the wing might help also. Maybe making a pylon that slides on the motor stick and fastens with rubber bands might be an alternative.
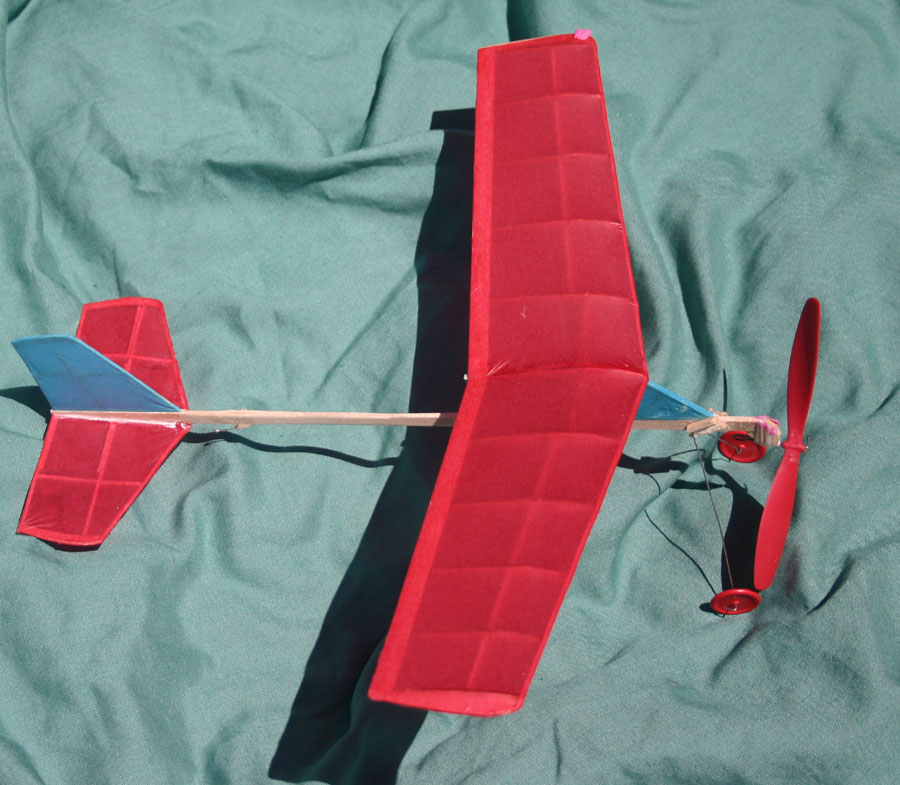
For the first flights, I left off the wheels thinking I could change the position and weight of the wheels and landing gear to help with the balance. If done per the plans, the landing gear starts behind the wing and angles forward with tiny wheels. I used heavier wheels with the landing gear coming straight down from the nose, balance appears to be fine now. The other change from the contents of the kit was to replace the L-bracket included with a plastic tube cut from a ball point pen. With the L-bracket, as soon as the rubber tension loosens up the propeller will begin to wobble. The downside to the plastic tube is that you can not bend it to change the thrustline.
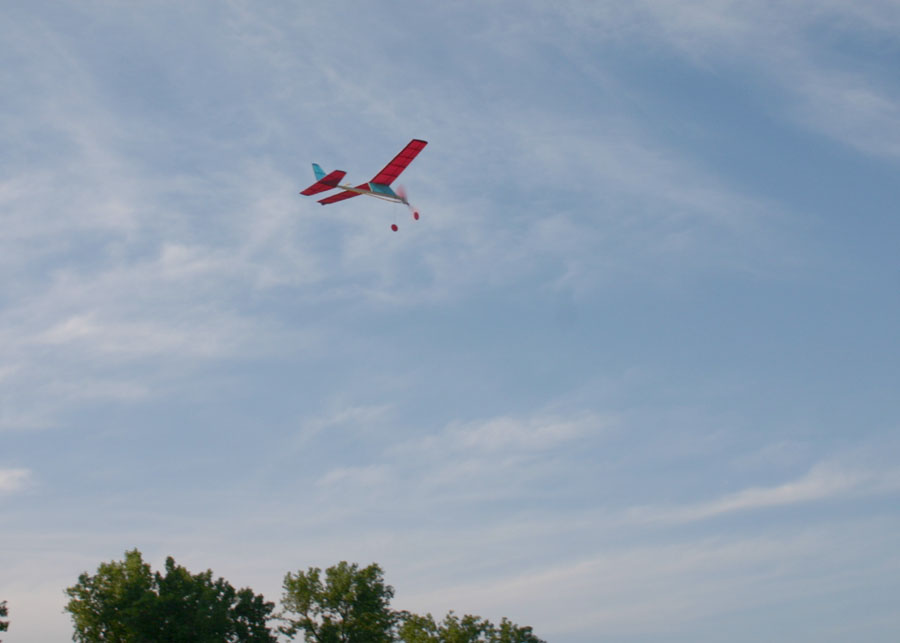
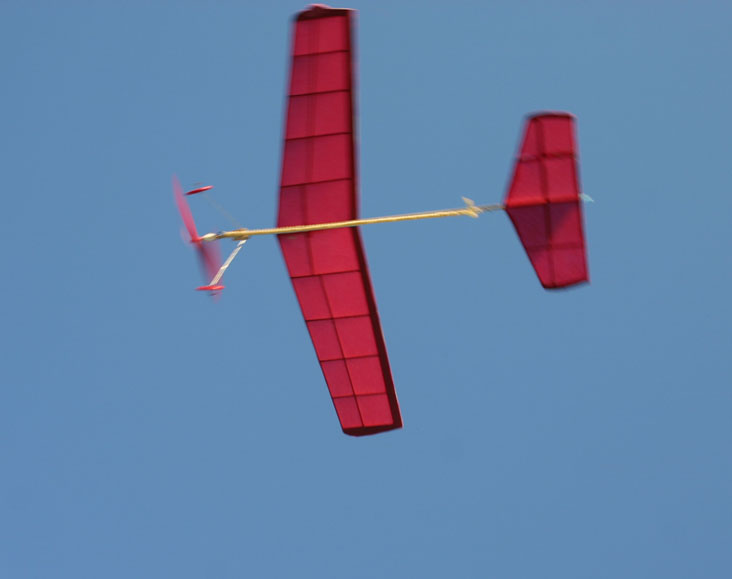 Next flights required a little adjustment in the rudder for a good turn circle but then the plane was flying perfect. Using 1/8″ SS Tan rubber makes for a gentle climb, slightly larger rubber would no doubt make for faster climb. The 3/16″ rubber included with the kit would probably be too much but if you just put in a few hand winds, heavy rubber works better. Printed on the box it says, “flies over 175′”, built and trimmed properly your Cloud Buster should fly many times that far.
If I remember correctly, the next design in this series was originally from Comet, who called it “Cloud Buster”.
The original Comet Cloud Buster was an enclosed motor design. The Comet version of what Bill reviewed here was called the Sky Boy. After Guillows acquired the Comet designs, they switched the names.
https://outerzone.co.uk/plan_details.asp?ID=12747
https://www.guillow.com/series4000buildnfly.aspx
I bought one on E-bay. Hope to build it soon.