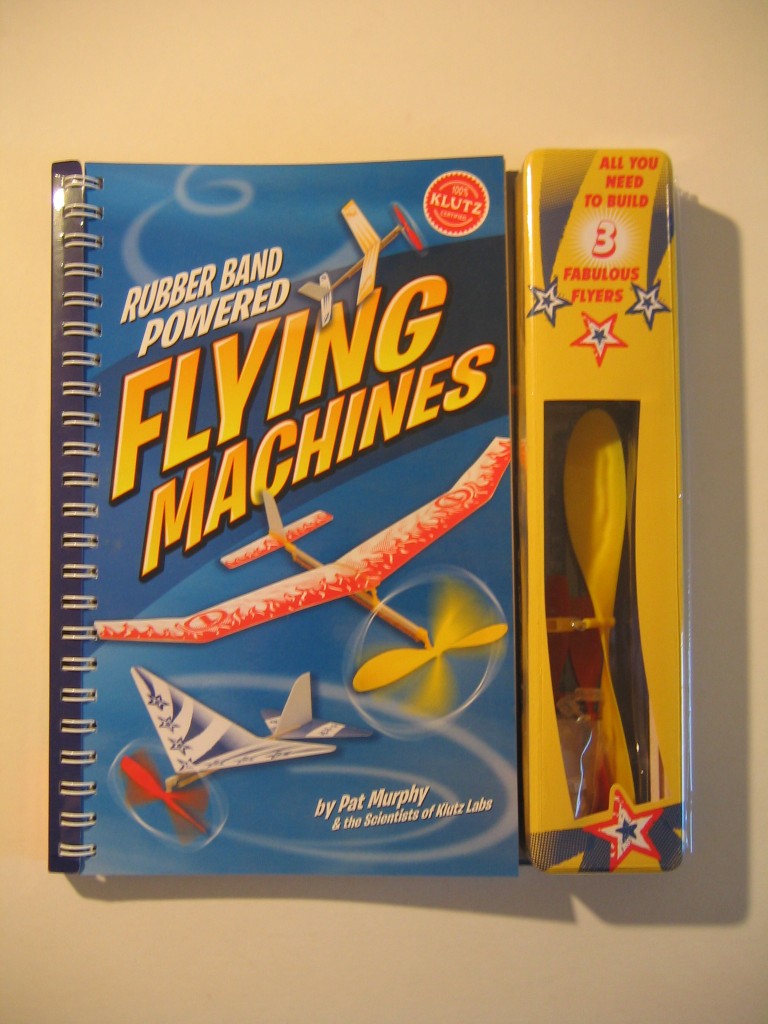
Klutz published Rubber Band Powered Flying Machines by Pat Murphy, an activity book for kids. The book contains parts and materials for making three free flight rubber powered airplanes. To see my review in another post on EndlessLift, click HERE. Common to all three are foam plastic flying surfaces, wood sticks, plastic fittings and propellers.
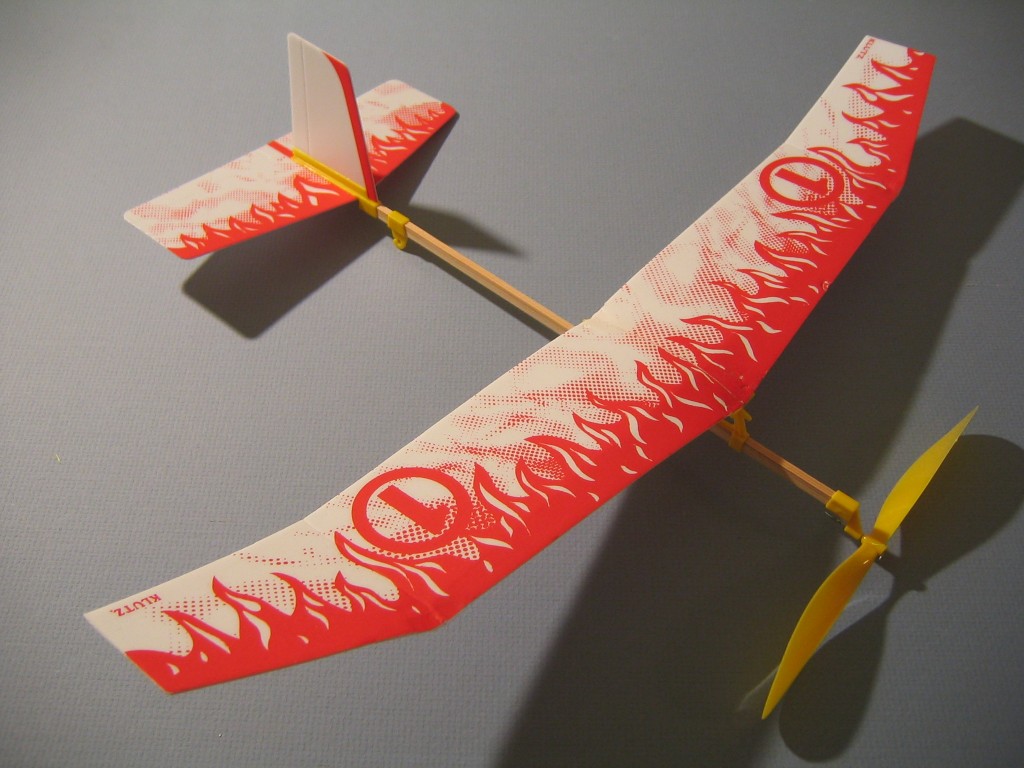
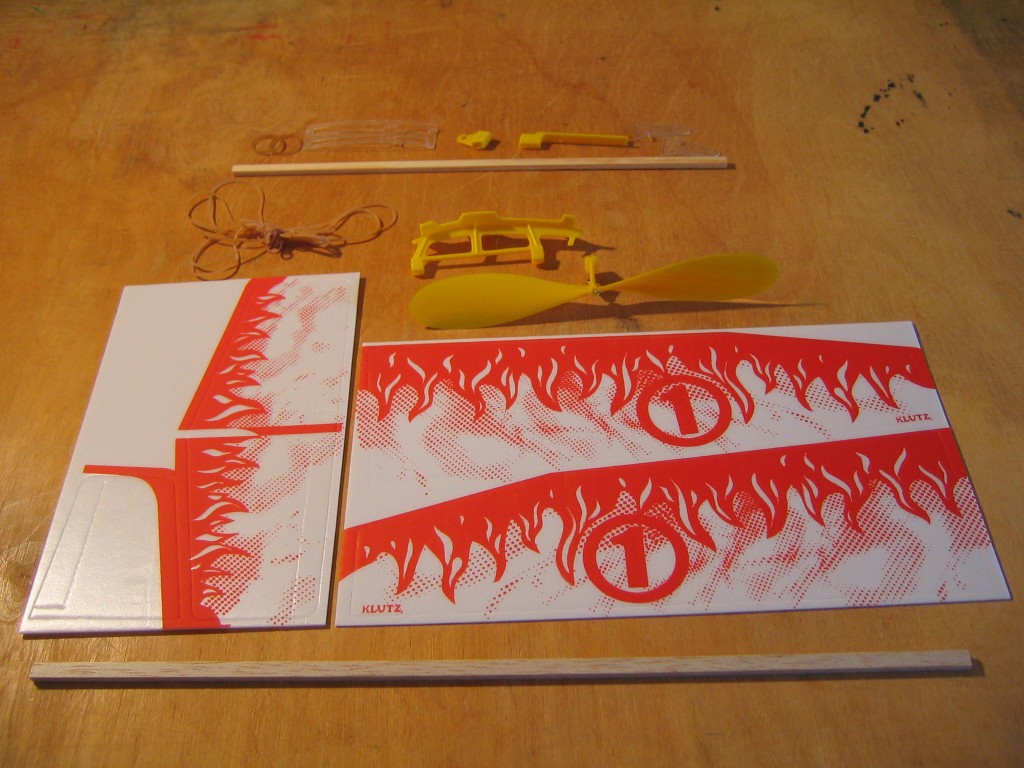
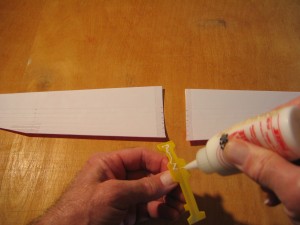
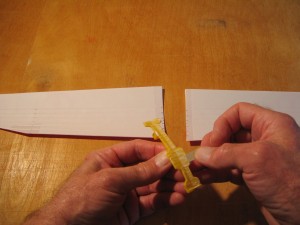
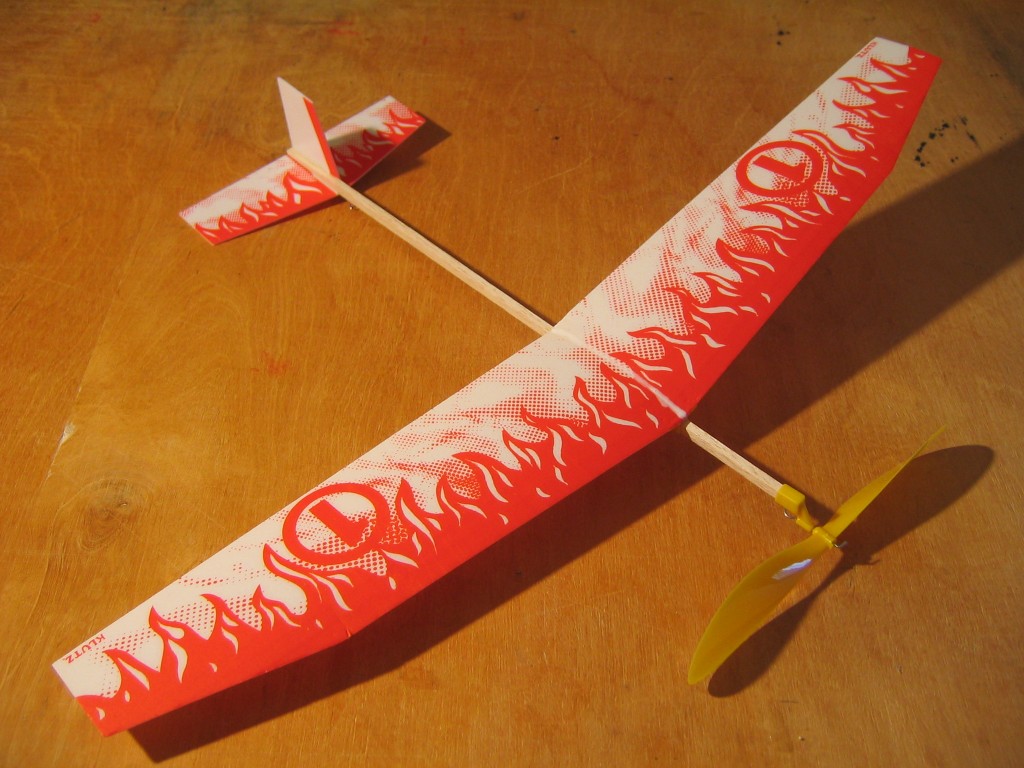
The first is the Firebird, a 19″ span, off-the-shelf toy airplane with a plastic wing pylon, plastic tail boom and weighing 21.6 grams. The motor is 64″ of 1 mm square brown rubber that is made up into an 8 strand motor, 8″ long. I have remade it into a longer 6 strand motor for more turns. I glued the foam parts to the plastic parts with Formula 560 glue, rather than use the double sided tape provided. Once the foam touches the tape, it can’t be moved without tearing it. The foam is soft and fragile and must be handled with care. Glue gives me better control of the position of the parts, although one must wait for the glue to dry. I lightly sanded and washed the hard plastic surfaces to help the glue adhere better. I sanded the bottom surface of the tail boom flat and square to make a better platform for the tailplane. I cut a gore in the wing roots to make them fit better on the centerline. I put a line of tape along the underside of the inner wing panels at the leading edge to reinforce them. Gluing the wings on allowed me to leave off the wing clip and rubber band, eliminating unnecessary weight. It will do about 1 1/2 circles in 16 seconds. It exhibits a strong up pitch under power and a strong down pitch in glide, making trim through the entire power pattern very difficult. It has a yaw divergence, sometimes turning left and sometimes turning right. Consistent circles are required when flying in small places. The plane should be launched with a gentle push. It needs to be got up only to flying speed, the propeller will take over from there. Throwing it hard can cause the wings to buckle and tear off.
It will fly better with a different motor. Here it is flying with 1,000 finger wound turns on a lubed 12″ loop of Tan Super Sport rubber strip.
I made several modifications to lighten it and improve performance. The modified plane weighs 13.6 grams. I have designated this version the Firebird II B.
Modifications are:
1. Omit plastic wing anglers.
2. Omit plastic wing clamp.
3. Omit wing hold down rubber band.
4. Omit plastic boom.
5. Replace 4 mm x 6 mm x 121 mm pine stick with 4 mm x 6 mm x 14″ balsa stick with tailplane taper.
6. Cut down wing pylon.
7. Crease camber wing.
8. Cut cambered gore at wing roots to allow closed join at dihedral joint.
9. Glue wing to pylon.
10. Reduce fin size.
11. Reduce tailplane size.
12. Glue tailplane and fin to stick.
13. Replace heavy plastic motor hook with a bent pin motor hook.
14. Replace motor.
The following illustrated instructions explain these changes in detail.
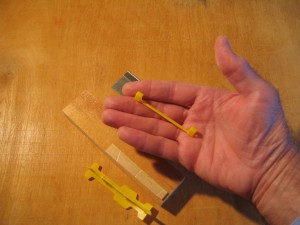
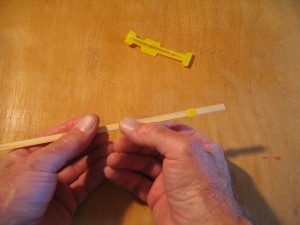
The smaller stick and the dense plastic parts above it were omitted, saving considerable weight. The stick was replaced by the longer one at the bottom of the picture. I cut a 14″ long piece of 4 mm x 6 mm balsa from some 1/4″ sheet.
The stick was cut 5/32″ wide and the 1/4″ width was sanded down slightly to fit the plastic parts.
Mark the midpoint of the stick 7″ from the ends. Balance the stick at that point. The heavy end will be the front end. Model airplanes are often tail heavy. Putting the heavy end of the stick to the front reduces the amount of extra weight needed to balance the plane.
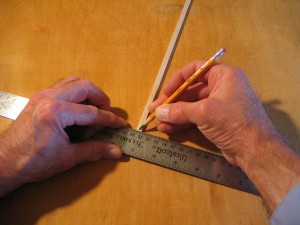
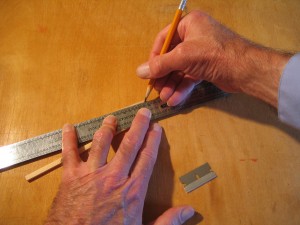
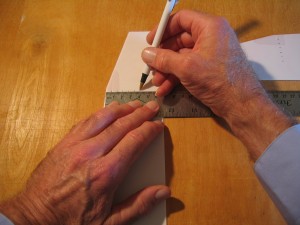
I cut a tailplane taper of 3 mm in 48 mm. Mark the back end of the stick 3 mm up (half way) from the bottom, mark 48 mm in from the end.
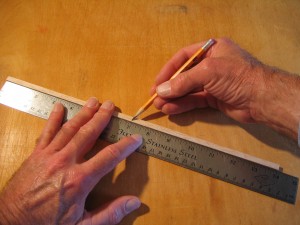
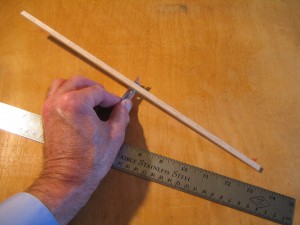
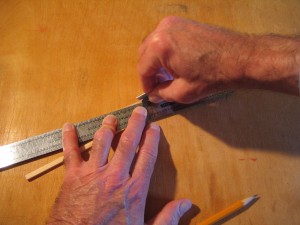
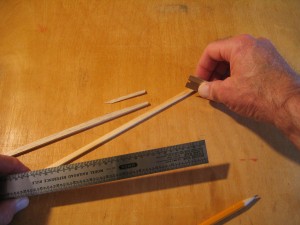
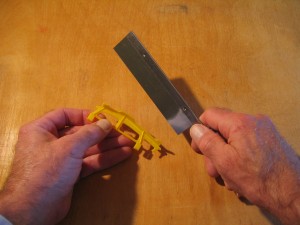
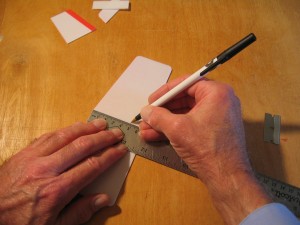
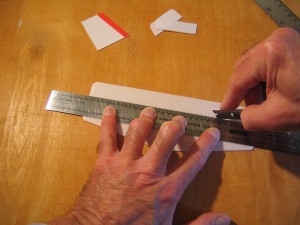
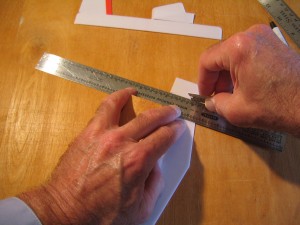
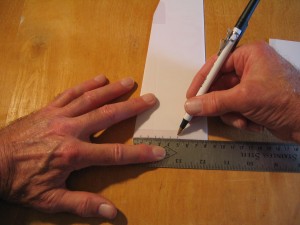
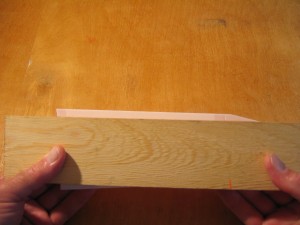
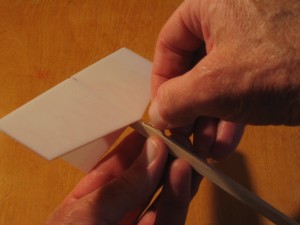
Draw a line connecting those points. Place a steel straightedge along the line, with another stick supporting it, and cut the taper off with a razor blade. Be careful to not cut into the final part.
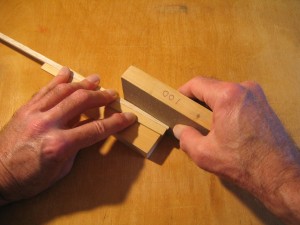
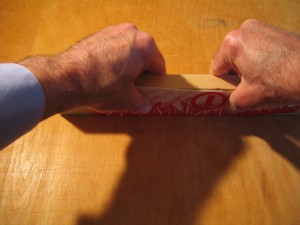
This taper puts the tailplane approximately parallel with the prop shaft, eliminating the strong down pitch in glide. Place the stick on top of a block, back it with a stiff stick and sand the face of the taper square to the sides and flat. Sand slowly for better control. Check that it is square by placing the sanded face on the tabletop and verifying that the stick is square to the surface.
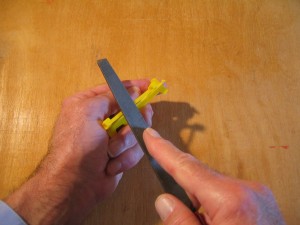
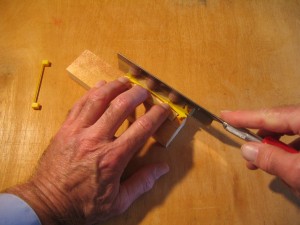
Bringing the wing down closer to the stick will bring the center of gravity closer to the thrustline, reducing the up pitching moment. I also think the wing incidence is too high, the angle between the wing and the prop shaft should be reduced. That will require cutting and regluing the plastic pylon. File the flash off the bottom of the pylon. Sometimes it gets in the way of the stick going through the boxes. Use a razor saw to cut the top and bottom off the wing pylon.
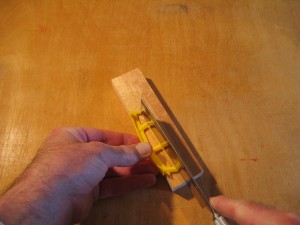
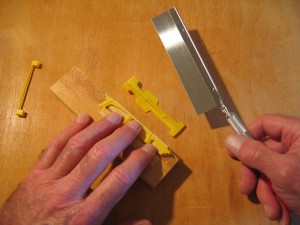
Support the pylon up on a block while cutting. I found that a 7/16″ wide strip of hard 1/16″ sheet balsa helped keep the pylon level. Start by cutting the two boxes and connecting strip off, without cutting into either.
Turn it around and cut the wing saddle off on a line connecting the leading edge and trailing edge.
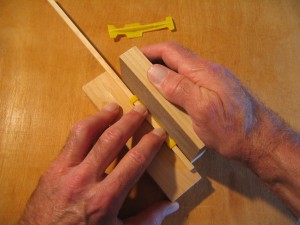
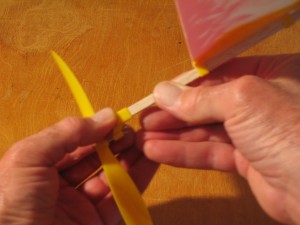
Slide the boxes onto the pine stick. Place them on a block and sand the cut face flat and perpendicular to the sides of the boxes.
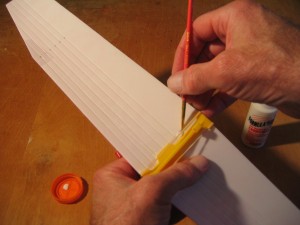
Sand the cut under the wing saddle, being careful to avoid tilting the mount. Paint plastic solvent glue on the sanded surface.
Paint solvent glue on the sanded surfaces of the boxes and connecting strip. Paint both again. The solvent dissolves a thin surface layer of the plastic. Carefully align the two plastic pieces at their front ends and press them together.
Check that the wing saddle is centered on the boxes and stick. Check that the saddle is not tilted to one side.
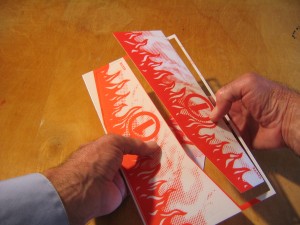
Separate the tailplane, fin and wings from their sheets. Handle the foam parts carefully, they are soft and fragile. Set the wings aside for now.
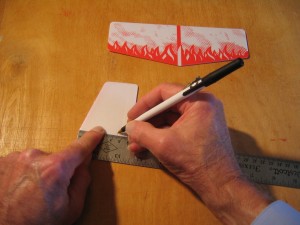
Put a mark along the base of the fin 45 mm from the front. Put a mark along the trailing edge of the fin 52 mm up from the base.
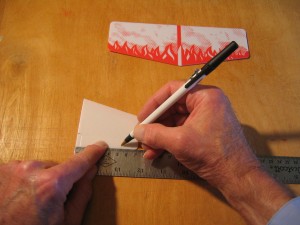
The fin is too large, the airplane won’t come out of an unintended turn. Cut the top of the fin off along a line through the 52 mm mark. Cut the back of the fin off along a line through the 45 mm mark.
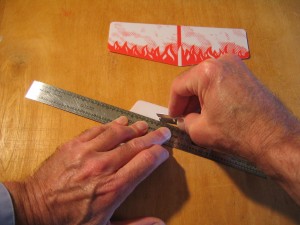
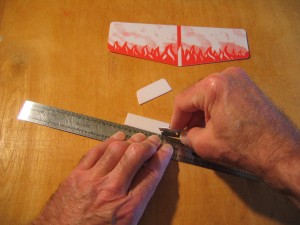
The tailplane is too big. The airplane does not recover quickly from stalls or dives. Mark a point 48 mm back from the leading apex of the tailplane. Cut the trailing edge off along a line through that point.
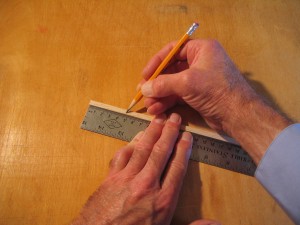
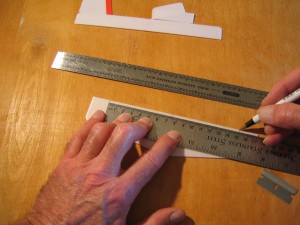
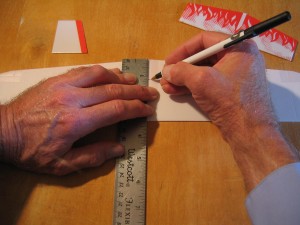
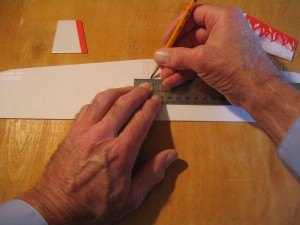
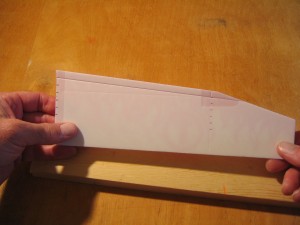
Mark the center point along the trailing edge. Place the 75 mm hatch at that midpoint and mark at 0 mm and at 150 mm. Using a block to square the straightedge with the trailing edge, cut off the tips of the tailplane at those two marks.
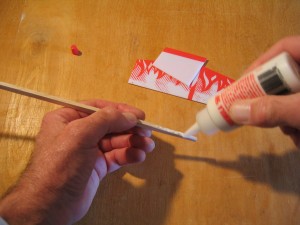
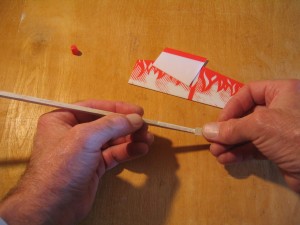
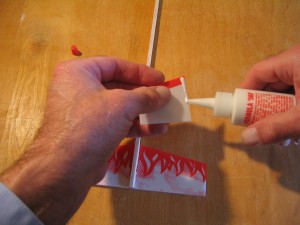
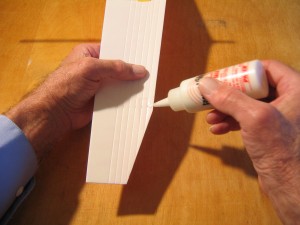
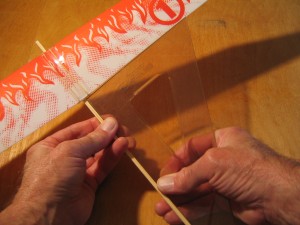
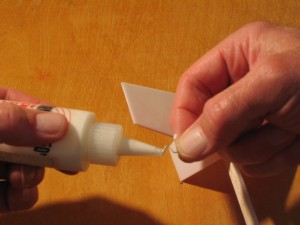
Apply Formula 560 glue, Aleene’s Original Tacky Glue or a similar glue to the tapered face of the stick. Spread the glue uniformly over the face with a bit of cardboard. There are other types of glue suitable for gluing foam. Test the glue on a piece of scrap foam to be sure the solvent in the glue will not melt the foam.
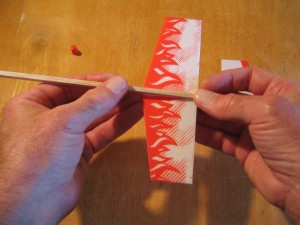
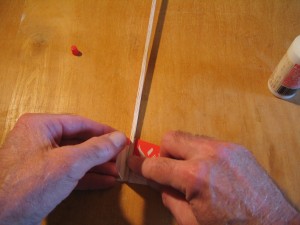
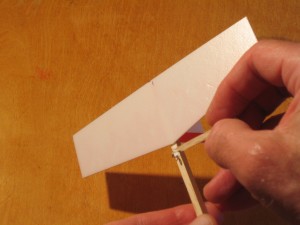
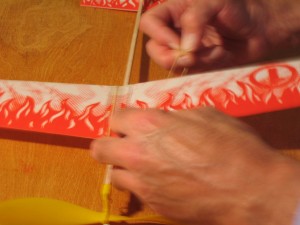
Line the stick up on the center of the tailplane and press it in place. Check that the tailplane is square to the stick. Apply glue to the side of the fin at the base, where it will contact the stick.
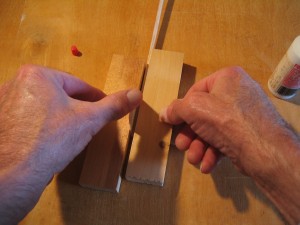
Place the fin against the stick and lightly press it into place with blocks of wood.
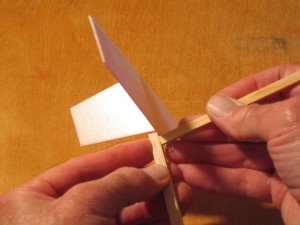
The inside edges of the wings are straight. We want the wing to have a curved airfoil shape from front to back. We also want the wings to join at an angle, forming a dihedral (two-surface) joint. If you bring curved wings together, they will touch only at the high point. They must touch along the entire inside edge to form a strong glue joint. It is necessary to cut away some of the inside edge, cutting most where they first touch and tapering to no cutaway at the leading and trailing edges. I cut a cambered curve in the wing roots so they would join smoothly at the dihedral joint. First mark points 1 1/8″ from the leading edge along the root chord. The leading edge is swept back and has two sections with an angle. Mark 1/32″ in from the edge at each of those points.
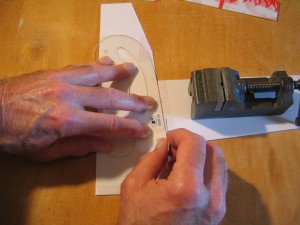
Use a curve template to cut a curve that passes through the leading and trailing corners and passes through the marked point so the tangent to the curve is parallel with the straight end of the wing. This will produce a smoothly curved gap between the wing ends when they are put together, with the widest part 1 1/8″ from the leading edge. This gap will close up when the wings are curved and angled up to join them.
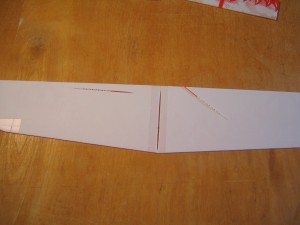
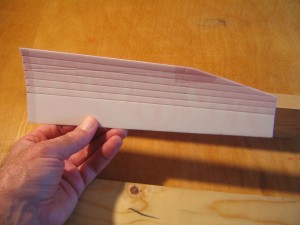
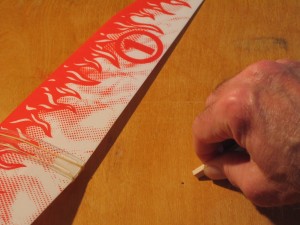
I form an airfoil curve in each wing by creasing it. The camber formed by creasing it improves the aerodynamics of the airfoil and greatly enhances the stiffness of the wing. To form the airfoil curve, I creased each wing in six places at 10% chord steps, starting at the leading edge, marked at the root and polyhedral fold line. The root chord is about 80 mm, so mark points at 8 mm, 16 mm, 24 mm, 32 mm, 40 mm and 48 mm. Transfer these marks to the opposite wing.
The chord at the polyhedral break is 66 mm, so we will mark points along the crease at 6.6 mm, 13.2 mm, 19.8 mm, 26.4 mm, 33.0 mm and 39.6 mm from the front. Do not bend the wing along that crease. We are going to make a wing with only two panels, not the four of the original design. The wing will be creased along lines connecting the corresponding points. Align the edge of a block with the first two marks.
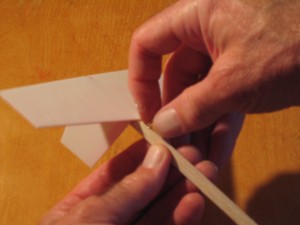
Press the edge of the block into the tabletop to form a crease.
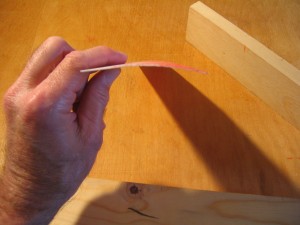
Complete six creases on each wing. Work it against the table top and with your fingers to form an airfoil curve that matches the wing saddle.
I glued the leading edge cut at the crease line. Sand the top surface of the wing saddle to roughen it, wash and dry it.
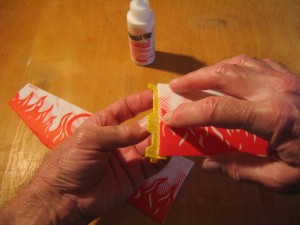
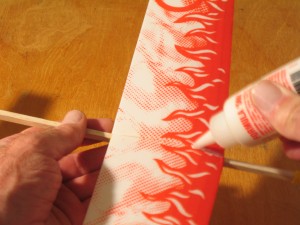
The wings were glued to the mount with Formula 560. Apply glue, spread it uniformly and let it get tacky. It is tacky when it stays spread out and does not bead up.
Align the leading edge with the fence at the front of the wing saddle, align the inside end of the wing with the centerline of the saddle and press the wing to the saddle. Add the second wing. This may take a couple tries until the glue is tacky enough to hold.
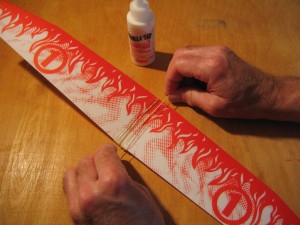
Place the wing clamp over the top of the wing, with the curvature matching that of the top of the wing, stretch rubber bands around the wing root and use them to hold the clamp in place while the glue dries. Check that the wings are symmetrical around the centerline. Check that there is good contact between the wing and the saddle occasionally as the glue dries.
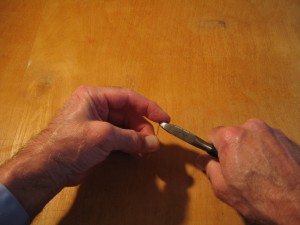
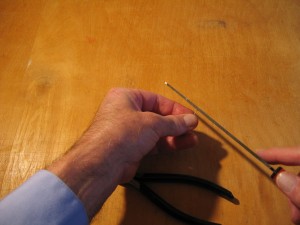
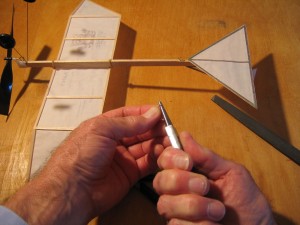
Now we will make the motor hook from a straight pin. Cut the head off the pin. Put your finger over the head to prevent it from shooting off. File the sharp chisel point off the cutoff end and round that end of the pin.
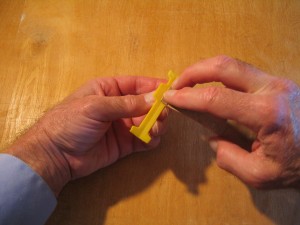
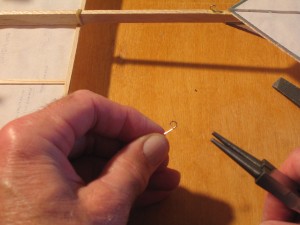
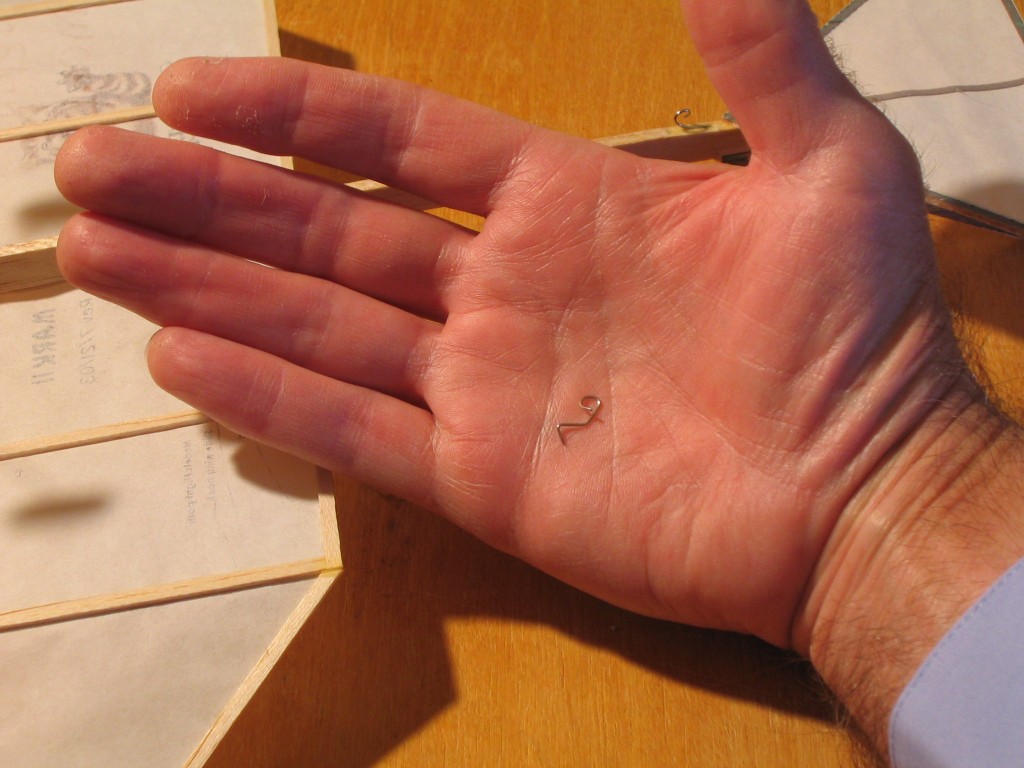
I get out a plane with a pin hook on it to remind myself what the hook looks like. Grasp the pin near its end with the round nose pliers and wrap it to form a right handed spiral. A right handed spiral goes in the direction the thumb points when the fingers of the right hand are curved in the direction the spiral goes. Bend it so the end goes a little past the shaft at a right angle.
A little way off from the loop, deflect the pointed end 45 degrees. A little way down the pointed end, reverse bend the point down and back toward the loop.
The finished hook looks like this. The rubber motor goes inside the loop. The 45 degree length spaces the loop up from the stick. The horizontal part is glued to the top of the stick. The reverse bend is pressed into the stick.
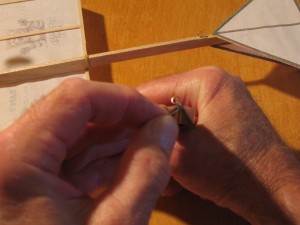
Carefully align the hook and press the point into the stick. Press down to make a slight crease in the surface of the stick. Withdraw the hook and apply glue to those parts that will contact the wood.
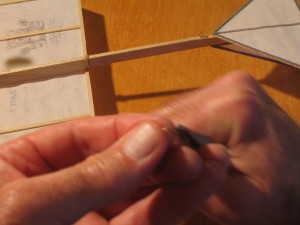
Insert the hook back in the hole and press it firmly in place.
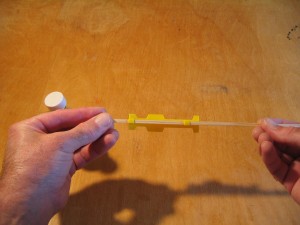
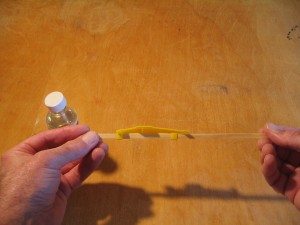
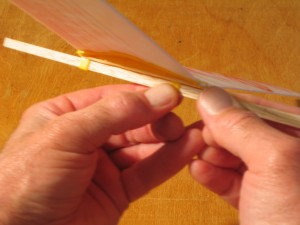
Press the corners of the end of the stick against the table top to form a small taper. Put the end of the stick into the wing mount boxes and slide the wing mount onto the stick. The wing mount should be a snug friction fit to the stick. If it is loose, glue strips of paper to the stick until the wing stays where you put it.
Slide the prop bearing box over the end of the stick with the prop hook under the stick. If it does not stay on when you point the stick down, wrap a strip of construction paper over the end of the stick until the prop box is tight enough to stay on. Put a small drop of light machine oil between the prop and bearing. Grab the rubber bands under the wings, stretch them away from the wing and slide them off the end. Remove the wing clamp.
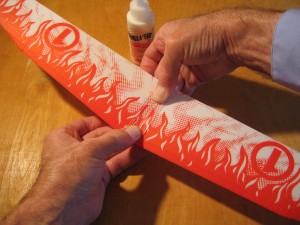
Apply a bead of glue over the top of the wing joint. Apply glue around the joint between the wing and the saddle. Let the glue dry thoroughly before flying the plane.
The completed Firebird II B. Span is 19″, length is 14 3/4″, weight is 13.6 gm, considerably lighter than the original. It will fly consistent left circles. Put your name and phone number on the stick. Be careful how, when and where you fly it. This plane can fly away. Fly in a large, open area when there is very little or no wind. Control altitude and flight time with the number of turns you put into the motor. You may add a Sky Master or Dandiflyer landing gear for ROG flights.
For finger winding I suggest a 12″ loop of 1/8″ rubber strip. Maximum turns will be about 1,250. Start with about half that add increase the number of turns by 100 for succeeding flights until the flights reach the safe limit of flying conditions. For longer flights I suggest a 24″ loop of 3/32″ rubber, stretch wound with a winder. Maximum turns will be about 2,900 turns. Start with about 70%, 2,000 turns. In either case, be sure to lubricate the motor before winding.
For a start, slide the wing until the plane balances at the high point of the wing camber. The plane should make a slow, steady glide with the motor on. If under power the plane zooms up, slows and falls or slides back, move the wing back toward the tail. If the plane doesn’t climb as you add more turns, move the wing forward toward the propeller. The plane should be launched with a gentle push. Throwing it hard can cause the wings to buckle and tear off.
This video shows the Firebird II B flown with 1,100 turns on a 12″ loop of 1/8″ rubber strip, lubed and stretch wound. It will make much longer flights with a longer motor. I lost one into a tree using a 21″ loop of 1/8″, so I am not using as many turns flying in this small city park.
To go to the Rubber Band Powered Flying Machines book review, click HERE.
Gary Hinze

I tried flying the plane close to unmodified and realize what good suggestions these are to get the plane flying well.
Wow!
Looks like an amazing experience!