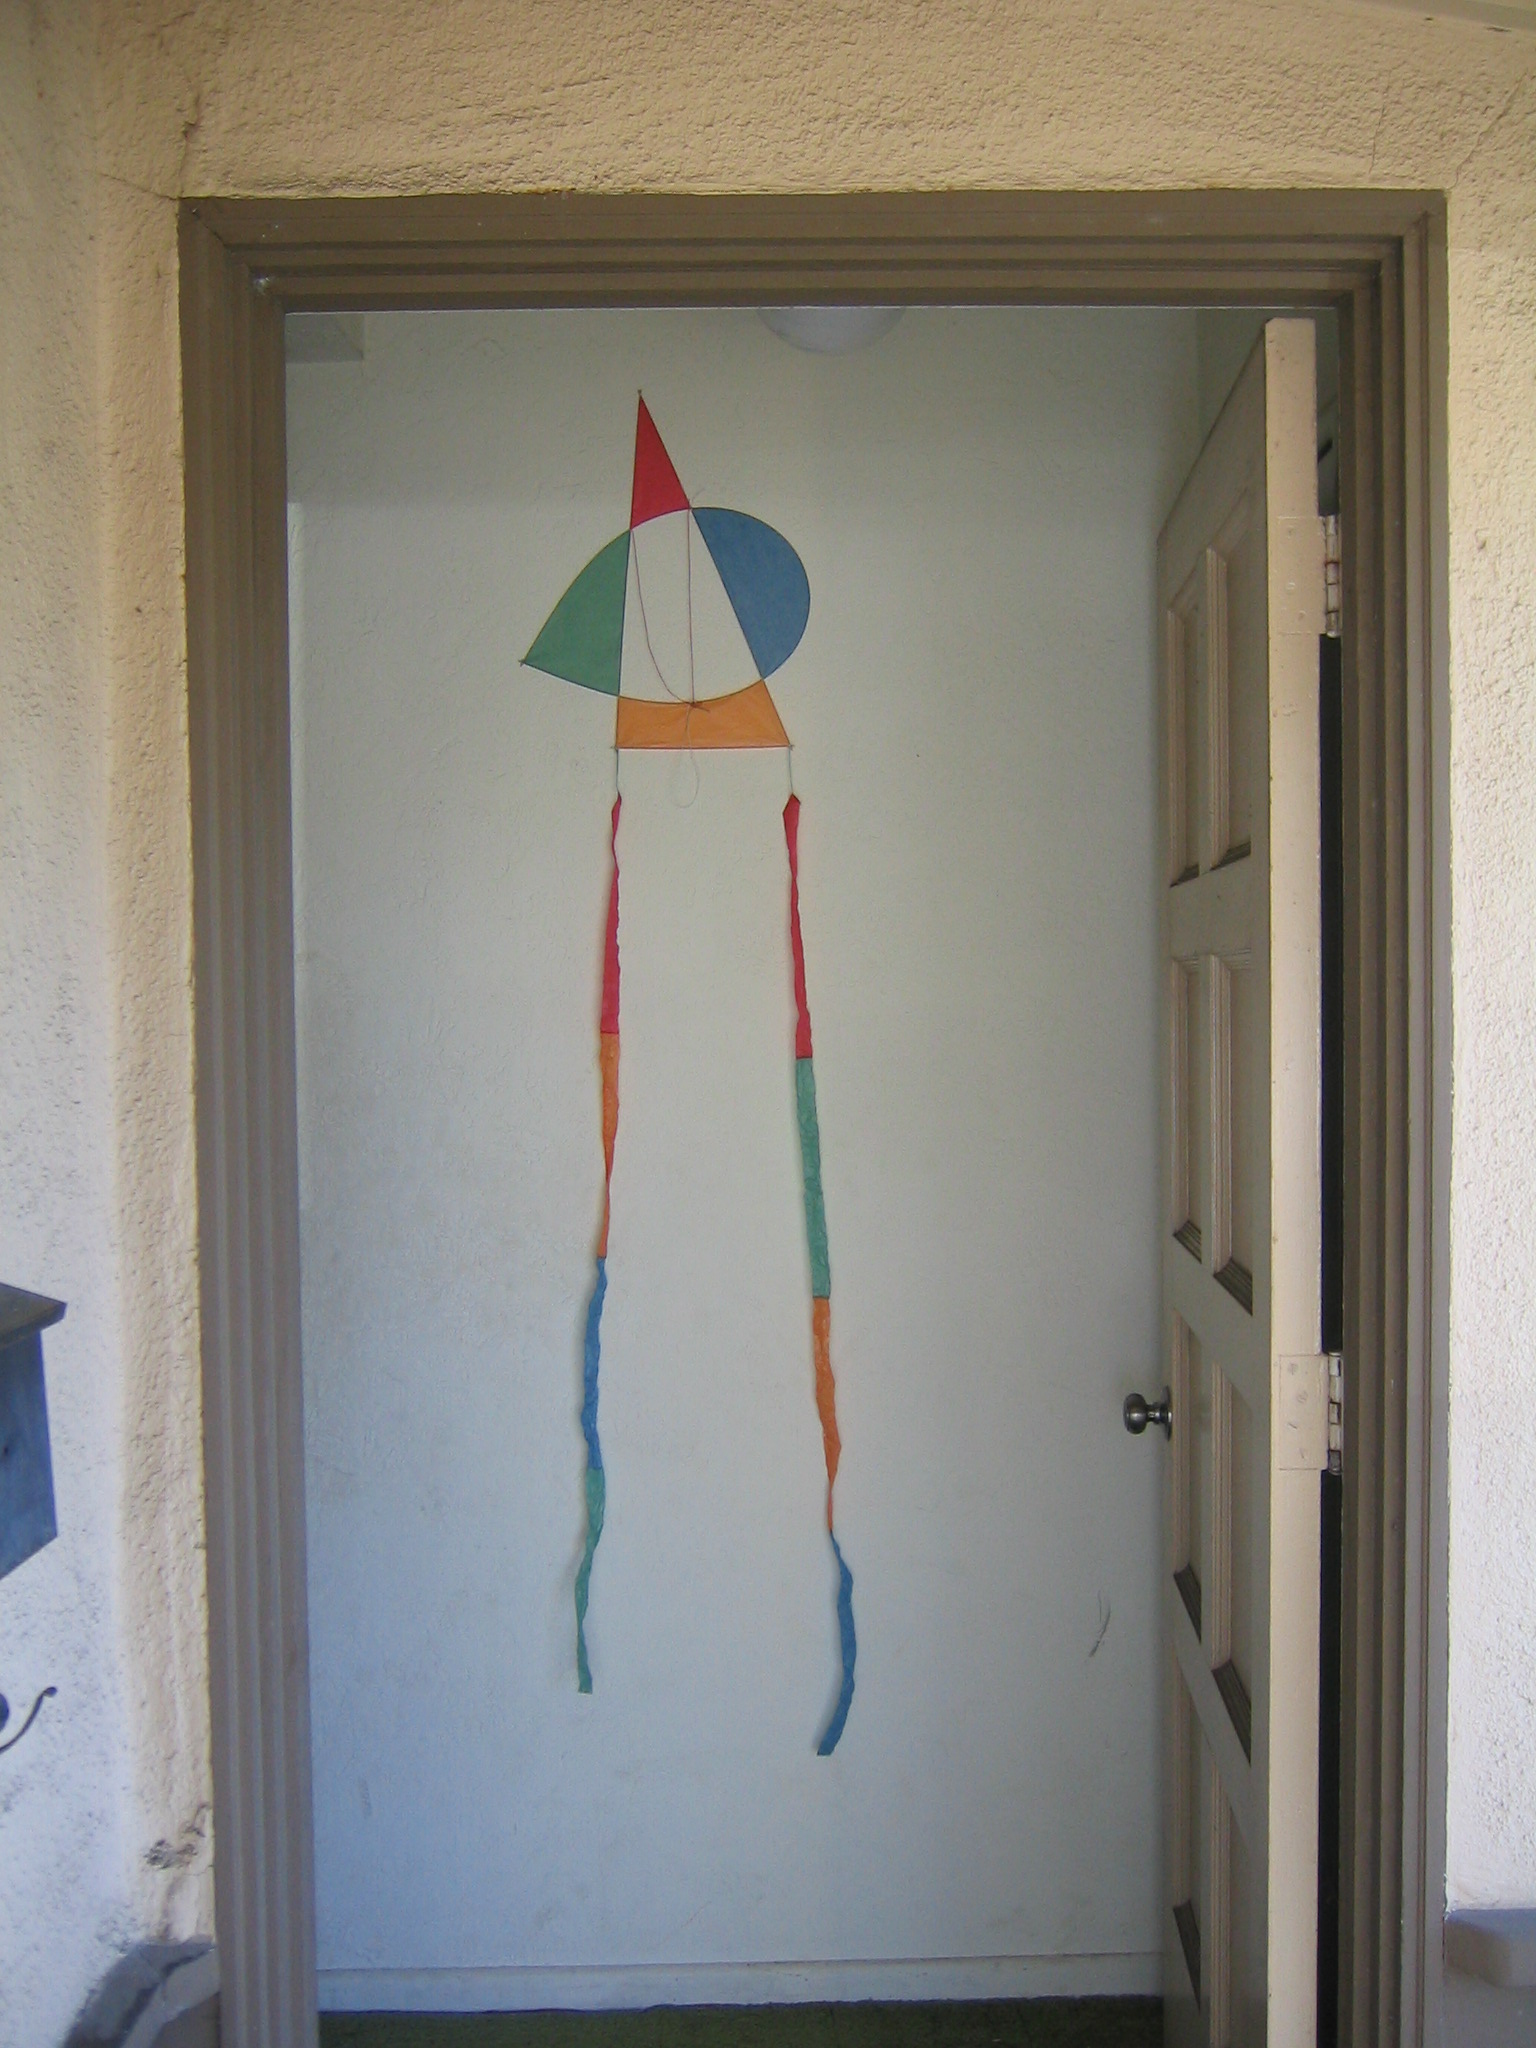
When I read Hidden Symmetry by István Bodóczky I decided to build another asymmetrical kite specifically to explore more deeply the balance of forces and moments on asymmetrical kites. I decided to make the kite of a simple asymmetrical shape and completely flat, to eliminate any hint of symmetry and make adjusting and flying as challenging as possible. I wanted to keep the construction fairly simple, expecting it might require frequent repair. I overlapped a loop and triangle of light bamboo rod to form a framework, then covered the outside panels with tissue paper. I located the center of area, the center of gravity and drew a line through them. I rigged an adjustable three leg bridle that would place the tow point over that line and ahead of the center of gravity. I made a set of test tails in different sizes and went out to the flying field to test fly. It was surprisingly easy to get it flying. I was almost disappointed.
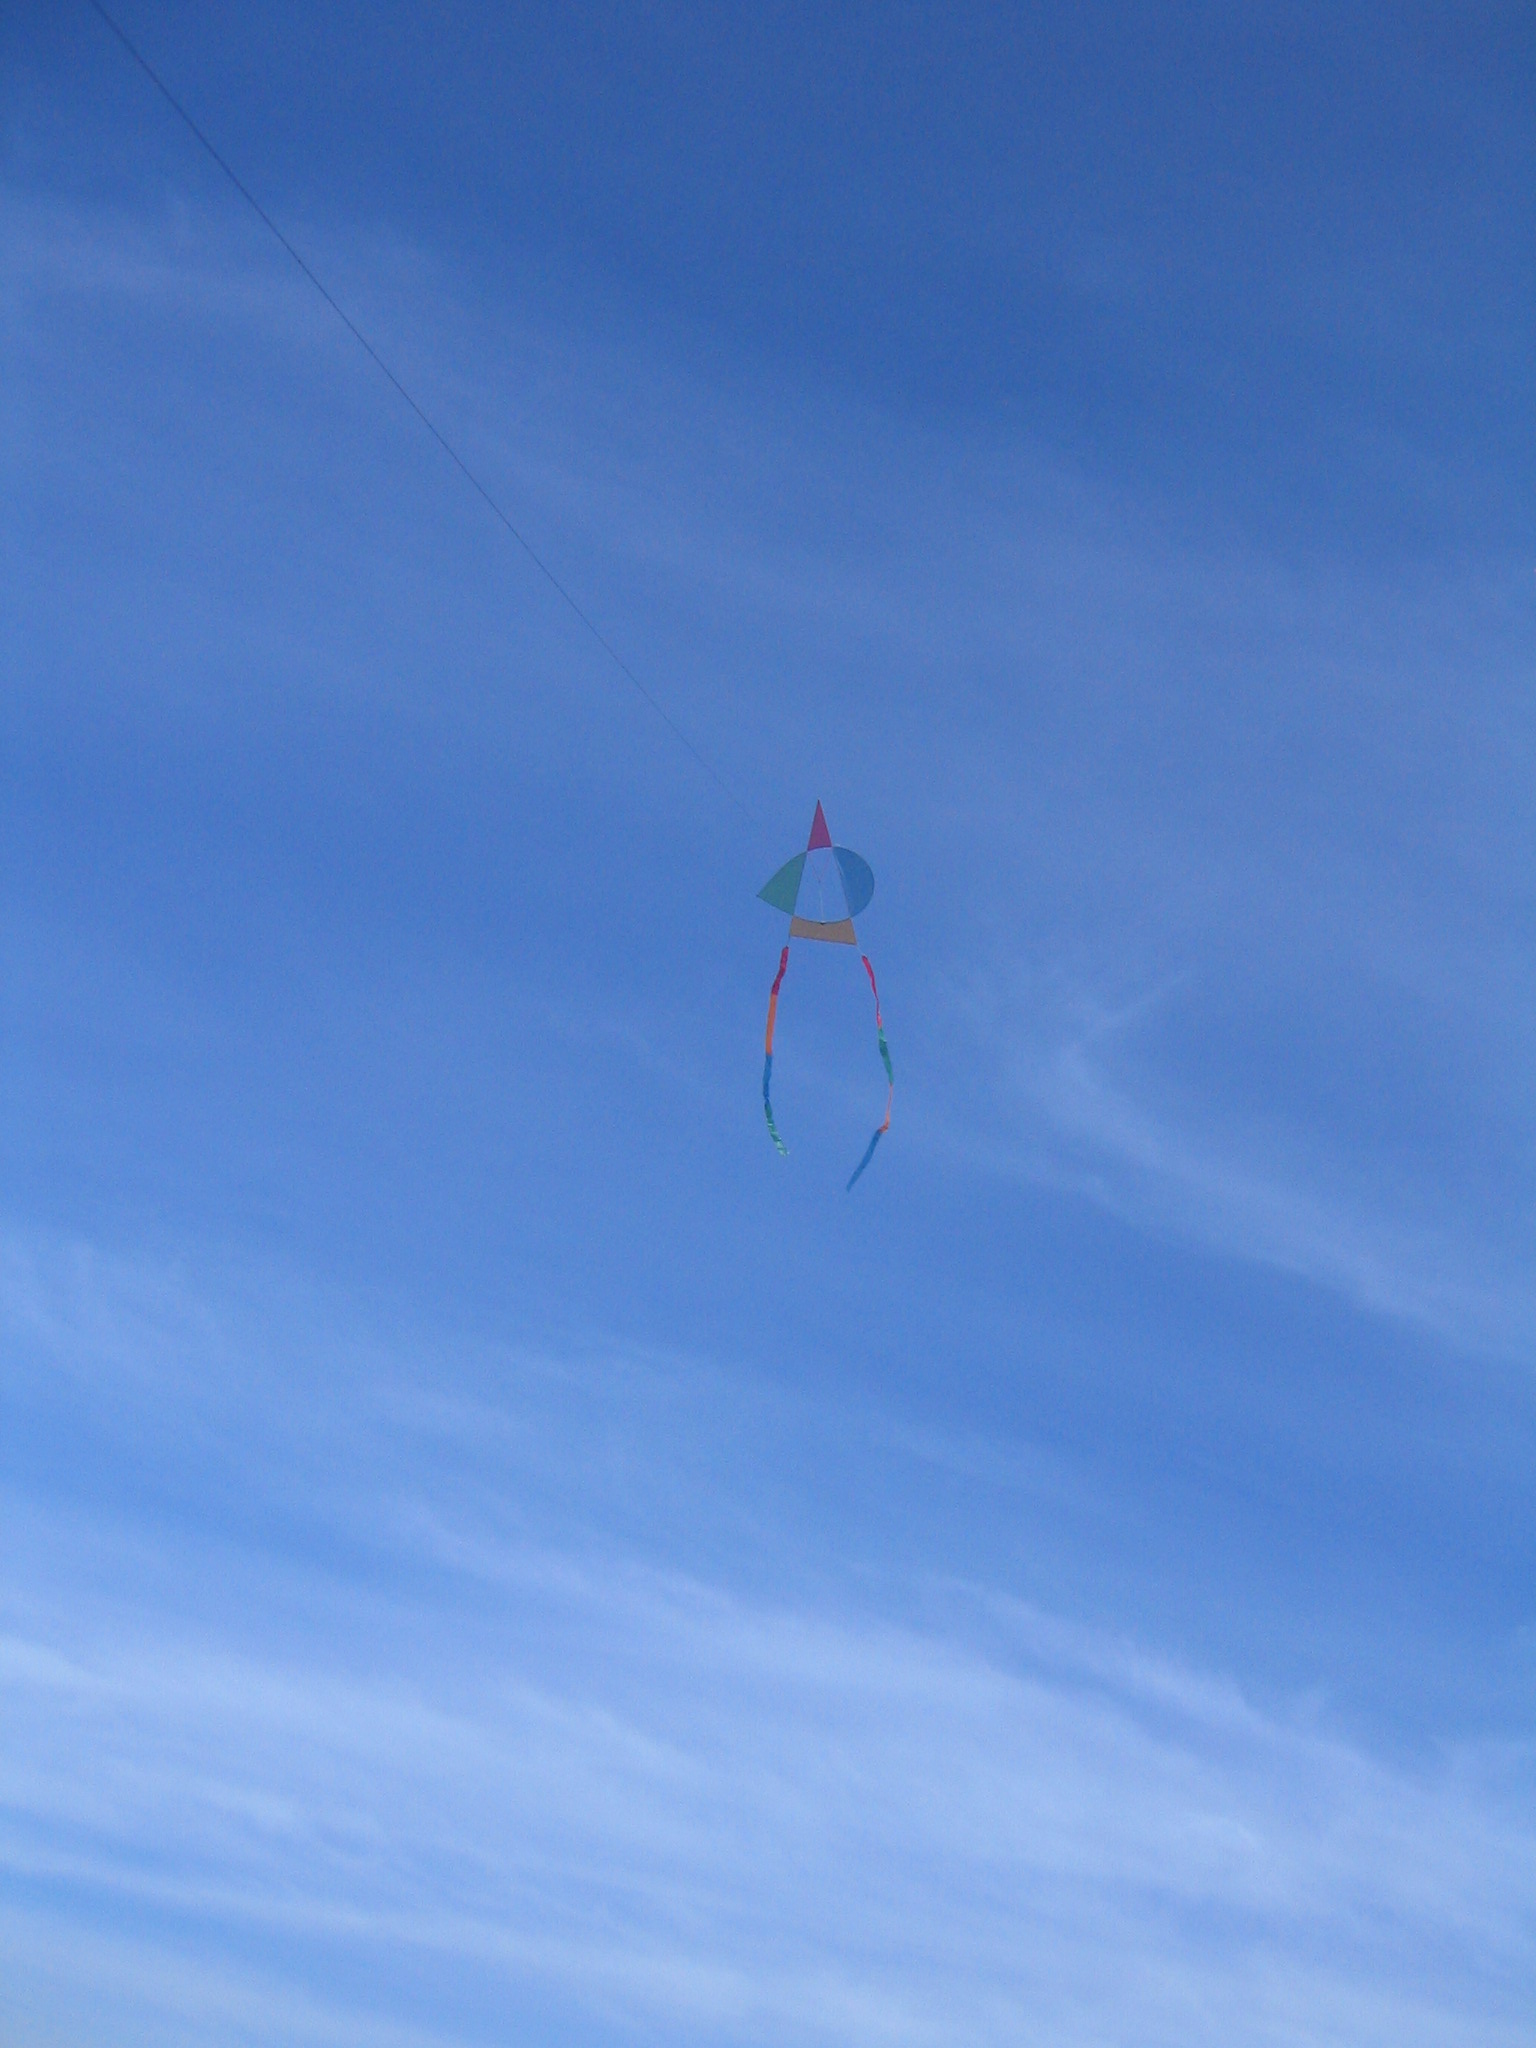
Now I will show you how, in easy steps, you can make a kite like this one to amaze your friends. I have had strangers at the park come over and tell me how much they have enjoyed seeing my kite. The children like to see this kite.
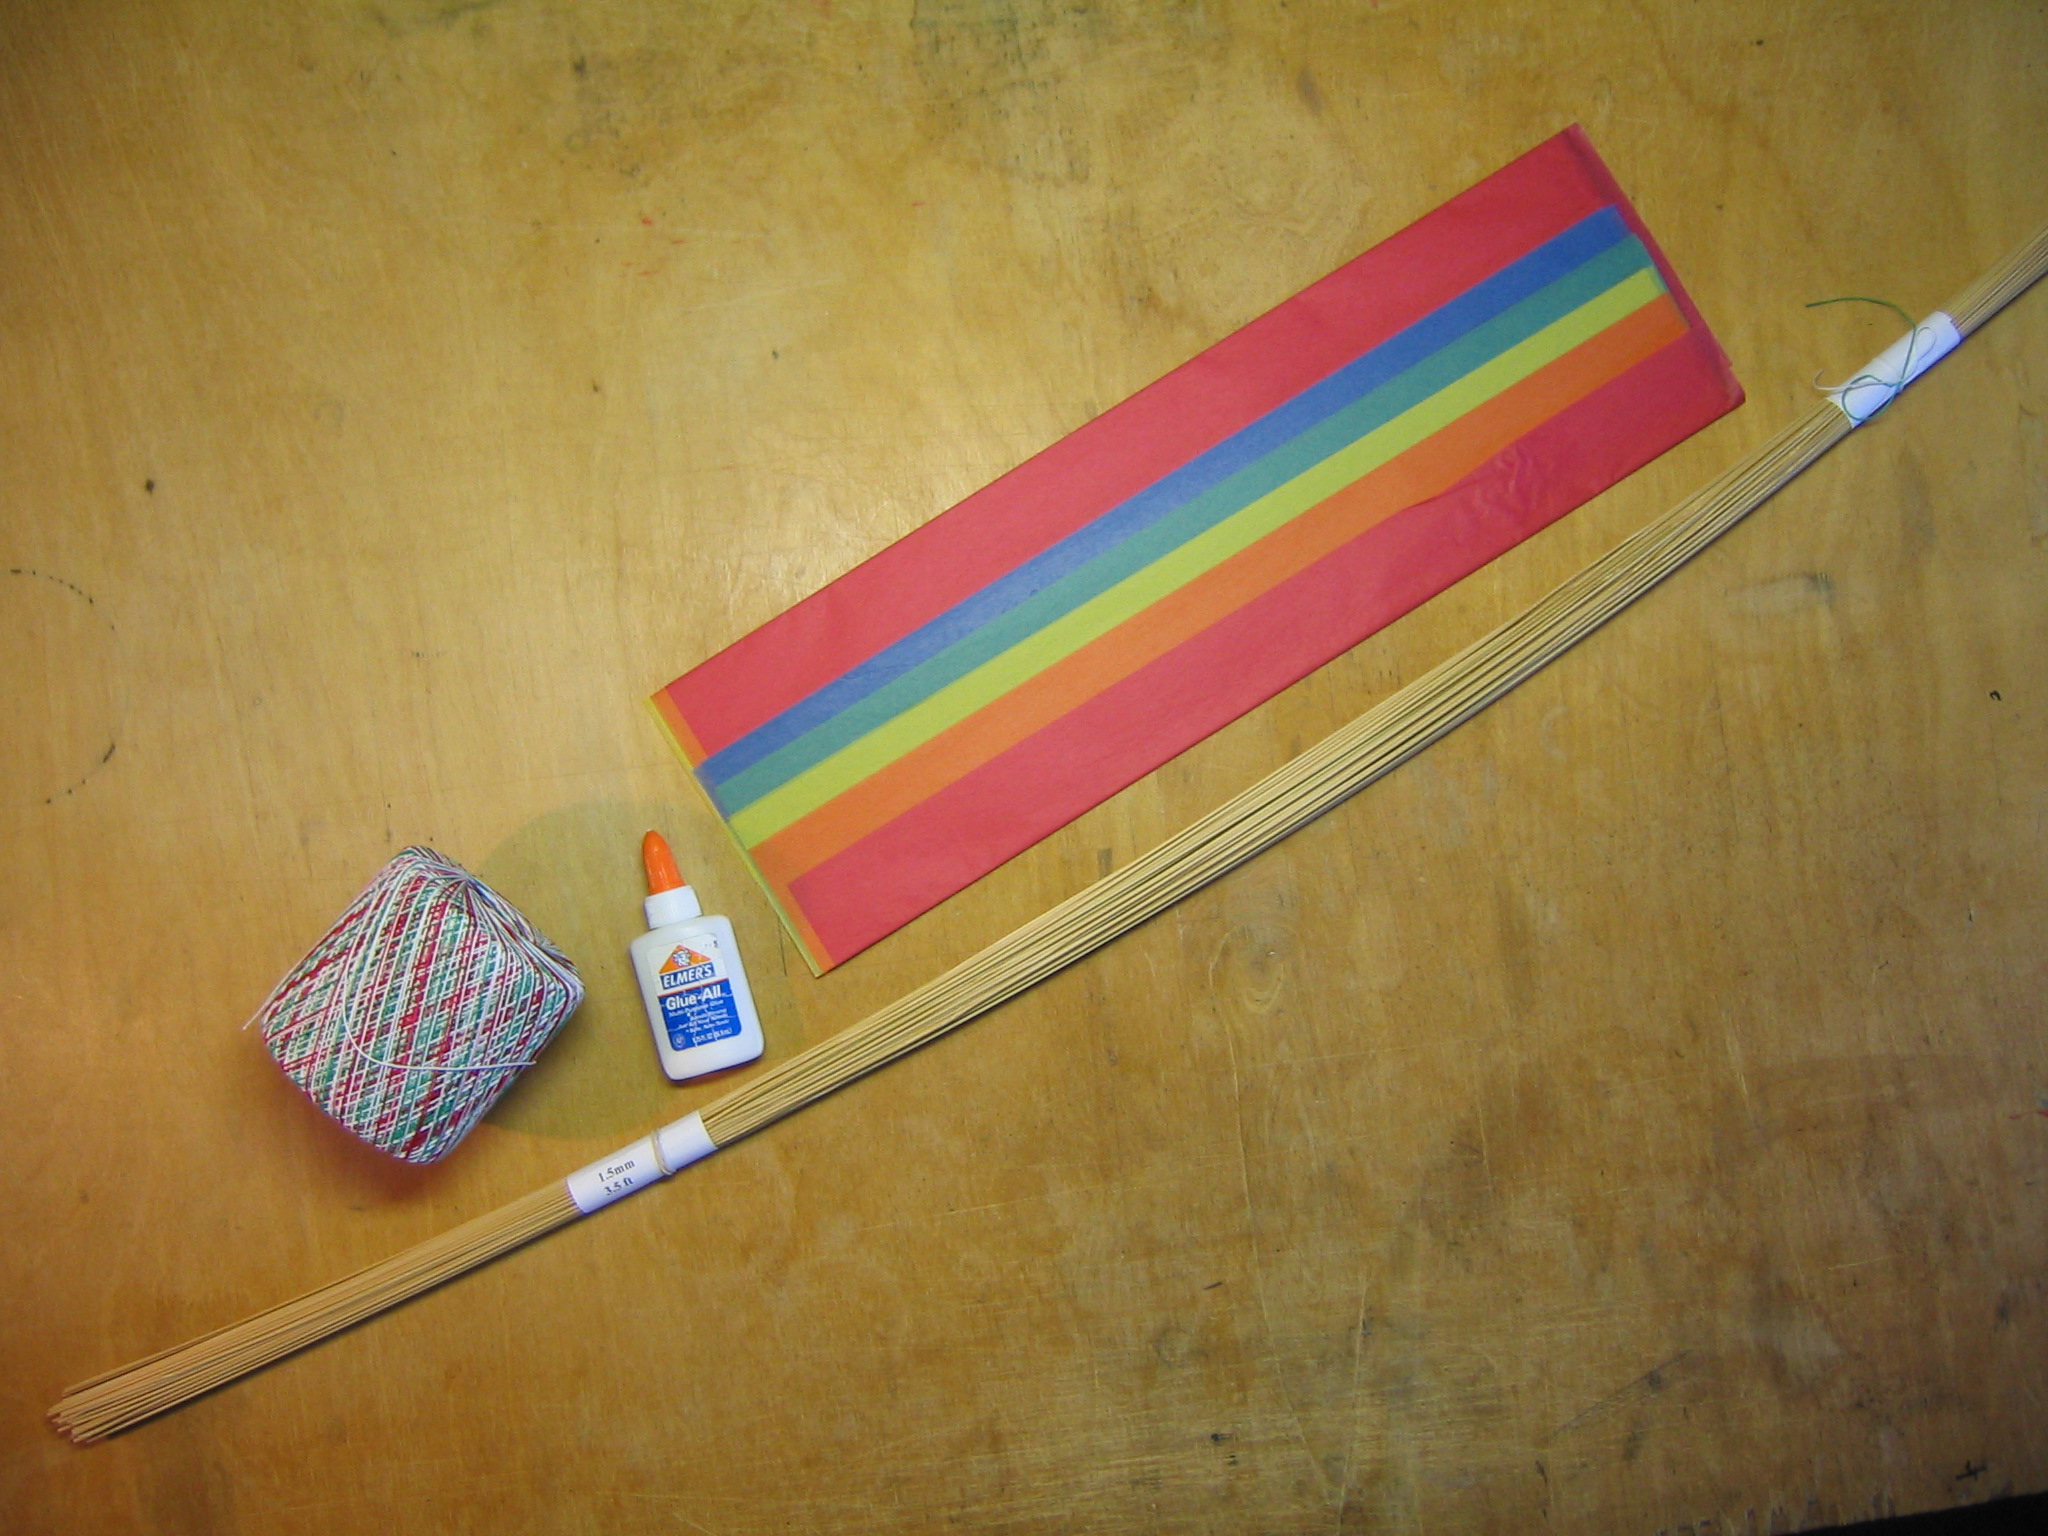
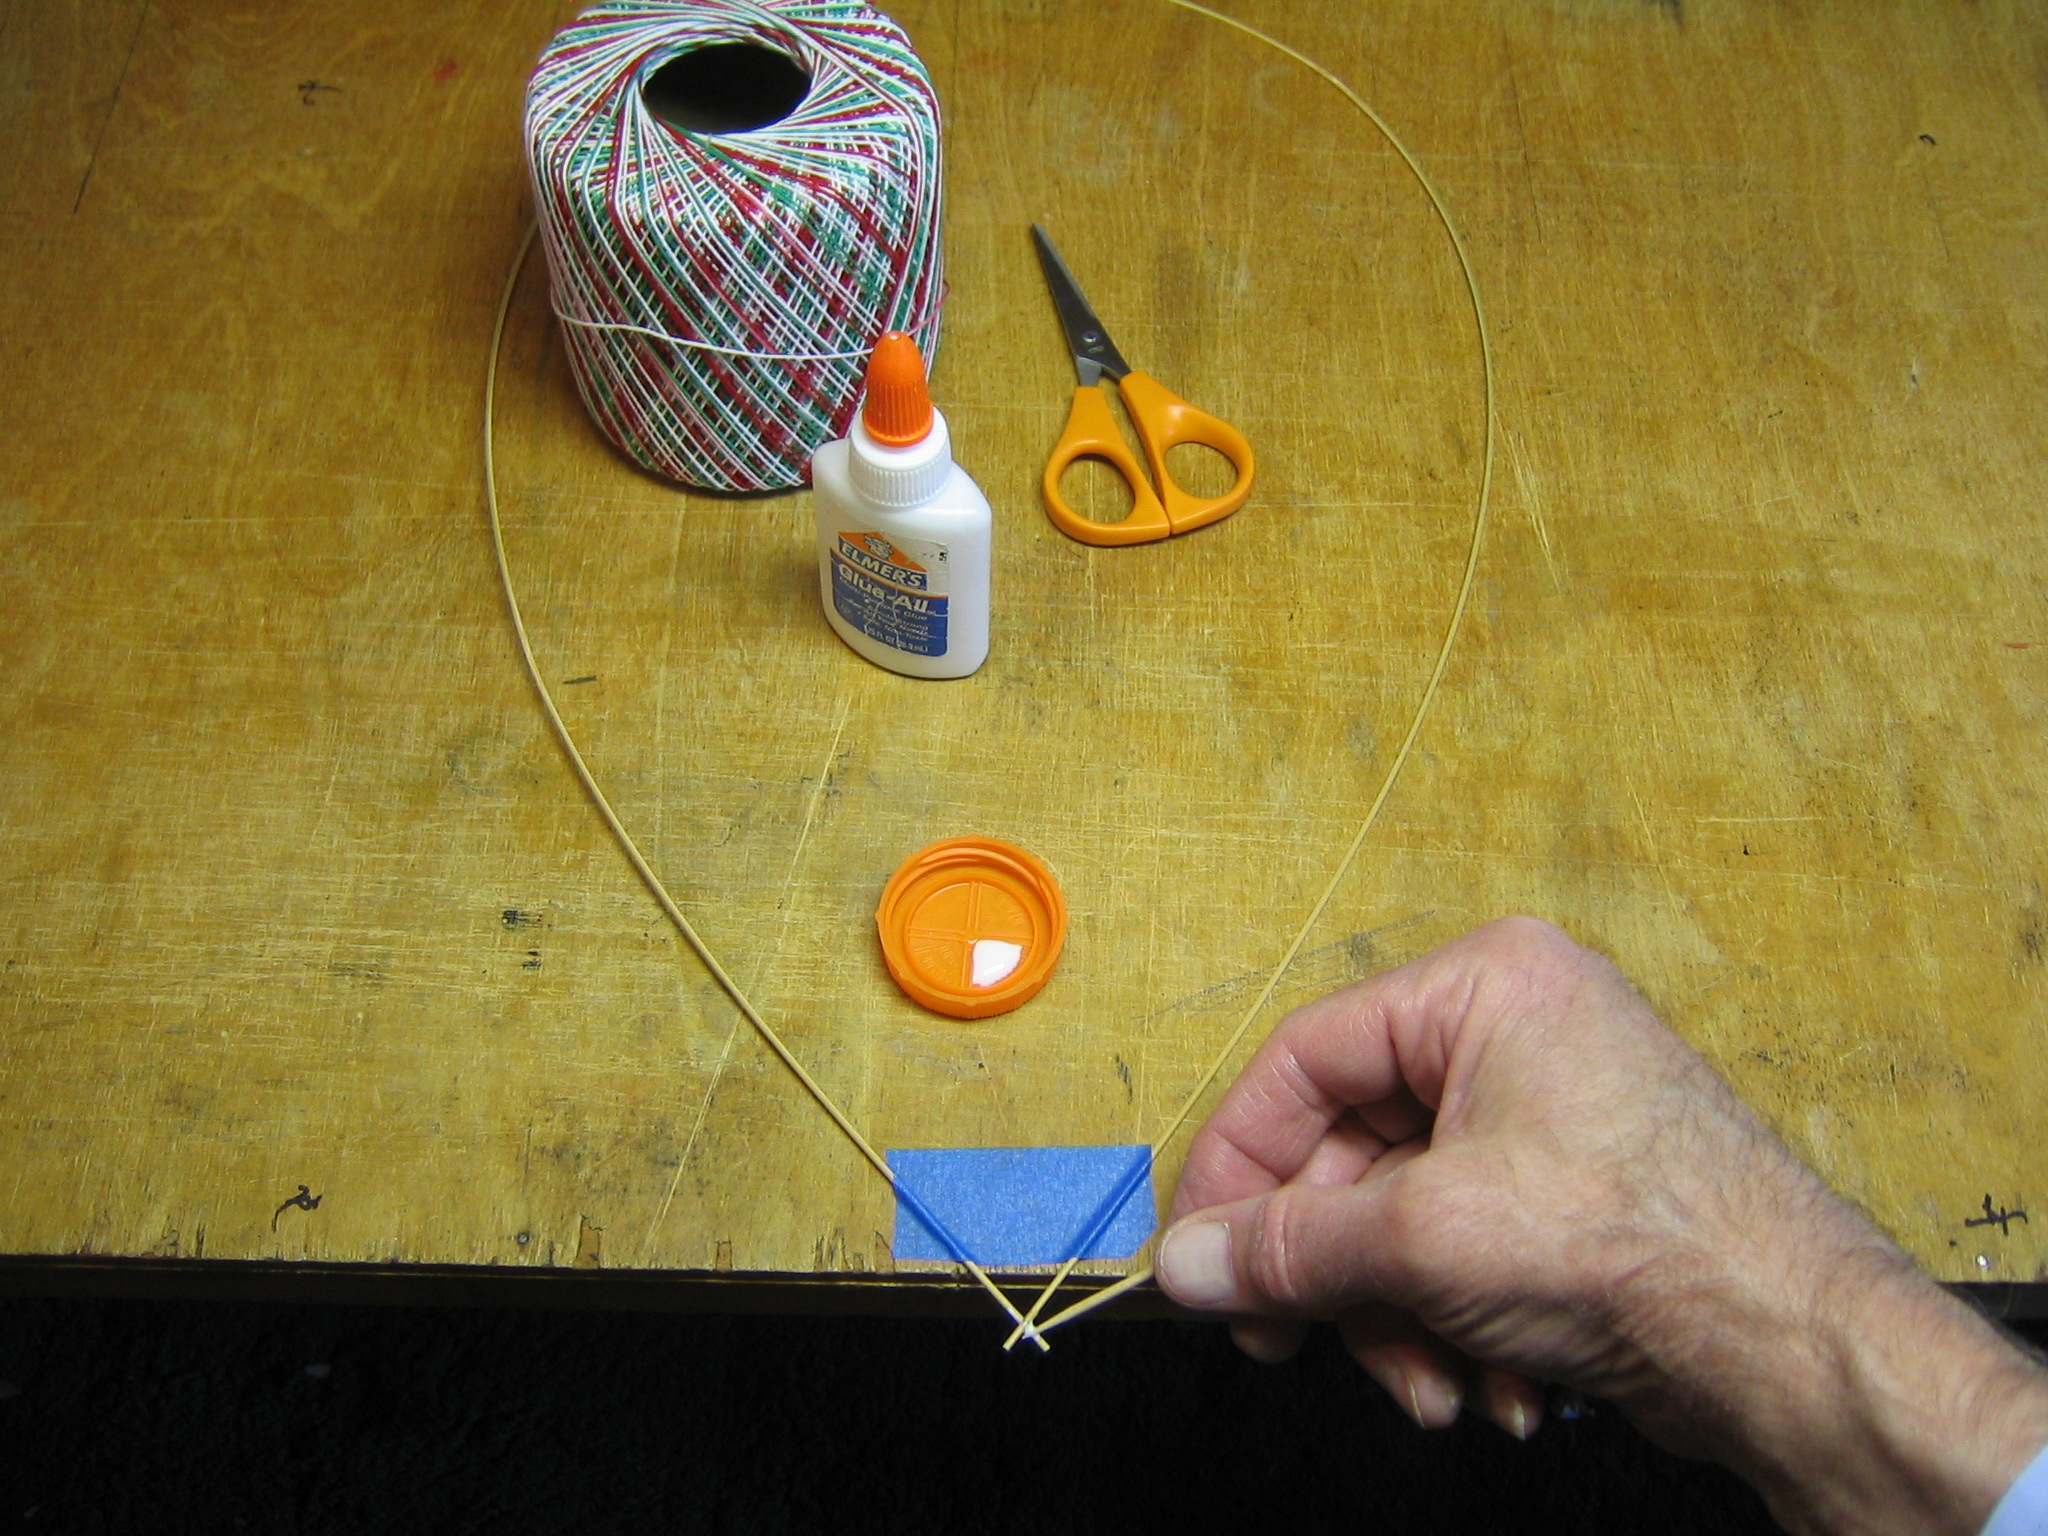
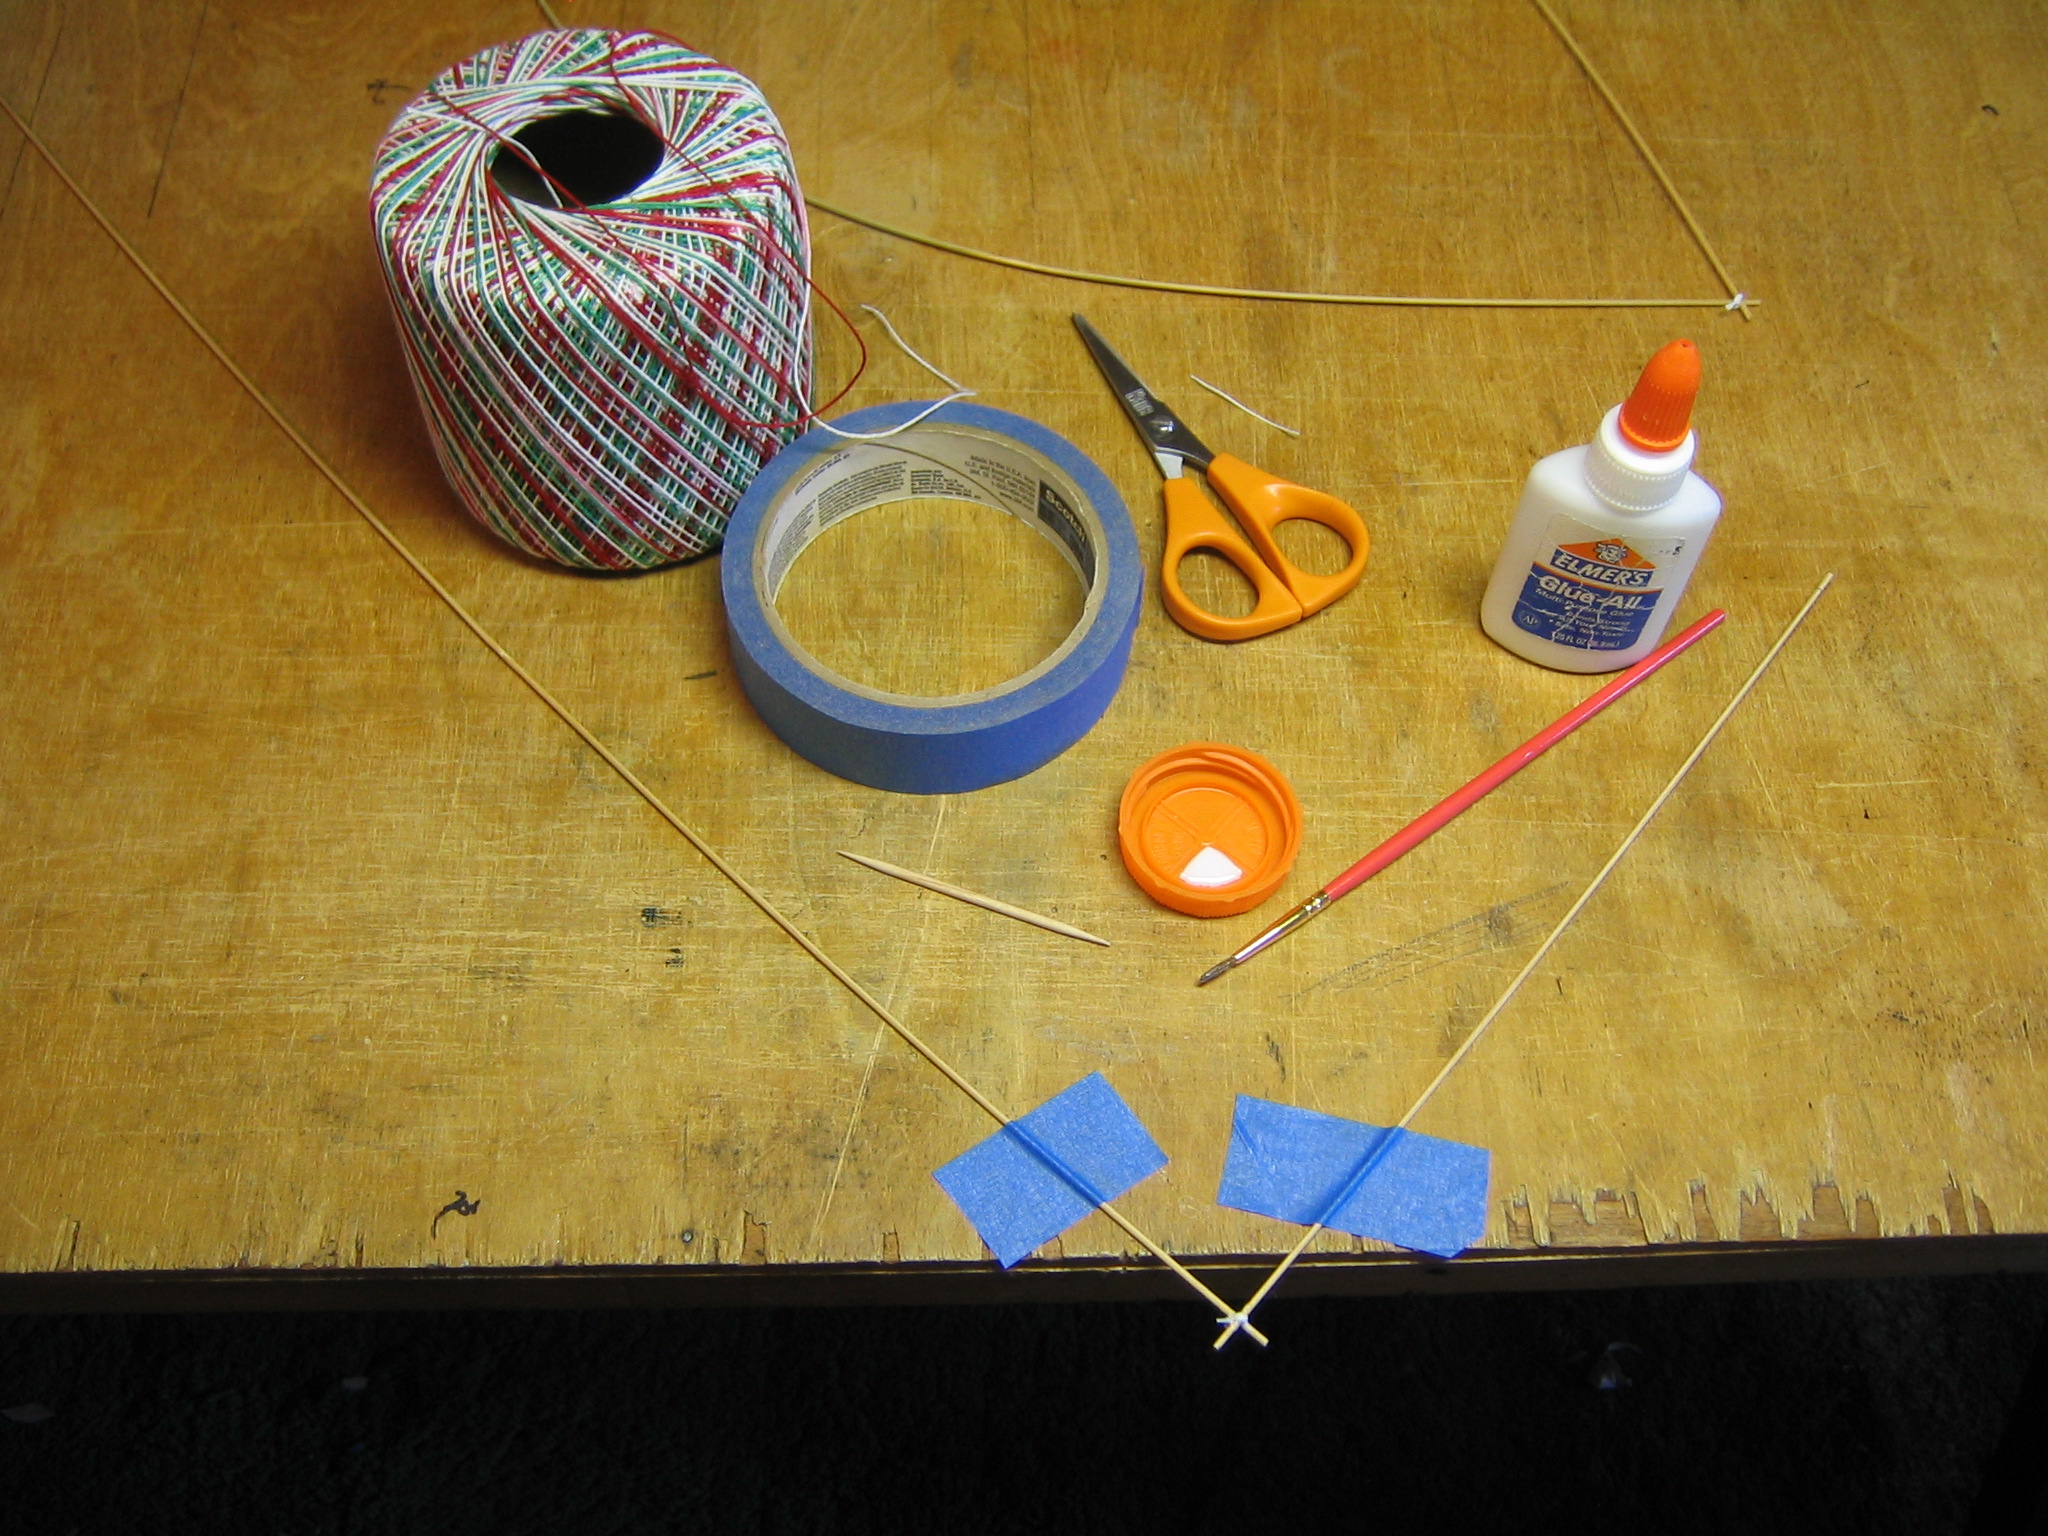
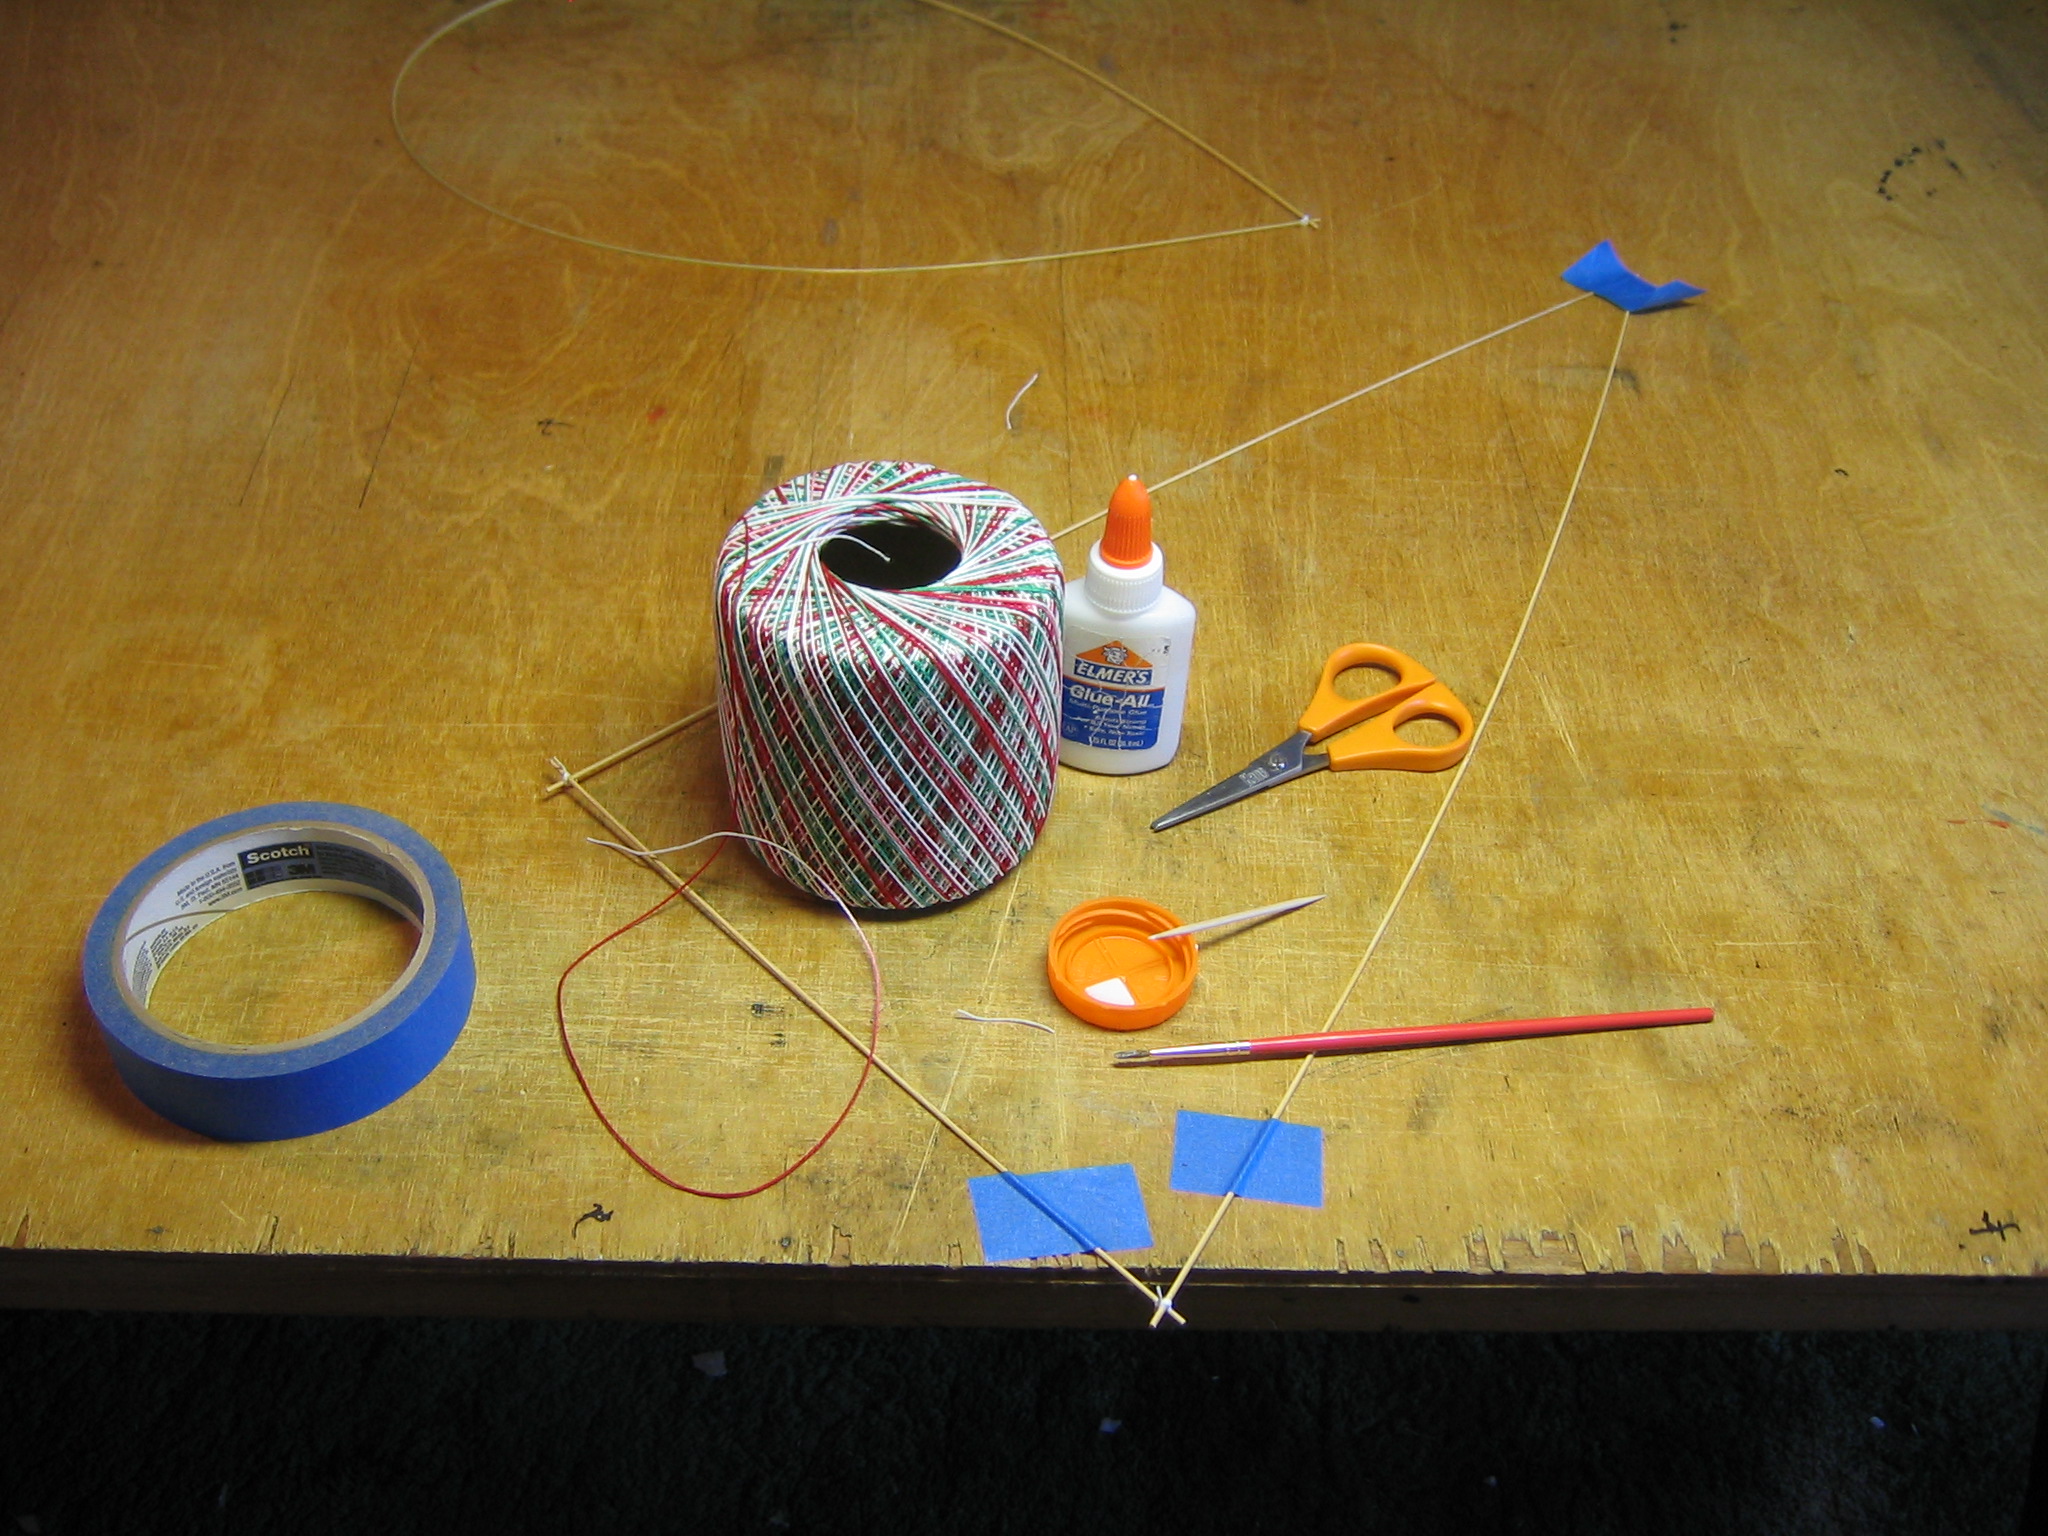
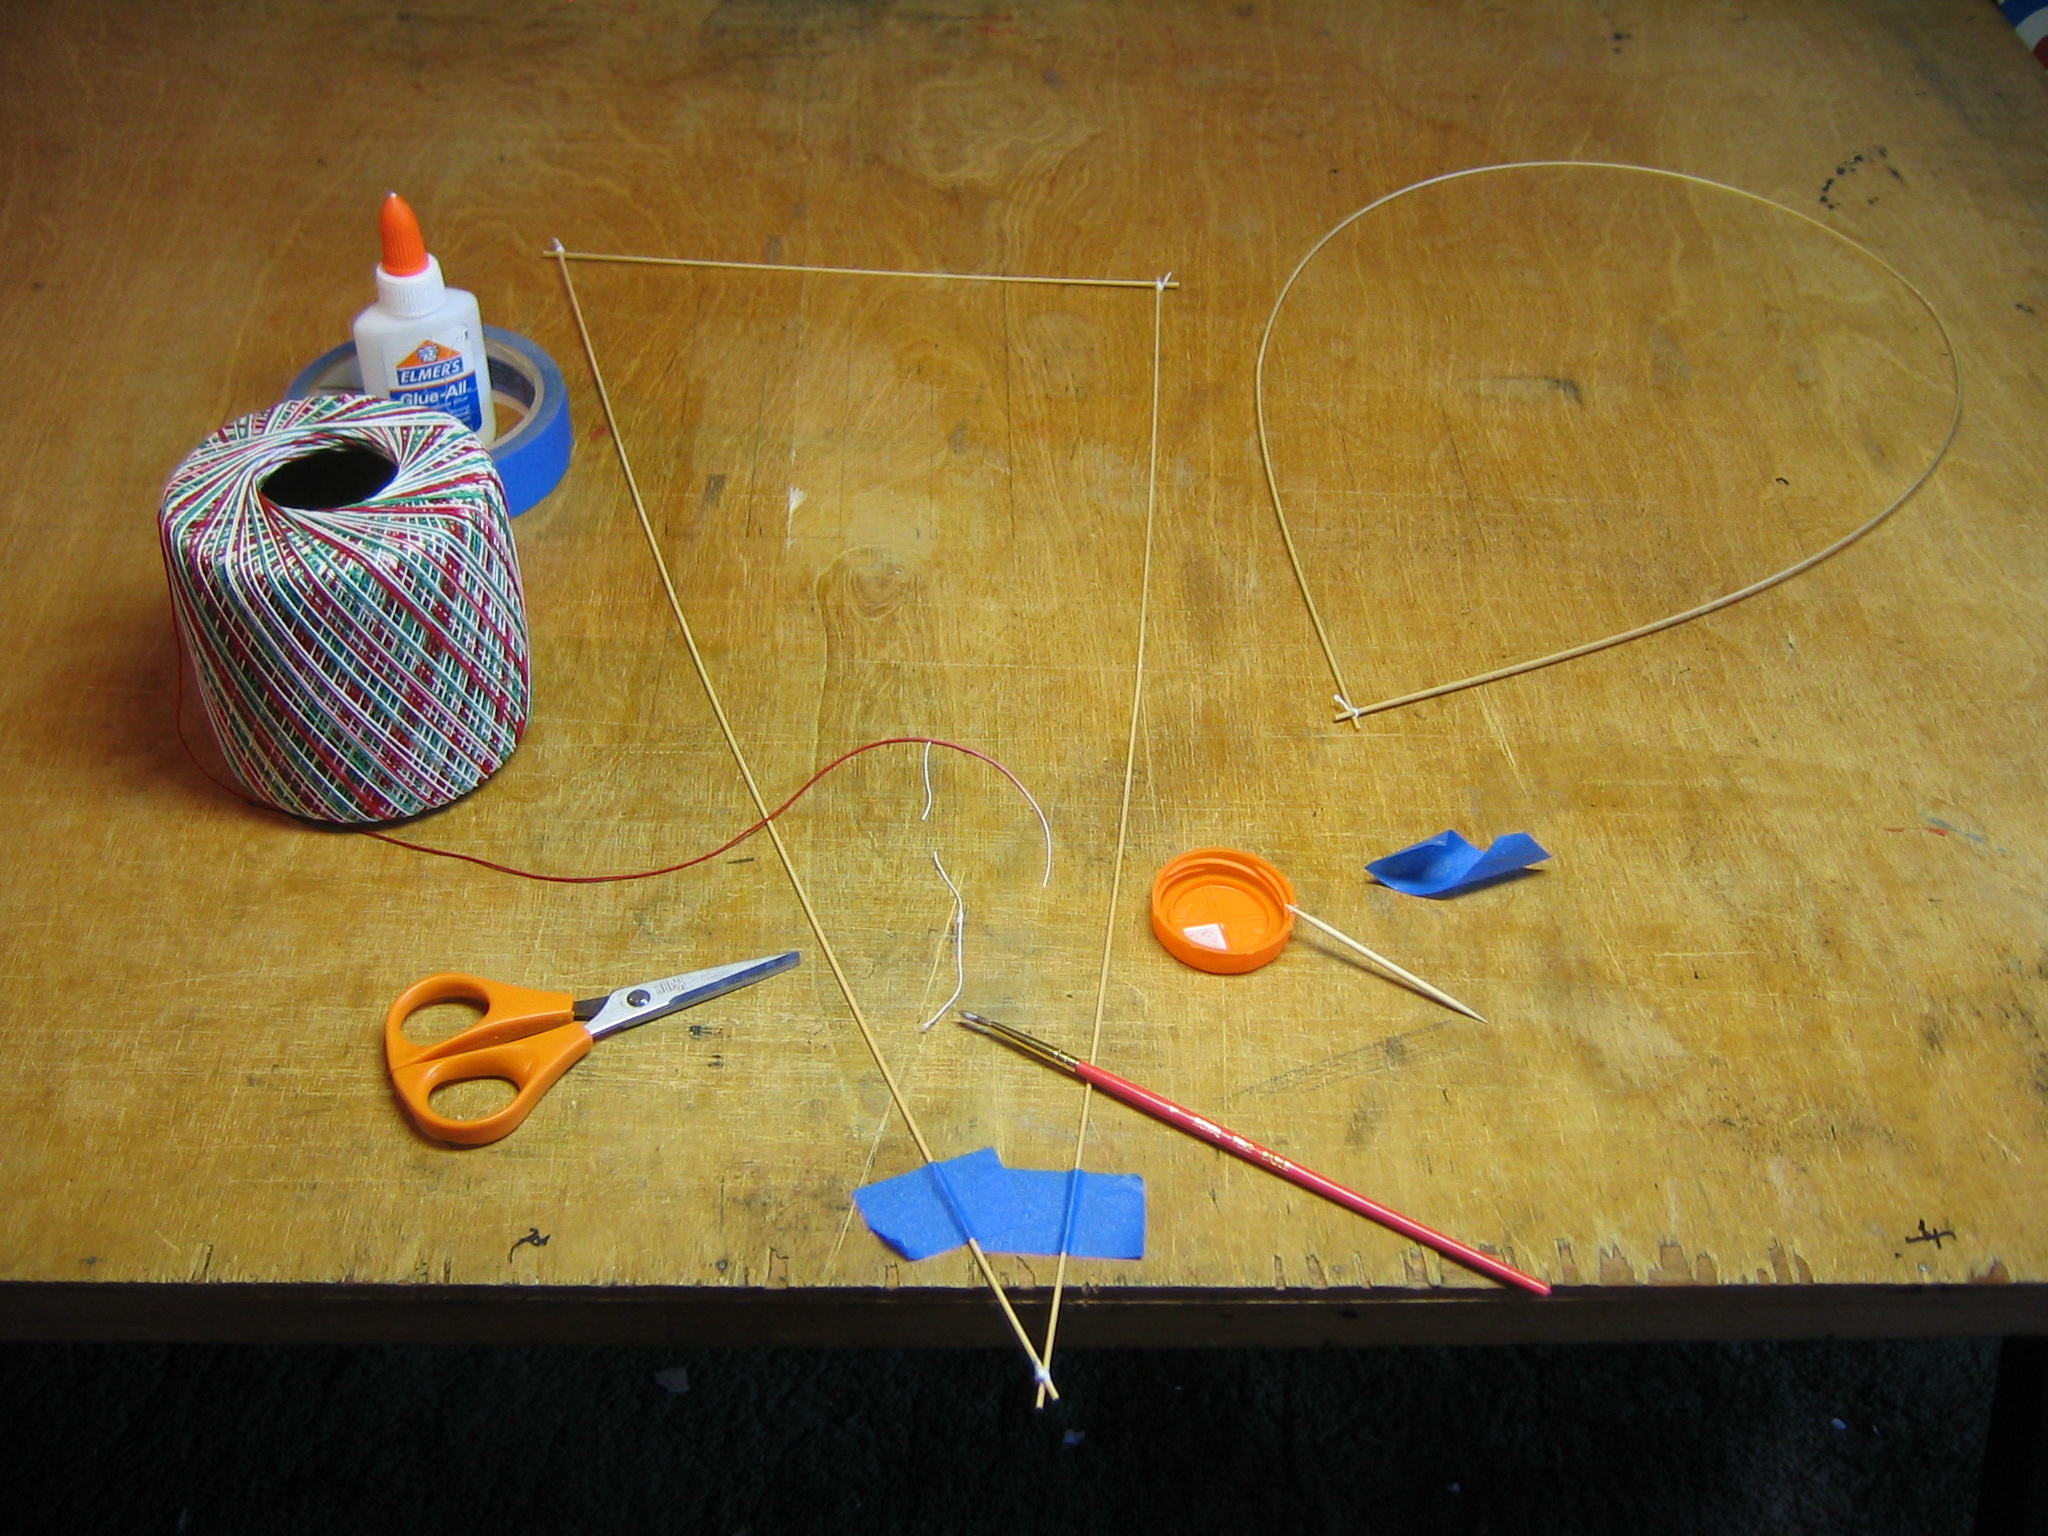
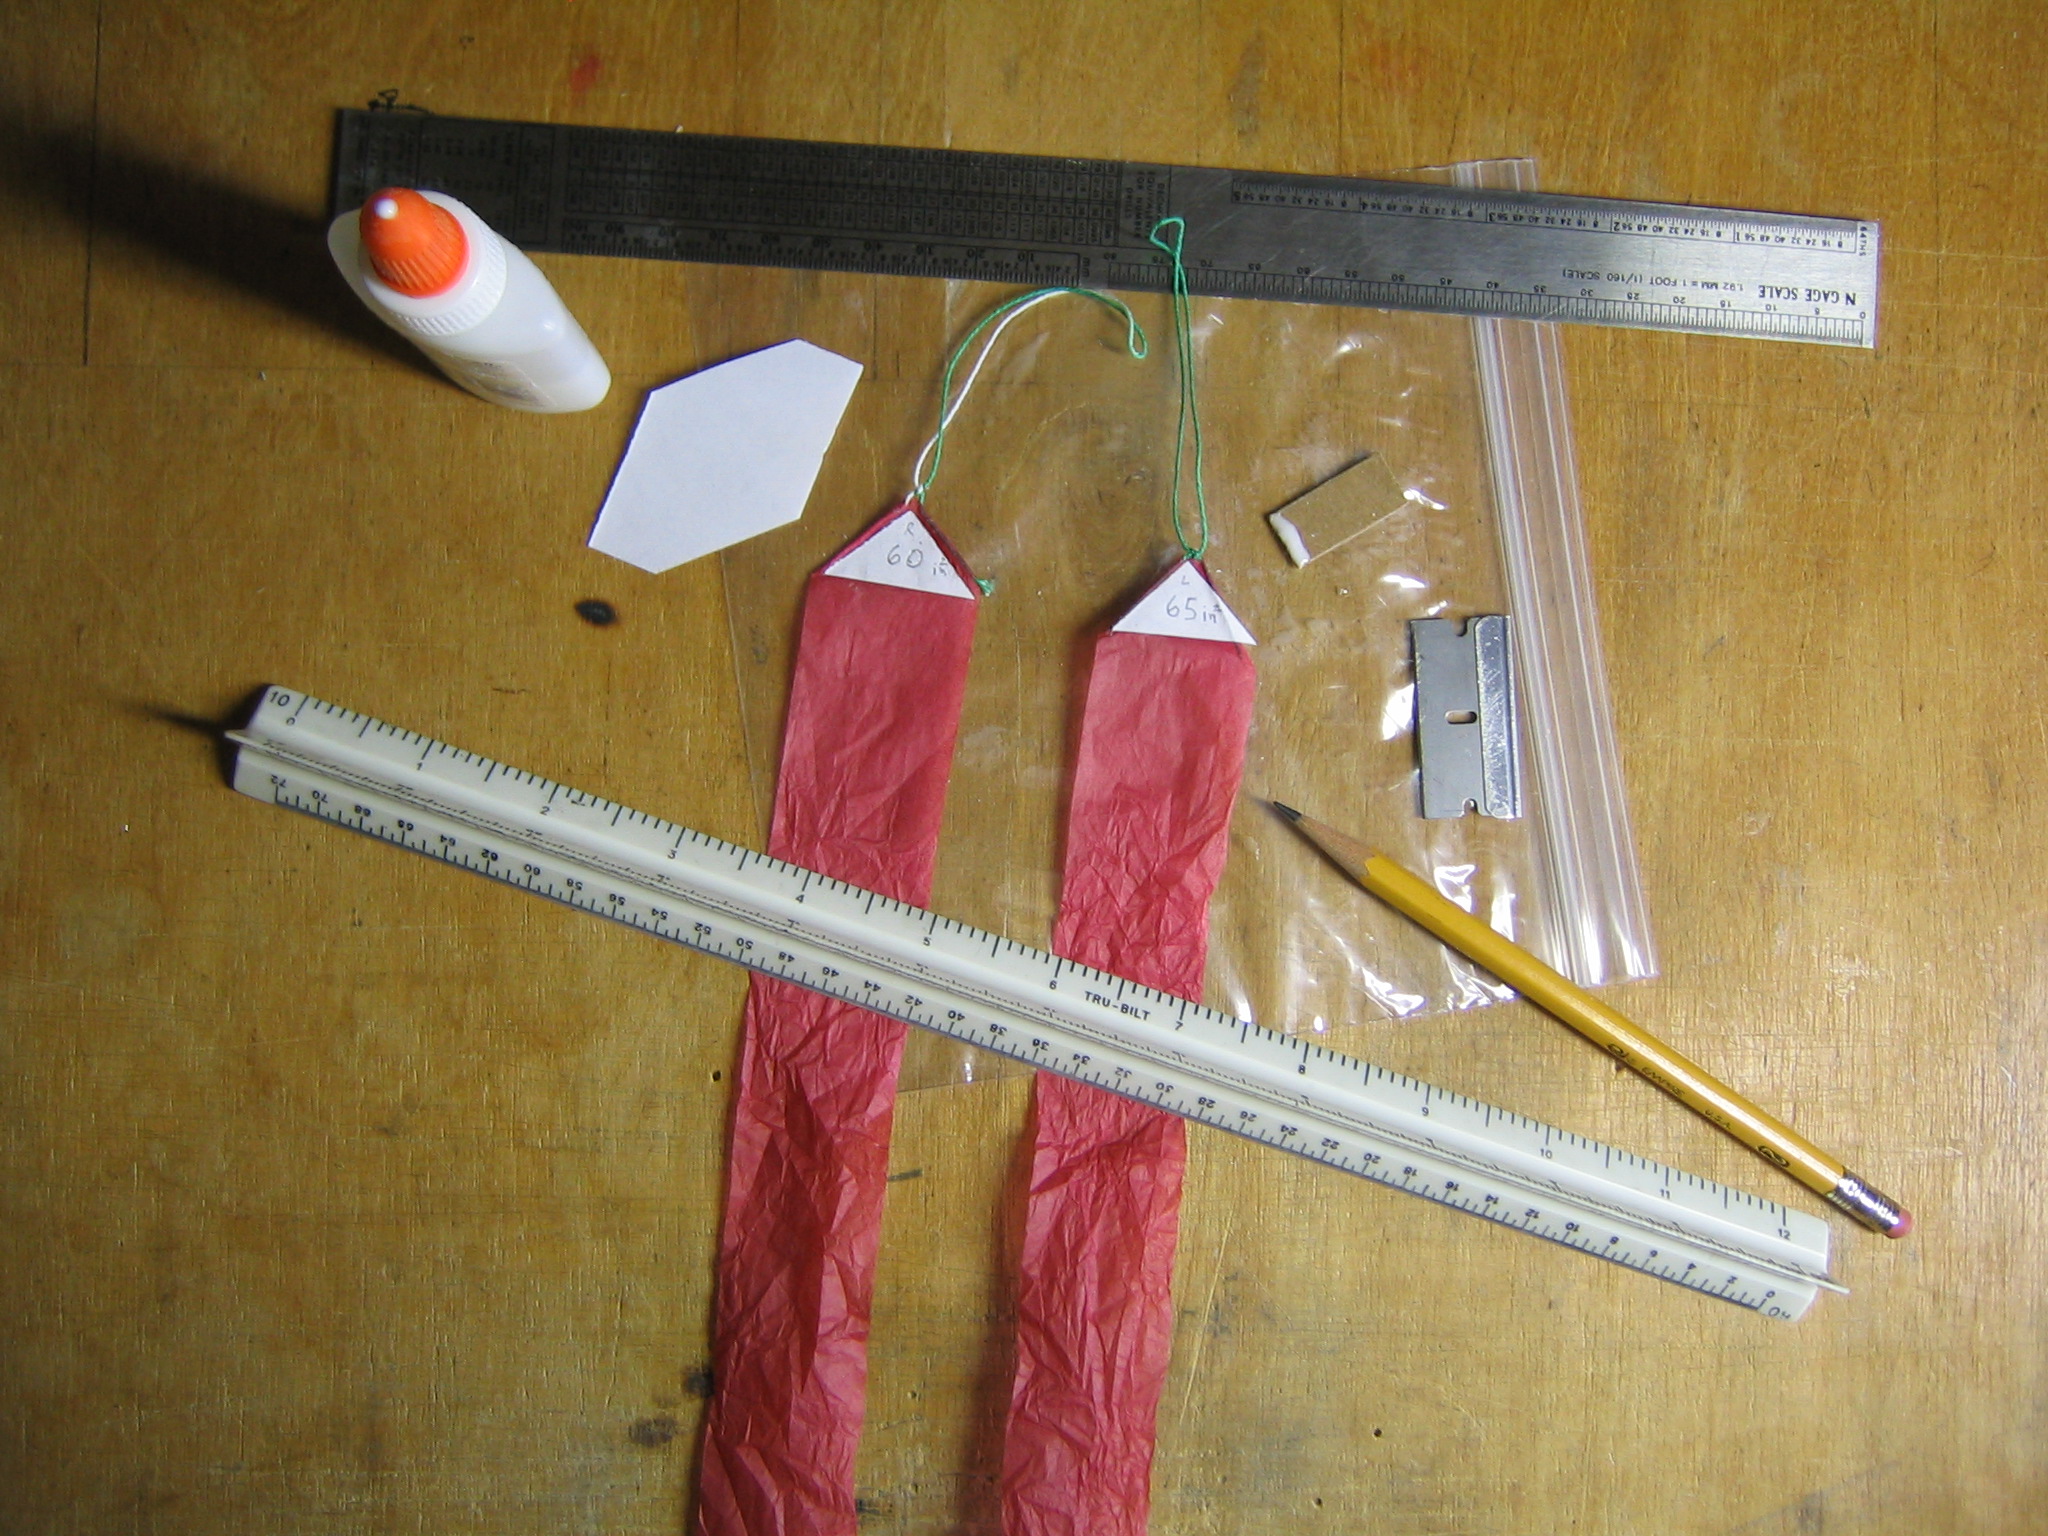
The materials required to build this kite are: thin bamboo rod, cotton kite string, glue and tissue paper. The longest bamboo rod required is 41 3/4″ long. I used three pieces of 1.5 mm bamboo rod, nominally 3.5′ long, that I got from the Drachen Foundation Store. The rods are actually 41 3/4″ long. You may be able to find window shades made of bamboo rods that are about 1/16″ in diameter. For the cotton string, you may also use button and carpet thread or some similar heavy thread. Many types of glue are suitable for gluing wood and paper. I like to use a glue that will soften with water, in case it becomes necessary to take things apart for repairs later. My first experimental kites were made from recycled tissue papers. Later I made some from colorful gift wrap tissue. Here I am going to use high quality Esaki tissue sold for model airplane building because it is stronger and longer lasting. There are many sources on the Internet.
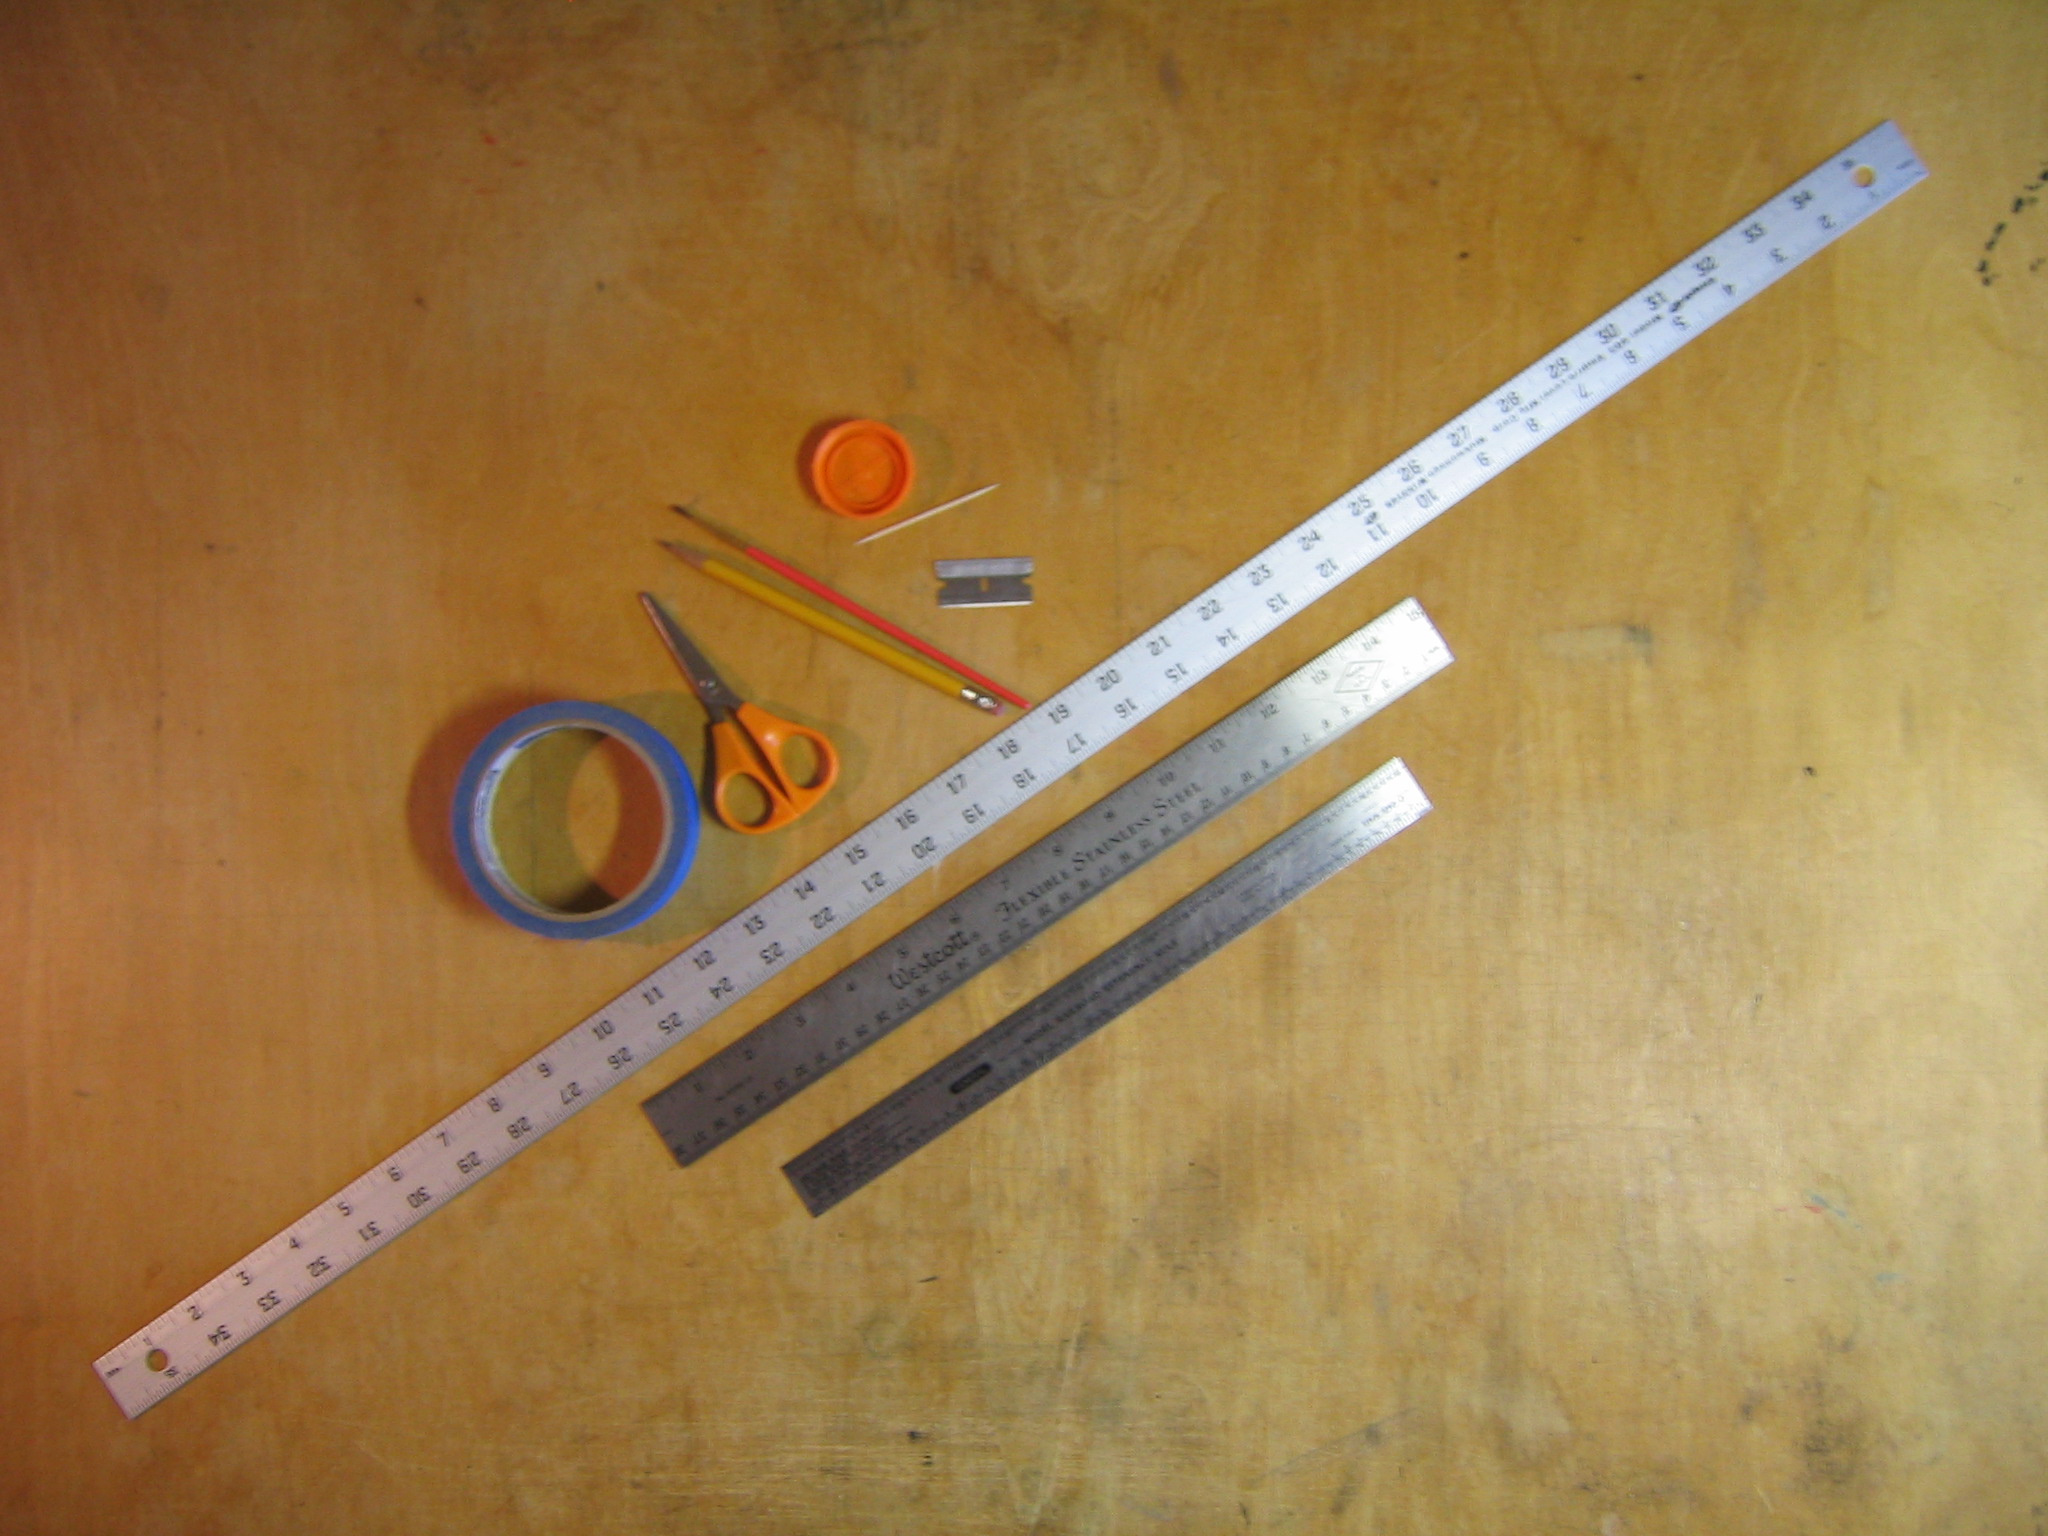
The tools used to build this kite are: a yardstick, a pencil, a razor blade, gaffer’s or painter’s tape, small scissors, a plastic bottle cap, a toothpick and small watercolor brush for applying glue. I also had a 15″ ruler for more convenient measuring of shorter lengths and a model railroad scale to guide the razor blade when cutting strips of tissue paper. The razor blade was also used to cut the bamboo rod. You could use a razor saw or hacksaw.
This kite will use four pieces of bamboo rod with lengths 10″, 20″, 21 1/2″ and 41 3/4″.
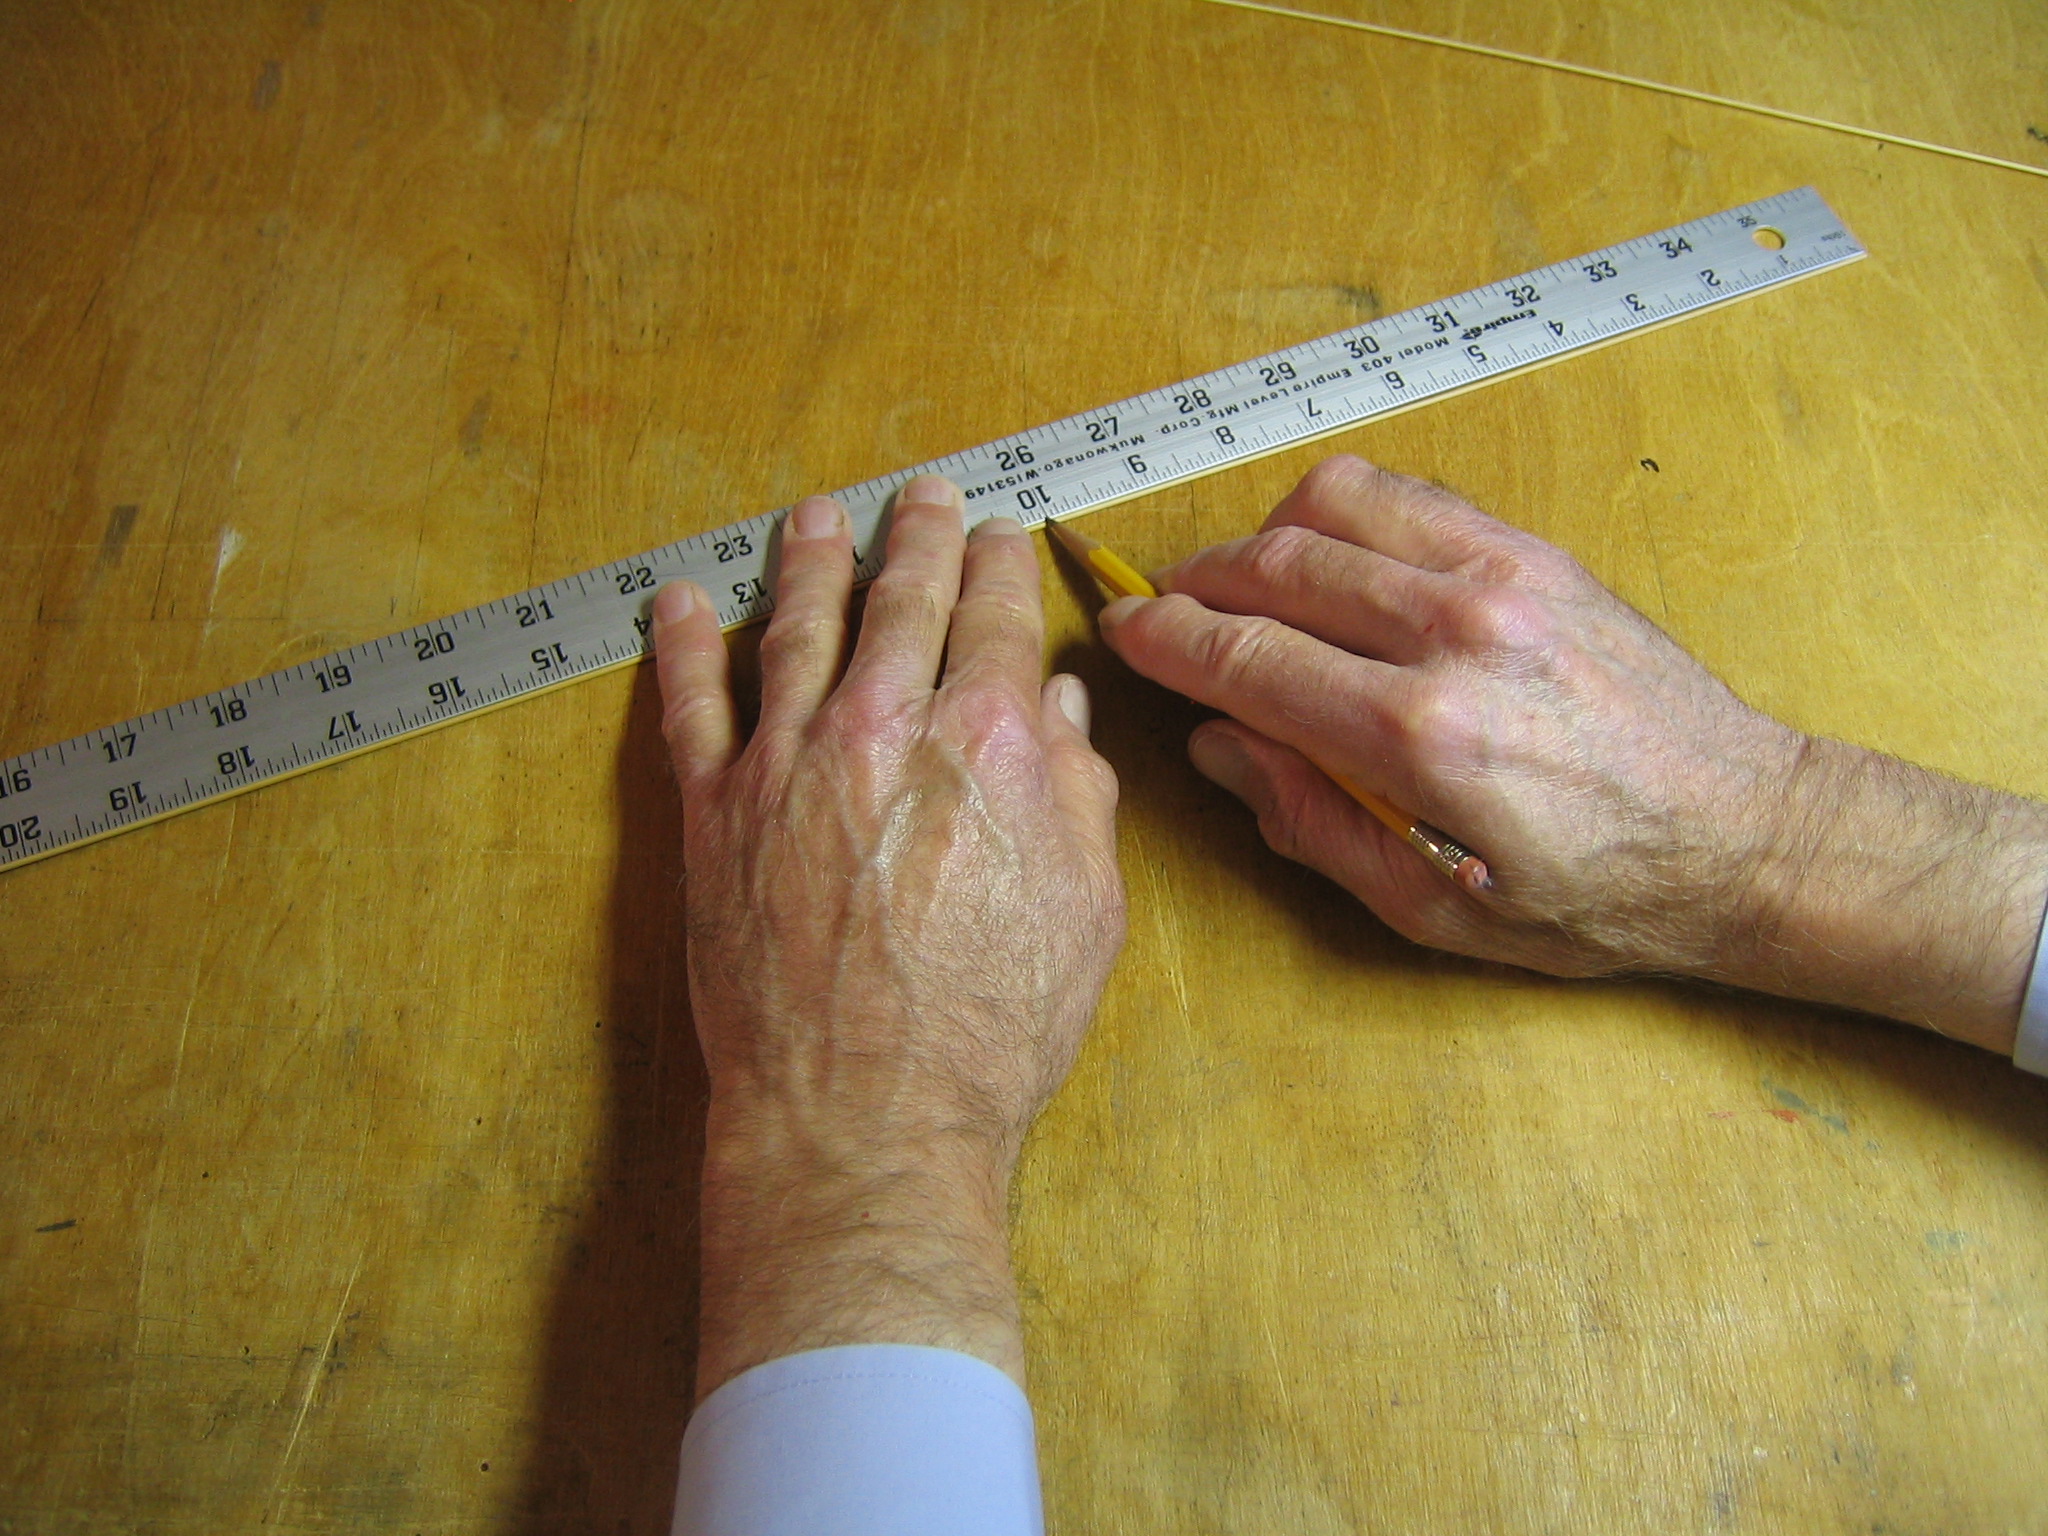
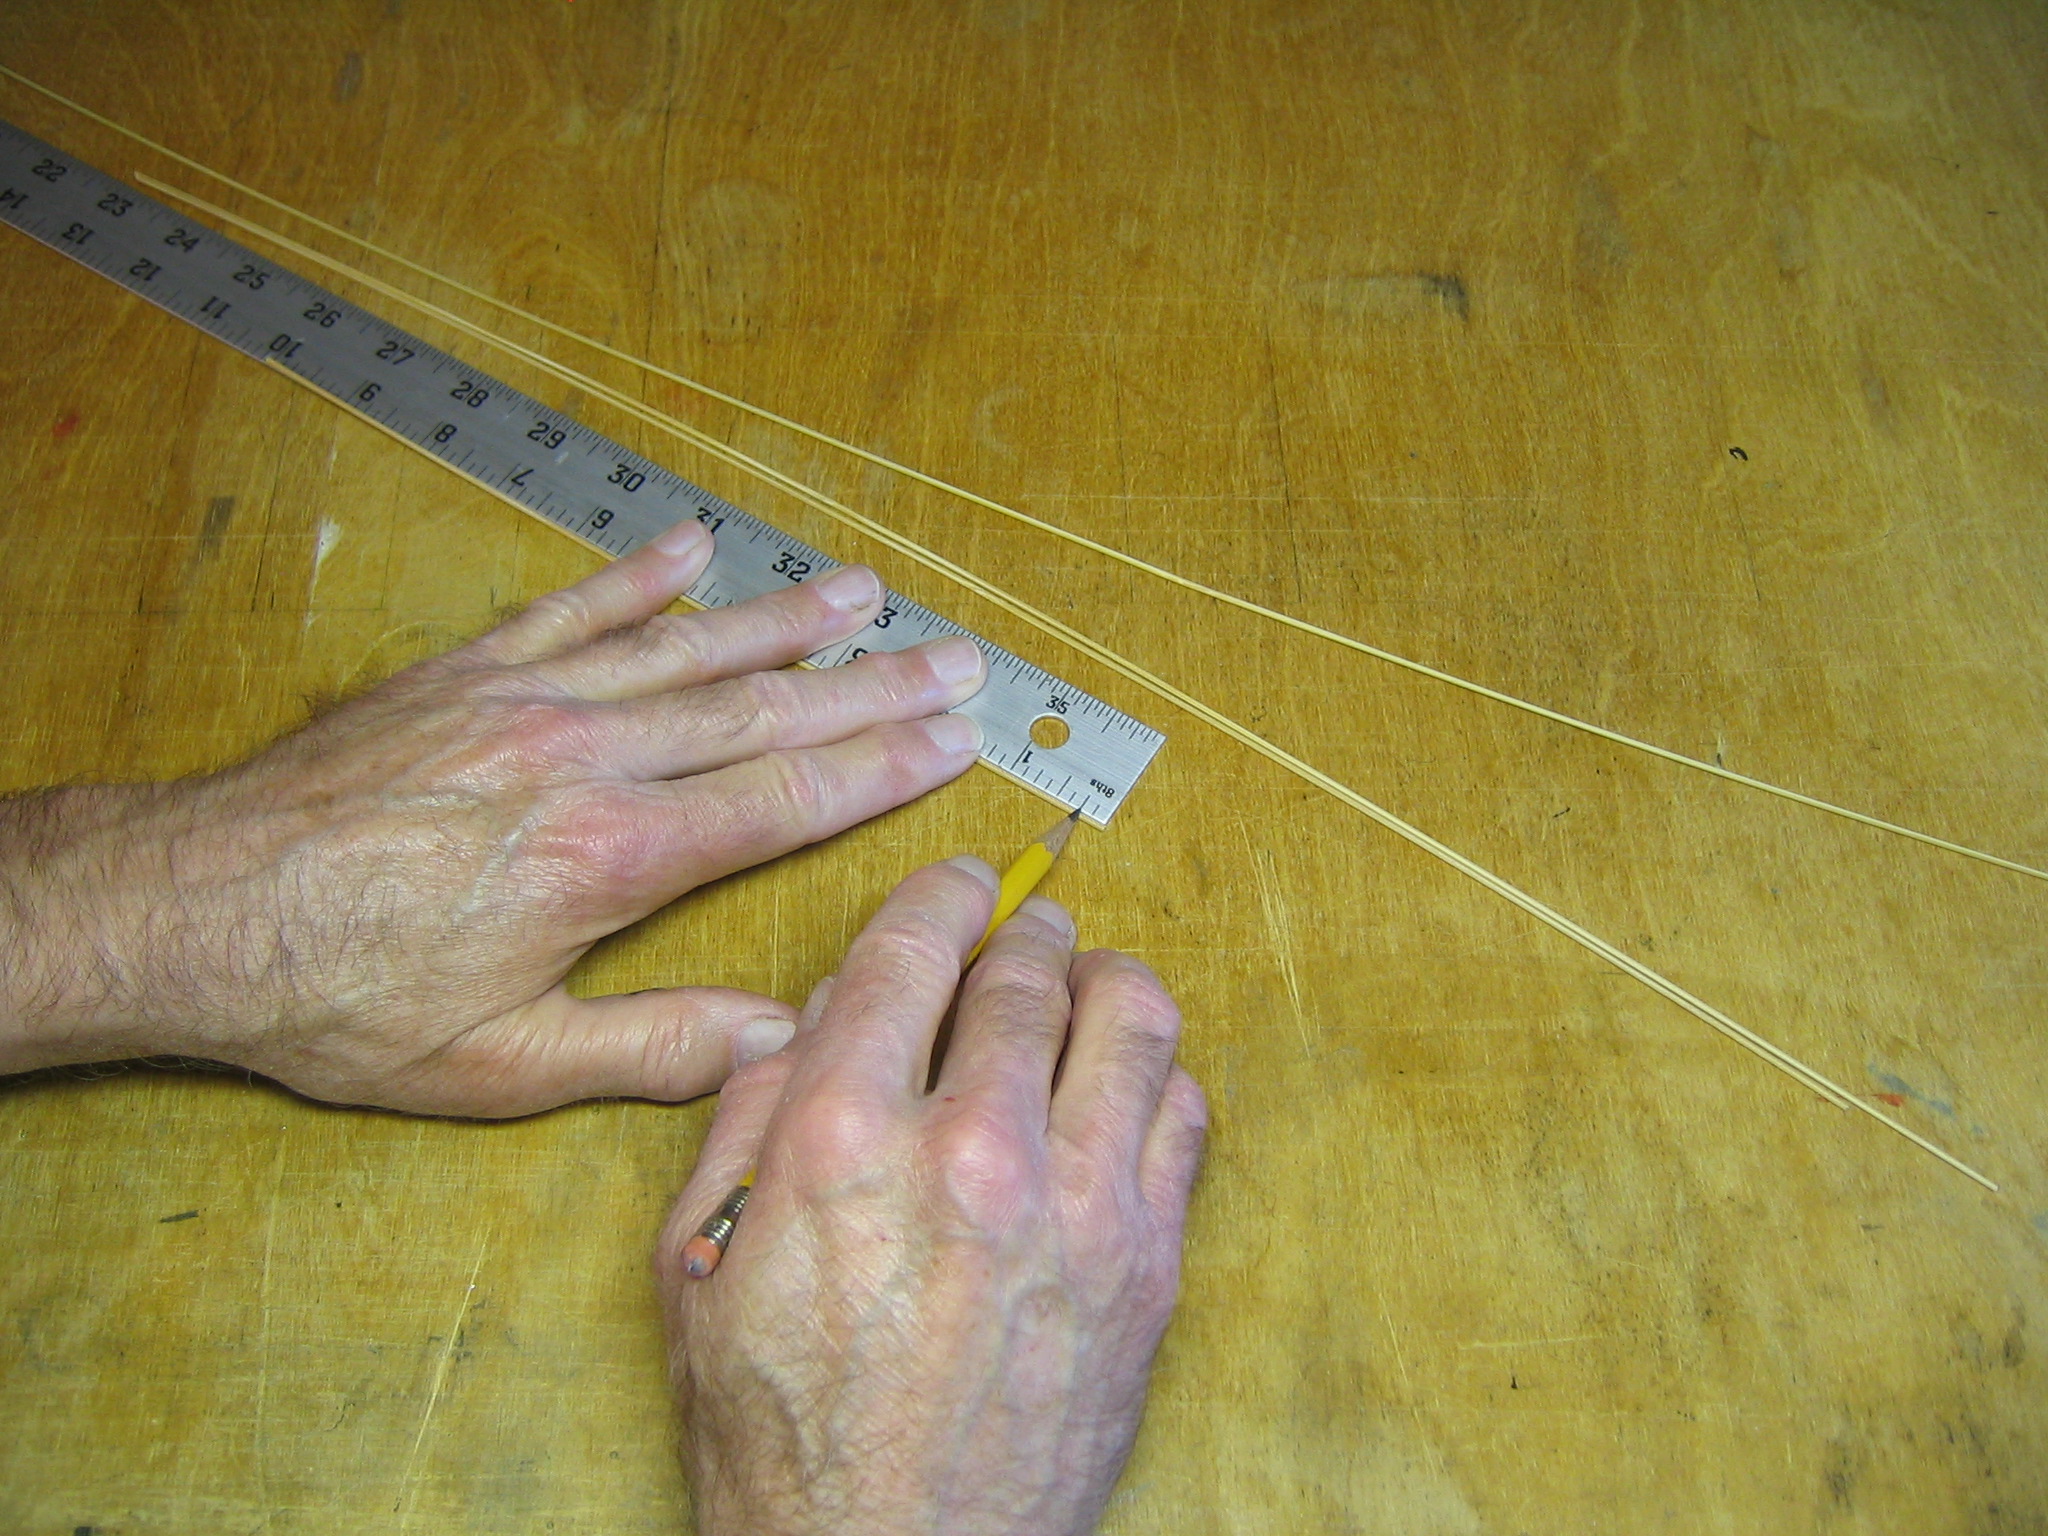
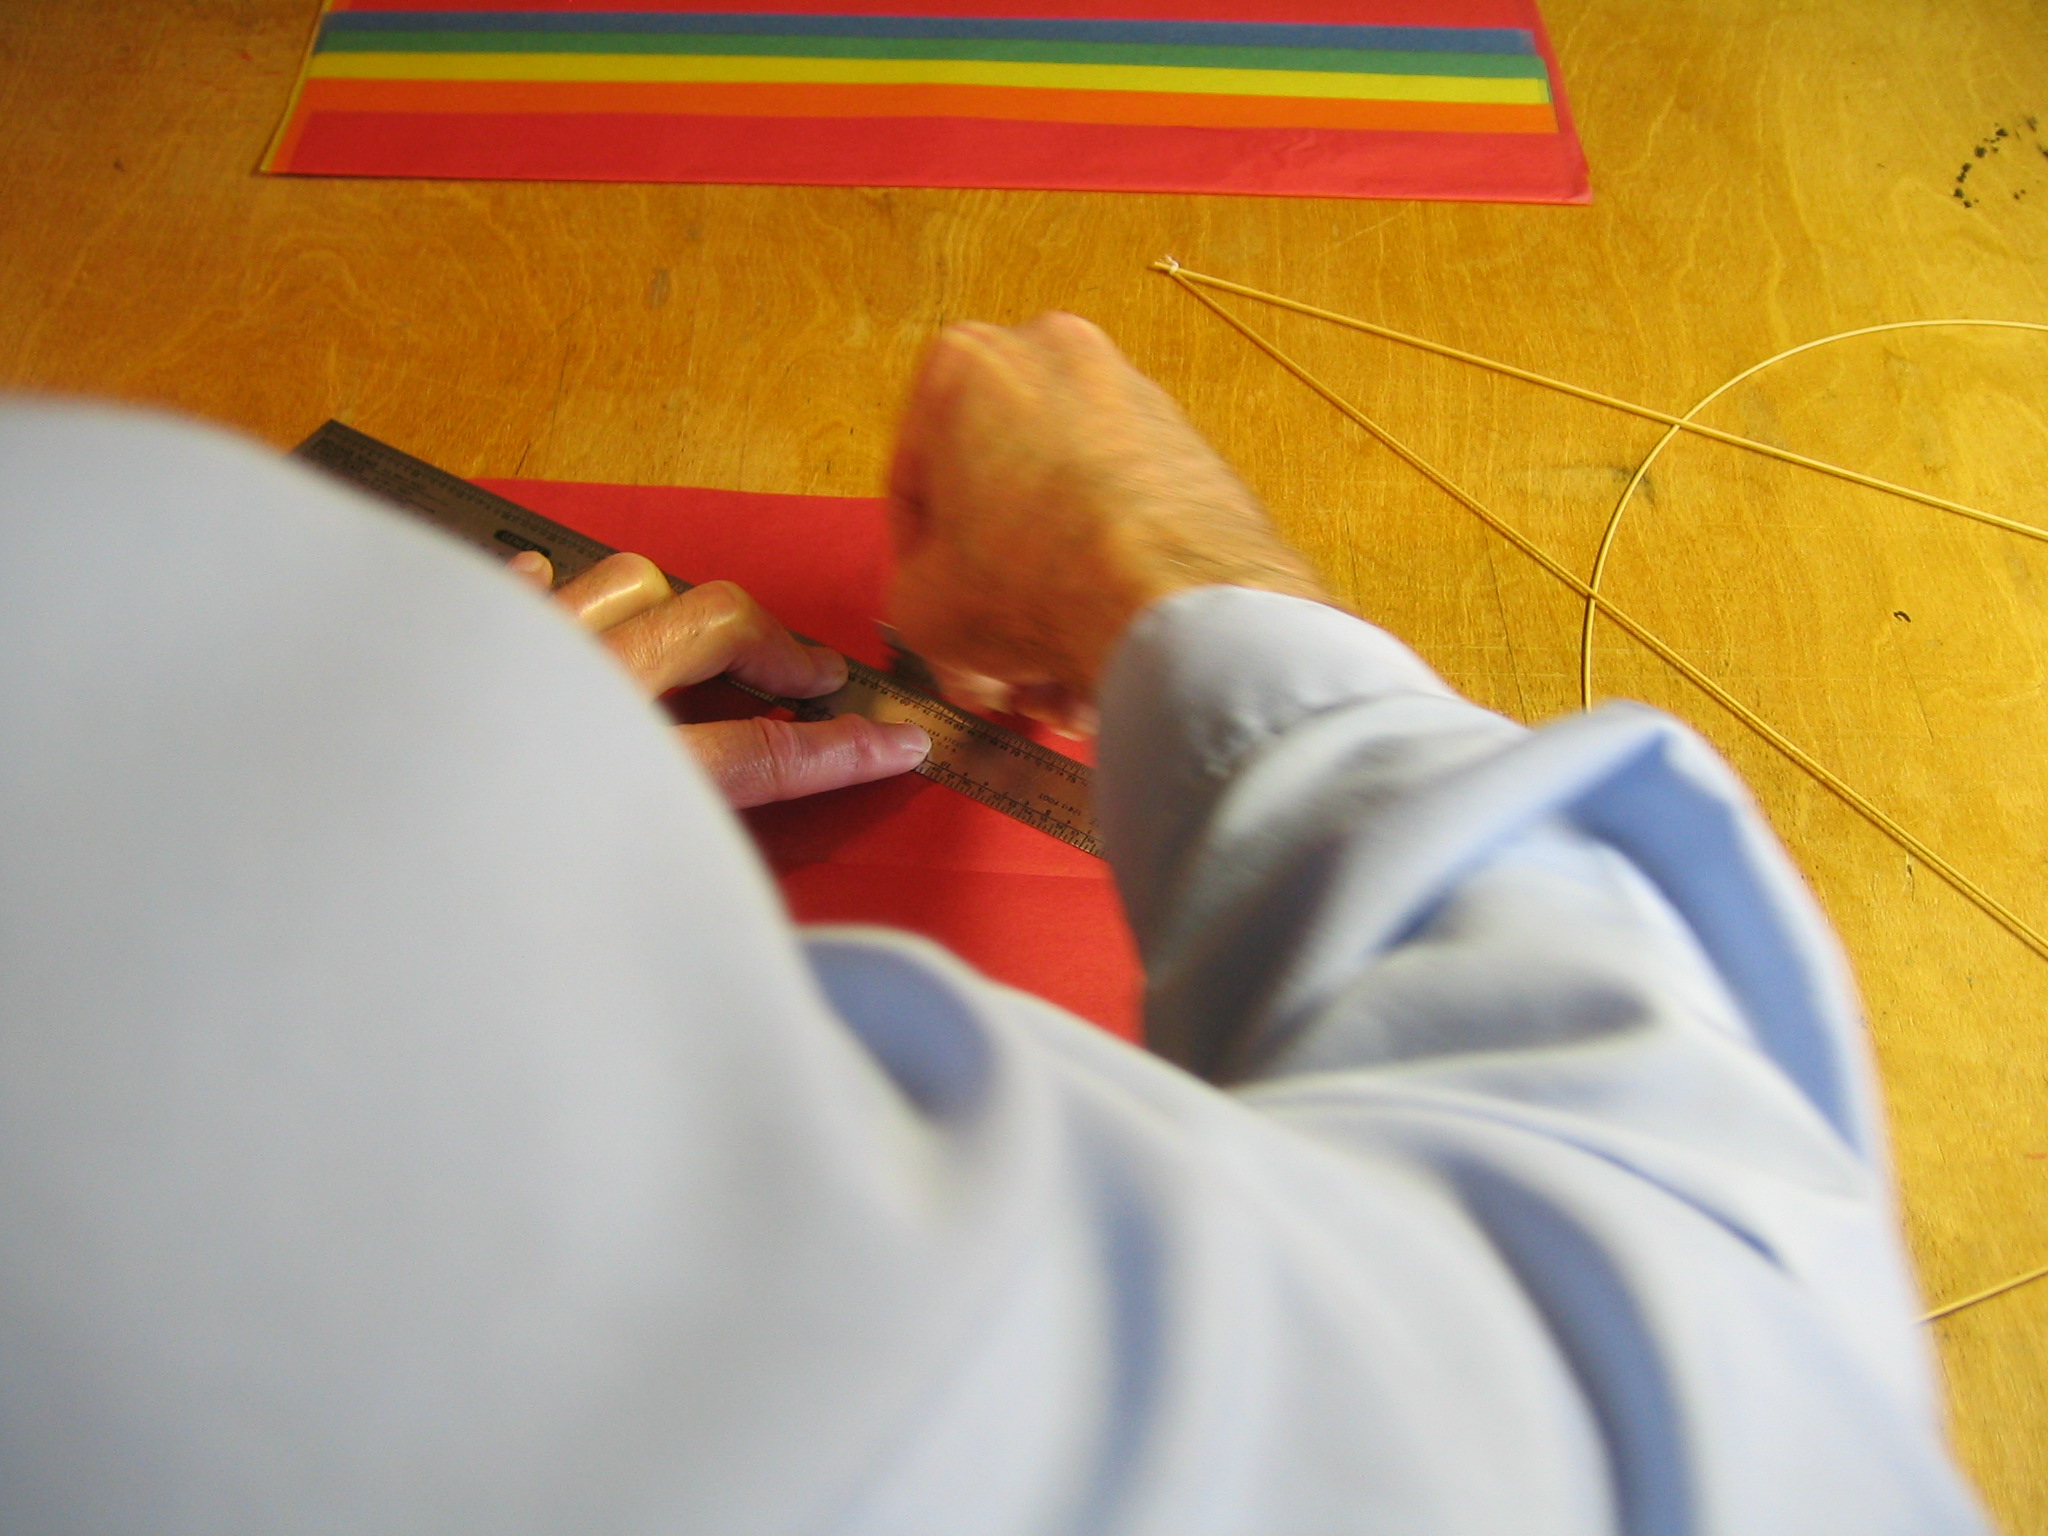
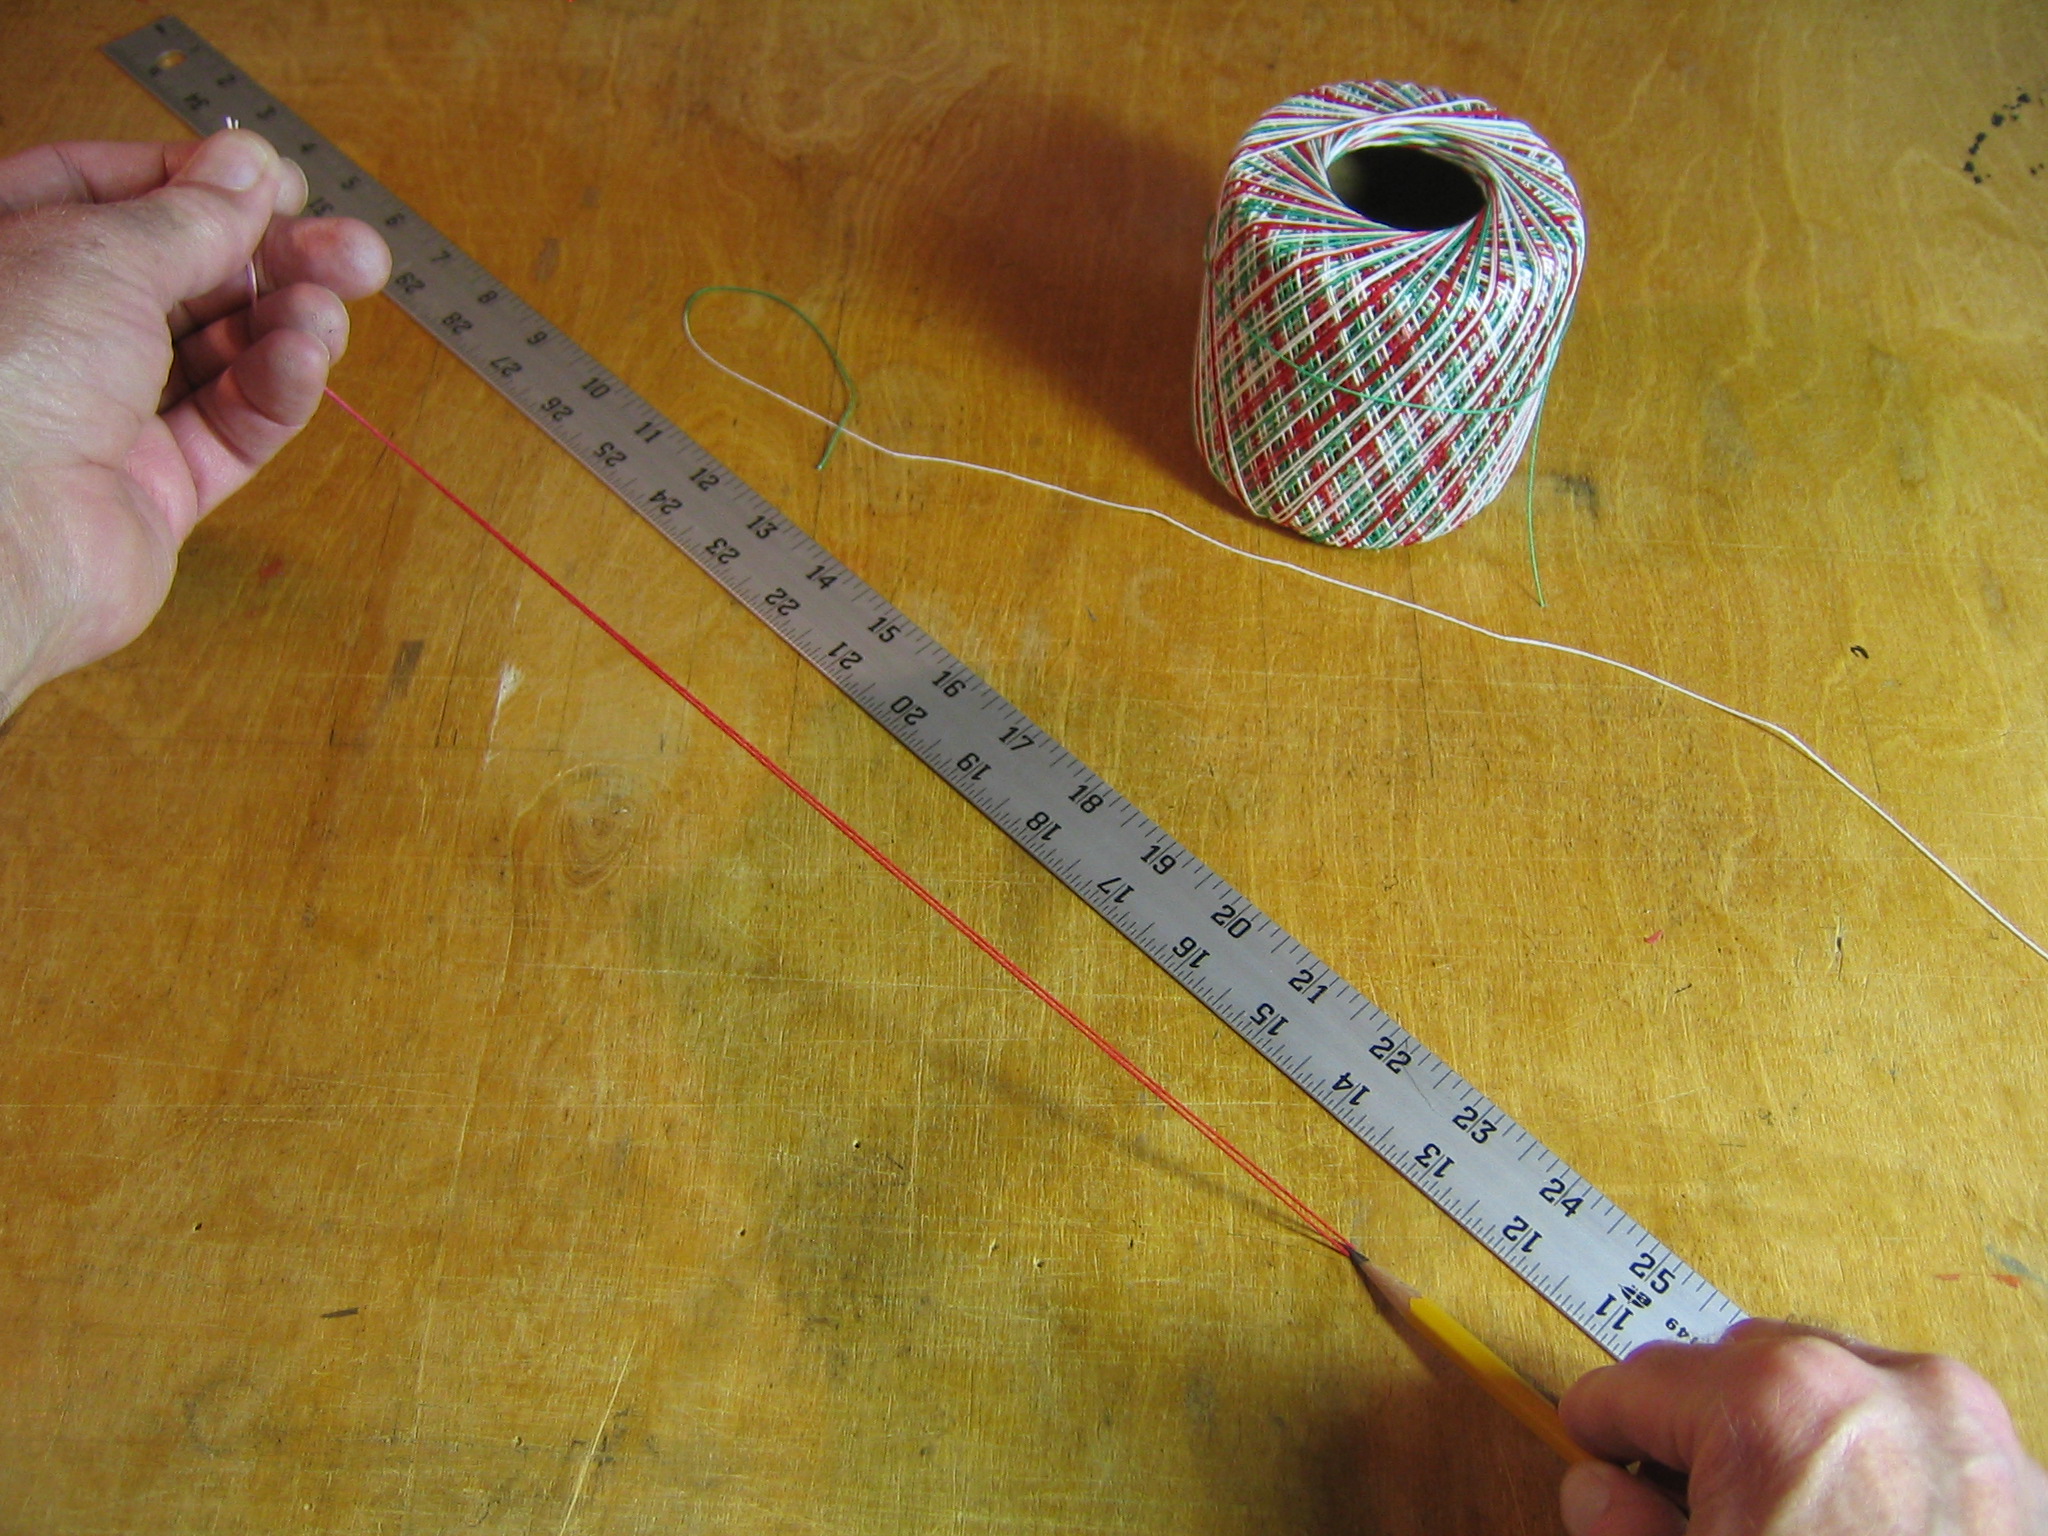
Measure and mark 10″ from one end of the first rod.
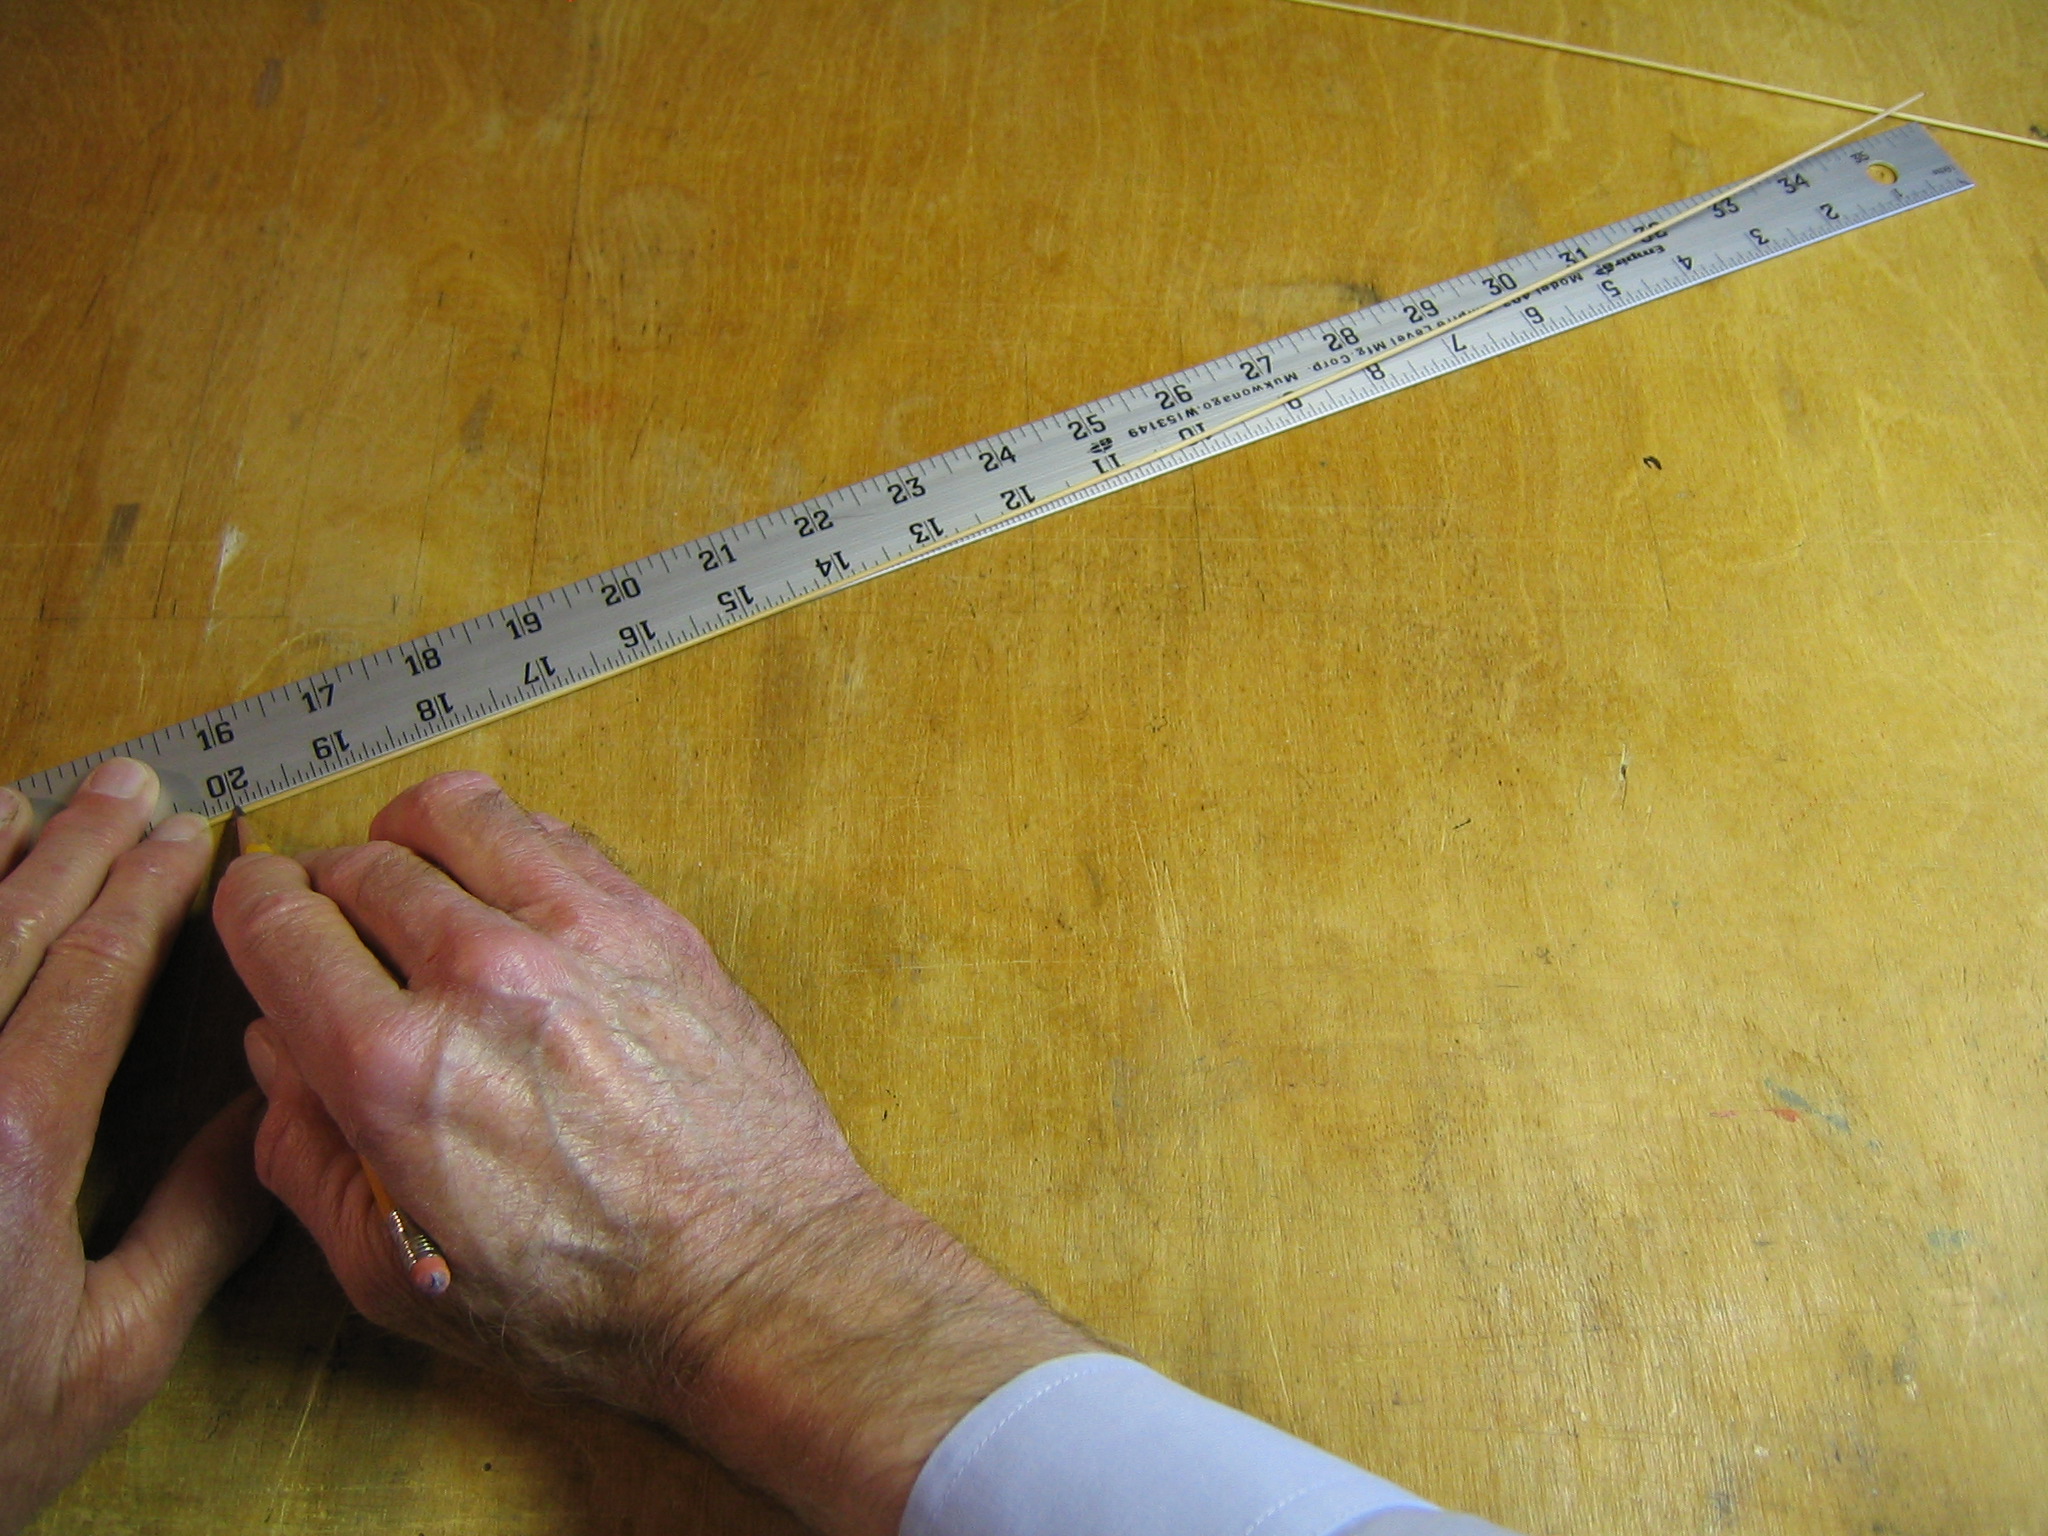
Measure and mark 20″ from the opposite end of that first rod.
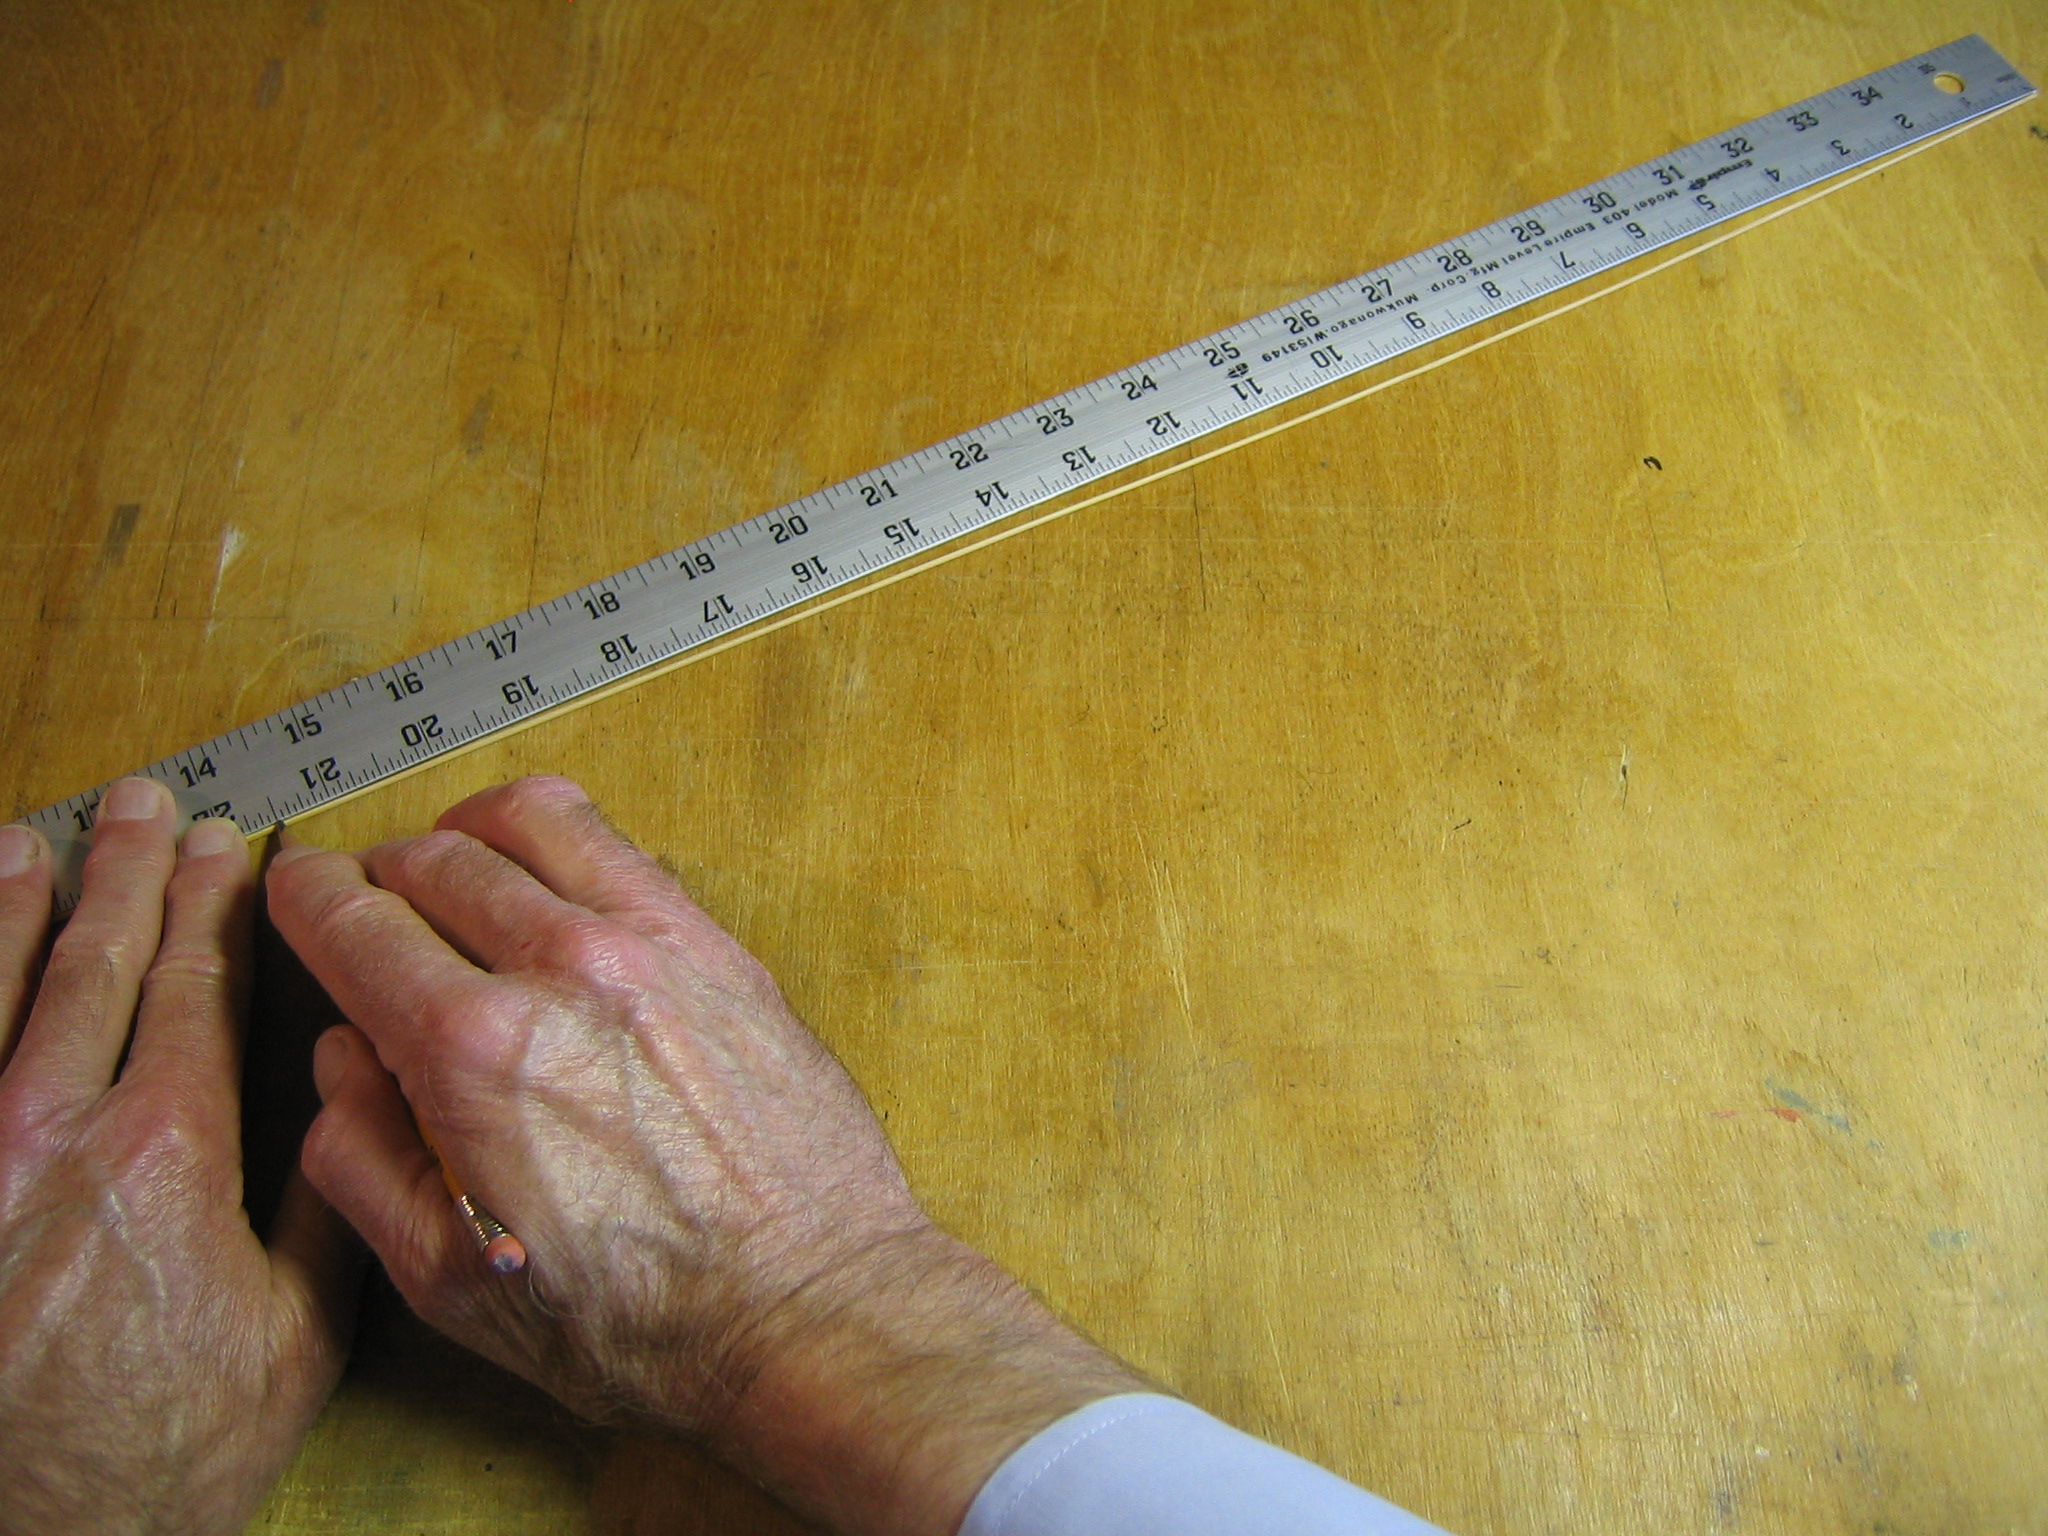
Measure and mark 21 1/2″ from the end of the second rod. The third rod will be used full length, 41 3/4″.
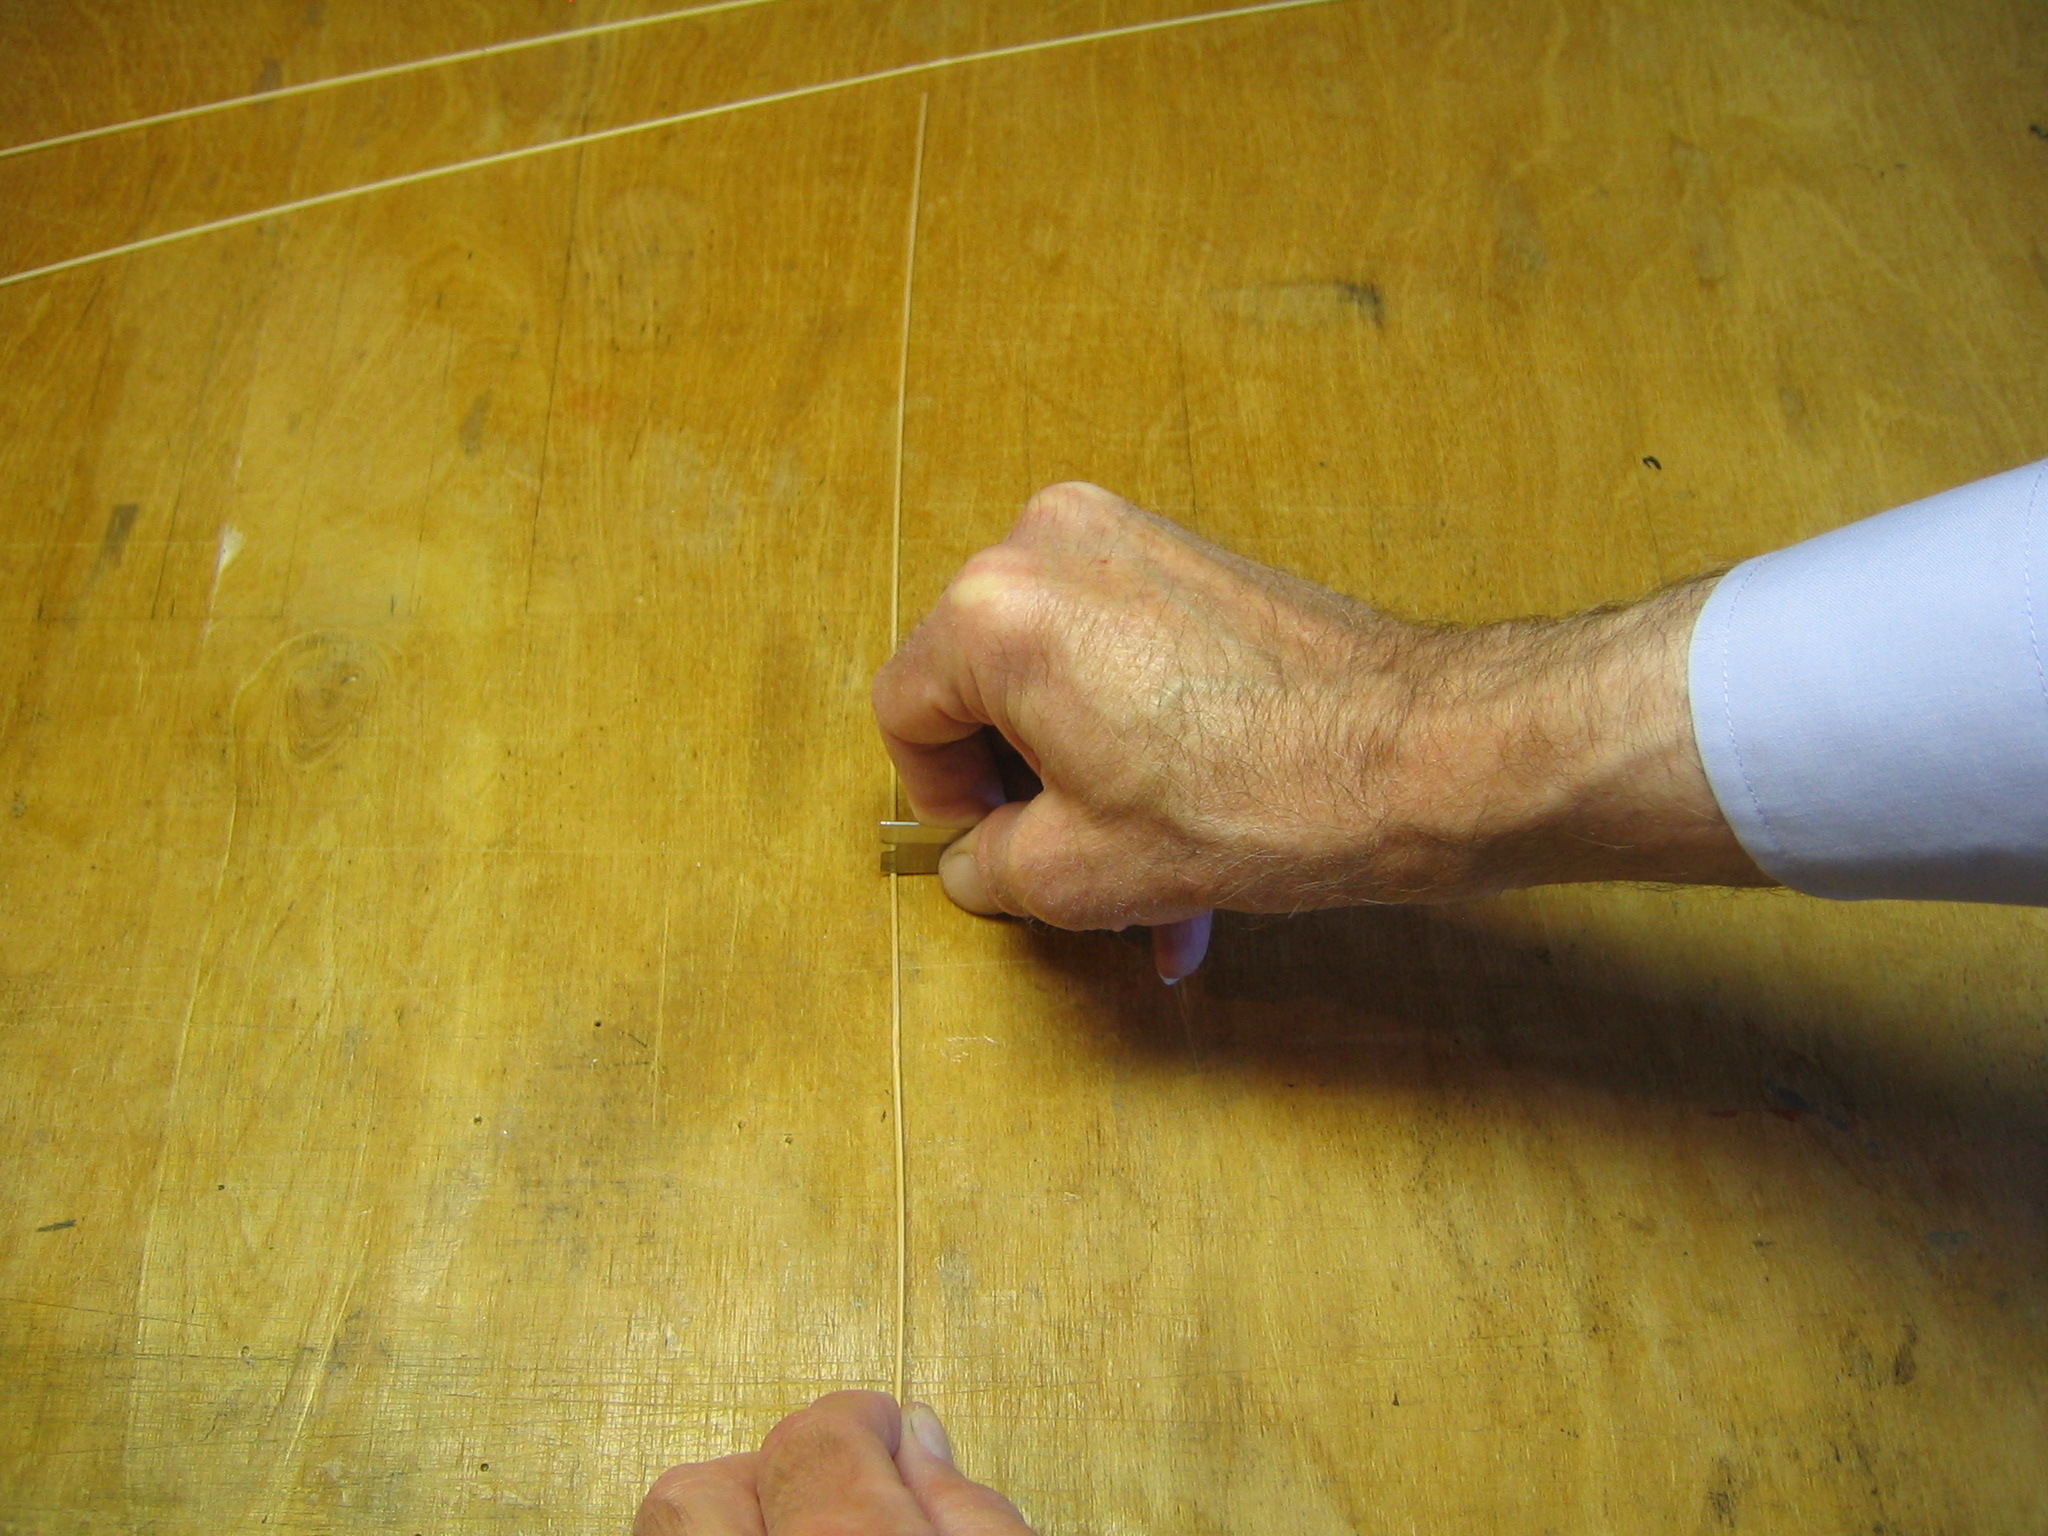
Place the razor blade over the marks at a right angle to the rod and straight up, then roll the rod under it as you press down. Roll it back and forth until the blade cuts through. Cut all three pieces, 10″, 20″ and 21 1/2″.
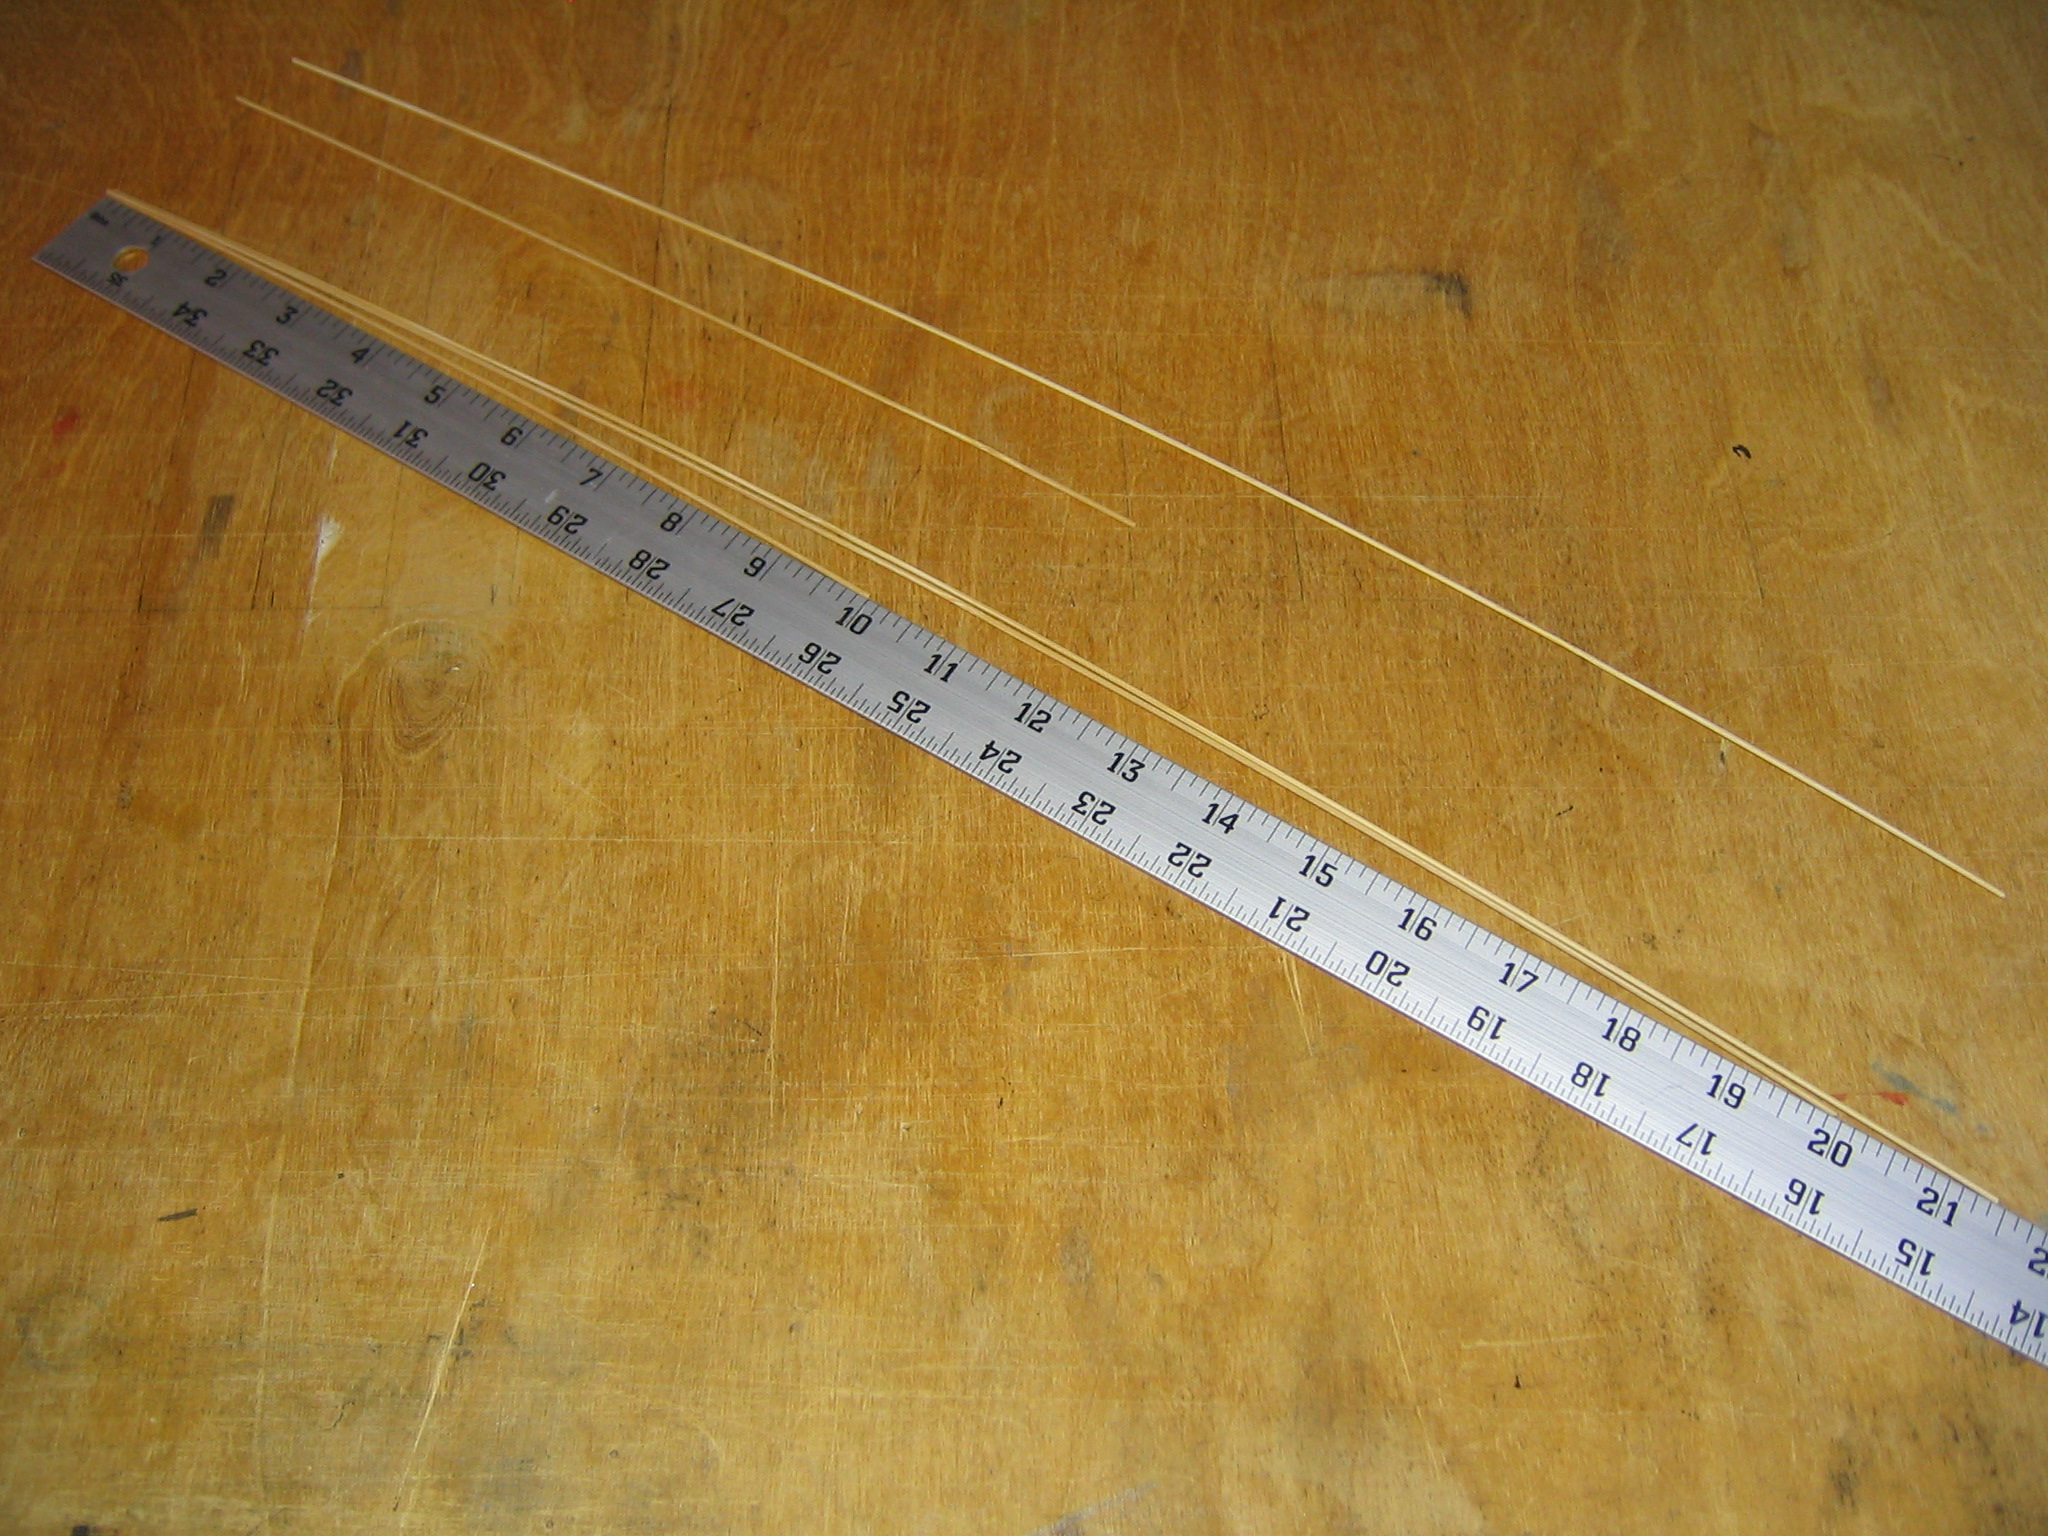
Align the 10″, 20″ and 21 1/2″ pieces with the yardstick. Set aside the extra 11 3/4″ and 20 1/4″ pieces where they won’t be confused with the kite parts.
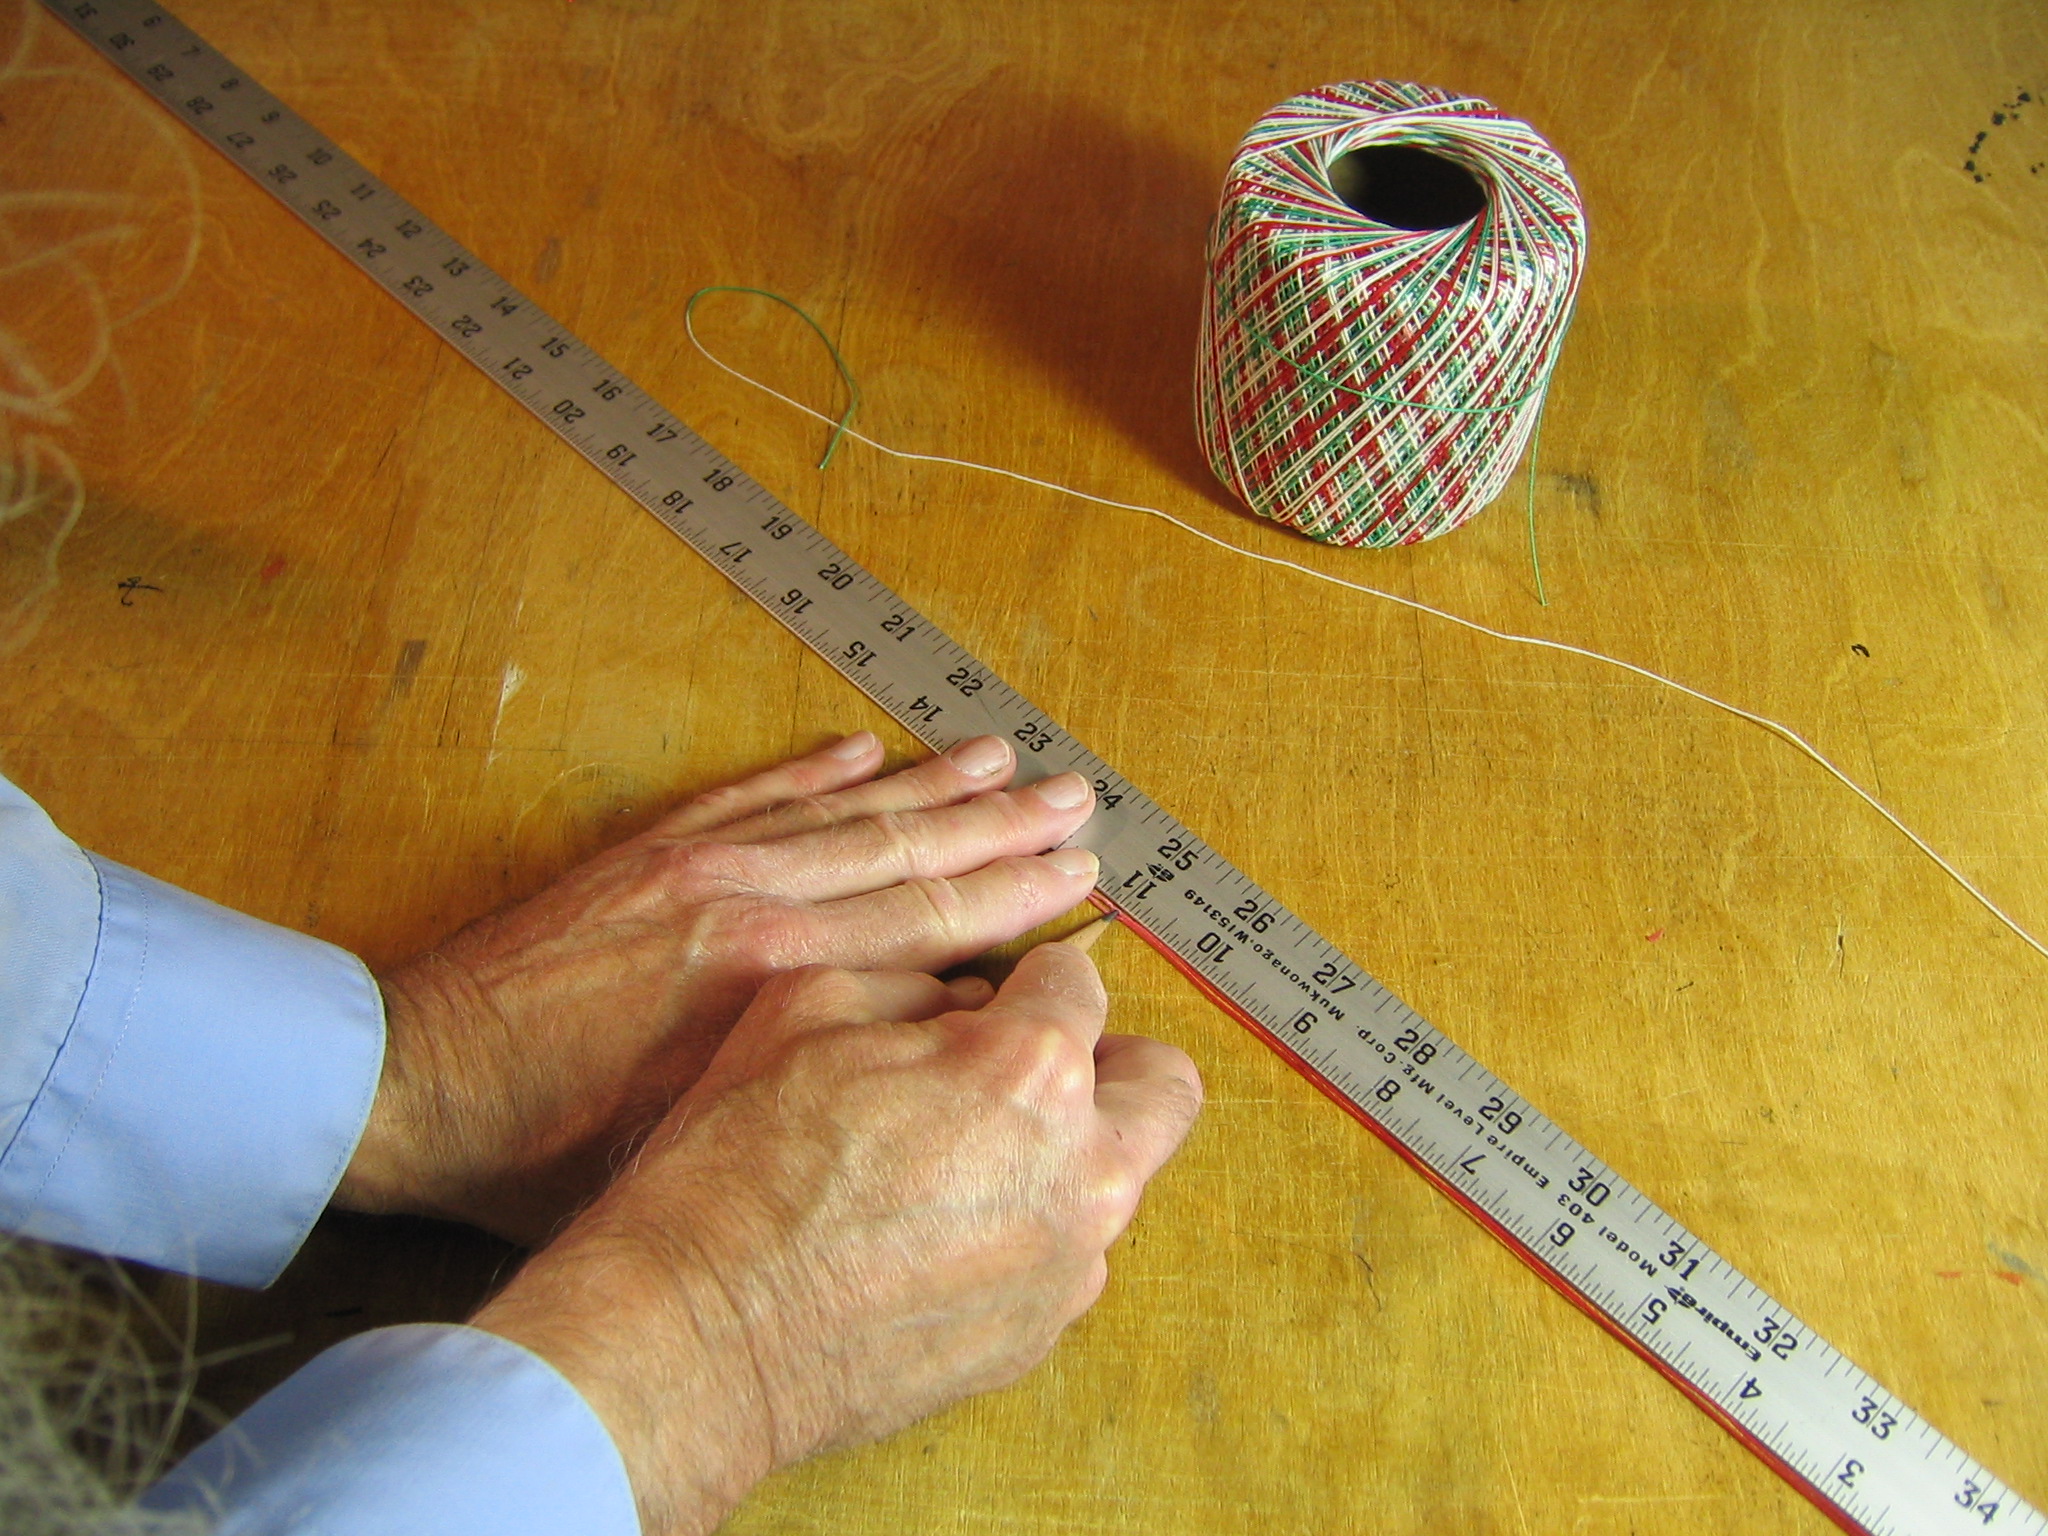
Mark both ends of all four sticks 1/4″ from each end.
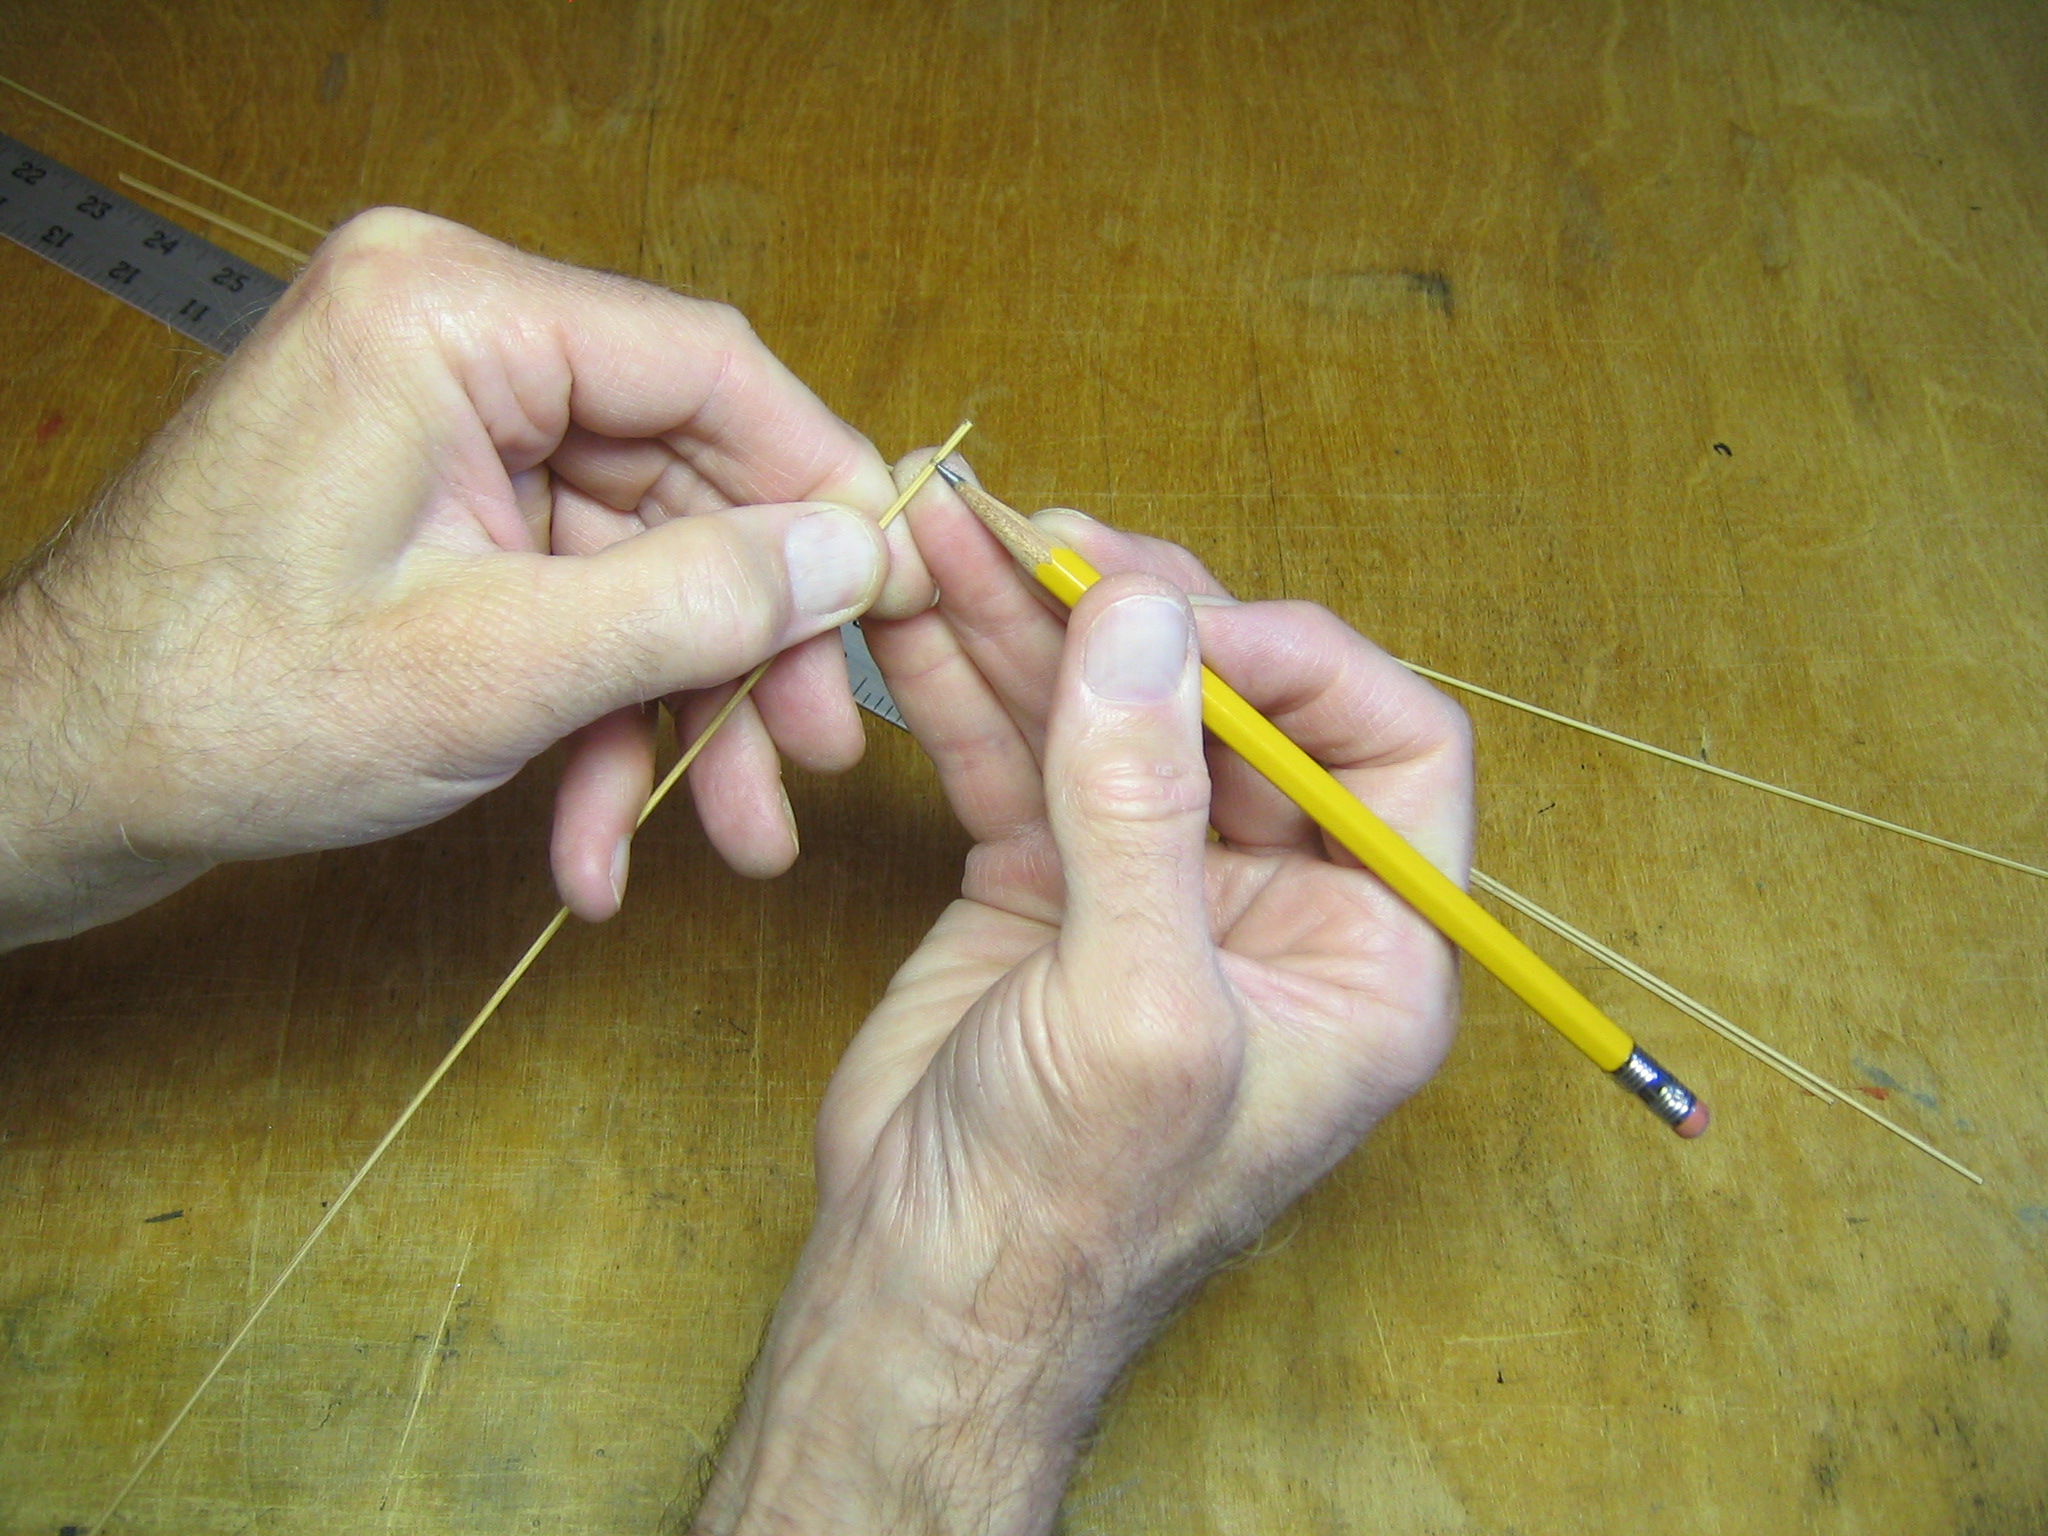
Twirl each stick against the pencil to extend all the marks all the way around the stick.
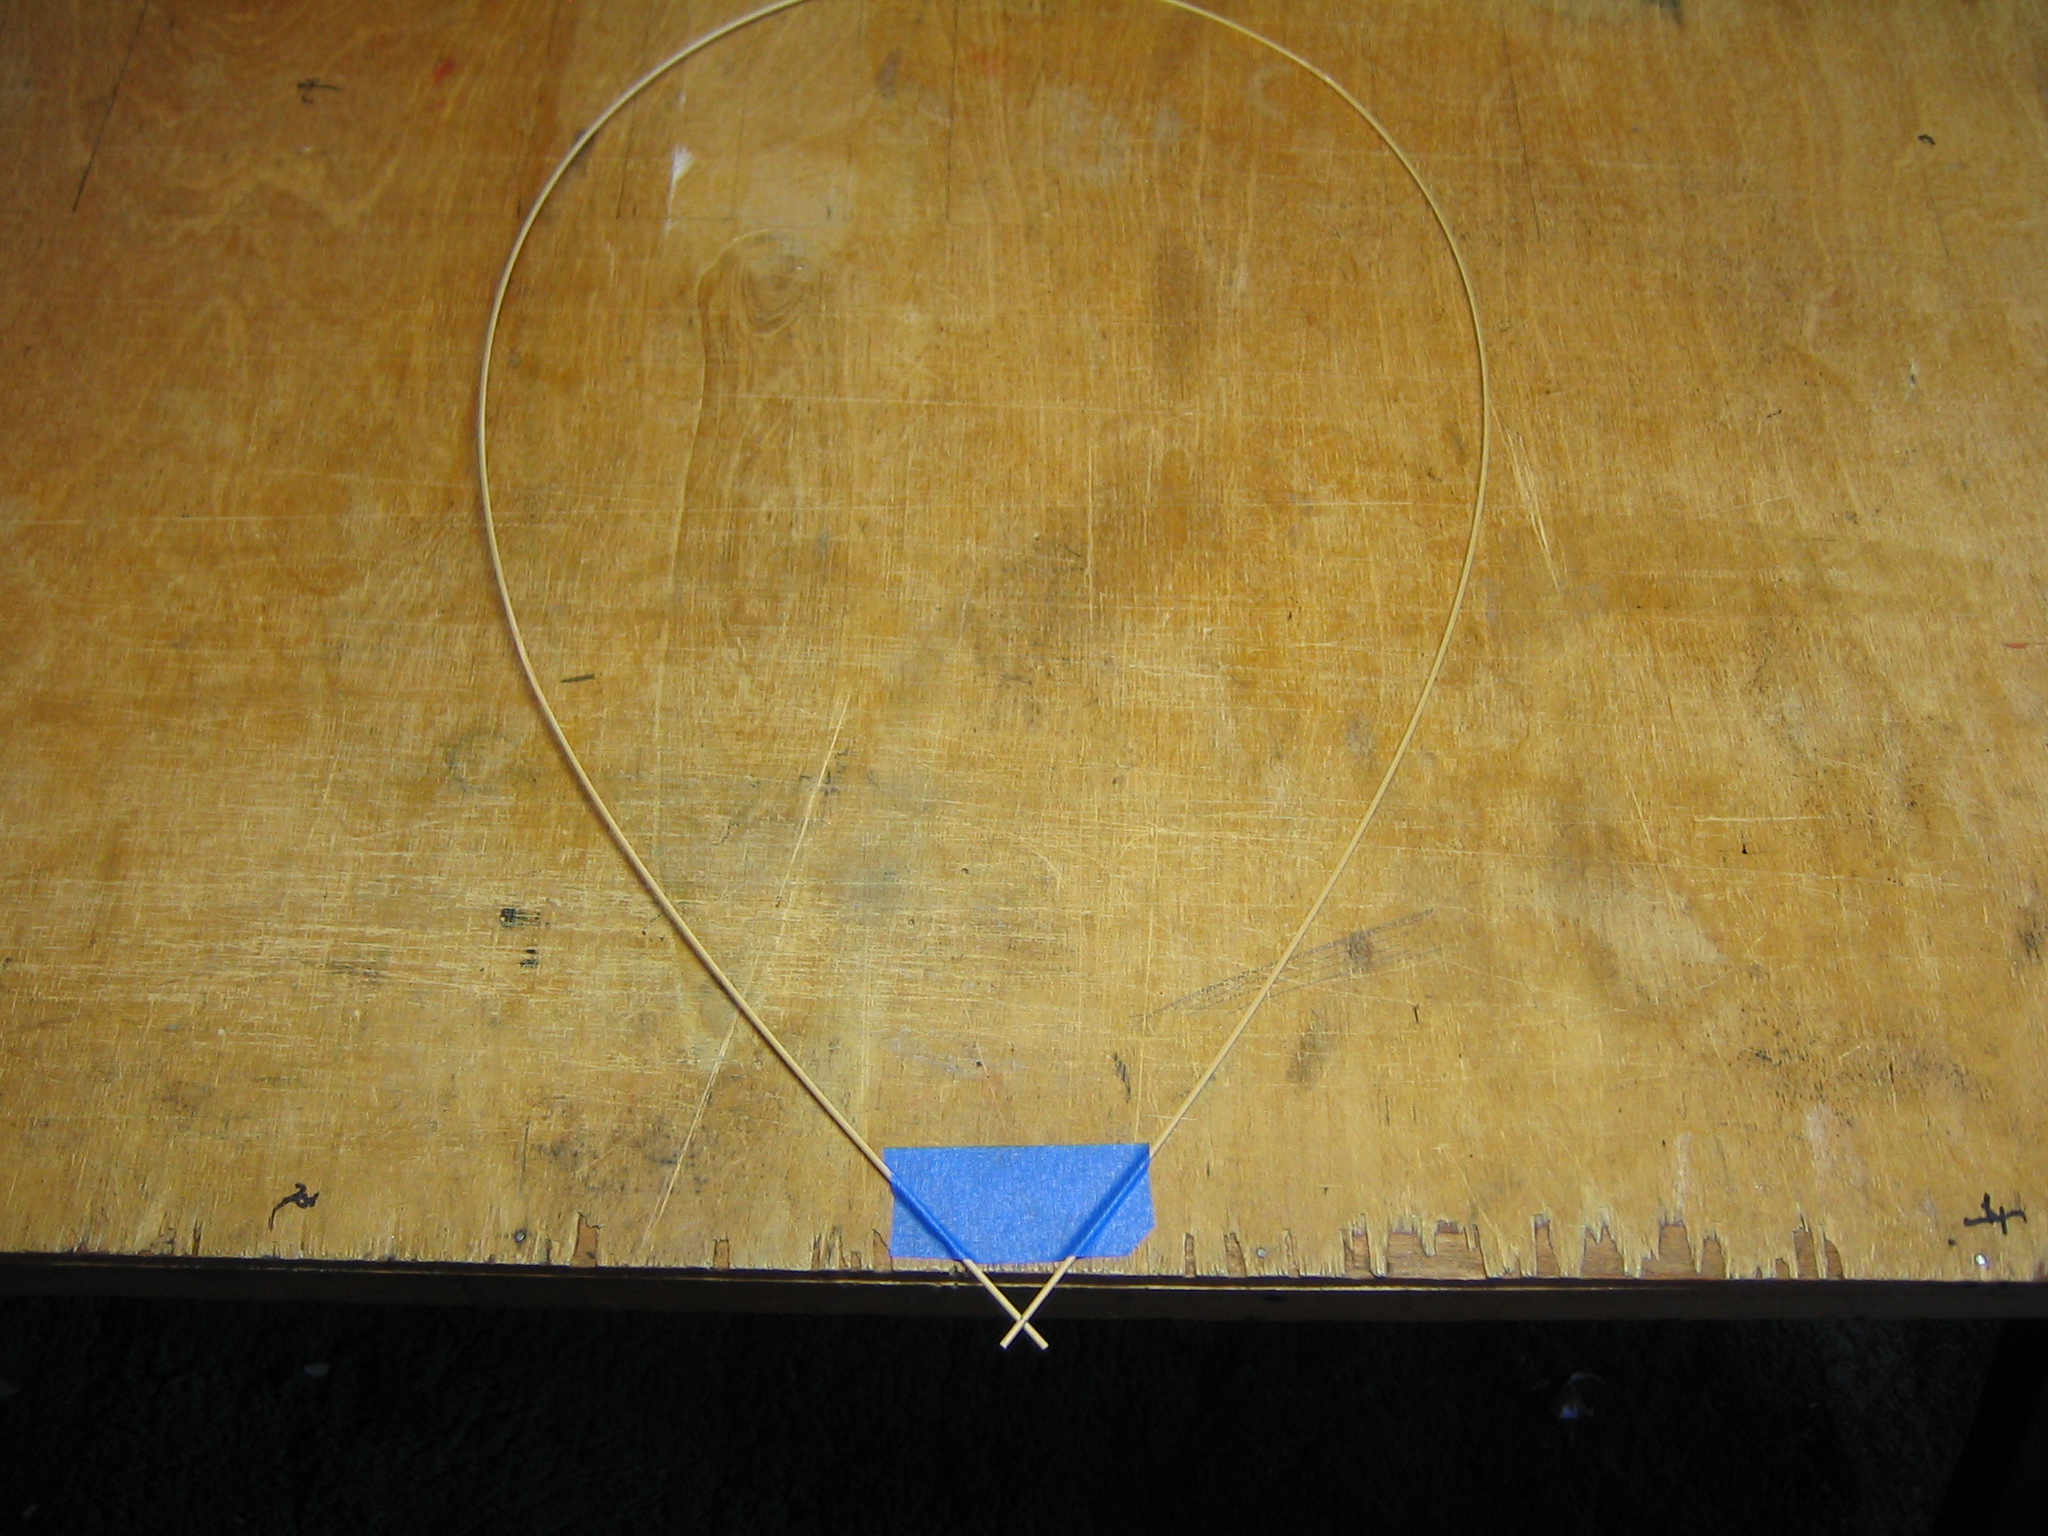
Bend the 41 3/4″ rod into a loop, overlap the ends and tape it to the table with the ends overhanging the edge and the pencil marks coinciding. If you leave one corner of the tape slightly loose, it will be easier to peel the tape up later.
Put glue between and around the rods where they overlap.
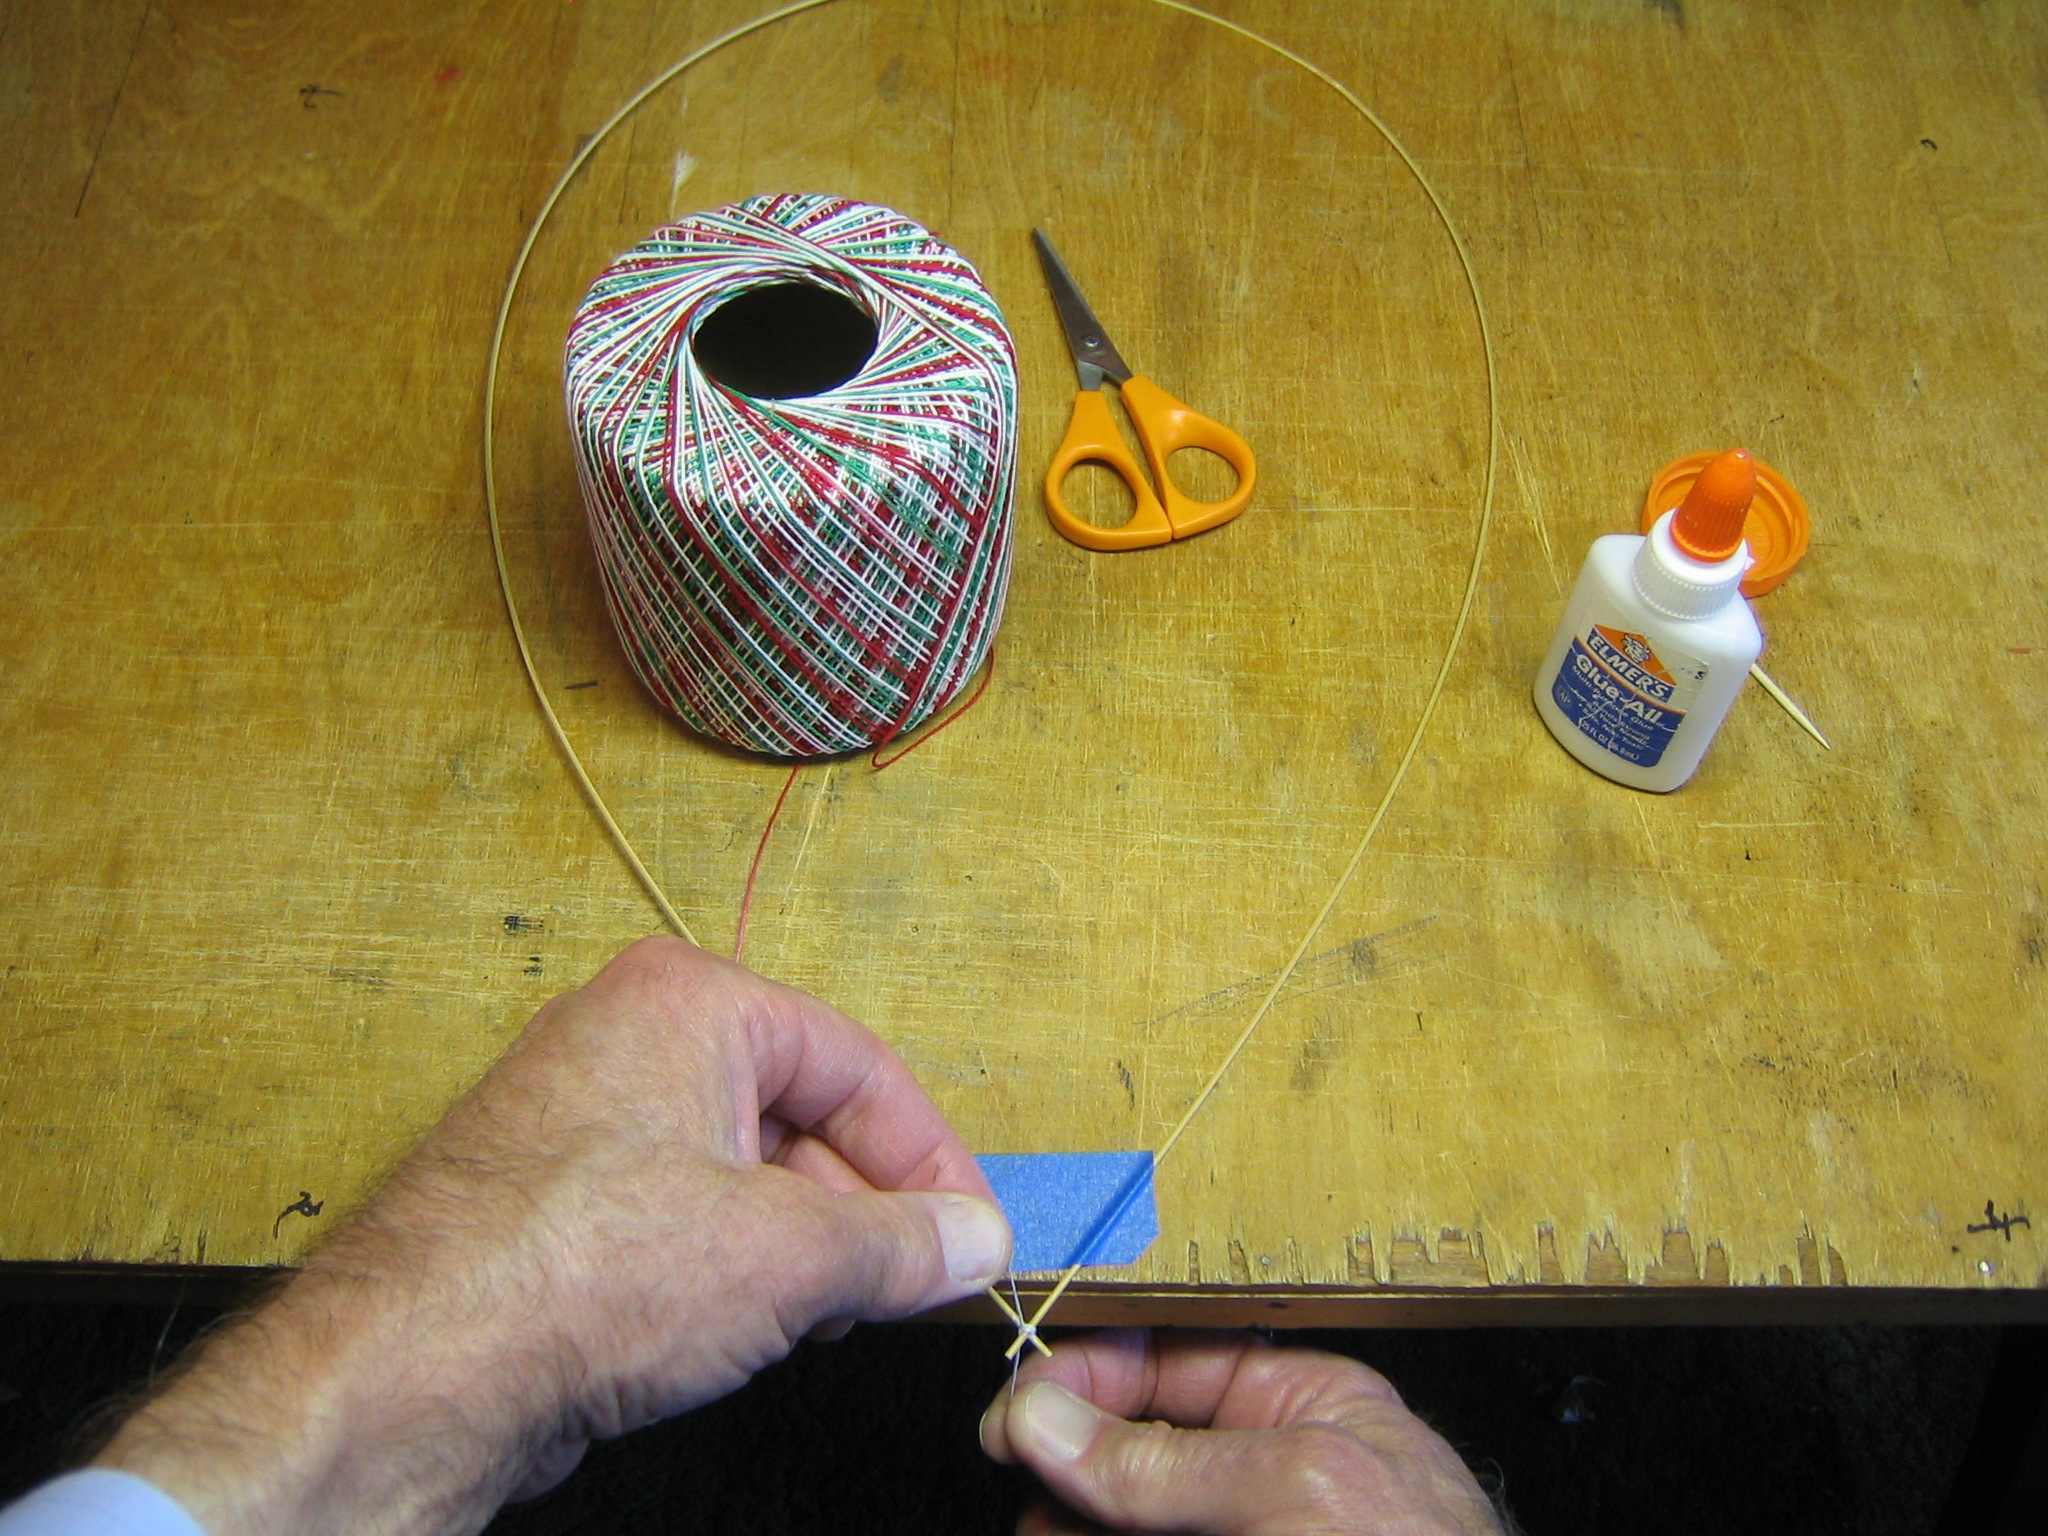
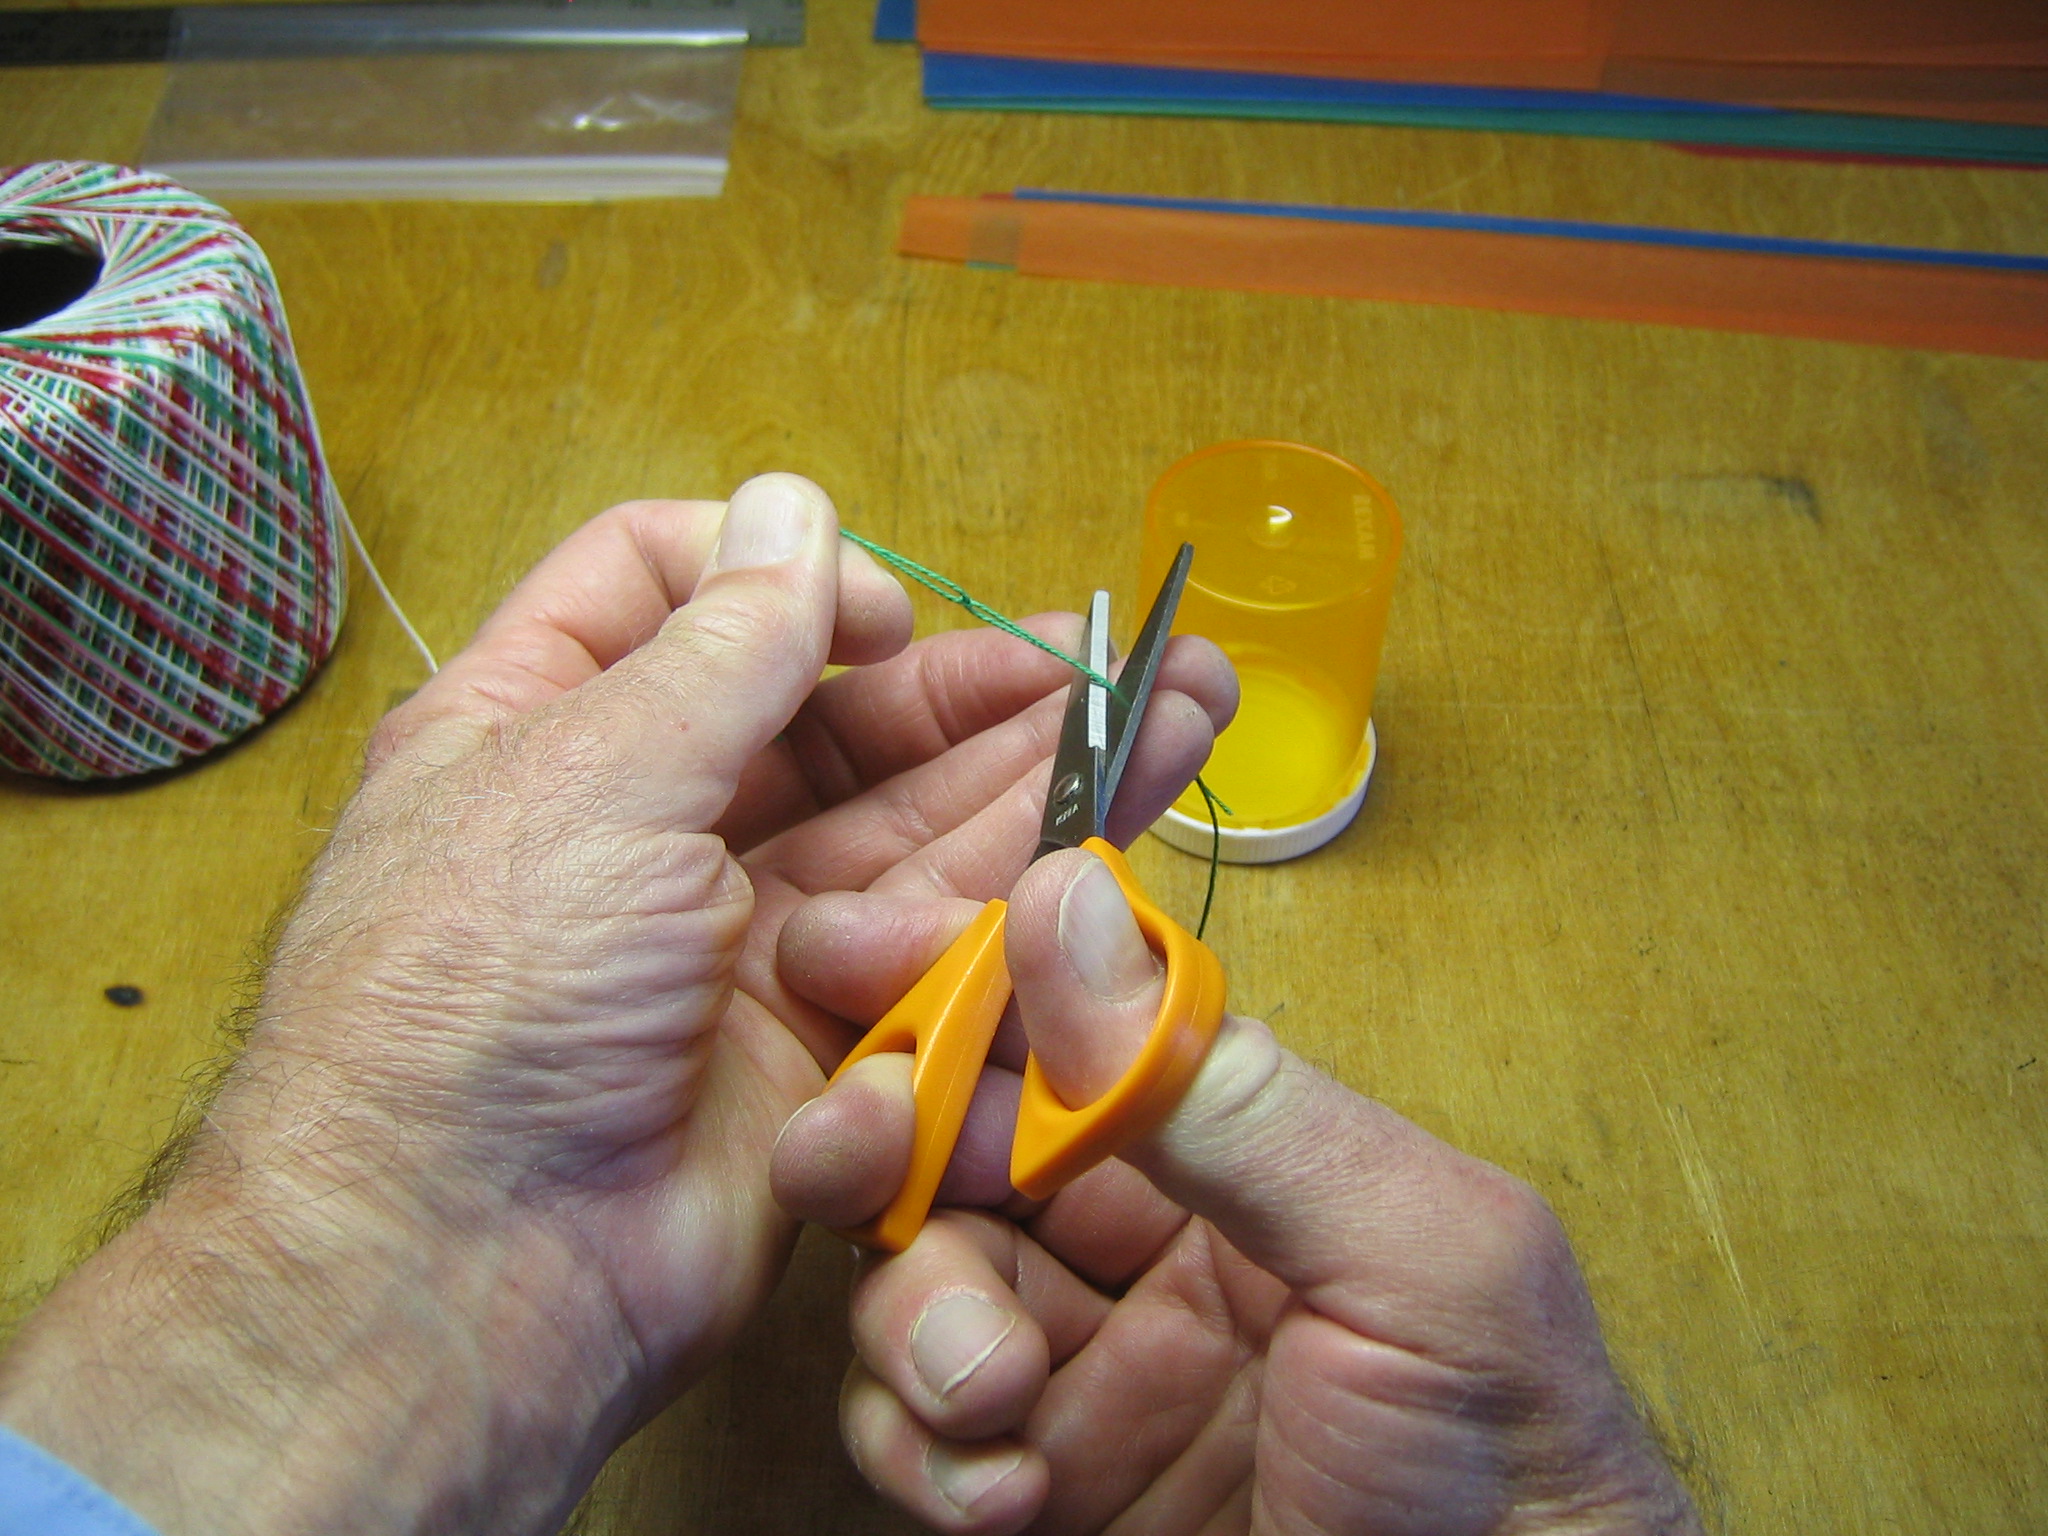
Tie string around the sticks. I used a clove hitch so there will be two pieces of string around the sticks, finishing with the second part of a square knot. The string reinforces the joint in the event of a hard hit that might crack the glue. Cut the excess string off, leaving about 1/8″ ends.
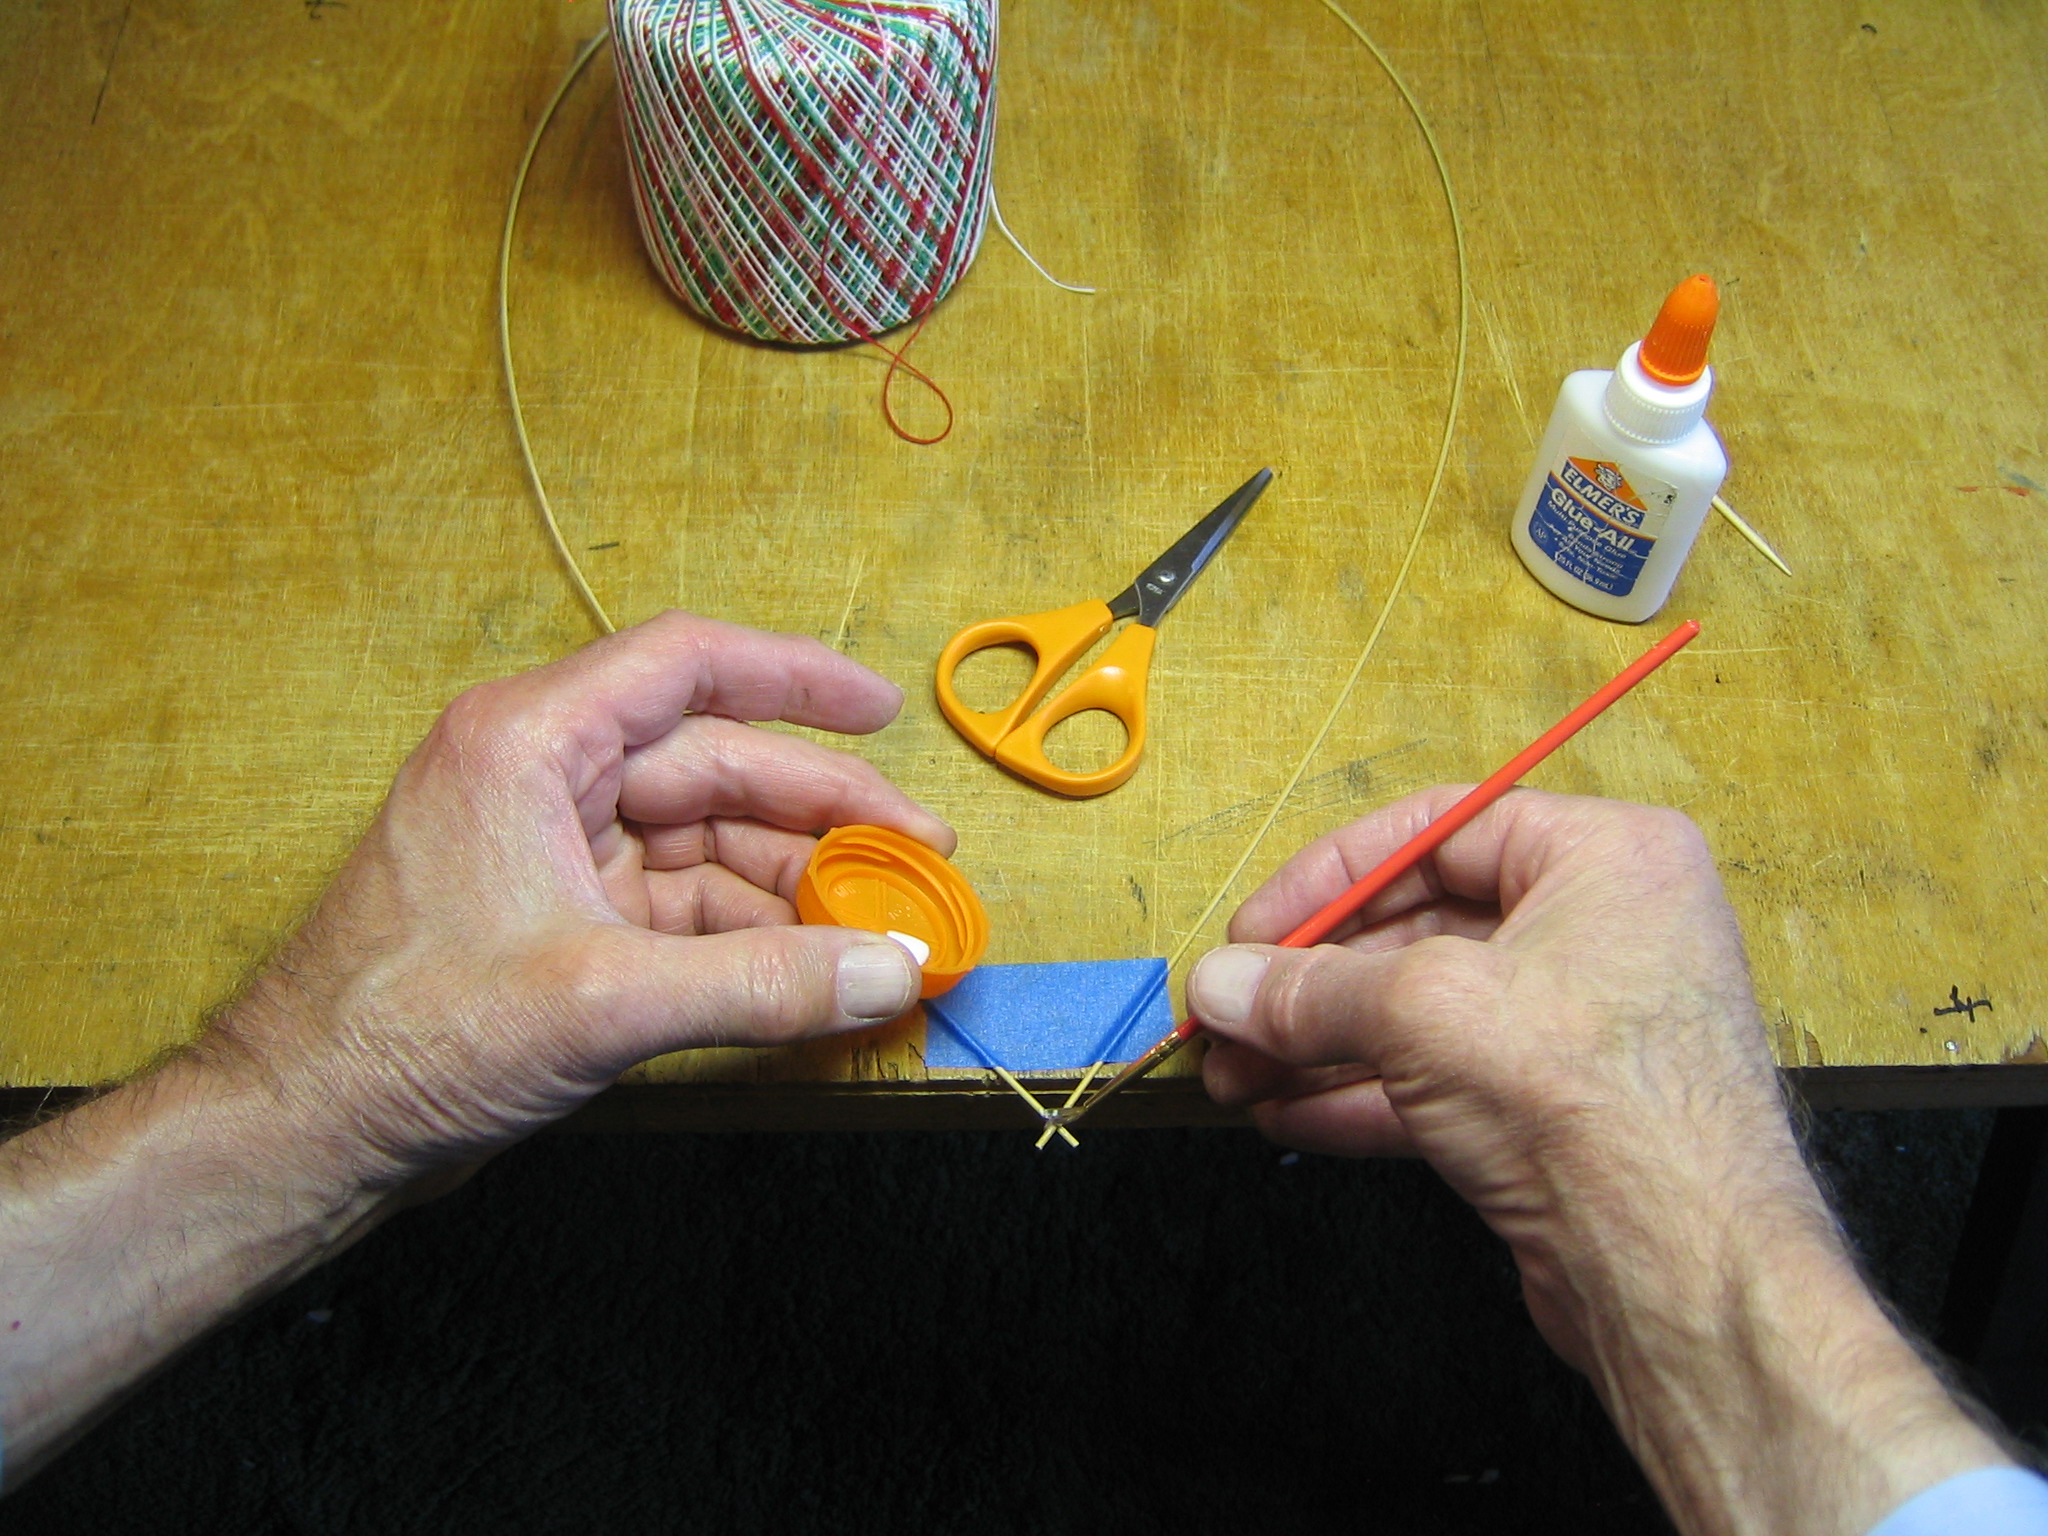
Paint the knot with glue to keep it from slipping. Peel up the tape and set the loop aside while the glue dries.
Do the same thing with the 10″ and 20″ pieces, joining them at a right angle.
Tape one end of the 21 1/2″ piece to the other end of the 20″ piece then glue and tie the other end of the 21 1/2″ piece to the other end of the 10″ piece.
Now glue and tie the 21 1/2″ piece to the 20″ piece.
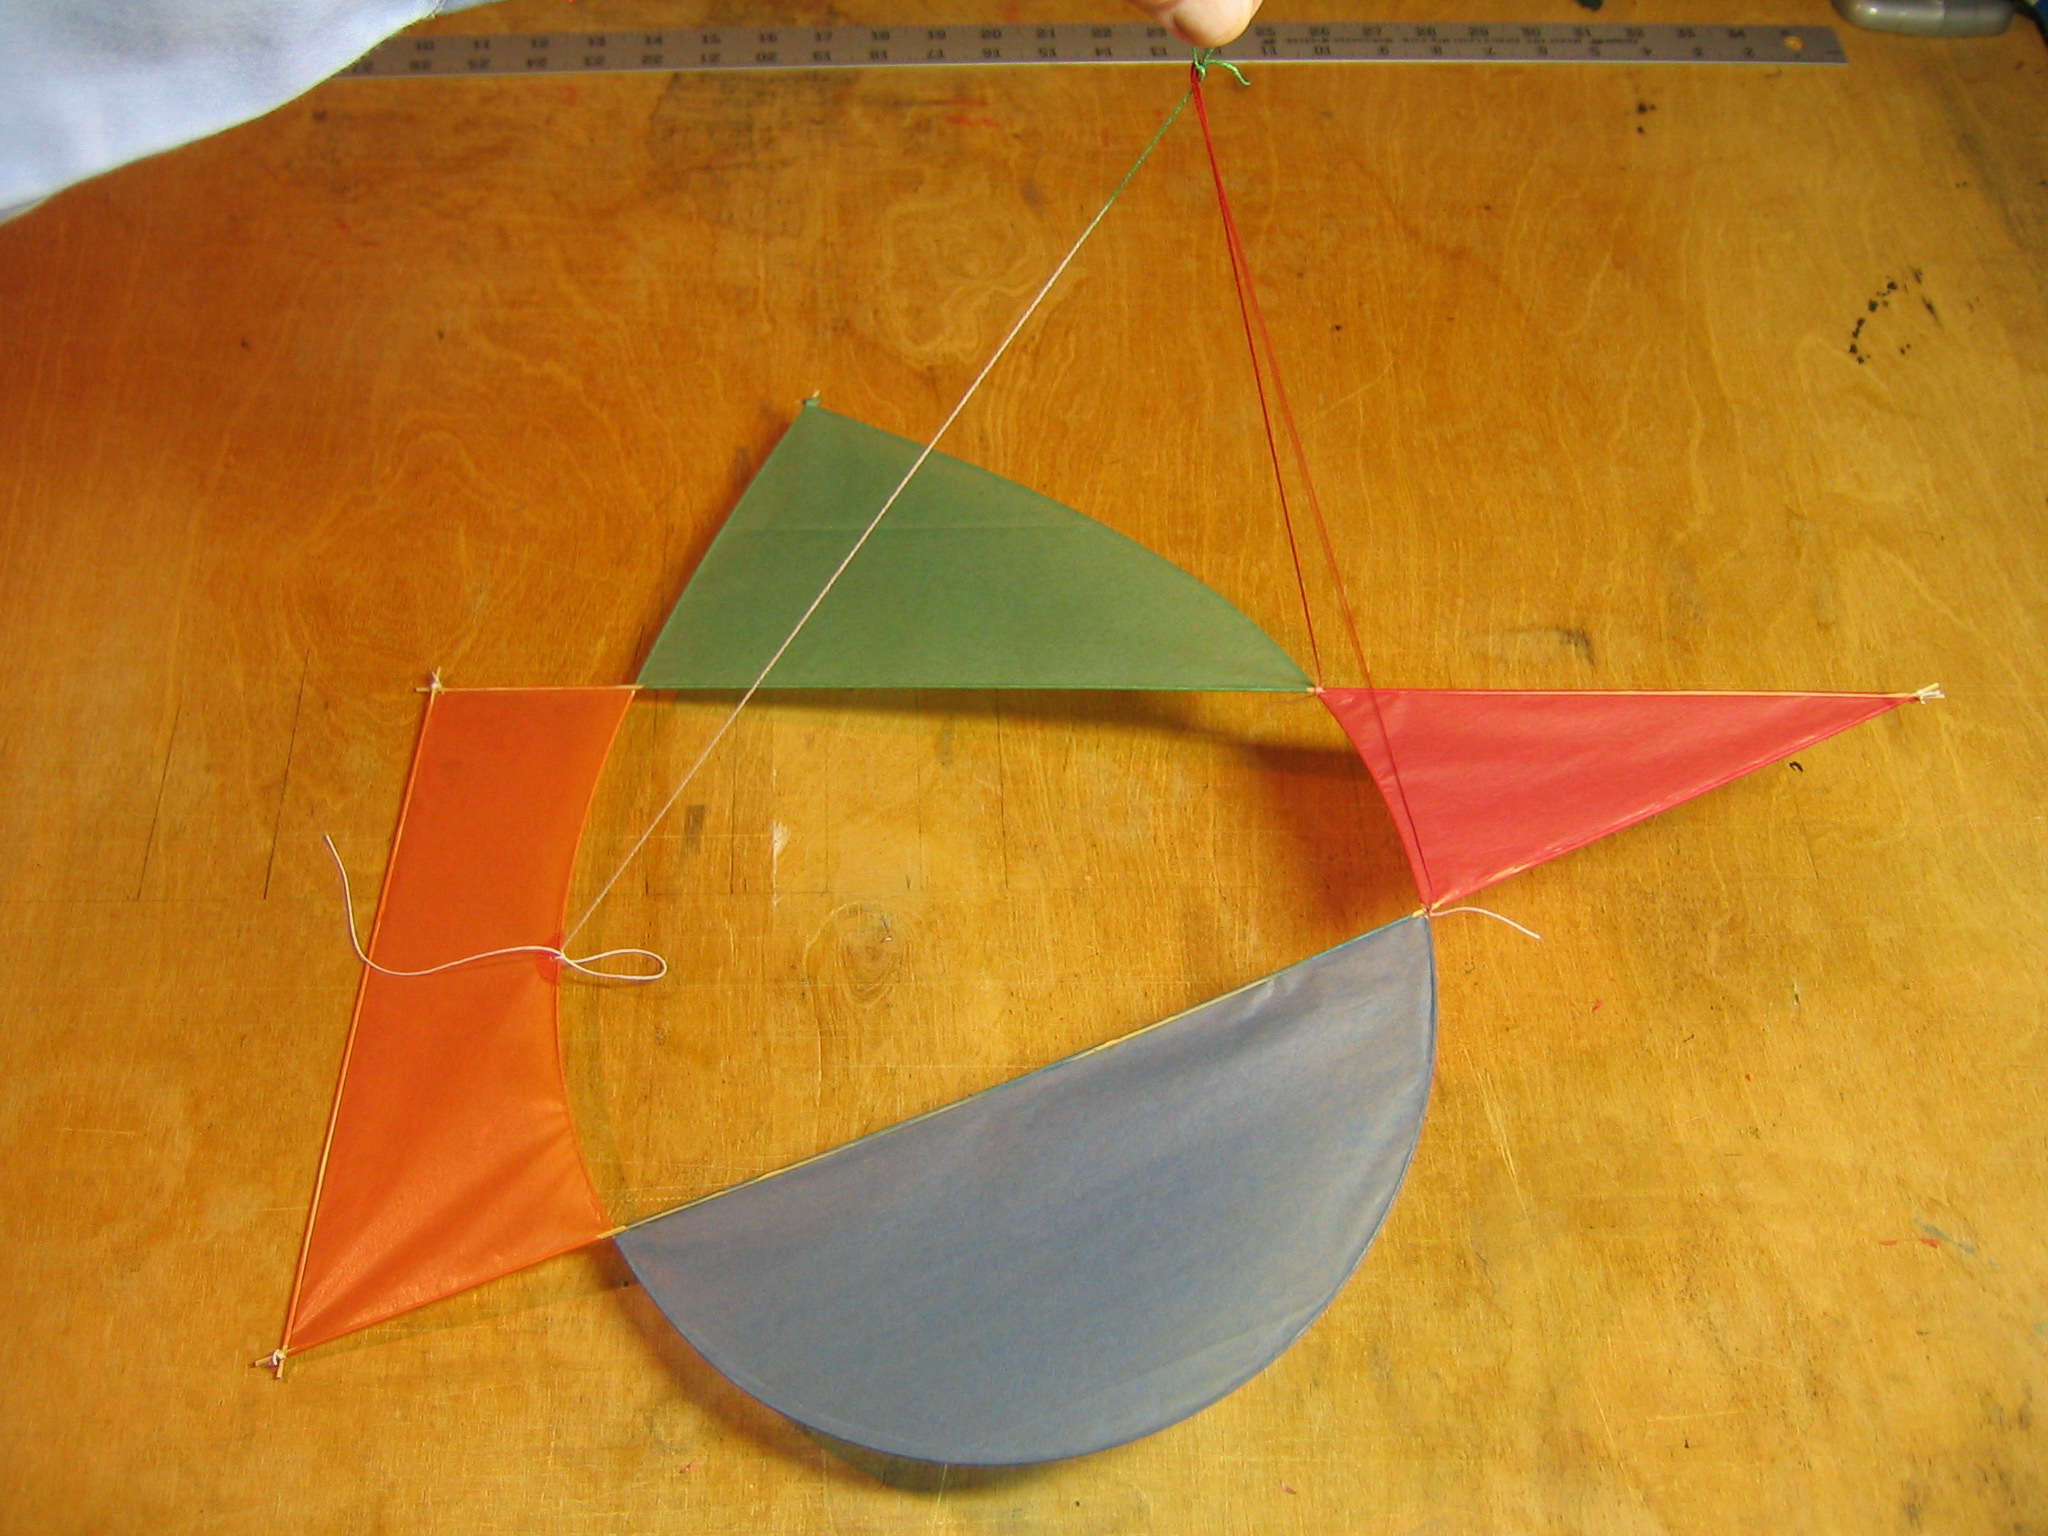
This completes the two subassemblies of the framework. Now we must mark and join the two.
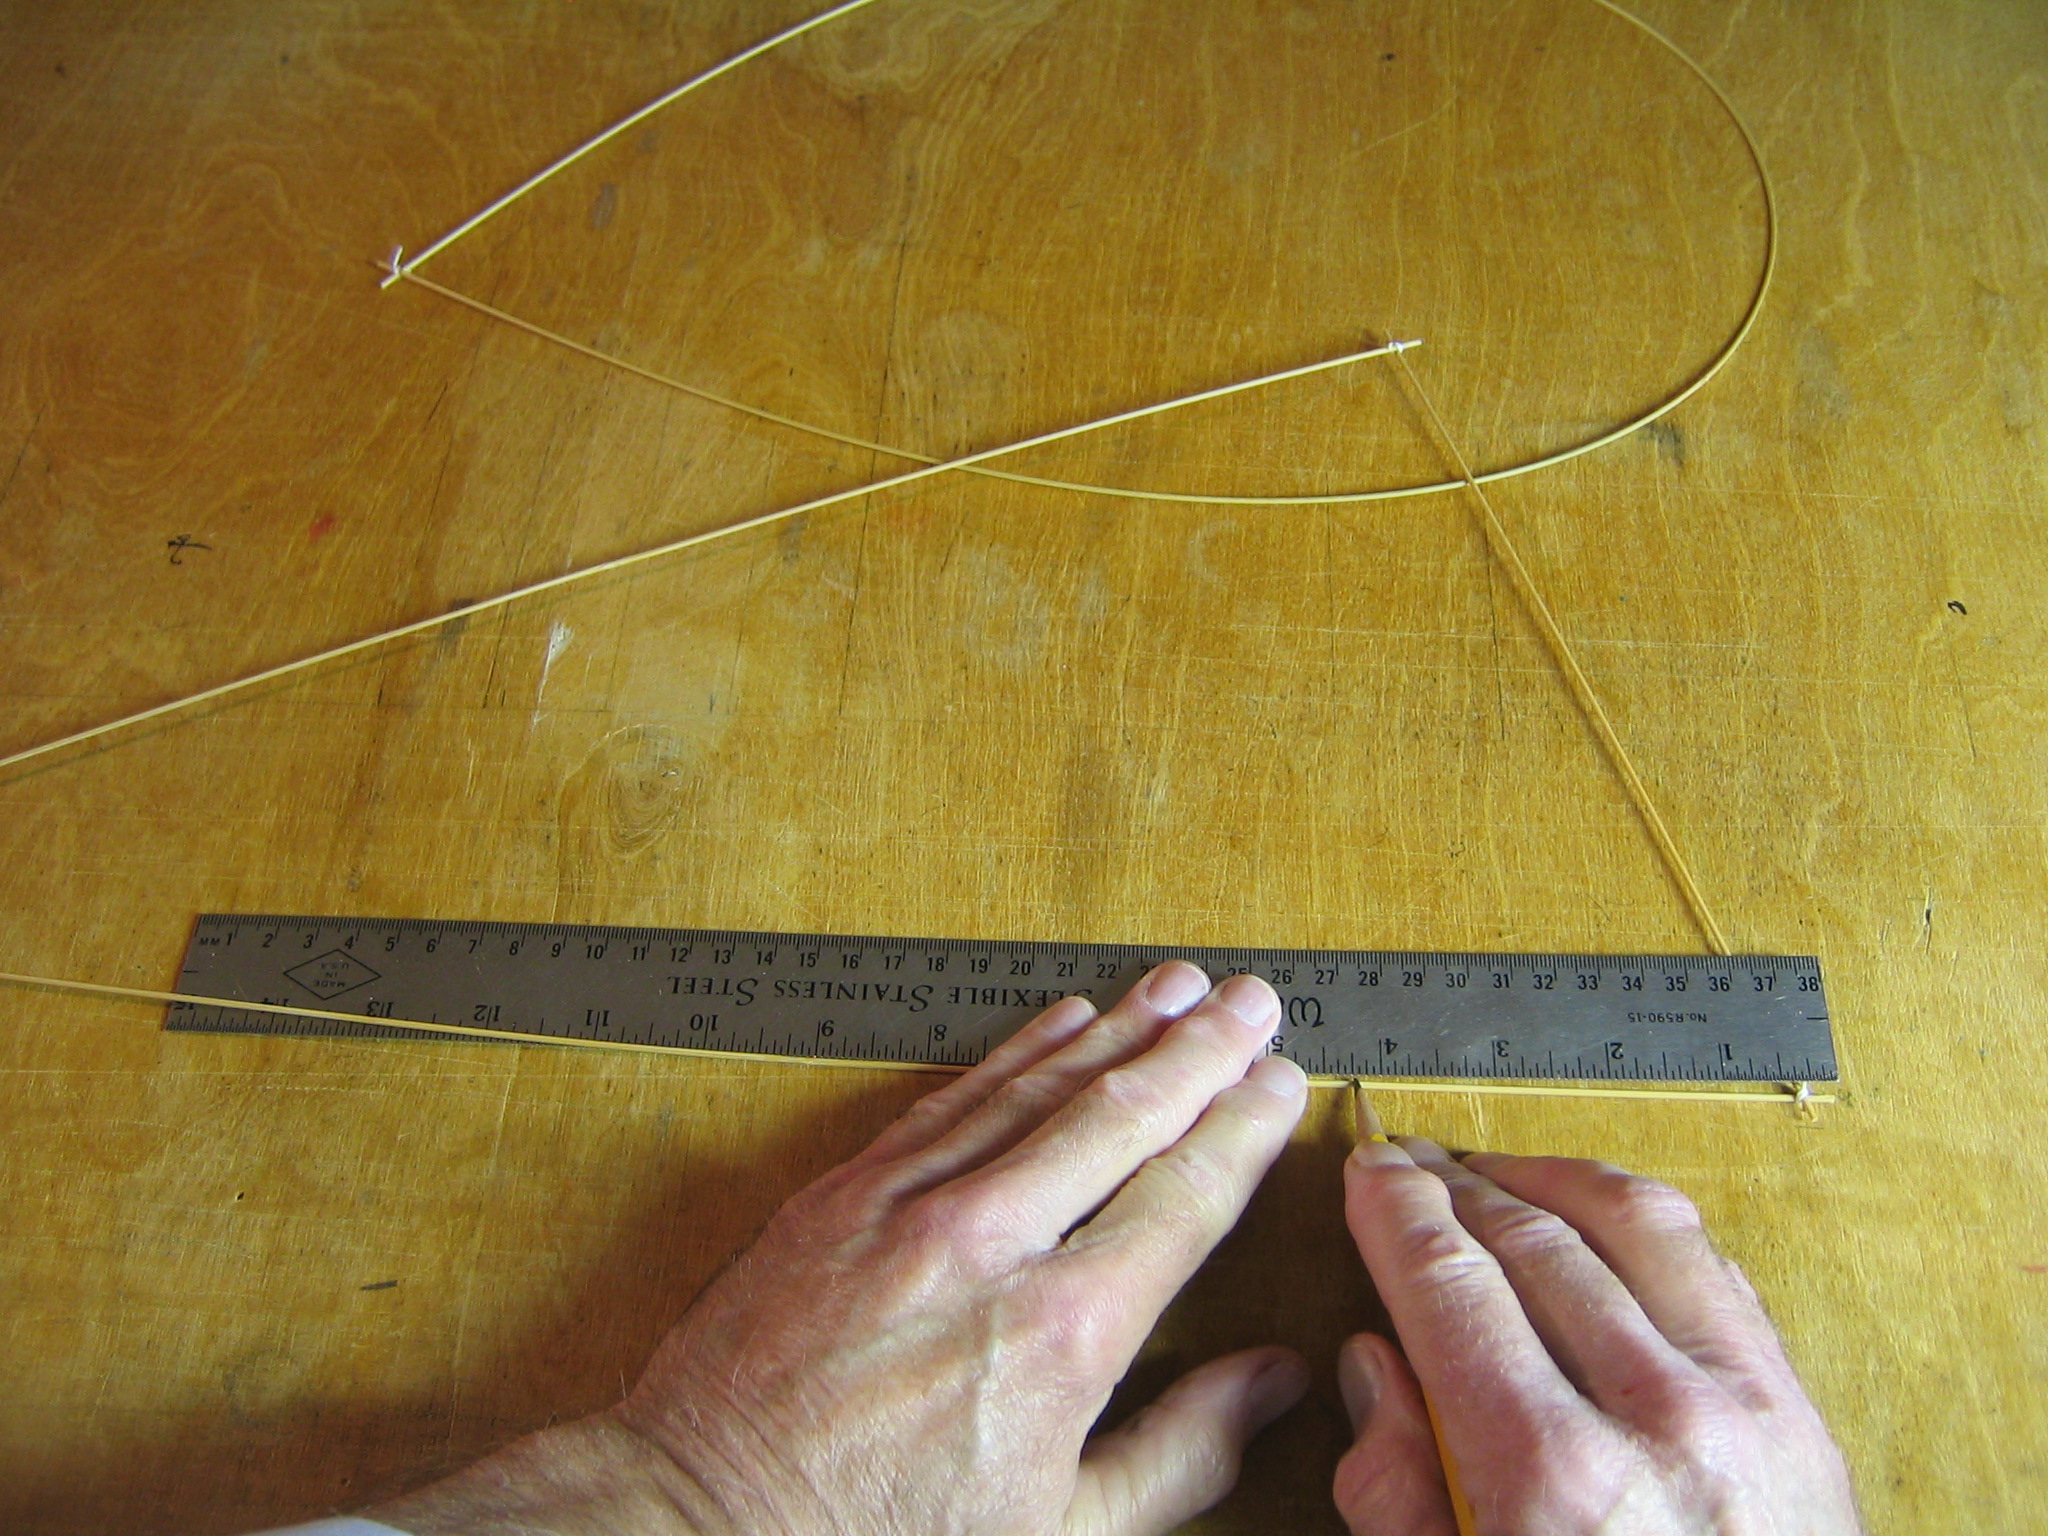
Mark the 21 1/2″ hypotenuse 4 1/4″ from the end where it joins the 10″ short side.
Mark the 21 1/2″ hypotenuse 7 1/16″ from the end where it joins the longer 20″ side.
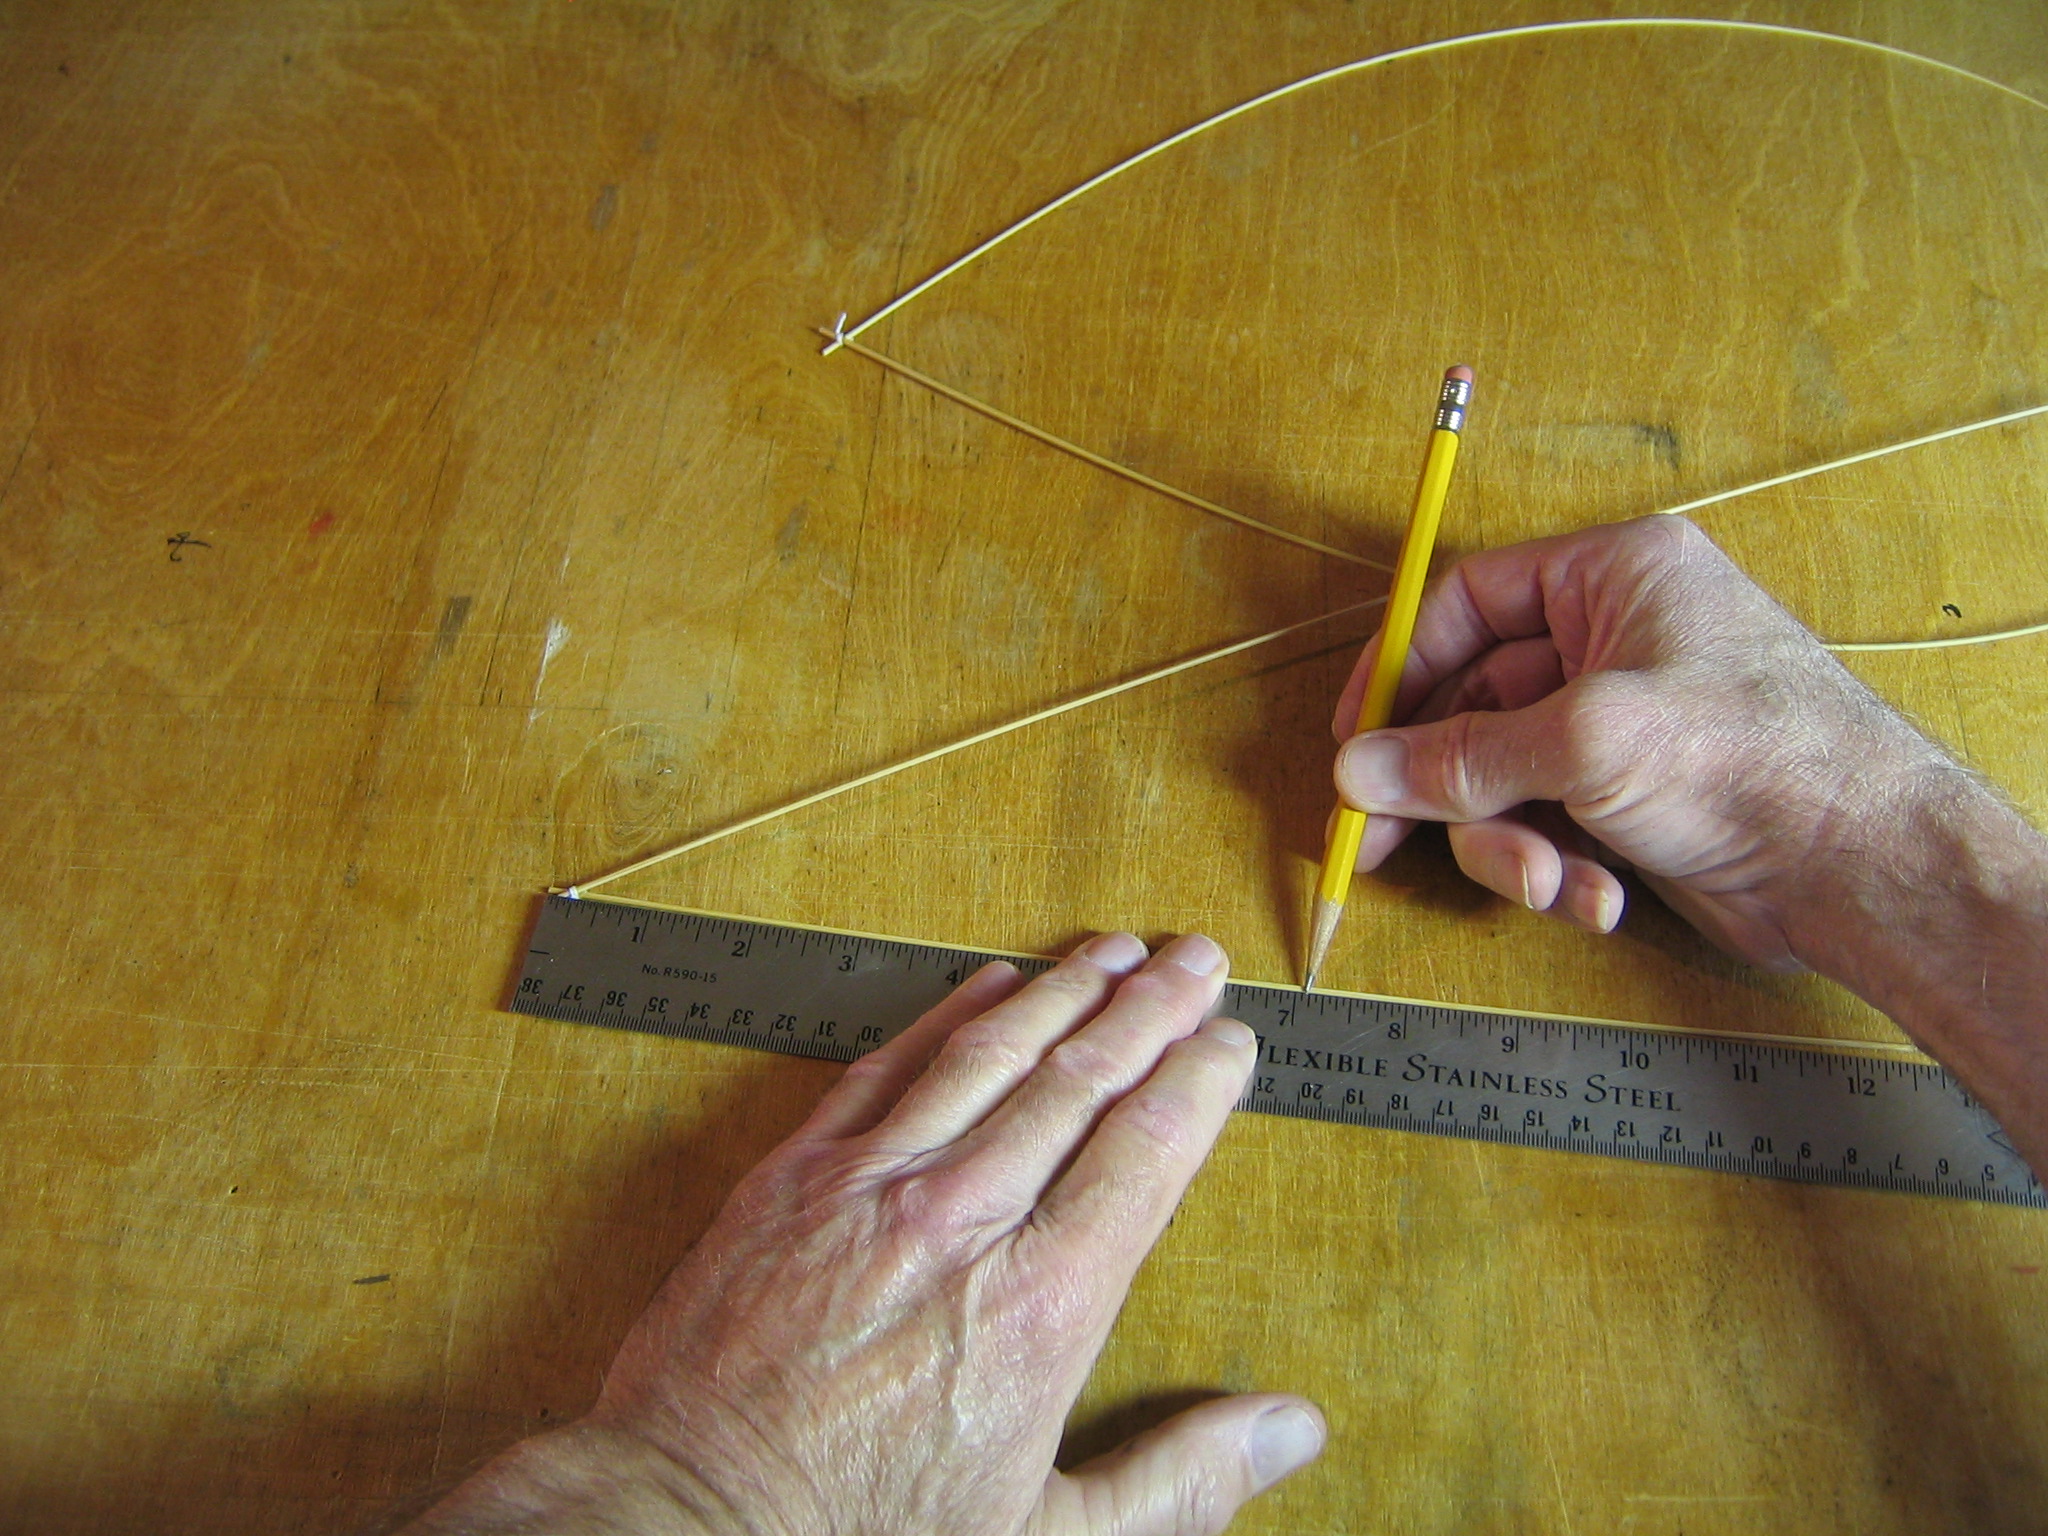
Mark the 20″ long side 7 11/16″ from the end that joins the 21 1/2″ hypotenuse.
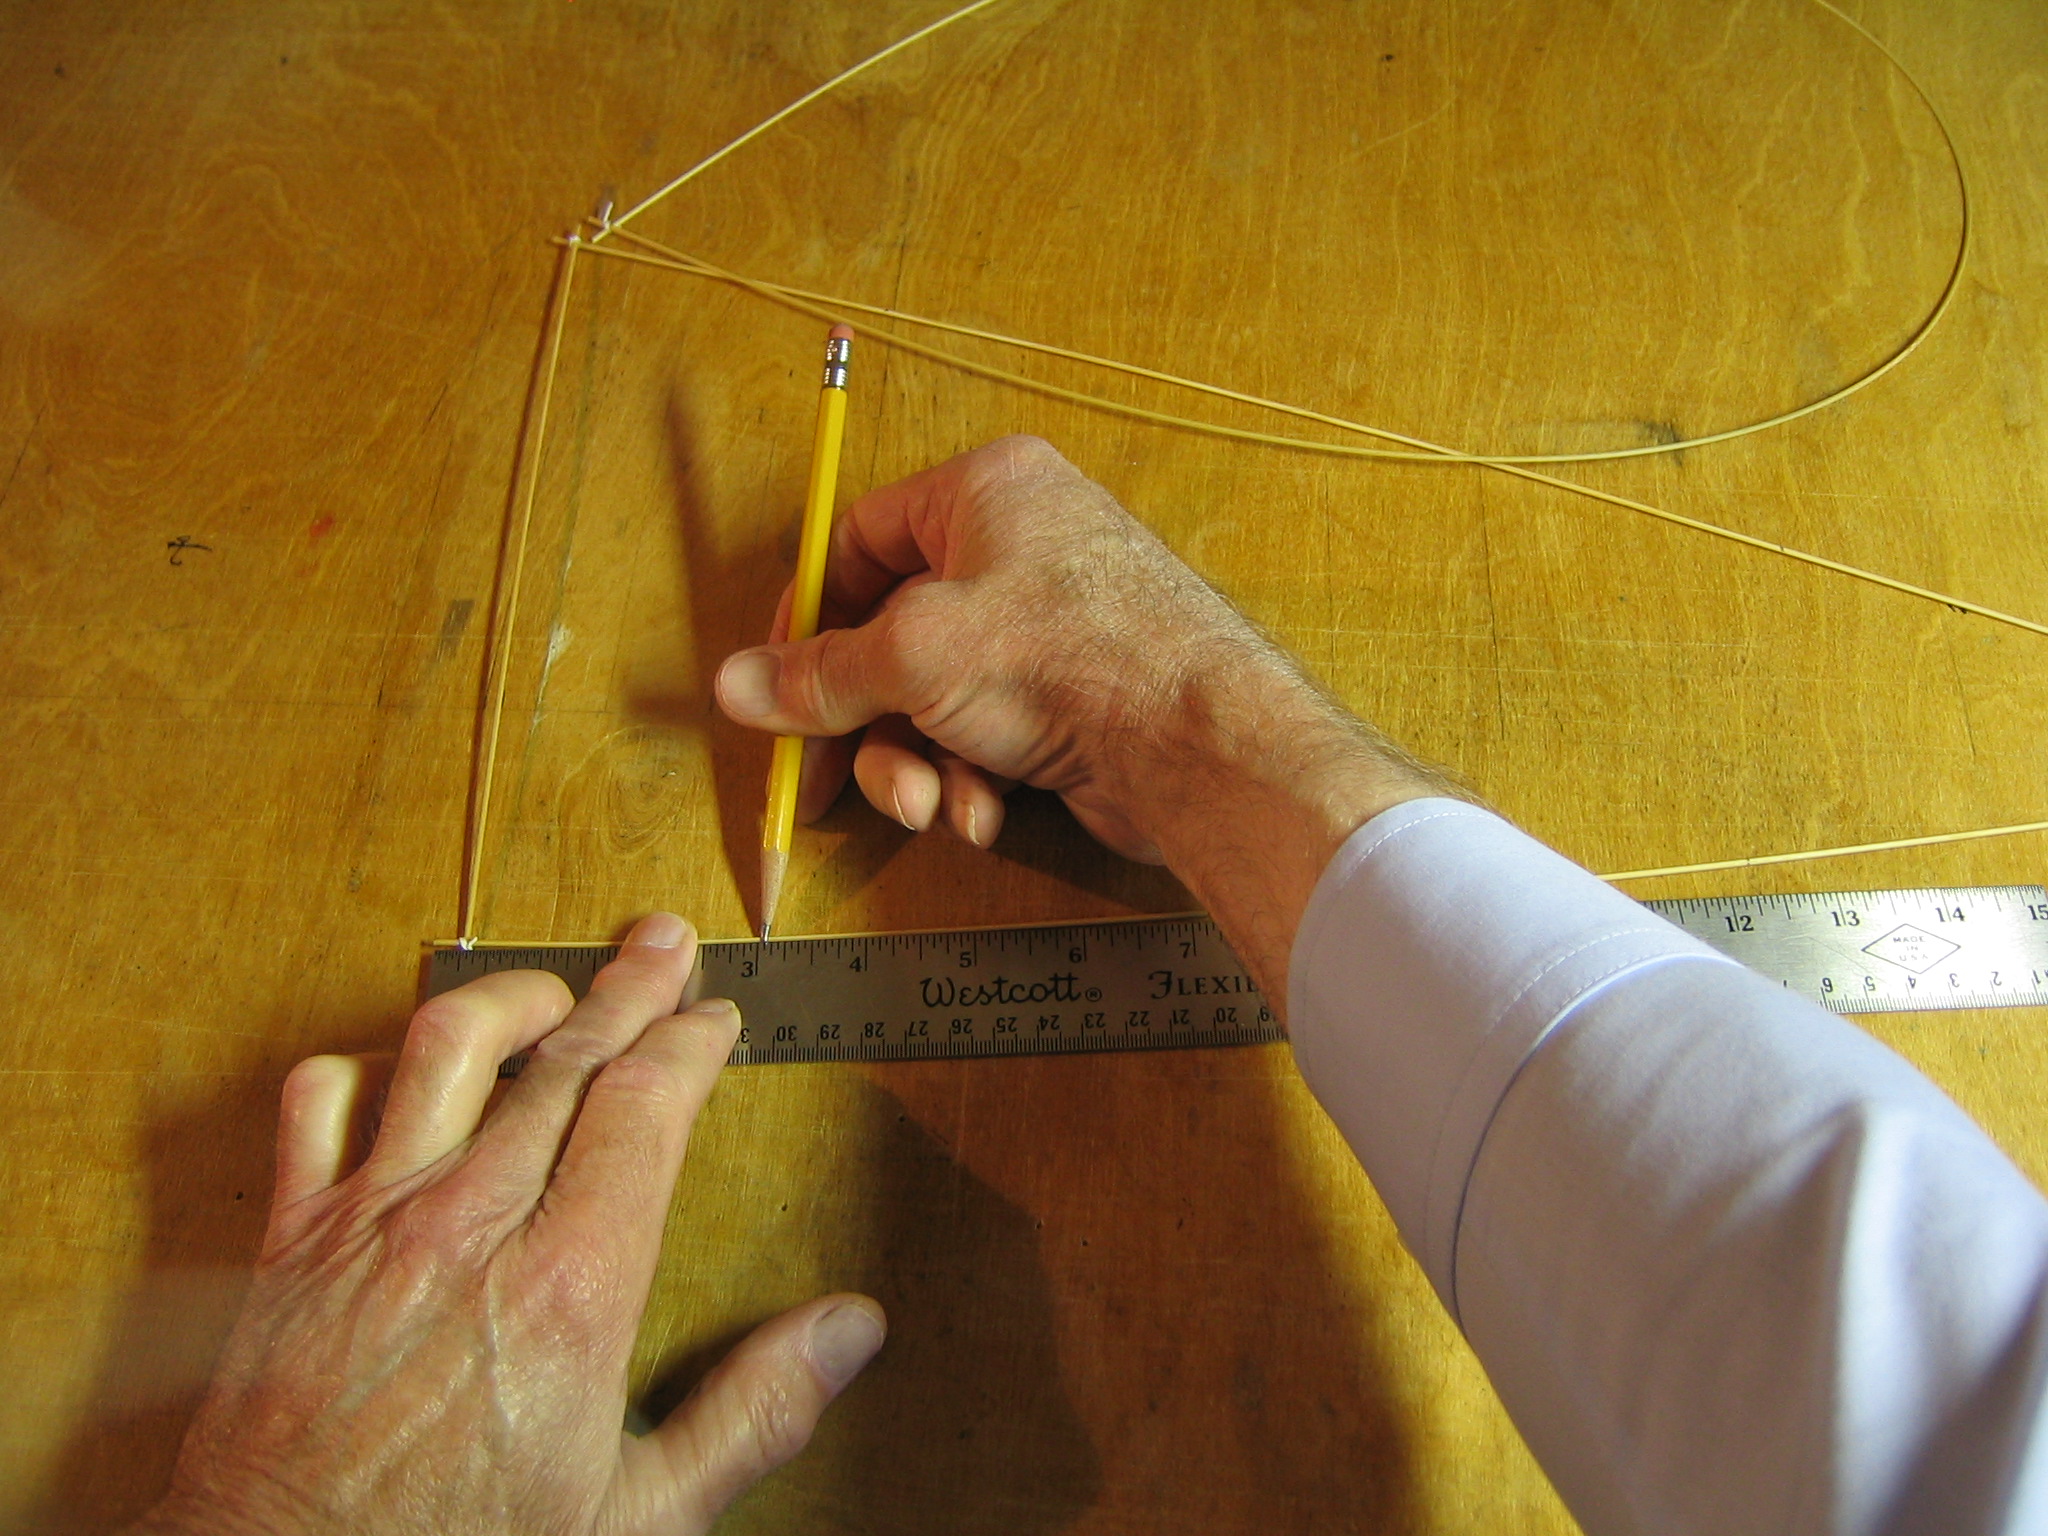
Mark the 20″ long side 3 1/16″ from the end that joins the short 10″ side.
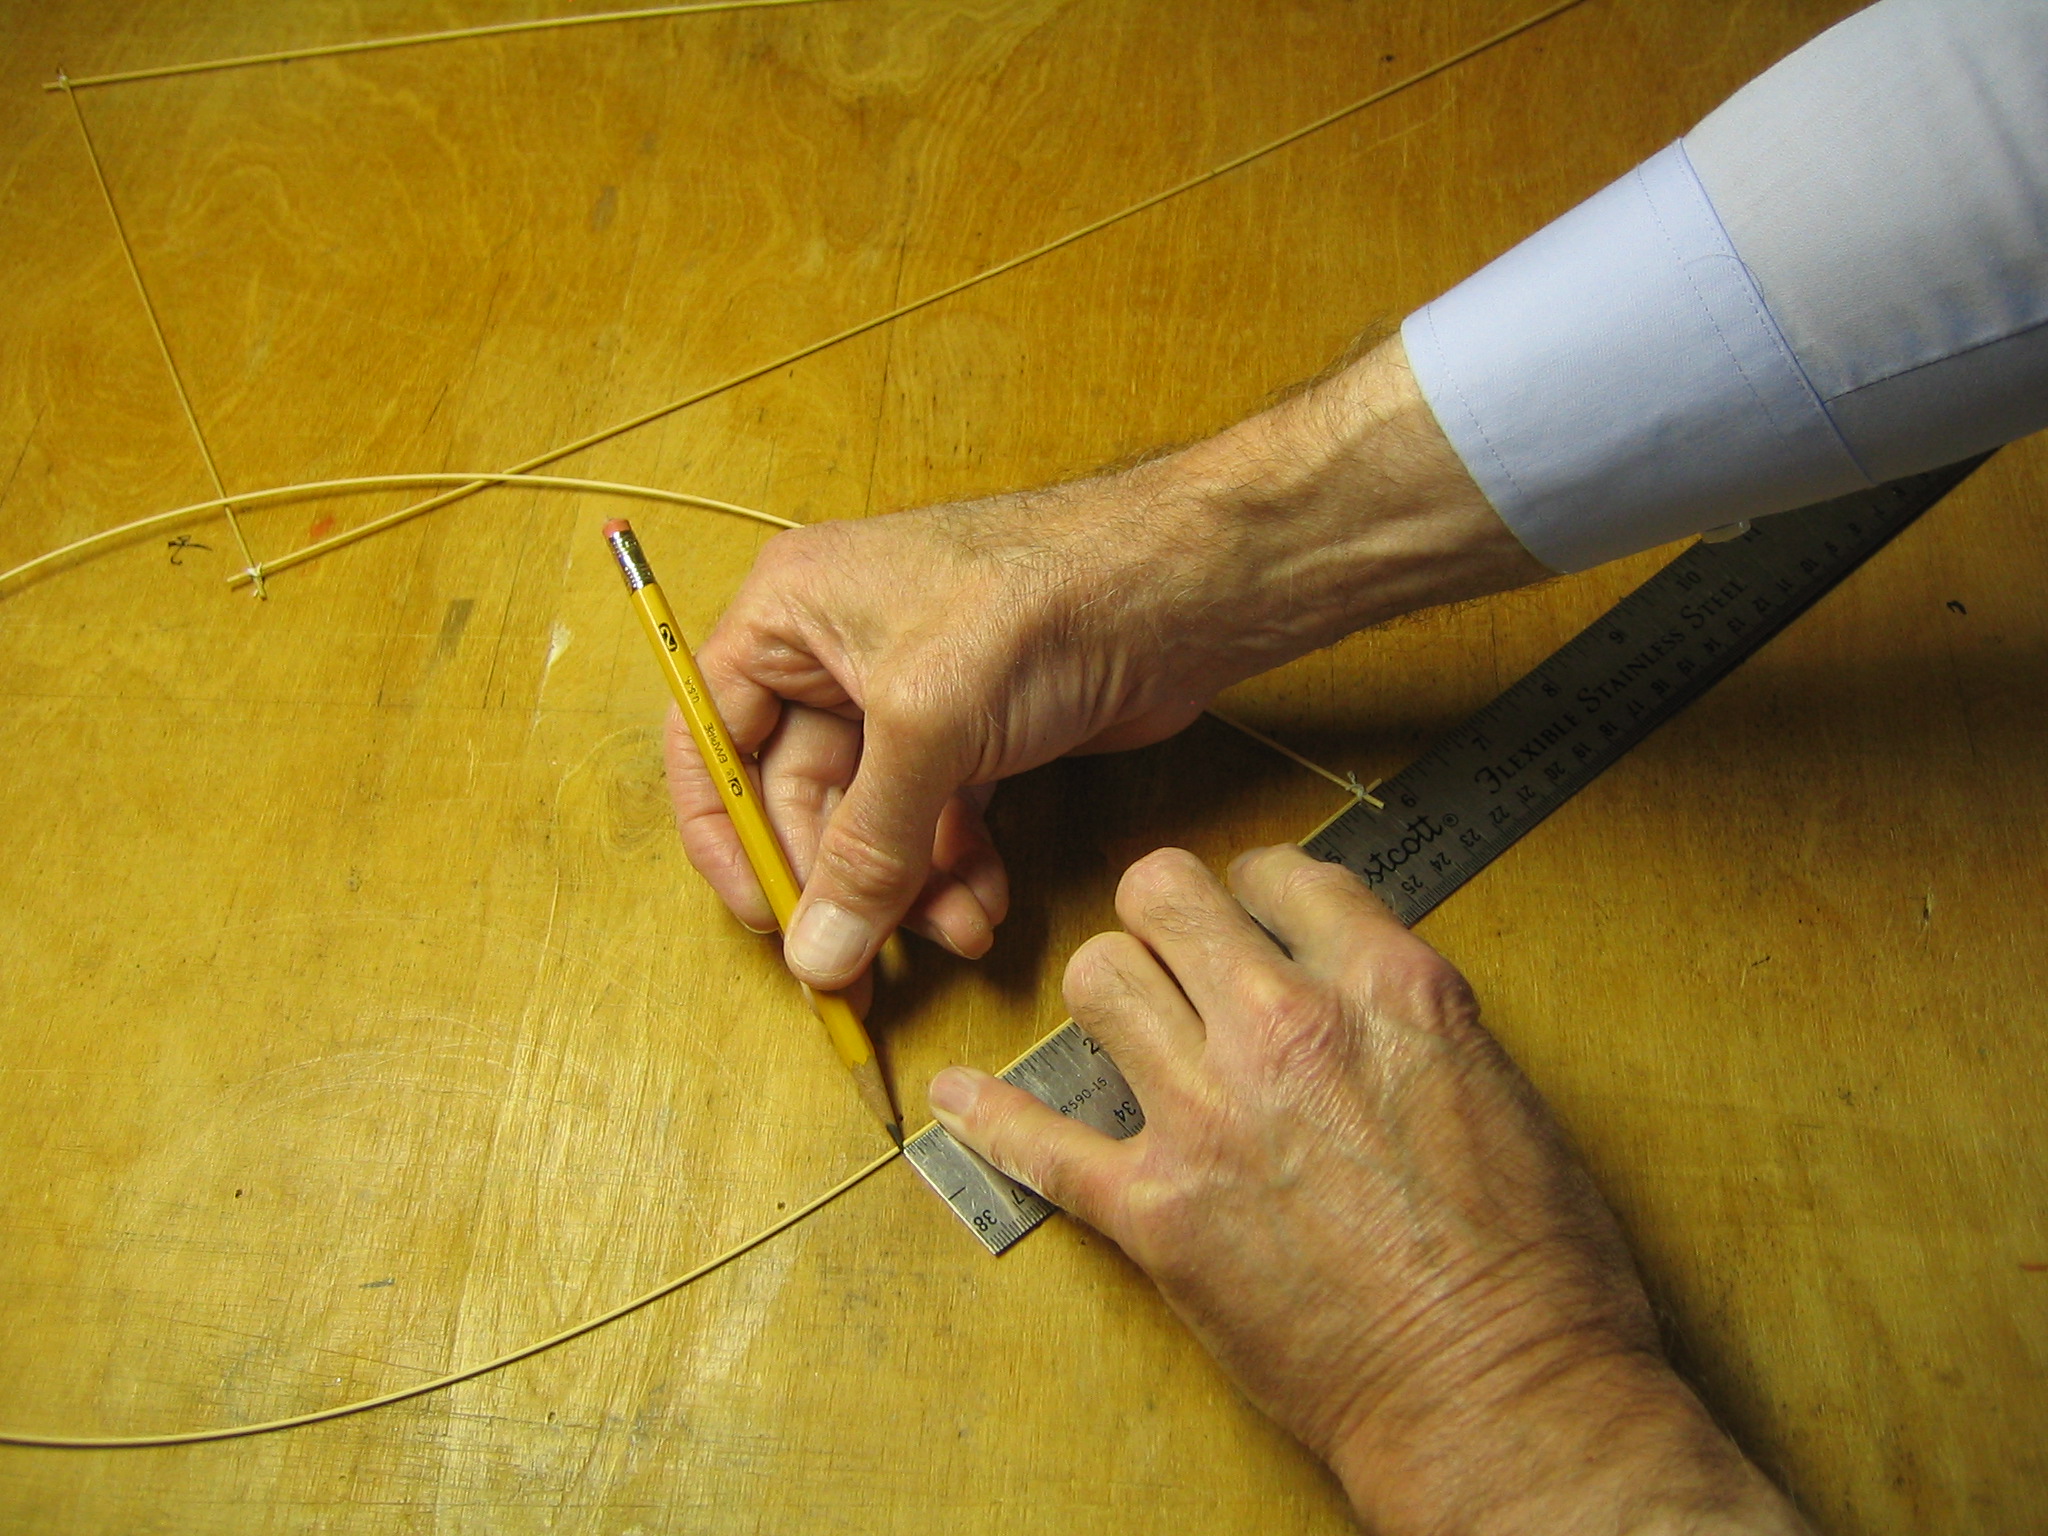
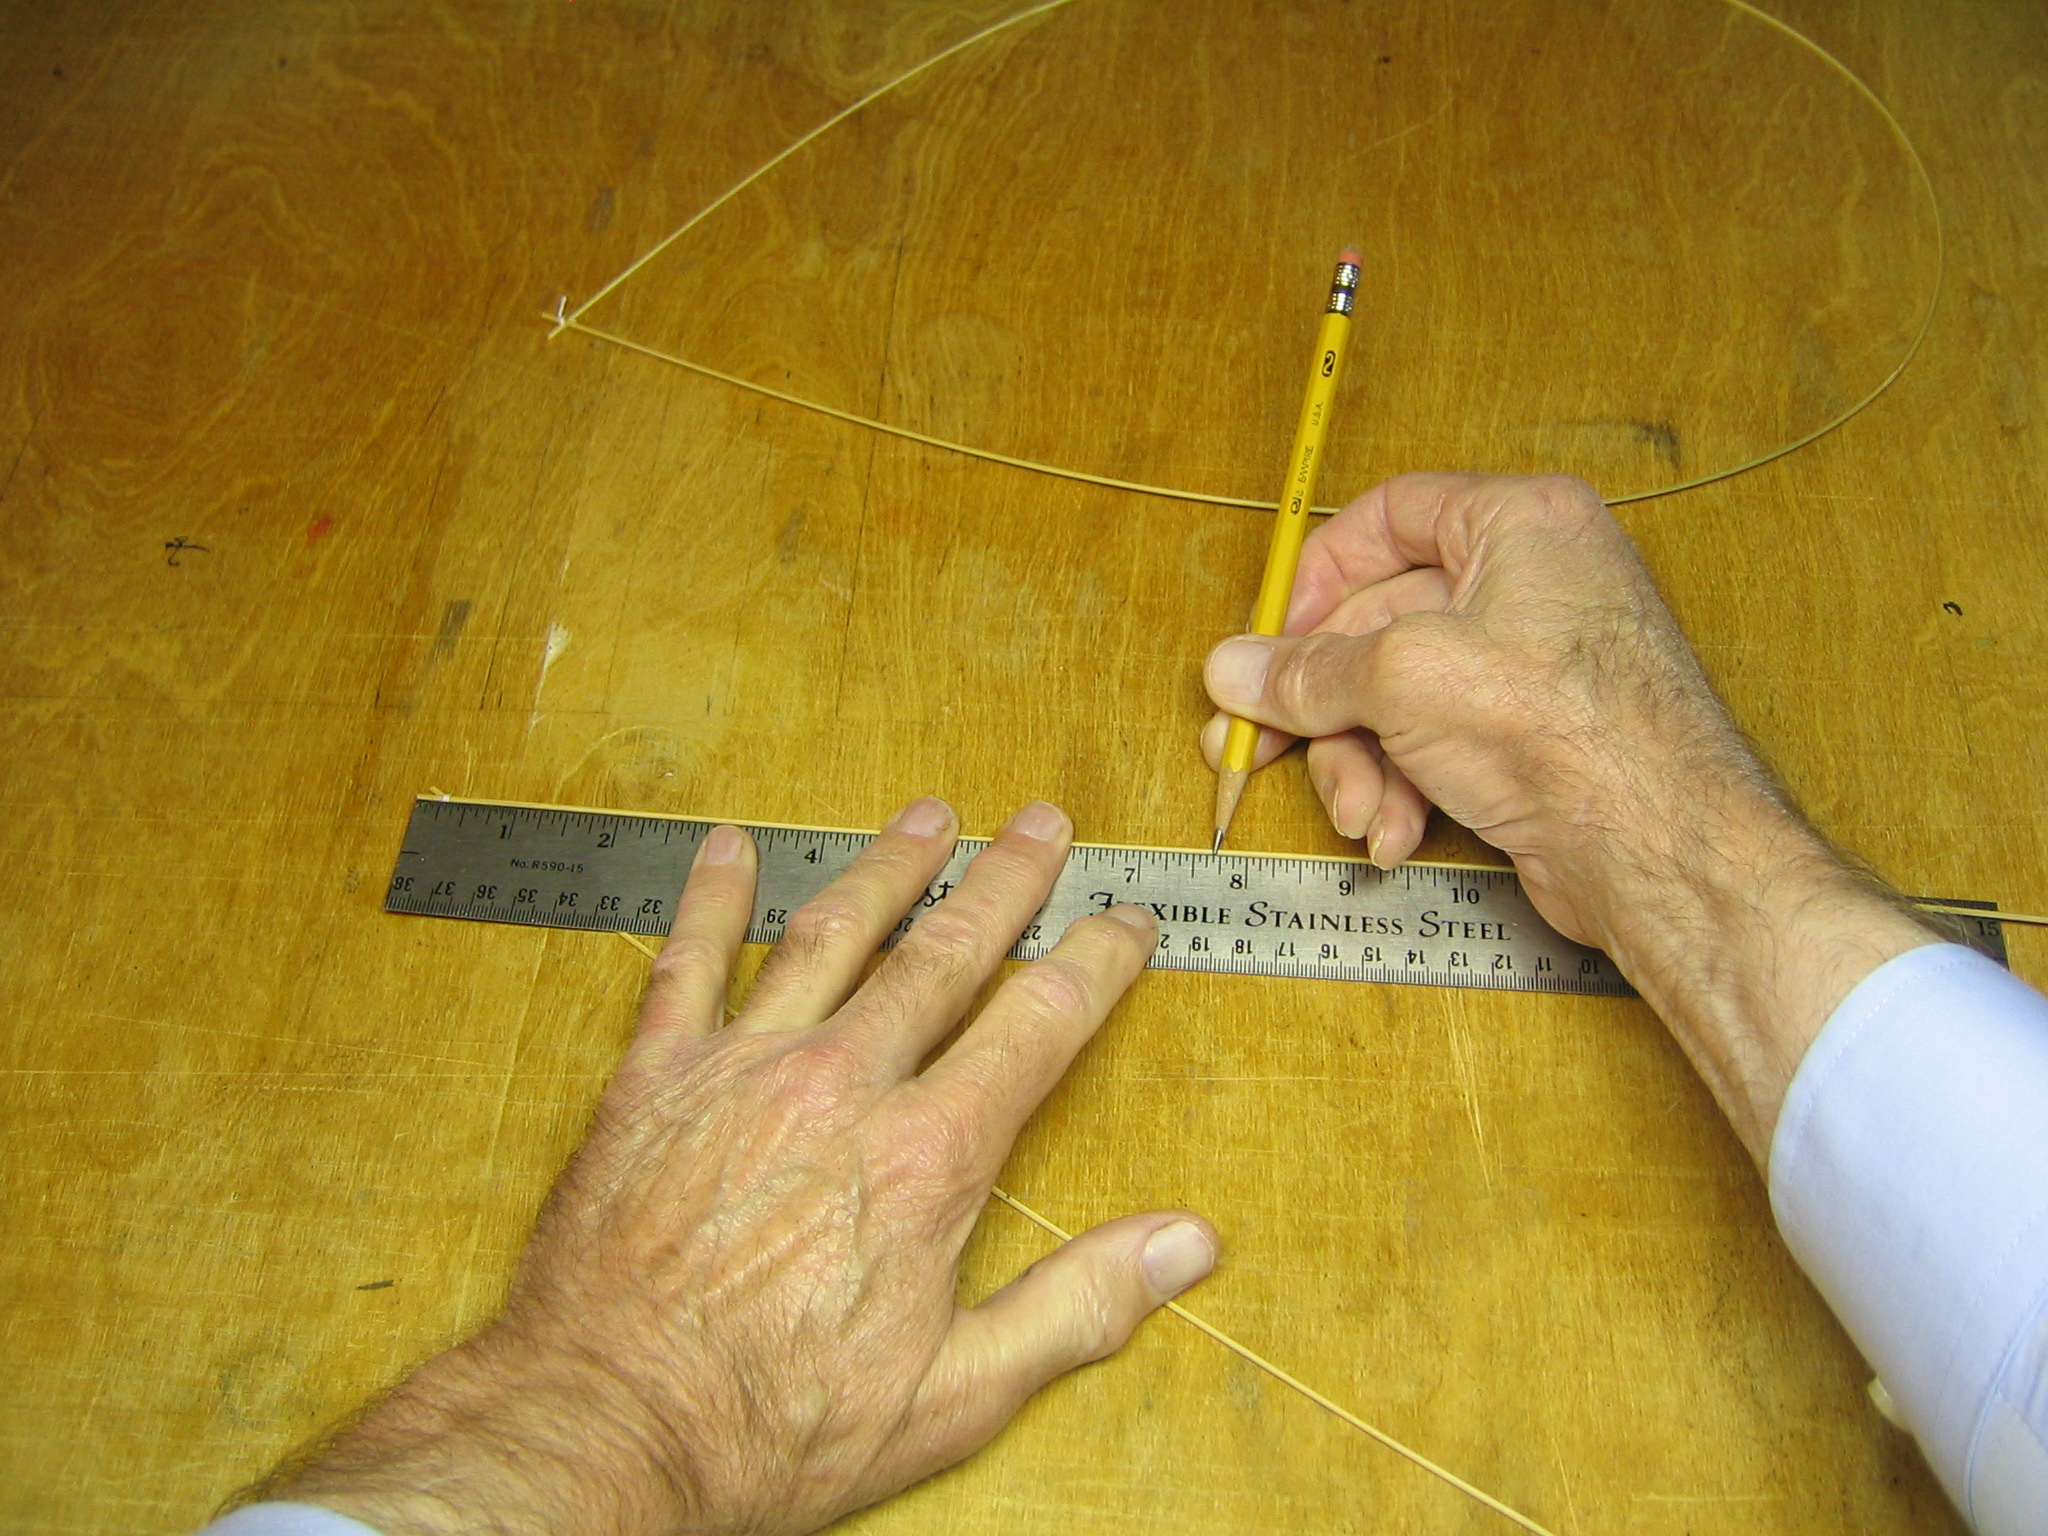
Mark one branch of the loop 5 7/8″ from its end.
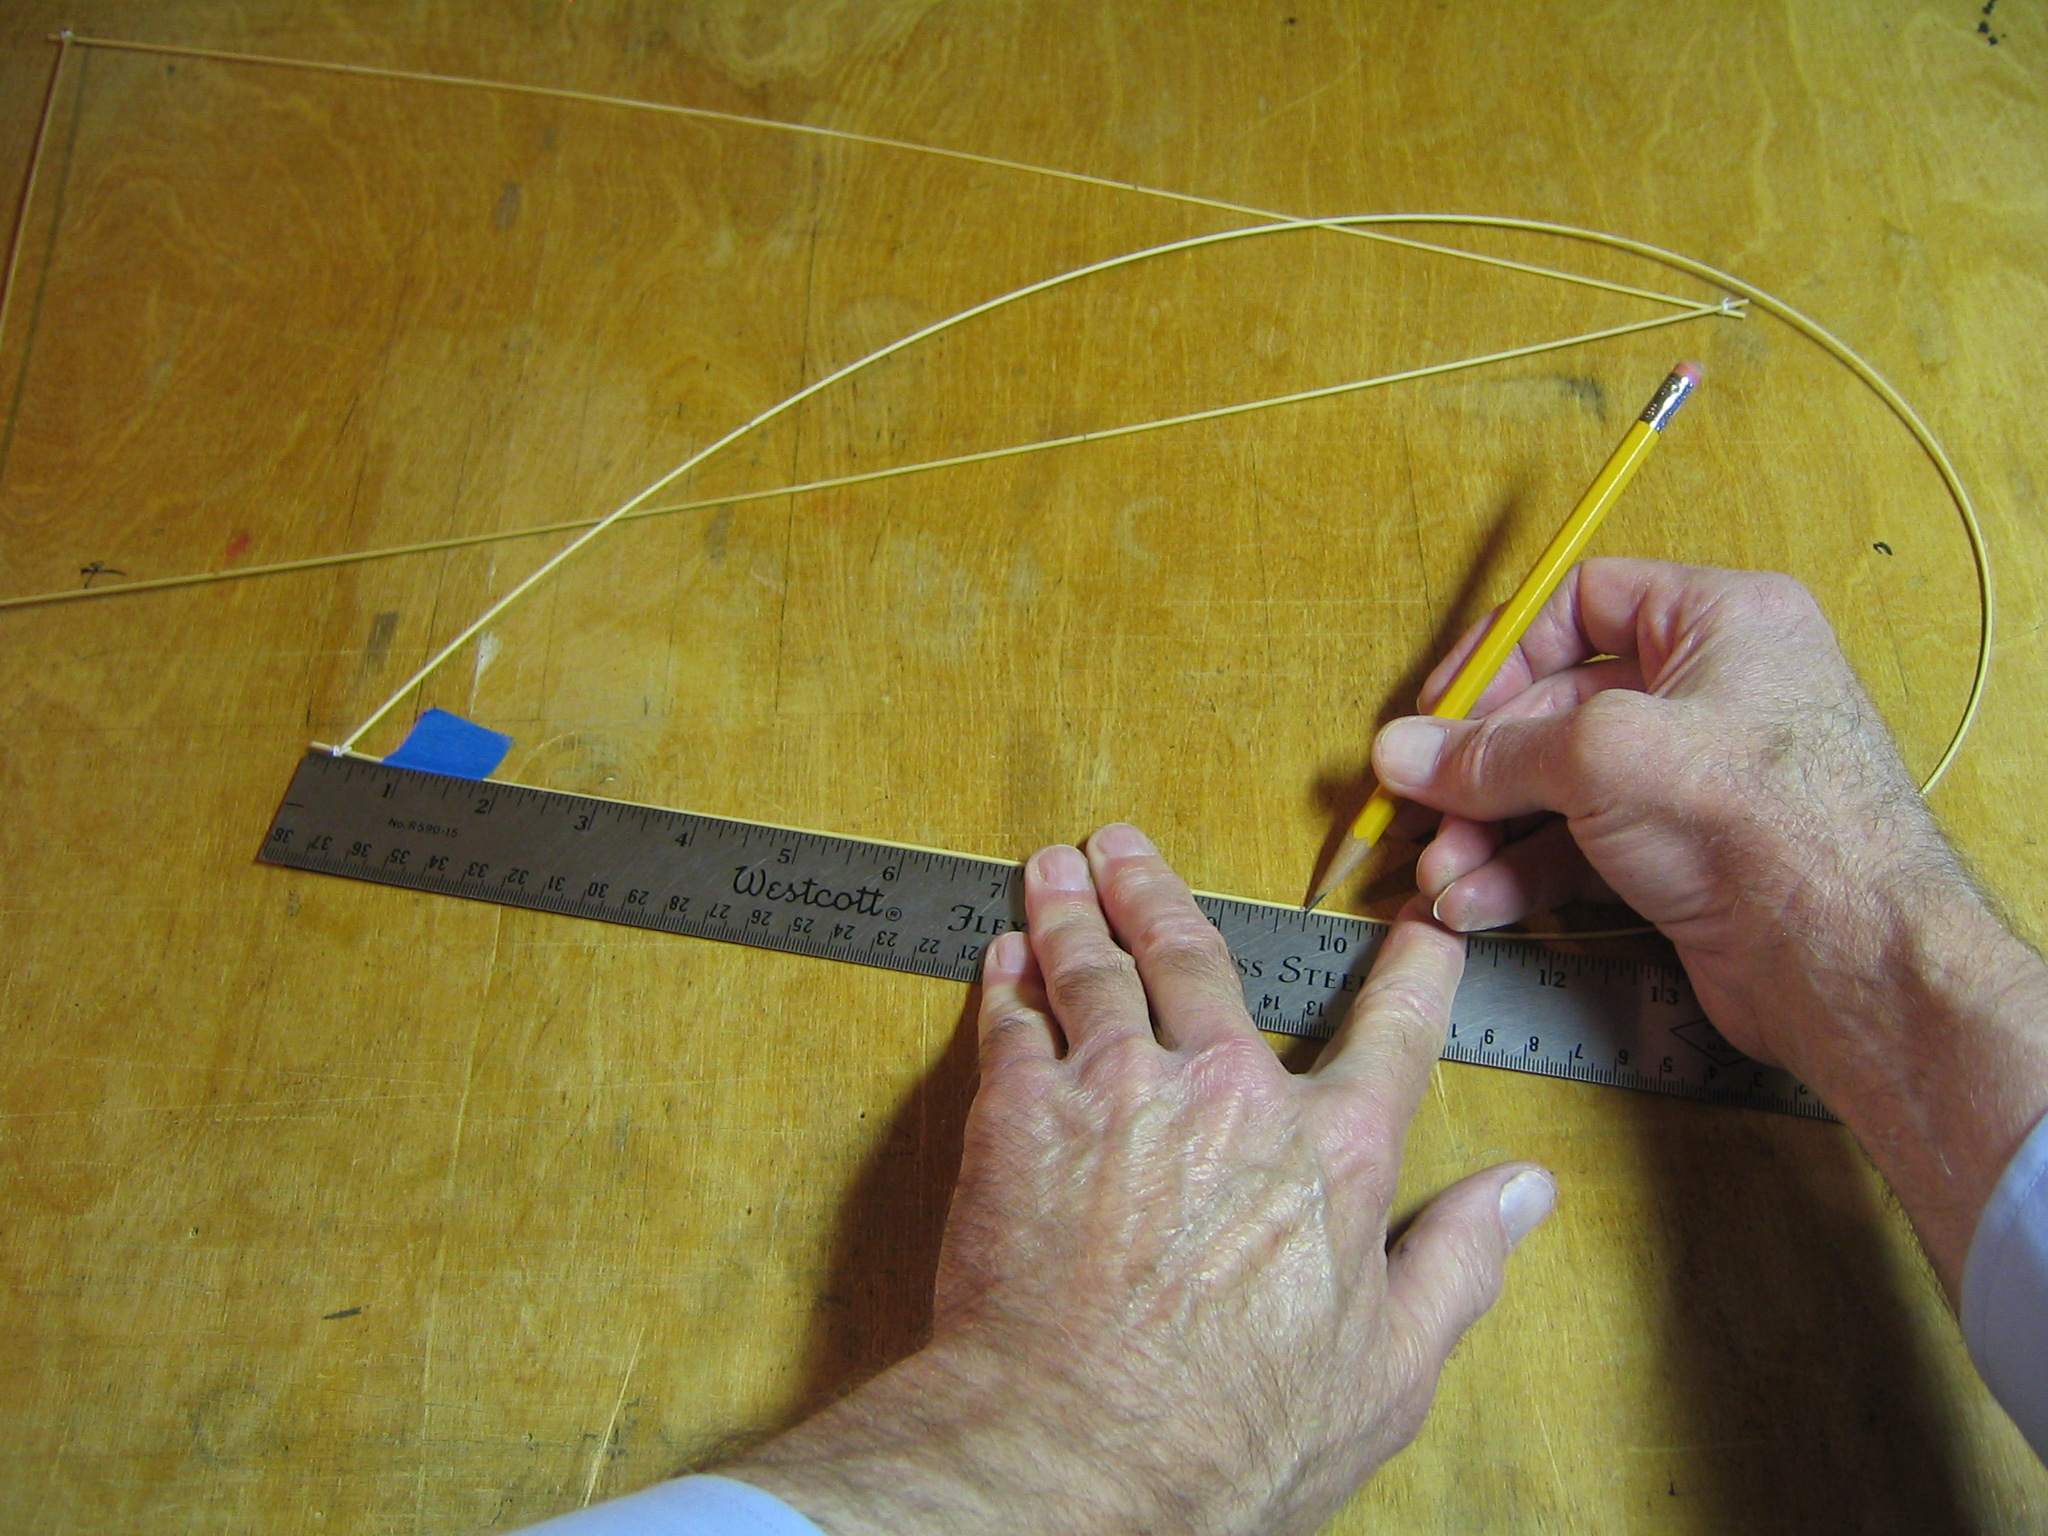
Mark the other branch of the loop 9 3/4″ from its end. It will be necessary to tape the end down to hold the rod straight against the ruler.
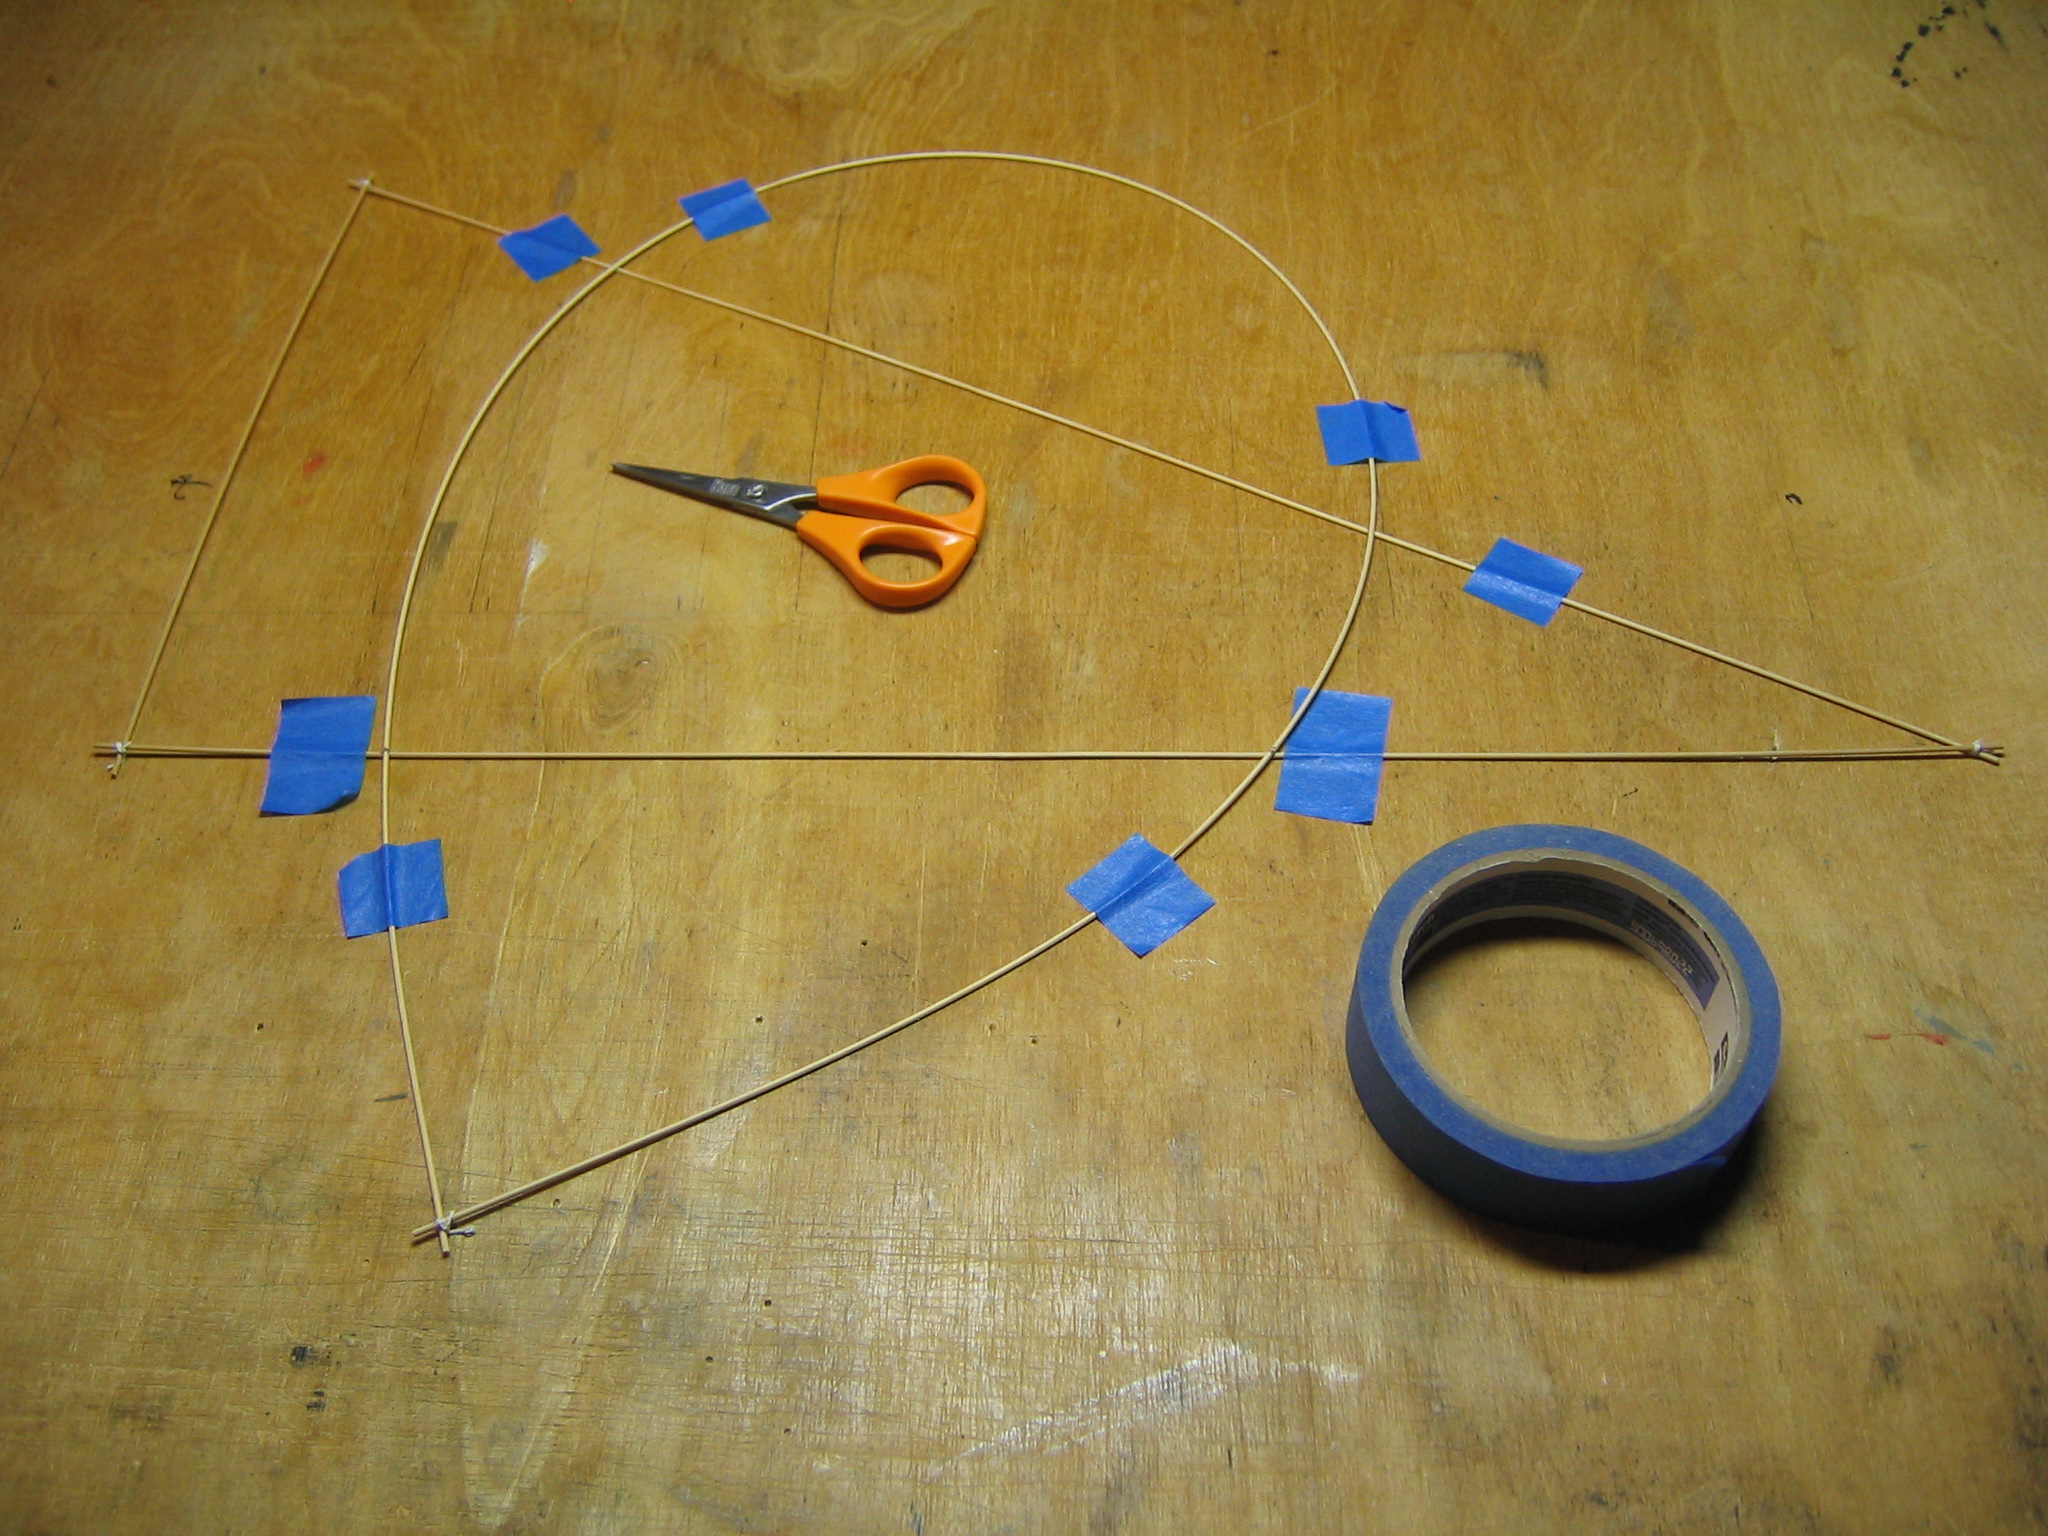
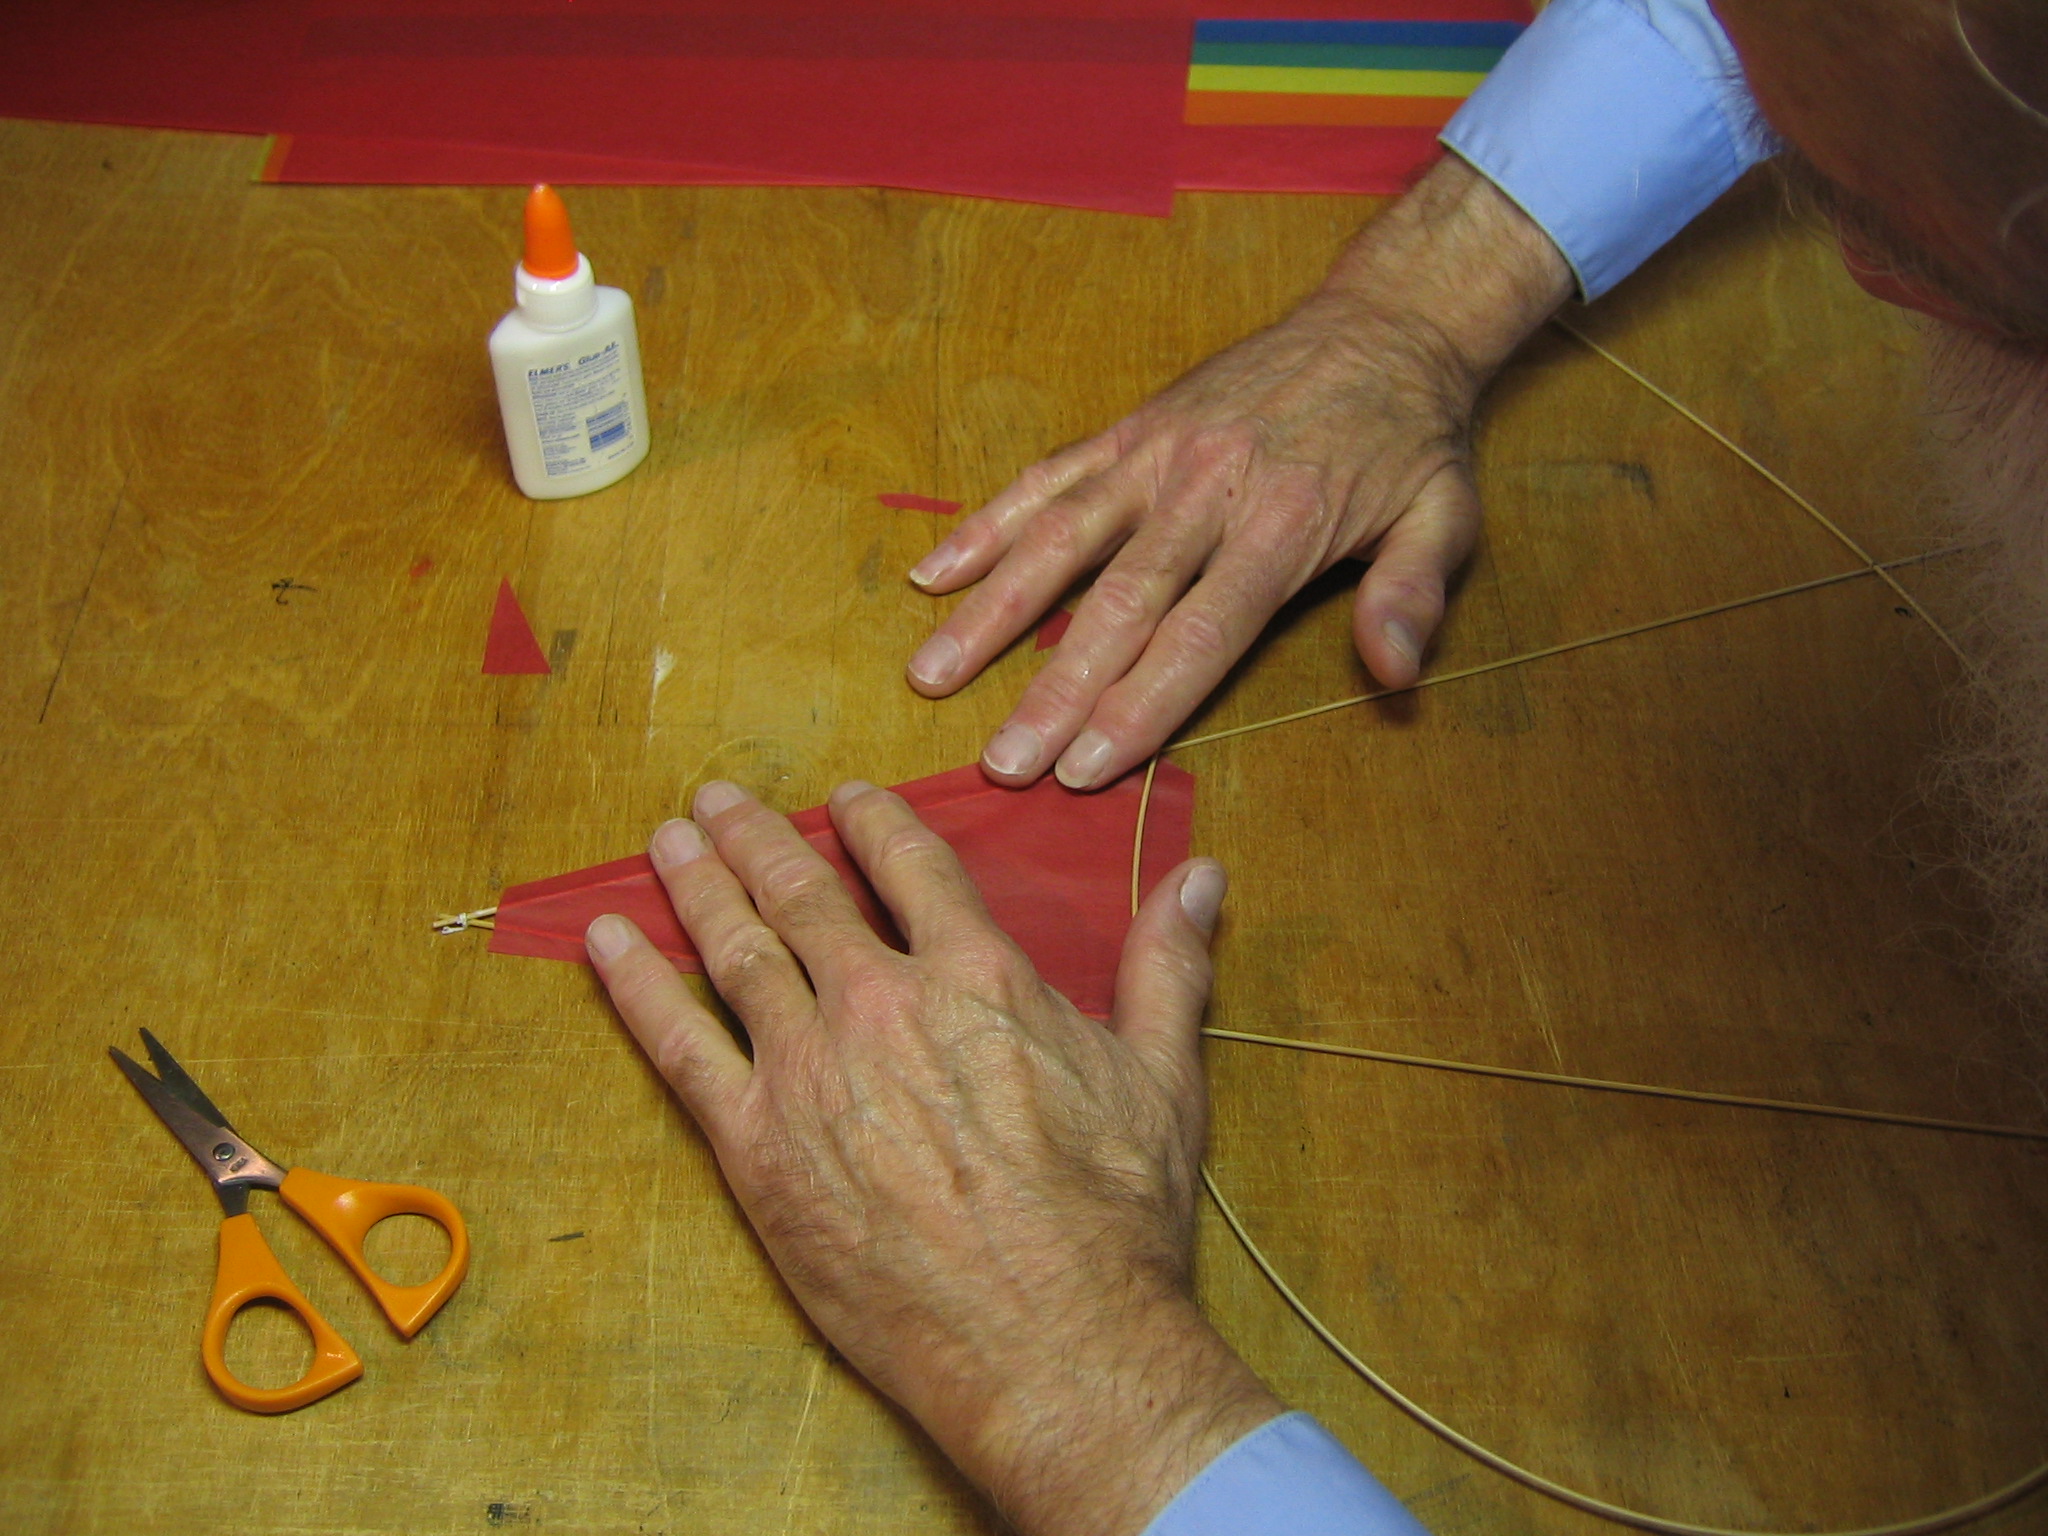
Tape the triangle to the building board, getting the sides reasonably straight, then tape the loop over the triangle so the corresponding pencil marks coincide. Adjust as necessary.
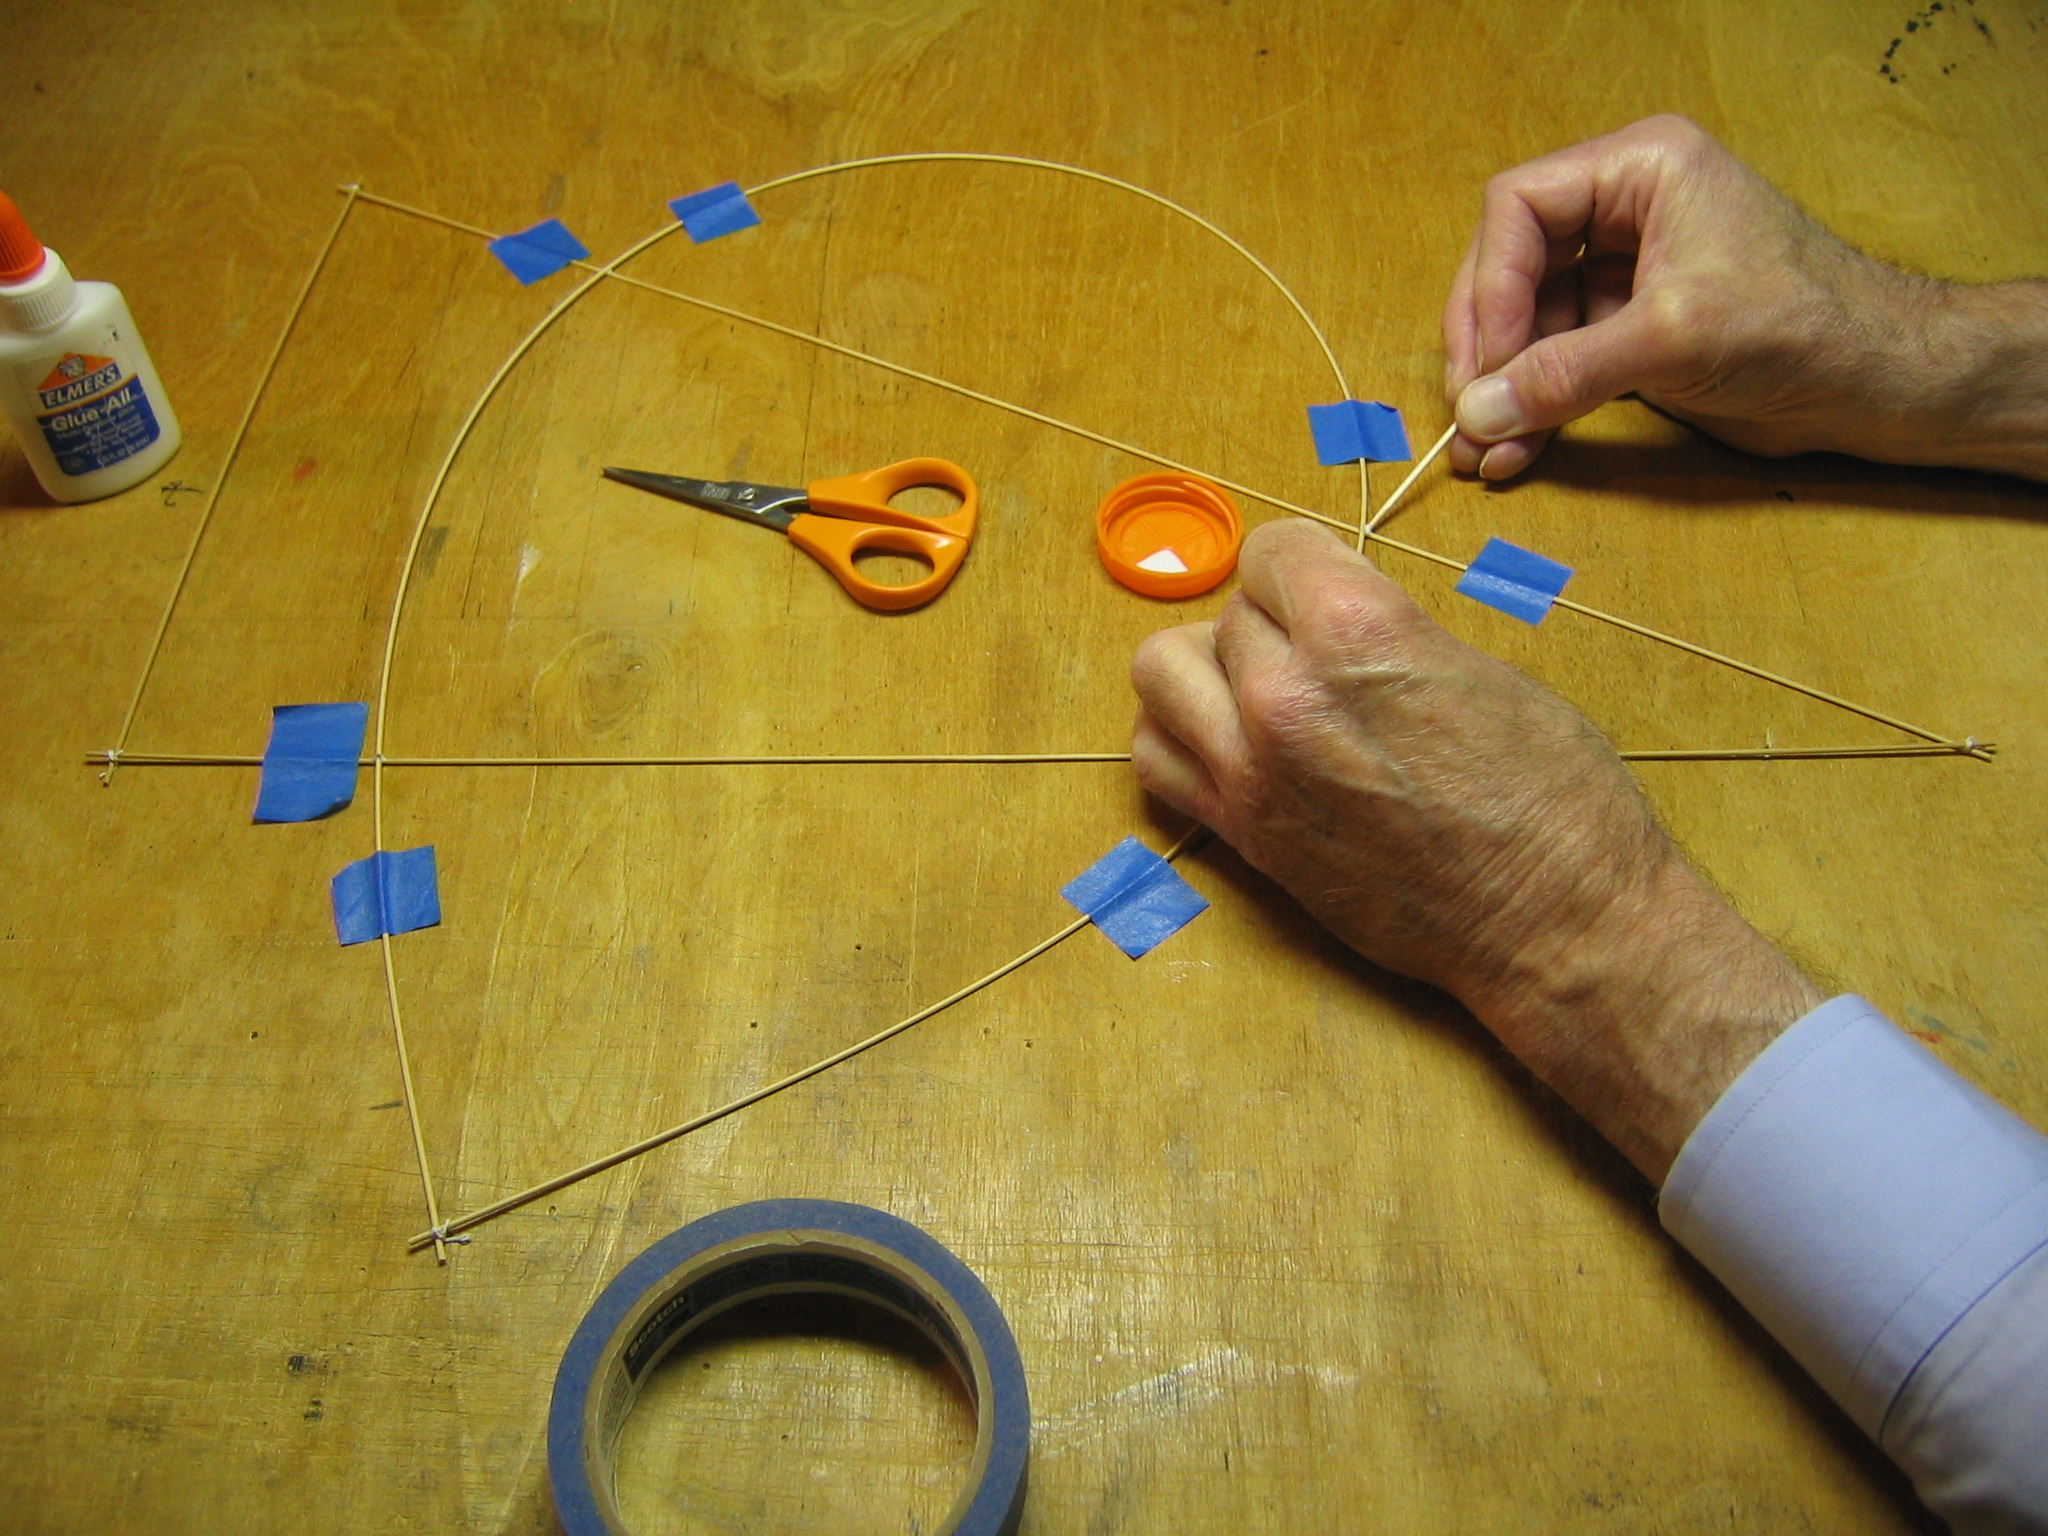
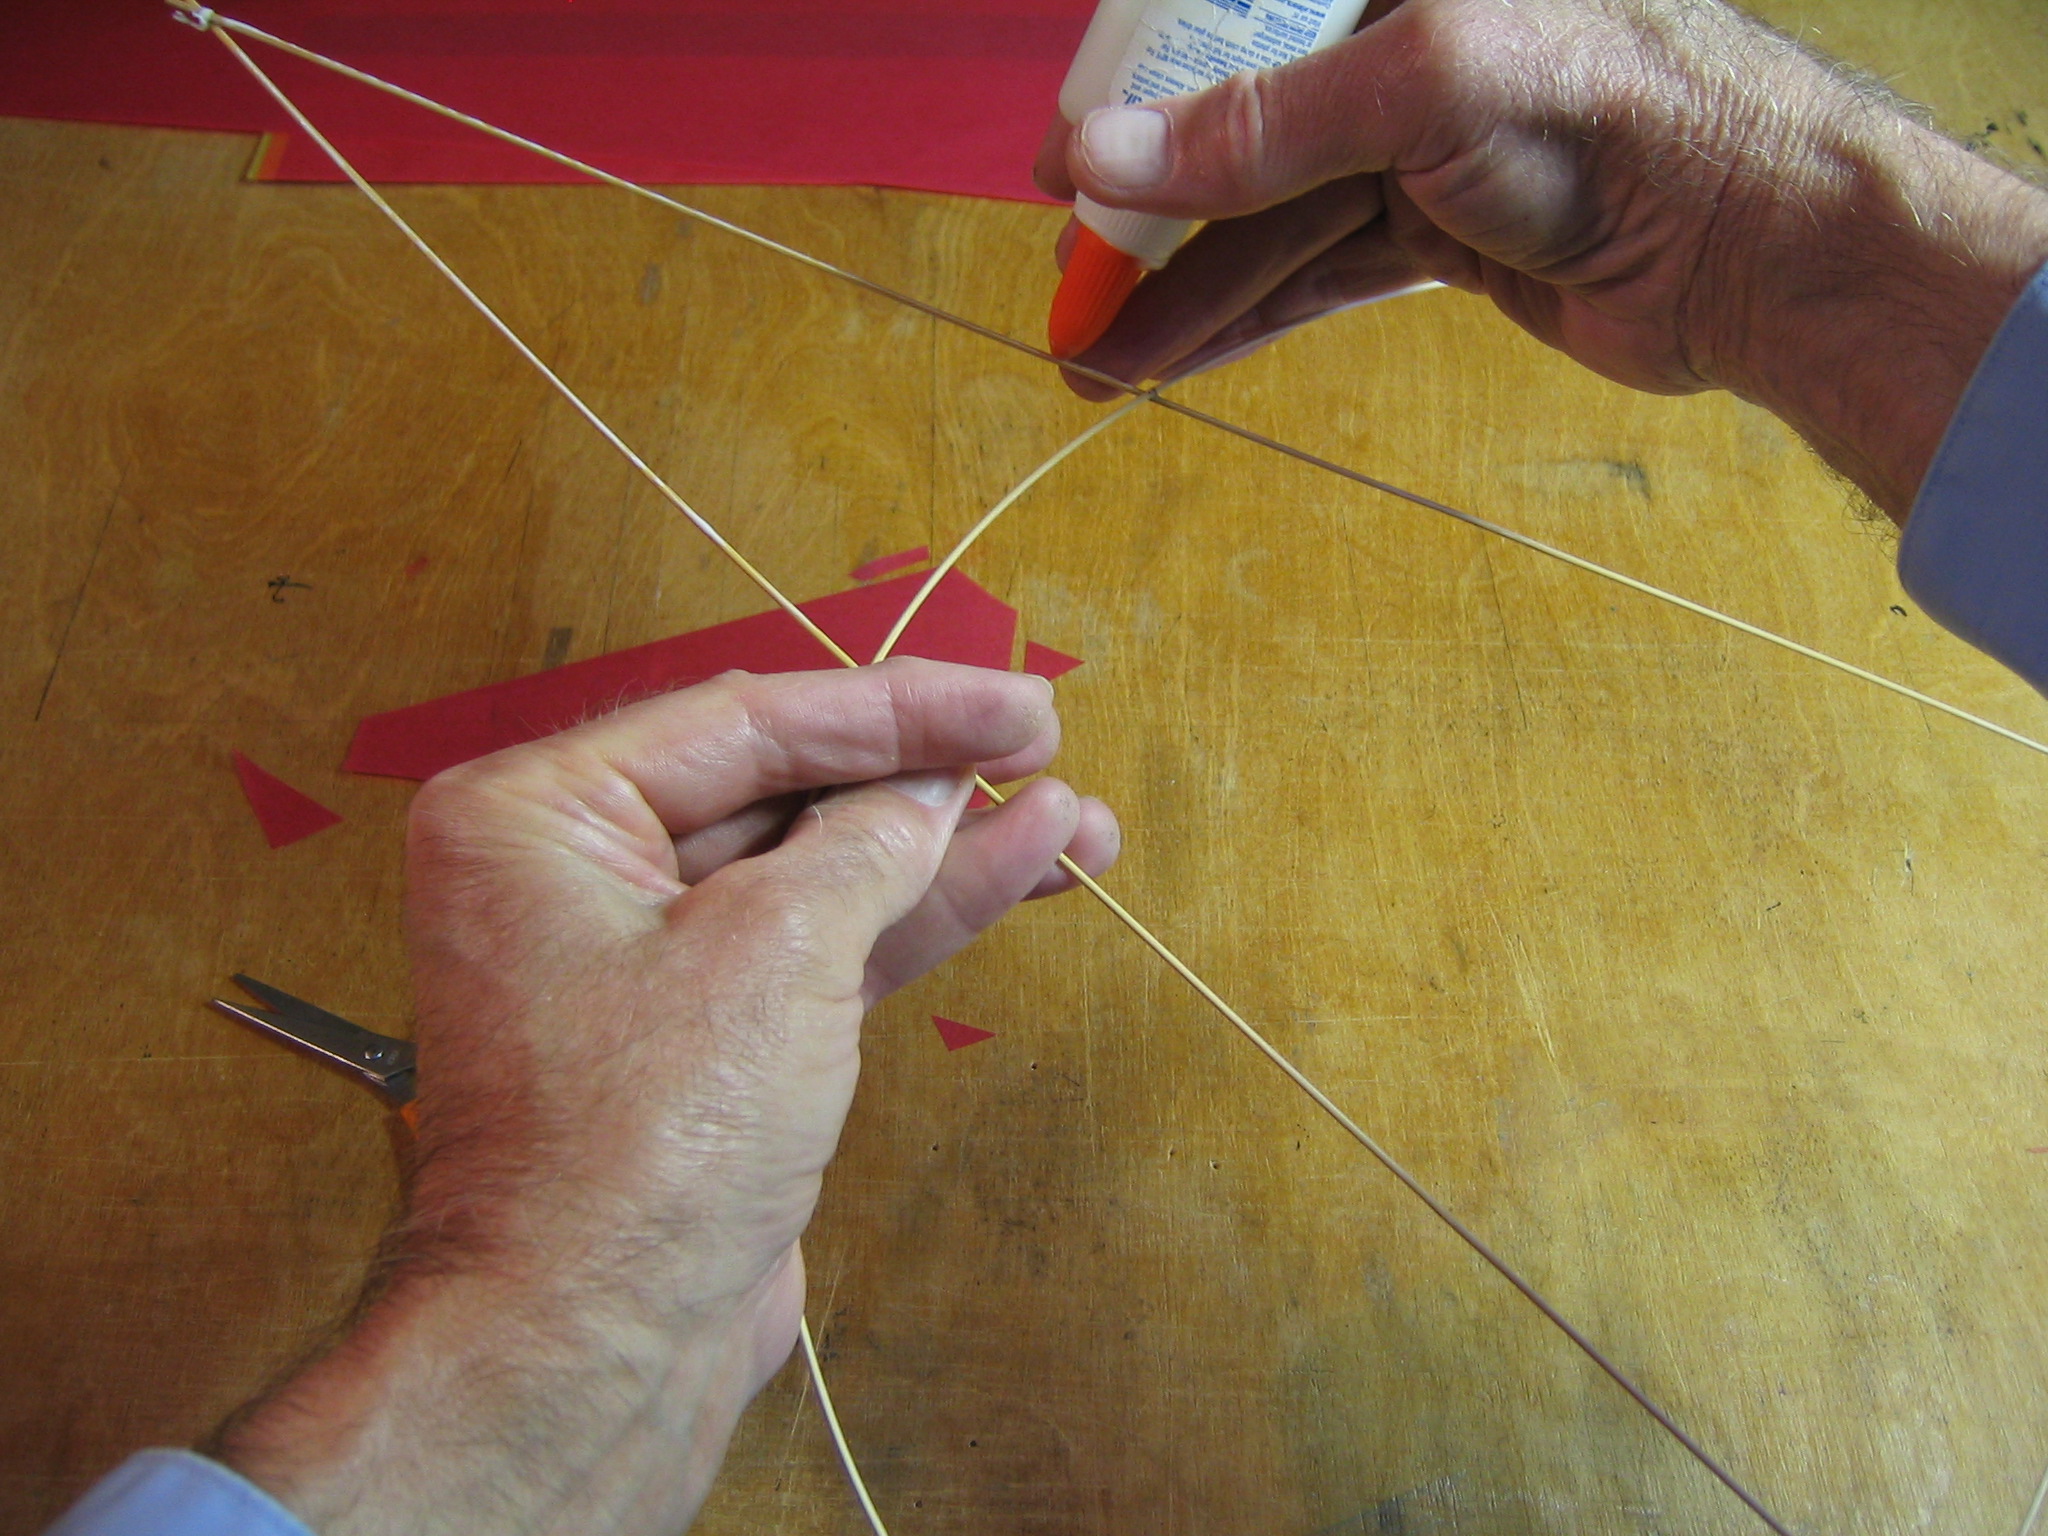
Slightly raise the loop and put glue between the sticks where they cross.
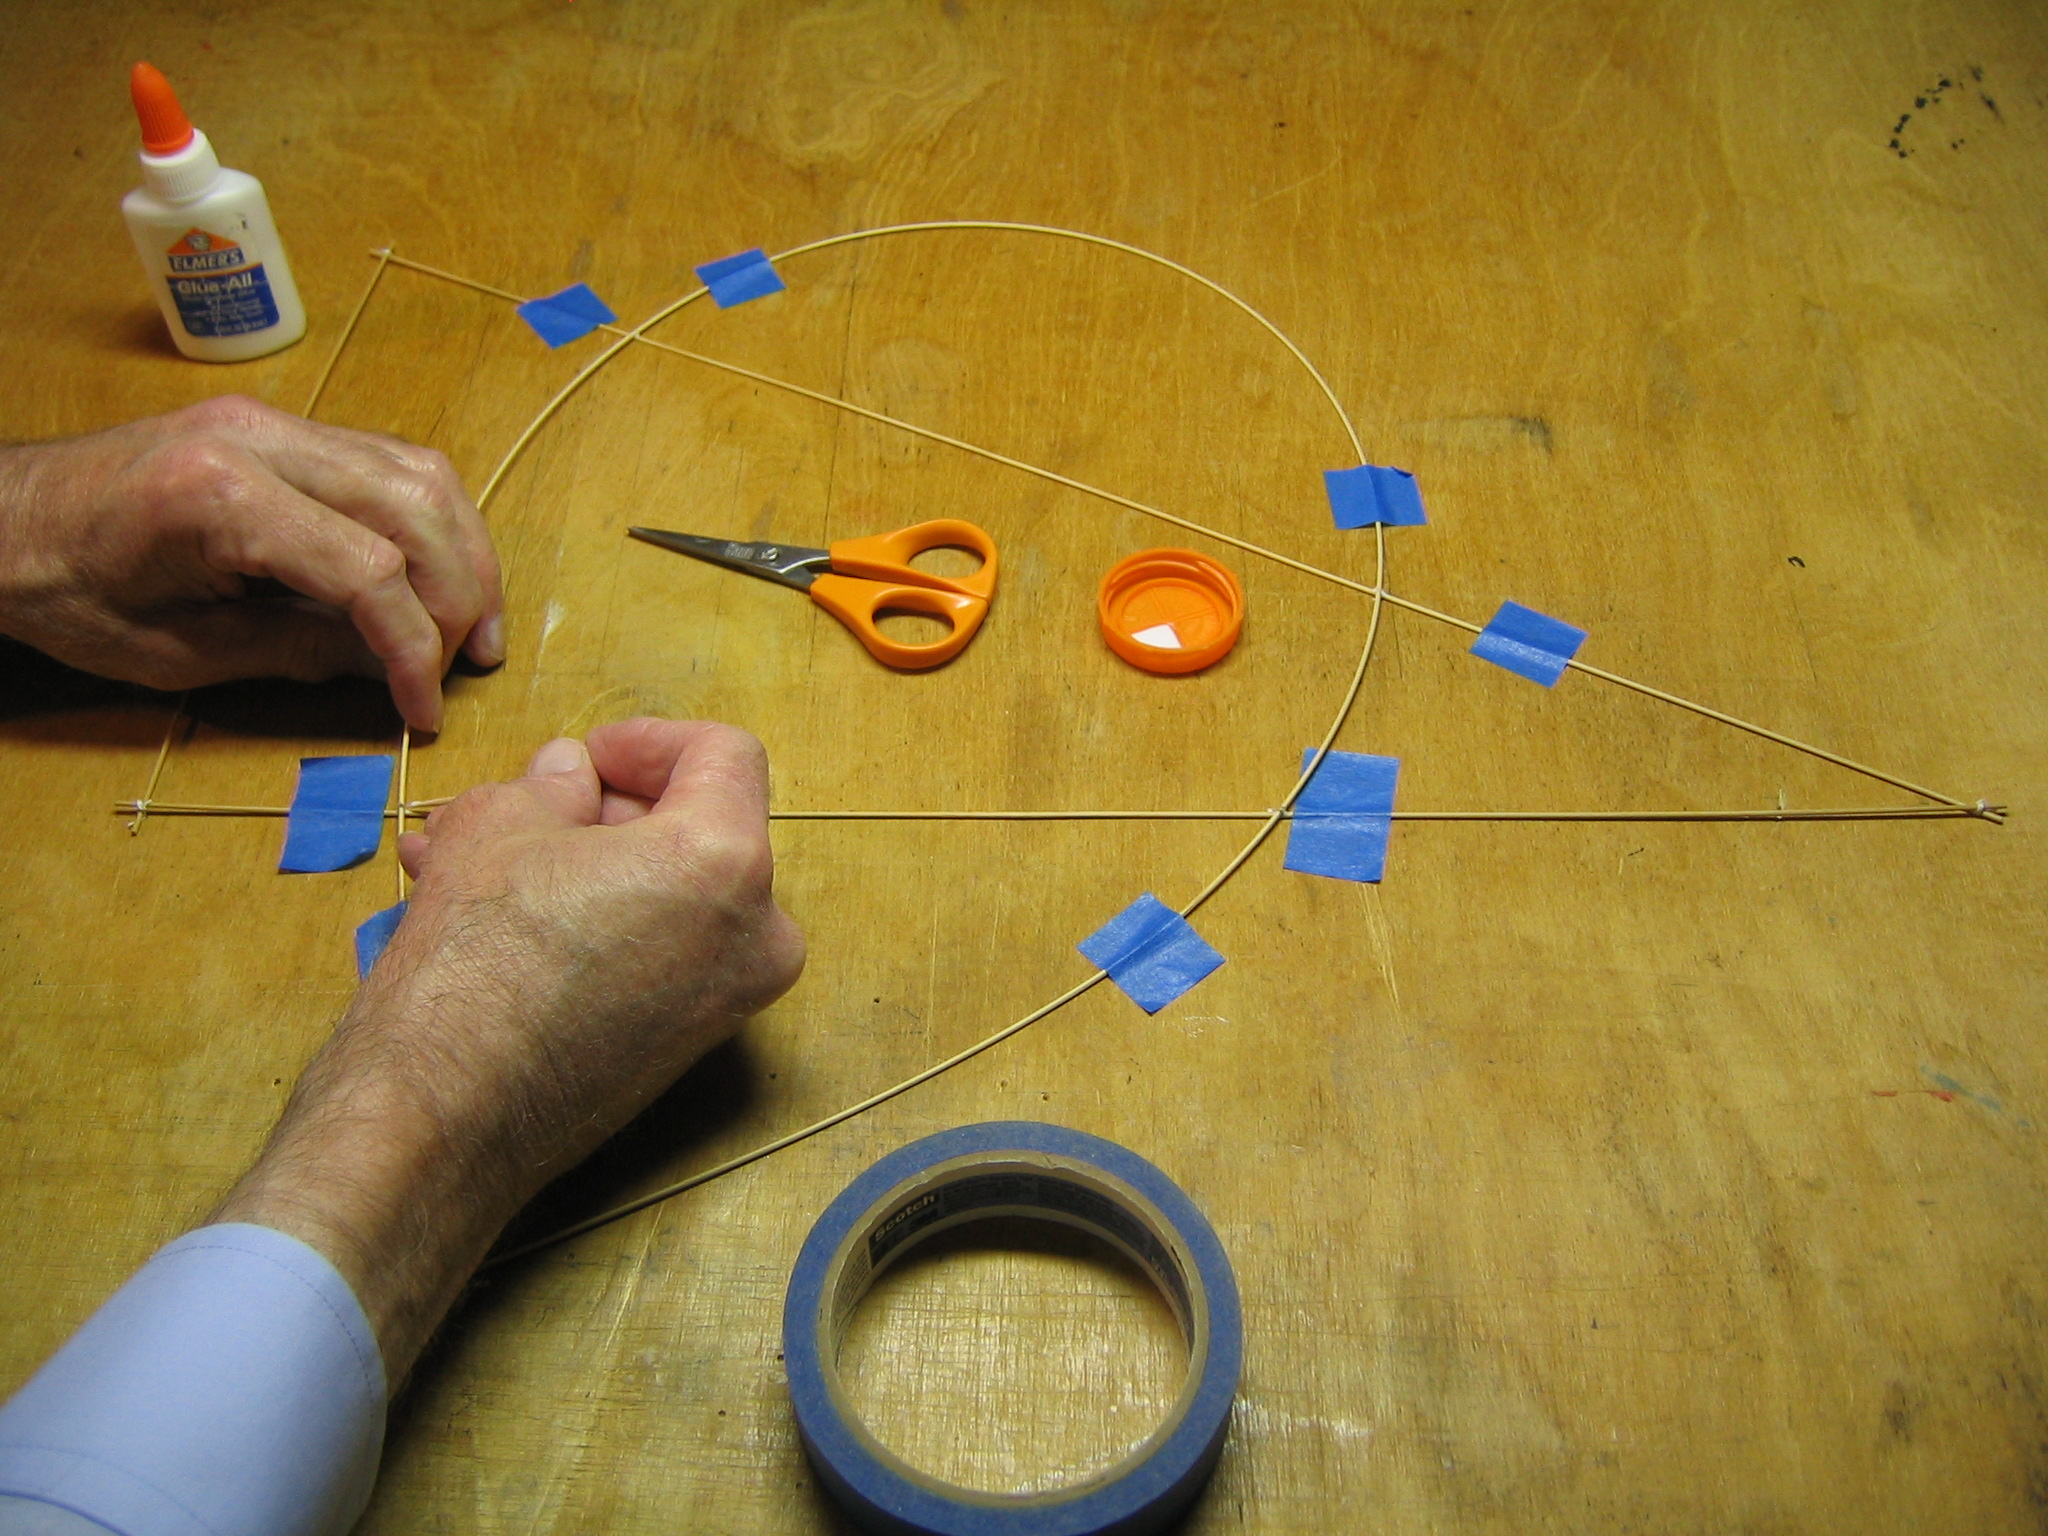
Get glue all around the sticks where they join, but be careful to not glue the framework to the table top. I could have put little bits of plastic sheet under each joint to prevent glue running down and sticking to the table. Glue all four locations where a loop stick passes over a triangle stick.
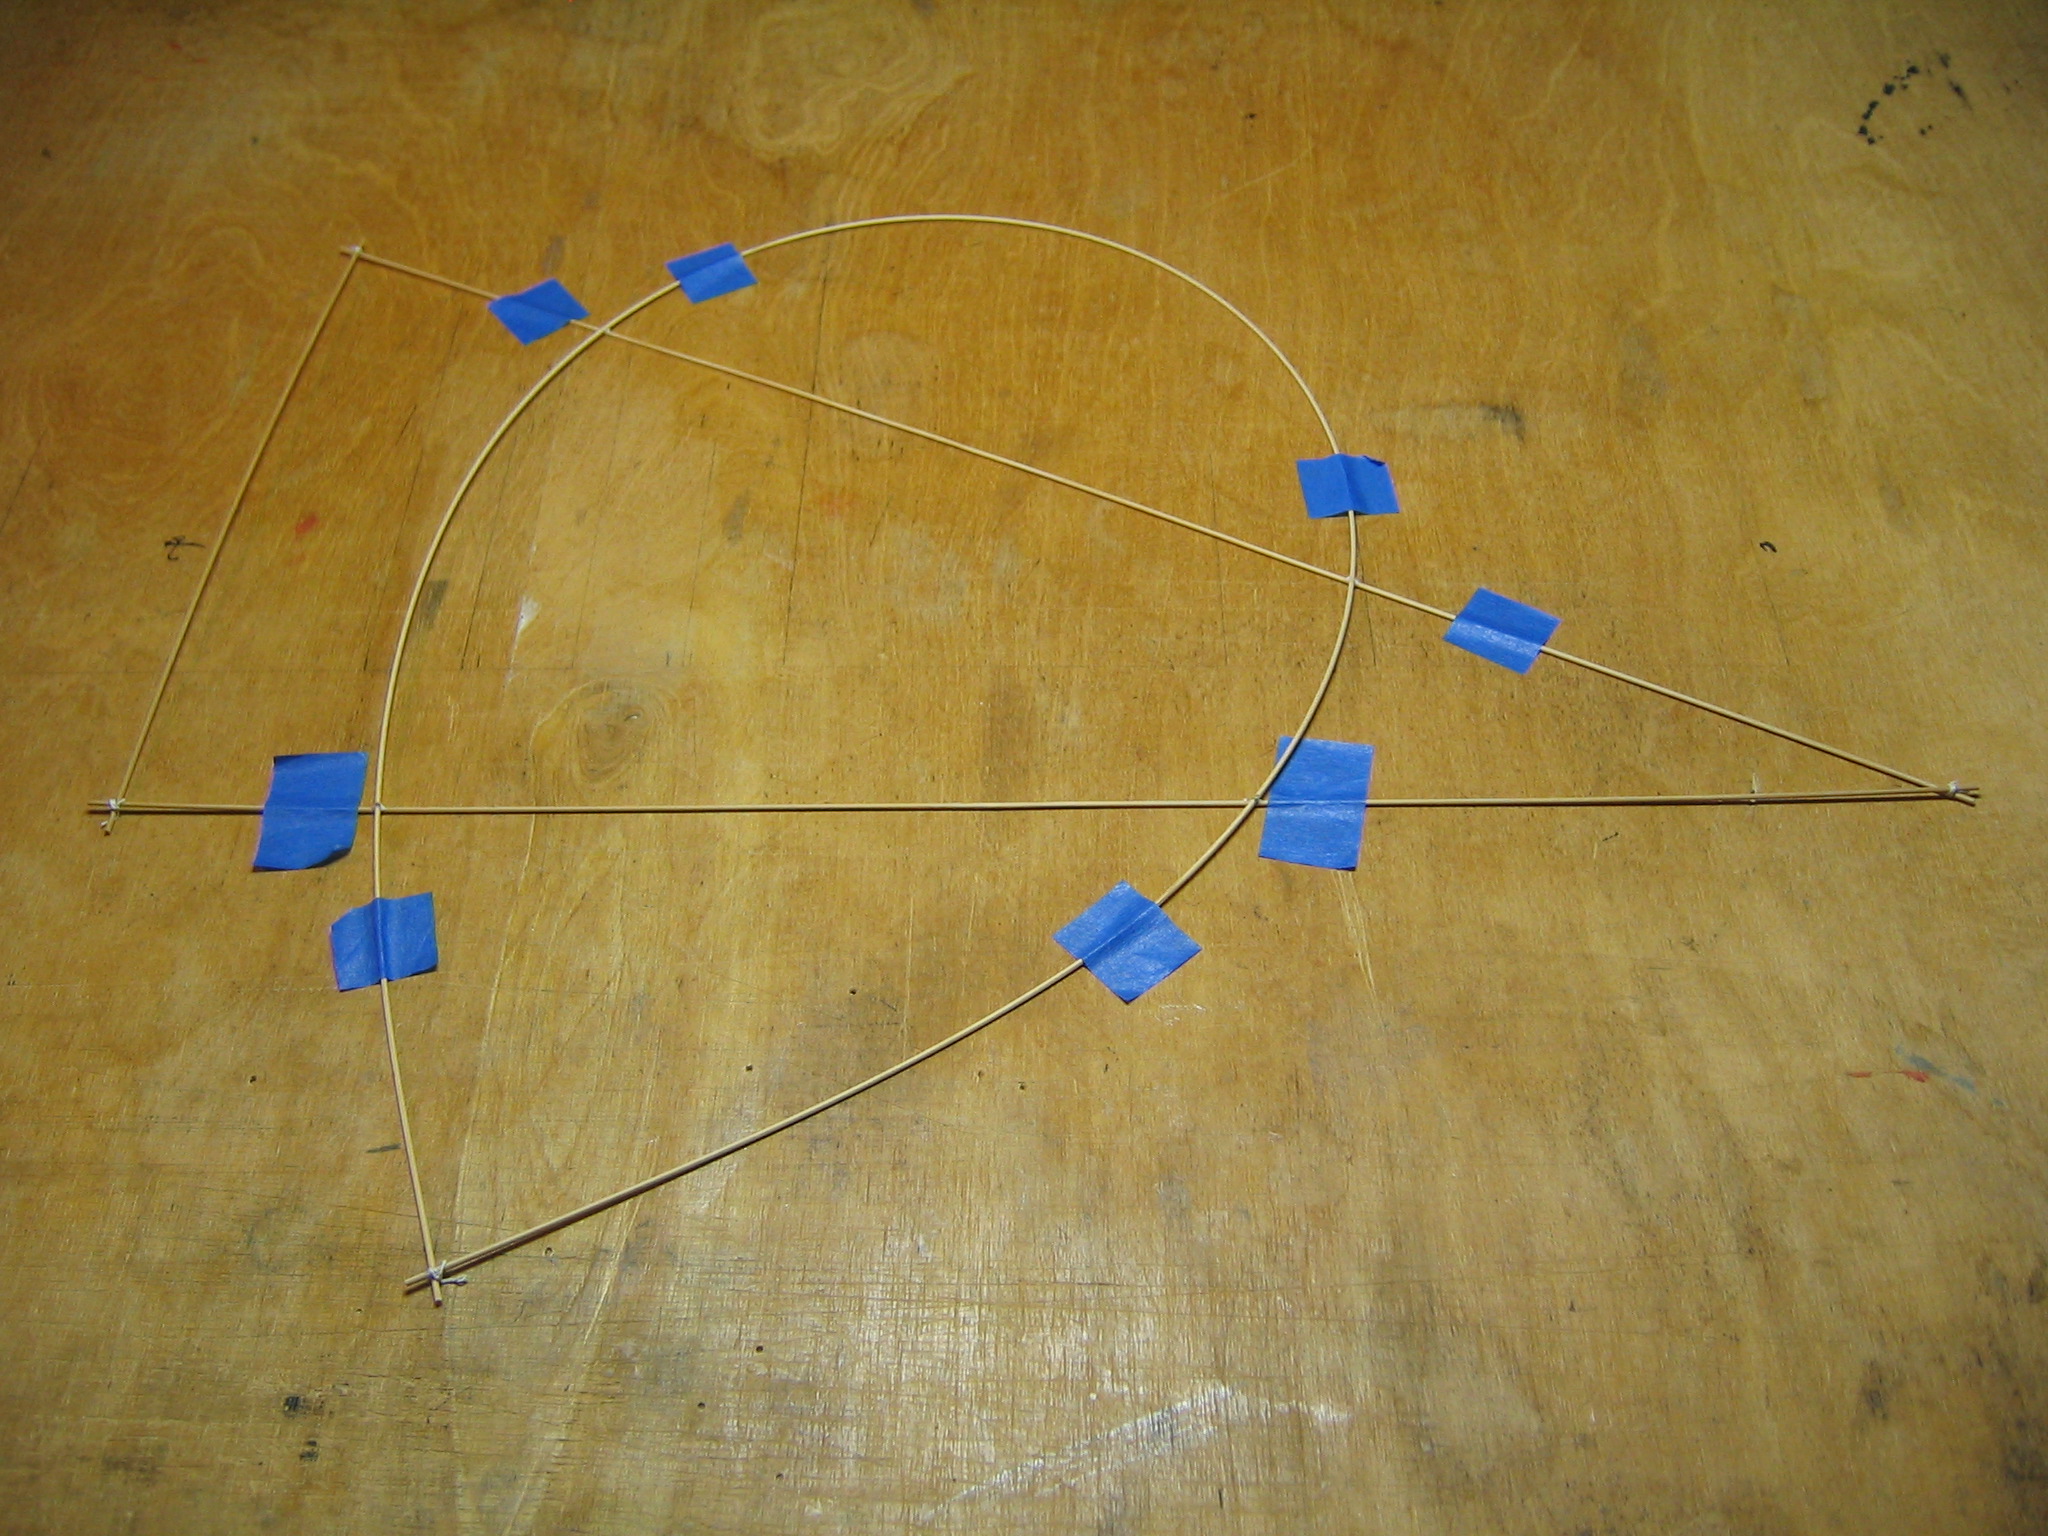
The hardest part of building a kite is waiting for the glue to dry. When the glue has dried, tie the sticks together where the loop crosses the triangle near the 10″ end. The crossings near the apex of the triangle will be tied together later, when the bridle lines are tied on. That finishes the framework of the kite. Next we will attach the paper.
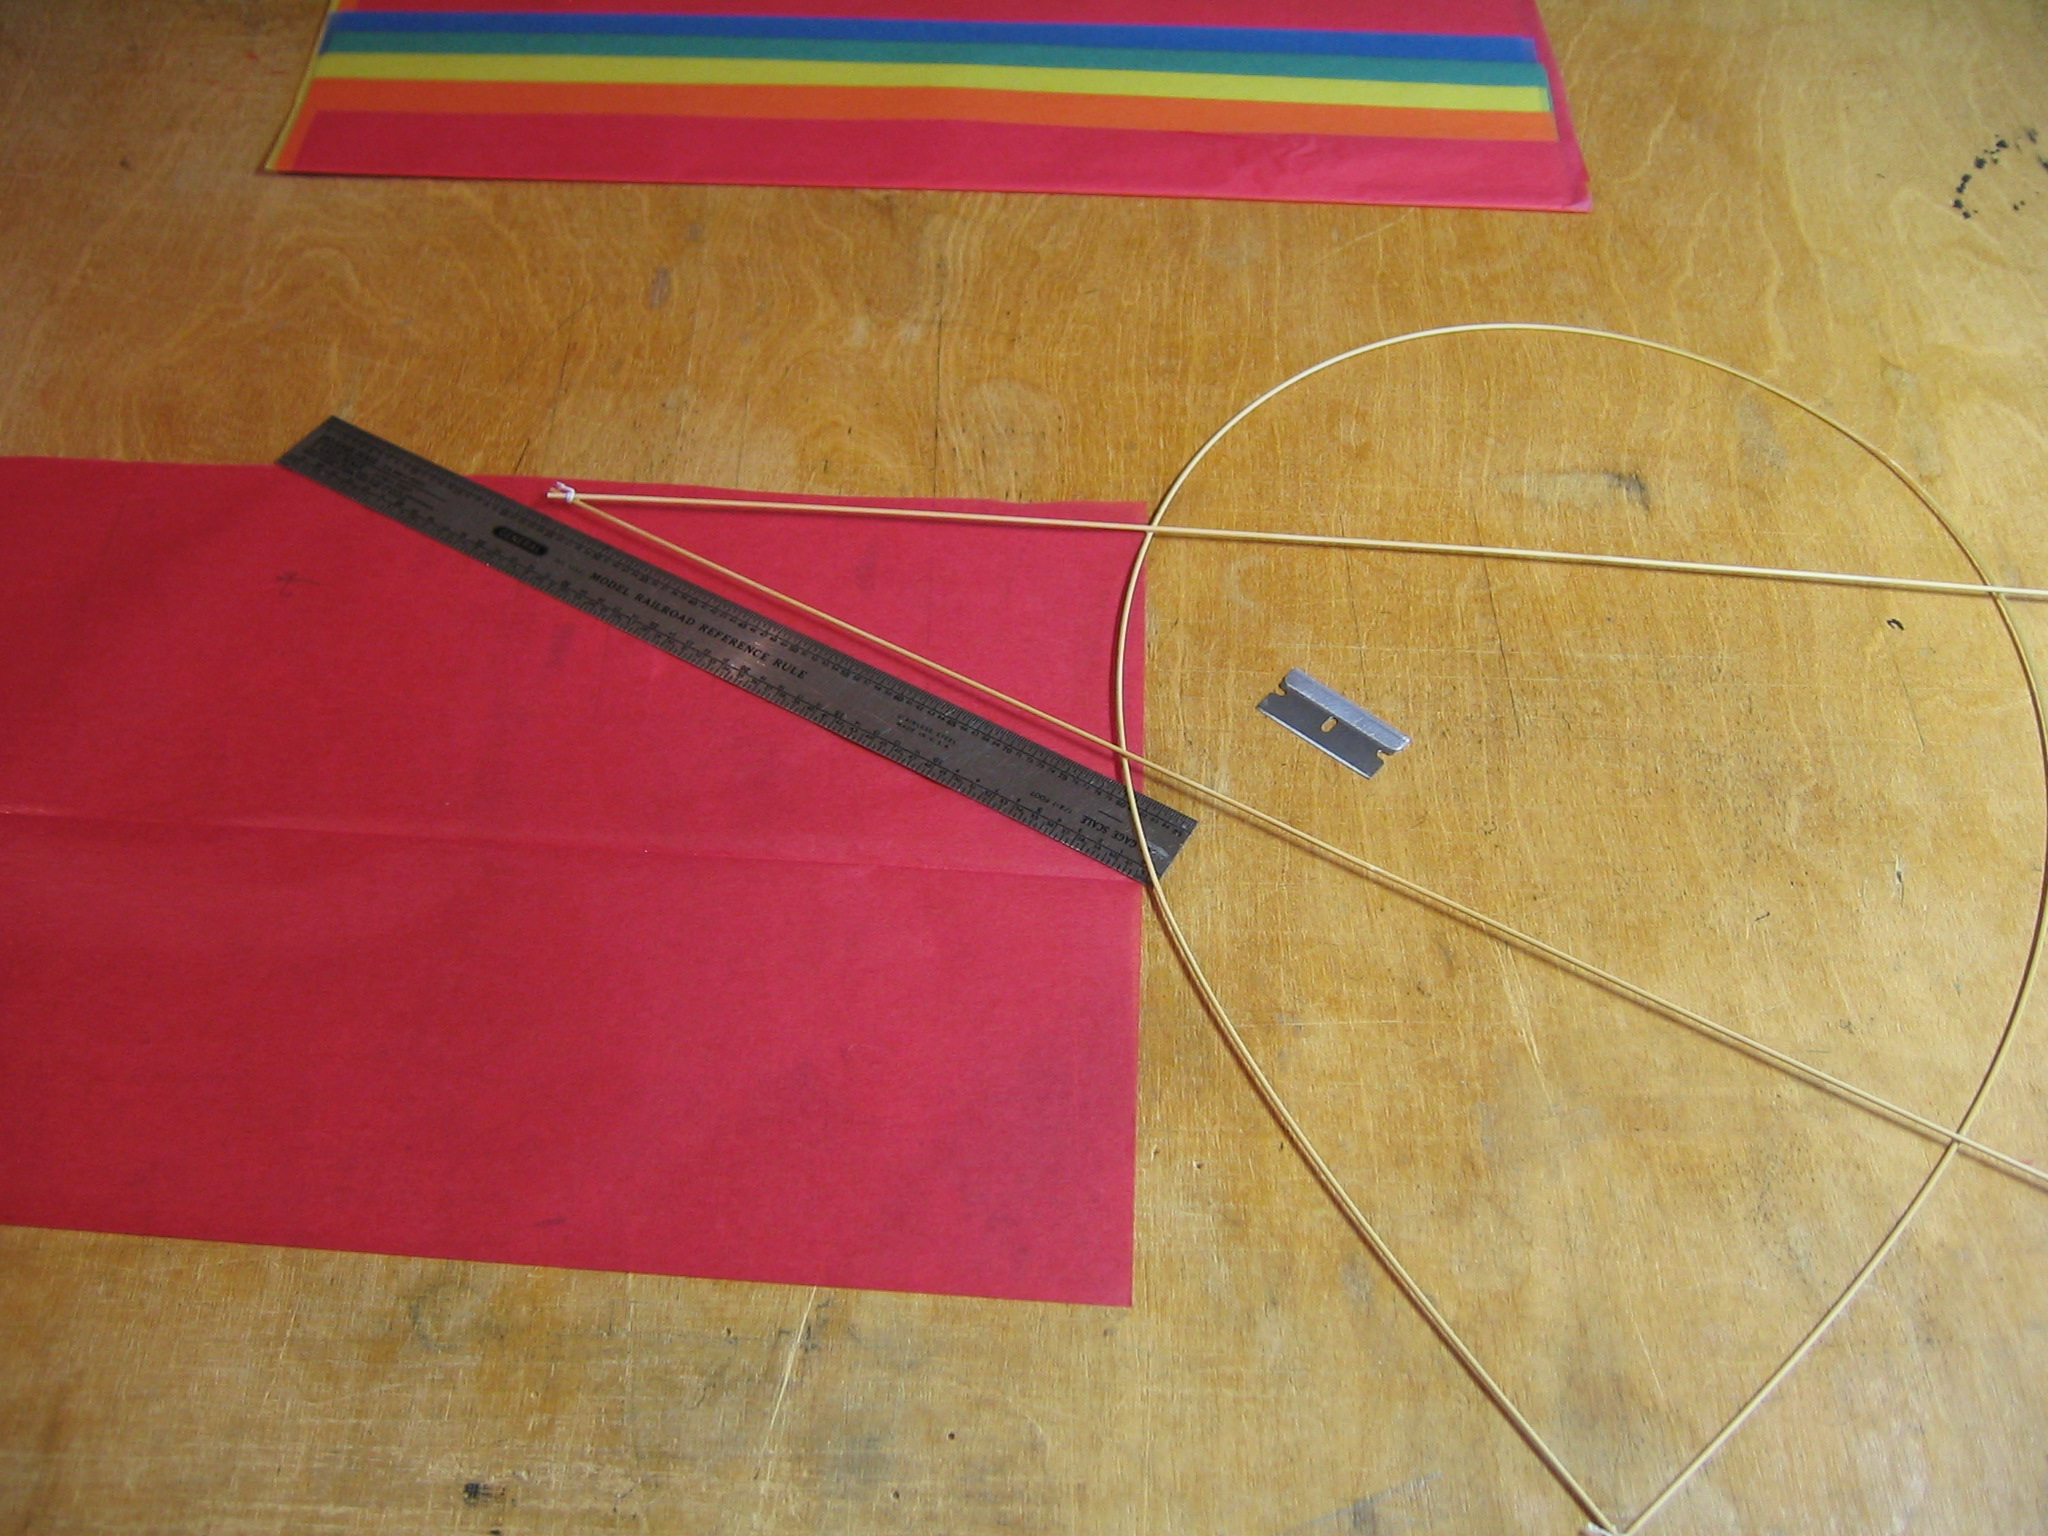
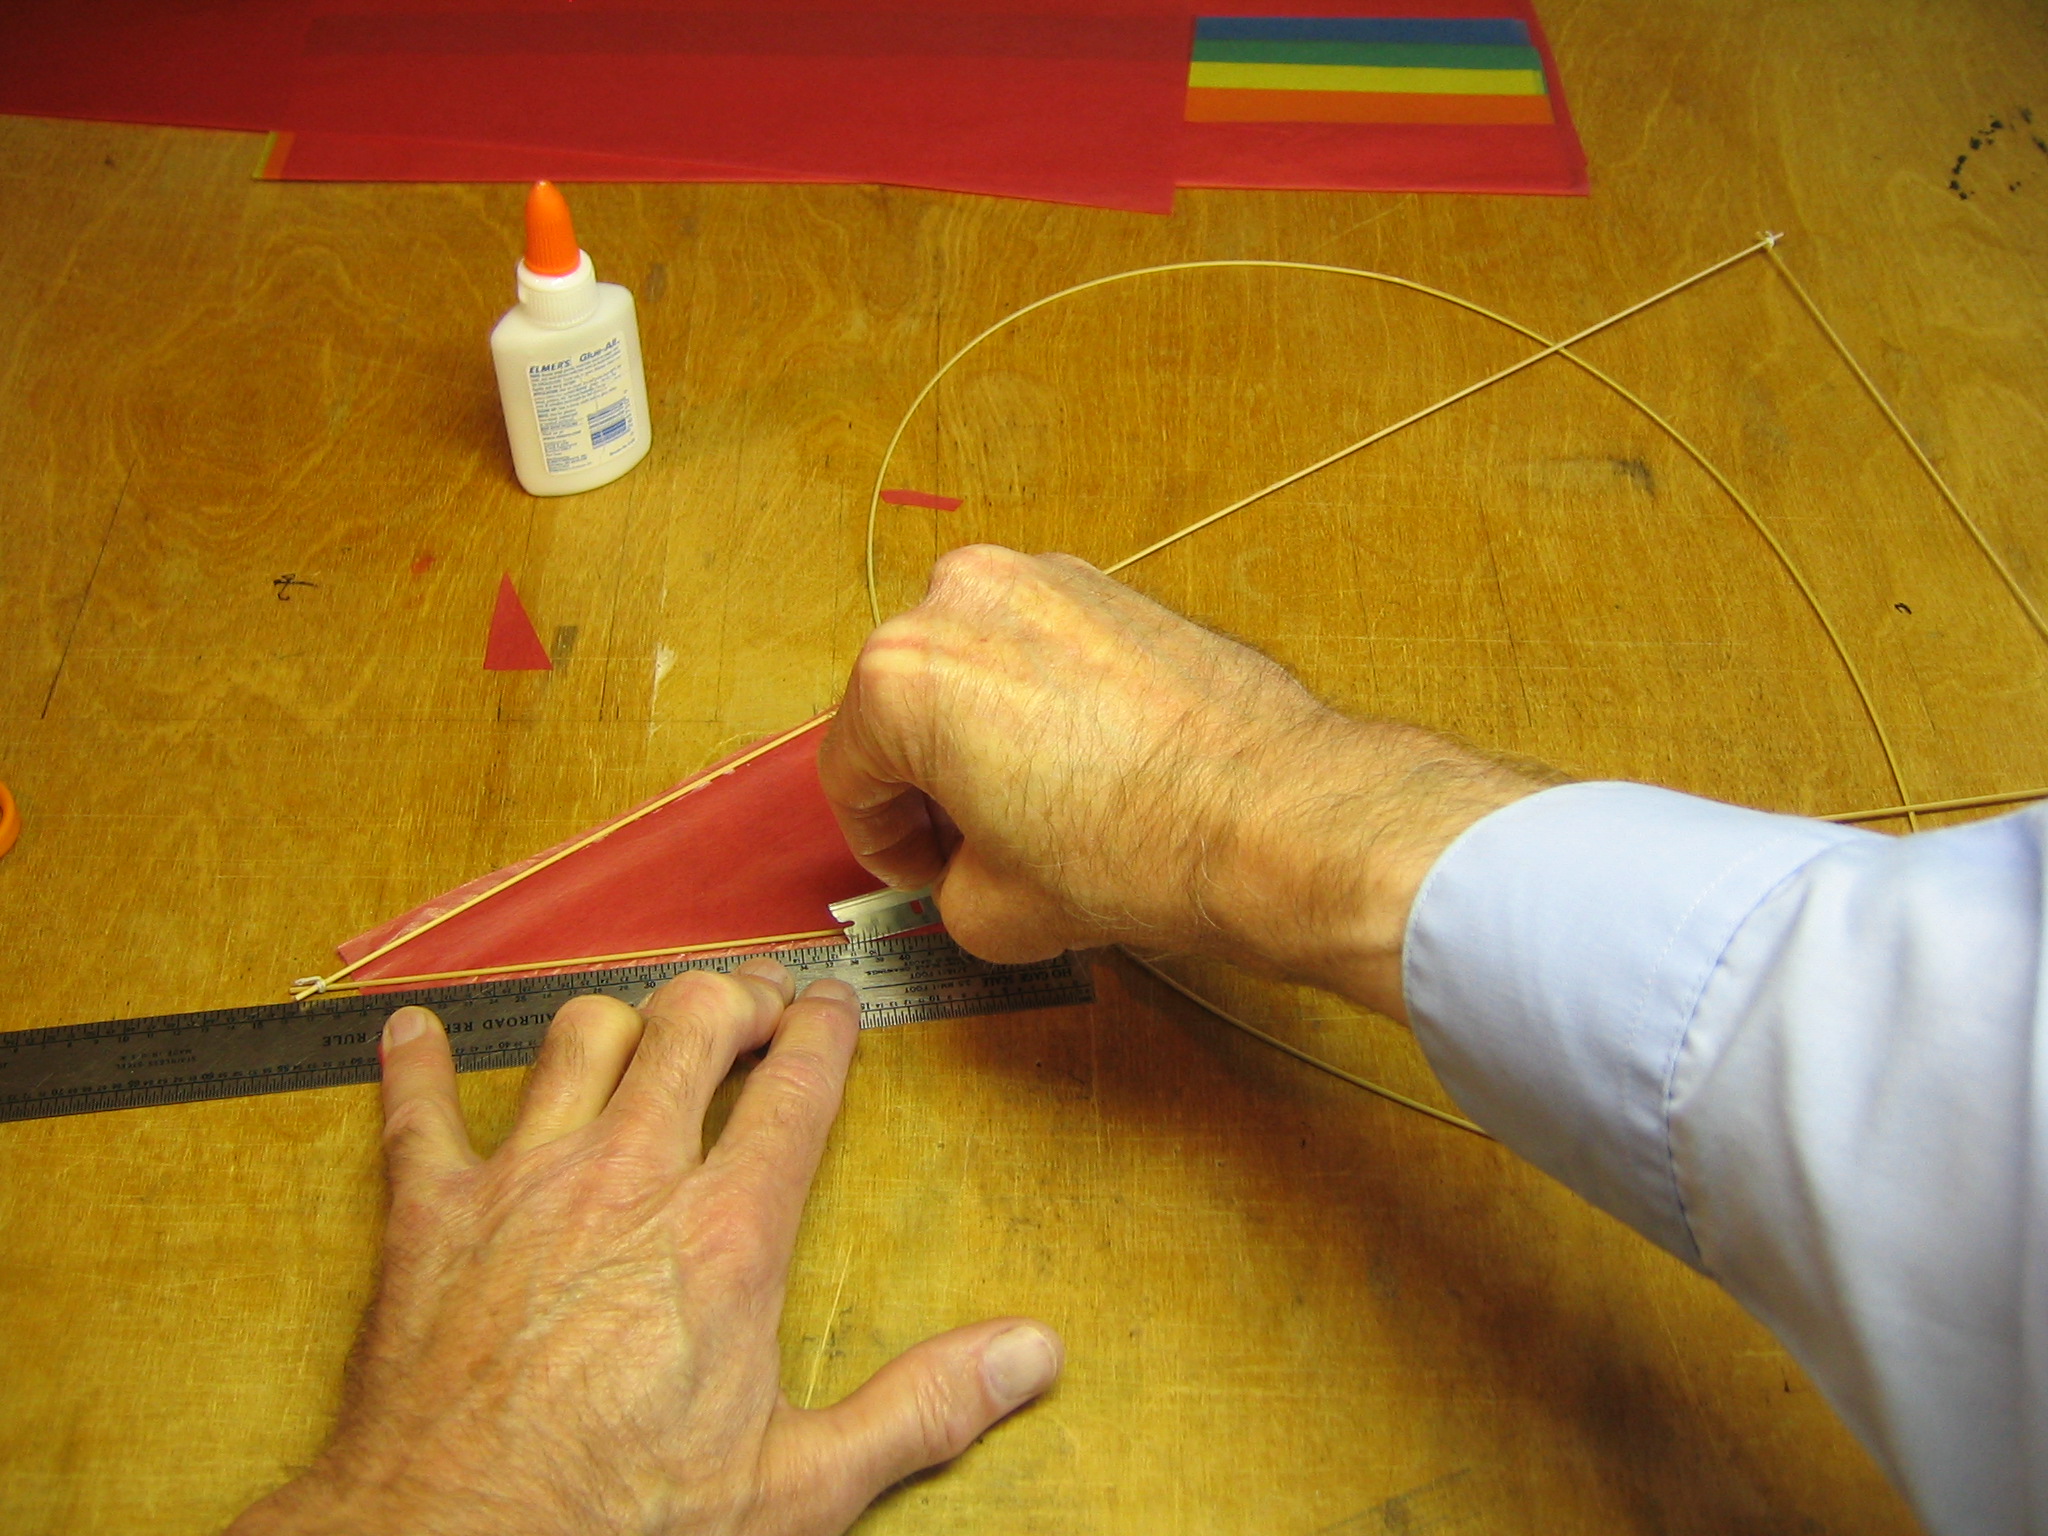
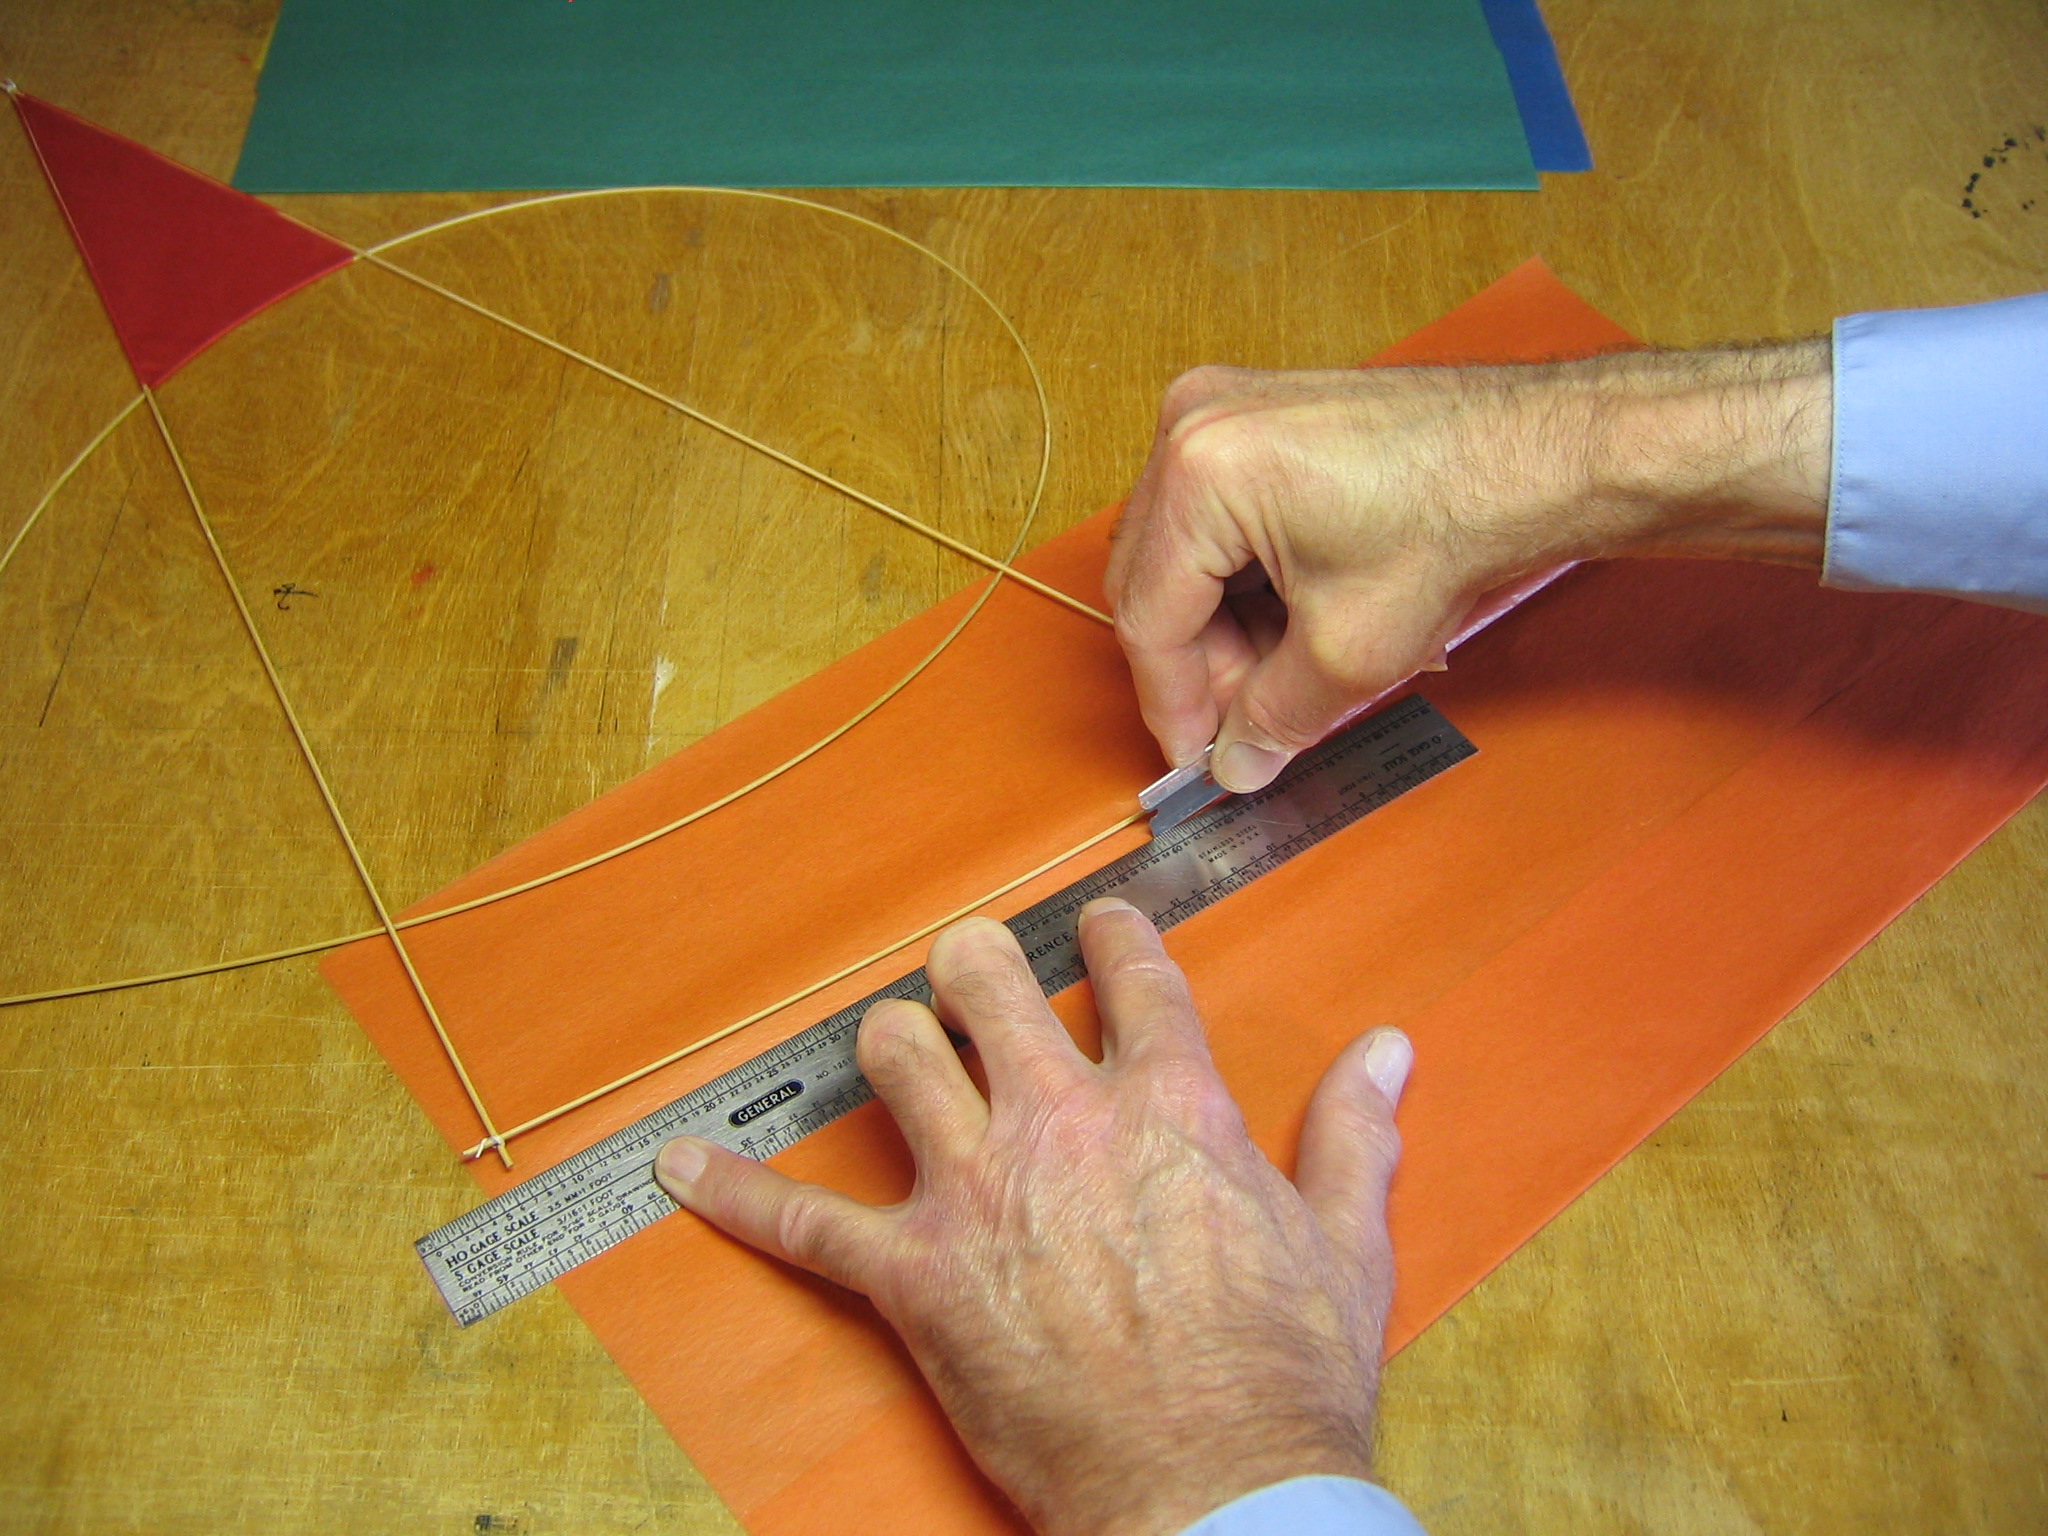
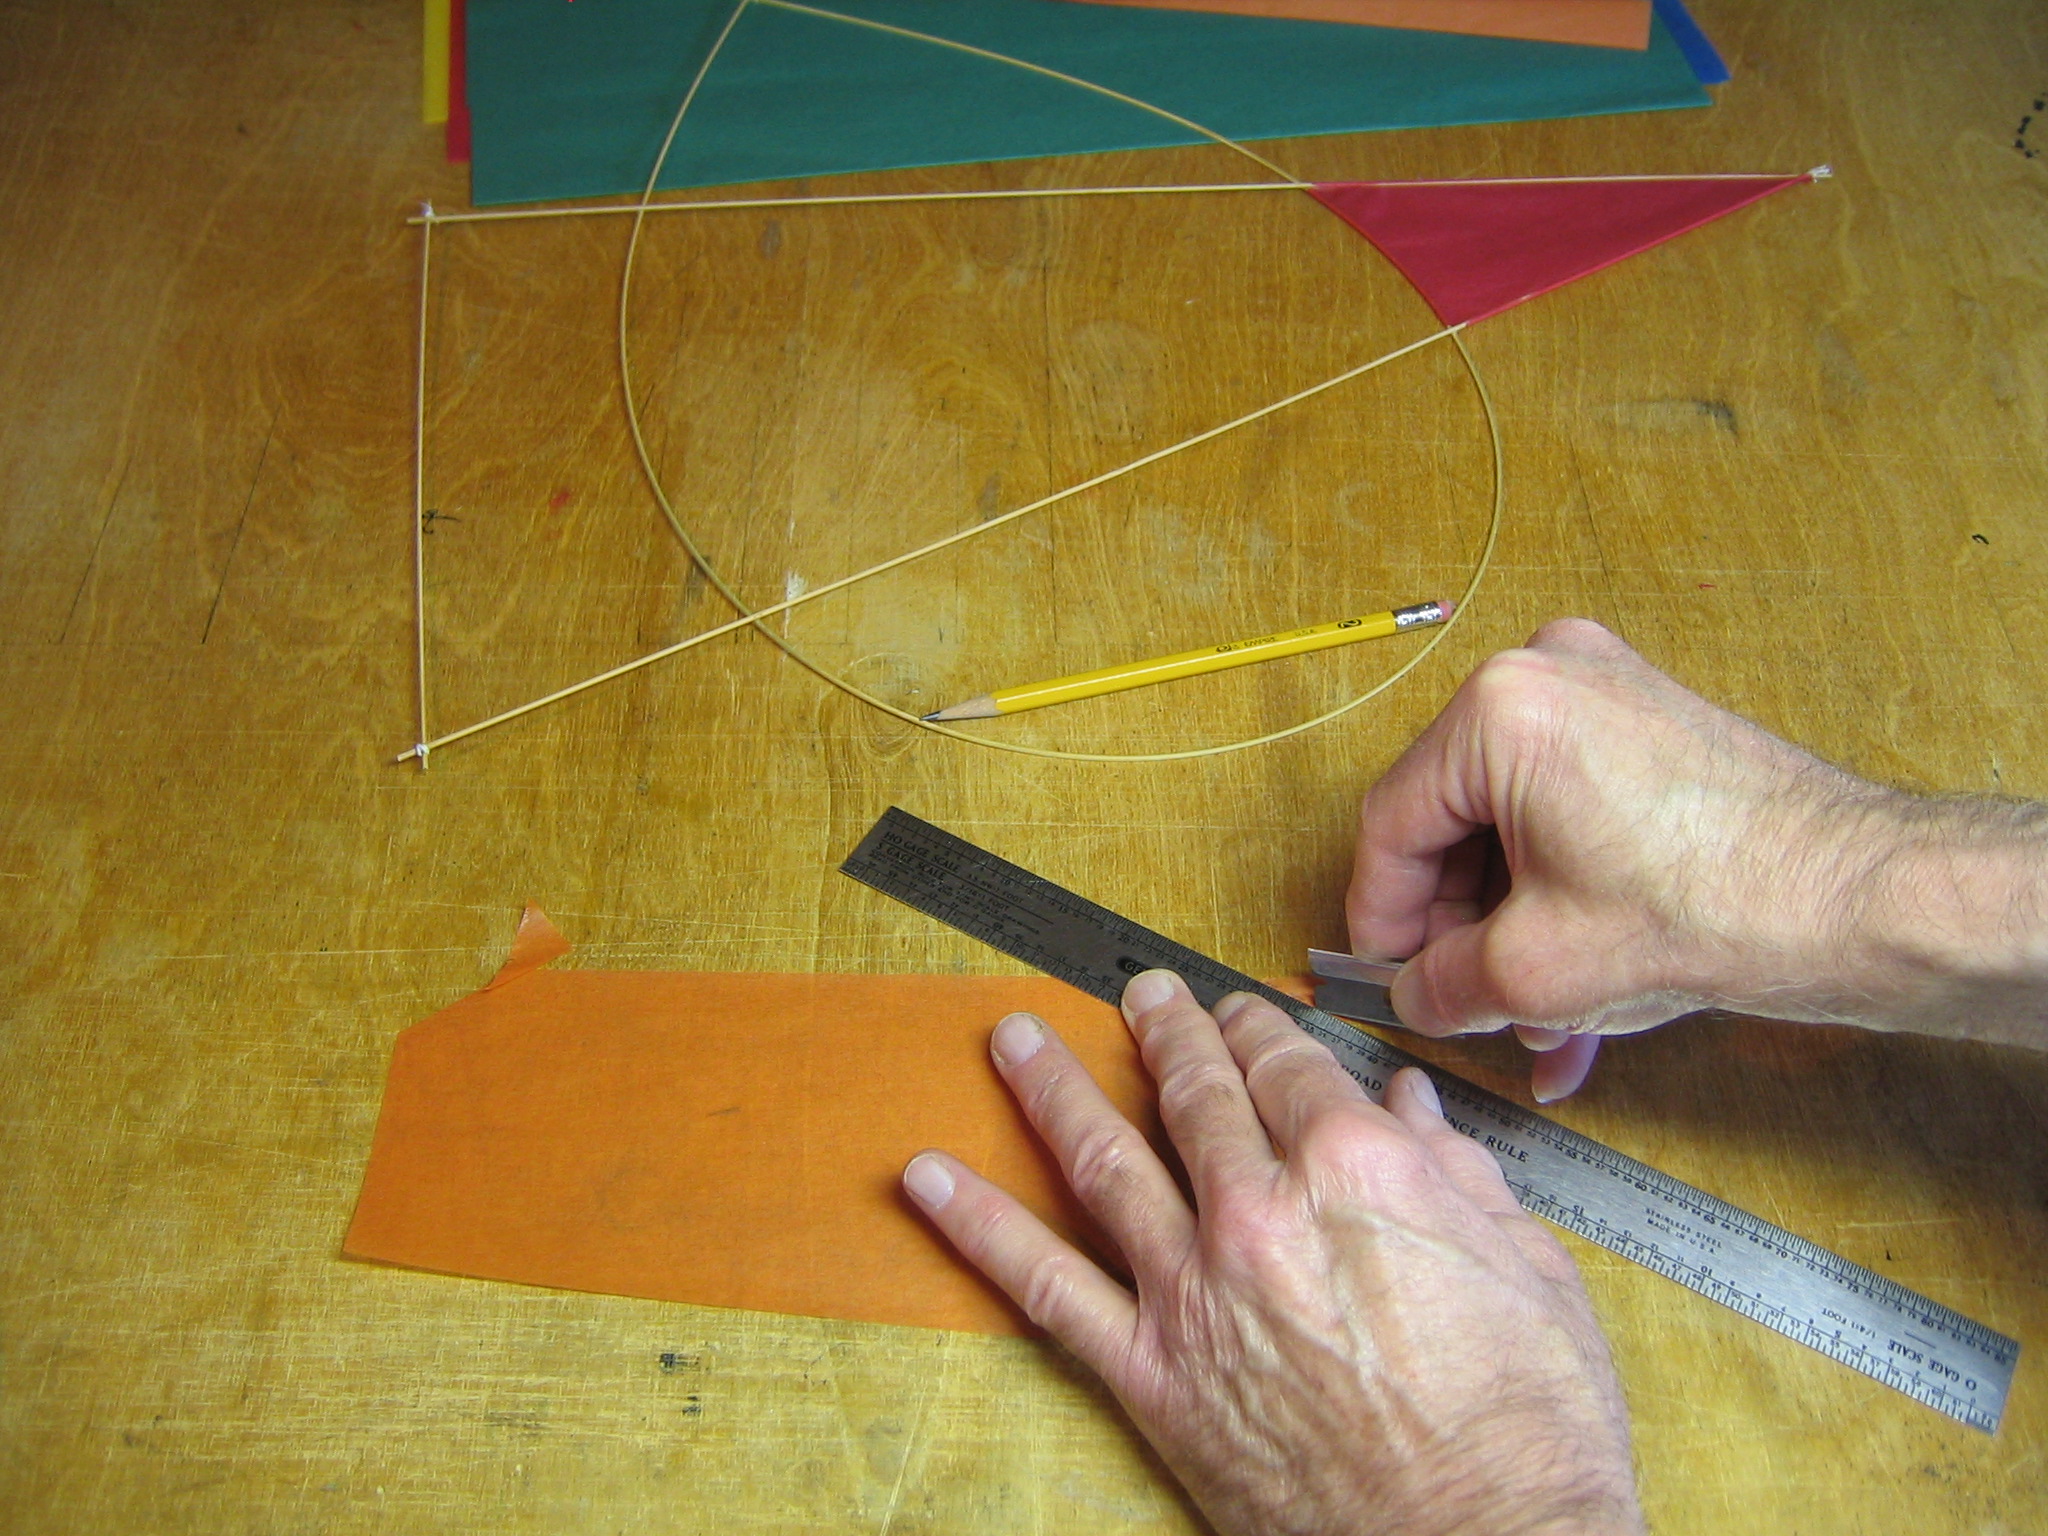
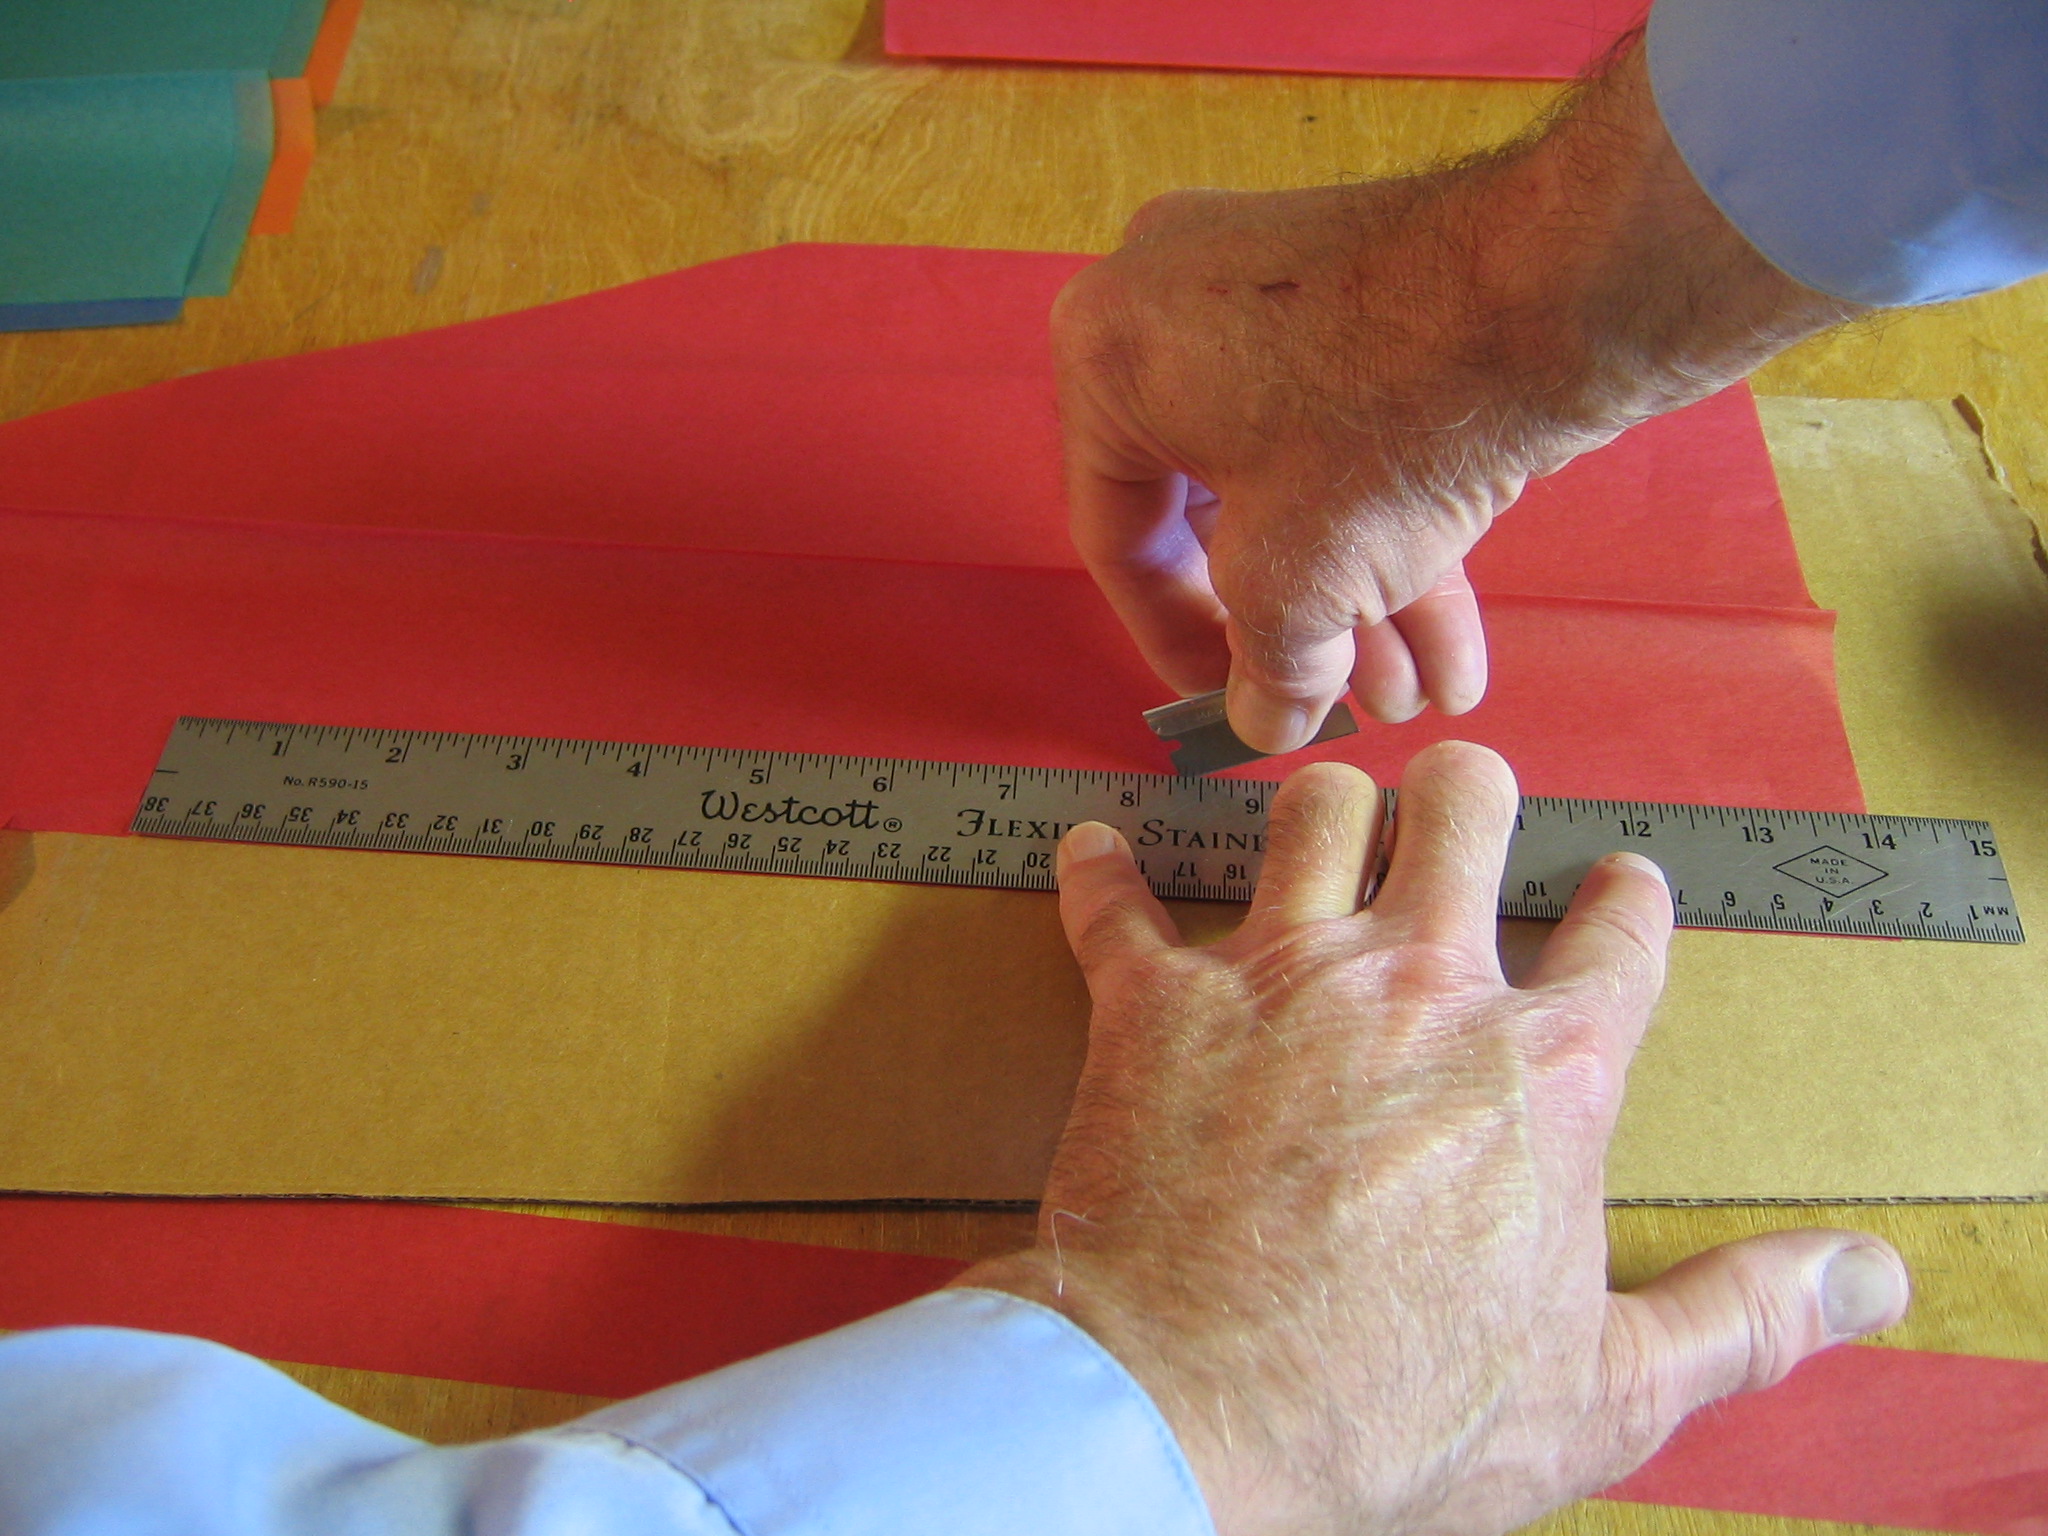
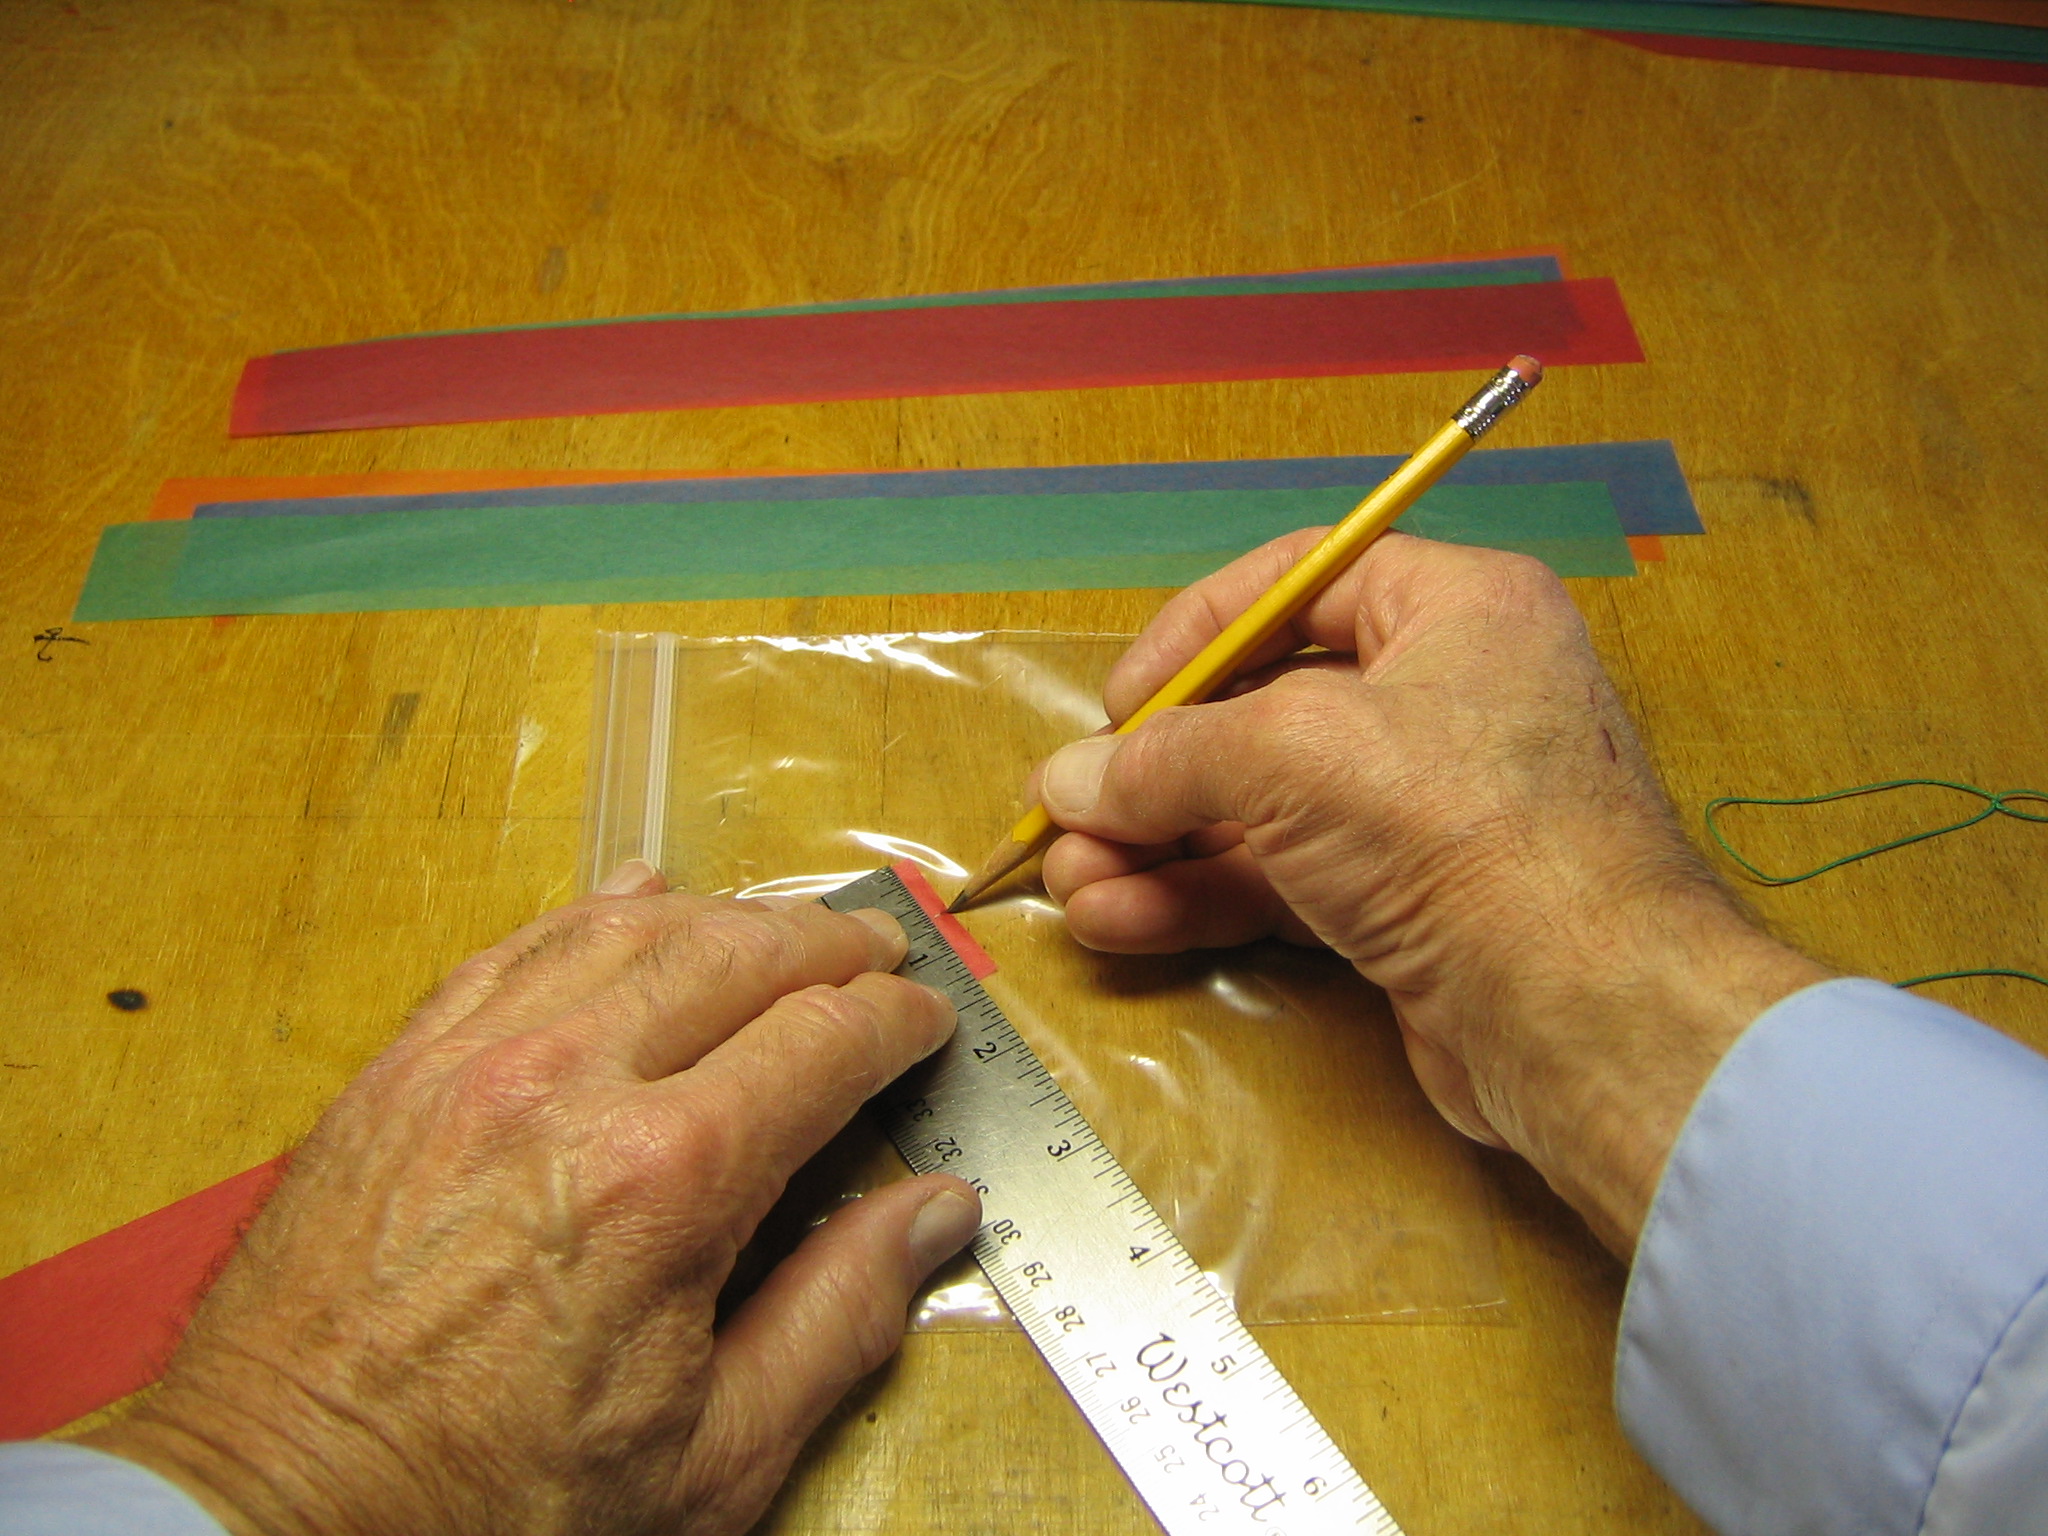
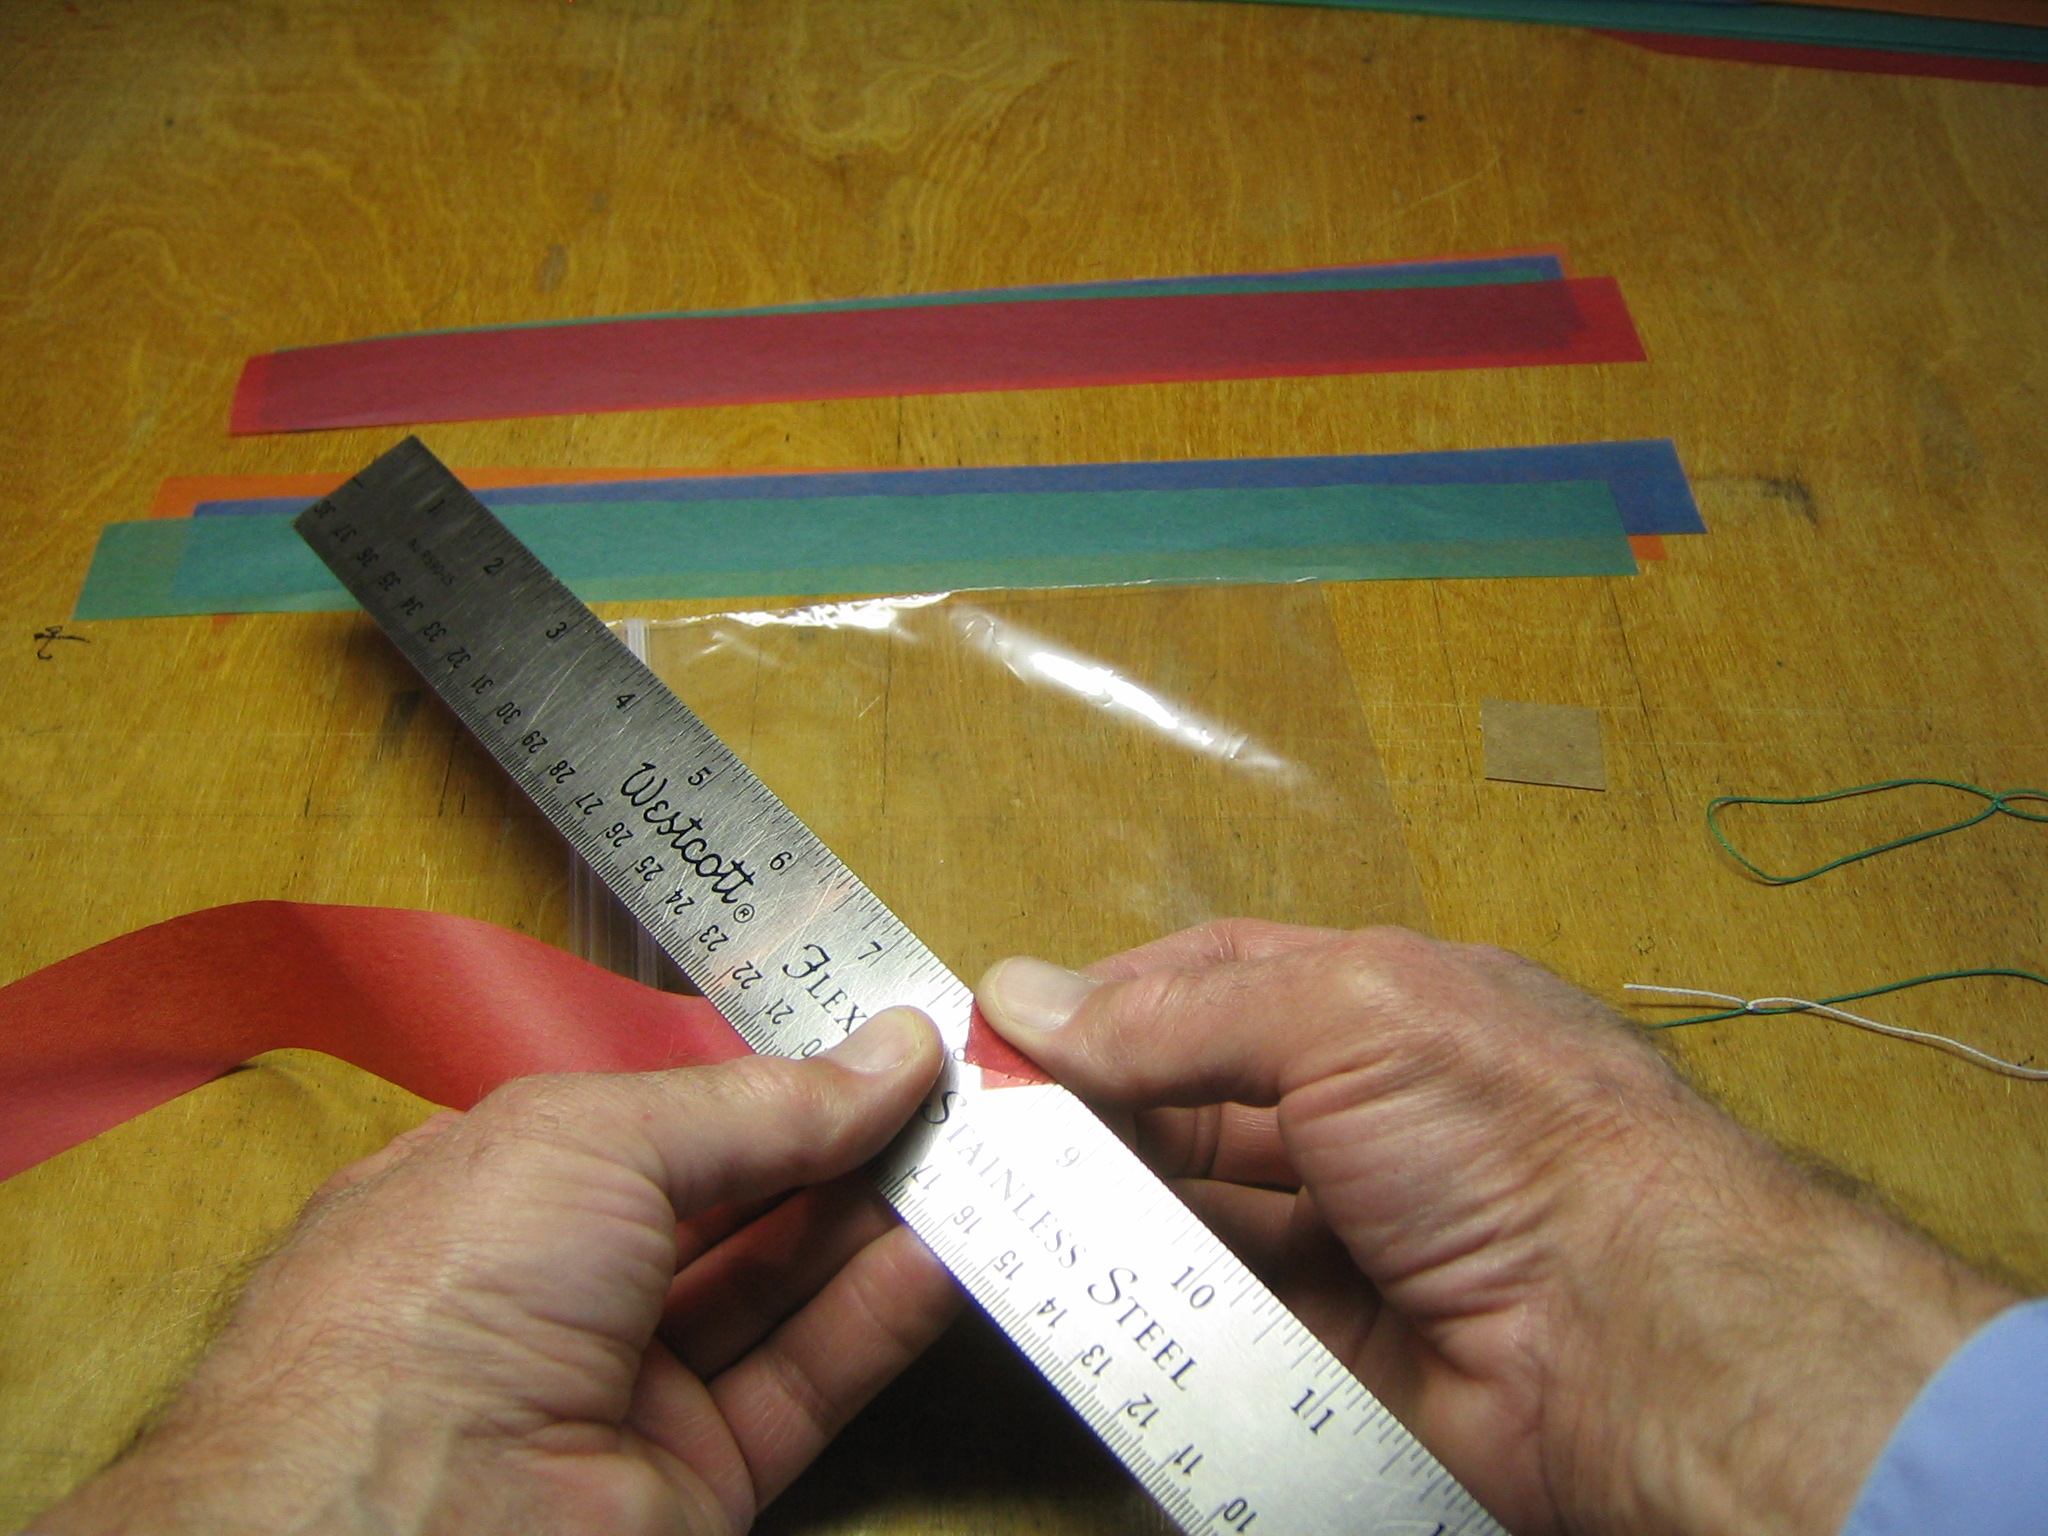
Place the framework over the tissue paper to extend a bit beyond the framework of one of the areas to be covered. Place the straightedge where the paper is to be cut.
Cut along the straightedge with the razor blade. If you don’t want to use a razor blade, mark the cutting line with a pencil and cut it with scissors.
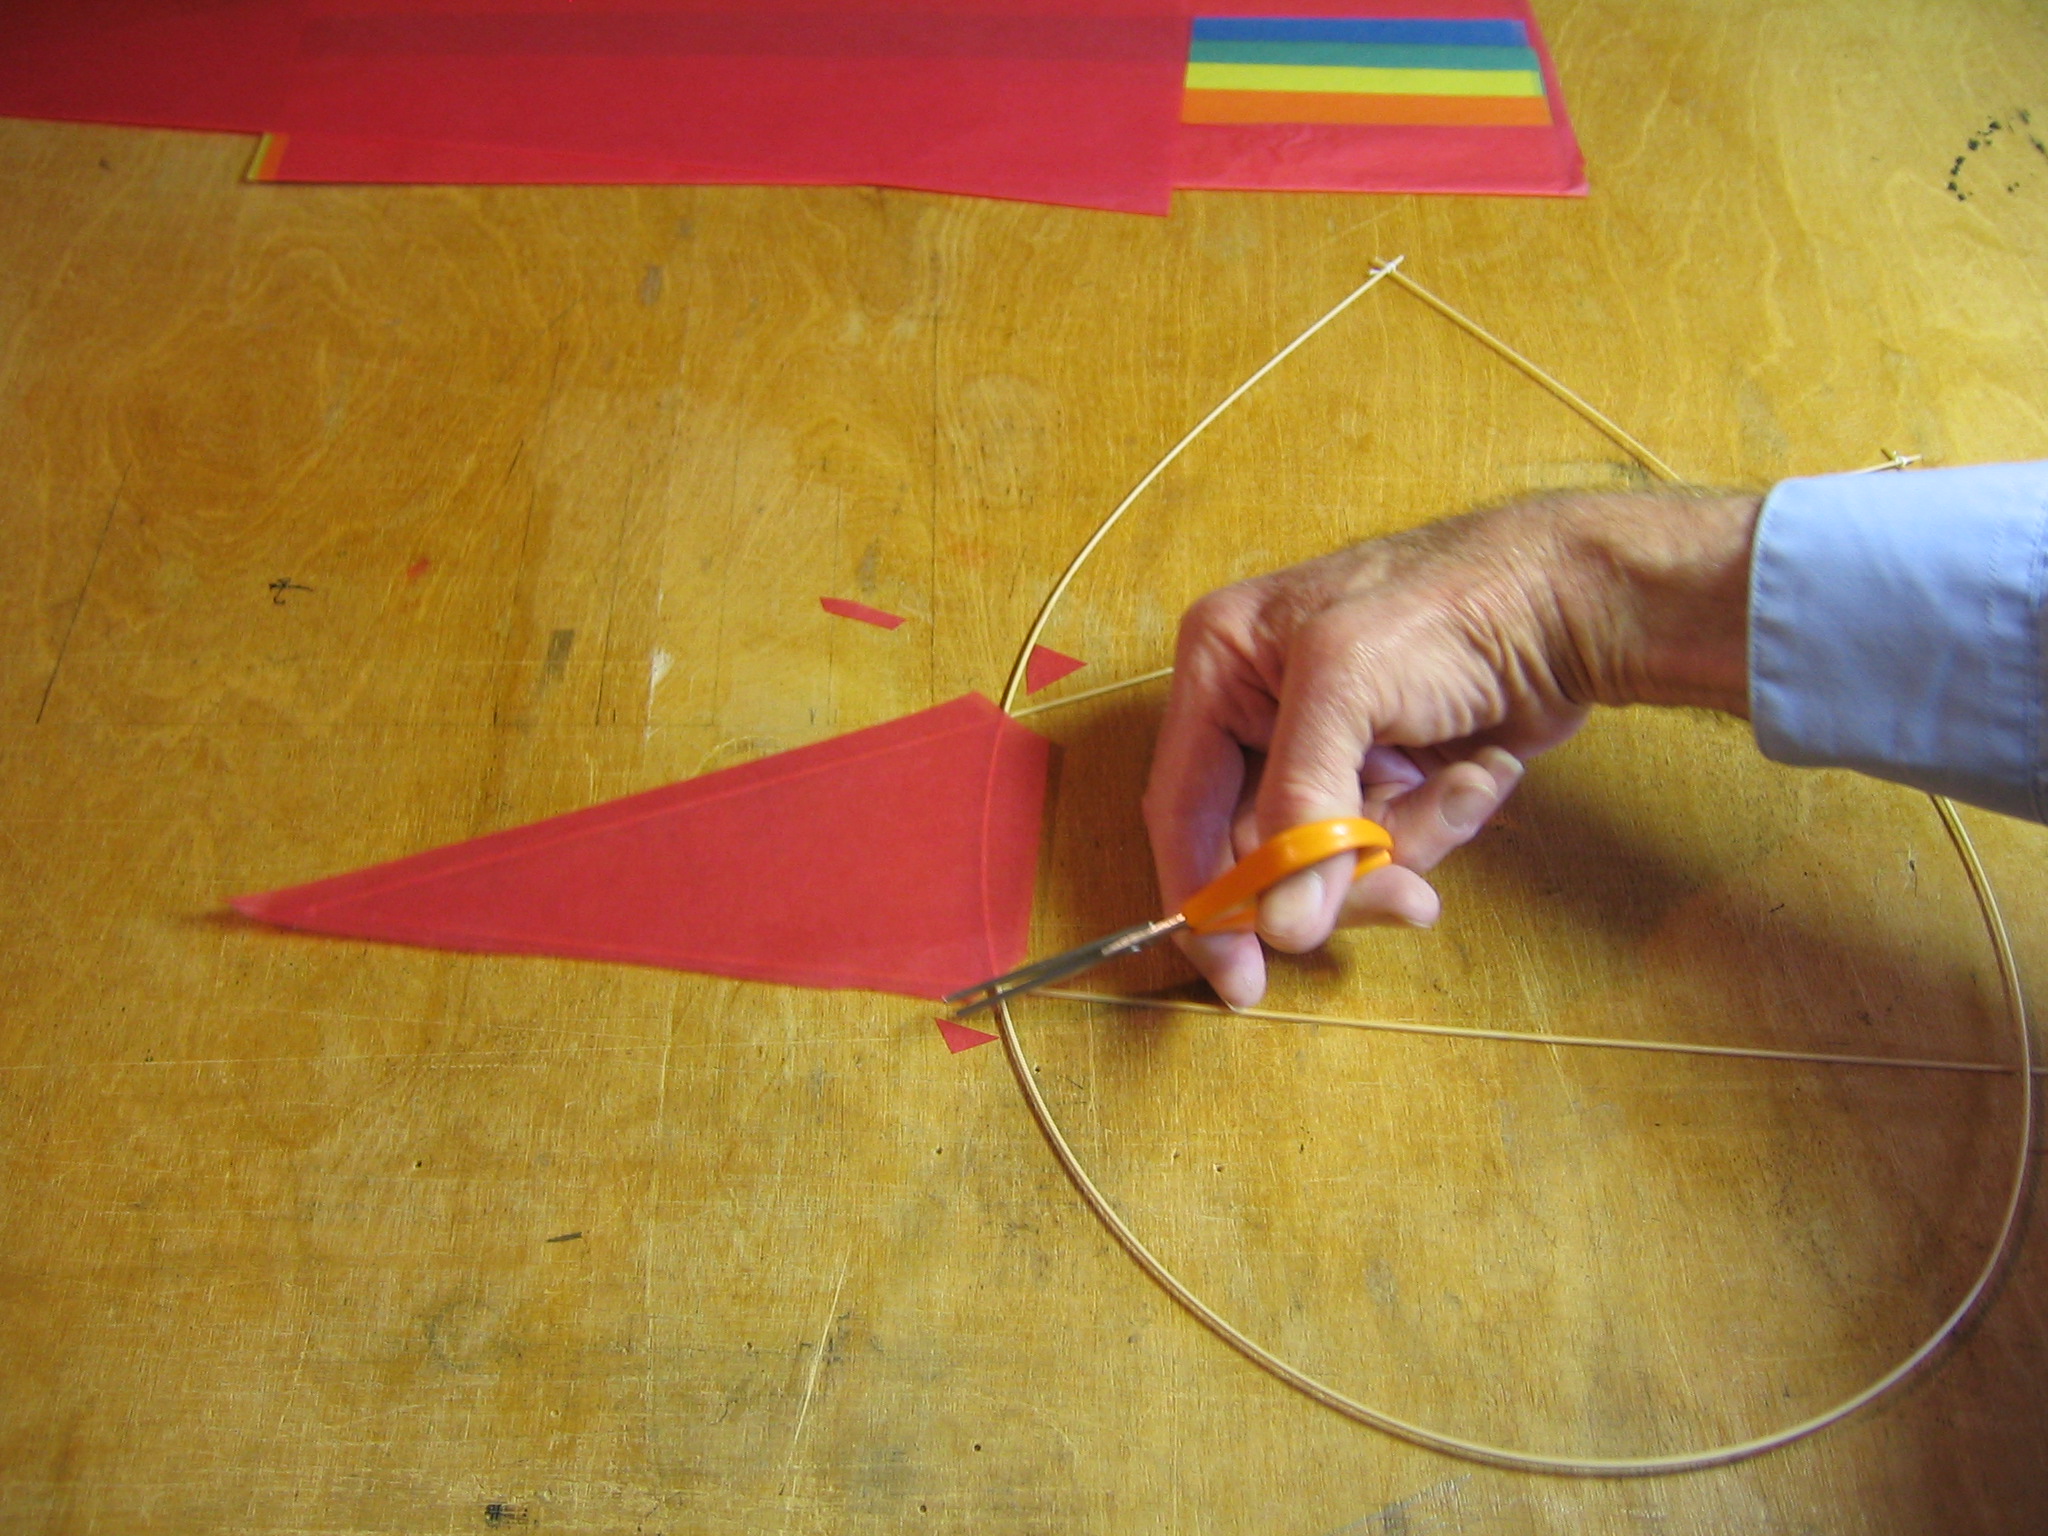
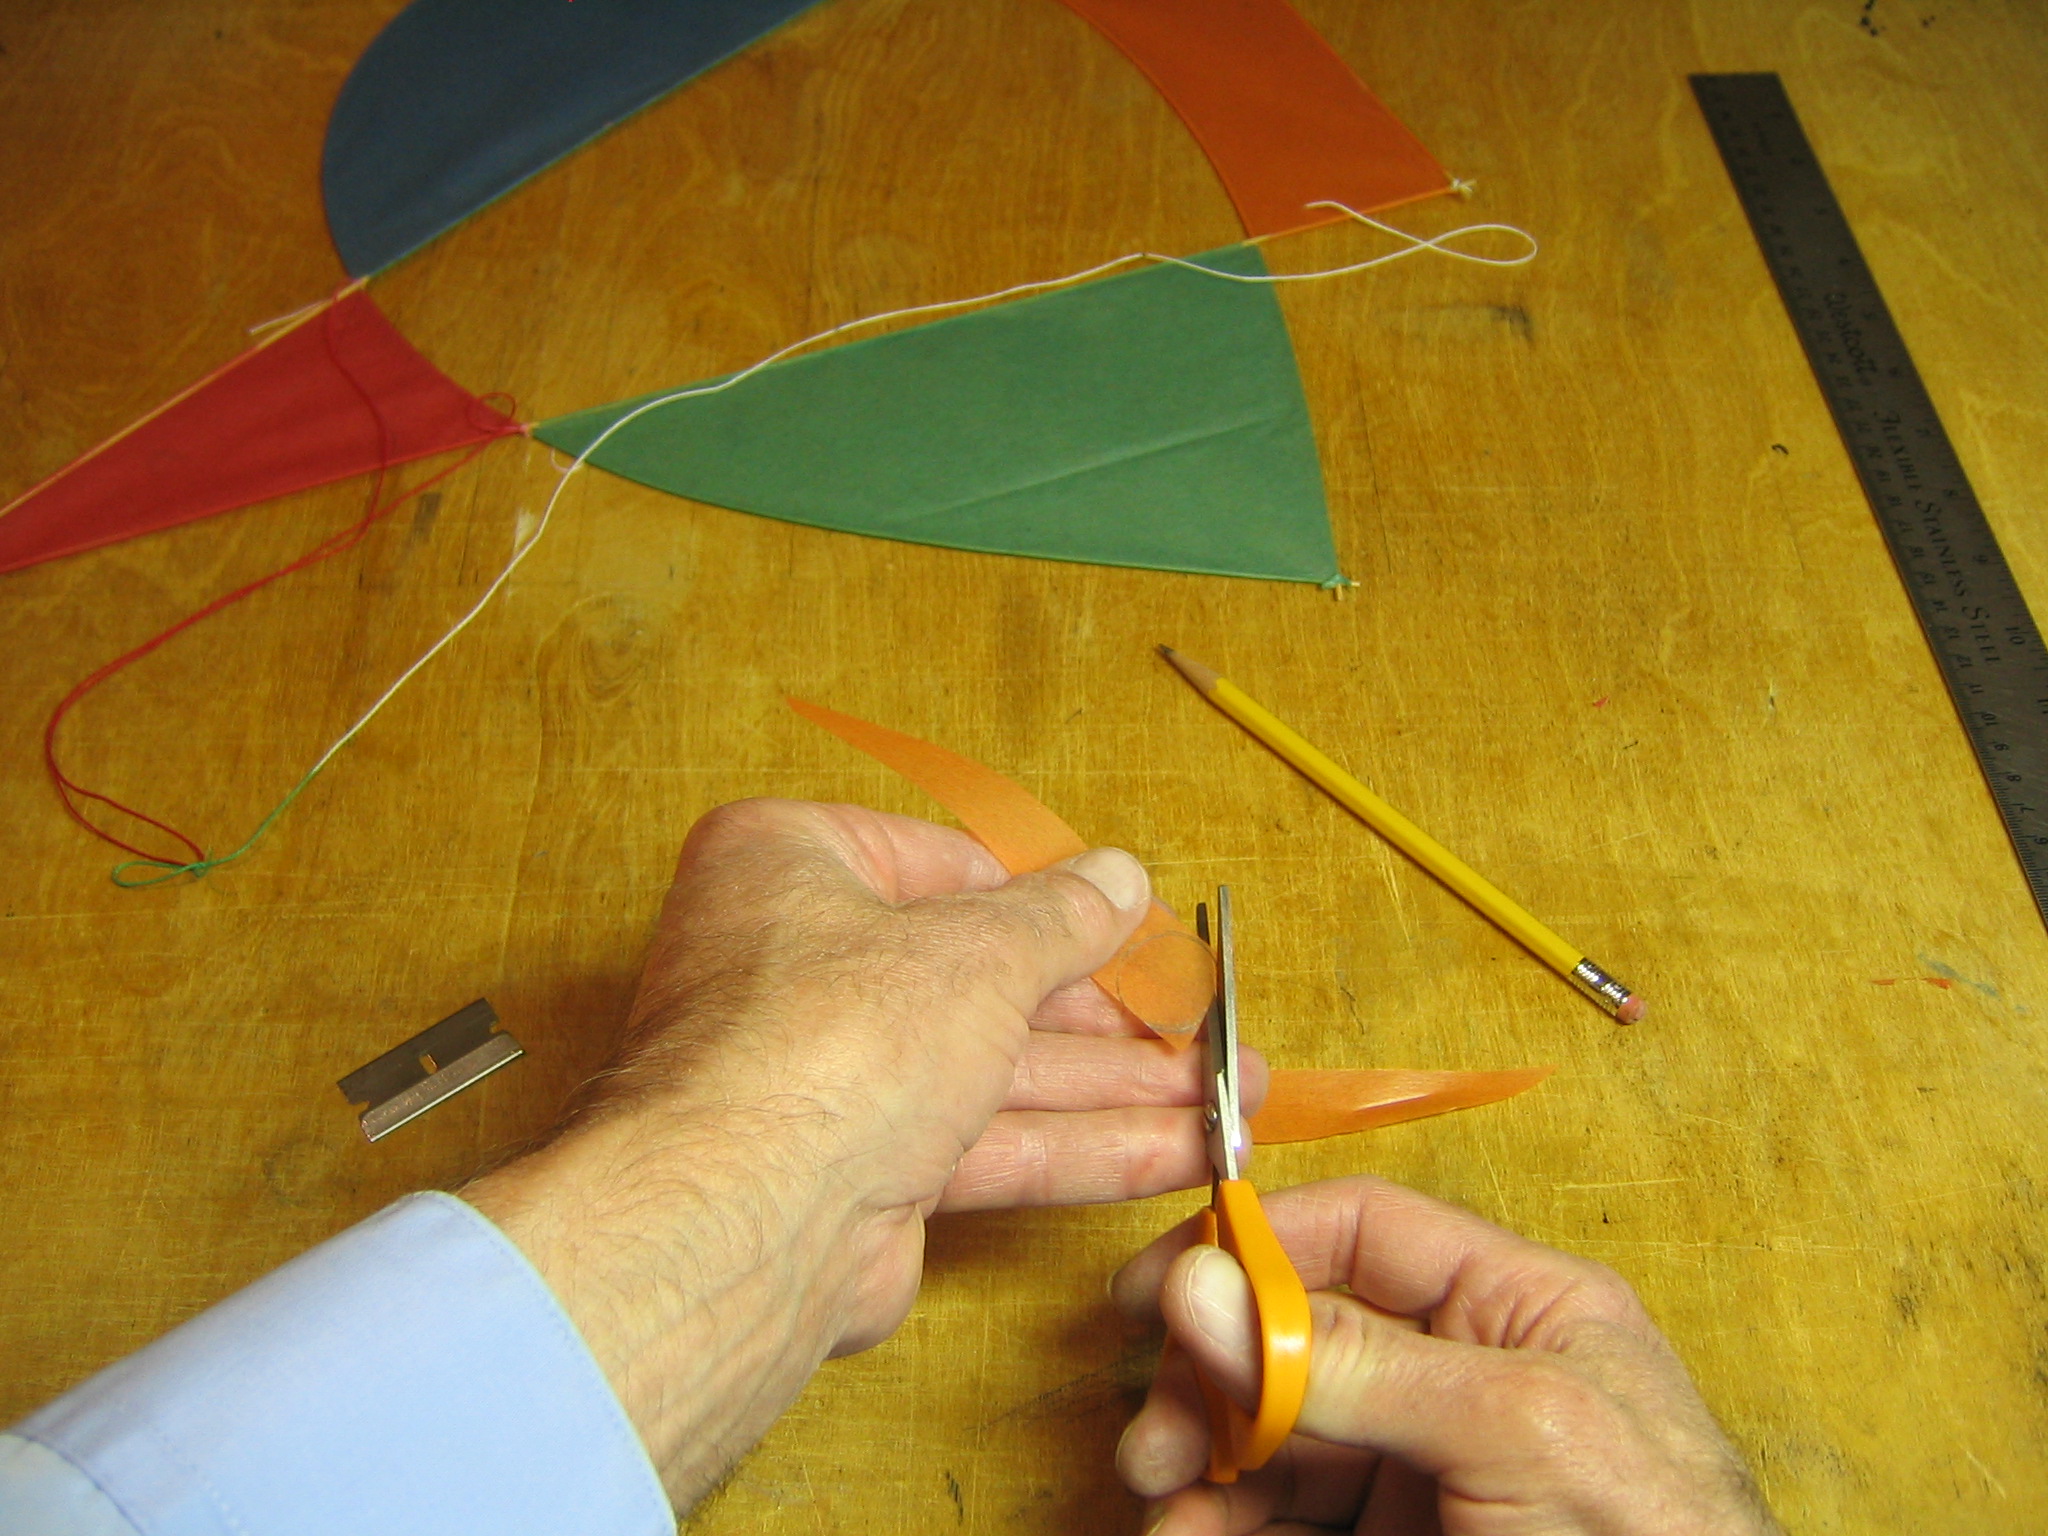
Snip off the corners so the paper can fit into the corners of the frame.

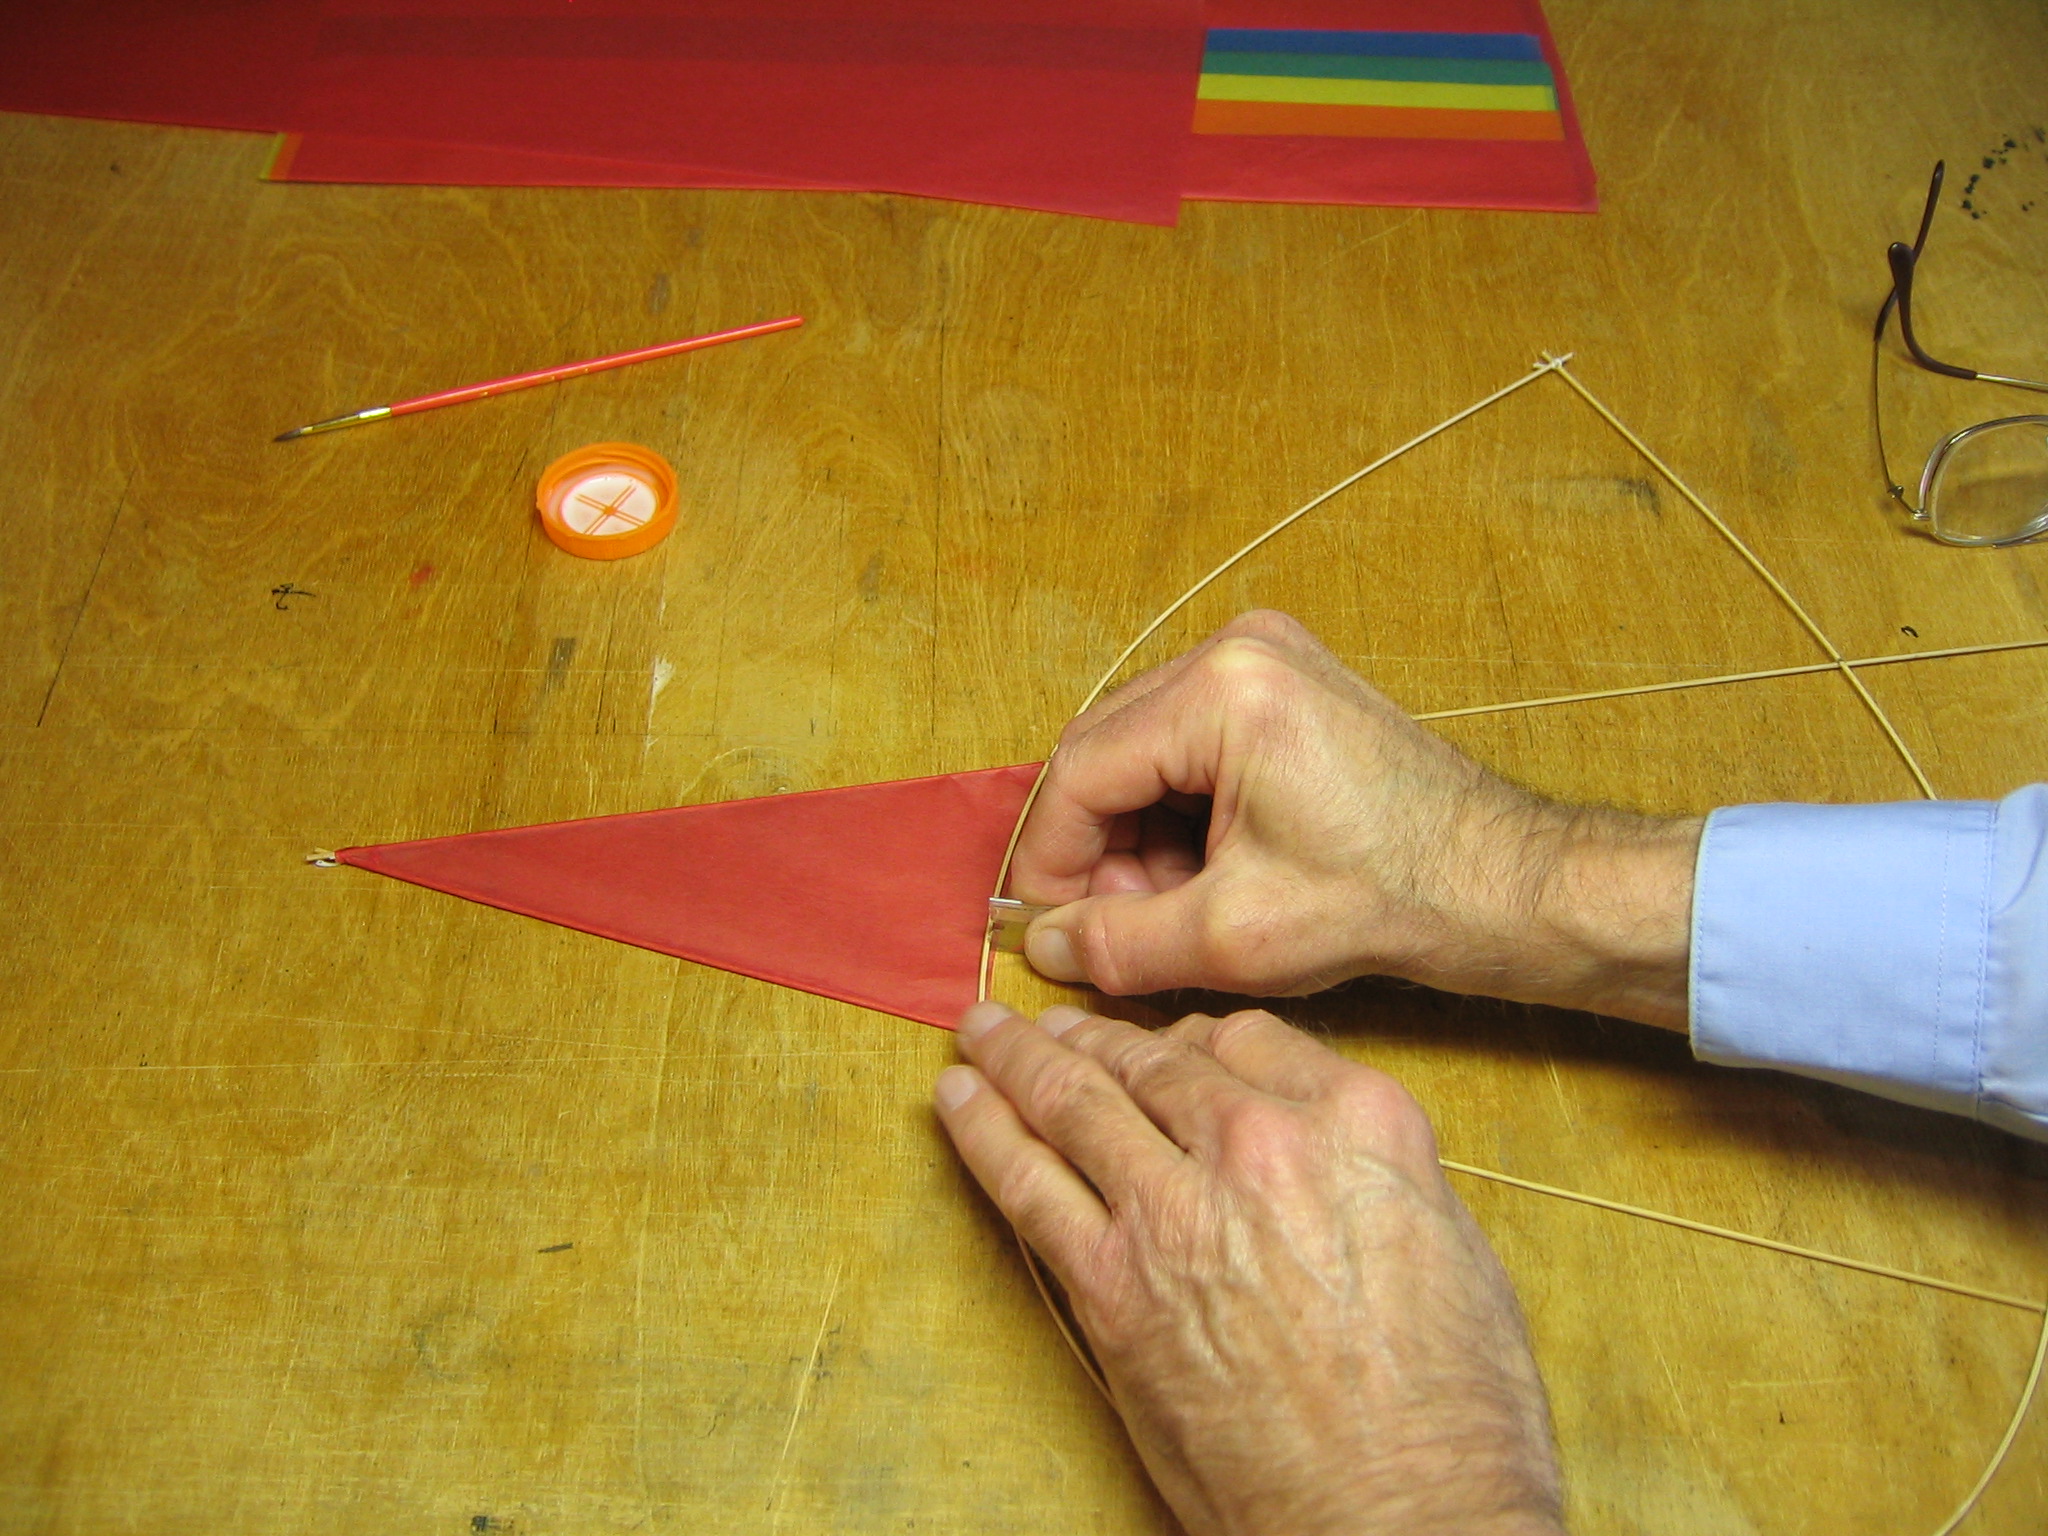
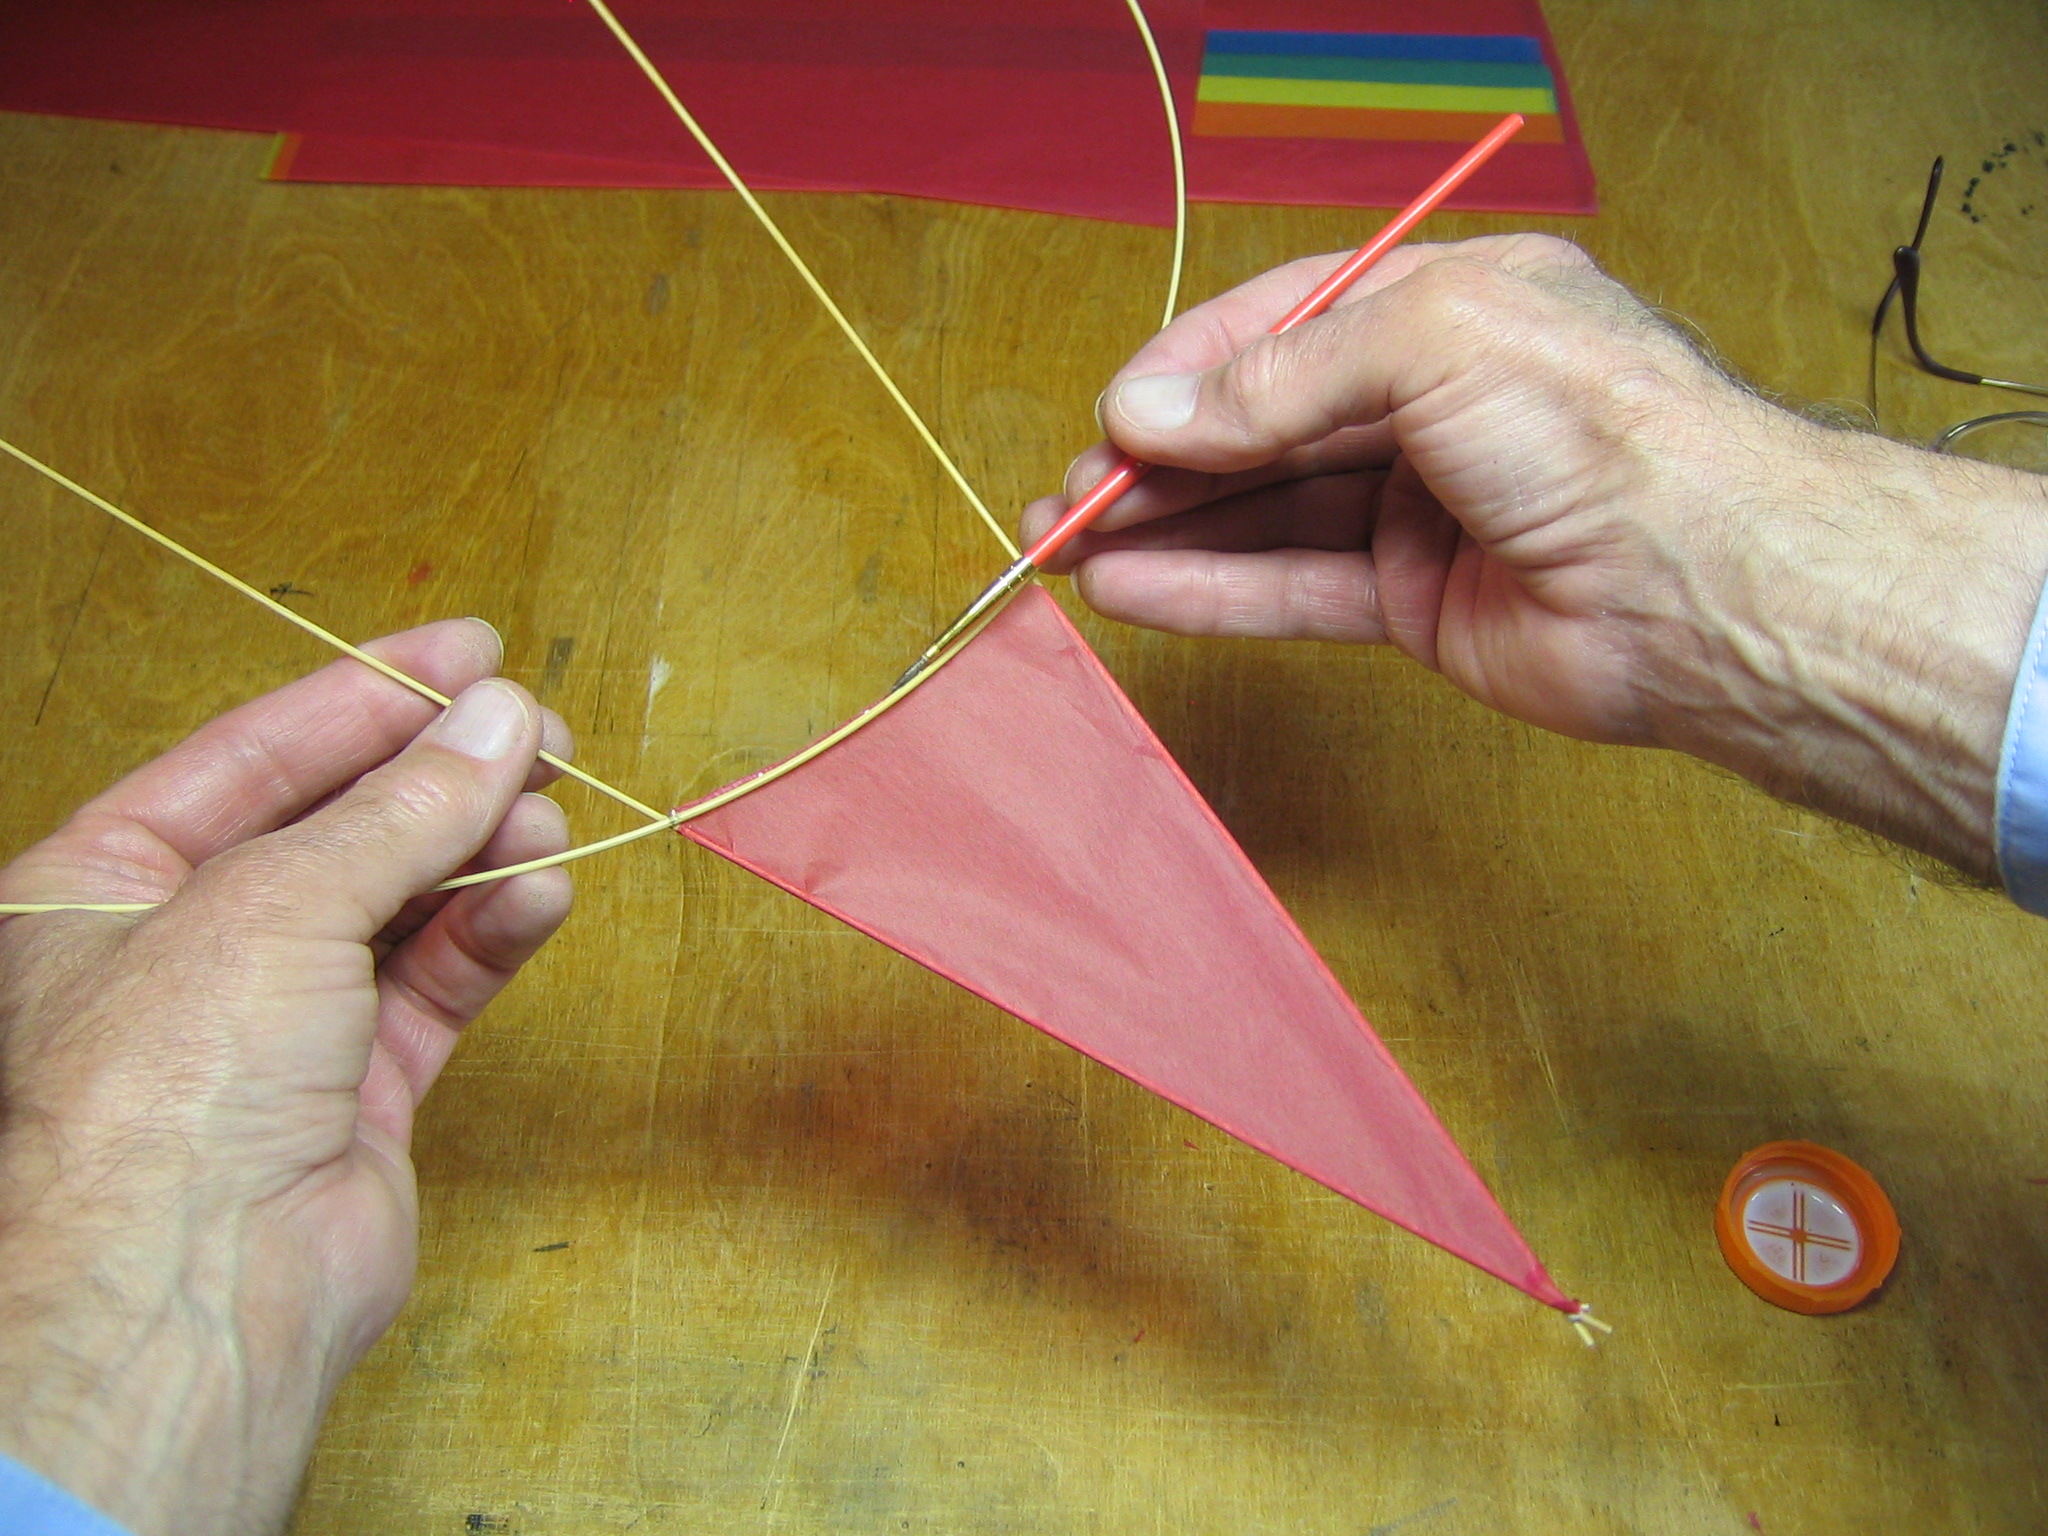
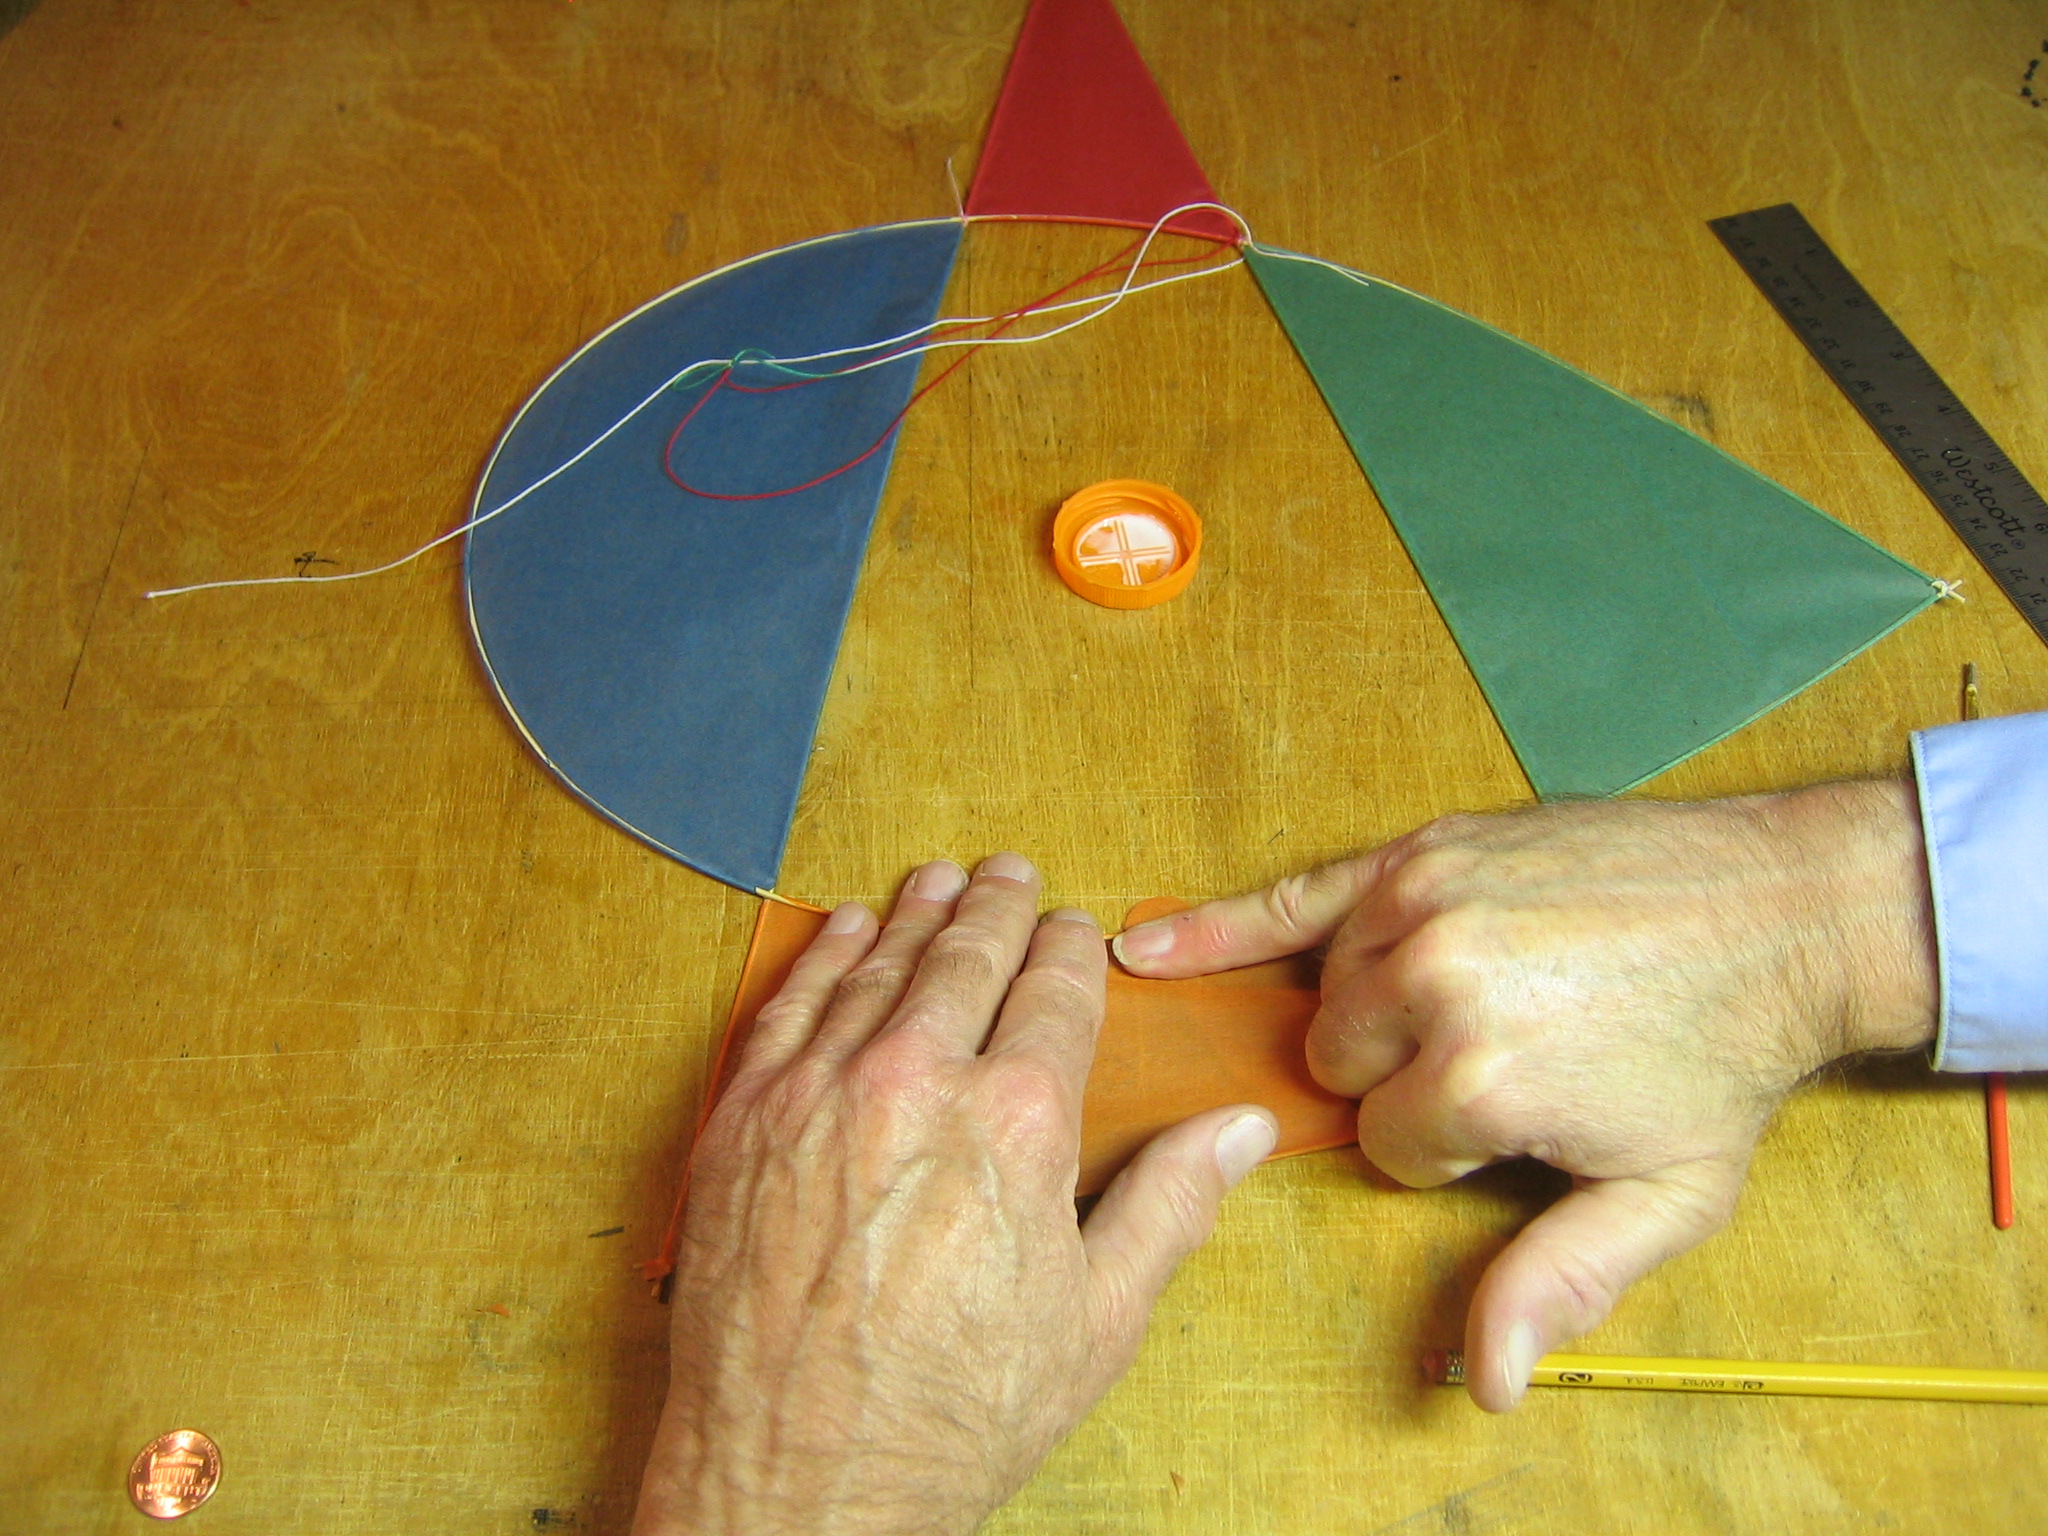
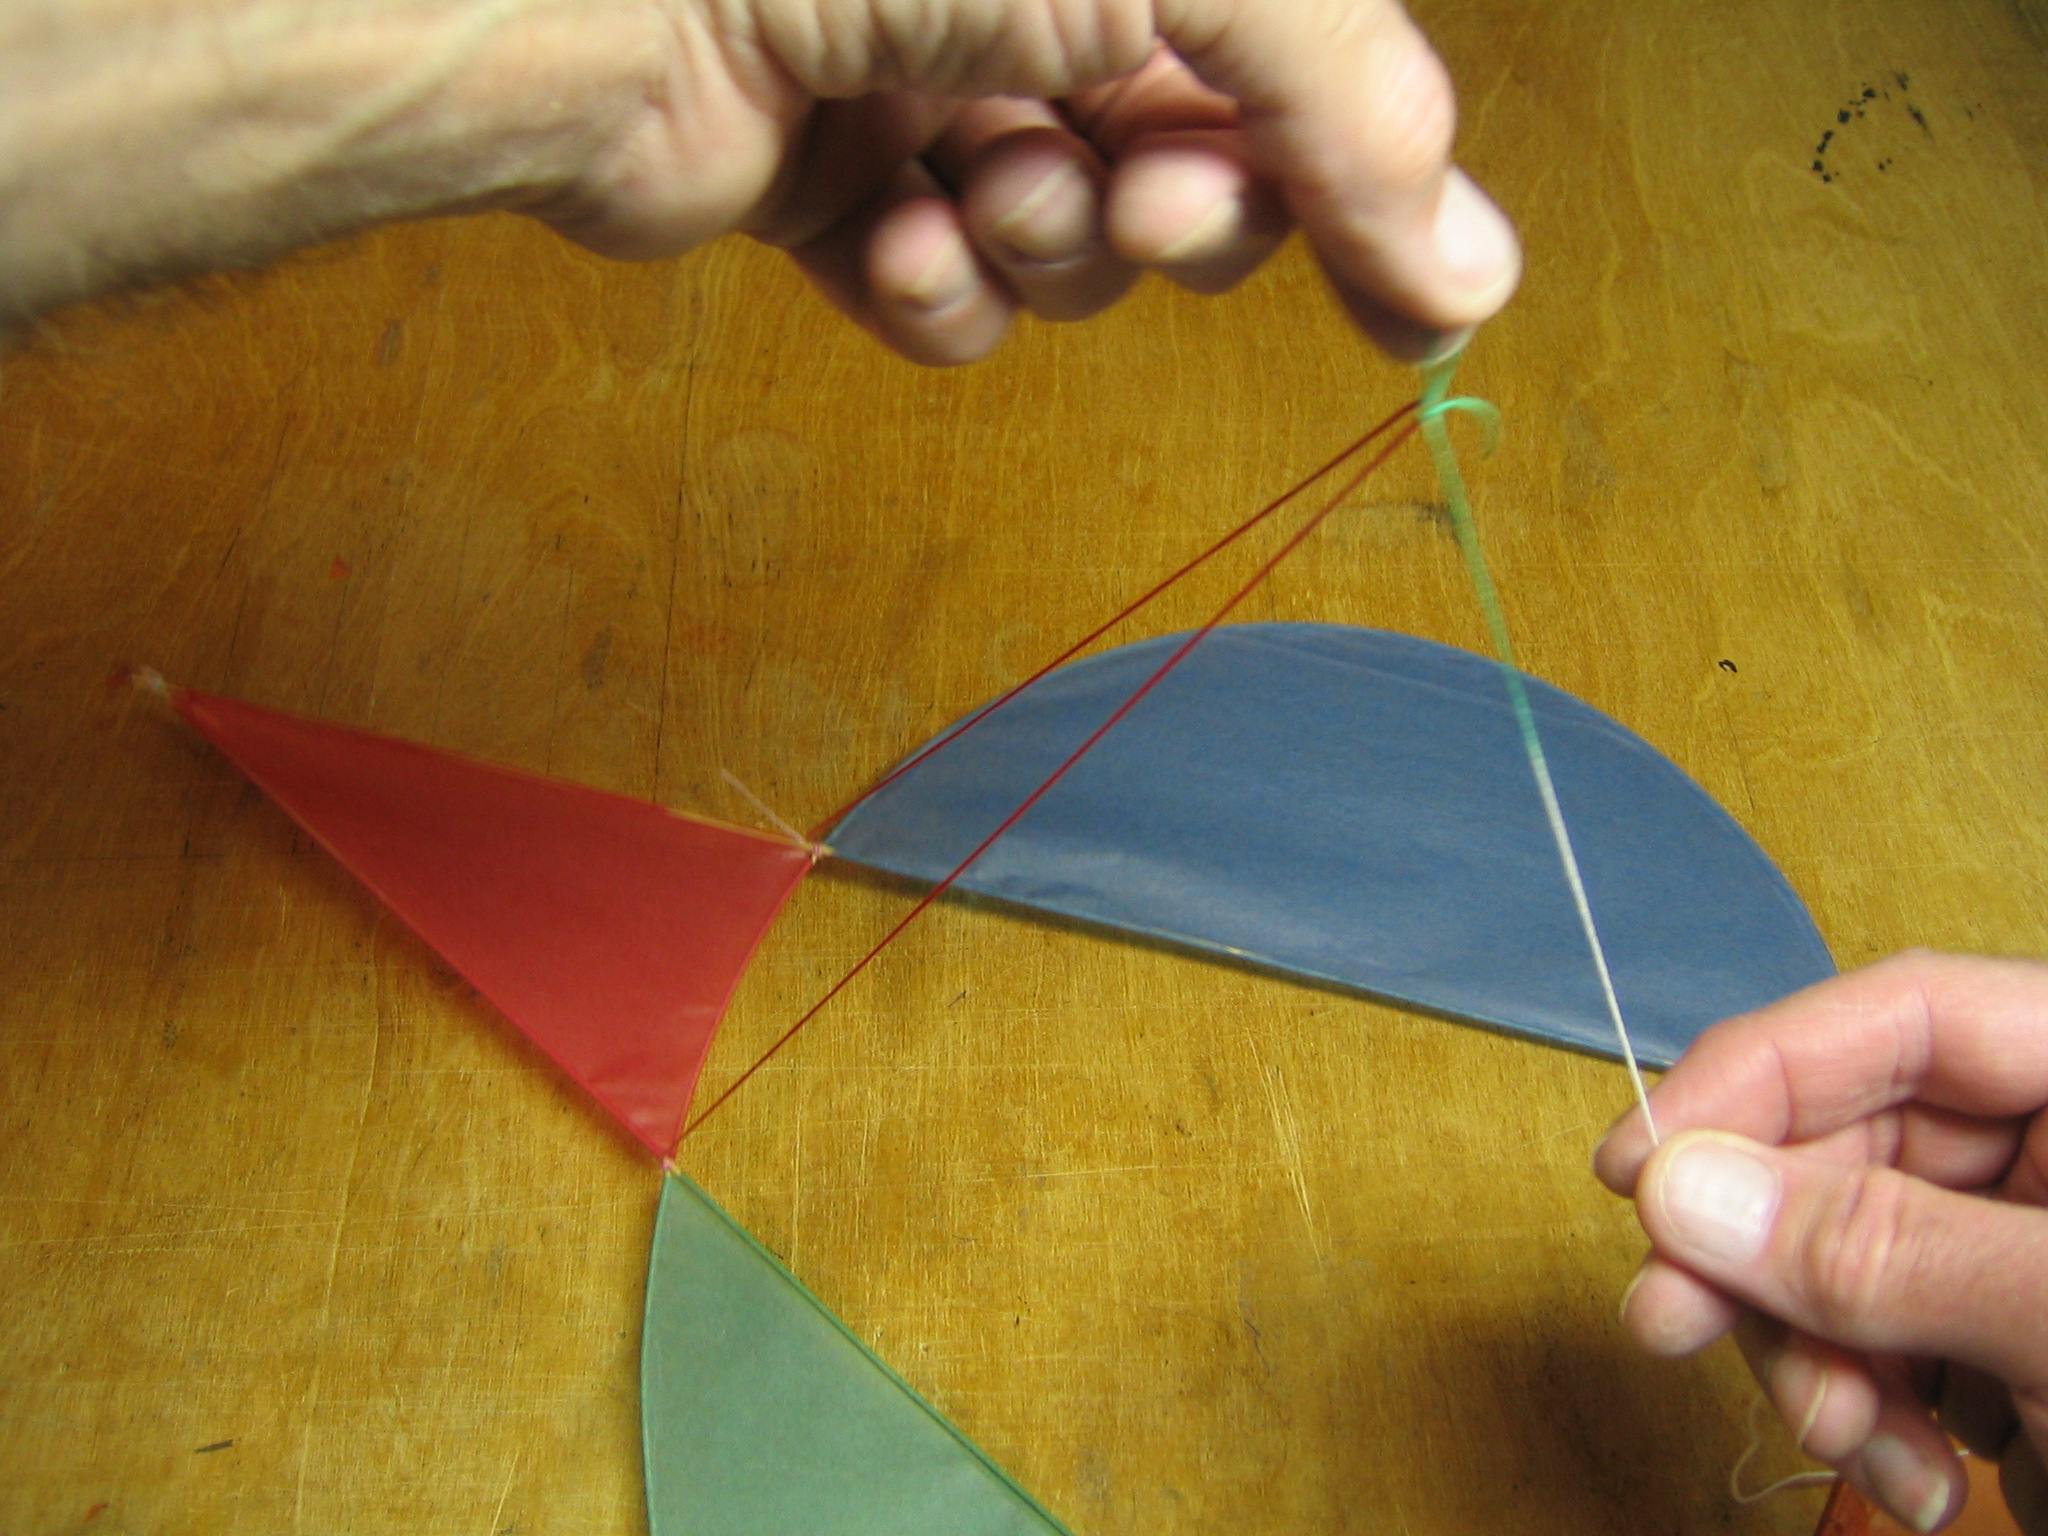
The paper will go in between the loop and the triangle, like this. It must be glued to some of each.
Run a thin line of glue along the inside surface of the triangular part of the frame that will contact the paper.
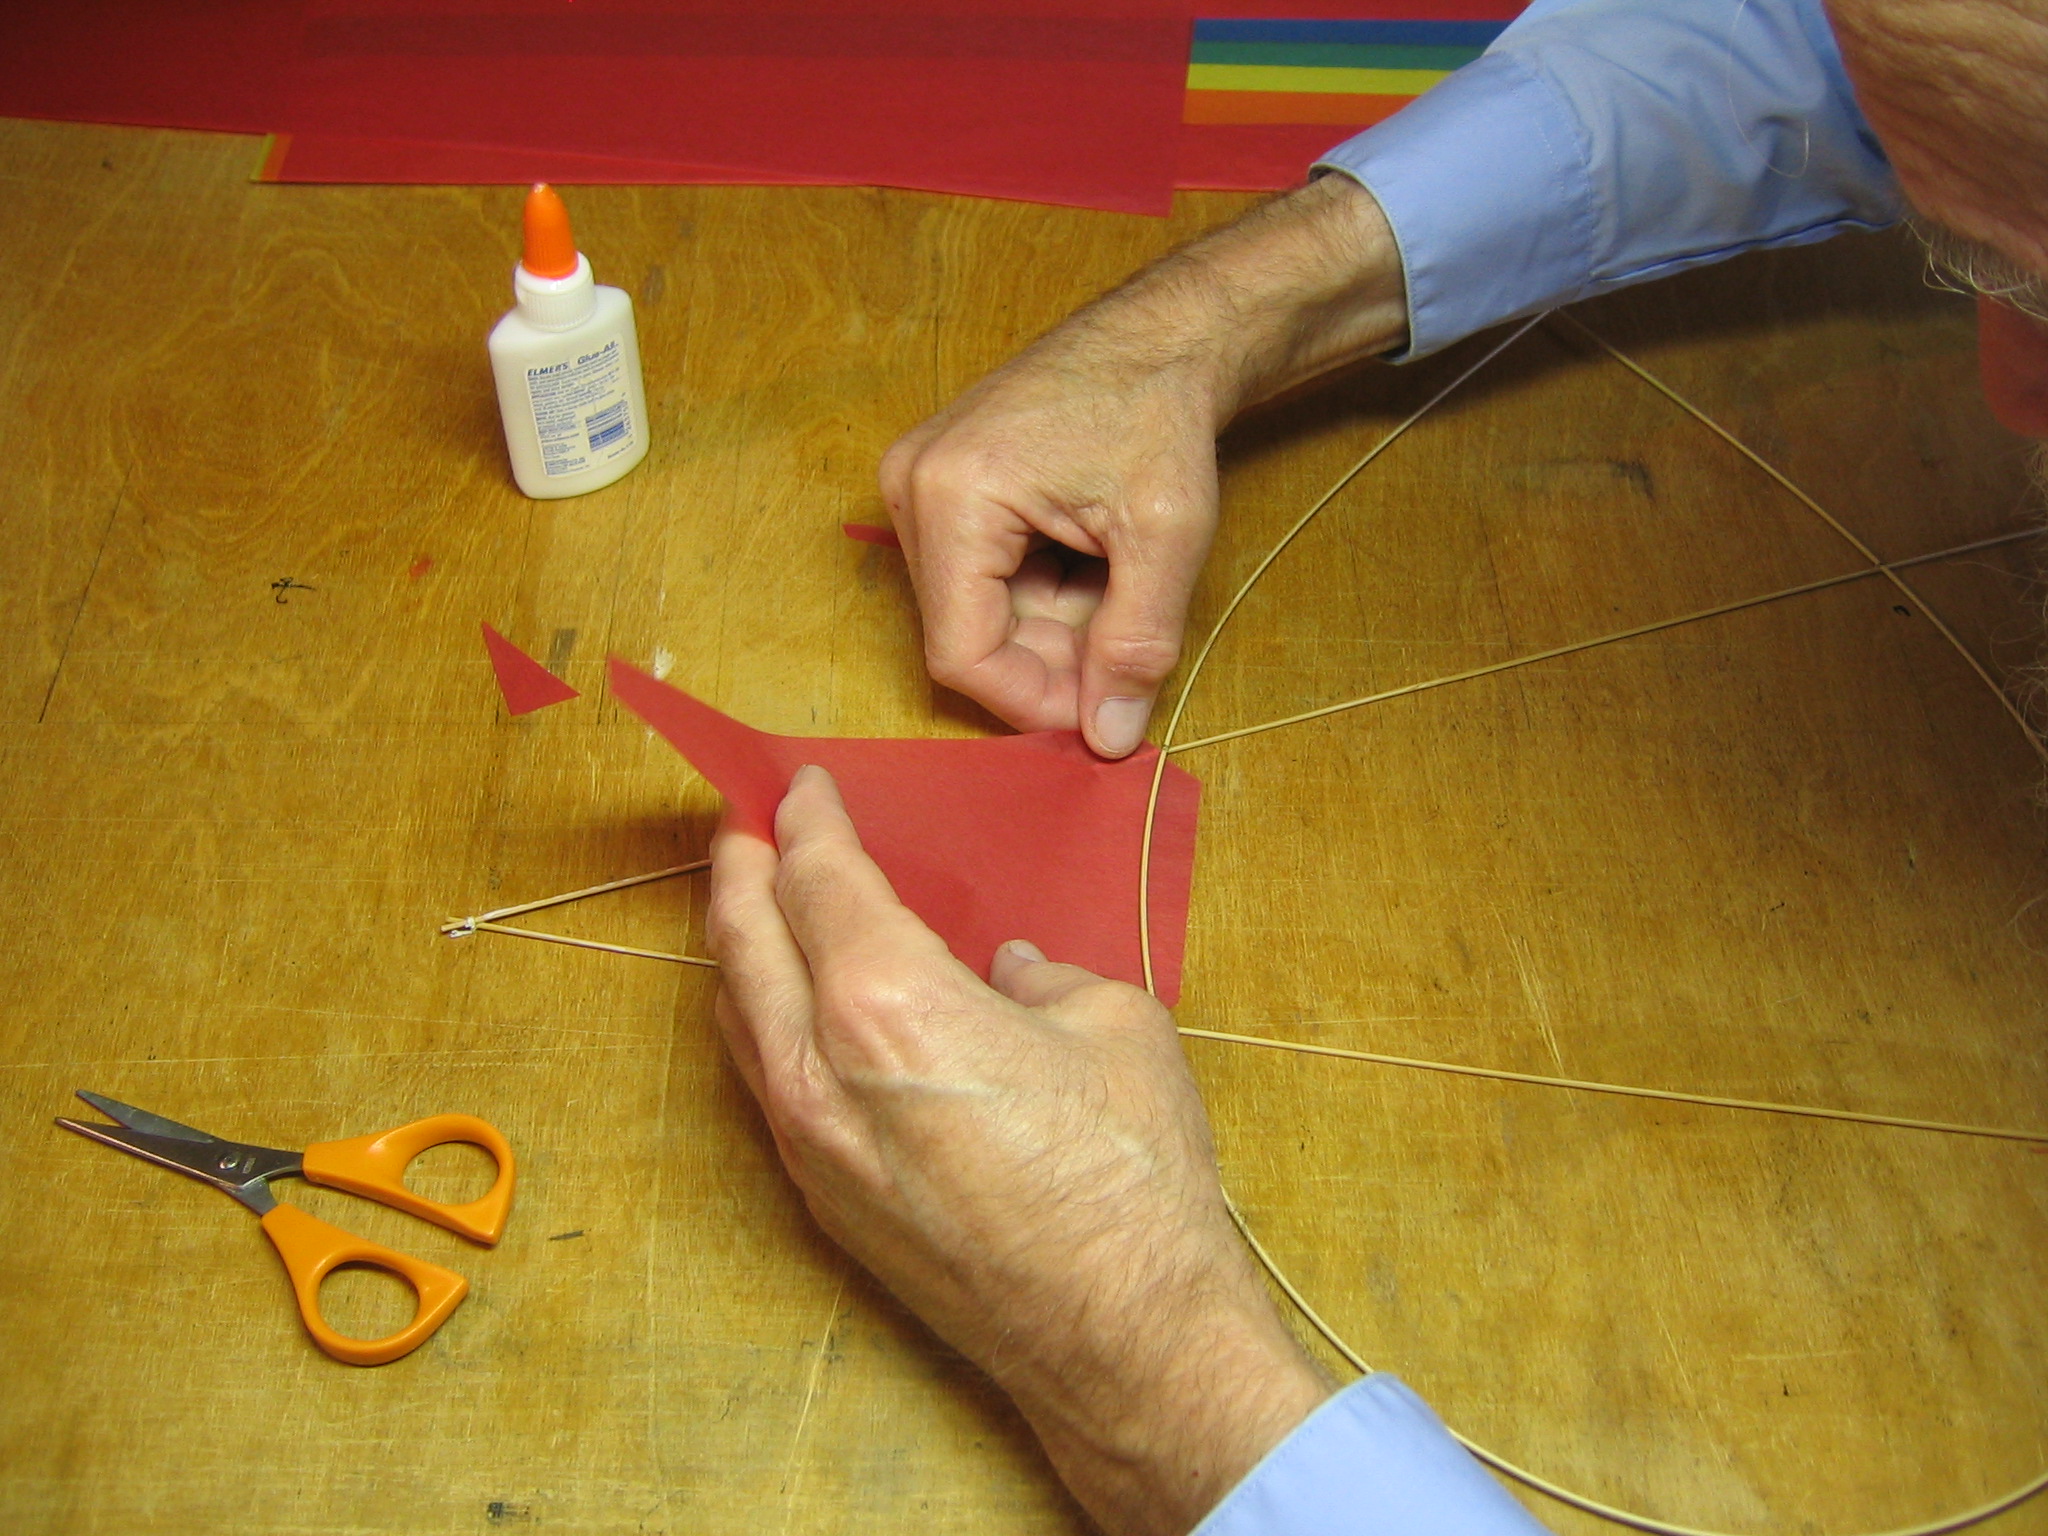
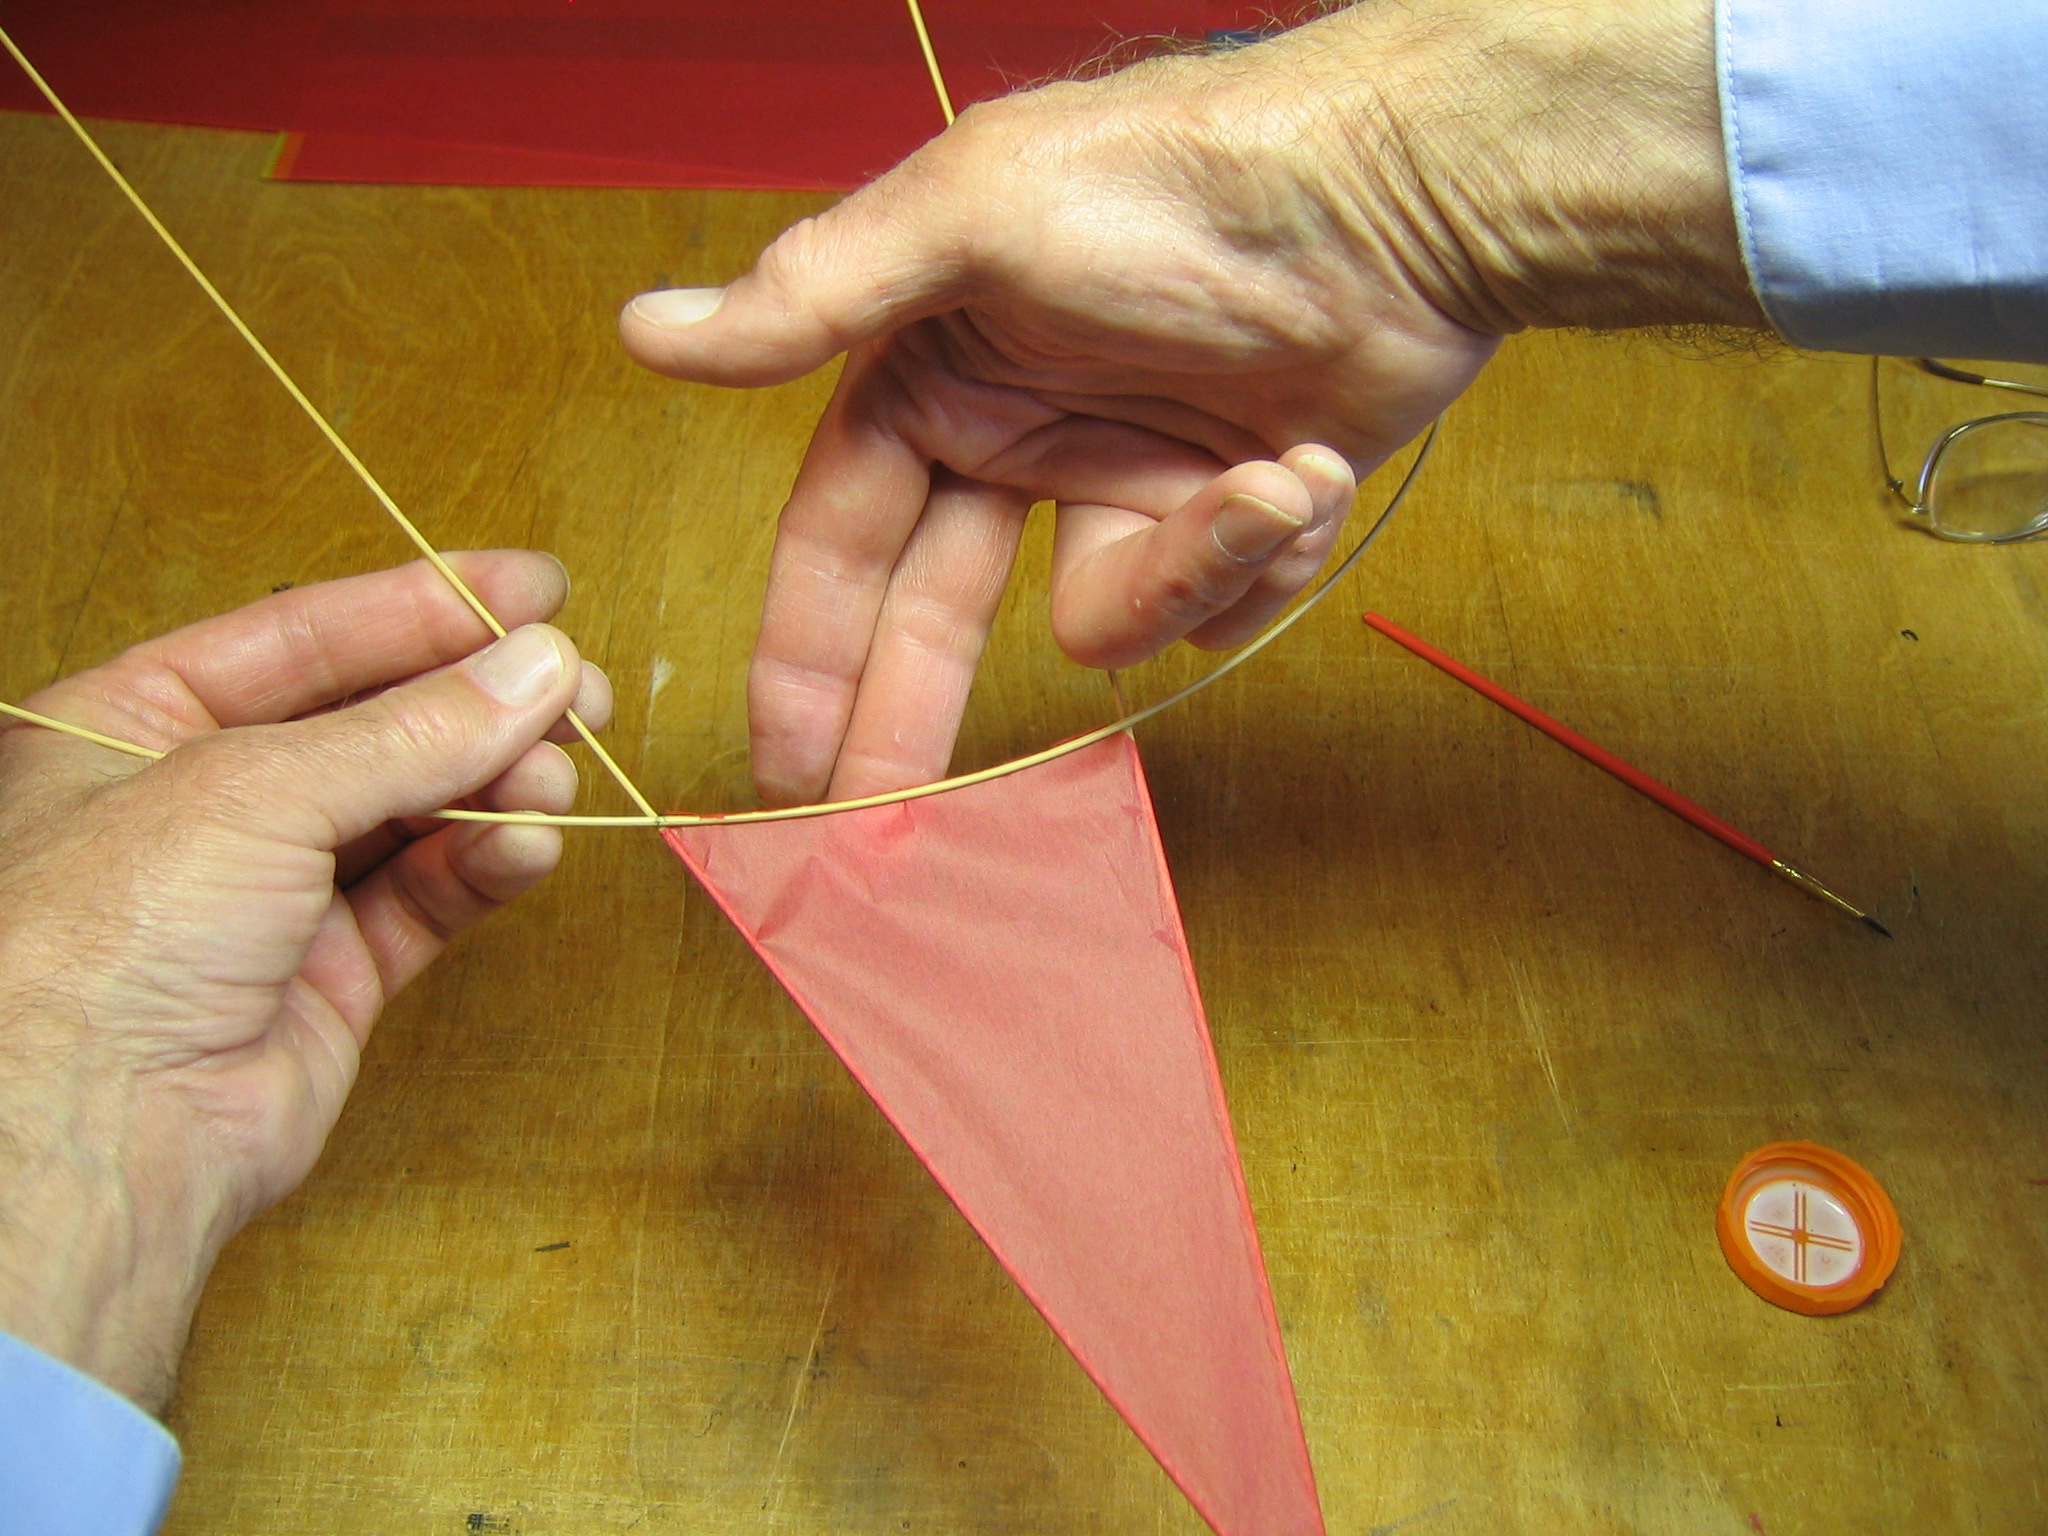
Tip the edge under the loop until it seats into the corners. Pull it snug across between the triangle legs.
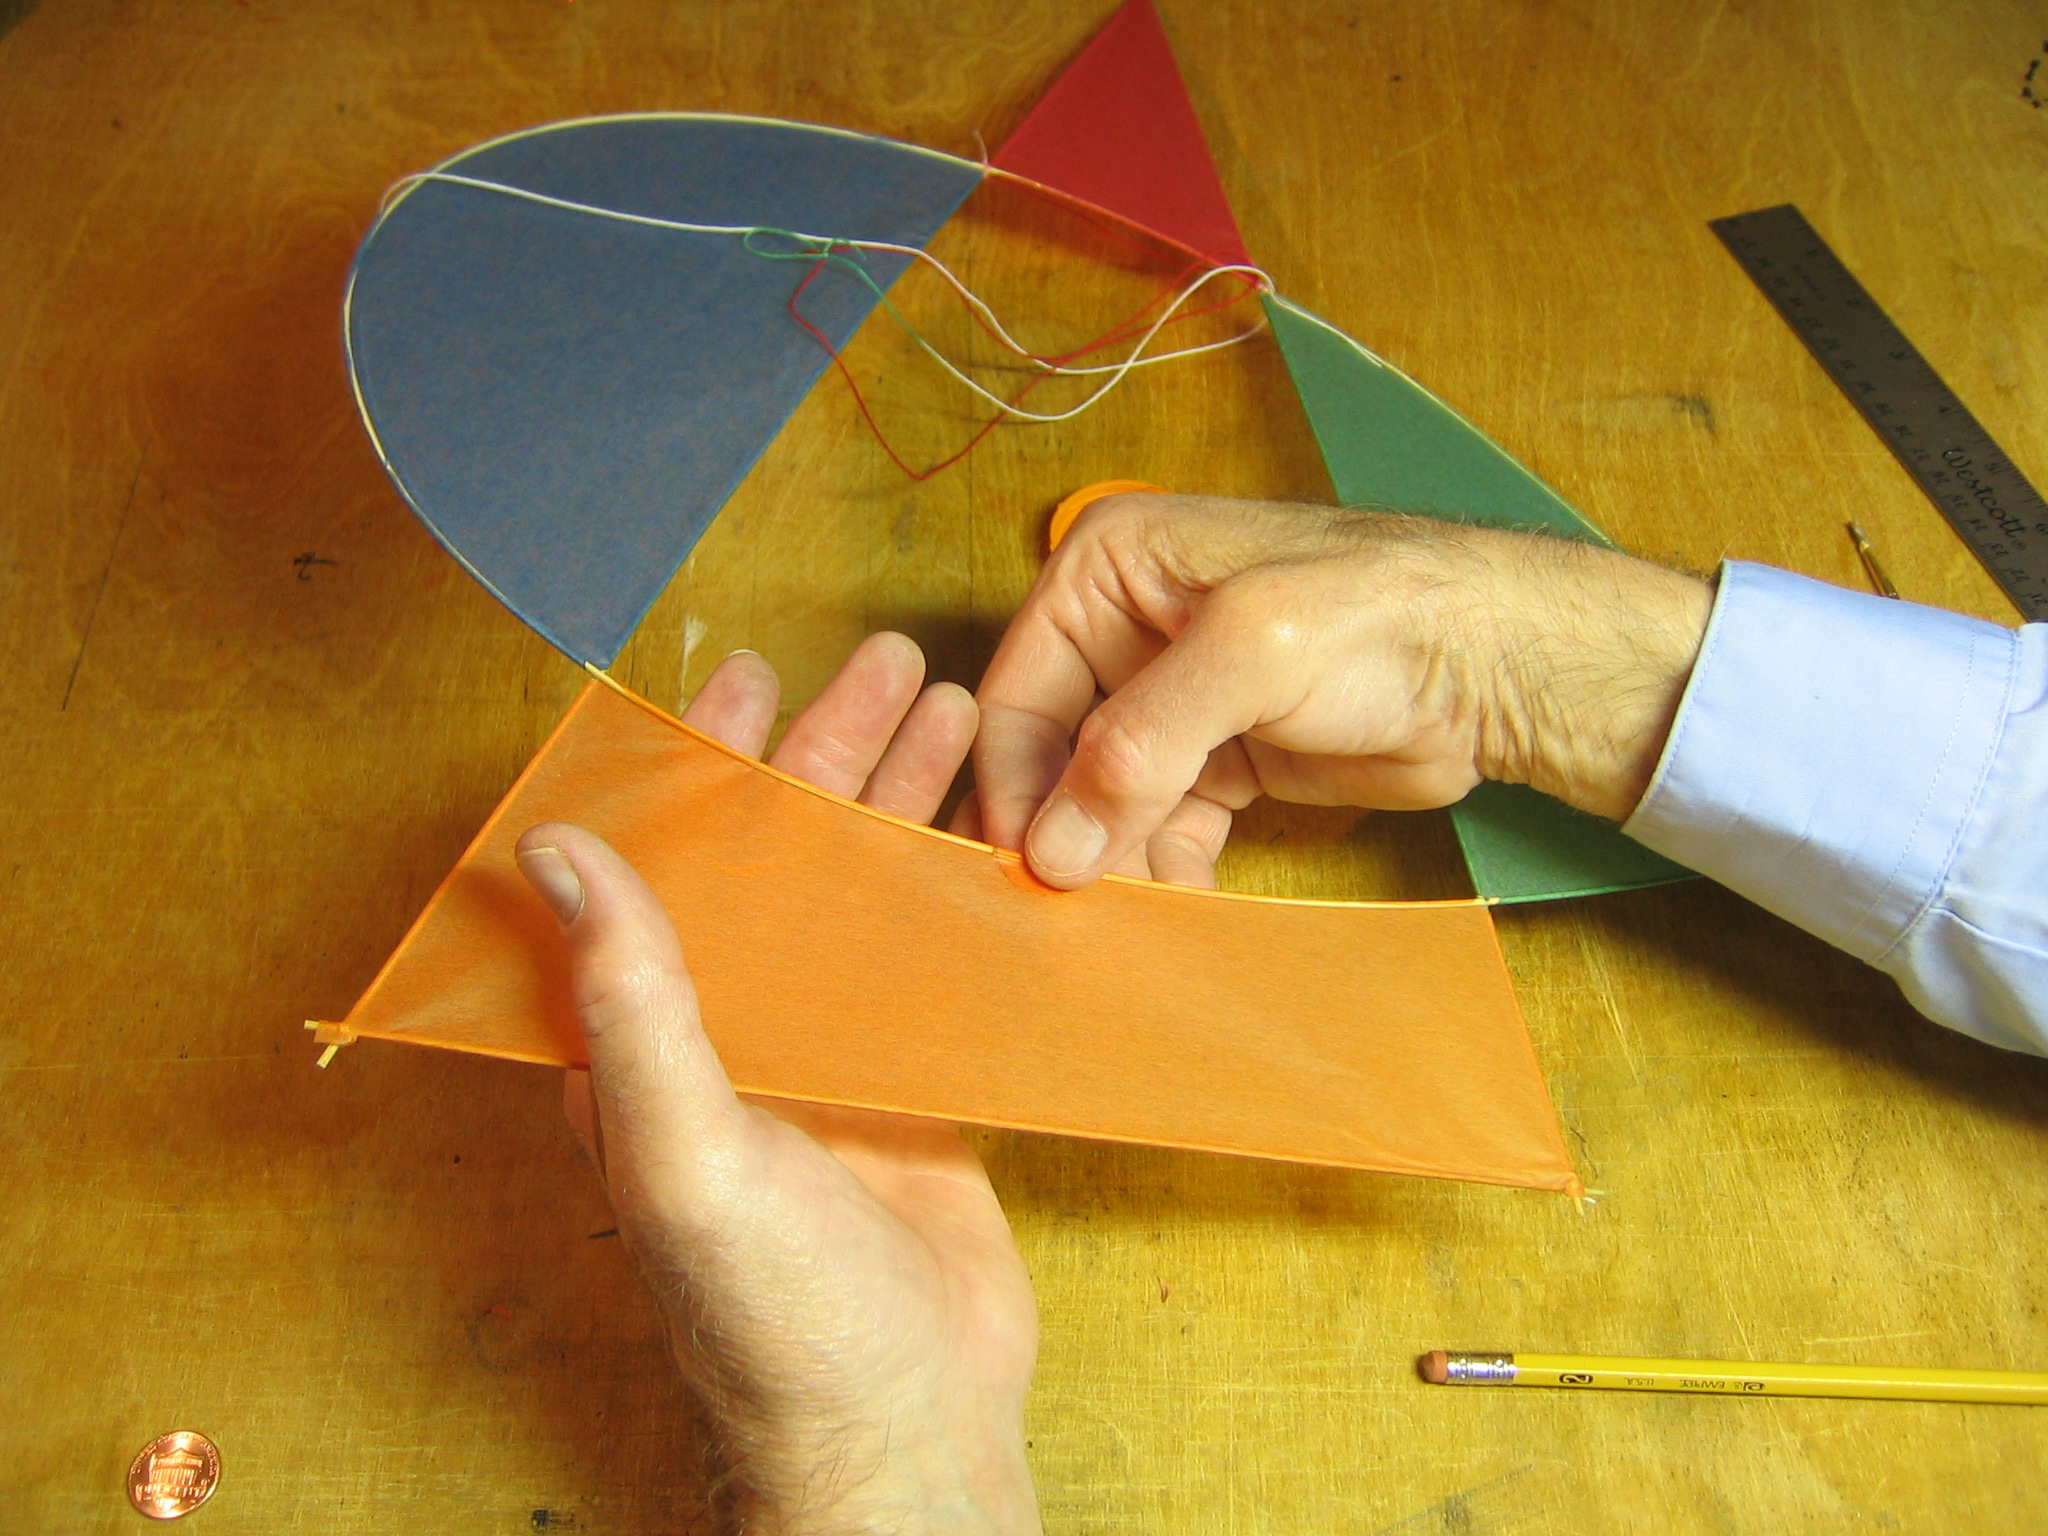
Pull it smoothly across the framework and gently press it onto the glued sticks.
Let the glue take hold, then trim the paper about 3/32″ out from the edge of the stick.
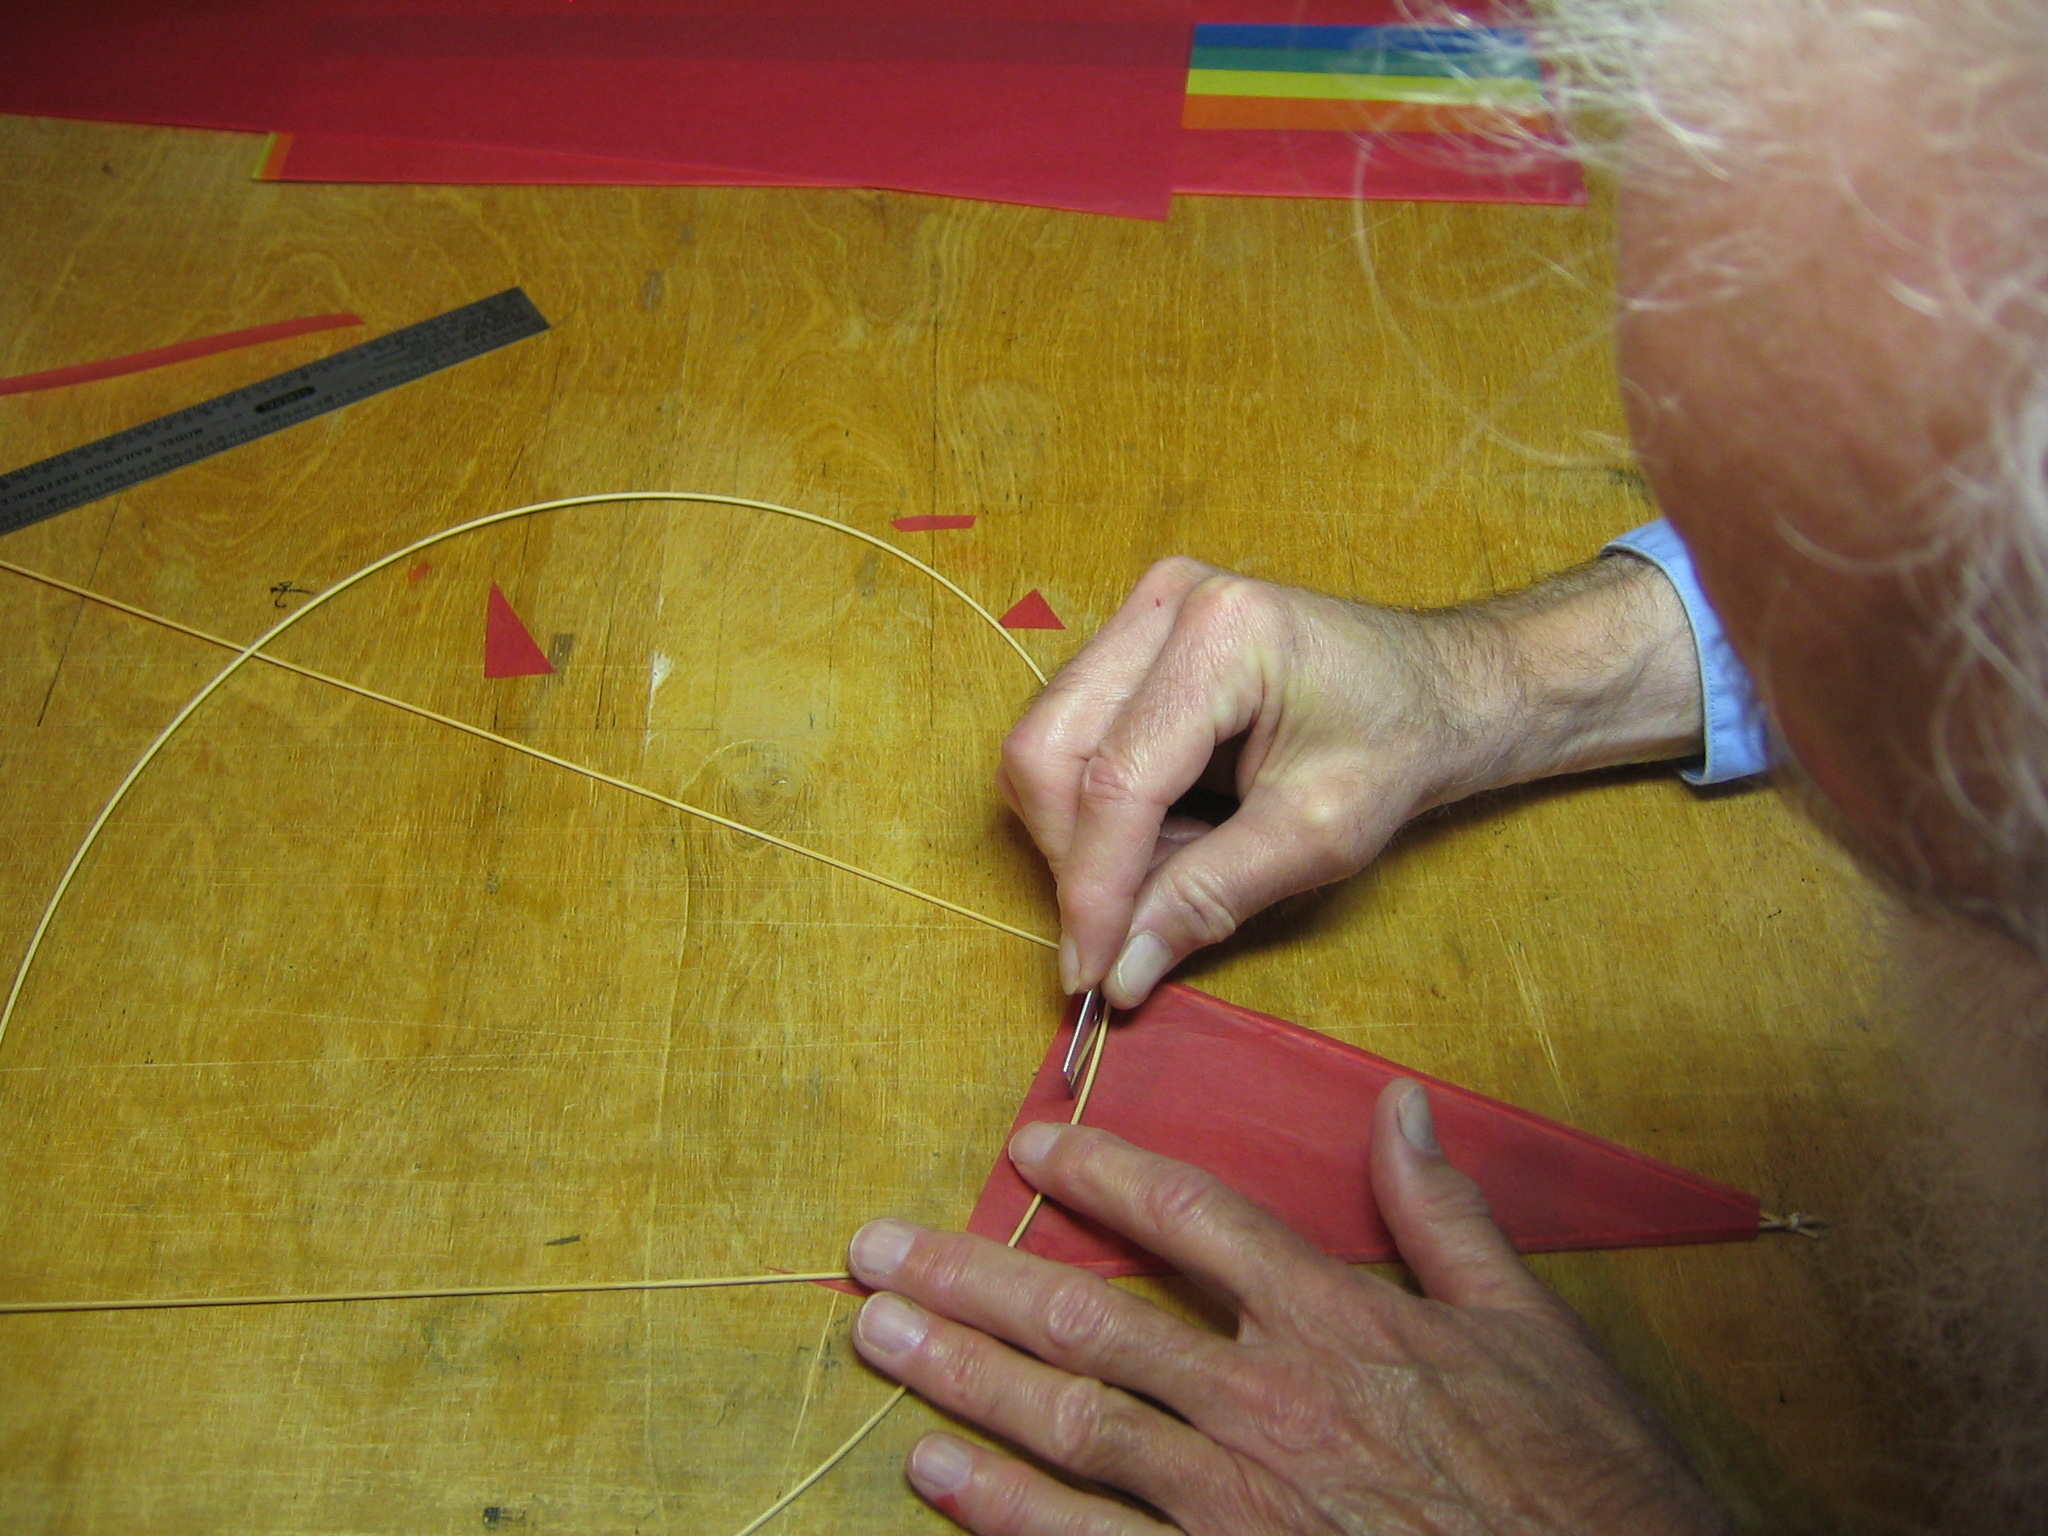
Carefully cut along the curve, also about 3/32″ out from the face of the stick. Be careful to not distort the stick when doing this. Cut from inside the paper across the edges. Cutting from outside across an edge will tear the paper.
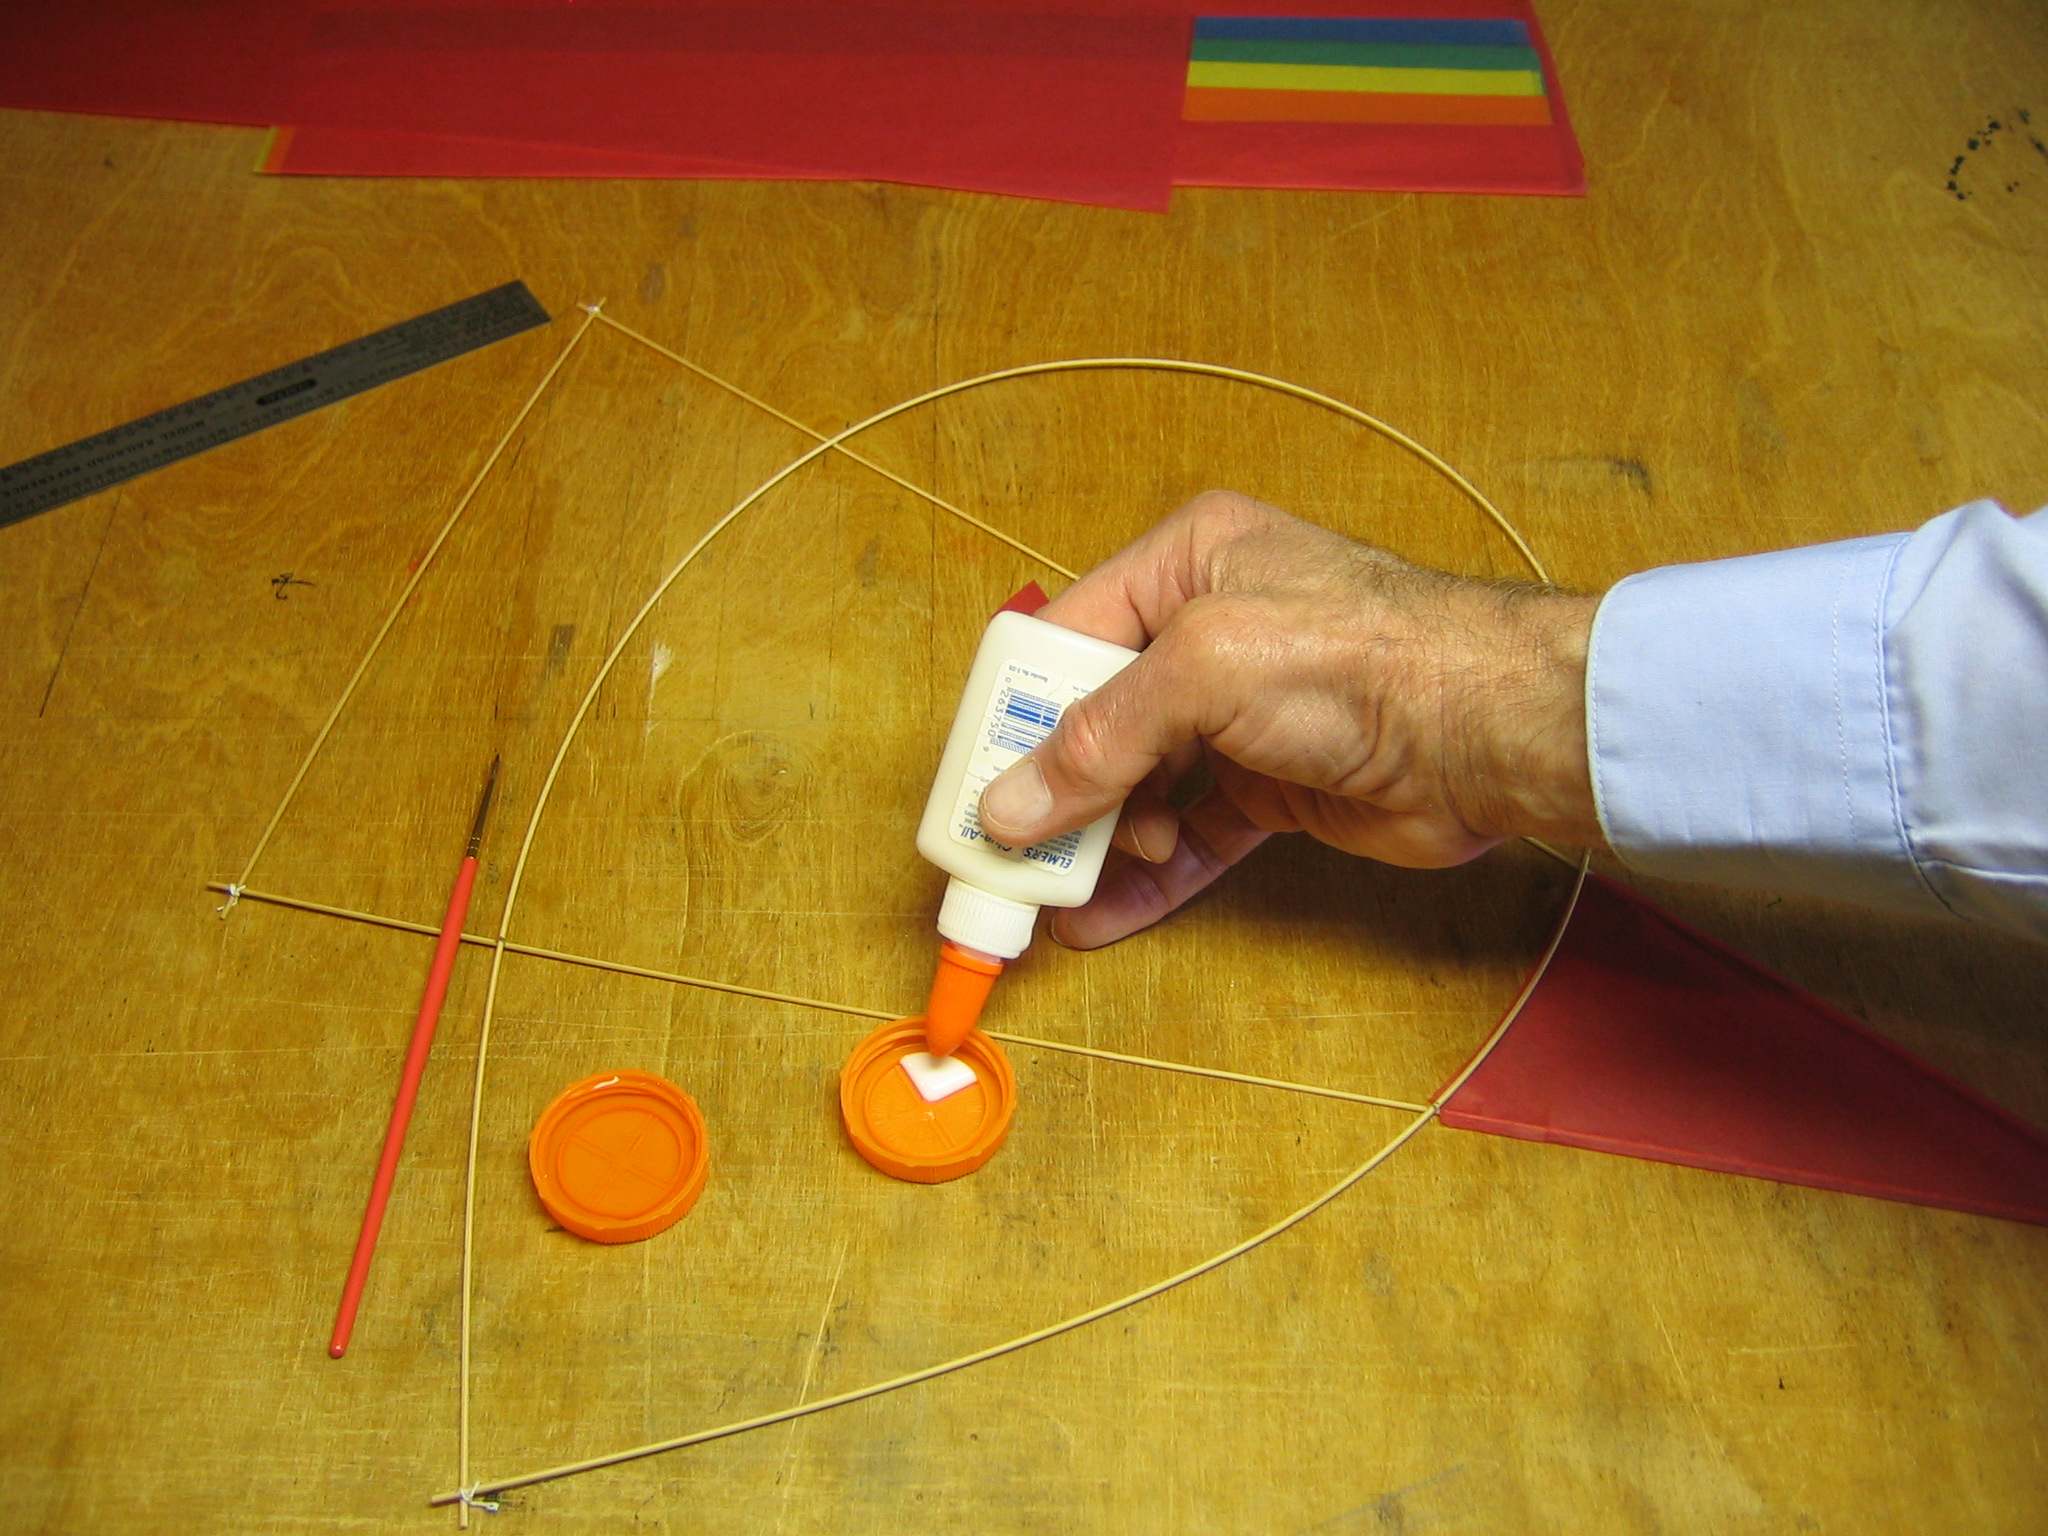
Put some glue in a small container.

Add an equal volume of water.
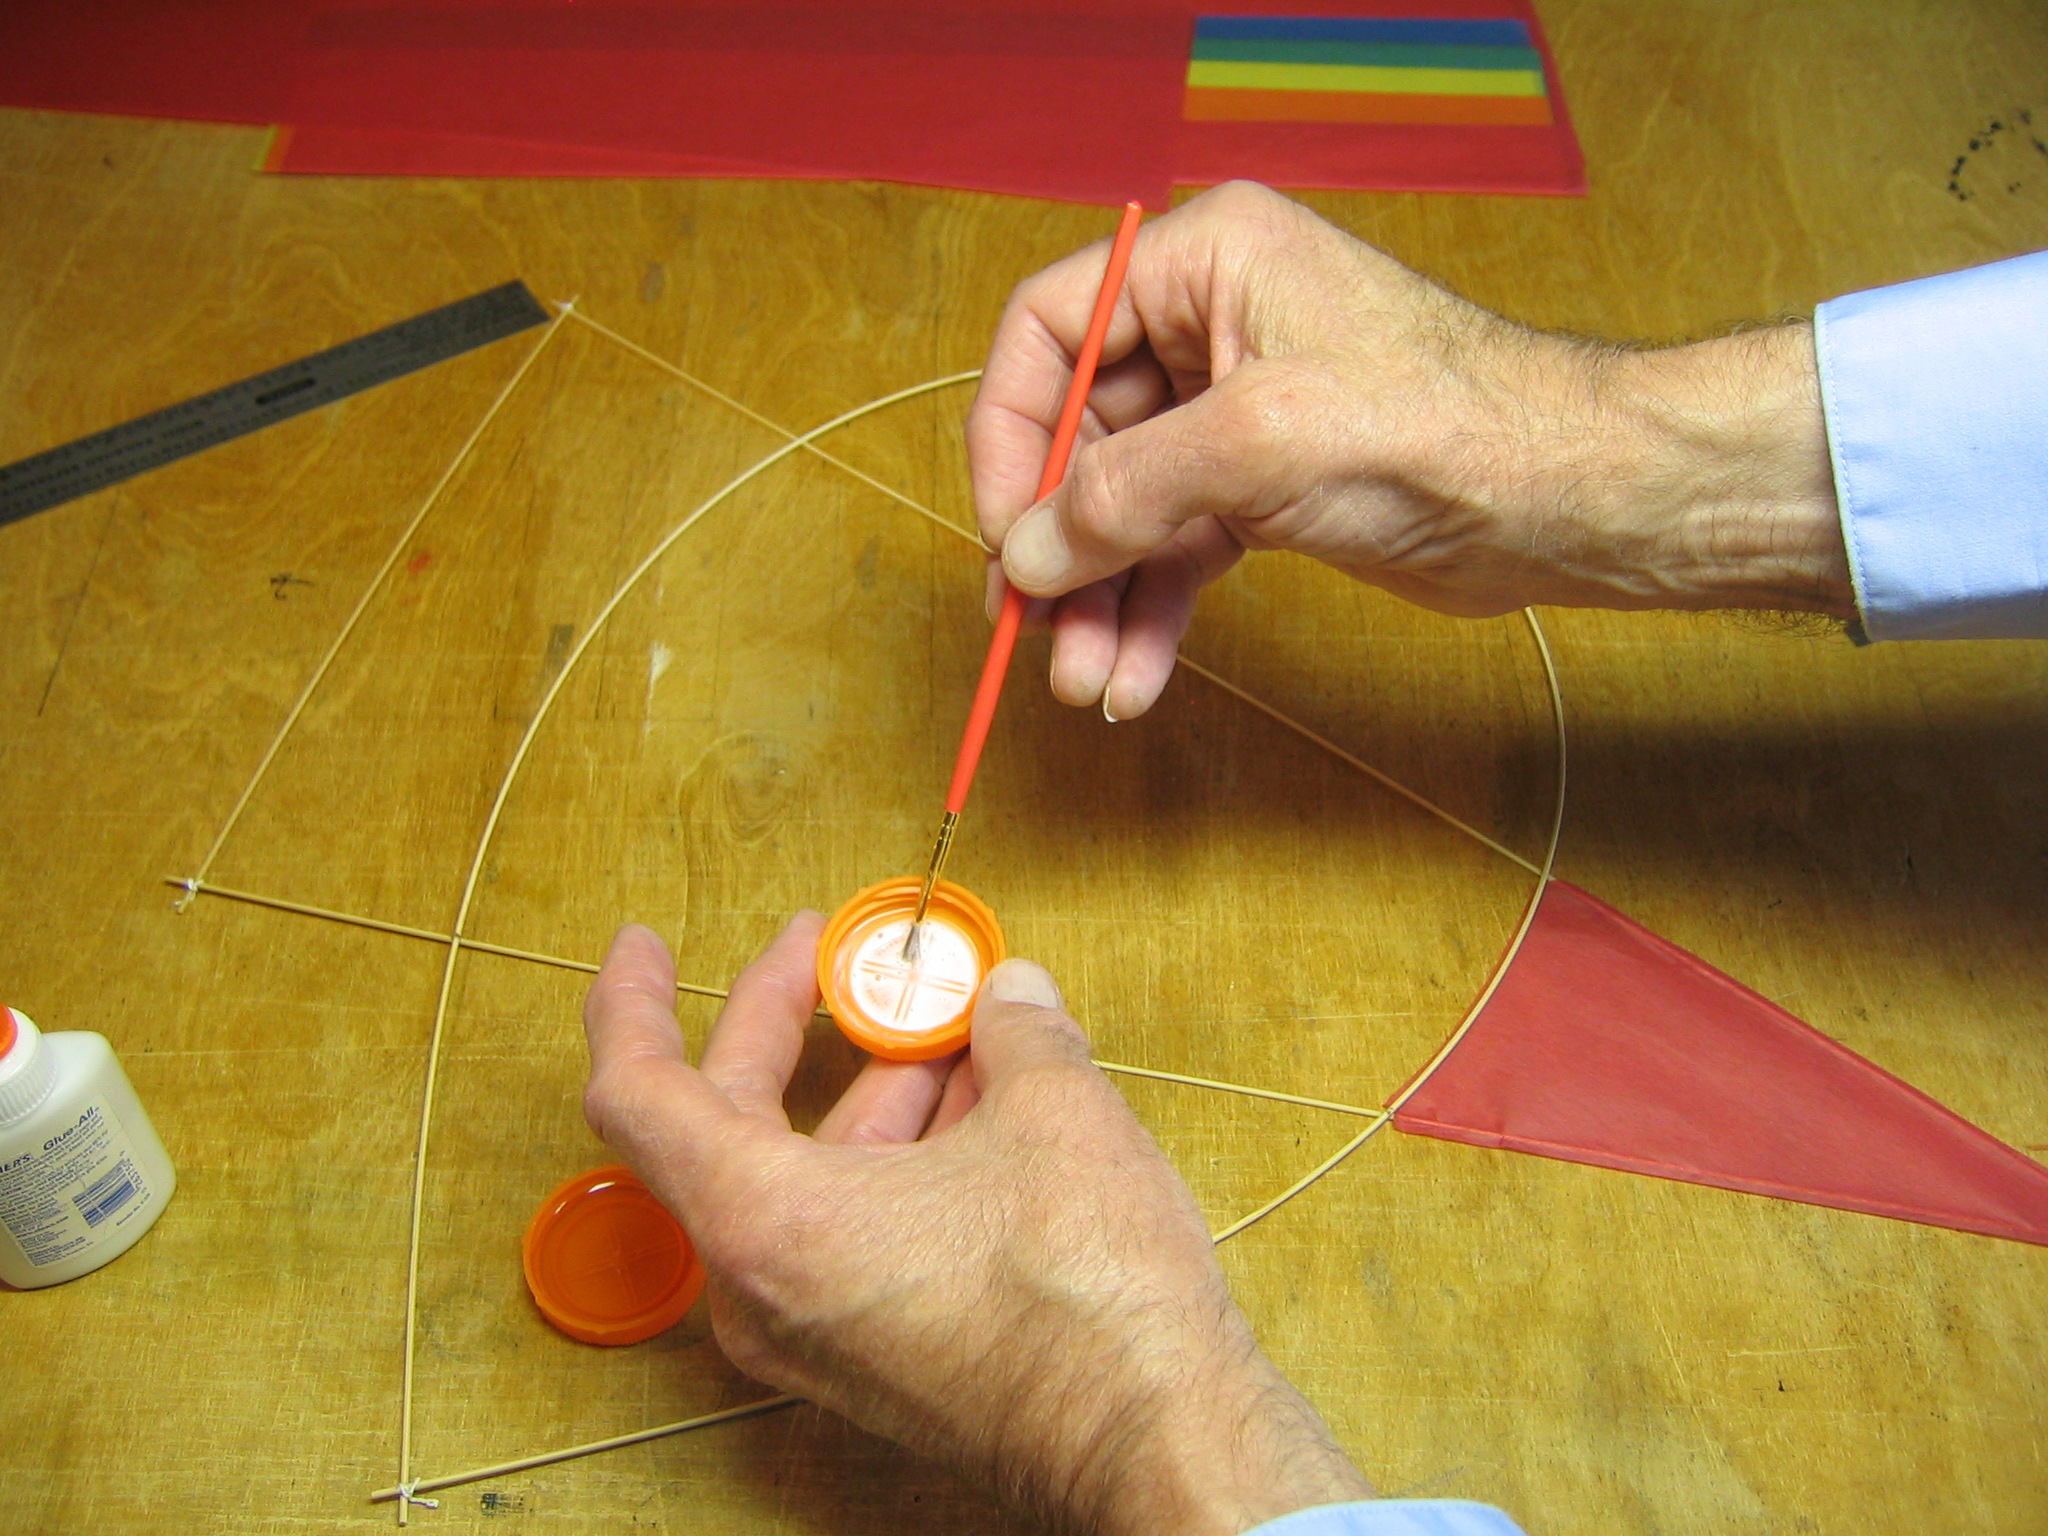
Mix the glue and water thoroughly.
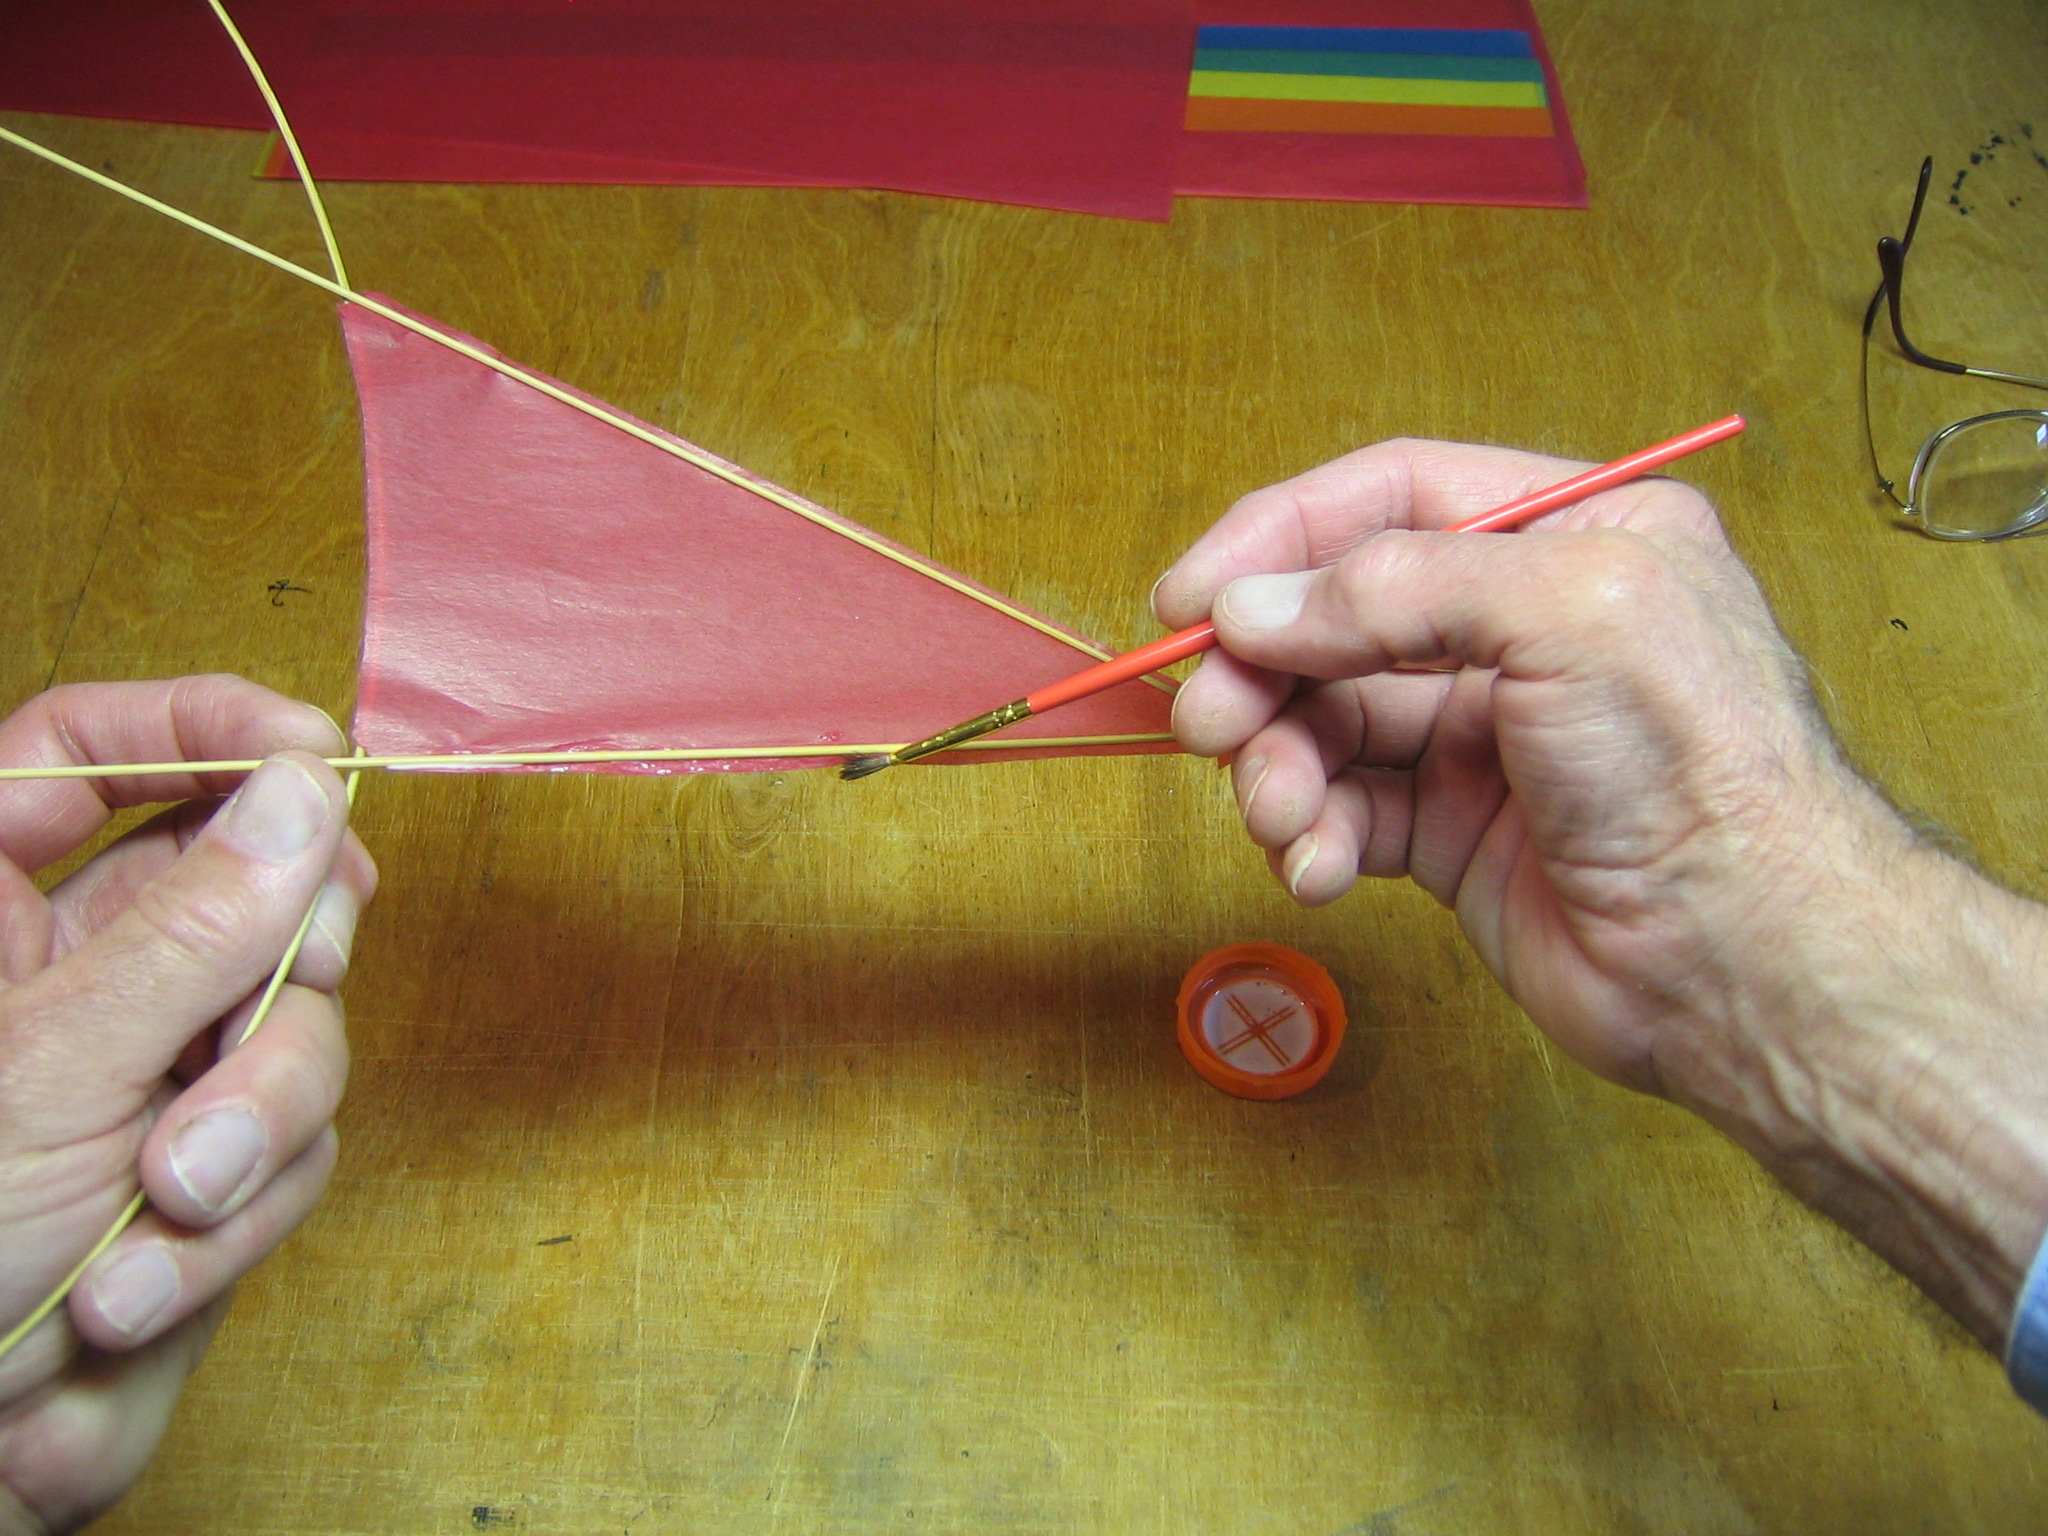
Paint the glue on the stick and on the paper. A thin coat will do, just enough to make the surfaces shiny.
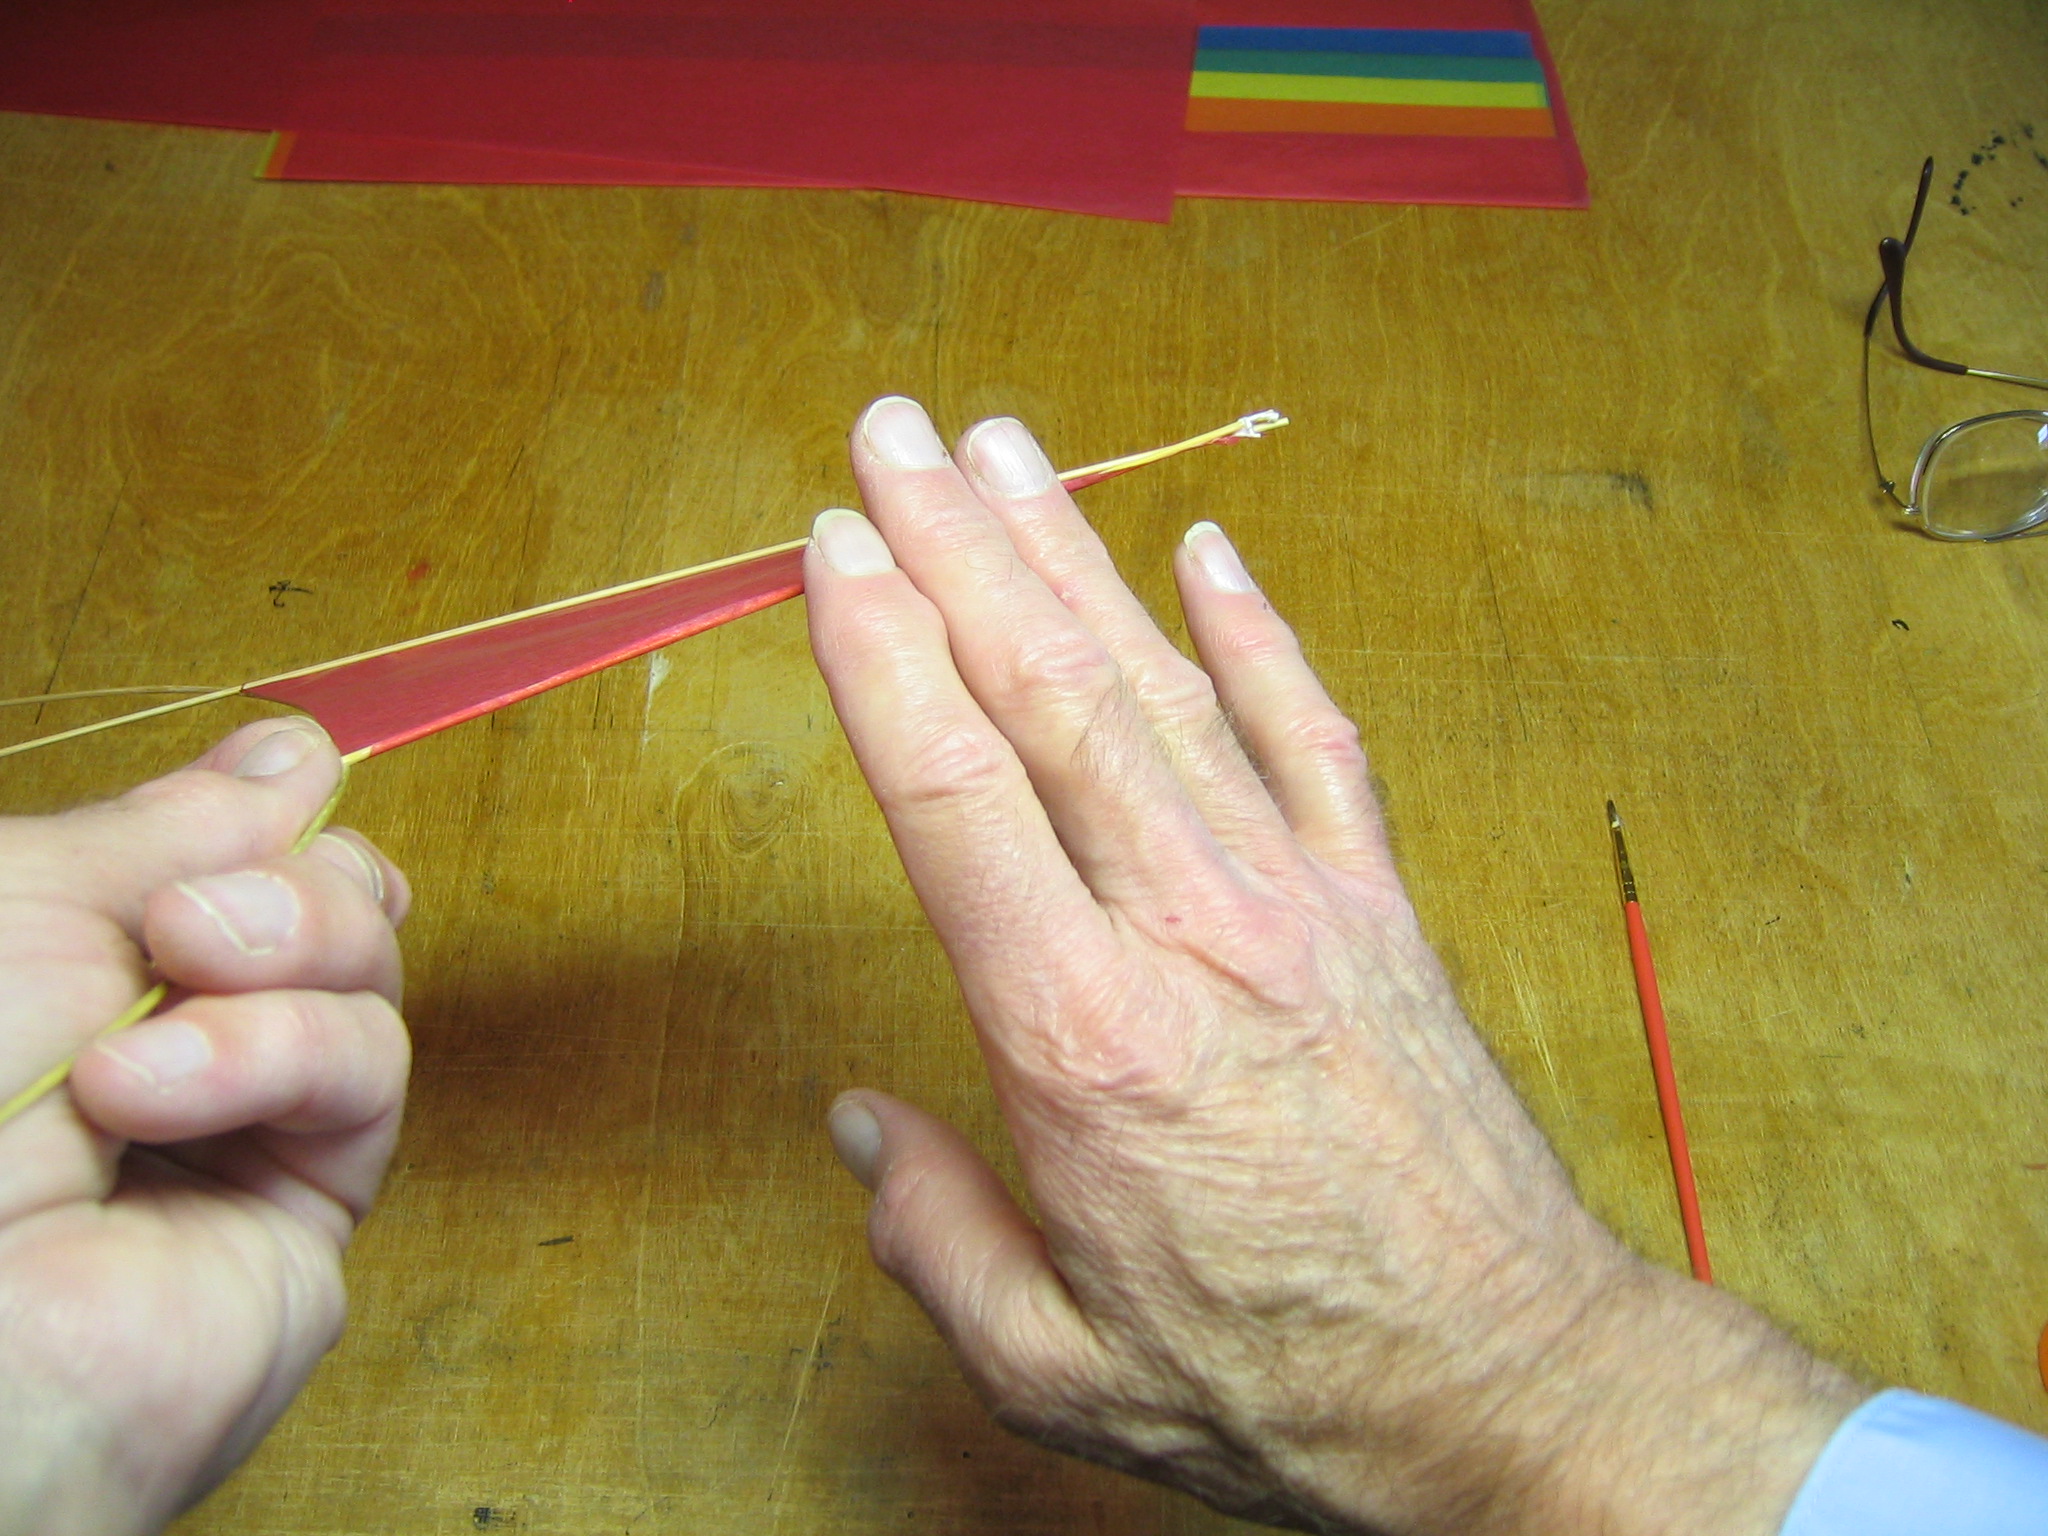
Start at one end and roll the paper around the stick. First roll it about 1/4 around, go back and roll it 1/2 around and then go back and smooth the edge down against the stick. Do the other straight edge next.
The curved edge can’t be rolled around the stick in one piece without tearing and making a mess. Cut it in short sections by slitting it every half inch or so. It can be rolled around the stick in short sections.
Paint the stick and paper with glue as before.
Roll the paper tabs up 1/4, 1/2 then all the way.
Cut out the next paper panel.
Mark diagonally across each corner with a pencil. Mark all four corners.
Cut across each corner. Glue this piece on in the same way. Also do the other two panels.
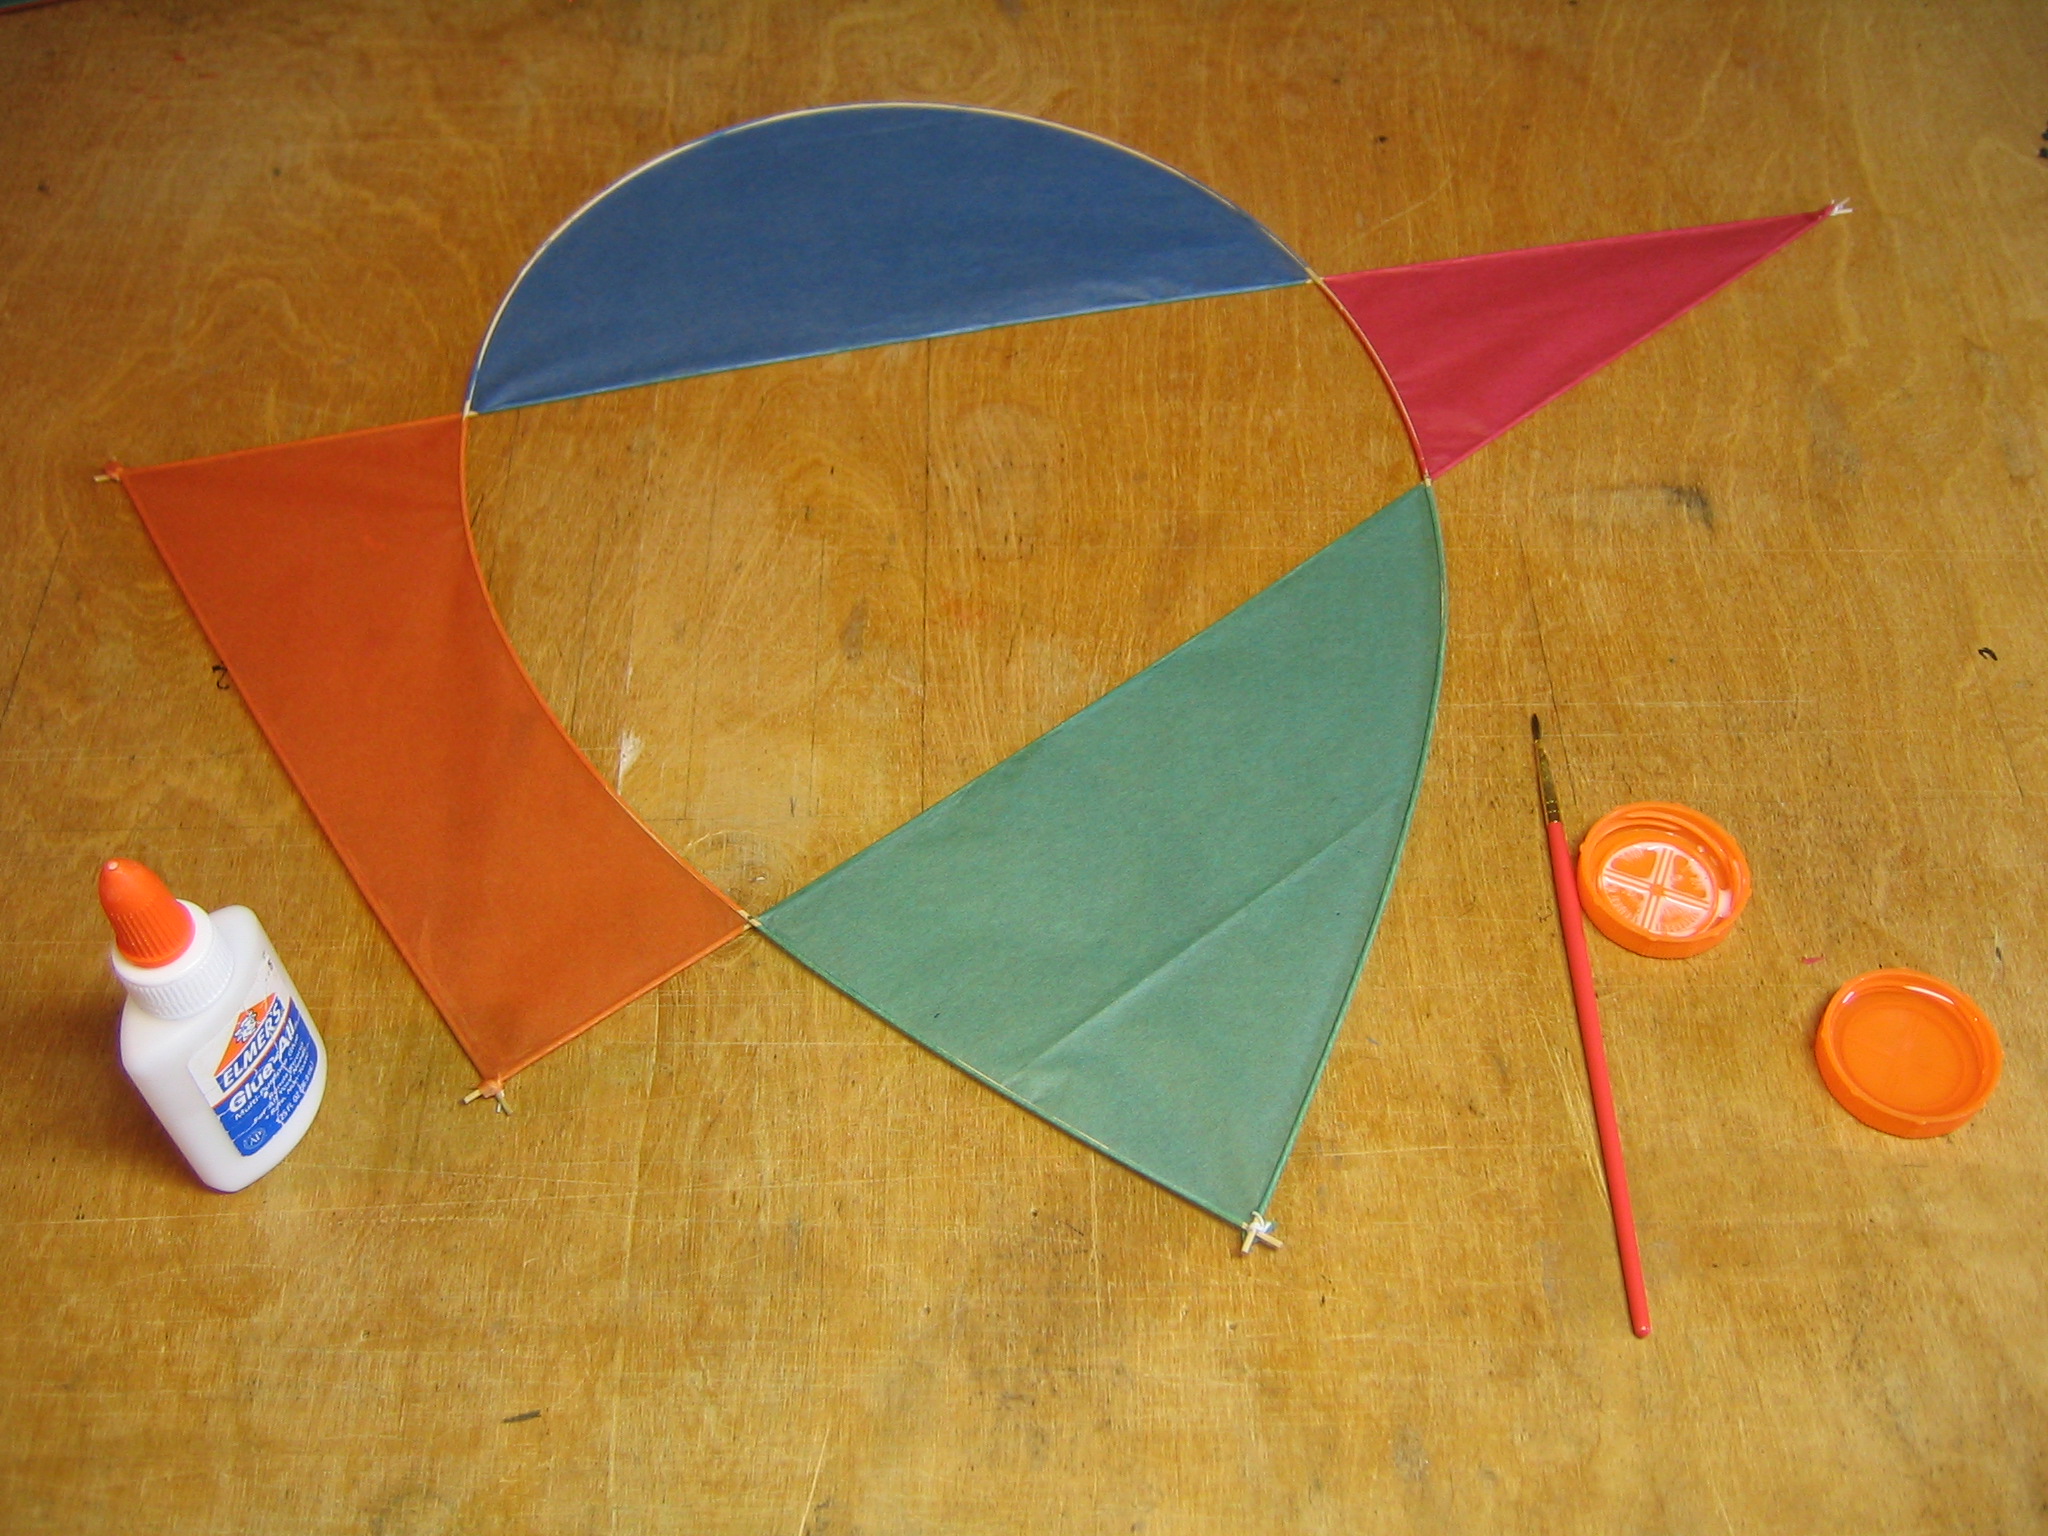
That completes the covering of the kite. Now we will make the bridle.
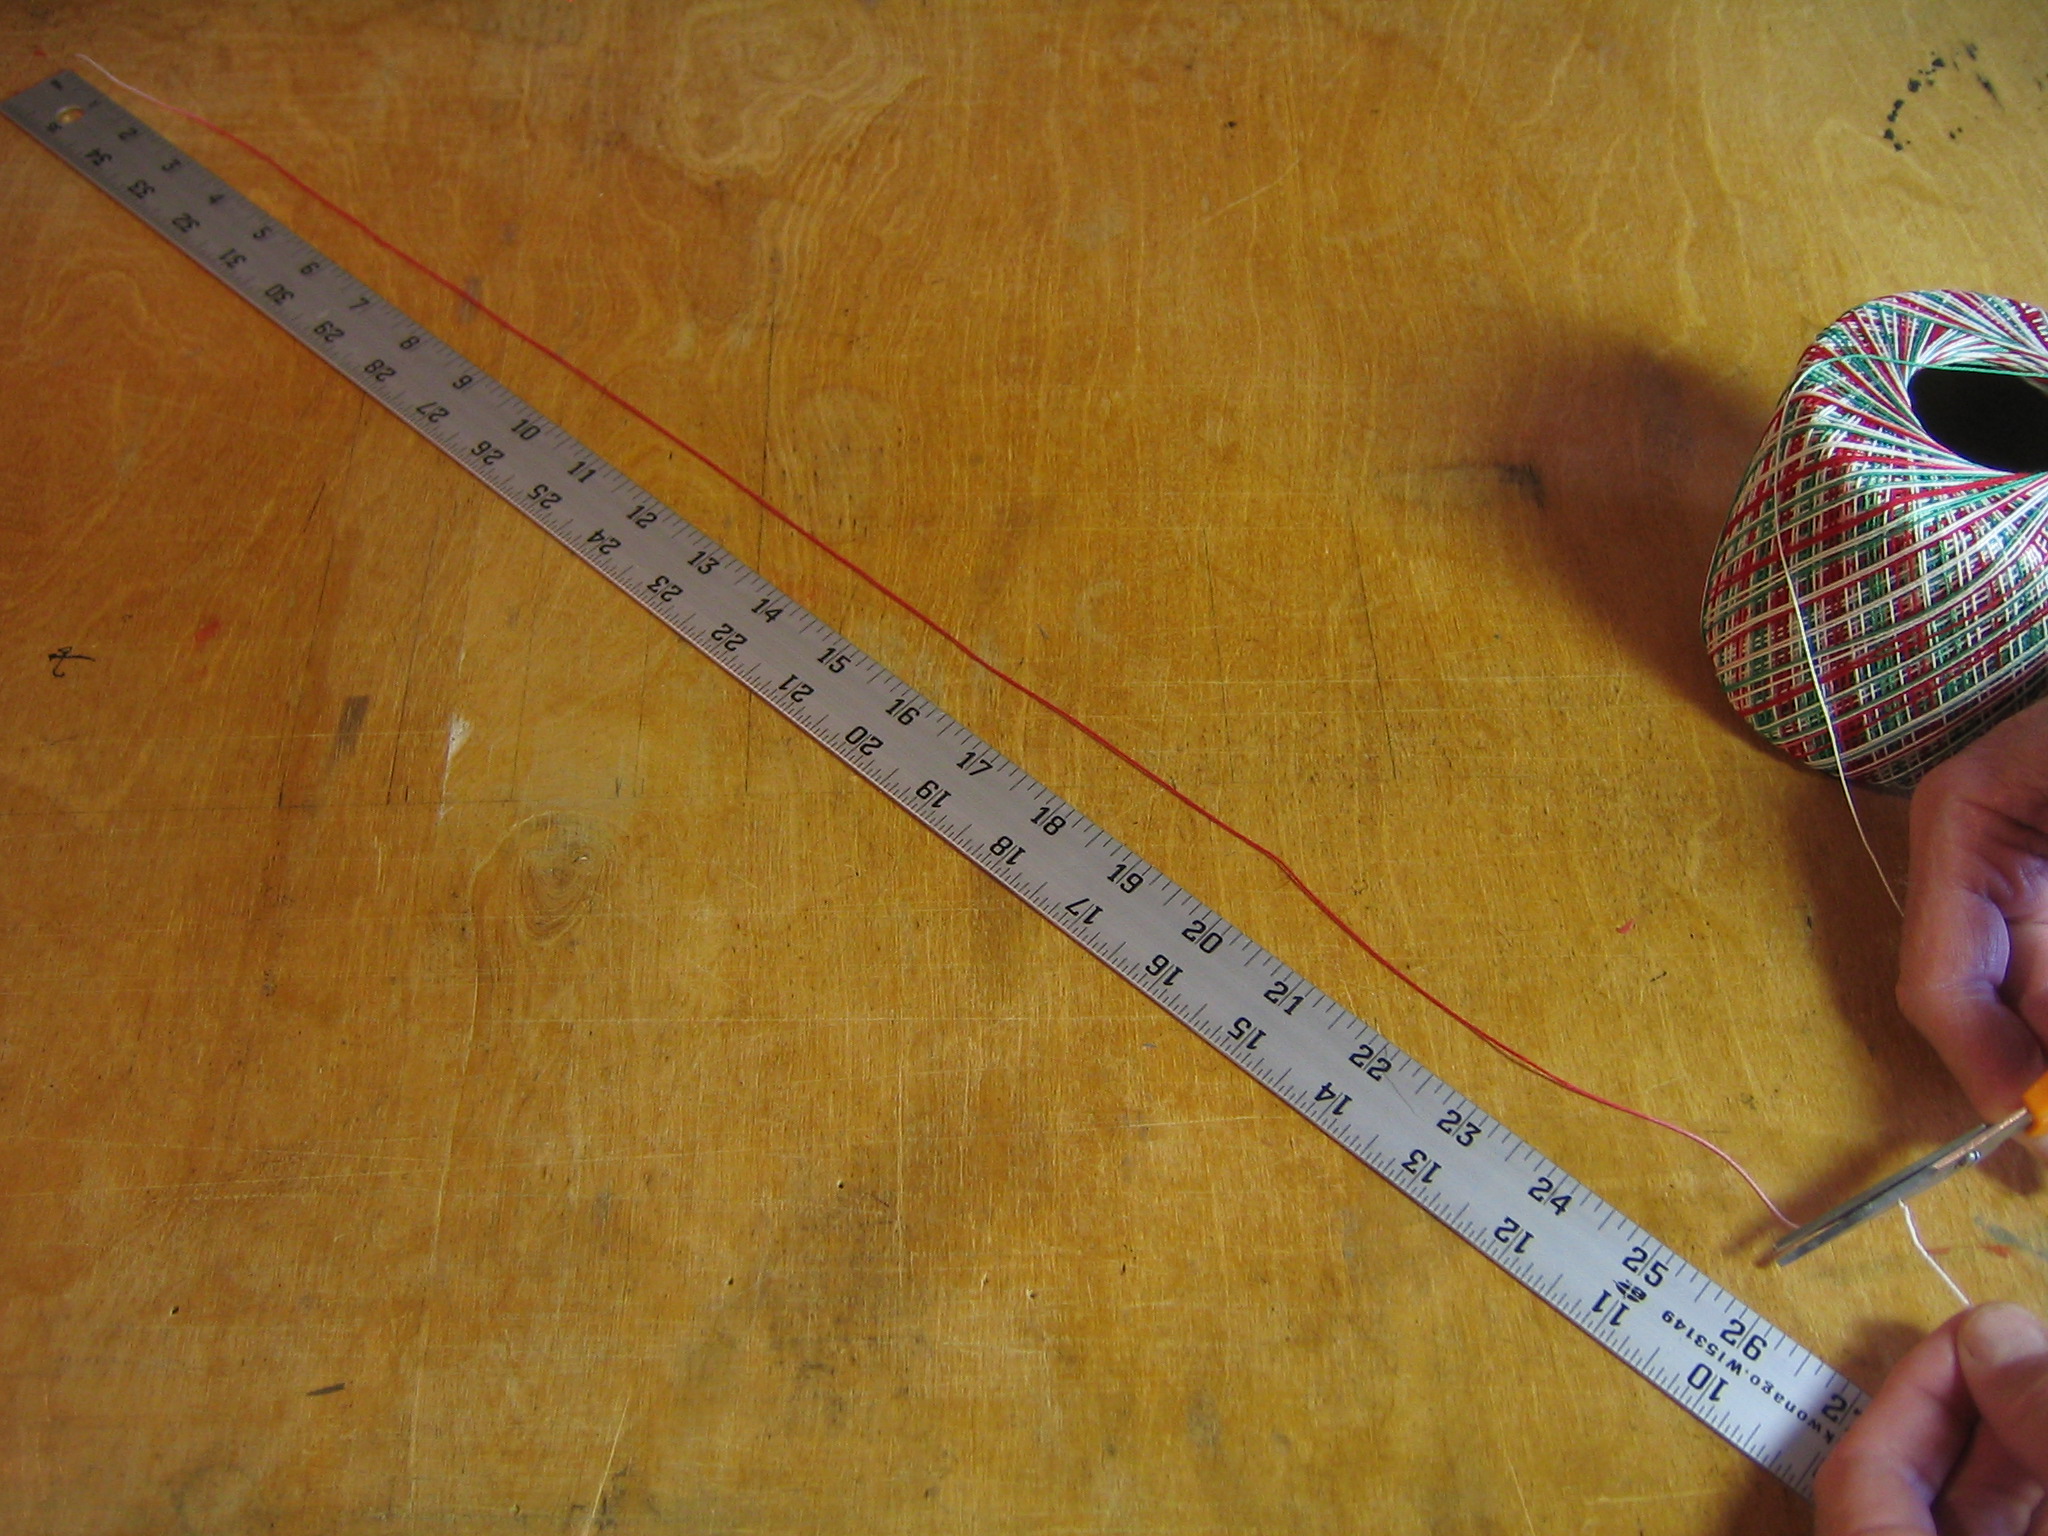
Cut a 26″ length of string.
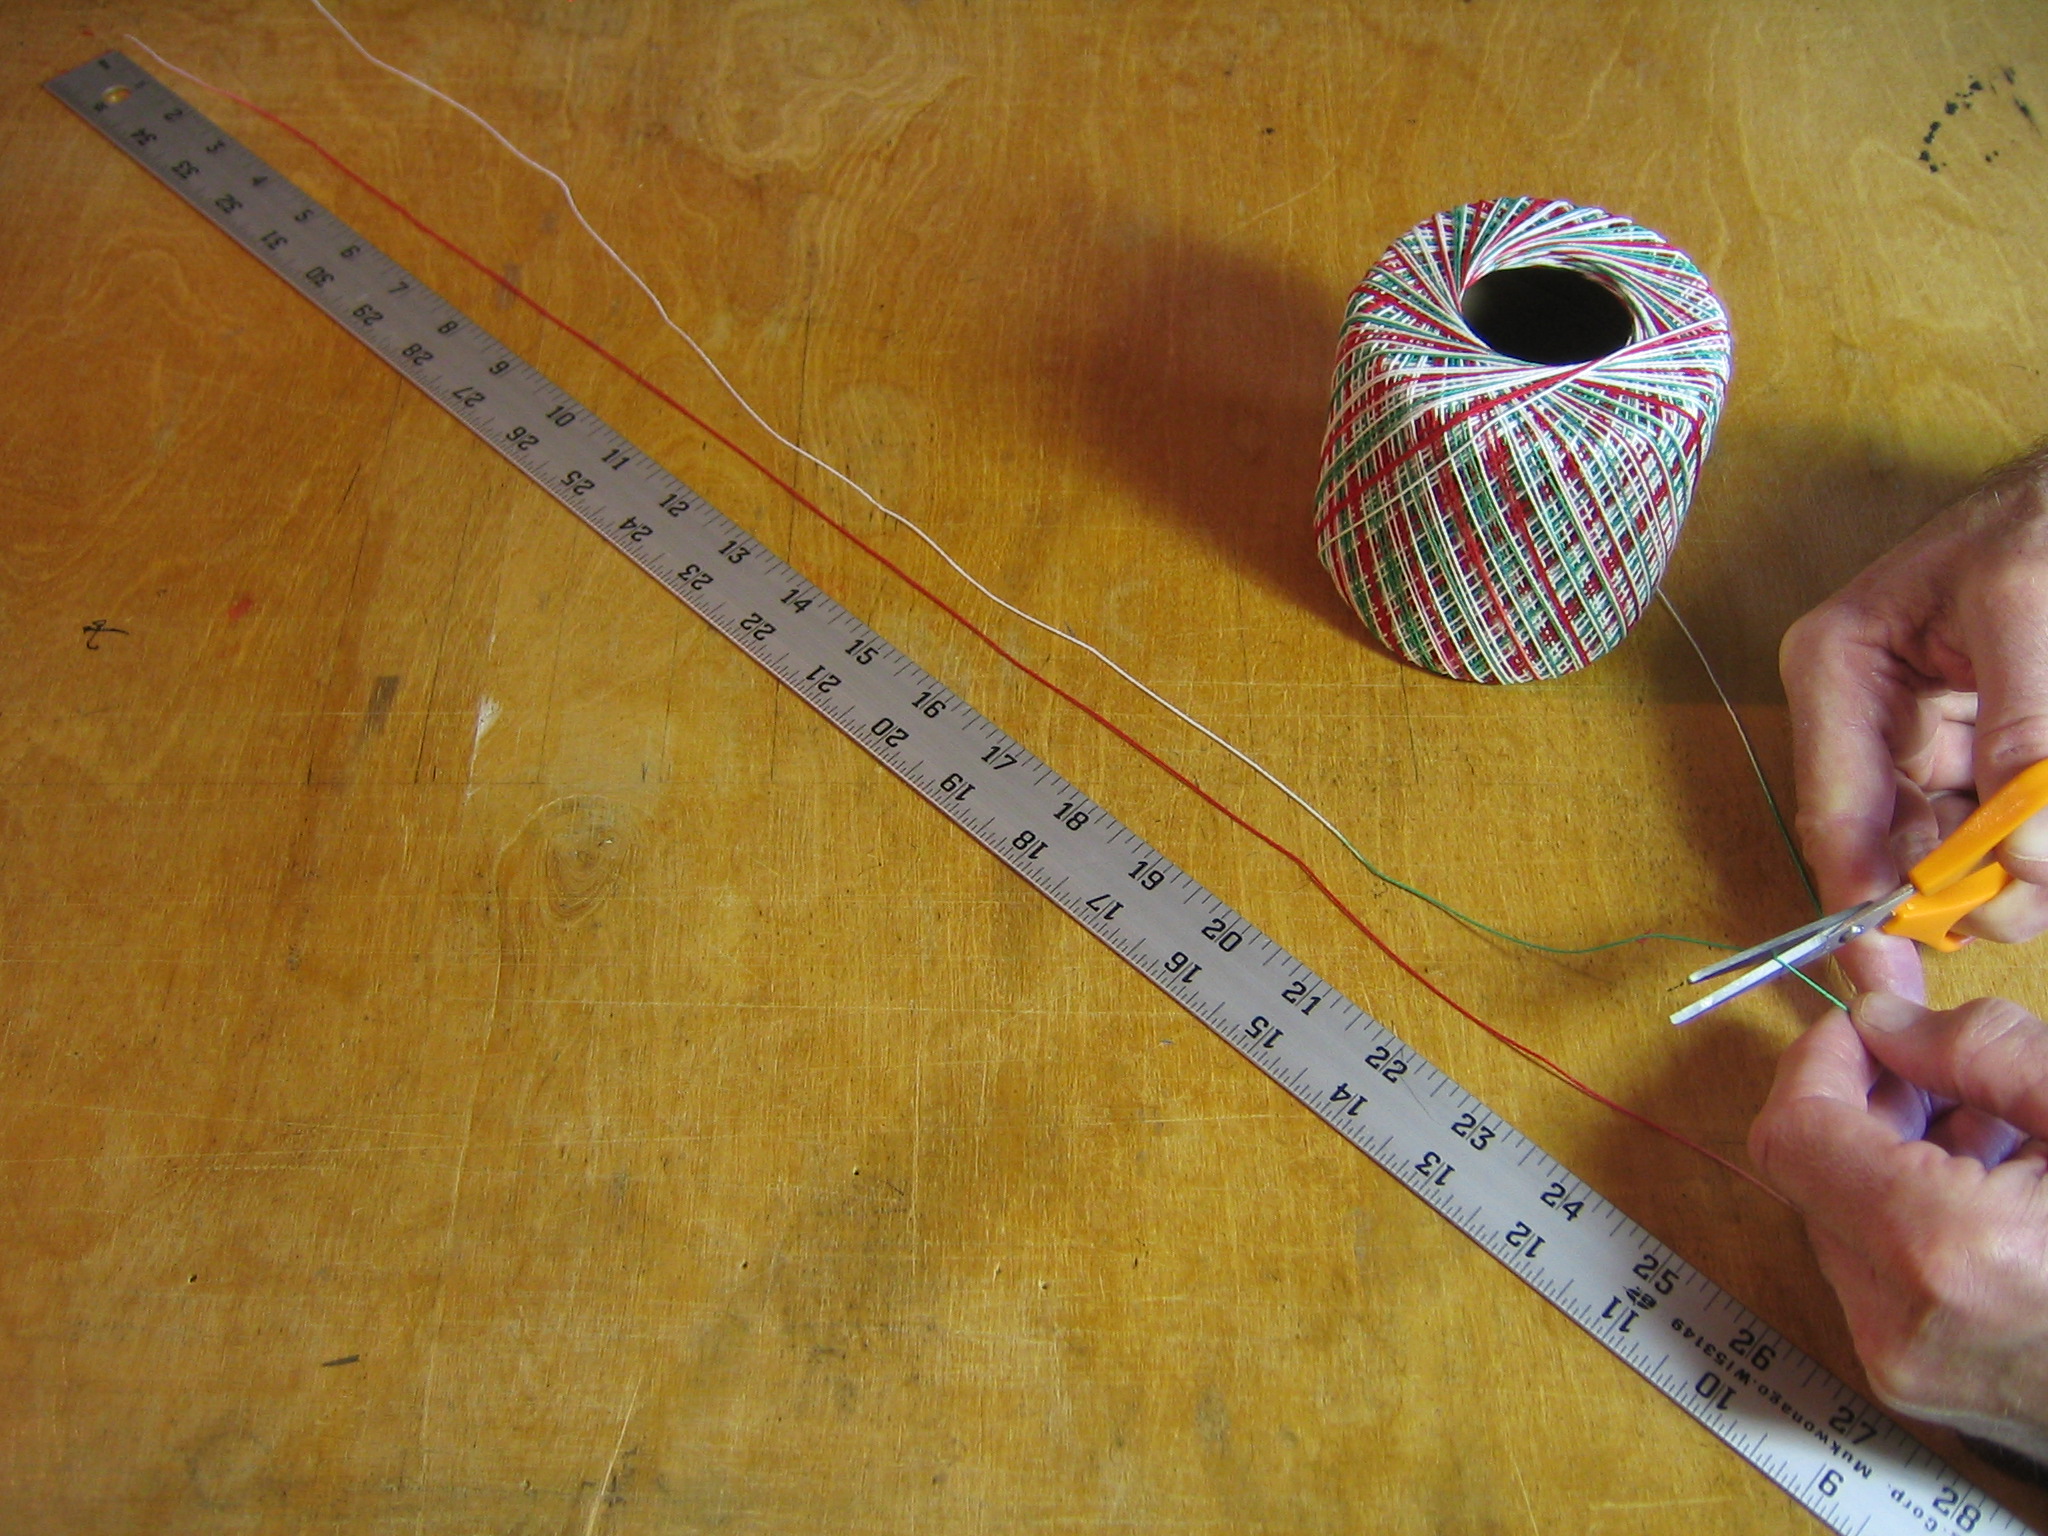
Cut a 24″ length of string.
Put the ends of the 26″ piece together and mark the center point.
Mark each leg 11″ from the center.
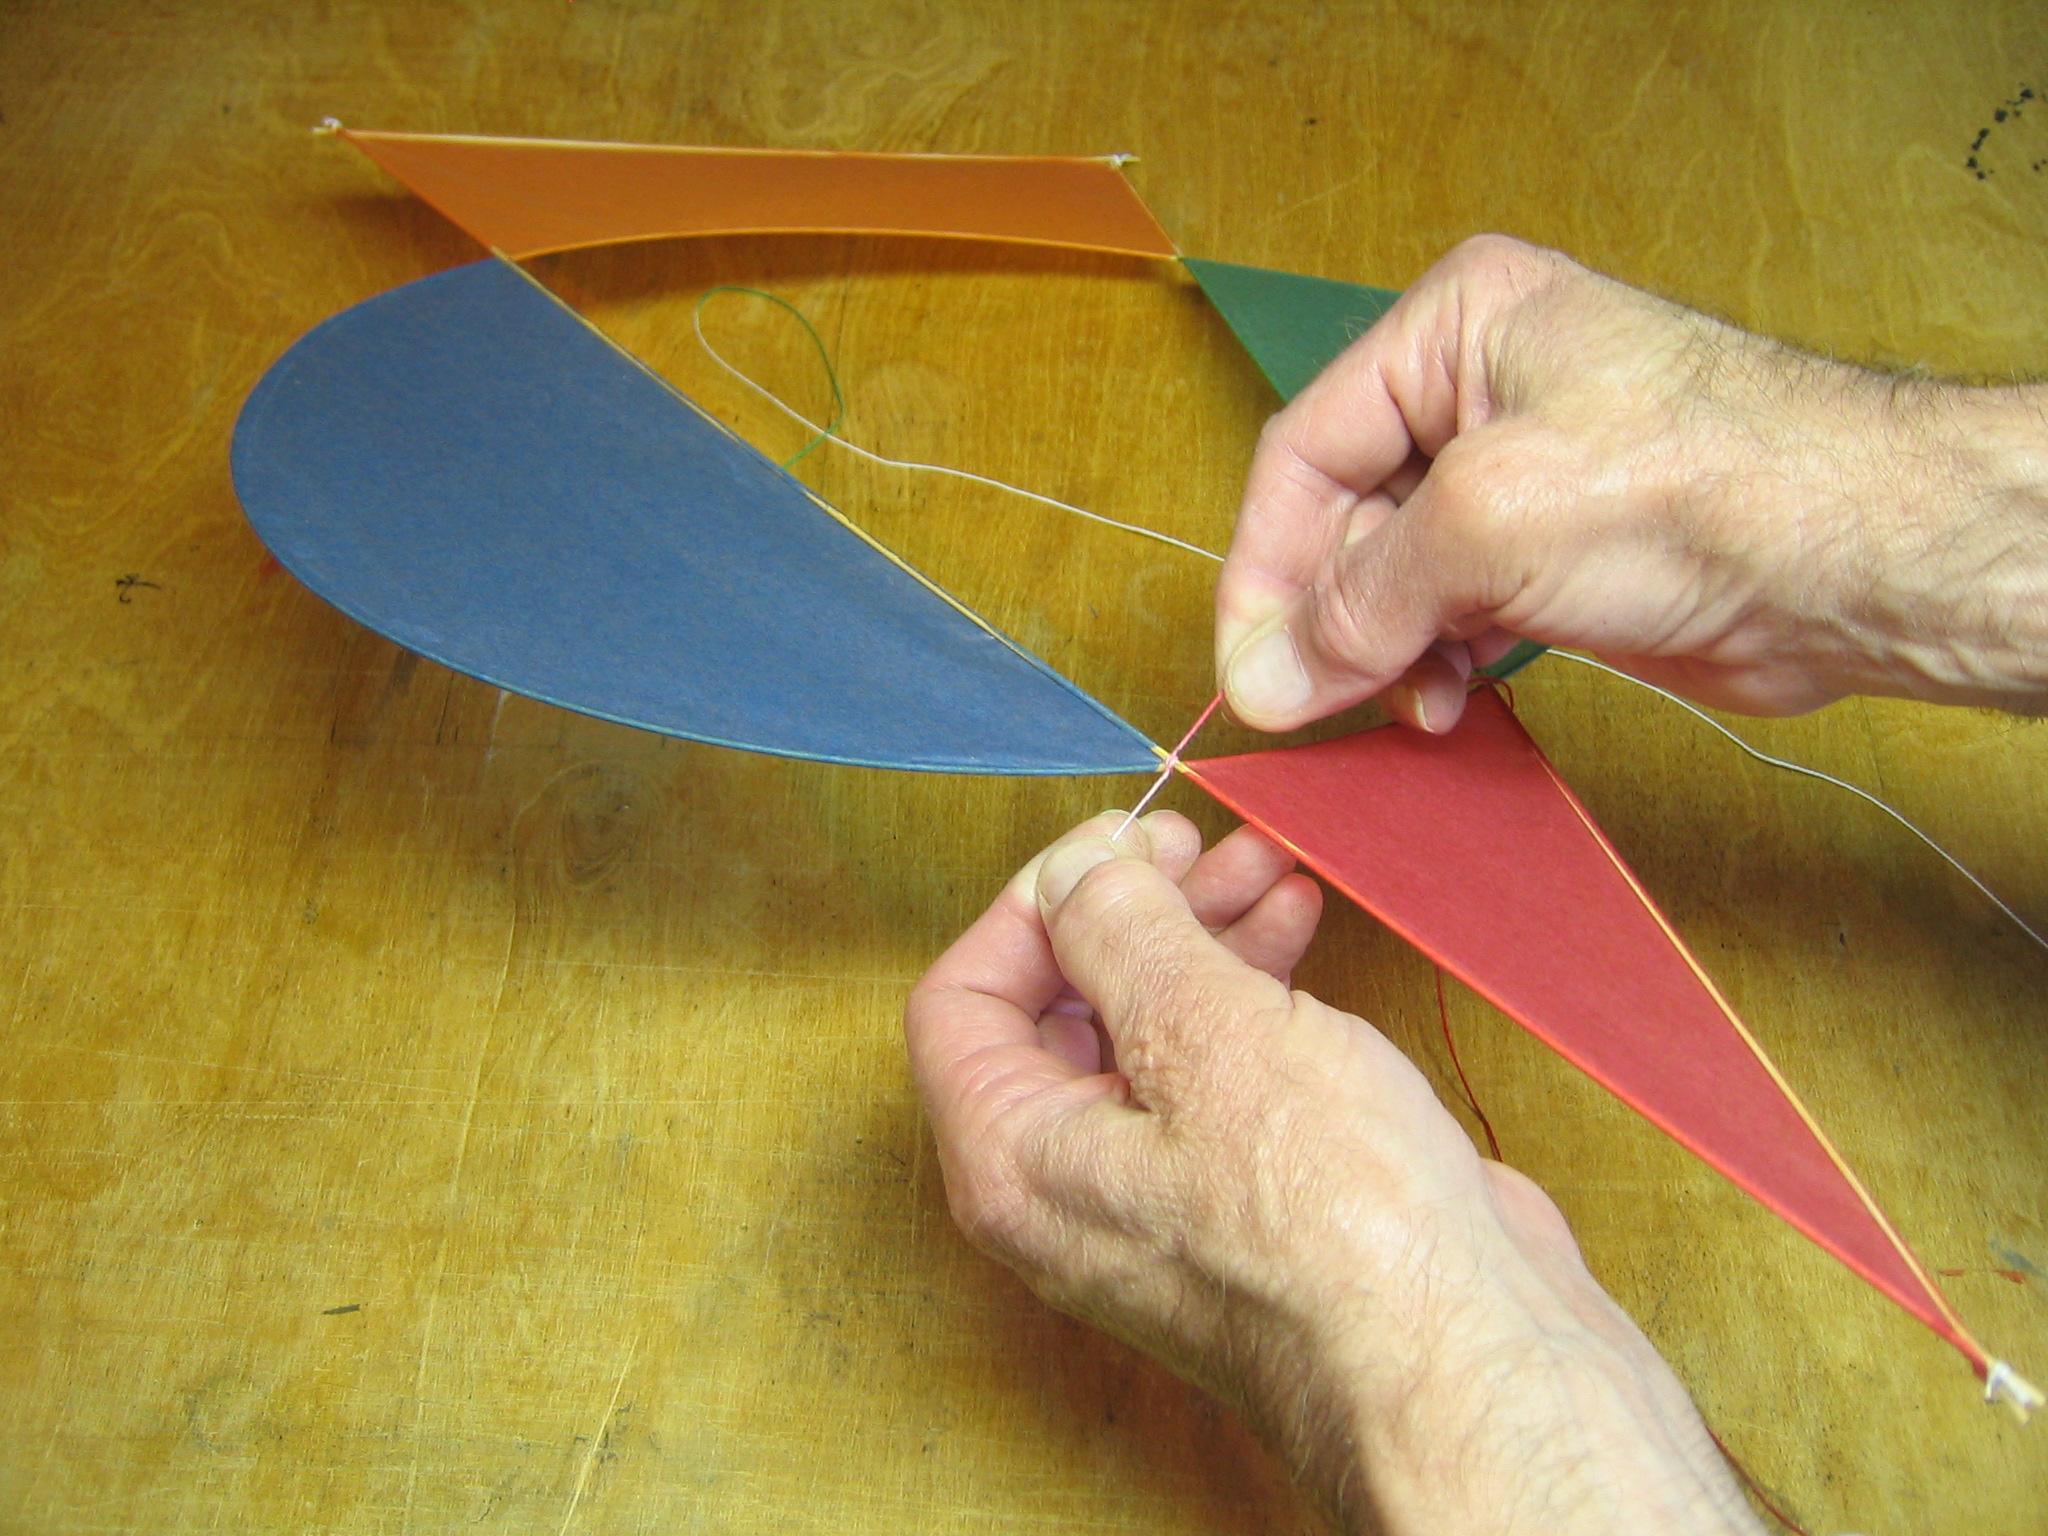
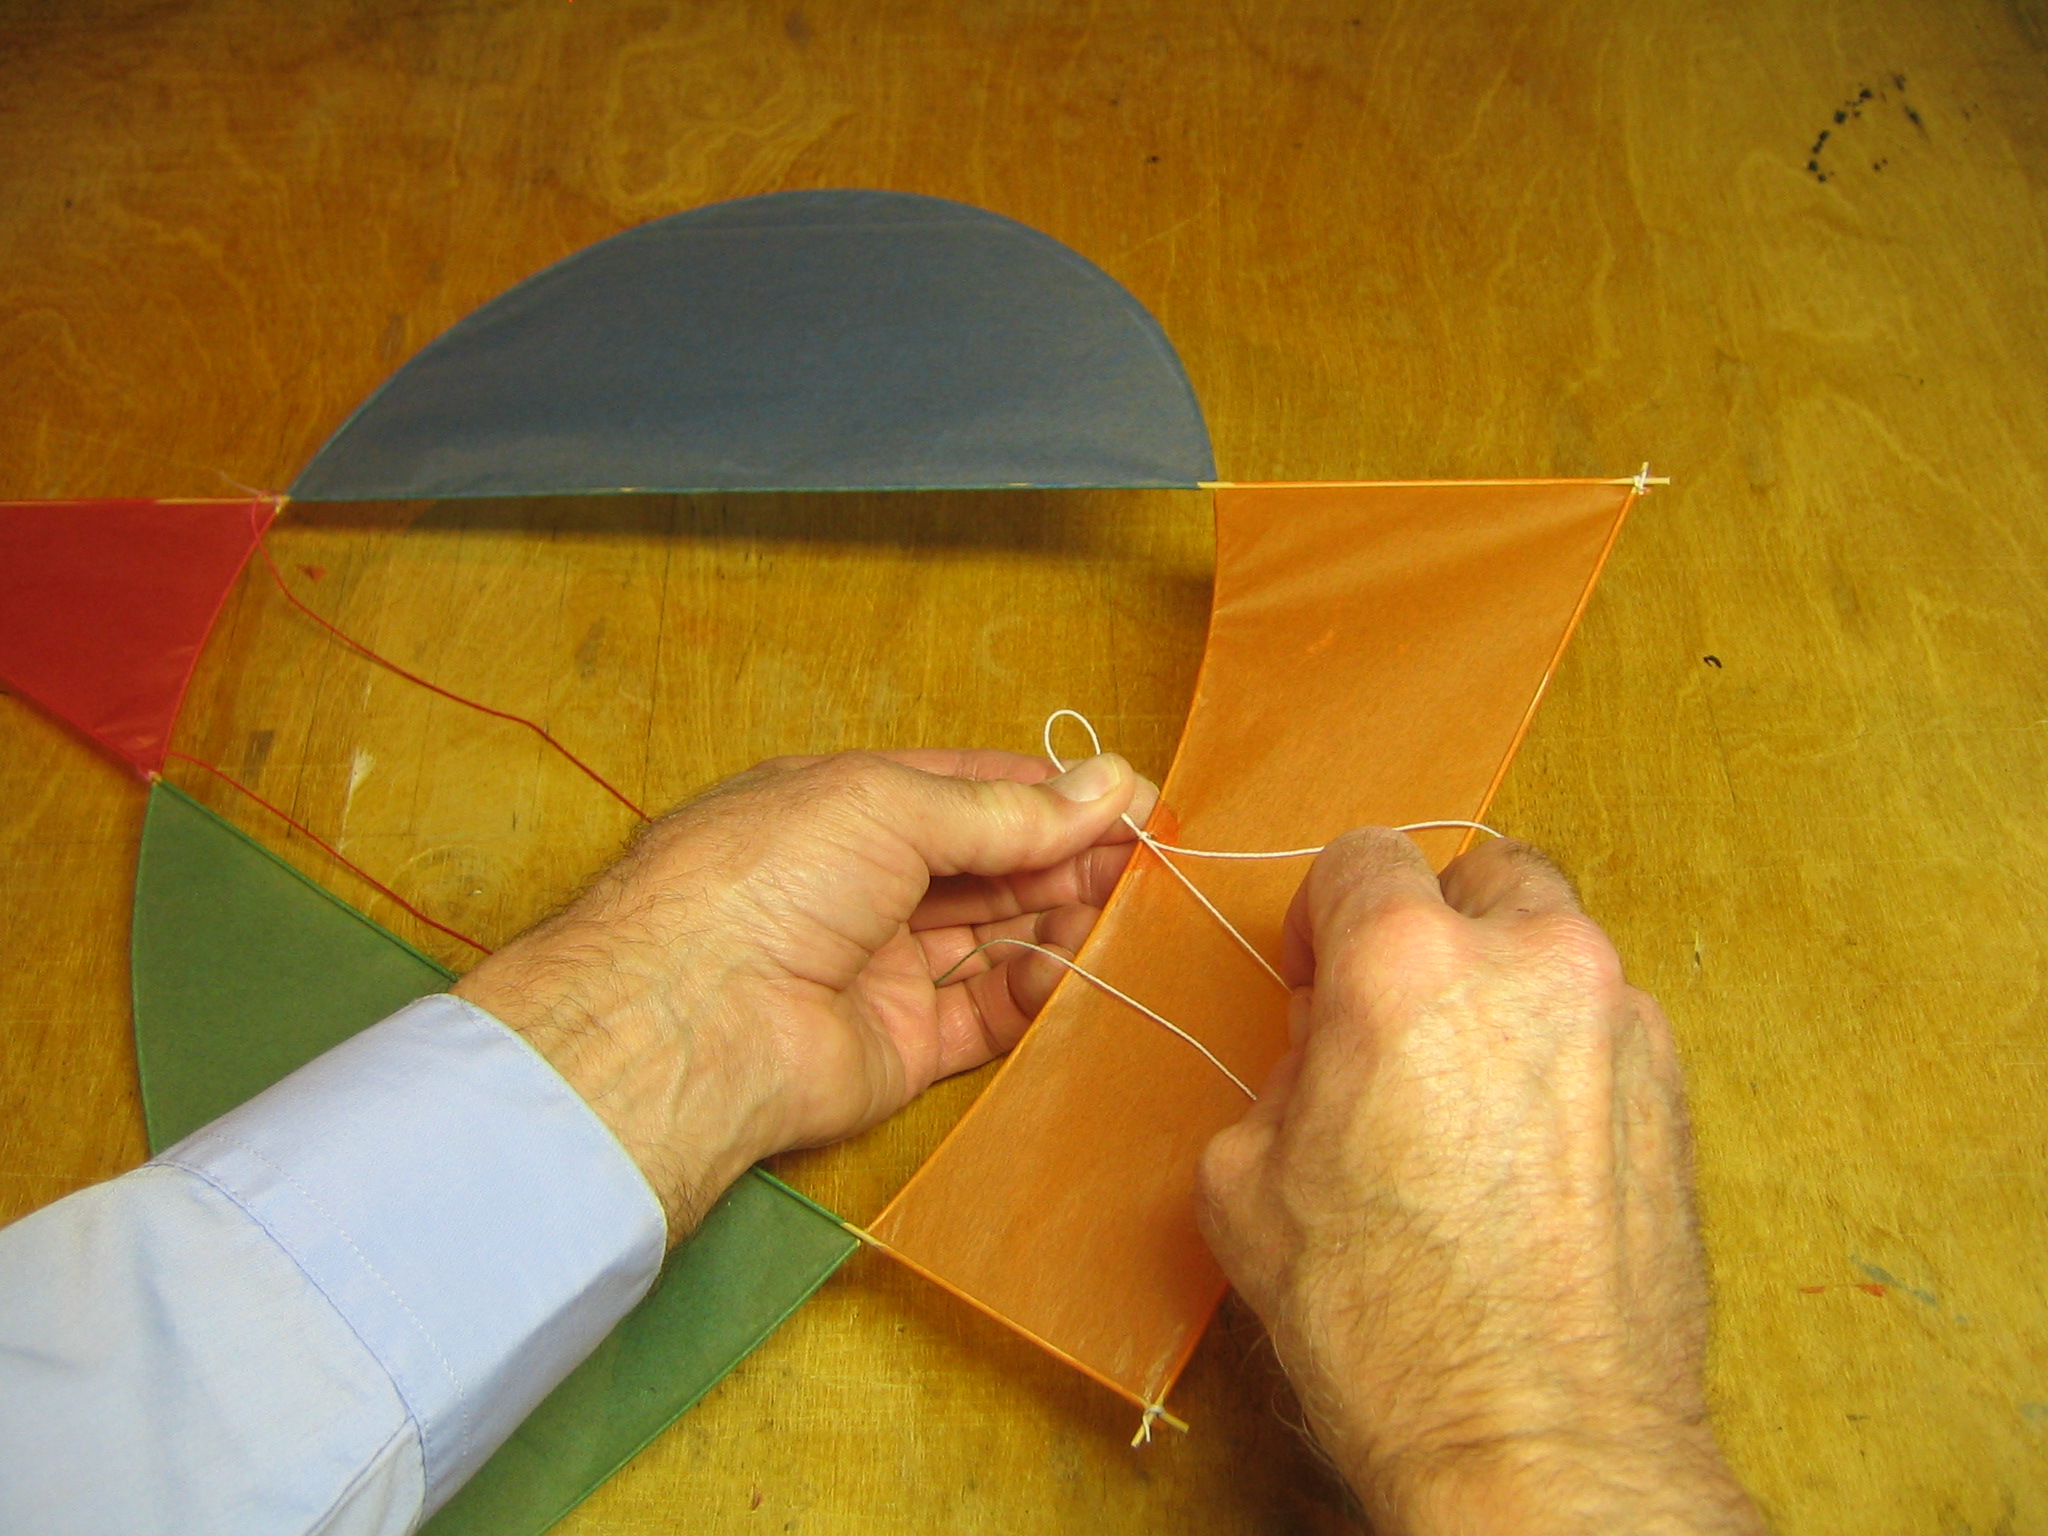
Tie the string around the juncture of the sticks at the base of the apex triangle. I use a clove hitch. Tie it so the pencil mark just shows where the string comes out of the knot.
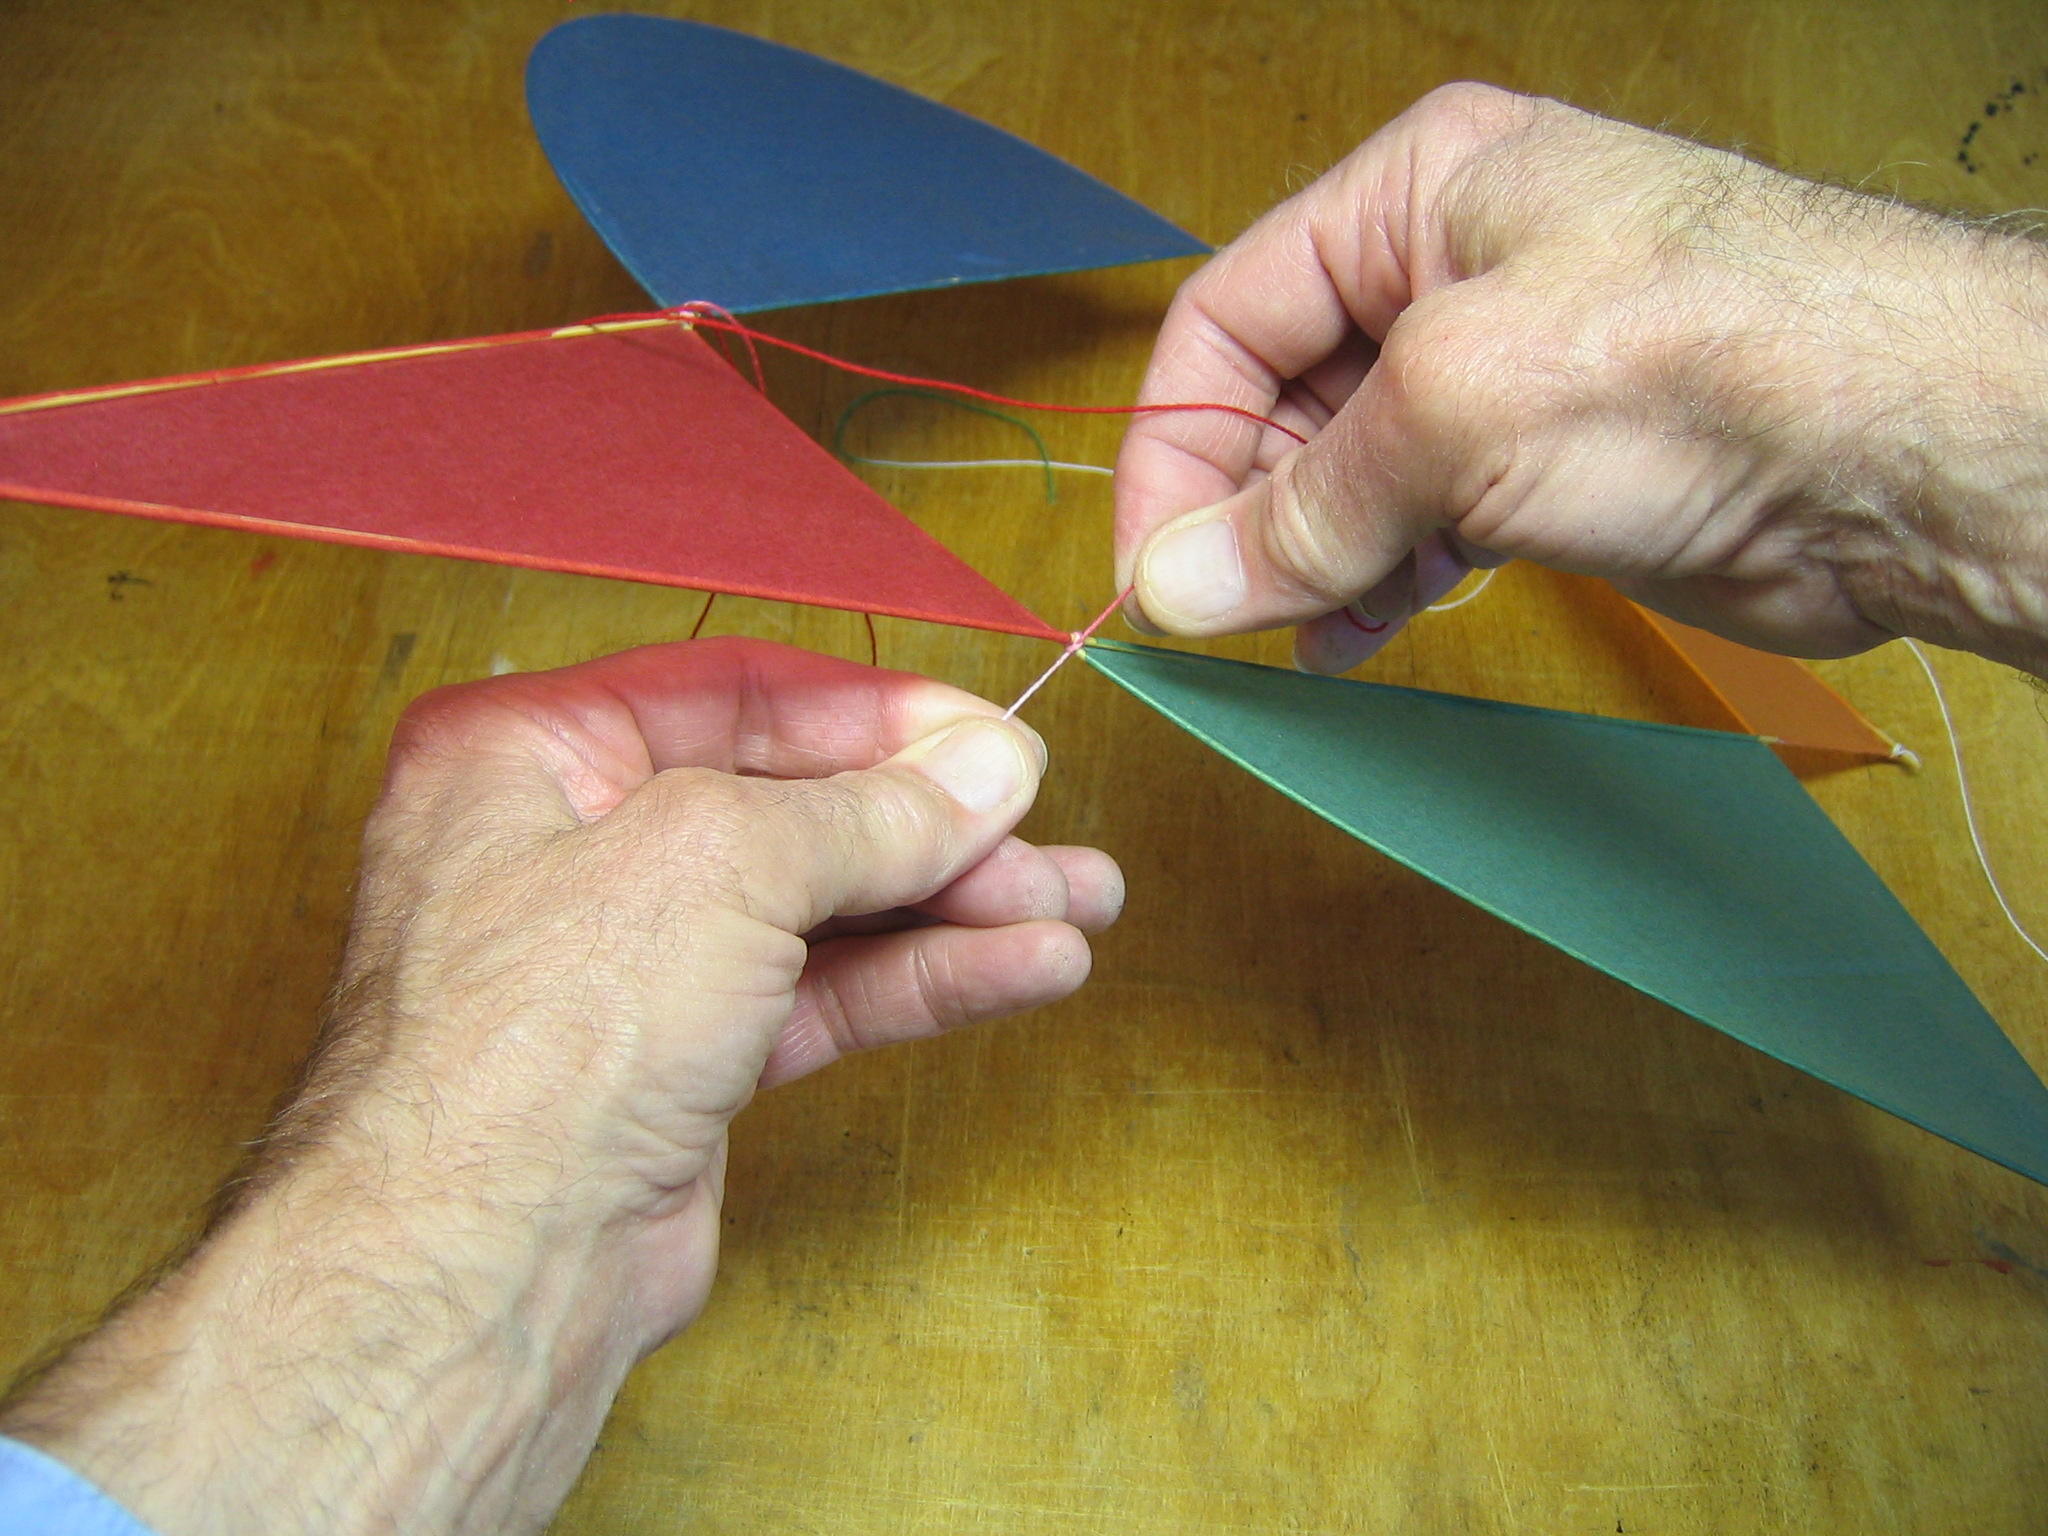
Tie the other end to the opposite end of the base of the apex triangle in the same way and so that the string leads out in the same direction as the opposite end. This forms the lateral bridle loop, it runs laterally from side to side. Pull both knots tight and check that they are right.
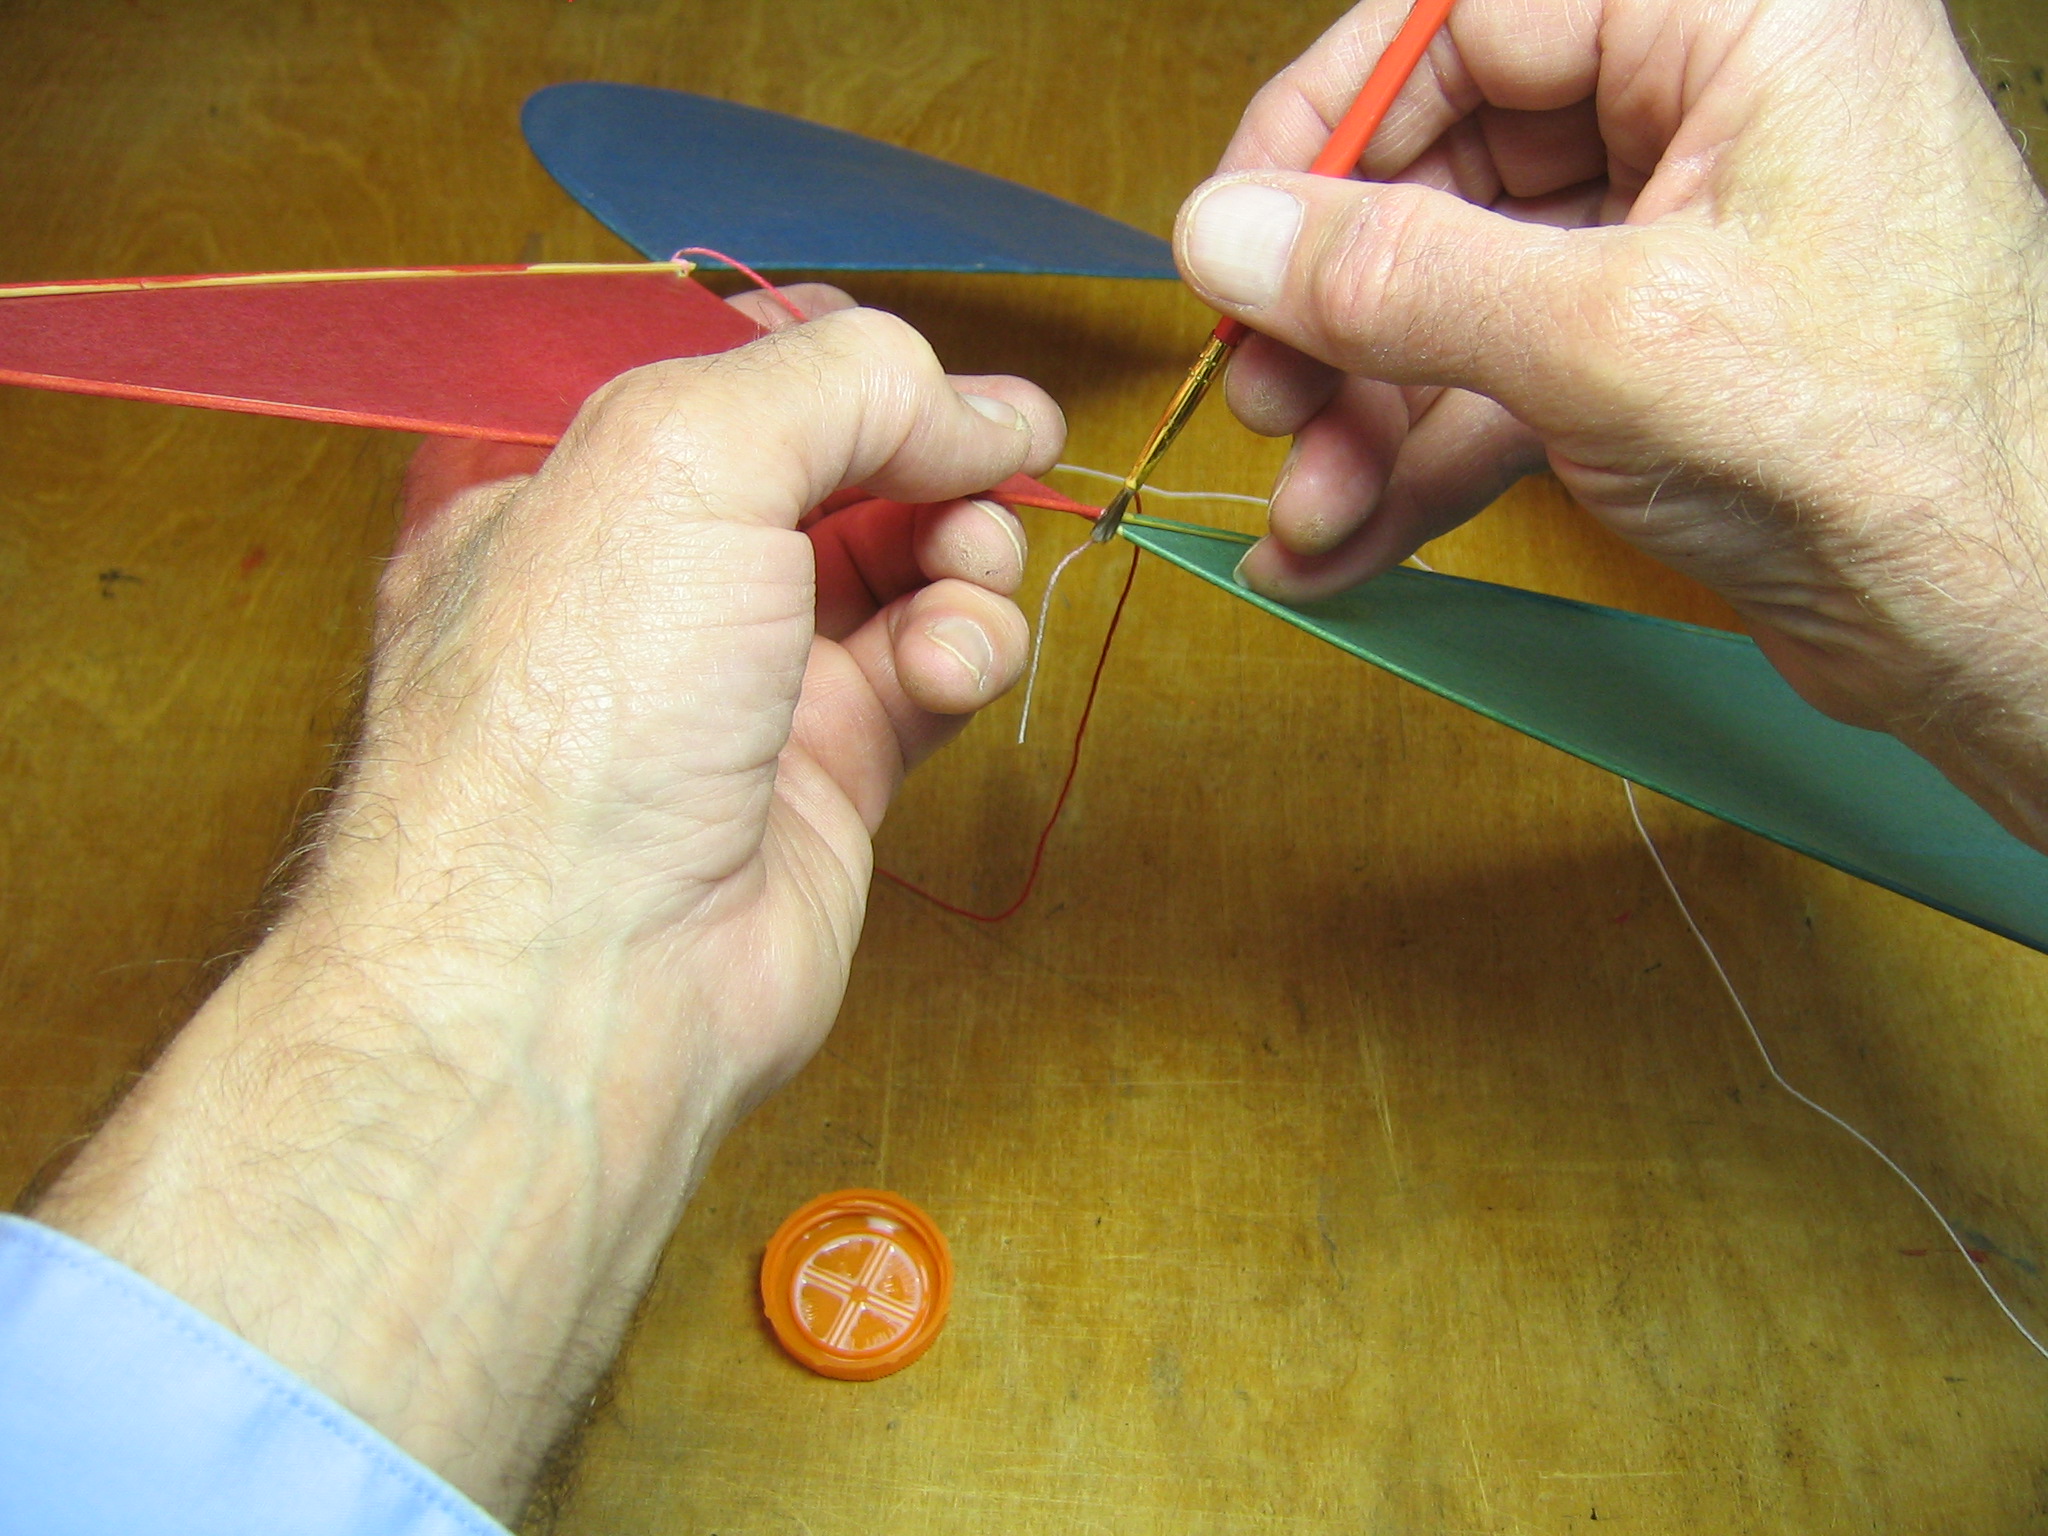
Paint the knot with glue to keep it from slipping.
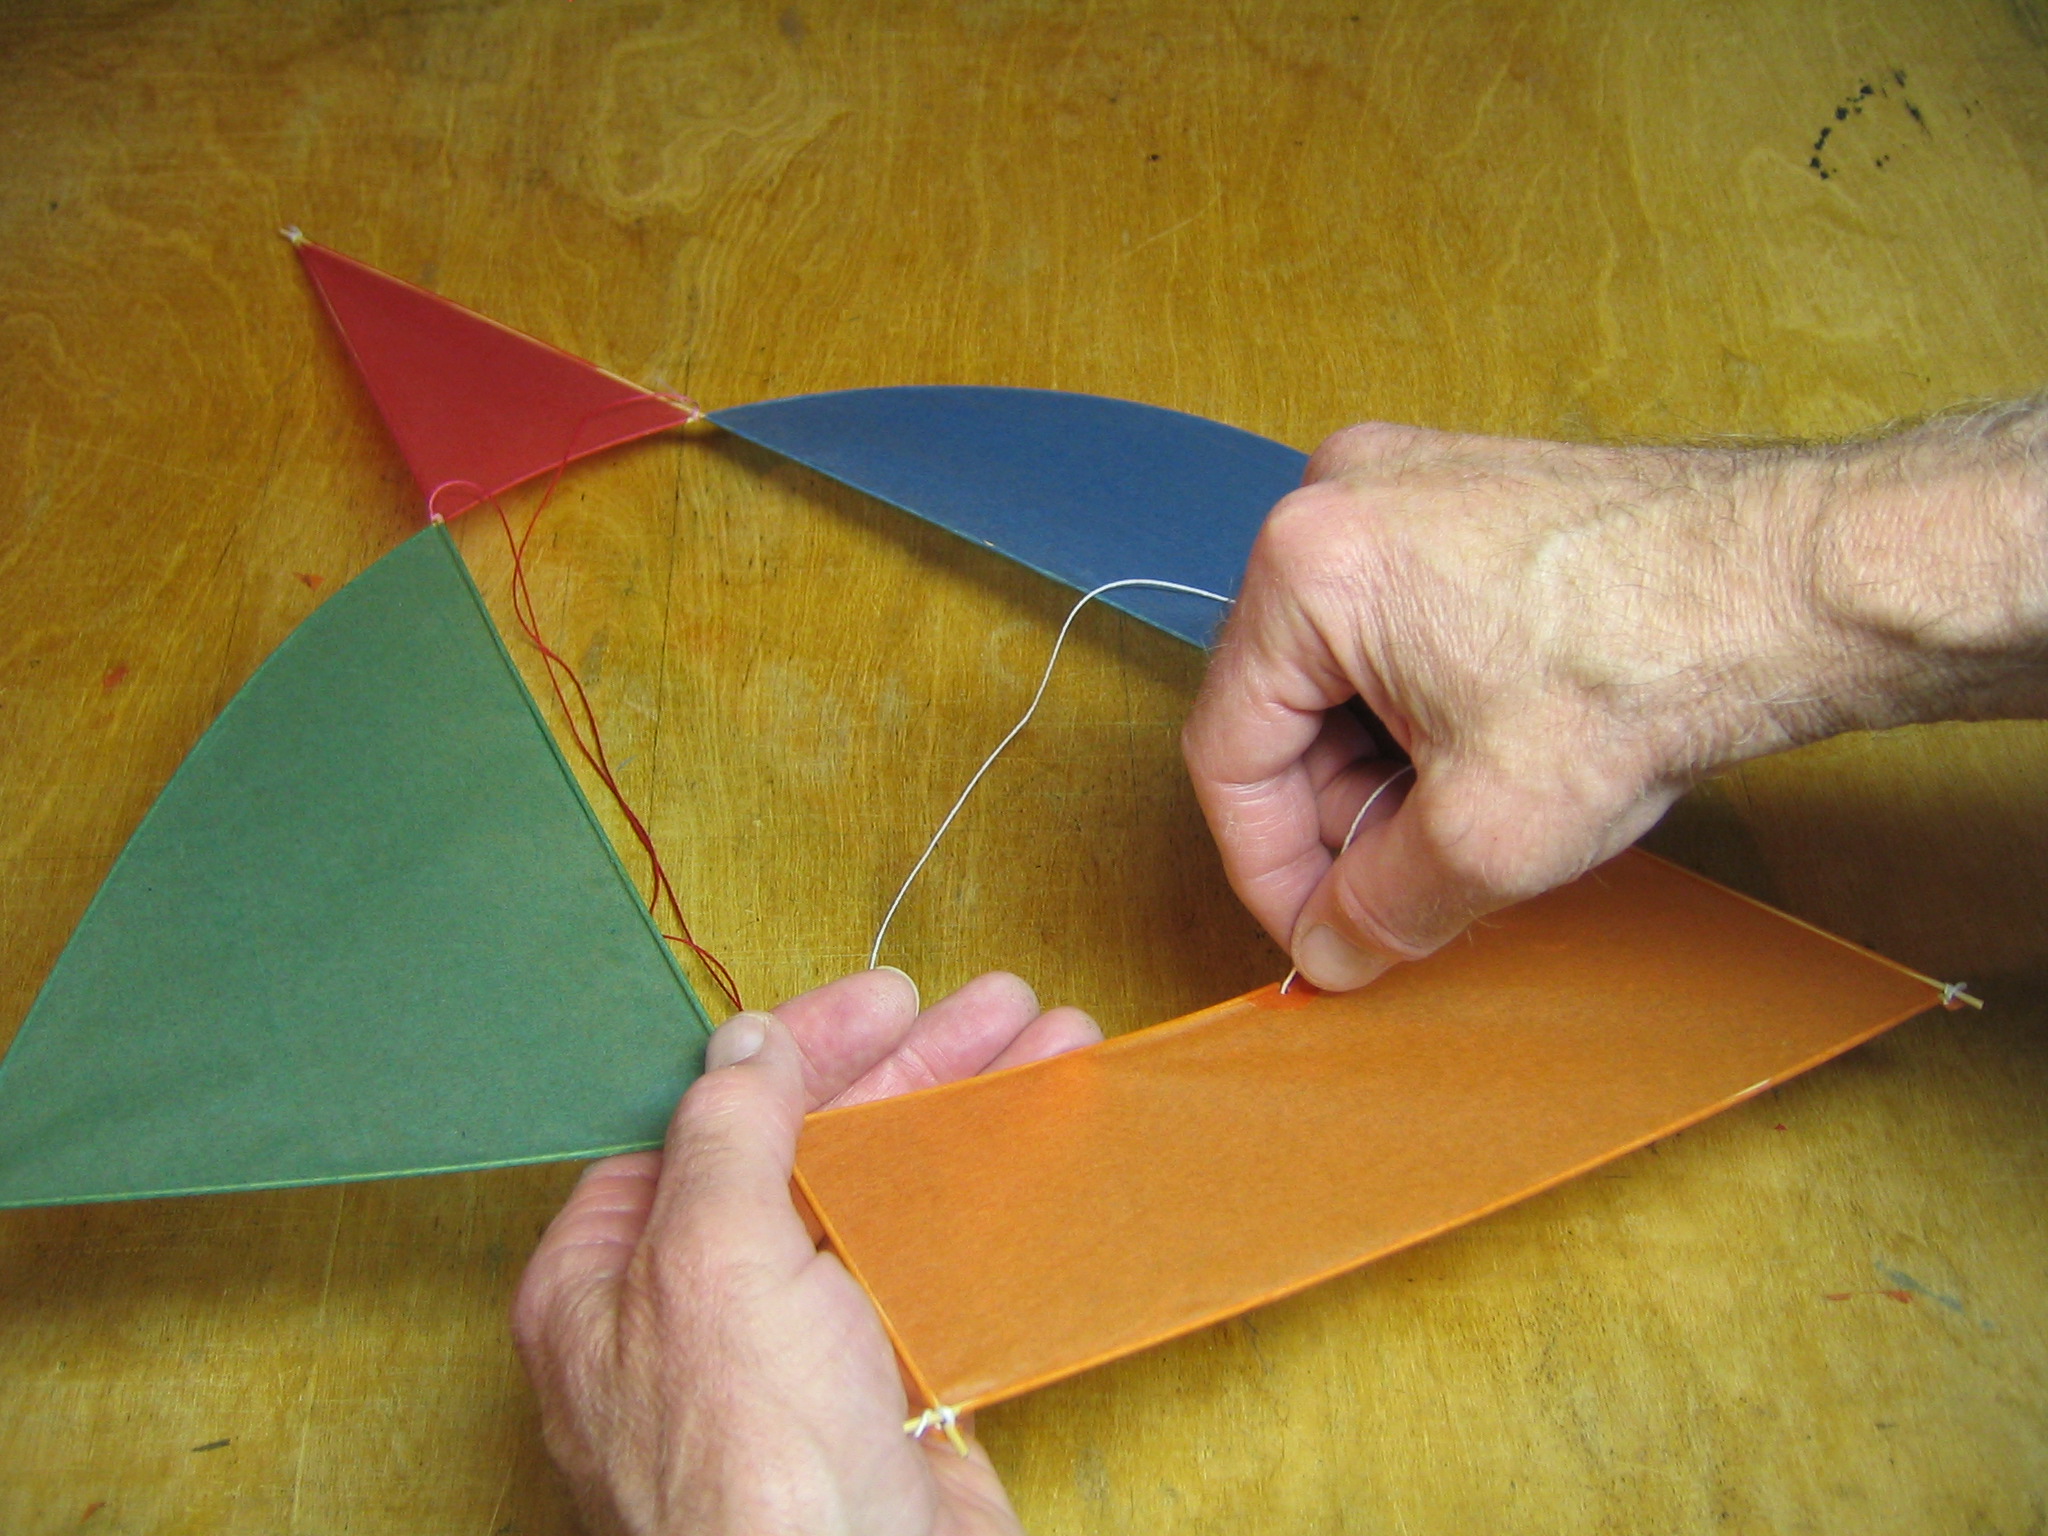
Tie a bowline knot in one end of the 24″ length of string, making the loop about 1″ long, but tie the knot around the lateral bridle. The lateral bridle must go through the knot, not through the loop.
Pull the knot tight around the lateral bridle. Adjust it so the knot is around the pencil mark in the center of the lateral bridle. It should be tight enough to stay put, but we will not glue it yet, because we may want to move it during flight testing.
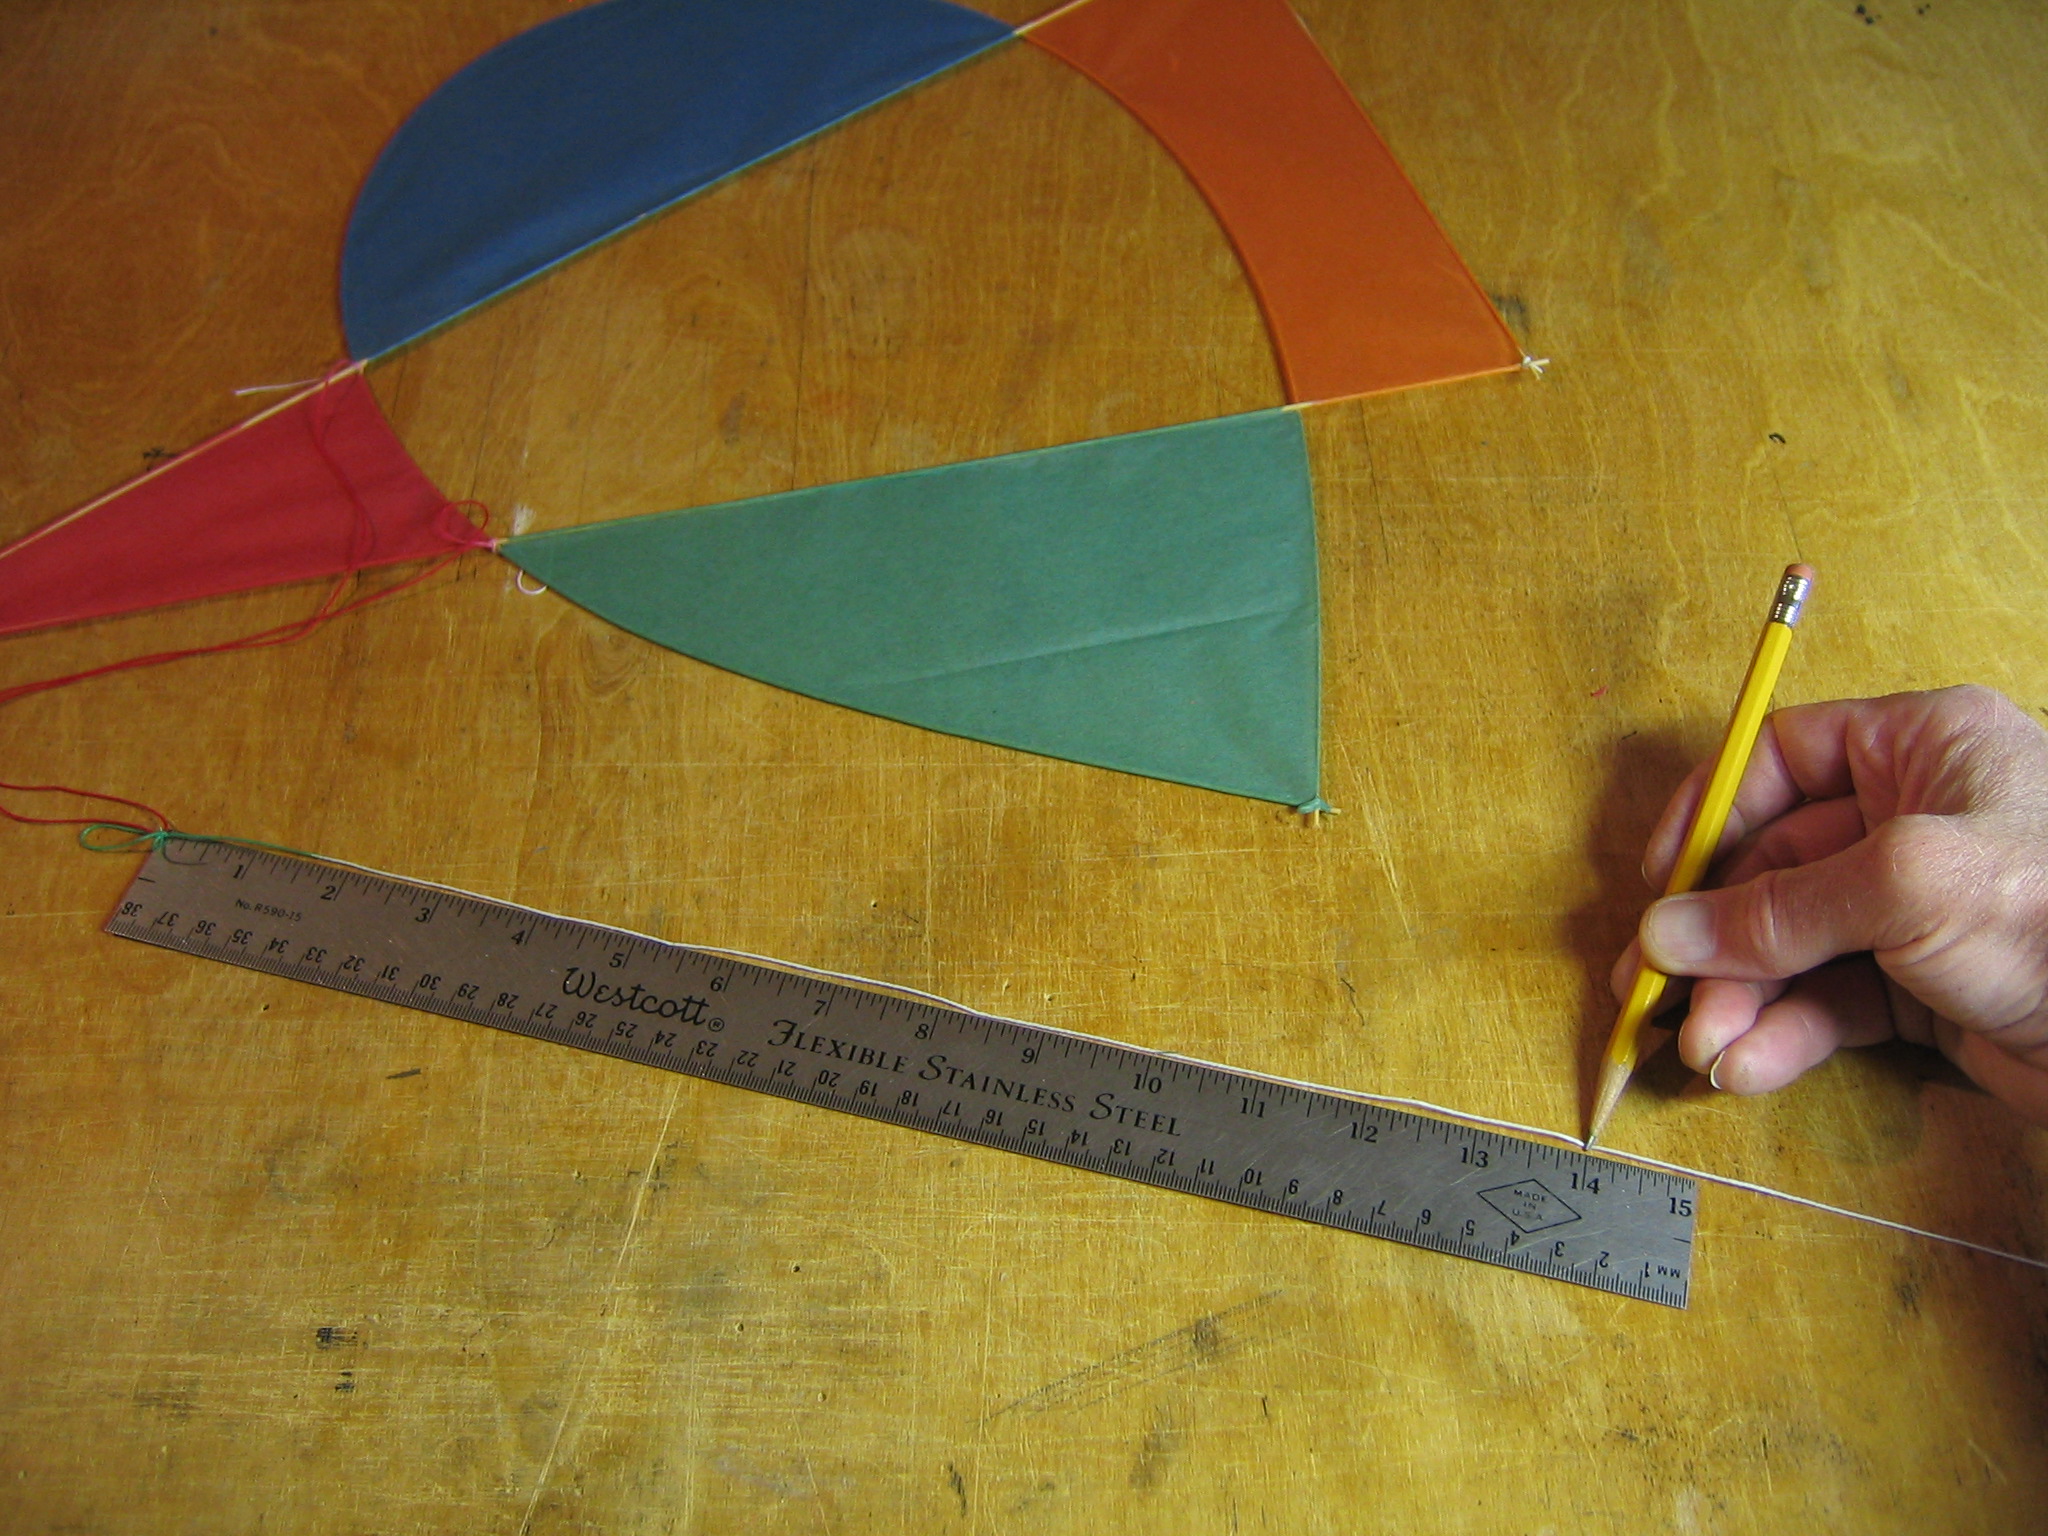
This third leg will be the aft bridle line that will allow longitudinal adjustment of the bridle point. Make a pencil mark on the aft bridle line 14″ from the loop. Later I reduced this distance to 13 3/8″, so you may want to start there.

To make a reinforcement for the aft bridle hole, I made a 3/4″ diameter disk of tissue by tracing around a US penny.
Cut out the disk.
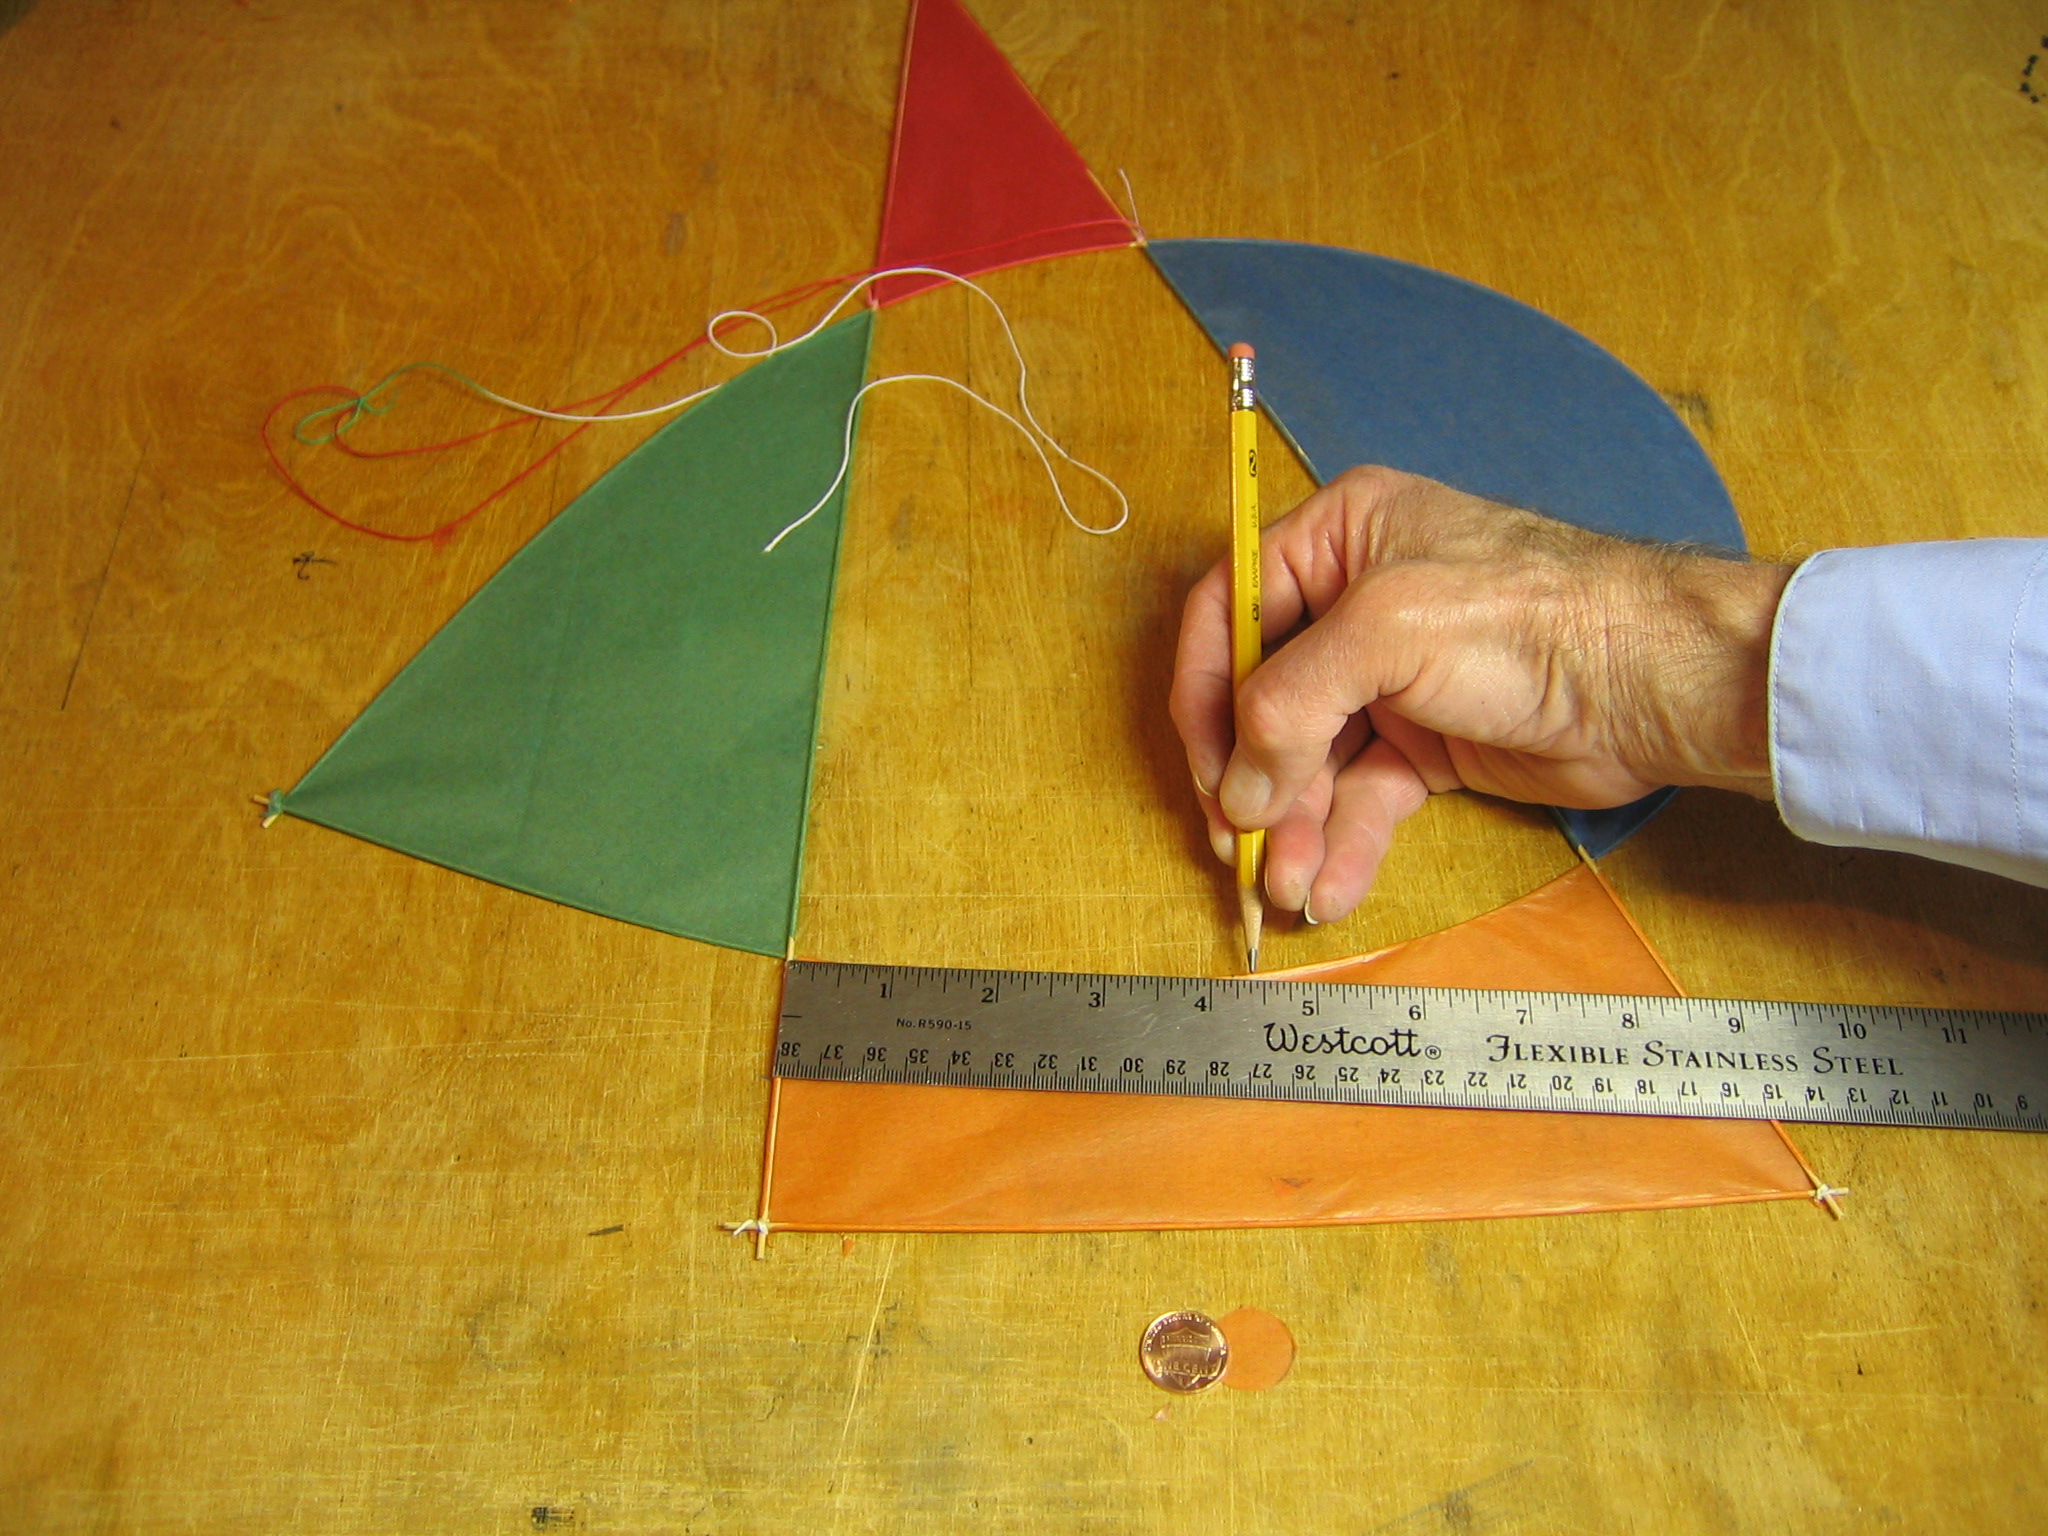
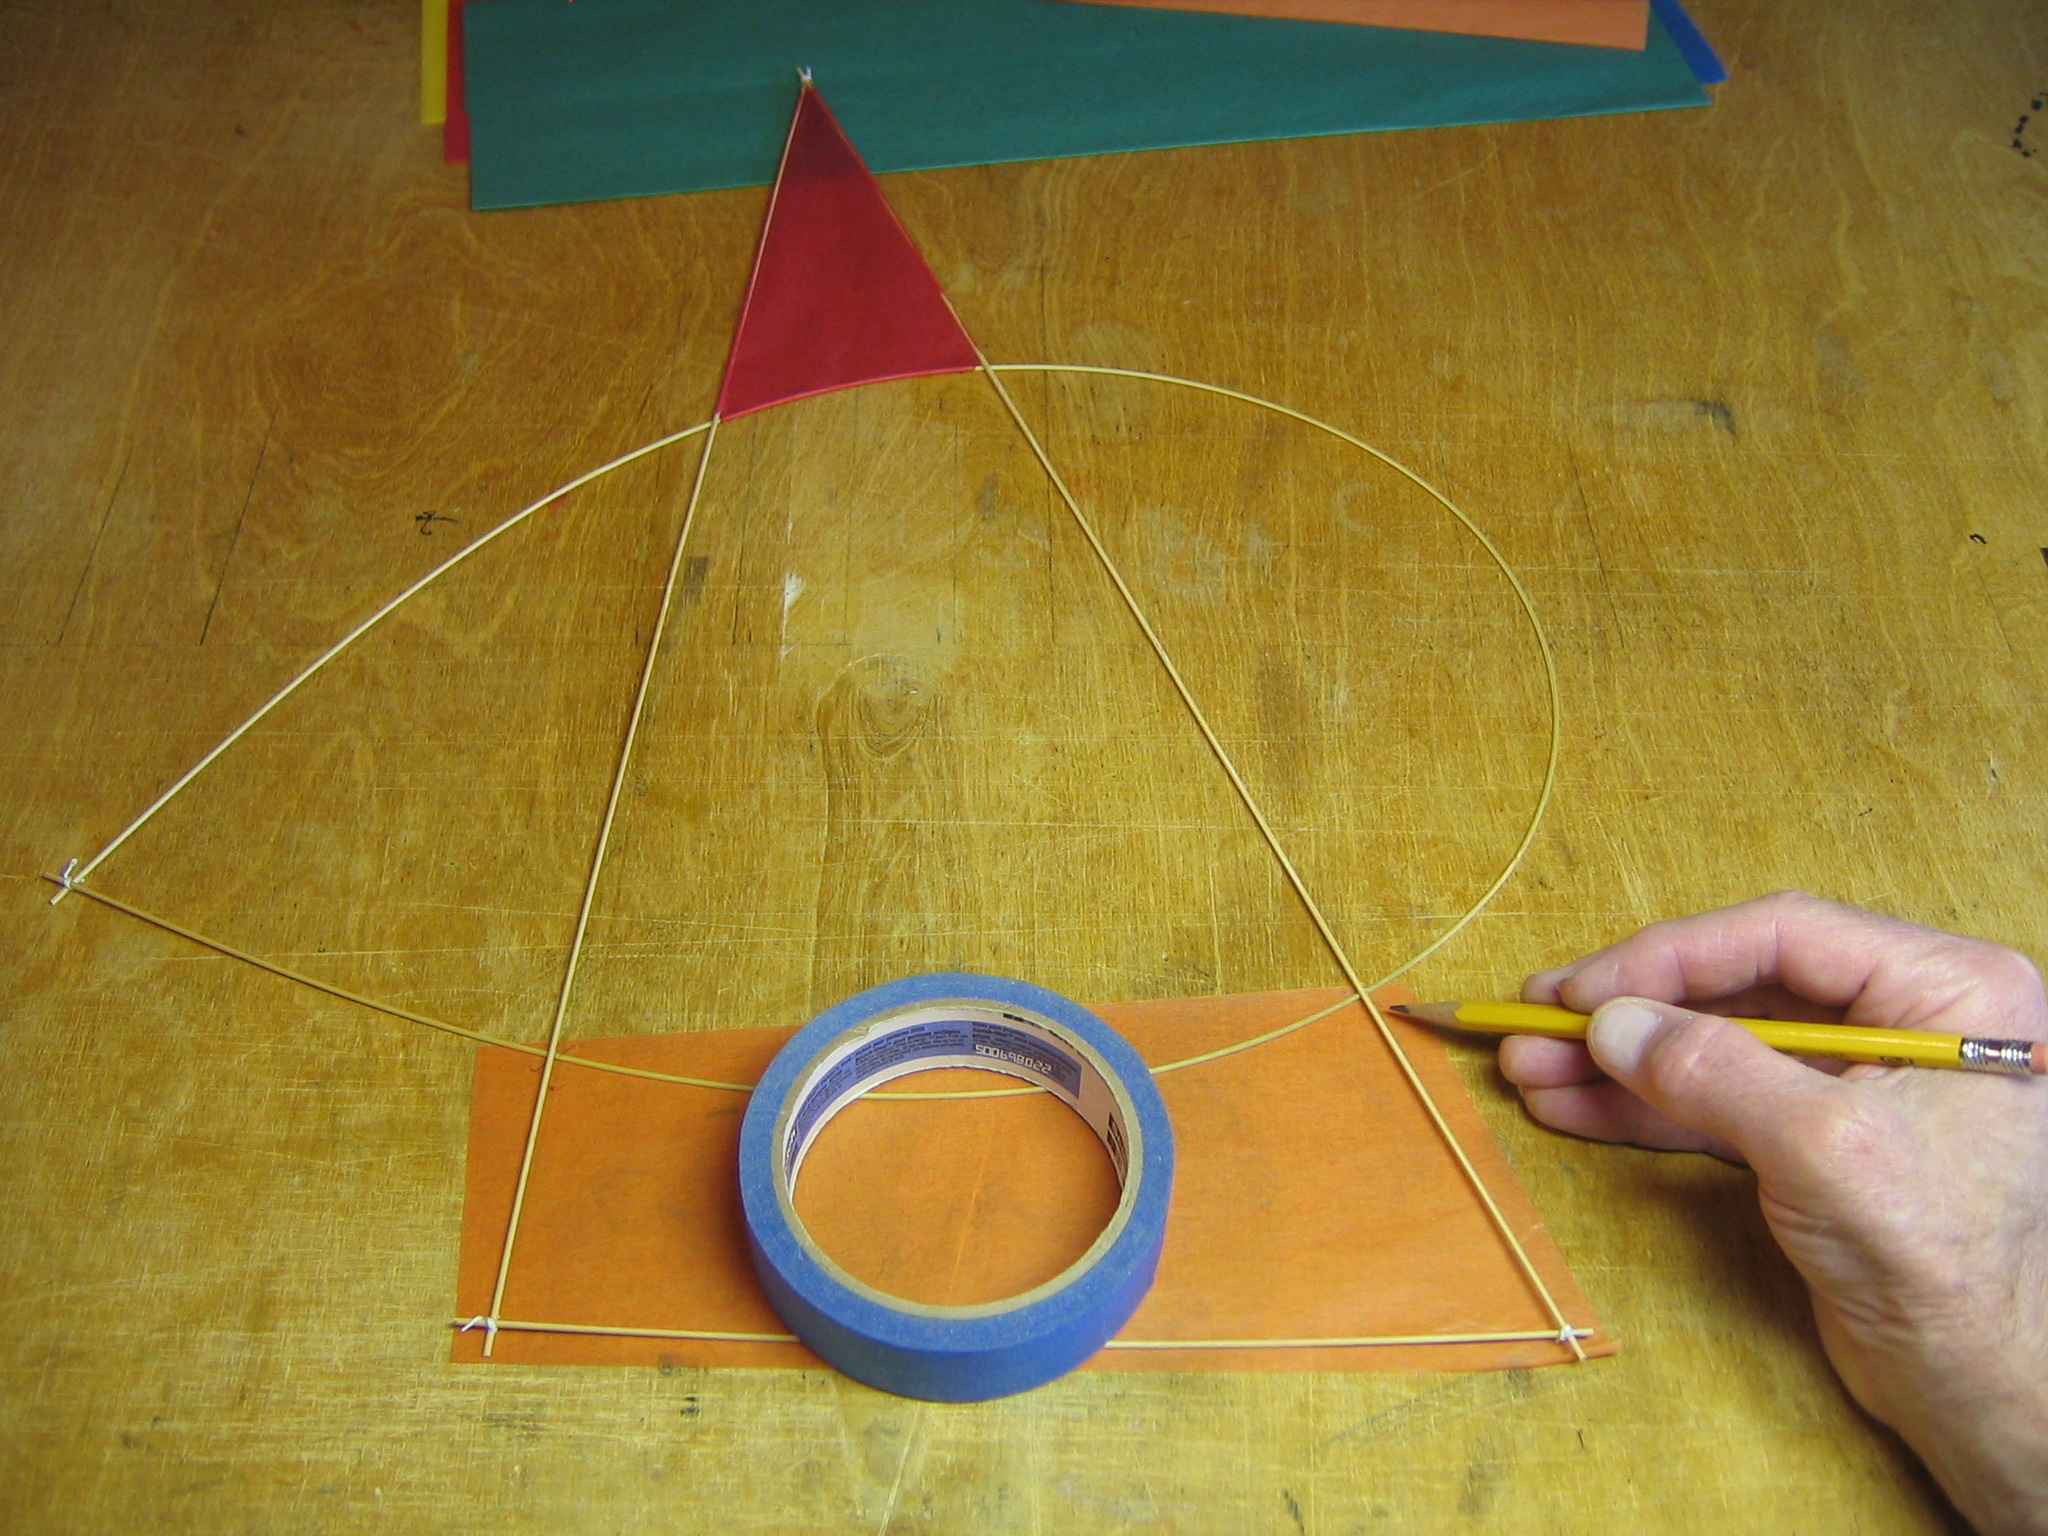
Mark a point 4 3/8″ from the 20″ stick on the arc of the bow opposite to the lateral bridle.
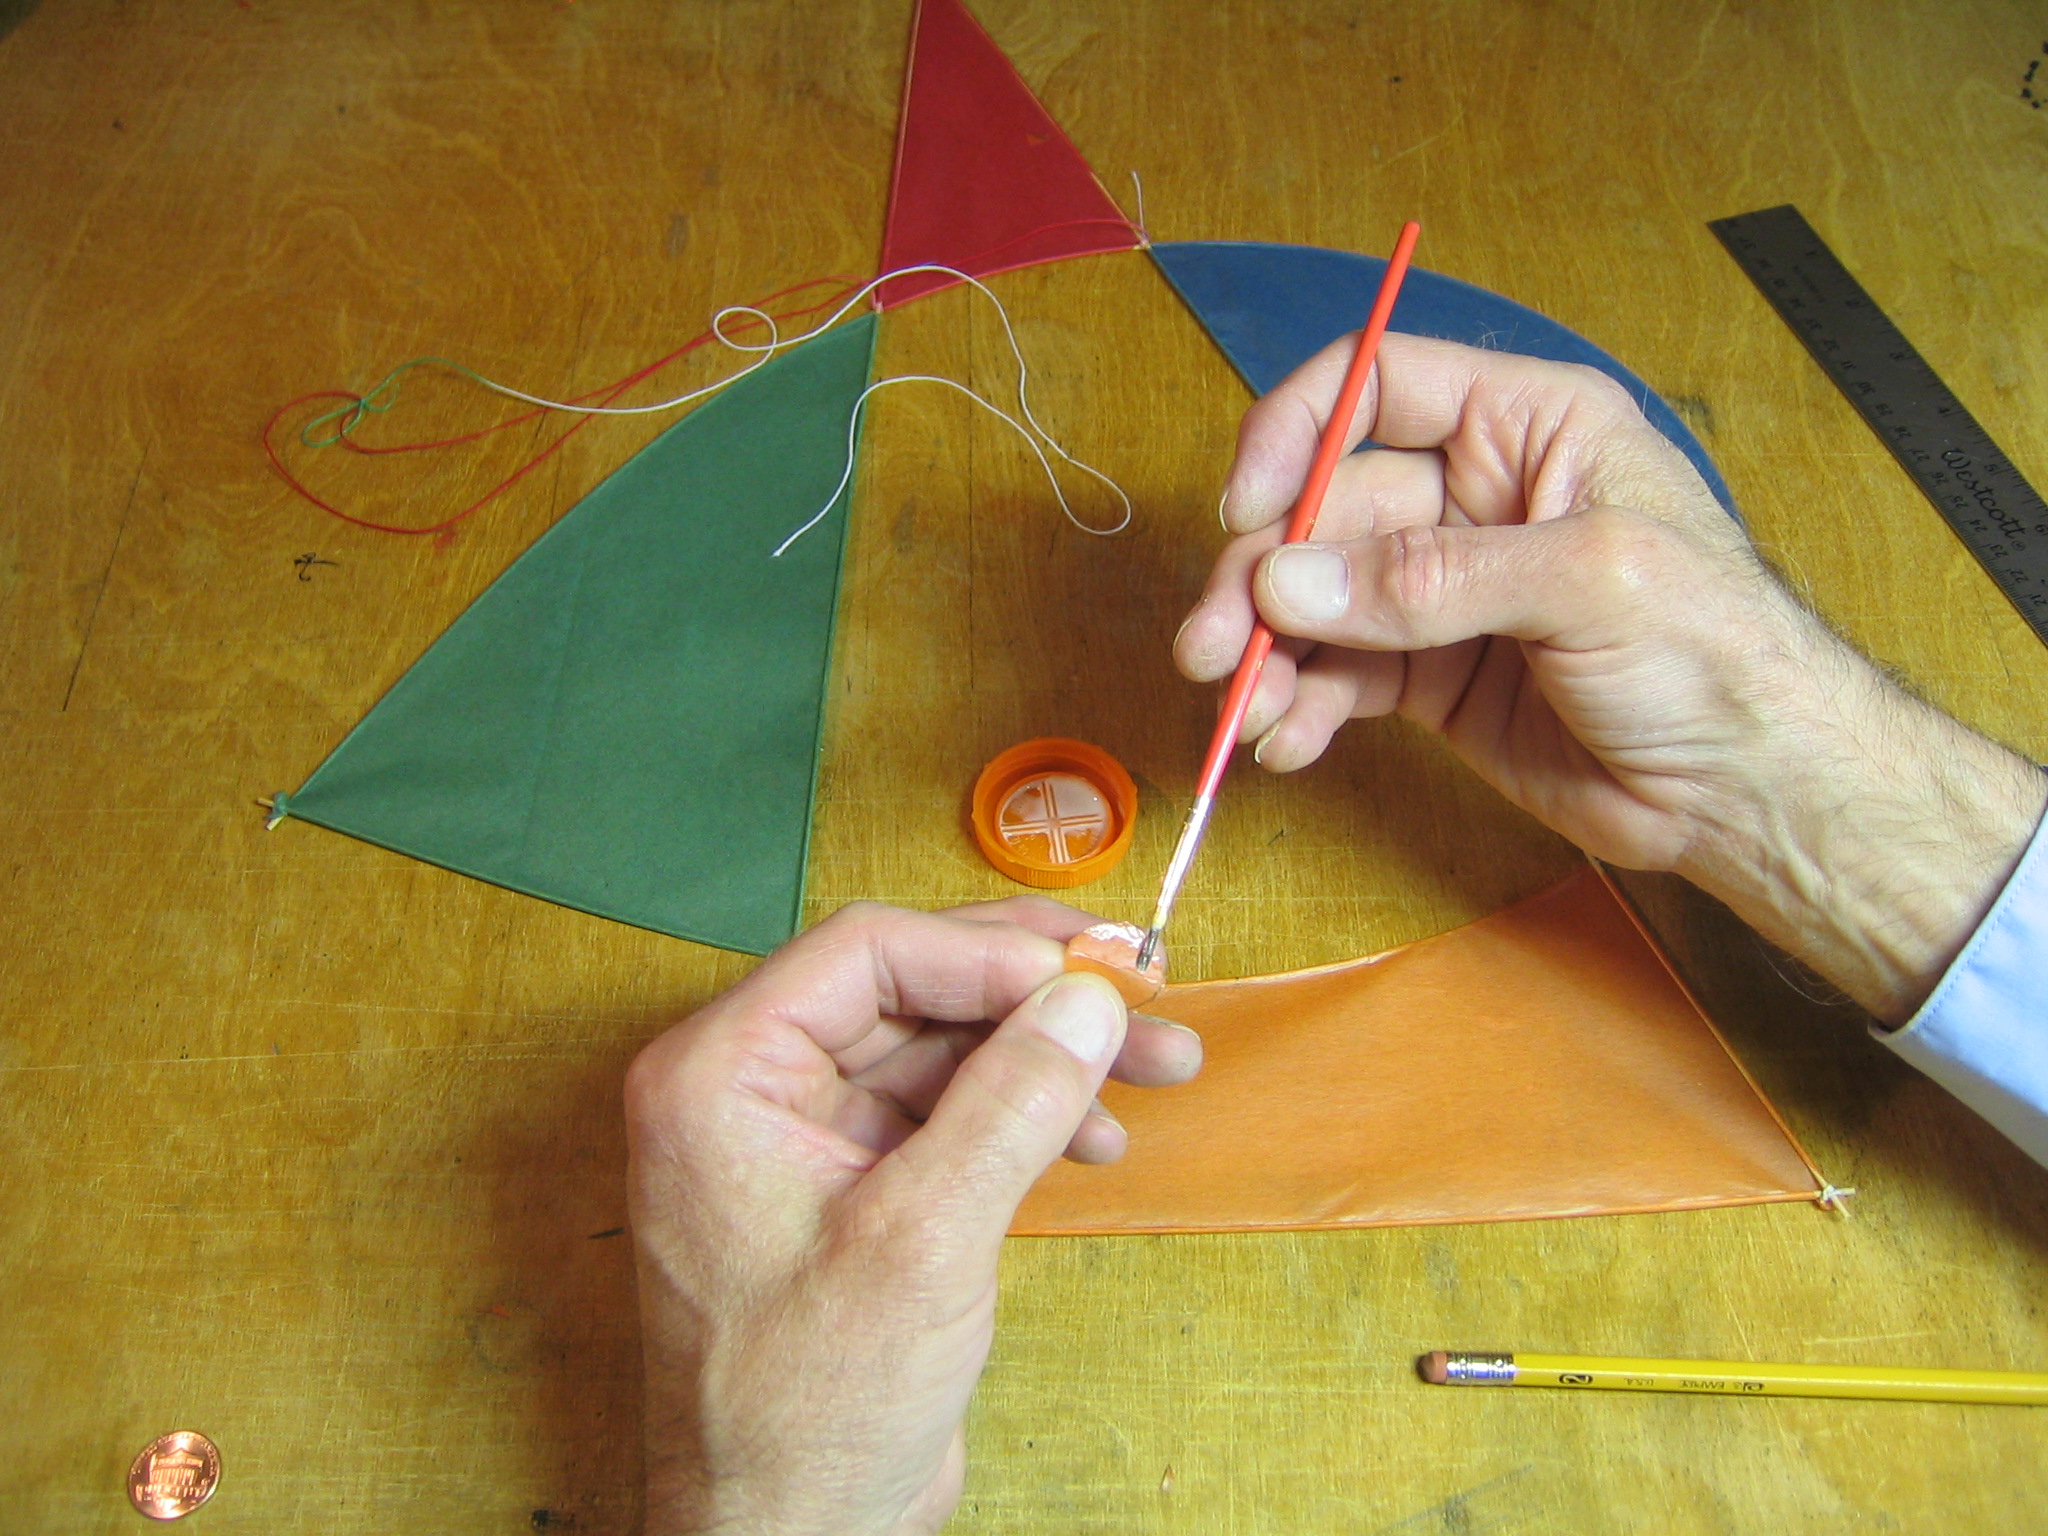
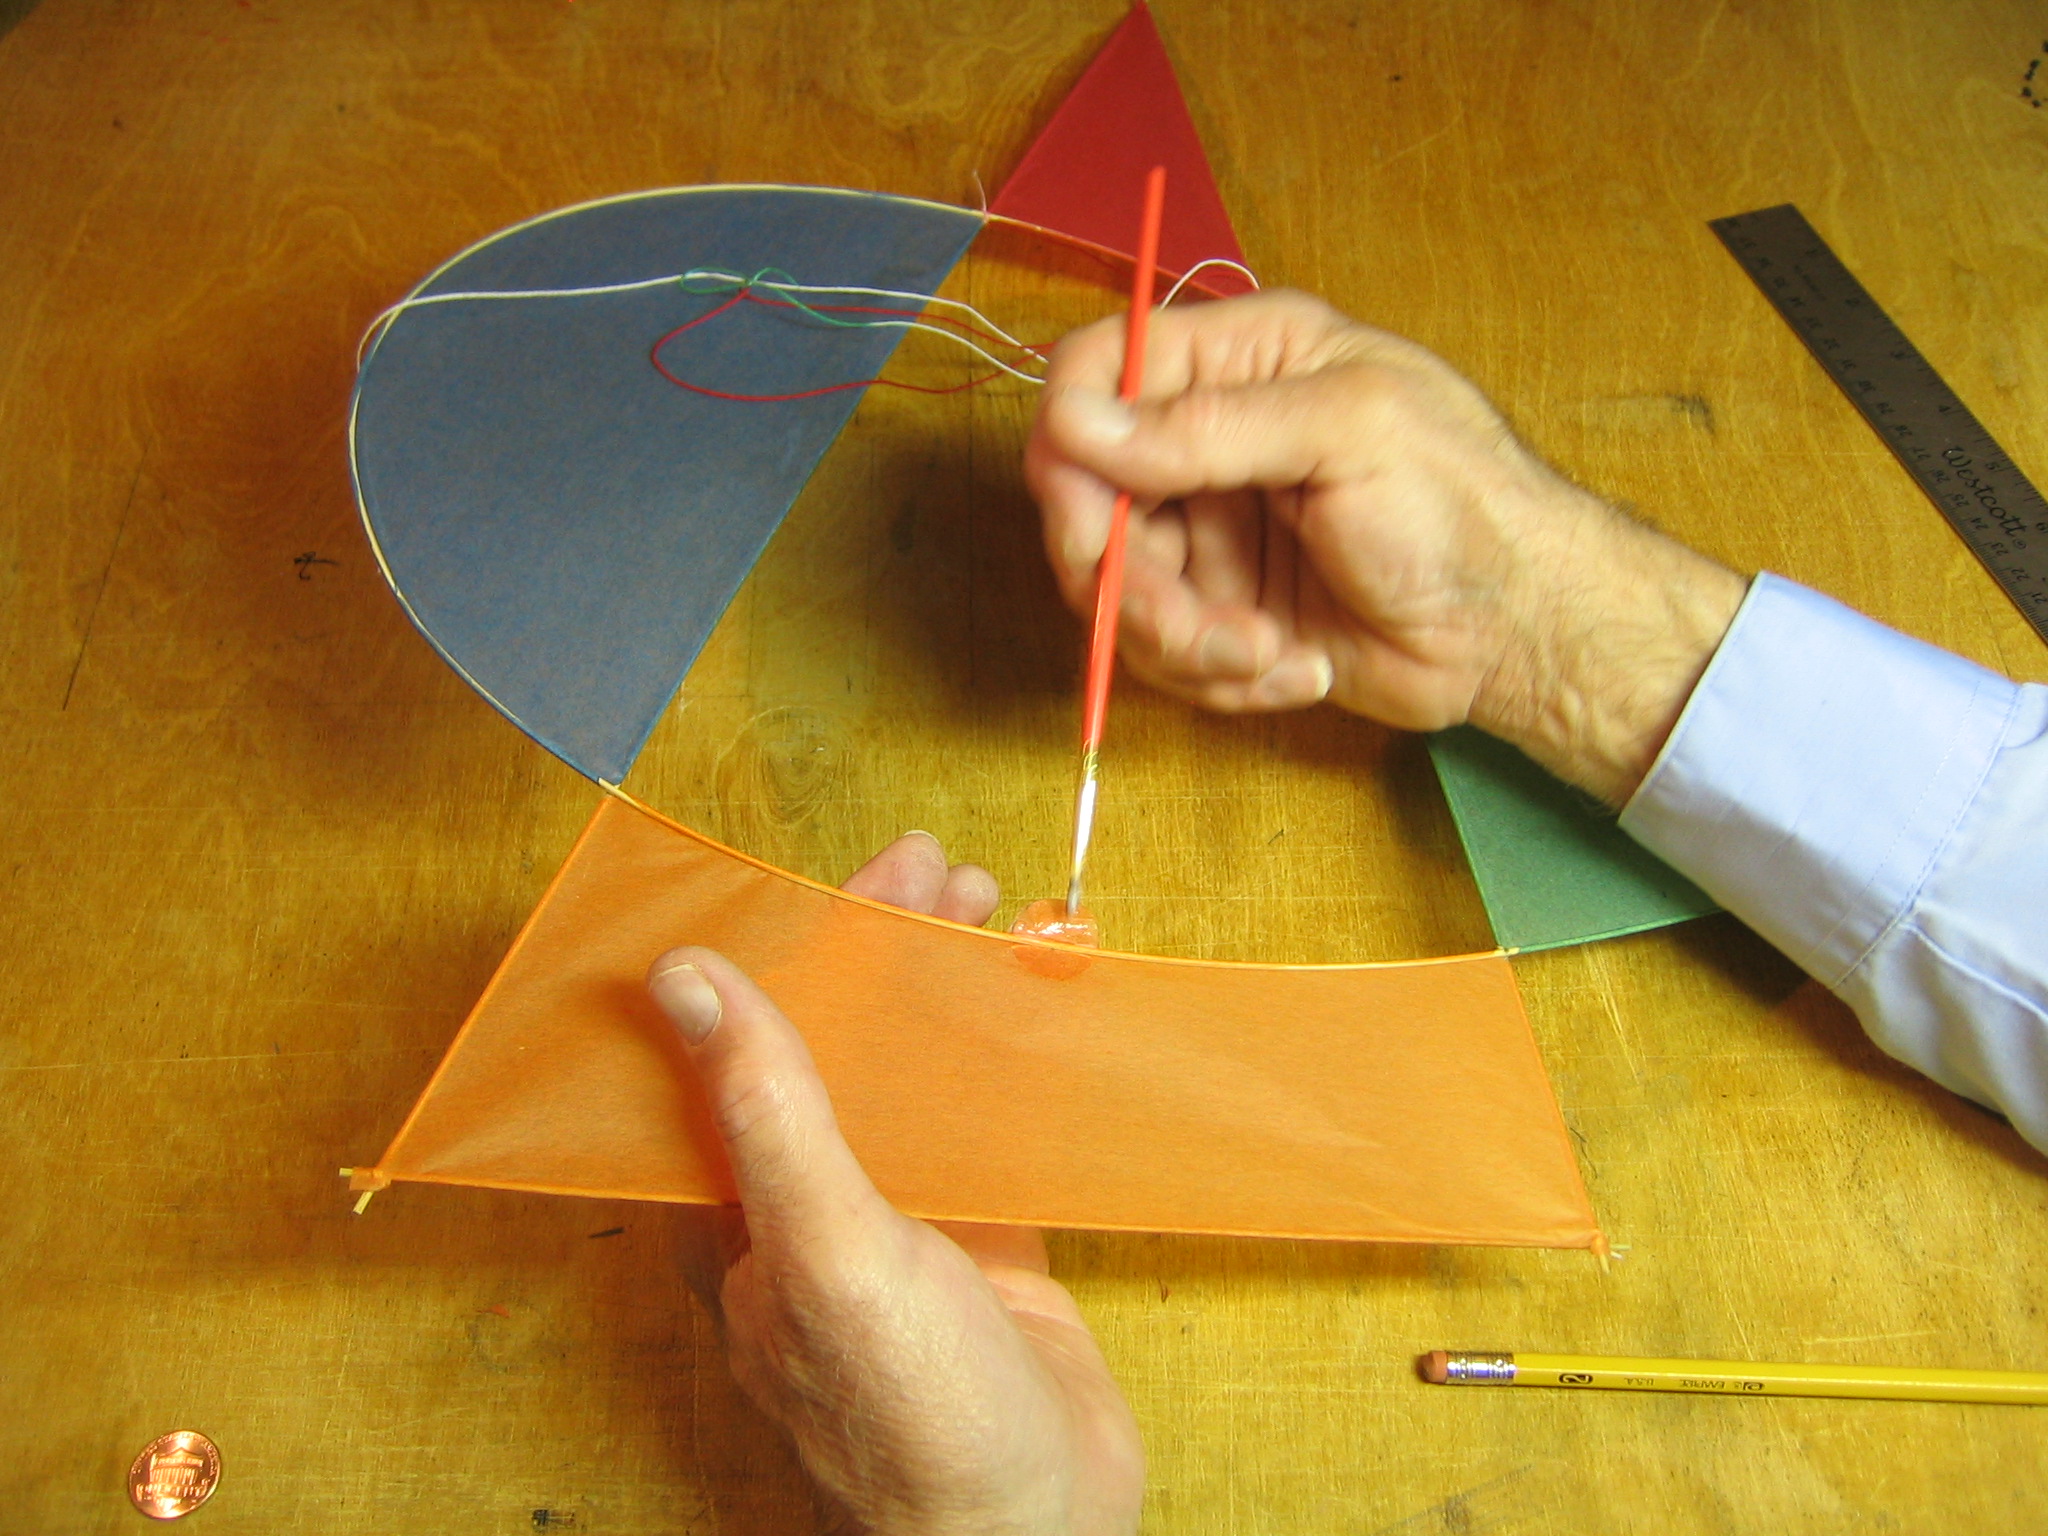
Paint half of the tissue disk with glue.
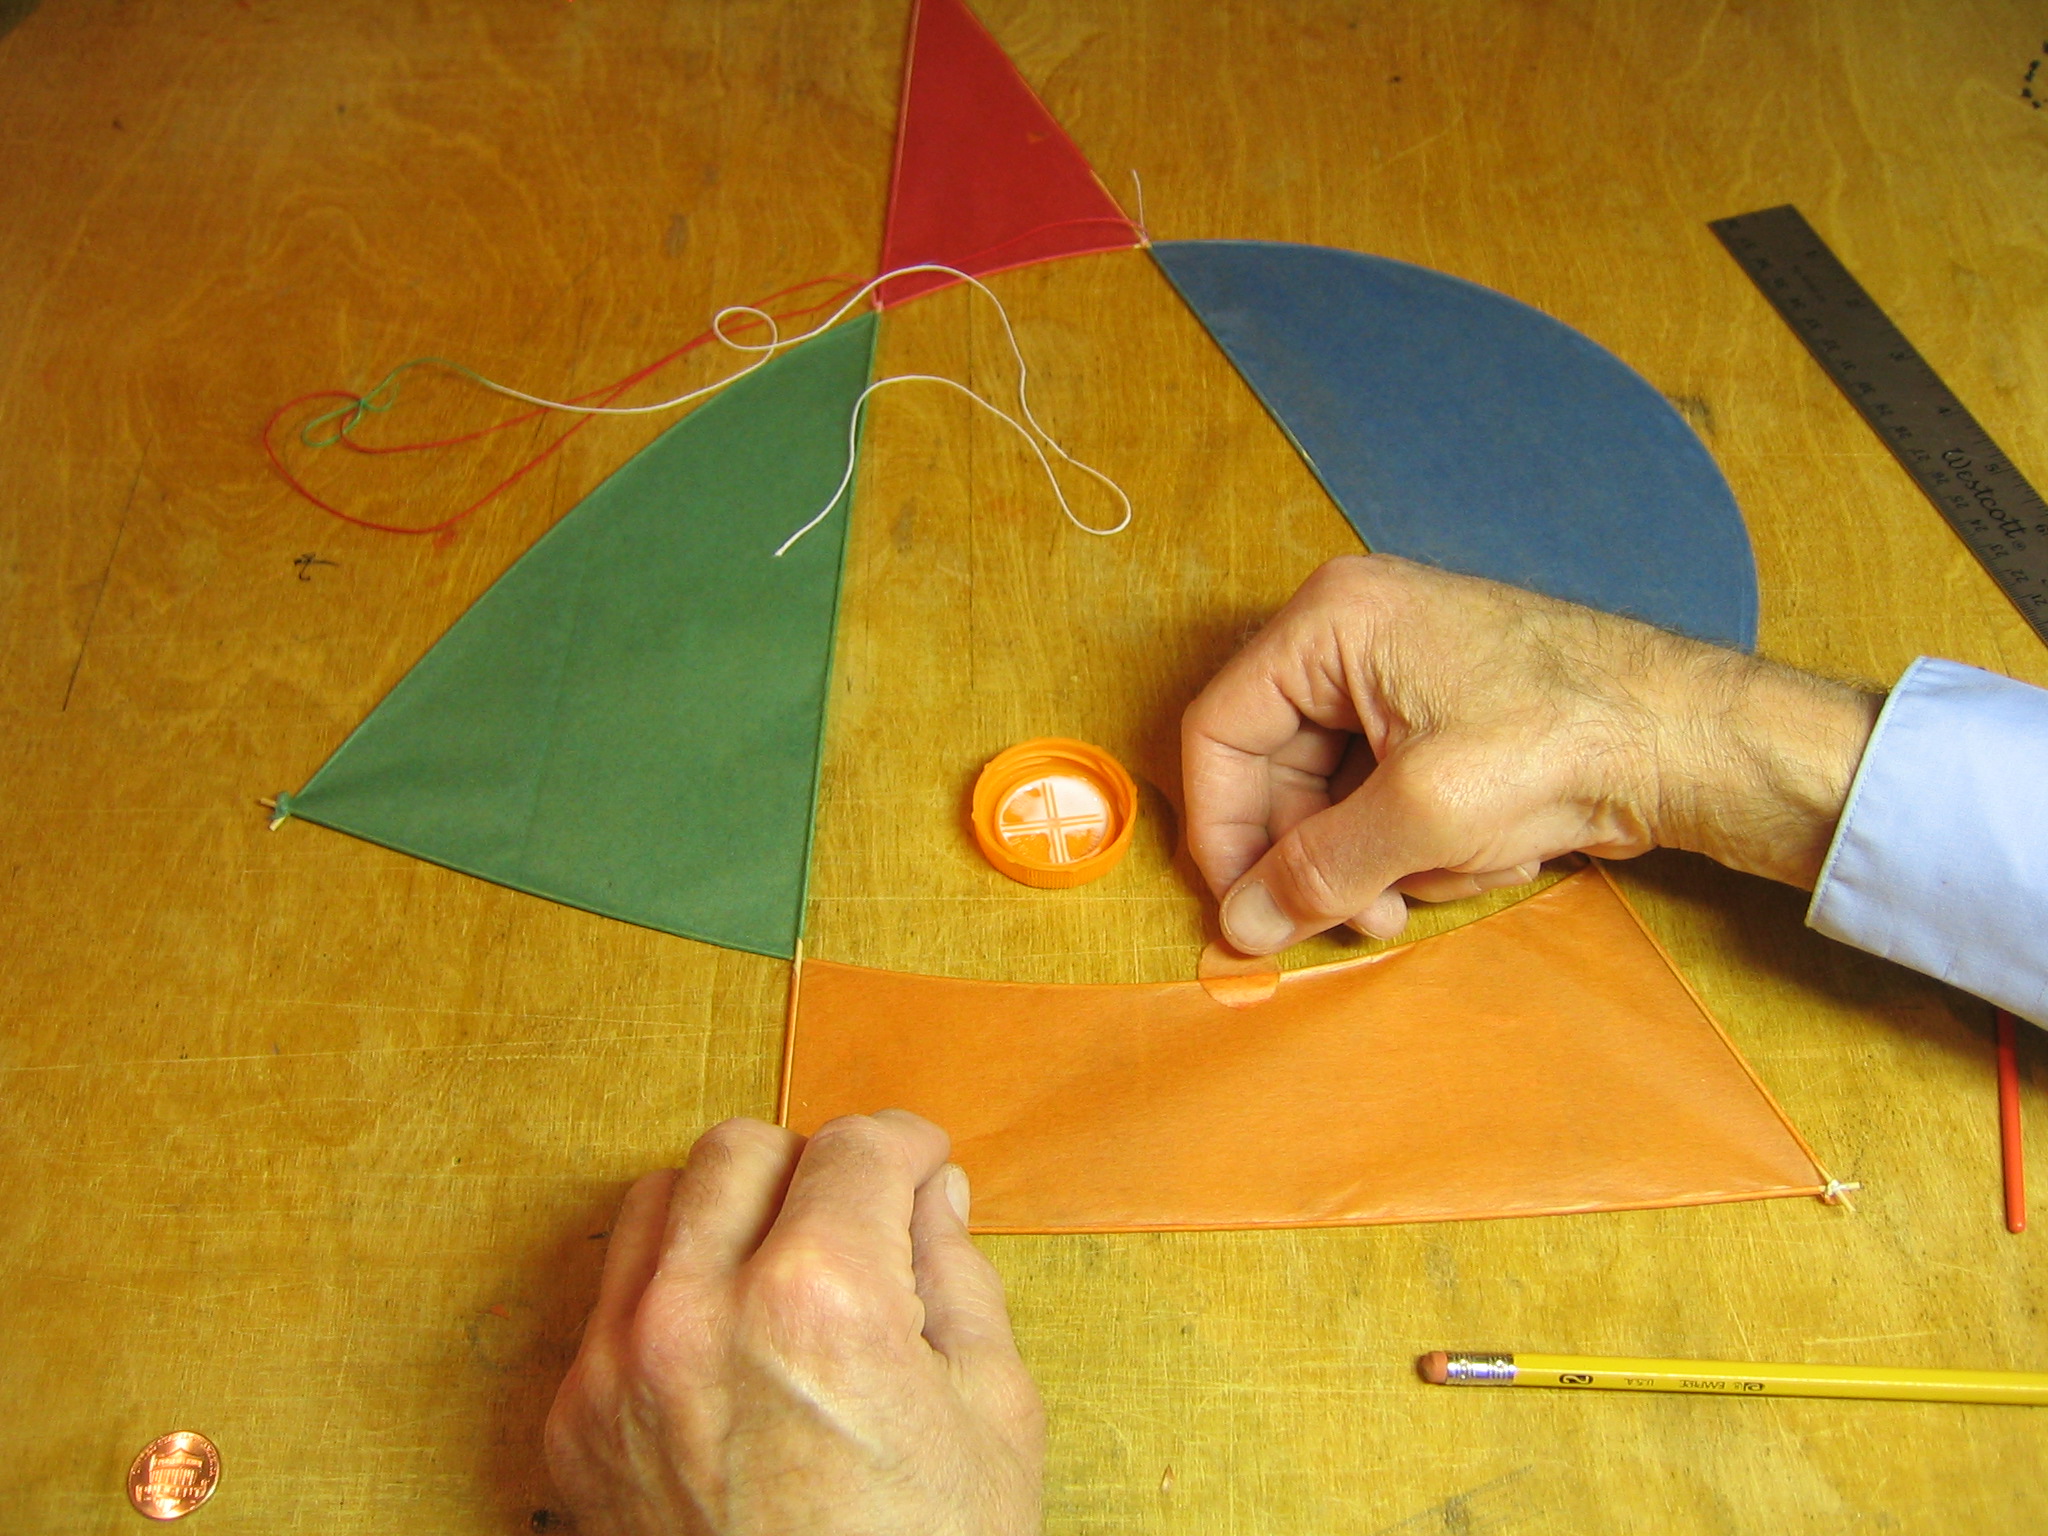
Turn the kite so the tissue is on top of the stick. Place the glued disk on top of the tissue, centering it on the pencil mark.
Turn the kite over and press the stick and tissue into the glue. It would have been a good idea to put some plastic sheet, like a sandwich bag, under the disk to keep from gluing everything to the table top.
Turn the kite over and apply glue to the other half of the tissue disk.
Roll the glued disk around the stick and onto the tissue.

Use the penny to press the tissue disk against the stick and the kite cover. Let the glue dry thoroughly. It would have been better to do this before tying the lateral bridle on, then the glue could have dried while we were tying the knots.
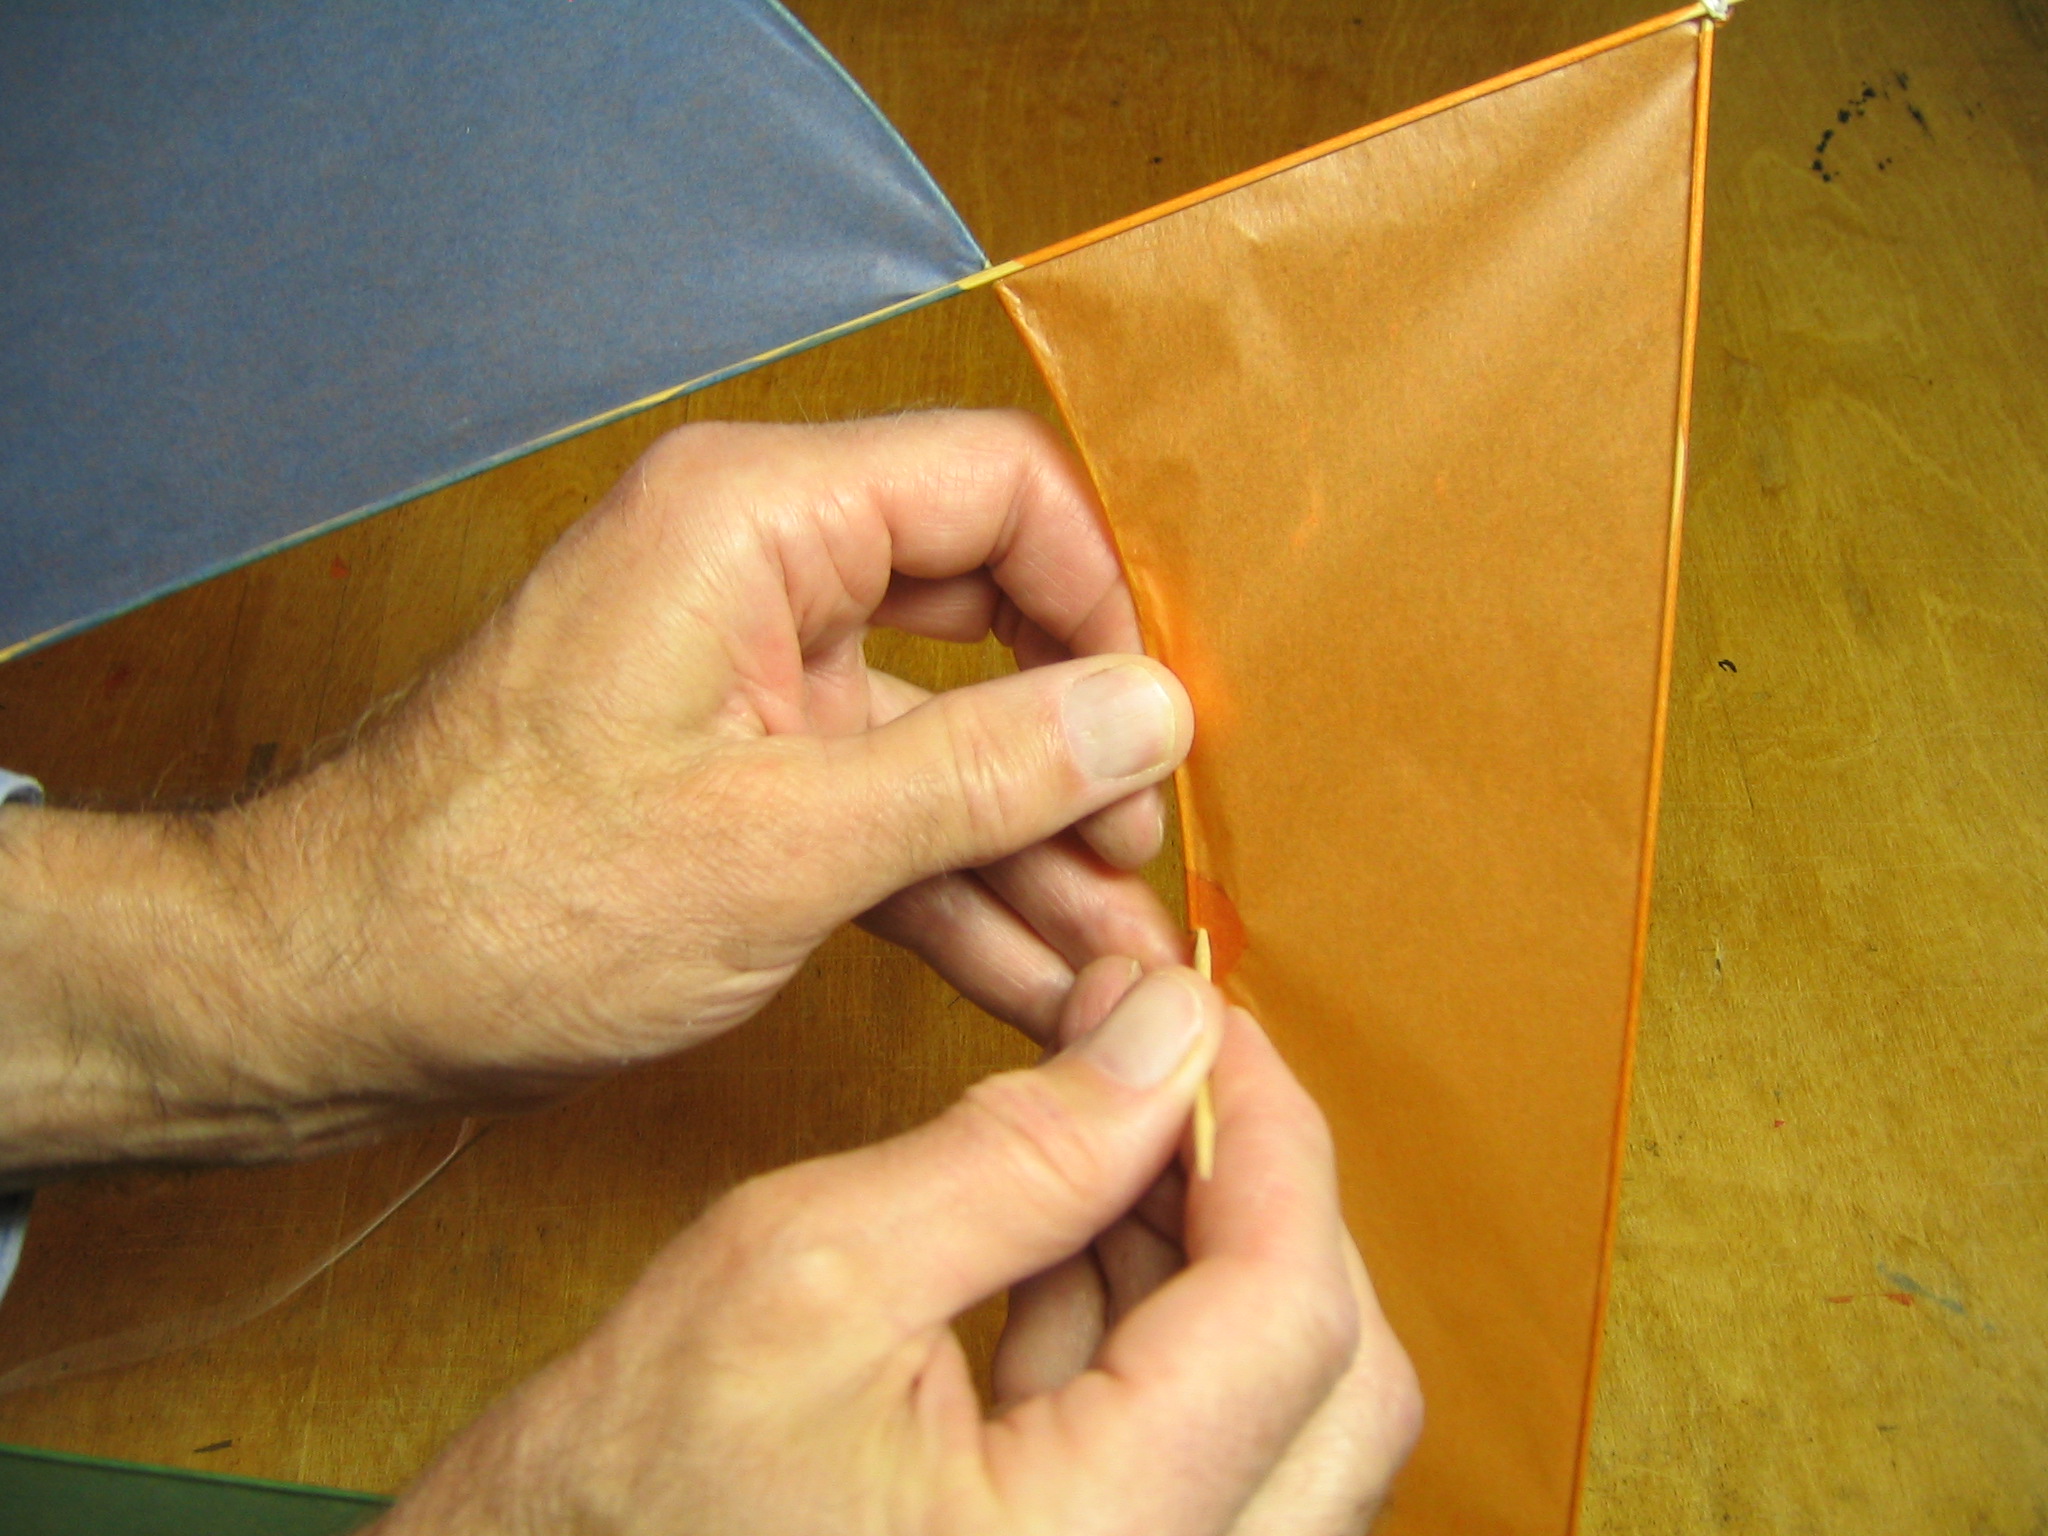
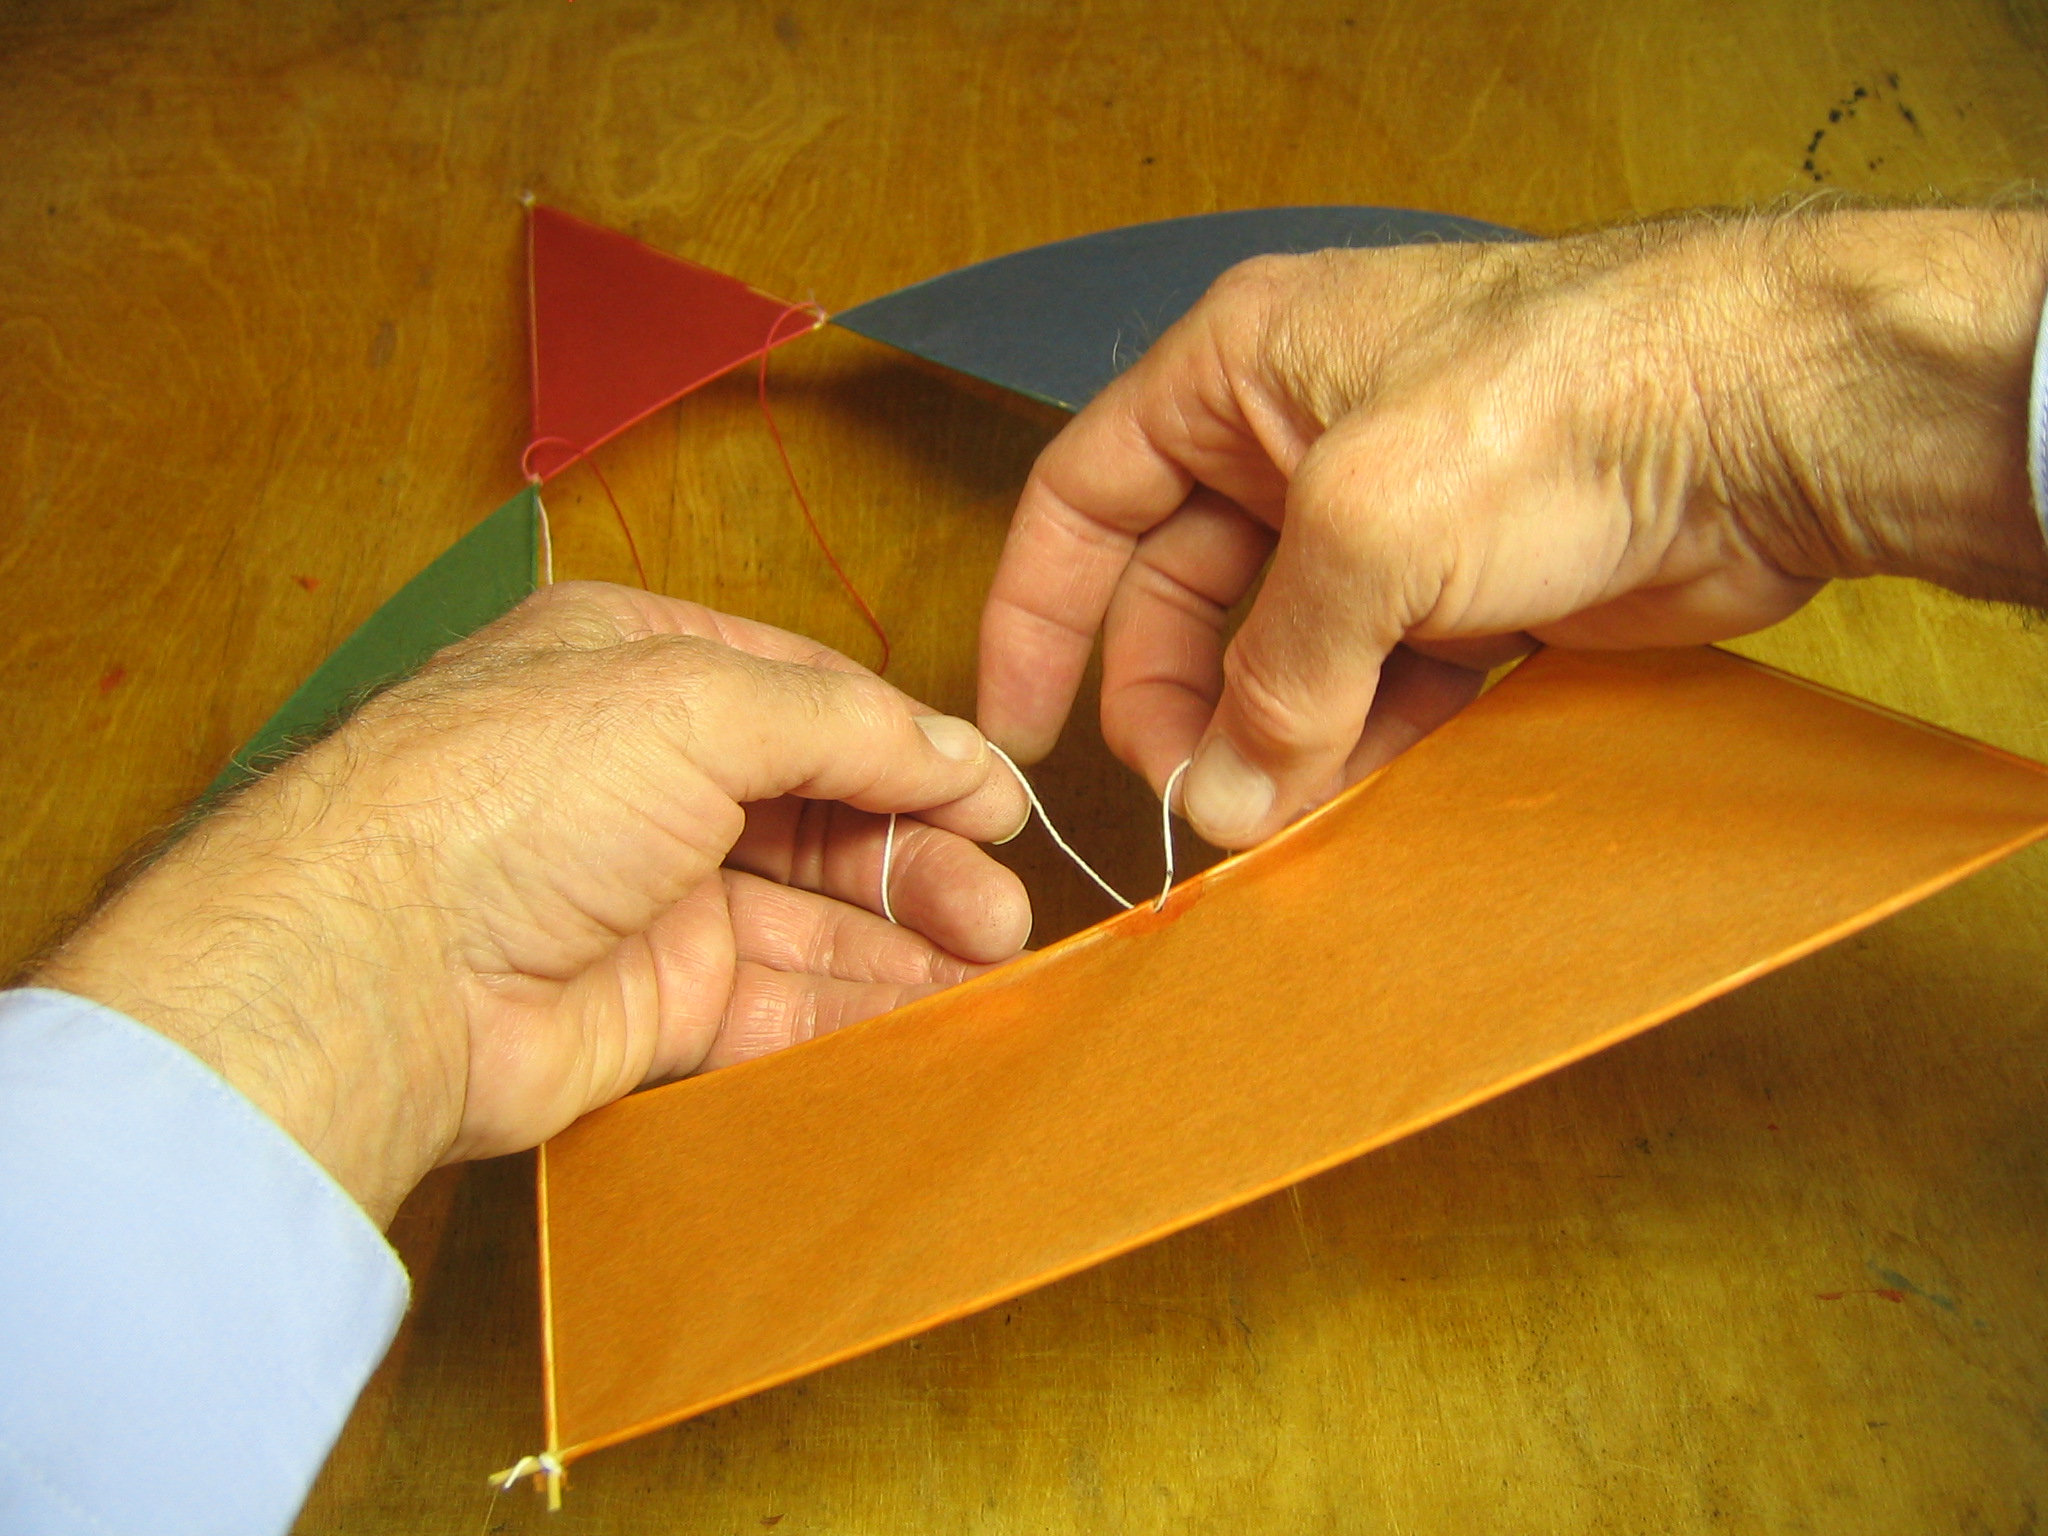
Poke a hole about 1/16″ in diameter right against the stick at the pencil mark. A round toothpick works well for this and is about the right diameter.
Pull up the bridle loop and arrange so there are no twists in the lateral bridle and the aft bridle line goes straight back.
Put the end of the aft bridle line through the hole from the front. If the end of the line frays, it can be dipped in glue and twisted to hold the end together in a point.
Pull it through until the pencil mark is at the stick.
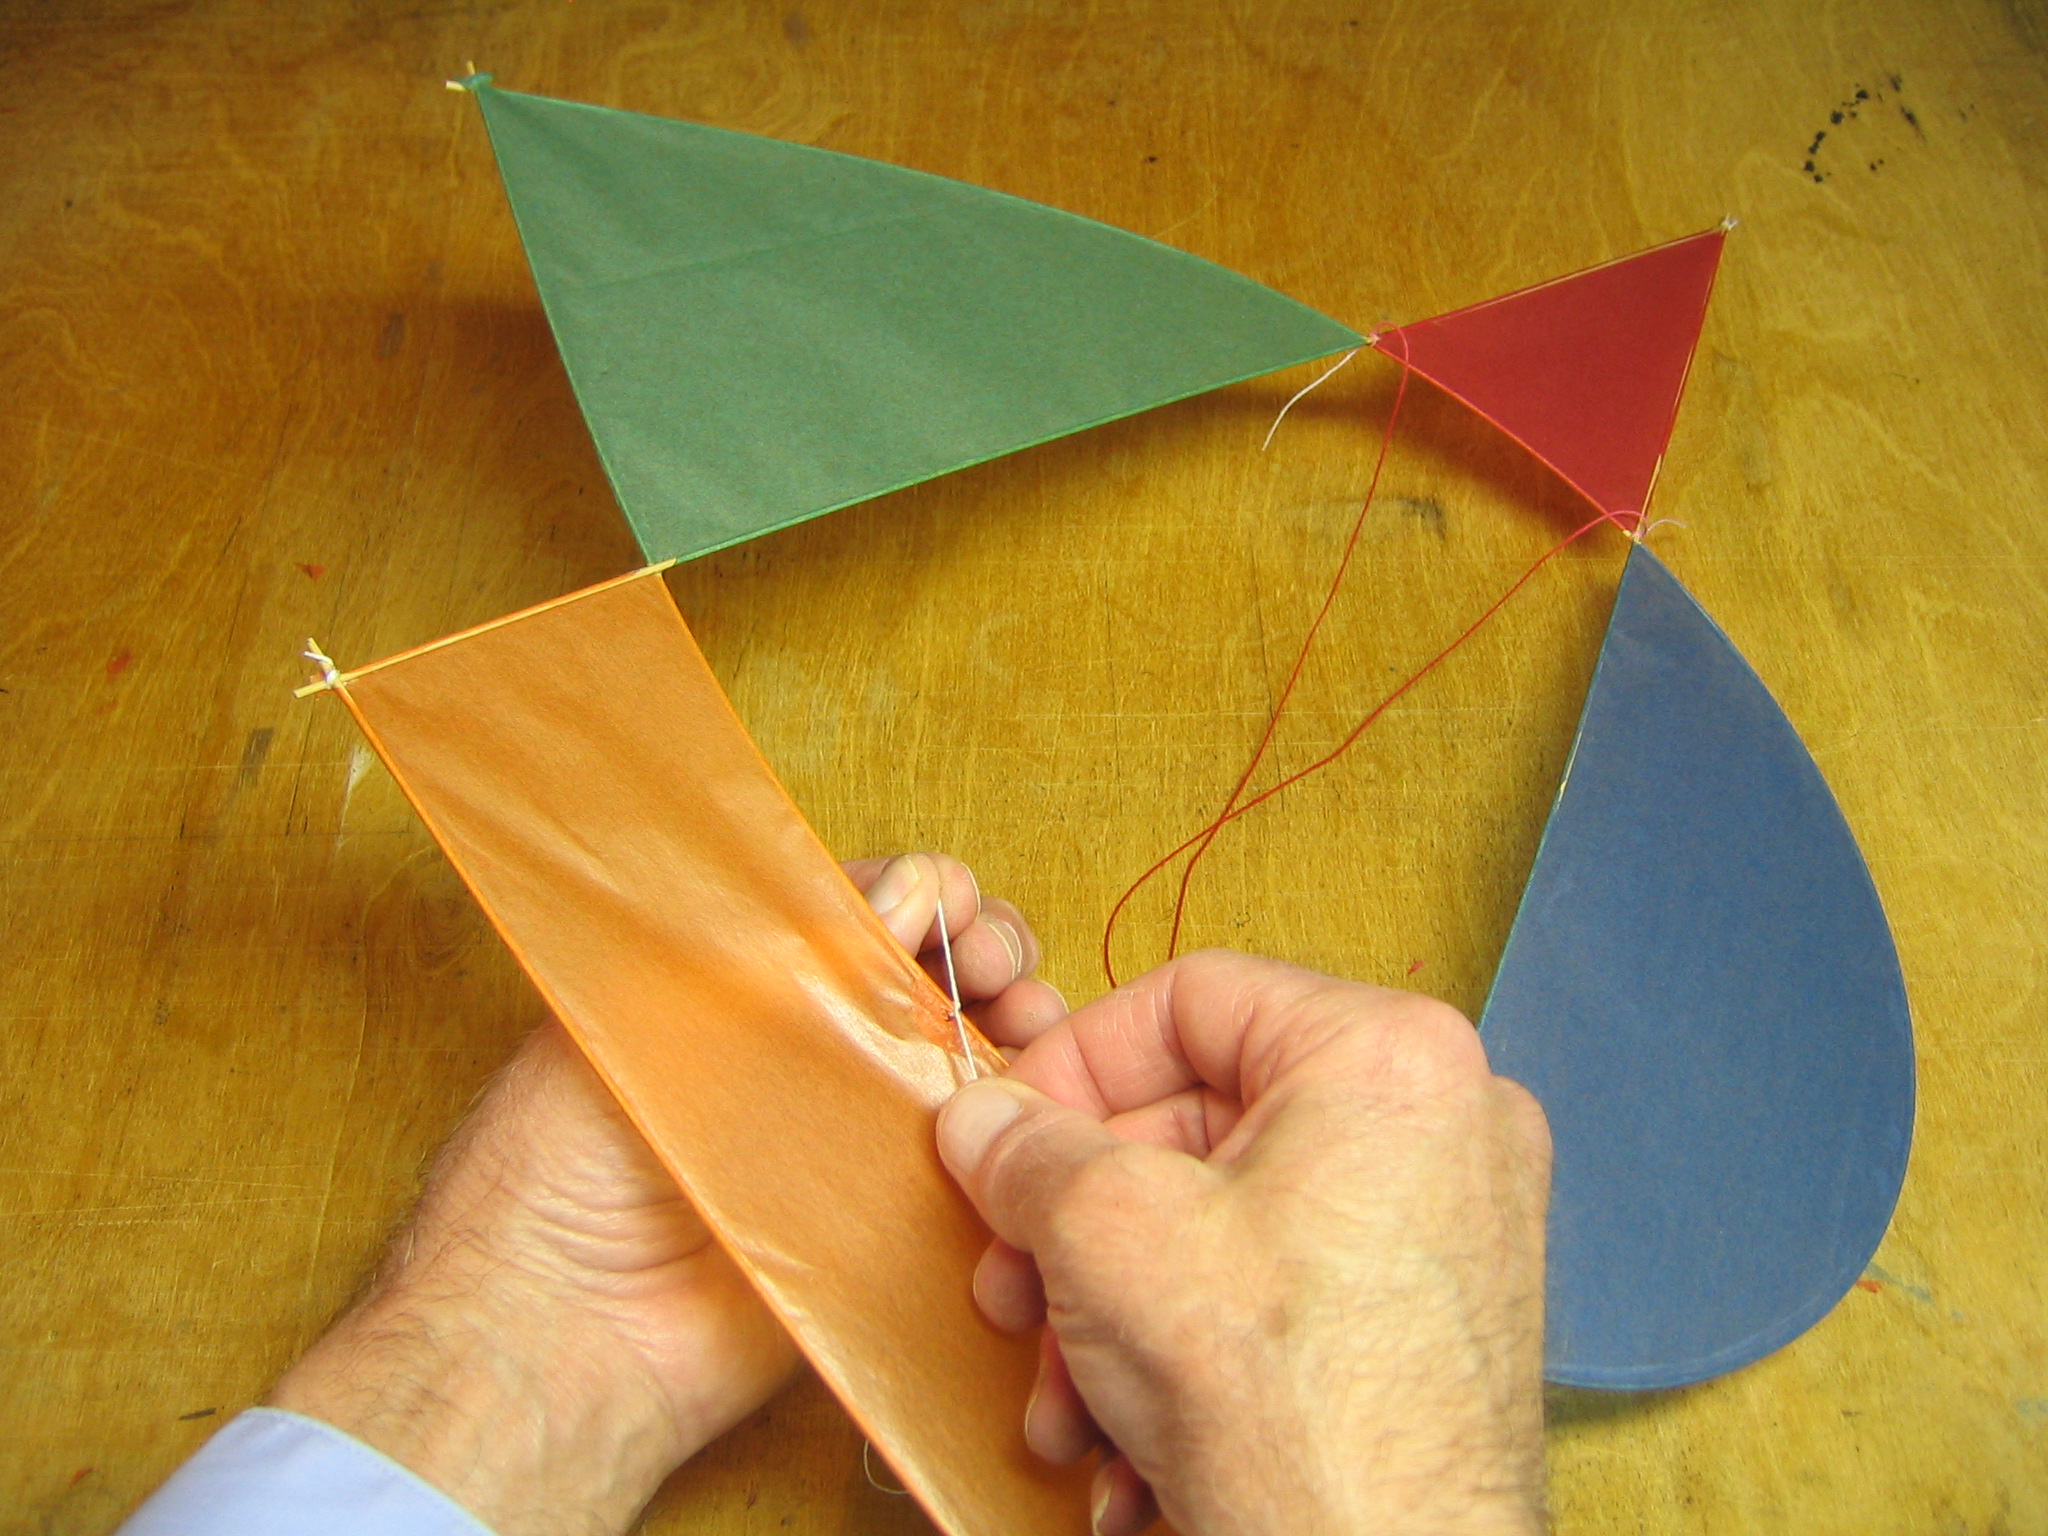
Tie a simple overhand knot so the pencil mark is just peeking out of the knot. The aft bridle line is now going out the back of the kite. That will be fixed in the next move.
Make a loop in the free end and tie it around the bridle leg to make a slip knot. This is tied as a square knot. Pull it tight, but don’t glue it yet. The bridle may still need adjustment.
This completes the basic kite. We now must make the tails.
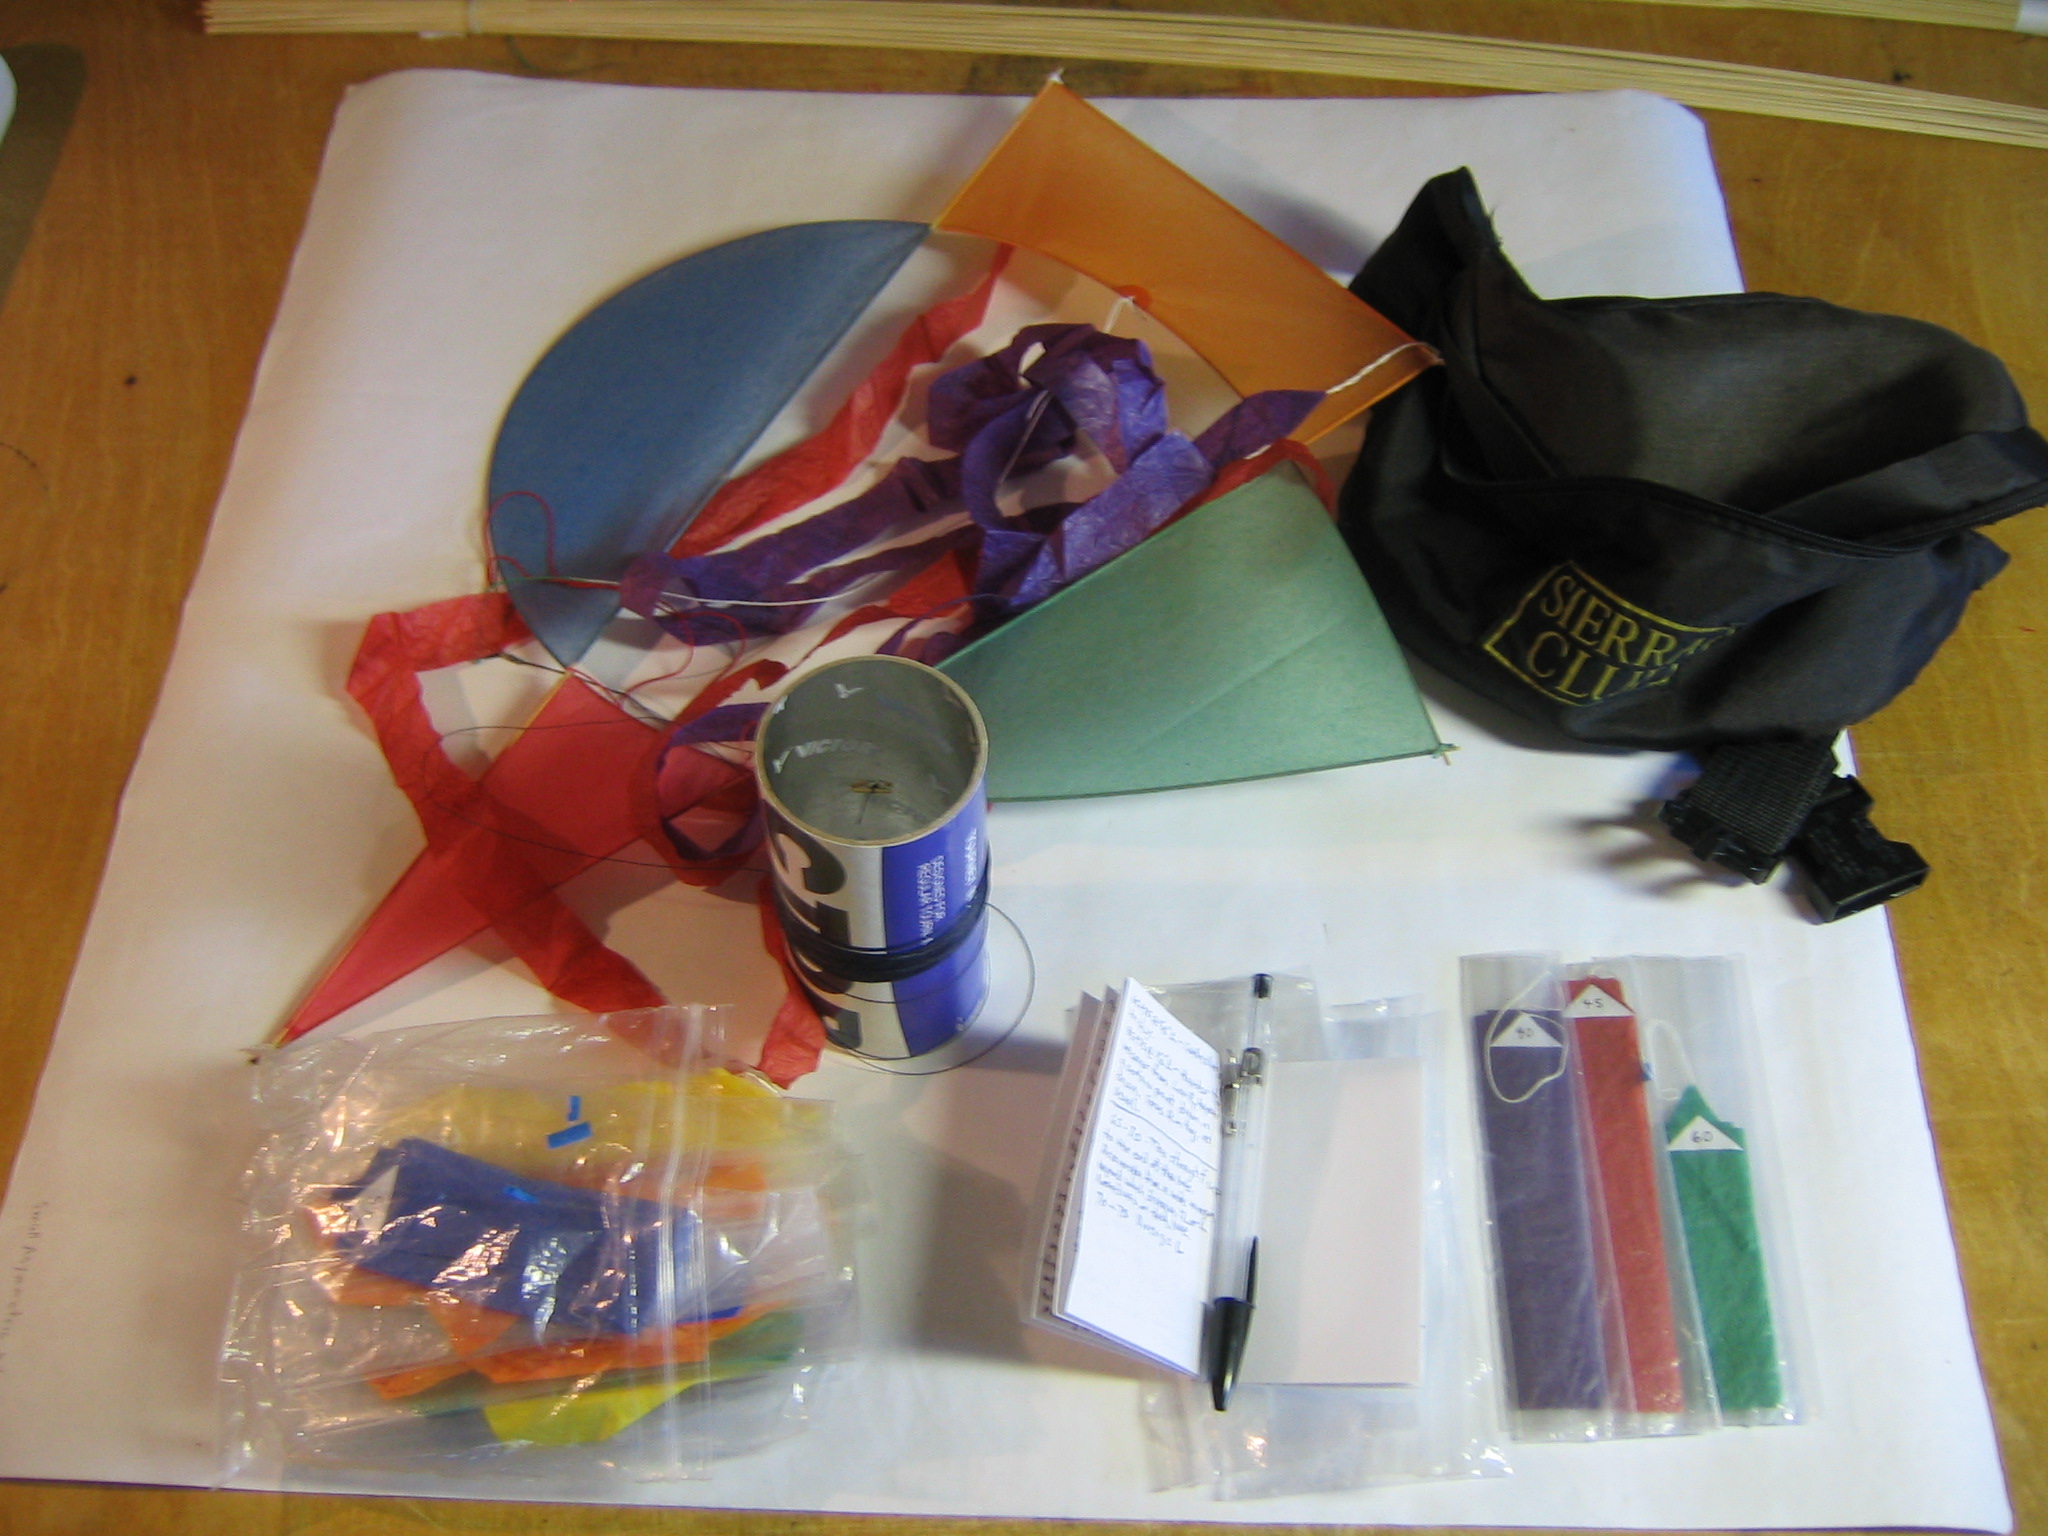
But before we make the tails, we must know where to put them and how big they must be. This kite has been stabilized with a single tail located near the principal axis and with a pair of tails on the aft corners. The sizes and locations must be determined in test flights. To that end, I have a set of tails each 1″ wide and in lengths from 30″ to 100″ in steps of 5″. Each tail has a tag with its length written on it. They are also color coded to help find the one I want when they are jumbled up. Flight testing requires the kite, a spool of flying line, the bundle of tails, a notebook and pen and a belt pack to carry everything. There are two ways to attach test tails to the kite.
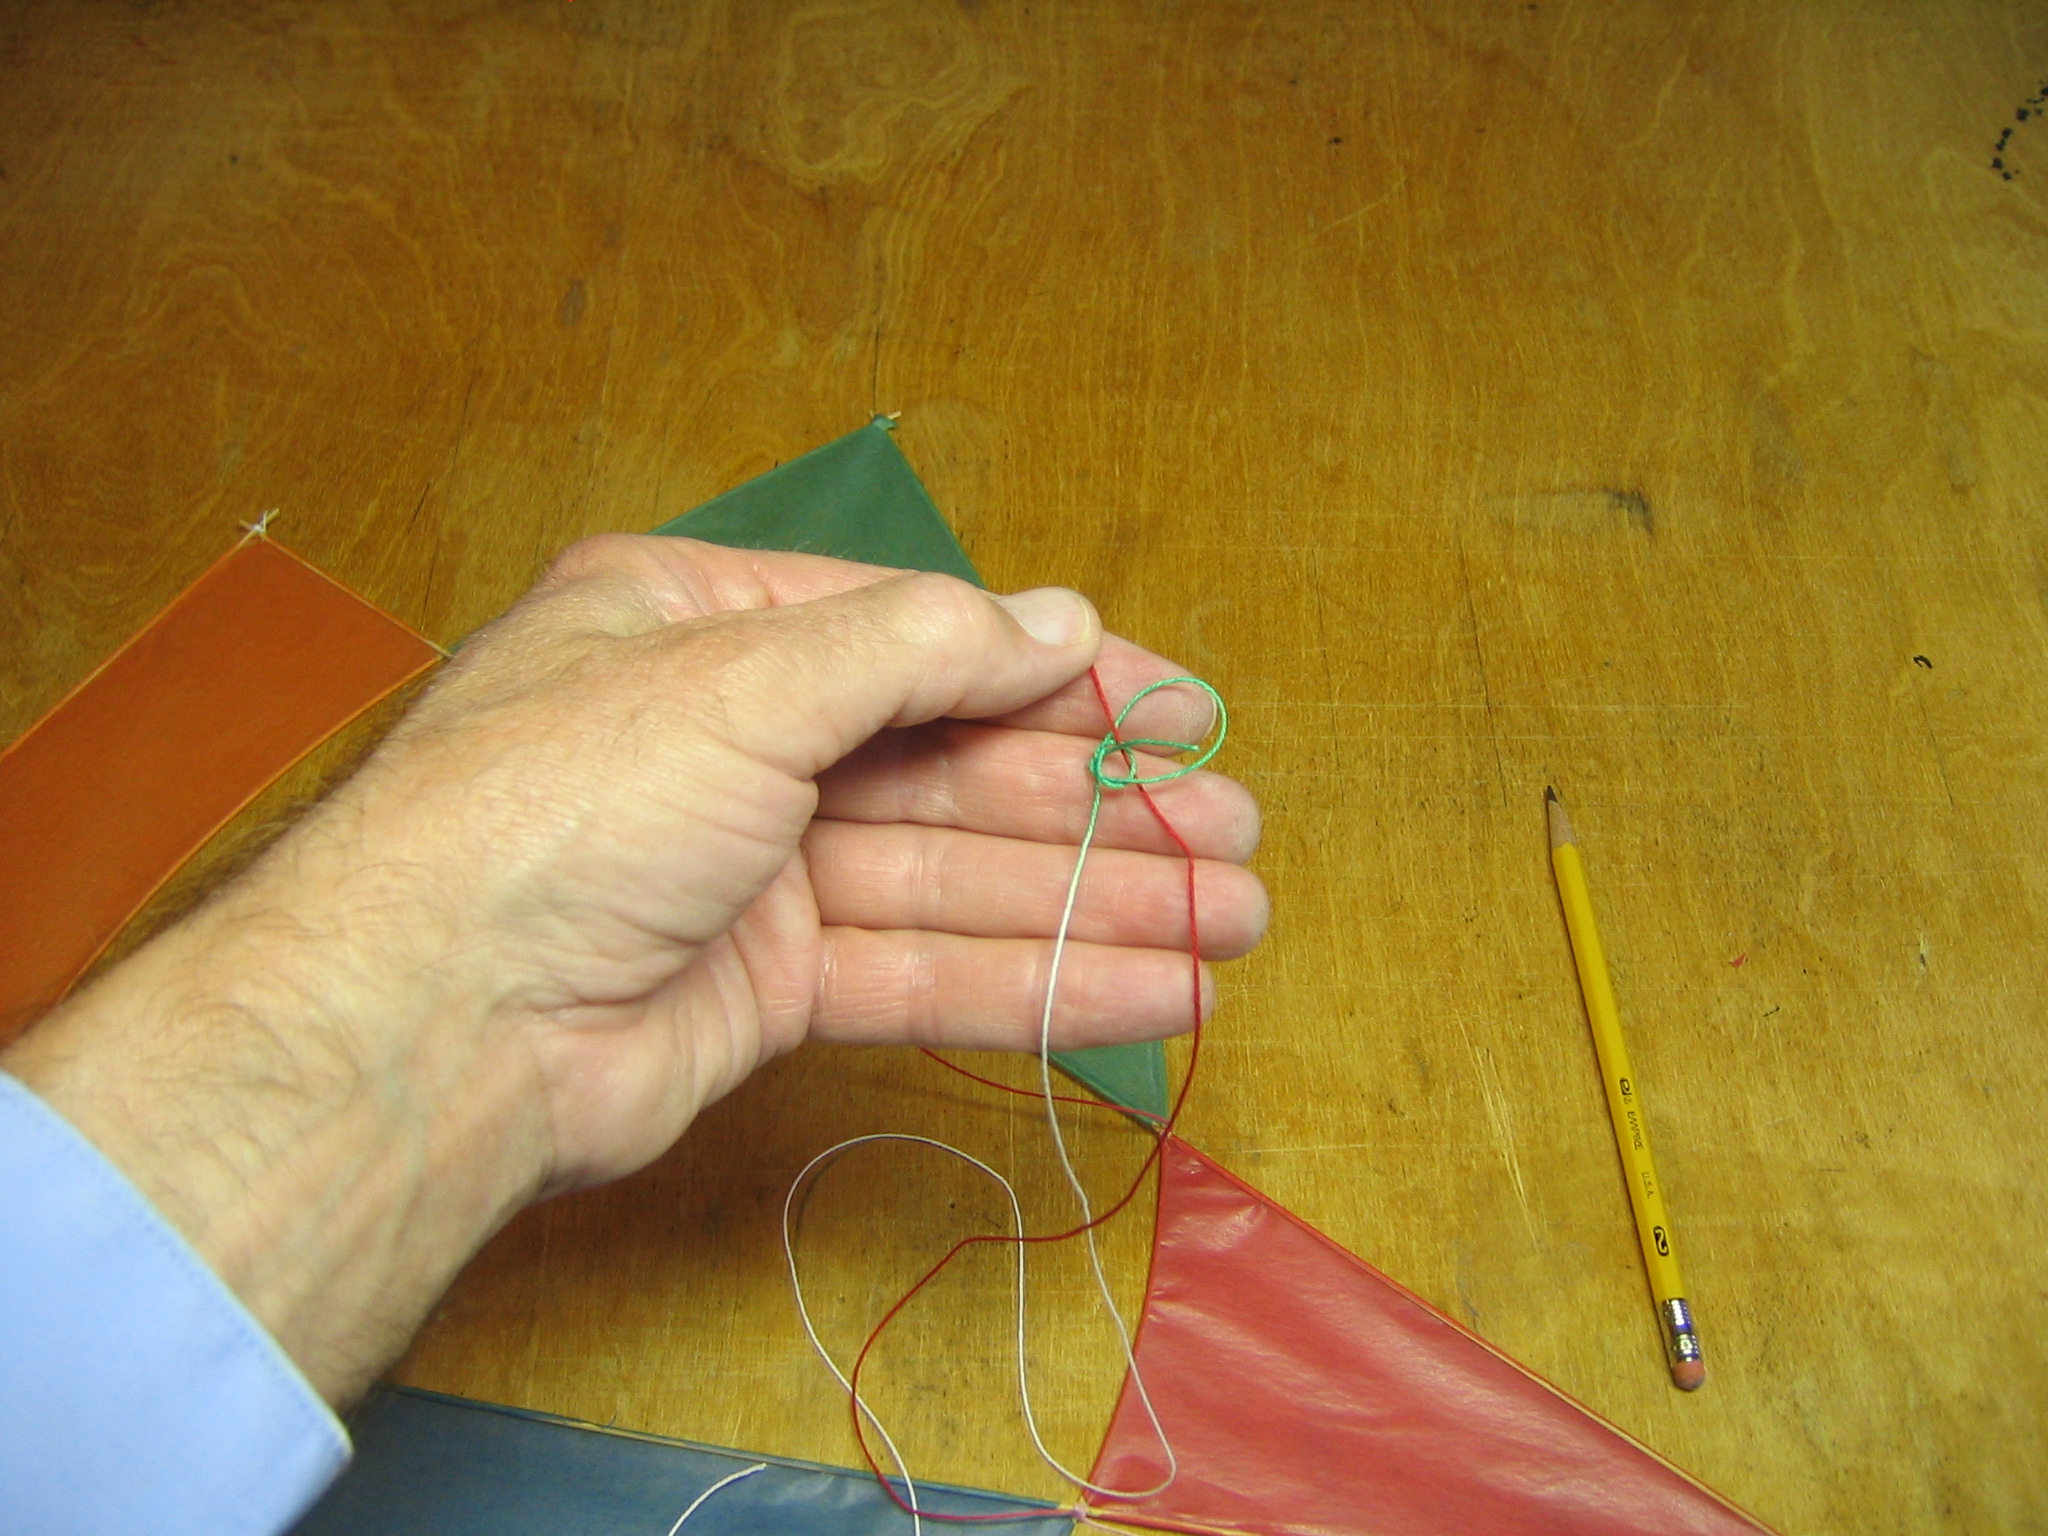
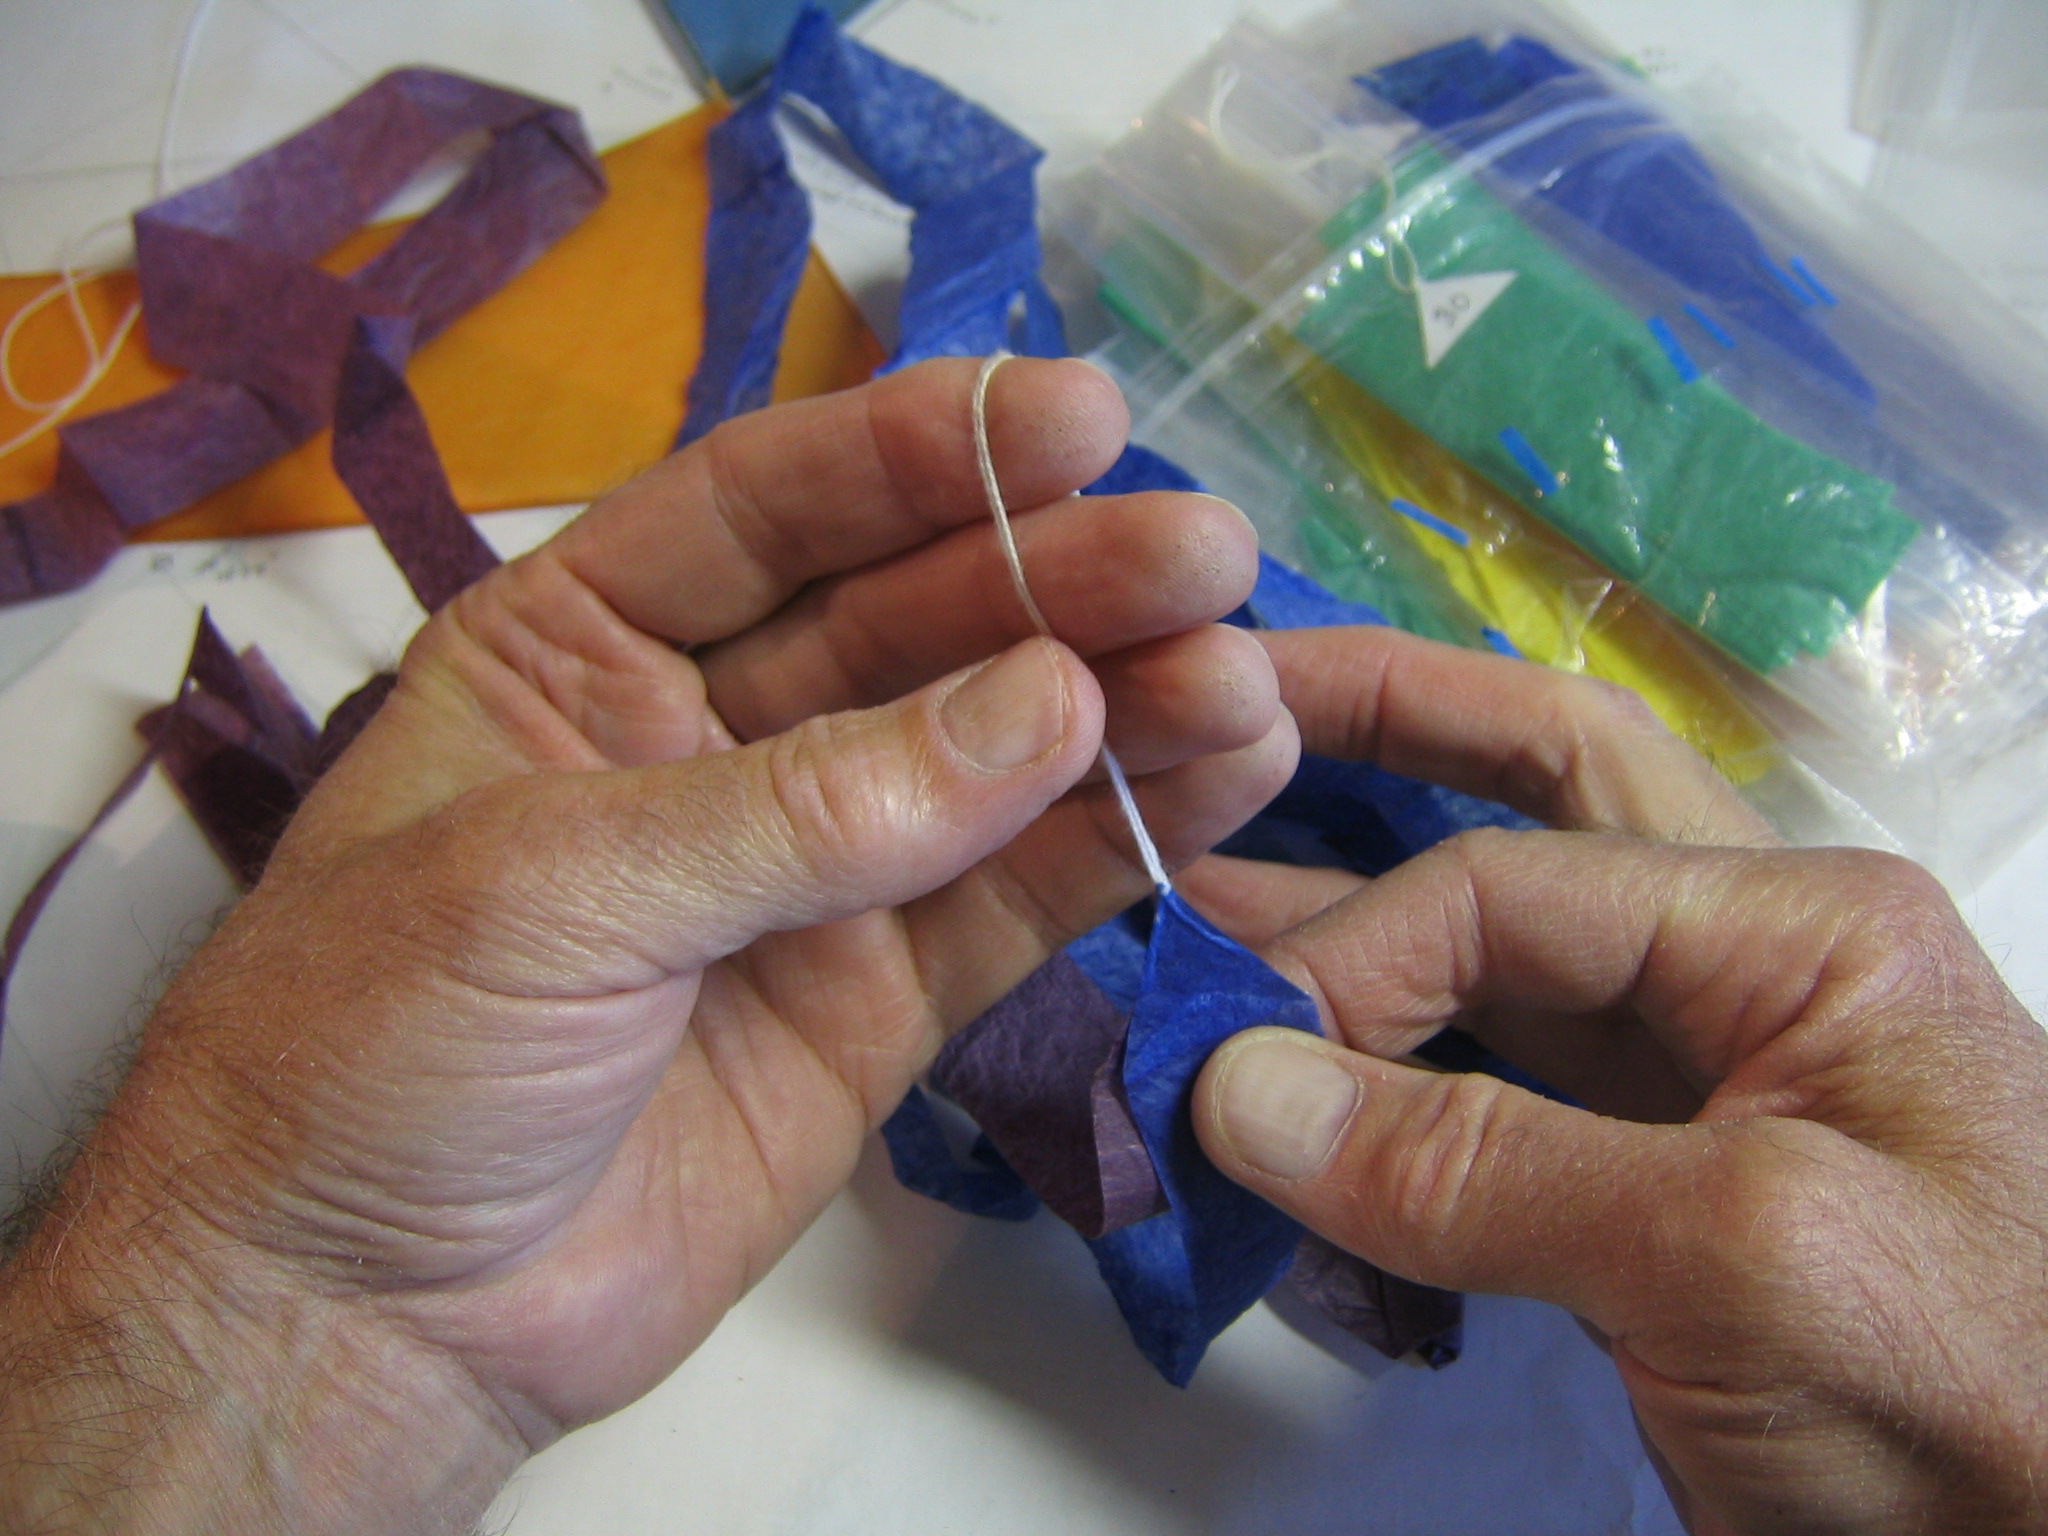
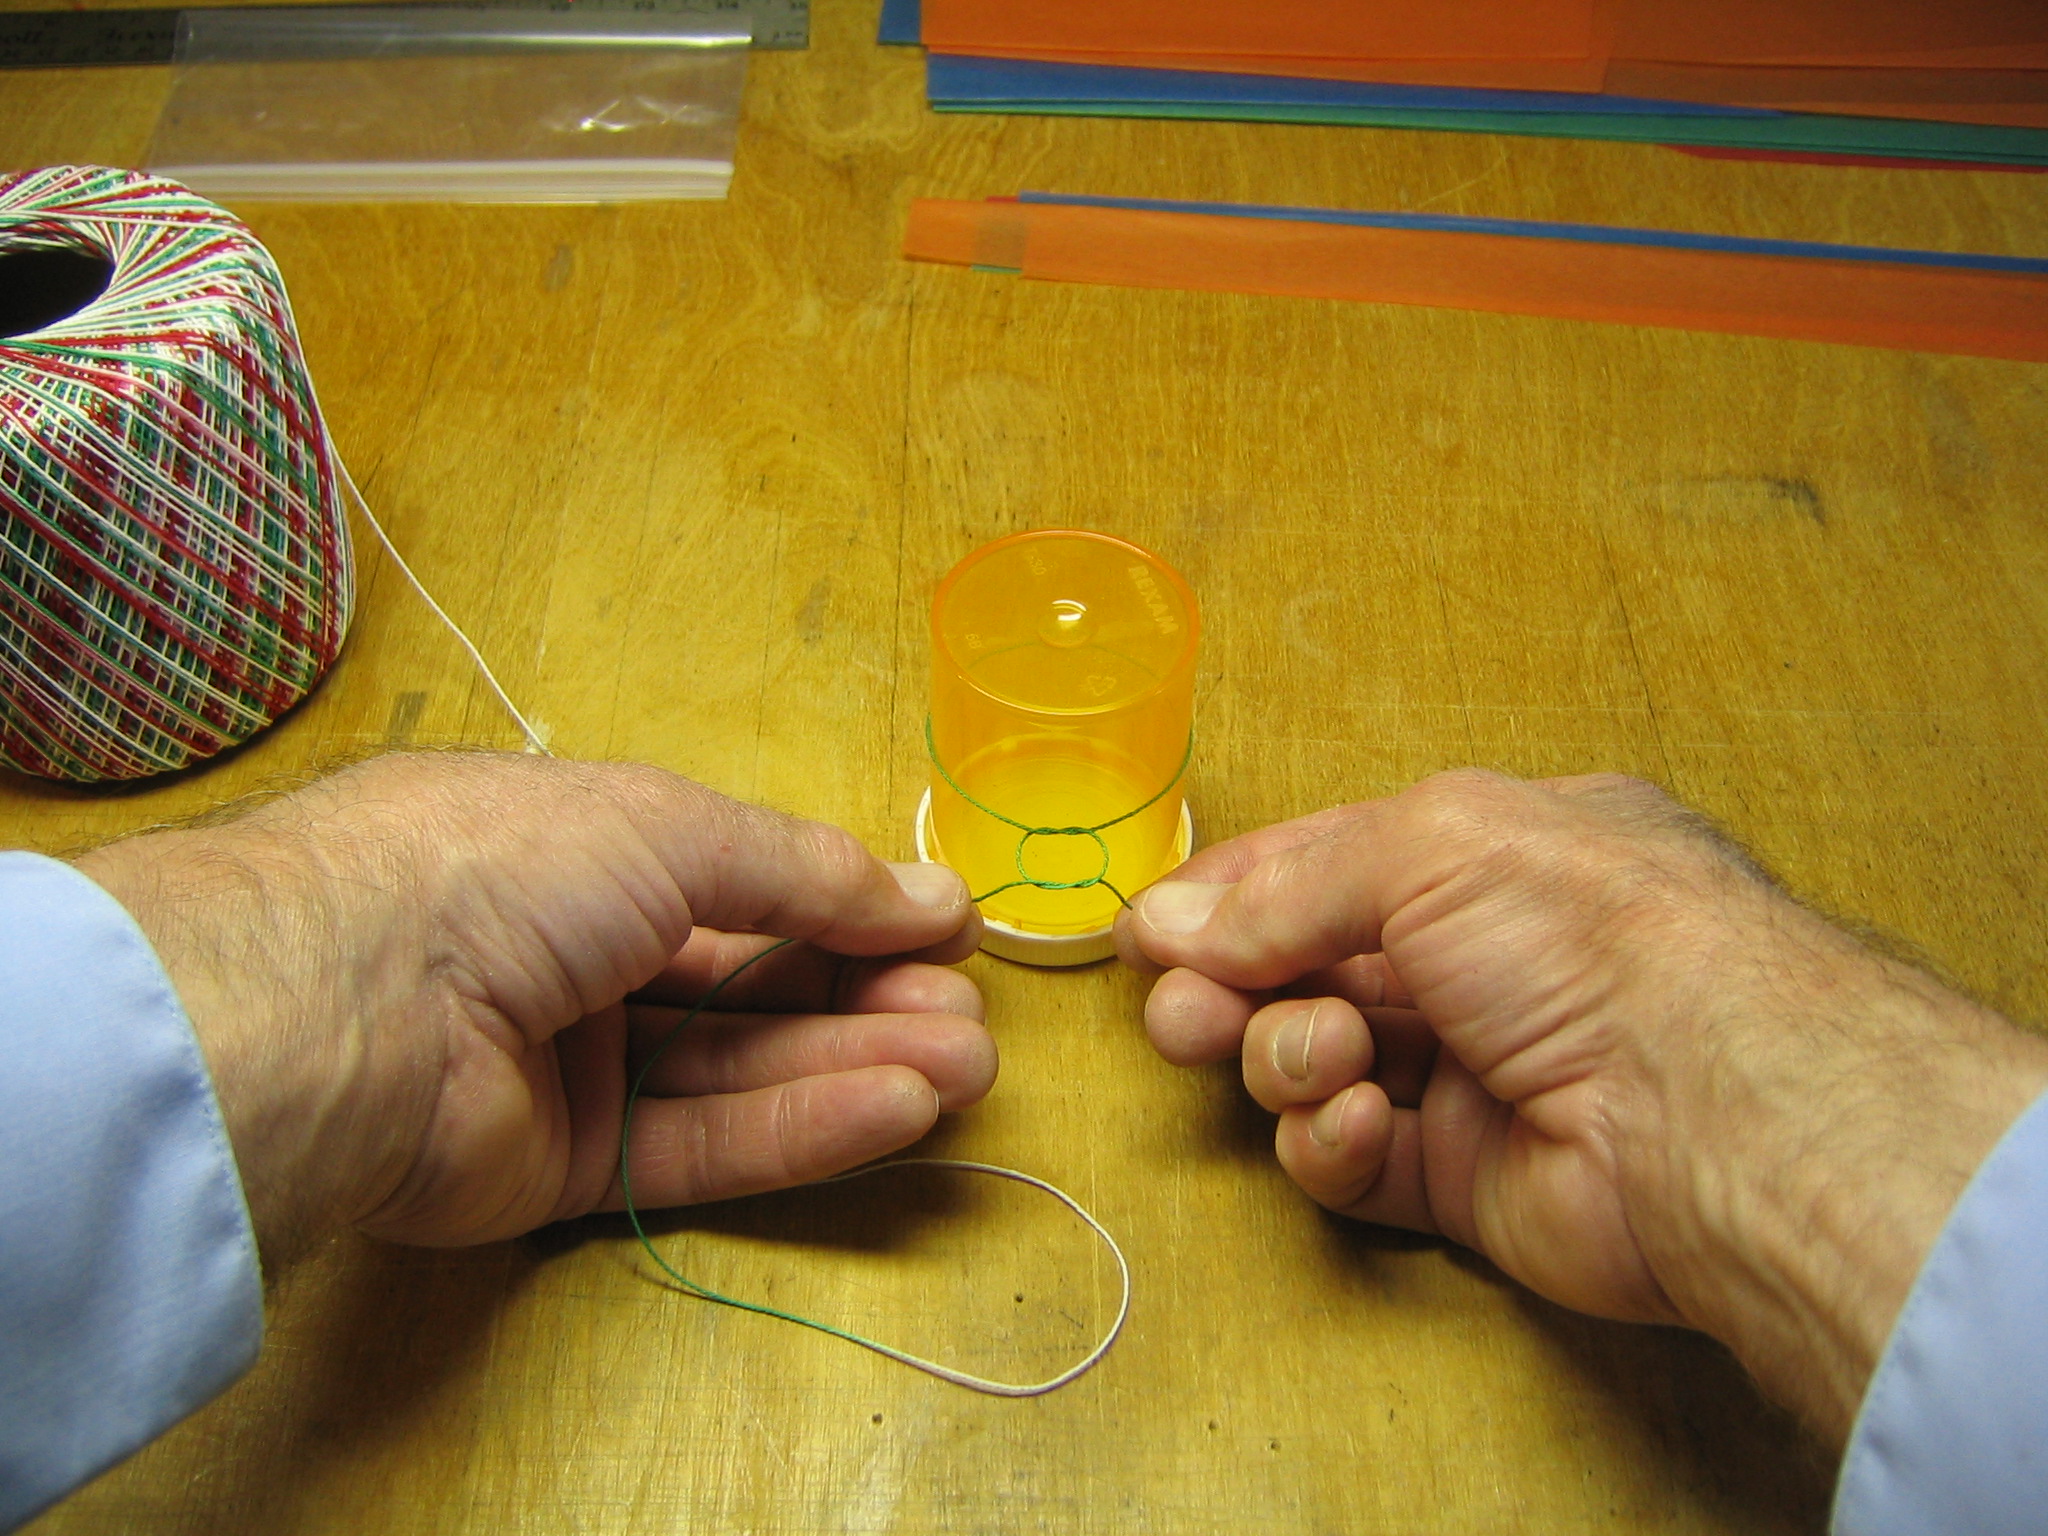
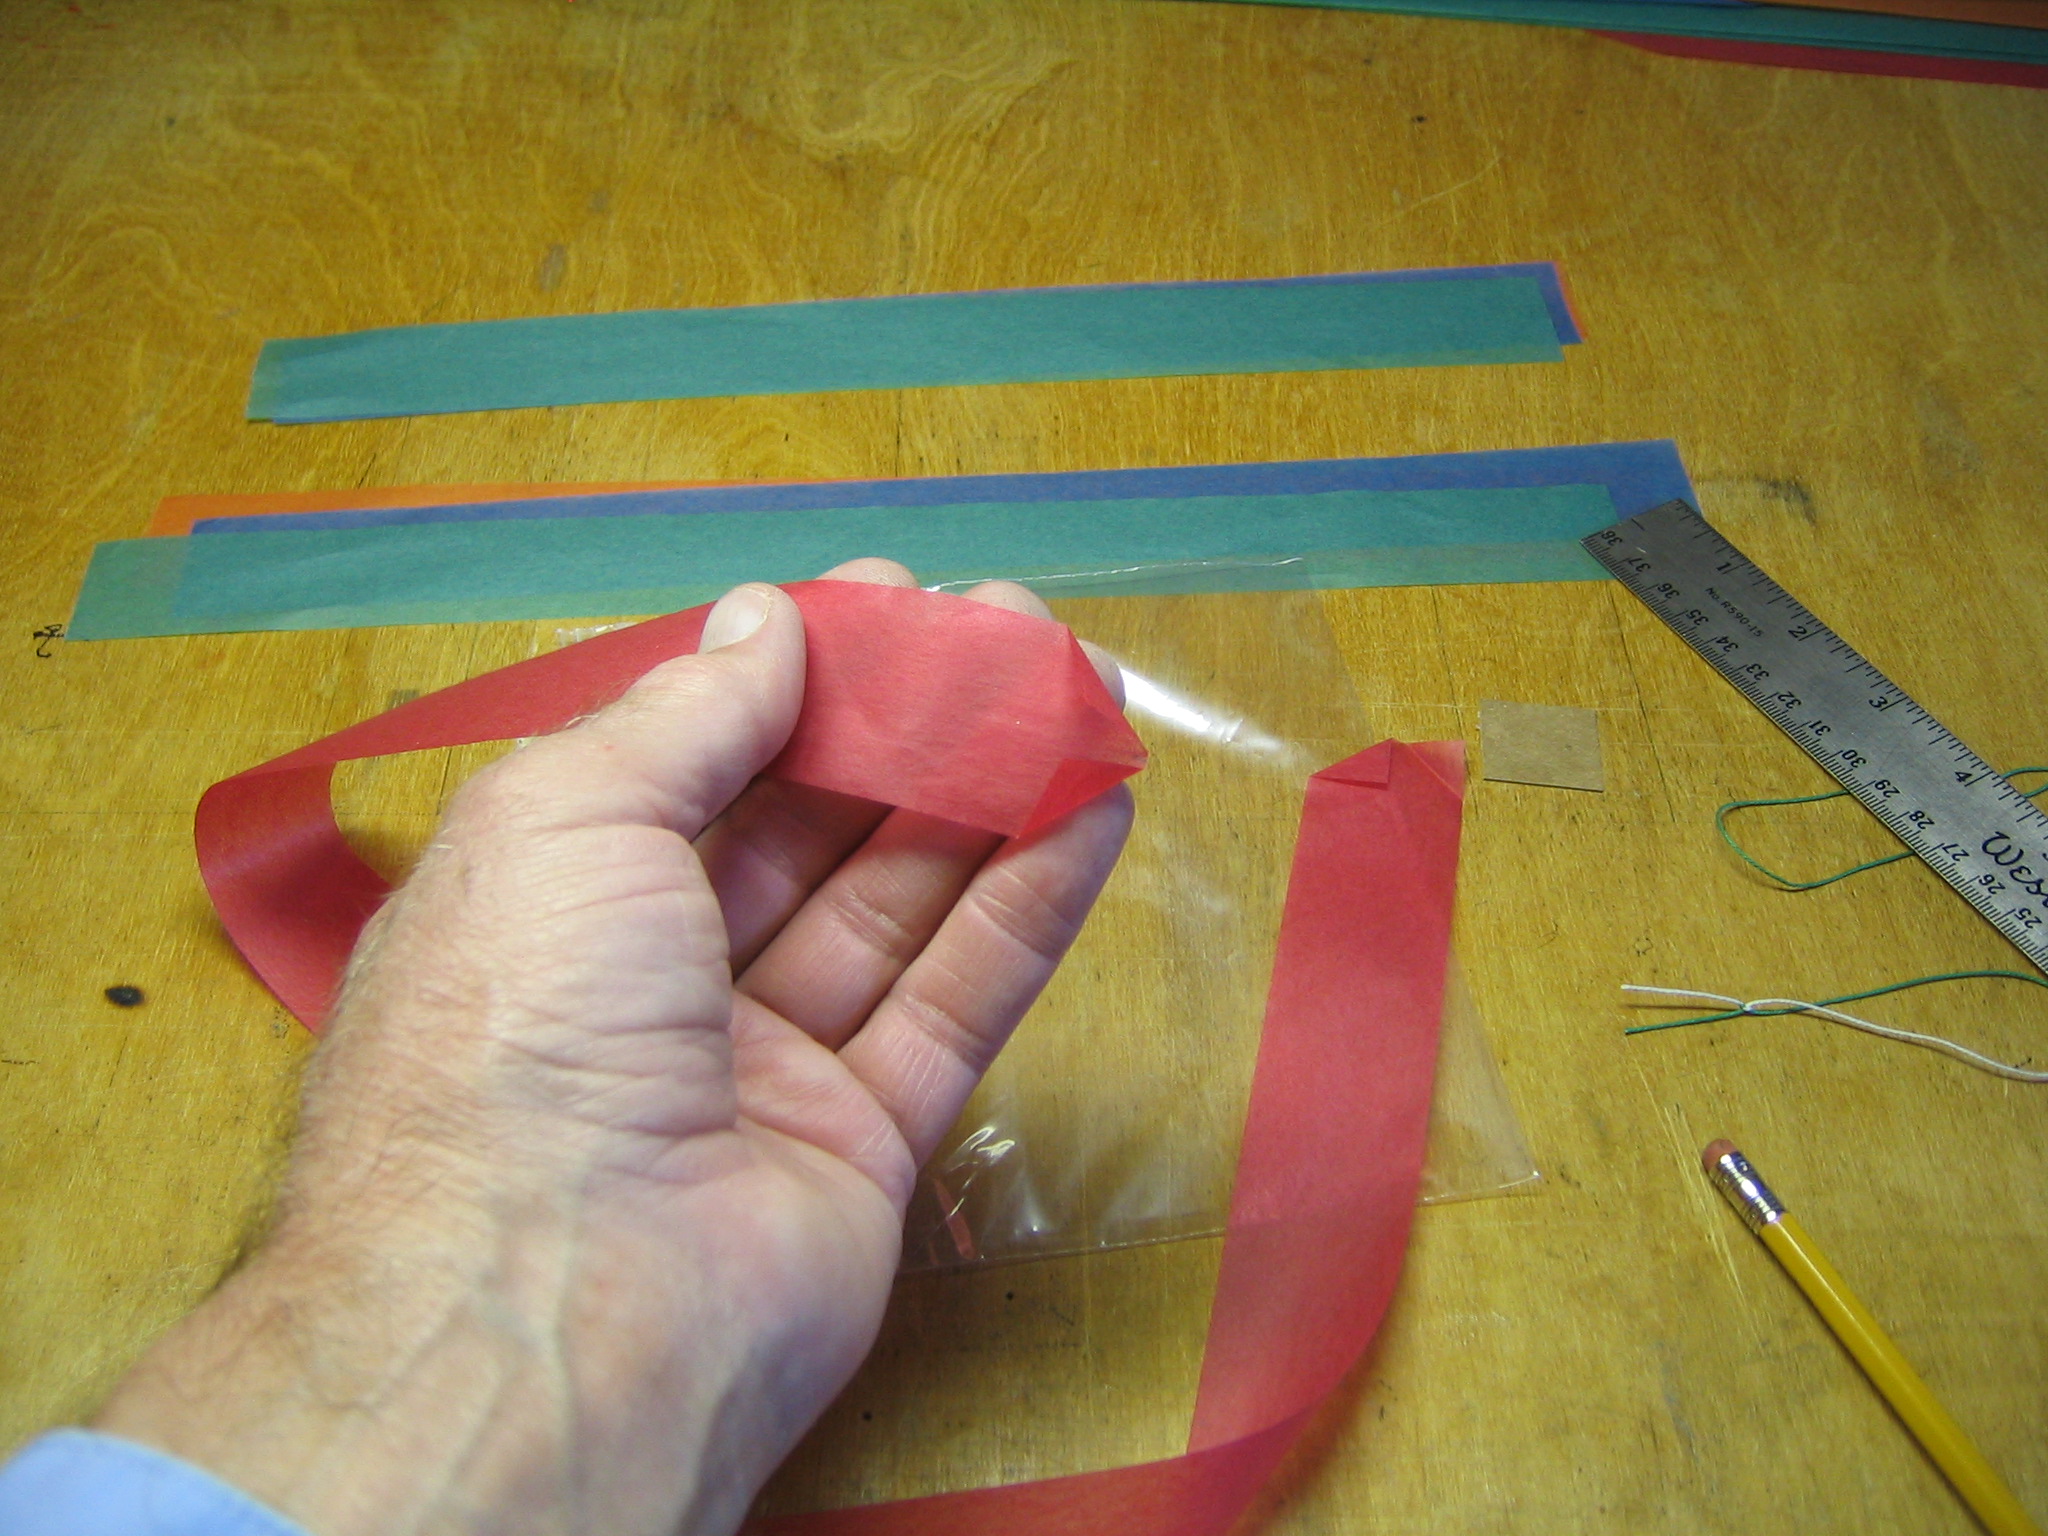
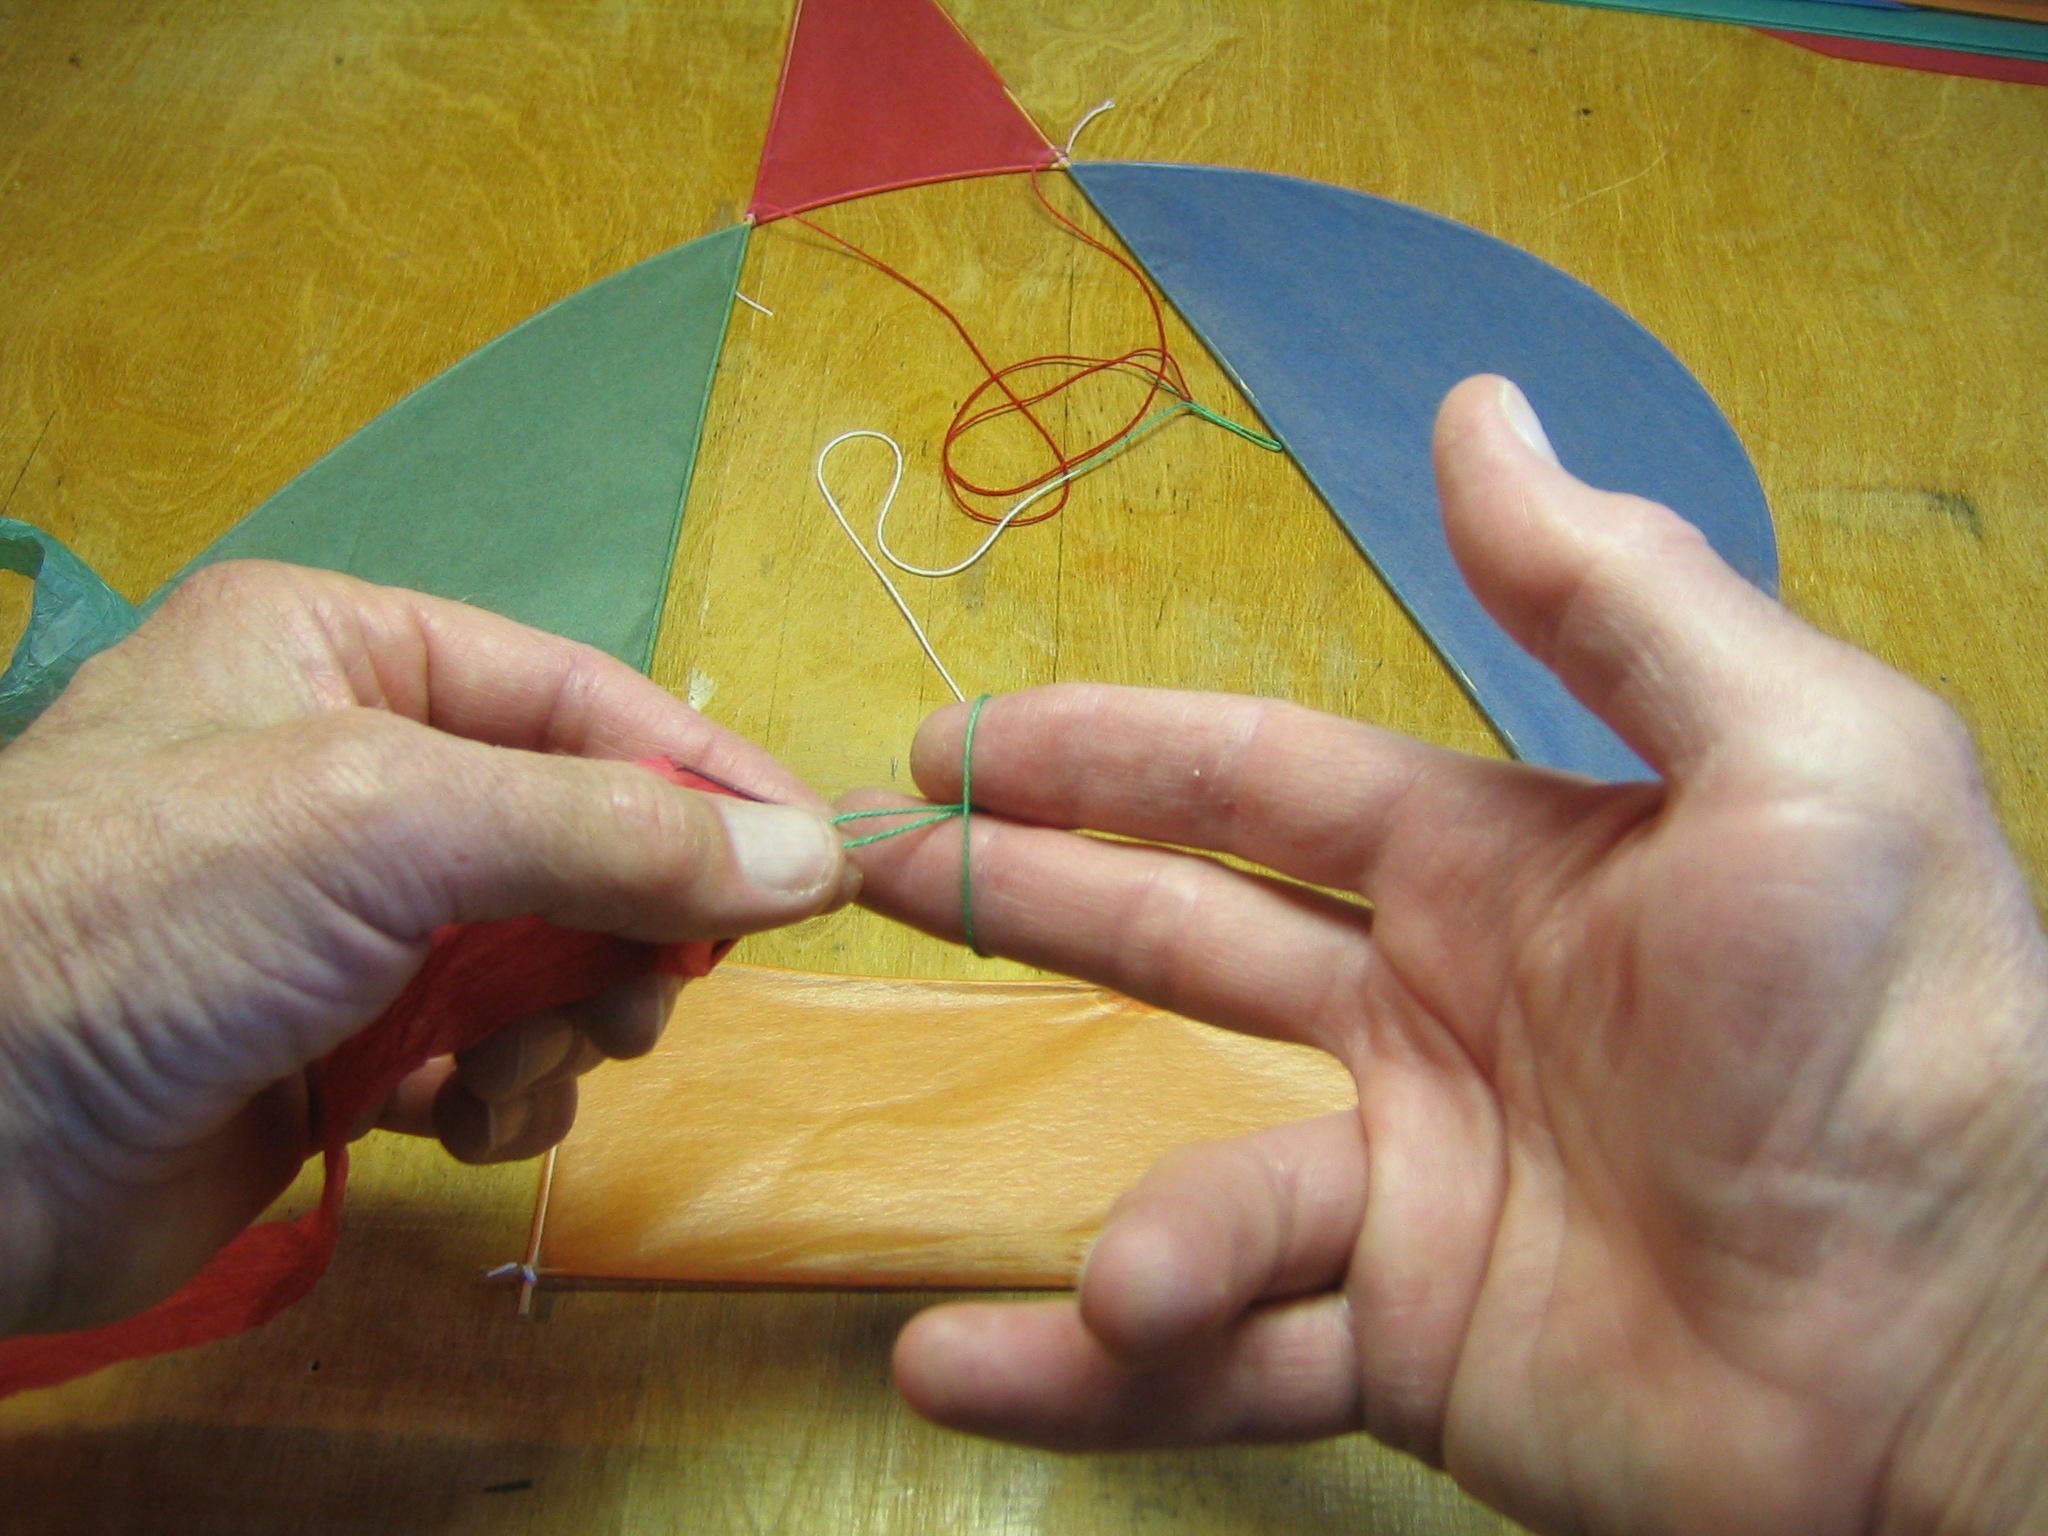
Each tail has a loop of string at the leading end. I use a larks head knot to attach the tails to the framework. I start by looping the string around two fingers.
The loops are pulled off the fingers and around the base of the loop.
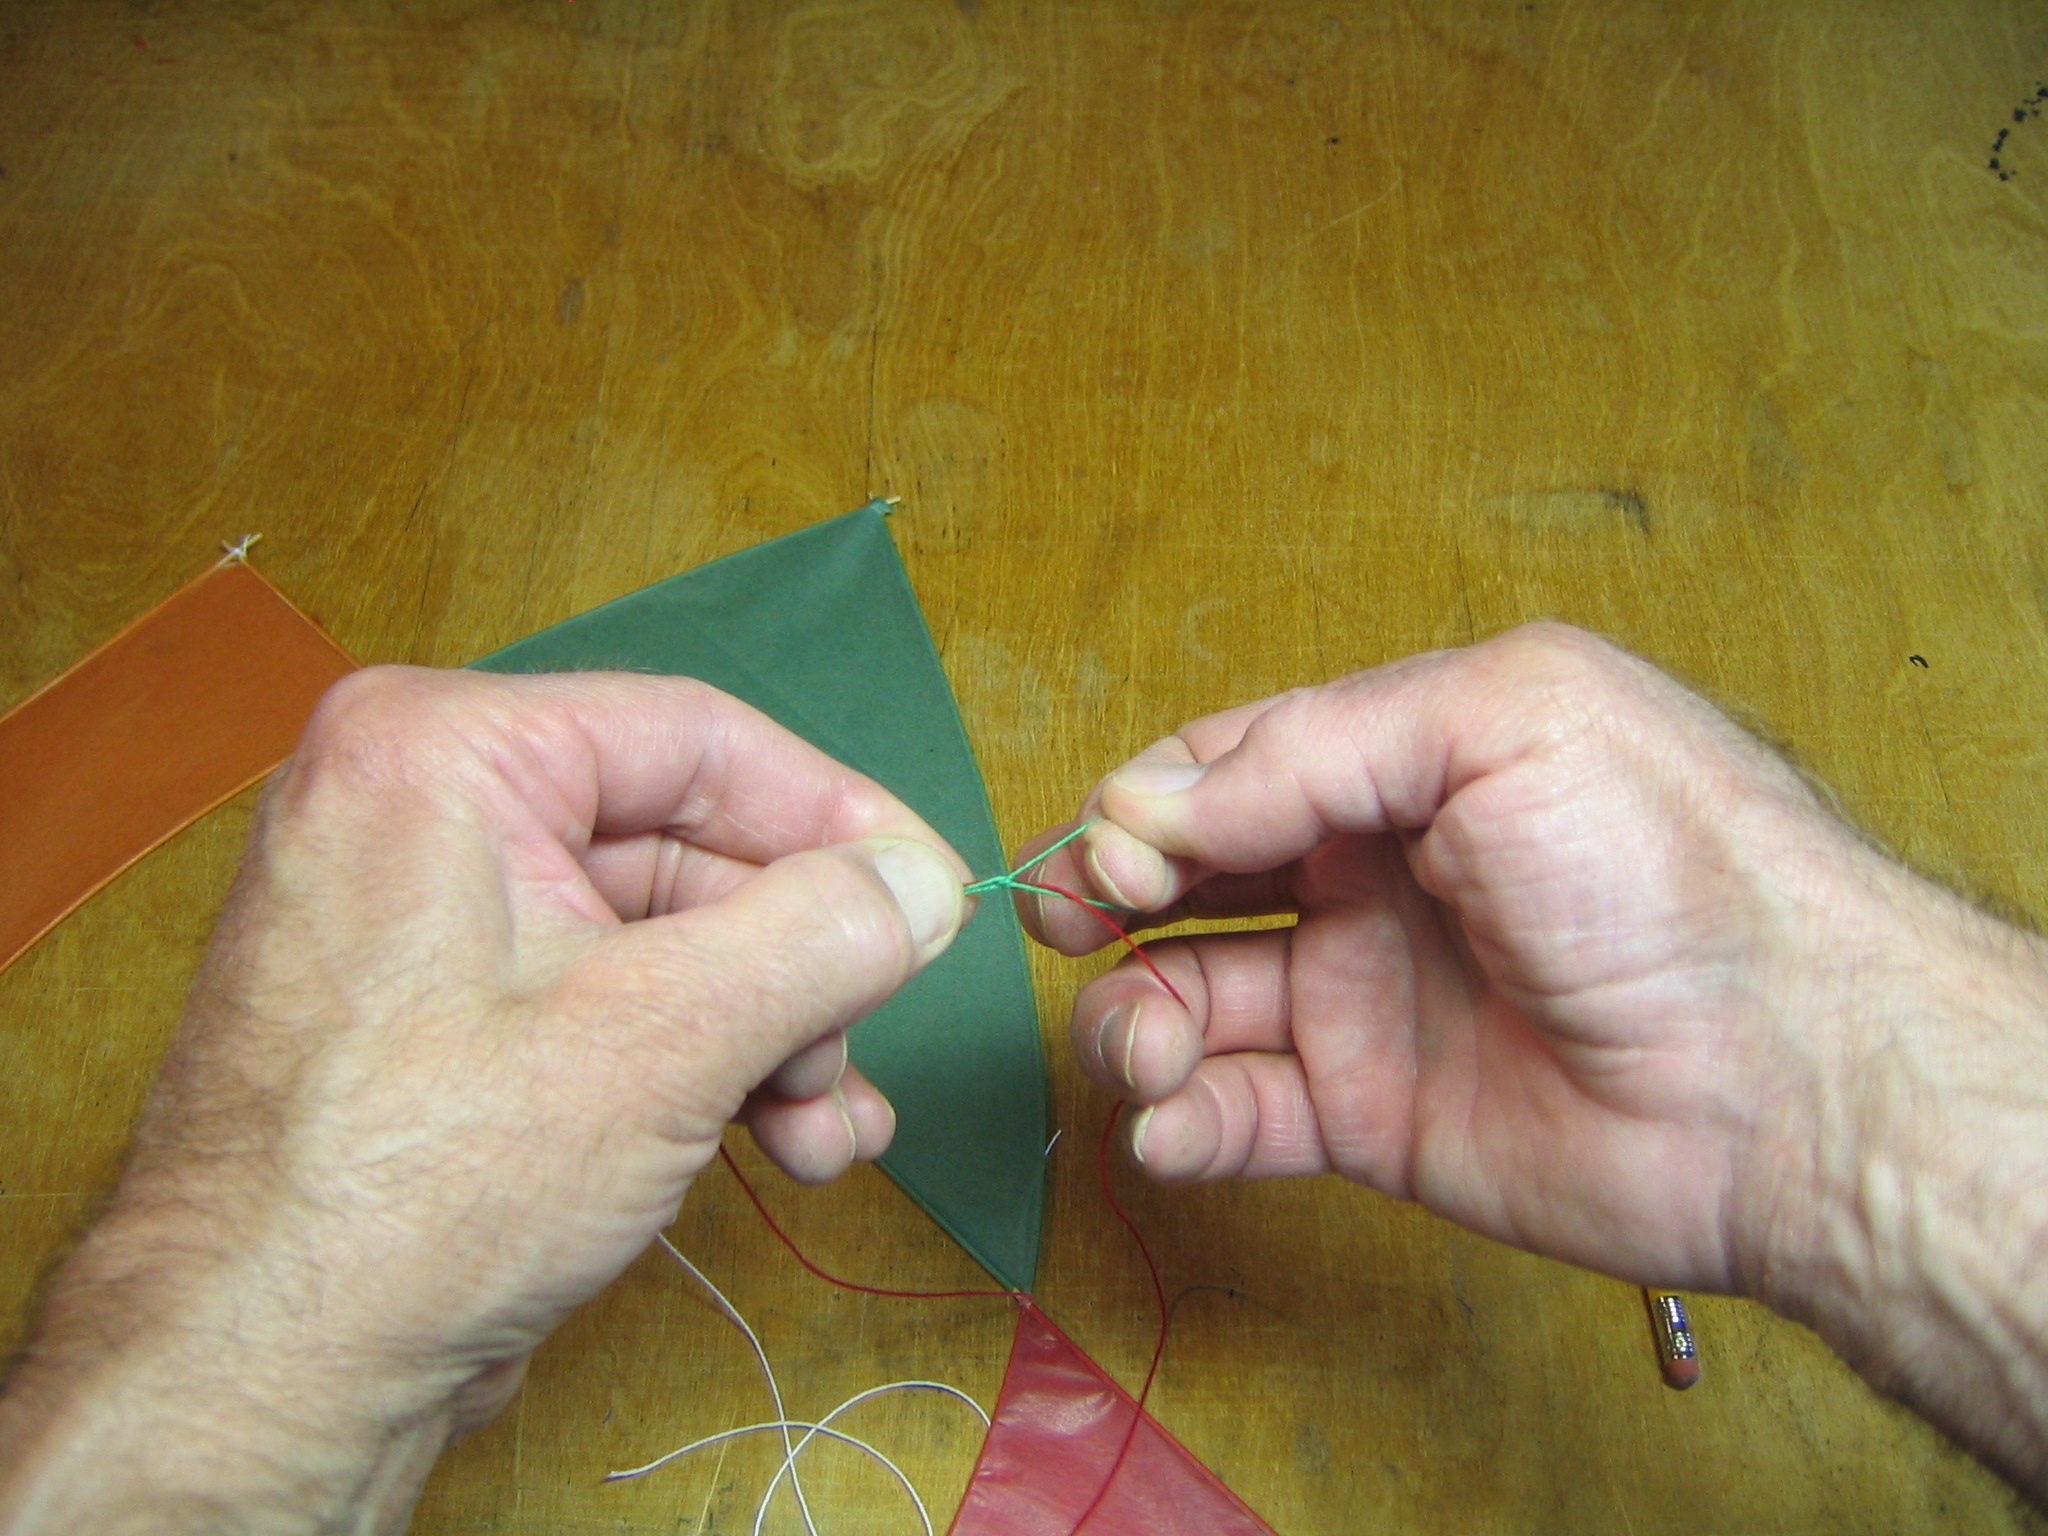
The double loop is put around the crossed sticks.
It is pulled tight around the crossed sticks. This will stay on in the wind, but is easy to remove and replace.
The kite had a slight preference for turning to its right and the corners are not equidistant from the principal axis, so the tails will not be the same size.
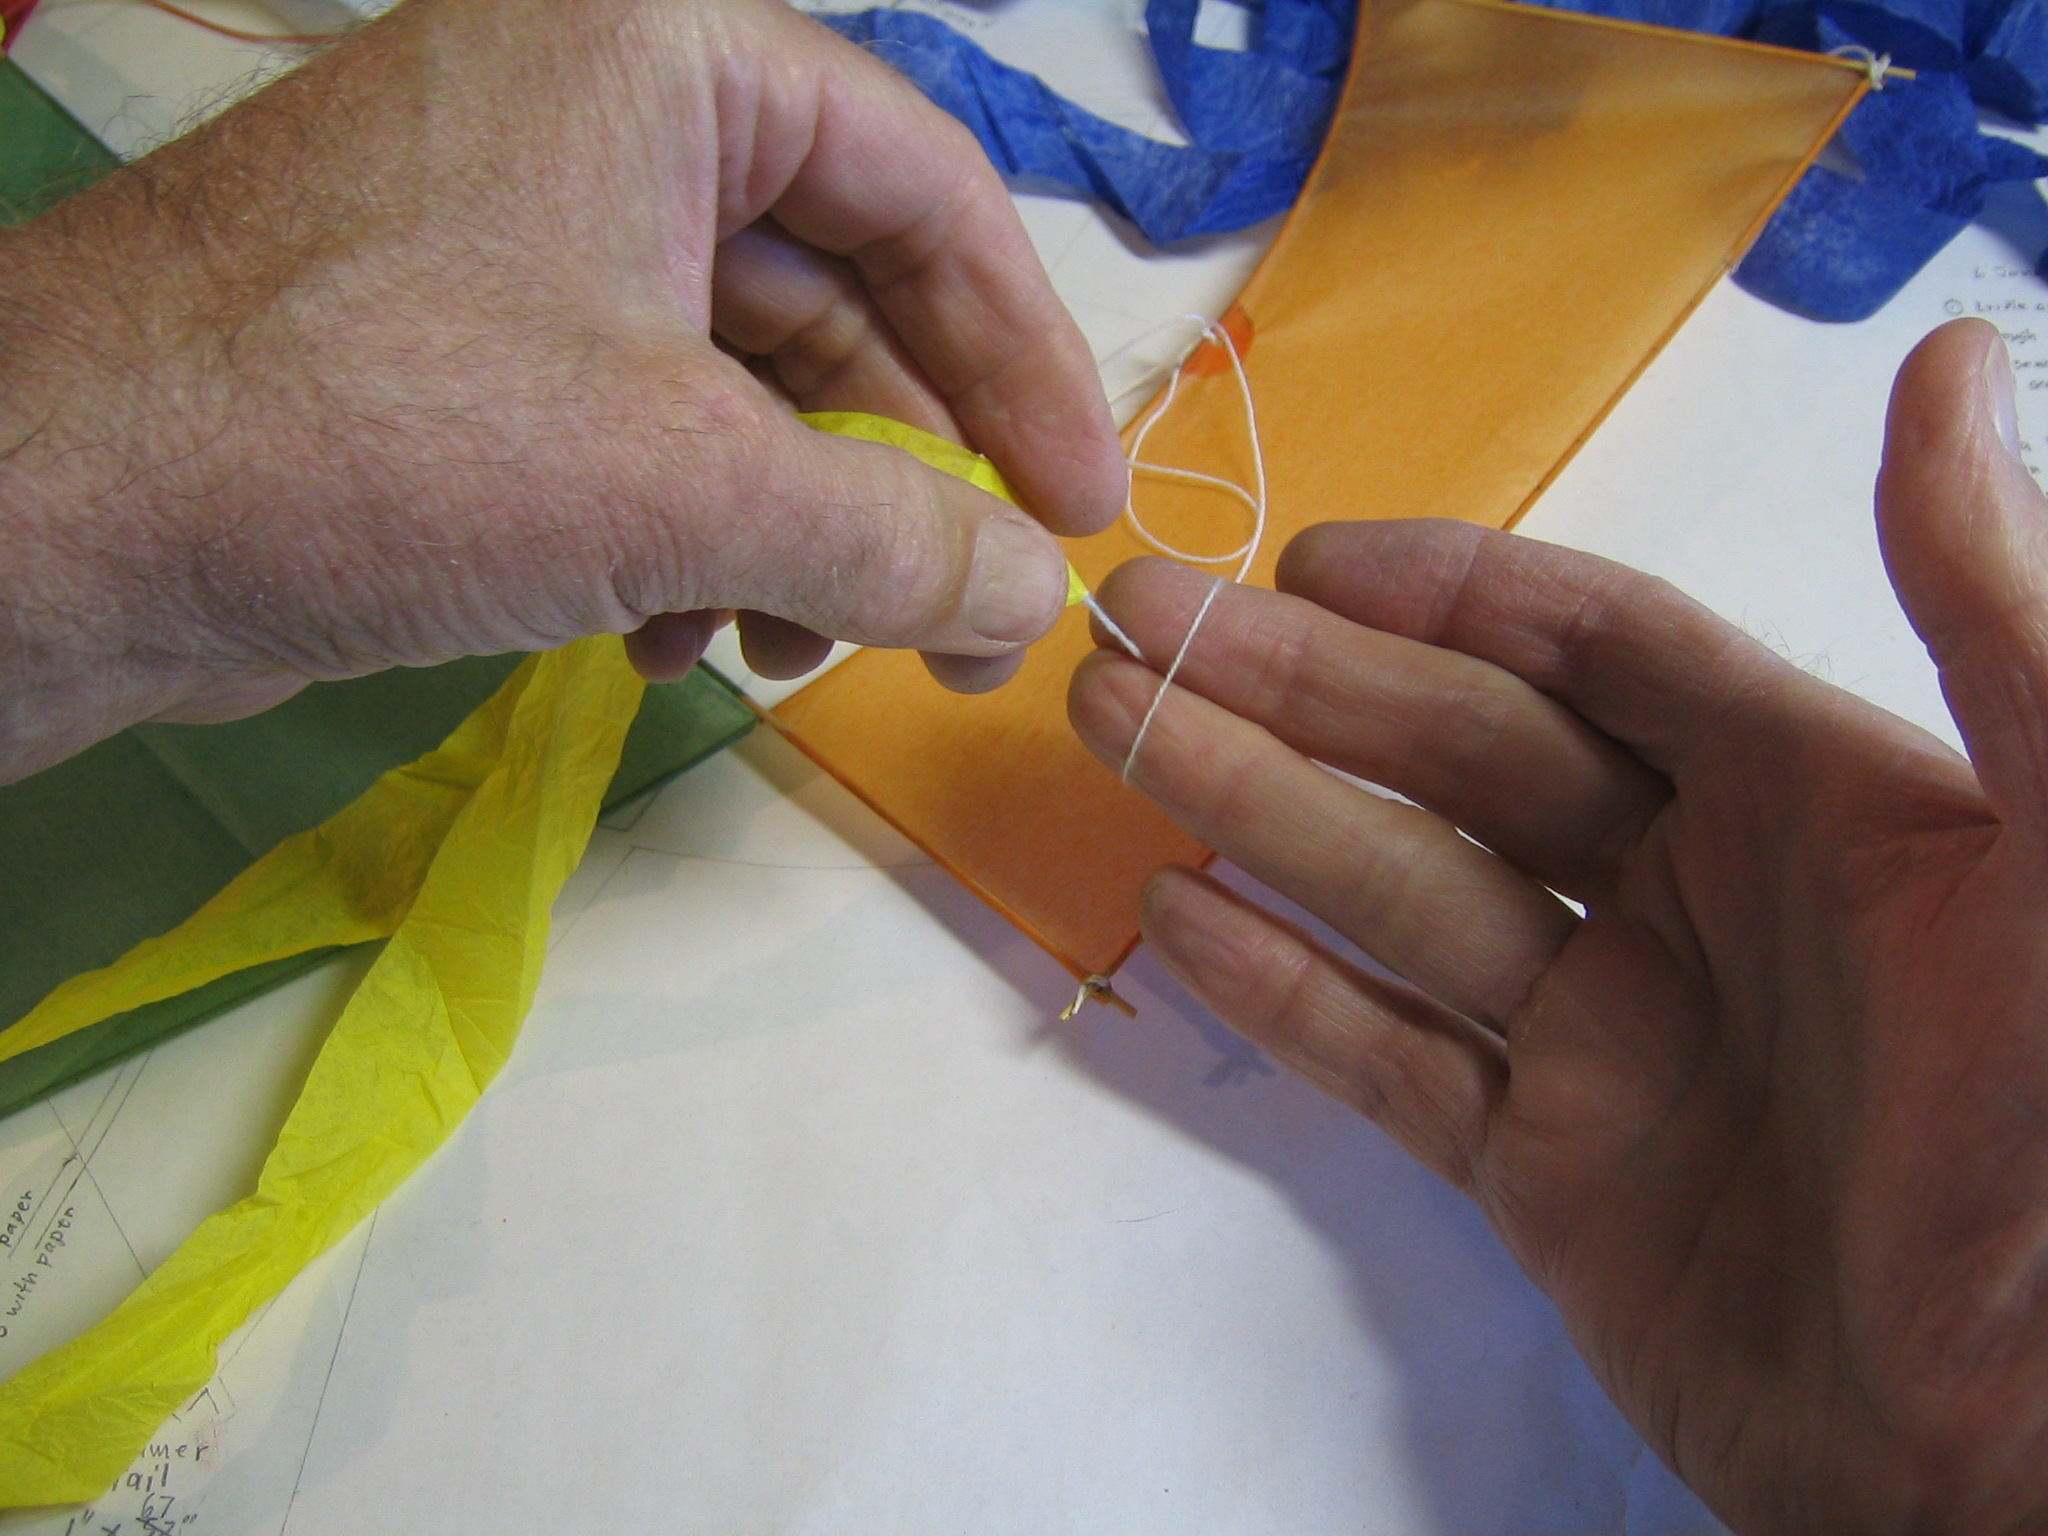
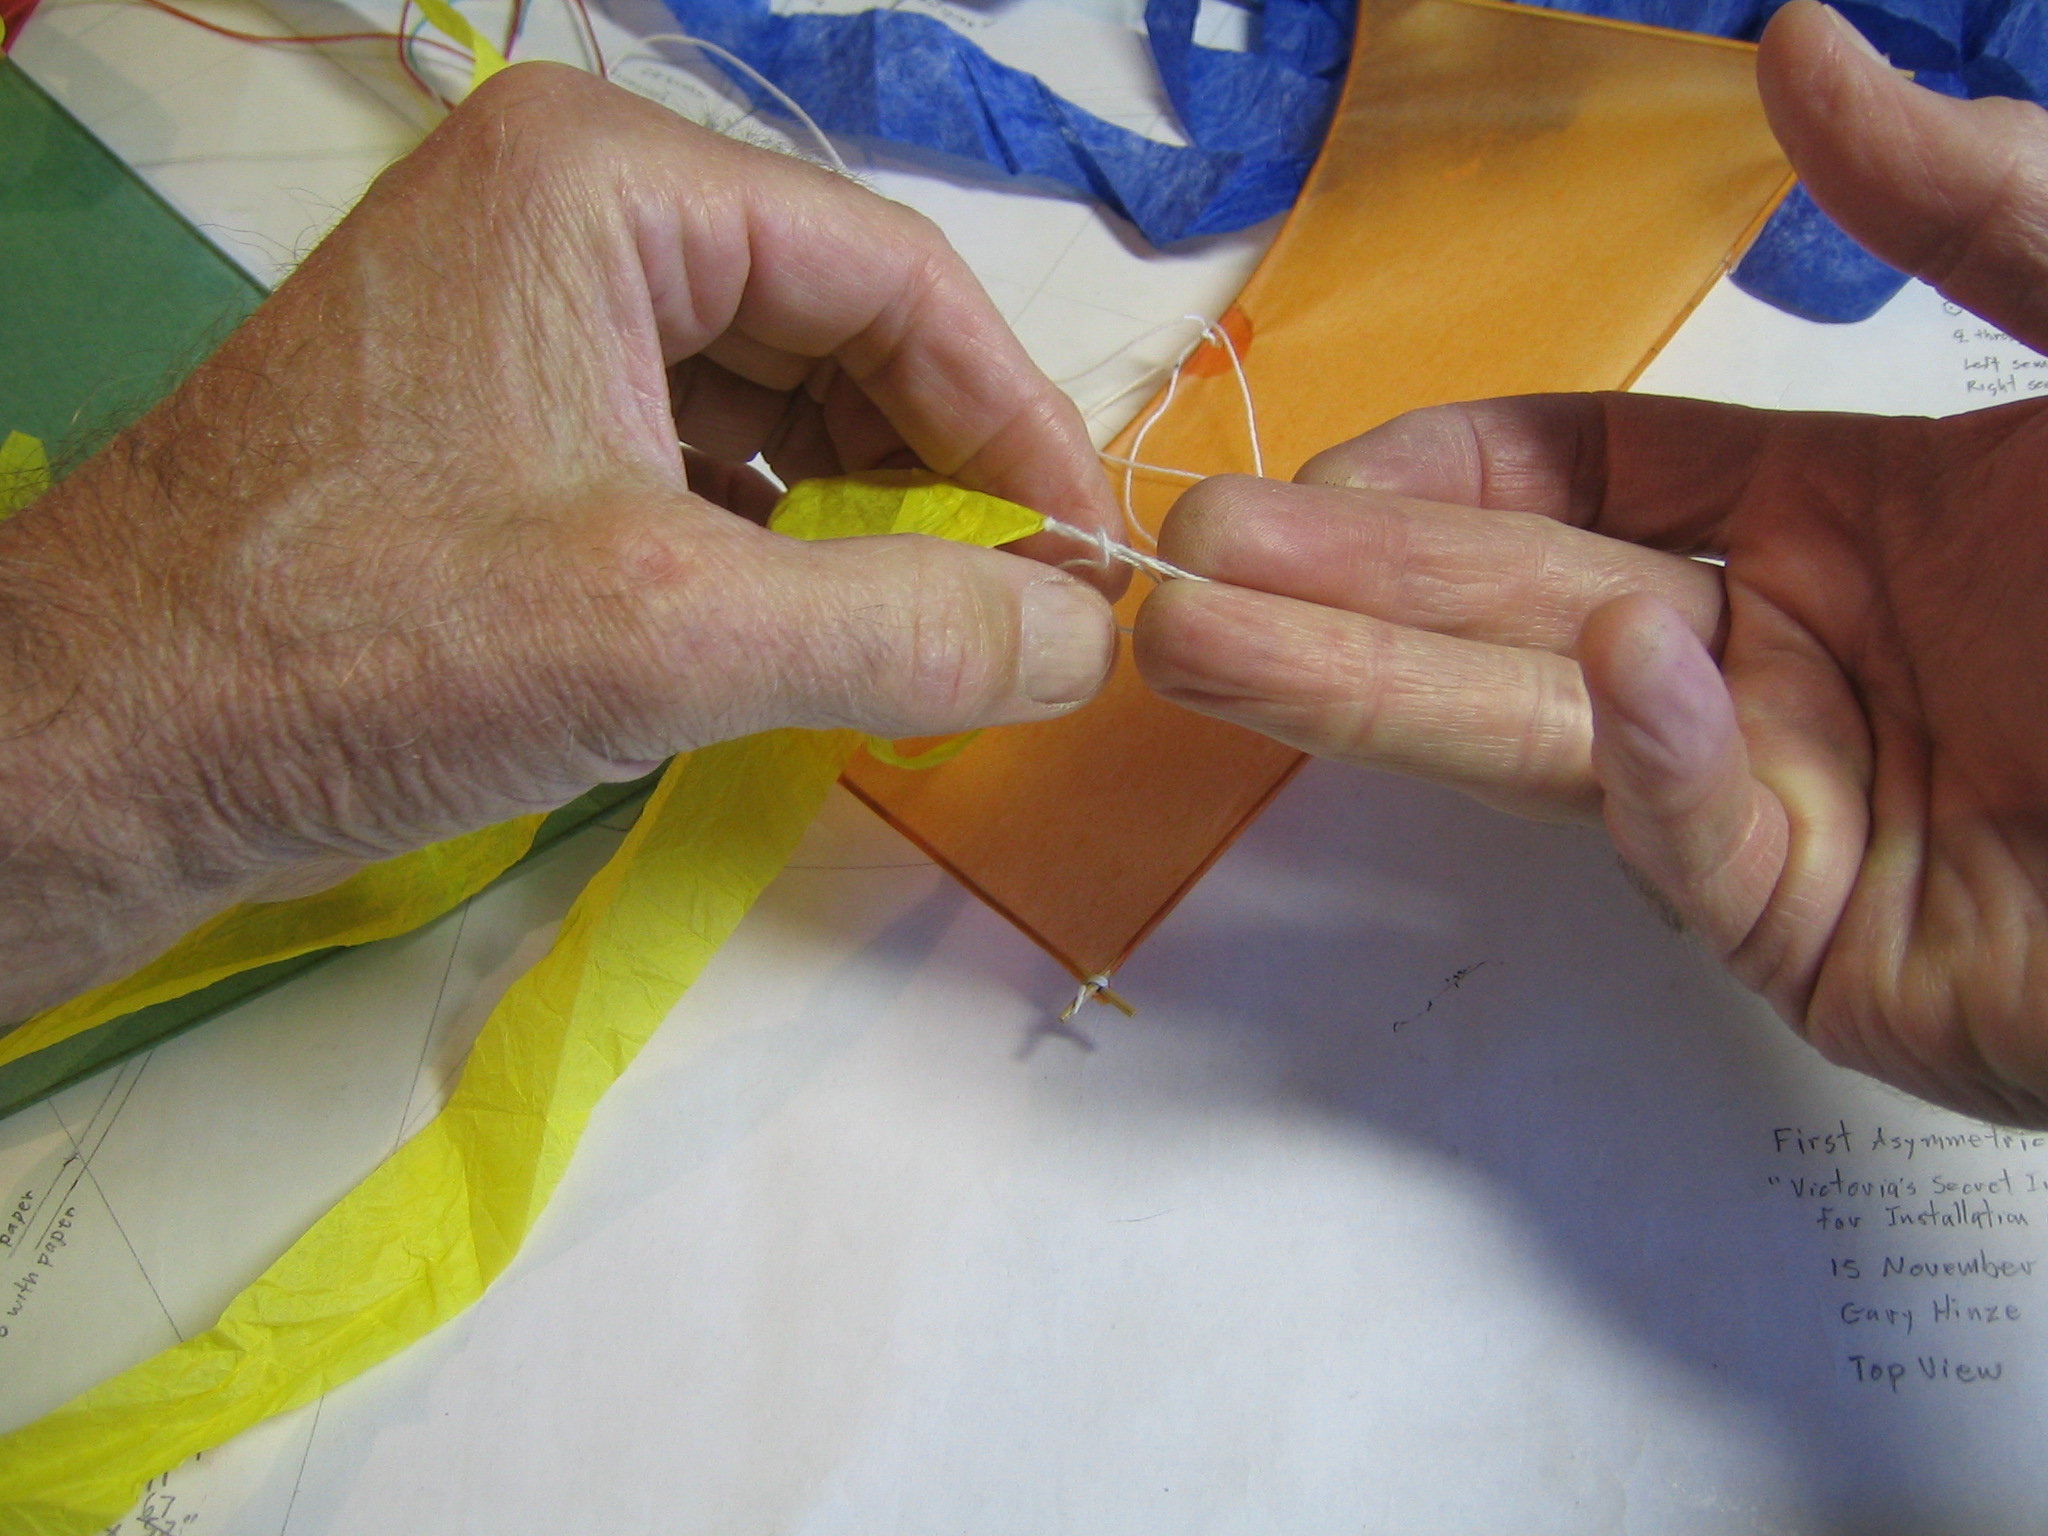
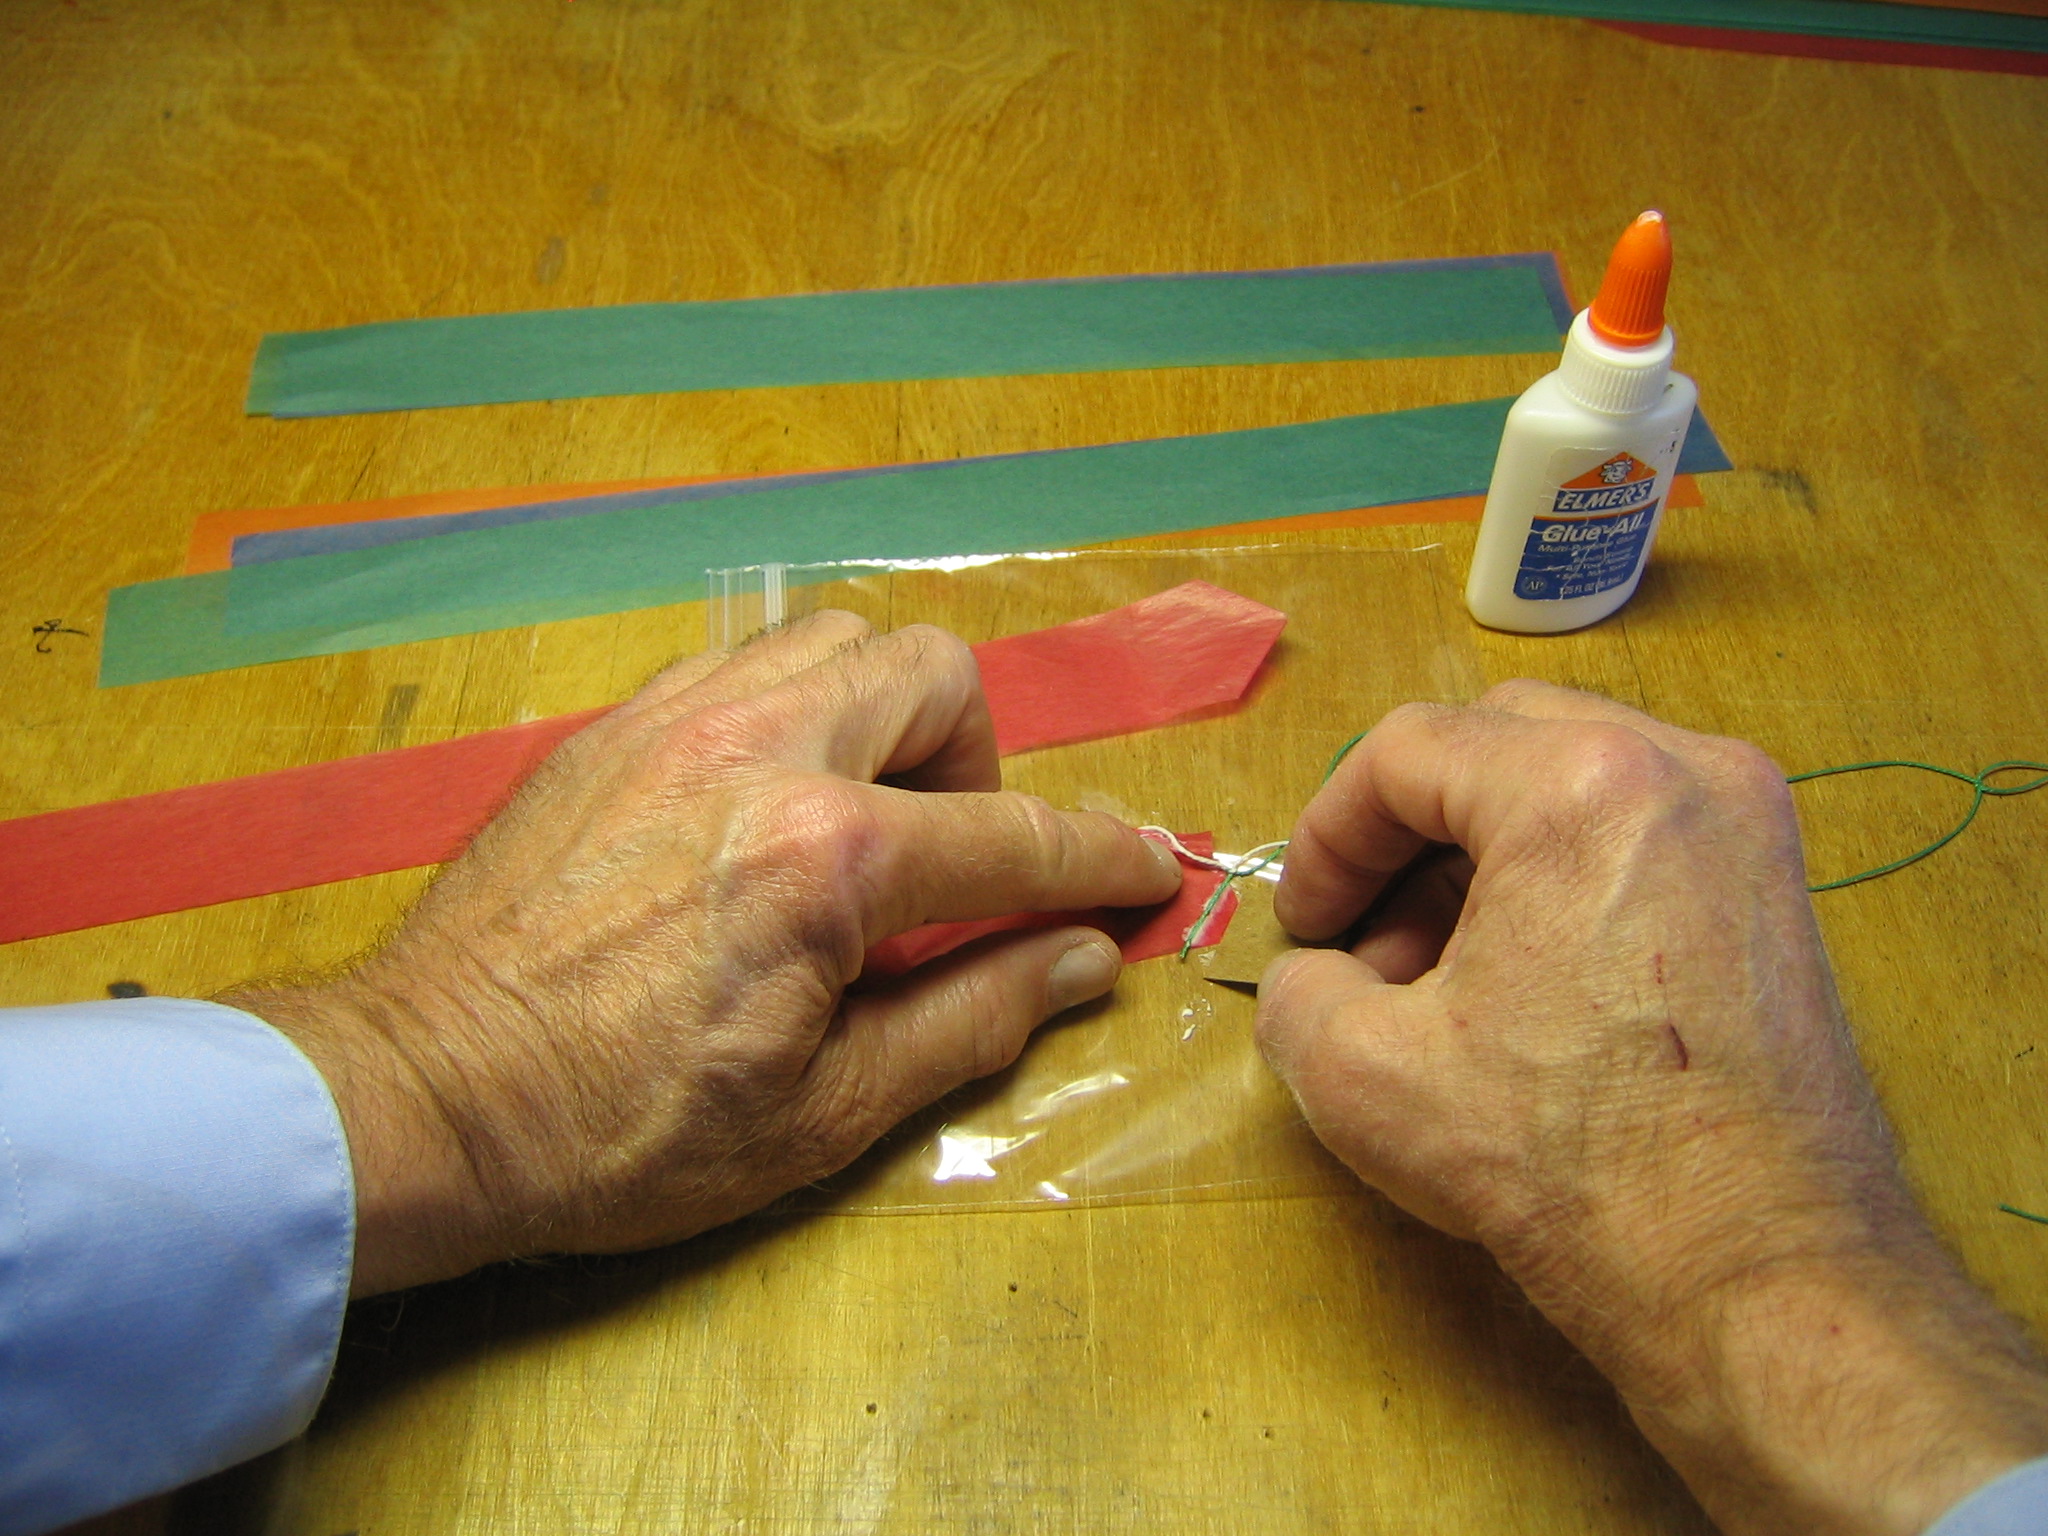
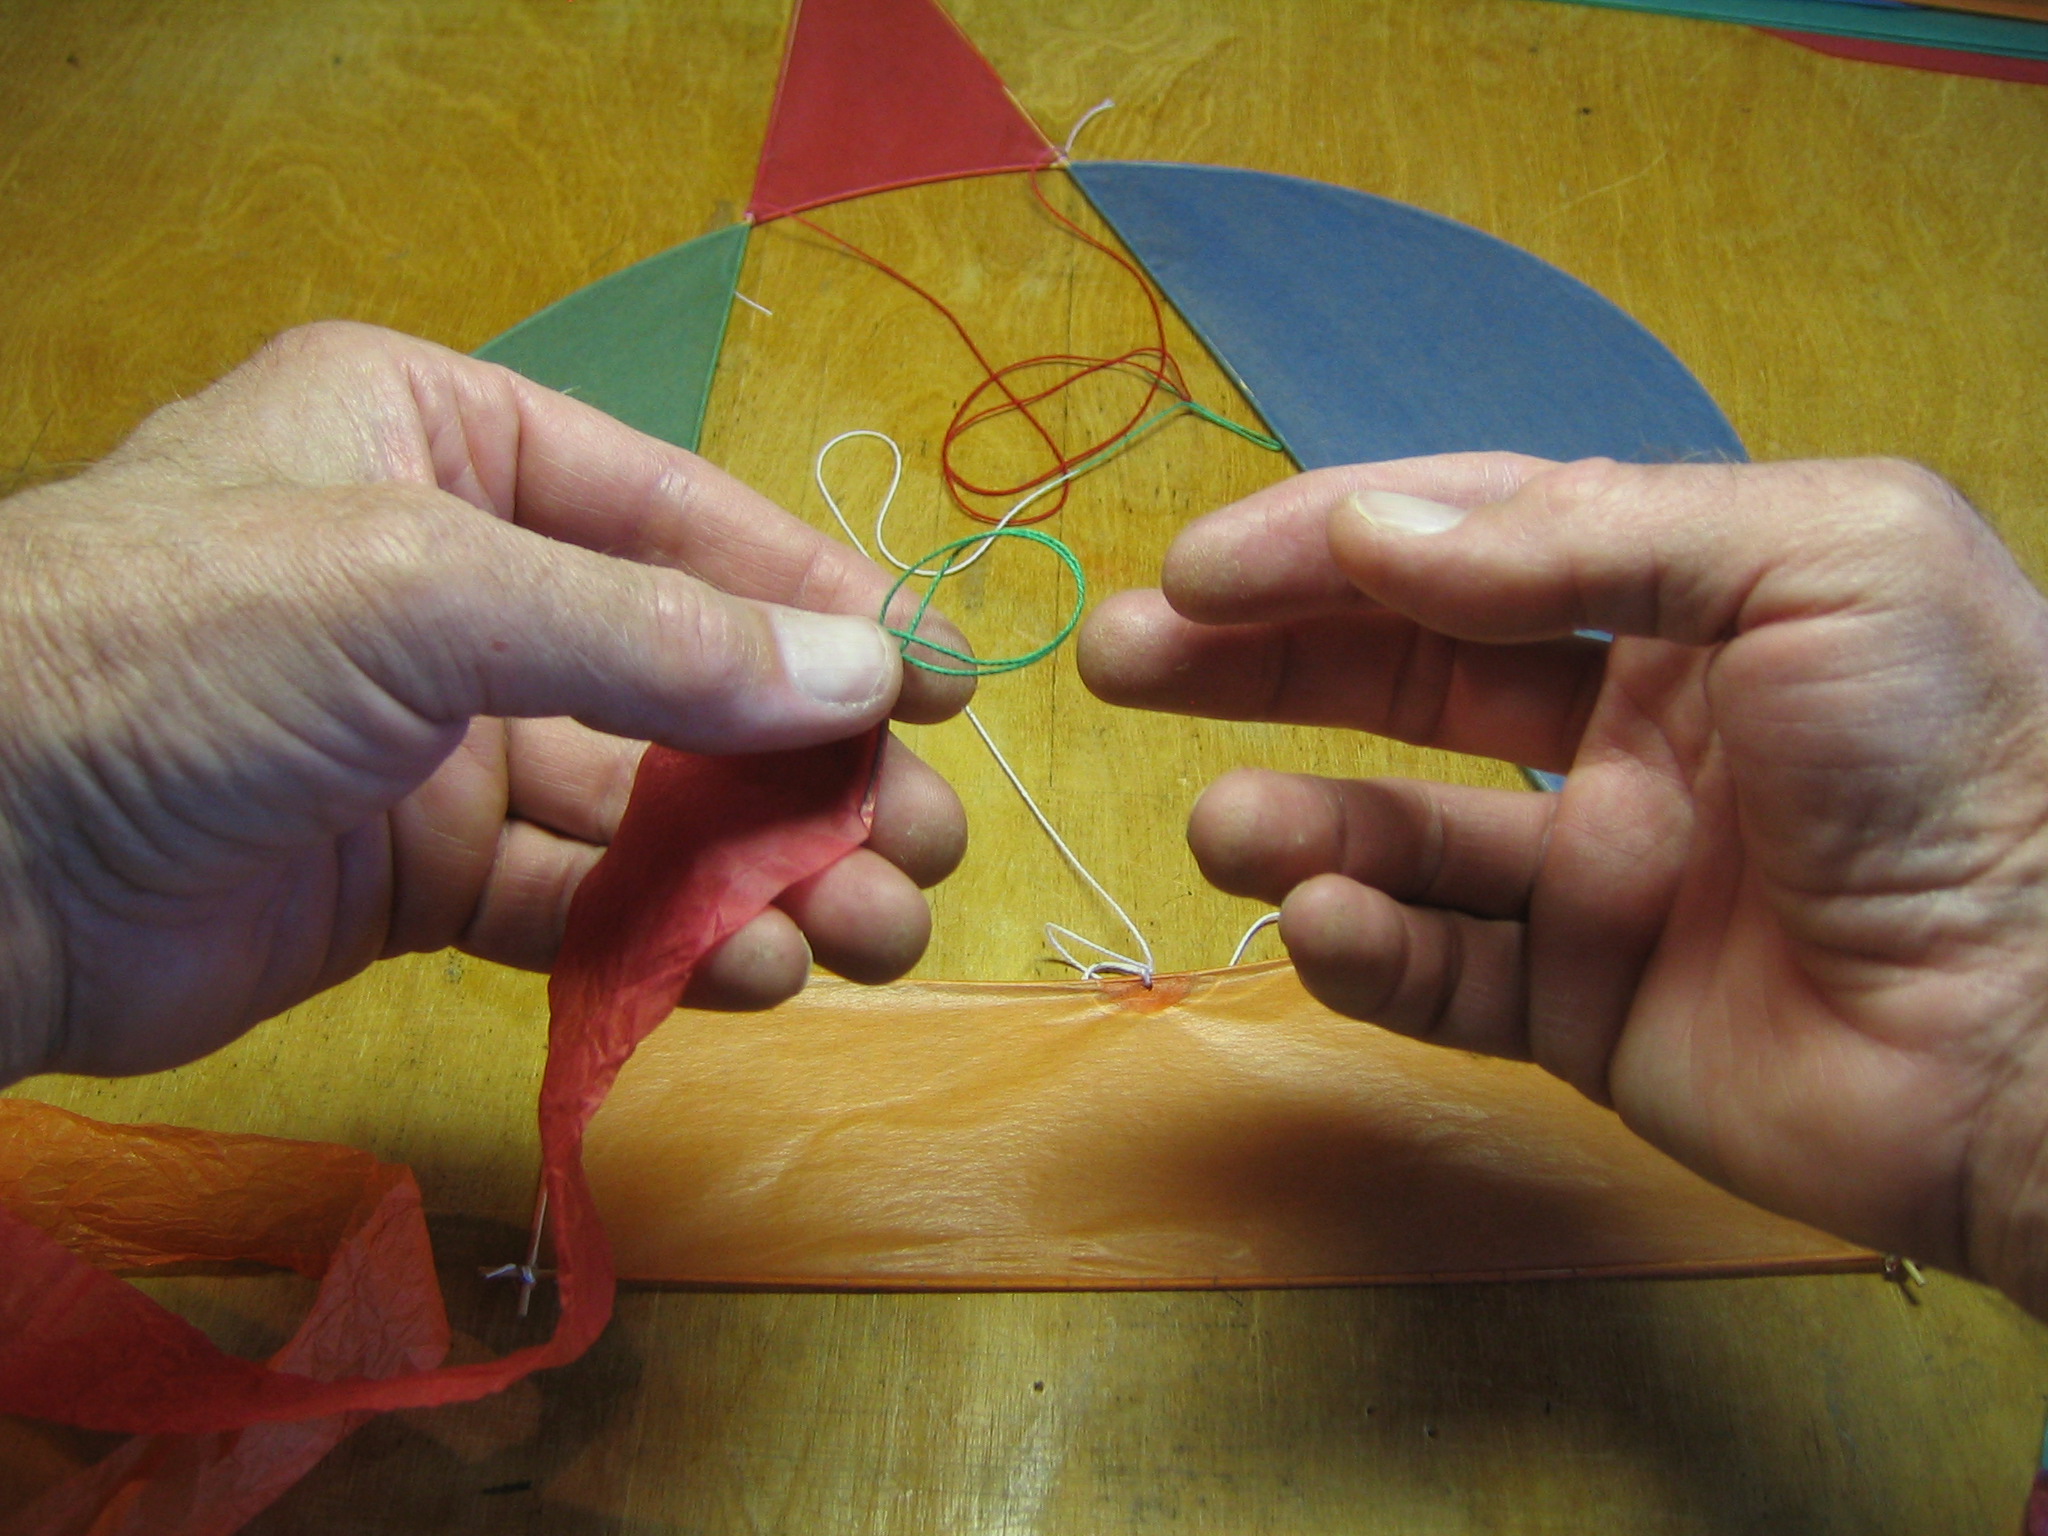
To attach tails to a single point on the frame, start by pulling the loop around a finger. Here I am going to attach two tails at the same time.

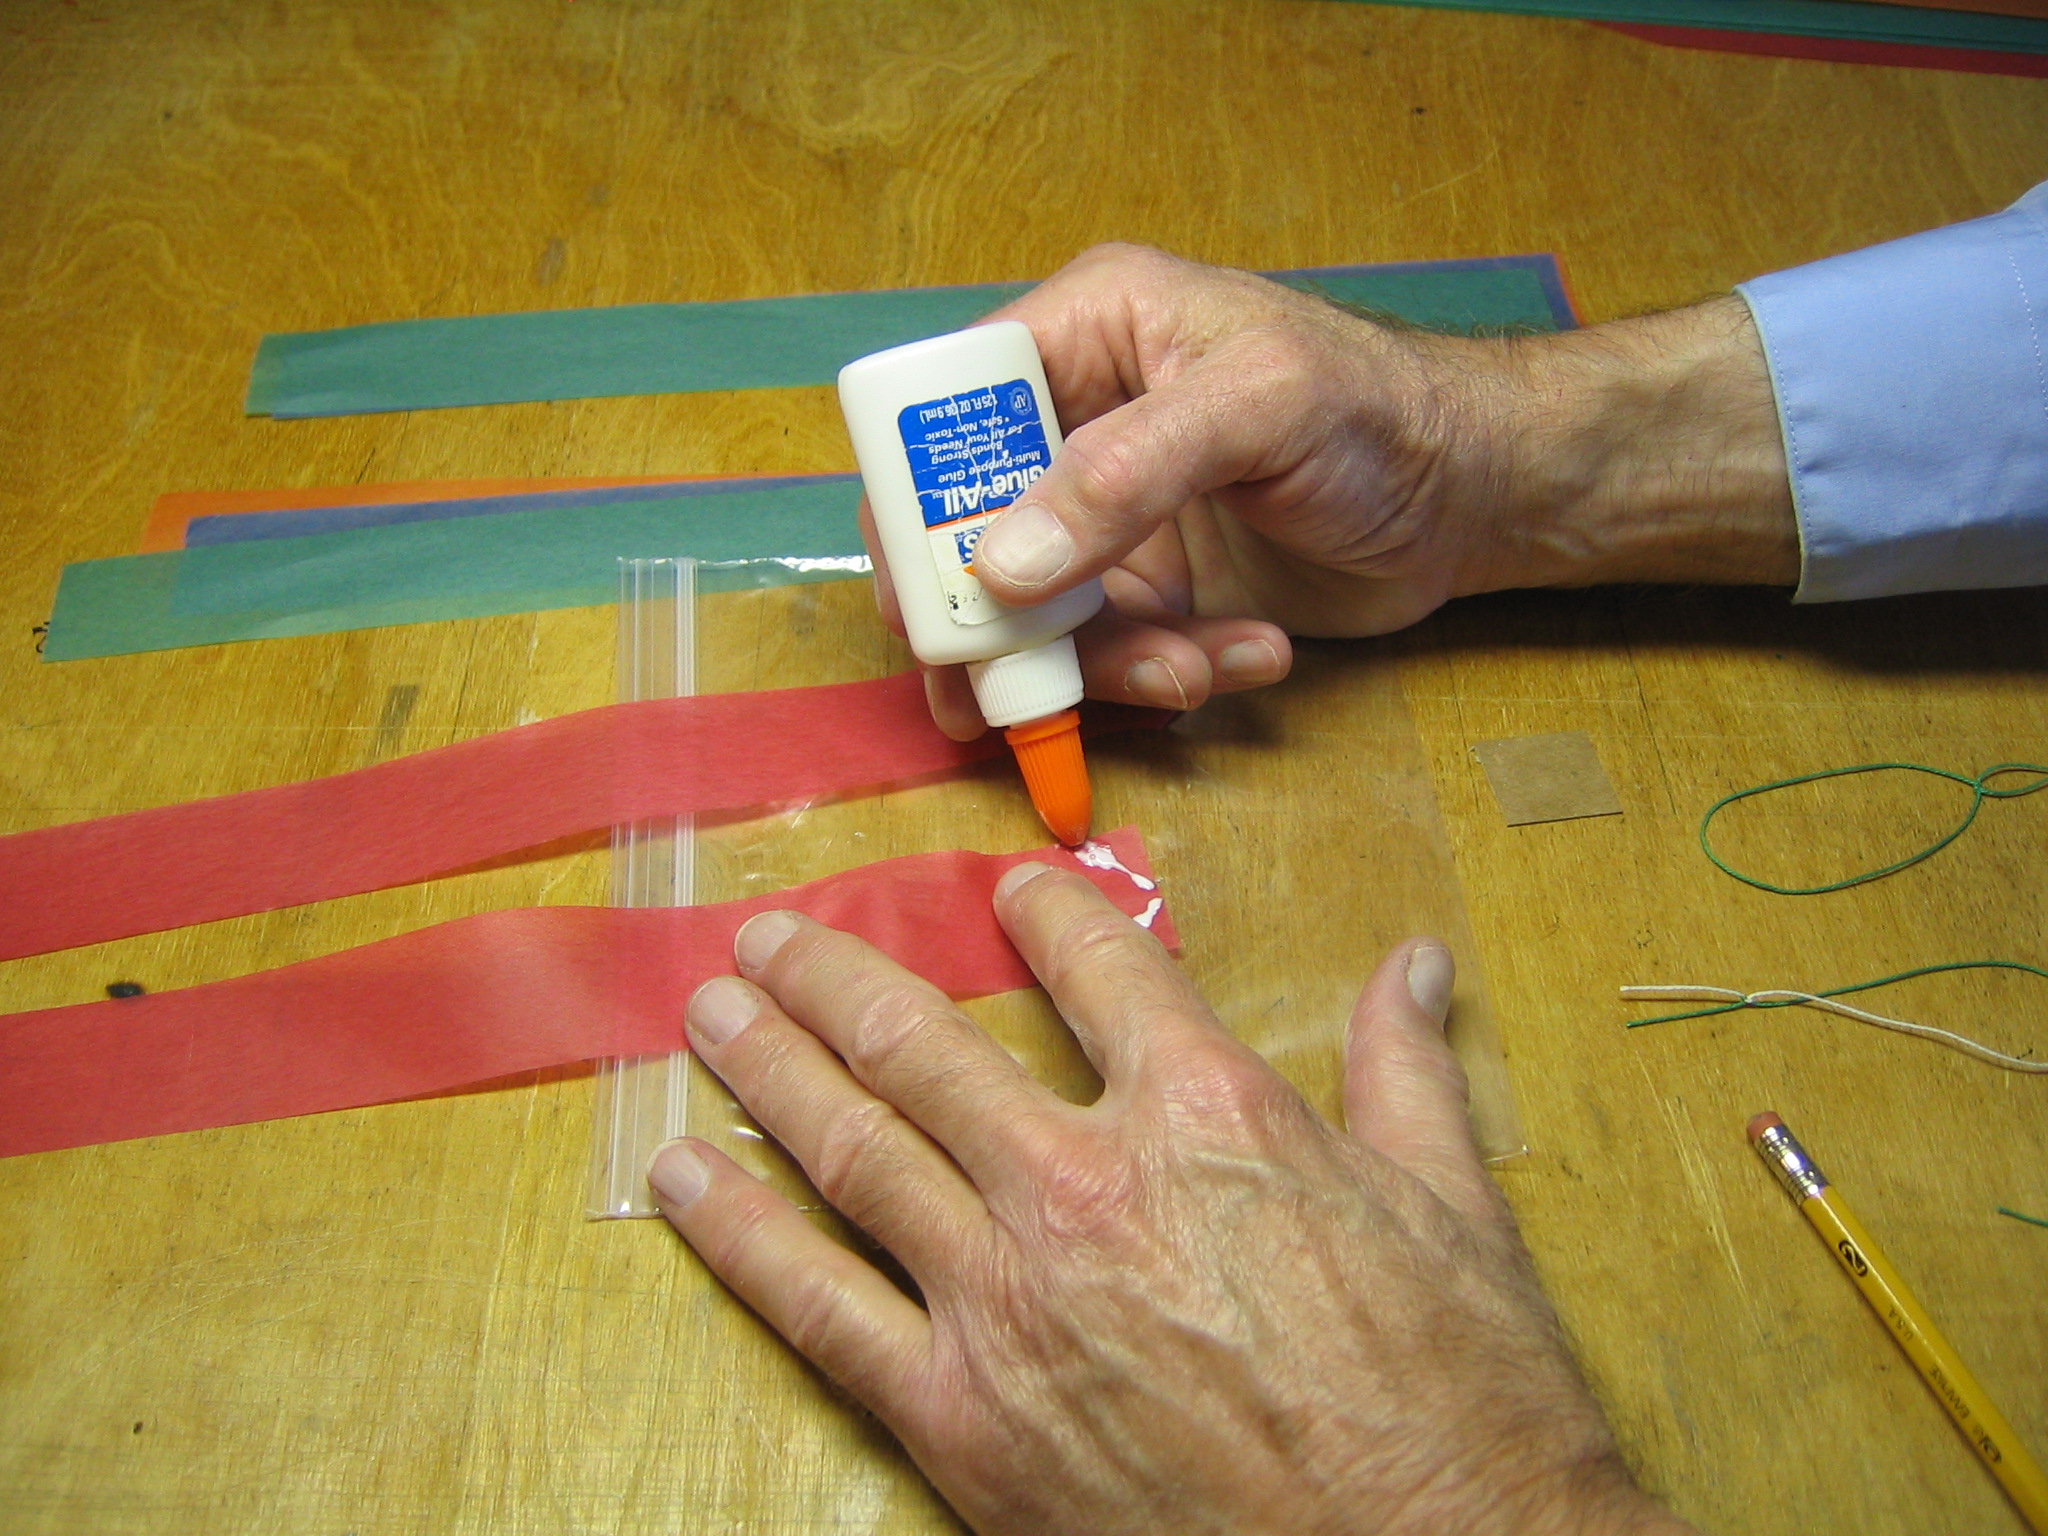
Loosen the loop slightly and slip a piece of tape under the loop, sticky side up. The tape is about 3/32″ wide and 1/4″ long. The tape chosen is not very sticky, it must peel off easily without tearing the tissue paper. Notice there are several pieces of tape attached to the baggie containing the bundle of tails.
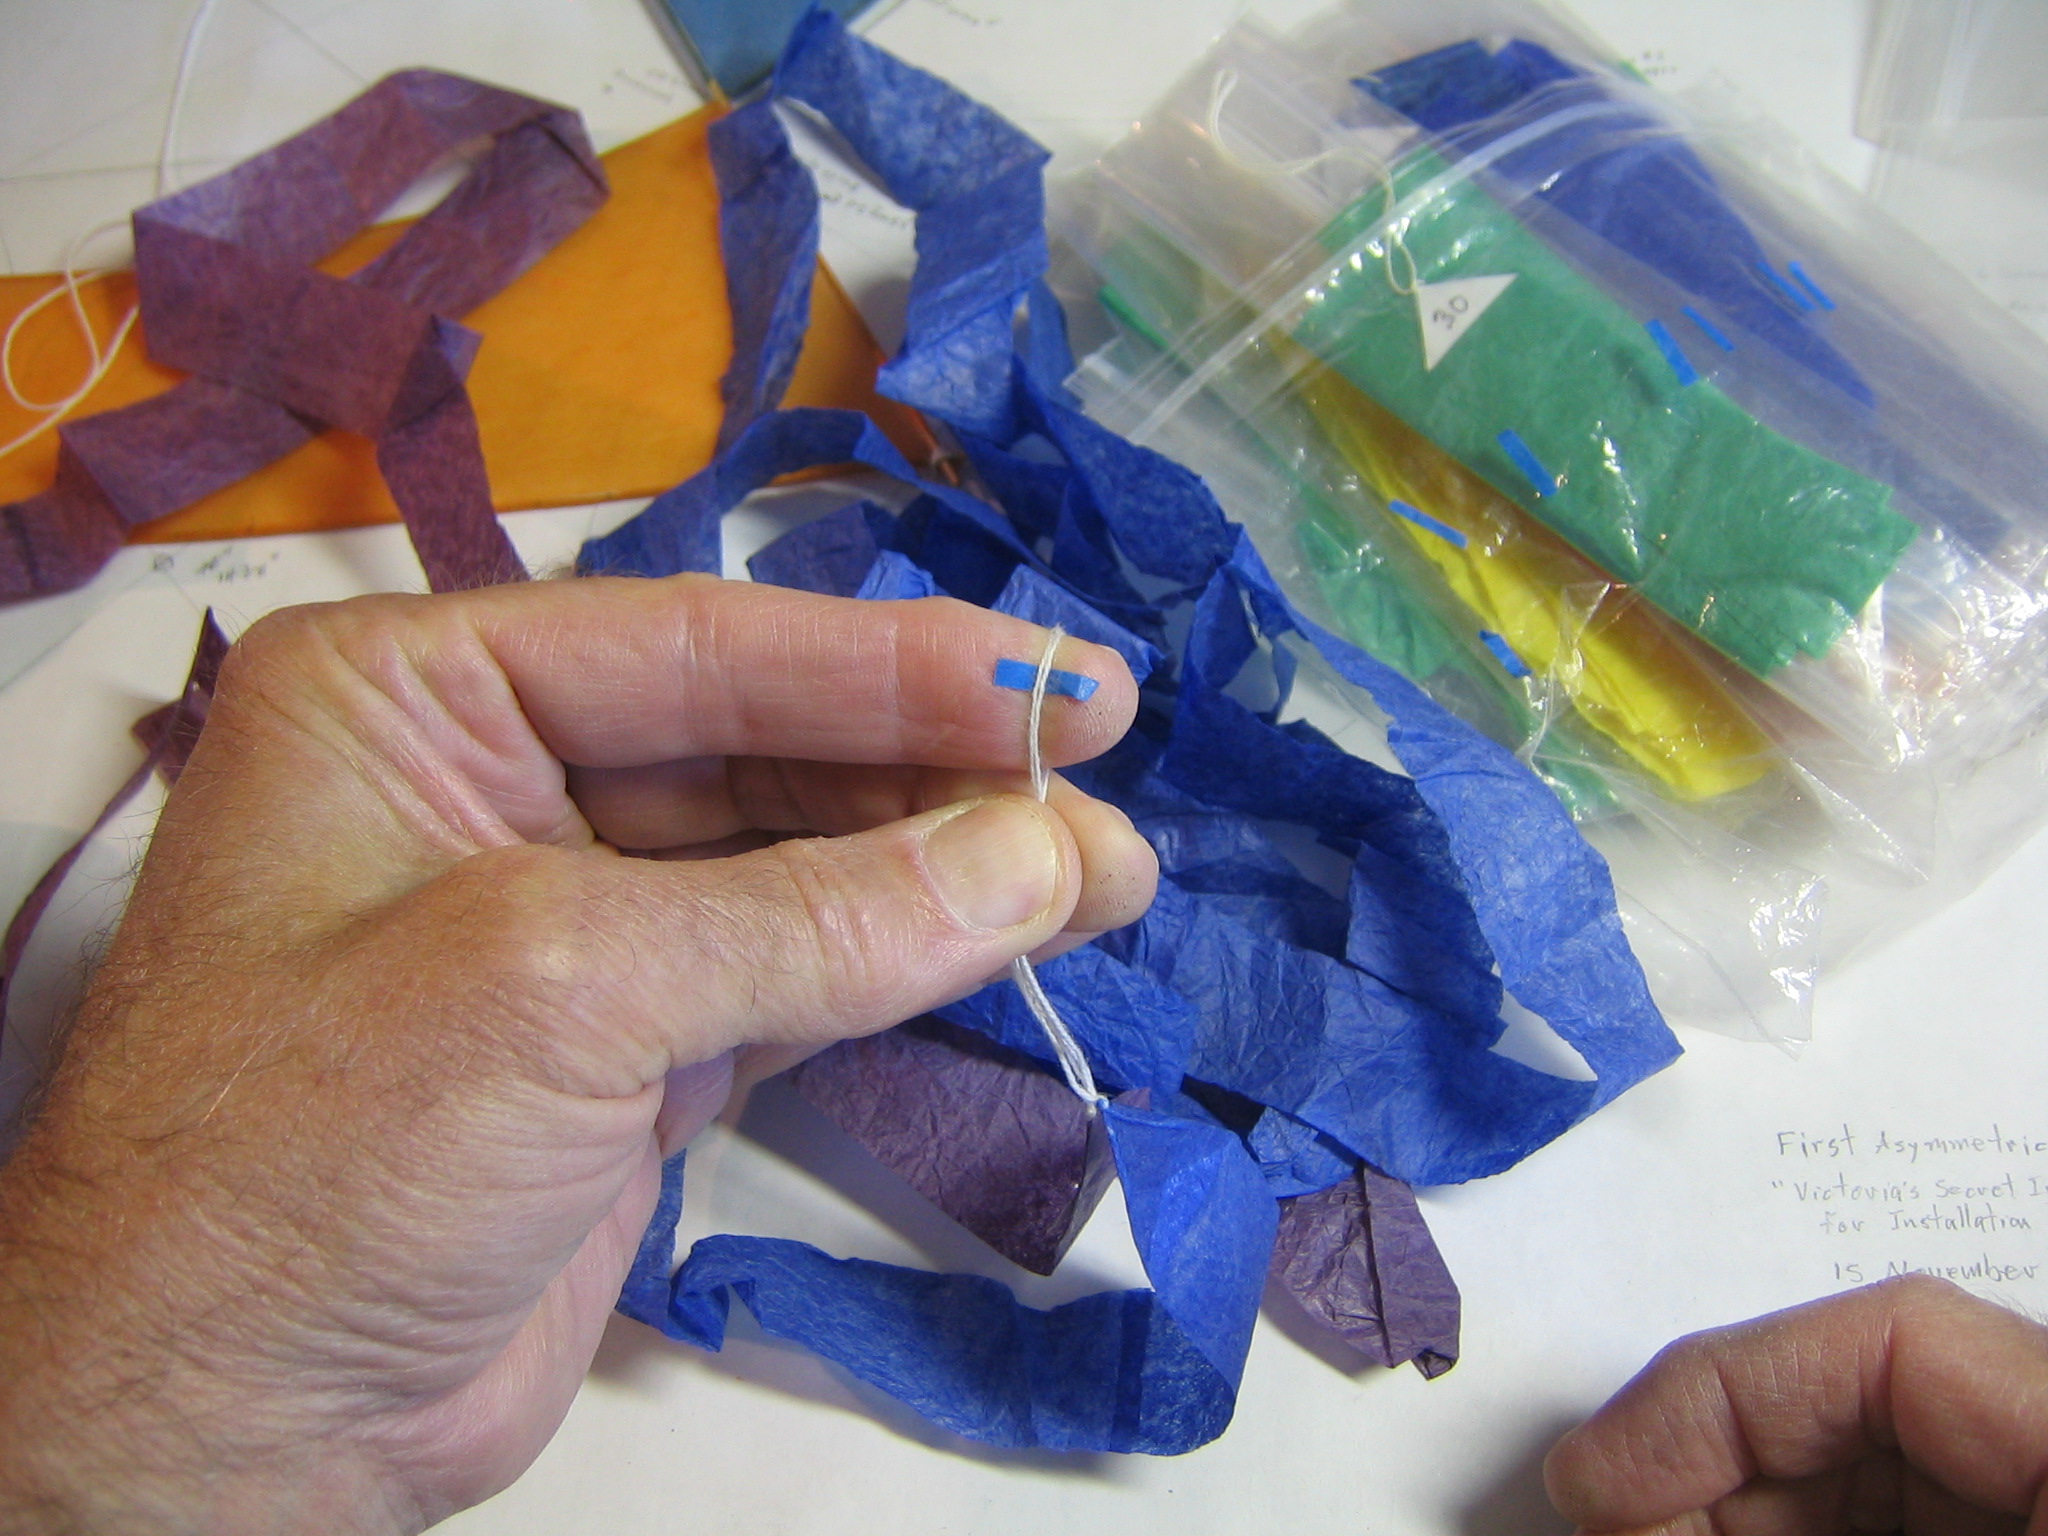
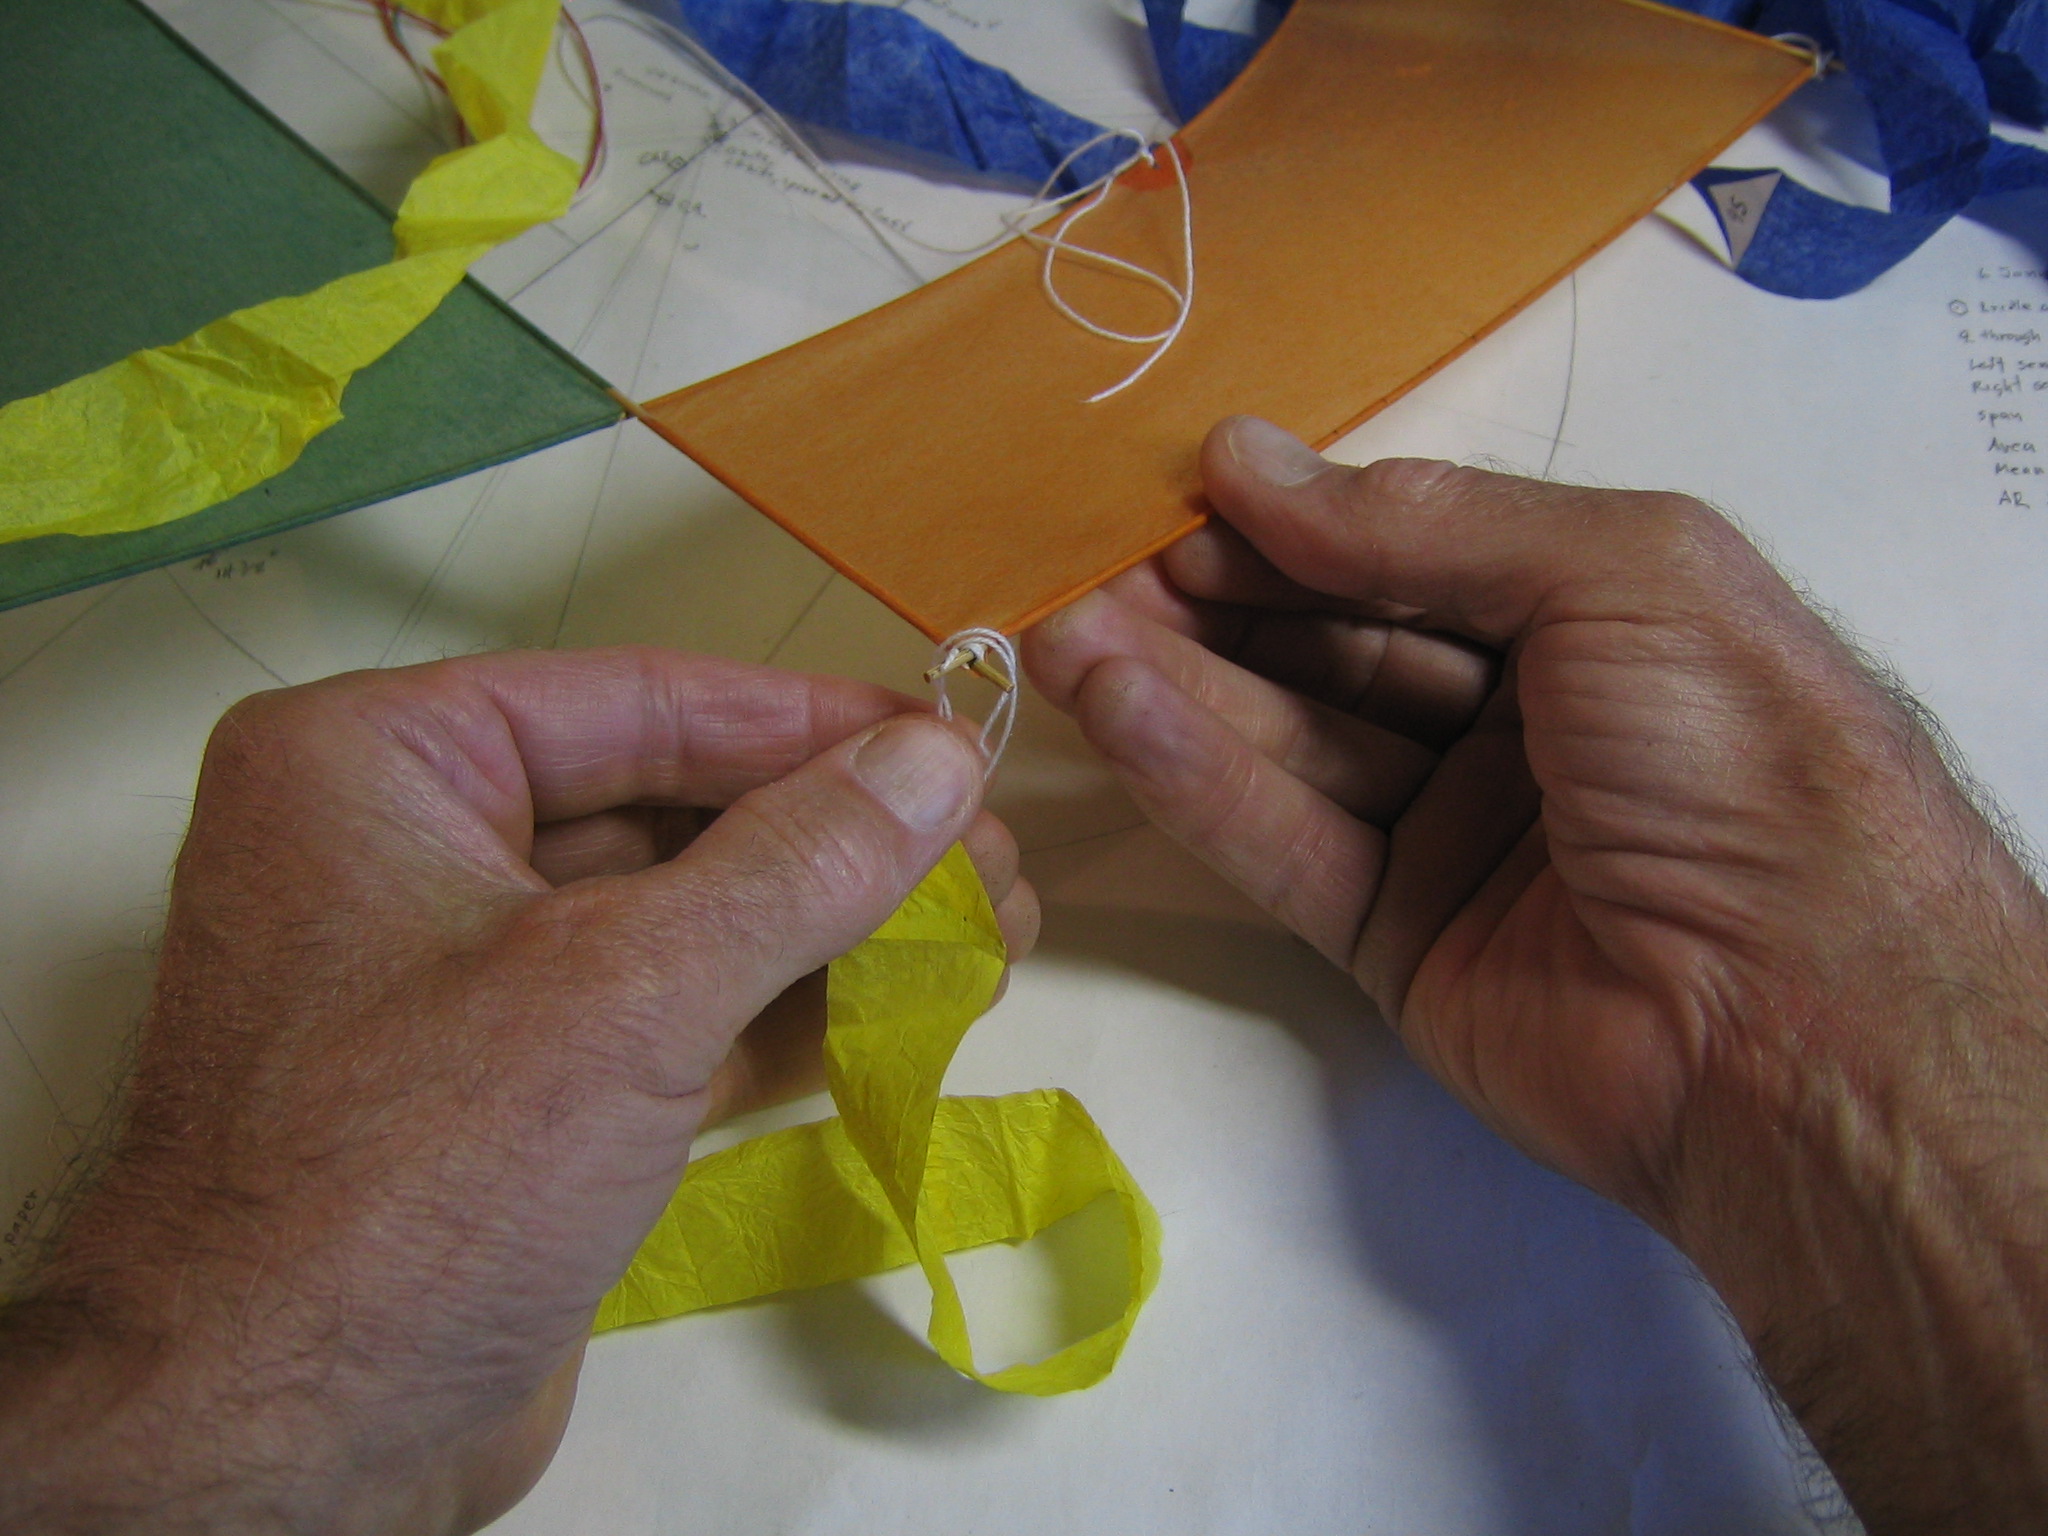
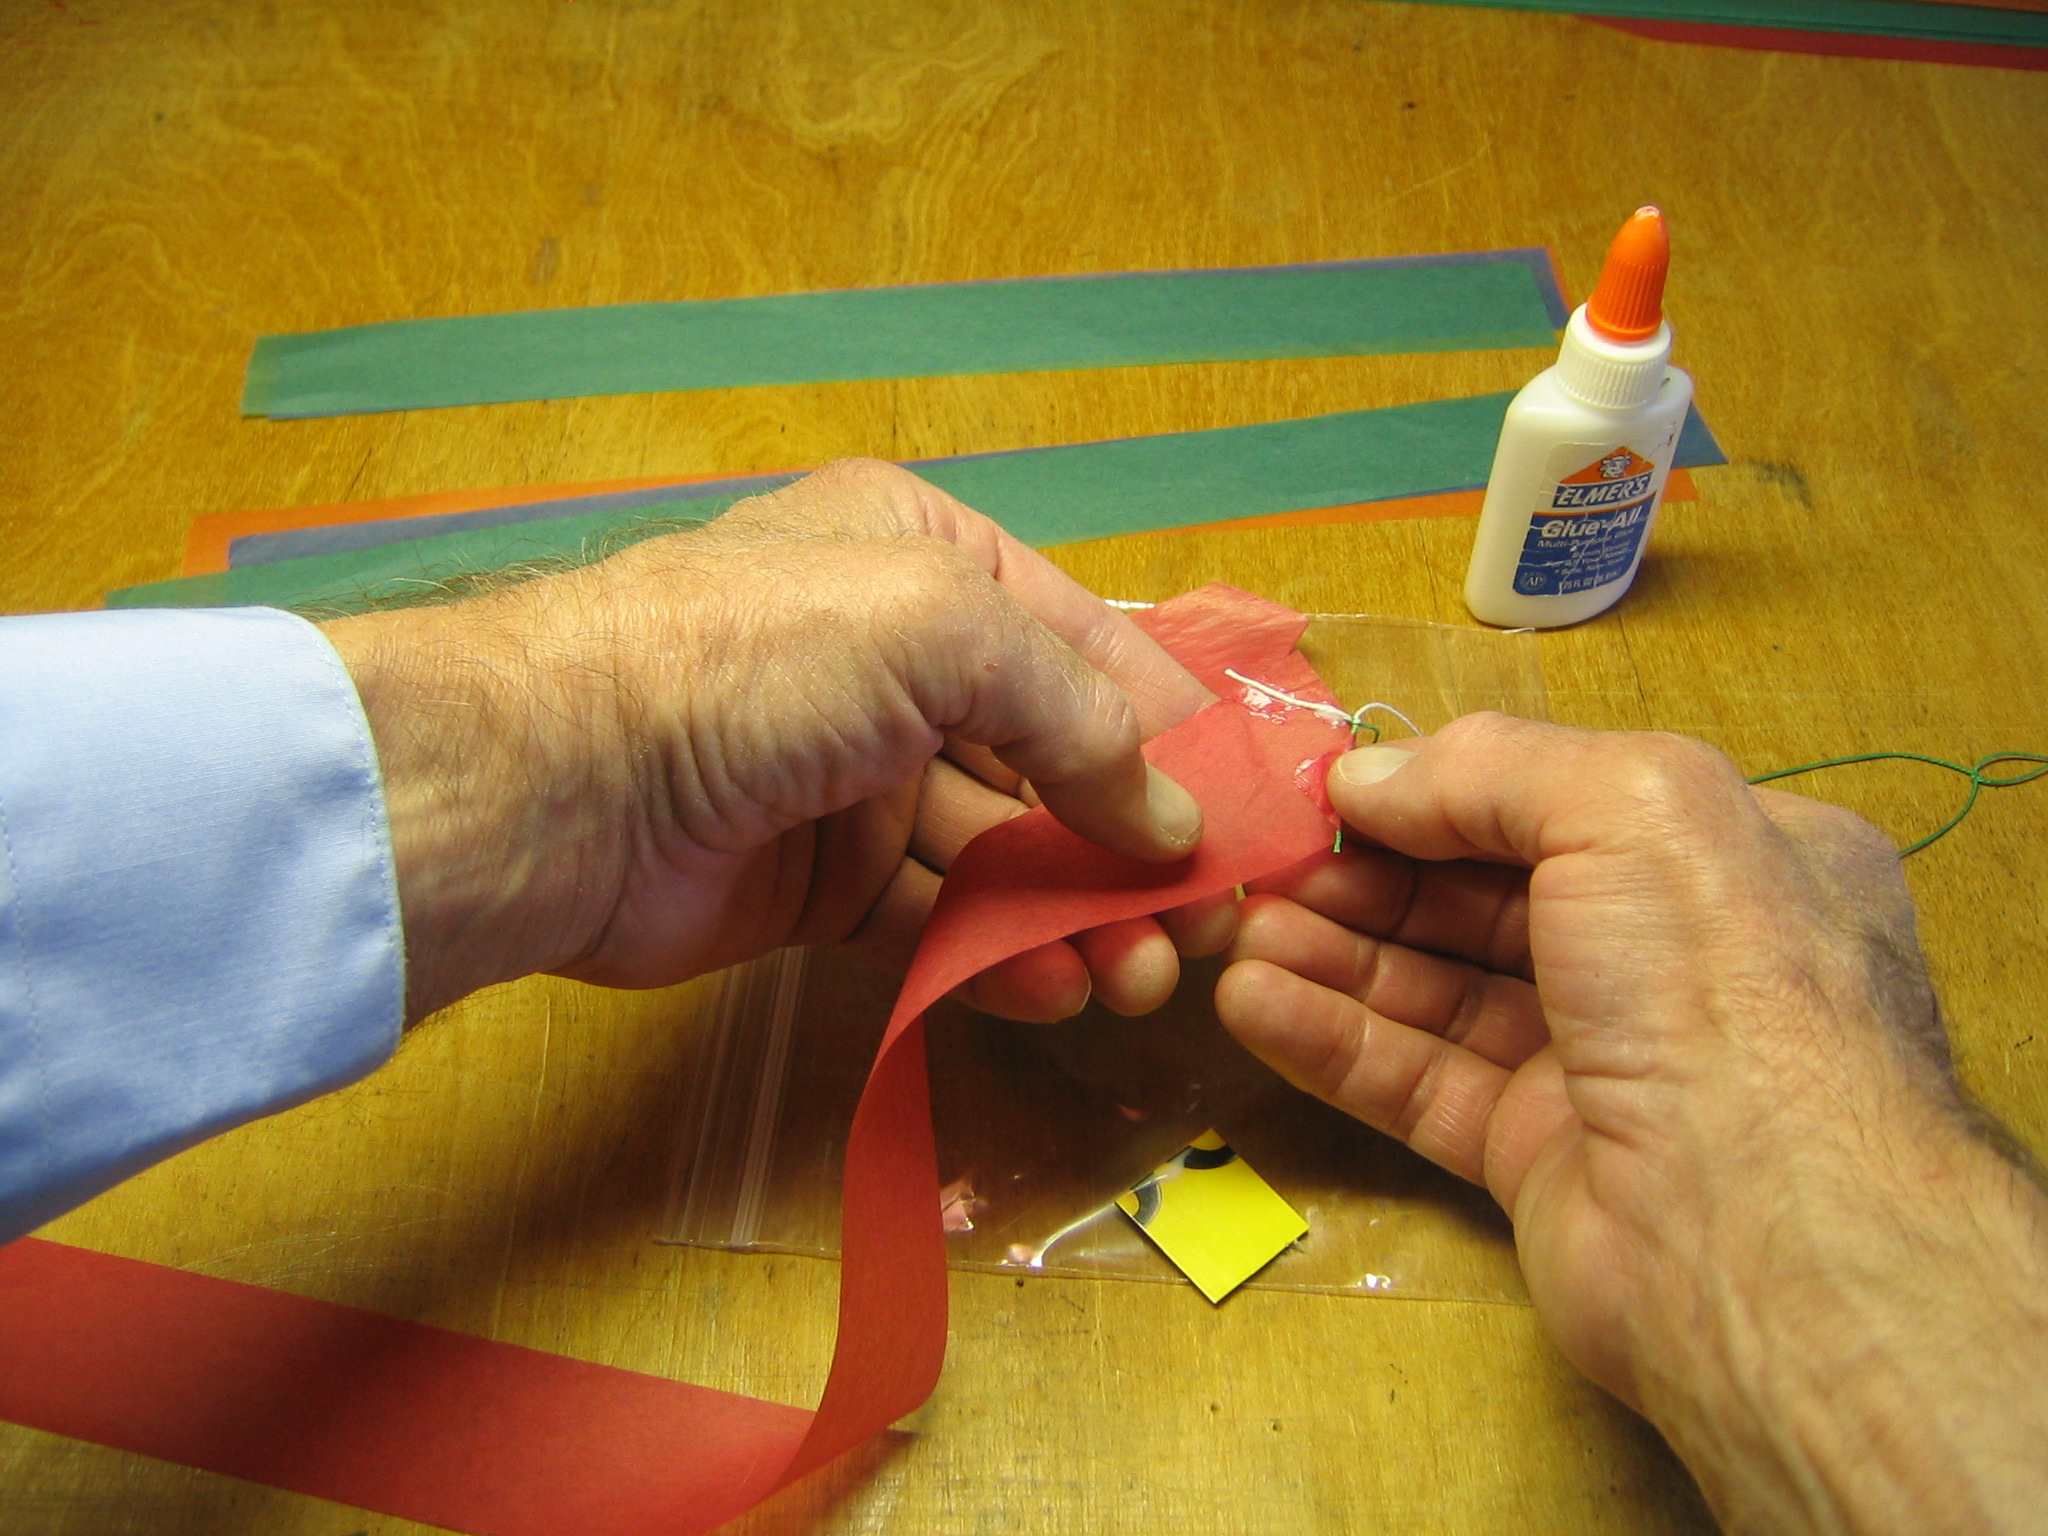
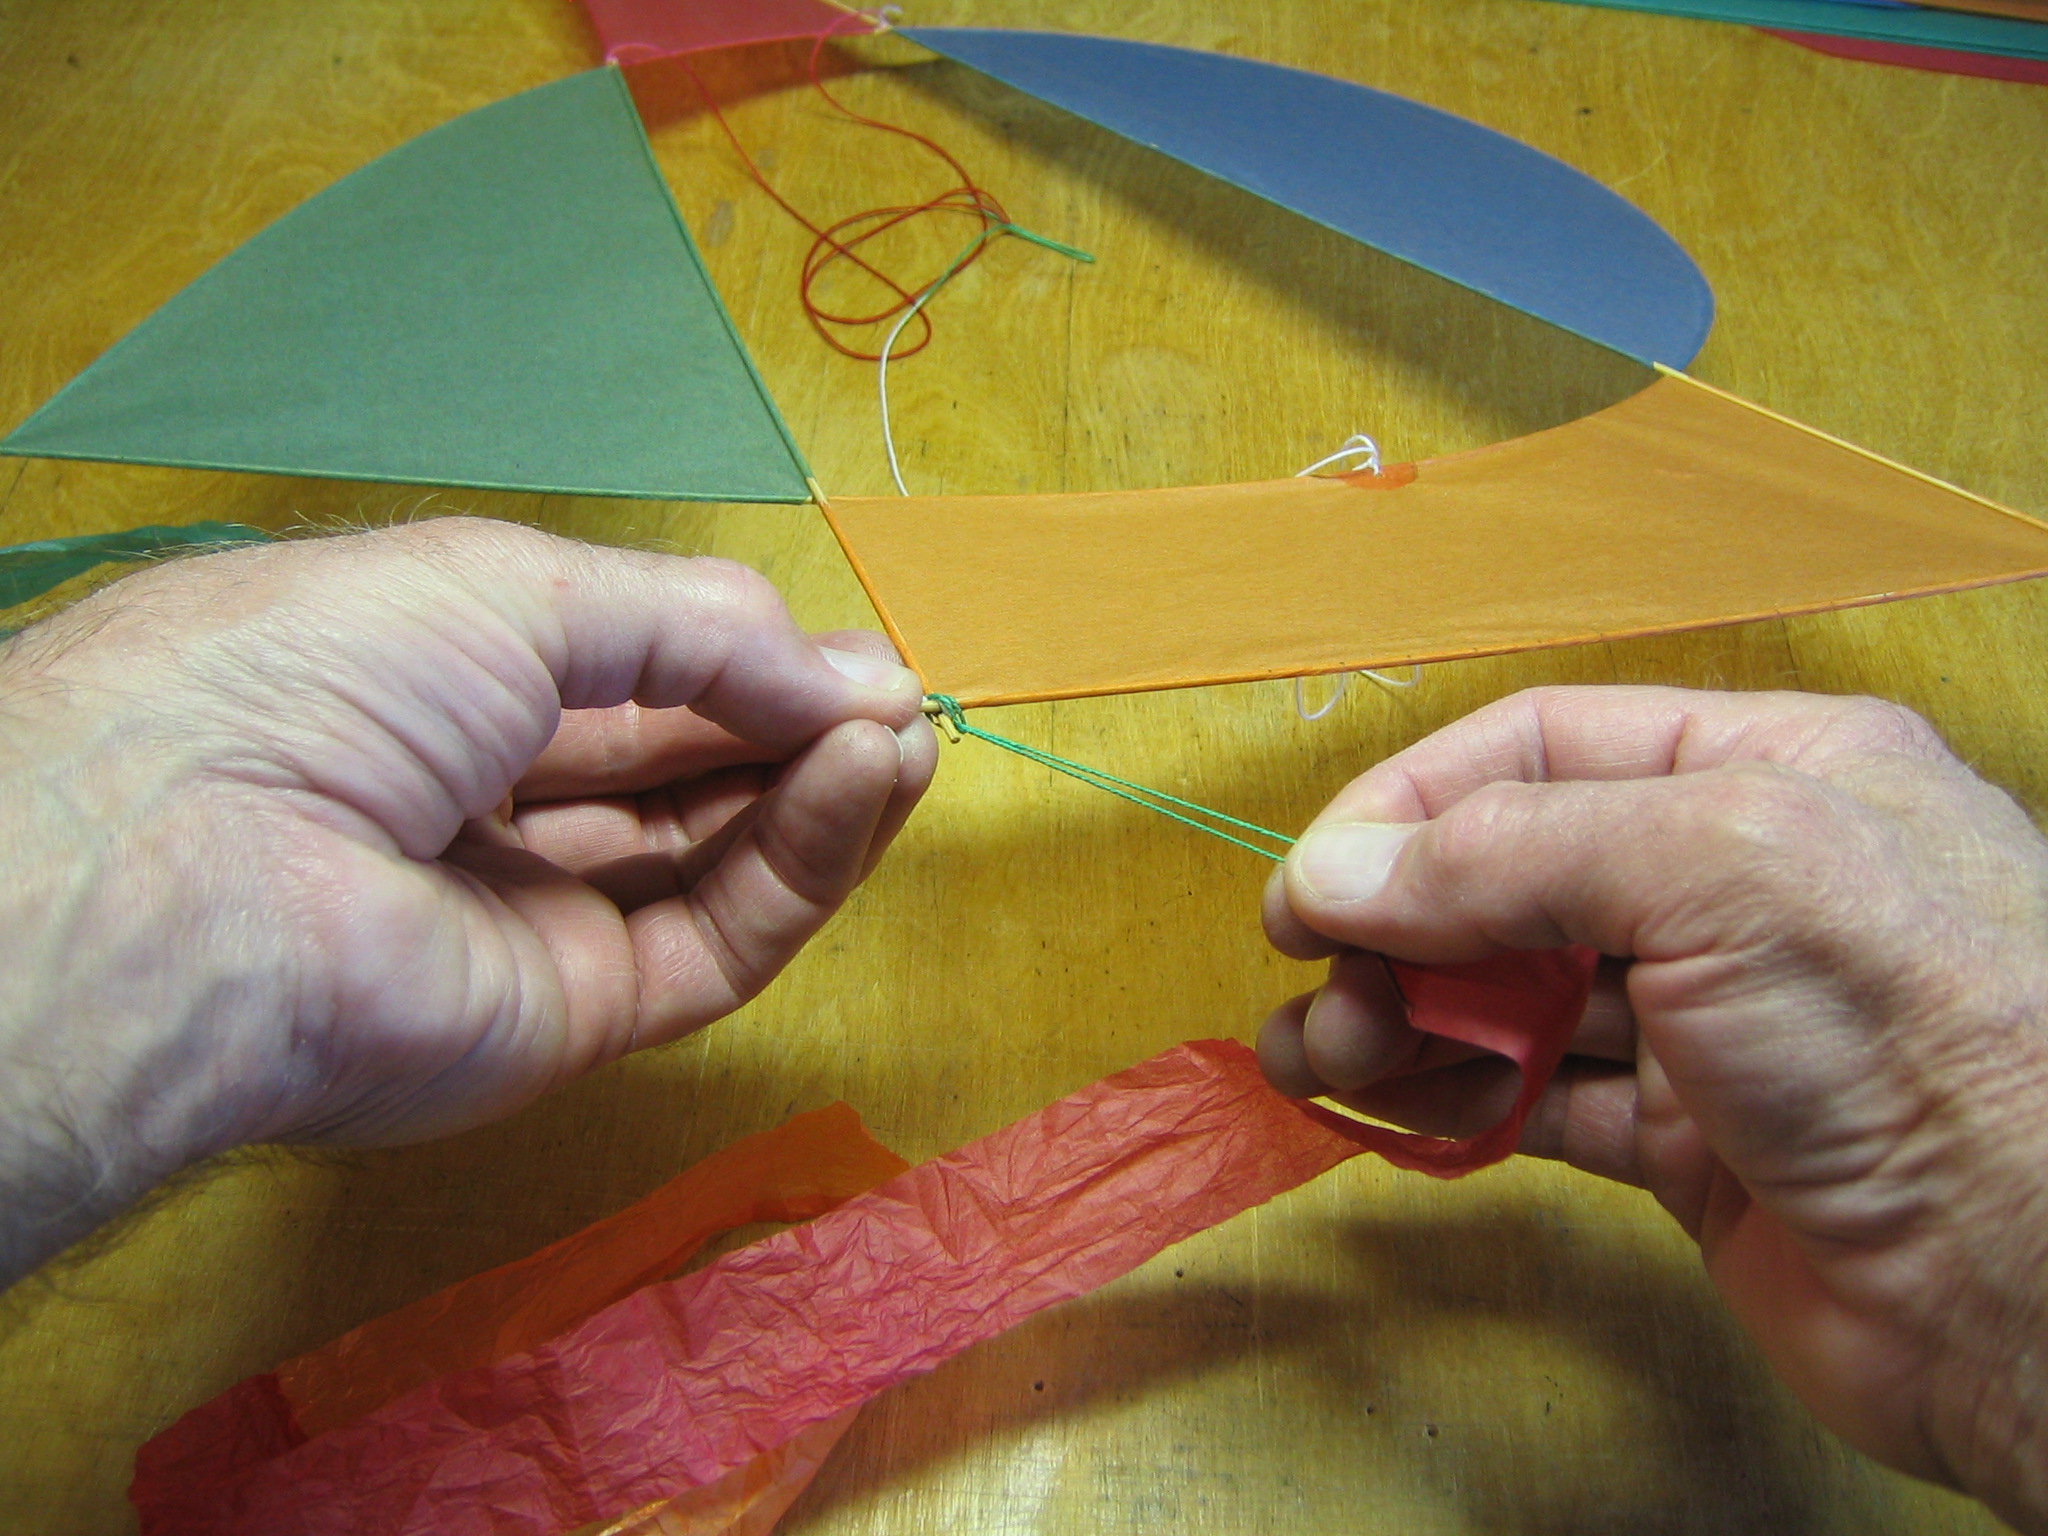
Pull the string down onto the sticky side of the tape.
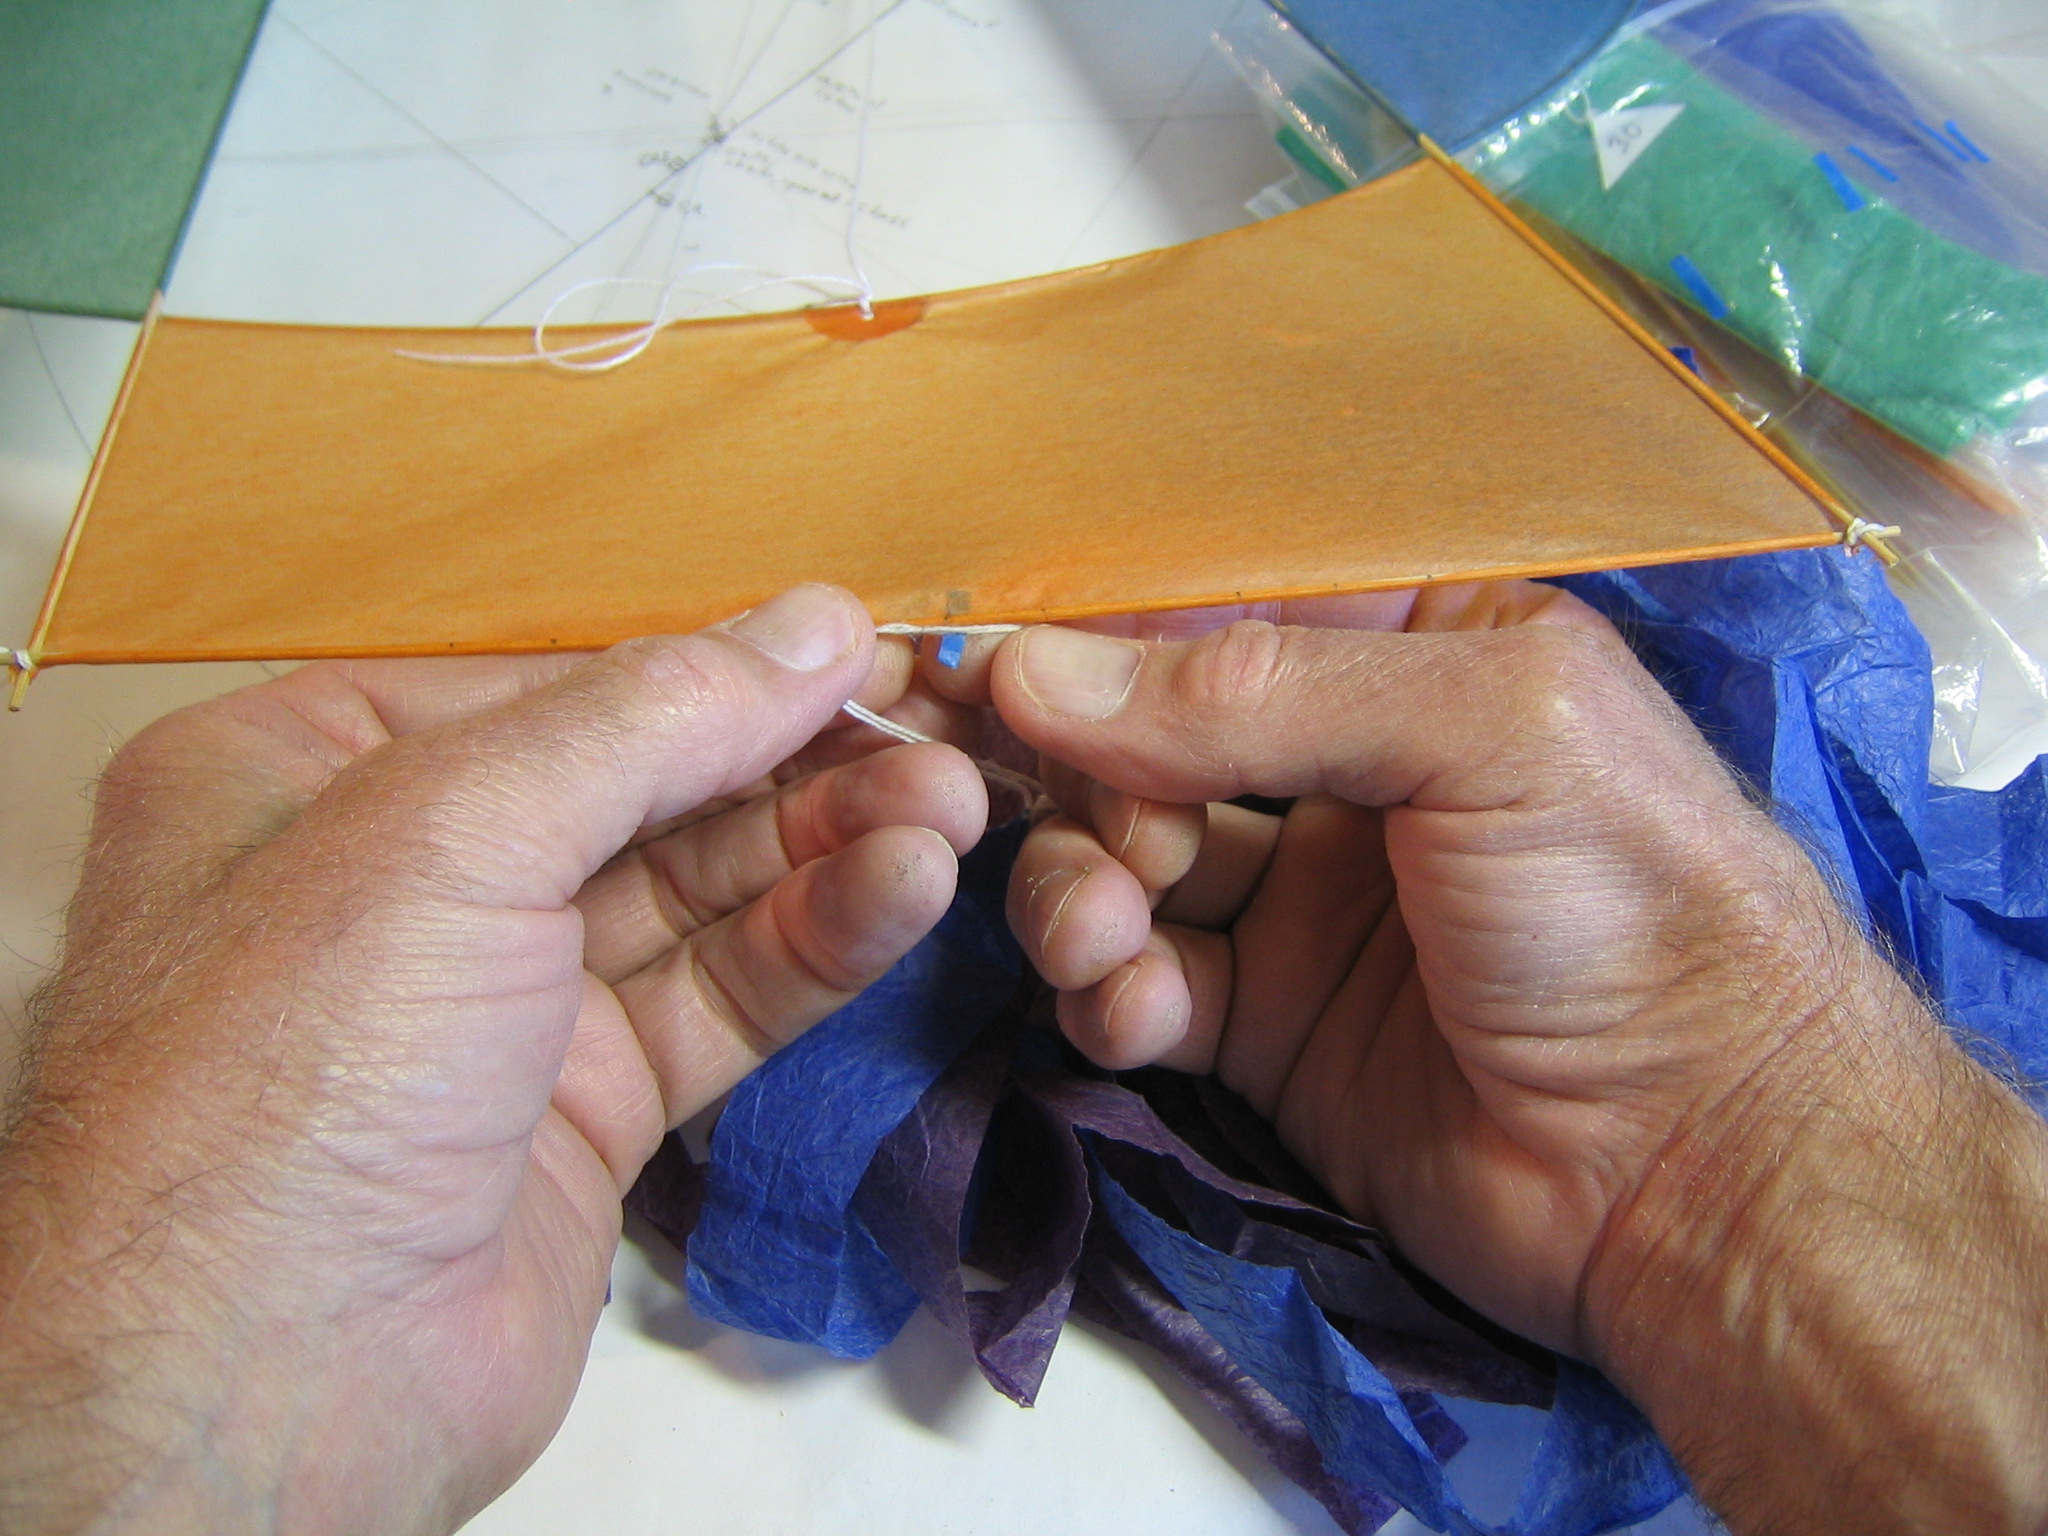
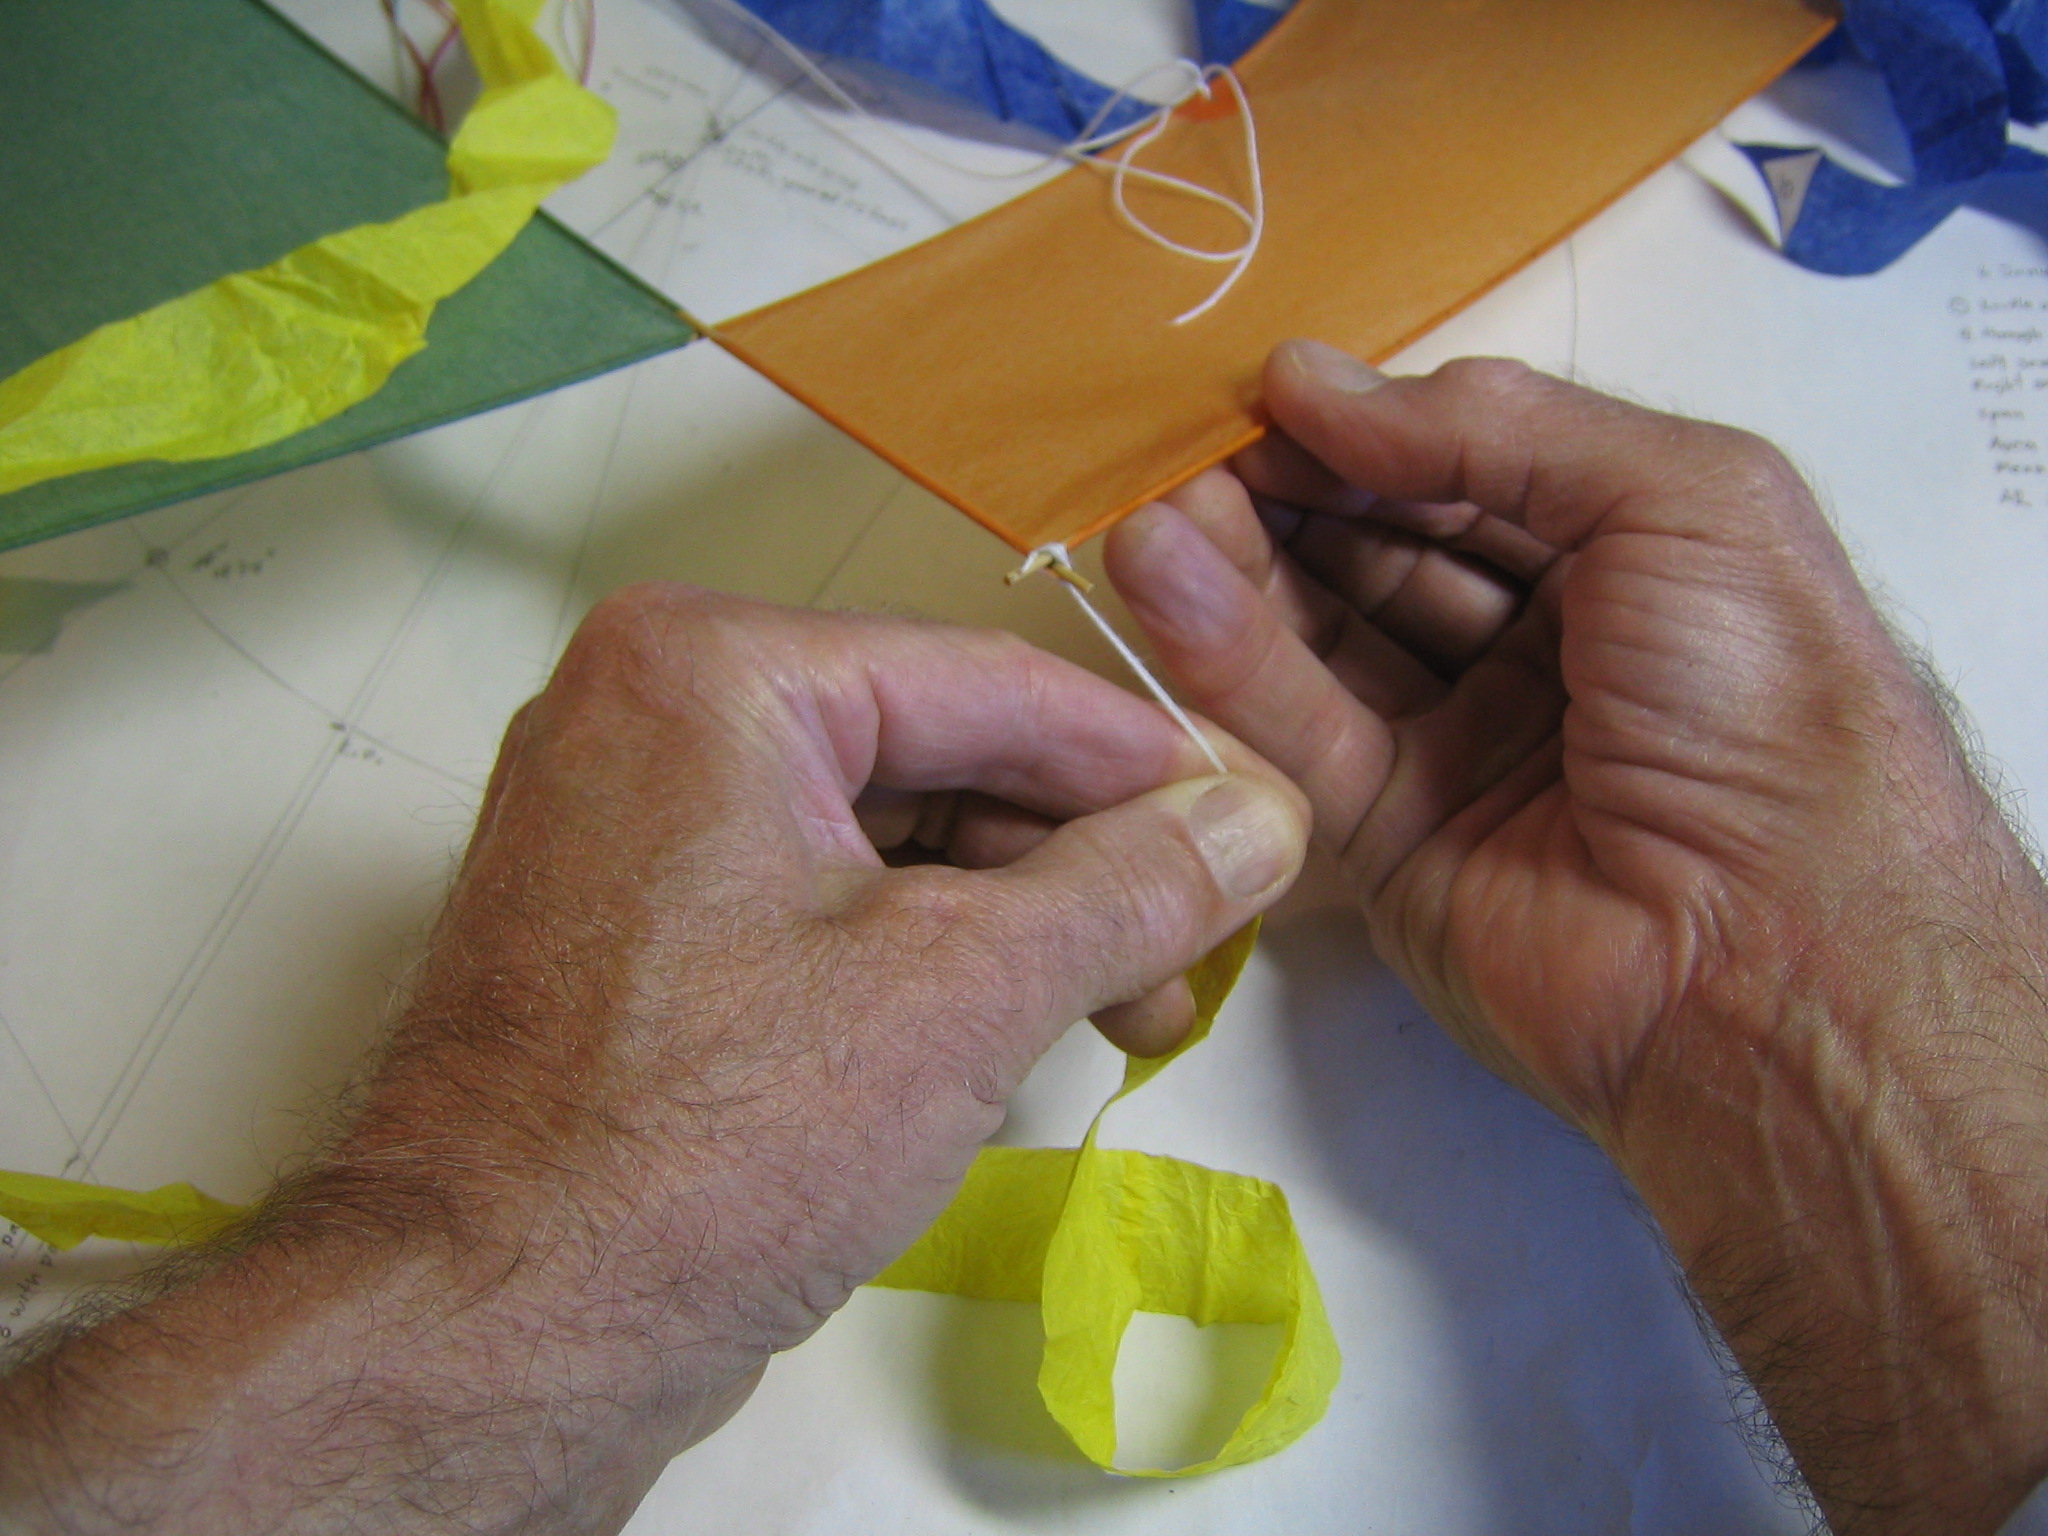
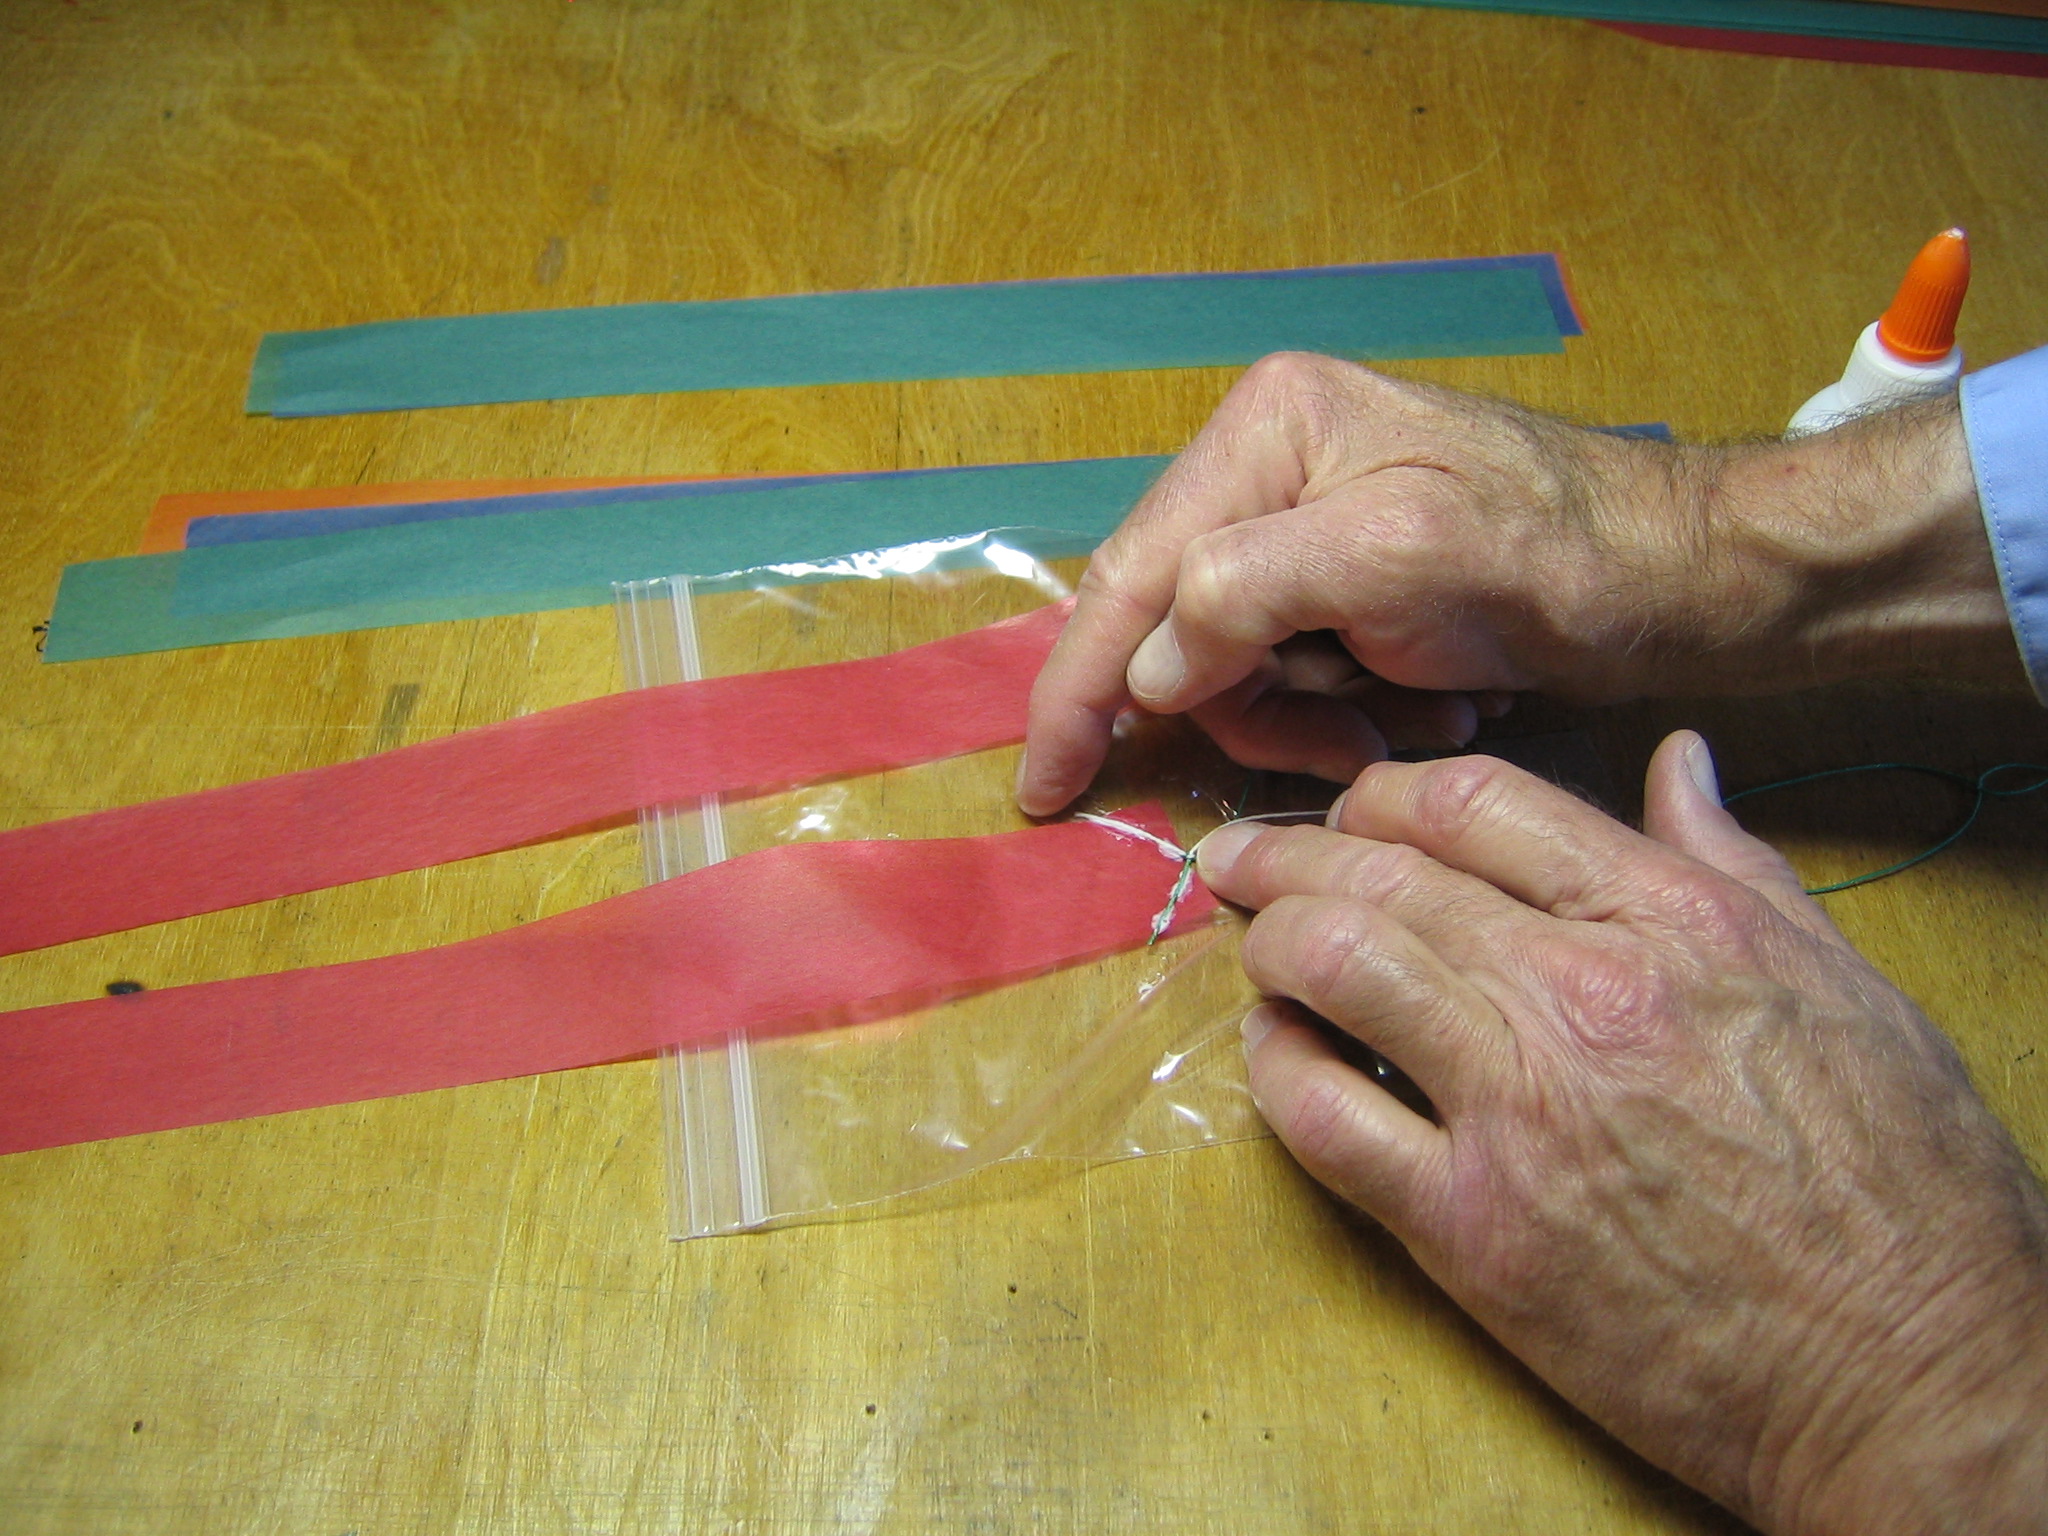
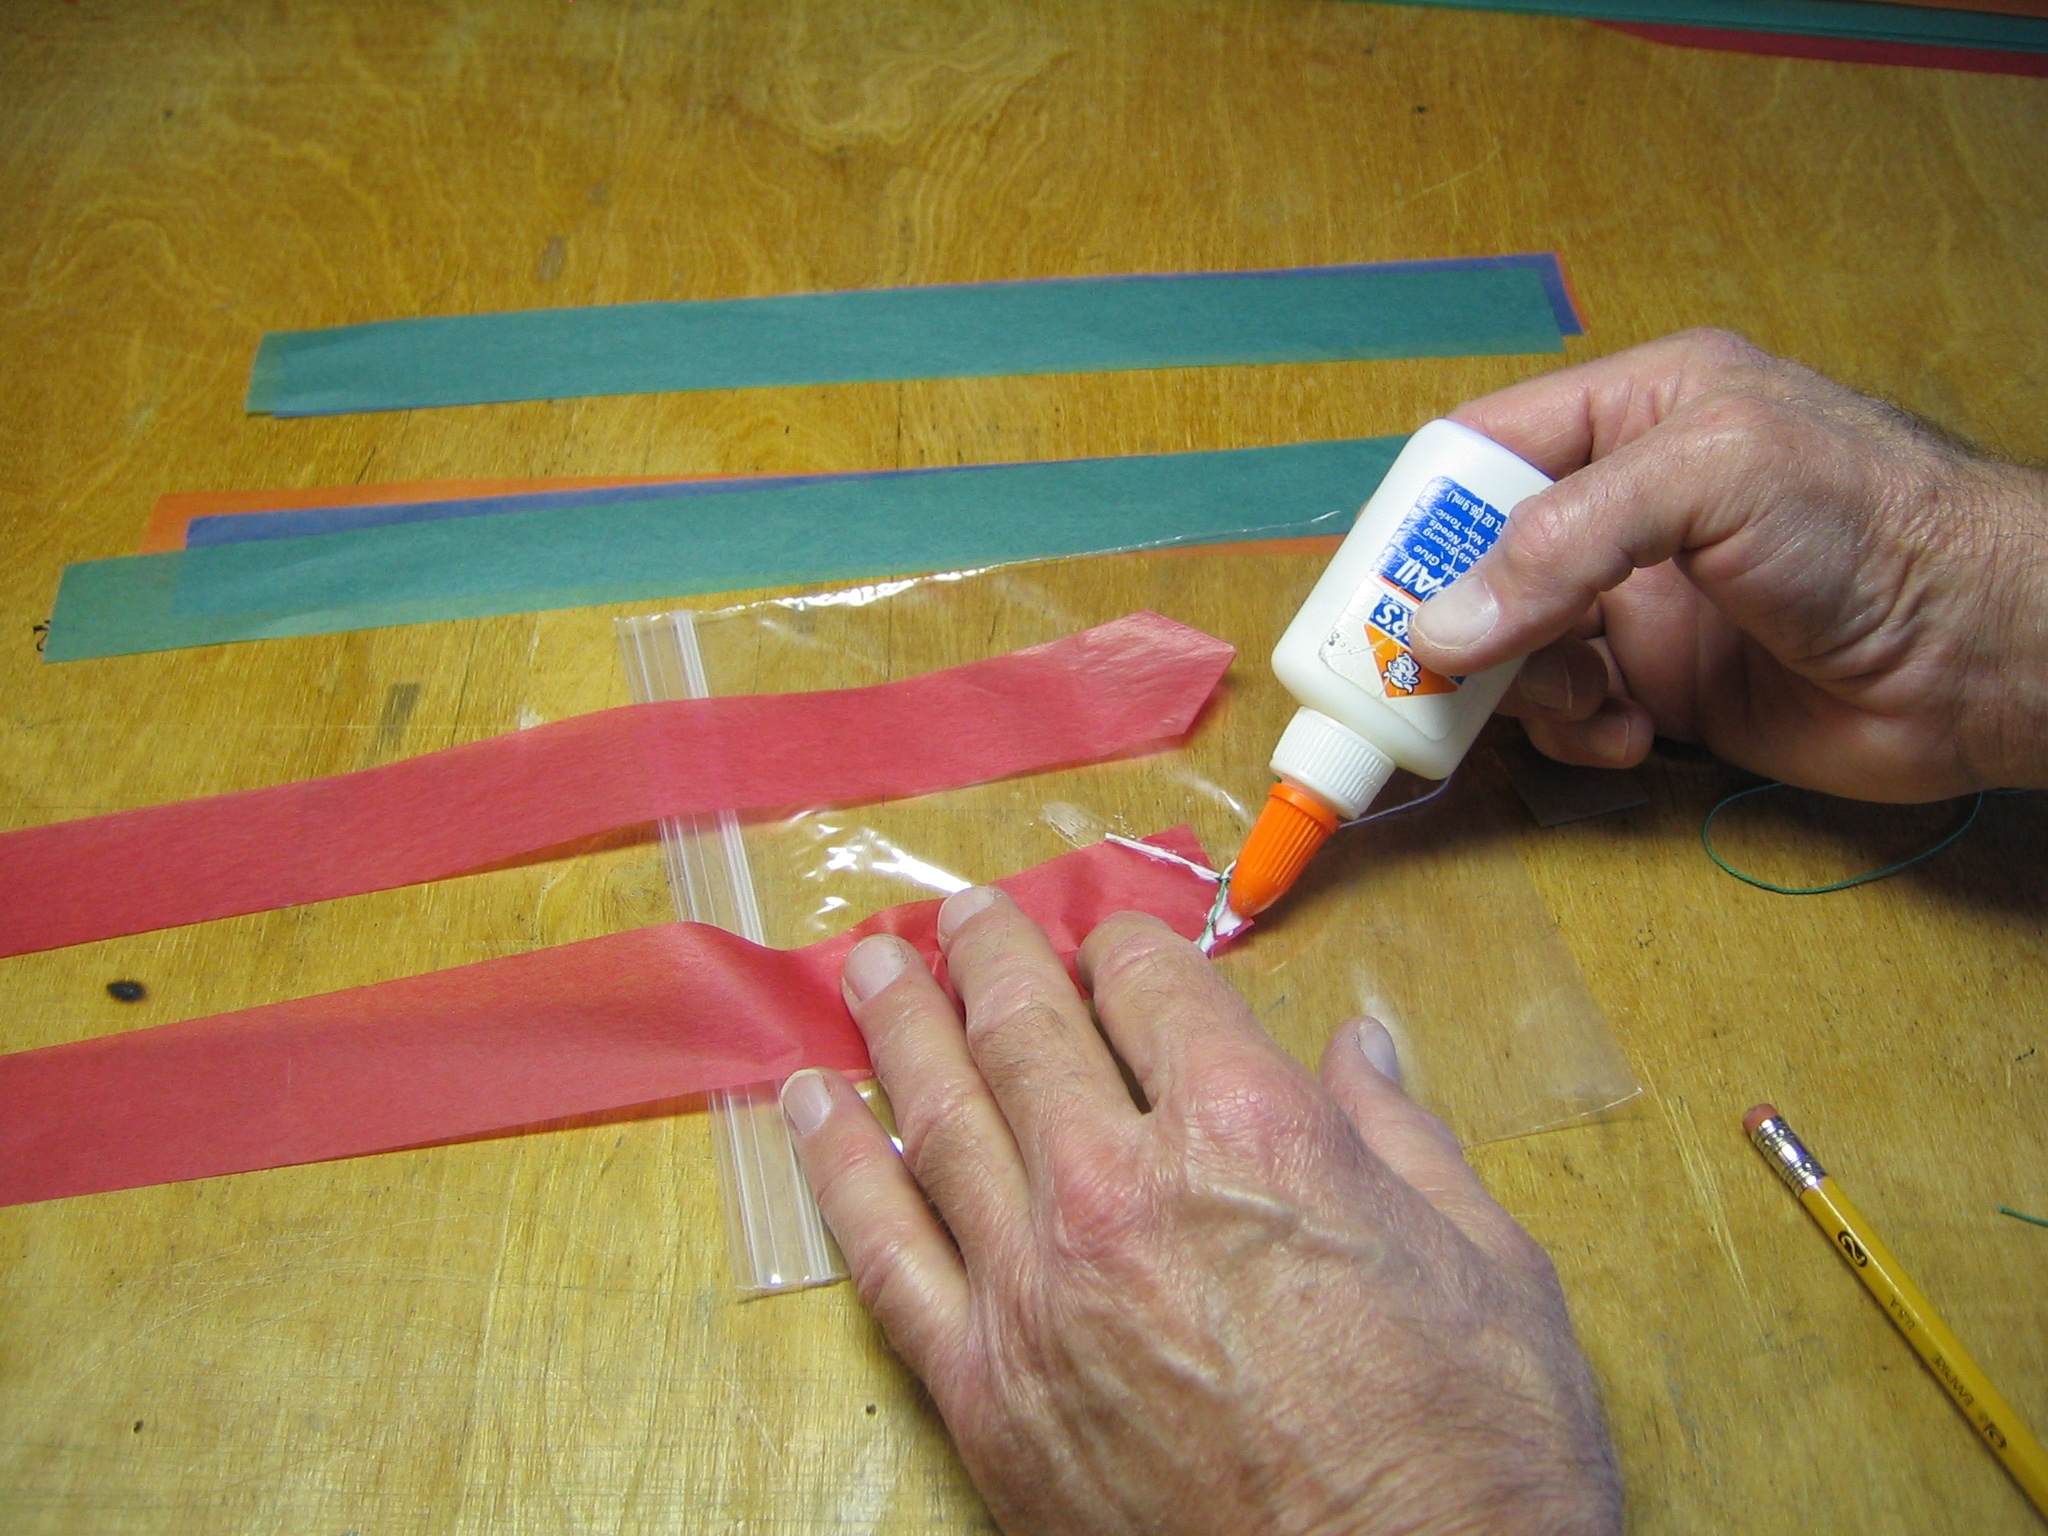
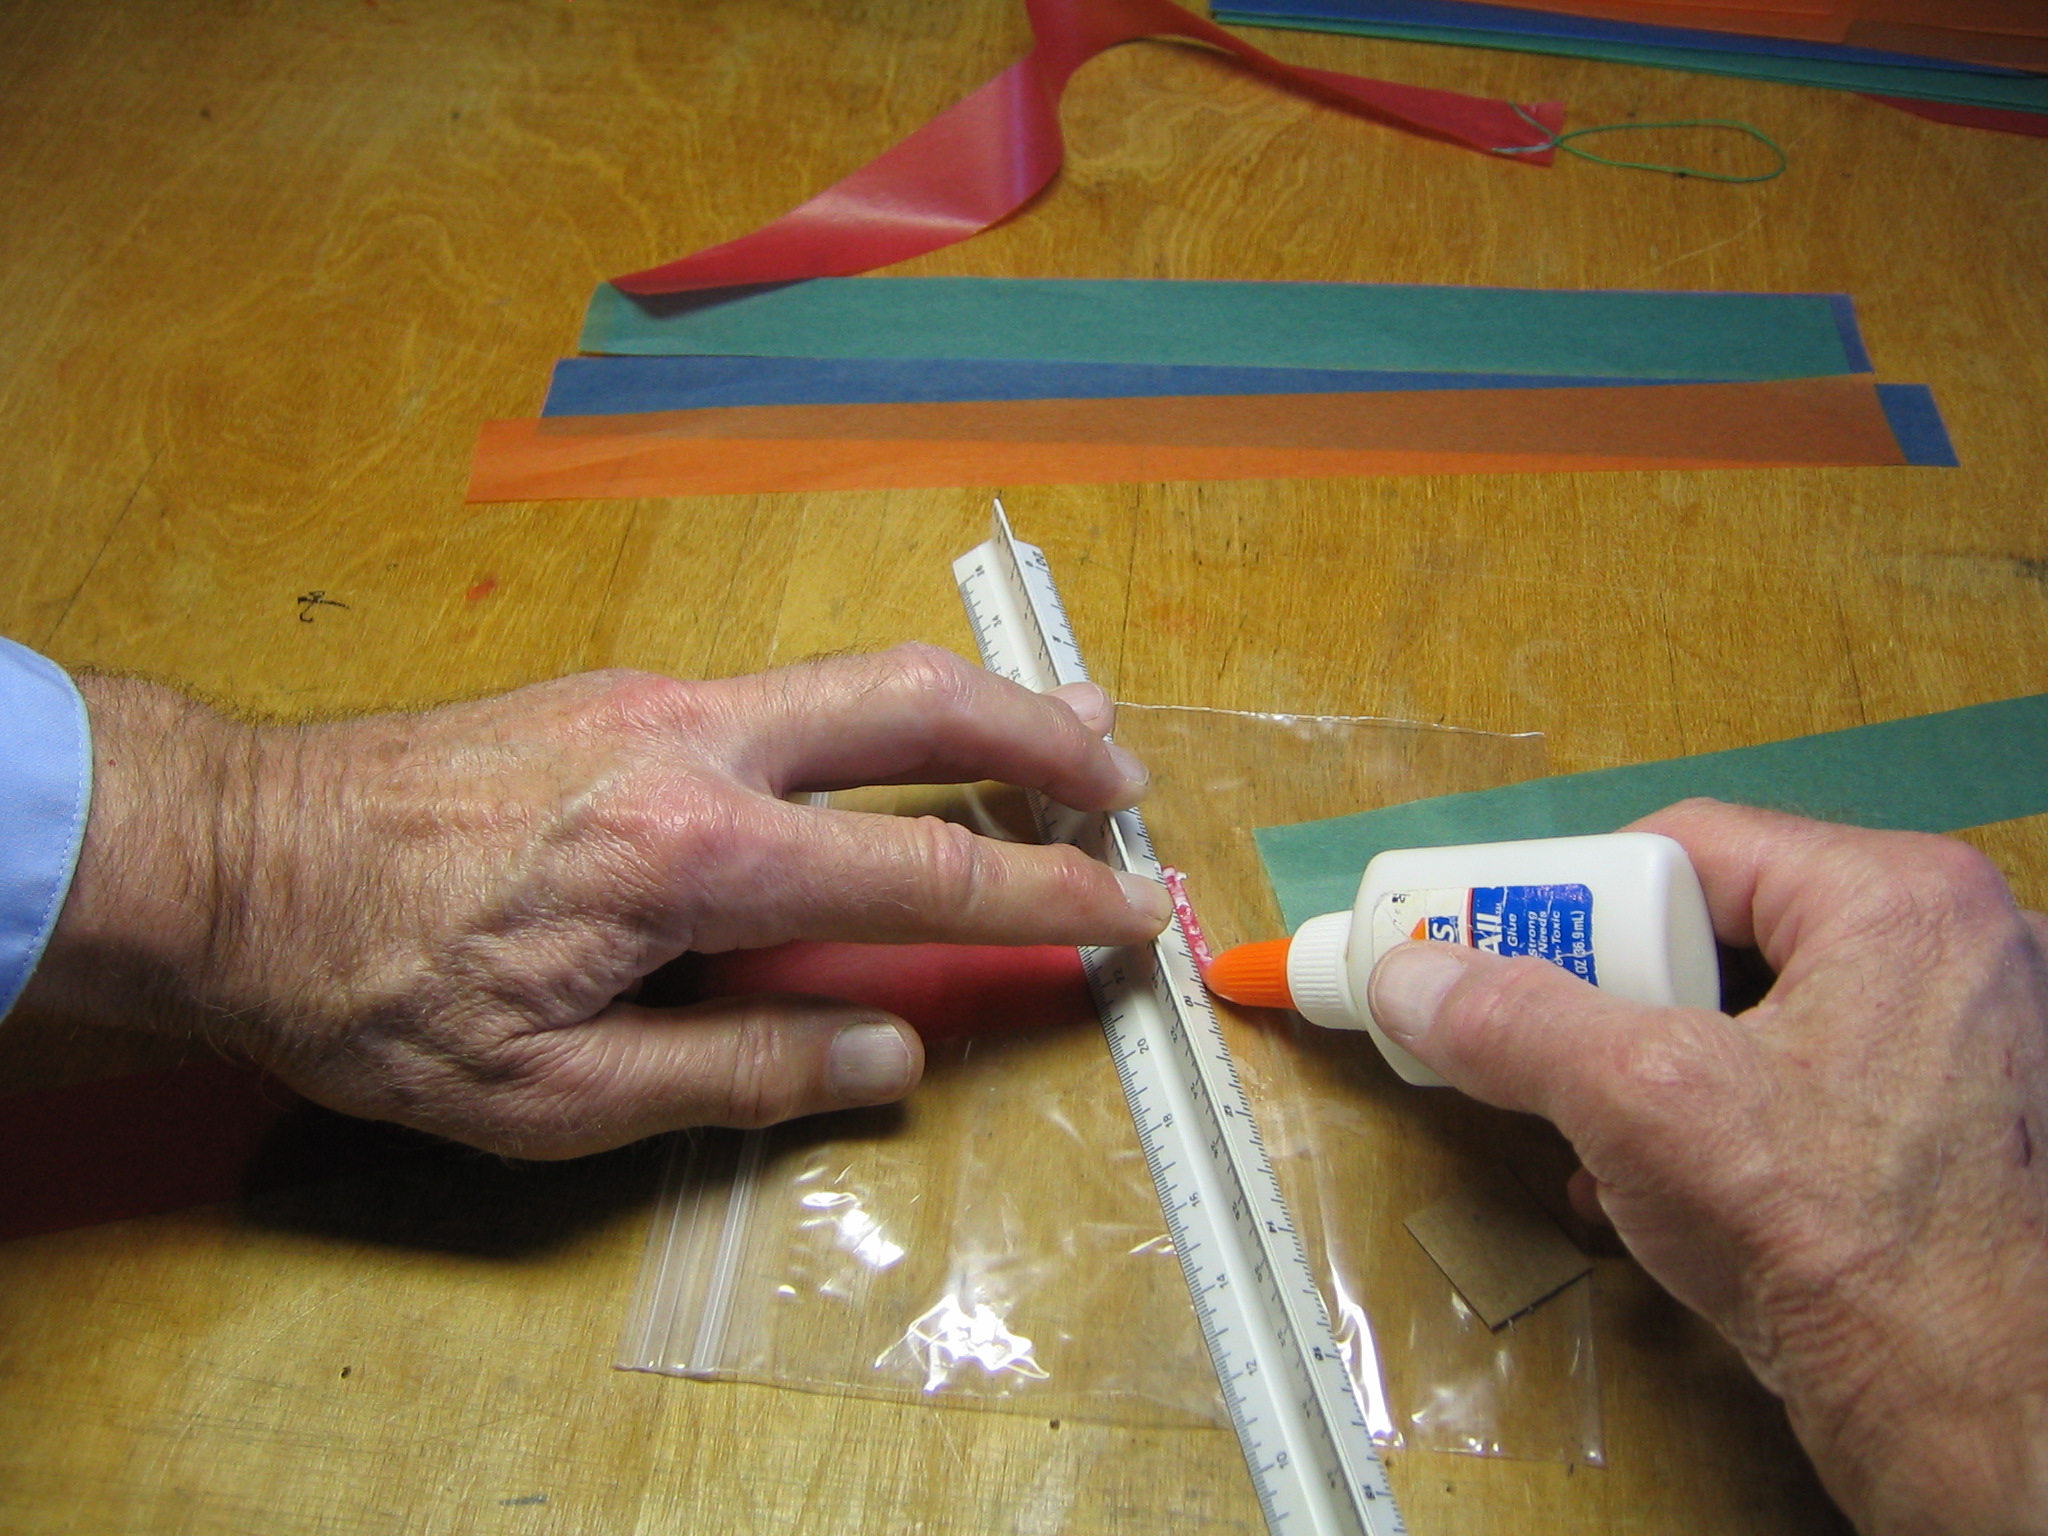
Place the tape against the kite with the string running along the trailing edge stick. The stick has previously been marked at the principal line and in 1/2″ steps on either side, all the way across.

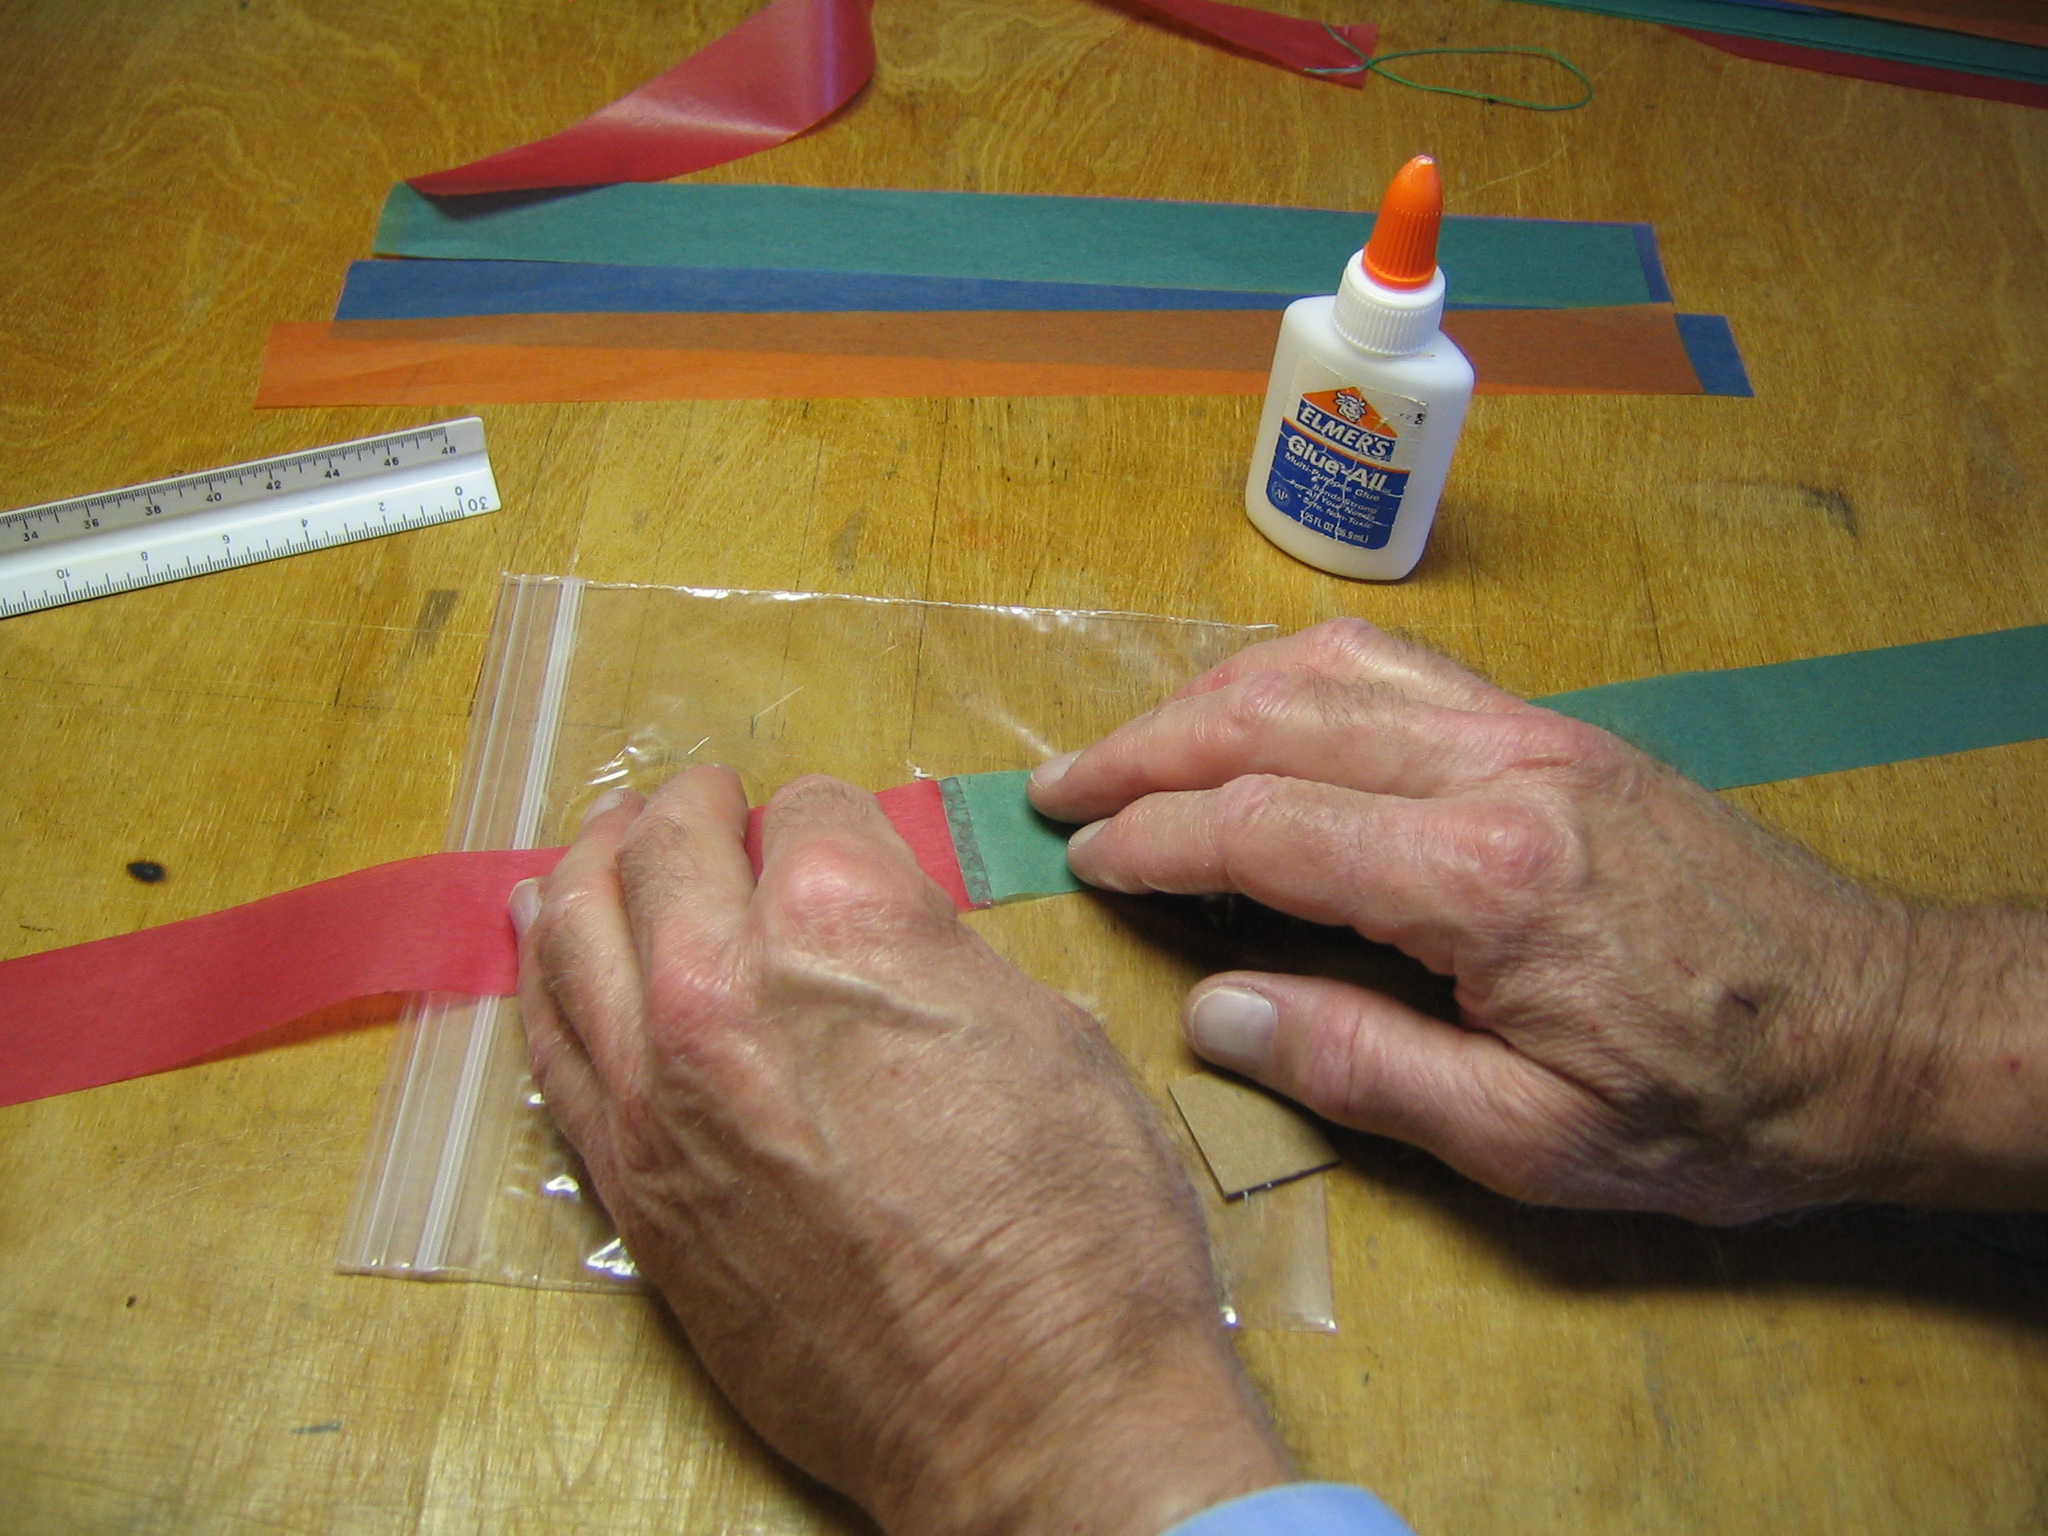
Wrap the tape around the stick and press it into place.
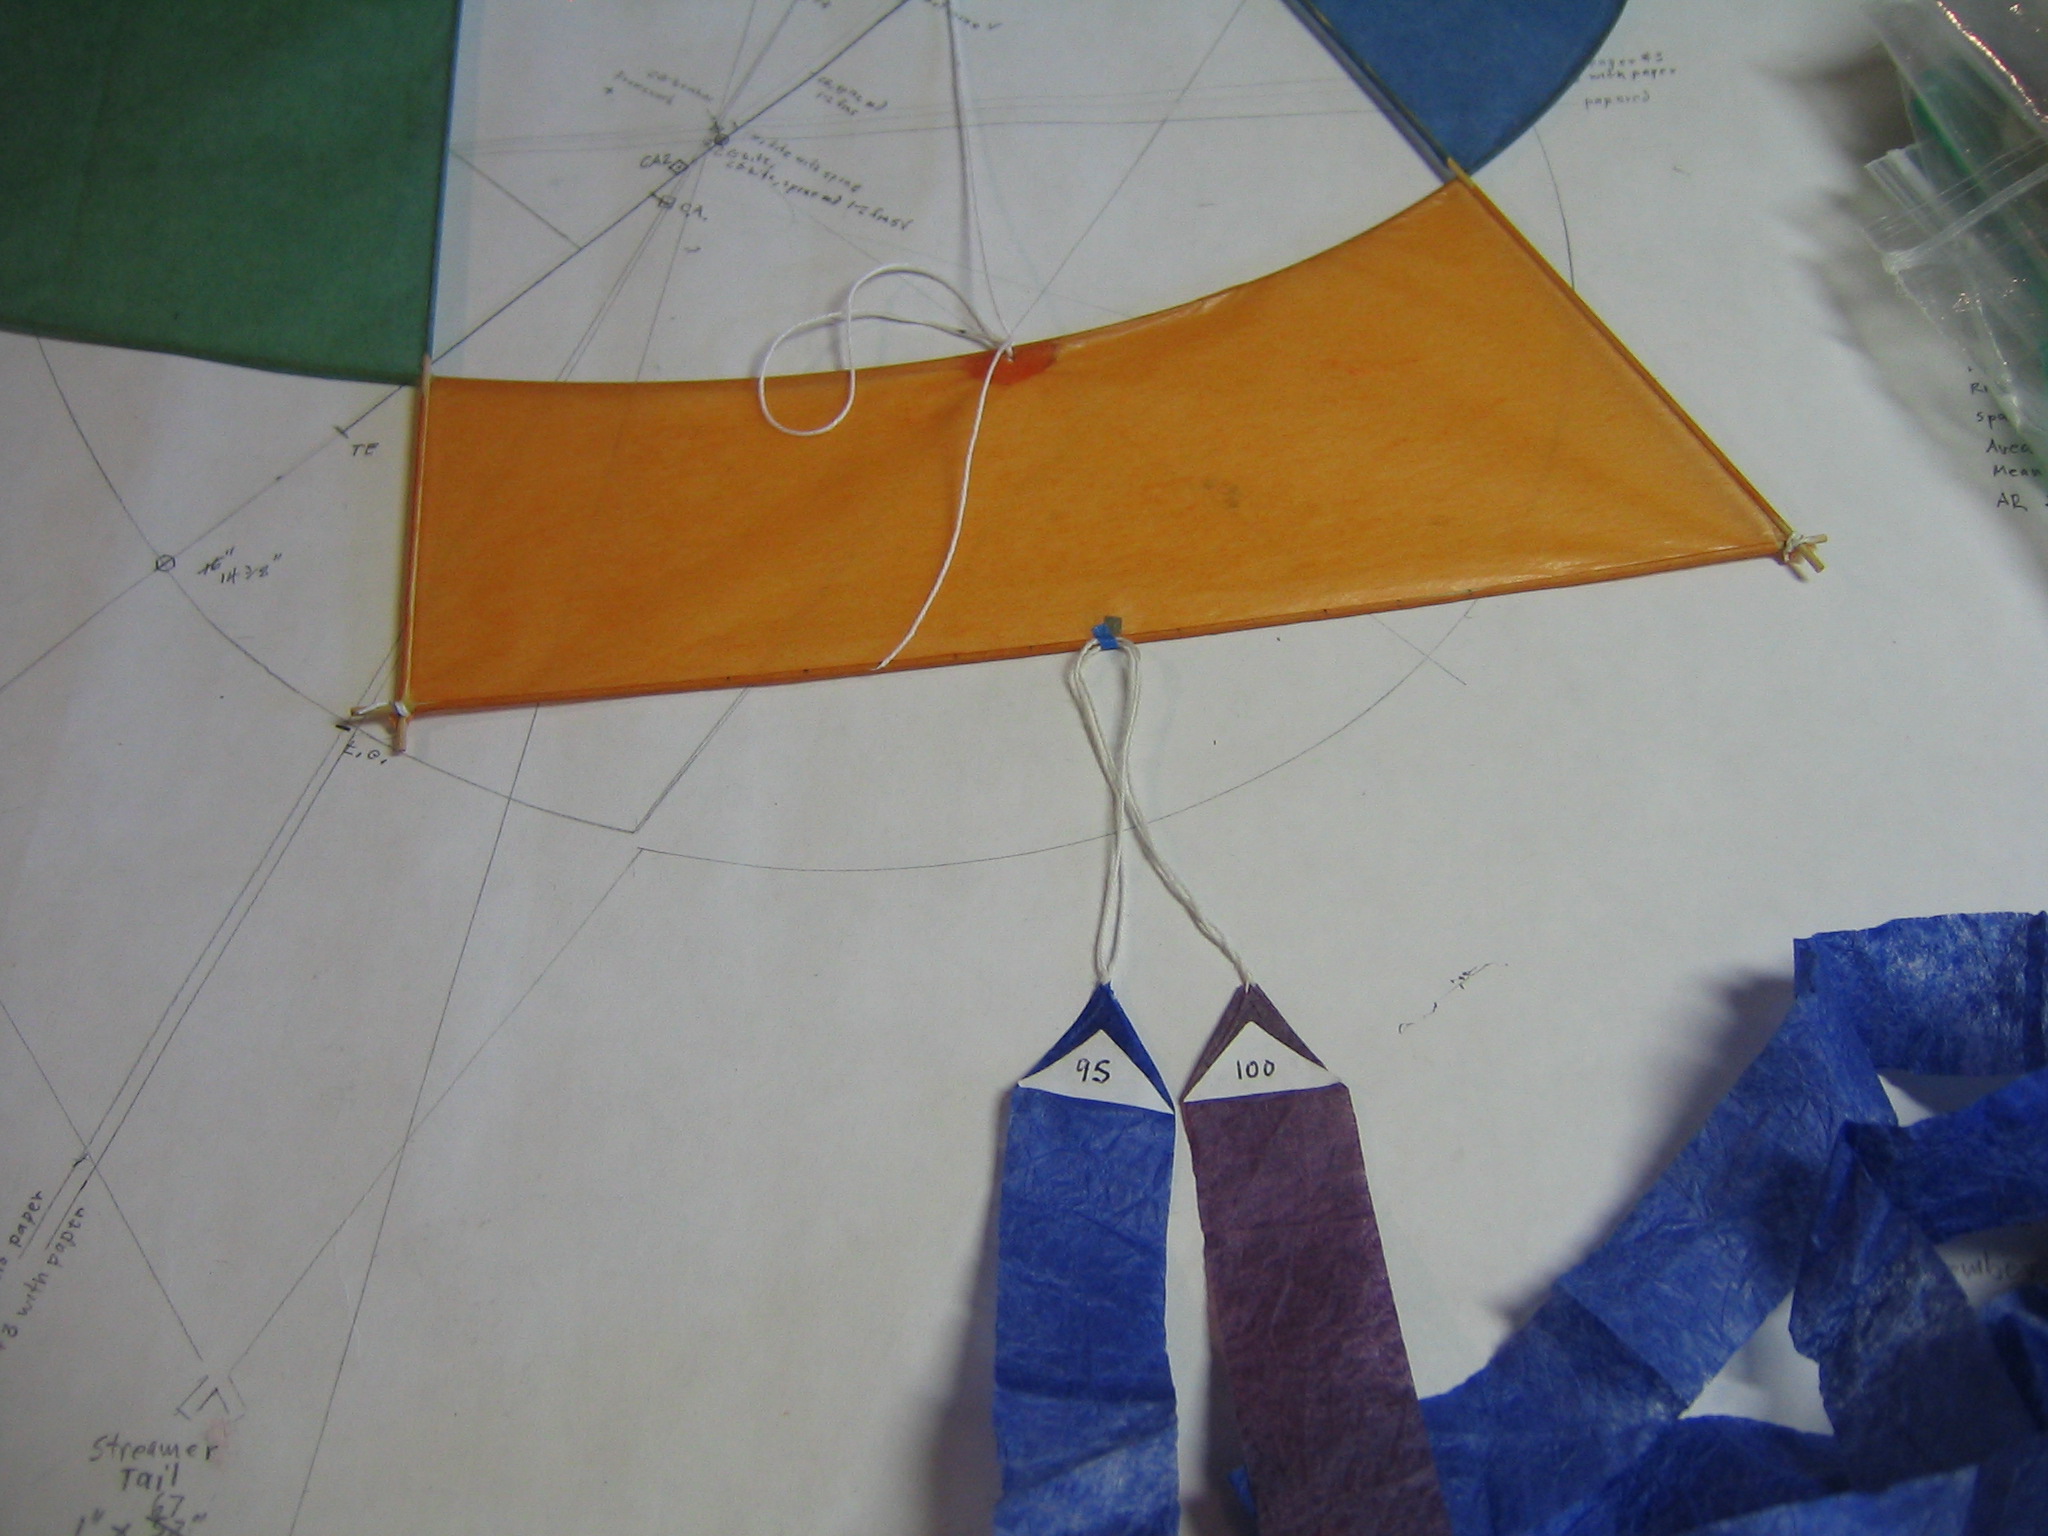
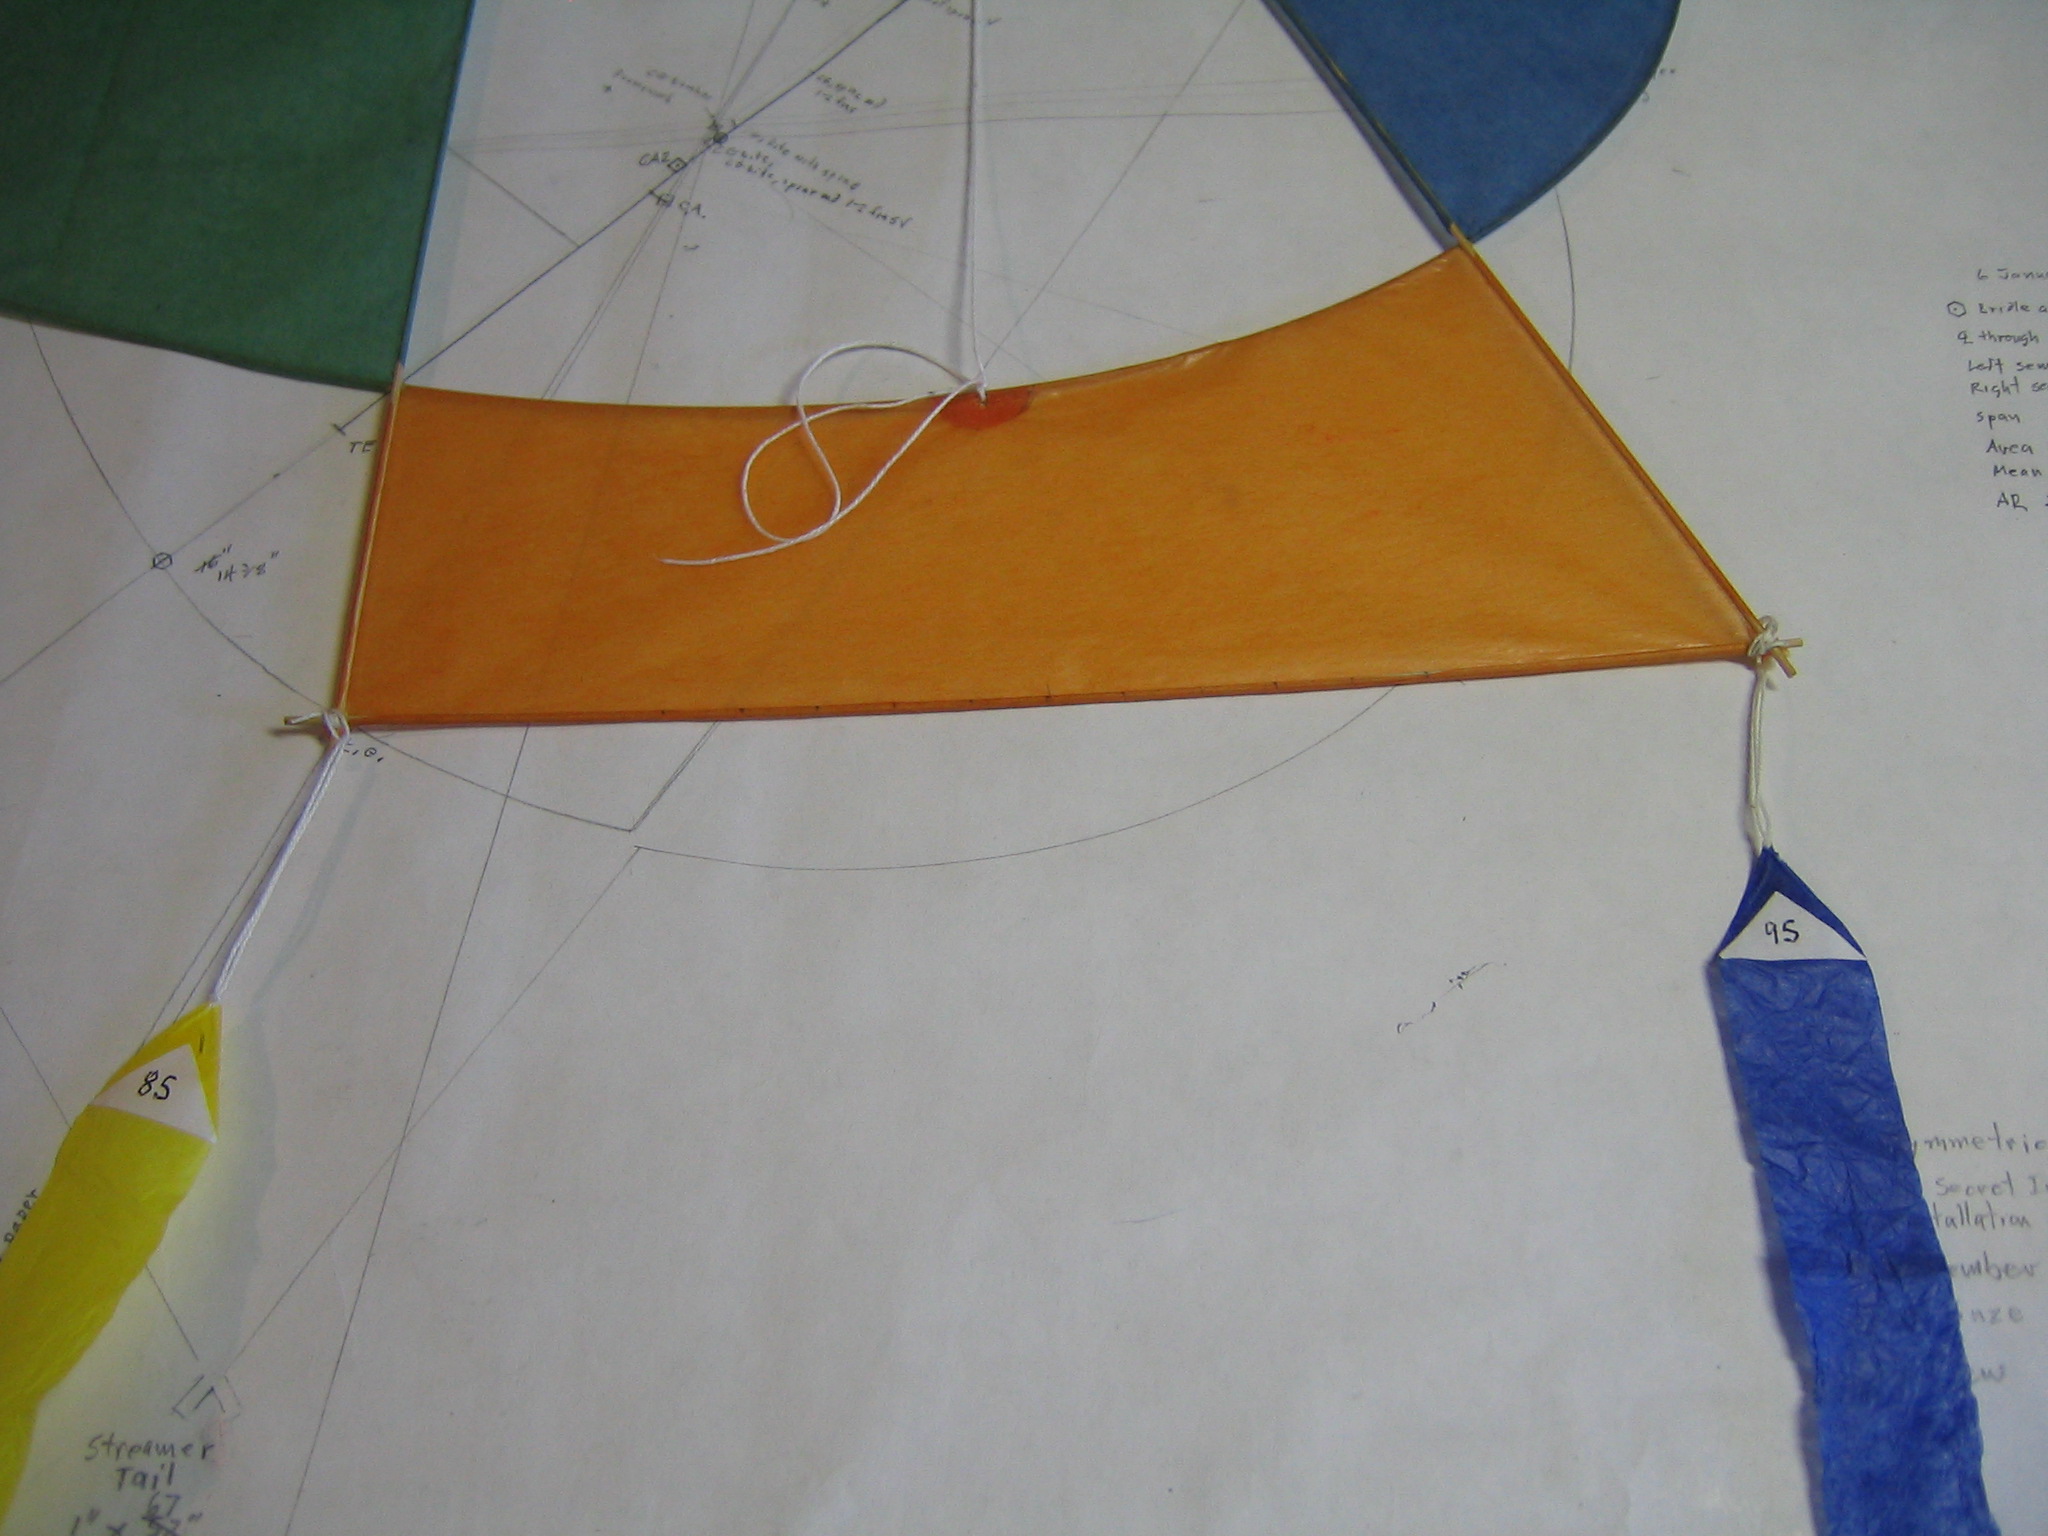
Ready to go flying! I will start with 195 square inches of tail area. (More than twice the area of the kite.)
The first test flights are made without any tails to get a sense of the imbalance and what might be required. I found the kite would spin rapidly to its right or to its left, about equally. A small adjustment was made in the lateral position of the bridle. Once it seemed to be balanced, but still unstable, I started testing tails. Since I have flown several of these kites before, I had a pretty good idea what would be required. When I first started, I taped the biggest tail to the end of the principal axis, then moved it back and forth until it seemed to turn equally either way. It was very hard to control, so I added more tail and repositioned them until the kite was easy to fly.
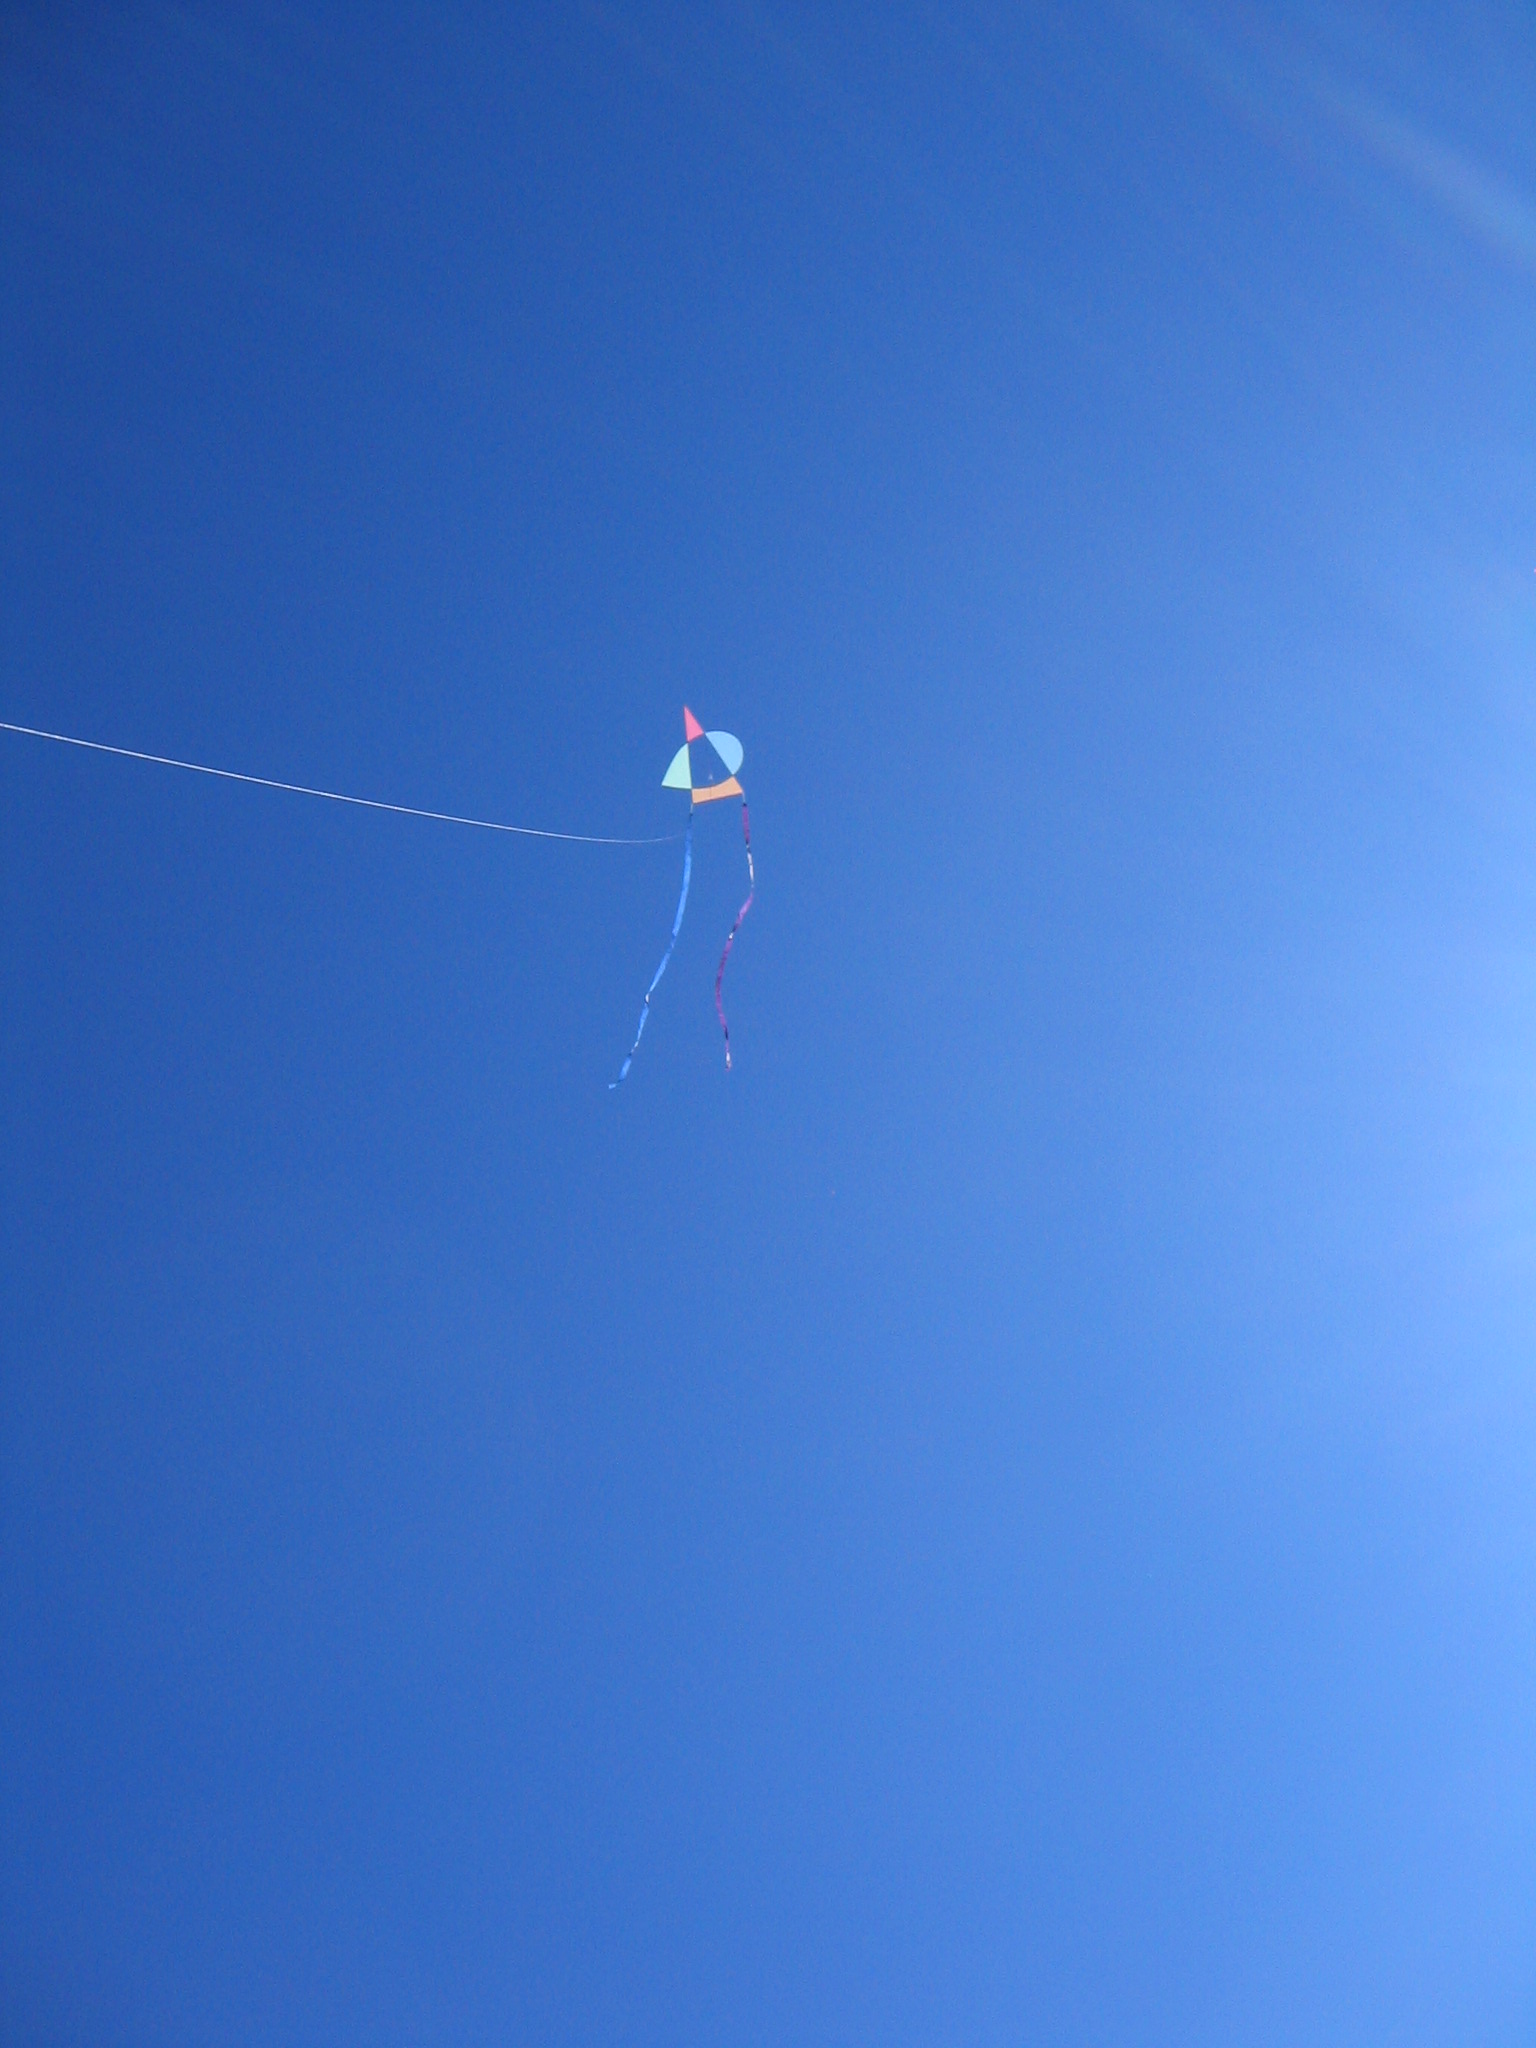
The tails are positioned too far to the kites left, making it go off to its left. Note that the kite’s left is the flyer’s right. The kite would wander off to its left in low wind. A sharp tug on the line would often bring it around to its right. Once it got too far to its left, it was very hard to recover.
Oops, too far to the right! In stronger wind it would tend to loop to the right. Recovery was possible by letting up on the line or walking toward the kite. A sharp tug on the line when it is off to the right will make the problem worse. The problem is worse when the kite is close to the ground taking the force of the wind on its face. It is not as bad once the kite is up flying flatter on the wind.
Each flight ends with a notation being made in the flight log regarding the handling qualities. Eventually I found that the best position was about 1/4″ to the kite’s left of the principal mark. It was about equally recoverable from deviations left or right, although each had to be handled differently. Left deviations were worse in light wind while right deviations were worse in strong wind.
Similar tests are done with pairs of tails. You can start with a small pair or the largest pair. The problem with the larger tail area is that it is very directionally stable in a dive, making dive recovery difficult. A smaller tail area makes the kite more maneuverable. It is a question of balancing one requirement against another.
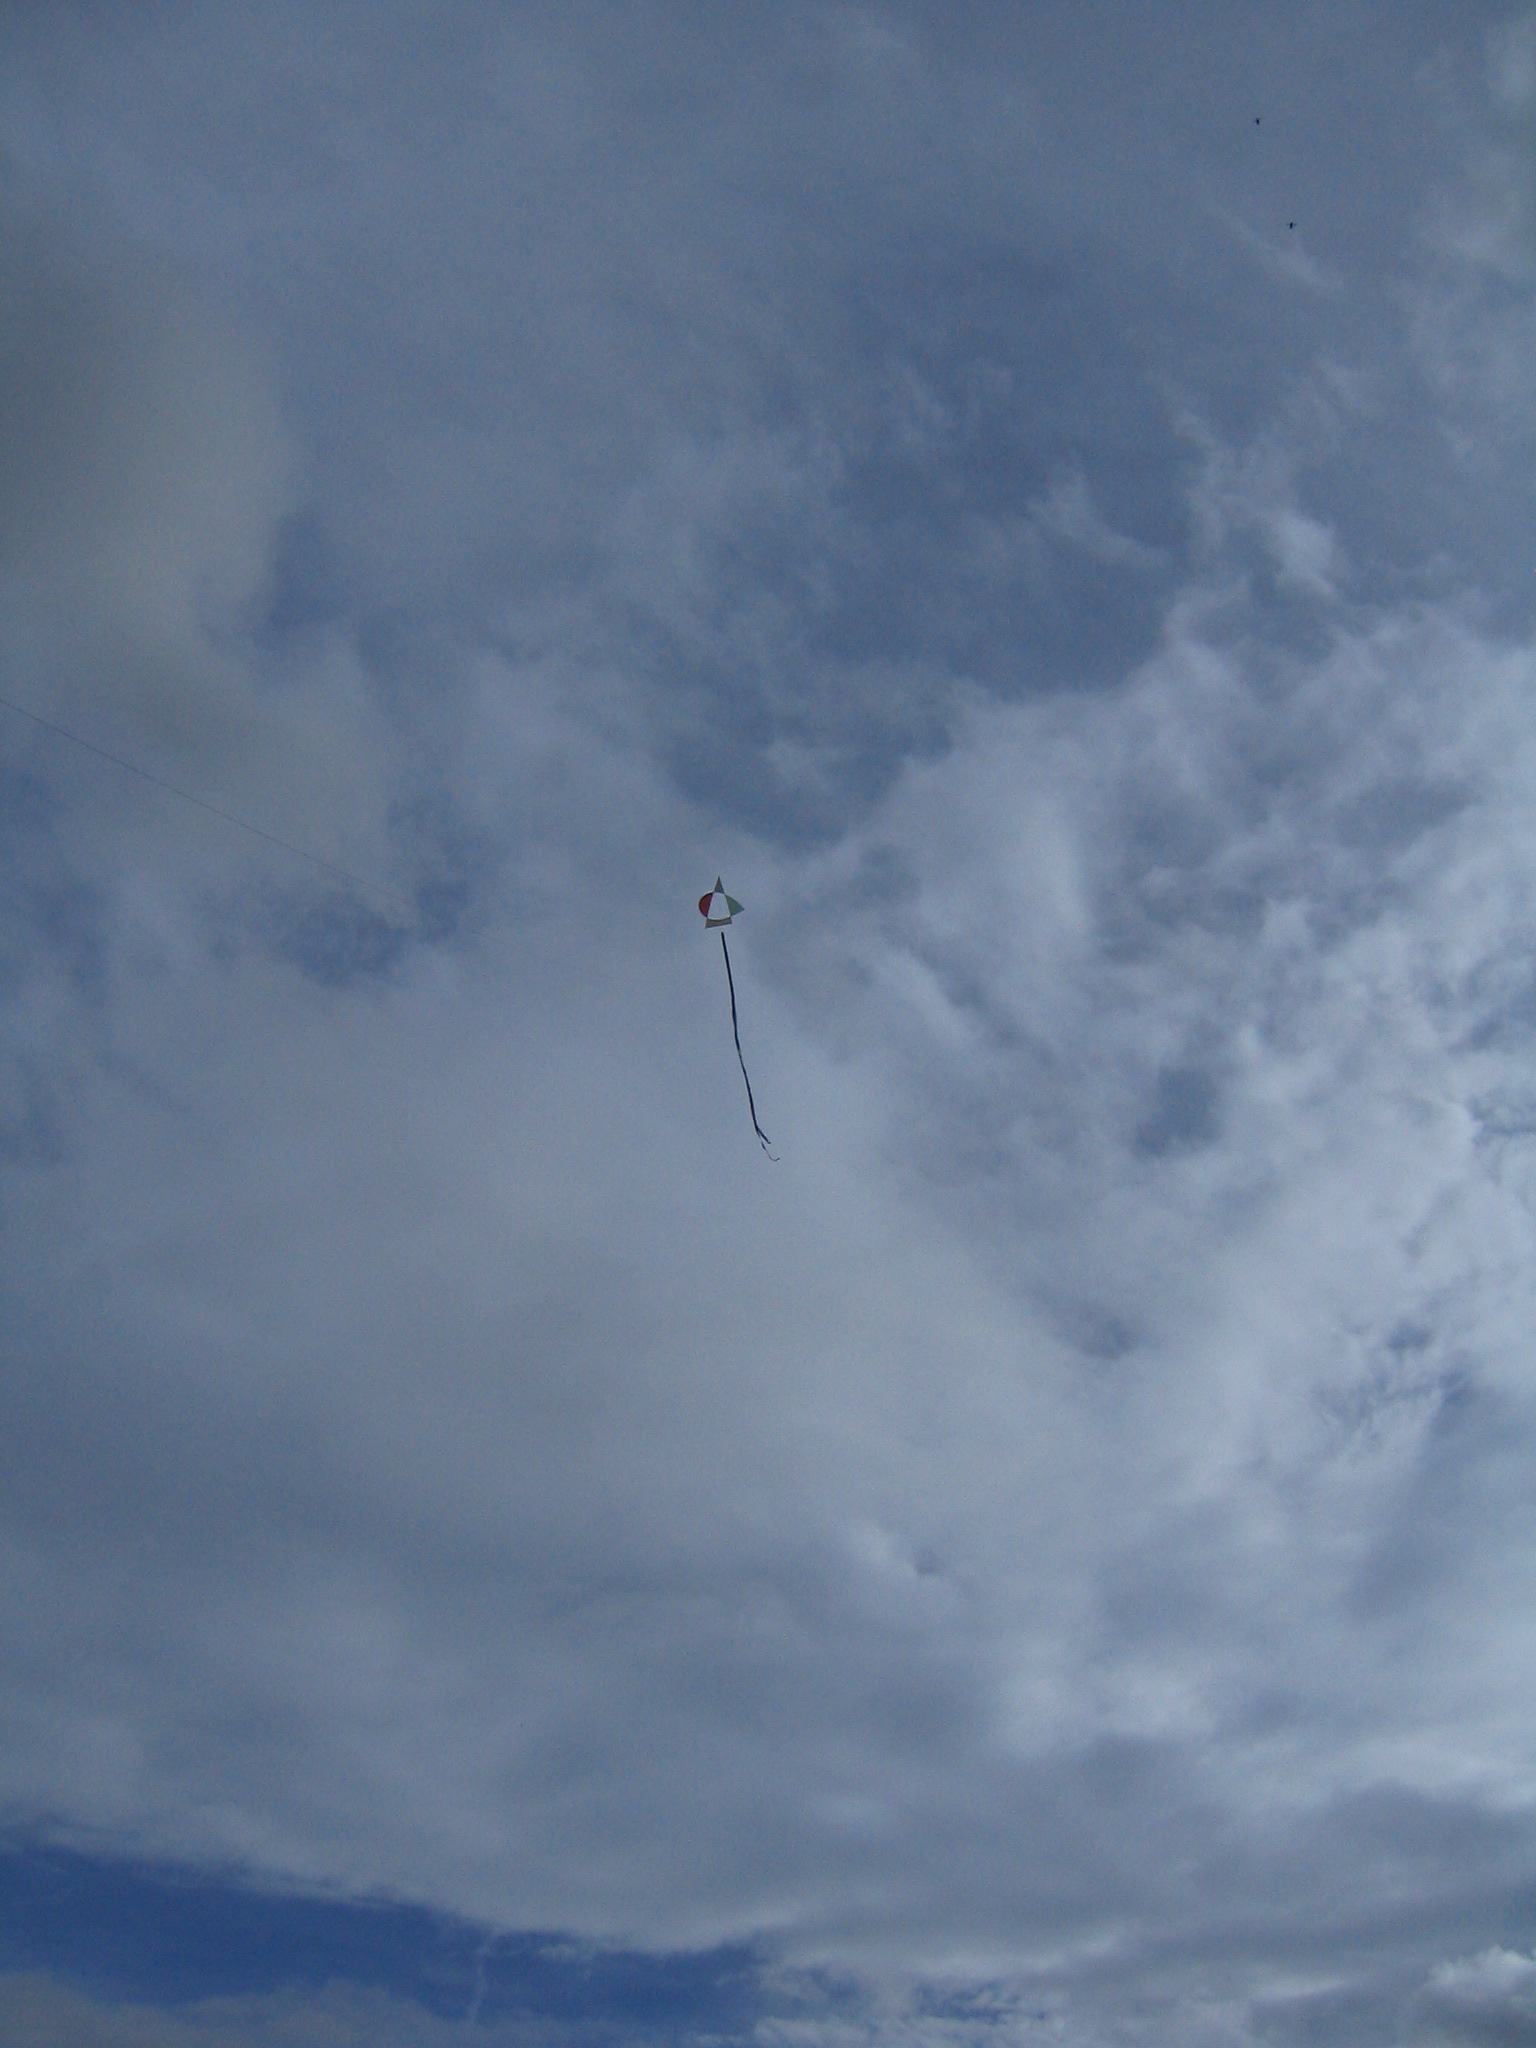
Testing unstable kites can get exciting at times. The long tail might keep it pointing into the wind when it is high up, but it also keeps it pointing down when it dives.
Sometimes the excitement interferes with the photography. It is difficult to photograph some of the more spectacular instabilities.
I found that several combinations of pairs were flyable. The balance point for pairs ranged from 0.18″ left of the principal axis to 0.31″ left of the principal axis, with the best balanced being about 0.25″. This was with a 65 square inch tail on the kites left and a 60 square inch tail on the kites right.
Each kite will be a little different. For this kite I made tails of 60 and 65 square inches. To make them a little shorter, so they are less likely to tangle and get caught in things, I made them 1 1/4″ wide. One will be 48″ long and the other will be 52″ long.

Interesting that after trimming in the field, when I weighted the kite flat over the drawing and pulled the bridle up with a string through a hook on the ceiling, a sailor’s needle hung from the end of a thread through the bridle loop pointed directly to a point on the principal axis about 3/4″ ahead of the mean chord. The bridle point, the center of gravity and the center of area all lie in the same vertical plane.
Now let’s make the permanent tails for this kite.
I am going to make two multicolored tails with four colors in each. The 48″ tail will need four 12″ lengths and the 52″ tail will need four 13″ lengths, except that the top segment must be about an inch longer for attaching the tail bridle. The top segment of the 52″ tail will be cut to a 14″ length and the other three will be cut to 13″ length. The top segment of the 48″ tail will be cut to 13″ length and the other three will be cut to 12″ length. Keep them in separate piles so they don’t get mixed up.
Tie a loop of string around something with a perimeter of about 6″. Here I am using an empty pill bottle of 1 7/8″ diameter. You could use a 3 1/2″ postcard. Tie it with a square knot.
Cut the string about 7/8″ from the knot.
Mark half way across the top end of one tail section.
Fold the top corners over at a 45 degree angle through the center point.
Both corners will be folded over to crease the paper.
Working over a plastic sandwich bag to keep glue from sticking to the table, draw a line of glue in each crease.
Place the knot on the mark, extend each string out along a crease and press them into the glue.
Put some glue on each corner.
Spread the glue thinly with a small bit of cardboard.
Fold the corner over around the string. Press it down, then do the other corner. Do the same for the other tail.
Draw a thin line of glue across the bottom end of the first segment.
Place the top end of the second segment over the glue line.
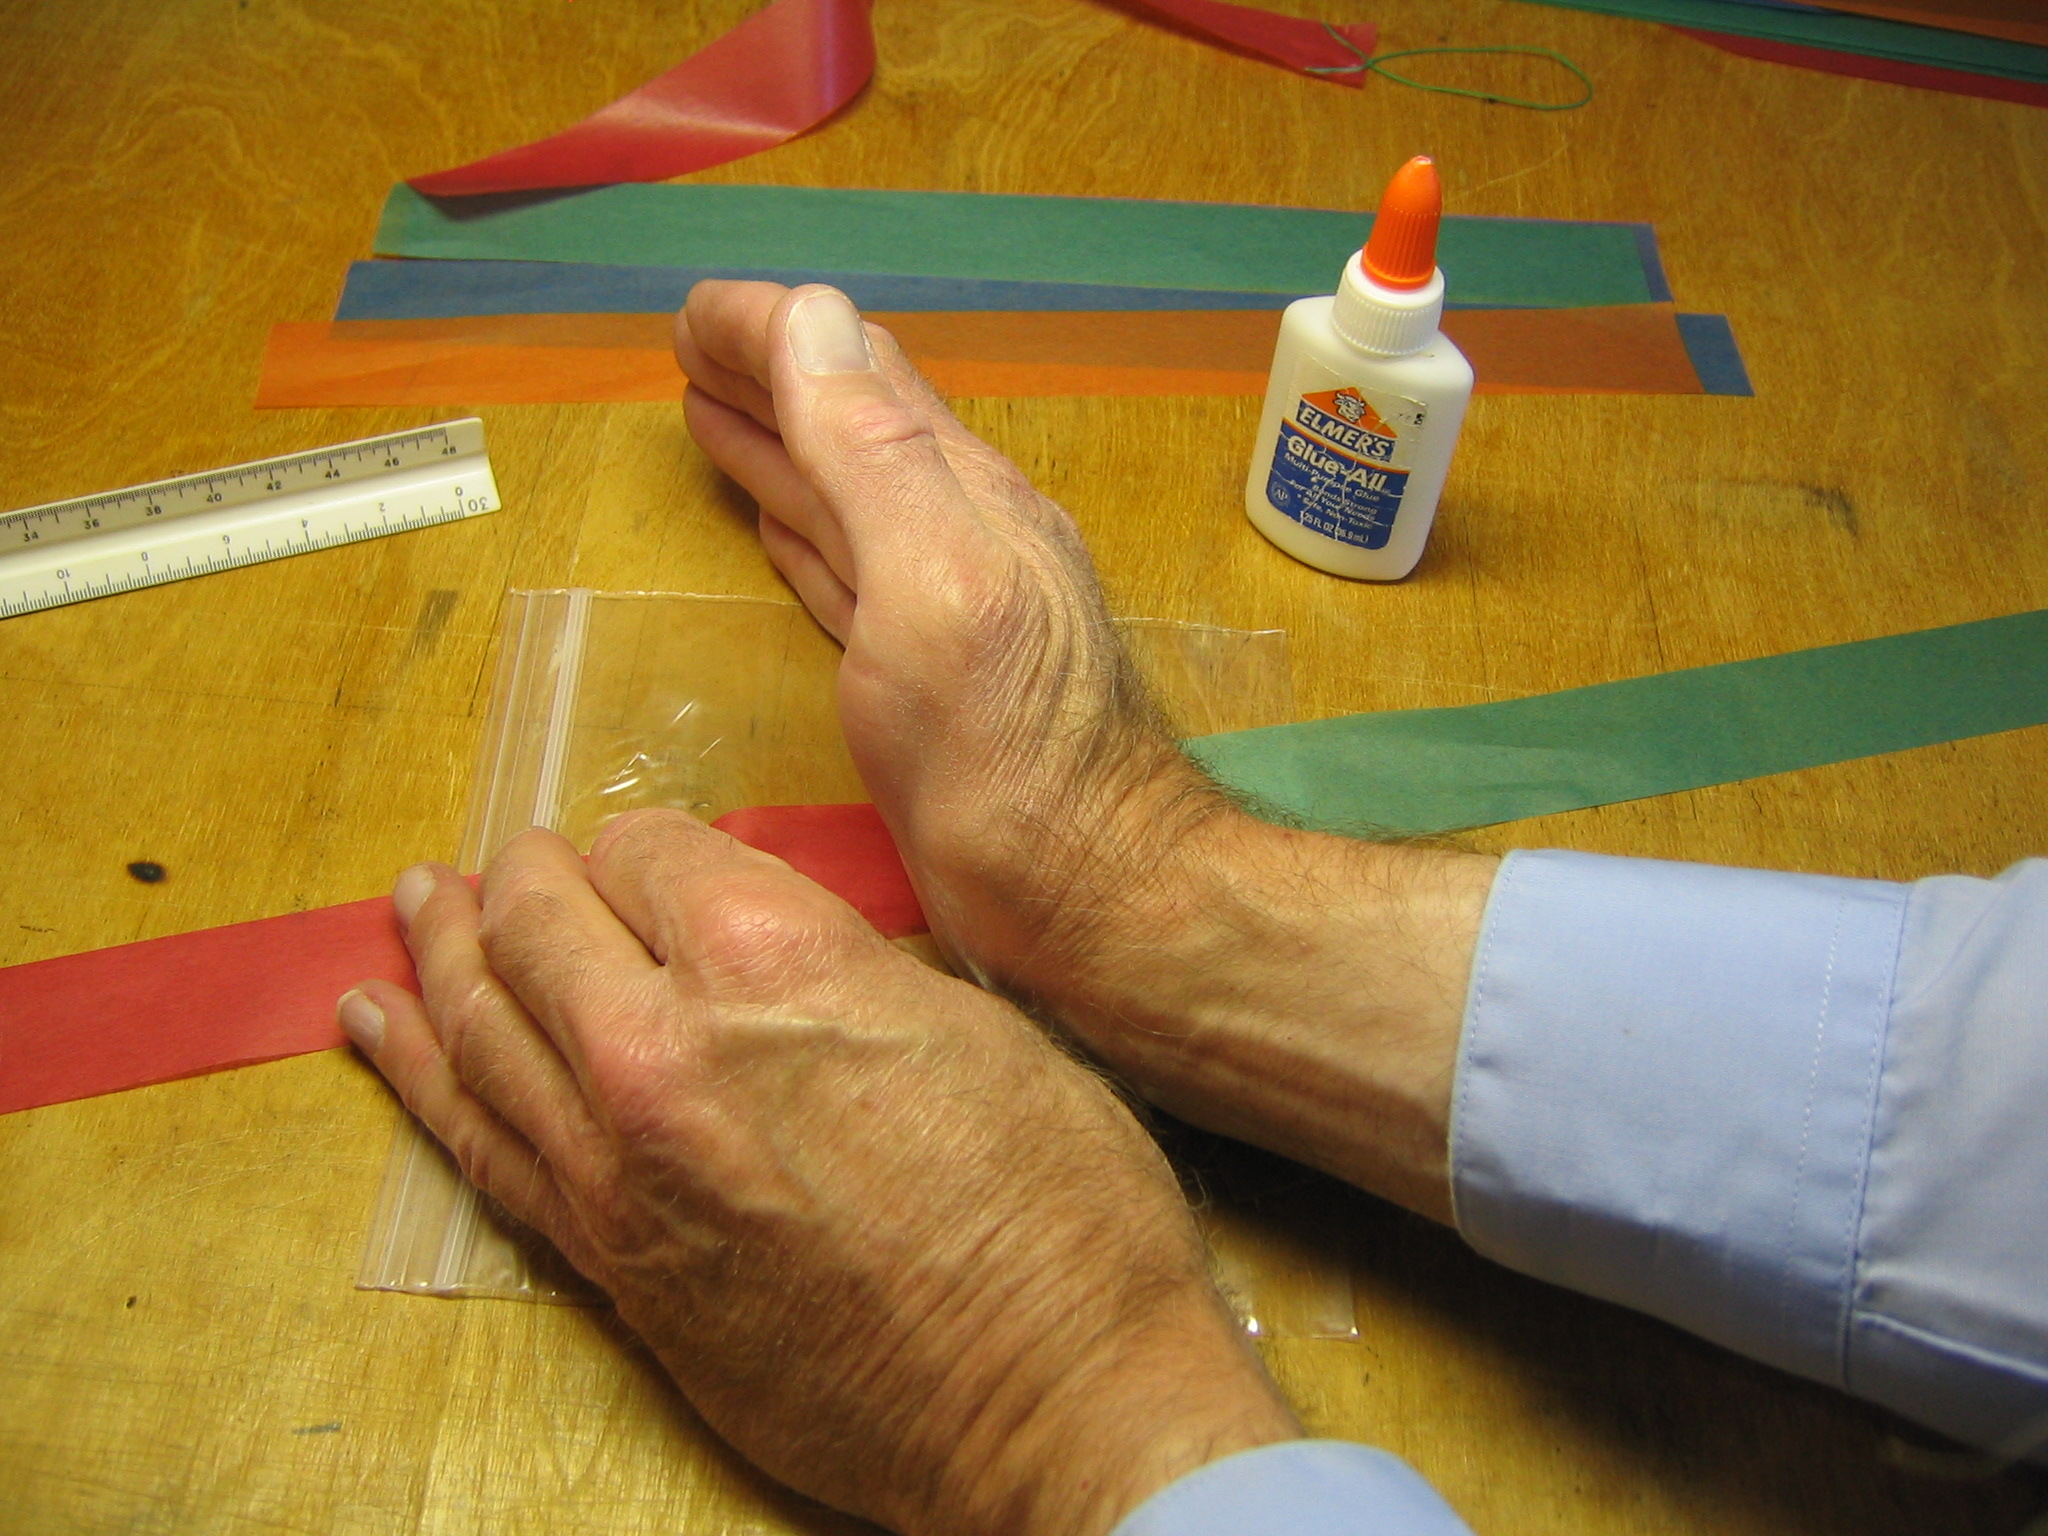
Press it down. Continue until both tails are completed. Let the glue dry.
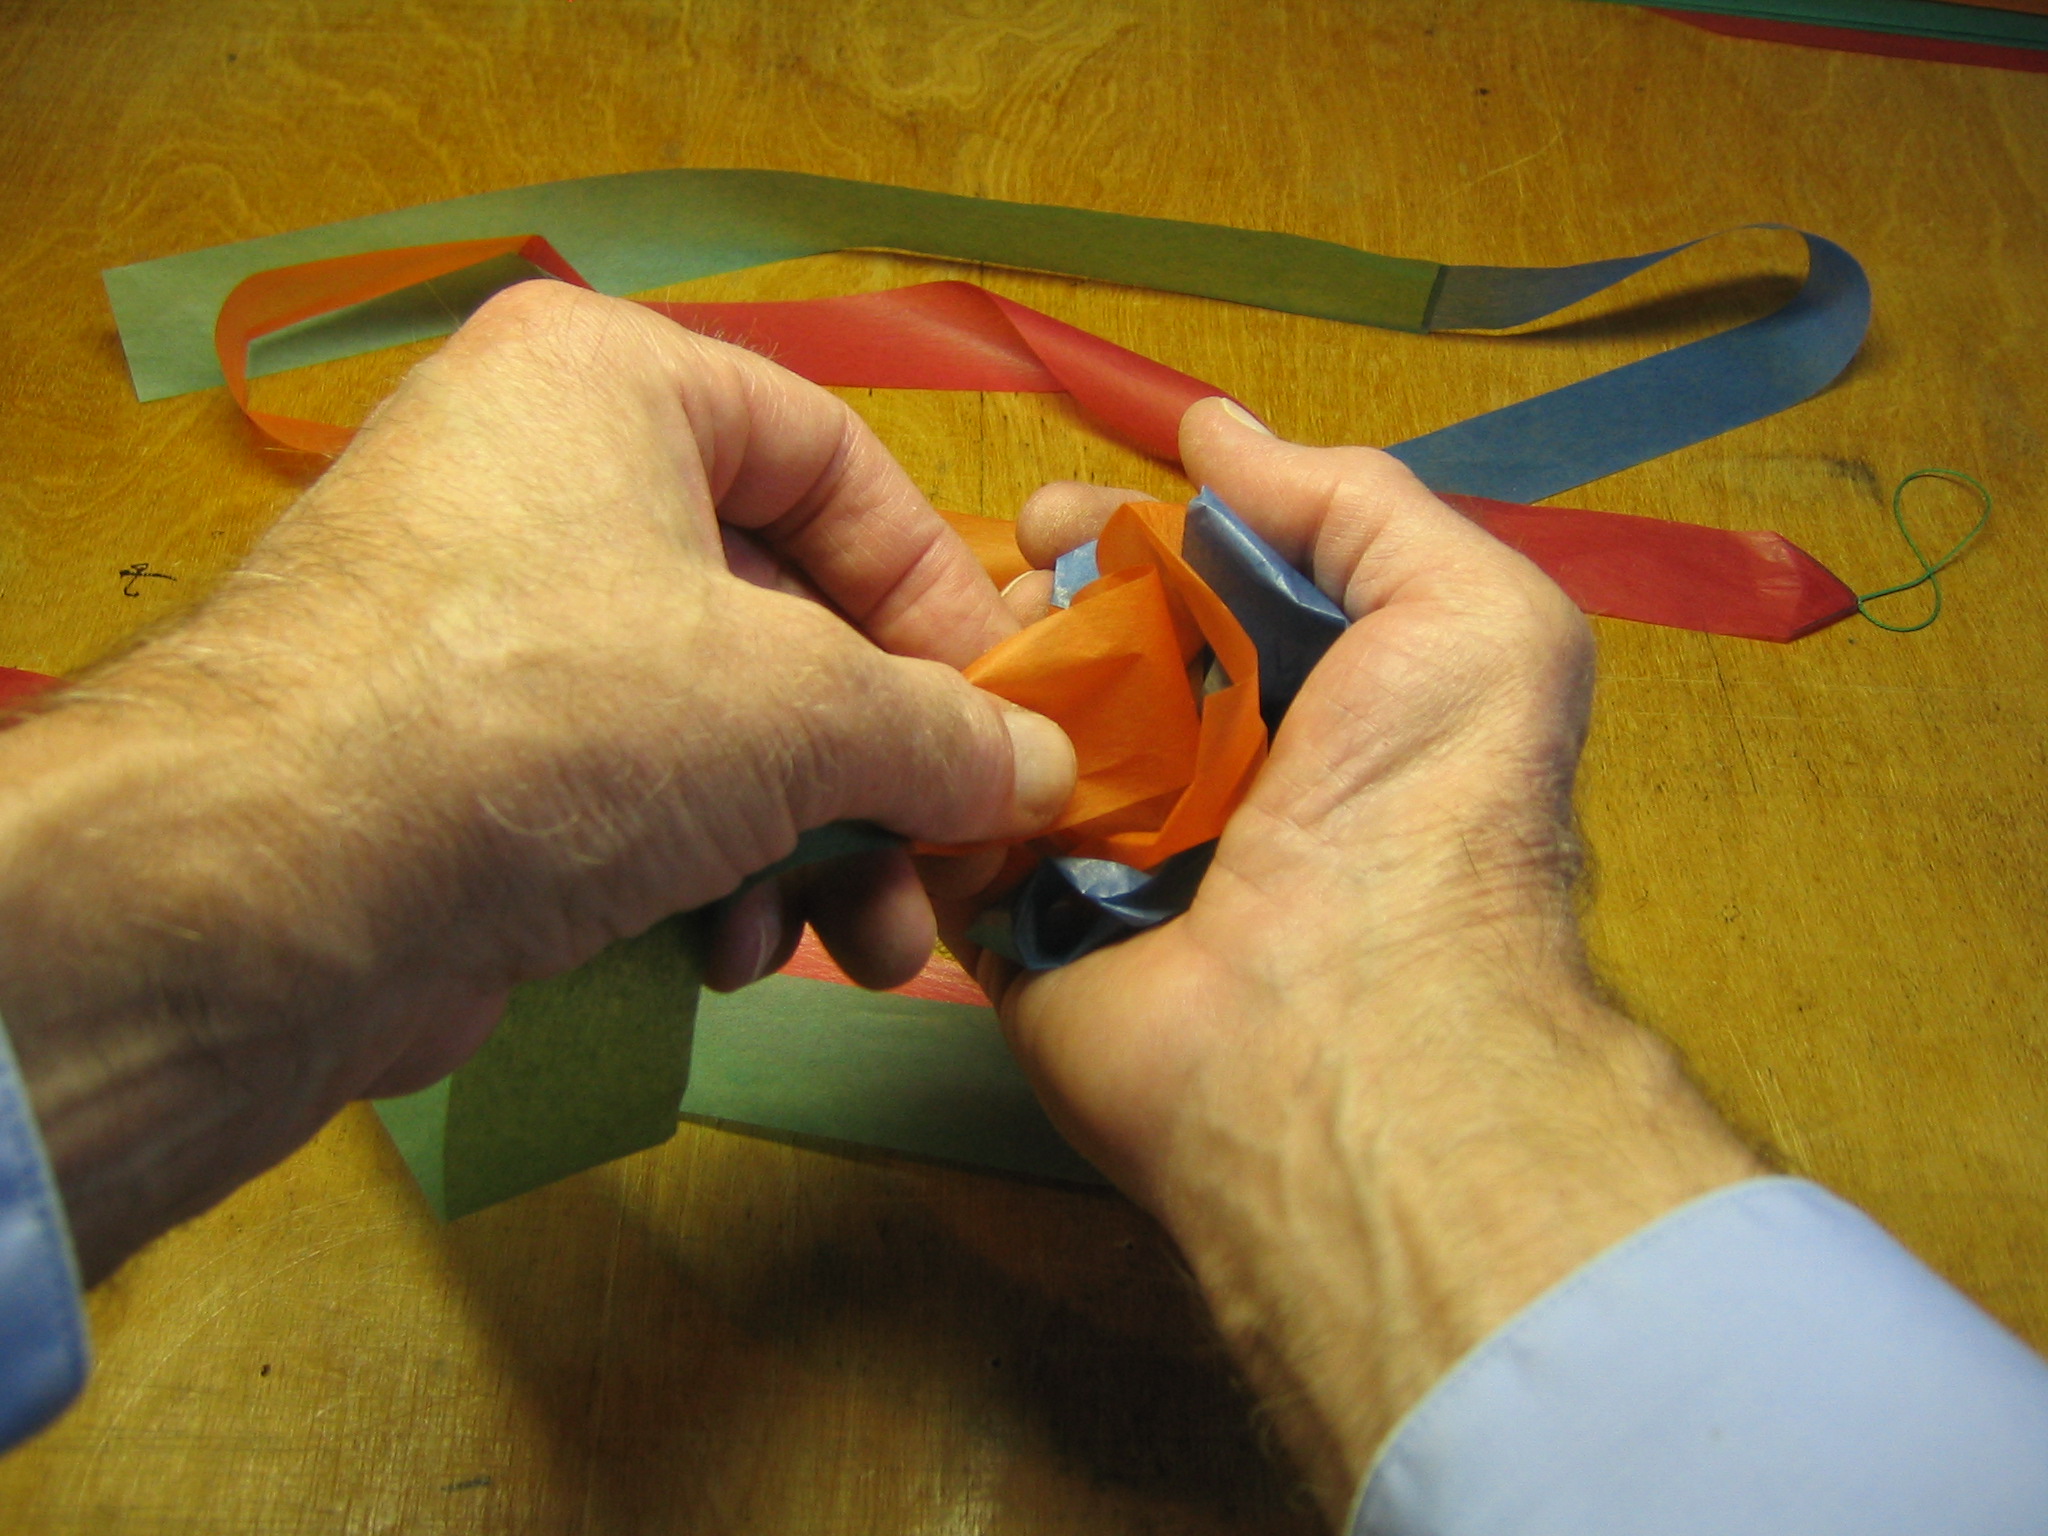
Smooth paper is too slippery and stiff to function effectively as a tail. The tail paper must be crumpled into a ball.
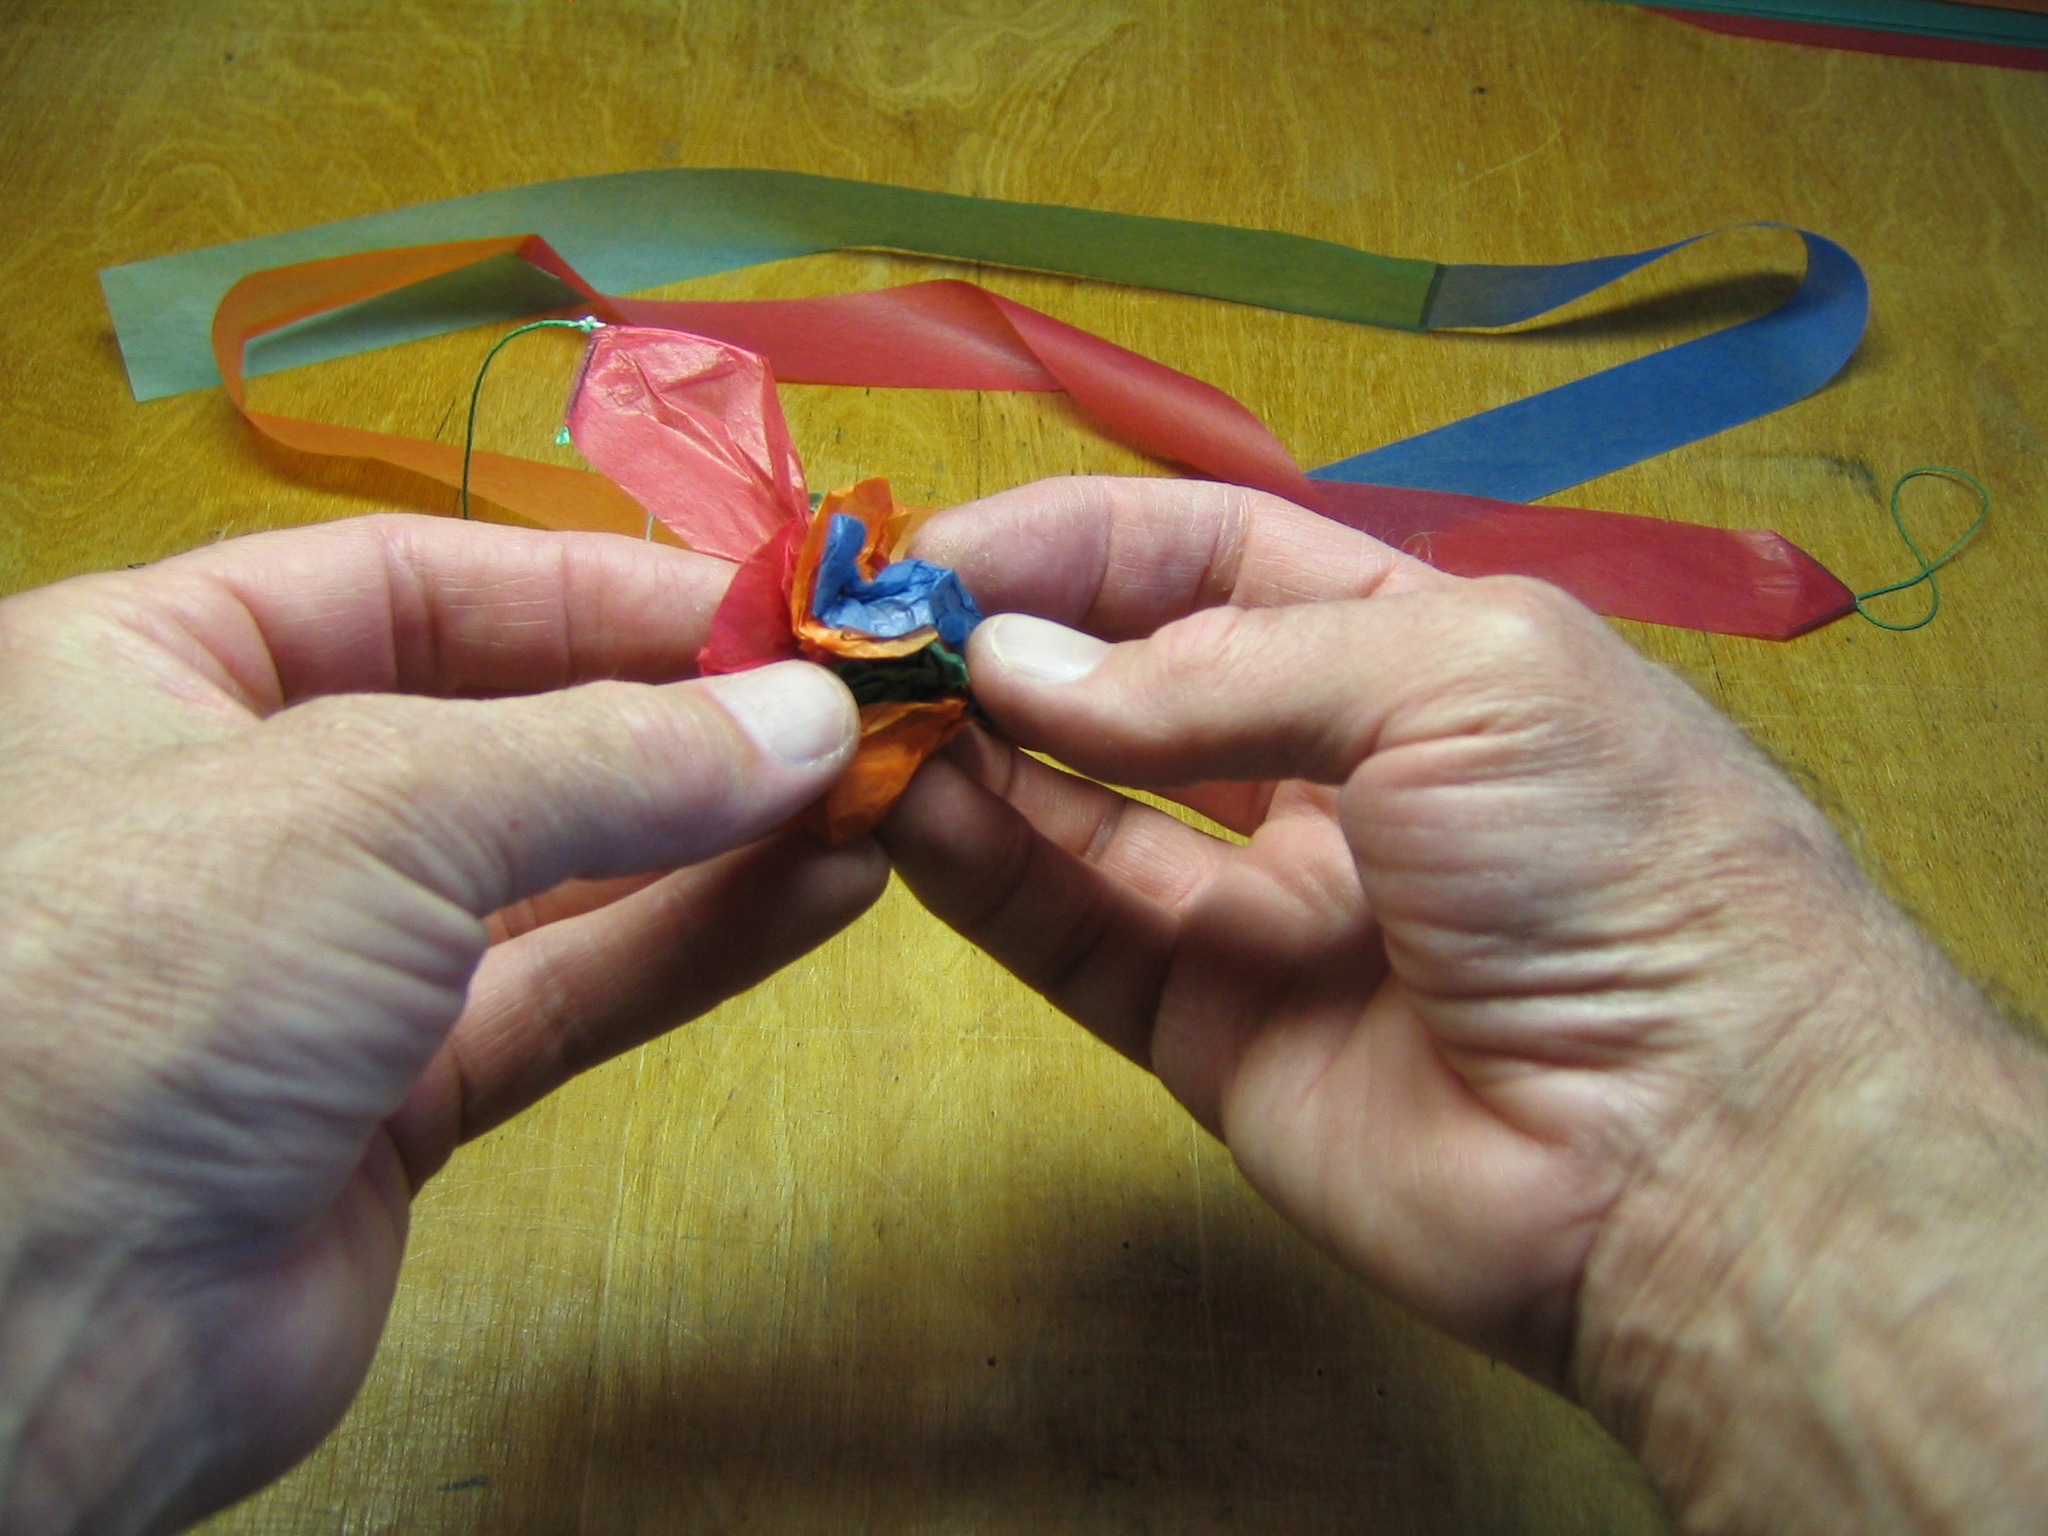
Wad it up tightly, except for the top end.
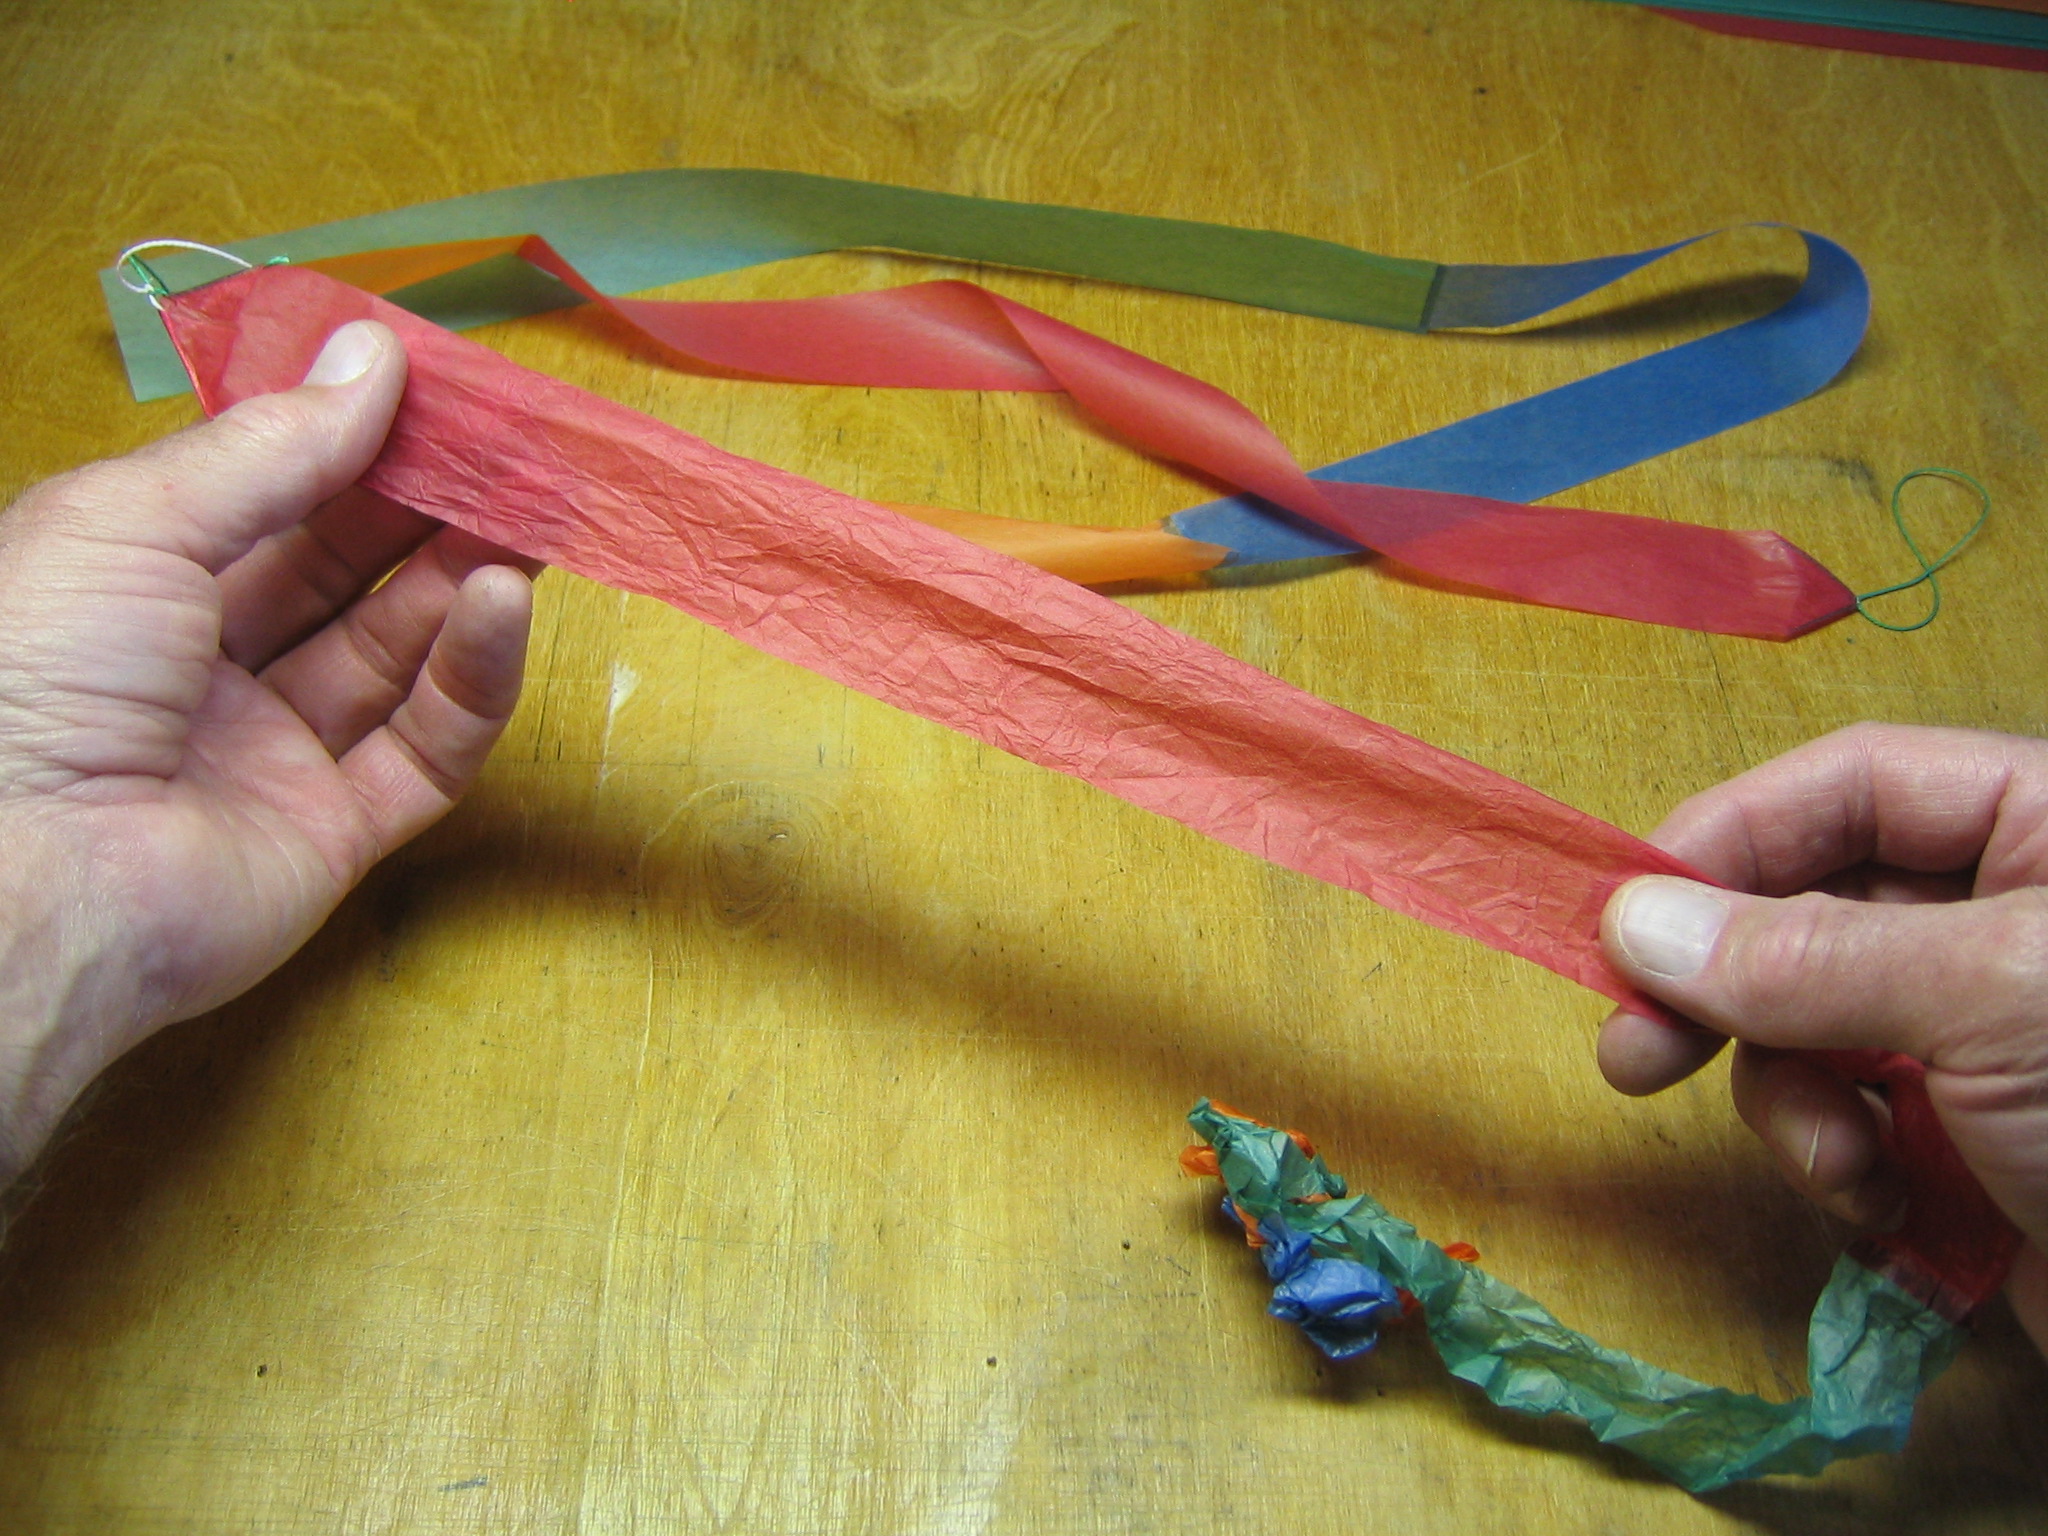
Pull it out straight.
If you want, you can make small triangular labels for each tail, writing the surface area or length on each.
Loop the tail bridle around two fingers.
Pull the loops off the fingers and around the base of the bridle.

Put the loop around the crossed sticks.
Pull it until it is tight. You can also attach the tail with a clove hitch. Once you are satisfied that the tails are right, you can paint the knots with glue to make them stick.
The 48″ tail goes on the kites right, your left, and the 52″ tail goes on the kites left, your right.
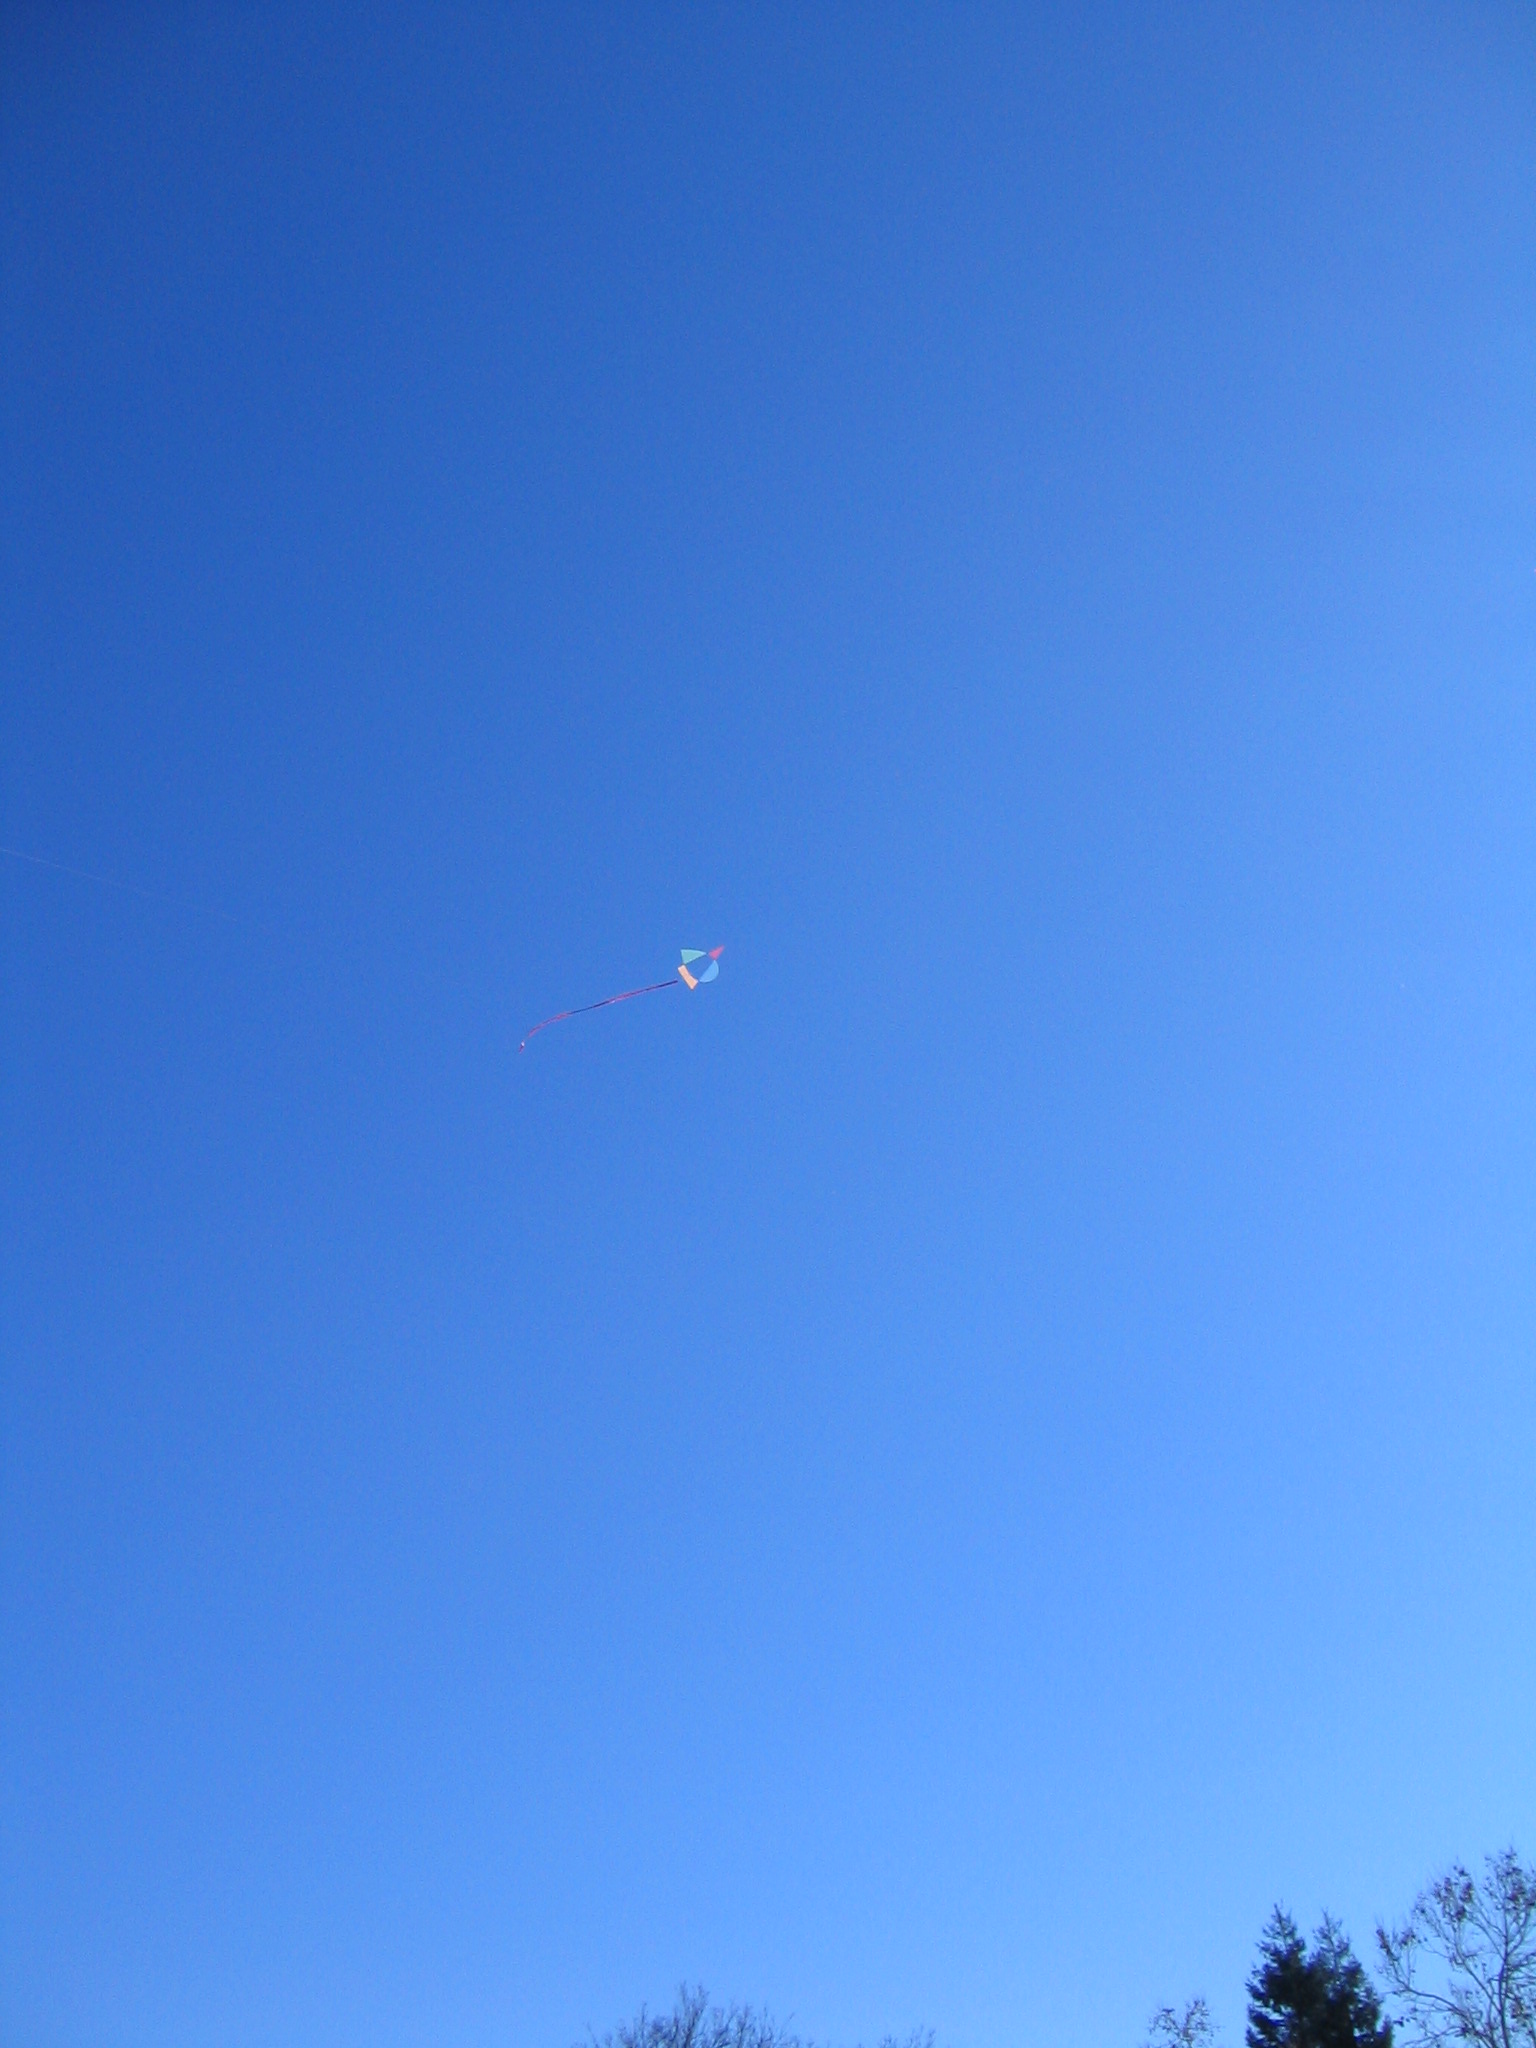
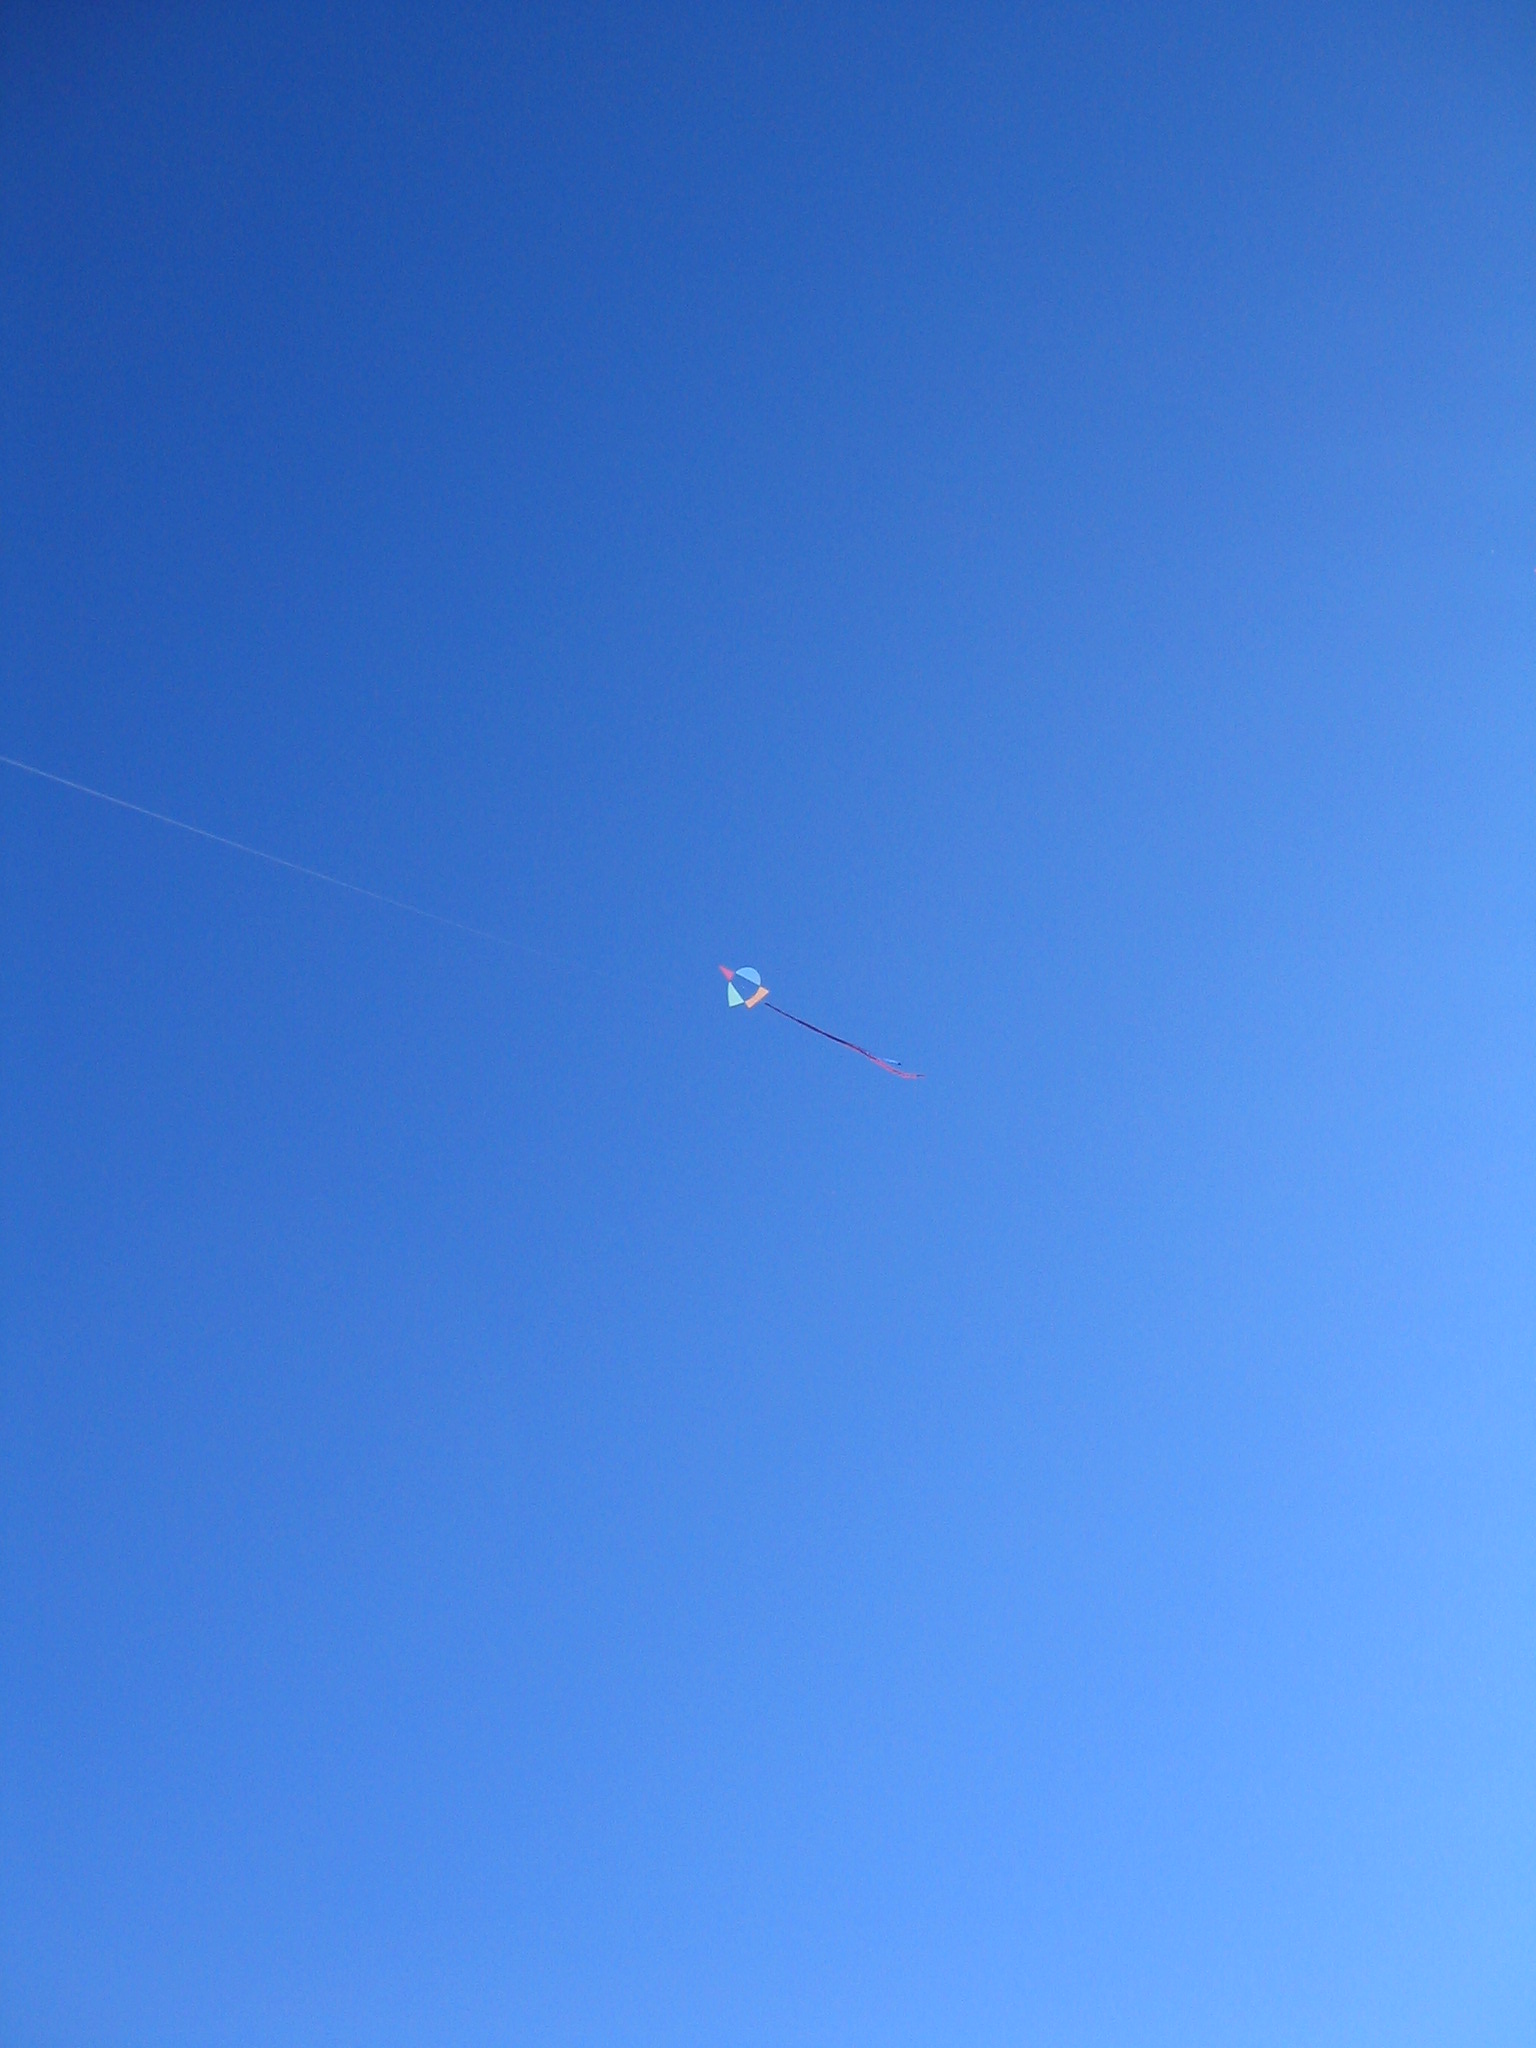
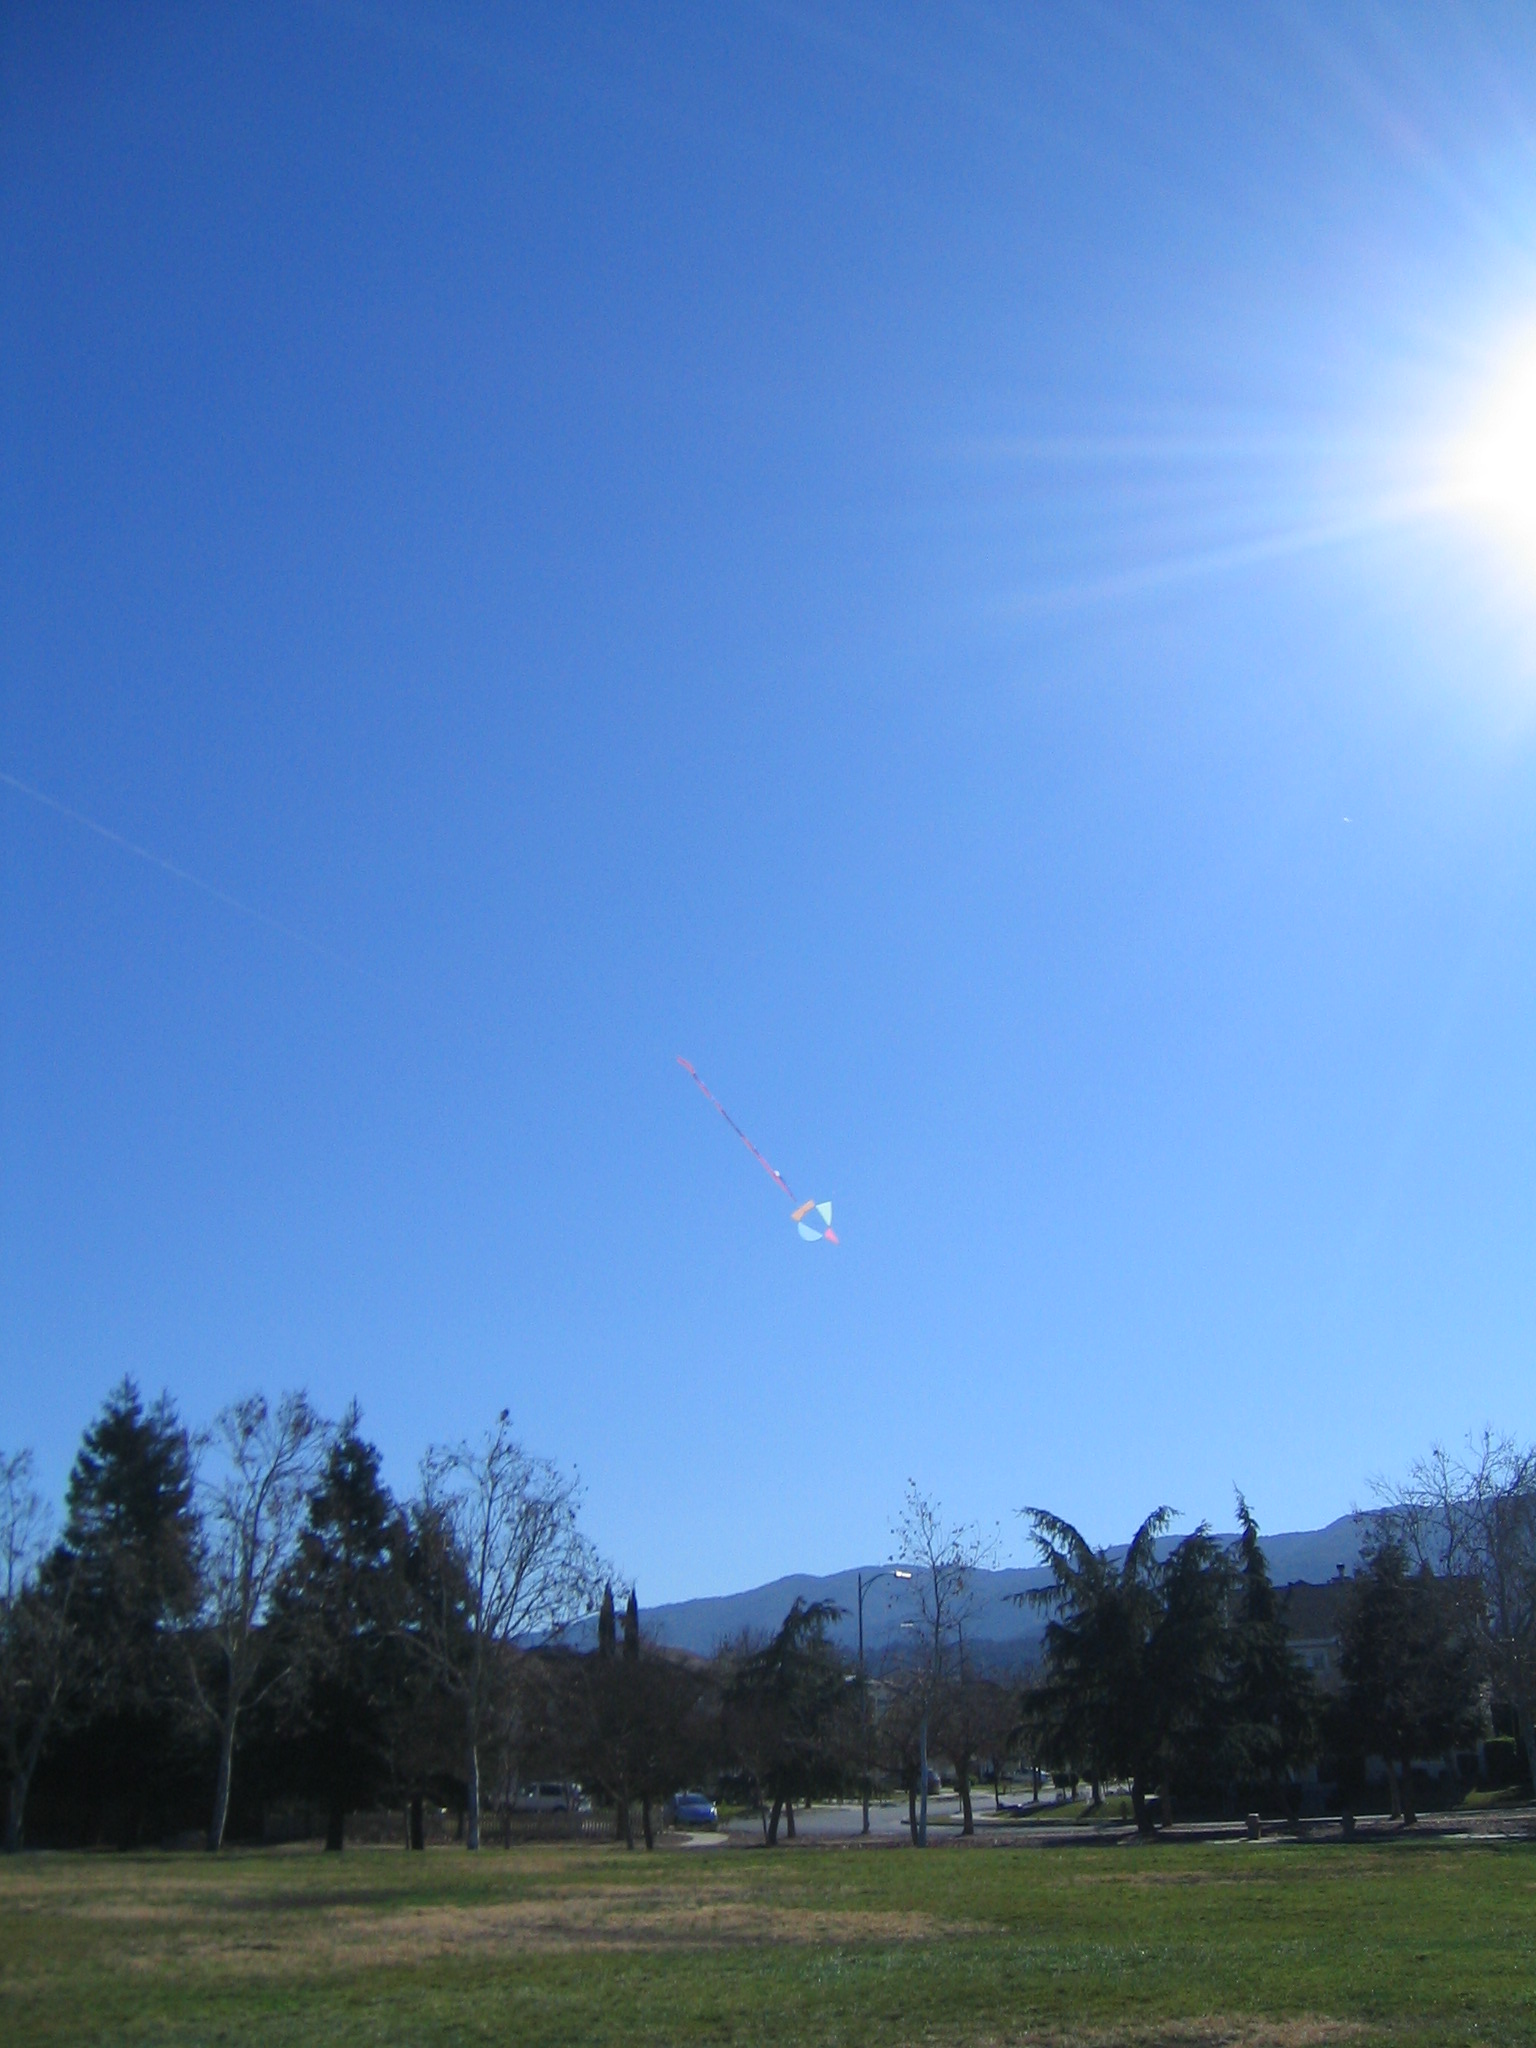
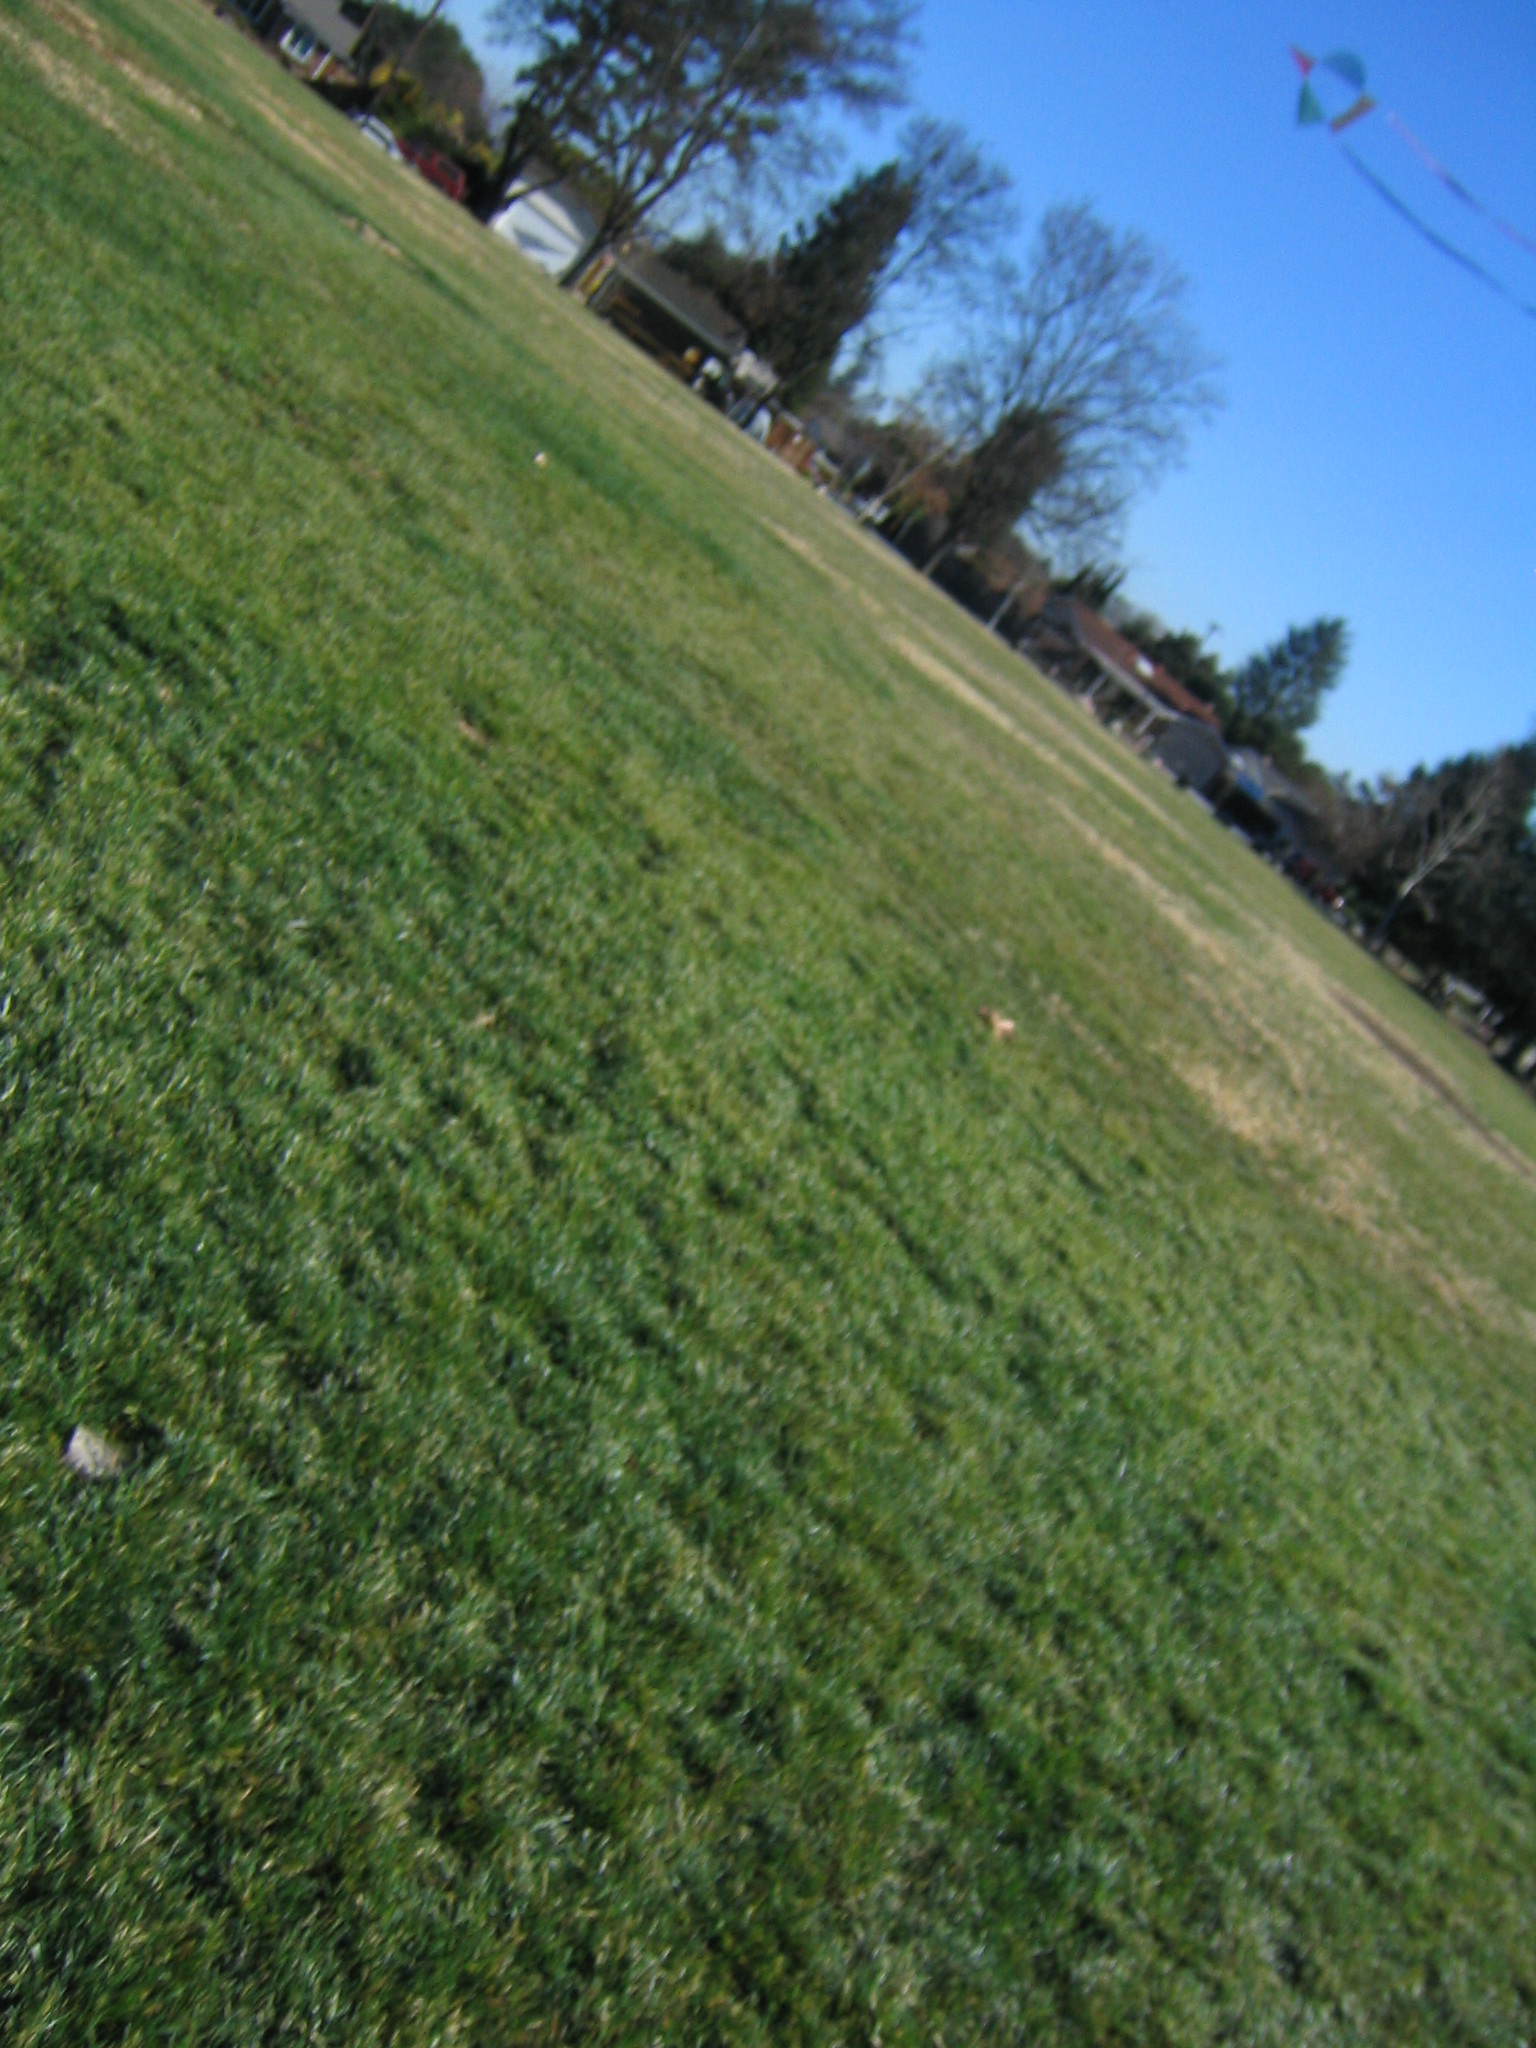
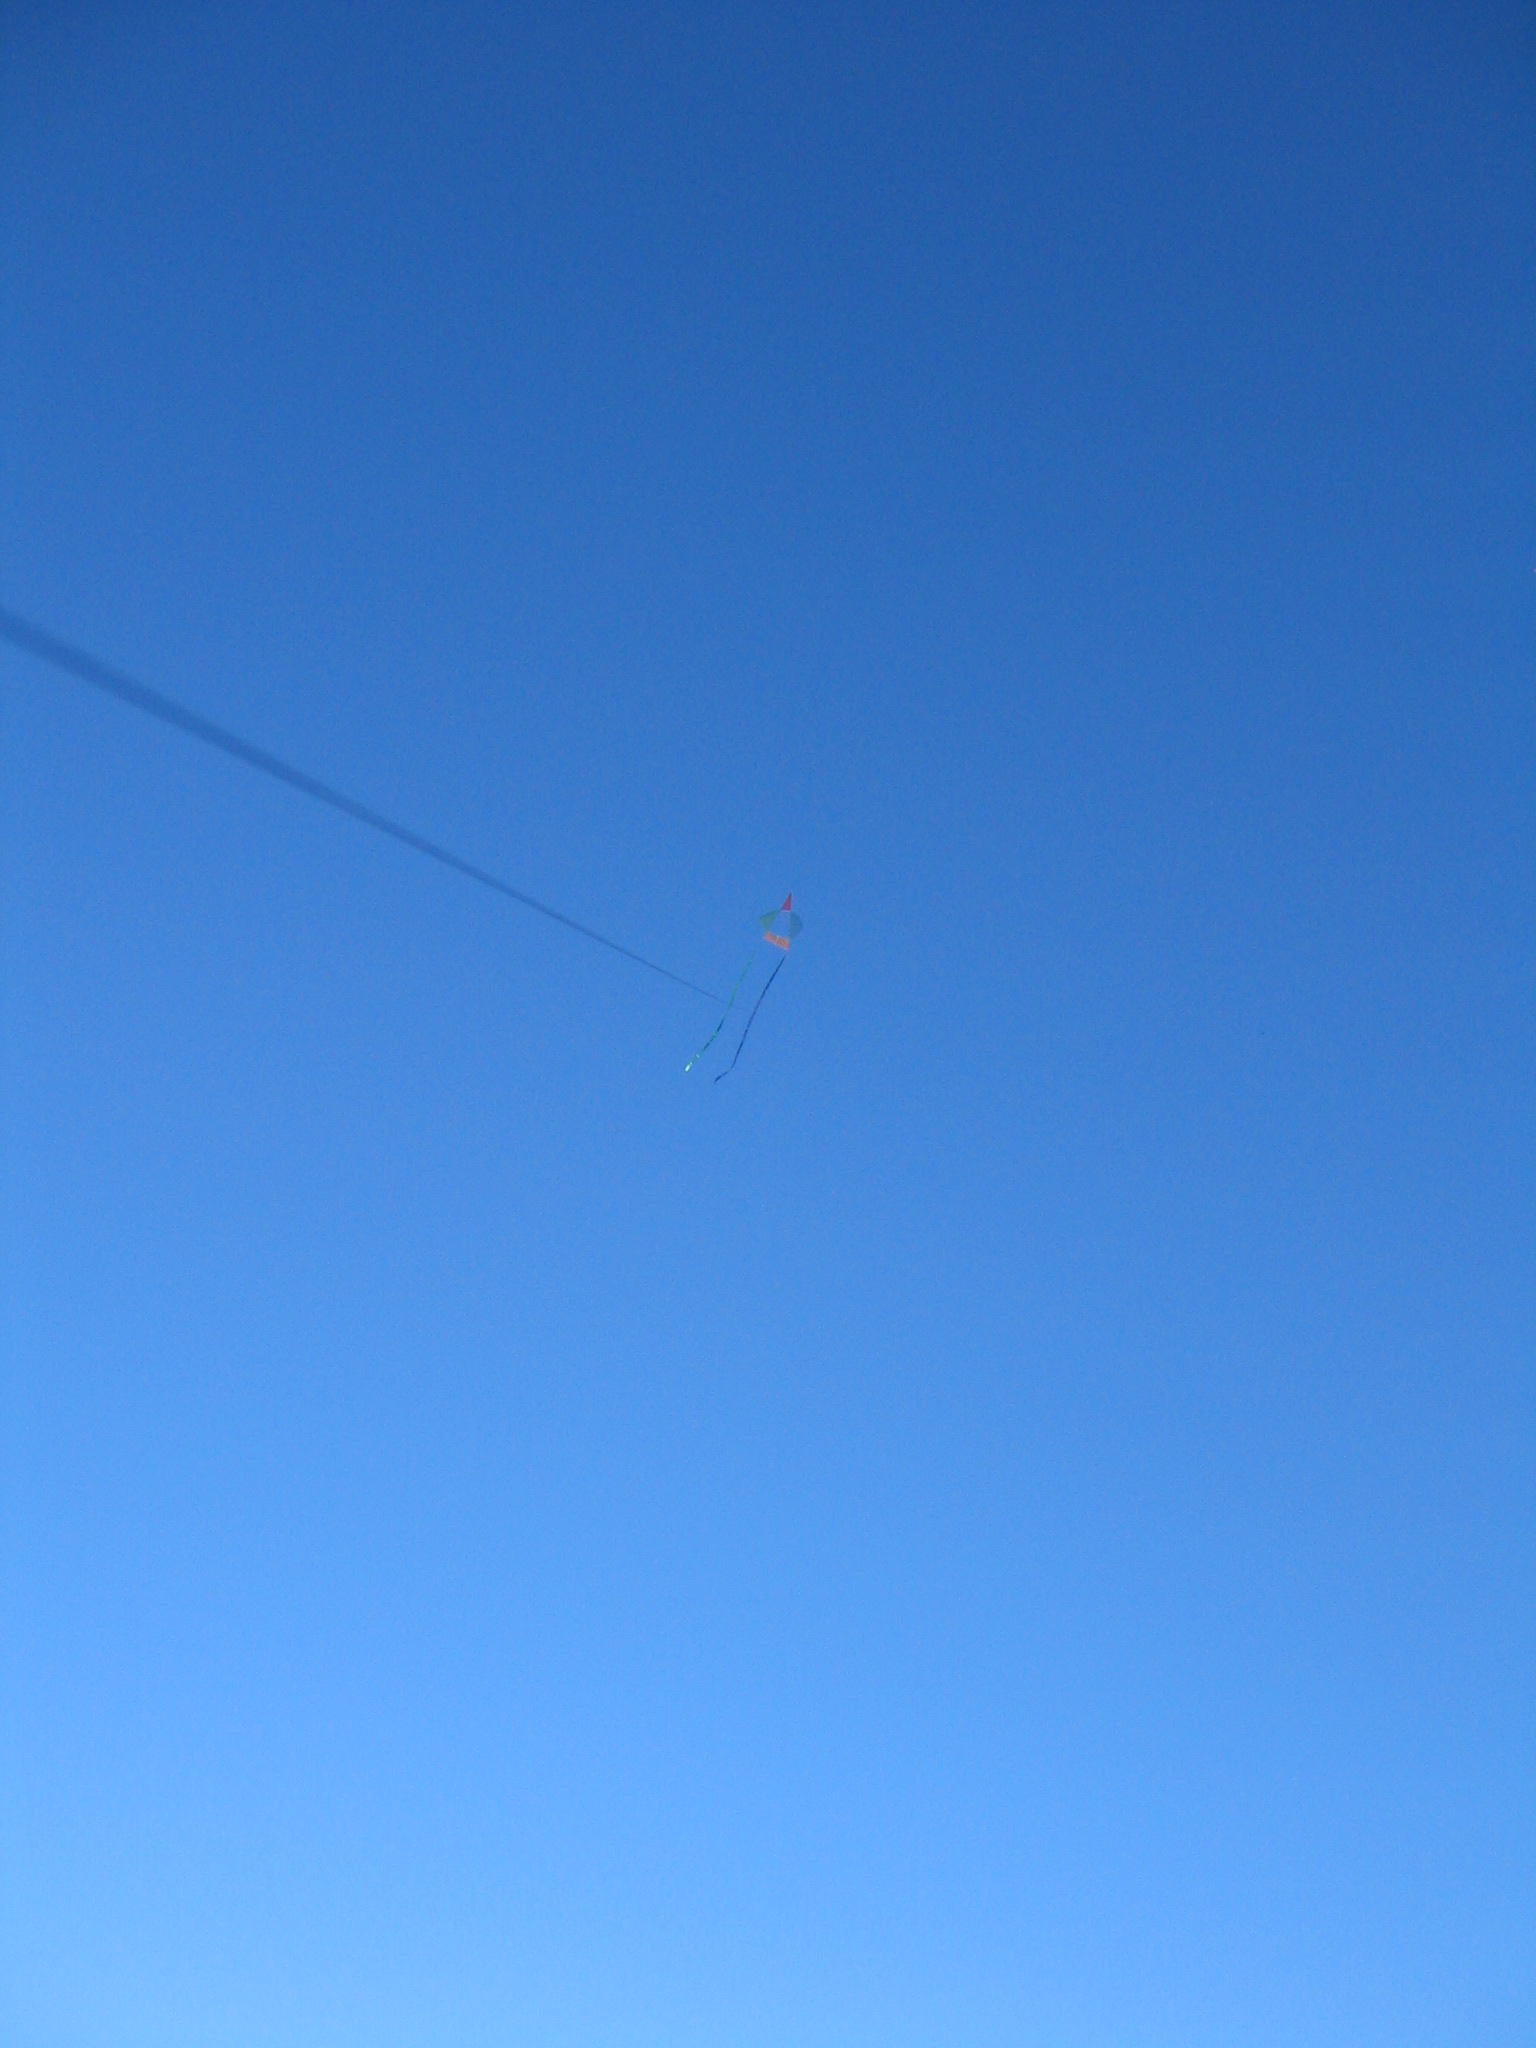
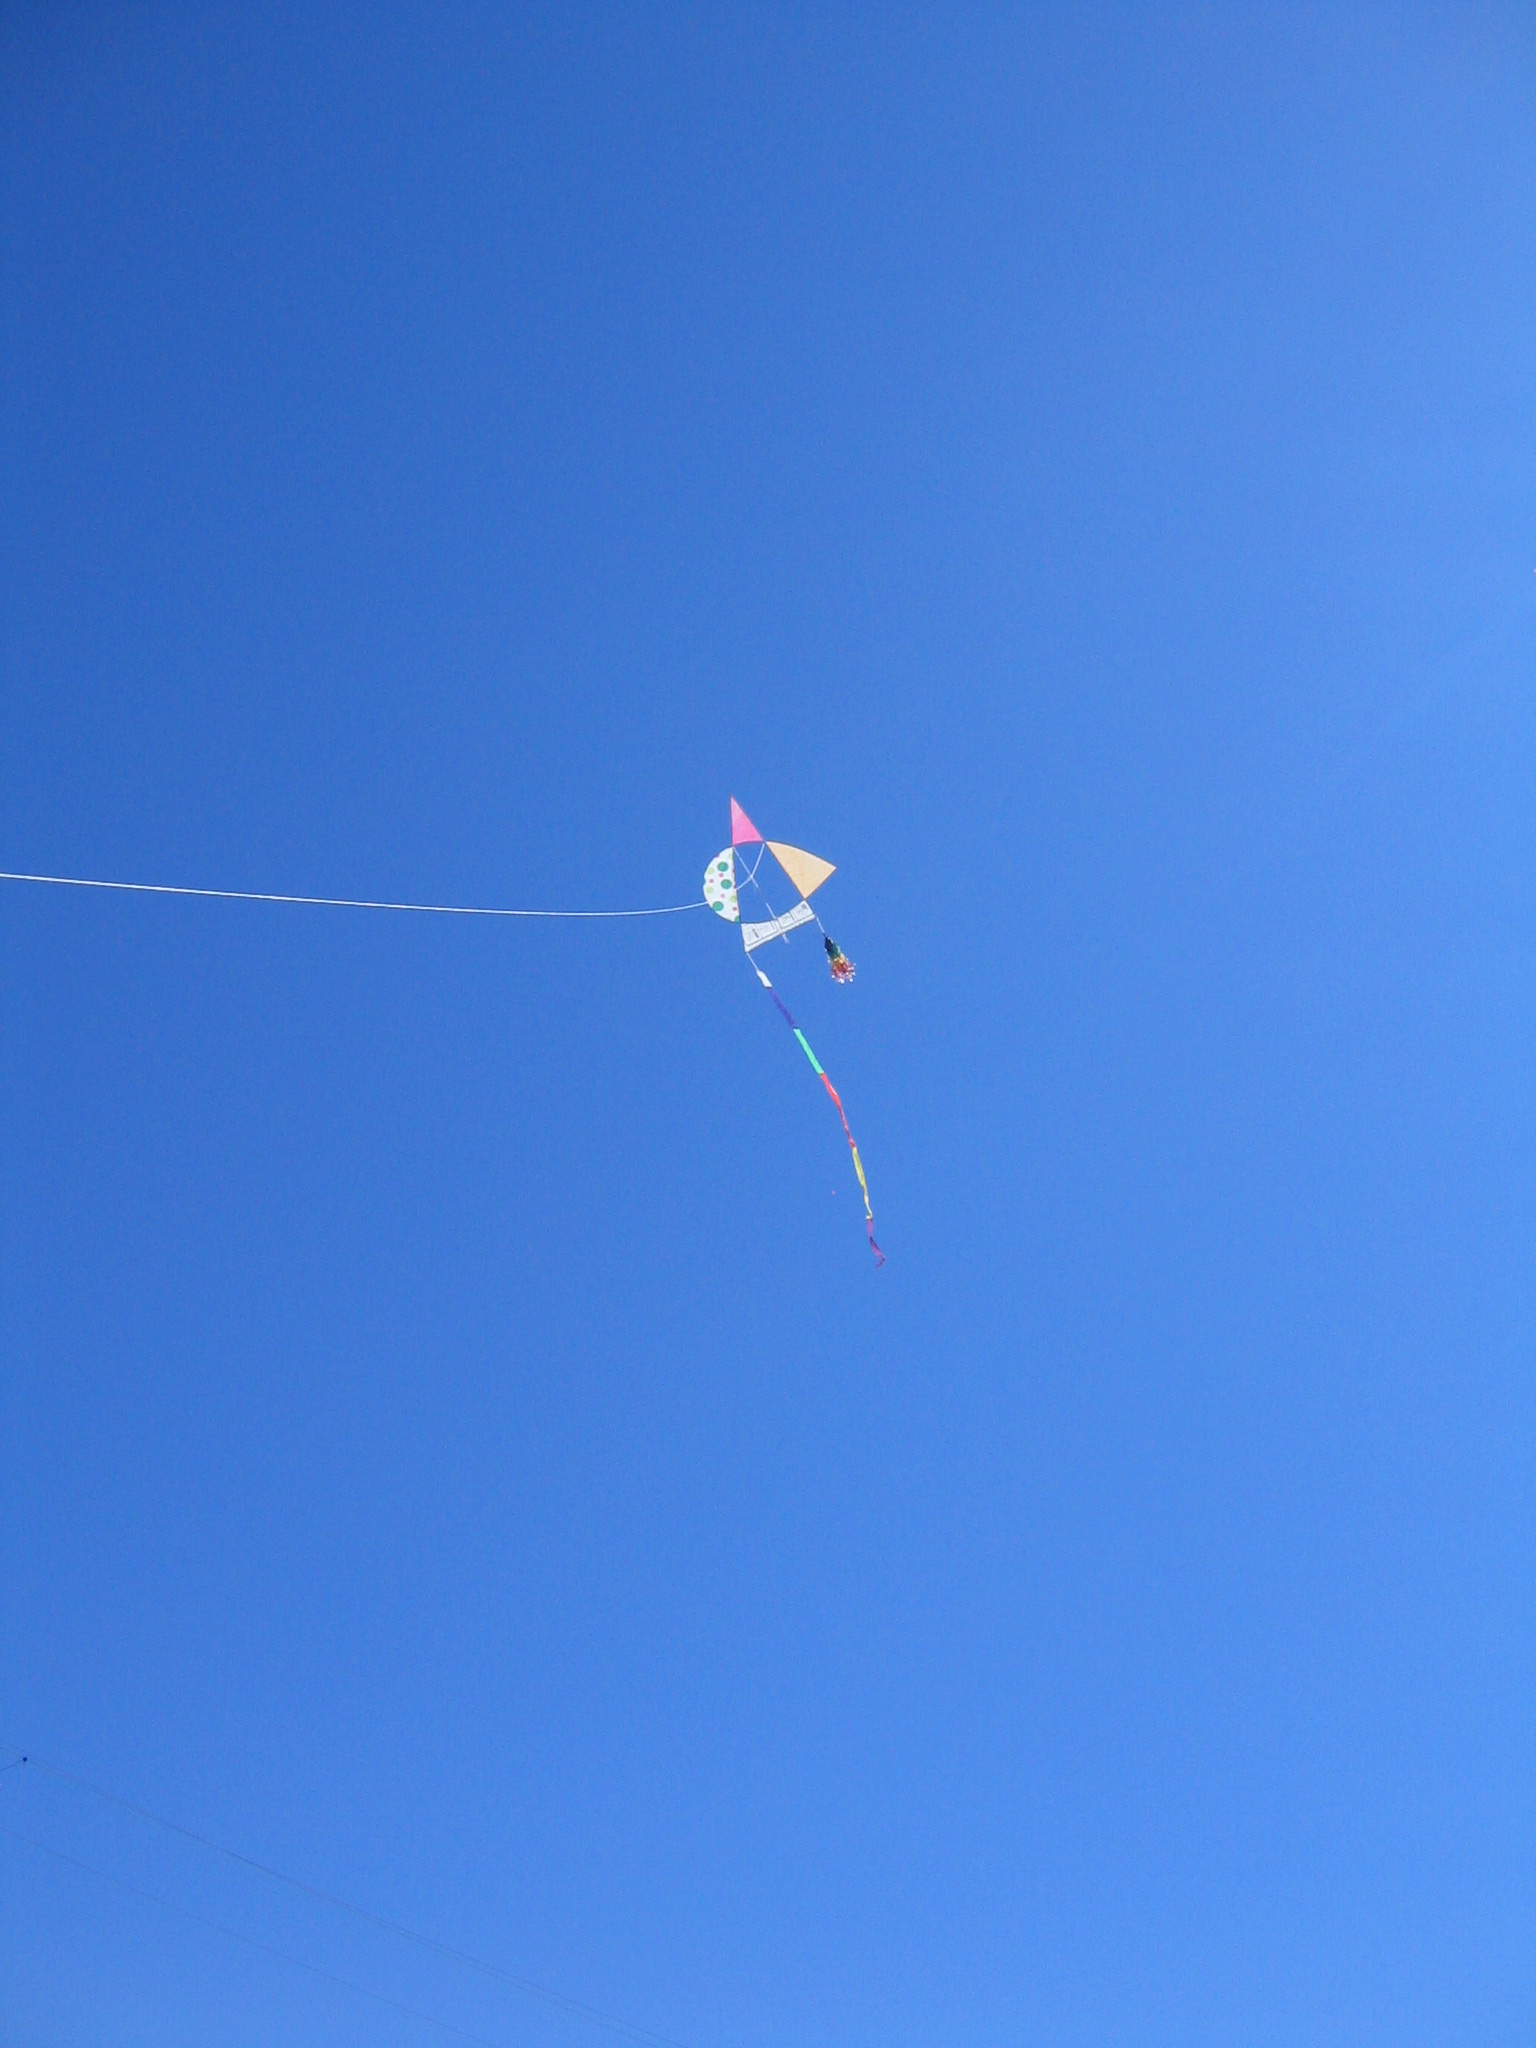
Fly the kite!
Just to emphasize the asymmetry, I flew it with a tassel on one corner and a streamer tail on the other. The tassel was made from four strips of different colors glued together to make a band 8 1/8″ long and 7″ wide. It was cut into 28 strips 1/4″ wide to 1/2″ from the top edge. A tail bridle was made with strings 1/2″ long, glued together. The glued section was placed at one edge of the top 1/2″ wide strip and the paper was rolled and glued around the string. The strips of the tassel were crumpled to make them soft. The tassel went on the kites right corner and a 65 square inch multicolored tail went on its left corner.
Things get much more asymmetrical when the kite is flown at a right angle to its present orientation.

Gorgeous pictures! Gorgeous project!