Strong wind all day. Maybe I will have a chance to get pictures of it flying in the Gym tomorrow. Eventually I want to have everything together in a single report.
I can get started with a materials list.
Baby squirrel parts list:
No., Description, Dimensions
1 Plastic propeller assembly 4″ diameter, 3 mm x 4 mm hanger box, from a Klutz Shooting Star
1 medium balsa stick 3 mm x 4 mm x 8 3/4″ with 5/64″ taper in 1 1/2″ underneath at back end
1 wing leading edge spar 1/16″ x 3/32″ x 8 3/4″
1 wing trailing edge spar 1/16″ square x 8 3/4″
2 wing ribs 1/16″ square x 1 15/32″
2 wingtip posts 1/16″ square x 1 9/16″
1 fin spar 1/16″ x 3/32″ x 1 7/8″
1 tailplane spar 1/16″ x 3/32″ x 4 3/8″
1 wing mount stick 1/16″ x 1/8″ x 1 3/4″
2 dental rubber band 3/16″
1 tissue wing covering 1 5/8″ x 11 3/4″
1 tissue tailplane covering 1 1/2″ x 4 3/8″
1 tissue fin covering 1 19/32″ x 1 21/32″
1 rubber motor 7″ x 1/16″ rubber band
This is made the same way as my larger Squirrel. Some tips:
3 mm x 4 mm is approximately 1/8″ x 5/32″. The tailplane taper takes away half of the back end of the stick on a 1 1/2″ length. This is rough cut outside the cut line with a razor blade and sanded to final surface.
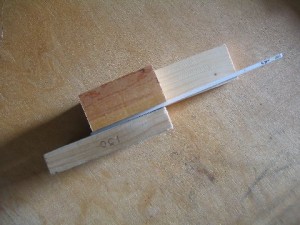
The stick is placed on a block and backed by another block while the sanding block is applied to the surface while held perpendicular to the tabletop.
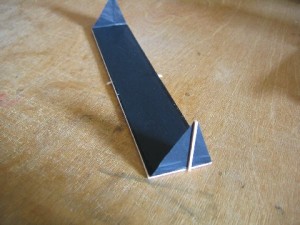
The wing mount stick is sanded to a ~40 degree taper almost to a sharp point, maybe 1/100″ thick, so the hold down rubber band may be rolled up it easily. The bands are doubled around the stick for tightness.
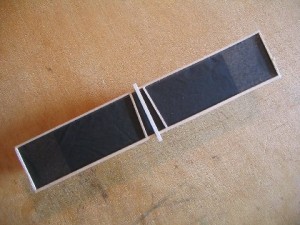
It is glued across the centers of the wing spars at a right angle while the tissue is held taught by temporary struts lightly wedged in place between the spars. The ends of the wing ribs should be sanded square with a jig for a good glue joint. I used 50% white glue applied with a brush to glue the wood to the tissue. The wood bends, but straightens on drying. I used Titebond for the wood joints. The tip tissue was folded upward. The tip rib was marked where the wingtip post glues on. The post was glued to the rib and held in place between blocks until the glue dried before the tissue was glued to the post.
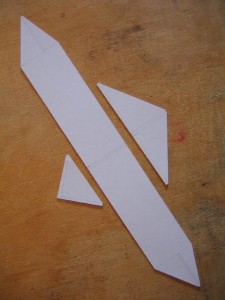
Tissue parts are cut out using cardboard patterns. The wingtip has the posts at 9/16″ from the leading edge.
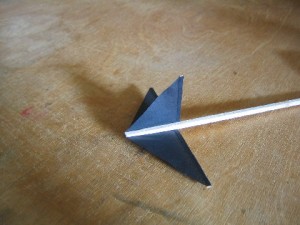
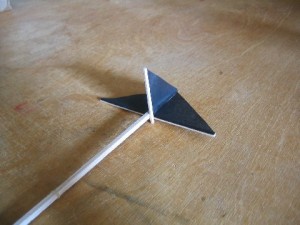
The fin has a 1 1/2″ isosceles right triangle of free tissue. It has a 3/32″ margin along the leading edge and a tapering margin along the fuselage, going from 4 mm to 2 mm, or 5/32″ to 5/64″. The corner is not exactly square. I start by gluing the fin spar on with Titebond and letting it dry. Then the fin tissue is glued on. Then the tailplane spar, then the tailplane tissue. Do these steps while waiting for other things to dry. The fin spar projects below the stick to form the rear motor peg. On this one, using a 7″ rubber band, this works very well as a dethermalizer.
My formula says the optimum motor would be 13 1/4″ of 0.0447″.
When I get time, I would like to write a fuller description with pictures. That means making another one. I have made some pictures of the finished one to illustrate some of these points.
I wrote much more than I intended to when I got started. 😉
Gary
